Blog by Steve Laug
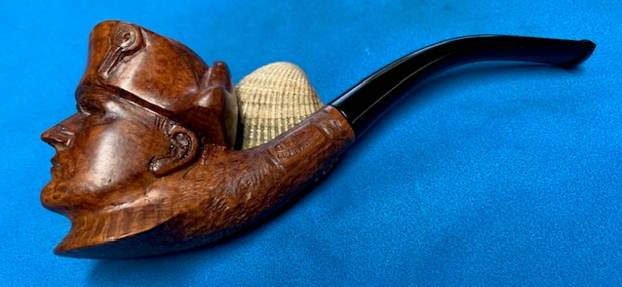
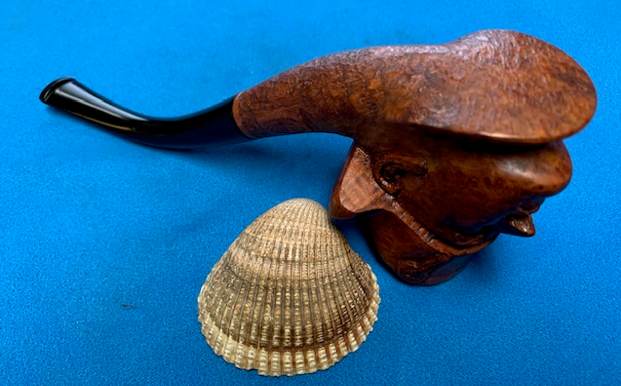
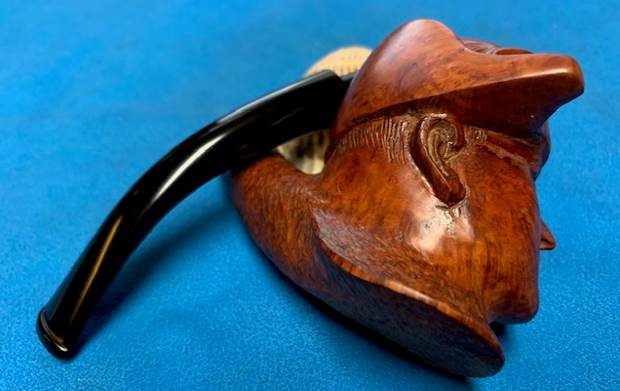
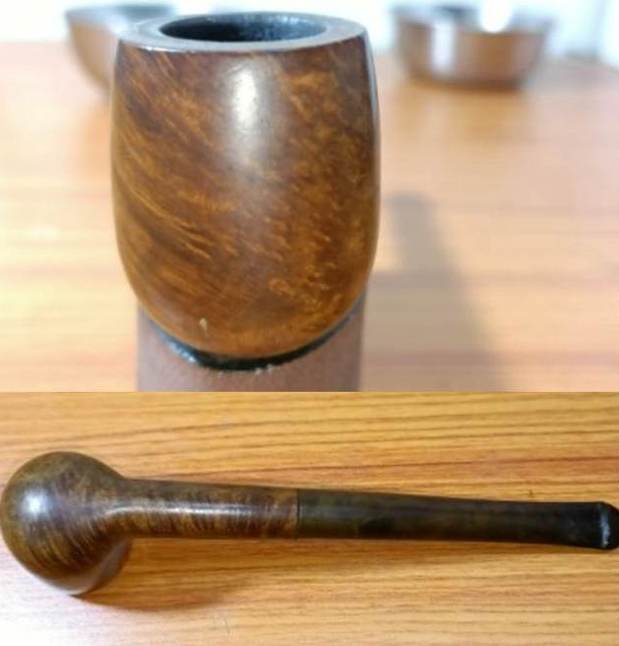
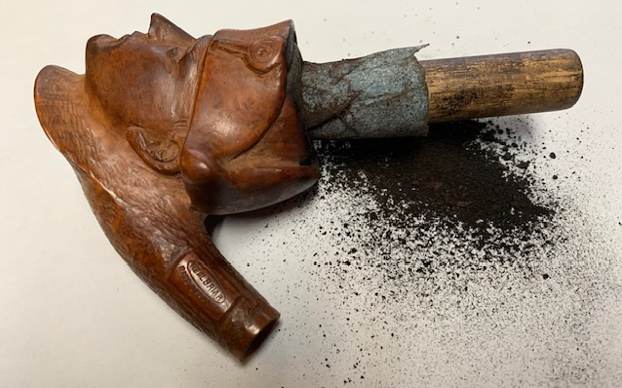
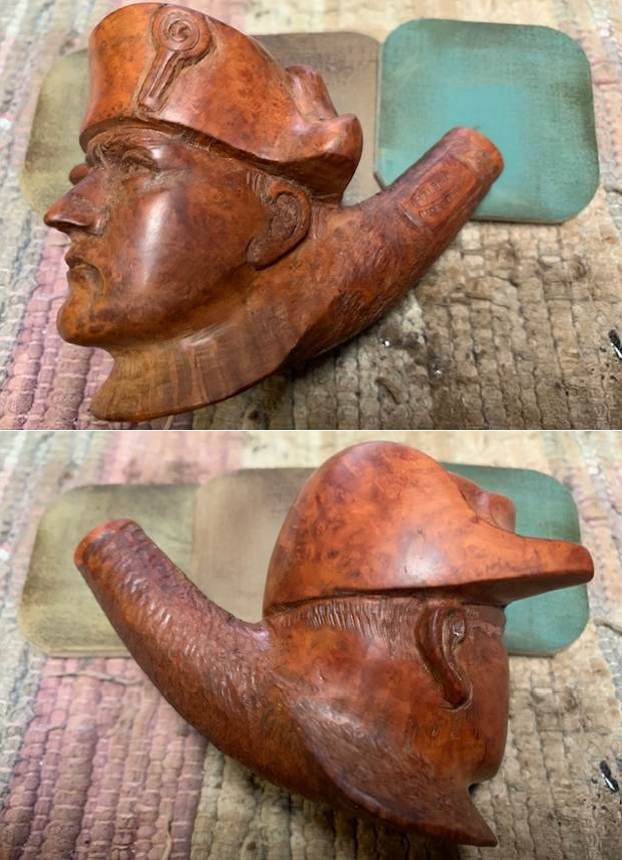
 The next pipe on the table is one that came to me from a Vancouver pipe man who I have worked on pipes for in the past. This one came to him from his Grandfather who passed away in the 1970s, and has not been smoked since he last smoked it. It is an interesting figural pipe that is a carved head of Napoleon Bonaparte I believe. It is stamped on the left side of the shank and reads Real Briar in an oval over Made in France. It was well smoked and quite dirty. The finish was mixed rusticated on the base and shank and smooth around the carving on the face and on the hat. The carving was nicely done with well defined features around the face. The pipe had a lot of grime ground into the finish and hand oils in the briar. It was dirty. The rim top was thickly coated with tars and lava that had overflowed from the cake in the bowl. The inner edge of the bowl was also thickly covered with lava. The bent taper stem was oxidized with light calcification at the button. There was light tooth chatter on the top and underside of the stem ahead of the button. The button was in excellent condition. It was going to be a fun clean up. I wanted to capture the condition when I was given it. I took photos of the pipe before I started my clean up on it.
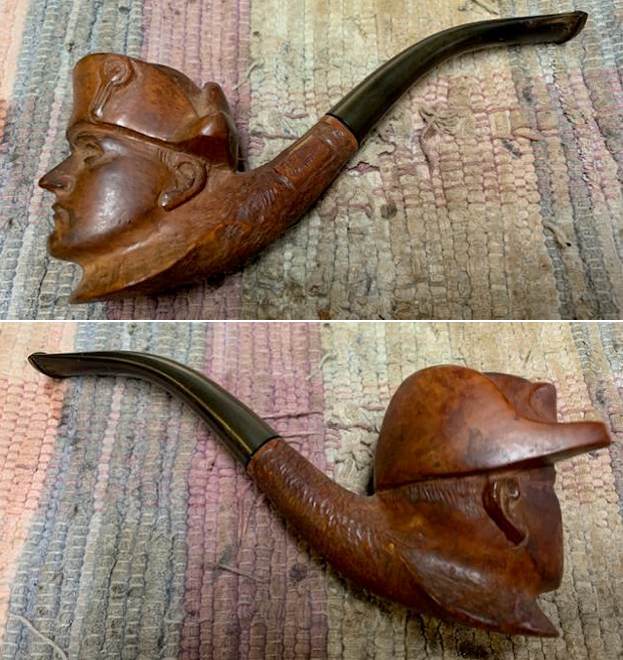
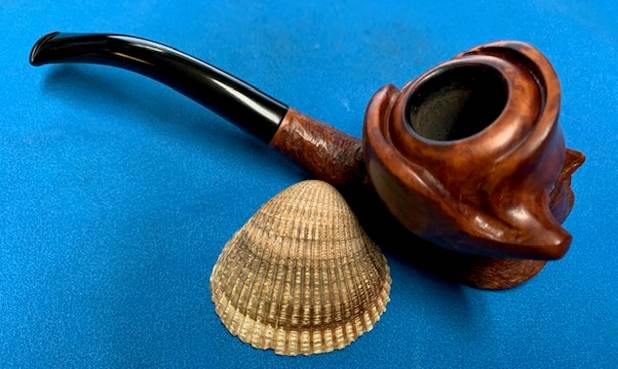
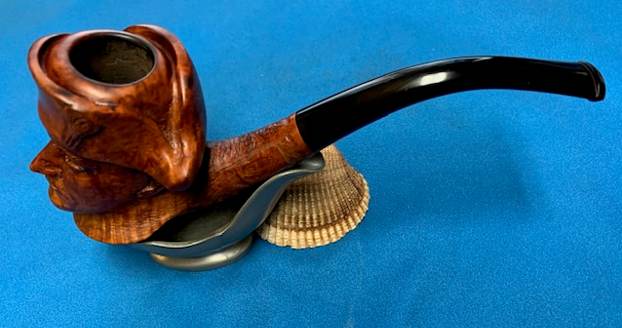
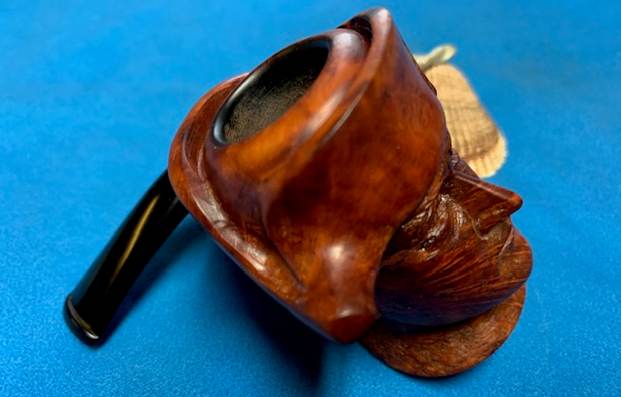
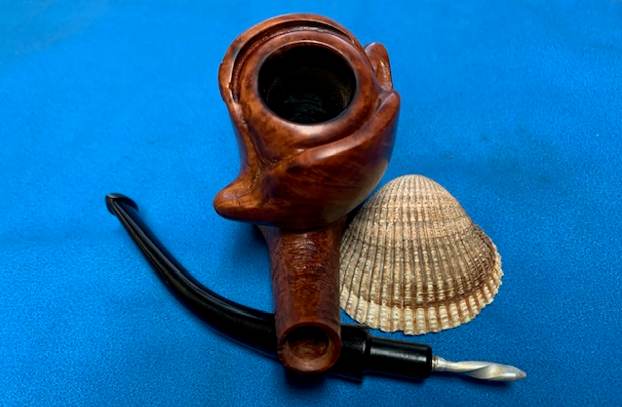
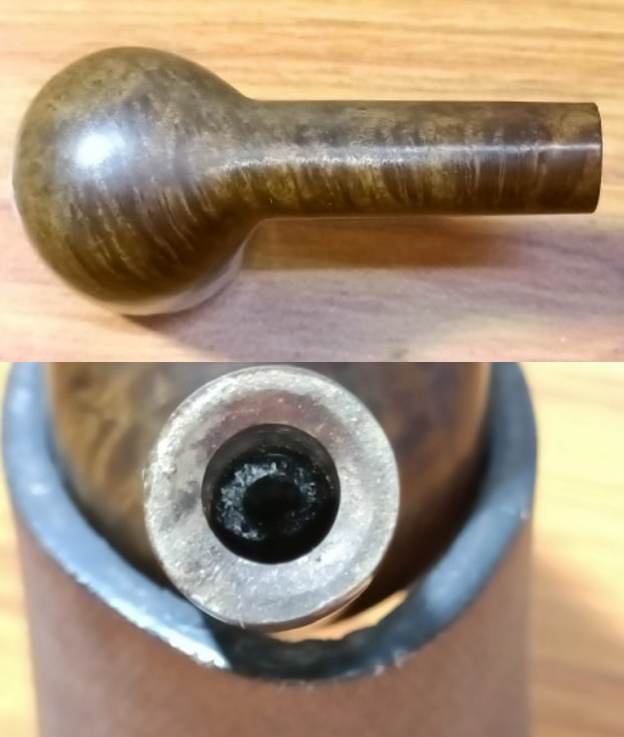
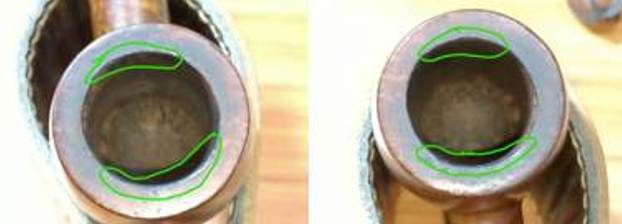
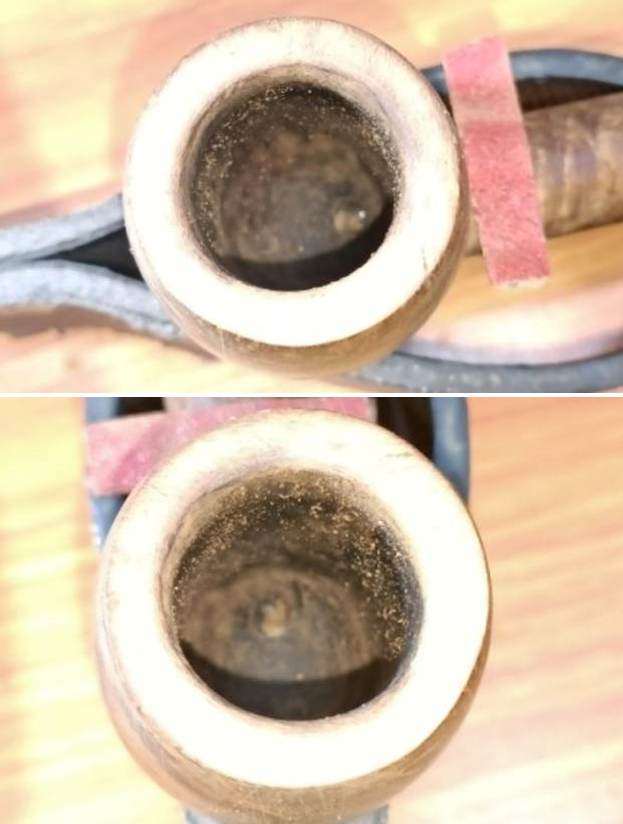
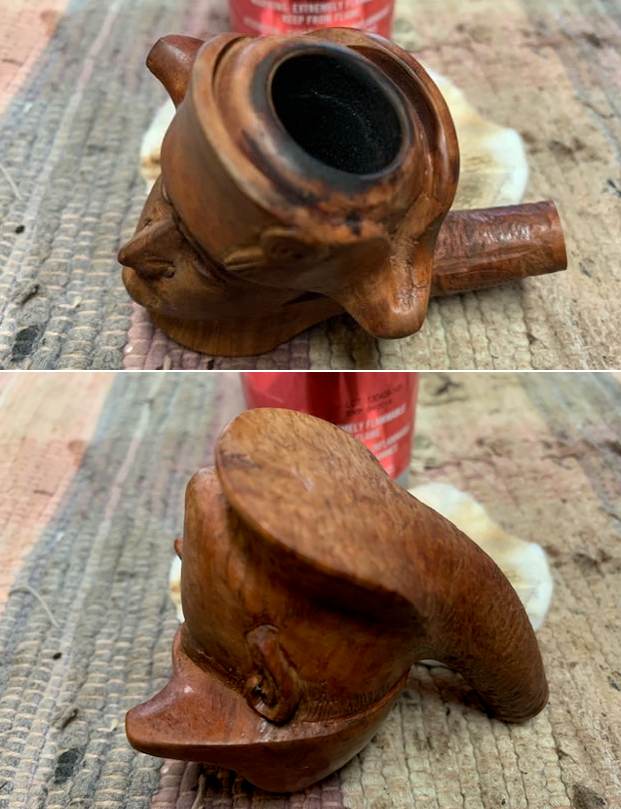
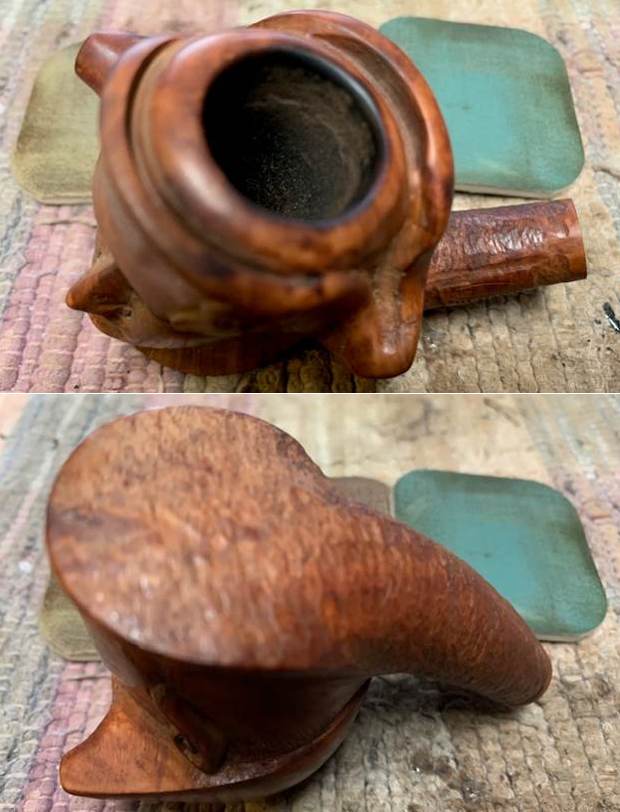
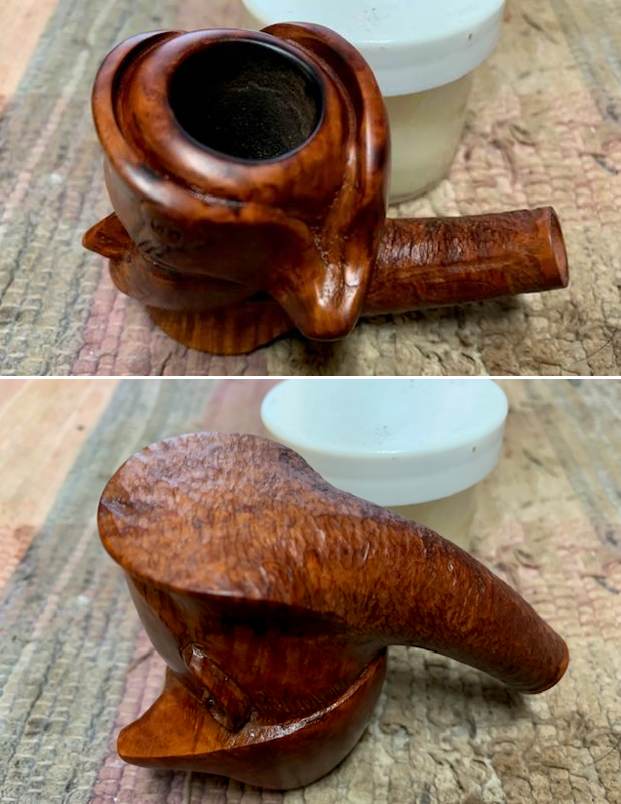
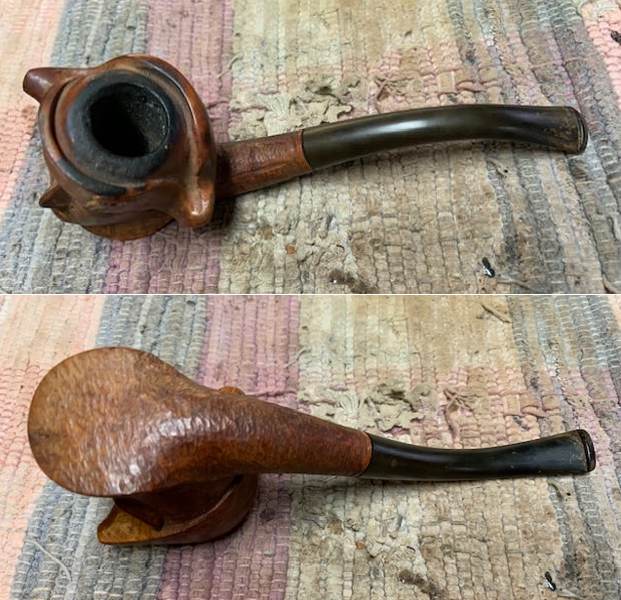 I took photos of the bowl and rim top to show the cake and the lava overflow on the top. You can also see some potential damage on the inner edge of the rim. There is darkening on right back edge of the hat and on the left front edge of the hat. It was a mess. The cake is hard and thick. The photos of the stem surface show the oxidation, calcification and tooth chatter.
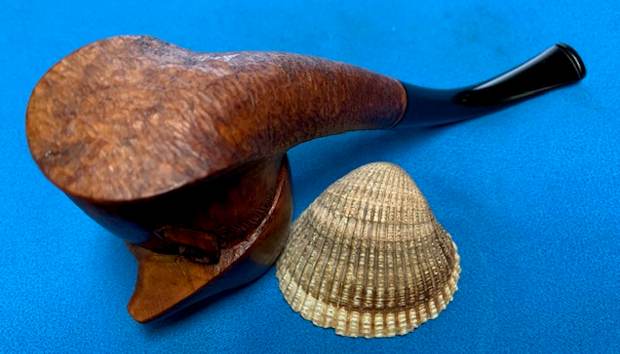
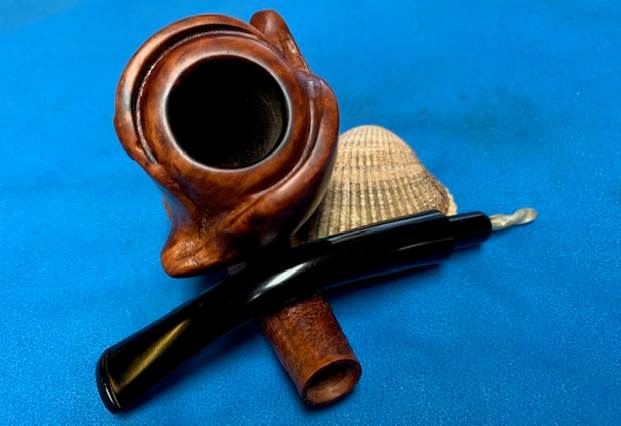
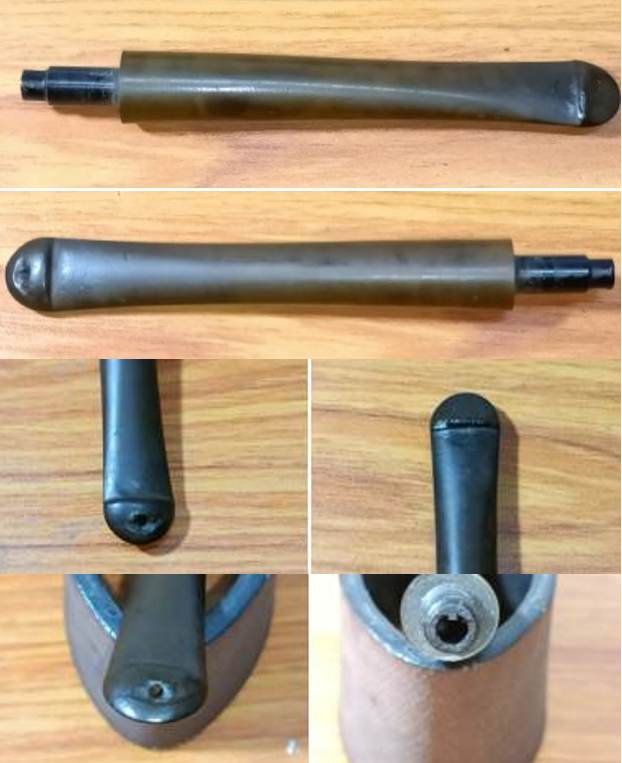
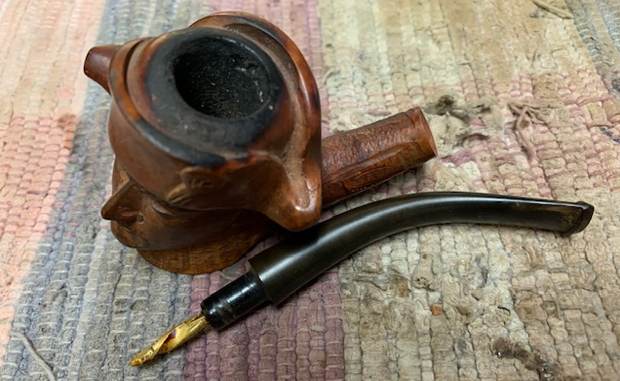
 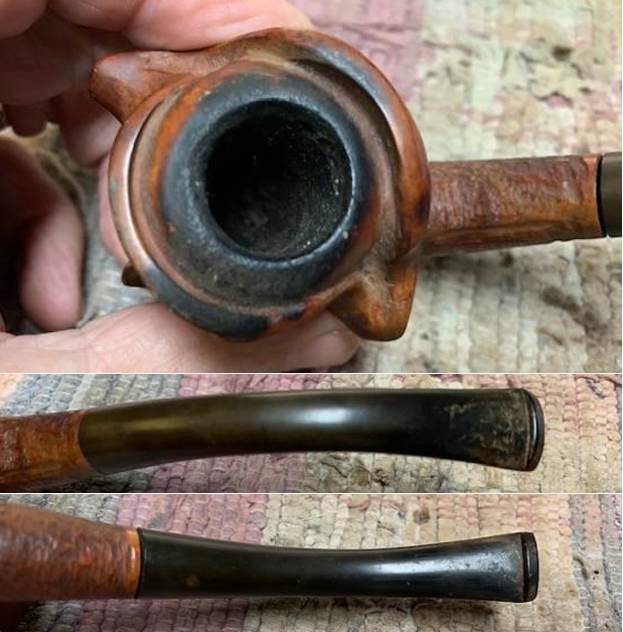 I took a photo of the stamping on the left side of the shank. It reads as noted above – REAL BRIAR in an oval [over] Made in France. It is clear and readable. I removed the stem from the shank and took a photo of overall look of the pipe. There was also a metal stinger in the tenon that was covered in tars and oils.
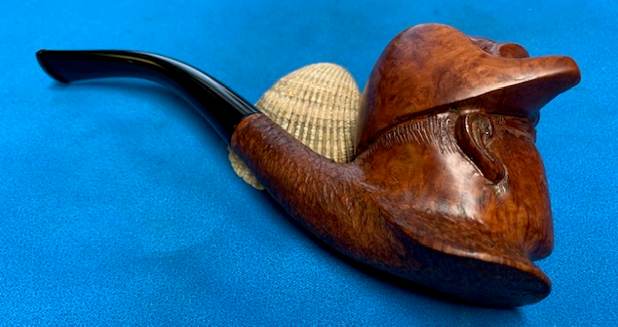
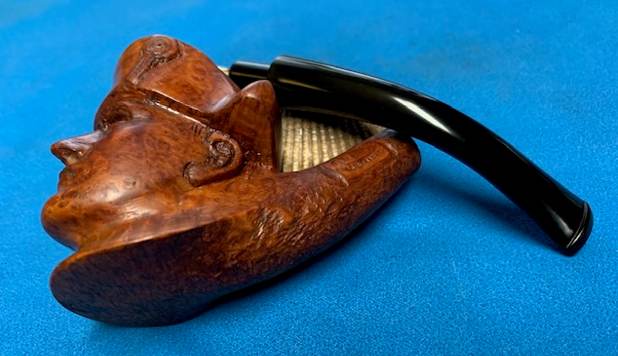
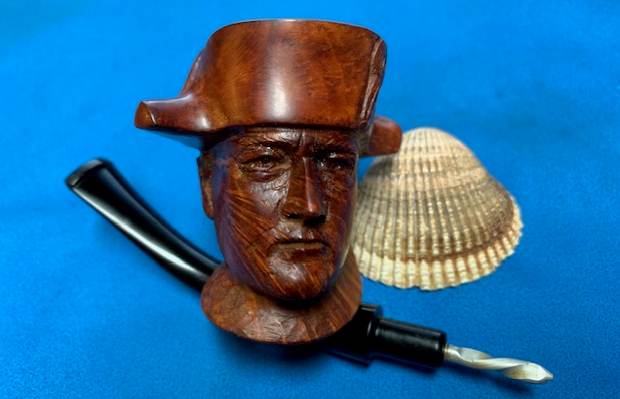
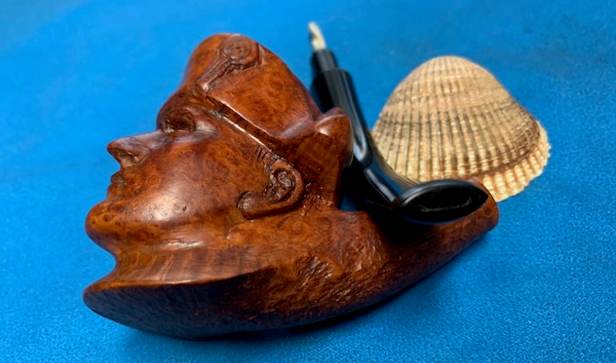
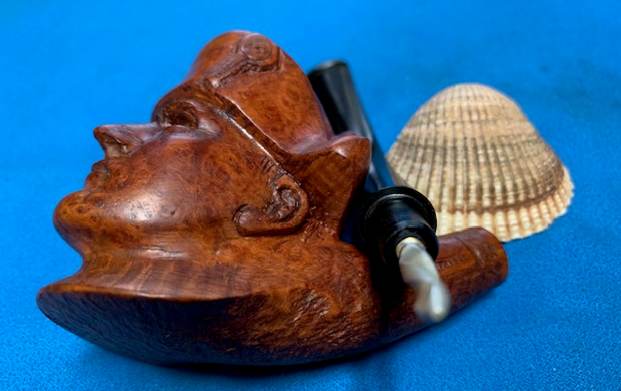
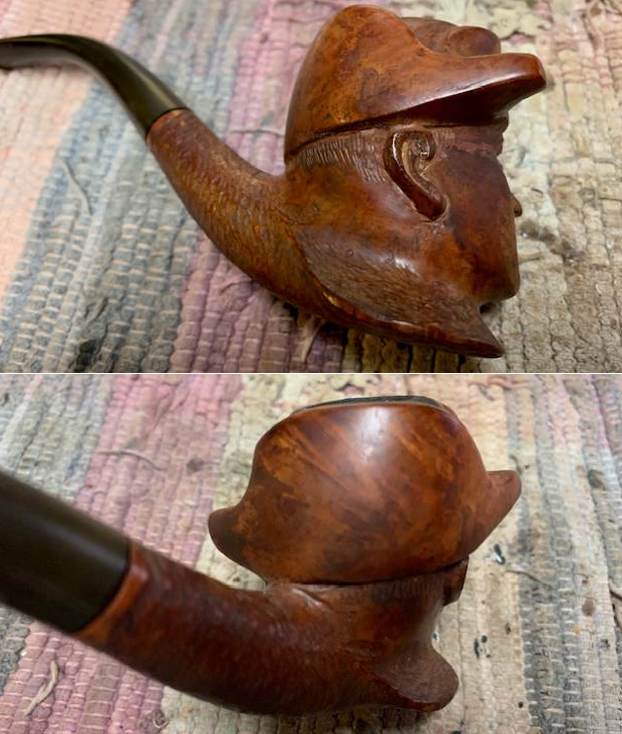
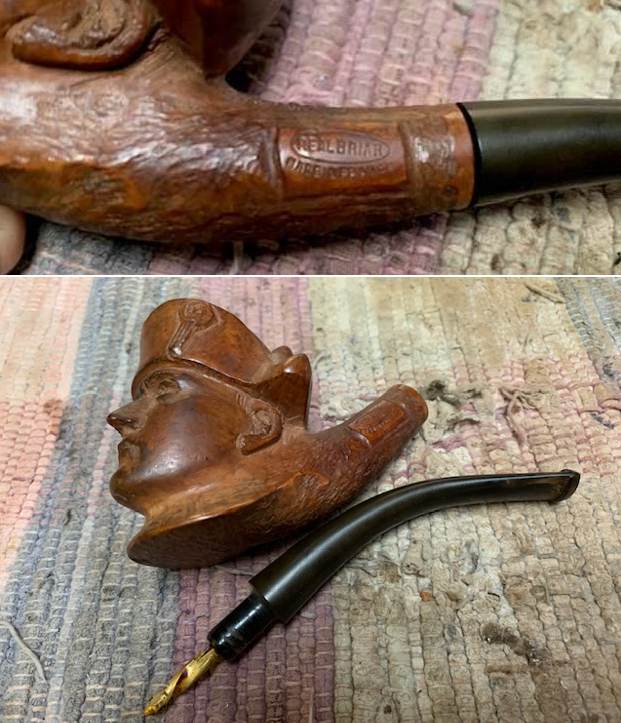 I took photos of the carving all around the bowl sides beginning with the facial features. It is a well carved beautiful pipe.
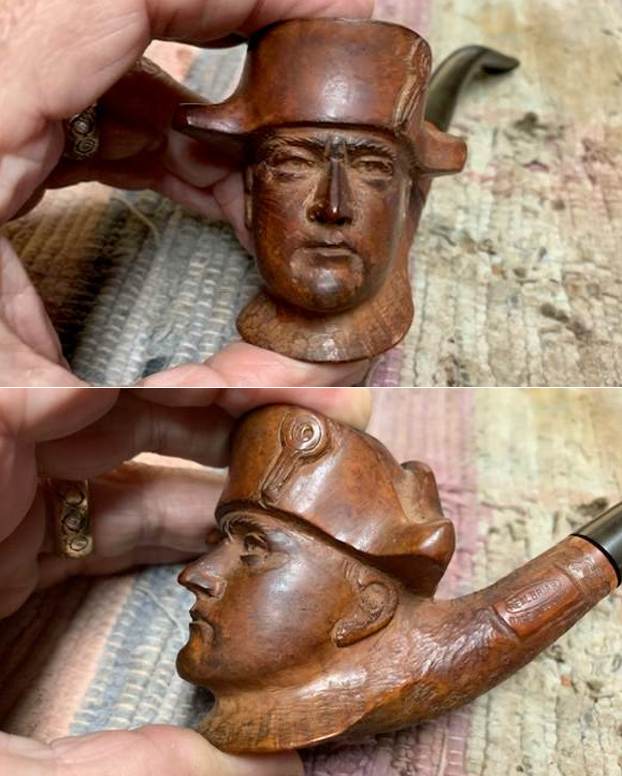
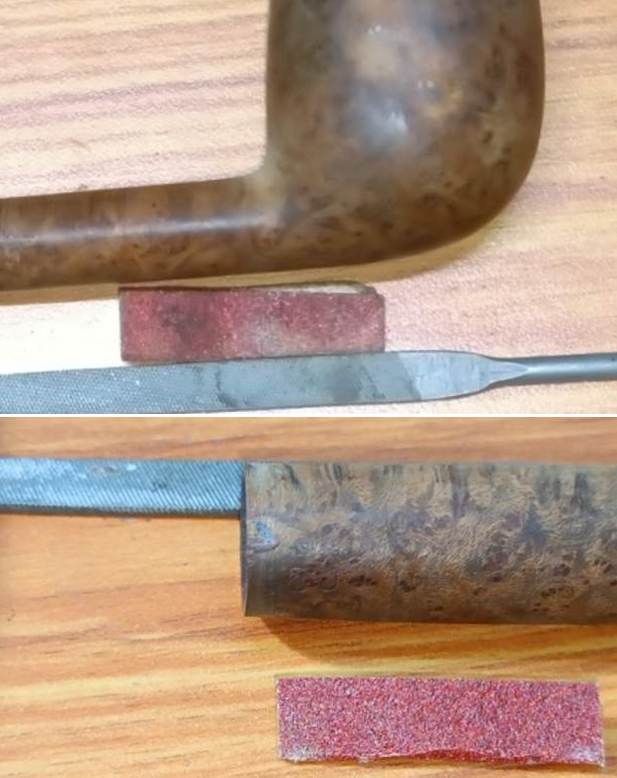
 I started my clean up work on the pipe by reaming the bowl with a PipNet pipe reamer. I used the second cutting head to take the cake back to bare briar. I cleaned up the reaming with a Savinelli Fitsall Pipe Knife and then sanded the bowl smooth with 220 grit sandpaper wrapped around a piece of dowel. The bowl walls looked very good once sanded showing no burn damage and checking. They were smooth.
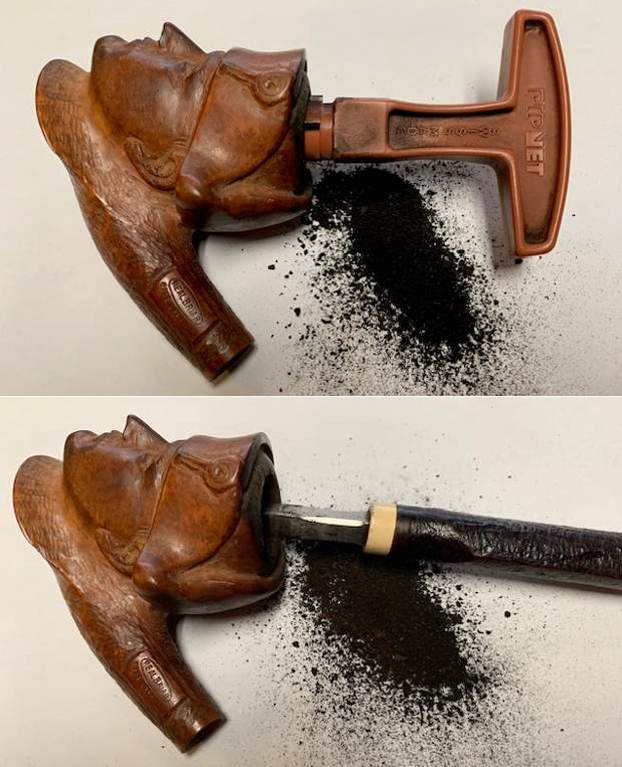
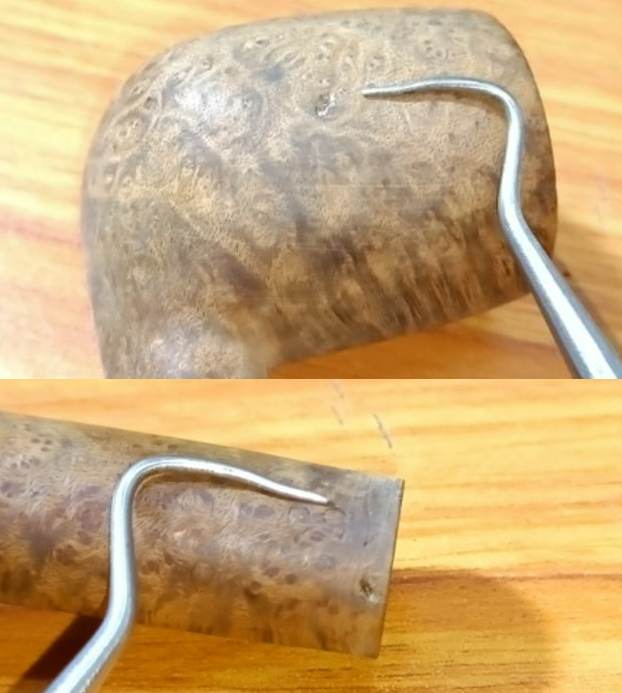
 I used a folded piece of 220 grit sandpaper to clean up the inner edge and smooth out the damage as well as to remove the lava build up on the rim top. It looked much better though there was still work to be done.
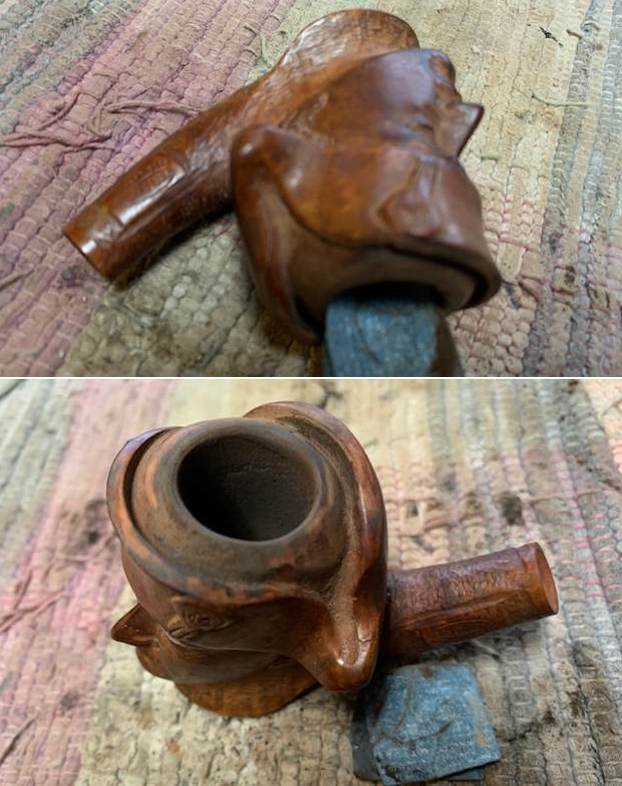 I heated the metal stinger on the end of the tenon with the flame of a lighter. Once it was warm I was able to unscrew it from the tenon. Now that it was out I could clean out the airway in the stem and in the shank more easily.
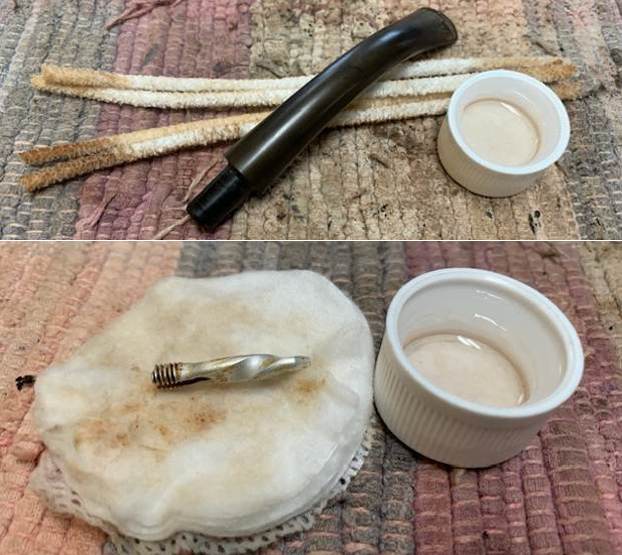
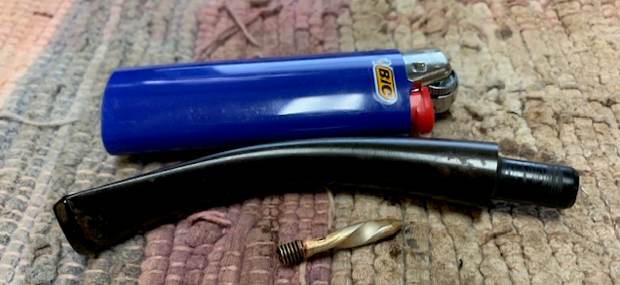 I cleaned out airway and mortise in the shank and the stem with pipe cleaners, cotton swabs and isopropyl alcohol (99%). I cleaned the metal stinger with alcohol and a cotton pad to clean off the grime and tars. Once I had cleaned out all the parts, the pipe smelled significantly better.
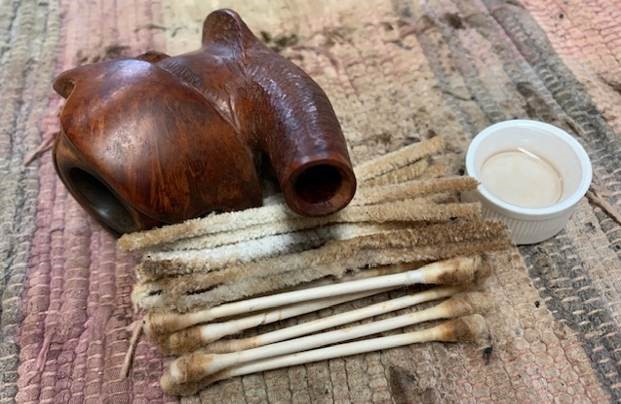
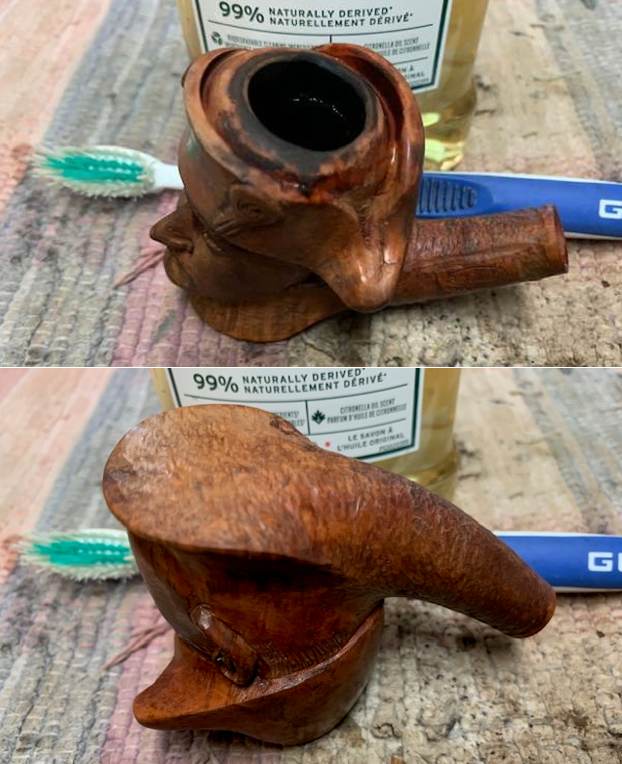
 With the internals clean I turned my attention to the exterior of the bowl and all the nooks and crannies of the carvings. I scrubbed it with a tooth brush and undiluted Murphy’s Oil Soap, I rinsed off the soap suds and grime with warm running water and repeated the process until the surface was grime free. The photos show the pipe at this point in the process.
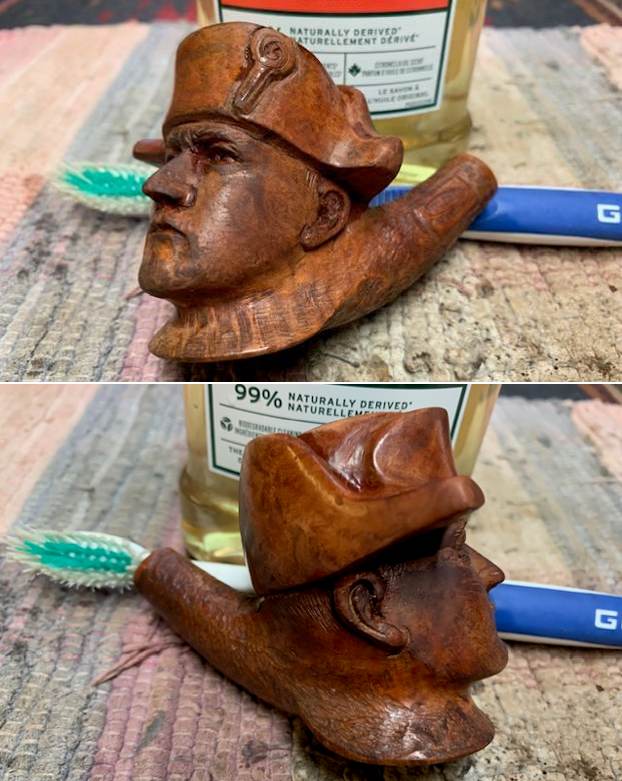
 Once clean the surface had some spots of varnish or shellac on the surface leaving shiny spots on the surface of the carving. I wiped it down with acetone on a cotton pad until the surface was clean and the shininess was removed. It was looking good.
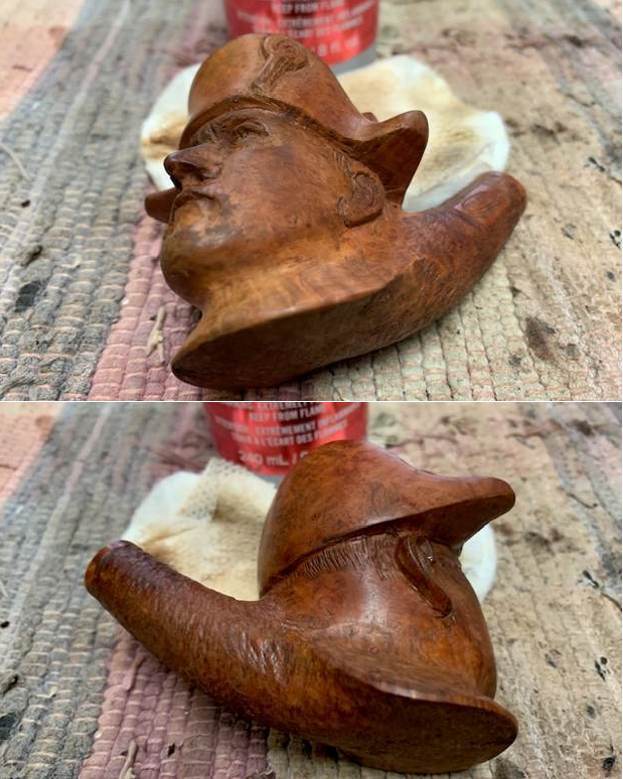
 I worked over the rim top, cap edges and the grooves between the cap and the rim top with a folded piece of 220 grit sandpaper. It looked much better.
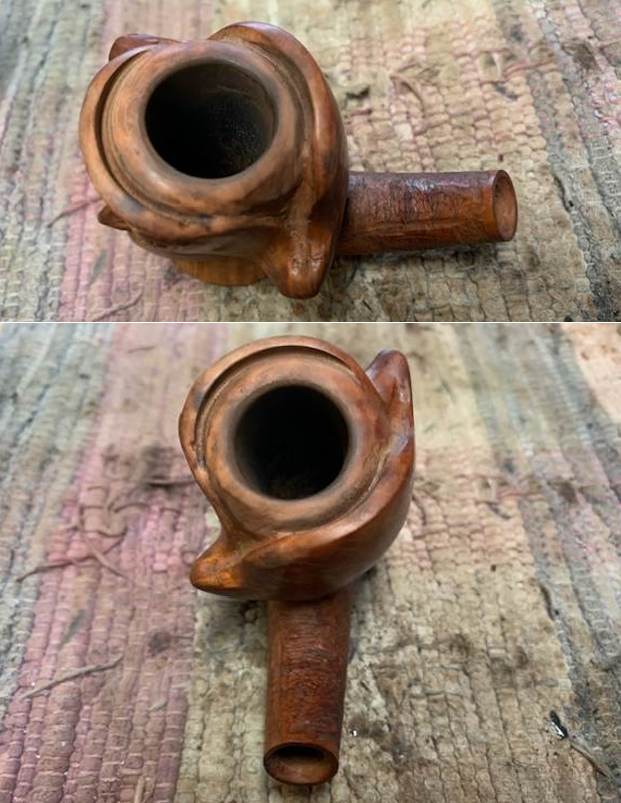 I polished the briar with micromesh sanding pads. I choose to dry sand the briar rather than wet sand it. Again it is a matter of personal preference. I prefer to use the pads dry and find they work very well on the briar. I sand with each pad (9 in total) and group them by threes for ease of reference. I wipe the bowl down after each pad with a damp cloth to remove the sanding debris and check the briar. I love seeing the developing shine on the briar as I move through the pads which is why I include so many photos of this step.
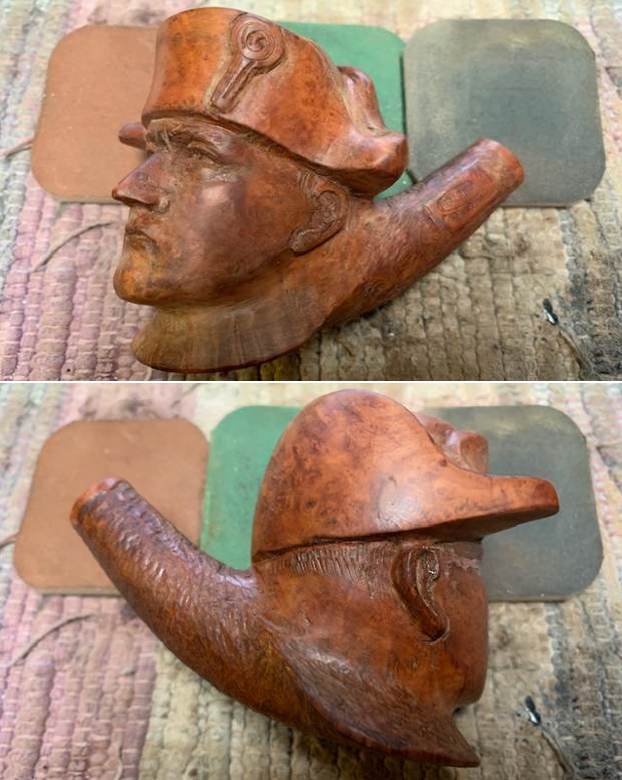
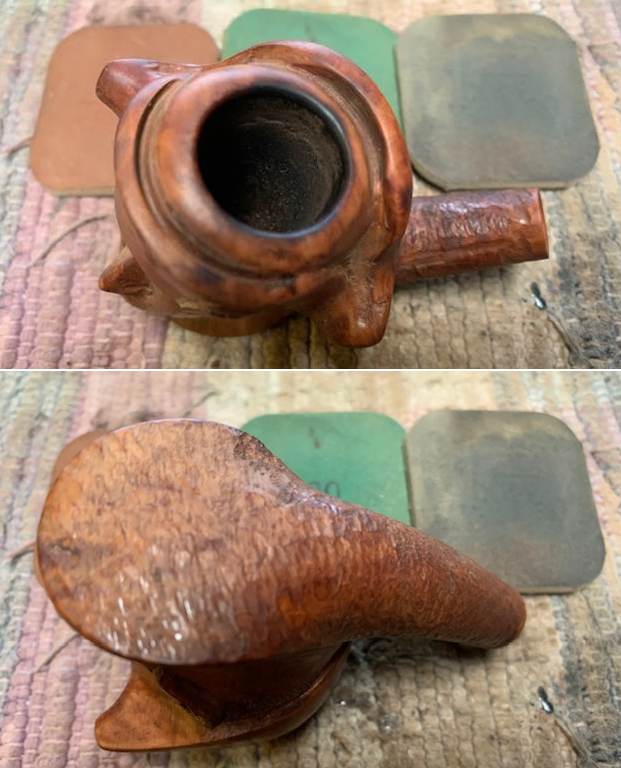
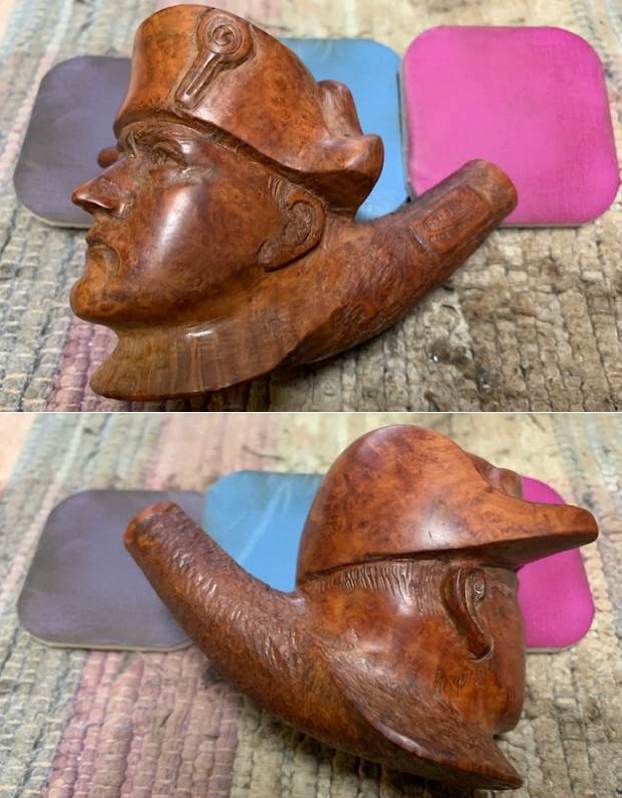
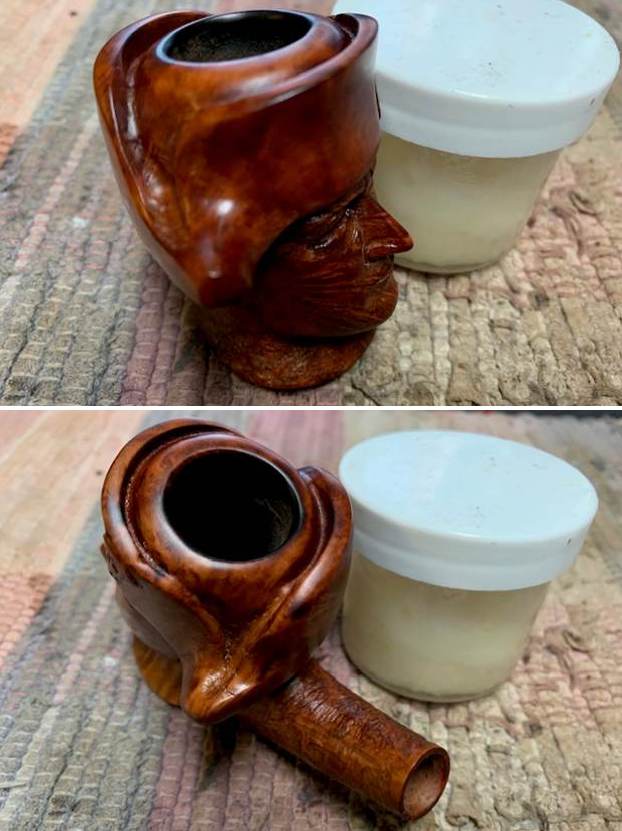
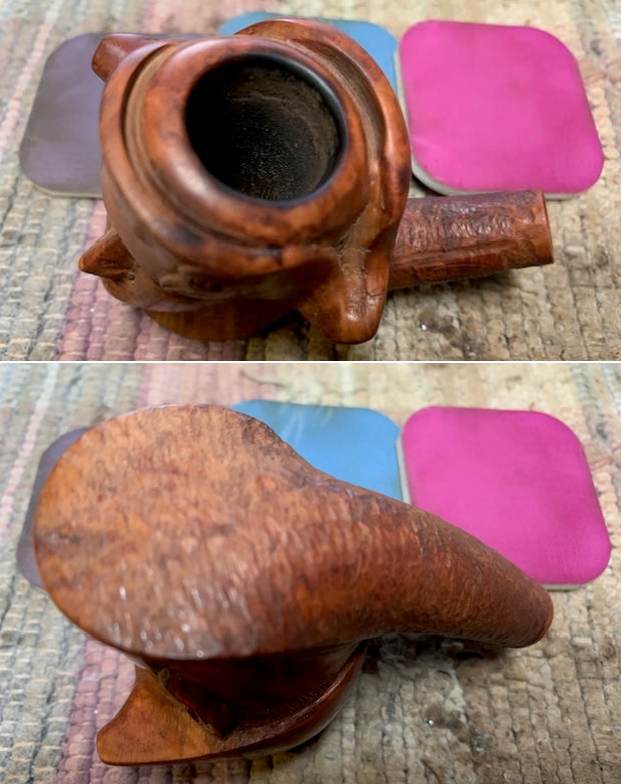 I rubbed down the bowl and shank with Before & After Restoration Balm. It is a paste/balm that is rubbed into the surface of the briar. The product works to deep clean the finish, enliven and protect the briar. I worked it into the briar with my finger tips and a horsehair shoe brush. I let it sit for 10 minutes then wiped it off with a soft cloth then buffed it with a cotton cloth. The briar really began to have a deep shine and the carving showed depth. The photos I took of the bowl at this point mark the progress in the restoration. It is a gorgeous pipe.
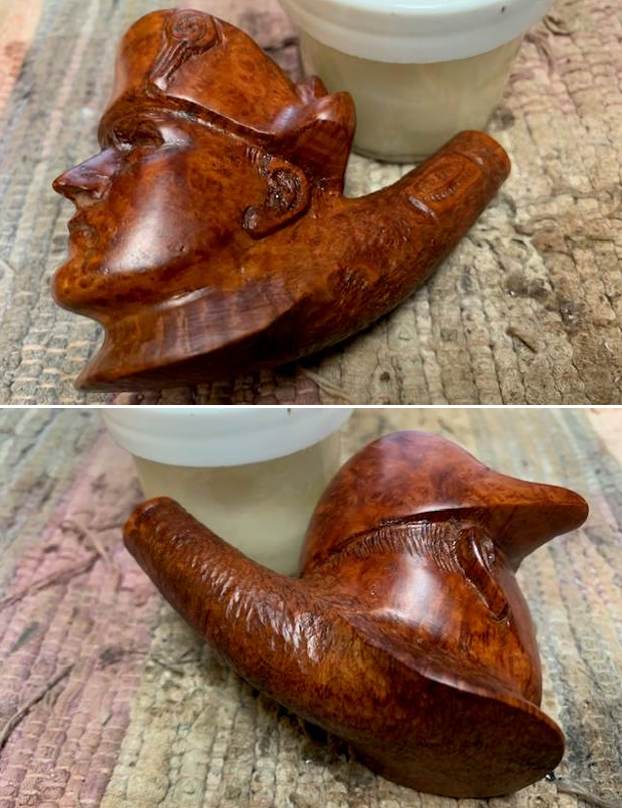
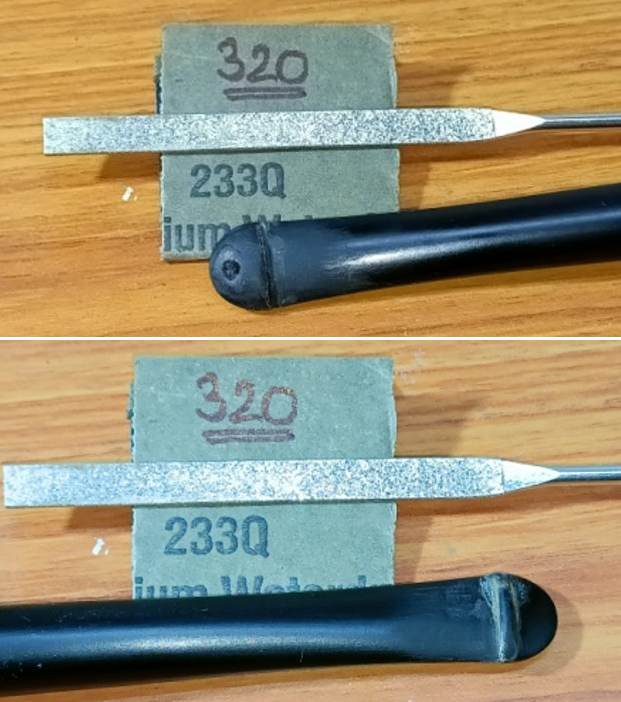
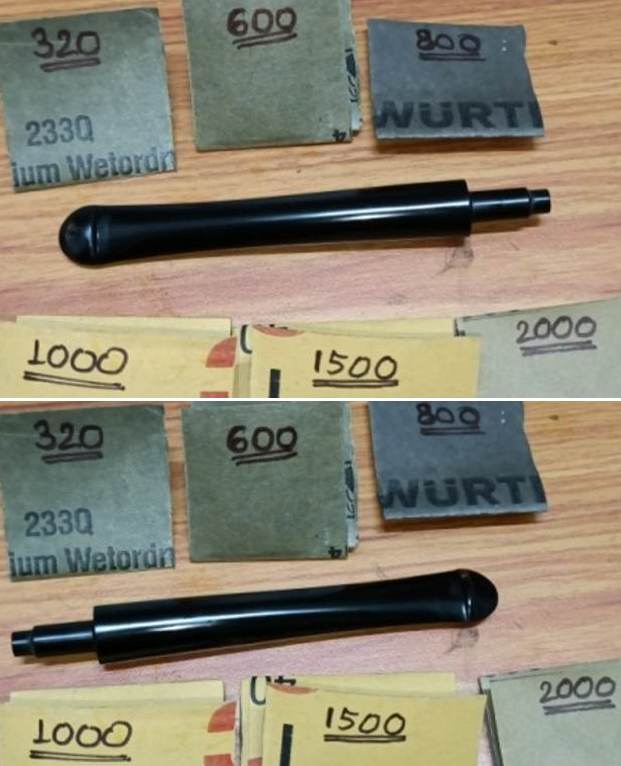
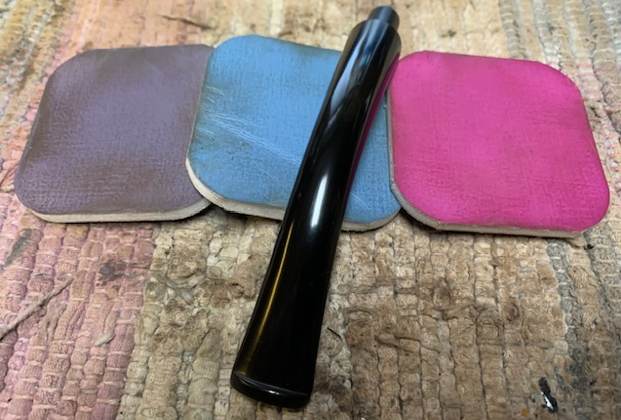
 I polished the stem with micromesh sanding pads – 1500-12000 grit sanding pads and water to wet sand the stem. I wiped it down after each sanding pad with Obsidian Oil on a cotton rag after each sanding pads. I find it does two things – first it gives some protection to the stem from buildup and second it give the sanding pads bite in the polishing process.
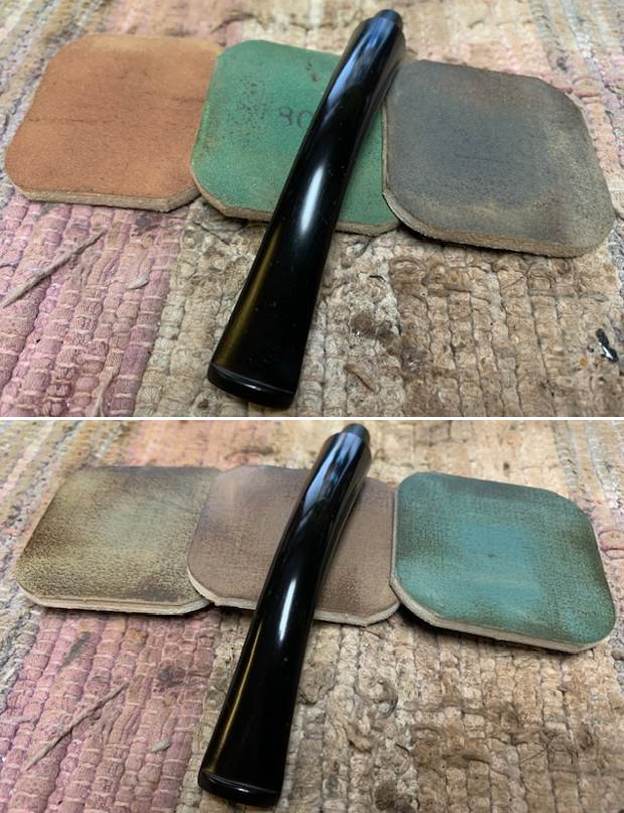
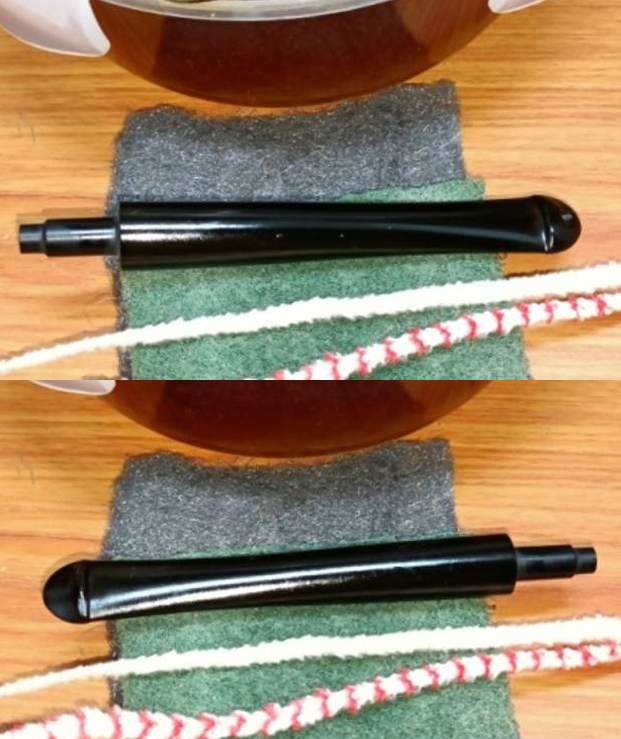
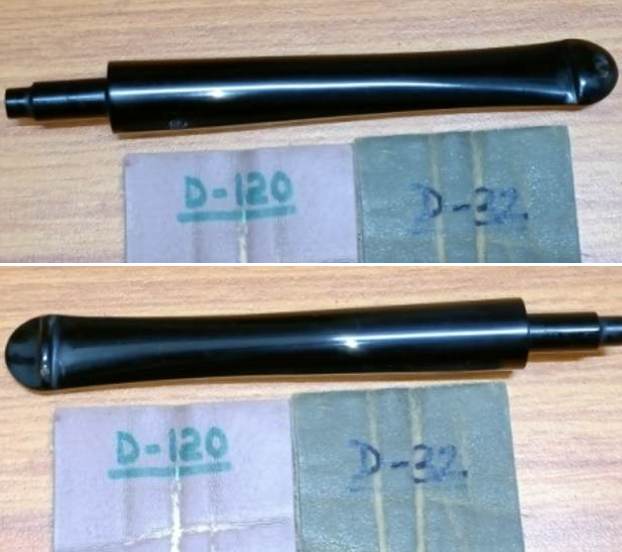
 After finishing with the micromesh pads I rub the stem down with Before & After Fine and Extra Fine stem polish as it seems to really remove the fine scratches in the vulcanite. I rub the Fine Polish on the stem and wipe it off with a paper towel and then repeat the process with the Extra Fine polish. I finish the polishing of the stem down with a final coat of Obsidian Oil and set the stem aside to let the oil absorb. This process gives the stem a shine and also a bit of protection.
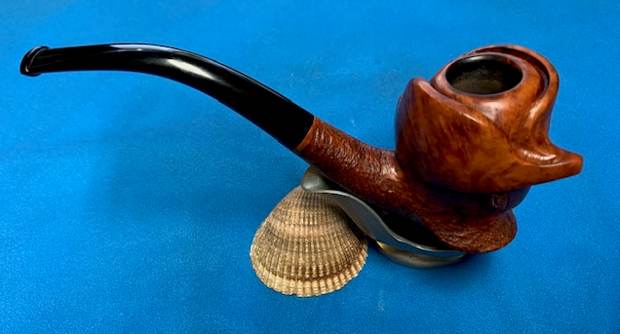
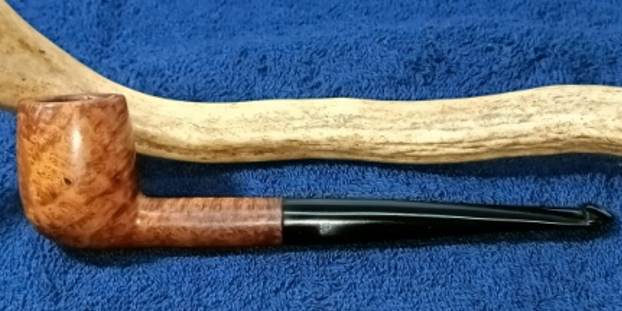
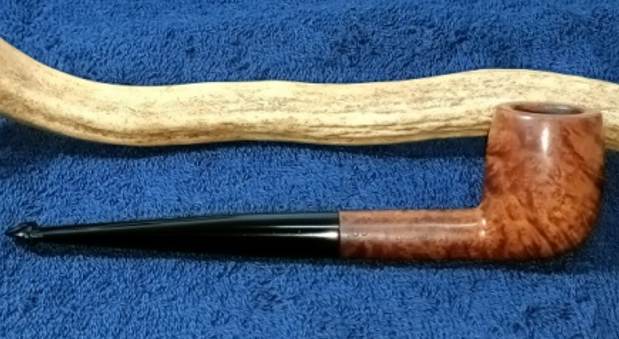
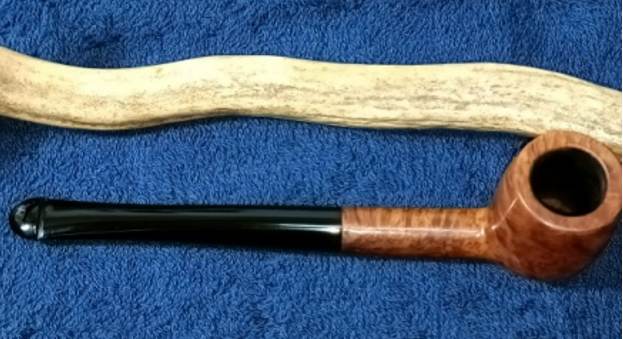
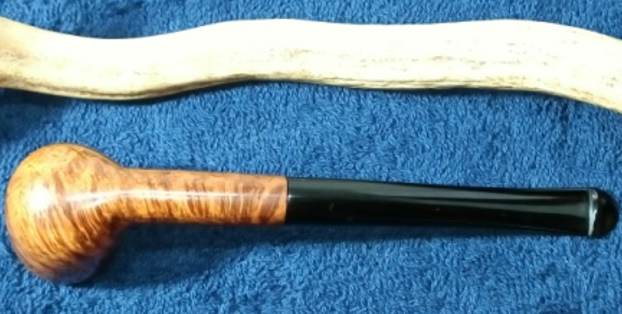
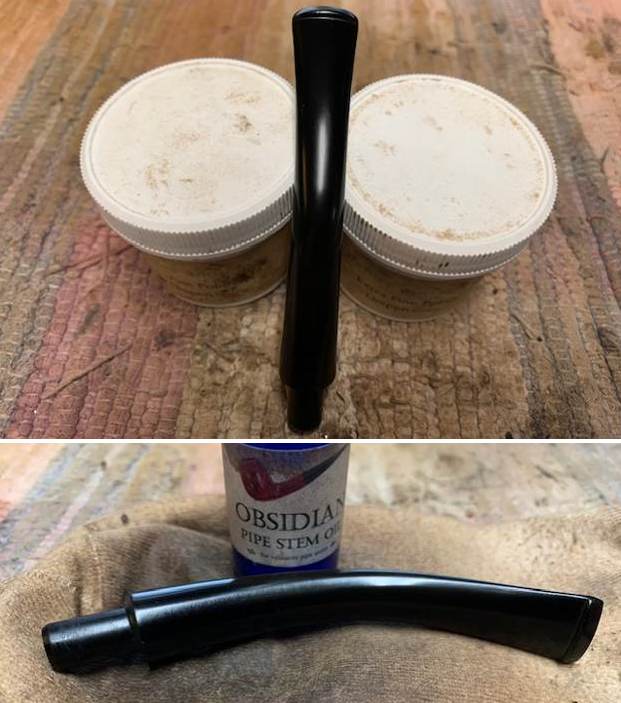 The final steps in my process involve using the buffer. I carefully buffed the figural bowl and stem with Blue Diamond to polish out the light scratches in the briar and the vulcanite. I gave the bowl and the stem multiple coats of carnauba wax. I have found that I can get a deeper shine if I follow up the wax buff with a buff with a clean buffing pad. It works to raise the shine and then I hand buff with a microfiber cloth to deepen the shine. It is always fun for me to see what the polished bowl looks like with the polished stem. It really is a nice pipe. The carved face and cap work well with the vulcanite stem. The Carved Napoleon Figural is a beauty and feels great in my hand. It is a well balanced pipe. Have a look at it with the photos below. The dimensions are Length: 6 ¾ inches, Height: 2 ½ inches, Outside diameter of the bowl: 1 ½ inches, Chamber diameter: 1 inch. The weight of the pipe is 2.54 ounces/73 grams. It is a beautiful pipe that I will soon sending home to the pipeman who dropped it off. I have one more pipe to finish for him then he can enjoy them and the memories they hold.
As always I encourage your questions and comments as you read the blog. Thanks to each of you who are reading this blog. Remember we are not pipe owners; we are pipe men and women who hold our pipes in trust until they pass on into the trust of those who follow us.