Blog by Kenneth Lieblich
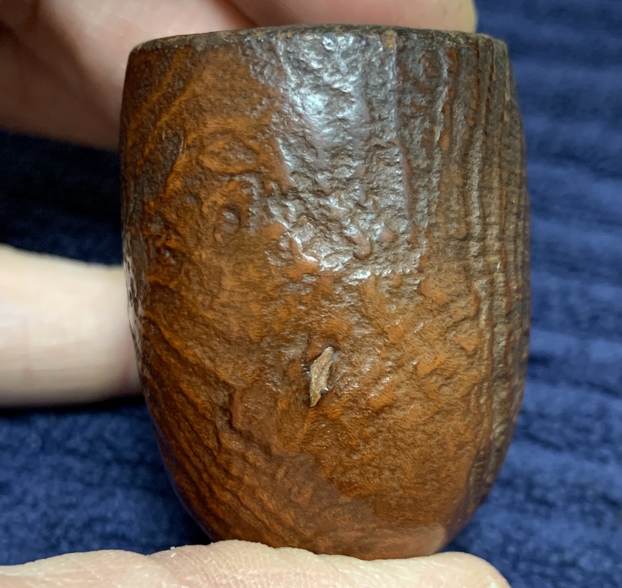
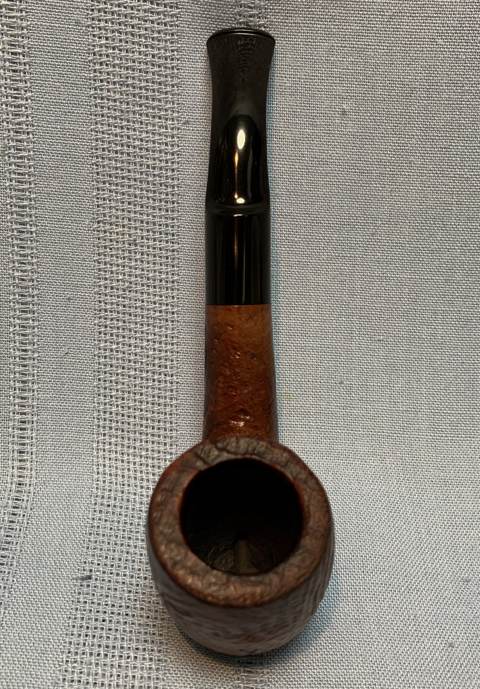
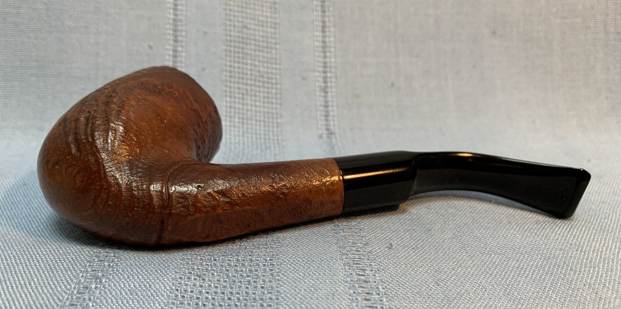
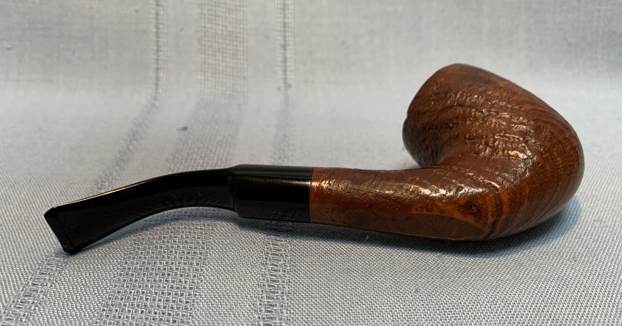
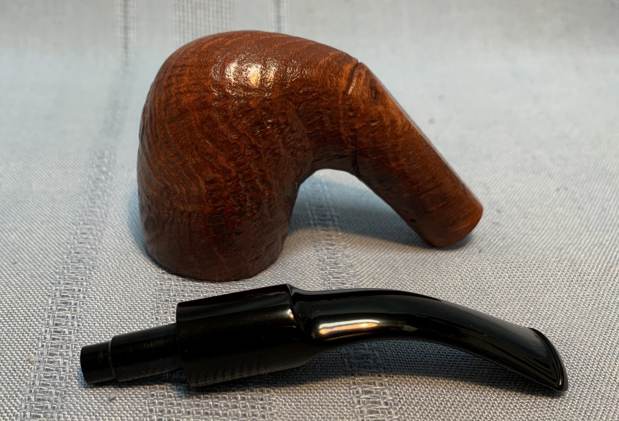
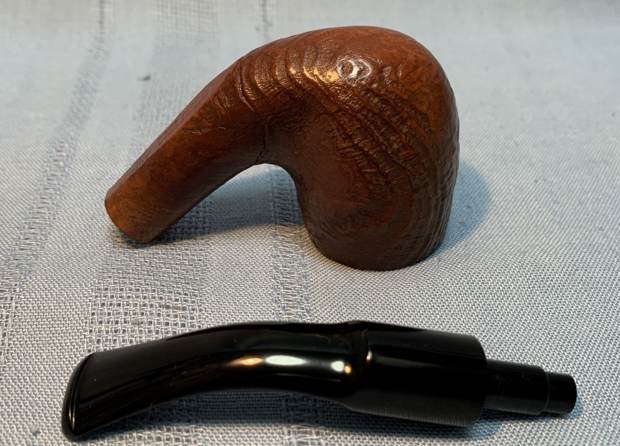
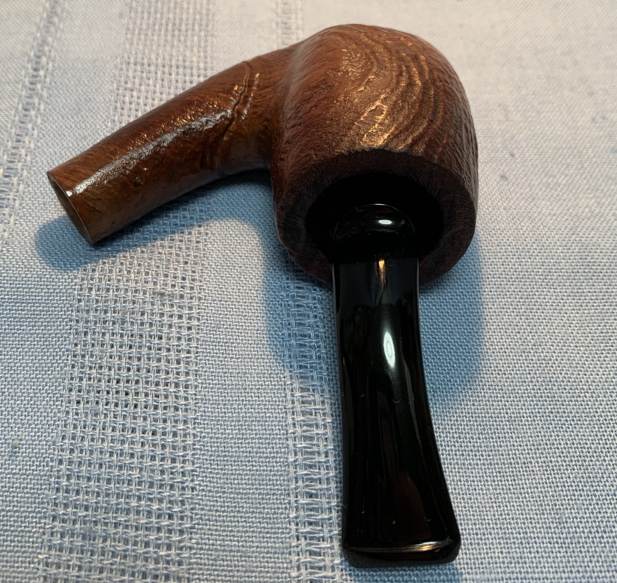
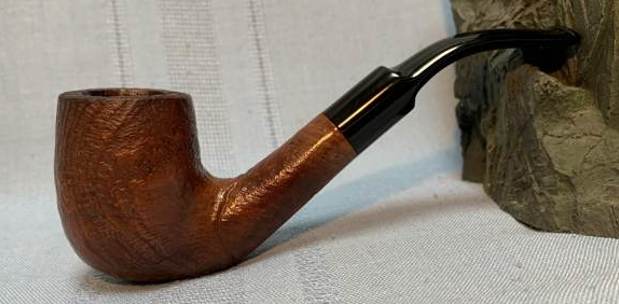
Next on the chopping block is a pipe which was selected by a customer of mine in the prime of his youth. Understandably, this very young fellow wanted a handsome and inexpensive pipe and chose this Amphora sandblasted bent billiard. I acquired it in a lot of pipes from a gentleman living on Vancouver Island. It was quite an assortment of pipes, as they ranged from horrible to beautiful. The selected pipe looked like a handsome, solid pipe that would smoke well and my young customer took a liking to it immediately. So did I – the sandblast is really quite attractive and I felt that he had made a good choice.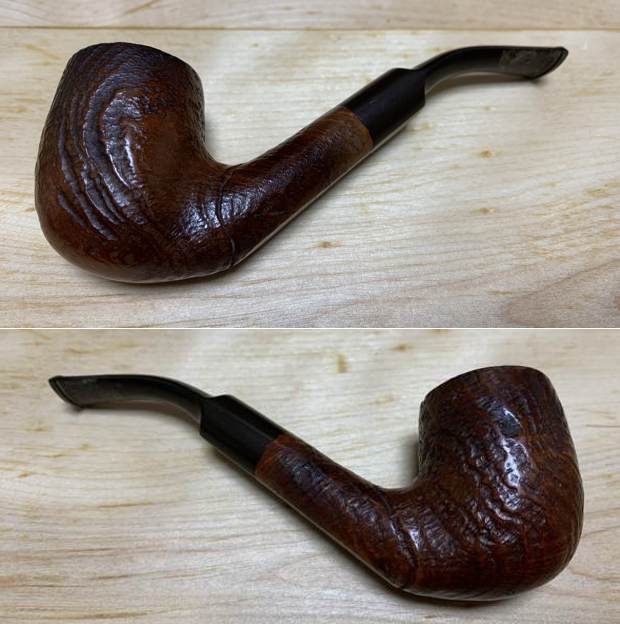

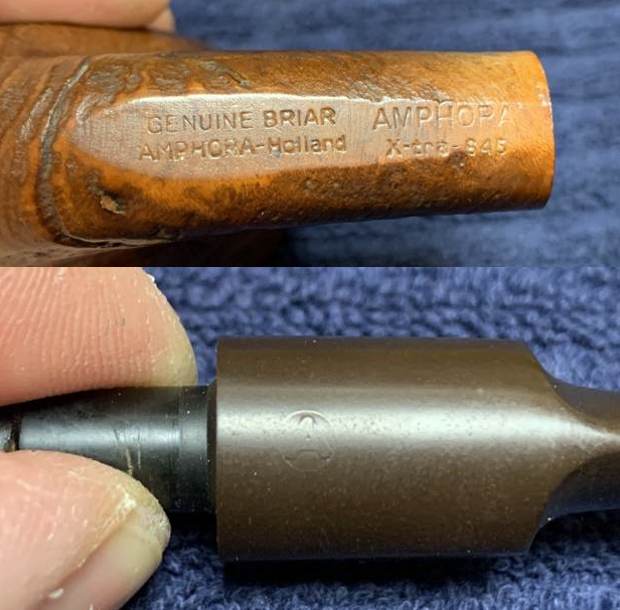
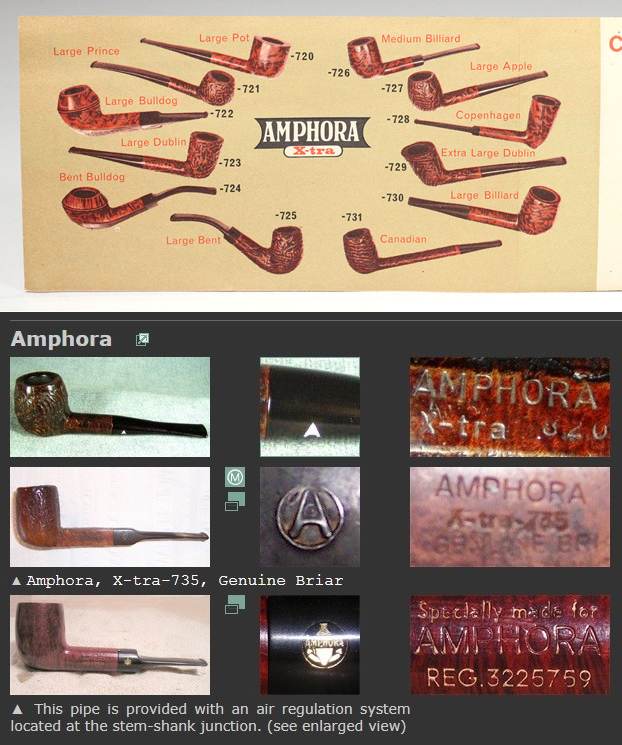
 The underside of the shank had the pipe’s markings. They read as follows: Genuine Briar [over] Amphora-Holland. Next to that was Amphora [over] X-tra-845. Secondarily, the Amphora logo (and encircled ‘A’) was on the left side of the stem. This logo was quite worn and I was unsure if I could restore it.
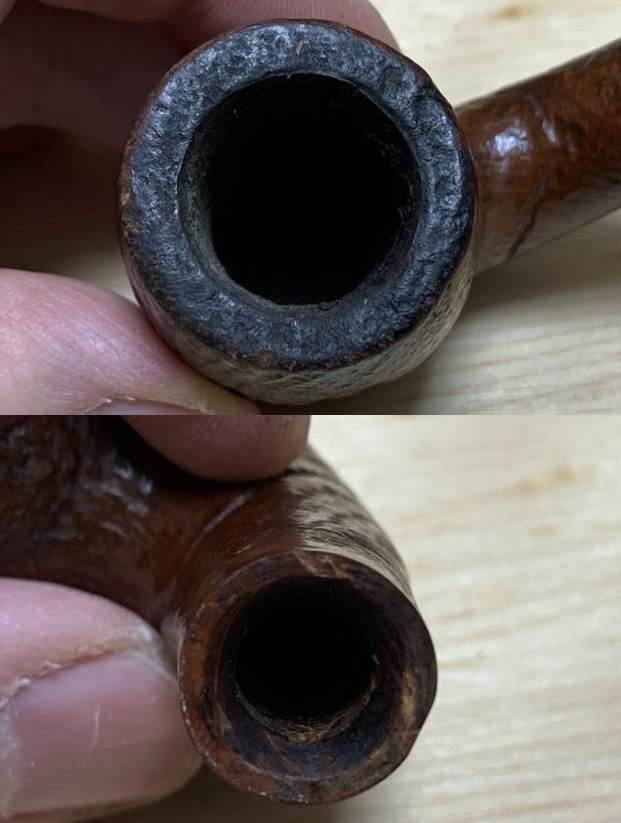
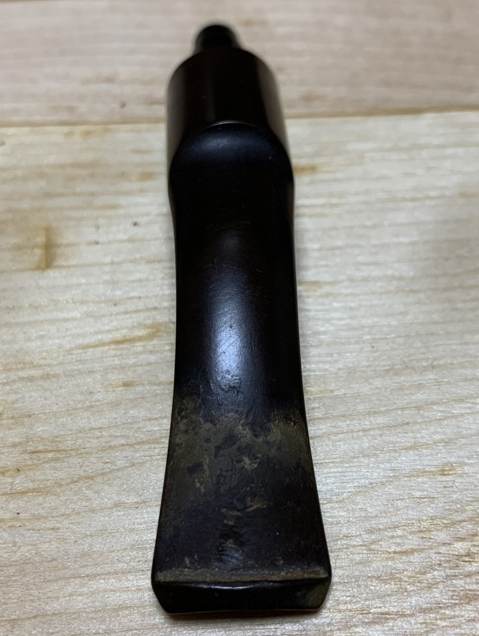
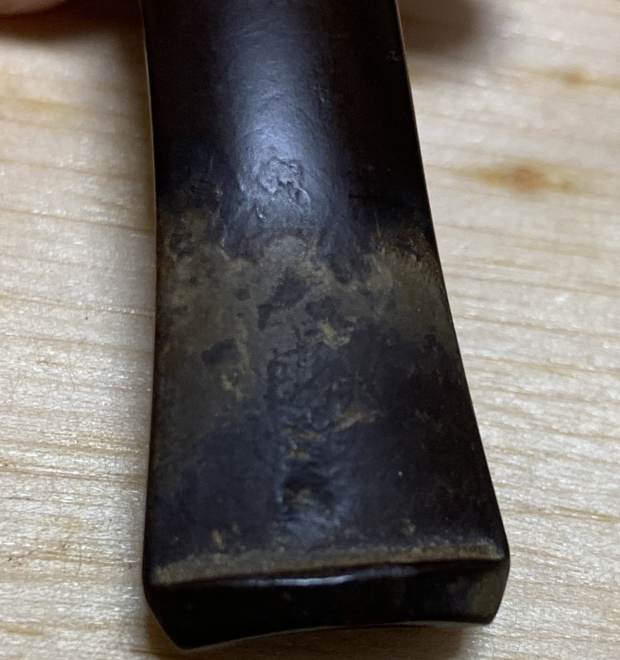
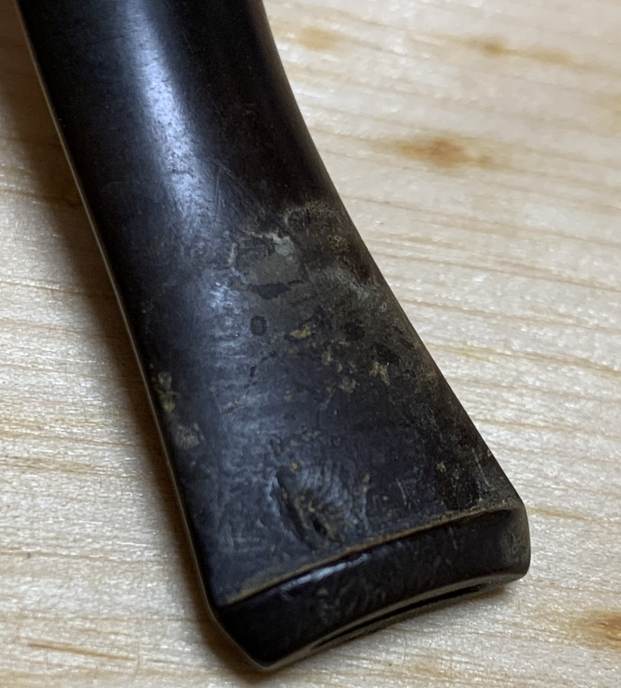
  Clearly, this pipe had been well-loved, as it arrived with some marks and general wear, and the stem was pretty nasty. There were also a couple of fills, but I was confident that those would be easy to handle.

 Amphora is a Dutch pipe brand of long-standing and they are perhaps best known because of their pipe tobacco. I must admit that whenever I heard the word “amphora”, I immediately think of this:
 I have cobbled together the brief bits of information from Pipedia, Pipephil, and the forums of PipesMagazine. Amphora was a brand of the Royal Dutch Pipe Factory, owned by Elbert Gubbels & Sons B.V. They produced several other brands, such as Douwe Egberts and Royal Dutch. Dr Grabow also produced bowls for them for some time and I have reason to believe that this particular pipe was from the Grabow factory. The Royal Dutch Pipe Factory went bankrupt in 2012. For some further speculative information about Amphora, please read Robert M. Boughton’s article here.
  Off to work! First, I wiped the filthy stem with Murphy’s Oil Soap on some cotton pads. There was oxidation and calcification there and I needed to remove it.
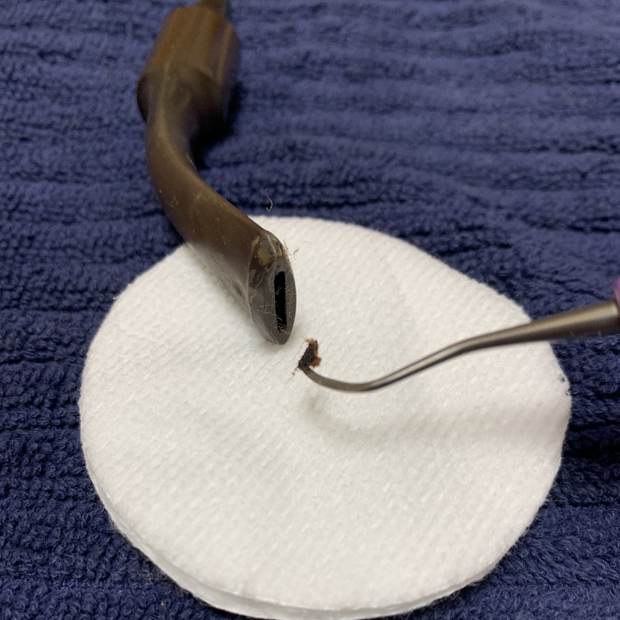
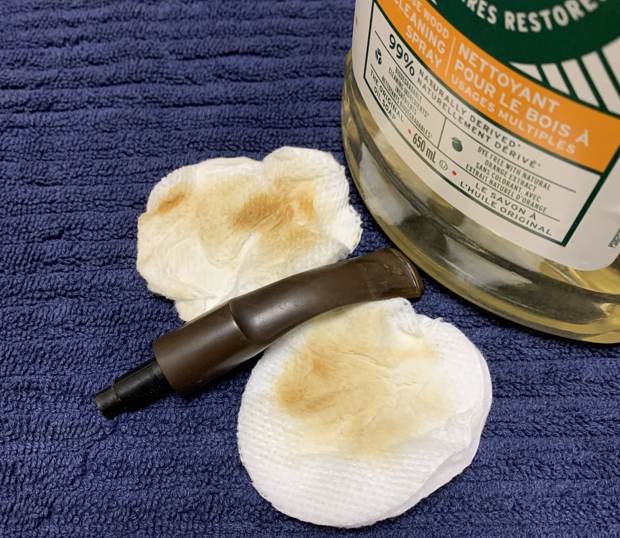 The bore in the mouthpiece was clogged with debris (yuck!) and I used a dental pick to remove it. I feared that this might hint at the filthy horrors awaiting me in the stem. Fortunately, although the stem was pretty dirty, it was not as bad as I had feared. I had no problem cleaning out the inside with pipe cleaners and isopropyl alcohol.
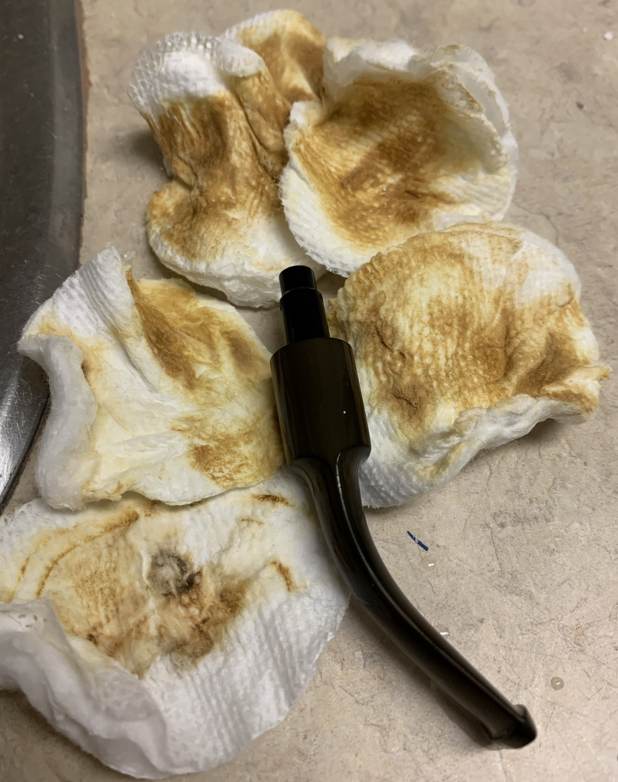
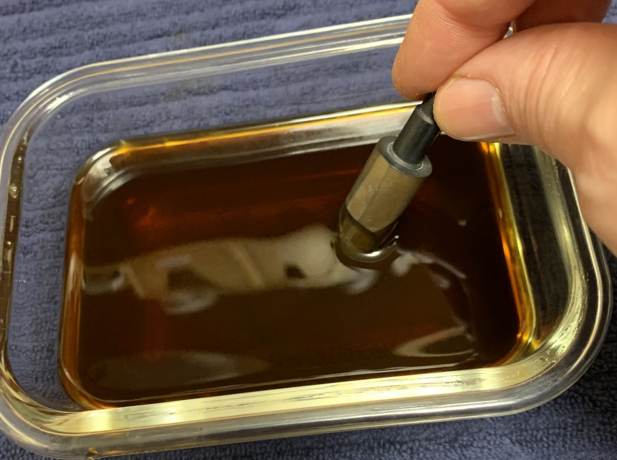
 Before the stem went for an overnight soak in the Pipe Stem Oxidation Remover, I used some SoftScrub to remove the first layer of filth and give the soak the best chance of working. It then went into the bath overnight. The following day, I cleaned all of the de-oxidizing mess off with alcohol, pipe cleaners, et cetera. The oxidation had migrated to the surface and would be fairly straightforward to remove. I scrubbed with SoftScrub on some cotton pads to remove the leftover oxidation.
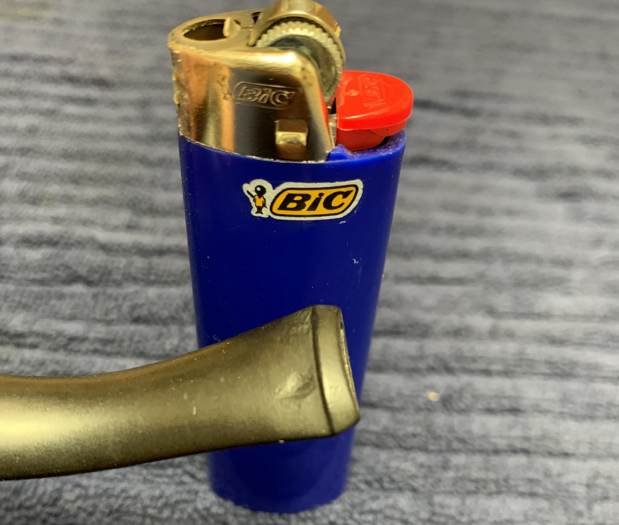
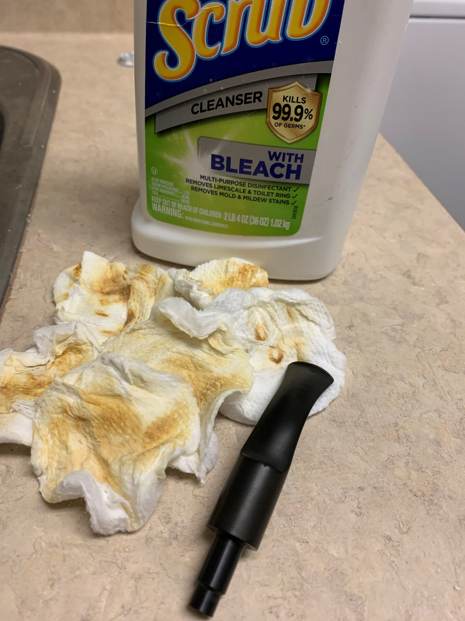 Once clean, I took a BIC lighter and ‘painted’ the stem with its flame to lift the bite marks. This did very little, but I built up the bite marks on the stem with black cyanoacrylate adhesive and let them fully cure.
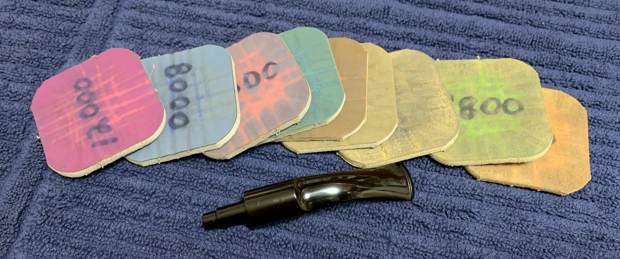
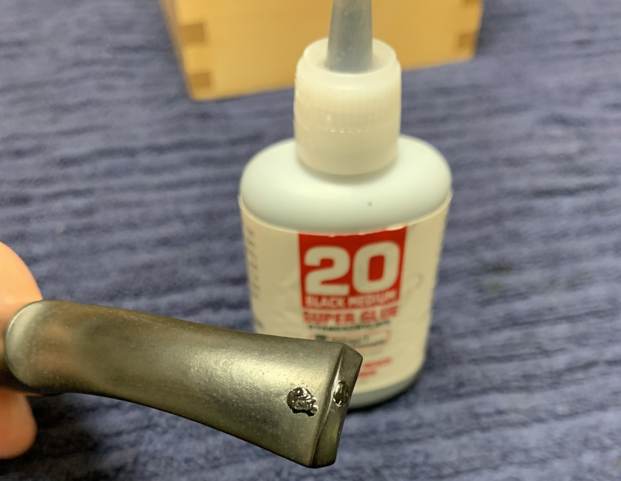 Following that, I sanded the adhesive down with 220- and 400-grit sandpapers to meld seamlessly into the stem. I then used all nine Micromesh pads (1,500 through 12,000 grit) to bring out the lovely black lustre on the stem, with some Obsidian Pipe Stem Oil in between each pad scrubbing.
  Now for the stummel. Firstly, I decided to ream out the bowl. I used the KleenReem to remove the built-up cake and followed that with 220-grit sandpaper taped to a dowel to eliminate as much as I could. I took the chamber down to bare briar to ensure there were no hidden flaws in the wall.
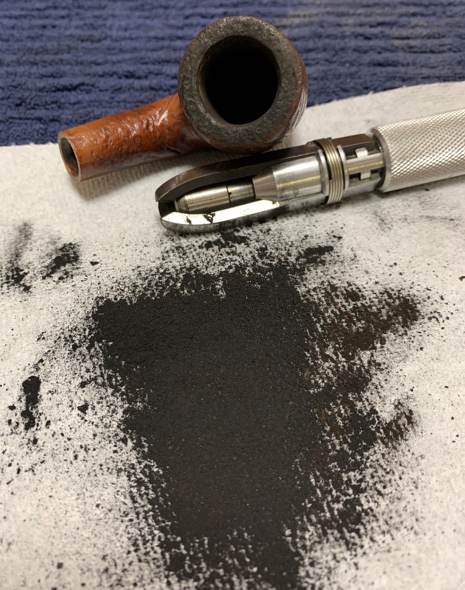
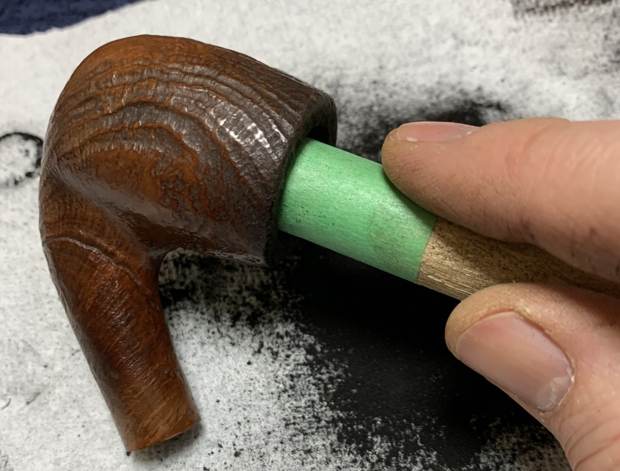 Following this, I cleaned the insides with the requisite pipe cleaners, Q-tips and isopropyl alcohol. As the stack of cleaning materials show, it was a mess!
  I also took this opportunity to wash the stummel with Murphy’s Oil Soap and remove as much grime as I could. The pipe’s rim was so caked with filth that I opted to soak it in a jar-lid of Murphy’s to soften it.
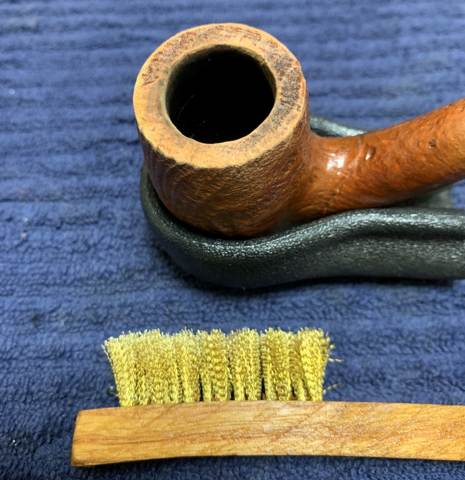
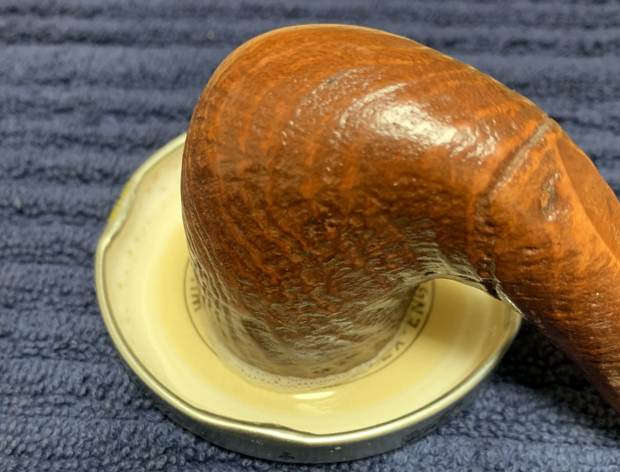 Then I used a wire brush to dig out all the gunk. As the pictures show, the rim was badly worn and had lost a fair amount of colour. So, I took one of my furniture pens and touched it up. A bit later, you’ll see how much the rim improved.
 I decided the pipe needed some additional TLC and I chose to de-ghost it. I thrust cotton balls in the bowl (and plugged up the shank) and saturated it with isopropyl alcohol. I left it overnight and let all the evil spirits in the pipe leech into the cotton. Once complete, the pipe looked great and smelled even better.
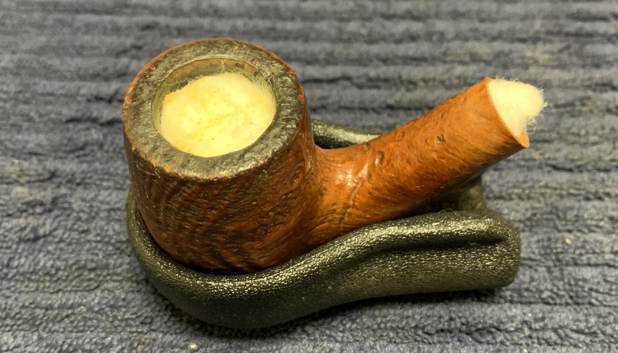 I really liked the colour of the pipe and felt that it didn’t need any stain, so I applied some Before & After Restoration Balm which I massaged into the wood and let sit for 15-20 minutes. After that, I rubbed it with a microfiber cloth. The balm brings out the best in the beautiful wood. It makes things shine and really shows the lustre.
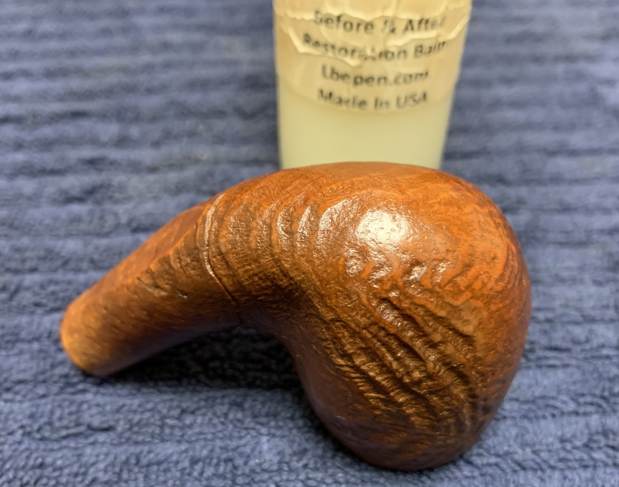
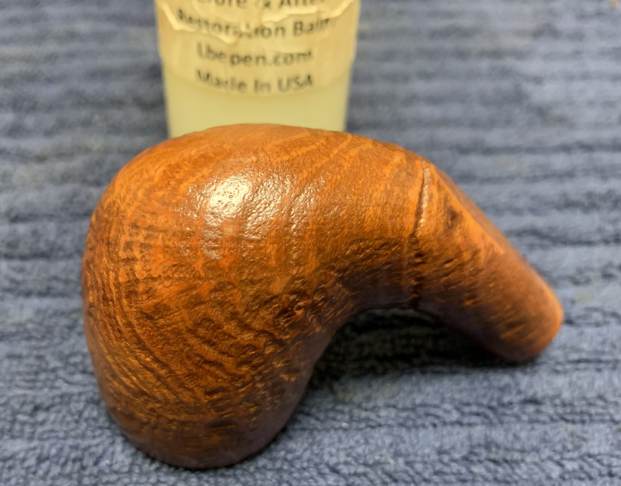
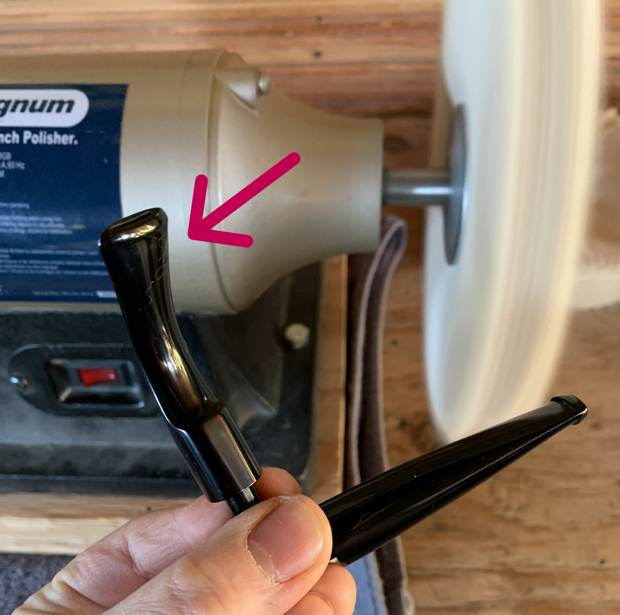
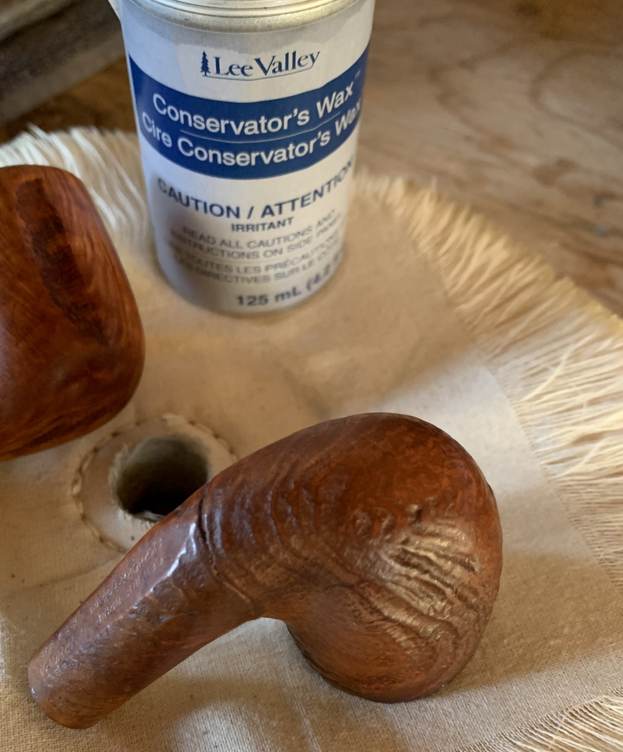
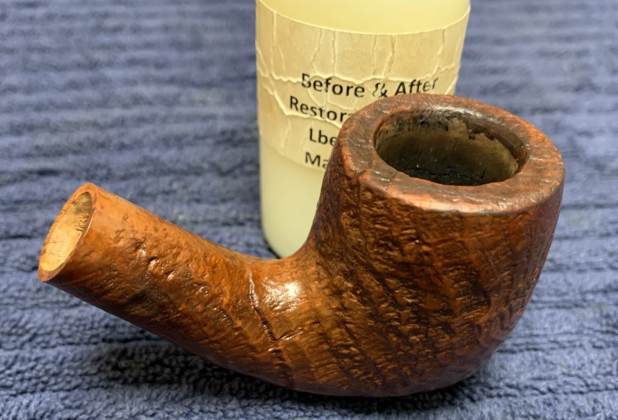 Finally, it was off for a trip to the buffer. I used neither White Diamond nor carnauba wax because I didn’t want to lose any of the beautiful sandblast. Also, carnauba wax gets gummed up in the grooves. Instead, I used Conservator’s Wax and my bench buffer. One of the pictures below shows me holding two stems, but the stem in question is the one on the left (with the arrow).
 All finished! This is a handsome pipe with a beautiful sandblast and a classic look. I know the new owner will enjoy smoking it for many years to come and he’s already told me that he’s thoroughly enjoyed several bowls with it. I hope you enjoyed reading the story of this pipe as much as I did restoring it. If you are interested in more of my work, please follow me here on Steve’s website or email me directly at kenneth@knightsofthepipe.com. Thank you very much for reading and, as always, I welcome and encourage your comments.




Kenneth, Your work is incredibly beautiful my friend…Bravo!
LikeLike
Dear Tom — thank you very much. Pax et bonum…
LikeLike