Blog by Steve Laug
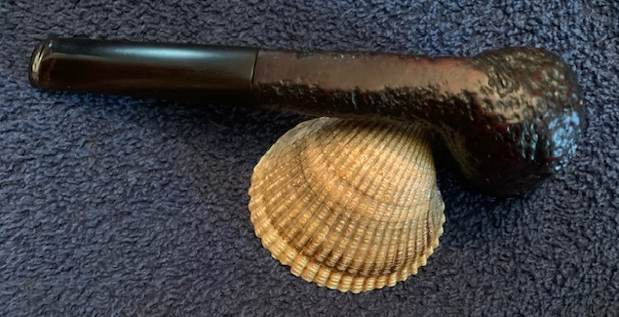
The next pipe on the work table is an older looking small Dunhill Shell Briar Billiard that had an older style straight taper stem that has no fishtail flare to the button. There were deep tooth marks and chatter on the top and underside of the stem near the button. The sandblast finish is a very deep, rugged looking and is quite dirty and dusty. The bowl had a thick cake that flowed over the rim top as thick lava and filled in the sandblast surface. The pipe was purchased from an antique store on 05/24/22 in Newberg, Oregon, USA. Under a bright light with a magnifying lens I was able to work out some of the details on the stamping. It is faint but the shape number reads 31 followed by Dunhill’s Shell Briar [over] PAT. NO. (after that it is unclear but it is a number that is quite long). The last readable digits are /12. Using John Loring’s book I did some digging on what was readable to determine the potential other numbers. I found a listing for DUNHILL’S SHELL BRIAR PAT. NO. 119708/17.5861/12 that fits the pieces that are visible on the underside of the shank. That dates the pipe to 1918?-1926. So we know that it is an old timer but I only wish I could read the stamping better. Jeff took photos of the pipe before he cleaned them up. I have included them below.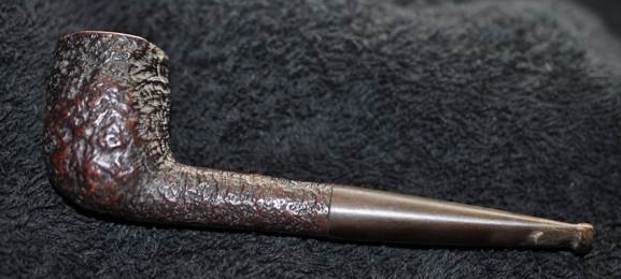
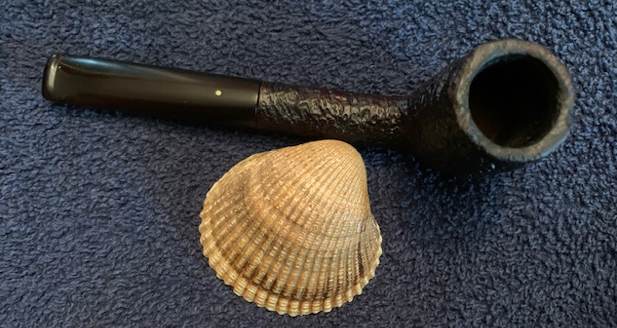
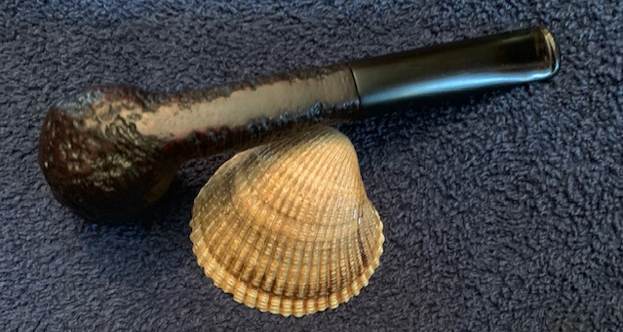
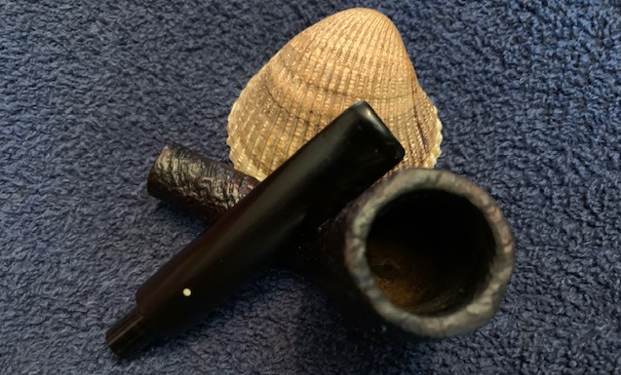
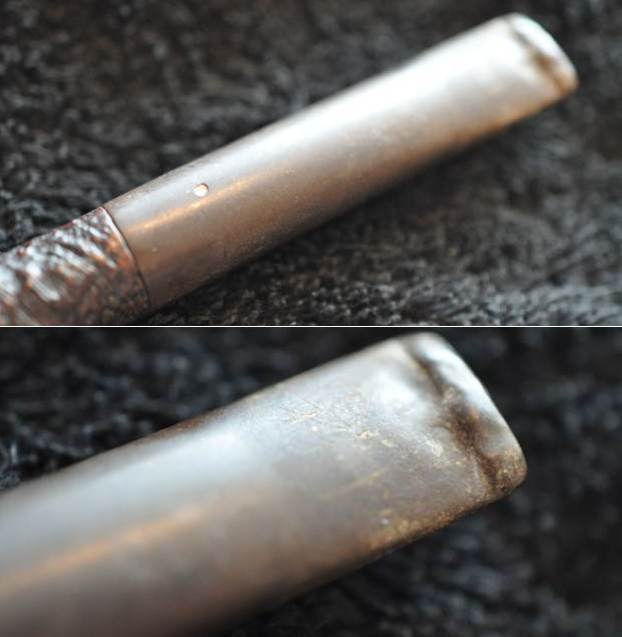
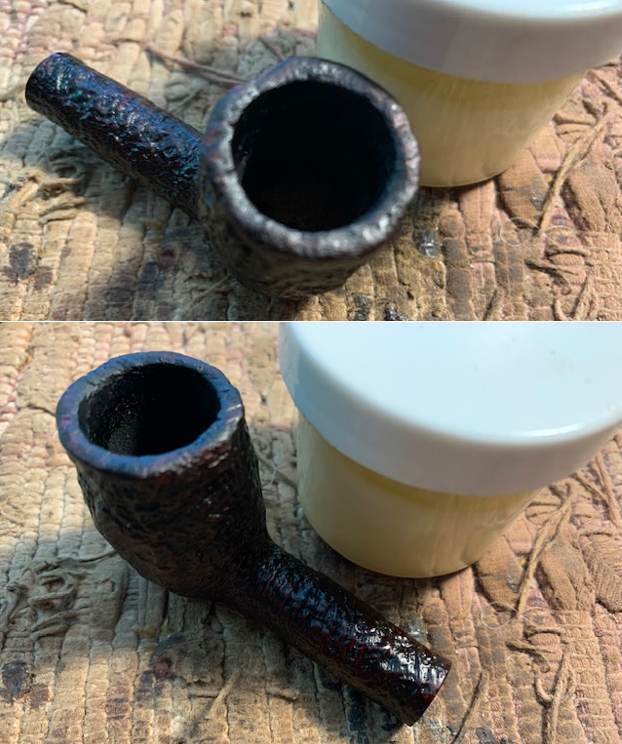
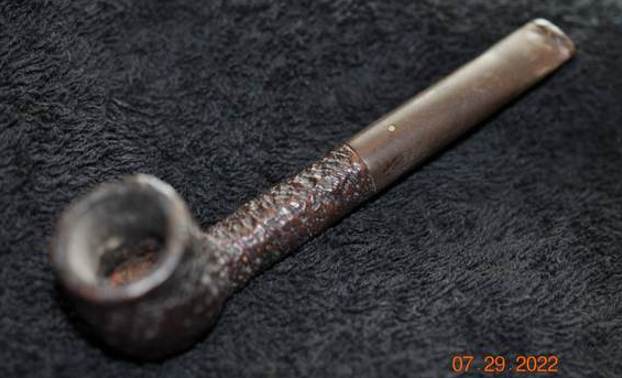 He took photos of the bowl, rim top and the stem to show the condition of the pipe when we received it. You can see the thick cake in the bowl and the thick overflow of lava on the rim top. It was a real mess. The photos of the stem show the deep tooth marks and chatter against the button edge on both the top and underside. There was also some damage to the top edges of the button. The white spot on the top of the stem was smaller which also fits my assessment of this being and early pipe.
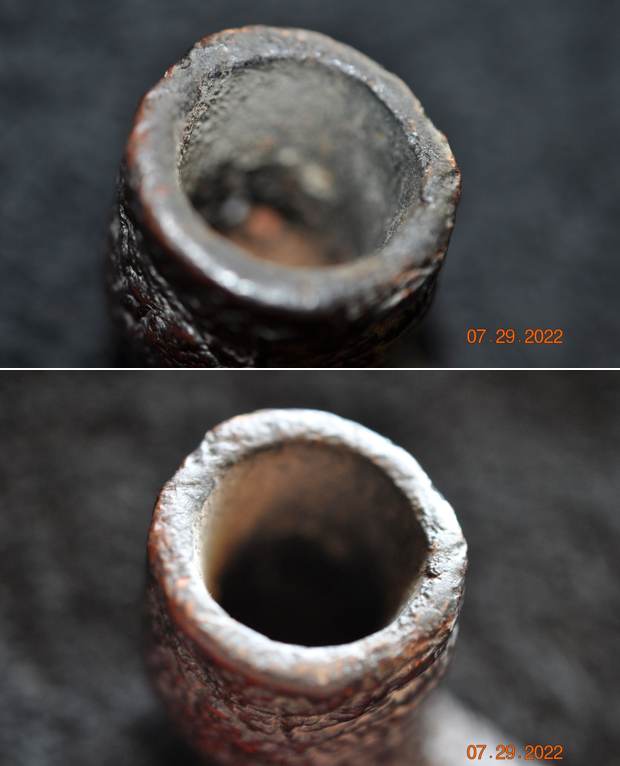
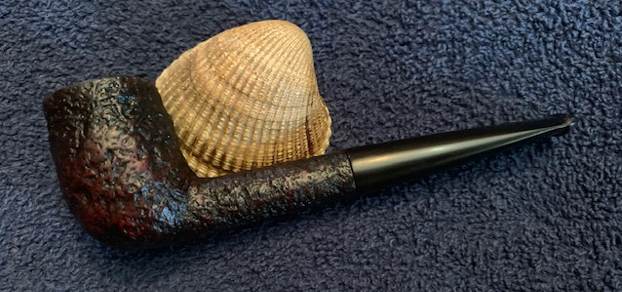
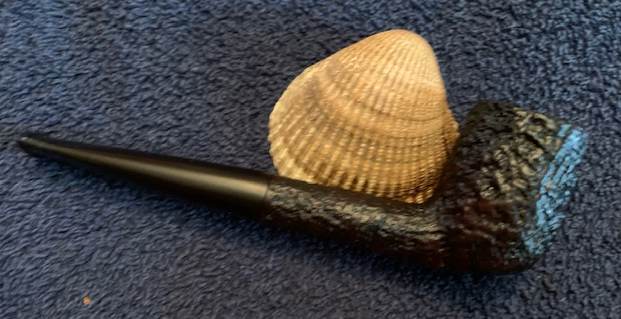
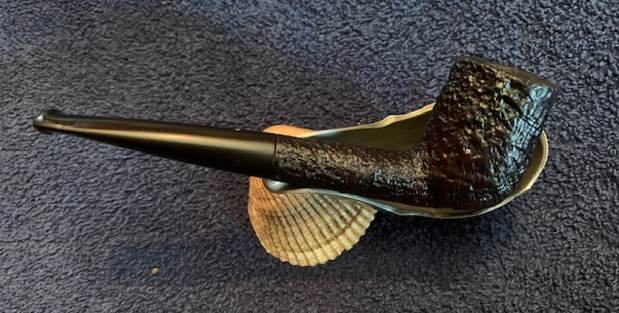
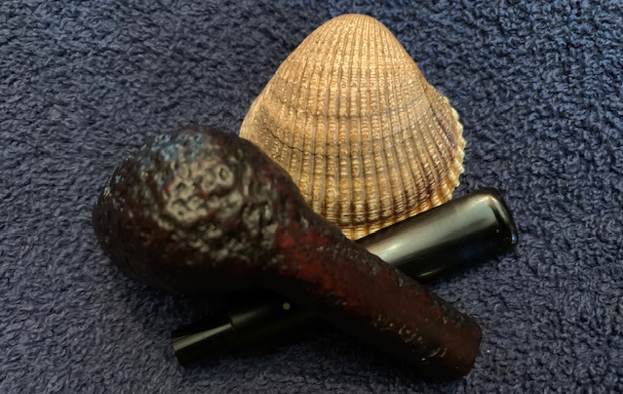
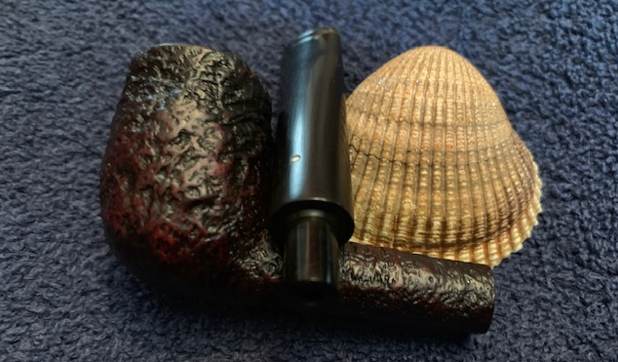
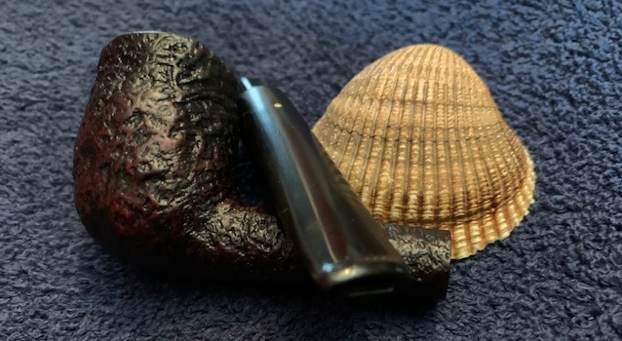
 He took photos of the side and heel of the bowl to give a clear picture of the rugged and deep sandblast around the bowl and shank. It is really a beauty.
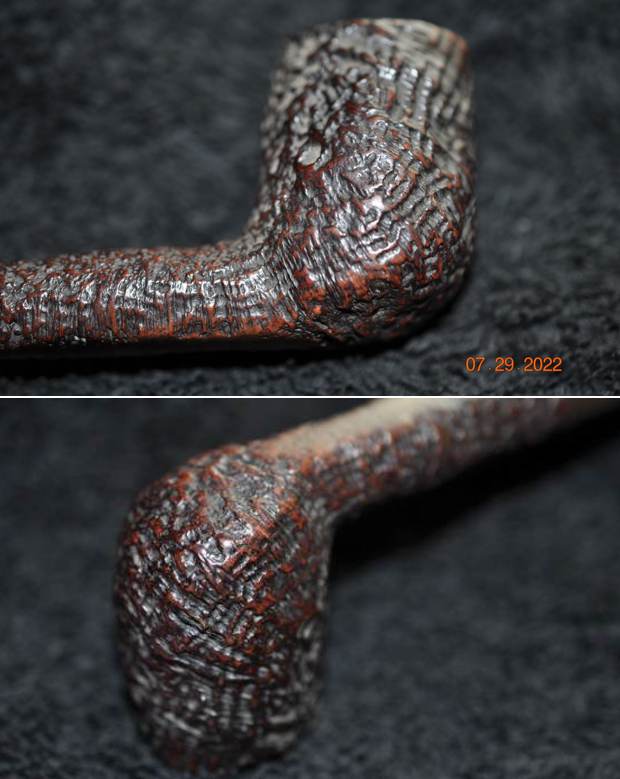 He took photos of the stamping on the underside of the shank. You can see the faint stamping but it is not readable in the photos. As noted above I was able to discern some of the stamping.
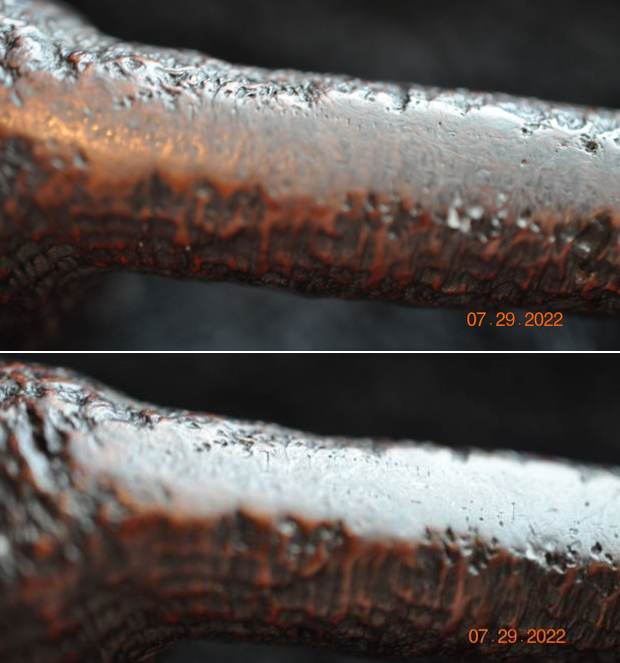 Now it was time to work on the pipe. It is really a beautiful piece. Jeff had done a great cleanup on the pipe. He reamed the bowl with a PipNet pipe reamer and followed up with a Savinelli Fitsall pipe knife to remove the cake. He scrubbed out the mortise and the airway in the shank and the stem with alcohol, cotton swabs and pipe cleaners. He scrubbed the bowl exterior with a tooth brush and Murphy’s Oil Soap to remove the grime on the finish of the bowl and the lava from the rim top. He rinsed it under running water. One of the benefits of this scrub is that it also tends to lift some of the scratches and nicks in the surface of the briar. He dried it off with a soft cloth. He cleaned the internals and externals of the stem with alcohol, pipe cleaners and cotton swabs. He soaked the stem in Briarville’s Pipe Stem Deoxidizer and rinsed it off with warm water and cleaned out the airway in the stem with alcohol, pipe cleaners and cotton swabs. I took photos of the pipe as I saw it when I put it on the table.
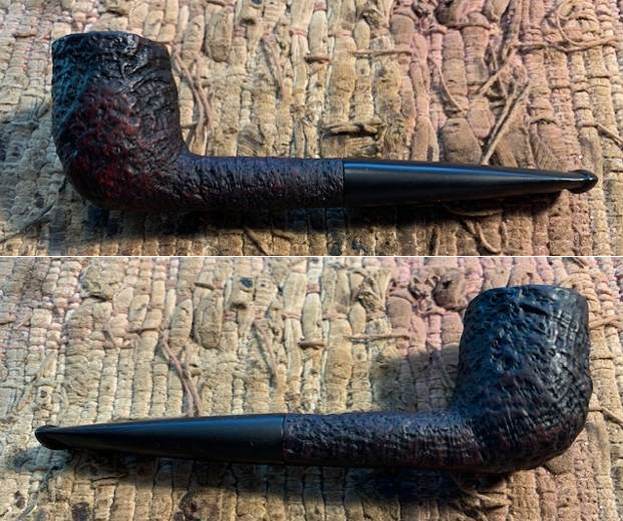
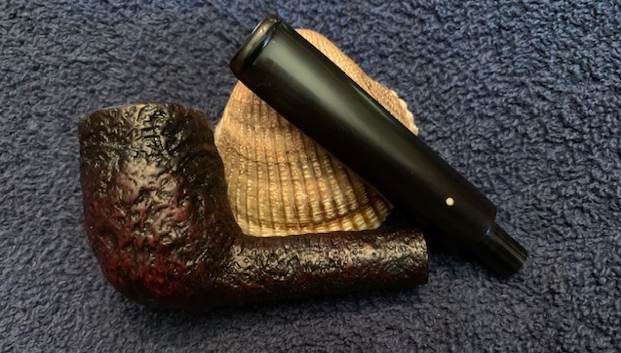
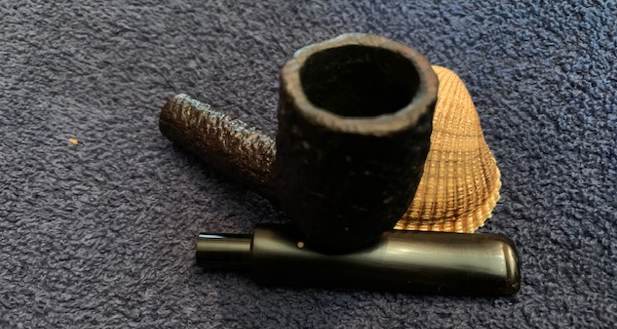
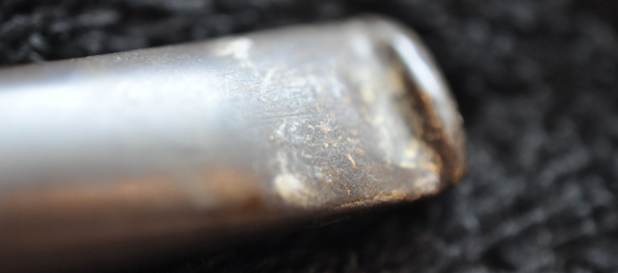
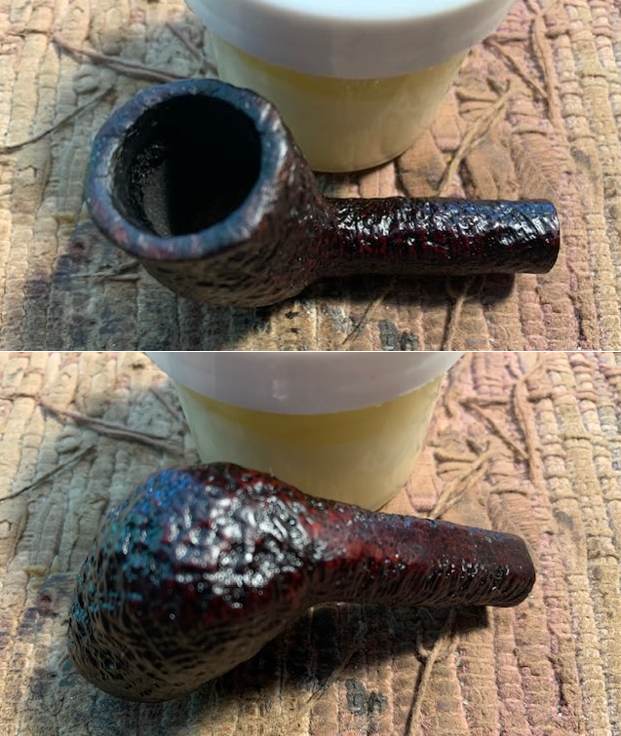
 I took photos of the rim top and stem to show the condition. The rim top and edge looked much better. The stem looked much better and there were deep tooth marks and chatter on both sides ahead of the button.
 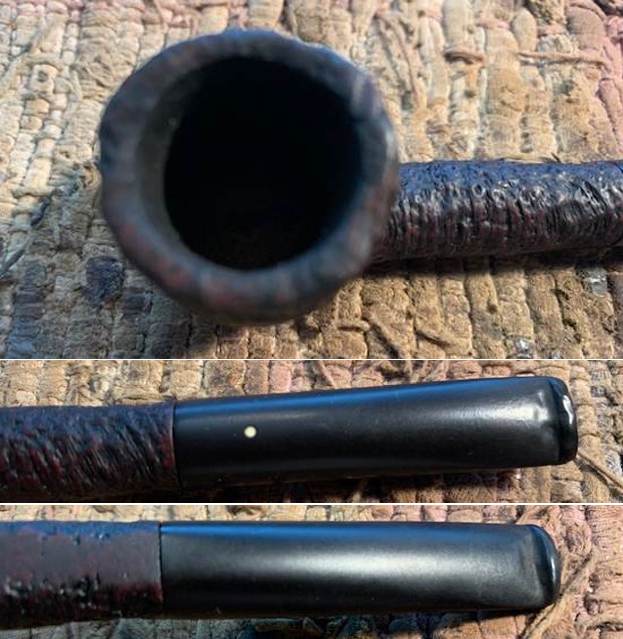 The stamping on underside of the shank is faint but I was able to decipher what remains as mentioned above.
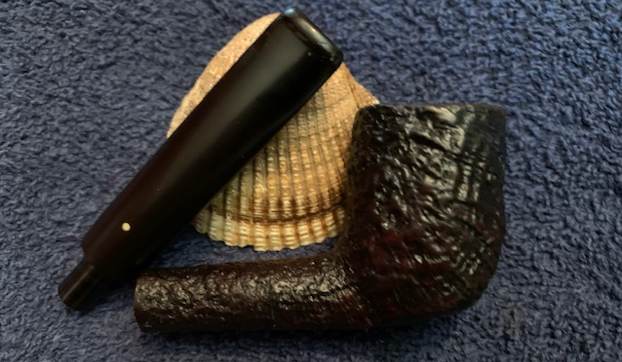
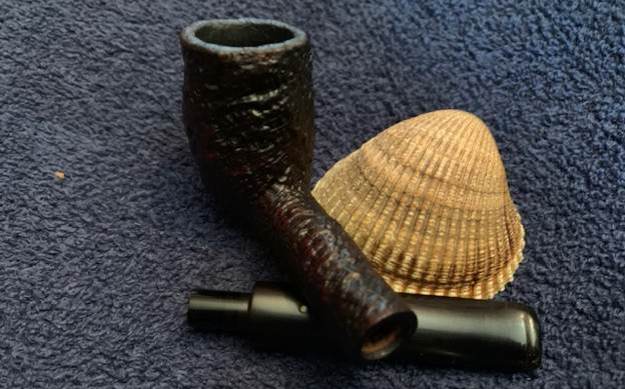
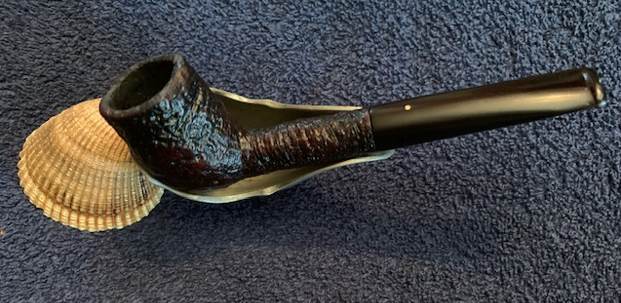
 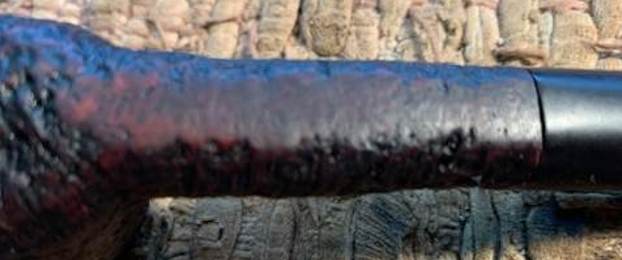 I really like the rugged sandblast on the bowl and shank. It definitely fits the time frame that I deciphered above. It is a beauty. I removed the stem from the shank and took a photo of the pipe to give a sense of the proportions of the bowl and stem.
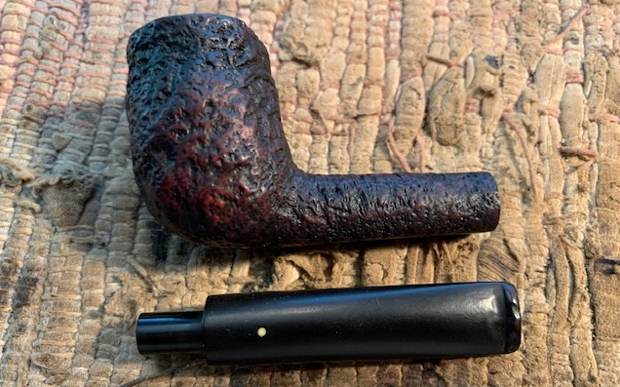 I started my work on the bowl by using a brass bristle brush to work over the sandblast on the rim top. I was able to remove the dust and debris and give the top blast more definition. It looked good and matched the blast on the bowl.
 I rubbed the bowl and shank down with Before & After Restoration Balm. I worked it into the surface of the bowl sides and shank with my fingertips and a horsehair shoe brush to clean, enliven and protect the briar. I let the balm sit for 10 minutes, then buffed with a cotton cloth to raise the shine. The Balm did its magic and the grain stood out on the briar.
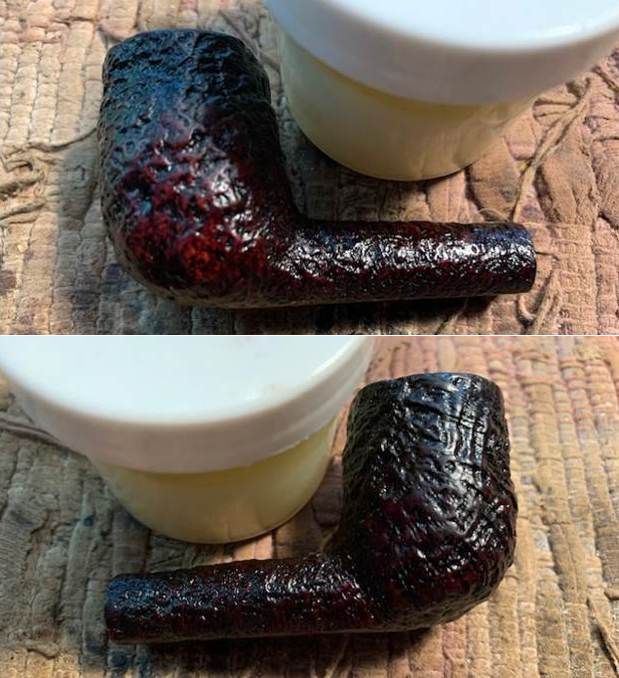
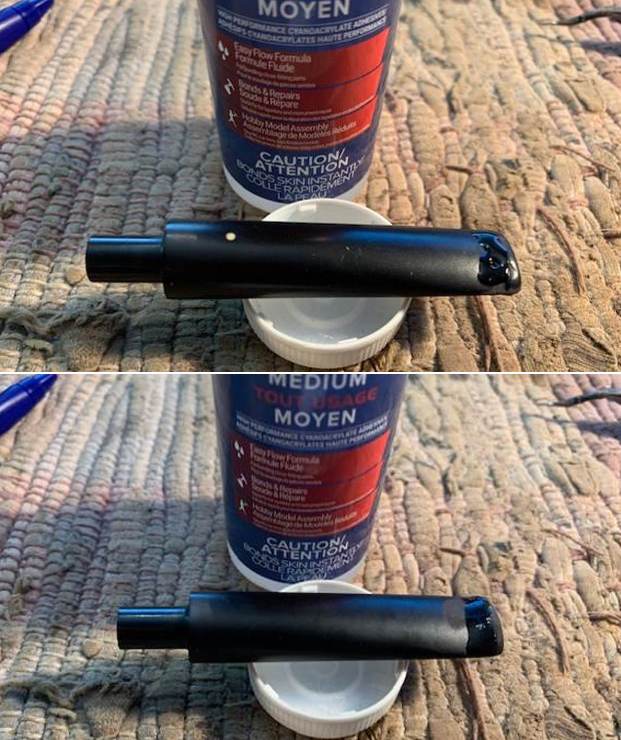
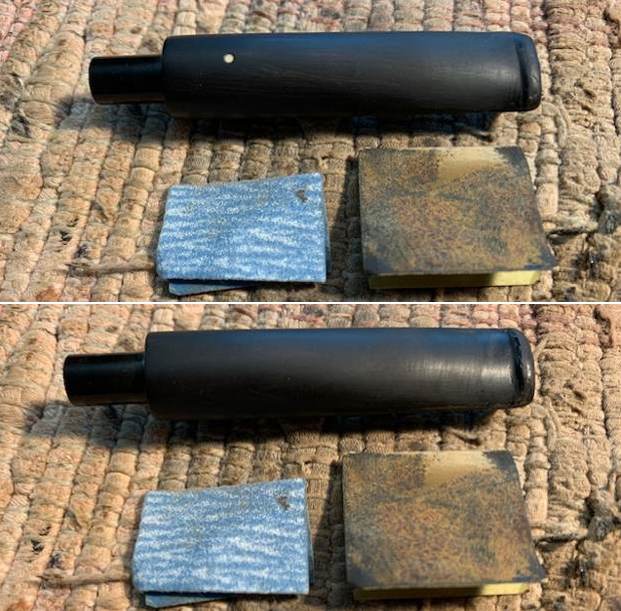
 I set the bowl aside and turned my attention to the stem. I “painted” the surface of the vulcanite with the flame of lighter. I was able to lift many of them. Those that remained, I filled in with clear CA glue. I set it aside to let it cure. Once it did, I reshaped the button and smoothed out the repair with a folded piece of 220 grit sandpaper. I started the polishing with 400 grit wet dry sandpaper.
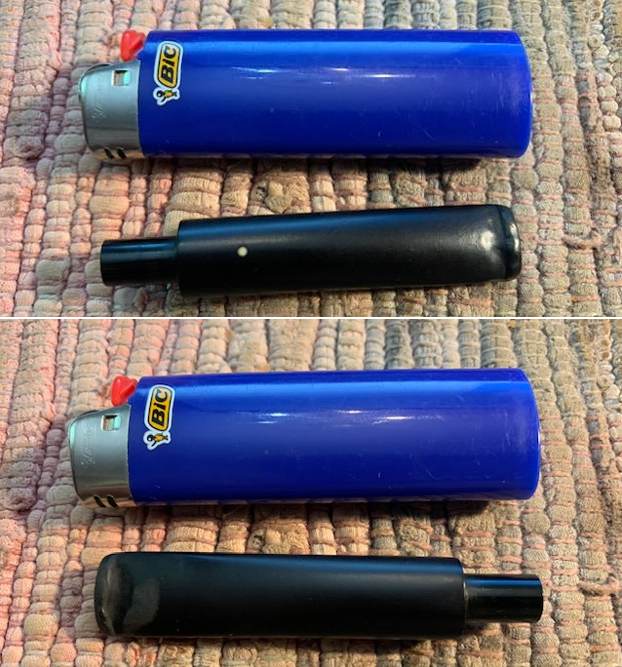
 I polished the stem with micromesh sanding pads – 1500-12000 grit pads. I wiped it down with Obsidian Oil after each sanding pad. I finished the polishing with Before & After Polishes – both Fine and Extra Fine. I gave it a final rub down with Obsidian Oil and set it aside to dry.
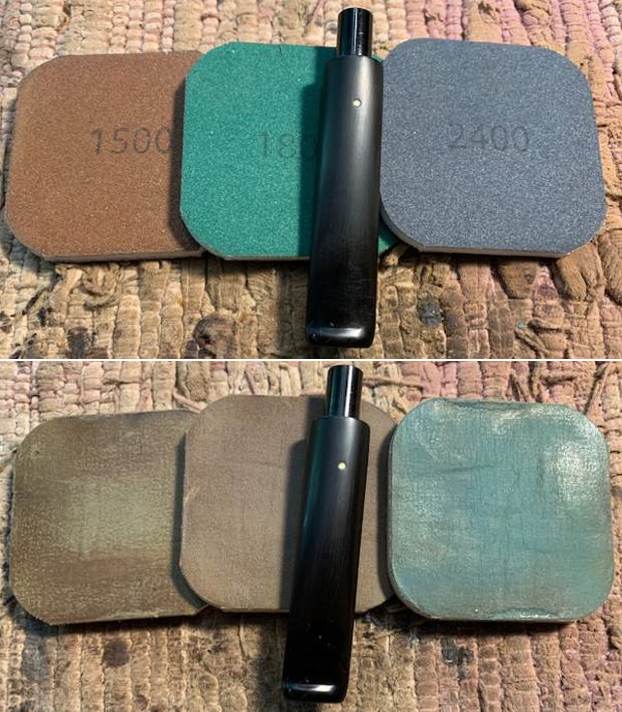
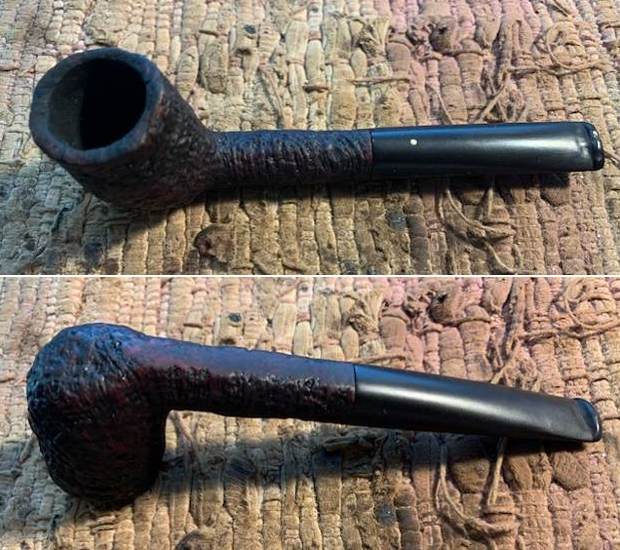
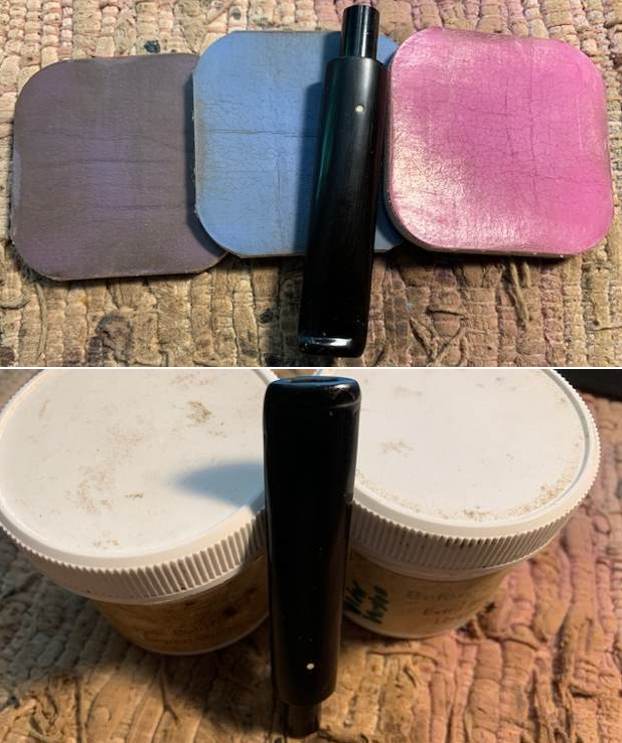 This Older Dunhill Shell Briar 13 Patent Billiard with a vulcanite taper stem has a deep and rugged sandblast finish that looks great . The rich dark contrasting stain makes the grain come alive with the polishing and waxing. I put the stem back on the bowl and carefully buffed the pipe with Blue Diamond on the buffing wheel using a light touch on the briar. I gave the bowl multiple coats of Conservator’s Wax and the stem multiple coats of carnauba wax on the buffing wheel. I buffed the entire pipe with a clean buffing pad. I hand buffed the pipe with a microfiber cloth to deepen the shine. The finished Dunhill Shell Briar Billiard really is a beauty and fits nicely in the hand and looks very good. Give the finished pipe a look in the photos below. The dimensions of the pipe are Length: 5 inches, Height: 1 ½ inches, Outside diameter of the bowl: 1 inch, Chamber diameter: ¾ of an inch. The weight of the pipe is .85 ounces/24 grams. For now I am holding onto this old timer as I want to spend more time interpreting the stamping. One day it may end up on the store but I am not sure. Thanks for reading this blog and my reflections on the pipe while I worked on it. There are many more to come!