Blog by Steve Laug
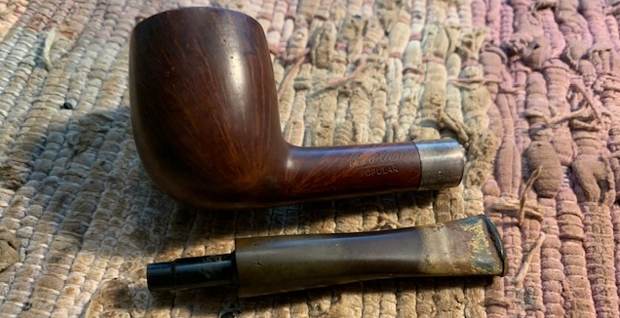
The next pipe on the work table was dropped off by a local pipe shop that I do repair and restoration work for. It is an older pipe that the shop wanted me to do a full restoration on and properly fit the stem. It is stamped on the left side of the shank and reads Bewlay in script [over] Popular. On the right side it was stamped London Made and lower on the shank it read 127 (shape number) [over] 0. The shank had an oxidized silver band (stamped on the underside Sterling Silver) on the shank and under examination with a bright light it was a repair for a cracked shank. The poor pipe was another one that had obviously been someone’s favourite and must have been a grand smoker. The finish appears to have some nice grain around the bowl and shank that even stands out with the grime on the finish. The bowl is heavily caked with a thick lava overflow on the rim top. The inner edge looked good under the grime but a clean up would tell the full story. The stem is quite oxidized, calcified and had a lot of tooth chatter on the top and underside near the button. The diameter of the stem is larger than the diameter of the shank. I would need to reduce it for a proper fit. The pipe showed a lot of promise but it was a mess. I took photos of it before starting my work on it.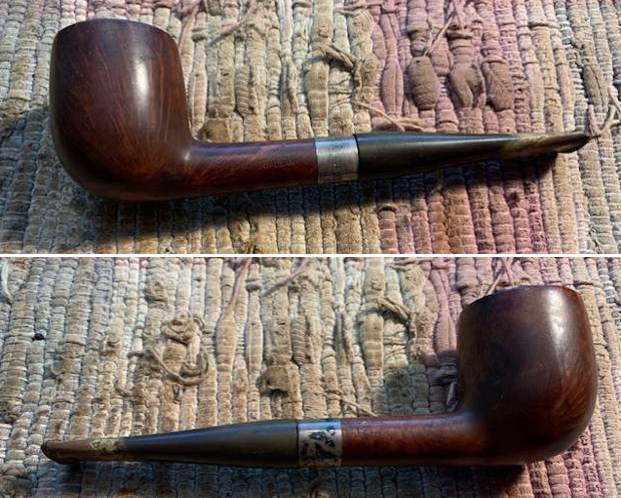
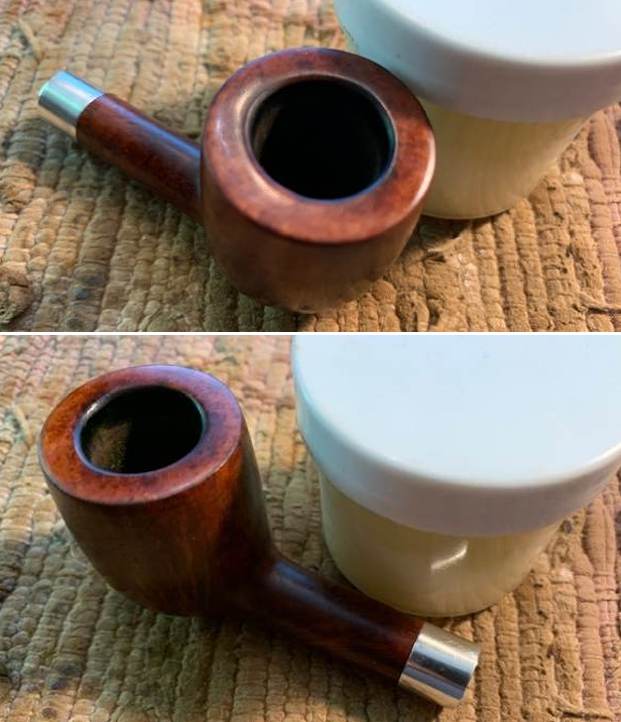
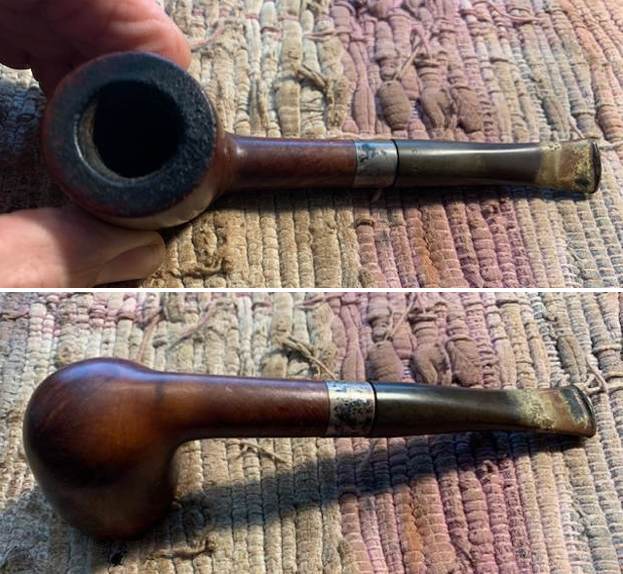 I took photos of the rim top and bowl as well as the stem surfaces to show the condition of the well smoked pipe. You can see the thick cake in the bowl and the heavy lava on the inner edge and rim. The stem was oxidized, calcified and had tooth chatter on both sides ahead of the button.
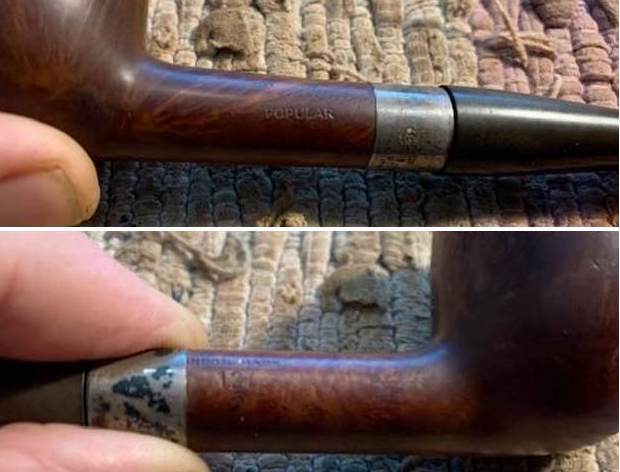
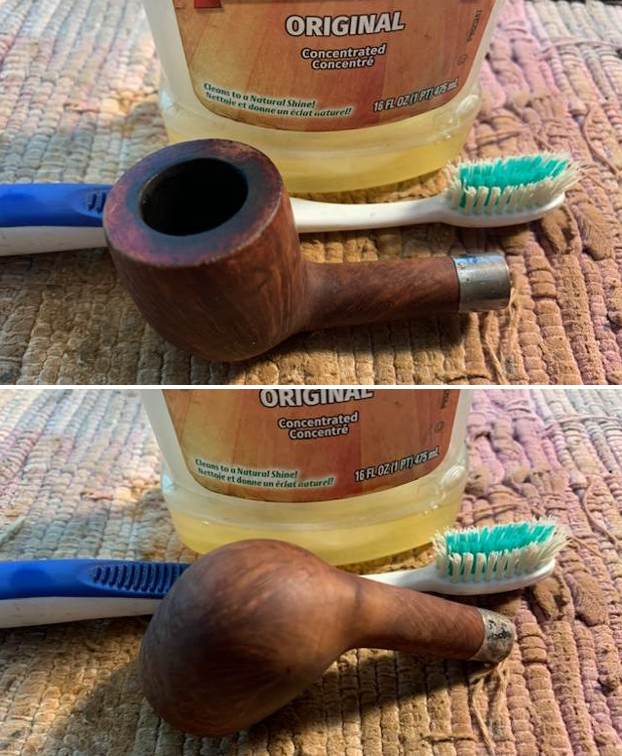
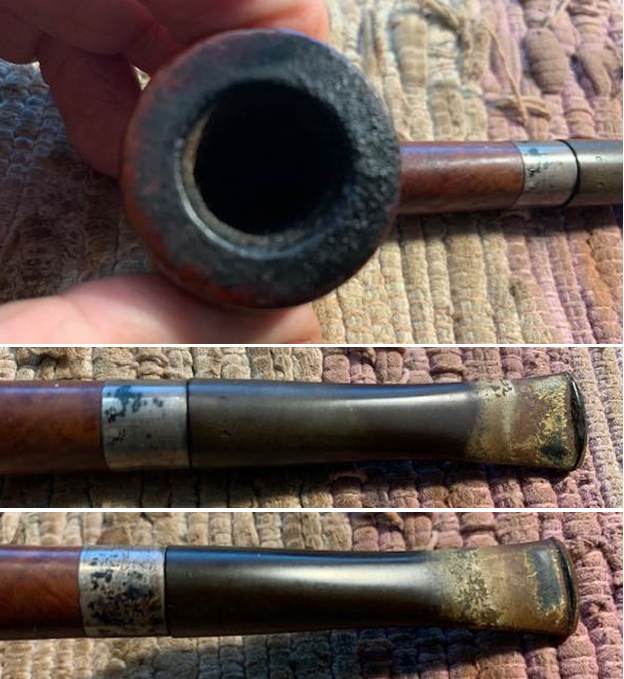 I tried to capture the stamping on the sides of the shank. It is faint in spots but is readable as noted above. You can also see the diameter variation in the stem and the shank in the photos. I am pretty certain that somewhere along the way the original stem broke and cracked the shank. The pipe was banded and a new stem put on the pipe. Whoever did the work did not adjust the fit of the stem.
 I removed the stem from the shank and took a photo to give a sense of the beauty of the pipe. Look at the grain on the left side of the bowl.
 I have worked quite a few Bewlay pipes over the years but wanted a reminder of the background of the brand. I turned first to Pipephil’s site (http://pipephil.eu/logos/en/logo-b4.html). I got a quick summary there. I have included a screen capture below. The second pipe in the photograph below is stamped similarly to the one I have. It is also a Bewlay Popular. The shape number is different but that stamp also looks like this one. I have also included the information that was in the sidebar below photos below.
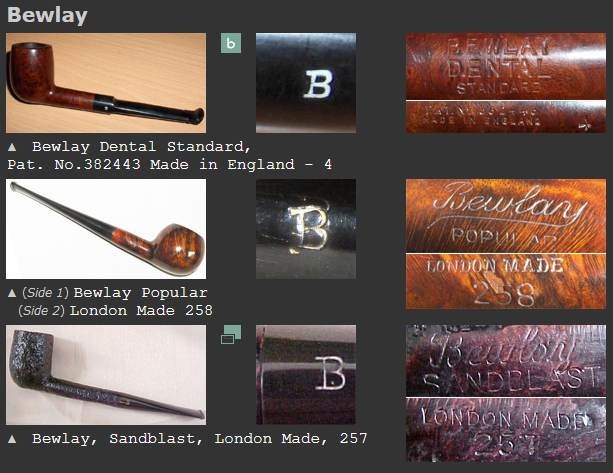 Brand distributed by Bewlay & Co (chain of pipe stores) until the 50s, taken over by Imperial Tobacco & Co.
I turned to Pipedia next and include a screen shot of a photo there and a short history of the brand and who made pipes for them (https://pipedia.org/wiki/Bewlay).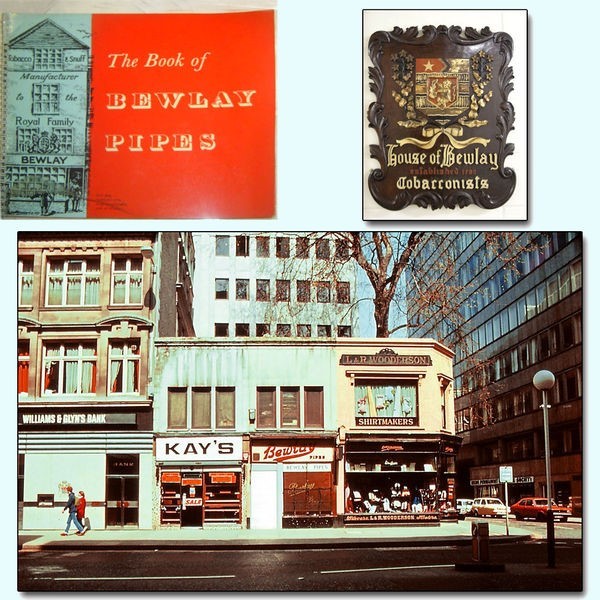 The English brand of Bewlay & Co. Ltd. (formerly Salmon & Gluckstein Ltd.), was in business from the early 20th century until the 1950s. The brand ended up being sold and taken over by Imperial Tobacco Co.. The shop chain closed in the 1980s but there seems to be one shop still in business on Carr Lane in the city of Hull.
Bewlay pipes were made by prestigious firms. Notably Barling, Charatan, Loewe & Co., Sasieni, Huybrecht, and Orlik. So understandably, the English considered a Bewlay pipe a quality pipe.
The information highlighted in red above is very interesting. Key English pipe making firms made pipes for Bewlay. I did a bit of searching for the shape number 127 under those company’s but did not find anything conclusive.
I started my work on the pipe by doing the cleanup work. I reamed the bowl with a PipNet Pipe Reamer and cleaned up the remnants with a Savinelli Fitsall Pipe Knife. I took the cake back to bare briar and sanded the walls with a piece of 220 grit sandpaper wrapped around a piece of dowel. I checked the walls of the bowl for damage. It looked very good. 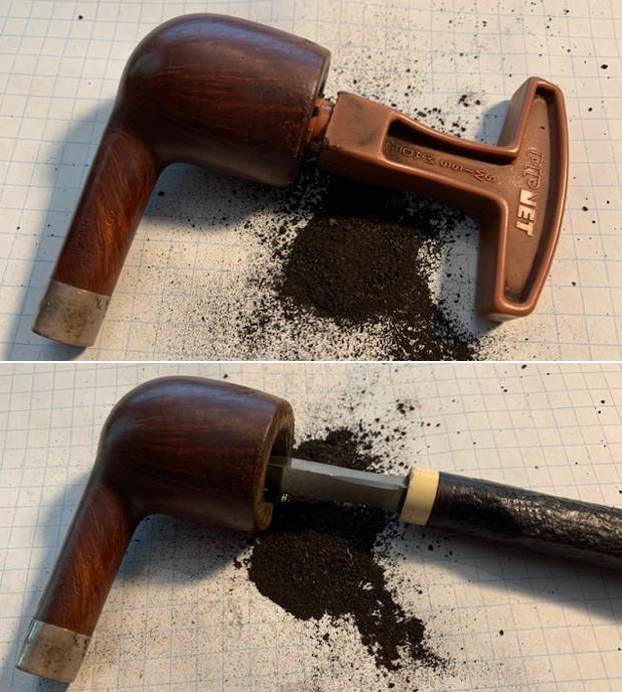
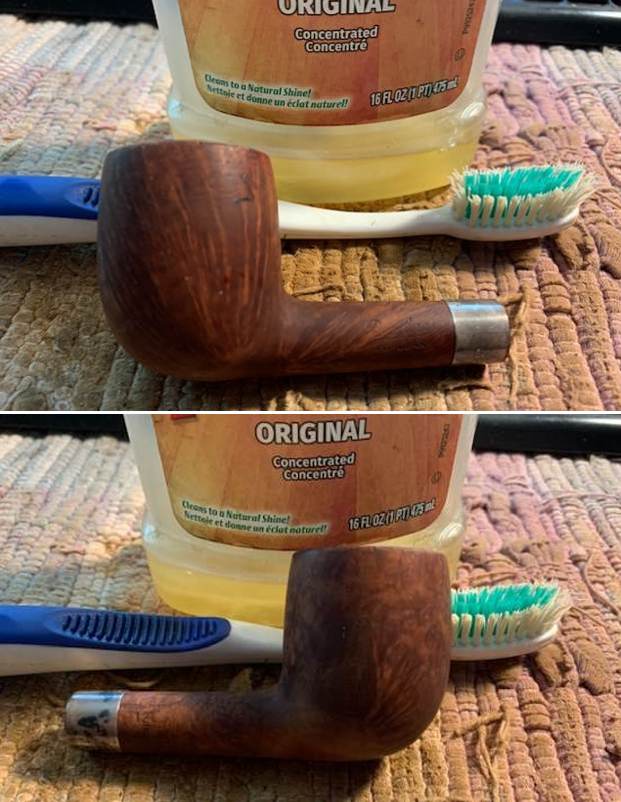
 I scrubbed the exterior of the bowl with Murphy’s Oil Soap and a tooth brush to remove the grime on the bowl and rim and was able to remove much of the lava and dirt. The inner edge of the bowl looked good and the rim top had some darkening but otherwise was in good shape.
 I cleaned out the interior of the bowl and shank with pipe cleaners, cotton swabs and alcohol until they came out clean. I cleaned out the airway with alcohol, cotton swabs and pipe cleaners.
 I used a folded piece of 220 grit sandpaper to smooth the rim top and remove the darkening in and damage. I went over the inner edge of the rim to smooth out any roughness. Once I was finished I liked the way it looked.
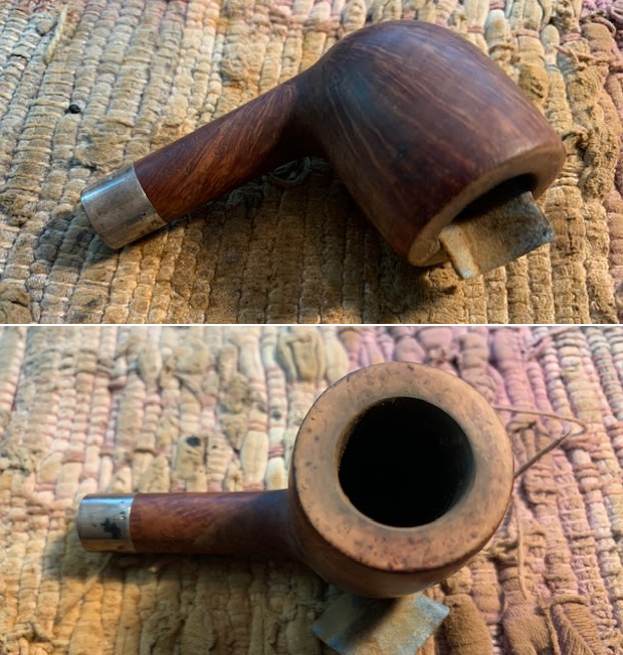 I decided to deghost the bowl and stuffed with cotton bolls and twisted a paper towel into the shank end. I used an ear syringe to fill the bowl with 99% isopropyl alcohol to wick out the oils in the bowl and shank walls. I let it sit for 5 hours and worked on the stem and took my wife to lunch. When we came back the cotton had turned amber coloured. I pulled it out and cleaned out the shank once more. The pipe smelled significantly better.
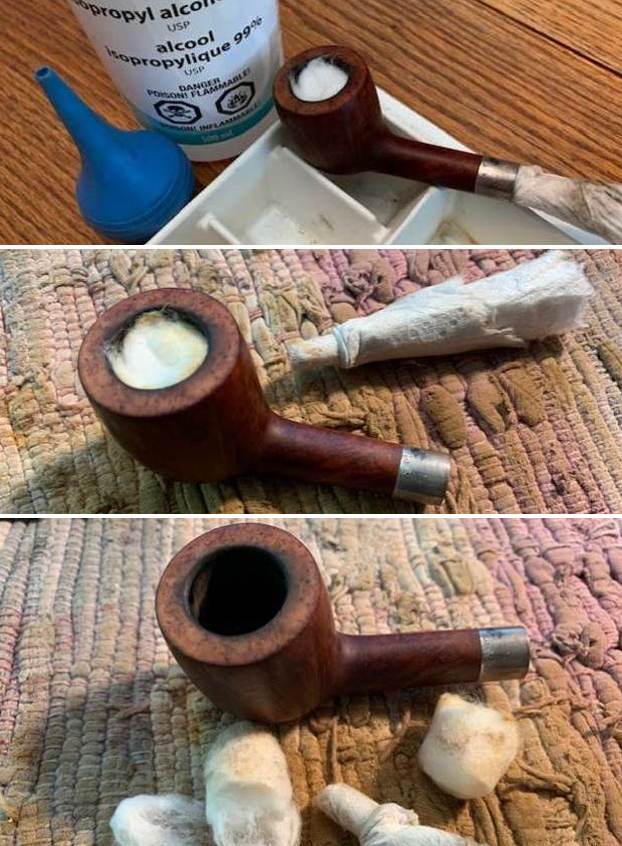 I polished the Sterling Silver band with some silver polish to remove the tarnish and protect it from further tarnish. With it polished the Sterling Silver stamp is visible and readable on the underside.
 I polished the briar with micromesh sanding pads – dry sanding with 1500-12000 grit pads. I worked over the inner and outer edge of the rim as well. After each pad I wiped the bowl down with a damp cloth to remove the sanding debris. It really took on a shine by the last three sanding pads.
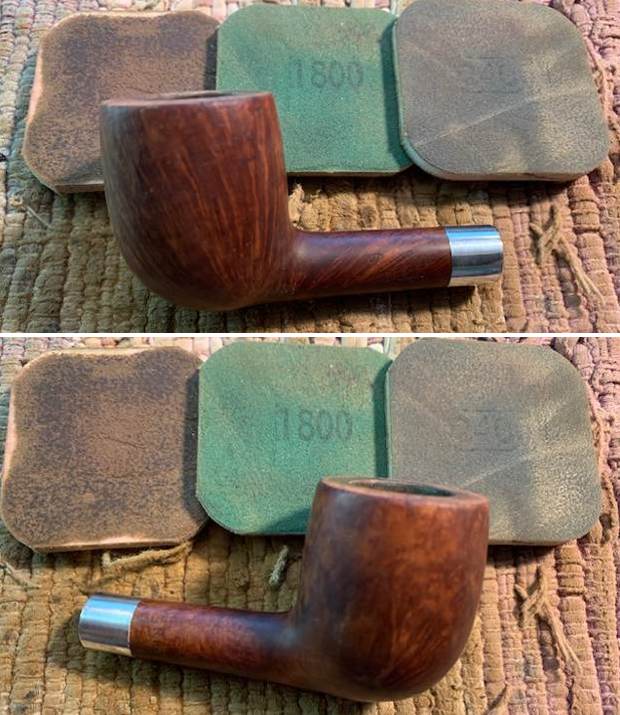
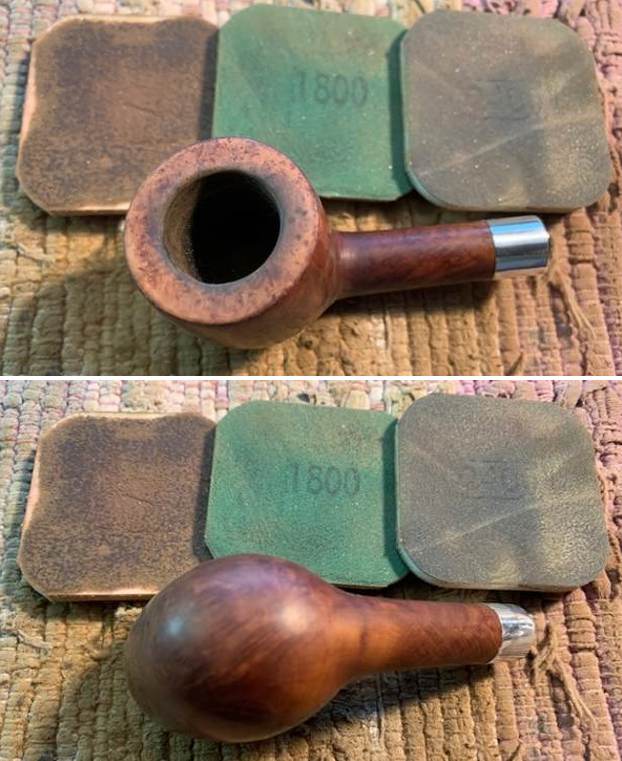
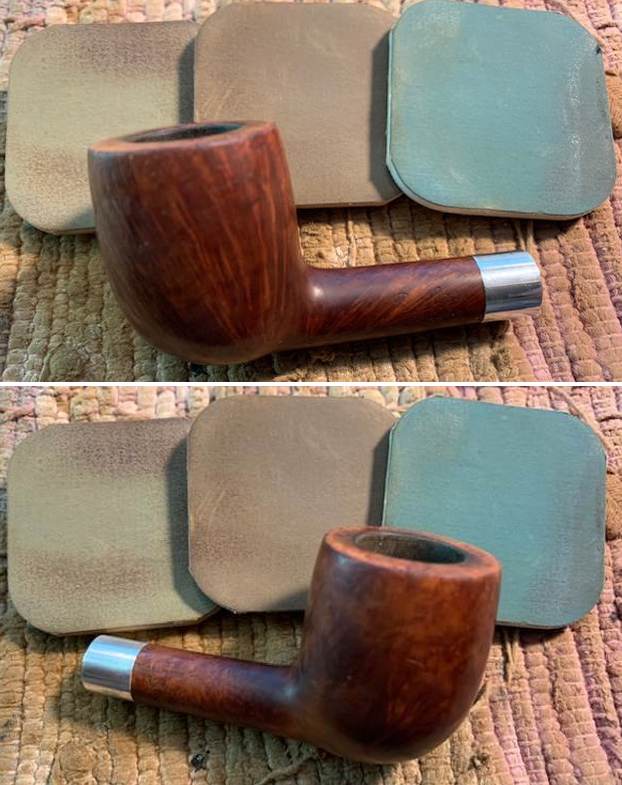
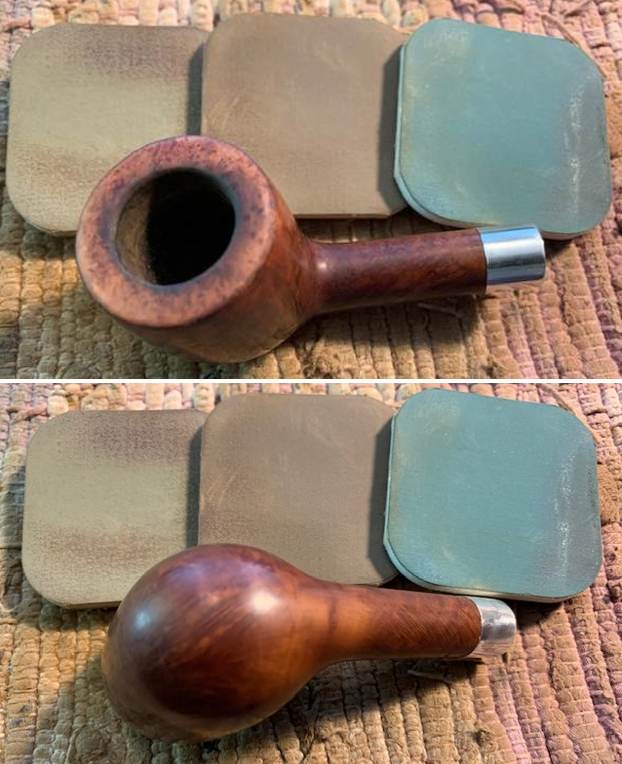
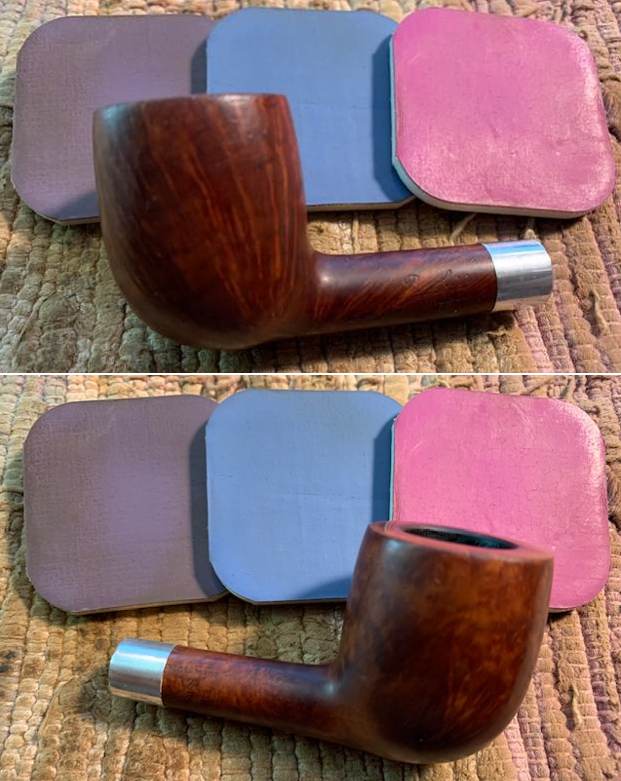
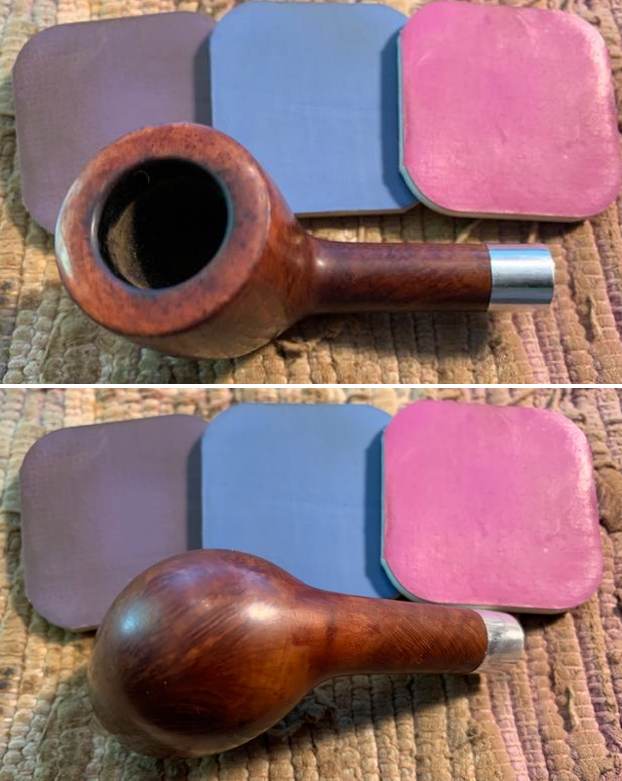 I rubbed the bowl down with Before & After Restoration Balm. I worked it into the surface of the briar with my fingertips where it works to clean, restore and preserve the briar. I let it do its magic for 15 minutes then buffed it off with a cotton cloth. The pipe looks incredibly good at this point in the process.
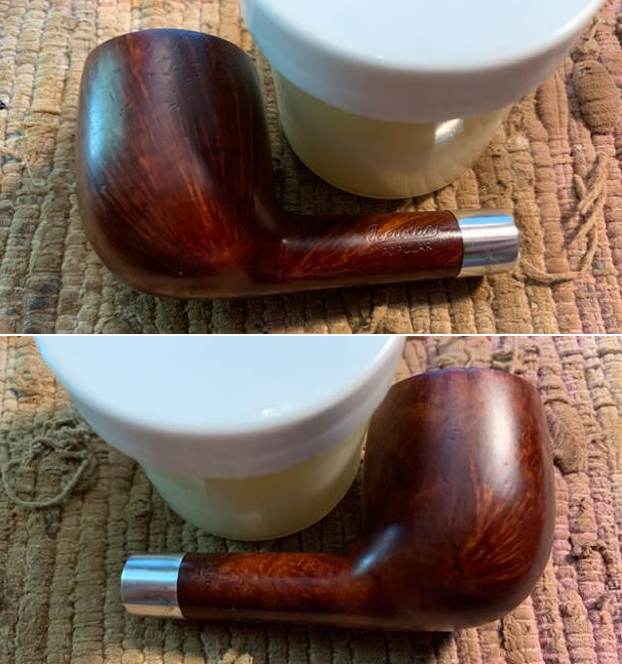
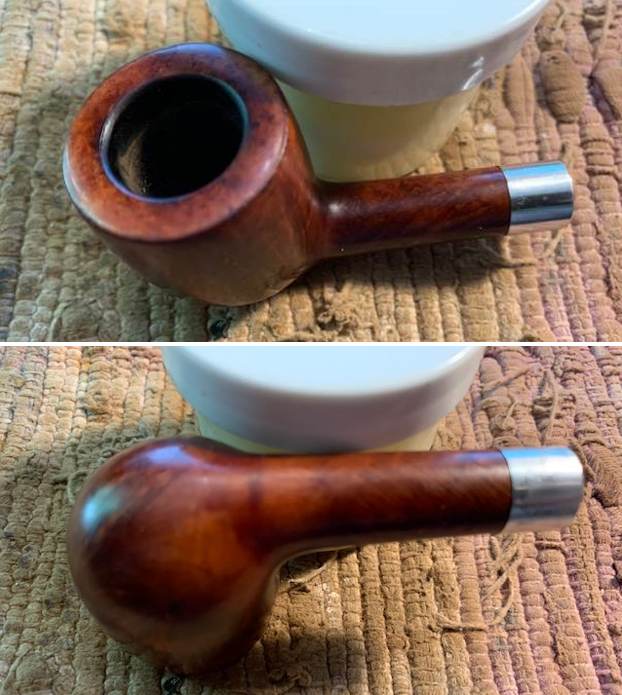
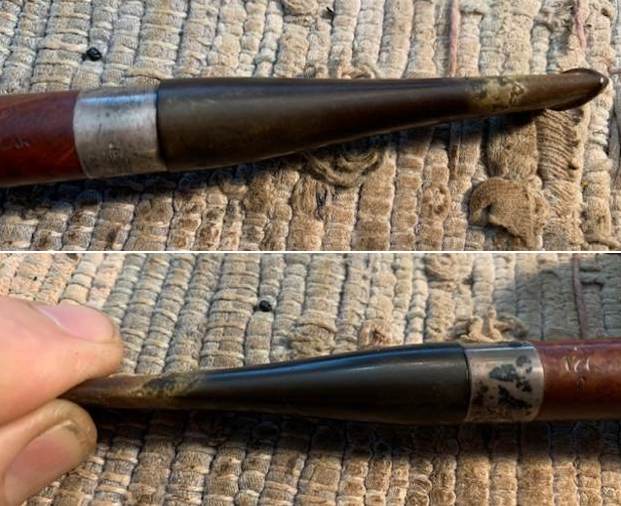
 I set the bowl aside and turned my attention to the stem. I used 220 grit sandpaper to reduce the diameter of the stem to match that of the shank. It took a lot of sanding to get there. I also sanded the oxidation, calcification and chatter at the same time. I started polishing the stem with 400 grit wet dry sandpaper. It is starting to look very good. (The first two photos show the size of the stem diameter in comparison with the shank.)
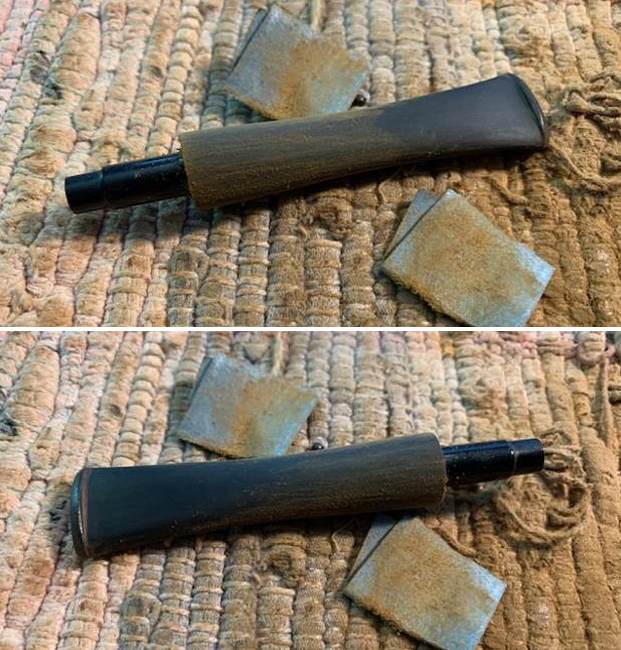
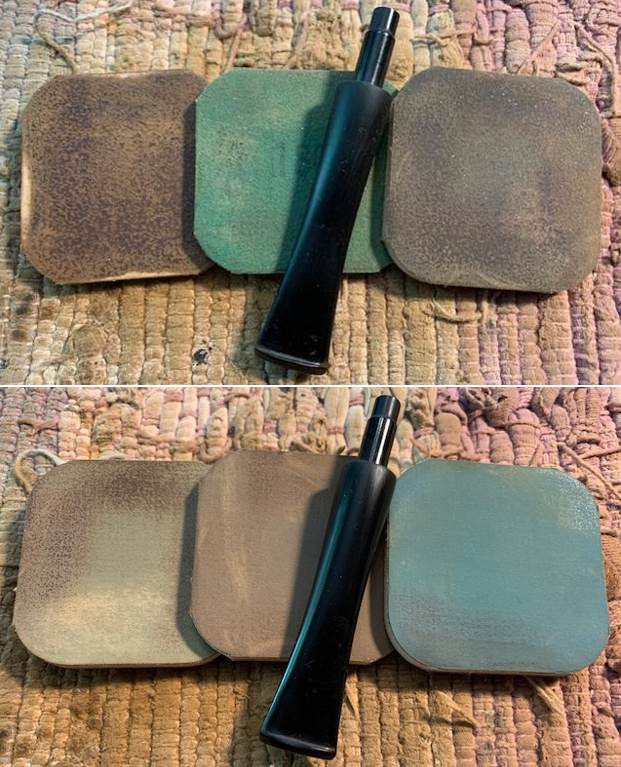
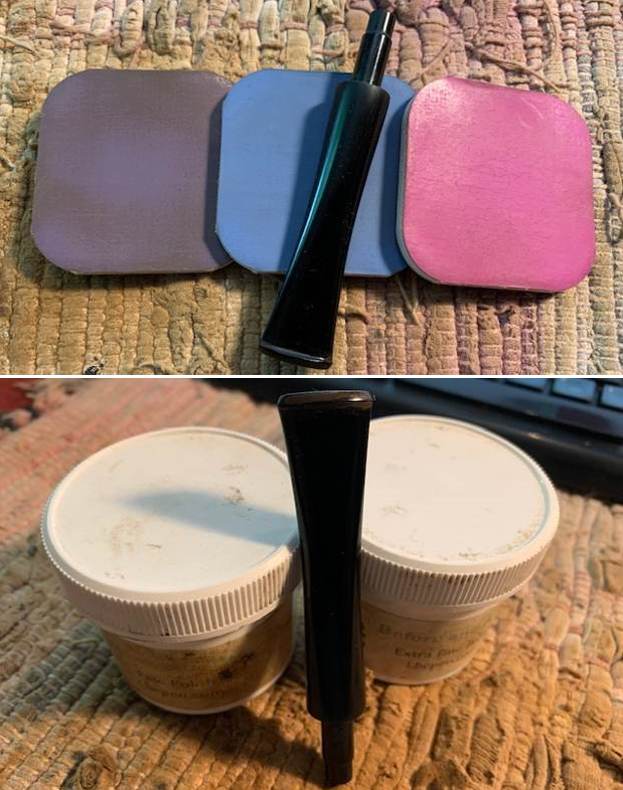
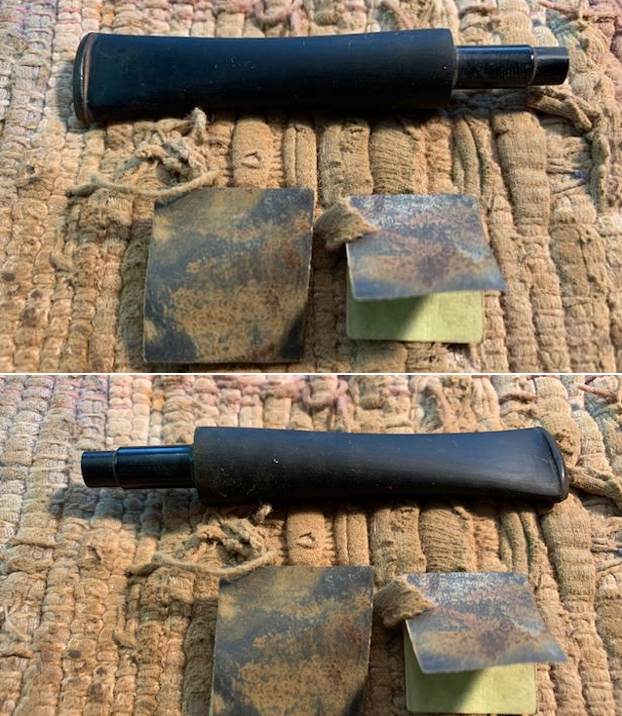 I continued to polish the stem with micromesh sanding pads – dry sanding with 1500-12000 grit sanding pads. I wiped it down after each sanding pad with Obsidian Oil. I polished it further with Before & After Stem Polish – both Fine and Extra Fine. I gave it a final coat of Obsidian Oil and set it aside to cure.
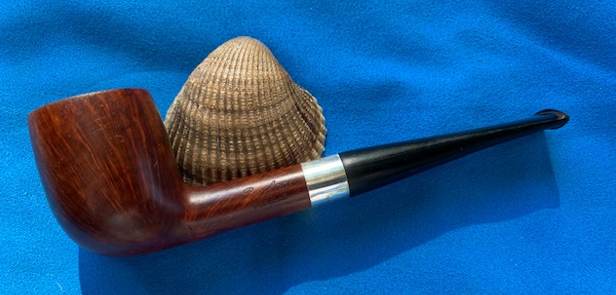
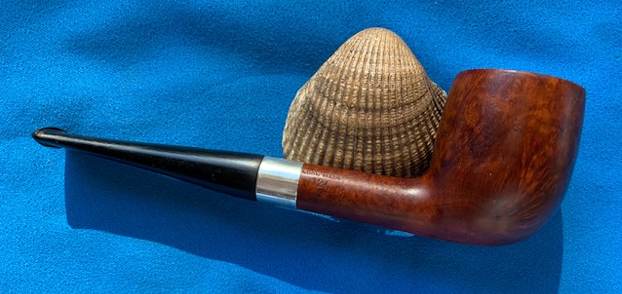
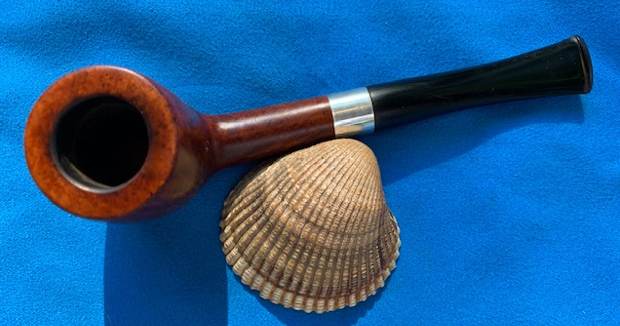
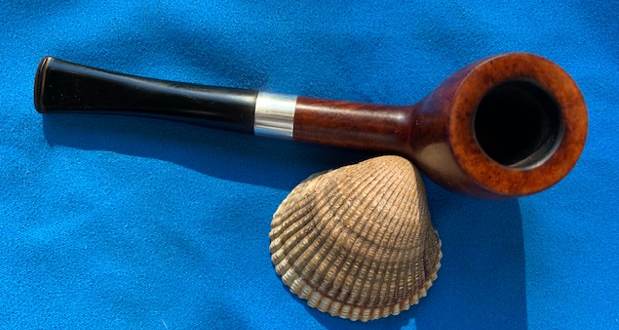
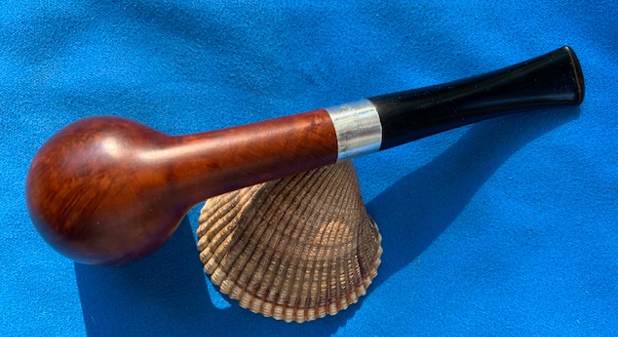
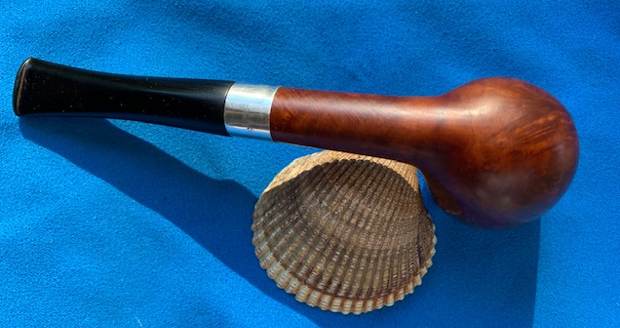
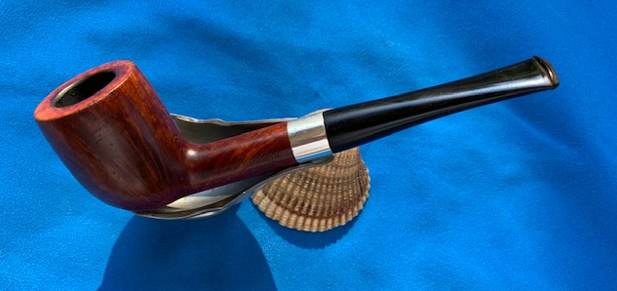
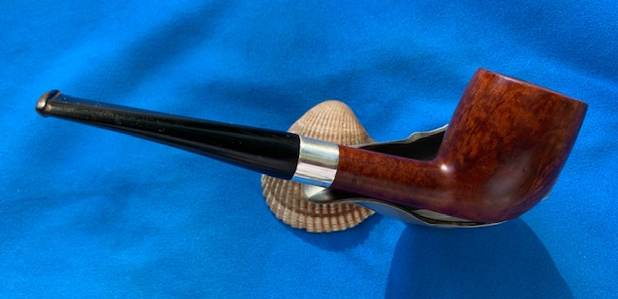
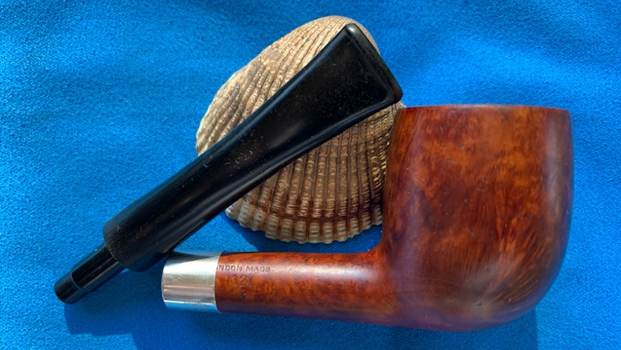
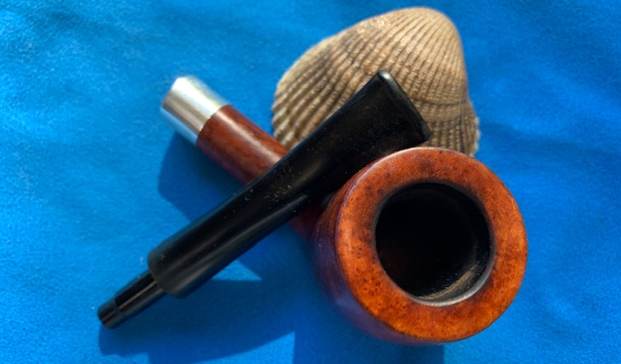
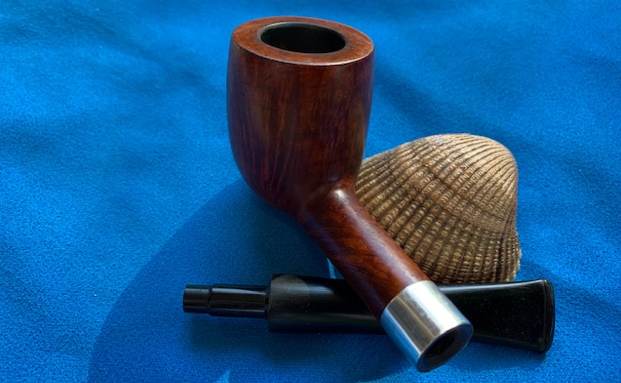
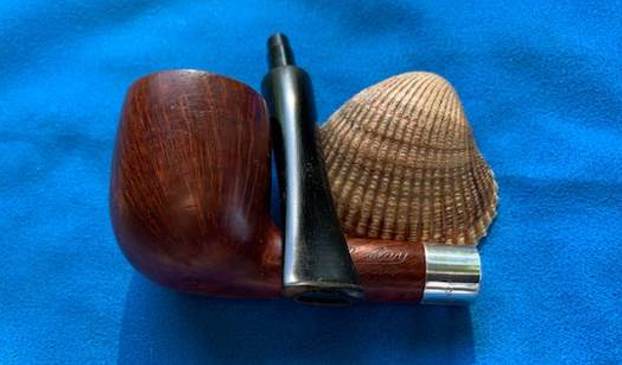
 I am excited to finish this Bewlay Popular 127 Billiard. Who made this pipe for Bewlay? My guess, and it is just that, is that the pipe was made by Loewe & Co. Whoever made it the pipe is a beauty. I put the pipe back together and buffed it with Blue Diamond on the buffing wheel. I gave the bowl and the stem multiple coats of carnauba wax. I hand buffed the pipe with a clean buffing pad to raise the shine. It is fun to see what the polished bowl looks like with beautiful straight grain all around it and the birdseye on the rim top. The polished grain on the pipe looks great with the black vulcanite stem. This smooth Bewlay Popular Billiard is great looking and the pipe feels great in my hand. It is light and well balanced. Have a look at it with the photos below. The dimensions are Length: 5 ½ inches, Height: 1 ½ inches, Outside diameter of the bowl: 1 ¼ inch, Chamber diameter: ¾ of an inch. The weight of the pipe is 35 grams/1.23 ounces. It turned out to be a beautiful pipe. Once I finish the second pipe the pipe shop brought for repair I will be giving them a call for pickup. I hope that the owner will get great enjoyment from the pipes. Remember we are the next in a long line of pipe men and women who will carry on the trust of our pipes until we pass them on to the next trustee. Thanks for your time reading this blog.





Pingback: Restoring a Savinelli Extra 614 Bent Billiard | rebornpipes
Steve, Steve, Steve…. Such a GREAT FINISH. THANKS for sharing.
LikeLike
Thanks Paul!
LikeLike