Blog by Steve Laug
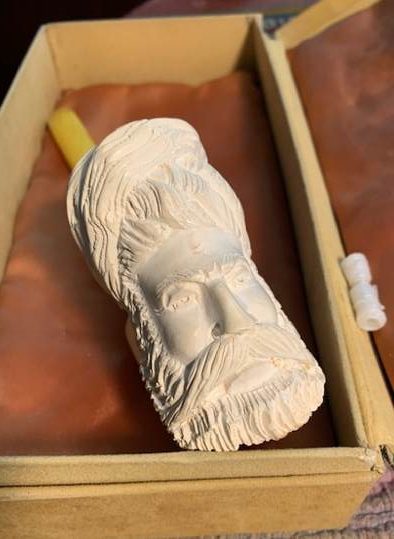
Jeff and I often purchase pipe bowl/stummels of brands that we like and want to restore. These have included a lot of different bowls. If you have followed us for long you know that some of these have included Peterson’s, Dunhill’s, and a wide range of Danish and English pipes. Awhile ago Jeff and I were sorting through the bowls in our collection and pulled out eight Peterson’s bowls that were dirty and stemless. A friend referred us to a contact named Silas Walls, of Walls Pipe Repair in Wallace, Idaho, USA as he seems to have a good supply of original Peterson’s stems. Our friend has had him fit stems for some of his Petes and was very happy with the work. We made contact with him and sent him eight bowls for restemming.
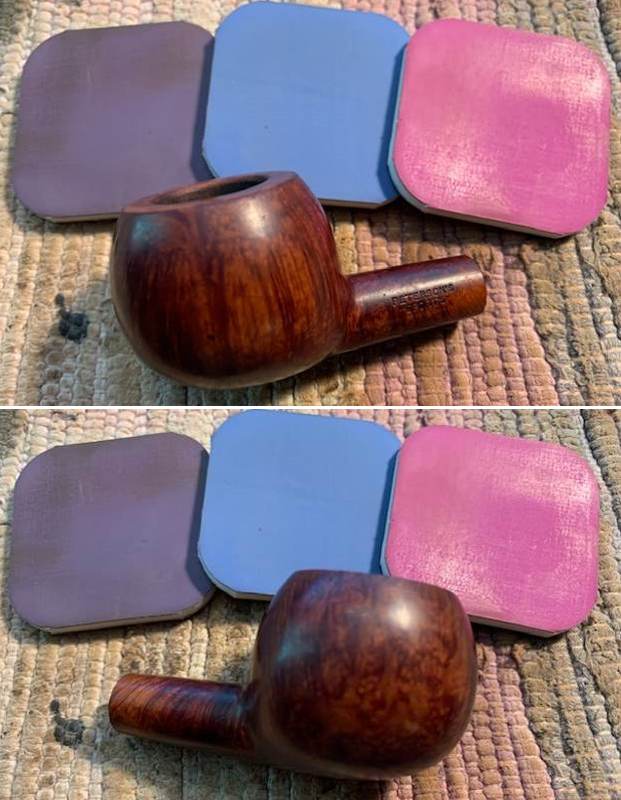
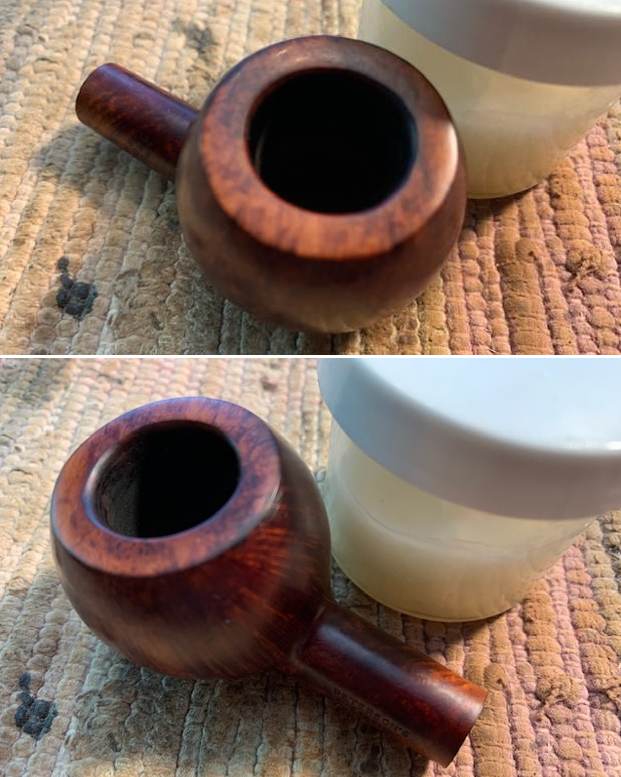
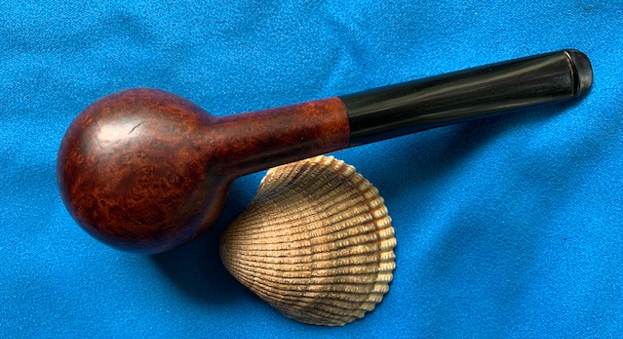
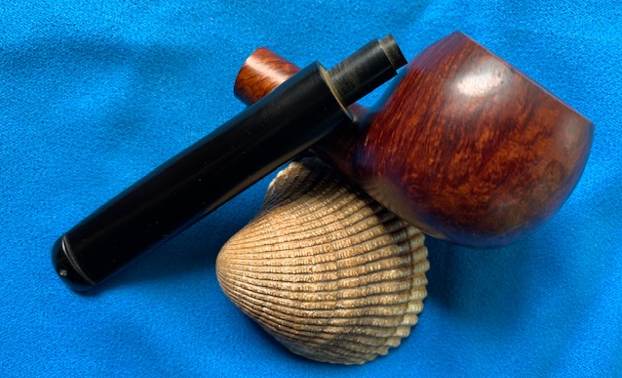
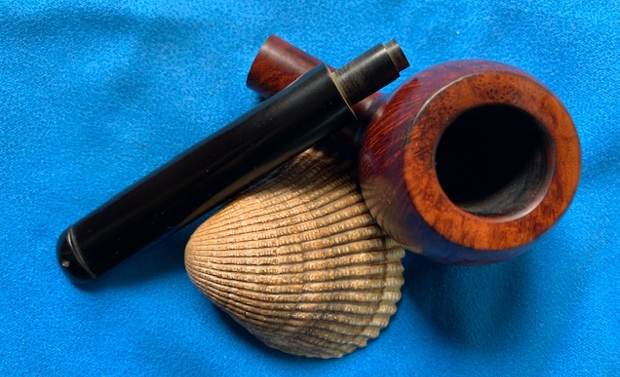
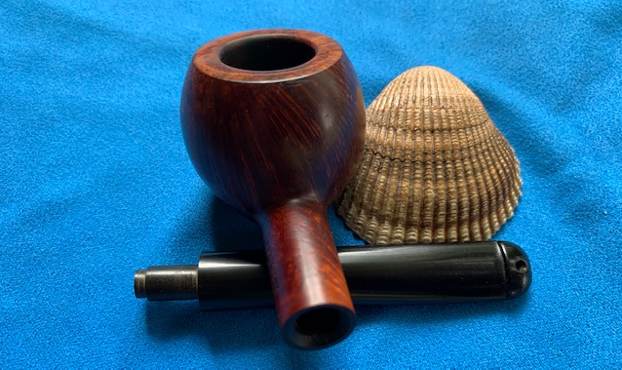
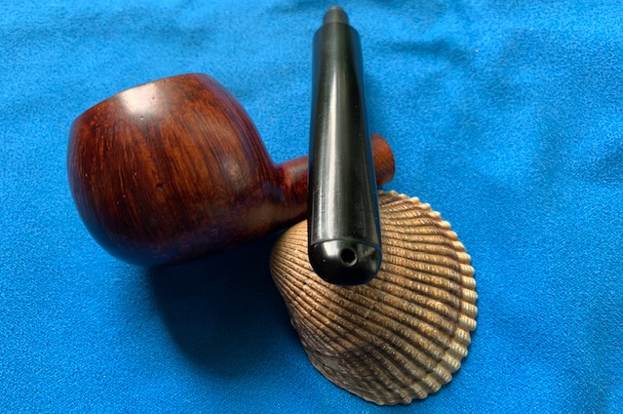
This first of them that we cleaned up before mailing them out was a bowl that we purchased on 05/22/21 from Facebook Marketplace. It came from Fruitland, Idaho. It is stamped on the left side of the shank and reads Peterson’s [over] “SPORTS”. On the right side of the shank there is a number 4 stamped next to the bowl shank junction followed by a circular Made in Ireland stamp with the “in” in the center of the circle mid shank. The bowl was dirty with lava on the rim top and a light cake in the bowl. It had been reamed quite recently and interestingly the bottom half of the bowl showed some raw briar. Jeff took photos of the bowl before he did his cleanup work in preparation for sending them to Walls Pipe Repair for their new stem.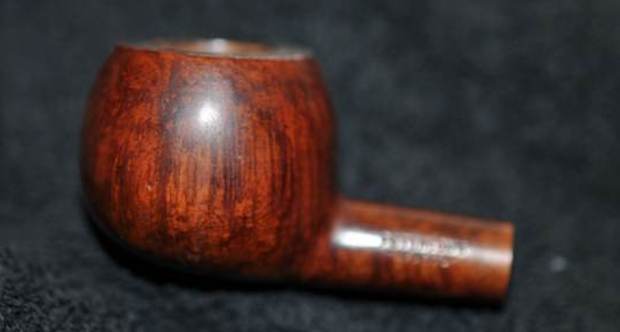 The photos of the bowl and rim top show the lava build up and nicks/scratches in the surface and edges. They also show the bowl with the reaming job that had been down before the pipe came to us. It showed a lot of promise.
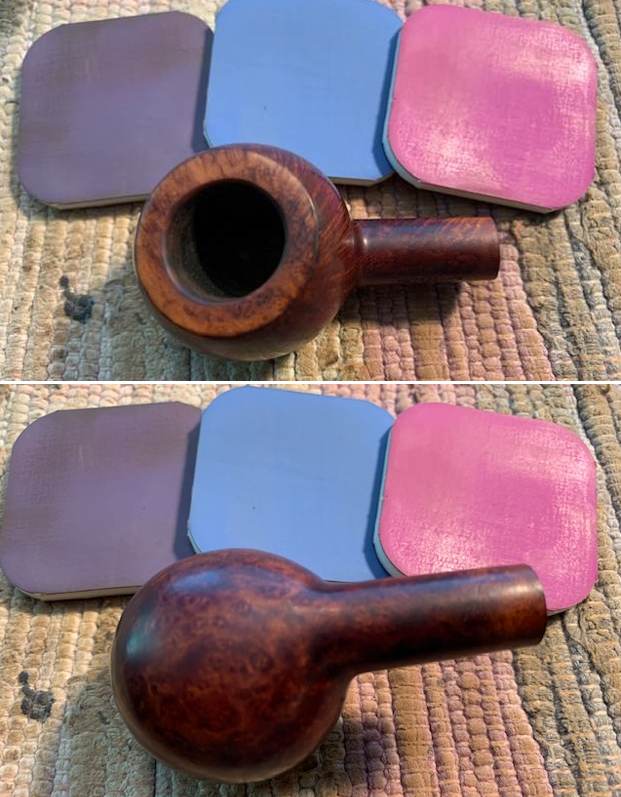
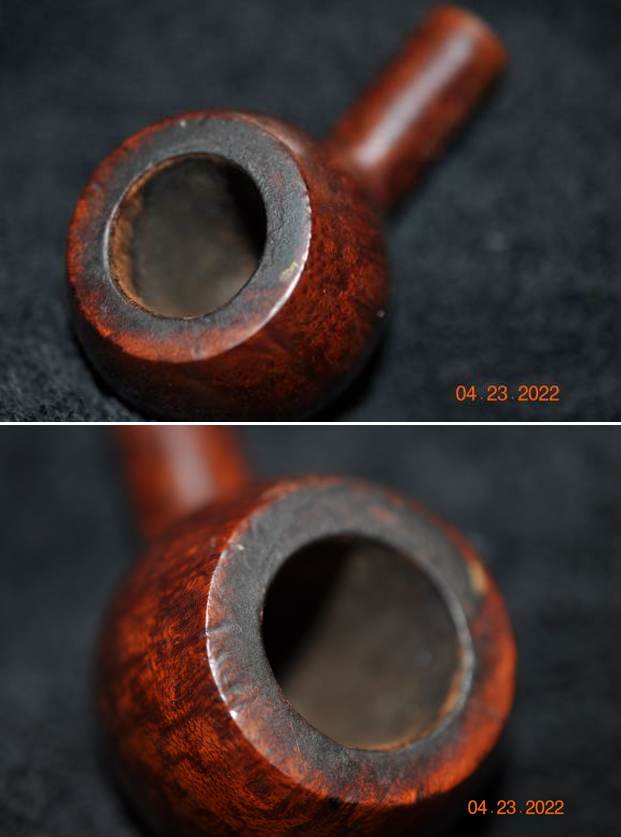 Jeff took photos of the stamping on the sides of the shank. It is clear and readable as noted above. There is also some great grain around the bowl and shank.
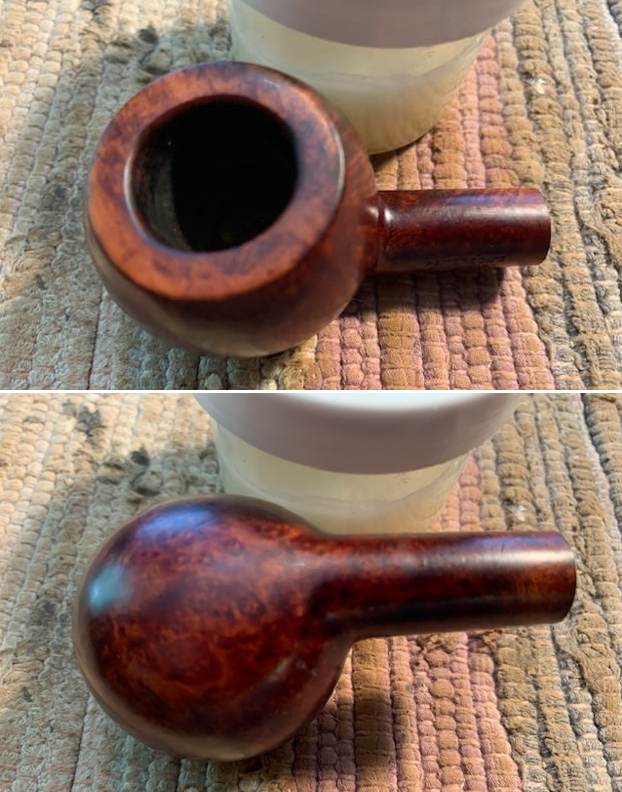
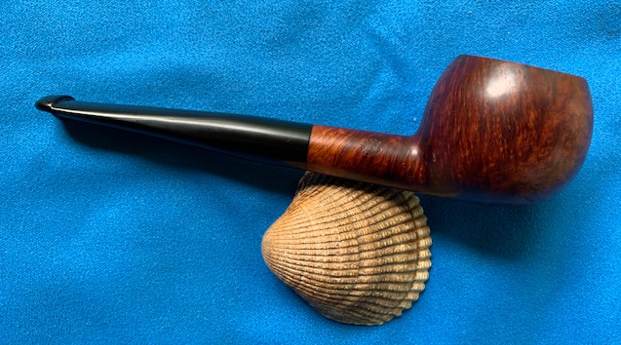
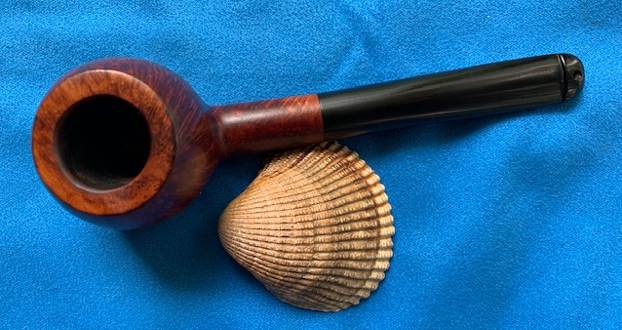
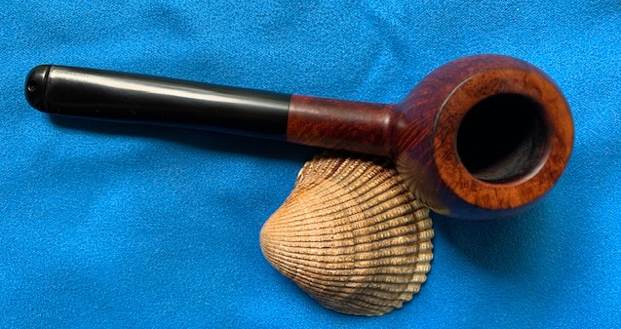
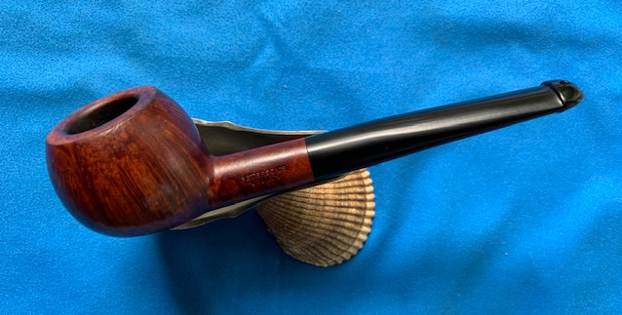
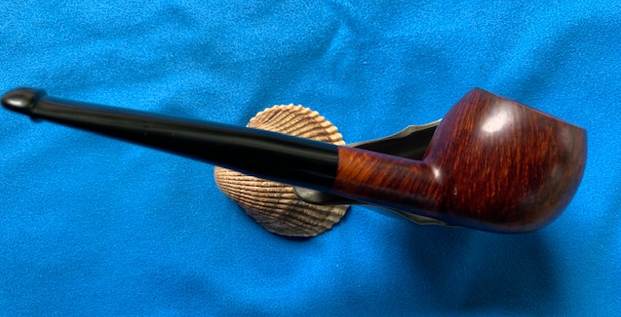
 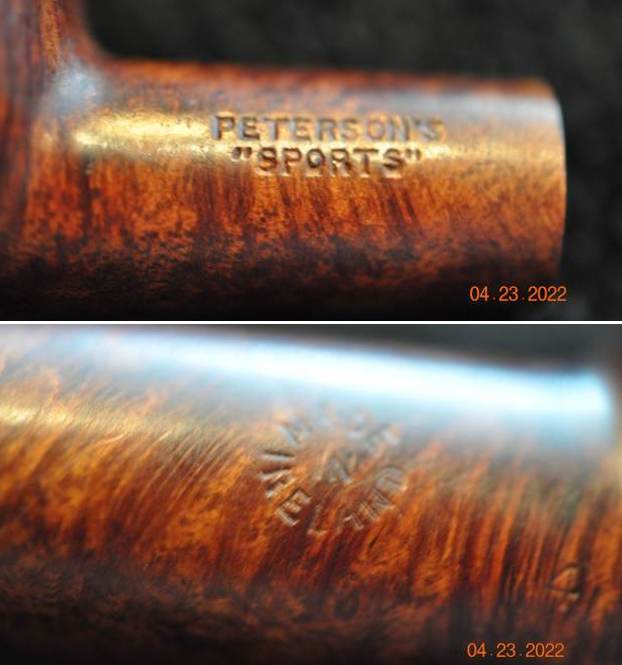 I have restored a few Peterson’s “SPORTS” in the past so I turned to my blog to have a look at the background information that I included in those blogs. I found the following link to a similar pipe (https://rebornpipes.com/2021/01/08/restoring-a-republic-era-petersons-sports-4-apple/). It was a bit more round than the one I was working on but stamped similarly. I am including two photos of the finished pipe below for comparison.
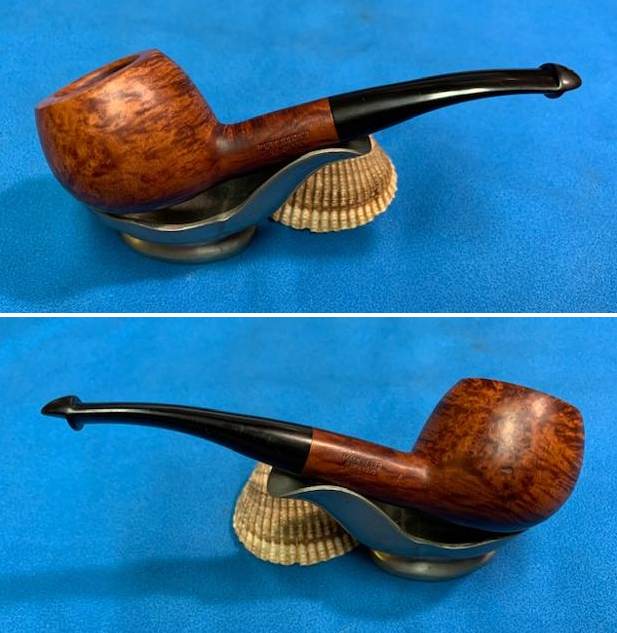 I remembered that the pipe was generally a “pocket” pipe so it was shorter than normal so I copied the dimensions from the above pipe for comparison of our restemmed one. The dimensions are Length: 5 inches, Height: 1 ¼ inches, Outside diameter of the bowl: 1 ½ inches, Chamber diameter: ¾ of an inch. The weight of the pipe is 33grams/1.16oz. It is a pretty compact pipe with some great shape and balance.
I also am including the background information I had gathered on the line from the previous blog below. I quote:
I am including the link to the Pipedia’s article on Peterson pipes. It is a great read in terms of the history of the brand (https://pipedia.org/wiki/Peterson).
I turned to “The Peterson Pipe” by Mark Irwin and Gary Malmberg to get some background on the Peterson’s Sports. On page 313-314 it had the following information.
“SPORTS” (1947-) A “Sport” is traditionally a compact pipe made for smokers engaged in athletic pursuits, most notably equestrian riders who do not want the bowl to bounce up and down. Six shapes described in 1947 shape chart. Occasional later catalogs show as many as 11 shapes. Last appeared in shape chart in ’98, but still made in small numbers. Recorded specimens are stamped MADE IN IRELAND (forming a circle) or MADE IN THE over REPUBLIC over OF IRELAND. See Outdoor and Outdoor Sportsman.
The information was very helpful. I have highlighted the pertinent reference to the circular Made in Ireland stamp in the paragraph above. I also knew that my memory of it being a shorter “pocket” pipe was correct.
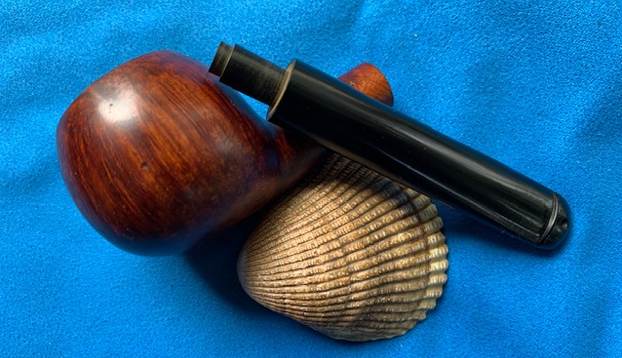
Now it was time to work on the pipe. Jeff had done a great job cleaning up the pipe as usual. He reamed the pipe with a PipNet reamer and cut back the cake back to the bare briar. He cleaned up the walls with a Savinelli Fitsall Pipe Knife. He scrubbed the interior of the bowl and shank with pipe cleaners, cotton swabs and alcohol to remove the tars and oils. He scrubbed the exterior of the pipe with Murphy’s Oil Soap and a tooth brush to remove the grime from the finish. He worked on the rim top lava and darkening with the soap and tooth brush. When the pipes came back to Jeff with their new stems they looked great. When the pipe arrived here this week I took photos of it with its stem so you can see what I see. The stem is a little longer than the 5 inches on the above SPORTS pipe. This stem is 5 ½ inches but it looks good on this little Prince. 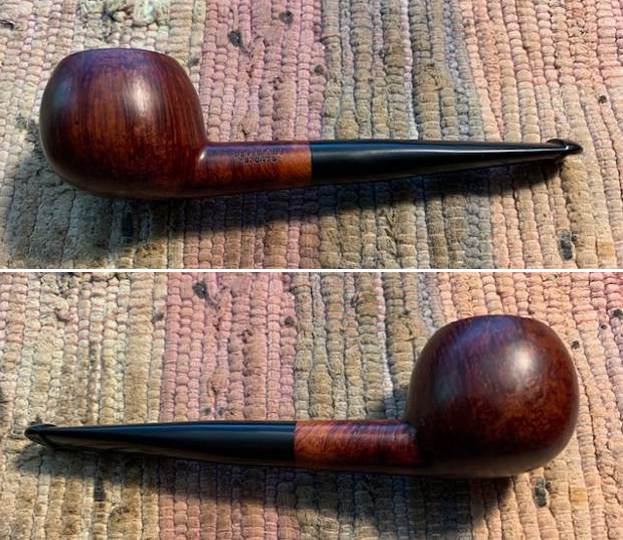
 I took some close up photos of the rim top and also of the stem surface. I wanted to show how well it had cleaned up. The rim top had some scratches and marks on the top and some darkening around the inner edge. It should clean up really well. I also took close up photos of the new stem to show how well it is made! Thanks to Walls Pipe Repair!!
 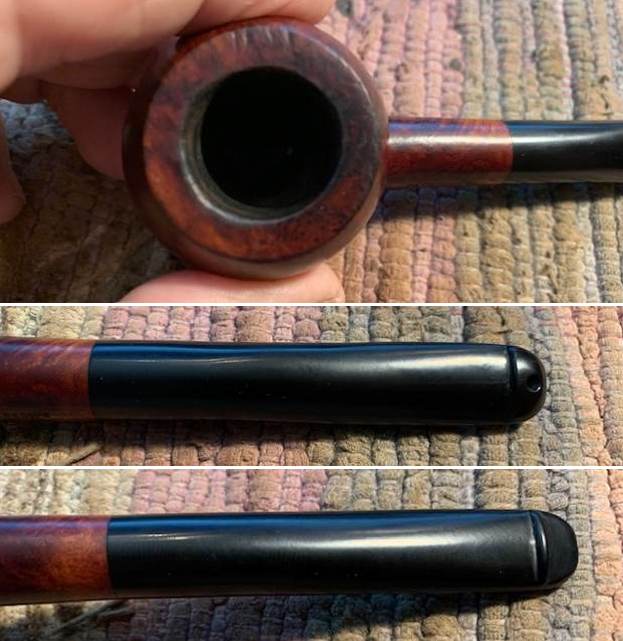 I took photos of the stamping on the sides of the shank. You can see that it is stamped as noted above. It is clear and readable.
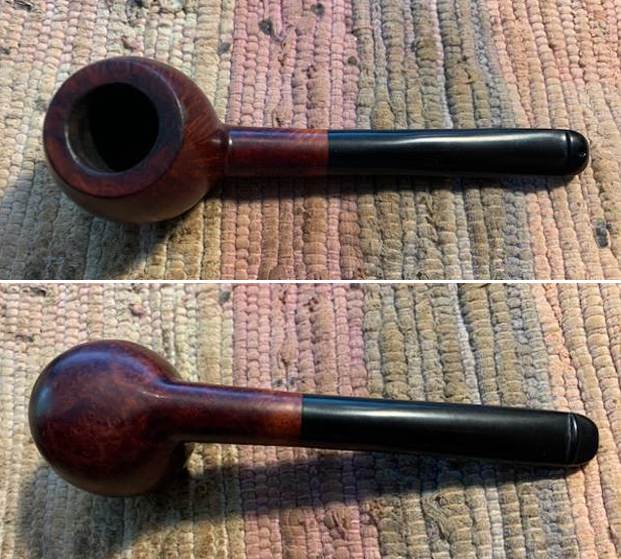
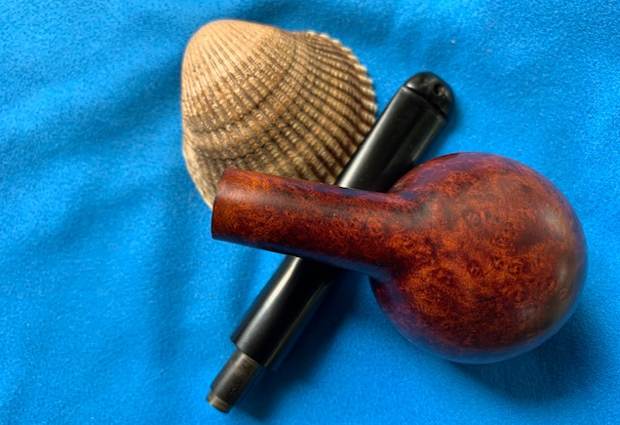
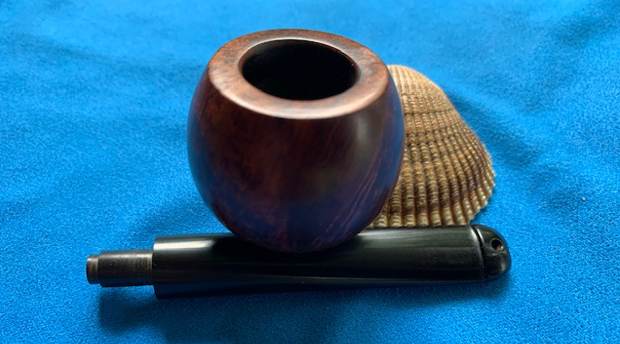
 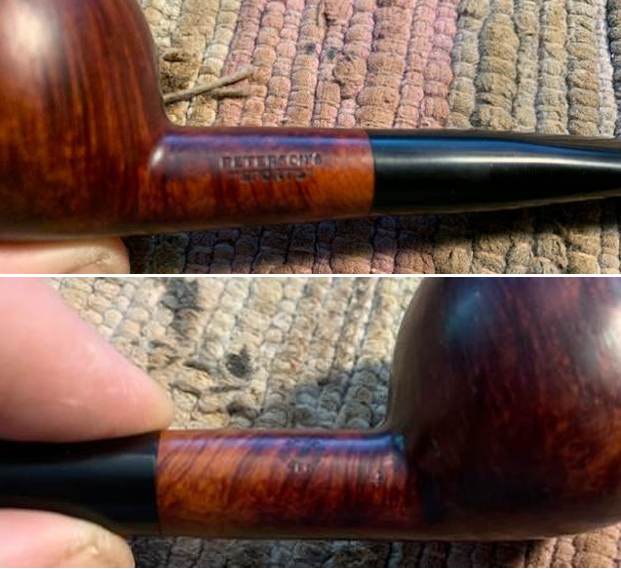 I removed the stem and took a photo of the pipe to have a look at the parts and overall look. The new stem looked really good with the bowl.
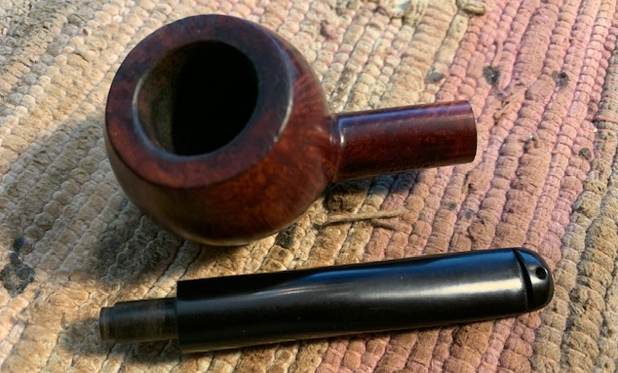 Since the stem was in perfect condition and would not need work I set it aside and turned to work on the bowl. I decided to address the damage to the inner edge of the bowl and the rim top first. I used a folded piece of 220 grit sandpaper to give the inner edge of the bowl a slight bevel to minimize the darkening and damage and blend it into the surrounding briar.
 I steamed out the dents on the rim top with a damp cloth and a knife heated over the flame of my stove. I applied the wet cloth to the dents and touched the cloth with the hot knife. The steam generated caused the dents to raise. I used a small folded piece of 220 grit sandpaper to smooth them out further. I started polishing the top with 400 grit wet dry sandpaper.
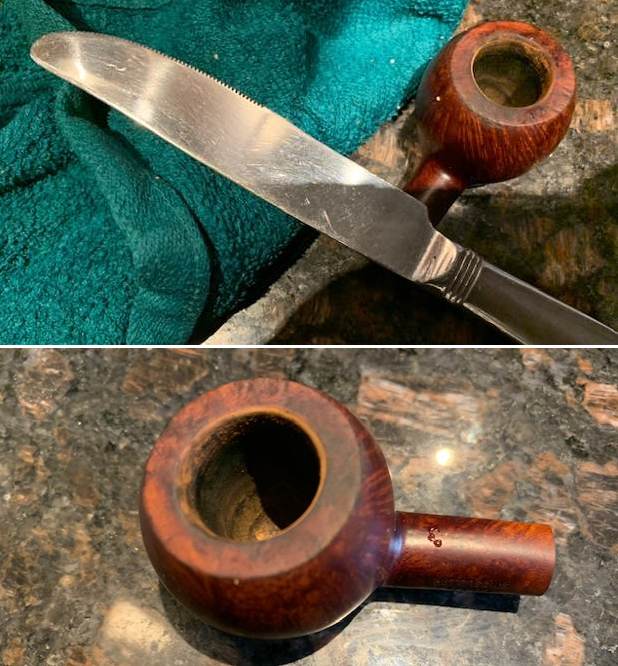
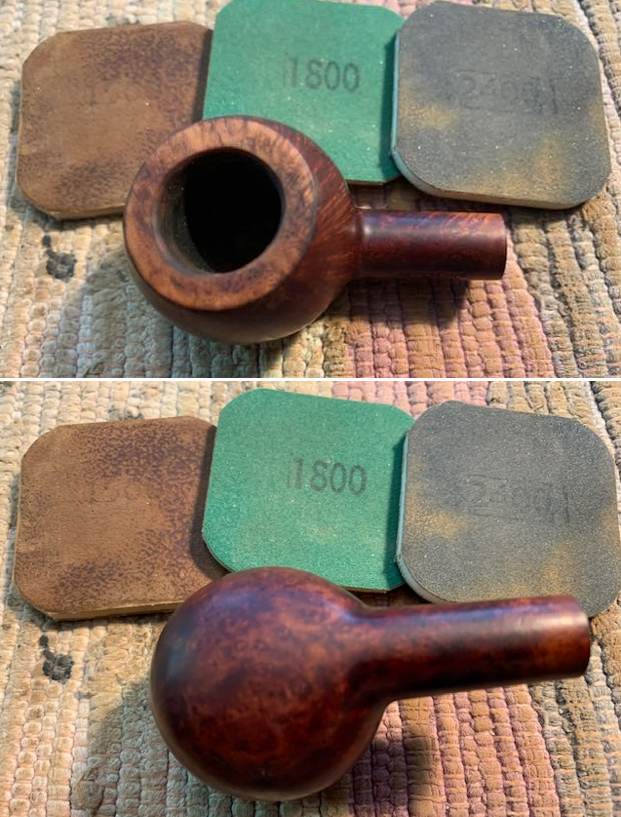
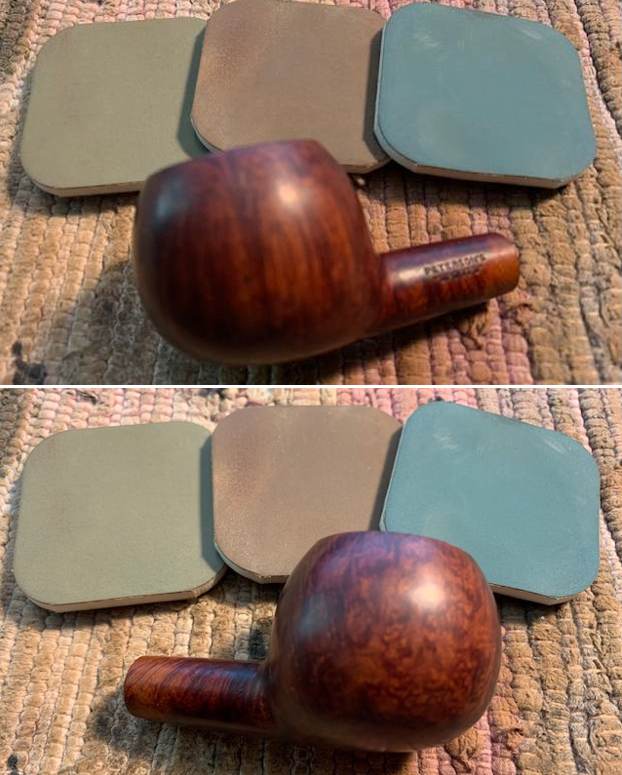
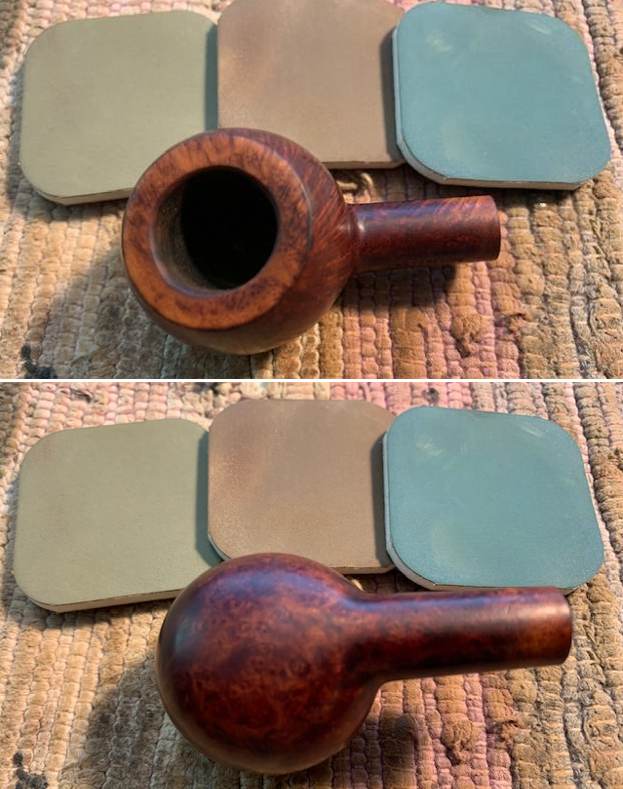
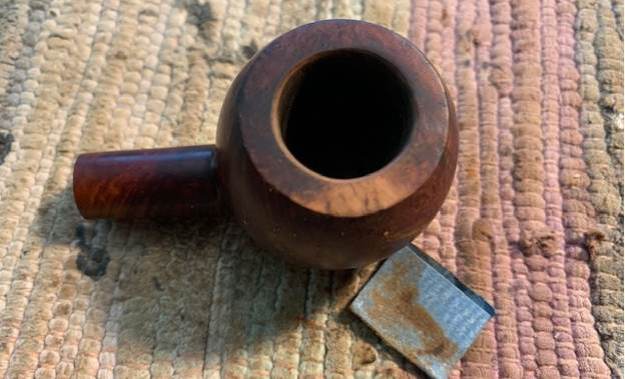 I polished the briar with micromesh sanding pads – dry sanding with 1500-12000 grit sanding pads. I wiped the bowl down with a damp cloth after each sanding pad.
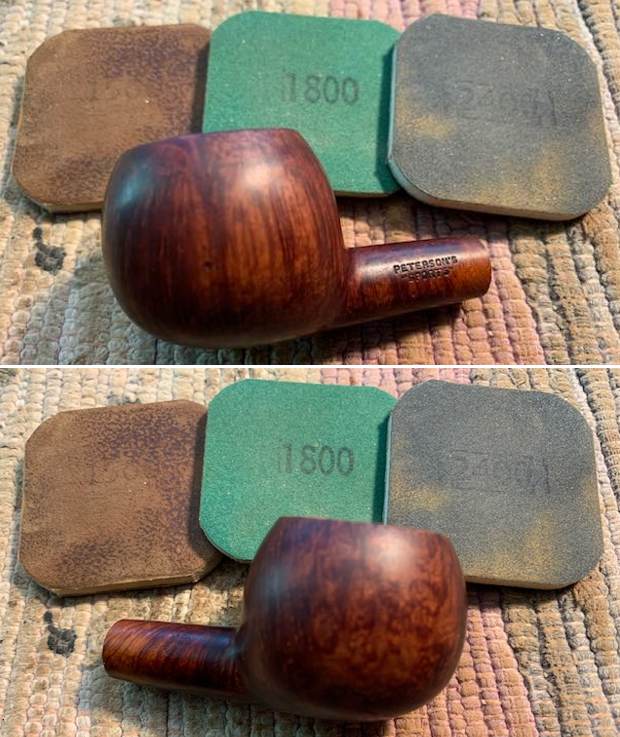
 The polishing of the rim top brought the rim top colour to match the rest of the bowl. I did not need to stain the rim at all. I worked some Before & After Restoration Balm into the surface of the briar with my fingertips to clean, enliven and protect the briar. I let the balm sit for 15 minutes and then buffed with a cotton cloth to raise the shine. The photos show the bowl at this point in the restoration process.
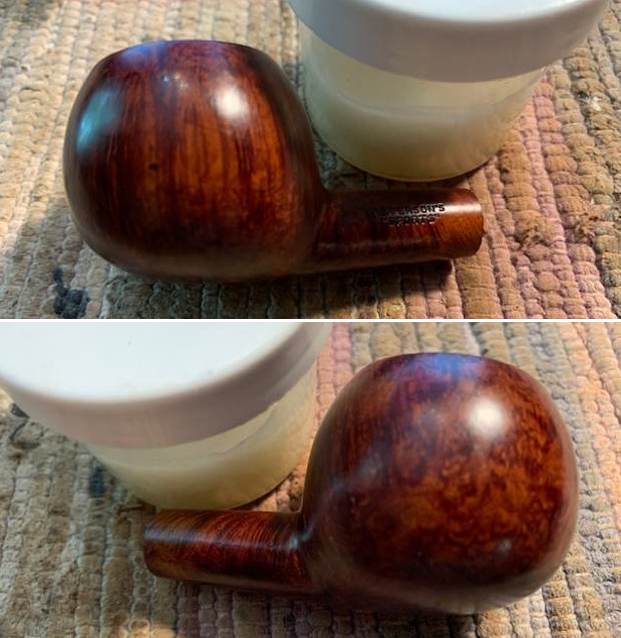
 Since the stem was in such new condition the pipe was basically finished. I am excited to put the final touches on this newly restemmed Made in Ireland Peterson’s “Sports” 4 Prince. I put the pipe back together and buffed it with Blue Diamond on the buffing wheel. I gave the bowl and the stem multiple coats of carnauba wax. I hand buffed the pipe with a clean buffing pad to raise the shine. It is fun to see what the polished bowl looks like with beautiful mixed grain all around it. Added to that the polished black vulcanite stem combined with the bowl and made a stunning pipe. This smooth Classic Older Peterson’s “Sports” 4 Apple is great looking and the pipe feels great in my hand. It is light and well balanced. Have a look at it with the photos below. The dimensions are Length: 5 ½ inches, Height: 1 ½ inches, Outside diameter of the bowl: 1 ¼ inches, Chamber diameter: ¾ of an inch. The weight of the pipe is 39 grams/1.38 ounces. It is a beautiful pipe that I will soon be putting on the rebornpipes store in the Irish Pipe Makers section. If you are interested in adding it to your collection send me an email or a message. Thanks for walking through the restoration with me as I worked over this pipe. Thanks to each of you who are reading this blog.


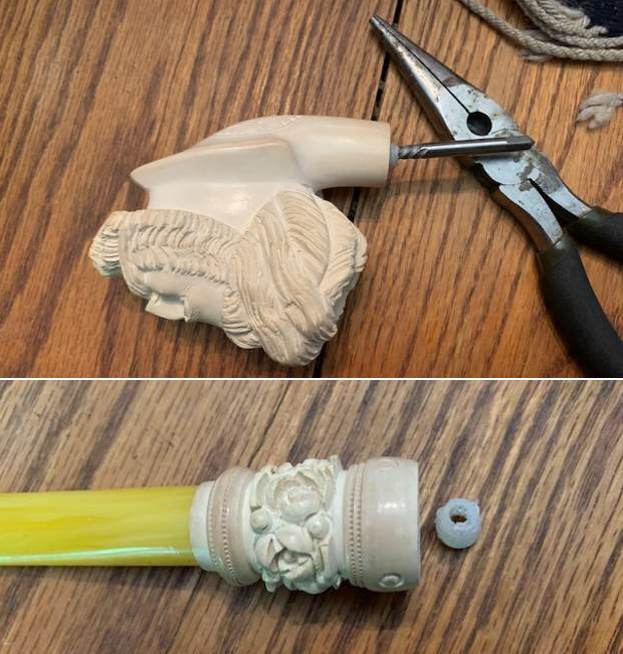
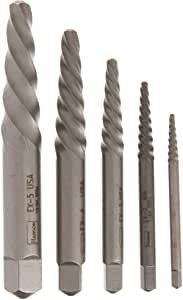 Screw Extractors like those to the right. The idea is to twist them into the head of a damaged screw and then reverse the drill and pull the screw out. I thought possibly I could turn the one that was the same size as the airway in the broken tenon until it bit. Then with a pair of pliers reverse it out. With apprehension about cracking the meerschaum I cast my worries to wind and tried it out. I turned it carefully into the broken tenon in the shank. It bit into the nylon/plastic. I used a pair of pliers and carefully turned the bit to unscrew the broken tenon. It worked very well and within a few minutes the tenon piece was out of the bowl portion of the shank.