Blog by Steve Laug
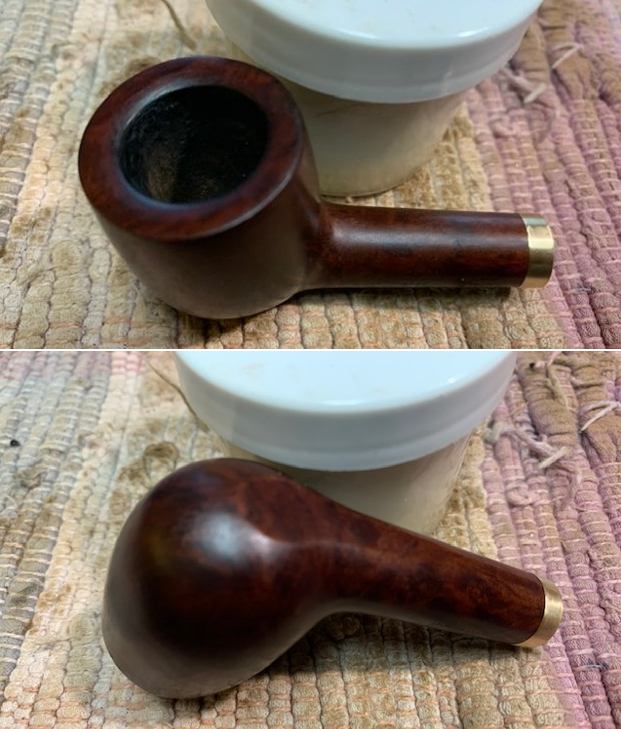
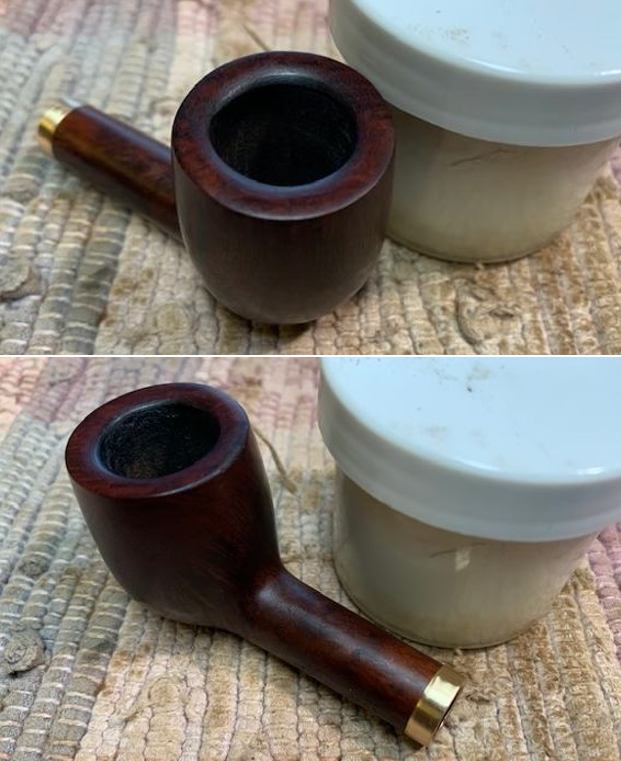
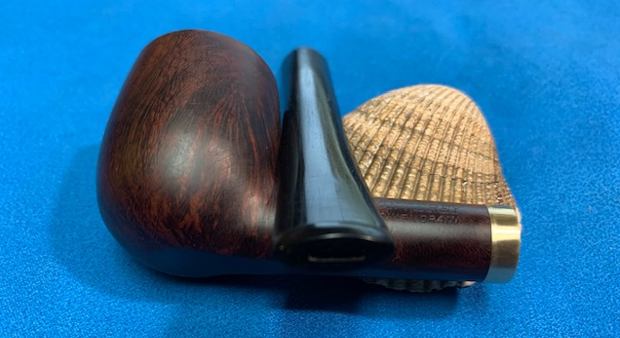
The next pipe on the work table came to me from one of our estate purchases. Between us we pick up quite a few pipes for restoration. I try to work them into the restoration queue so that I can keep them moving. We picked up over 120 Bertram pipes from an estate that a fellow on the east coast of the US was selling. I keep fitting some of them into the restoration queue to get these great older US Made pipes back in circulation. The post card below was sent to me by one of the readers of the blog. It is a nice memento of the old shop. I thank him for thinking of us. This next one is from that estate – a beautifully grained smaller Bertram Canadian with a vulcanite taper stem. The pipe is stamped on the top side and reads Bertram [over] Washington D.C. centered on the shank. This is a bit of an odd one in that it does not have a grade stamp. The finish had a lot of grime ground into the smooth finish on the bowl and some darkening around the sides of the bowl. The bowl was caked with an overflowing lava coat on the top of the rim, heavier toward the back of the bowl. The edges looked okay other than some potential burn damage on the back inner edge. The stem was lightly oxidized, dirty and had light tooth chatter on the top and underside near the button. There were not markings or a logo on the taper stem. Like the rest of the Bertrams in this lot the pipe had promise but it was very dirty. Jeff took photos of the pipe before he started his cleanup work.
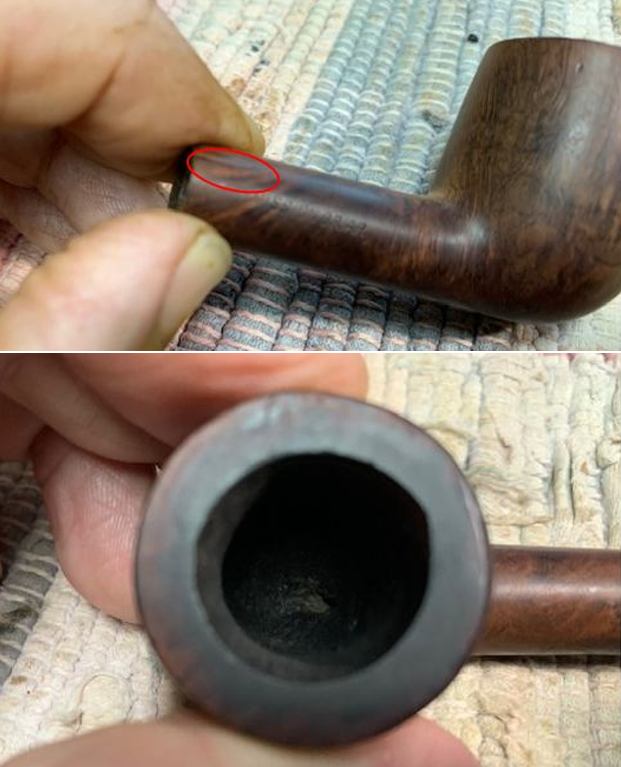
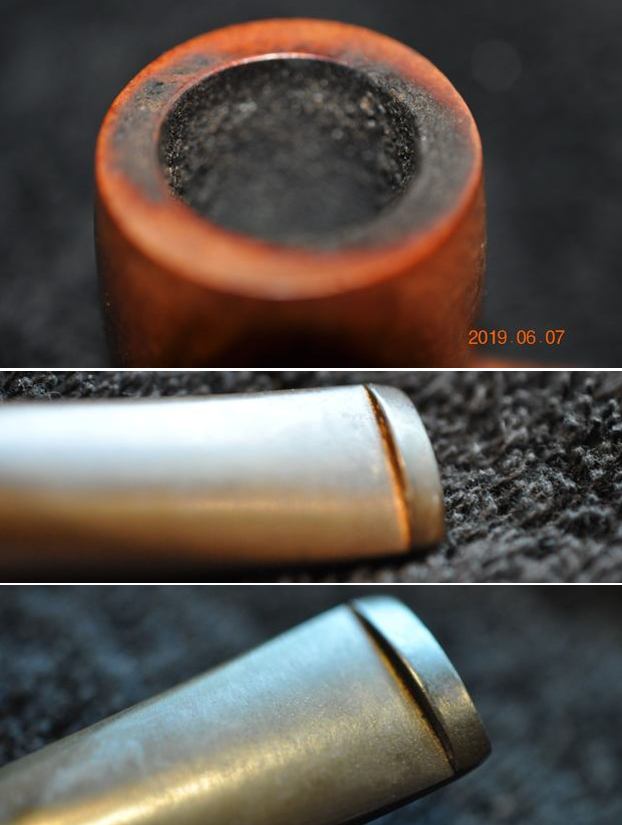
 He took photos of the rim top and bowl to give a clear picture of the thickness of the cake and the lava on the rim top. The lava was thicker toward the back of the rim and there were remnants of tobacco on the walls of the thickly caked bowl. He also took photos of the top and underside of the stem to show the chatter. Otherwise the stem is quite clean.
 Jeff took photos of the sides and heel of the bowl to give a picture of what the briar around the pipe looked like. There is some stunning grain under the grime.
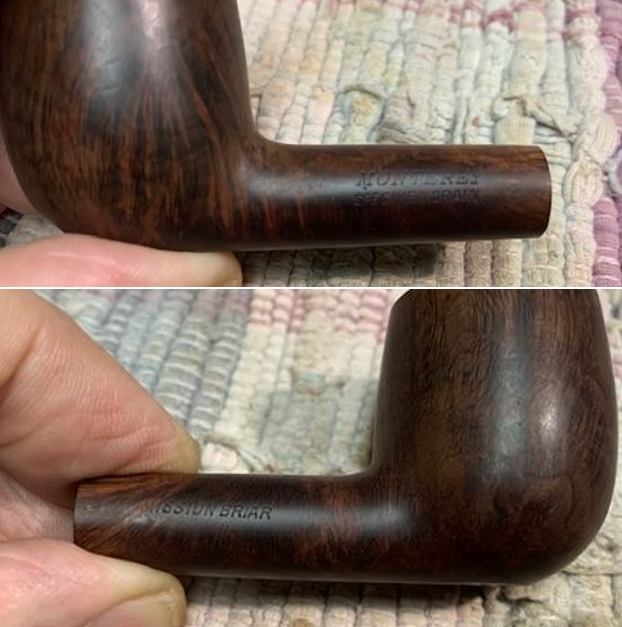
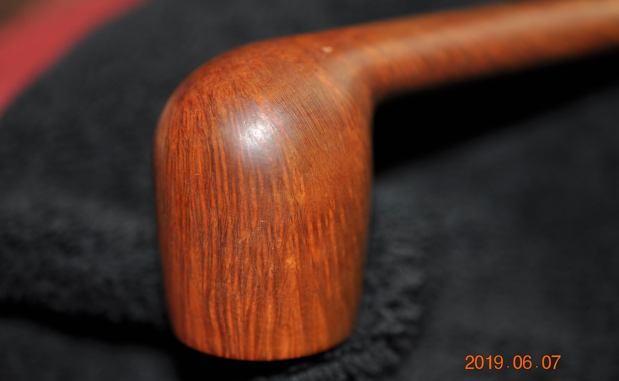 He took a photo of the stamping on the topside of the shank. It reads as noted above and is clear and readable.
 As I have worked on Bertrams I have written on the brand and have included the following information. If you have read it in past blogs, you can skip over it. If you have not, I have included the link to Bertram history and information. I would recommend that if you don’t know much about them take some time to read the background. I include a link to the write up on Pipedia (http://pipedia.org/wiki/Bertram). Bertram pipes were based out of Washington DC. They were popular among famous politicians and celebrities of the time. They made many products for them from FDR’s cigarette holders to Joseph Stalin’s favorite pipe. They were considered some of the best America had to offer till they finally closed their doors in the 70s. Bertram graded their pipes by 10s and sometimes with a 5 added (15, 25, 55 etc.), the higher the grade the better. Above 60s are uncommon and 80-90s are quite rare. I have worked on one 120 Grade billiard. I have several blogs that I have written on rebornpipes that give some history and background to Bertram pipes. (https://rebornpipes.com/2015/06/16/an-easy-restoration-of-a-bertram-grade-60-217-poker/).
I have included the following link to give a bit of historical information on the pipe company. It is a well written article that gives a glimpse of the heart of the company. http://www.streetsofwashington.com/2012/01/bertrams-pipe-shop-on-14th-street.html#
From this information I learned that all of these Bertrams were made before the closure of the shop in the 1970s. This Bertram Canadian has a stunning a mix straight and flame grain around the bowl. Why it is not stamped with a grade number is a mystery to me. To my thinking it is at least a Grade 60 or higher.
Jeff had cleaned up the pipe with his thoroughness. He reamed the pipe with a PipNet Pipe Reamer and cleaned up the remnants with a Savinelli Fitsall Pipe Knife. He scrubbed the bowl with undiluted Murphy’s Oil Soap with a tooth brush. He rinsed it under running warm water to remove the soap and grime. The rim top cleaned up very well. The grain really had begun to stand out. He cleaned out the inside of the shank and the airway in the stem with alcohol, cotton swabs and pipe cleaners. He soaked the stem in Before & After Deoxidizer and rinsed it off with warm water. I took photos of the pipe before I started my work on it. It really is a beautiful piece of briar. 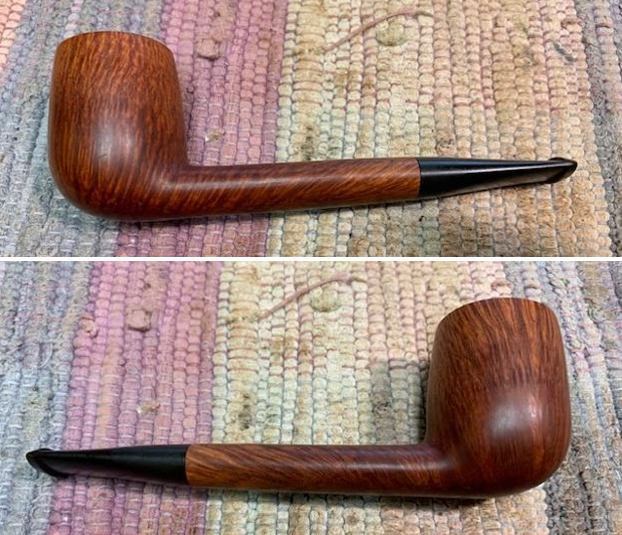
 The rim top looked very good. The inner edge of the rim also looked surprisingly good. There was no damage to the edges. The stem surface looked very good with some light chatter on both sides near the button.
  I took photos of the stamping on the shank. The Bertram Washington DC is on the topside mid shank.
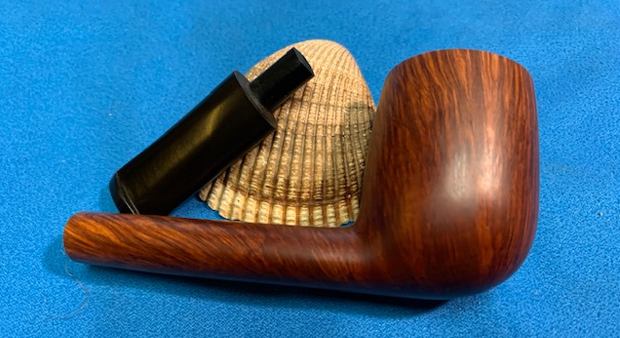
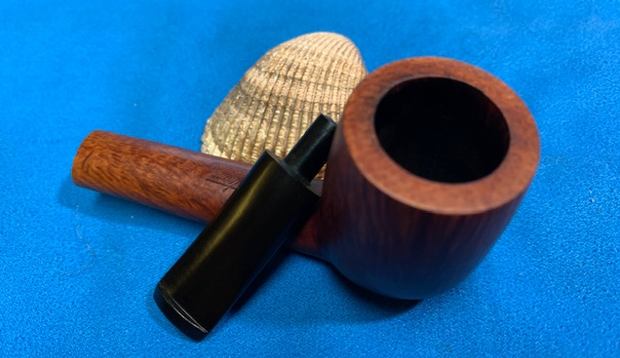
  I removed the stem and took a photo of the pipe to give a sense of the whole.
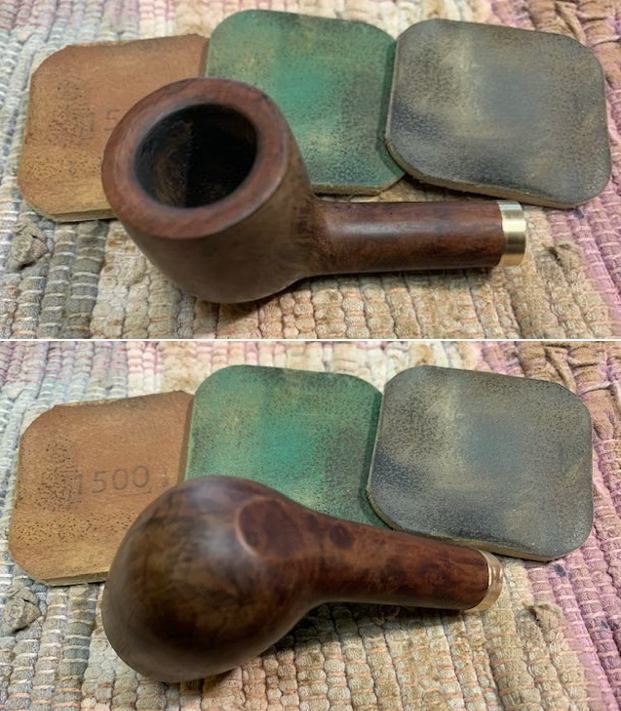
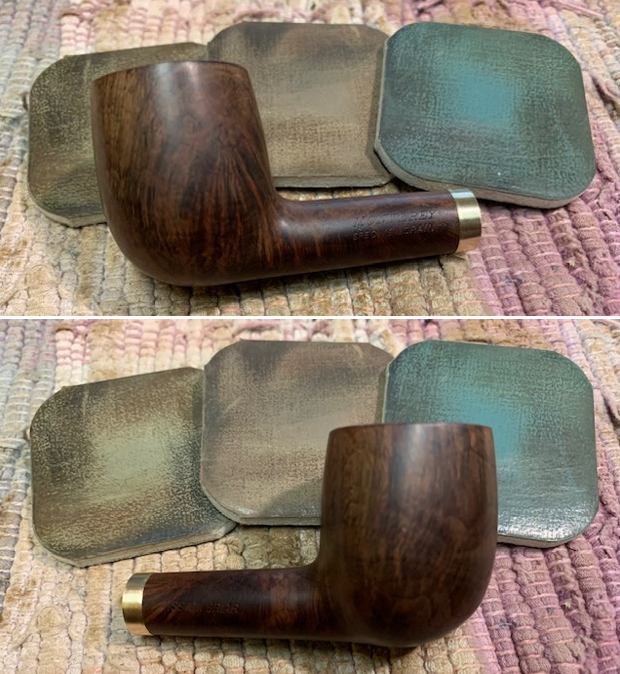
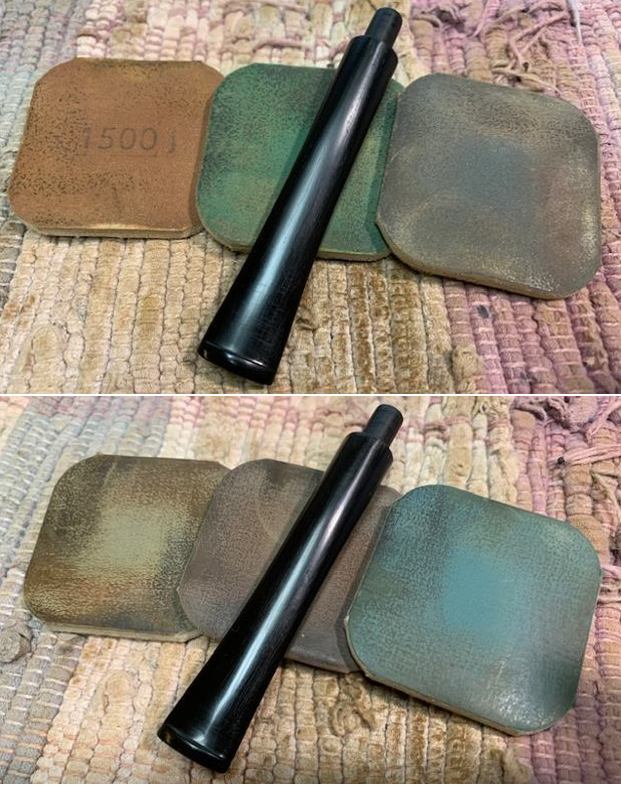
  Now it was time to do my work on the pipe. I polished the bowl and the rim top, sides and shank with micromesh sanding pads – wet sanding with 1500-12000 grit pads and wiping it down after each pad with a damp cloth.
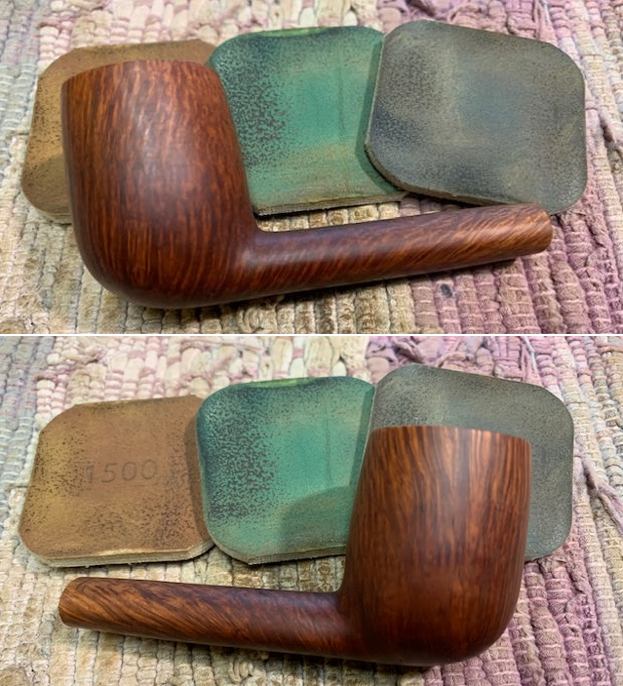


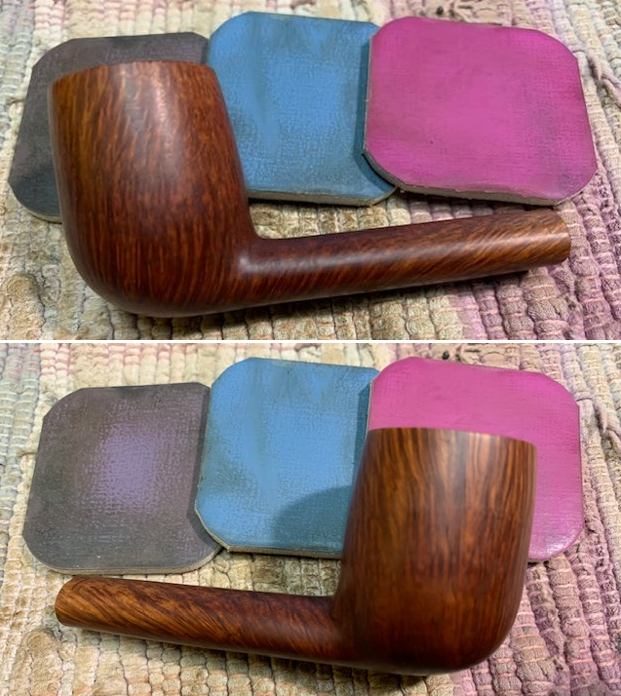
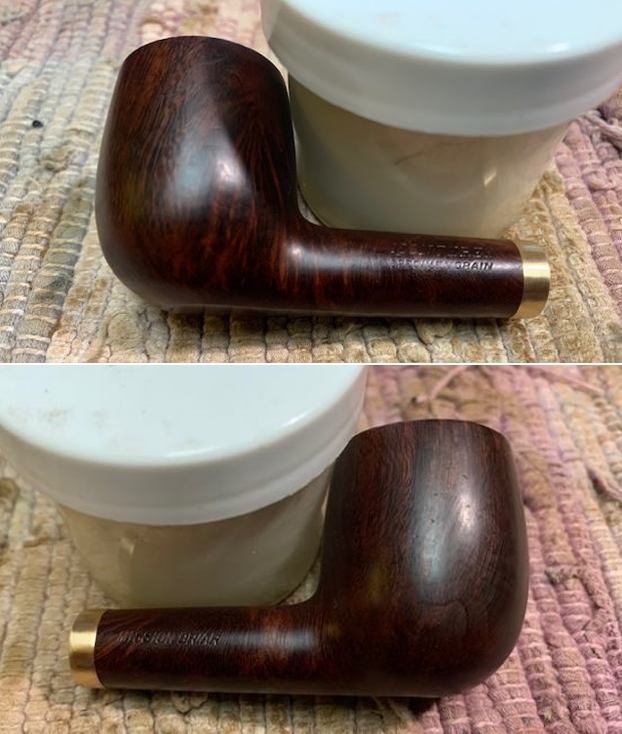
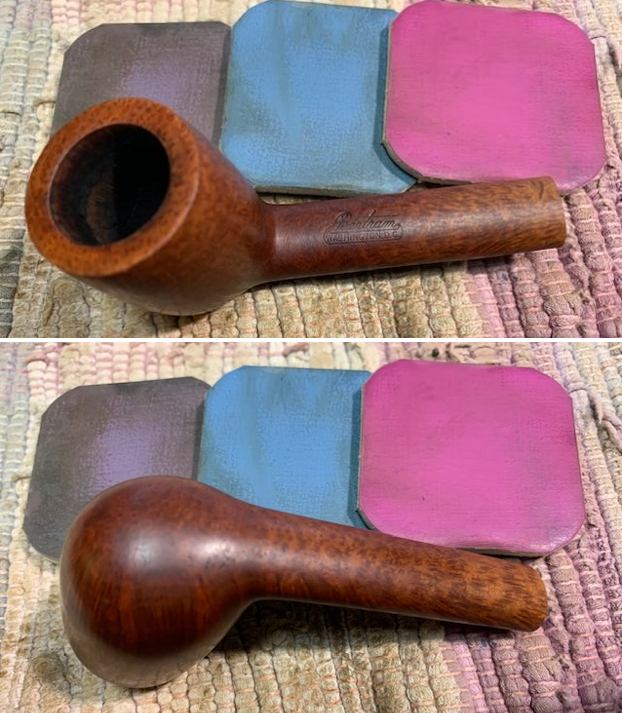 I rubbed the bowl and shank down with Before & After Restoration Balm. I worked it into the surface of the bowl sides and shank with my fingertips to clean, enliven and protect the briar. I let the balm sit for a little while and then buffed with a cotton cloth to raise the shine.
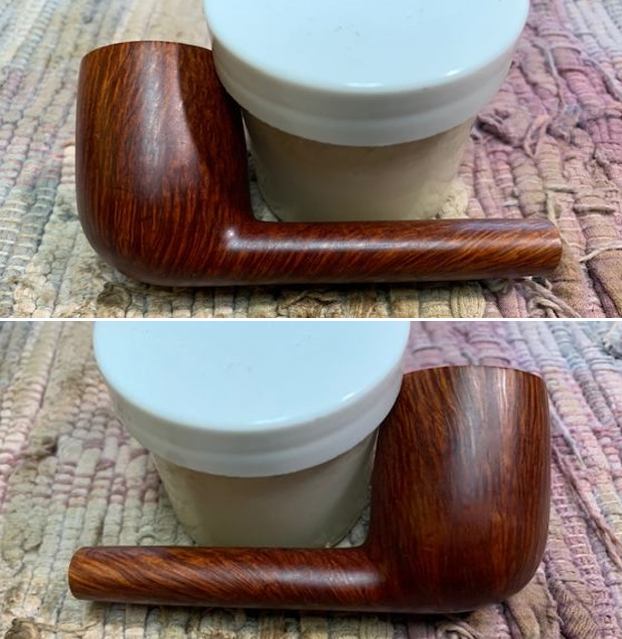
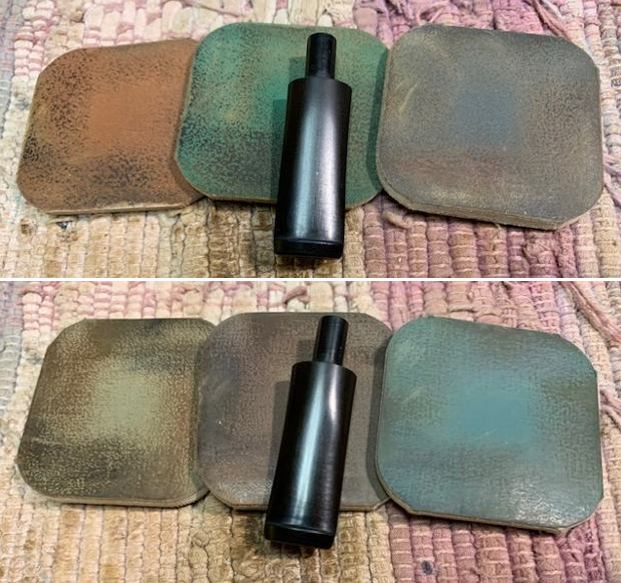
 I polished the vulcanite stem with micromesh sanding pads – 1500-12000 grit pads. I wiped it down with a damp cloth after each sanding pad. I used Before & After Pipe Polish – both Fine and Extra Fine to further polish the stem.
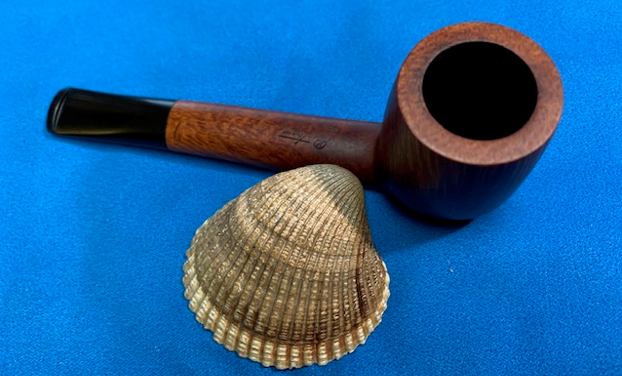
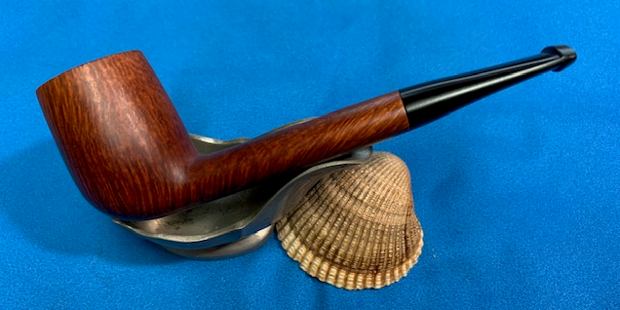
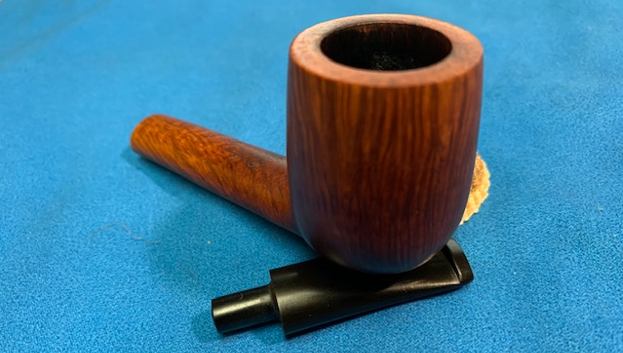
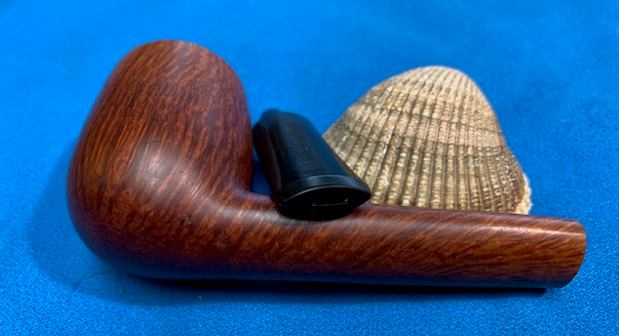
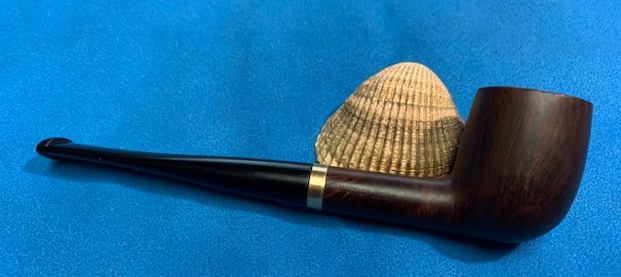
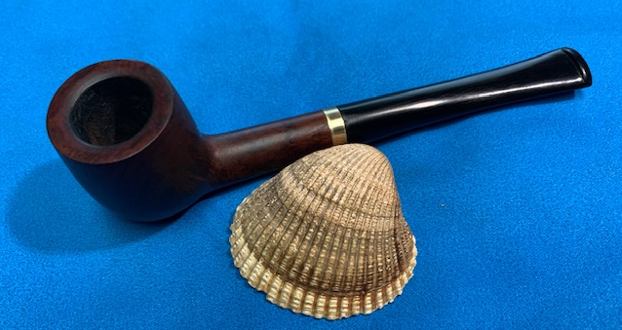
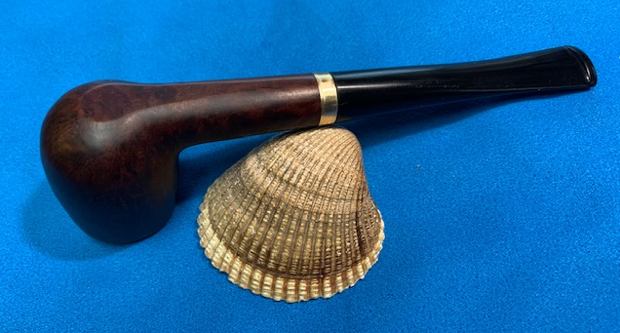
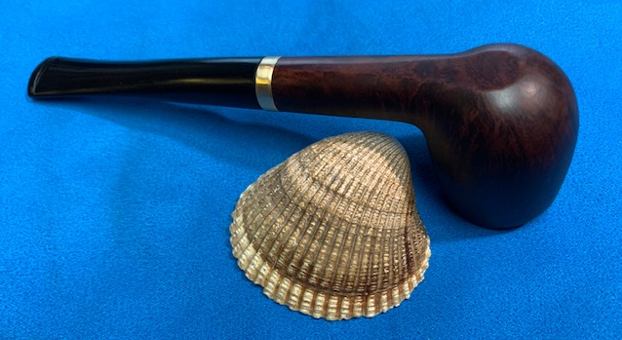
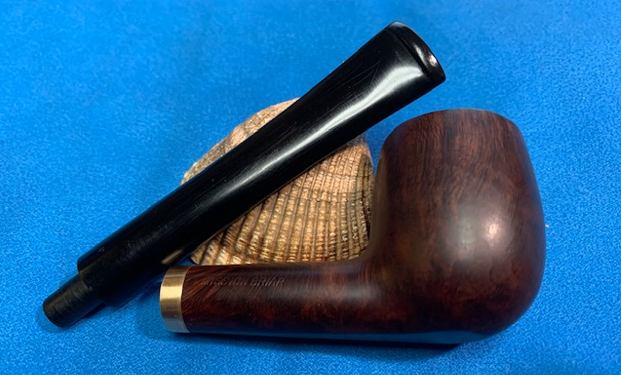
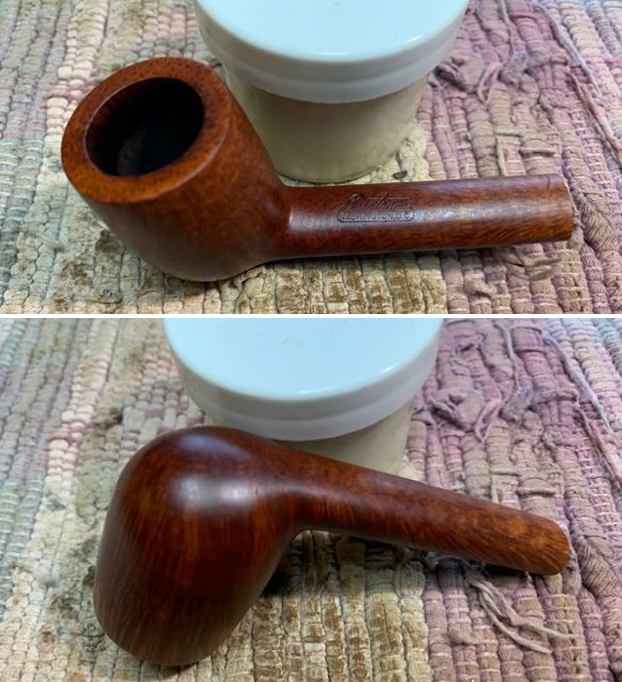
 This Bertram Washington DC Canadian with a vulcanite taper stem is a great looking pipe now that it has been restored. I put the stem back on the bowl and carefully buffed the pipe with Blue Diamond on the buffing wheel using a light touch on the briar. I gave the bowl and the stem multiple coats of carnauba wax on the buffing wheel and followed that by buffing the entire pipe with a clean buffing pad. I hand buffed the pipe with a microfiber cloth to deepen the shine. The finished Smaller Bertram Canadian fits nicely in the hand and feels great. Give the finished pipe a look in the photos below. The dimensions of the pipe are Length: 5 inches, Height: 1 ½ inches, Outside diameter of the bowl: 1 ¼ inches, Chamber diameter: ¾ of an inch. The weight of the pipe is 30 grams/1.06 ounces. If you are interested in adding this pipe to your collection send me a message or an email. I will be putting it on the rebornpipes store shortly in the American (US) Pipe Makers section. Thanks for reading this blog and my reflections on the pipe while I worked on it. There are many more to come!


