Blog by Steve Laug
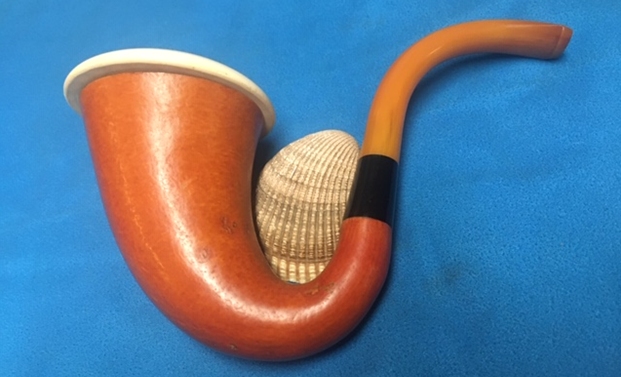
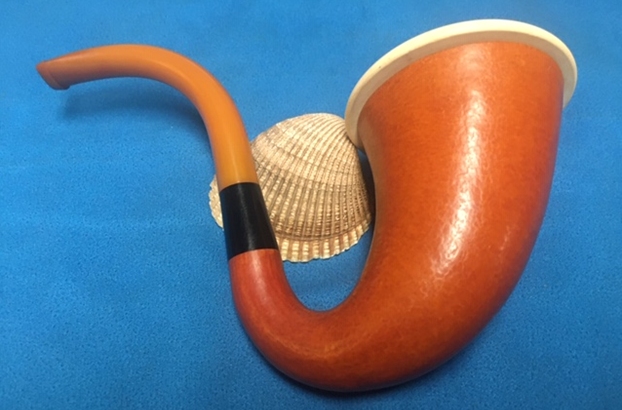
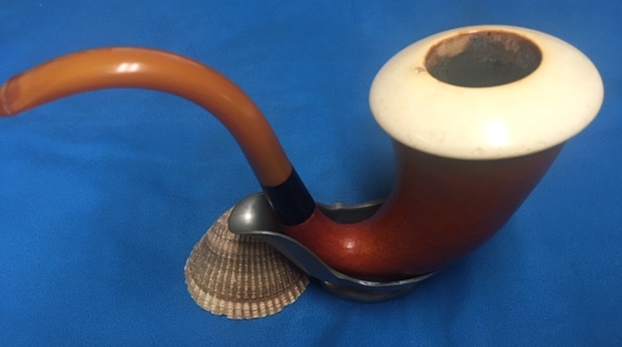
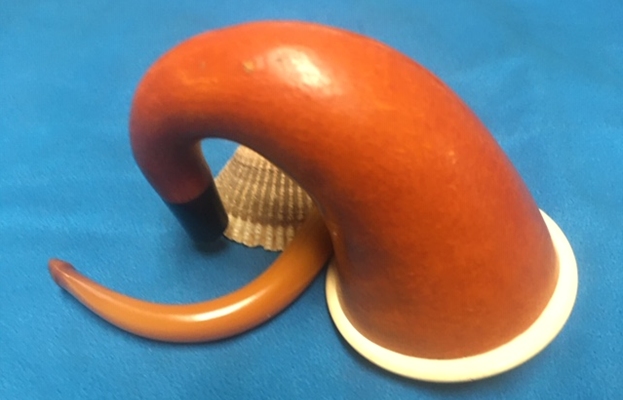
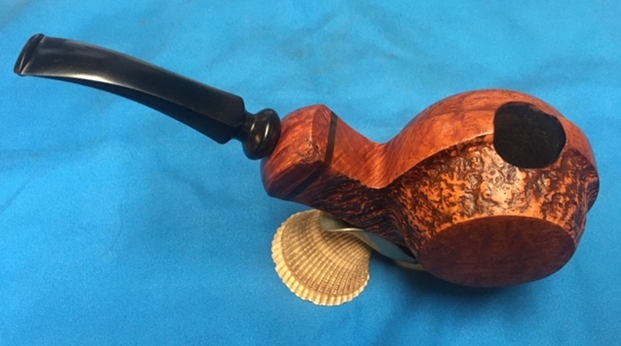
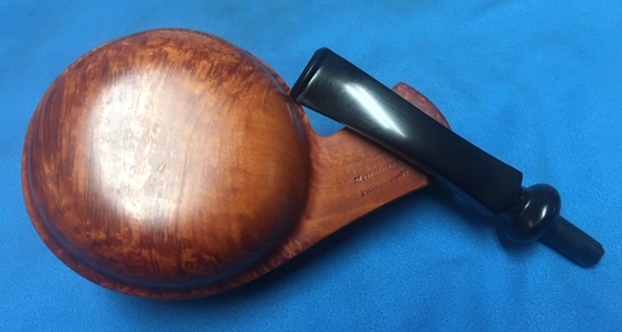
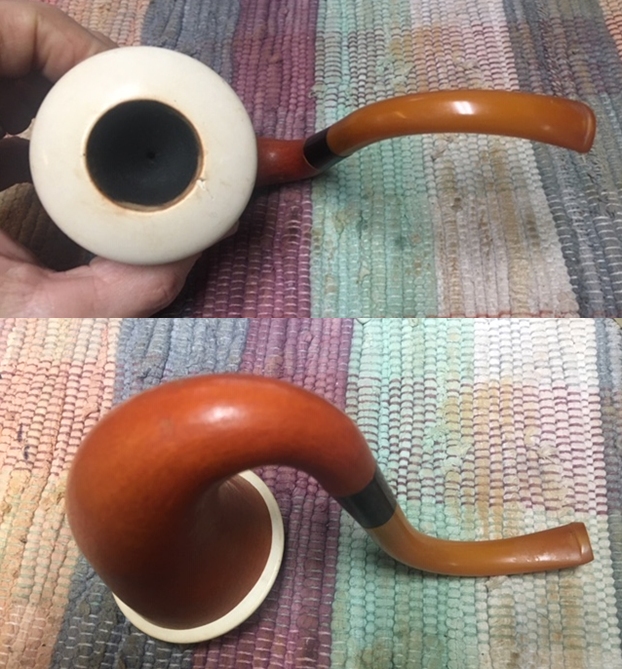
We always have an eye out for Gourd Calabash pipes so we can pick them up and restore them. This one is a pipe Jeff picked up on an online auction in Georgia. We had no idea of the maker but liked the shape of the gourd, the black shank extension and amber coloured Bakelite stem. The finish on the gourd was very dirty with dust and grime. The bowl had a thick cake but the rim top was quite clean. The rim top had some darkening on the inner edge and there was a chip in the meerschaum on the inner edge. There were also scratches in the meerschaum cap of the bowl. The inside of the bowl looked undamaged under the cake so it was a good pick up. The underside of the cup and the outer edge were also clean and undamaged. The stem is Bakelite and has tooth chatter and light tooth marks on both sides near the button. The surface of the button looks very good on both sides. Jeff took photos of the pipe before he started his cleanup work. The conditions noted above are evident in the photos.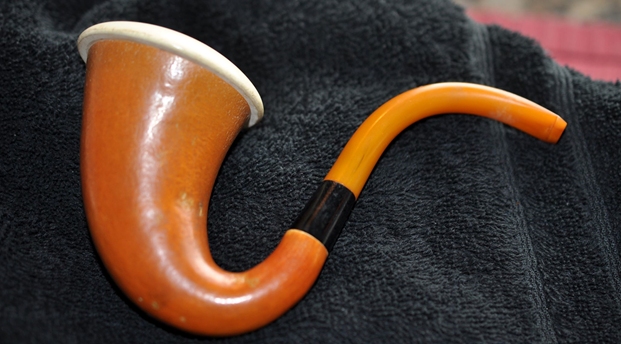
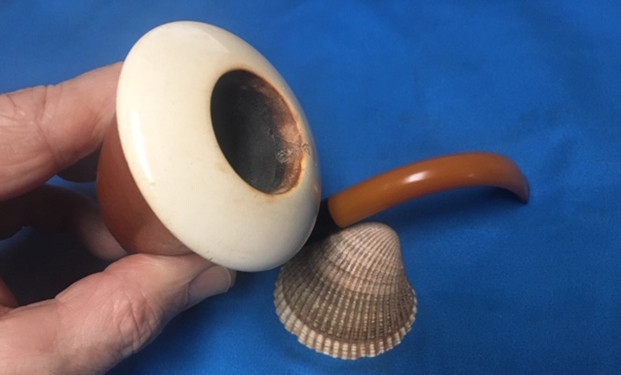
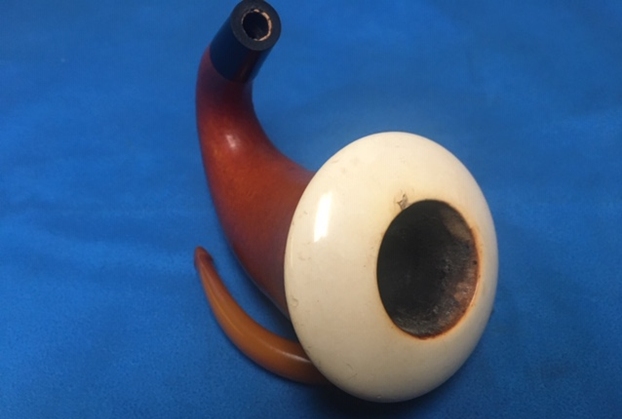
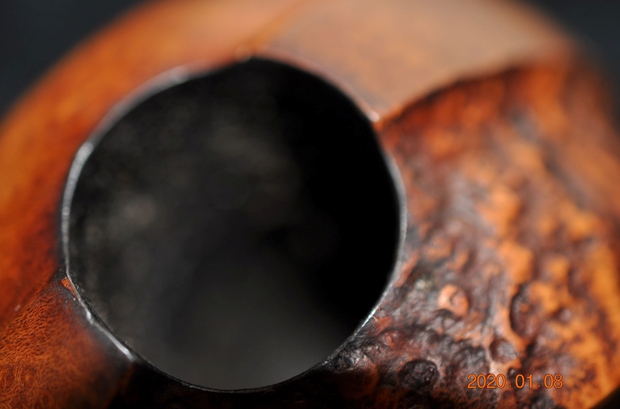
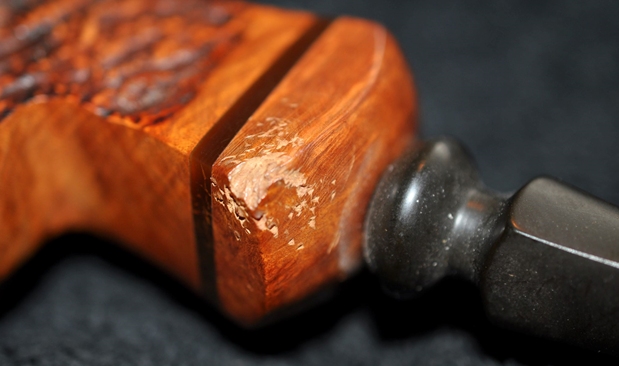
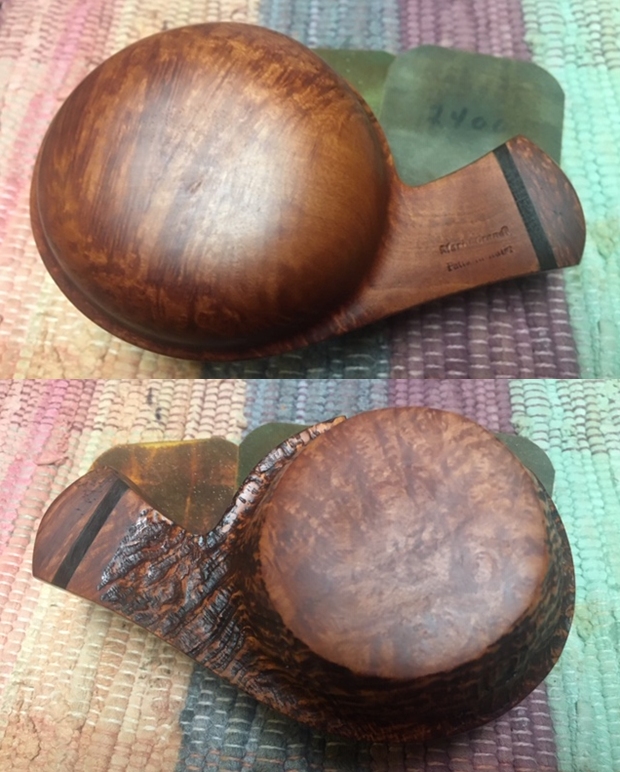
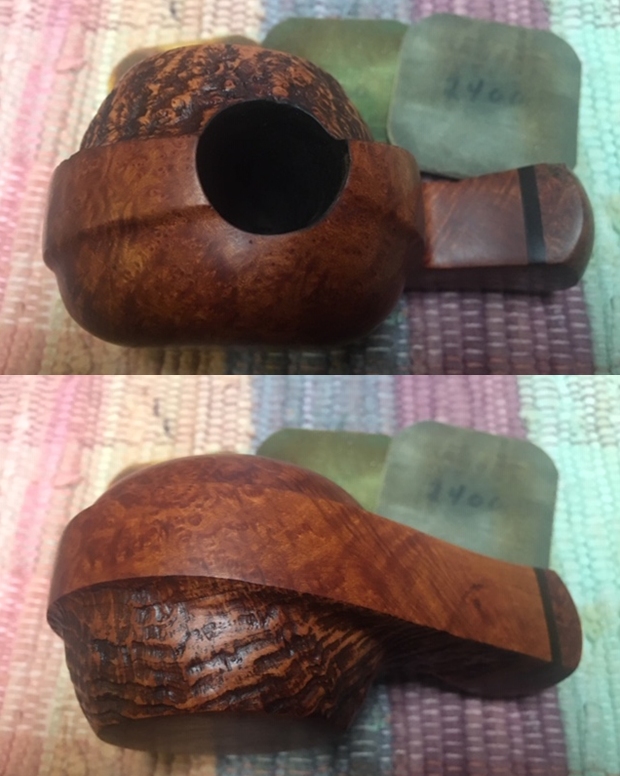
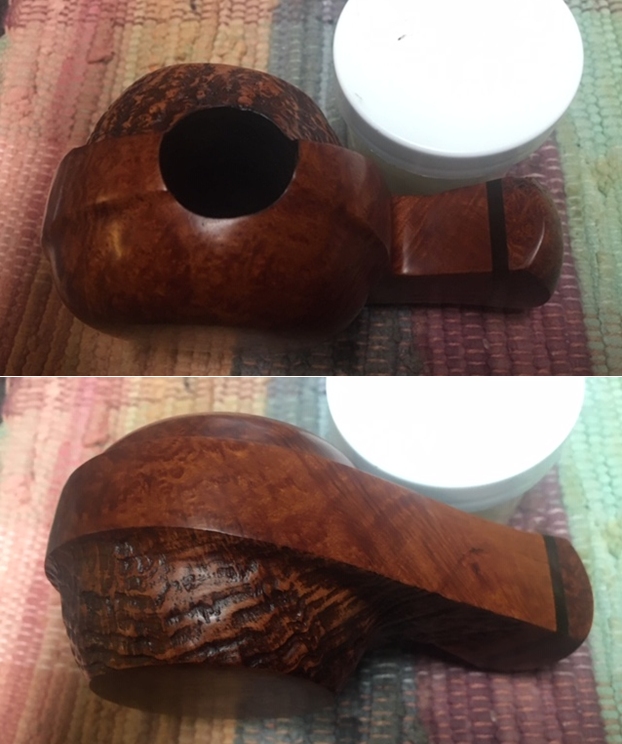
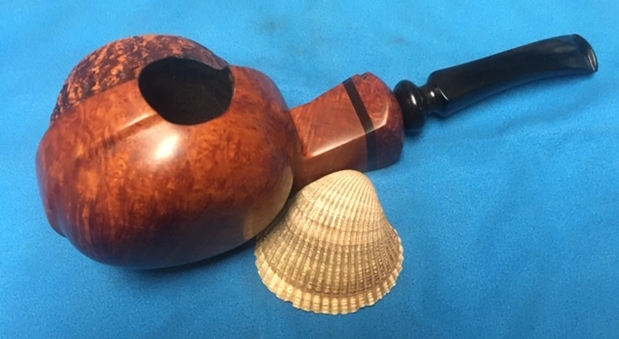
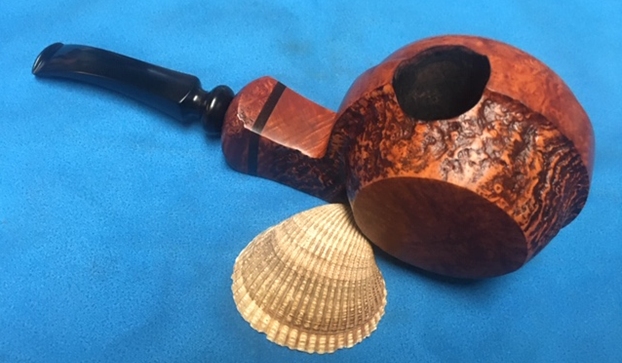
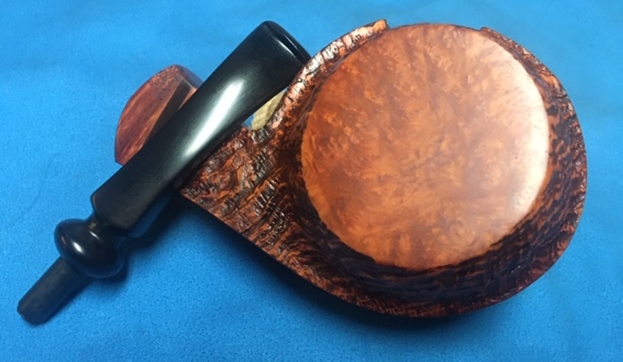
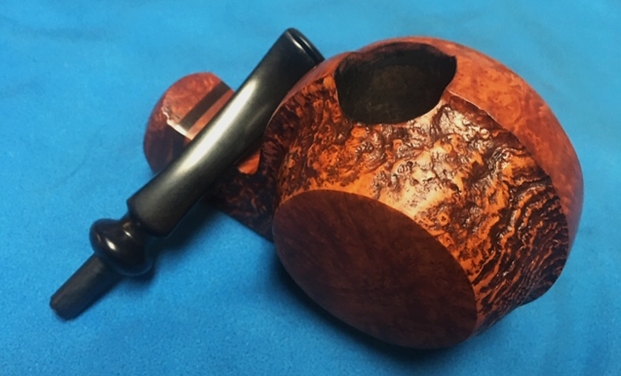
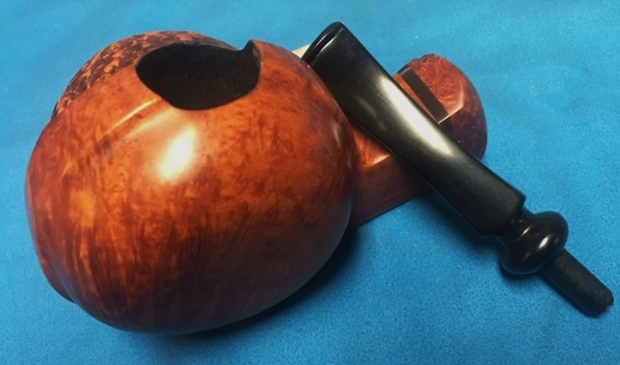
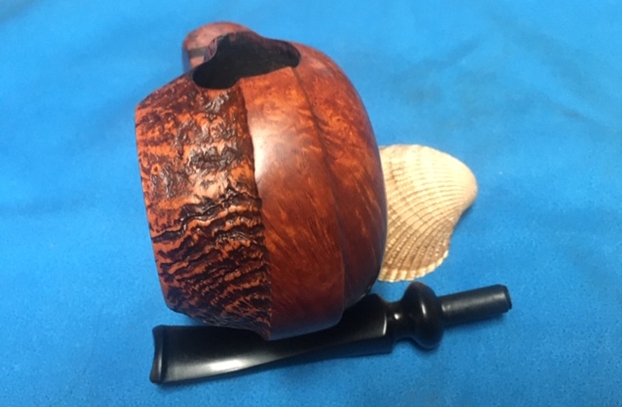
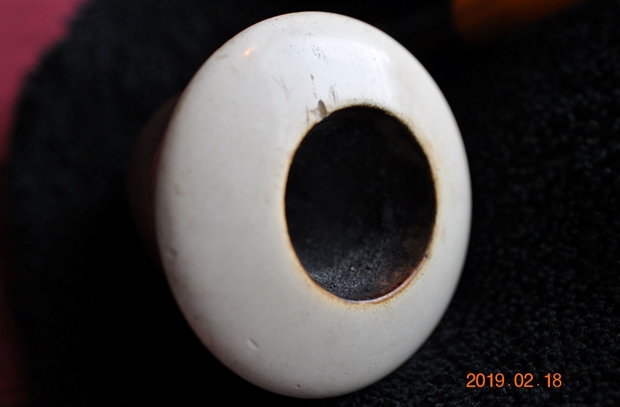
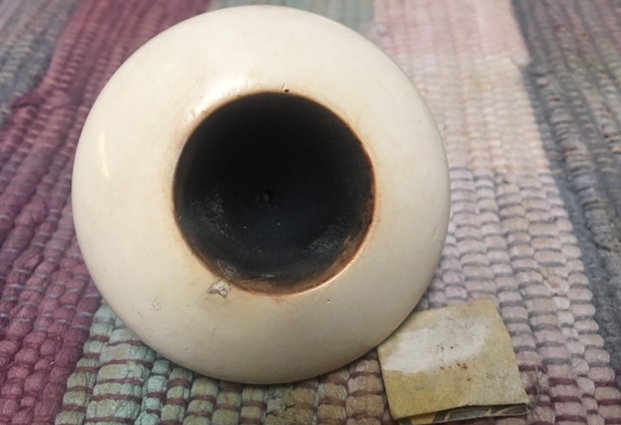
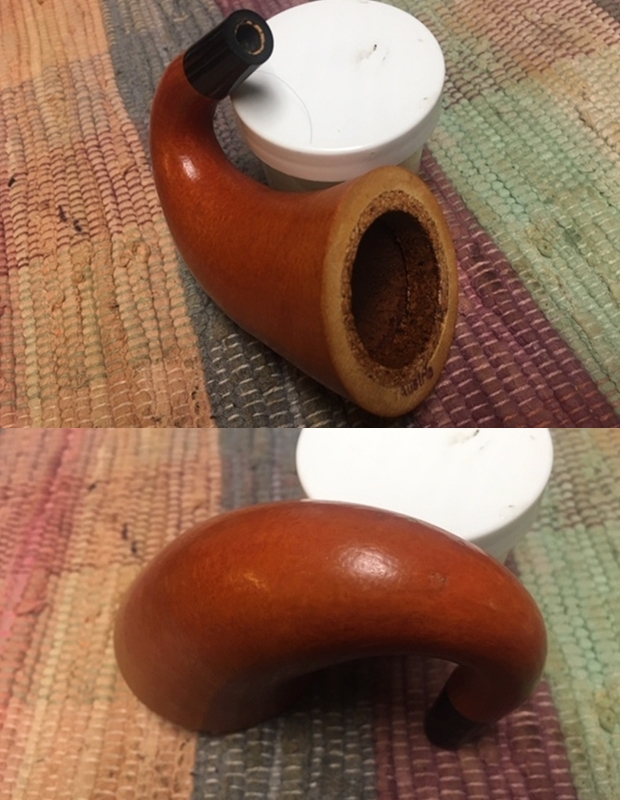
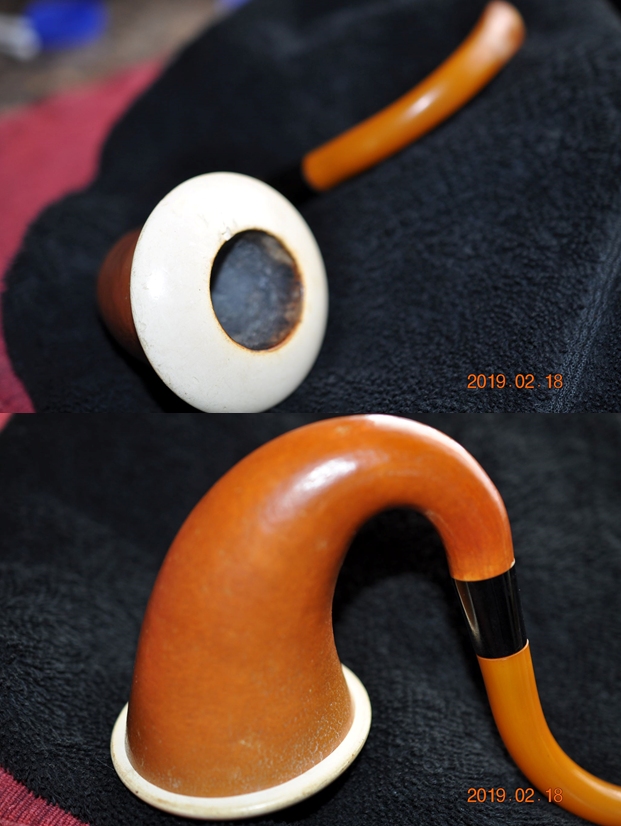 Jeff took close up photos of the meerschaum cup from various angles to show the general condition of the bowl and rim. The first photo shows the thickness of the cake in the bowl and the chip on the inner edge. I have used a red arrow to point out the chipped edge. It shows more clearly in the second photo. There are some deep scratches and gouges in the surface of the cup around the rim top. There appears to be little damage to the outer edge. The photos give a clear picture of the bowl cup and rim edges.
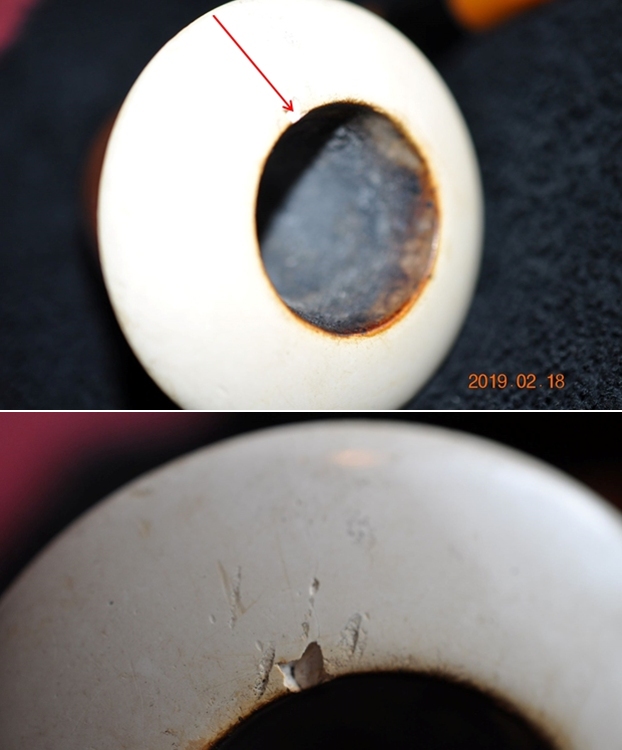
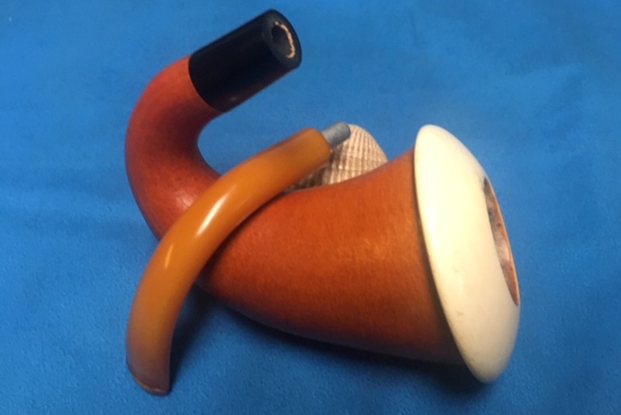
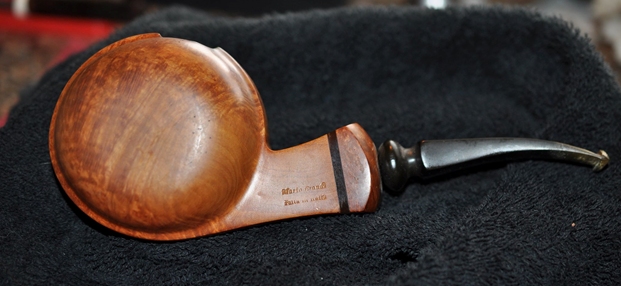
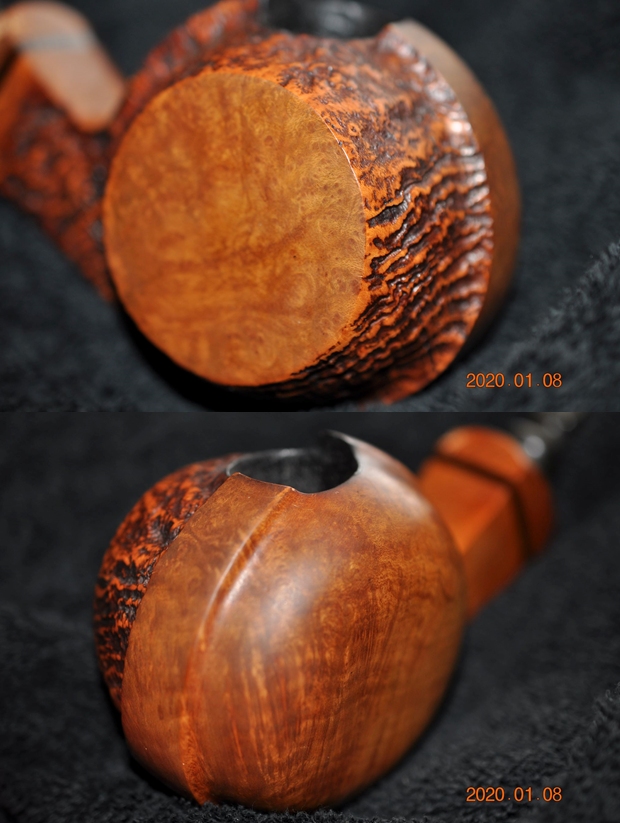
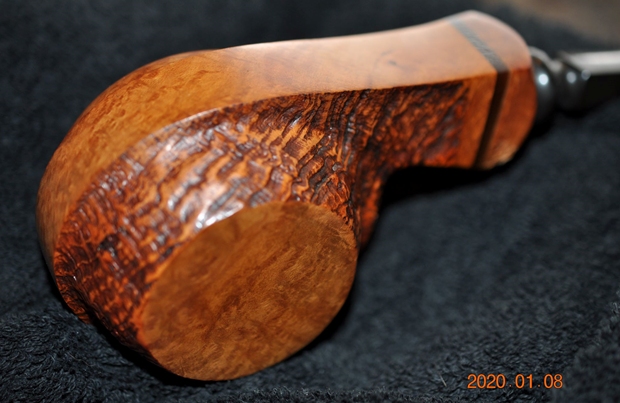
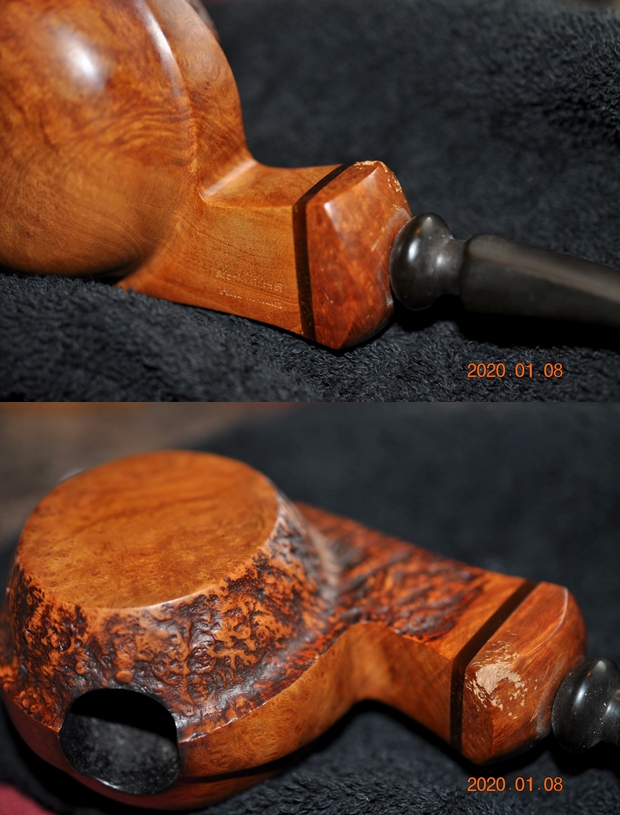
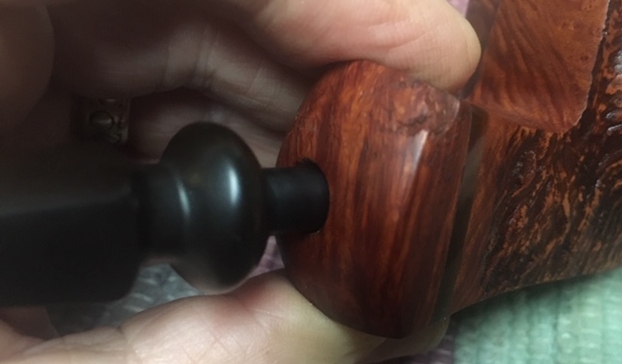
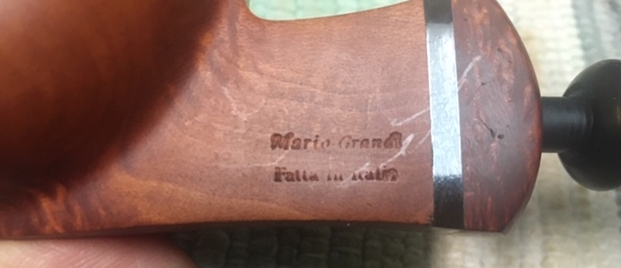
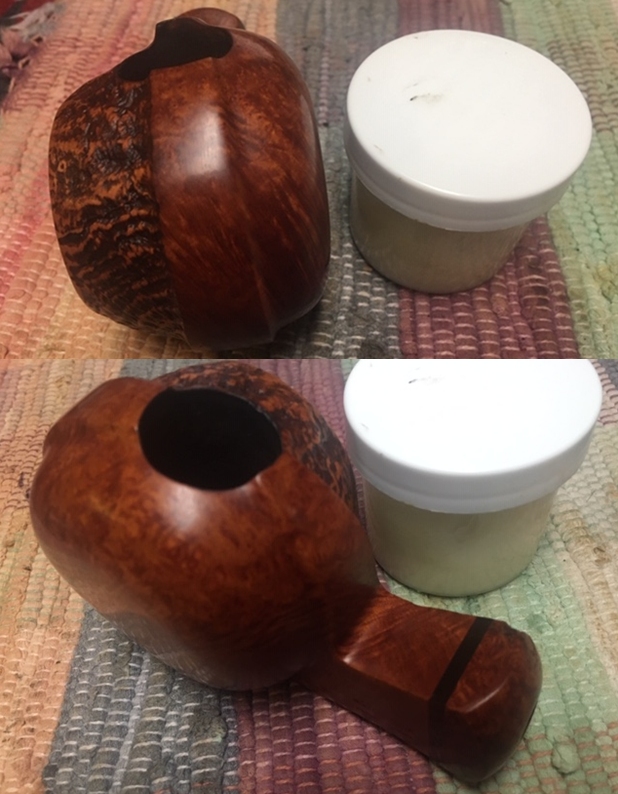
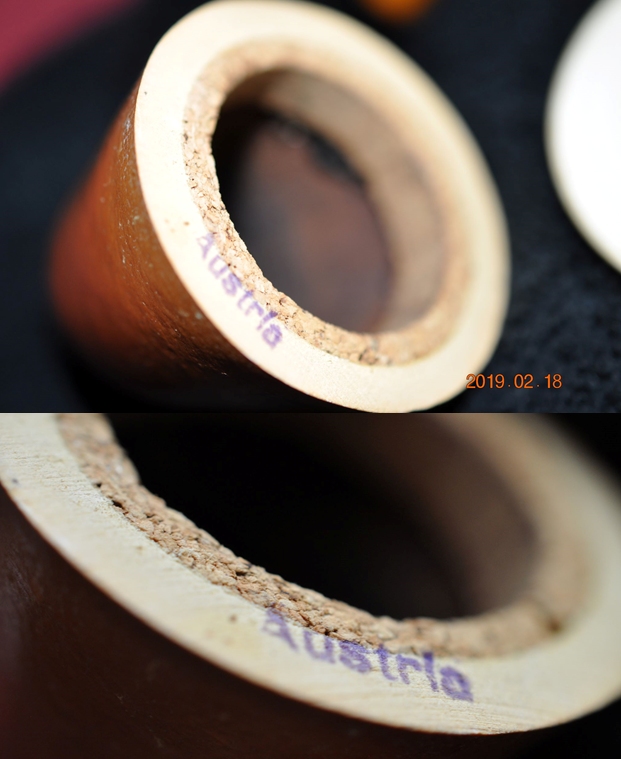
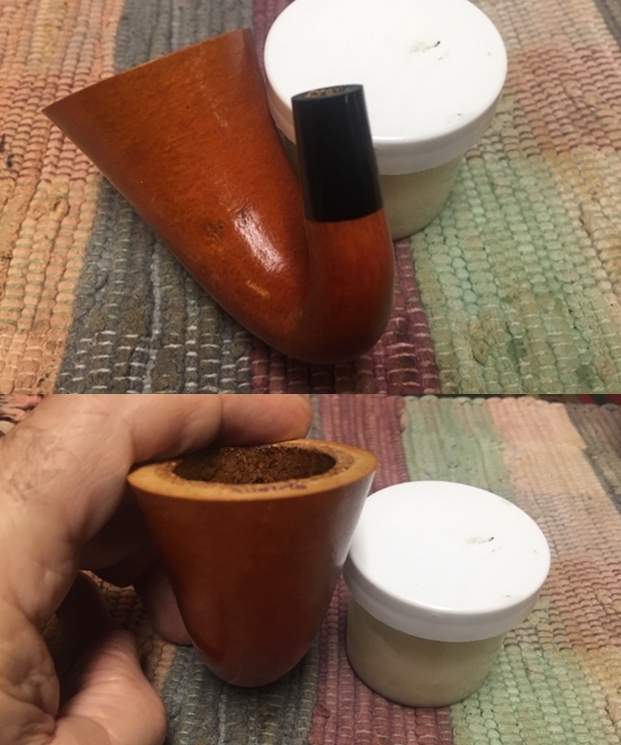
 Jeff took the meerschaum cup out of the gourd and took photos of the underside of the meerschaum and the inner edge of the gourd. What it reveals is some very fascinating information. The first photo below has the initials GS over the date 1957. The second photo shows the number 85 which I am assuming is the production number or possibly the shape number of this particular bowl. The third and fourth photos show that inked stamp Austria on the edge of the gourd next to the cork gasket. Now I have a bit of information to go on and do some detective work on the maker!
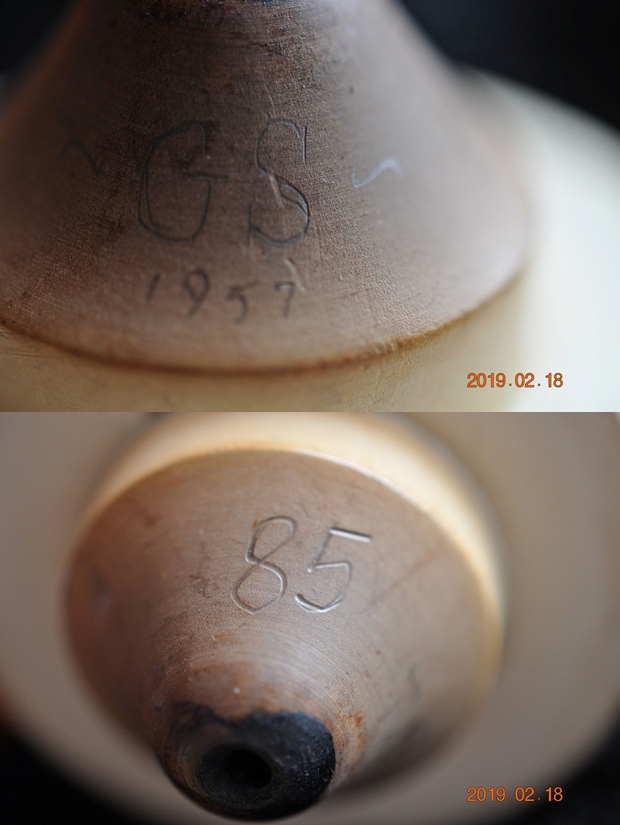
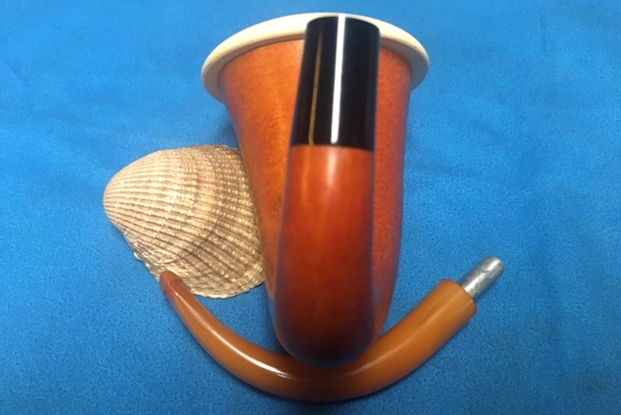
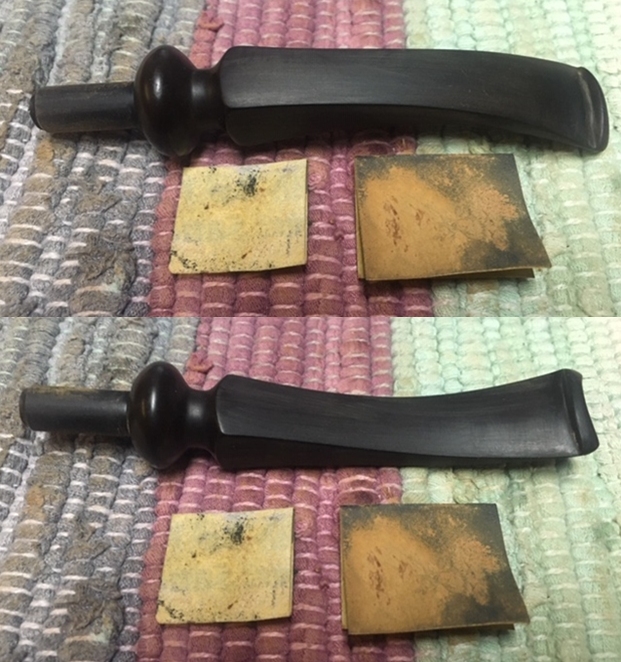
 The photos of the stem show the condition of the stem on both sides. The first one shows the tooth marks and chatter on the top of the stem and on the button. The second photo though out of focus still shows the same tooth chatter. Both side have some calcification on the surface.
 The tenon on this one is aluminum and the mortise is lined with what appears to be a thin piece of fiber. Very hard to tell. The fit of the stem is very snug and there is little slop to it. The aluminum tenon also potentially points to war years manufacture.
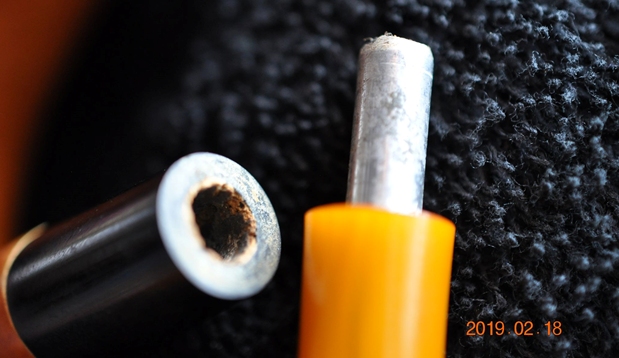 I looked up Austrian Made Gourd Calabash pipes that have a GS stamp and the year 1957 on the gourd. It was a long shot but I thought there may be some information available. There were some links to Strambach Meerschaum pipes and Gourd Calabash pipes but the maker was Robert Strambach. That was a dead end. I looked on Pipedia and on Pipephil and again there were no leads. Another possibility was that the pipe was purchase in 1957 by GS. I guess I will chalk this up to the ongoing mysteries of pipe maker identification.
Hitting the dead end, I turned my attention to the pipe itself. Jeff had cleaned the pipe with his usual penchant for thoroughness that I really appreciate. He carefully reamed it with a Savinelli Fitsall Pipe Knife, scraping the cake and grime out of the bowl. He scrubbed out the internals of the gourd and shank with alcohol, pipe cleaners and cotton swabs until the pipe was clean. He scrubbed the exterior of the bowl with Murphy’s Oil Soap and a tooth brush to remove the grime and grit on the gourd surface. The gourd looks to be in great condition once it is cleaned. Jeff scrubbed the internals and externals of the stem with pipe cleaners, cotton swabs and alcohol. When the pipe arrived here in Vancouver for the second stop of its restoration tour it looked very good. I took photos before I started my part of the work.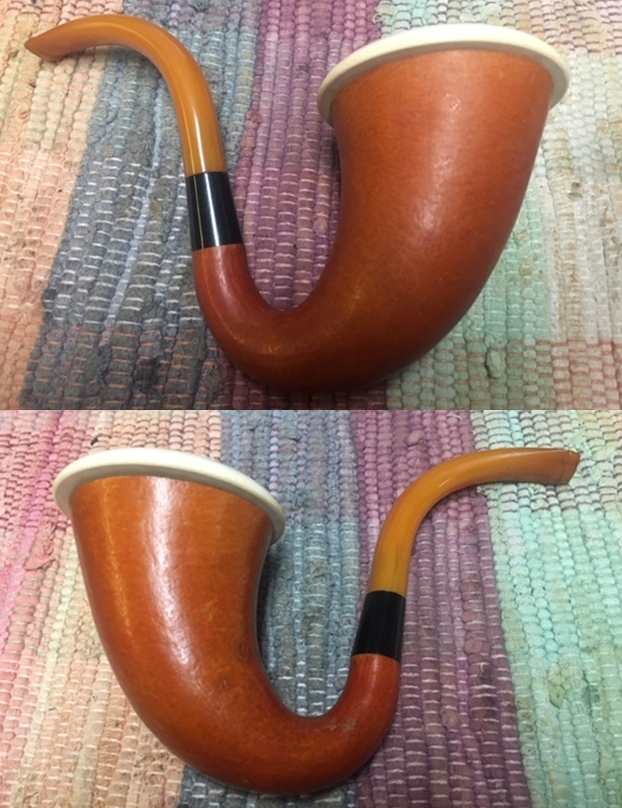
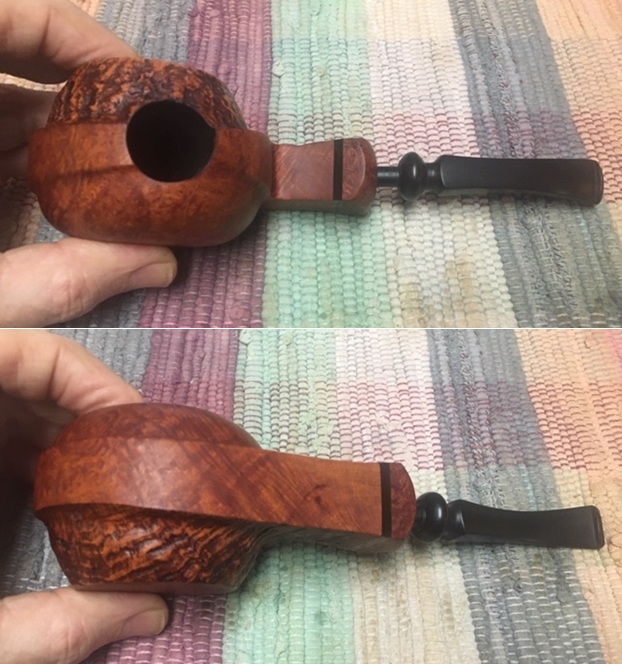
 I took some close up photos of the rim top and also of the stem surface. The bowl and the rim top look good. The inner edge of the rim is clean and you can see the chip and nick on the right side of the photo. There was some wear in the finish on the rim top. I also took close up photos of the stem to show how clean the stem was. There were light tooth marks on both sides of the stem.
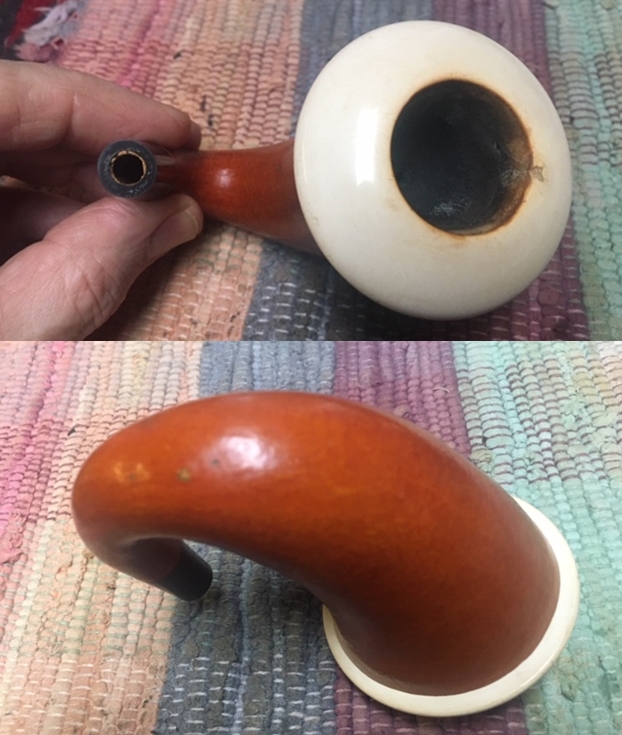
 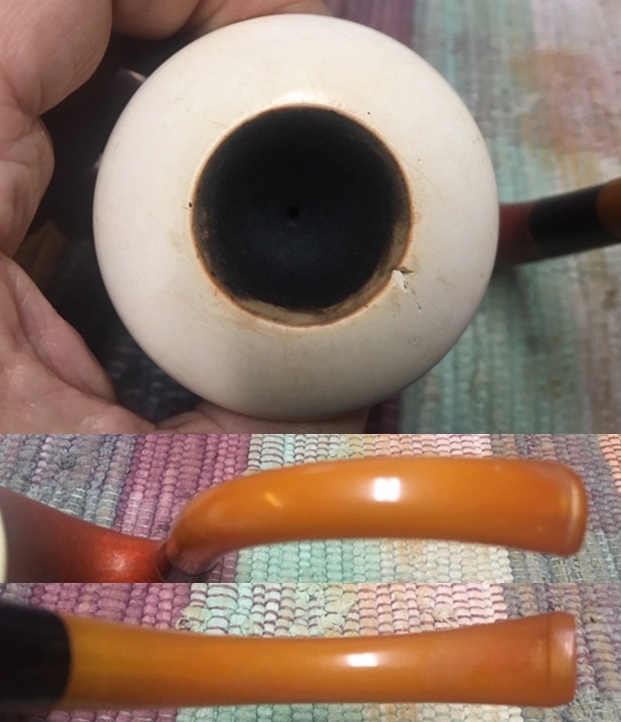 I took the cup off the gourd to show the interior of the gourd and the underside of the meerschaum cup. You can see the marking on the cup and the bowl and gourd are very clean.
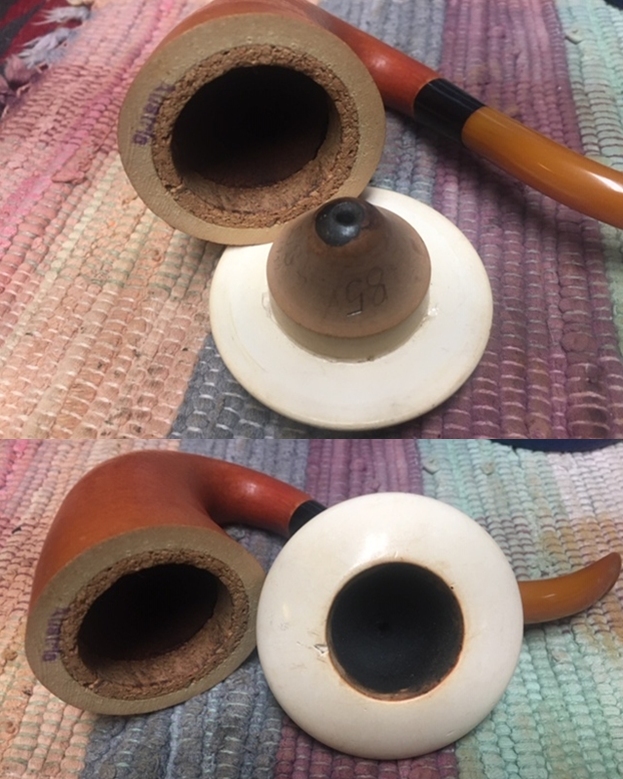 There were some very deep gouges around the flat platform of the rim top and the bowl itself. It almost looked like these were caused by the lathe when the bowl was turned. I filled them in with clear super glue. The chip on the inside edge of the cup was ragged. I mixed some meerschaum dust with clear super glue and filled it in so it would be smooth. I know that it won’t colour the same as the rest of the bowl but it will not be ragged and splinter either. I opted for smooth and safe. I sanded it smooth with a folded piece of 220 grit sandpaper and started polishing it with 400 grit wet dry sandpaper. I wiped down the surface with a damp cloth. The repairs looked very good.
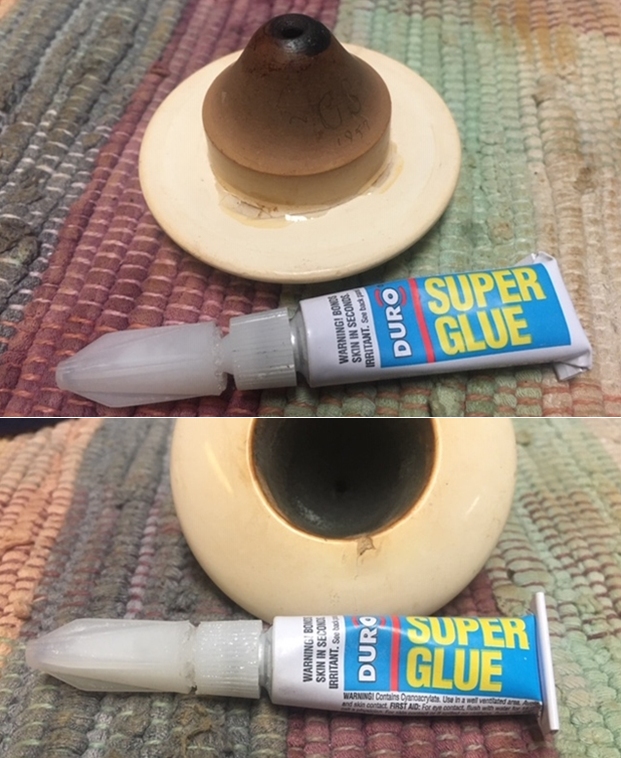
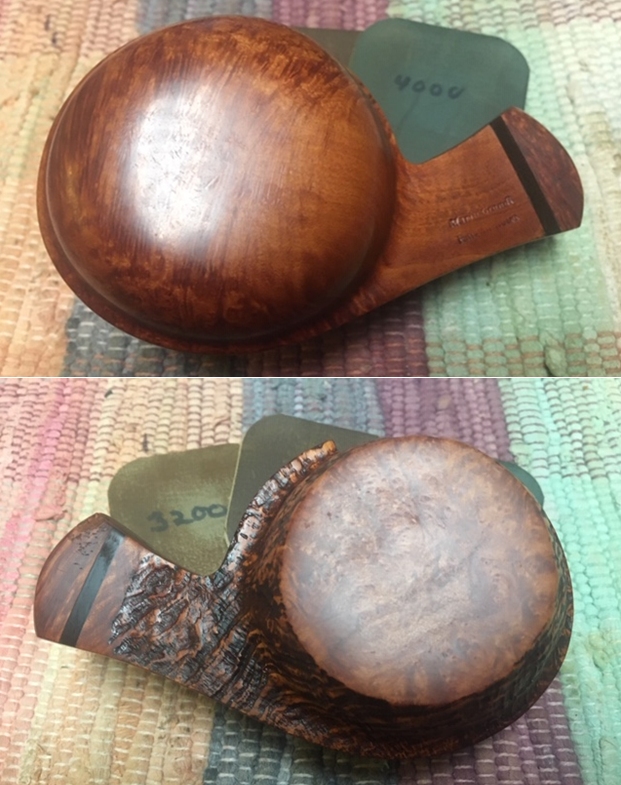
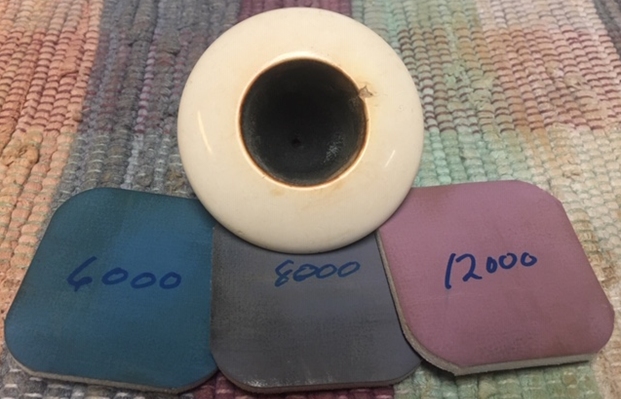
 I wet sanded the meerschaum cup with micromesh sanding pads – 1500-12000 grit sanding pads. I wiped the bowl surface down with a damp cloth after each sanding pad to remove the sanding dust. Once I finished the cup looked pretty nice.
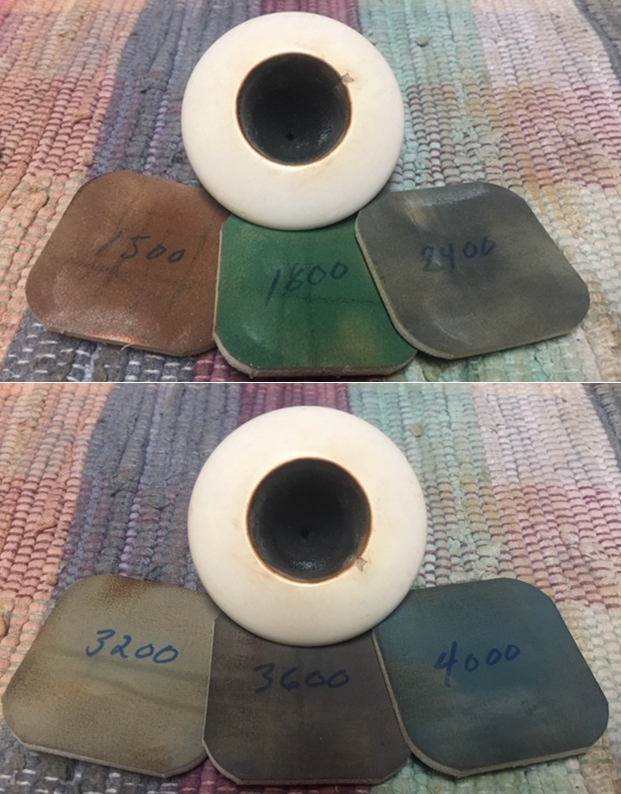
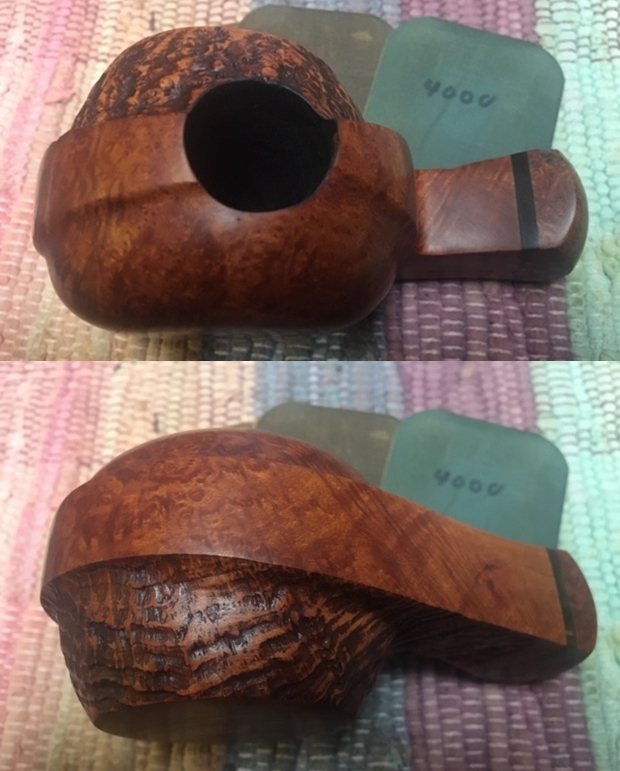
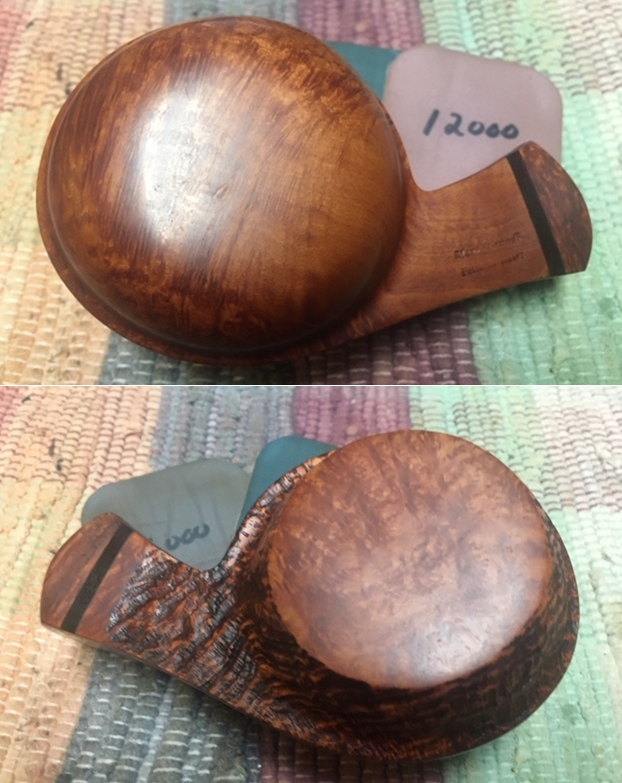
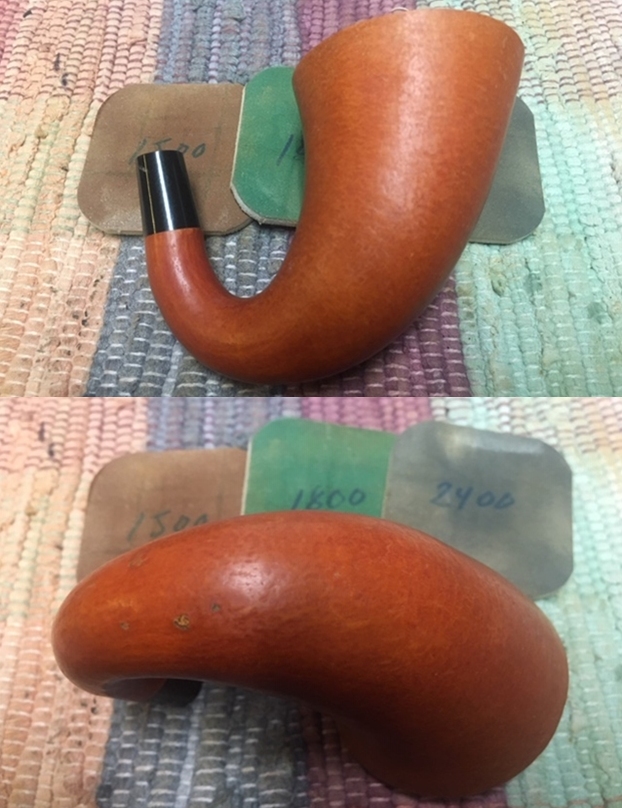
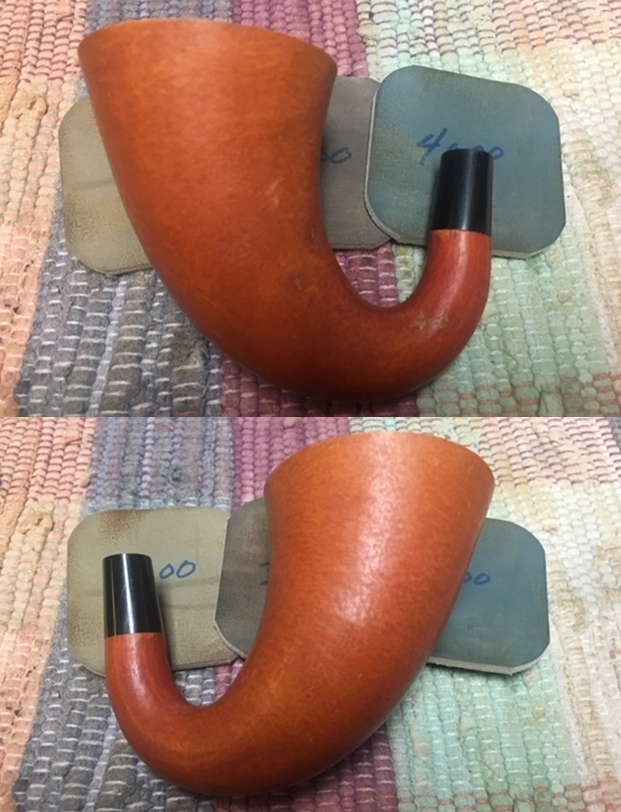
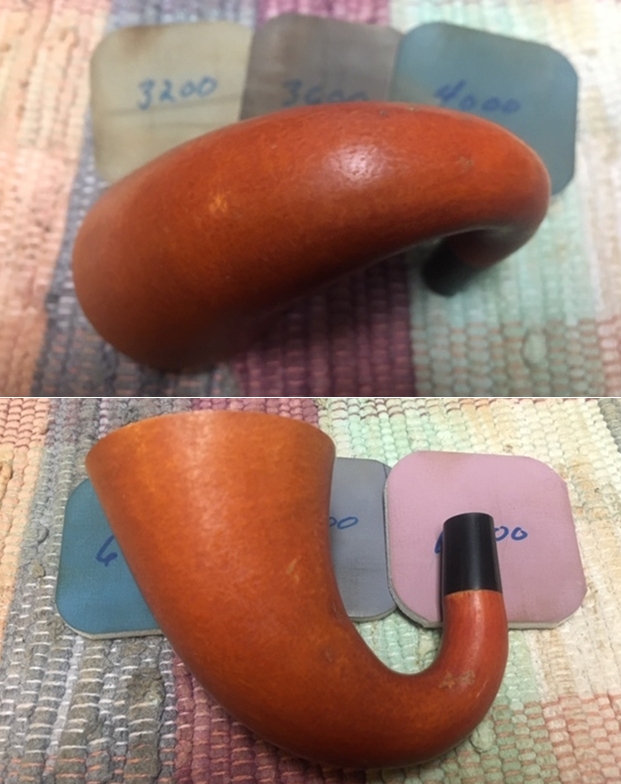
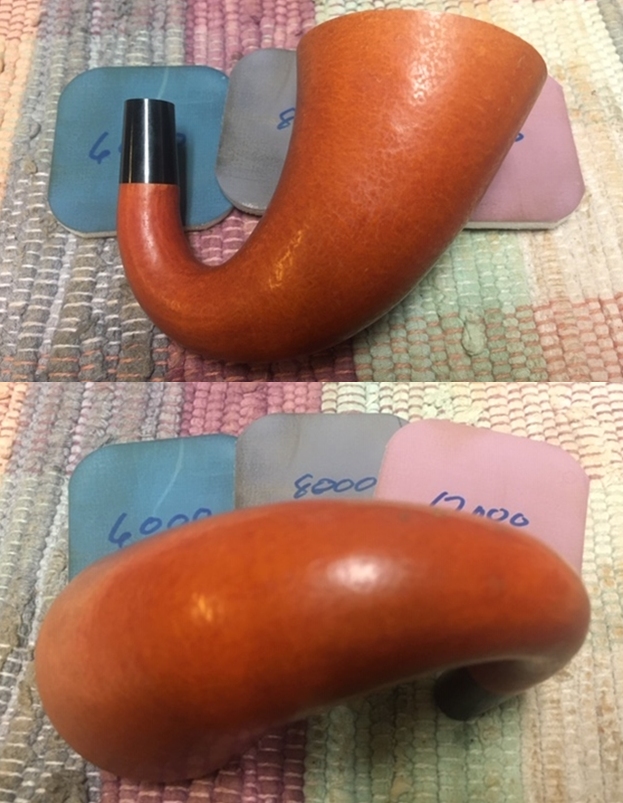
 I wet sanded the gourd with micromesh sanding pads – 1500-12000 grit sanding pads. I wiped the bowl surface down with a damp cloth after each sanding pad to remove the sanding dust. Once I finished the exterior of the gourd was clean and it shone.
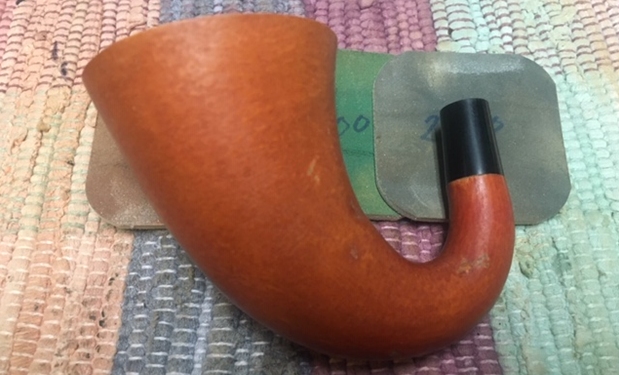
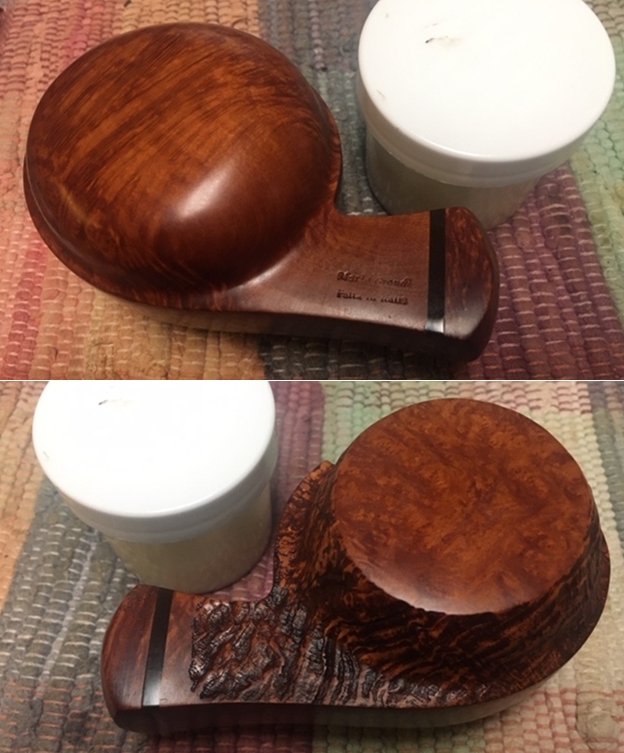
 I rubbed the bowl down with Before & After Restoration Balm. I worked it into the surface of the gourd with my fingertips to clean, enliven and protect it. I let the balm sit for a little while and then buffed with a cotton cloth to raise the shine. Mark Hoover’s Balm is a product that I have come to appreciate and one I use on every pipe I have been working on.
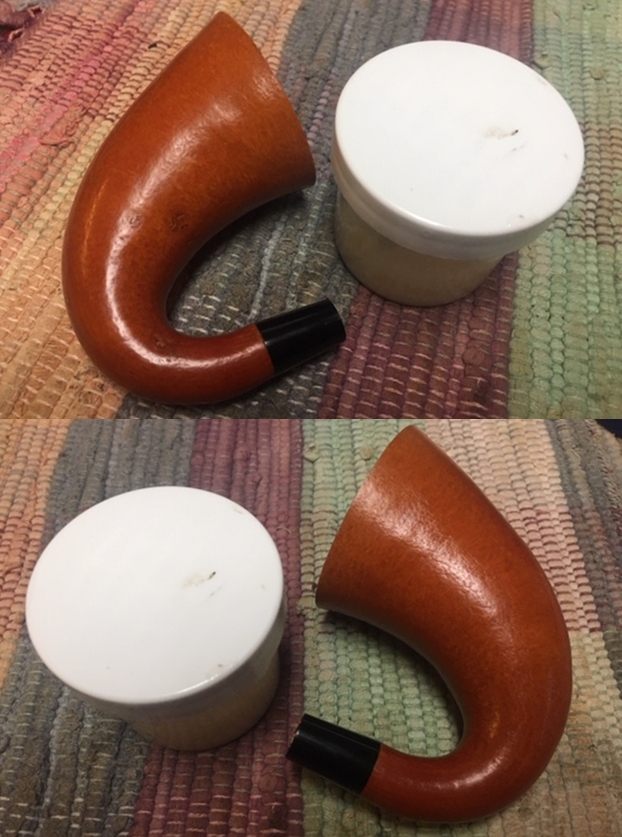
 I rubbed Vaseline into the cork gasket to bring life to the material. I let it sit and the Vaseline absorbed into the cork softening it and adding elasticity.
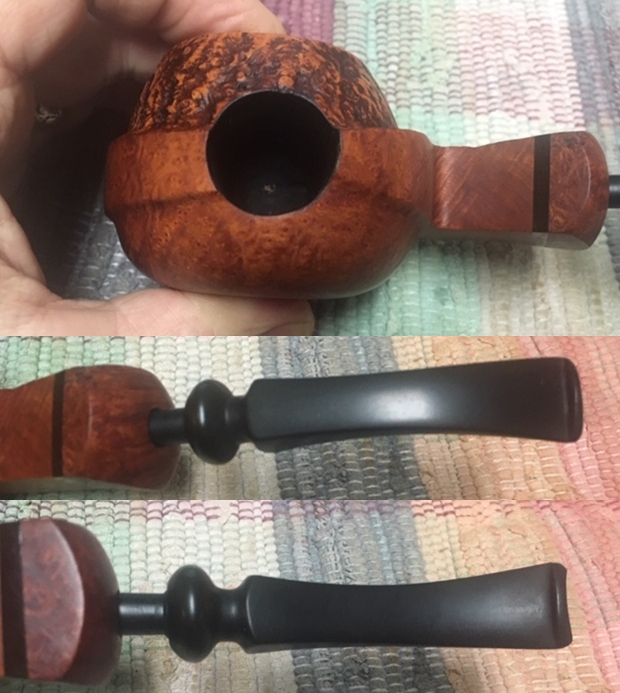
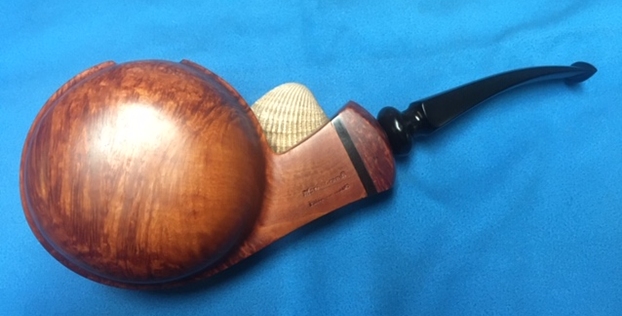
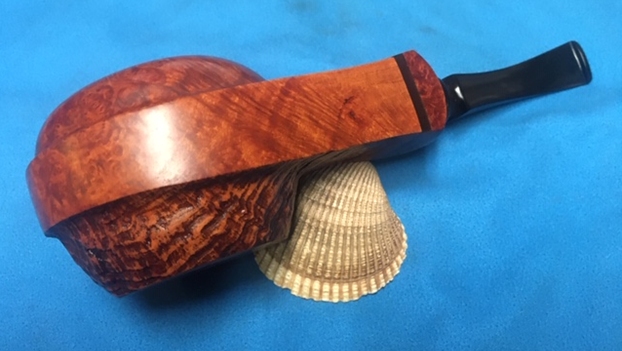
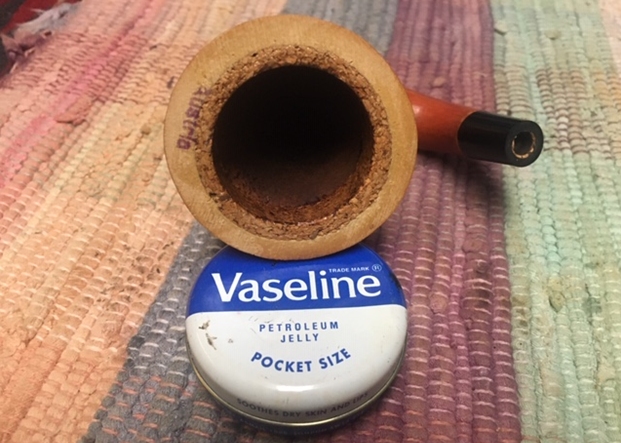 I put the cup back in the bowl and it worked perfect with the softened cork. The fit was snug and perfect. I took photos of the pipe at this point to show the progress.
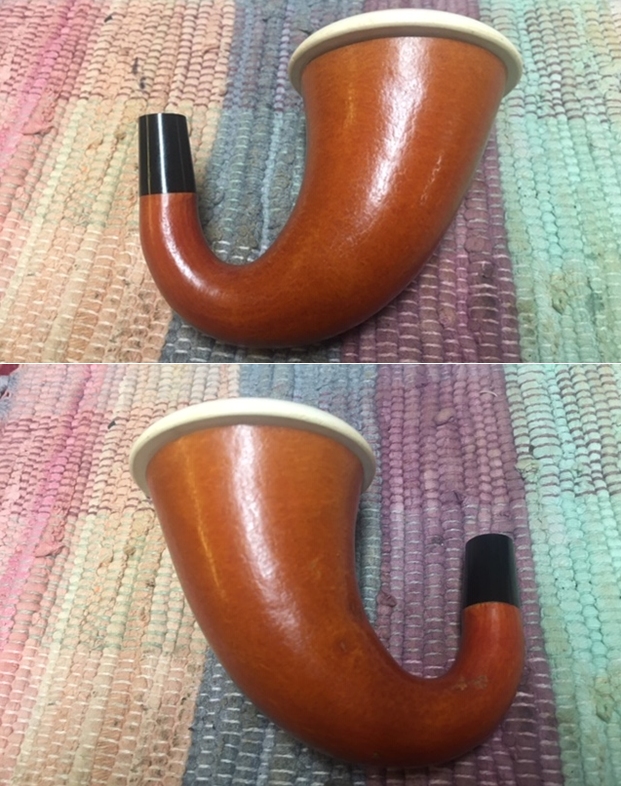
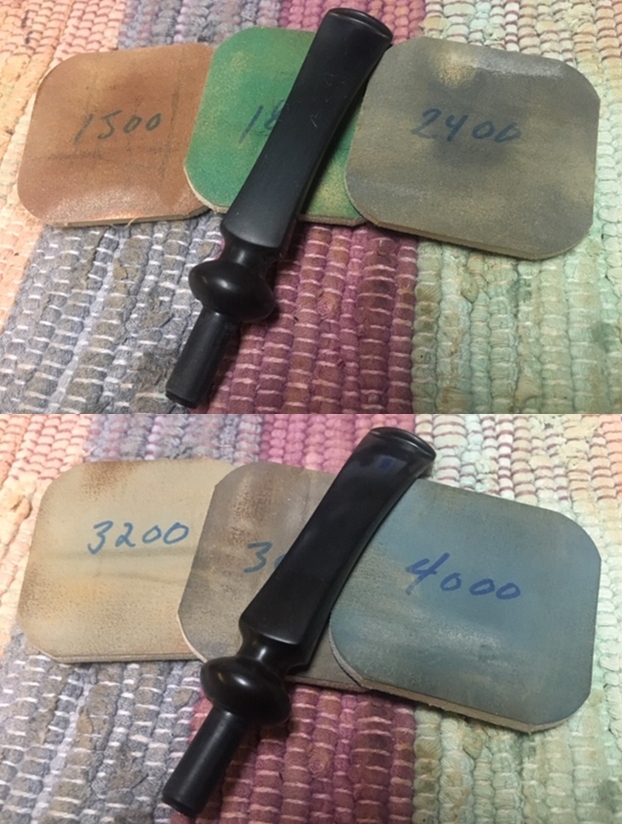
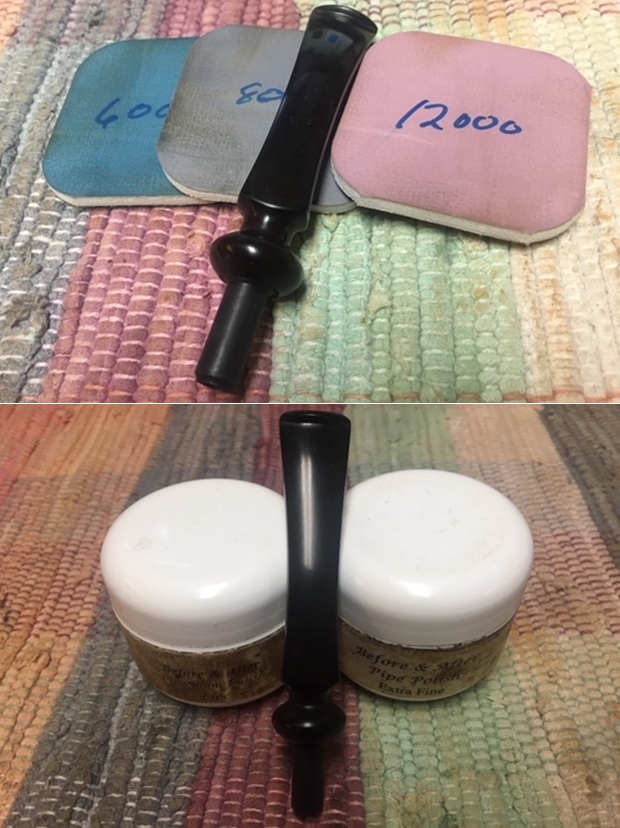
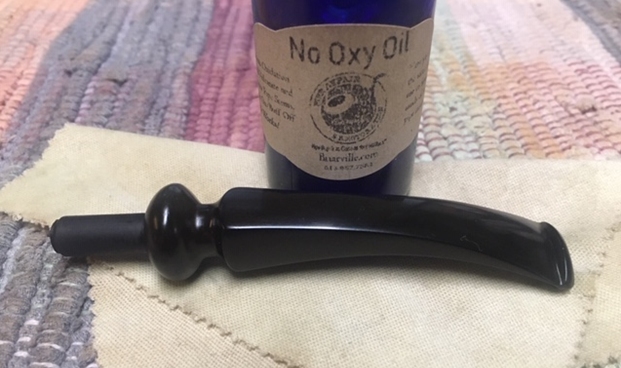
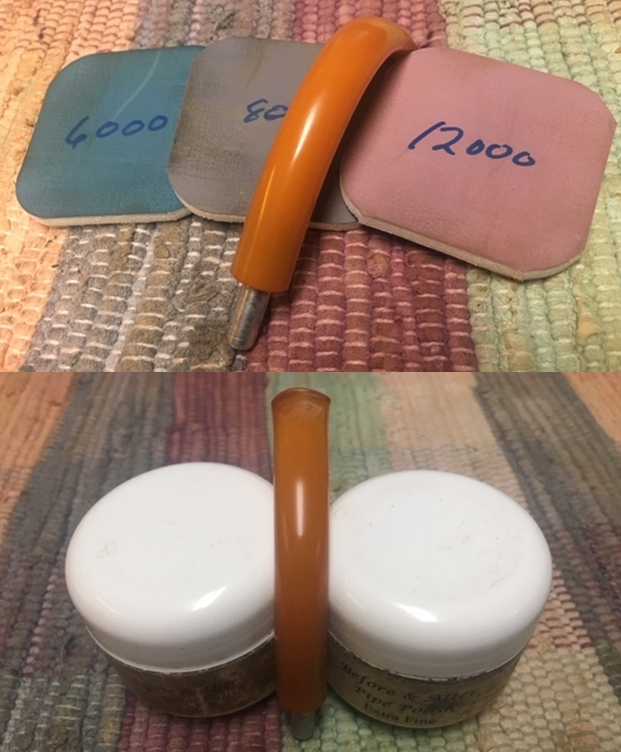
 I set the bowl aside and turned my attention to the stem. I polished the stem with micromesh sanding pads – wet sanding with 1500-12000 grit pads. I wiped the stem down after each sanding pad with Obsidian Oil. I polished it with Before & After Pipe Stem Polish – both Fine and Extra Fine. Once I had finished the polishing I gave it final coat of oil and set it aside to dry.
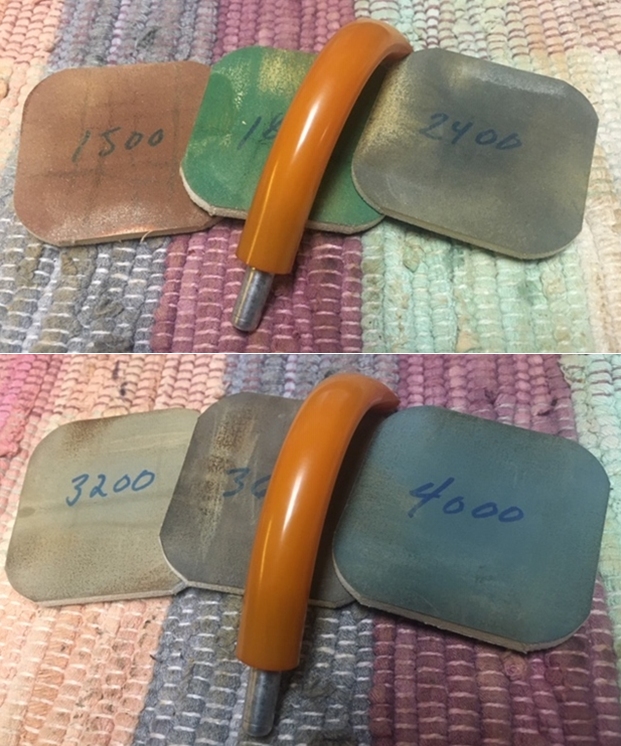
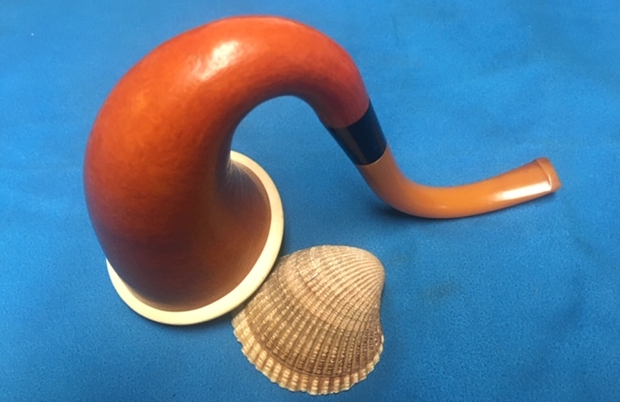
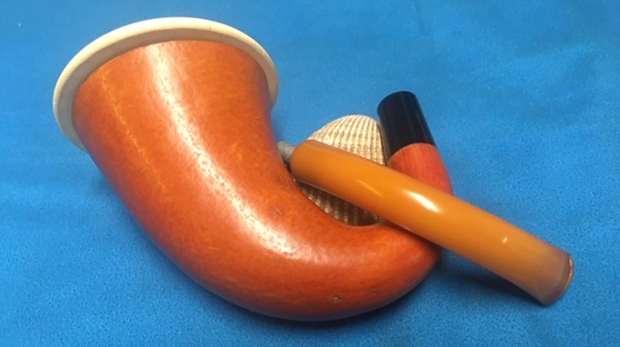
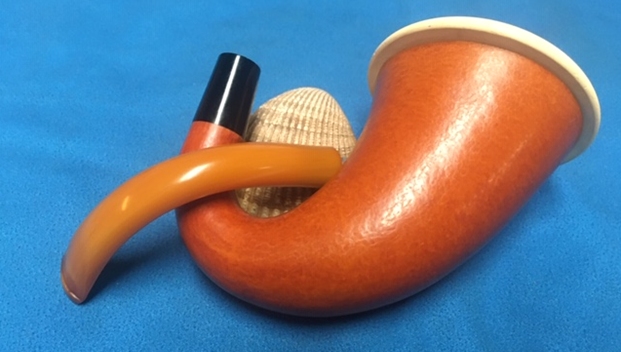
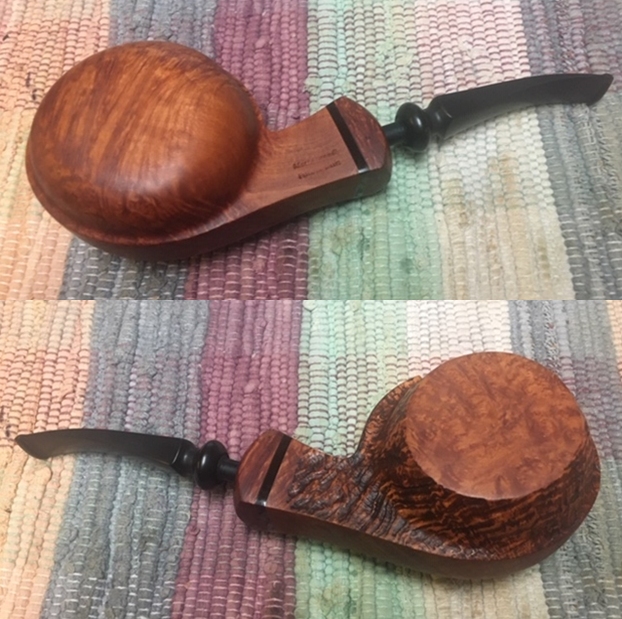
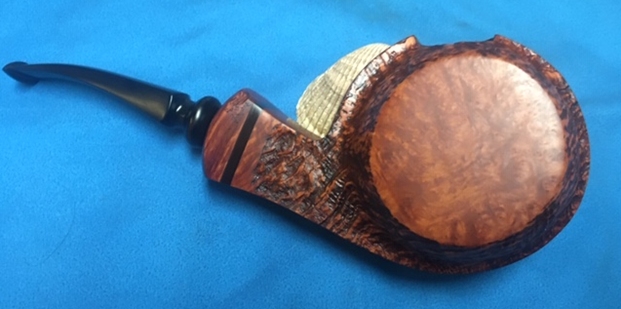
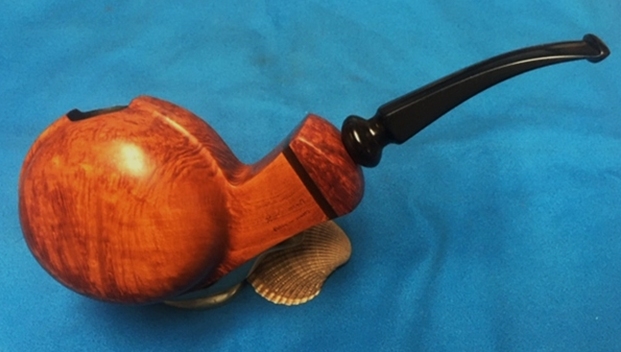
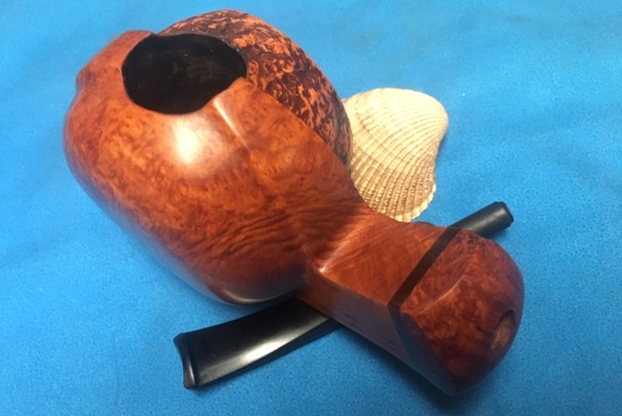
 I am excited to be on the homestretch with this old 1957 Gourd Calabash pipe. This is the part I look forward to when it all comes back together, polished and waxed. I carefully and gently polished the gourd bowl by itself and the meerschaum cup separately with Blue Diamond. I carefully polished the Bakelite stem on the wheel with a very gentle touch. I gave the gourd and the stem multiple coats of carnauba wax. I buffed the pipe with a clean buffing pad to raise the shine. I hand buffed it with a microfiber cloth to deepen the shine. The pipe polished up pretty nicely. The completed pipe looks really good with the white of the cup, the black of the shank extension and the amber Bakelite stem. This Gourd Calabash was another fun pipe to work on thanks to Jeff’s cleanup work. It is one of those gourds that is just the right shape, compact and well bent and looks great. The combination of the parts really makes the pipe look attractive. It is another comfortable pipe to hold in the hand. The finished pipe is shown in the photos below. The dimensions of the pipe are Length: 6 ¼ inches, Height: 3 ½ inches, Outside diameter of the bowl: 2 ½ inches, Chamber diameter: 1 of an inch. This is another nice older calabash that will be going on the rebornpipes store soon. If you are interested in purchasing it and carrying on the trust let me know. Thanks for reading this blog and my reflections on the pipe while I worked on it. This is an interesting estate to bring back to life.