Blog by Steve Laug
I have finished the current batch of donated pipes that were gifted in support of the SA Foundation. Jeff and I purchased a group of 42 pipes from a pipeman who can no longer smoke because serious illness. It is a pleasure to be able to support this Brother of the Briar in this very hard season of his life. He had some beautiful pipes in his collection and with some work we will get them cleaned up and into the hands of other pipemen and women who can carry on the legacy of the briar.
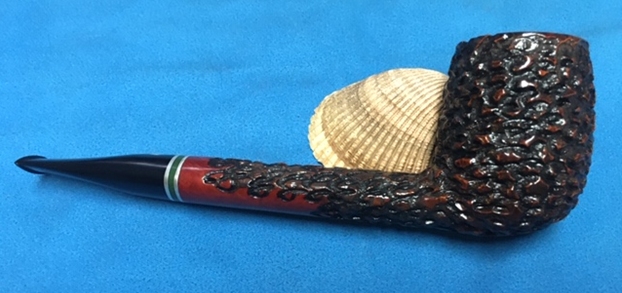
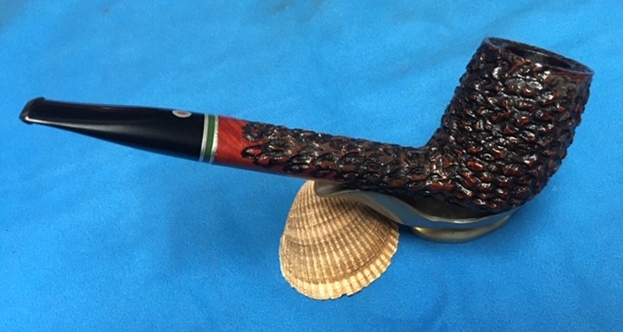
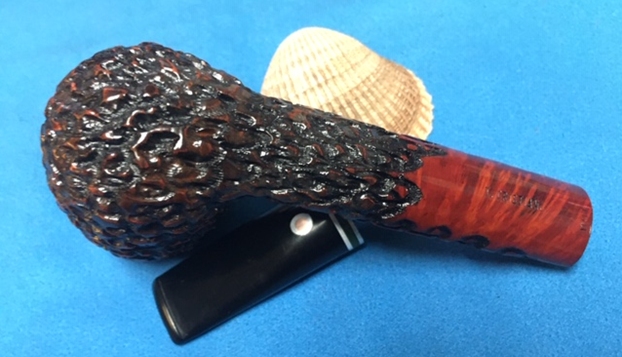
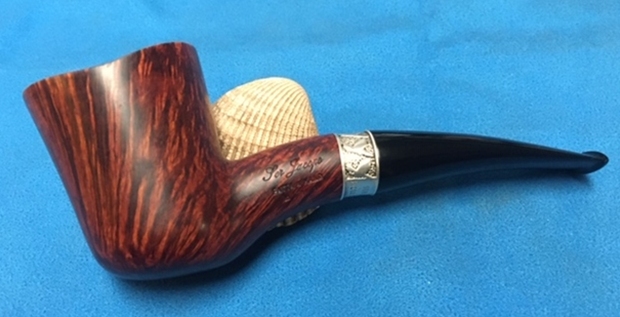
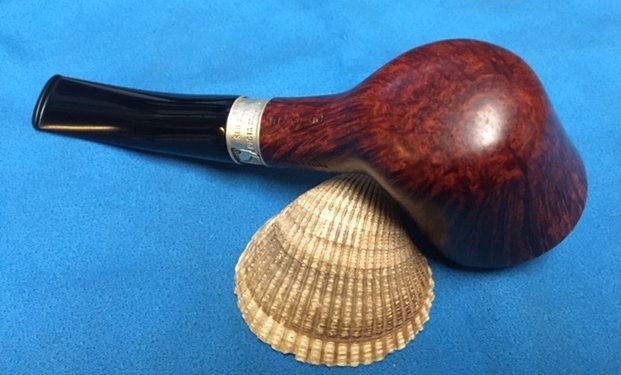
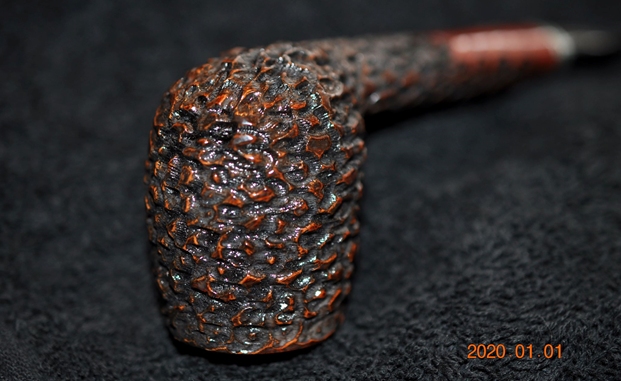
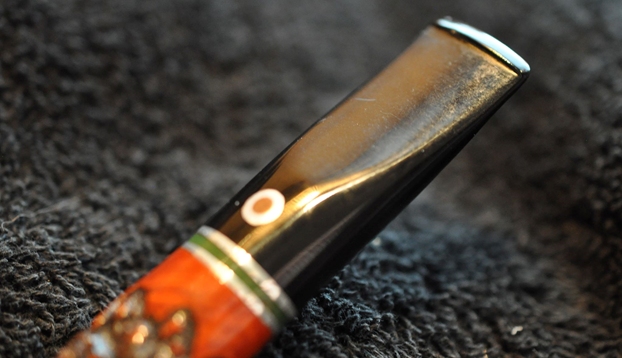
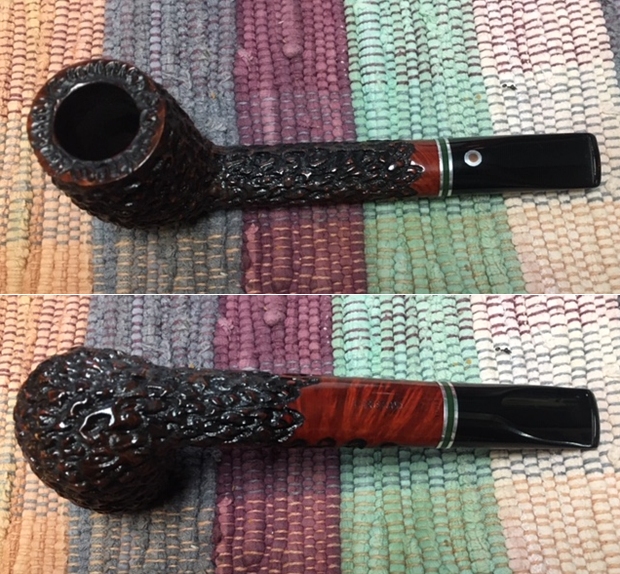
The second of the pipes that I am working on is a T. Cristiano Canadian. It is stamped on the underside of the shank T. Cristiano on a smooth finished portion of the briar. At the shank stem union it is stamped Italy. It is a nice large piece of briar with a triple band – two rings of silver with a ring of emerald green in the middle. The stem is black acrylic and has a double ringed circle inlaid in the top of the taper. The outer ring is silver and the inner is copper. When it arrived at Jeff’s house and he opened the box he could see it was an interestingly rusticated pipe. The pipe was dirty but there was no significant damage to the bowl or stem. The rim top had grime and tars in the rustication but it was otherwise clean. There was a thick cake in the bowl with some bits of tobacco stuck to the walls of the bowl. The decorative silver band had grime and dirt but was in good condition. The acrylic stem was in great condition – just a little dirty and tooth chatter on both sides of the stem near the button. Overall the pipe was a beautiful and a dirty pipe that must have been another favourite smoker. Jeff took photos of the pipe before he started his clean up work.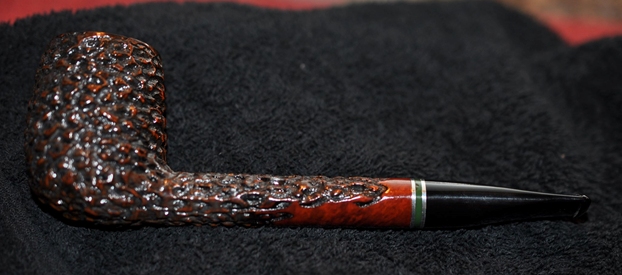
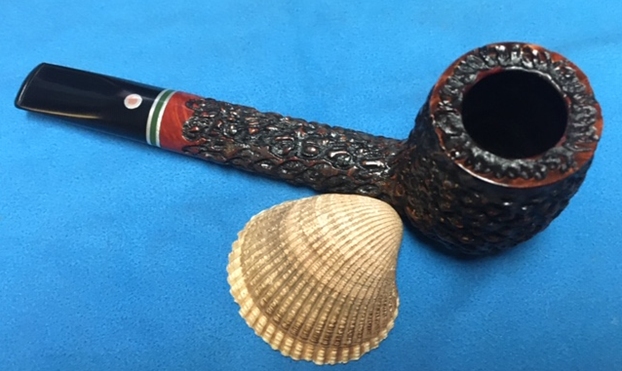
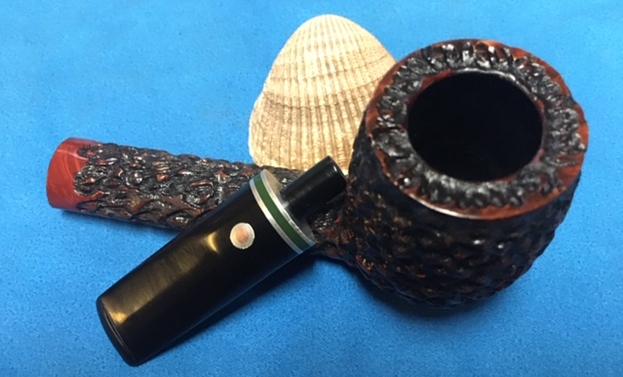
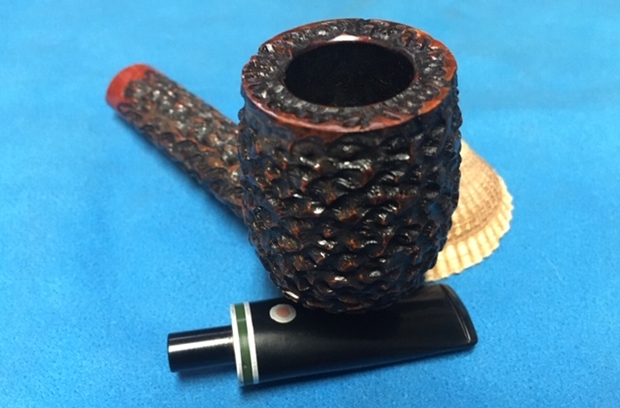
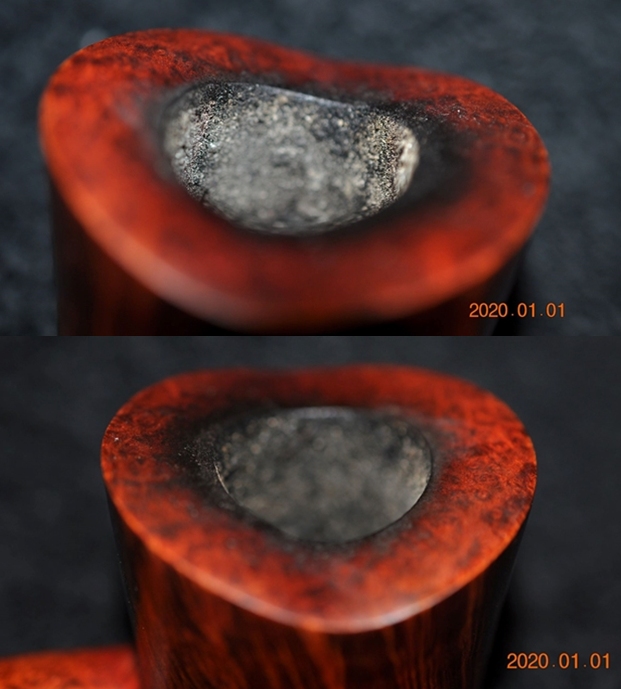
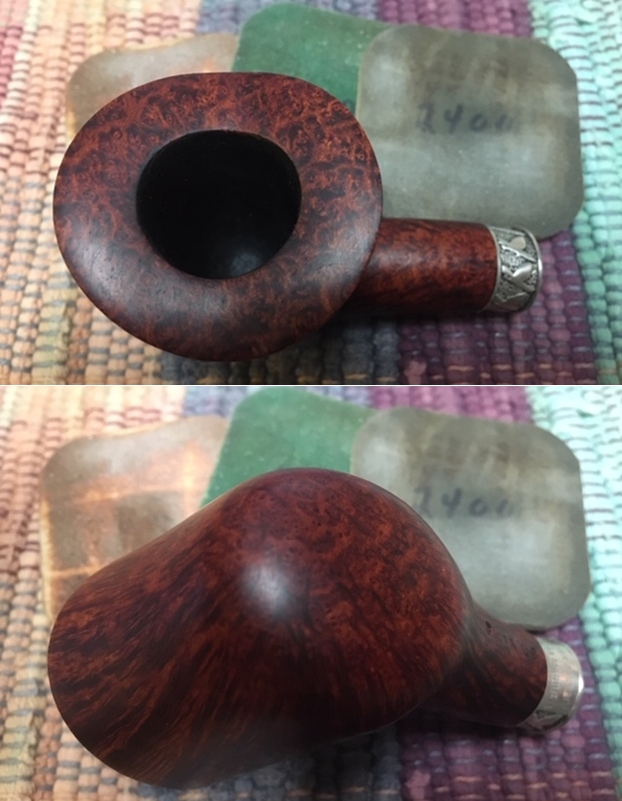
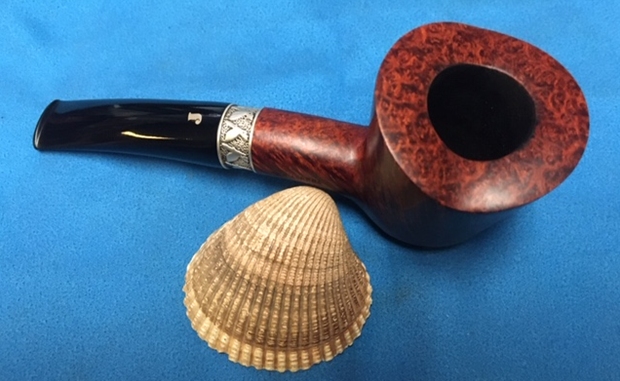
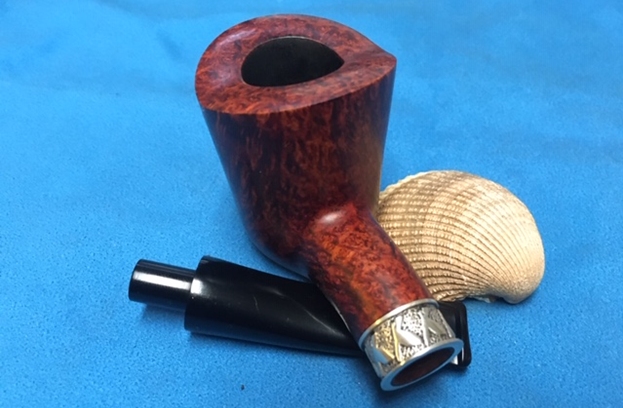
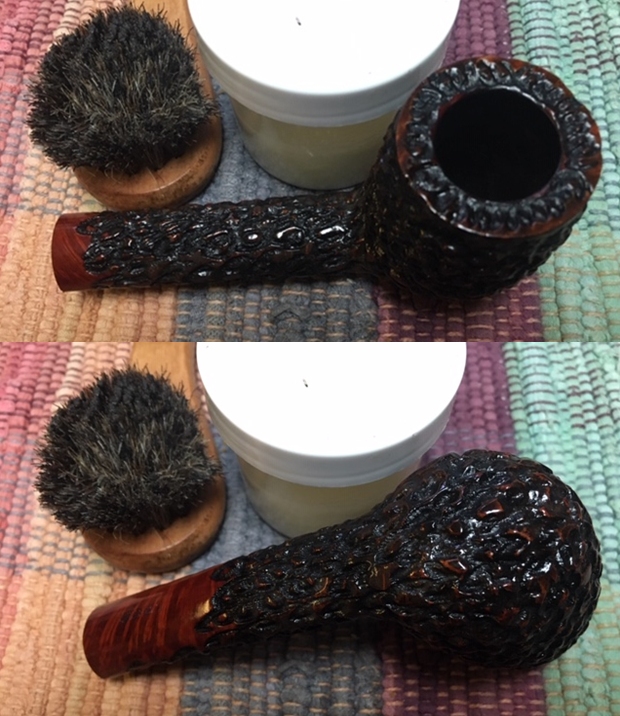
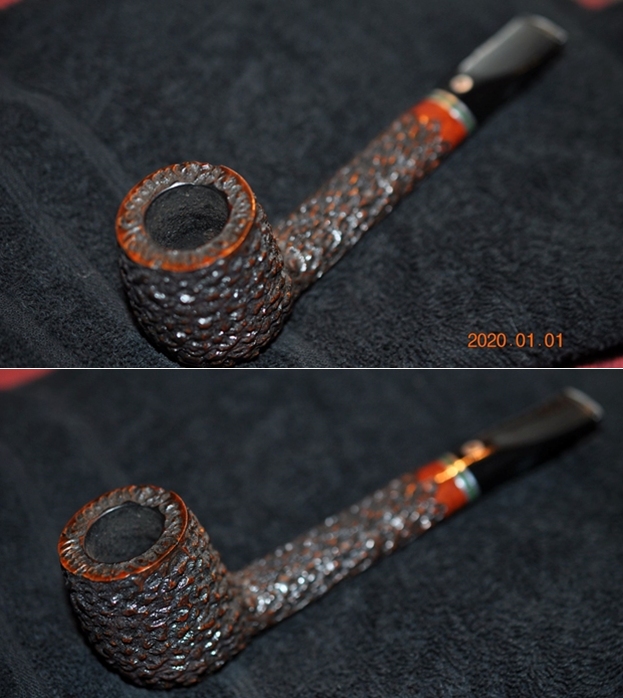 Jeff took photos of the bowl and the rim top to show the condition of the bowl and rim. You can see the tars and grime in the rustication on the rim top but also that it is unburned. The inner and outer edges of the bowl look very good.
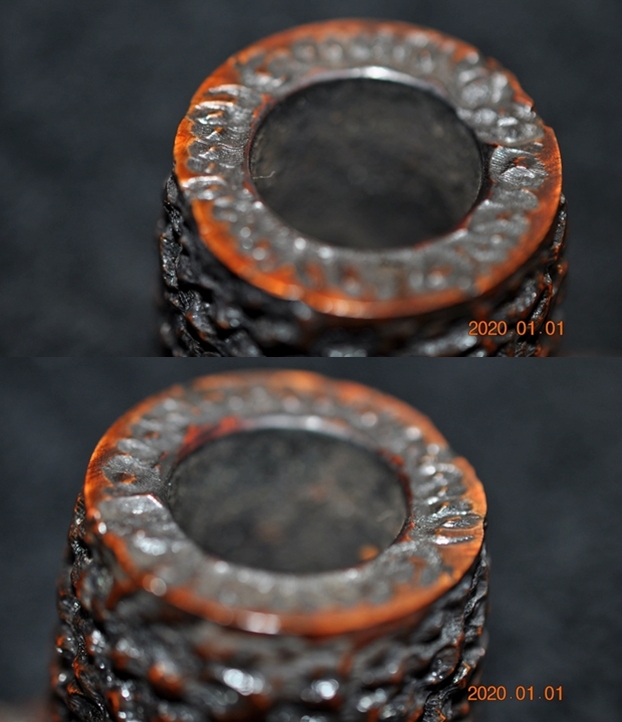
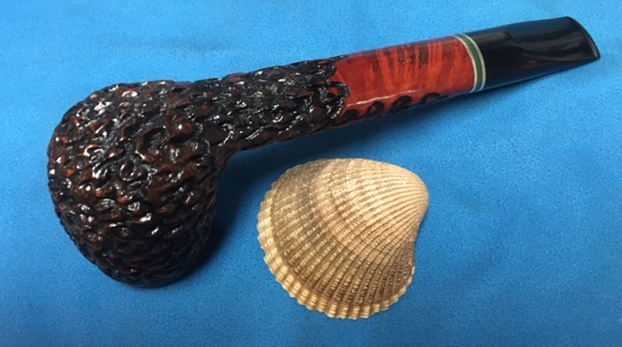
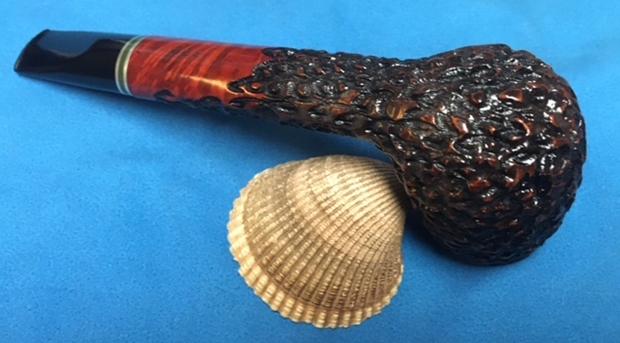
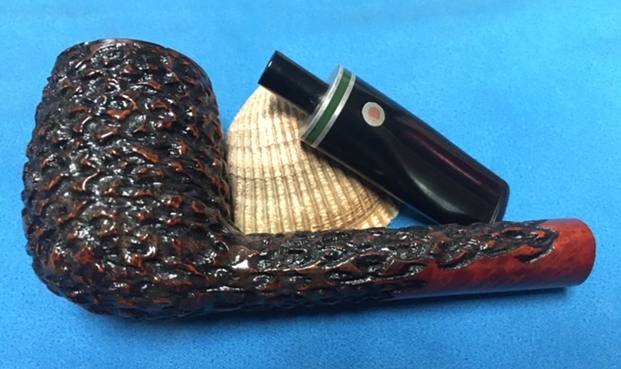
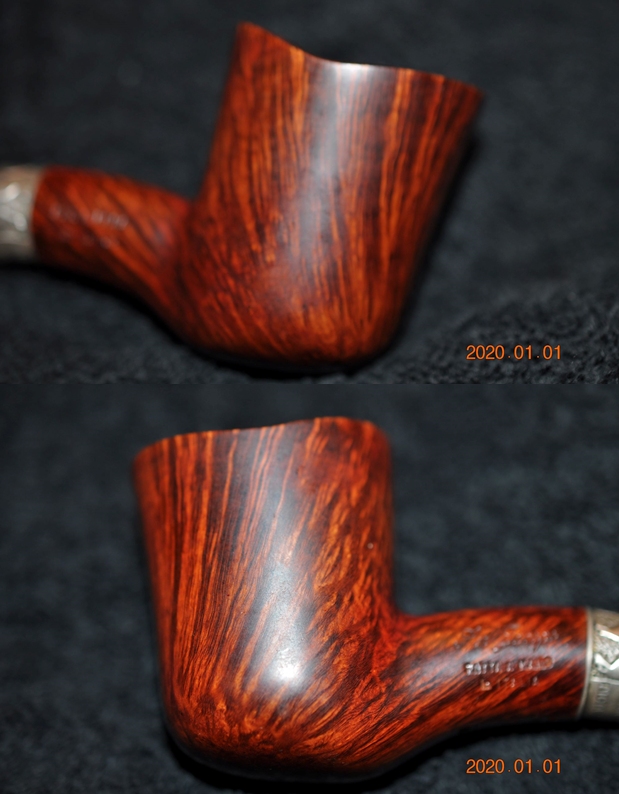
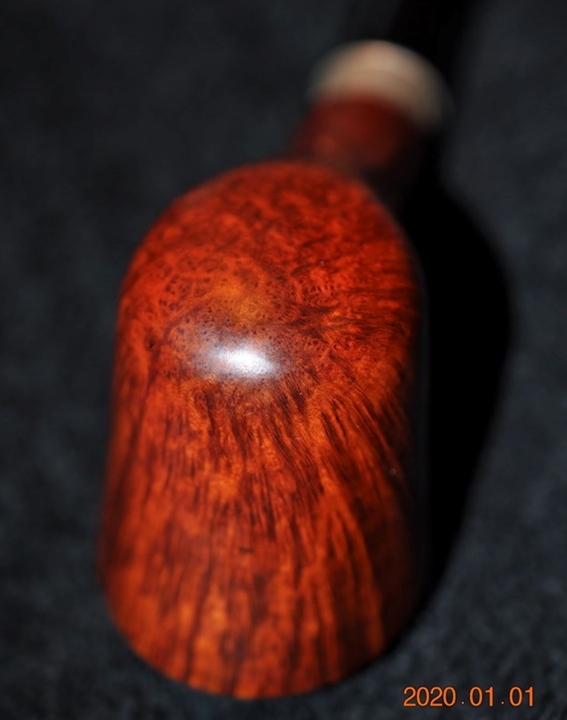
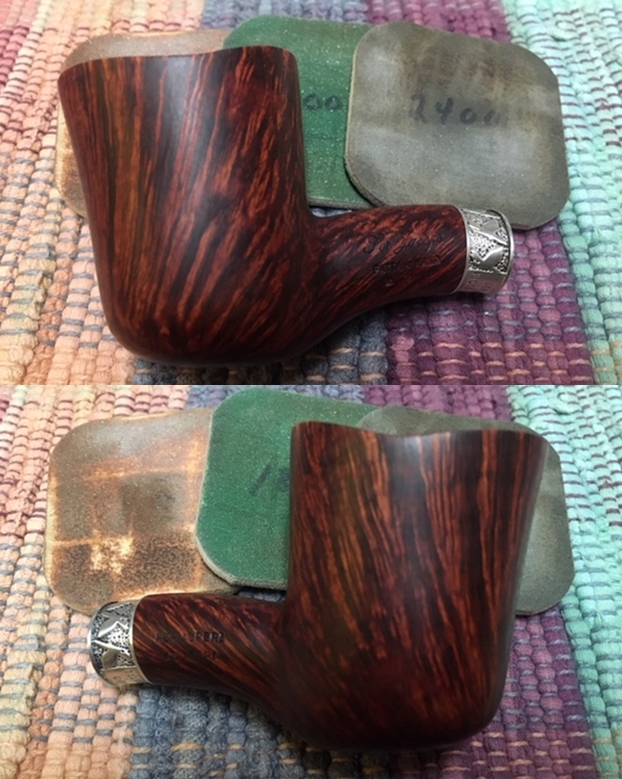
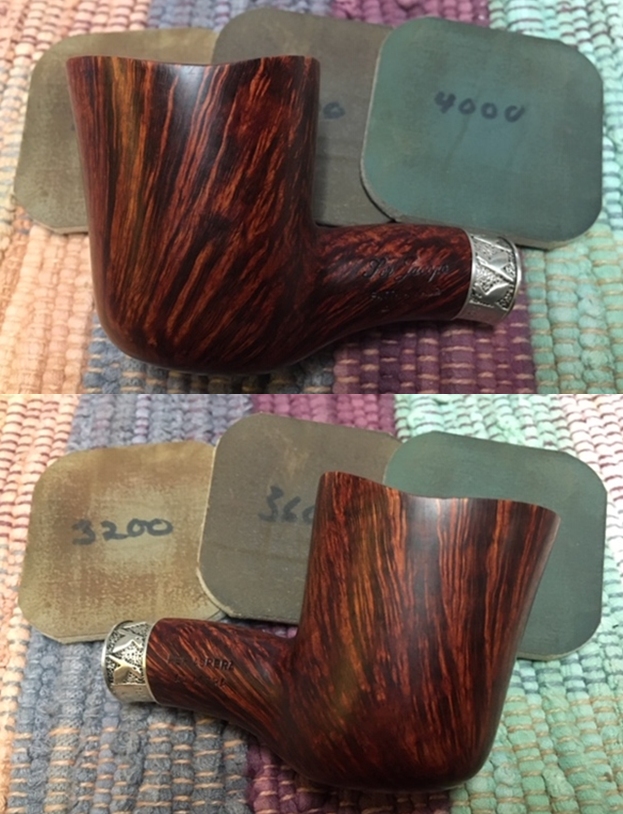
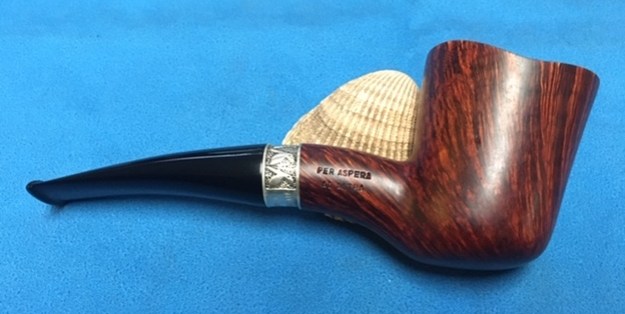
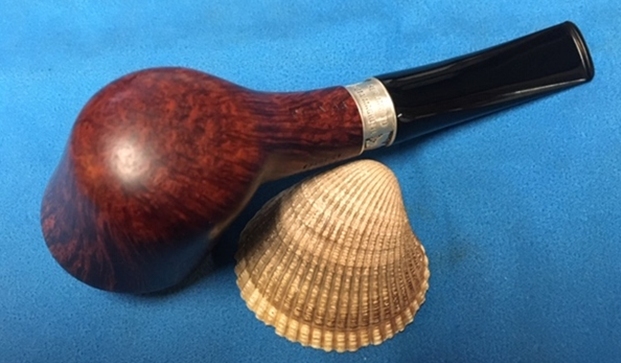
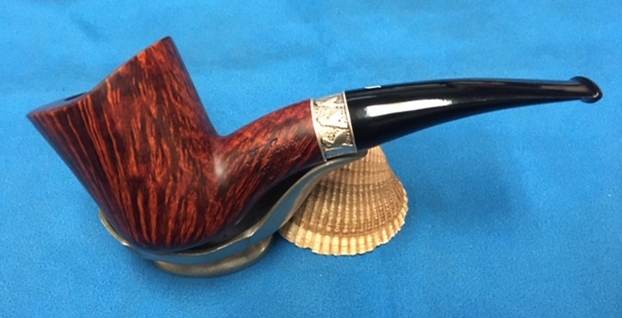
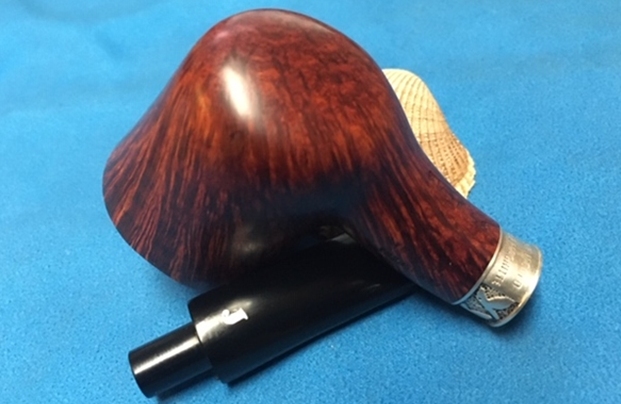
 Jeff took photos of the sides and heel of the bowl to show the condition of the finish – the grime and grit all over the sides and bottom of the bowl. It is a dirty pipe but the rustication pattern is very interesting.
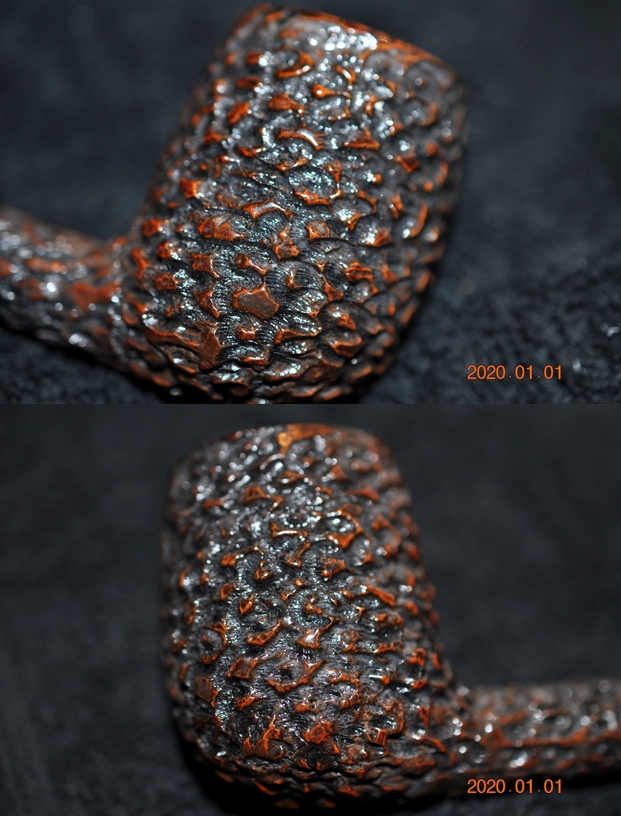
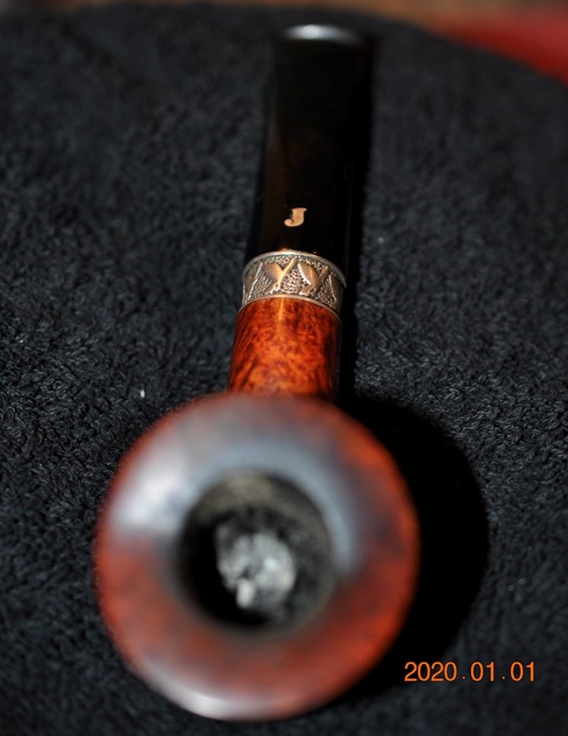
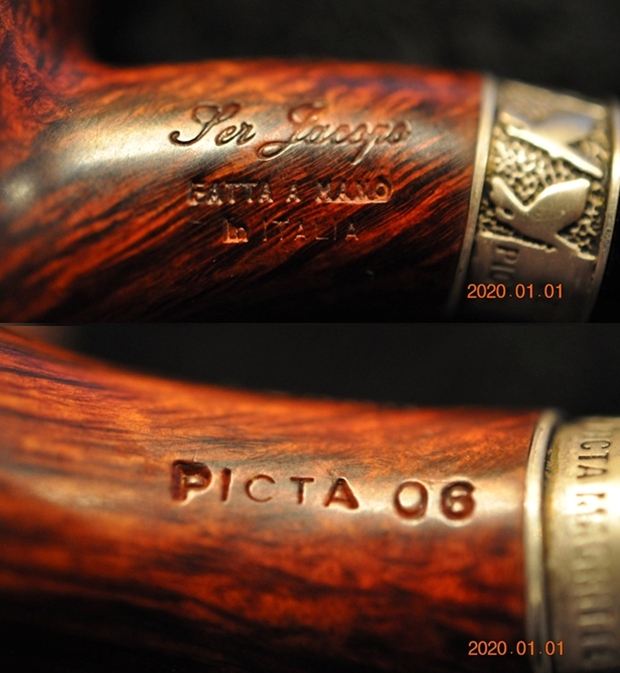
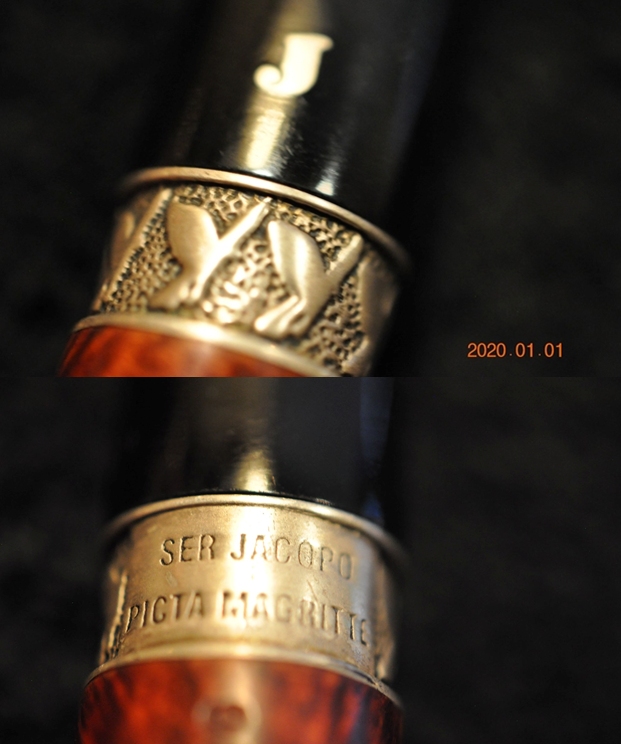
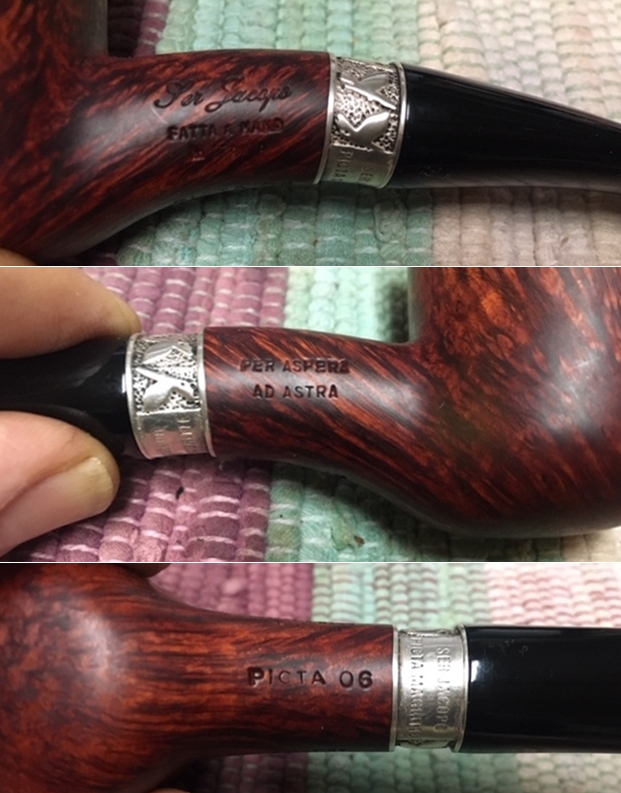
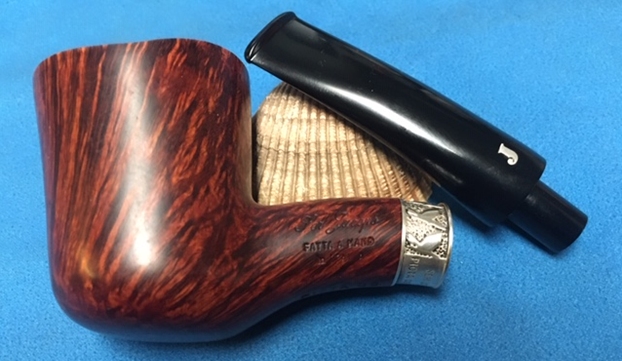
 He took photos of the stamping on the underside of the shank. The stamping was very readable. He also took a photo of the inlaid logo on the top of the tapered stem. It is an inlaid silver ring surrounding a copper center.
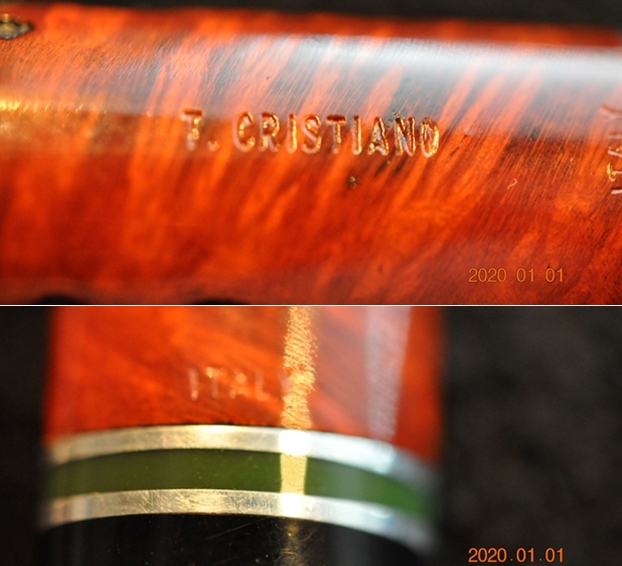
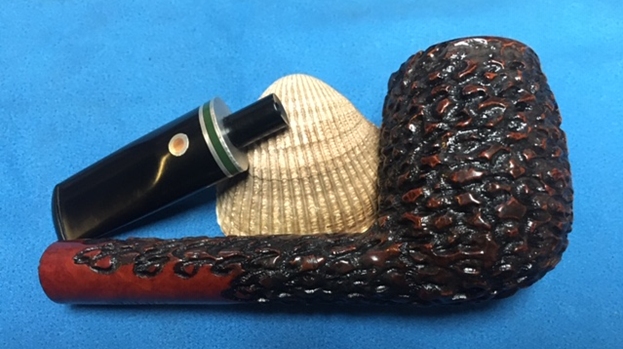
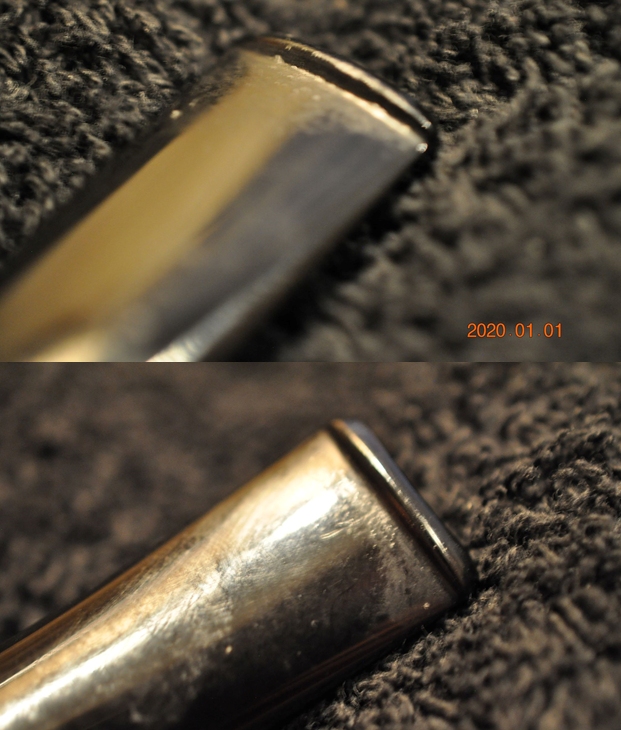
 He took some photos of the stem surfaces to show their condition. There were not any tooth marks just some light chatter ahead of the button and some wear on the button surface on both sides.
 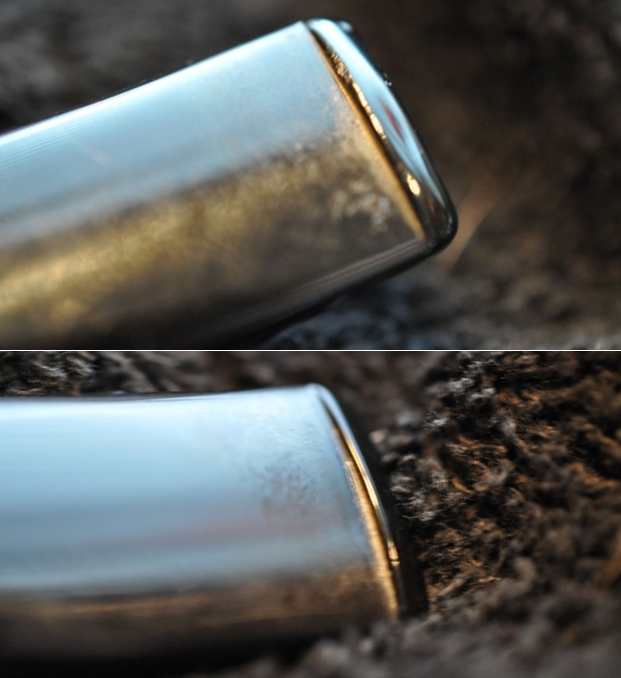 I turned to Pipephil’s site to get a quick summary of the maker of this pipe. It is a brand I was unfamiliar with so every little bit of information helps (http://www.pipephil.eu/logos/en/logo-t5.html#thomascristiano). From that site I learned that the maker was Thomas Cristiano who was an Italian immigrant to the US in 1968. He started his own pipe company in 1982. I did a screen capture of the write-up on that site and have included it below.
 I turned then to Pipedia (https://pipedia.org/wiki/Cristiano) to gather some additional information. I have included the entry from that site in full below.
Thomas Cristiano began working with pipes only weeks after emigrating to America from his native Italy in 1968 at the age of 16, at the S. M. Frank factory in Long Island, New York. Mr. Cristiano worked at that factory, which produced the Kaywoodie pipes, among others, for a decade before leaving and eventually starting his own company, Cristom Imports and Exports, in Tampa, Florida. In addition to producing three pipe lines of his own, including the Cristiano, Cristiano Signature Series, and Calabresi pipes, Mr. Cristiano is believed to have made the Kaywoodie pipes in Tampa from the mid-1980s until approximately 1992. He was also one of the nation’s most respected humidor makers.
Sadly, Mr. Cristiano became a broken pipe on November 7, 2005 while traveling in his native Italy. He was only 53 years old. He is universally remembered as a kind person, as well as a positive influence on the pipe and cigar industries.
I did further digging on the internet for more information and found a link to Blue Room Briars that had some more information on the brand. It is interesting to note that it is an American Brand by and American pipe maker and it is stamped Italy. Here is the link: (https://www.blueroombriars.com/collections/t-cristiano-pipes/products/t-cristiano-pipe-canadian-with-acrylic-band-6). I quote in part:
Thomas Cristiano was an American Pipe Maker who moved from his native Italy when he was 16 in 1968. For several decades he made handmade artisanal pipes under his own name and also had pipes made from the mid-century production techniques, back in the Old Country under the Calabresi brand. Like many machine made marquees, there were several lines of various adornments and finish combinations. Much of Cristiano’s work is in Freehand pieces though his factory designs were very clean and stylish, showcasing the classic in the Italian School of smart looking shapes.
I found another link on the Paul’s Pipe Shop site (http://www.iapsc.net/store/cristiano.html). It was by far the most comprehensive of the articles on the brand and the maker. It also included a photo of Thomas Cristiano in the banner so I did a screen capture of that and included it along with the information below. When the Cristiano family came to America from Calabria, Italy, in 1968, they brought with them a wonderful and unique talent: pipe making. As the maestros of this craft, the Cristiano family has for nearly two decades, shaped and honed the rare, beautiful — but tough — briar-root into some of the world’s most valued and treasured pipes. They have practiced their art at Calabresi Smoking Pipes, Inc. creating handsome wooden pipes for the largest pipe companies, as well as custom designing pipes for individual special requests.
At age 17, Thomas Cristiano was working in the pipe industry. “I was a floor boy for S.M. Frank & Company,” says Cristiano. “I counted and graded blocks of wood, categorized them, counted and selected pipes and put them in stock.” He has come a long way since then, but every step of that journey has been dedicated to pipes.
The Cristiano’s briarwood pipes are magnificently crafted by both hand and machine from the root of the wild briar shrub, which grows only in the Mediterranean region. Shrub harvesters cut the root into chunks that are later selected by pipe makers based on the grain and quality of the wood.
Thomas Cristiano’s pipes are separated in to two main marks: Calabresi and T. Cristiano. The lines expand the horizon from filter pipes to exquisite freehands and classic shapes with ornate details made from precious metals such as gold and sterling silver.
In the Calabresi line there is the Budget line, the Algerian Imports, Italian Imports, Spindrift, Danesi Series, Massicia Series, Metamorfosi Series, Raffaele Series, Free Forms, Cesare Series, and Fancy.
The T. Cristiano line begins with the T. Cristiano, then the VSQ Series, Metamorfosi Series, Bosso Series, Phidias Series, and finally the highly sought after T. Cristiano Signature Series.
From the above information I knew that the pipe was an American Made pipe. Now that I had the information I wanted to know on the brand it was time to begin to work with it and clean it up. It really is a beautiful pipe.
I am so glad Jeff is cleaning up these pipes before they come to me. This pipe was a dirty just like the previous one. I did not know what to expect when I unwrapped it from his box. He reamed it with a PipNet pipe reamer and cleaned up the reaming with a Savinelli Fitsall Pipe Knife. He scrubbed out the internals with alcohol, pipe cleaners and cotton swabs until the pipe was clean. He scrubbed the exterior of the bowl with Murphy’s Oil Soap and a tooth brush to remove the grime and grit on the briar and the lava on the rim top. The finish looked really good once it was clean. There was no damage to the rim top and the rustication looked very good. He cleaned the stem internals and scrubbed the exterior and the result looked very good. When the pipe arrived here in Vancouver for the second stop of its restoration tour it was impressive. I took photos before I started my part of the work. 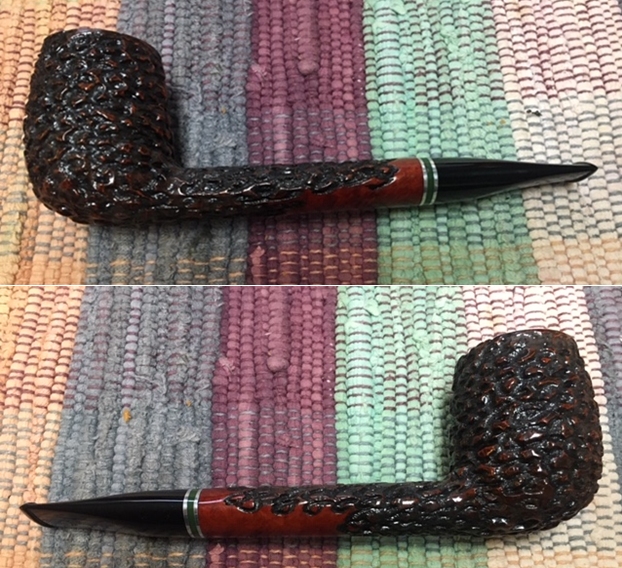
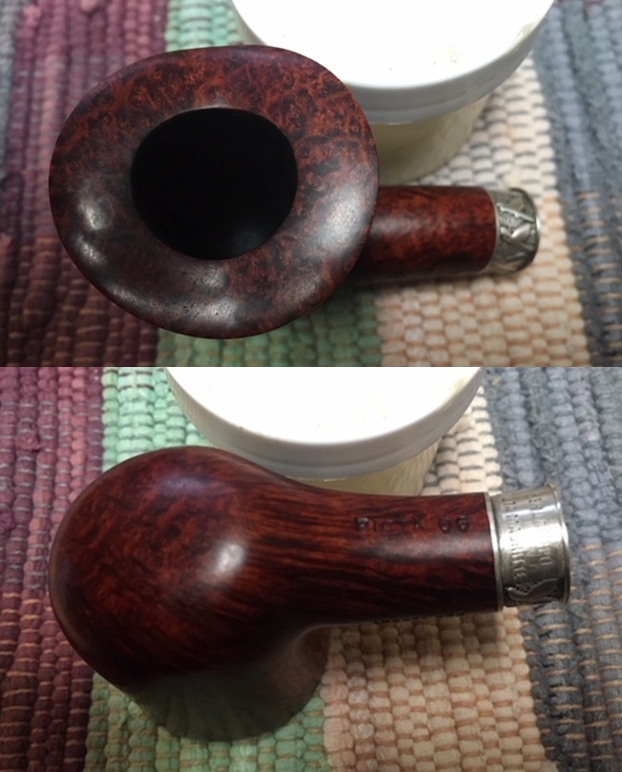
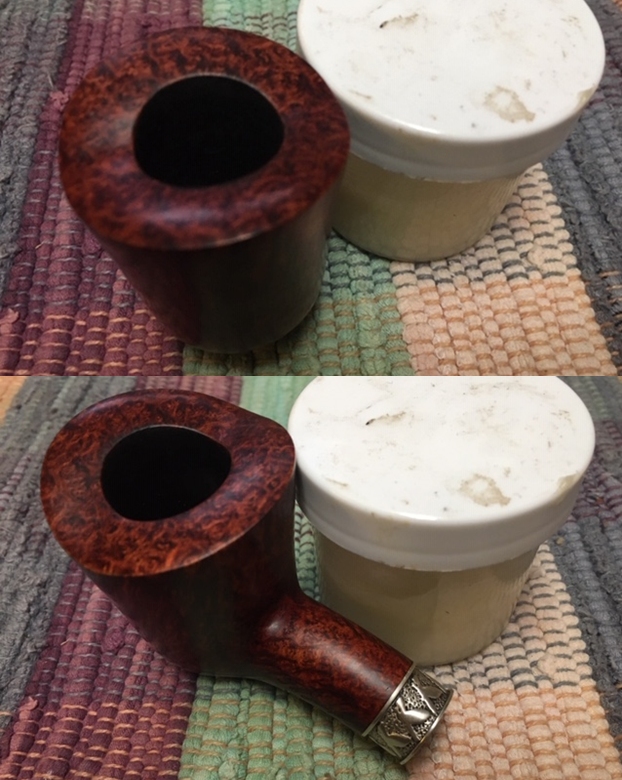
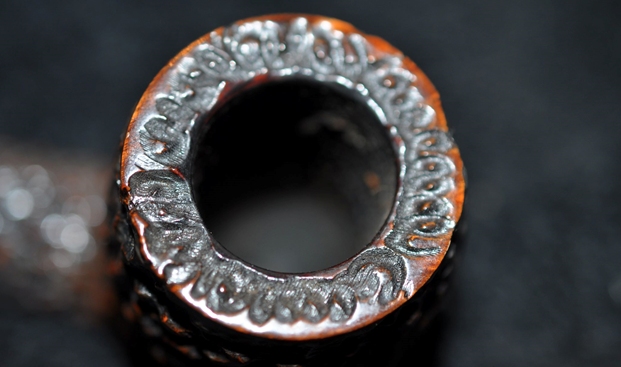
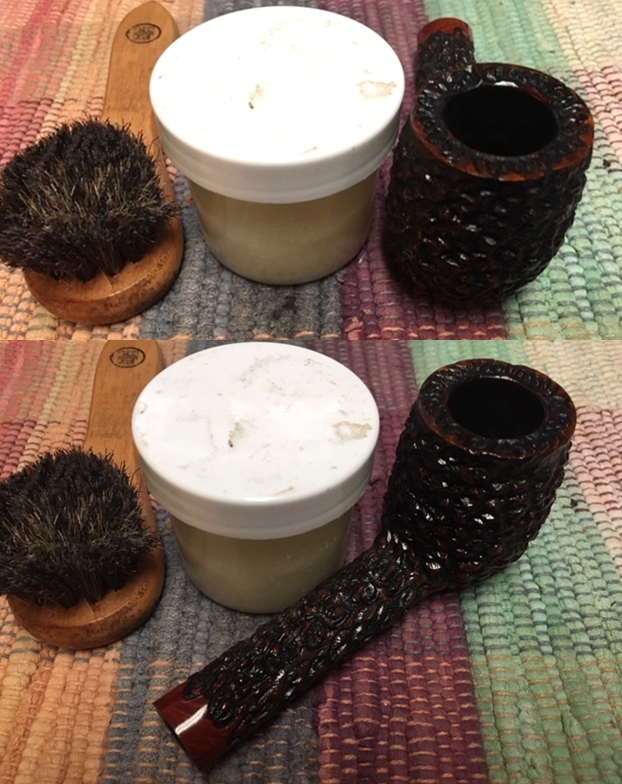
 I took some close up photos of the rim top and also of the stem surface. I wanted to show what an amazing job Jeff did in the cleanup of the rim top. It has a unique rustication pattern. I also took close up photos of the stem to show condition it was in. It would not take a lot of work – just sanding out the light tooth chatter and polishing with micromesh sanding pads.
 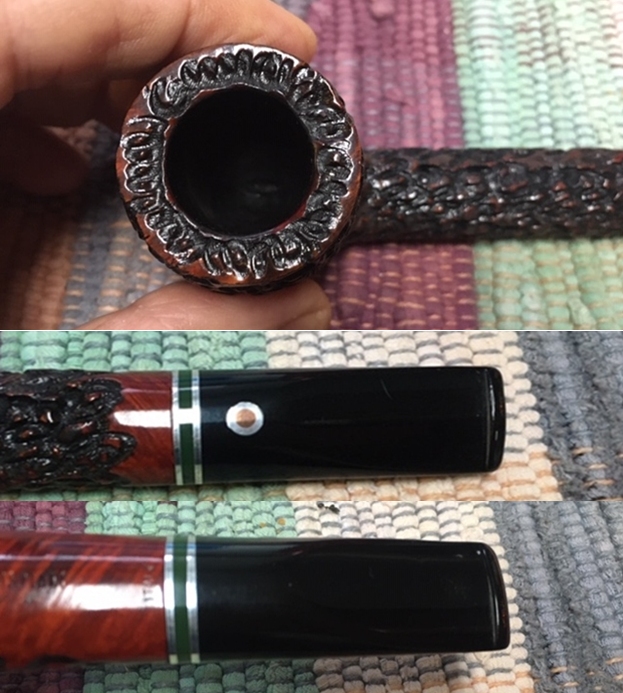 I took a photo of the stamping on the underside of the shank. Note how beautiful the silver looks on the band. The stamping reads as noted above.
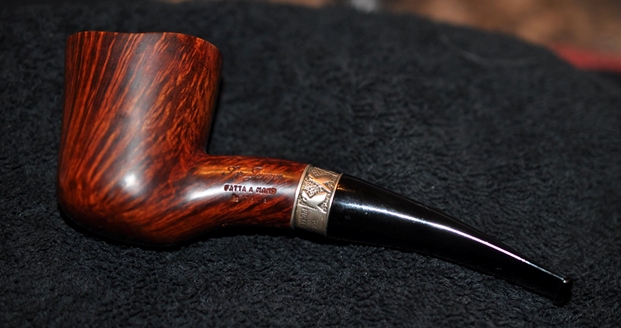
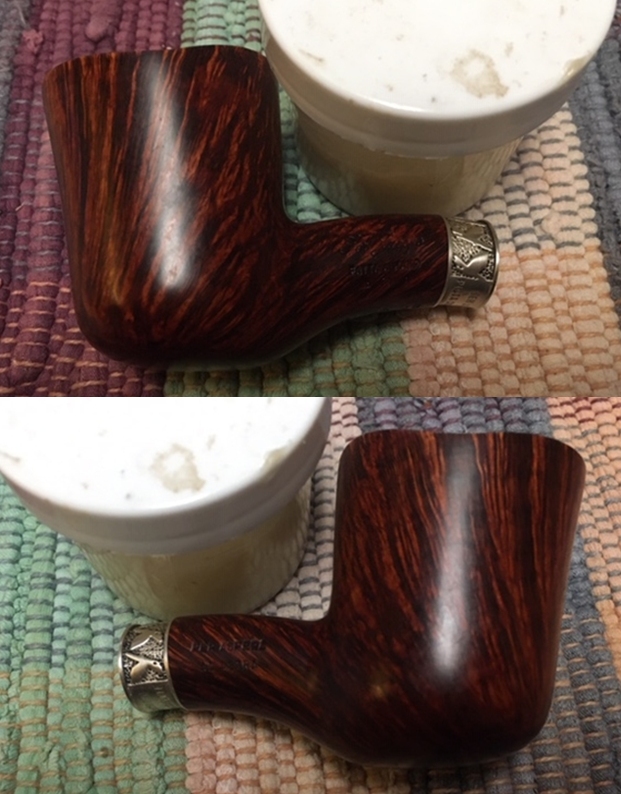
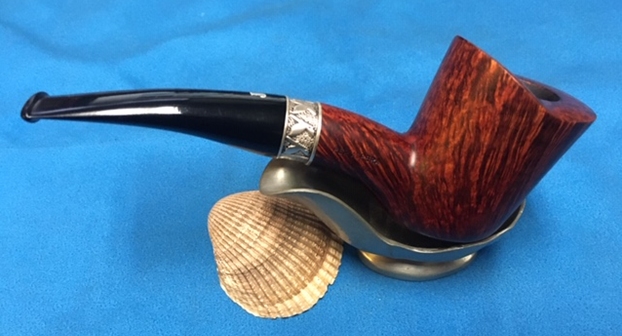
 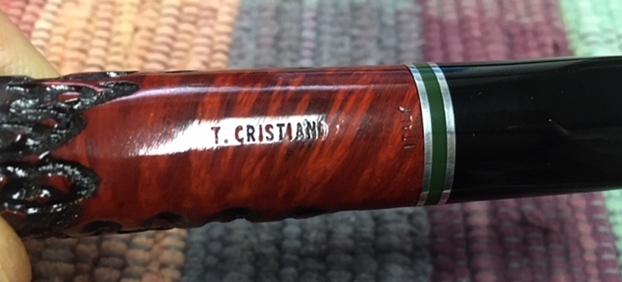 The bowl was in such excellent condition after Jeff’s work on it that I did not need to do any restorative work on it. I turned instead to taking it to the next level. I worked some Before & After Restoration Balm into the finish of the bowl, the rim top and shank with my fingertips to clean, enliven and protect it. I find that the balm really makes the briar come alive again. The contrasts in the layers of stain really made the grain stand out. I let the balm sit for a little while and then buffed with a cotton cloth to raise the shine. The pipe really looks good at this point. I am very happy with the way the pipe is looking at this point in the process.
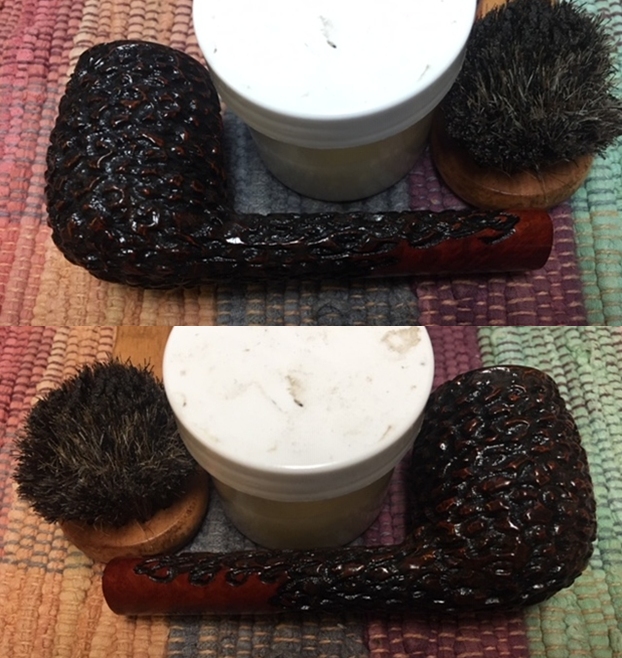
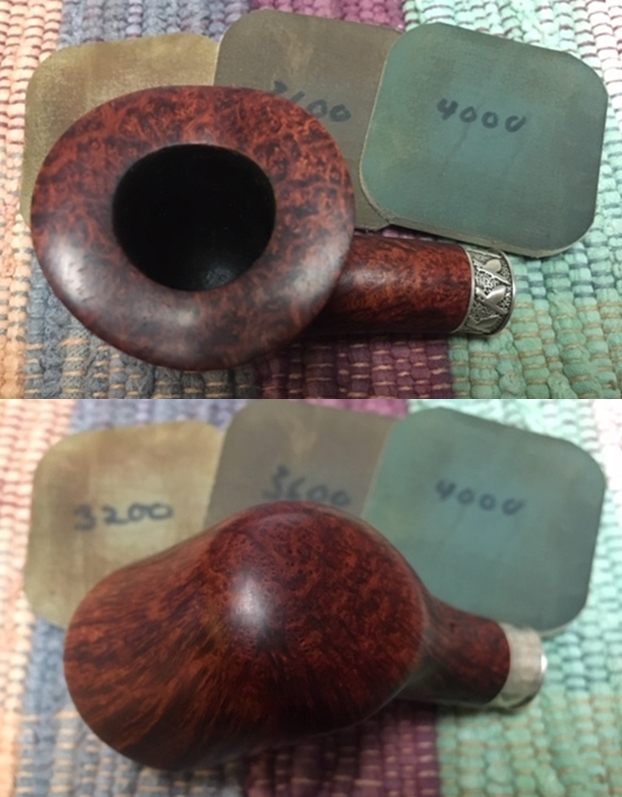
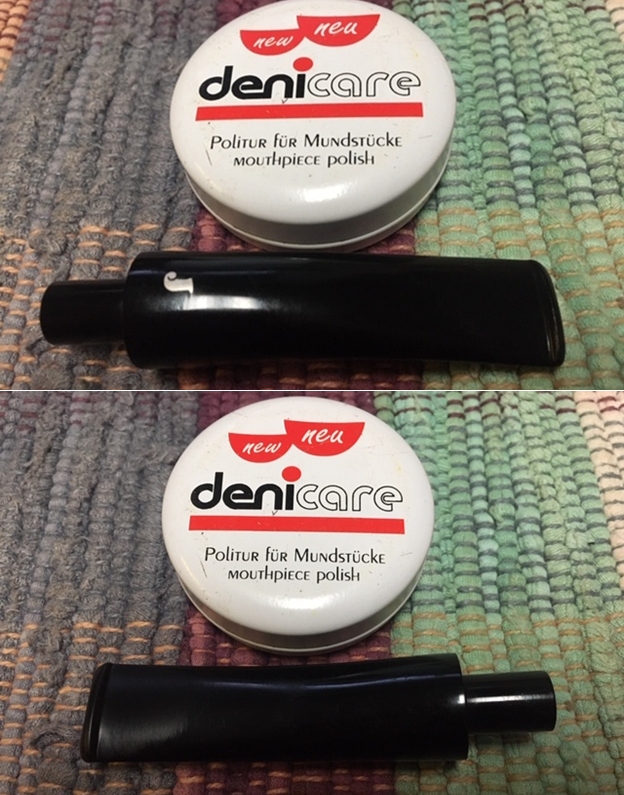
 I set the bowl aside and turned my attention to the stem. I sanded the tooth chatter on both sides of the stem with 220 grit sandpaper to remove the marks. I followed that by sanding the same with a folded piece of 400 grit wet dry sandpaper to begin the polishing.
 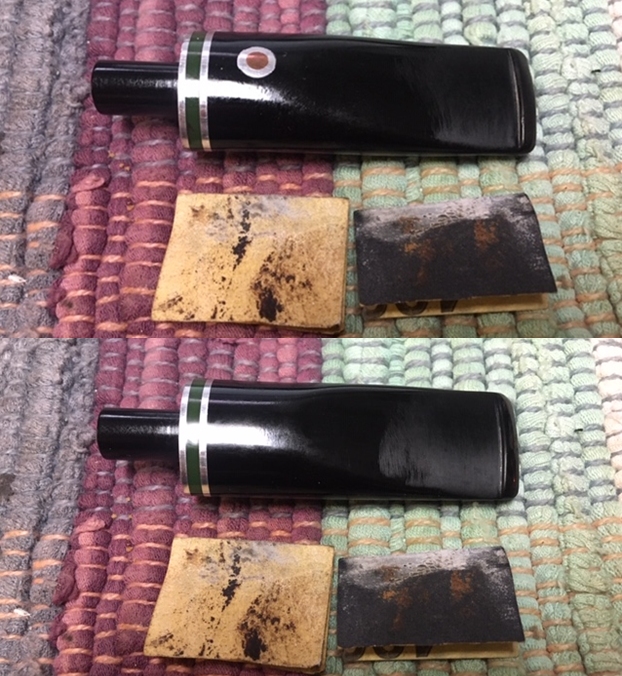 I rubbed the sanded areas of the stem down with Denicare Mouthpiece Polish and a cotton pad to further blend in the sanding. The product is a gritty red paste that I have found works quite well as a step before the micromesh sanding pads. The stem was showing some promise at this point in the process.
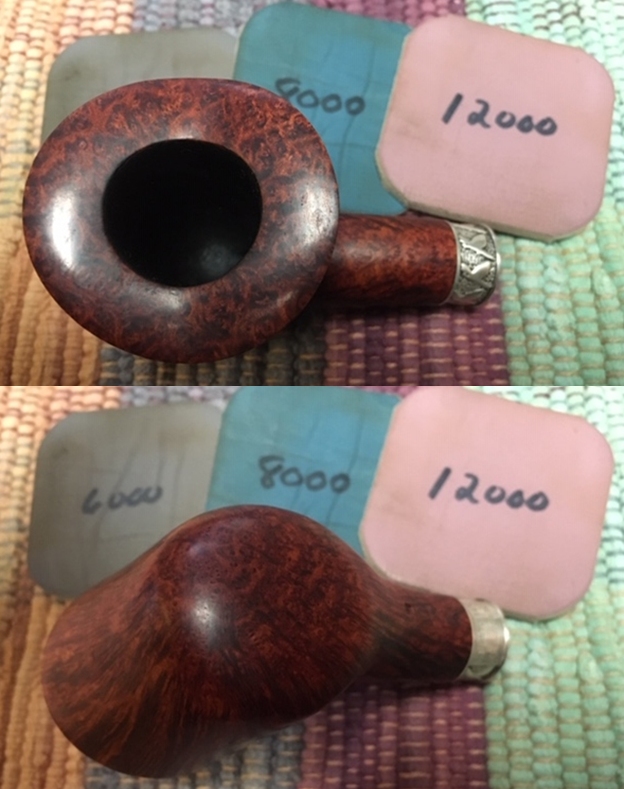
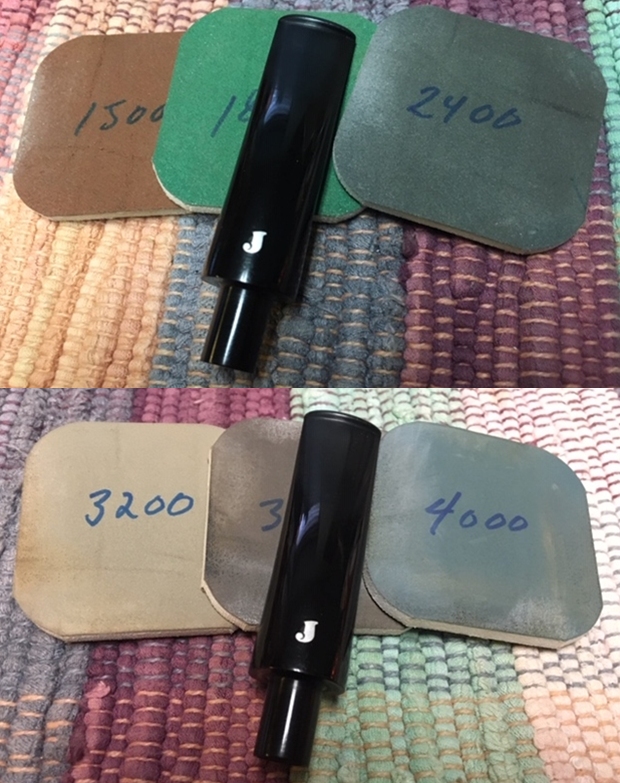
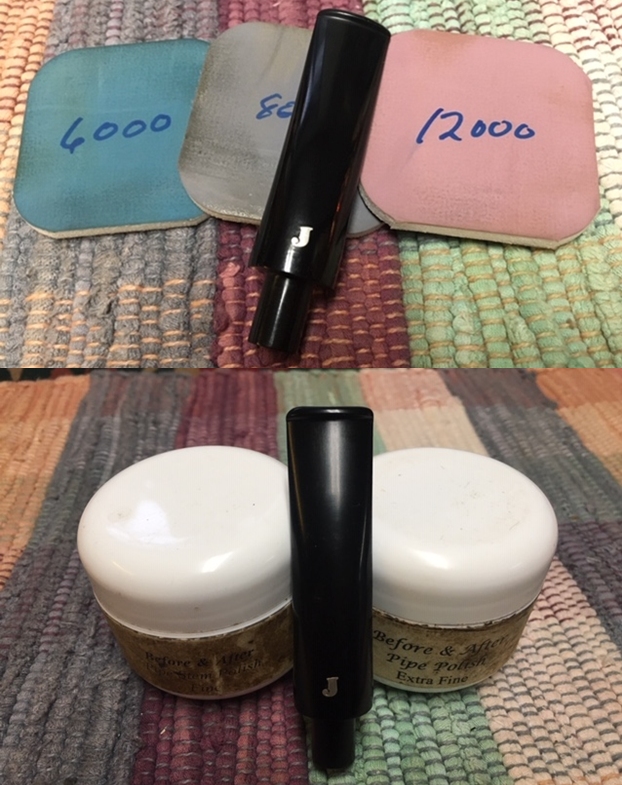
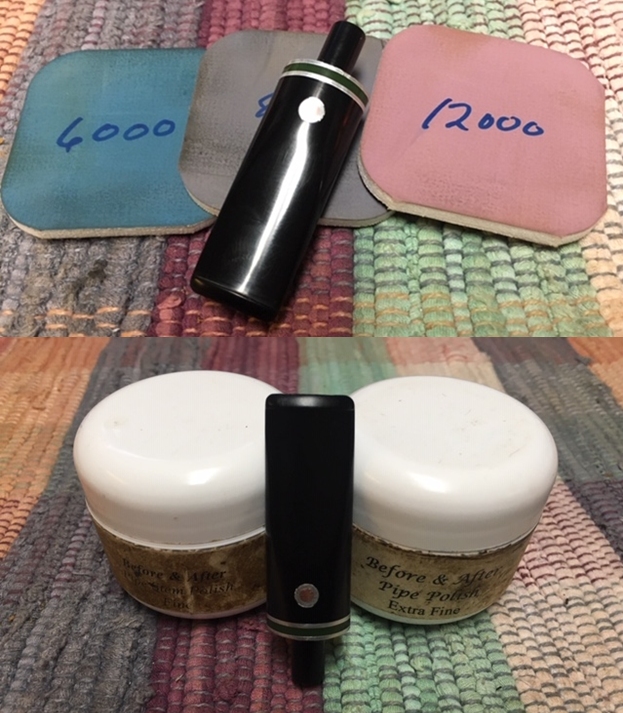
  I polished the stem with micromesh sanding pads – wet sanding it with 1500-12000 grit pads. I polished it further with Before & After Pipe Stem Polish – both fine and extra fine. The stem was made out of acrylic and that is where the polishing stopped for now. I would put the stem back on the bowl shortly and buff the entire pipe.
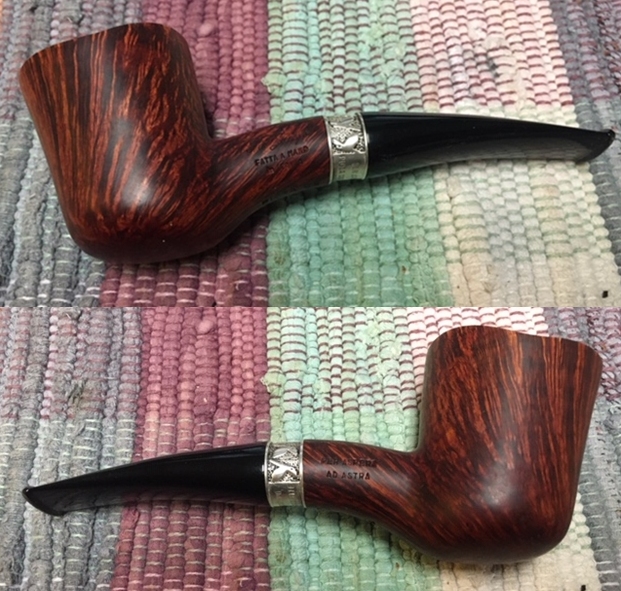
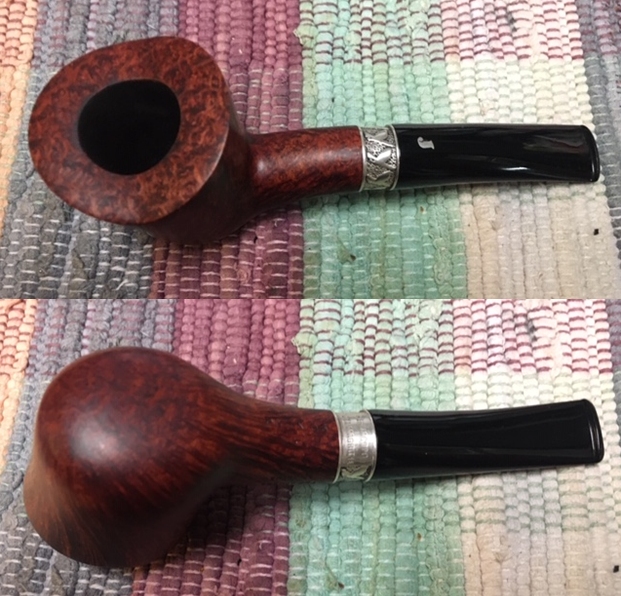
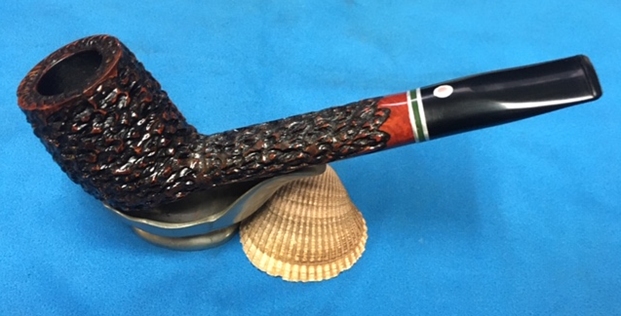
 This was a fun pipe to work on since Jeff had done the heavy work in cleaning it. I put the stem back on the bowl and gave the bowl multiple coats of Conservator’s Wax and the stem multiple coats of carnauba wax. I buffed the pipe with a clean buffing pad to raise the shine. I hand buffed it with a microfiber cloth to deepen the shine. The rustication just sparkles and is almost multidimensional it is so deep. The pipe polished up really well. The polished black acrylic bit seemed to truly come alive with the buffing. I polished the silver band with a jewelers cloth to protect it from oxidation and give it a shine. The silver band is a great transitional contrast between the multiple brown stains of the briar and the polished black acrylic stem. The rusticated T. Cristiano pipe feels great in my hand and I am sure that it will feel even better radiating the heat of a good smoke. It must have been a fine smoking pipe judging from the condition it was when we received it from the pipeman who we bought it from. Have a look at it with the photos below. The dimensions are Length: 6 ½ inches, Height: 2 inches, Outside diameter of the bowl: 1 3/8 inches, Chamber diameter: ¾ of an inch. This is a beautiful long Canadian pipe with an interesting rustication pattern. It will be going on the rebornpipes store shortly if you are interested in adding it to your collection. Thanks to each of you who are reading this blog. Remember we are not pipe owners; we are pipemen and women who hold our pipes in trust until they pass on into the trust of the next pipeman or woman.