Blog by Steve Laug
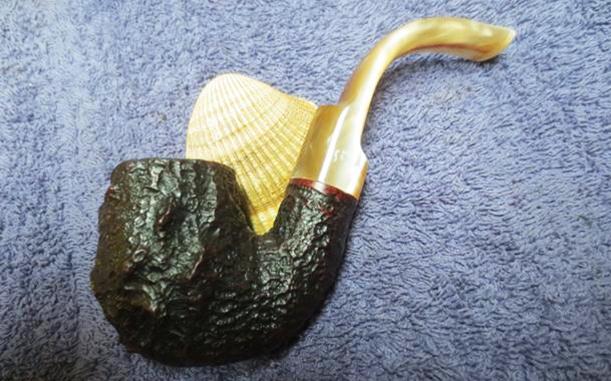
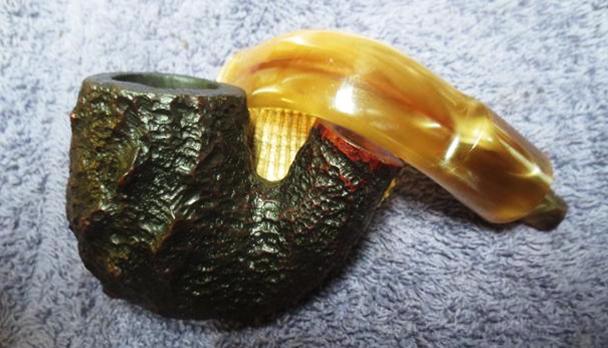
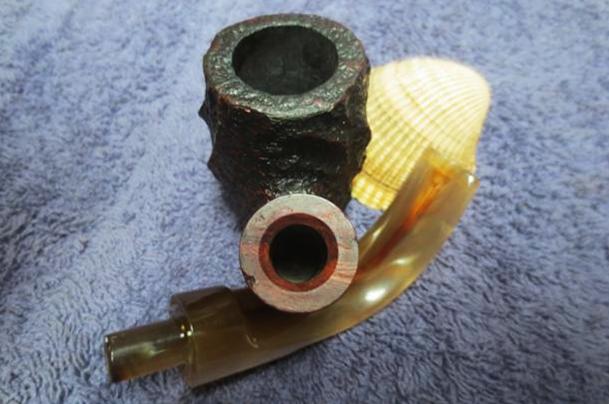
I have always liked the rocky rusticated finish on the Savinelli Made Estella pipes. I have worked on many of them over the years and by and large they seem to have been a well-loved, good smoking and almost indestructible pipe. The finish is a rustication that almost looks like a “blastication” (rustication then sandblasted). It is knobby and very tactile. It feels good in the hand. I have worked on panels, billiards and bulldogs but never a full bent. This one was in good shape. The finish was dirty but was undamaged. The inner edge of the rim was clean and the outer edge had some wear from knocking it out against hard surfaces. There was a light cake in the bowl and the rustication on the rim top was covered with a thick coat of lava. The Lucite stem had tooth marks on the top and the underside of the stem at the button. There was a dark tar stain in the airway in the stem. The button was in great shape. Jeff took the next series of photos to show the condition of the pipe before he cleaned it.
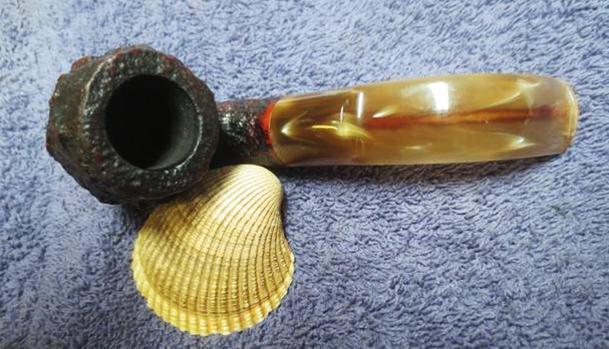
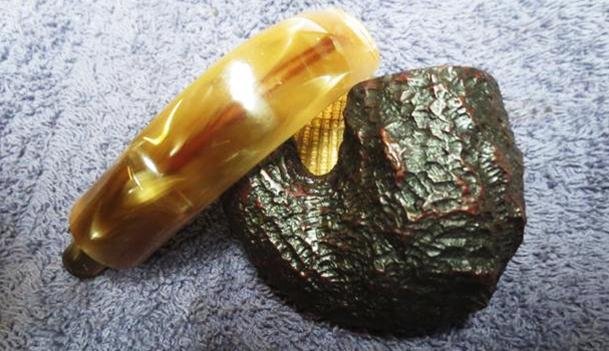
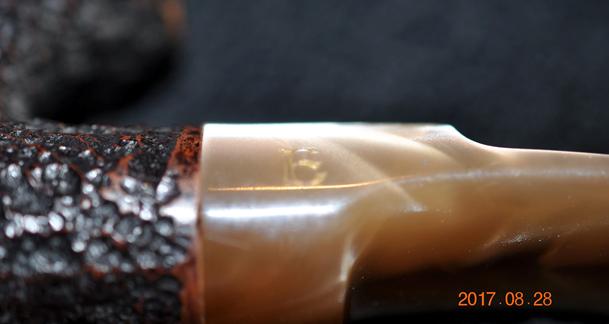
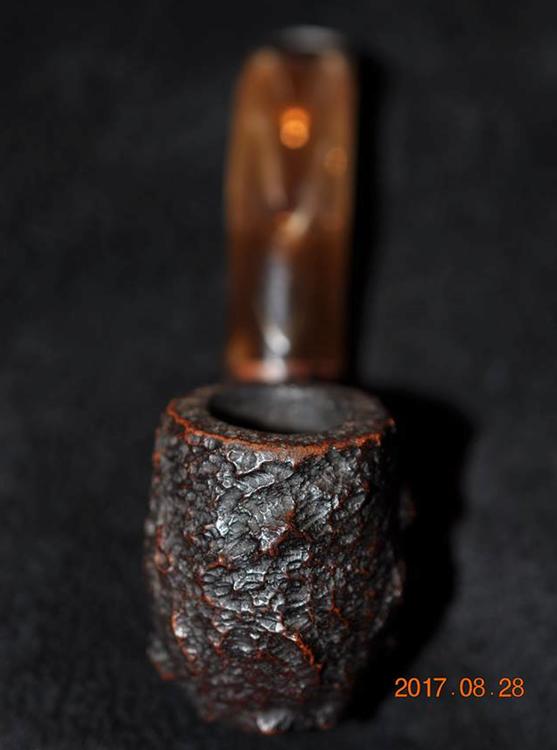 The next photo shows the rim top and you can see the tar buildup in the rustication of the rim. It is almost smooth there is so much tar.
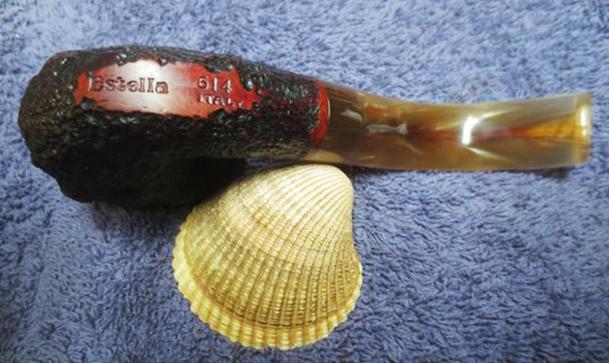
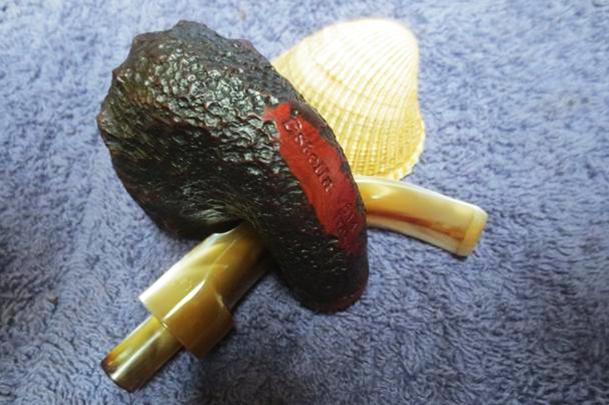
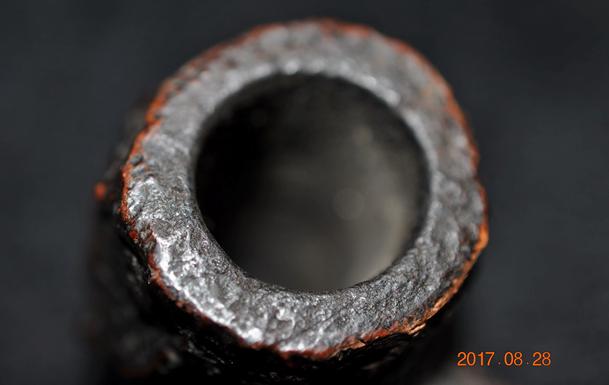 The next photo shows the stamping on the underside of the bowl and shank. It reads Estella followed by the shape number 614 over Italy. Often there is a Savinelli Shield logo but it is not on this pipe. There is also an E stamped on the left side of the staggered saddle stem.
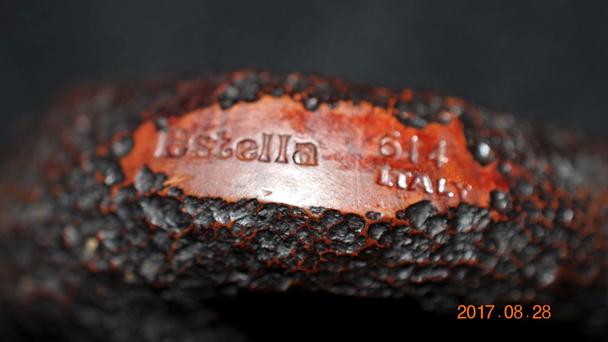
 The next two photos show the tooth marks on the top and underside of the stem at the button. There was one deep mark on each side of the stem at the button.
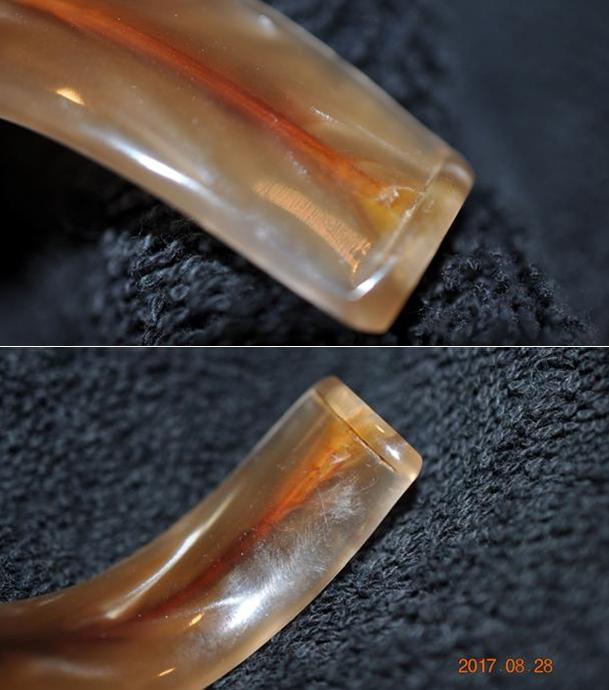 Jeff did an amazing job cleaning up the light issues on this pipe. He reamed it with a PipNet reamer and cleaned up the remnants with a Savinelli Fitsall pipe knife. He scrubbed out the mortise and the airway in the shank and the stem with alcohol, cotton swabs and pipe cleaners. He scrubbed the exterior of the bowl, rim and shank with a tooth brush and Murphy’s Oil Soap to remove the dust of the years. He removed the lava coat on the rim surface so that it was clean. He was able to clean up the outer edges of the rim so that the damage was removed and matched the rest of the rustication. He rinsed it under running water. He dried it off with a soft cloth. Once the dust was removed it was clear that the finish underneath was in stellar condition. The random style of the rustication and the high spots gave it a very rough feel that was like rock. Very well carved. I took photos of the pipe to show its condition before I started my work on it.
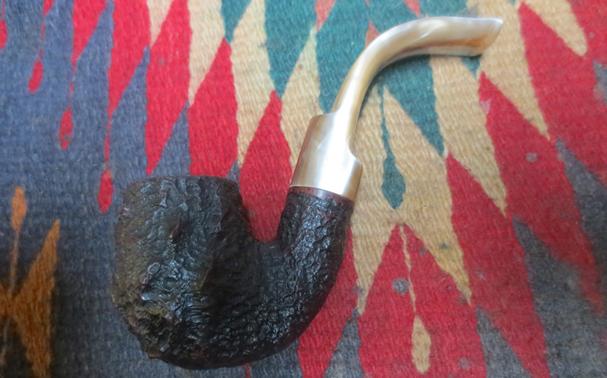

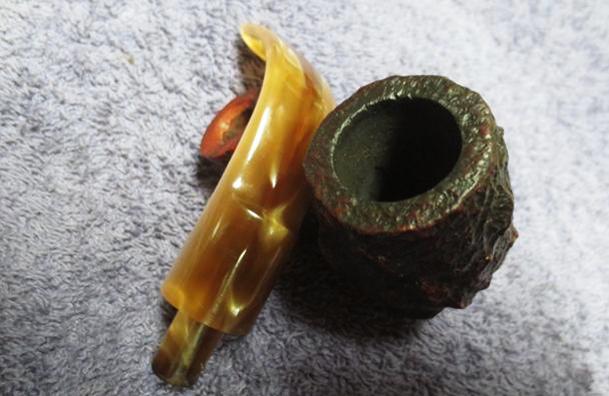
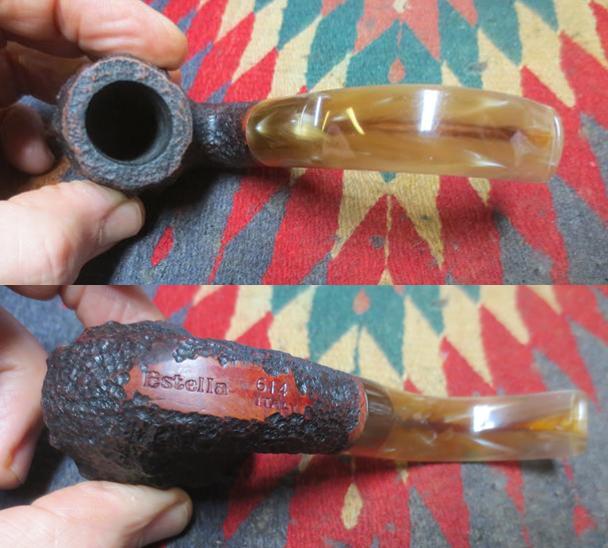 The rim looked really good. The grooves and carved surface was very clean and the lava that had filled in all of them was gone. The bowl was clean as well.
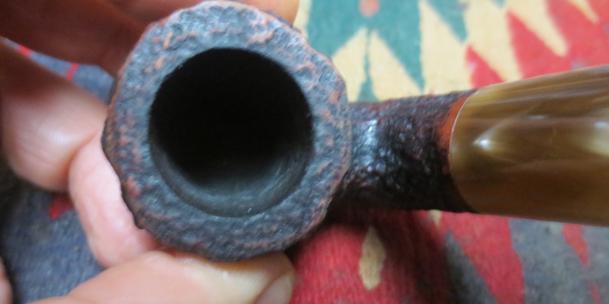 The stem cleaned up well. The majority of the tar stains in the airway came out with the scrubbing with alcohol. What was left was probably not going anywhere. The tooth marks on both sides were dents that were not too deep and could be sanded out.
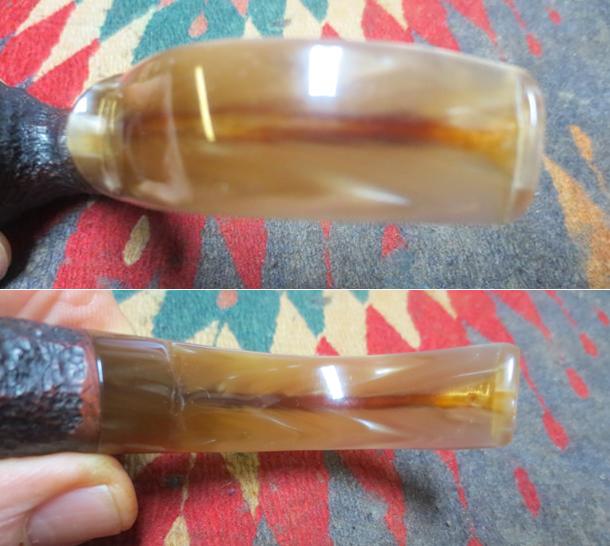 I stained the rim top and the outer and inner edges of the bowl with a dark brown stain pen to blend it in with the colour of the rest of the pipe. There was ring of smooth briar at the end of the shank where the stem sat against it.
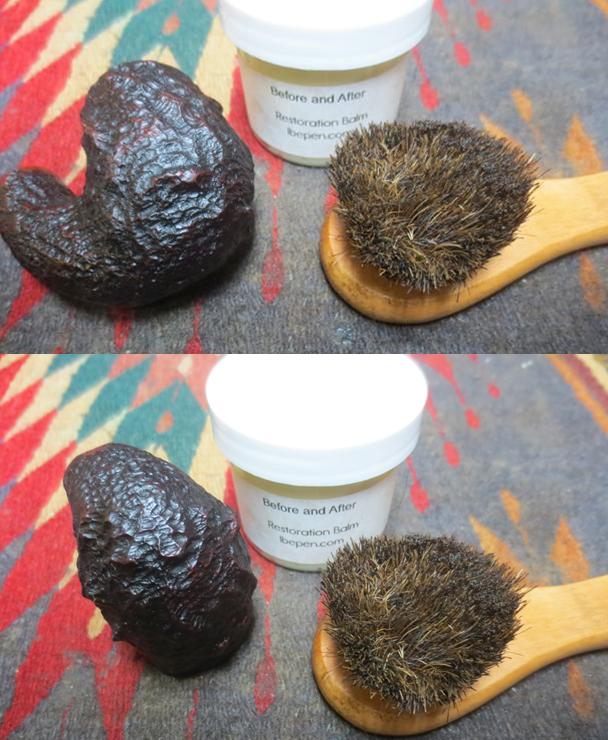
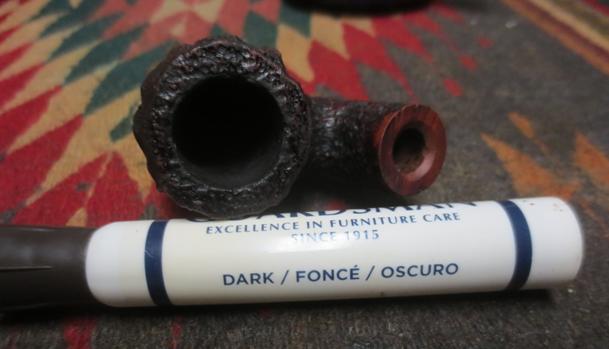 In my ongoing experiment with Mark Hoover’s new product that he calls Before & After Restoration Balm I used it on the blastication of the bowl and shank. Mark is the creator of the Before & After Pipe Stem Deoxidizer and Polishes. He says that the product can be used on briar or stems – whether vulcanite, acrylic or horn. He said it was designed to pull the dirt off of the briar as well as polish it. He added some anti-oxidants to keep the briar from getting damaged from both UV rays and water. I chose to use it on this pipe because of the roughness of the rusticated finish on this bowl. I rubbed it into the finish on the bowl and shank with my fingers and worked it into the finish with a shoe brush to see if it pulled out the dirt. It seemed to work very well and I took the following photos to show the results. I will continue using it for a while and see how it works in a variety of settings before I give an opinion of the product.
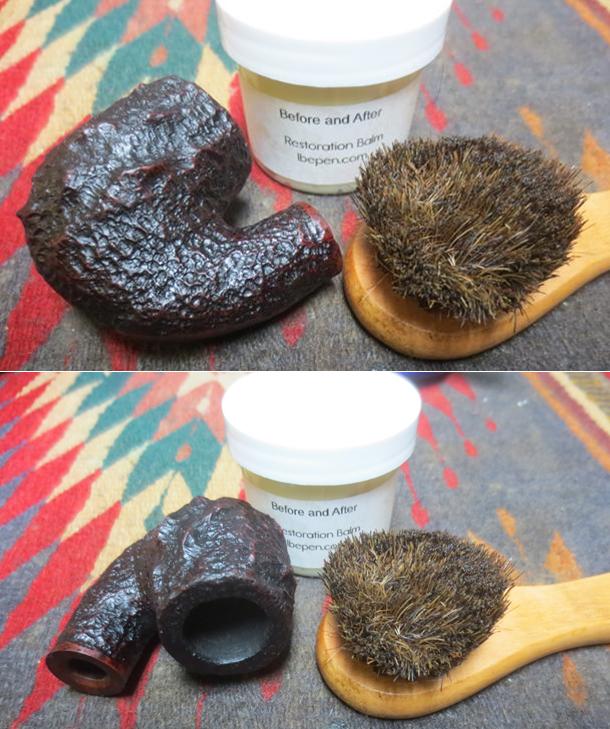
 I used a sharp knife to bevel the airway in the tenon. Funneling the airway at that point adds to the smooth flow of air to the button.
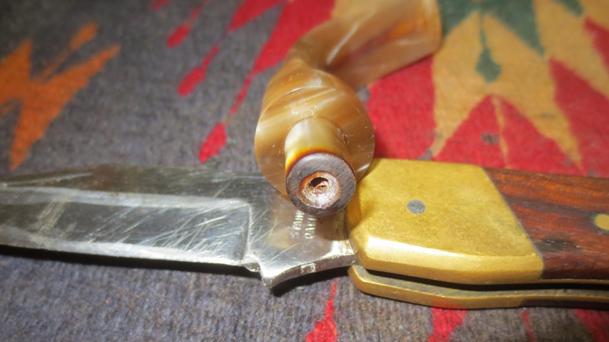 I sanded the tooth marks on the stem with 220 grit sandpaper until they disappeared into the surface of the stem. When I finished sanding the stem it was smooth and there were not any damaged areas on the stem at the button.
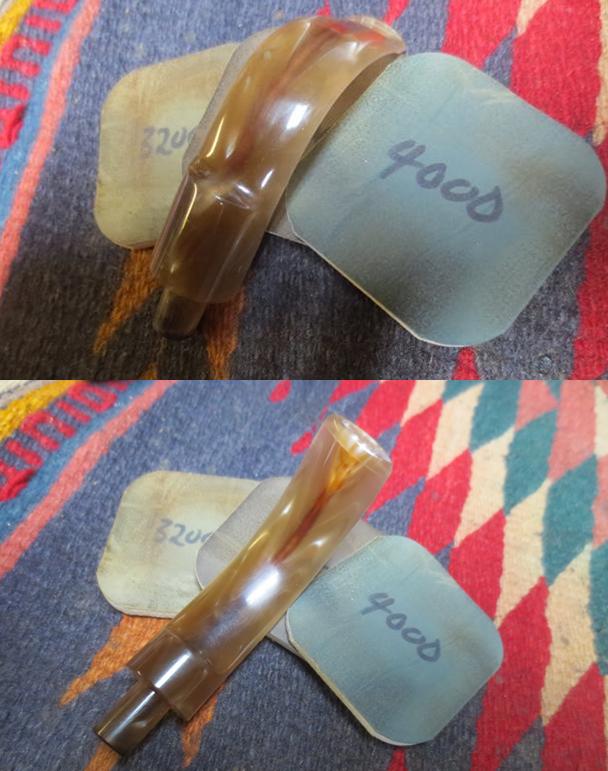
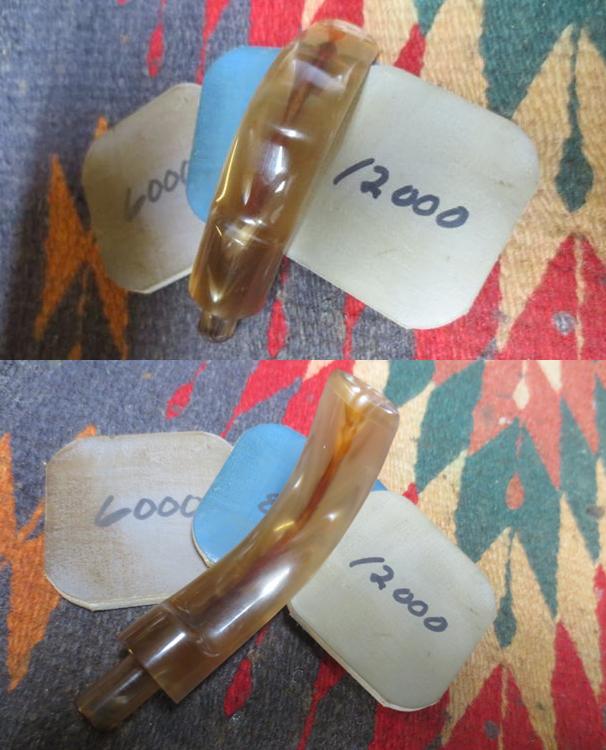
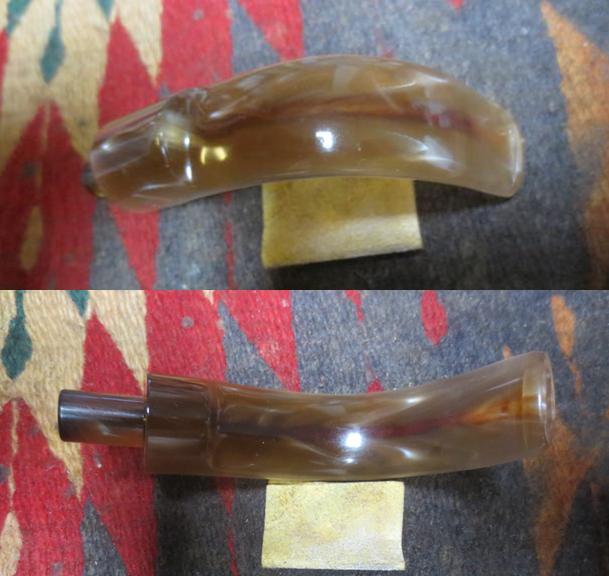 I polished the stem with micromesh sanding pads – wet sanding it with 1500-2400 grit pads and wiping it down after each pad with Obsidian Oil to give the next pad more bite when I sanded. I dry sanded it with 3200-12000 grit pads and again wiped it down with the oil after each pad. After the final pad I wiped it down with a damp cloth and set it aside while I finished the bowl.
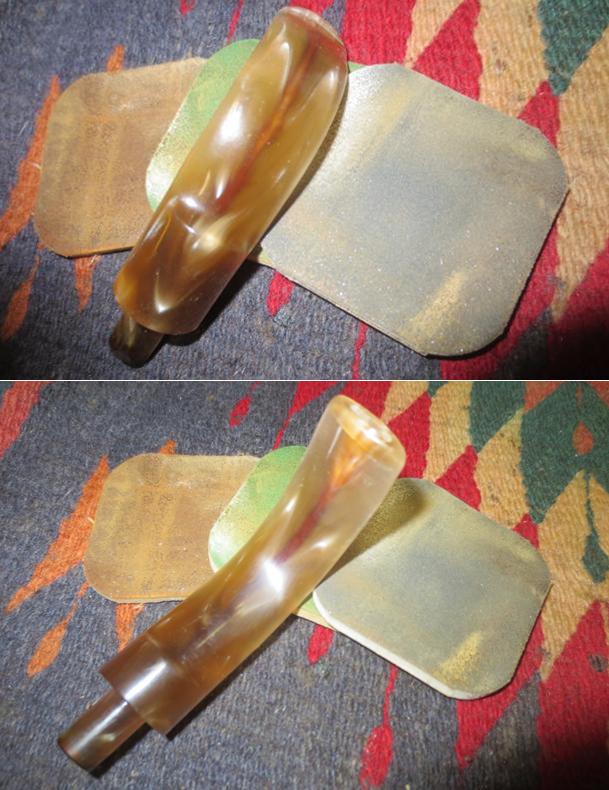
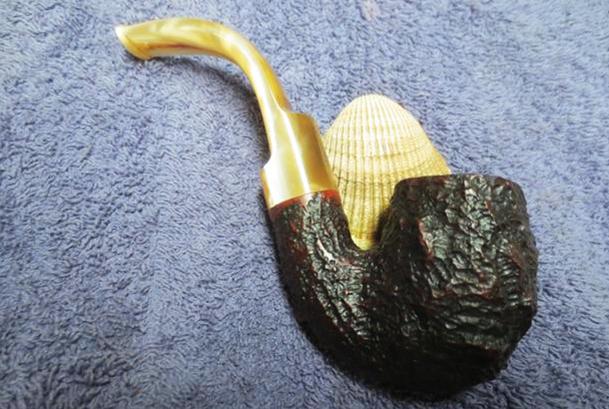
 I put the stem back on the bowl and buffed the pipe with Blue Diamond on the buffing wheel to polish the briar. I used a soft touch on the rusticated areas as I did not want to flatten them or fill in the grooves with polishing compound. I gave the stem multiple coats of carnauba wax and I gave the rusticated bowl several coats of Conservator’s Wax. I buffed it with a clean buffing pad to raise a shine. I hand buffed it with a microfiber cloth to deepen the shine. The rough rusticated finish with its dark brown and medium brown highlights works well with the golden swirled Lucite stem. The pipe looks fresh and new. The dimensions of this pipe are Length: 5 1/2 inches, Height: 2 inches, Bowl diameter: 1 1/8 inches, Chamber diameter: 3/4 inches. The finished pipe is shown in the photos below. It is one that will be going on the rebornpipes store shortly. It will make a nice addition to someone’s pipe rack. If you are interested email me at slaug@uniserve.com or send me a message on Facebook. Thanks for looking.