Blog by Steve Laug
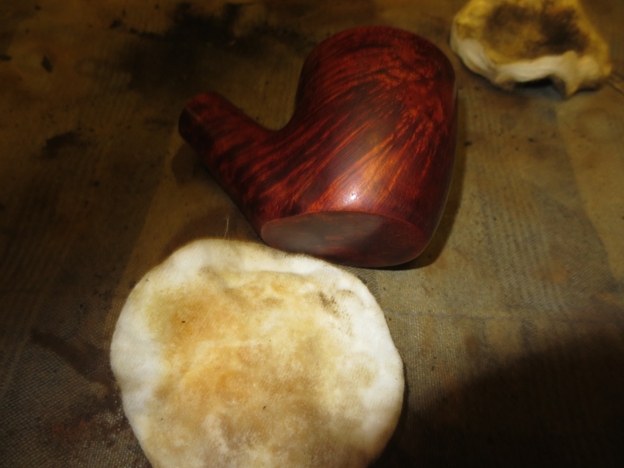
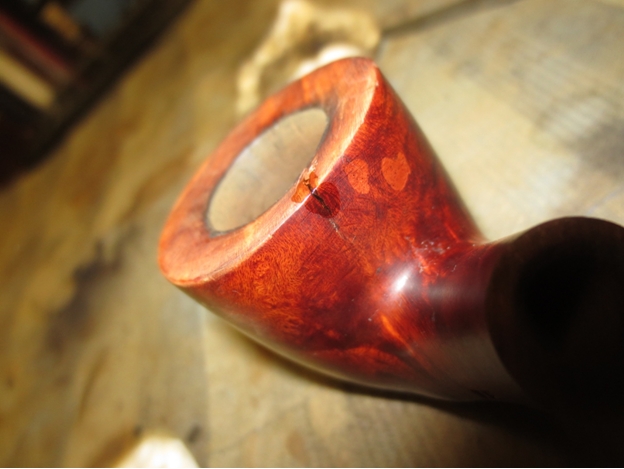
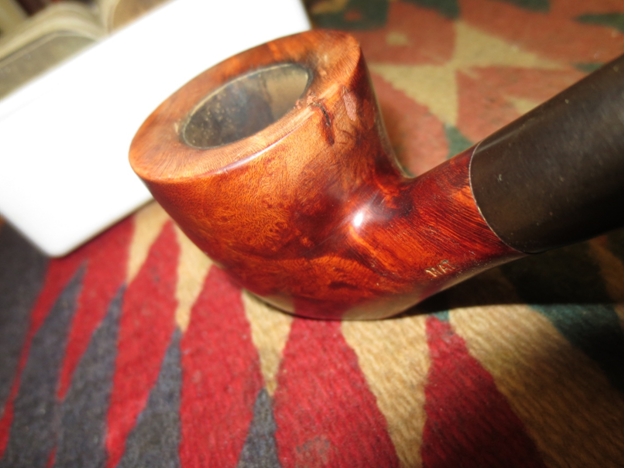
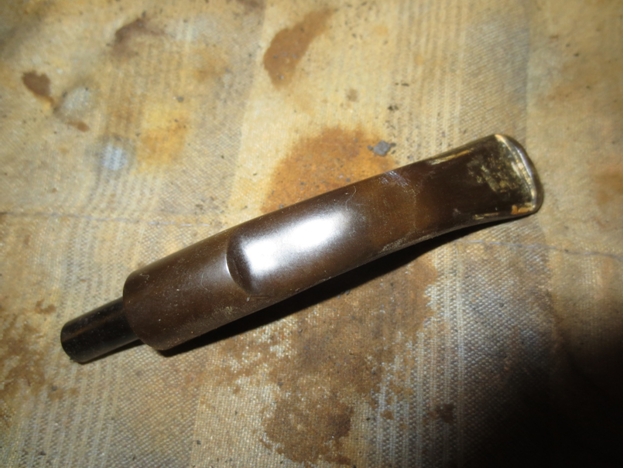
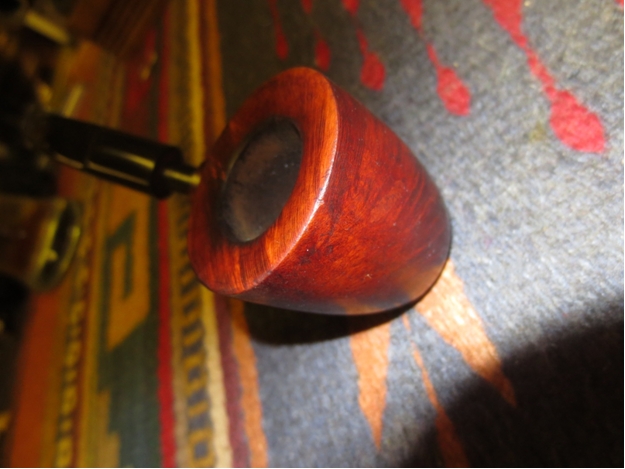
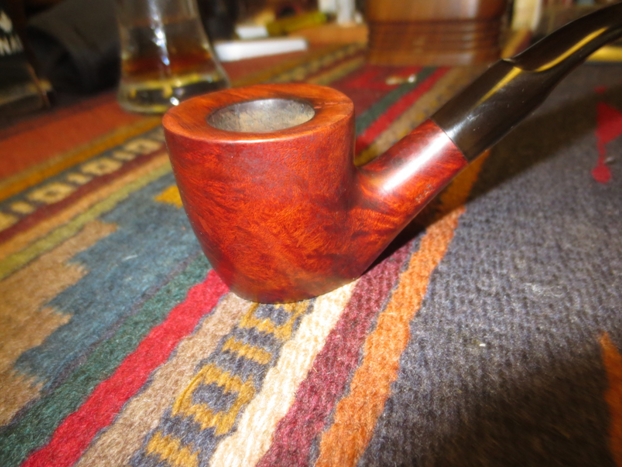
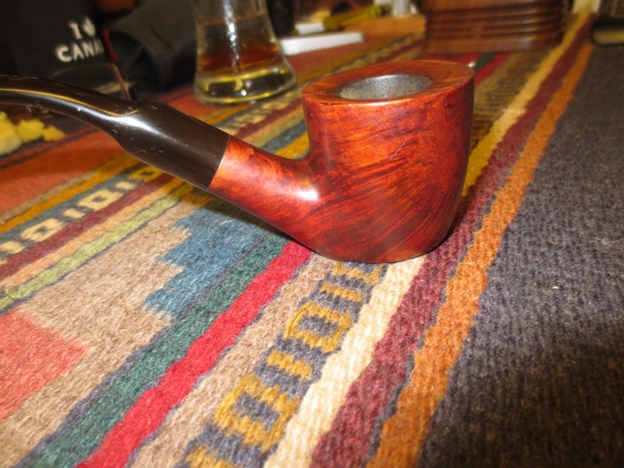
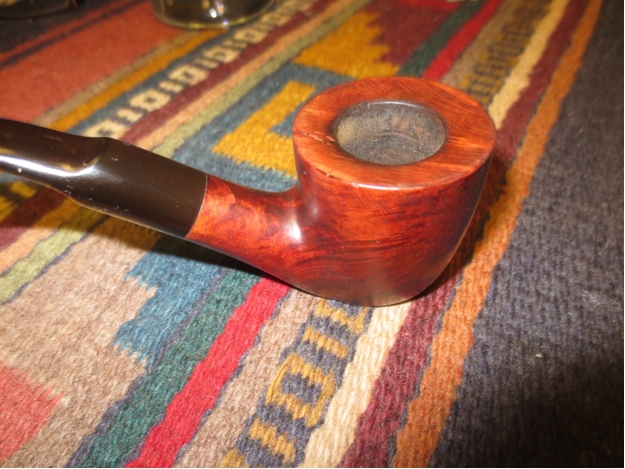
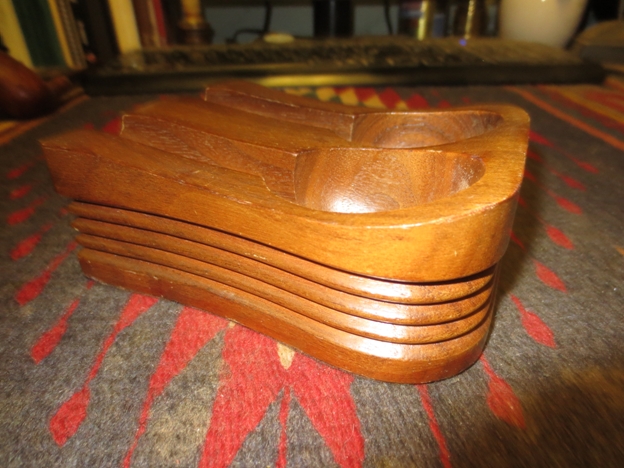
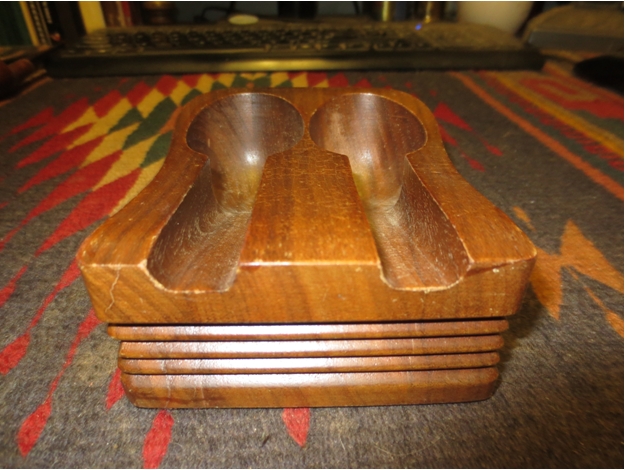
One of the perks I picked up in the recent lot of pipes I bought off of craigslist was a walnut pipe rest and a walnut 6 pipe rack/humidor. Both of them were in decent shape. They were scuffed and worn in spots and dusty from disuse. But they were still very functional. I have wanted a two pipe rack like the one on the left of the photo for a while now to use on my desk at the office. The other six pipe rack with the humidor now resides beside my chair in the living room. I have had pipe laying in an ash tray and tins stacked next to them. I was able to put the pipes into the rack and the tins in the humidor so it was a great addition.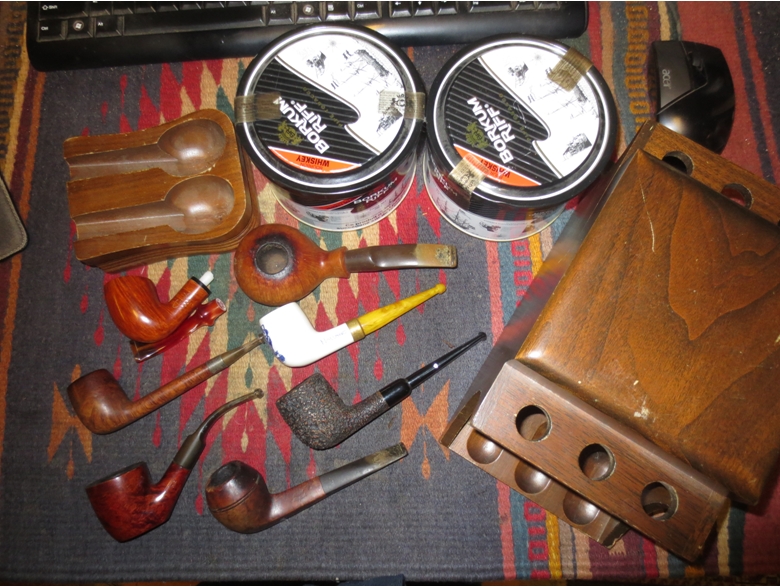 I took a few photos of each piece before I cleaned them up to show that they were in relatively good shape for pieces this age.
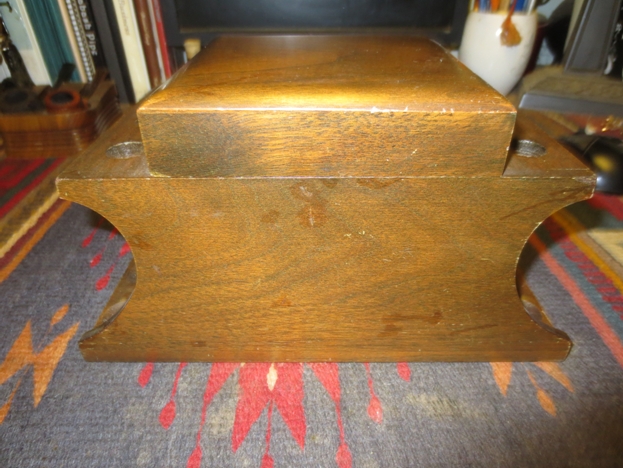


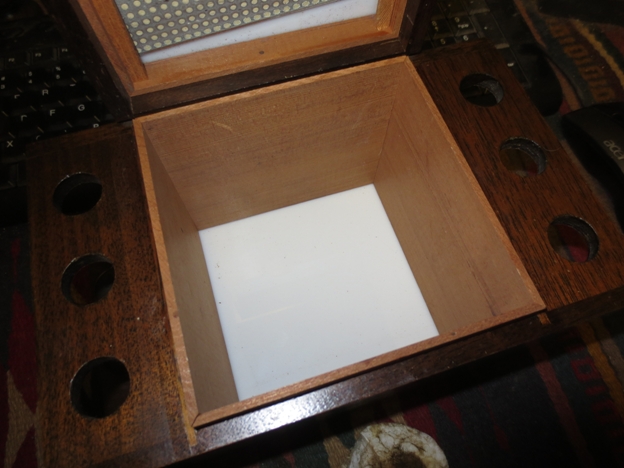
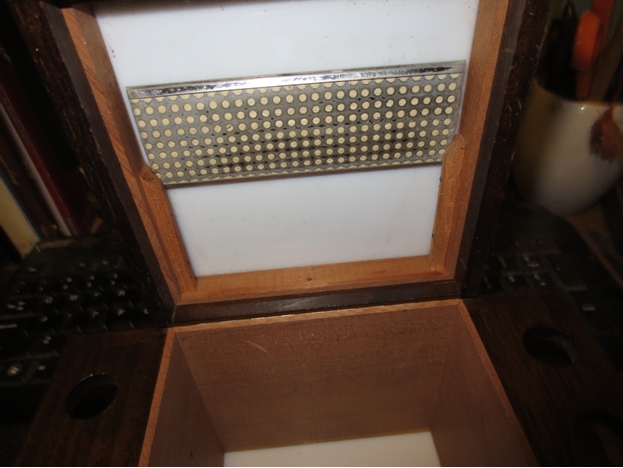
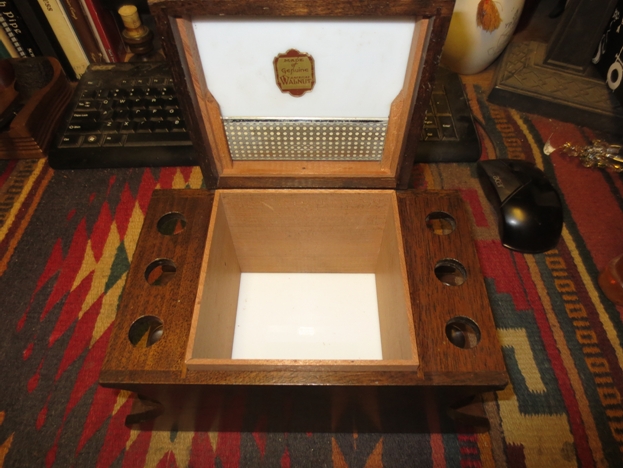
 I worked on eth humidor/rack first. I took it apart to clean up the pieces. The sides of the humidor had removable cedar panels on the sides of the box. The bottom and top of the humidor were milk glass and both were in great shape. There as a sliding metal plate perforated with holes that held absorbent material inside that could be wetted to keep the humidor living.
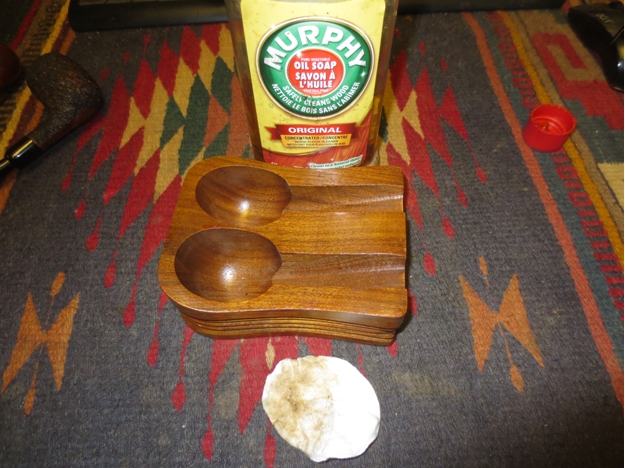
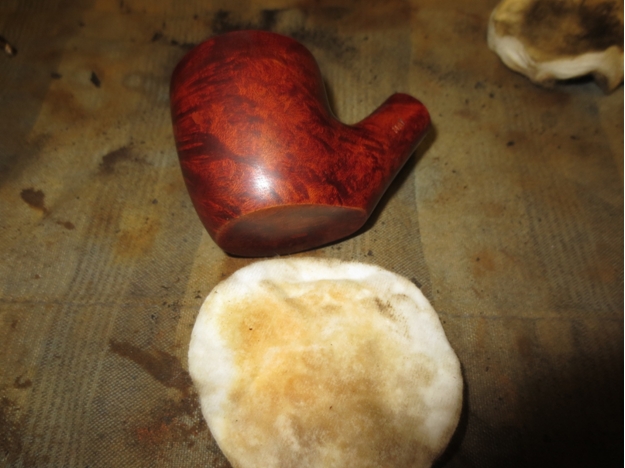
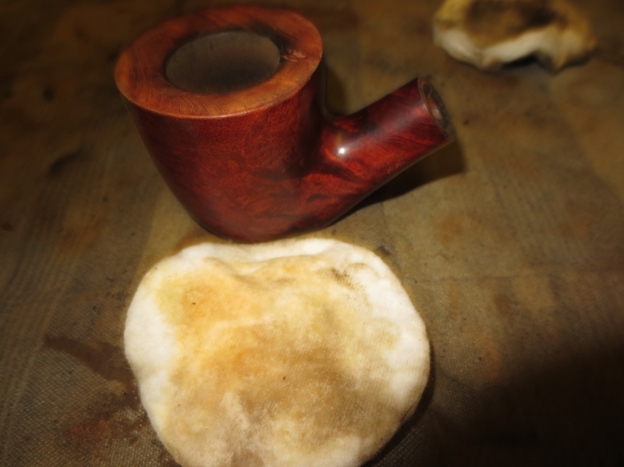
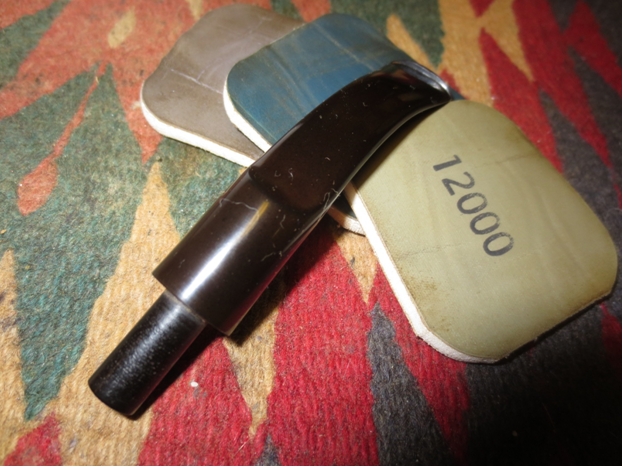
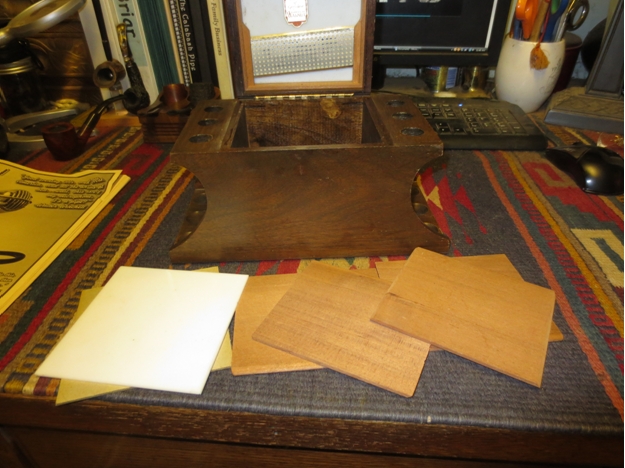 I scrubbed the glass on the top and the bottom with soapy water and rinsed them before drying them. The walnut rack and case I scrubbed down with Murphy’s Oil Soap and then hand buffed with a soft cotton cloth. The wood was quite soiled as can be seen from the cotton scrubbing pads in the next two photos. I was able to remove all of the grime from the wood and bring some warmth back to the finish.
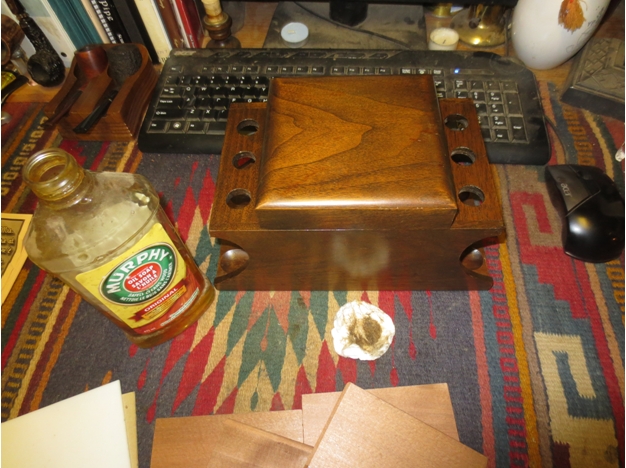
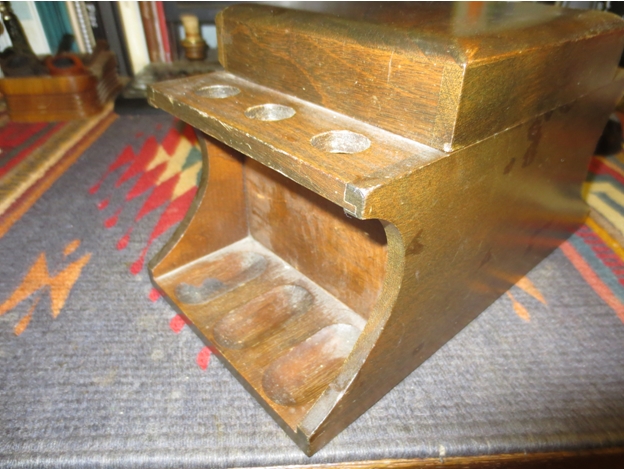
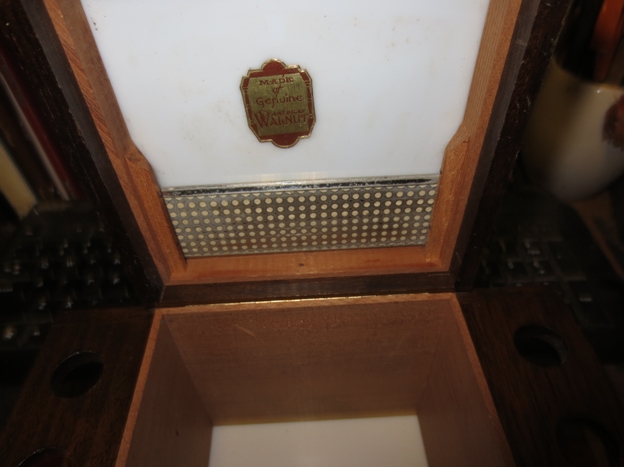
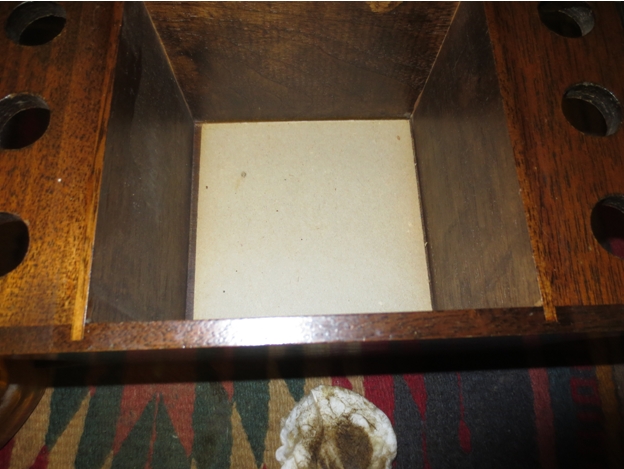 I put the interior of the humidor back together. There was a cardboard piece that sat between the milk glass and the wooden bottom of the box that went in first. Then the cedar pieces that went on the sides went in next. These were beveled on the bottom and sides to make for a smooth fit with no gaps. They were well cut and fit tightly together with no gaps.
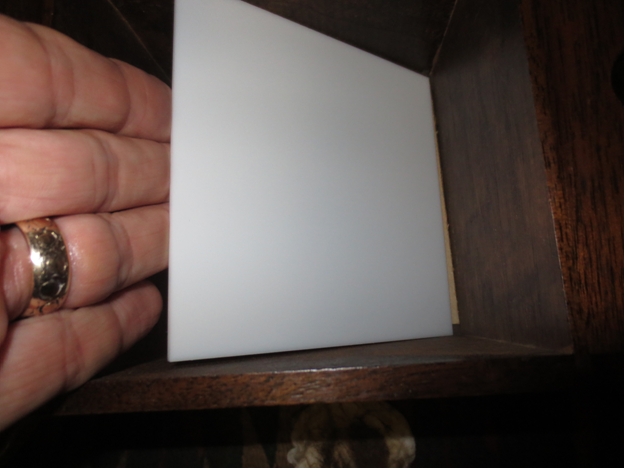
 I slid the metal plate out of the track in the lid and scrubbed it with a damp cloth to remove the dust and tobacco bits from the surface of the metal. I buffed it with a soft cloth to bring back some shine. After I had dried it out I slid it back into place on the lid. There is a gold label on inside of the lid that reads “Made of Genuine American Walnut”.
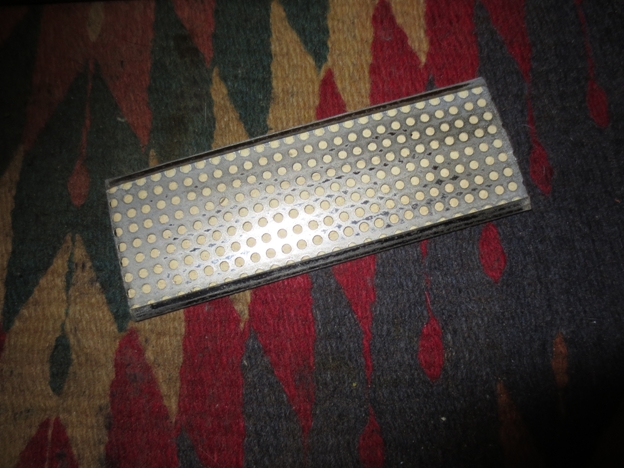
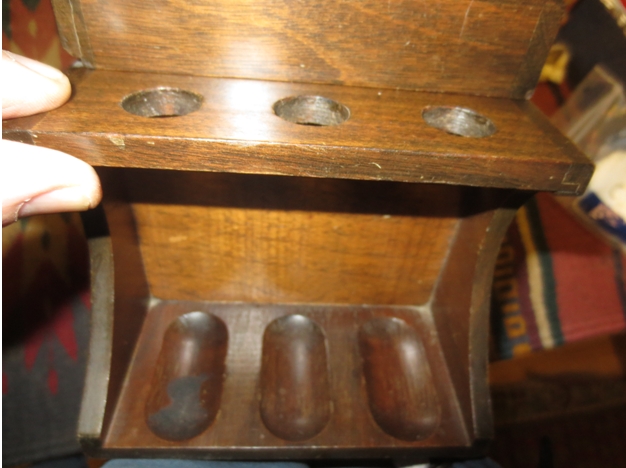
 I buffed the rack and humidor by hand and took the next series of photos.
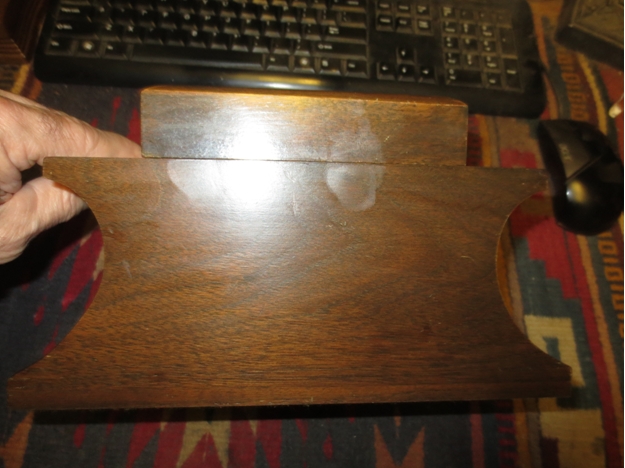
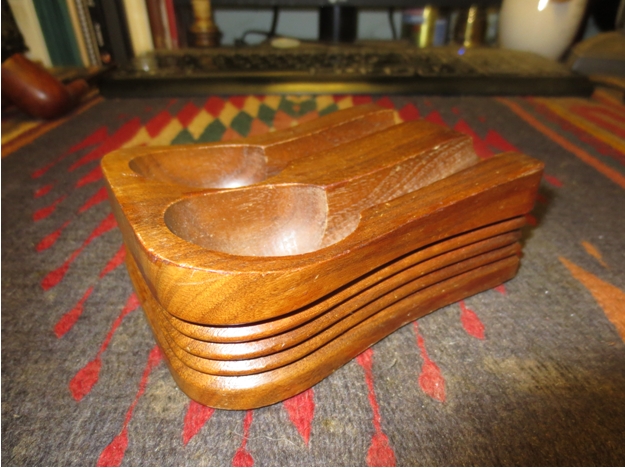
 I scrubbed the two pipe rest with Murphy’s Oil Soap and hand buffed it with a soft cloth. The finished pipe rest is shown in the photo below. It looks like new and has a deep warm glow to the finish again.