Monthly Archives: November 2014

A Few Words on Pipe Care, Whether for Your Eight-Dot Saseini or a No-Name – Robert M. Boughton


Guest Blog by Robert M. Boughton
Member, North American Society of Pipe Collectors
http://www.naspc.org
http://www.roadrunnerpipes.com
http://about.me/boughtonrobert
Photos © the Author

Originally blogged by Roadrunner Restored Pipes, http://www.roadrunnerpipes.com, November 2, 2014

“Unfortunately, some of our greatest tribulations are the result of our own foolishness and weakness and occur because of our own carelessness and transgression.”
—James E. Faust (1920-2007), U.S. religious leader, lawyer and politician

These are just a few ideas concerning how to care for our good friend, the tobacco pipe, which I put into a blog on my Website

The following list is aimed for the most part toward complete or relative newcomers to pipe enjoying, but even experienced readers may find it useful. Although these guidelines may seem obvious when read in cold, hard type, so to put it, I have witnessed people with years of experience committing many of the Dont’s without a thought, and by the same token first-time enjoyers who grasp all of the Do’s as if by second nature. To be fair, I have at times made some mistakes that drew cringes from some of those “perfect pipe people” out there, who really think they exist. But first for a few definitions that are necessary to continue.

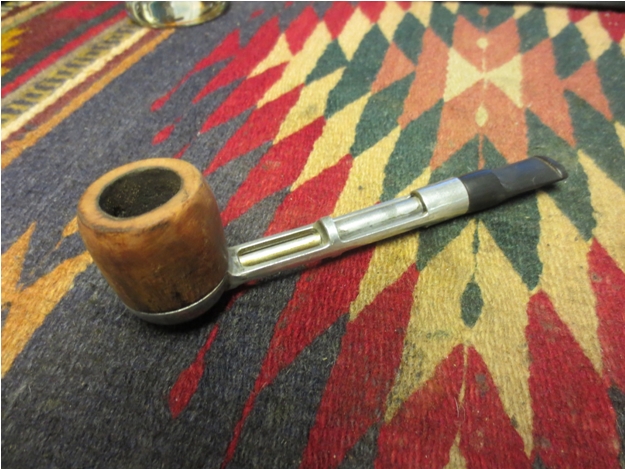
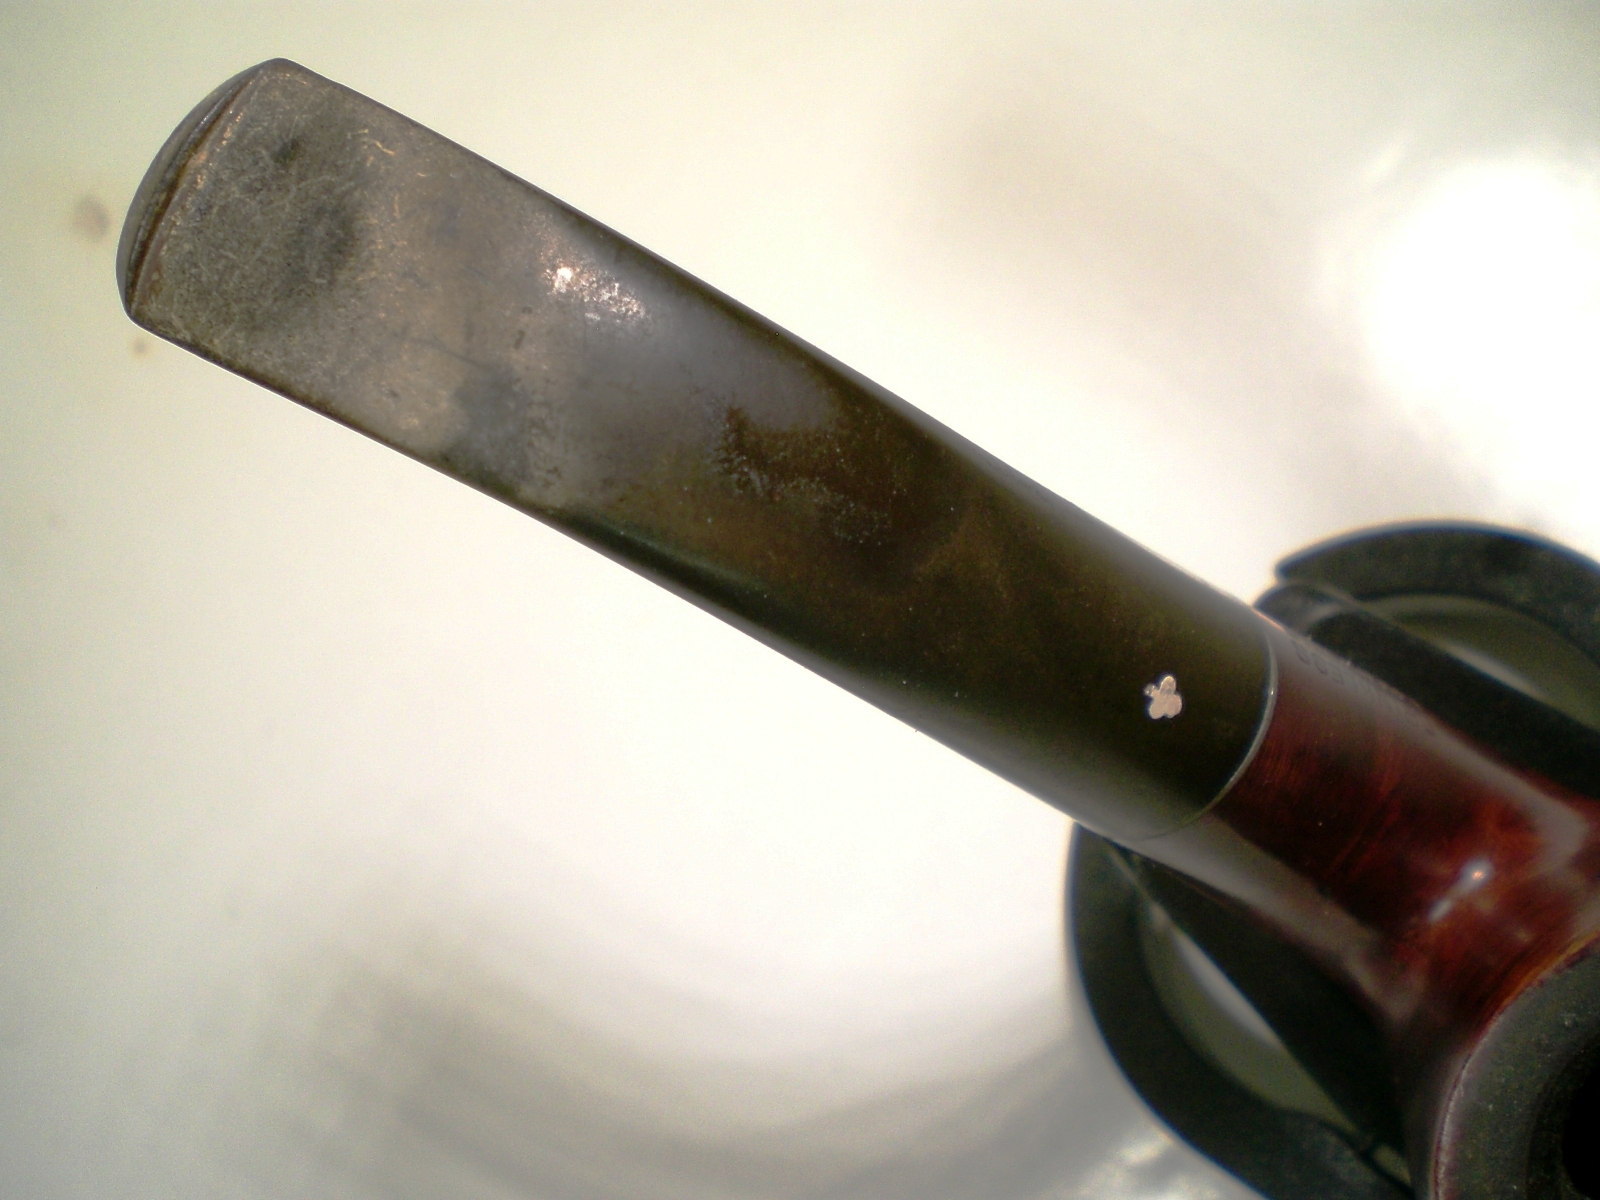
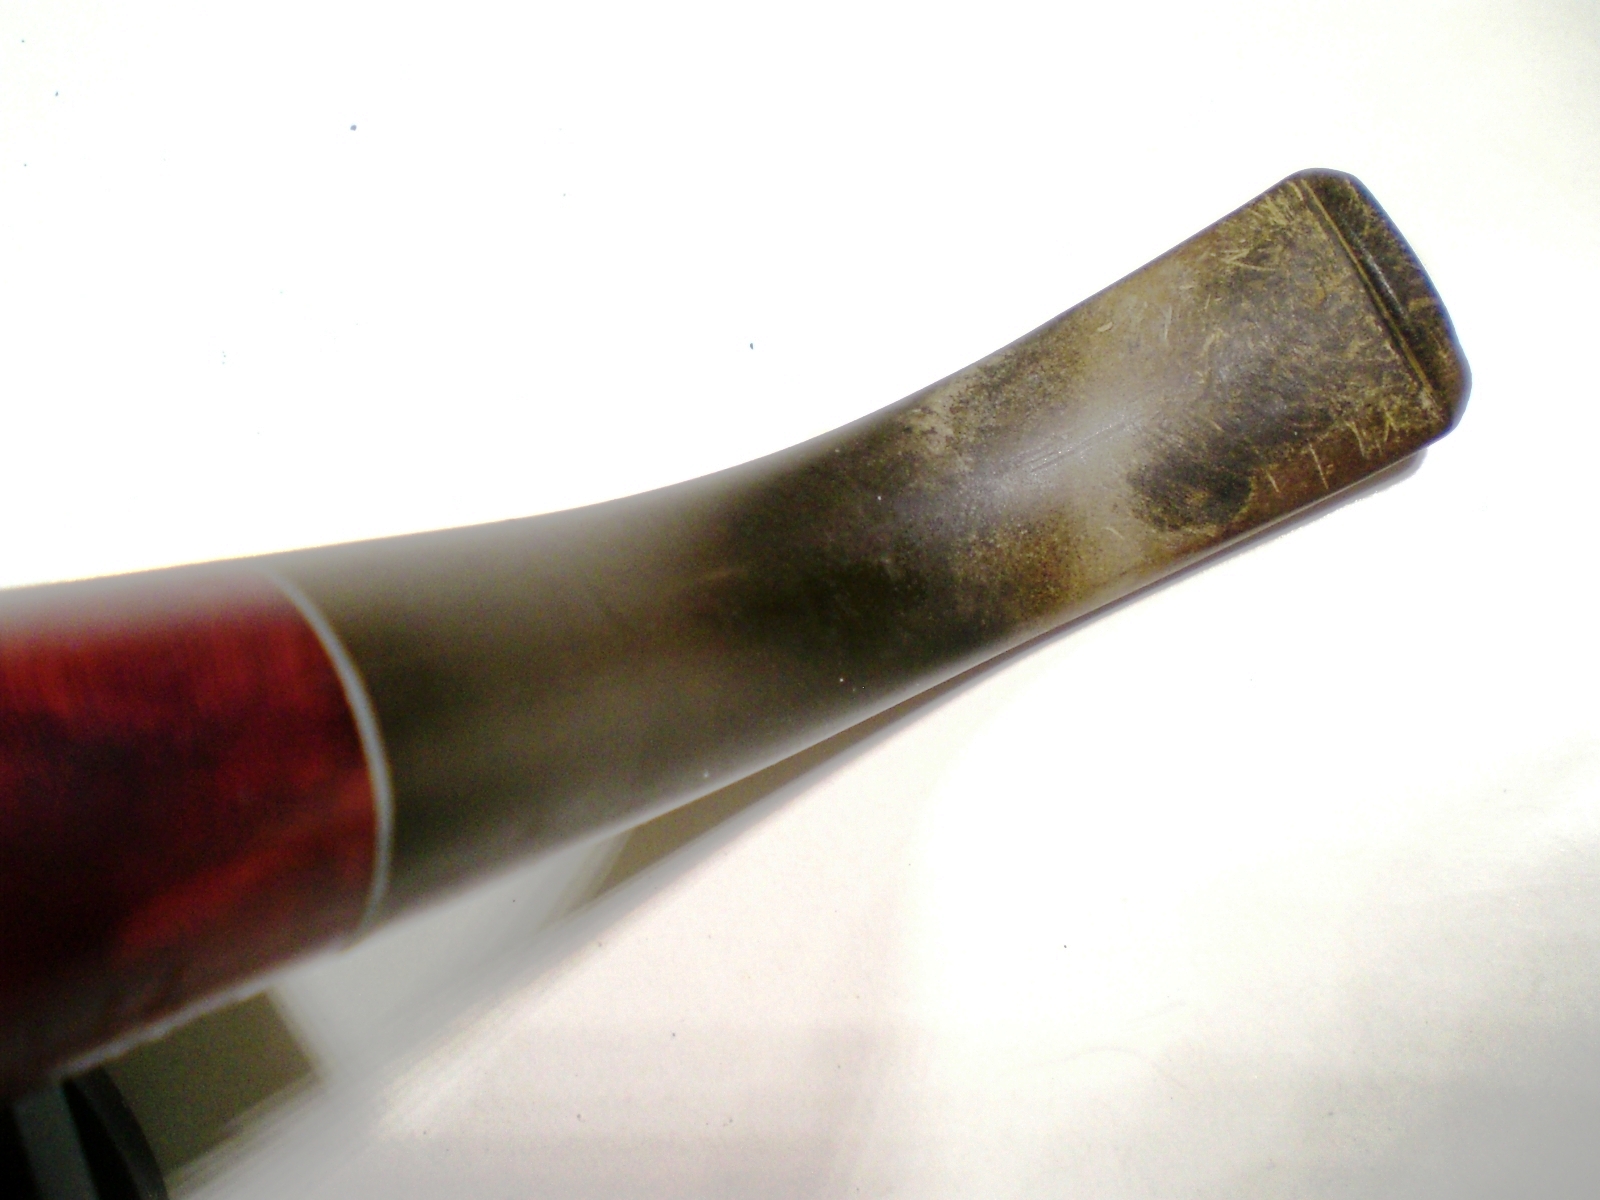
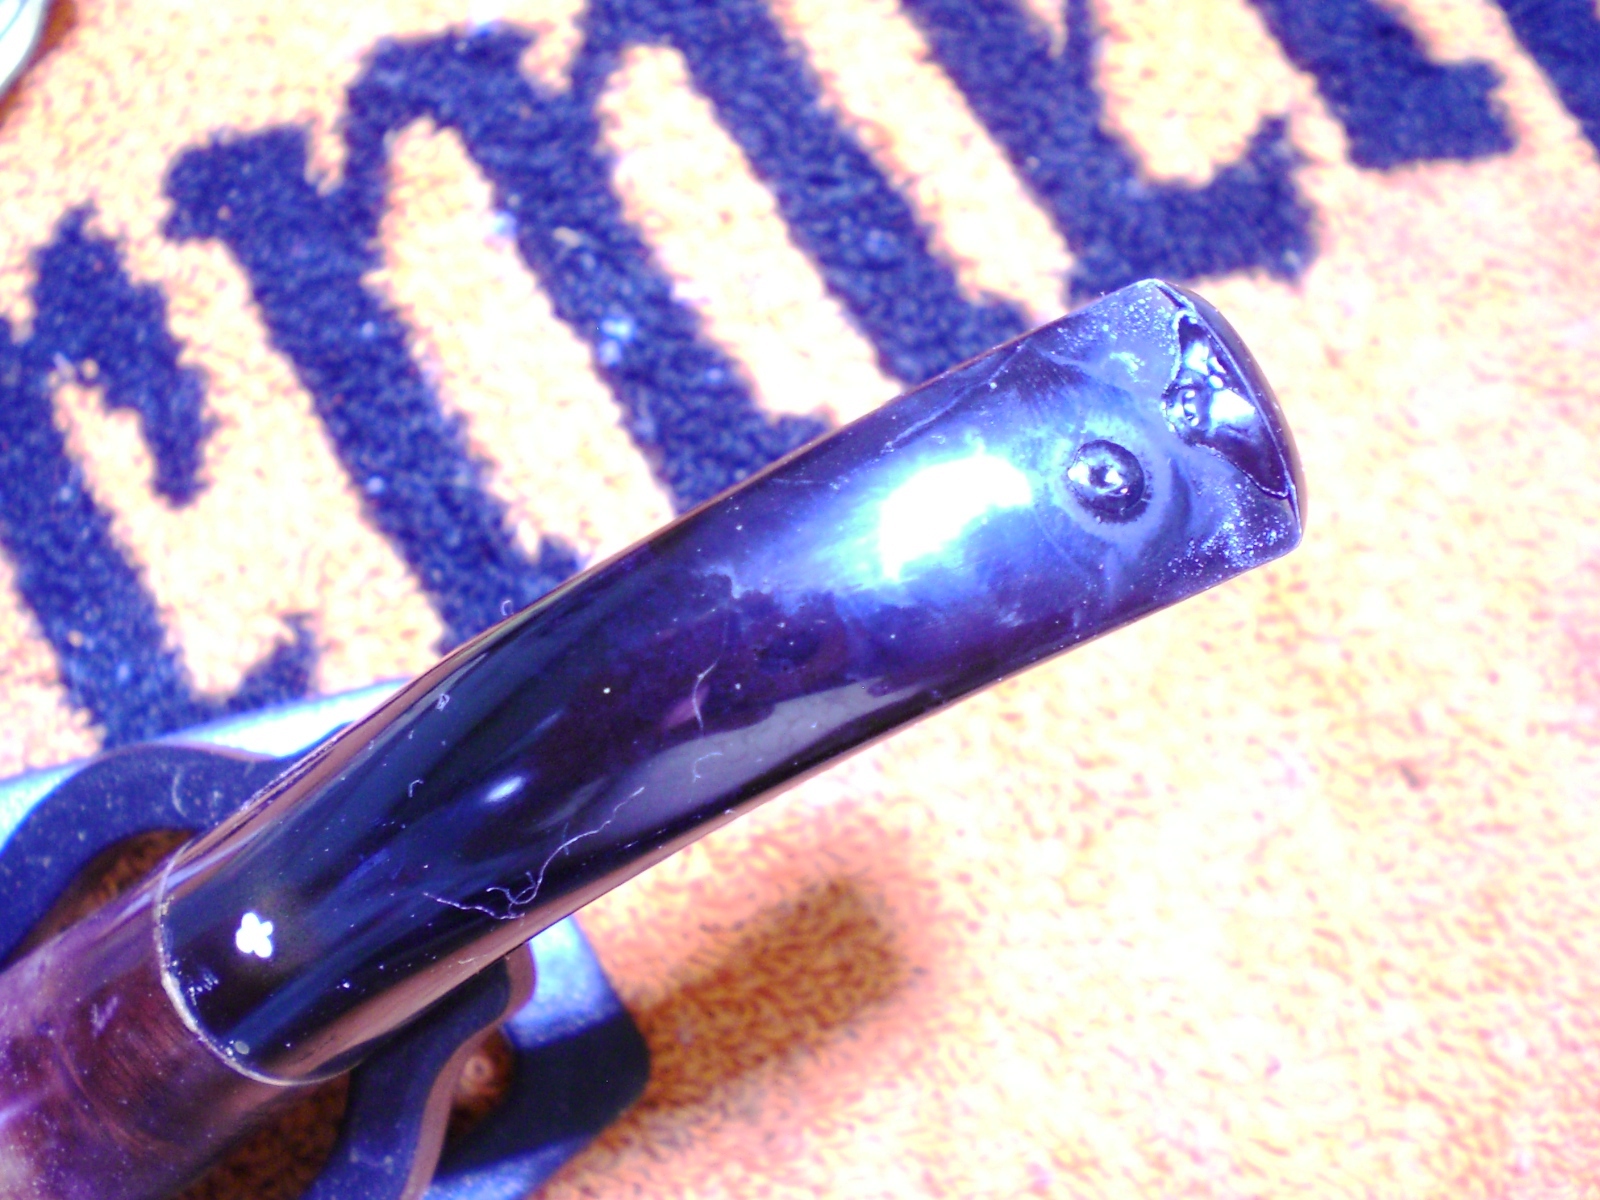
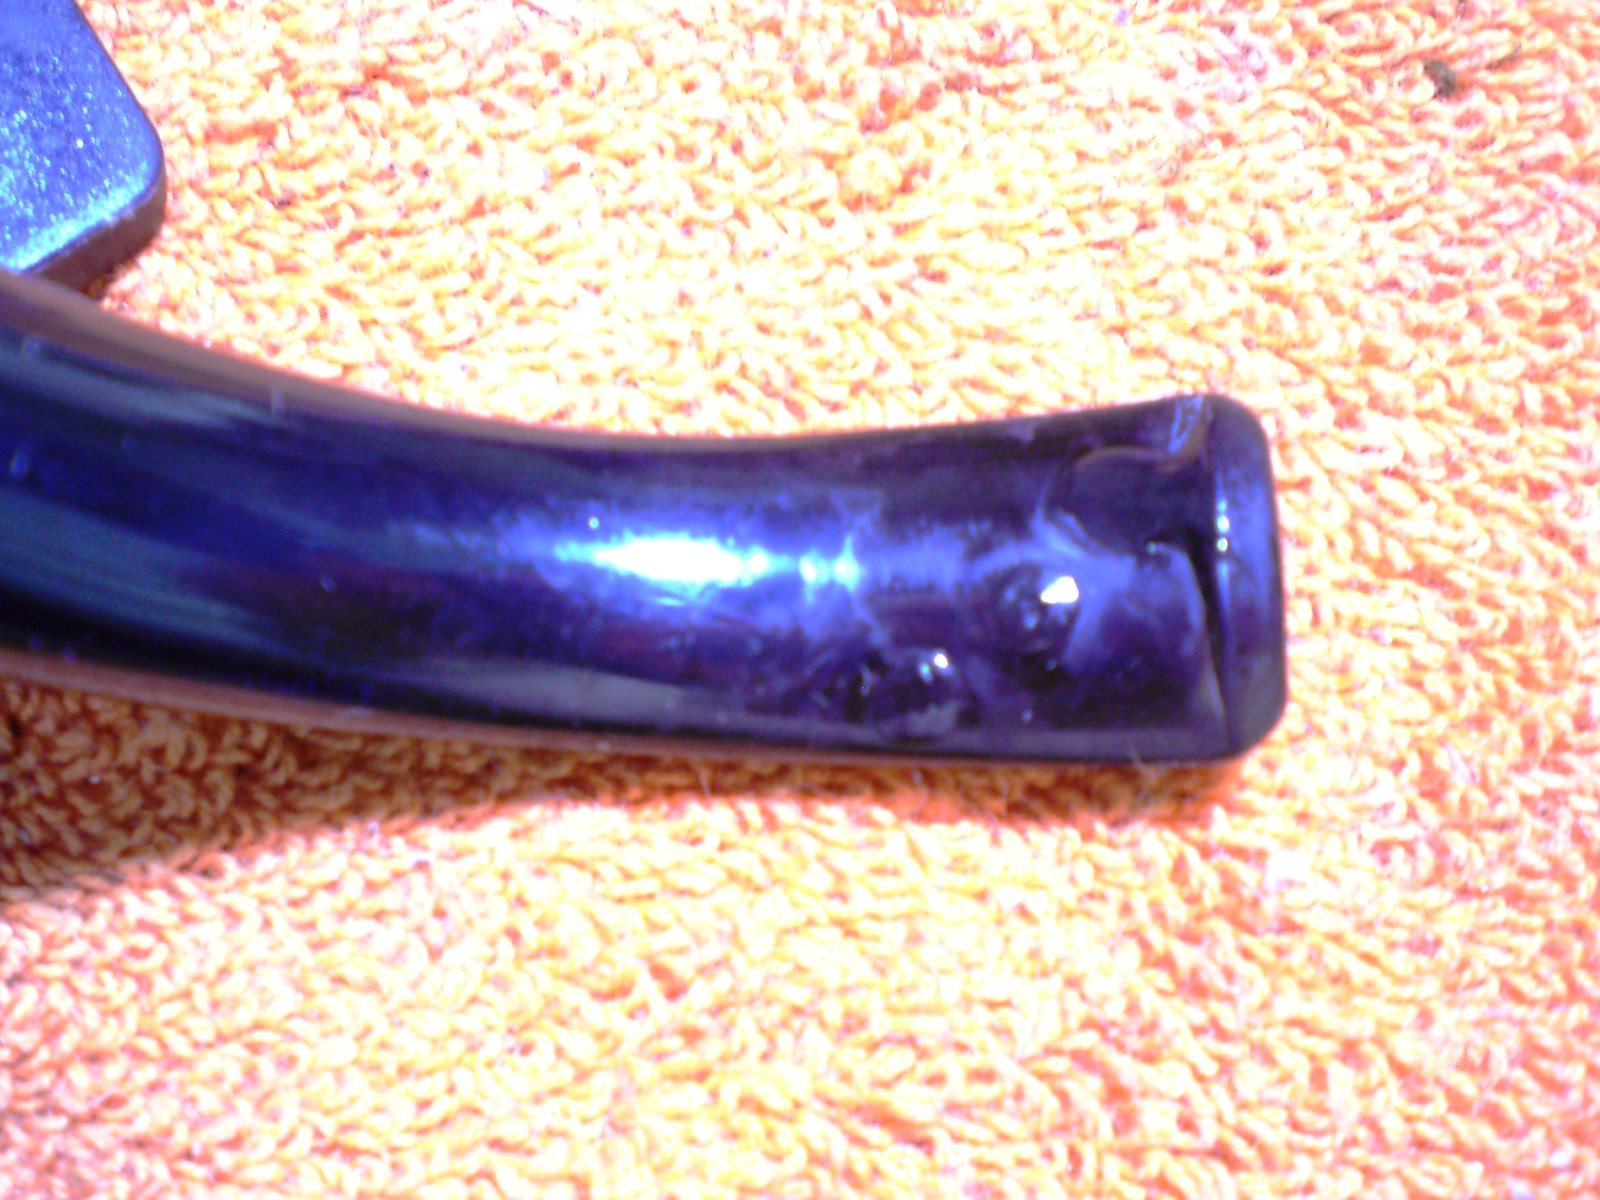
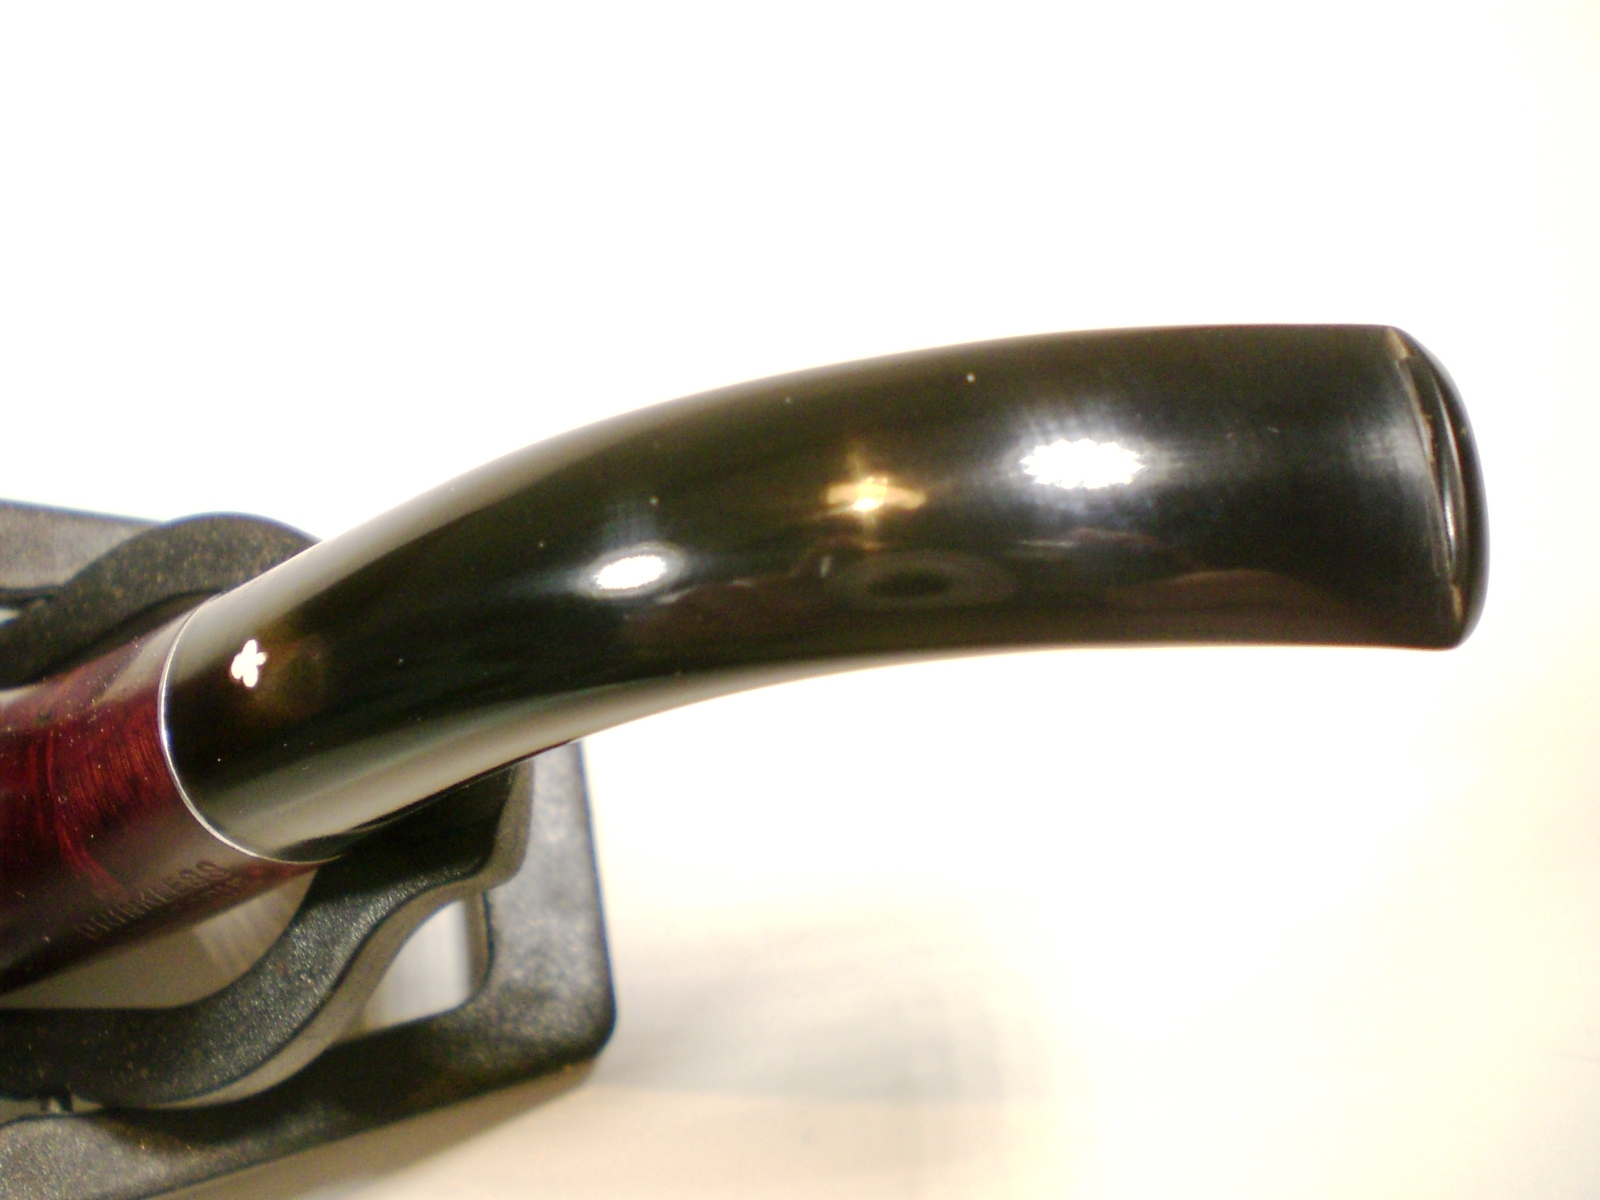
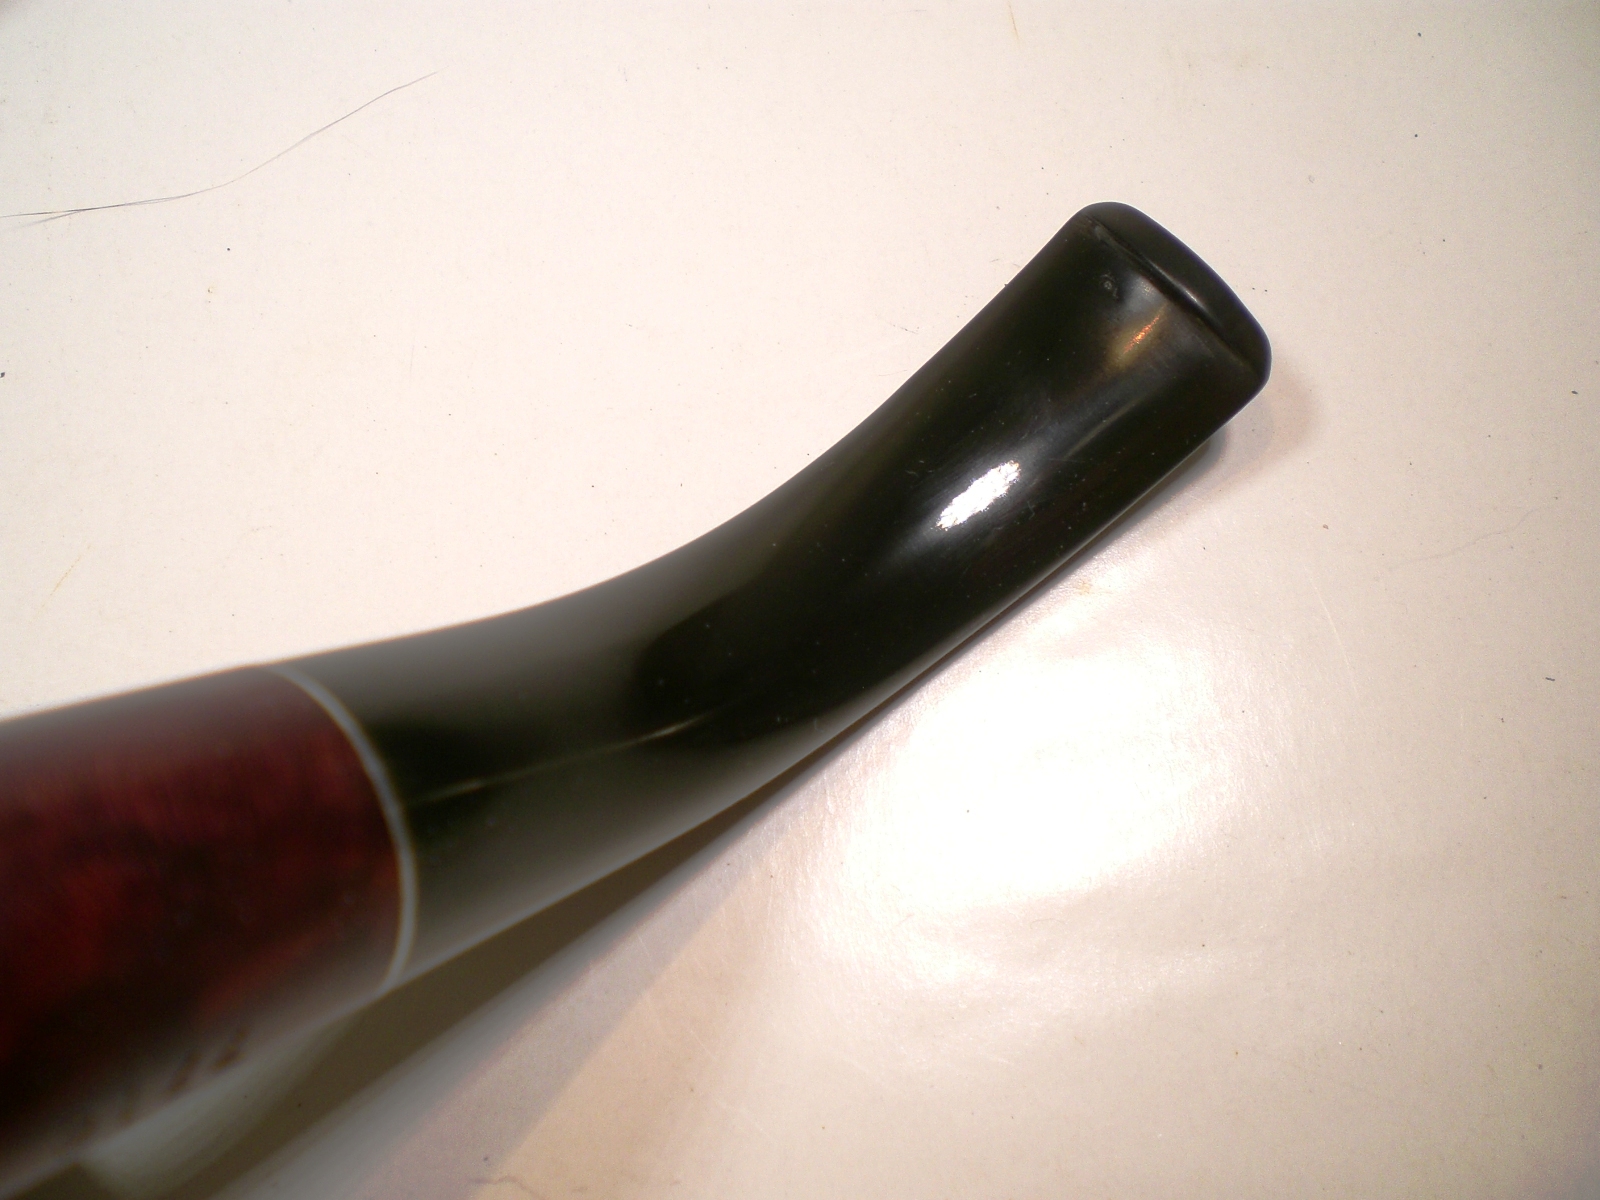
• Stem:The part of the pipe, mostly made of black vulcanite or different forms of acrylic that are colored and often translucent, that goes in the mouth and through which the tobacco smoke is drawn back to the taste-bud before exhaling
• Bit:The part of the stem with top and bottom ridges used for the teeth to hold onto
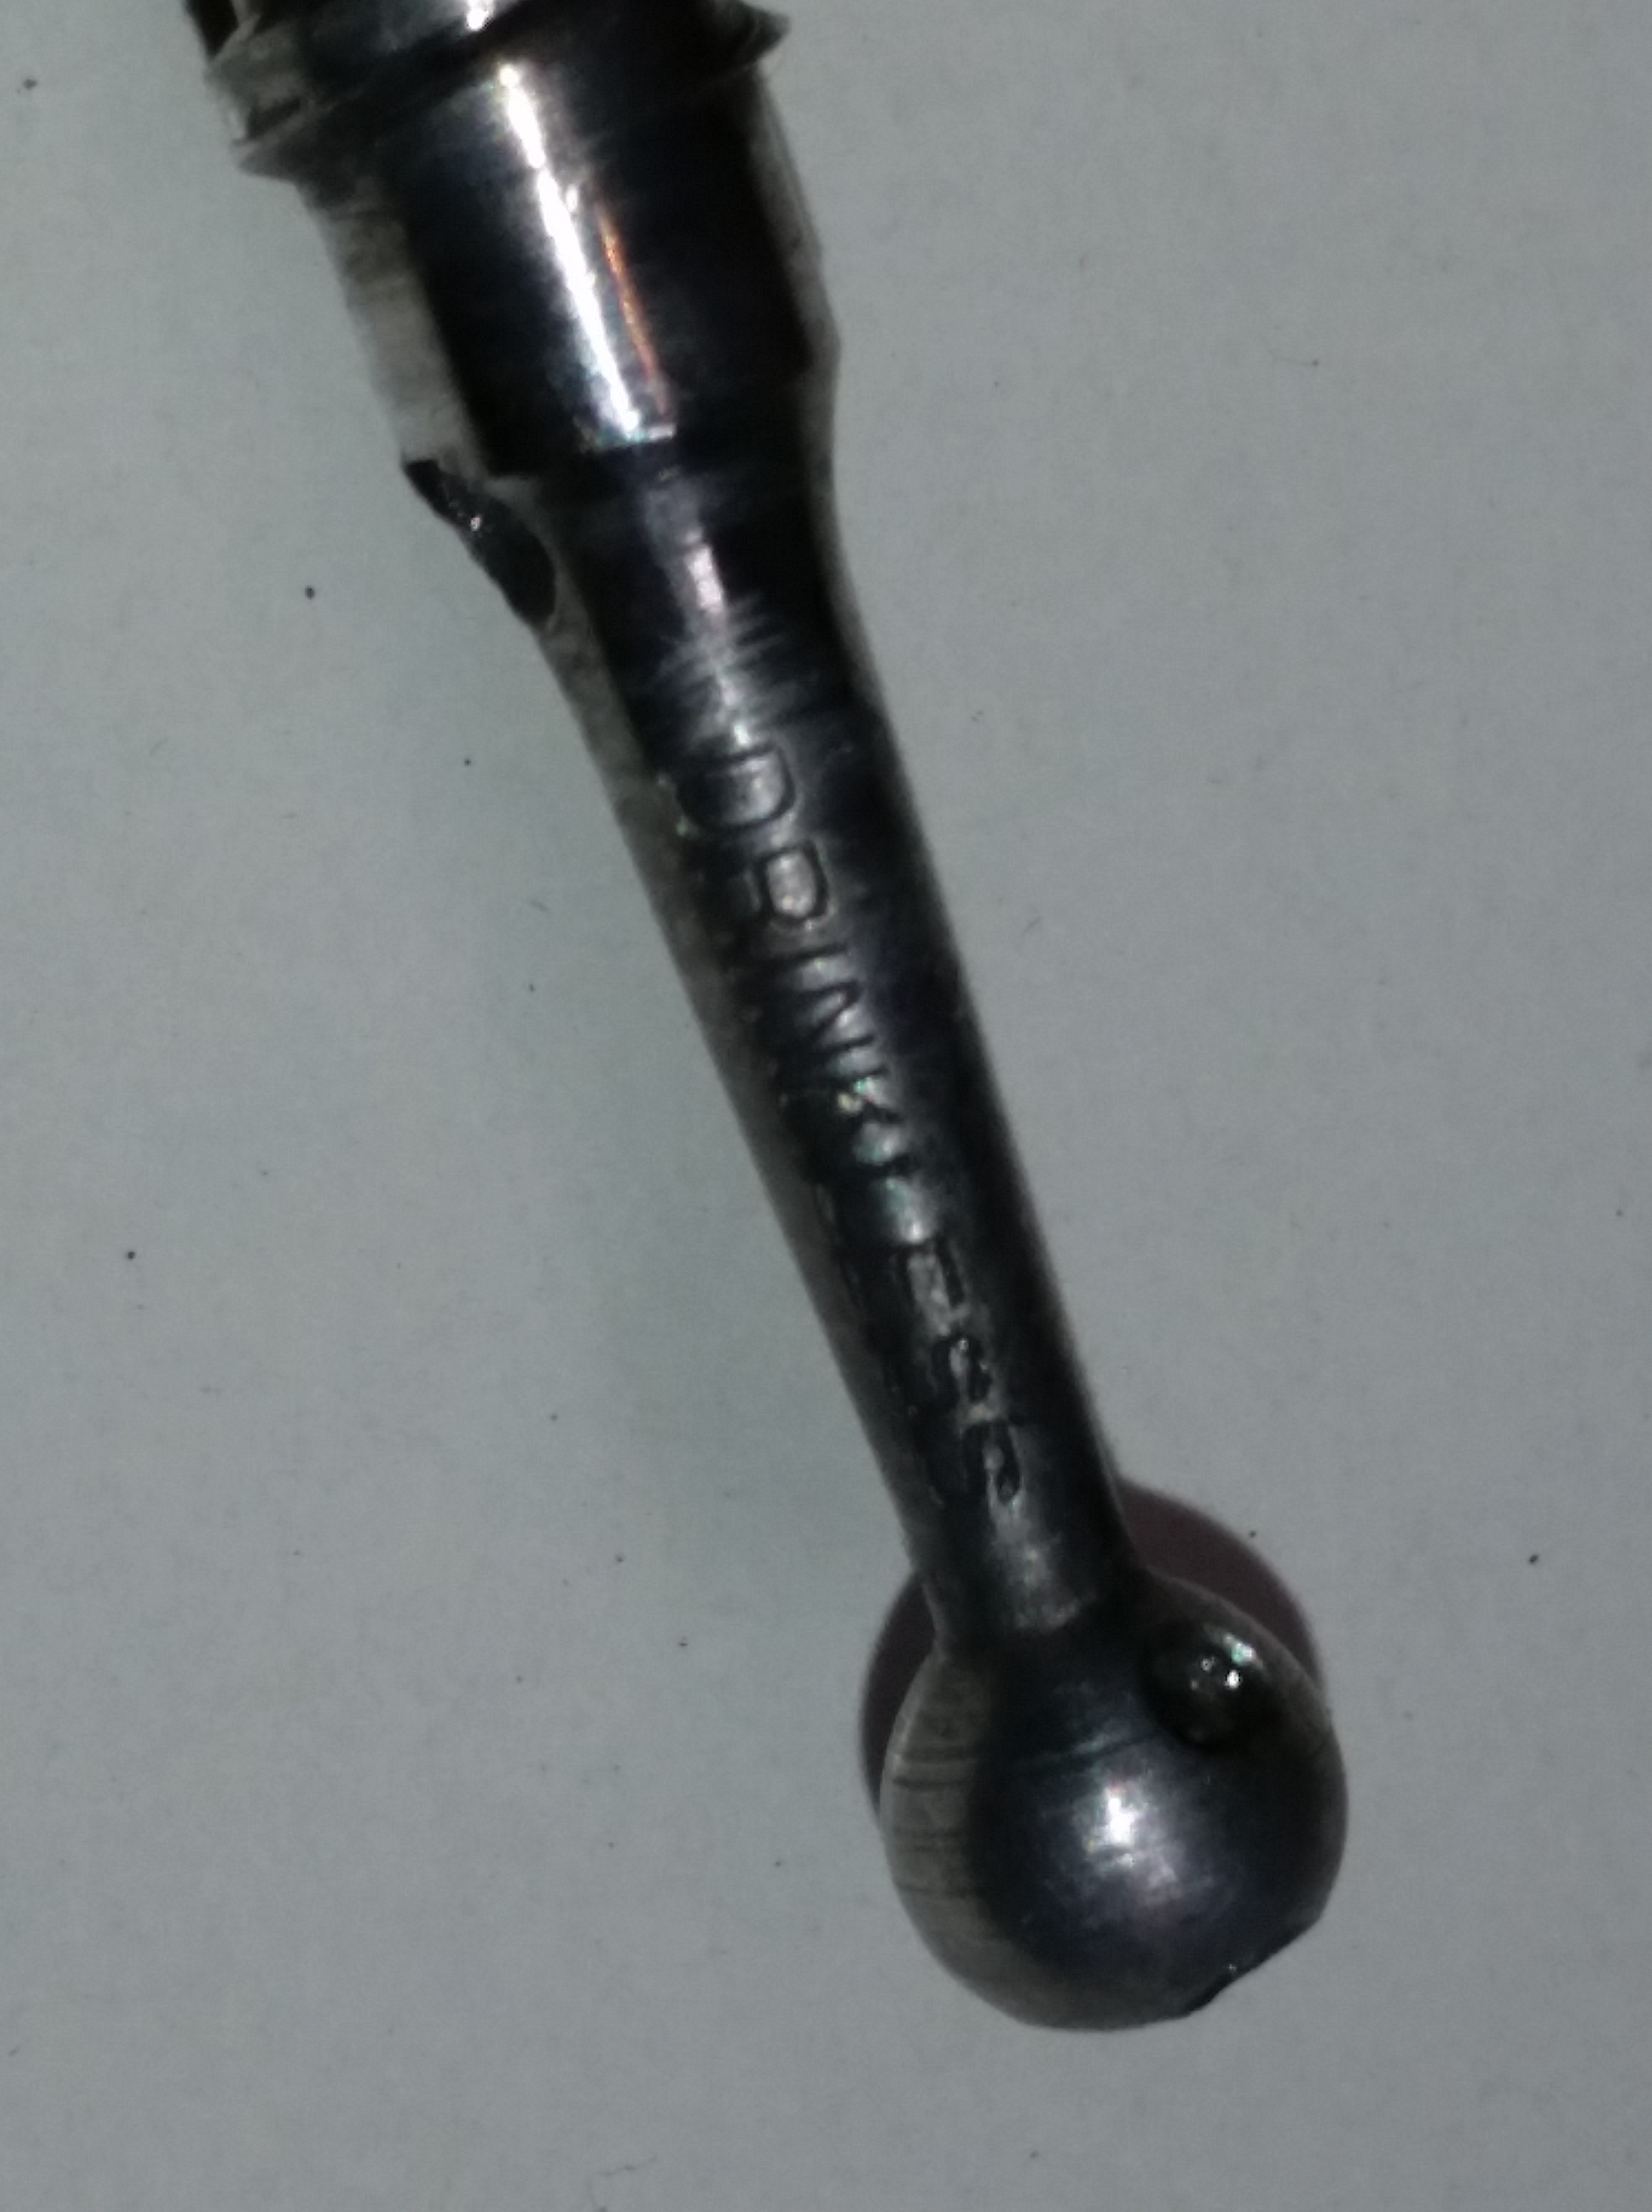
• Tenon:The narrow end of the stem made of vulcanite or acrylic and/or metal that turns or screws into the shank and acts as a sort of filter
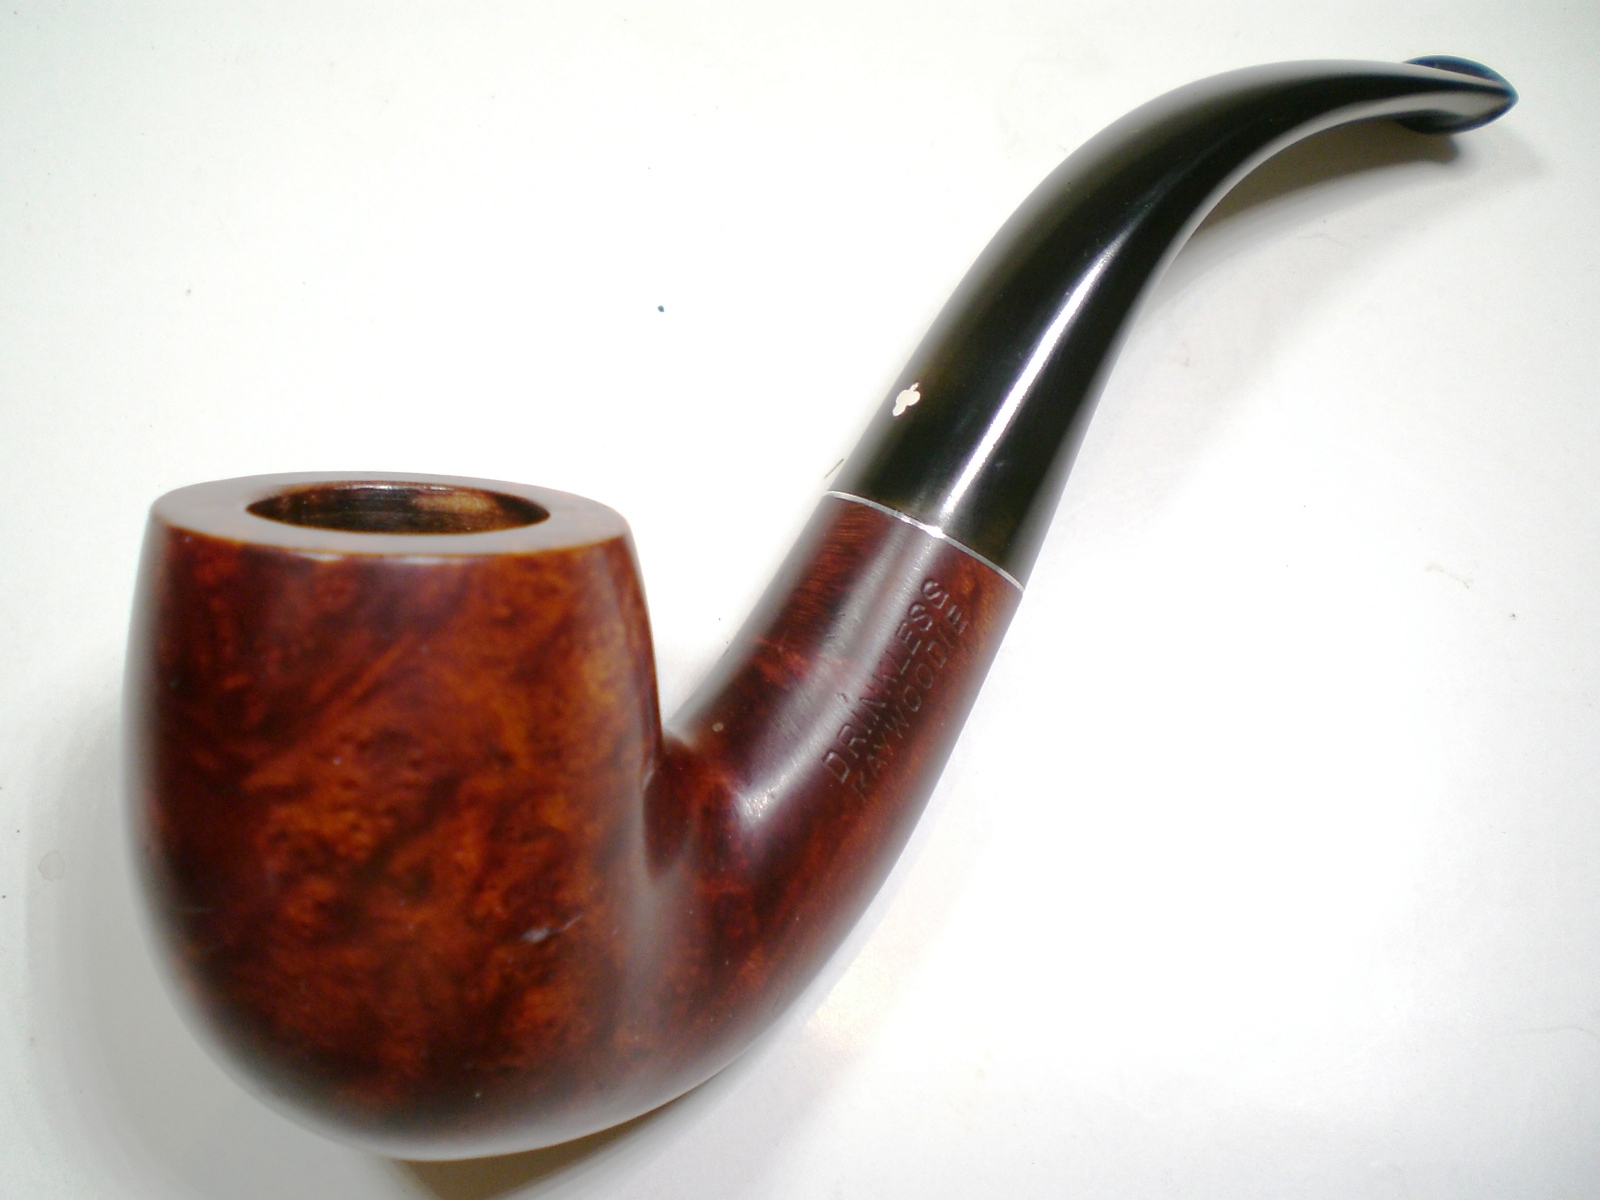
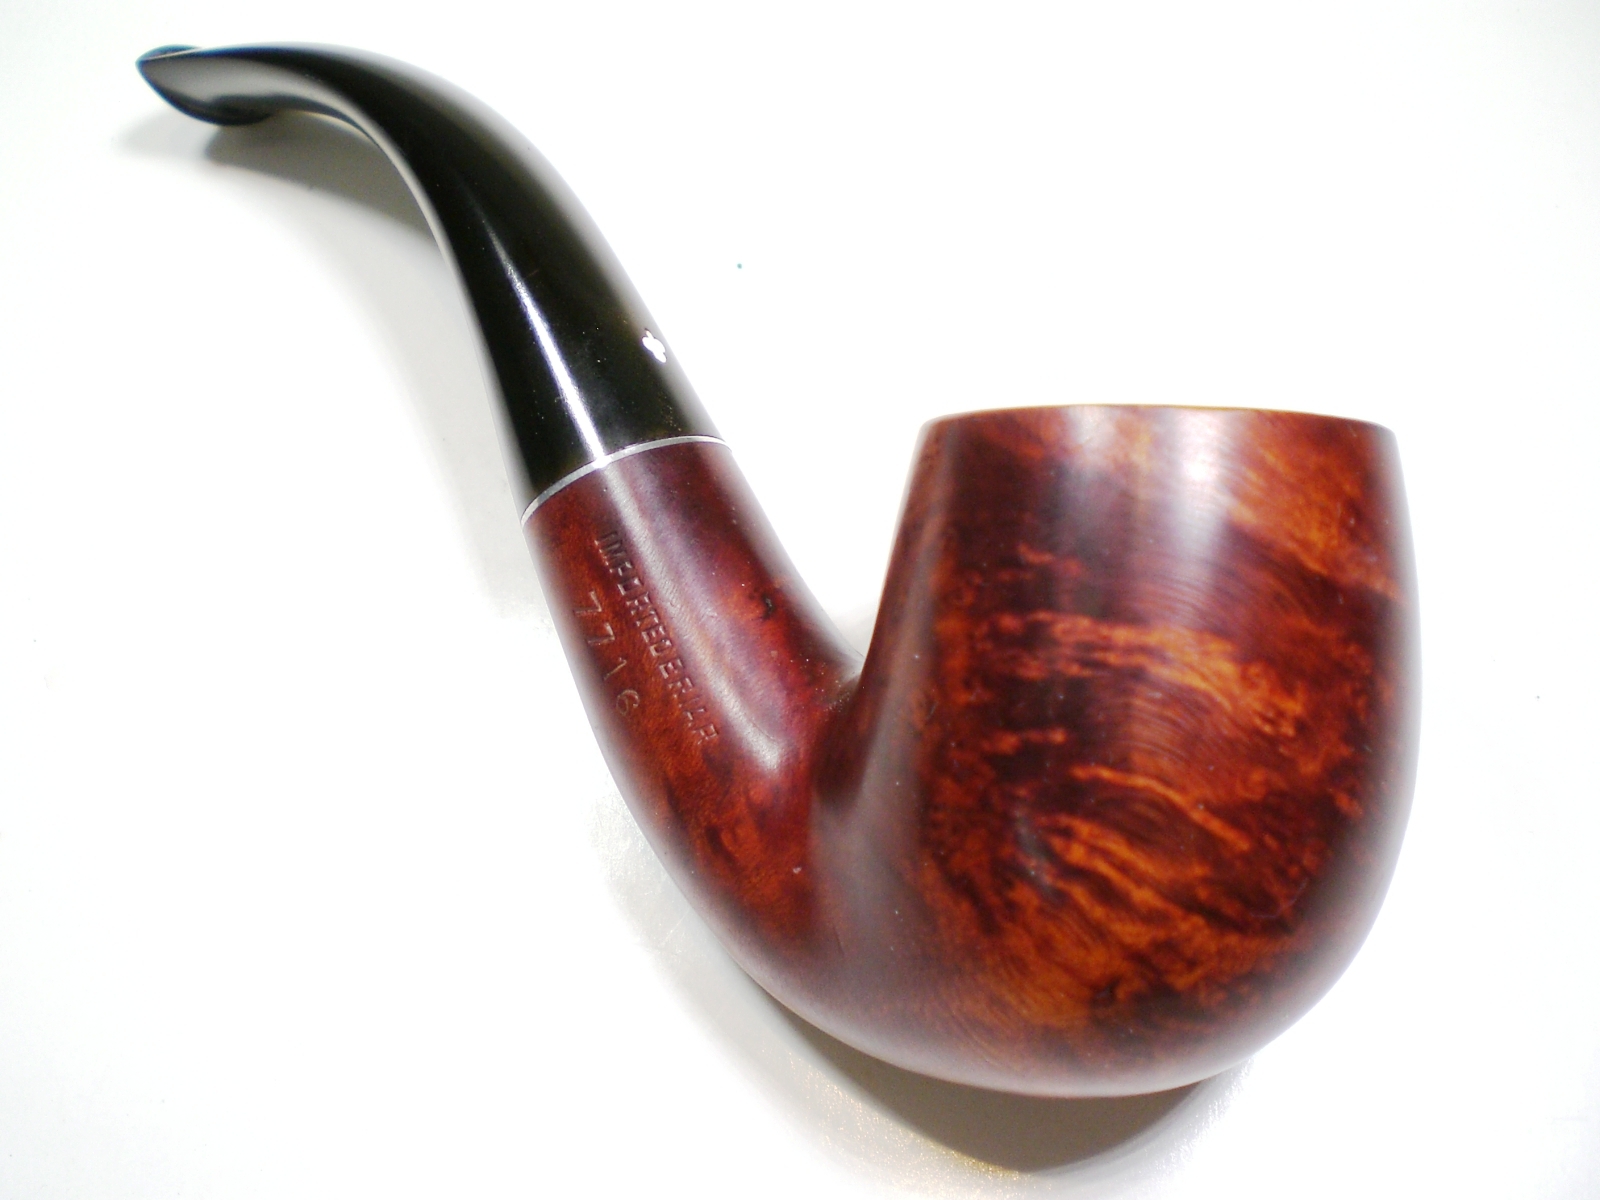
• Shank:The hollow extension from the bowl — in general round, triangular or almost flat — connecting the stem and bowl
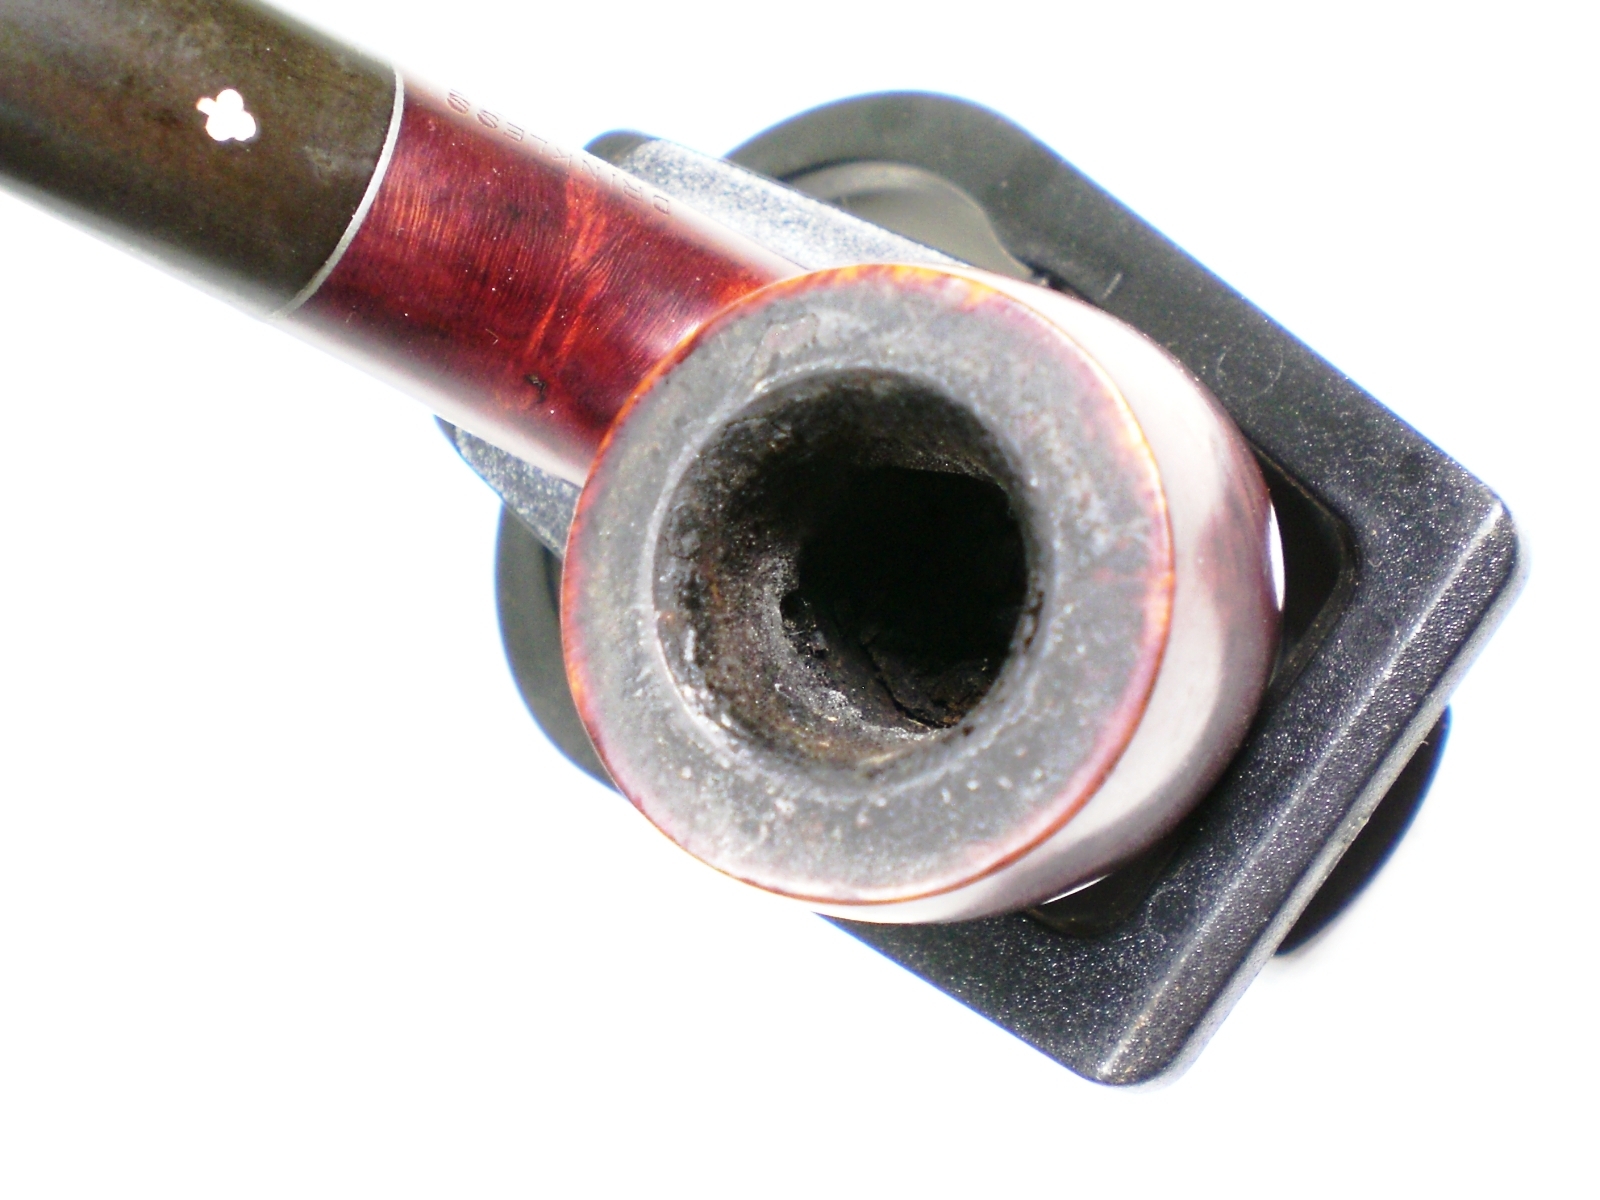
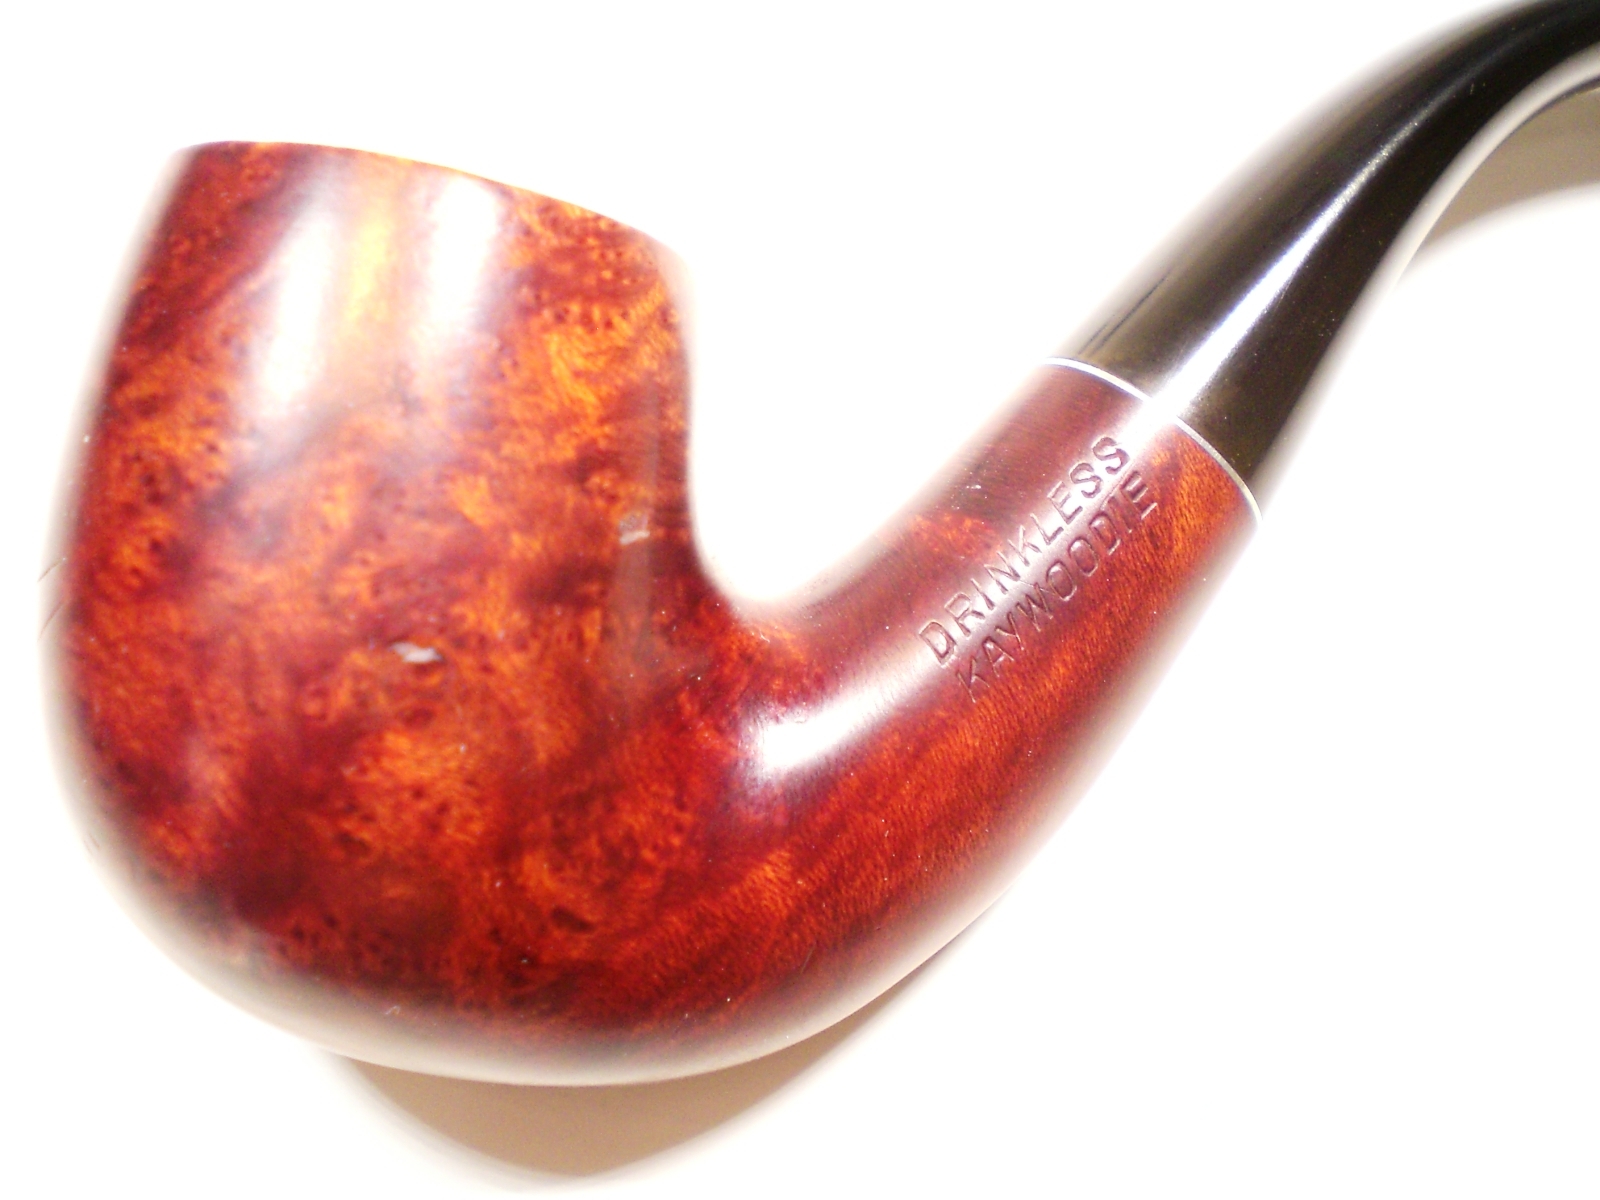
• Bowl:The area of the wood or other material used to fashion this primary part of the pipe, the inside of which is placed the tobacco
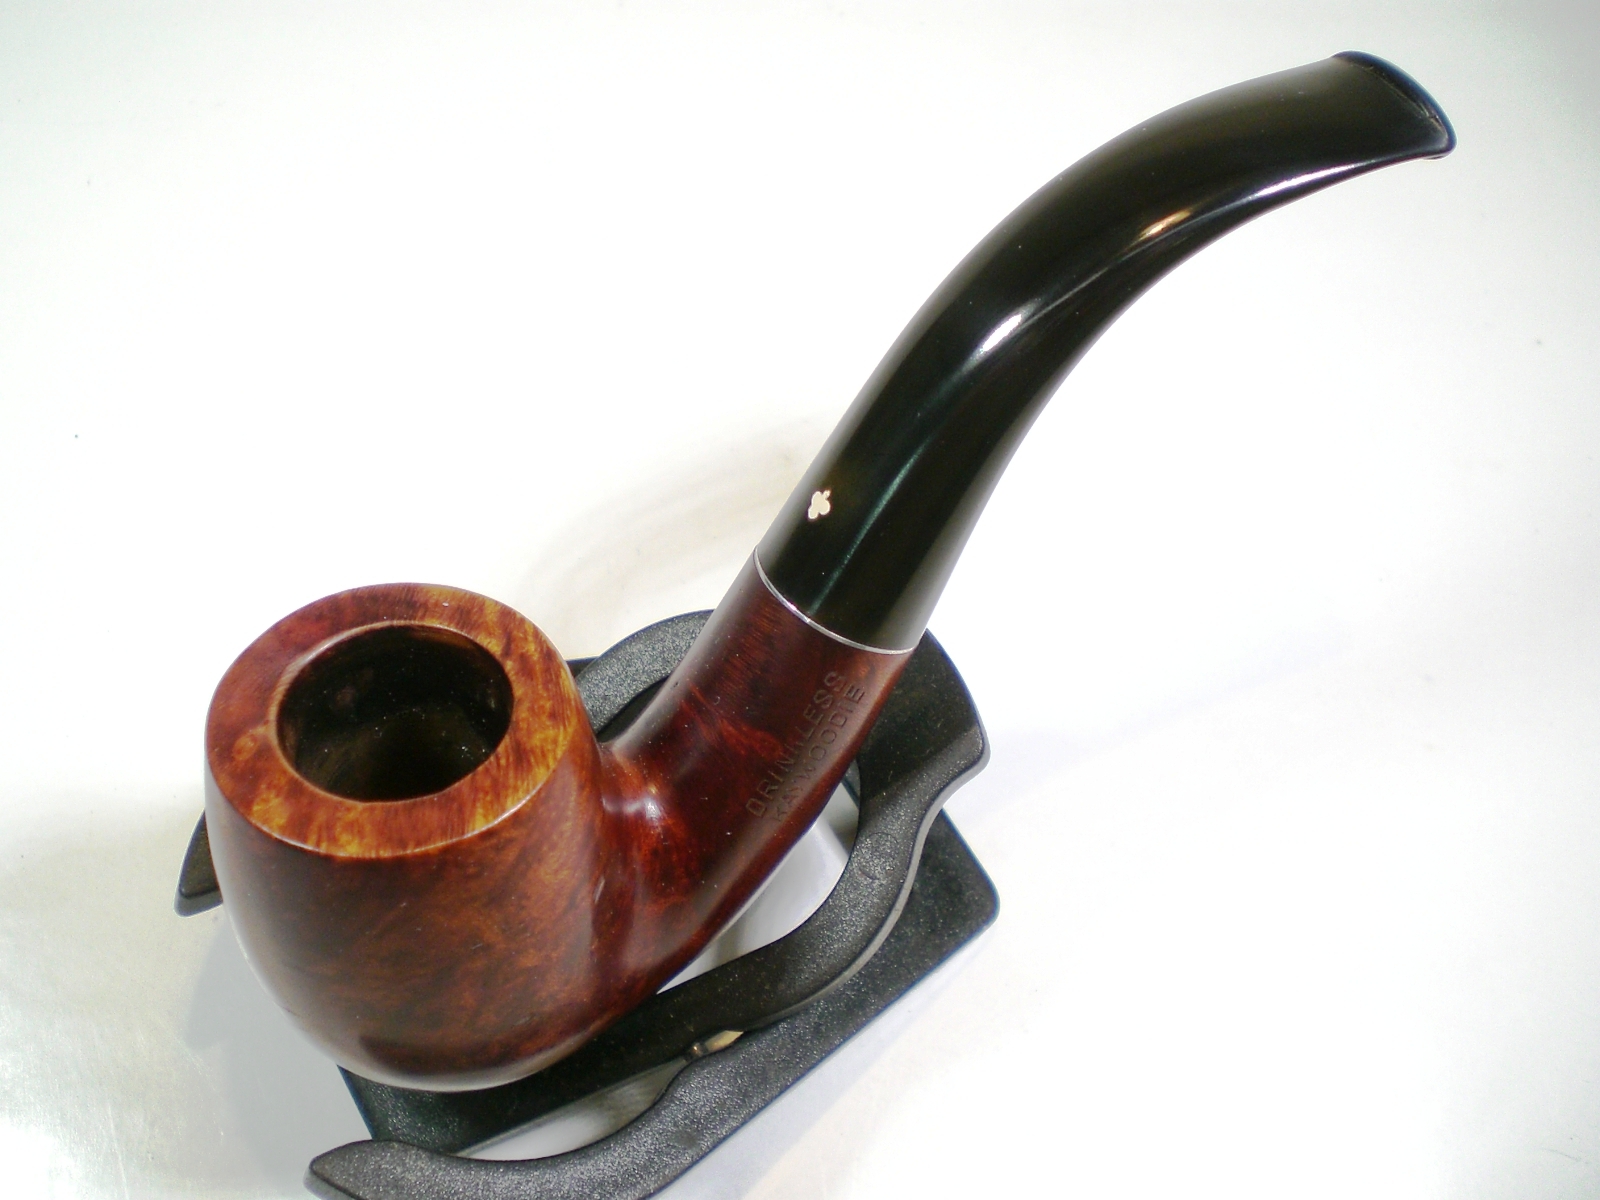
• Chamber:The formal name for the inside of the bowl, where the tobacco is loaded
The following are the basic Do’s and Don’t’s of pipe care.

DO: Try to fill the chamber with tobacco, leaving a small area at the top empty, using this three-step method. First place enough tobacco into the bottom third of the chamber and tamp it down enough to make it firm but not tight; second, place a bit more than a third of the tobacco in the middle, using slightly less force to tamp it, and third, top off the load with loose tobacco to form a beginning with which to achieve a good initial light. This approach should result in a thorough, even burning of the tobacco throughout the smoke, although re-lighting is often necessary due to the contemplative nature of enjoying a pipe.
DON’T: Never stuff or cram all of the tobacco into the chamber. Doing so can cause the tobacco to stop burning due to lack of oxygen and if forced to light often results in a wet, acrid taste and a backwash of unpleasant spittle.

DO: Always light the tobacco with matches or a special lighter, designed for pipes, that aims the flame directly into the chamber.
DON’T: Never, ever use a cigar lighter, also known for good reason as a torch, to light pipe tobacco. The chamber will develop burnouts, or holes through the bowl, as a result of the intense heat of the cigar torch.Robert1 
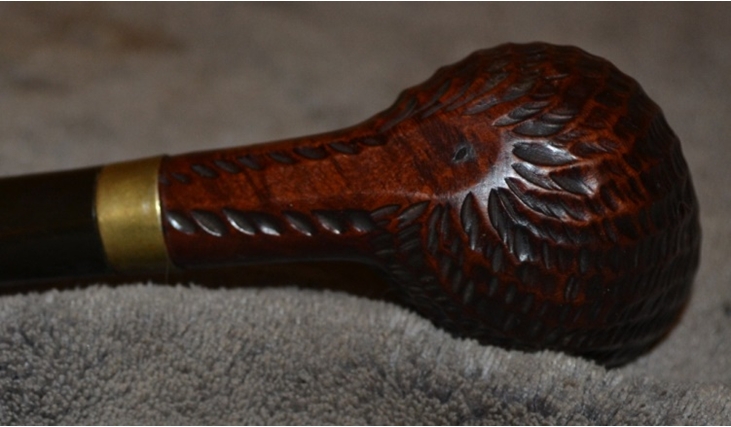
DO: Holding the pipe upside-down by the stem with one hand, gently tap the shank against the other hand to release the ash and unsmoked tobacco into an appropriate receptacle, such as an ashtray. A blunt pick for the purpose of loosening remaining contents of the chamber is often needed to complete the task and is inexpensive.
DON’T: Never tap the rim against a hard object. This can and often will leave chips and dings on the rim and upper bowl and also lead to cracks in the bowl and even more serious damage such as bending the tenon. Also, never empty the spent ash and tobacco into an unsafe receptacle, including trash cans and paper bags, because of the risk of resulting fire.Robert2 
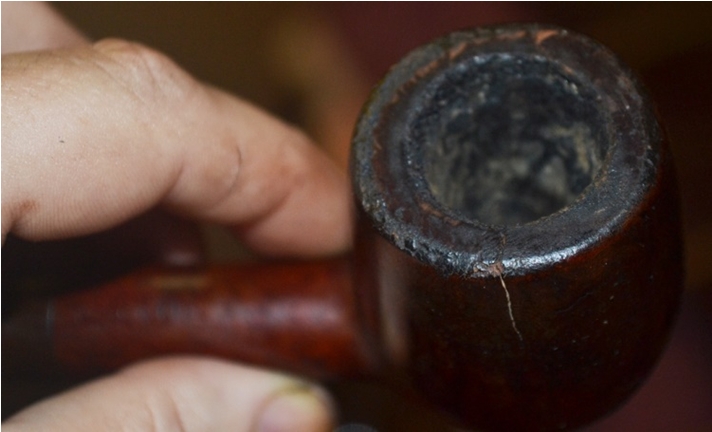
DO: Clean the pipe’s chamber as well as the inner shank and stem regularly with pipe cleaners. They come soft and bristled and cost about $2 for a pack of 35. I recommend the bristled cleaners, as they tend to break away more unwanted cake buildup and clear out more moisture and tobacco bits. Remove the stem from the shank before cleaning. In general, this is only necessary every two or three times the pipe is enjoyed.
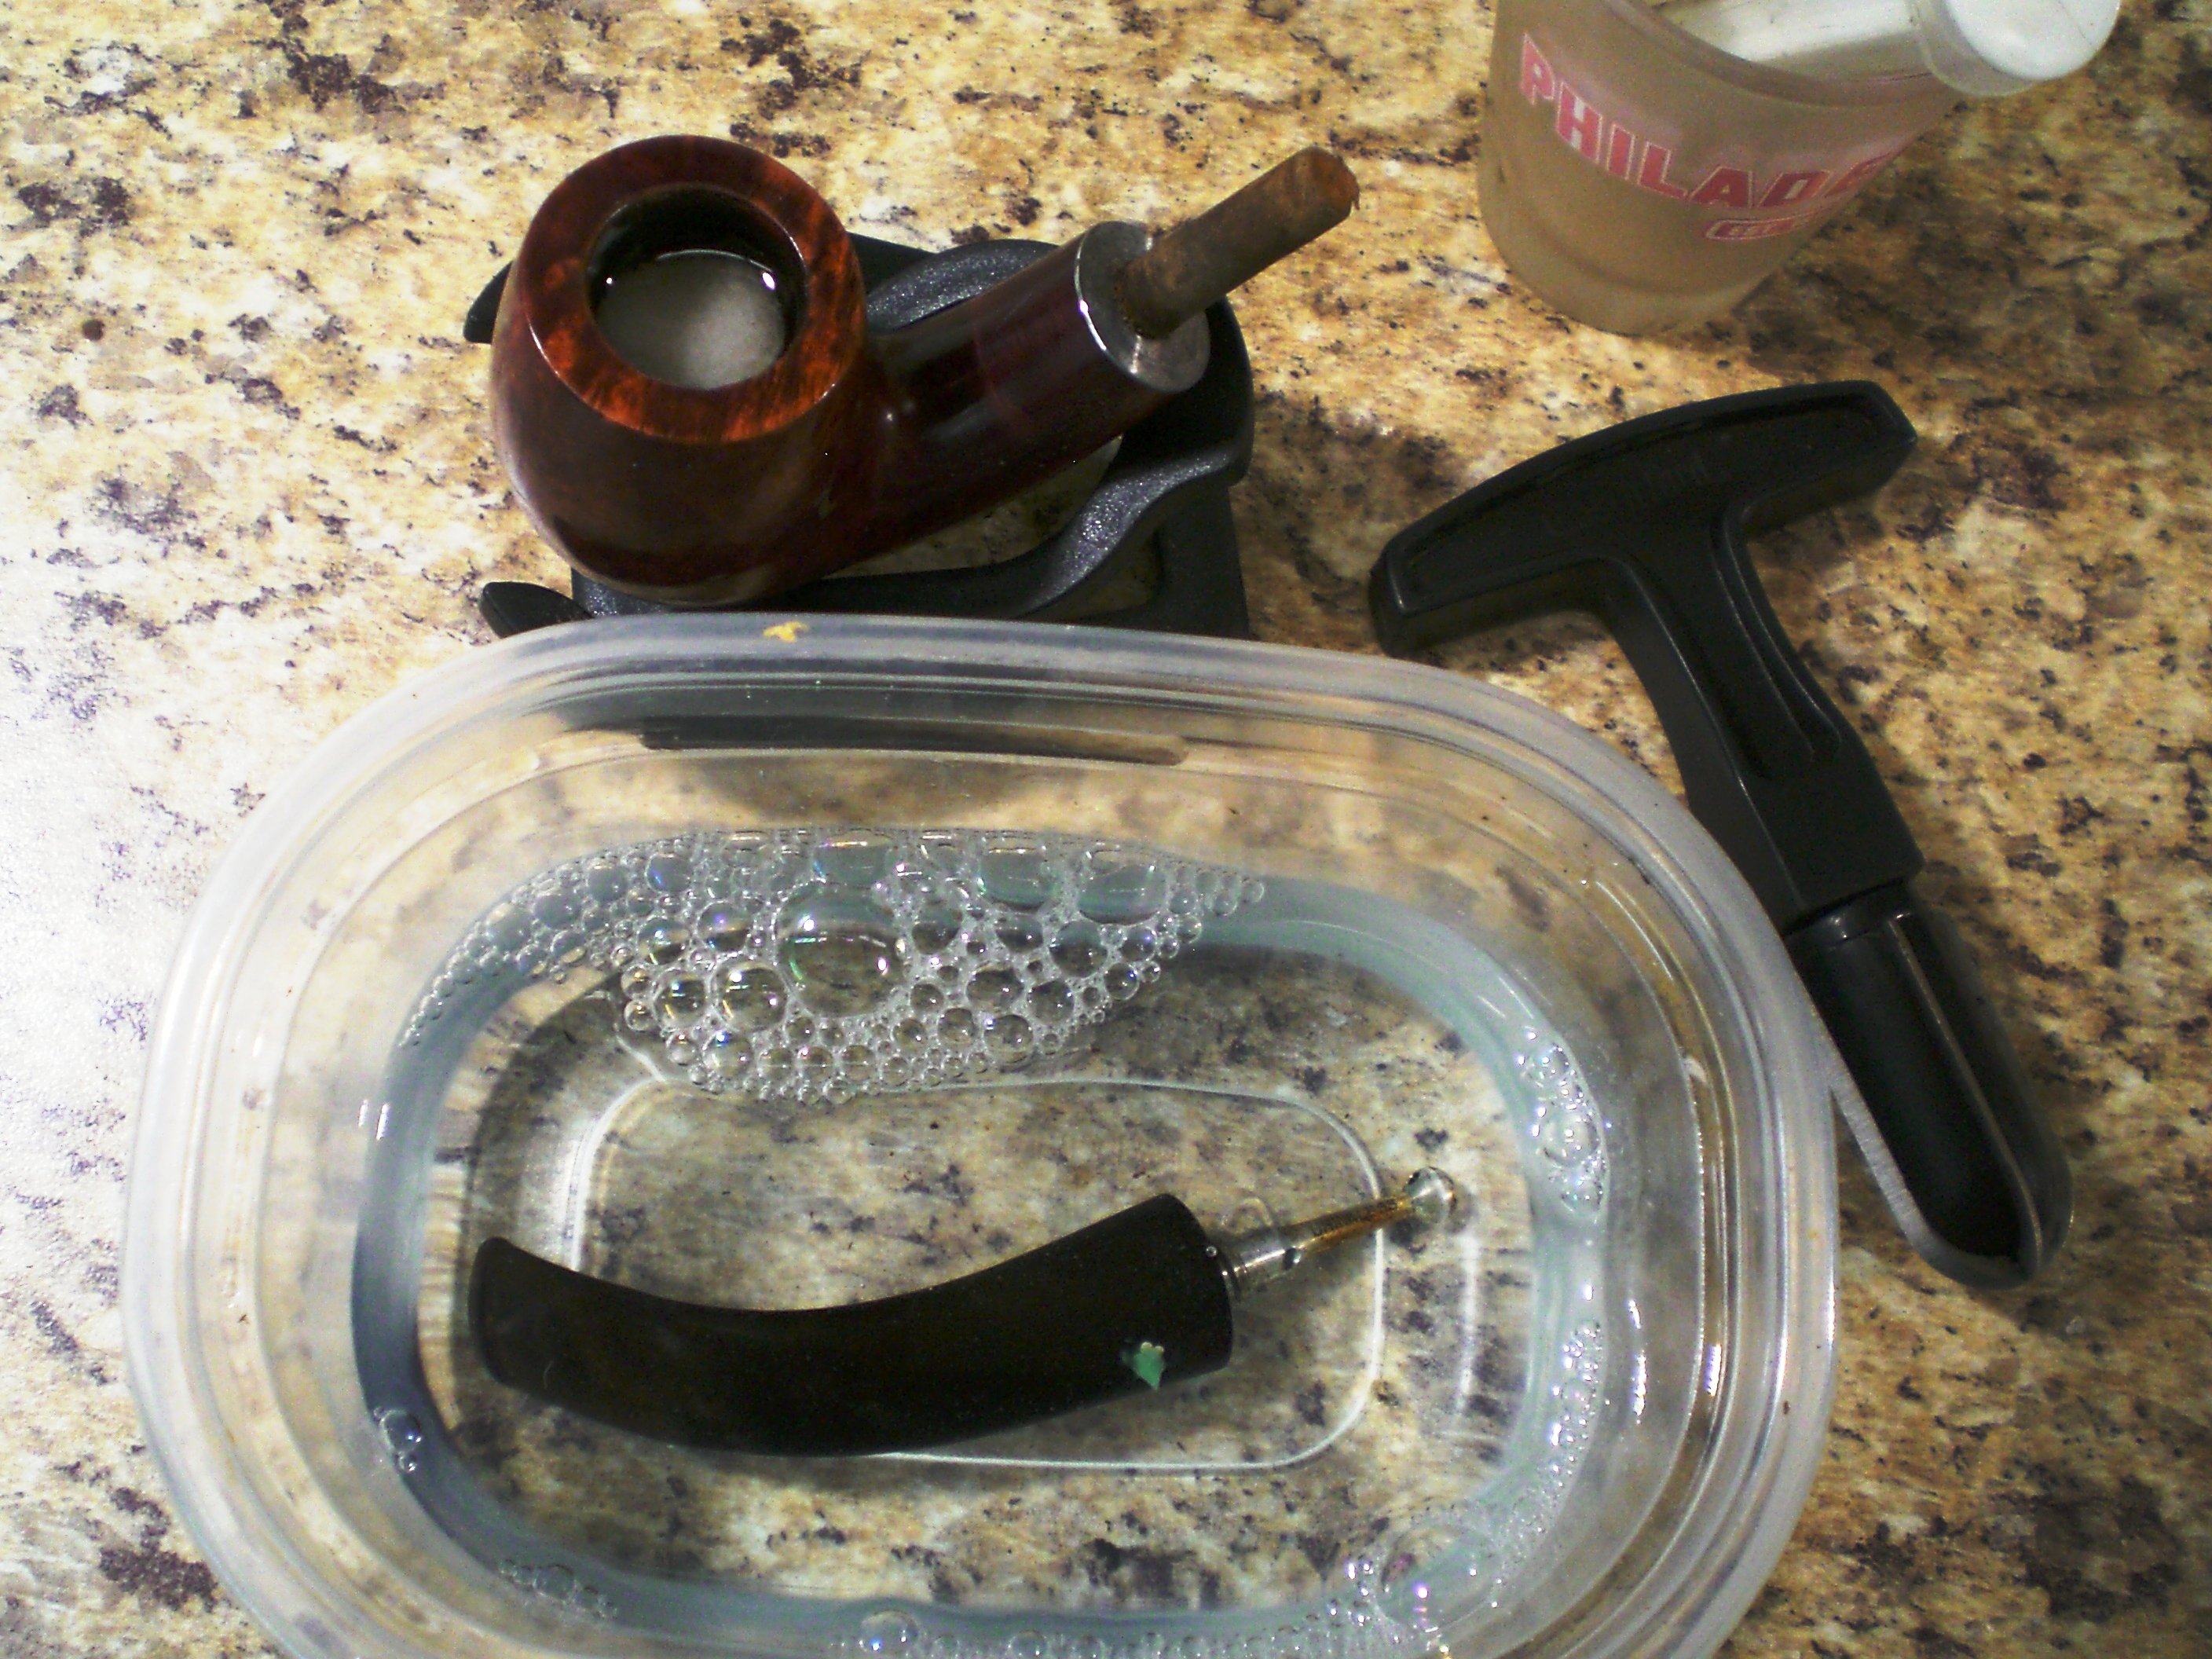
DON’T: Failing to clean the pipe in this way regularly can cause the stem to become stuck to the shank not to mention an unpleasant pipe enjoyment experience and, ultimately, the need for professional cleaning.

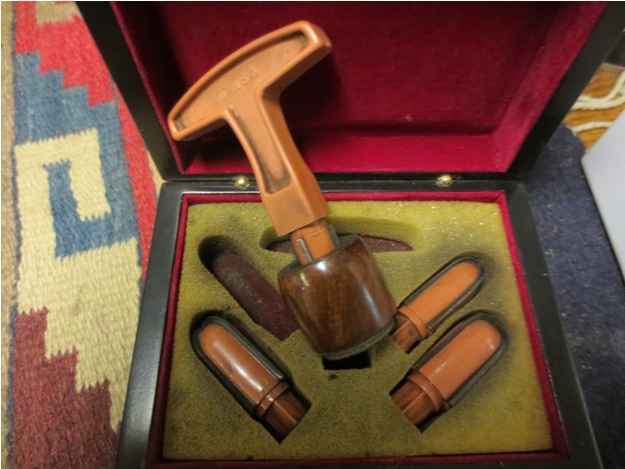
DO: Remembering that the tobacco pipe is a fragile but durable object of beauty and utility, regardless of the price, always store and transport it with care. If it came with a cloth sleeve and/or box, keep it there and in a safe place when not in use.
DON’T: Do not store or carry without protection a pipe anywhere that can result in chafing, scratching, dirtying, overheating or unintended falling to the ground. Like DVDs, pipes are easily damaged, in particular if left near a home heating device or in a motor vehicle.Robert3 
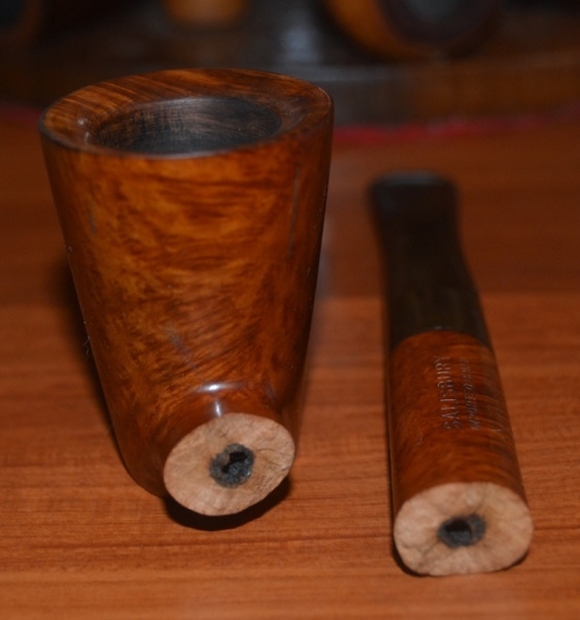
To summarize, always love and protect your pipe by taking the above simple precautions. It will serve you long and well if you do the same, and the pleasure and enjoyment you will receive are priceless.

I am in the business of selling, cleaning, refurbishing and restoring neglected pipes and see more than anyone should of the abuses that befall these wonderful works of craftsmanship. Therefore, I have nothing to gain by promoting the constant care of potential customers’ pipes…except for the satisfaction of seeing well-maintained examples.

Cleaning up a Unique No Name Metal Pipe – It turned out to be a Stirling


Blog by Steve Laug

When I found this old metal pipe on a recent trip to Alberta it had no markings and at first glance appeared to be similar to both Falcons and Vikings. There was a difference though from those other metal pipes that I have in my collection. The tube in the base was thicker in the section next to the stem. The tube actually was normal sized from the bowl to the first joint and thicker from the joint back to the end of the shank. The shank itself was also round instead of the oval ones found in the previously mentioned pipes.It was the shape that caught my eye and I had to take it apart to see what made it different. I was surprised that the stem was actually removable and came out very easily when turned. The stem was also vulcanite rather than nylon and seemed to be of a good quality as it did not have signs of oxidation on it. When I removed the stem I was surprised to see that it had a metal tenon like those found in Medico pipes – slotted on each side so that it can be adjusted for a tight fit in the shank. Obviously this tenon was made to accommodate a filter by all appearances. I was hooked so I paid for it and added to my pipe hunt “treasures” that I would restore when I got home from the road trip.
f634b1970596b4b85986ec05fb585e1cWhile I was travelling I posted pictures of the pipe on the PSU Pipe Smoker Unlimited Forum and got a response that what I had was probably a Stirling pipe. The response included a link to the Smoking Metal website http://www.smokingmetal.co.uk/pipe.php?page=285. The site had pictures of the pipe and it matched mine precisely. It stated the following: “STIRLING, no markings on pipe or bowls, only the box is marked as Stirling, as Foreign Made, but no idea by whom. There are several similar pipes, none of which have a name on them. Arcadia (on this website) is one, differing only in the fact that whereas this Stirling has an all vulcanite push fit stem, the Arcadia has a vulcanite stem with a metal threaded insert. The “Park Lane” has no facility for a filter like the Stirling. This one accepts some Dr. Grabow Viking Bowls as well. Its overall length is 5 7/8 inches or 149mm. I have included the photos from the Smoking Metal site for comparison sake.Stirling2Stirling3Stirling 1From the above photos I conclude that the pipe I found is indeed a Stirling Air-Cooled Briar. It evidently had originally come with interchangeable bowls. From the information found on the site I was able to ascertain that Grabow Viking Bowls would fit the base. I had several of those at home so I when I got home earlier this week I checked it out and found that they did fit well. While this information is helpful it still leaves a lot shrouded in mystery for me. I would love to figure out who made the pipe. I have written to Ed on the Dr. Grabow forum and Bill Feuerbach from KW to see if they have any information on the pipe. If any of you readers have any information please let me know.

Now it was time to clean up the pipe. The bowl was thickly caked and the insides of the base were black with tars and oils that had hardened. The stem had some tooth chatter on both the top and bottom near the button. The finish on the bowl was flaking and the varnish coat was peeling off the briar. The rim was black with tars and also had some damage from the bowl being tapped out to empty it. The aluminum was oxidized and dirty as well. The next four photos show what the pipe looked like when I started to work on it.IMG_2559 IMG_2560 IMG_2561 IMG_2562 I took the pipe apart to clean the interior of the base. I used pipe cleaners, cotton swabs, cotton pads and alcohol to break through the hardened oils and tars in both the shank and the base. The tenon was metal (brass?) and was thickly caked as well. The two slots on the side of the tenon were covered so it was not clear that they even existed.IMG_2563 I reamed the bowl with a PipNet reamer and took it back to the briar. I started with the smallest cutting head and worked my way up to the size that fit the bowl.IMG_2564 IMG_2565I set up a topping board with 220 grit sandpaper and sanded the top of the rim to remove the damage.IMG_2566 IMG_2567 I scrubbed the finish off of the bowl with alcohol and also cleaned the bottom of the bowl. I sanded it with 220 grit sandpaper to break the finish and then used medium and fine grit sanding sponges to remove the scratches left behind by the sandpaper. I finished sanding it with micromesh sanding pads – wet sanding with 1500-2400 grit pads. The next series of three photos show the bowl at this point in the process. I was not sure whether I would stain the bowl or leave it natural and just polish it.IMG_2568 IMG_2569 IMG_2570I sanded the tooth chatter on the stem with 220 grit sandpaper to remove the damage and then followed that with medium and fine grit sanding sponges. I finished the stem by sanding it with micromesh sanding pads. I wet sanded with 1500-2400 grit pads and dry sanded with 3200-12,000 grit pads. I rubbed the stem down with Obsidian Oil between each set of three pads.IMG_2571 IMG_2572 Once the stem was done I buffed it with White Diamond and gave it several coats of carnauba wax. I cleaned the aluminum and polished it with a silver polish and polishing cloth then set it aside to figure out what I was going to do with the bowl. I finally decided to leave it natural but to also wipe it down with a light coat of olive oil to darken the finish slightly. I buffed it with White Diamond and then gave it several coats of carnauba wax and buffed it with a soft flannel buff to bring out the shine. The pipe was finished in terms of the cleanup. I put a Medico filter in the shank for the inaugural smoke though I will probably not keep it there for future smokes. The finished pipe is shown below.IMG_2573 IMG_2574 IMG_2575 IMG_2576

Kaywoodie “Drinkless” 7716 Restored


Blog by Al Jones

I found this “Drinkless” grade Shape 7716 at a Pennsylvania flea market a few weeks ago.  I believe this four-digit shape code pipe was made between 1936 and 1938.   I’ve learned that the Drinkless grade was introduced in 1935.  Kaywoodie didn’t begin using the “Imported Briar” stamp until 1936.  The four digit shape codes were not used after 1938.    This pipe has an intact, large-ball, 4-hole “Drinkless” stinger.

I also learned that the 77 indicates “Screw in Drinkless, dark finish, black vulcanite stem”
The 16 indicates “Curved (Full Bend) Medium Billiard”.

The pipe was in decent shape, with some tars on the bowl top and an oxidized stem.  The screw in stem was slightly out of alignment and would need to be “re-clocked”.  The nomenclature was in perfect condition.

Kaywoodie_7716_Drinkless_Before Kaywoodie_7716_Drinkless_Before (1) Kaywoodie_7716_Drinkless_Before (3)  Kaywoodie_7716_Drinkless_Before (4) Kaywoodie_7716_Drinkless_Before (5) Kaywoodie_7716_Drinkless_4-Stinger

I reamed the bowl and soaked it with some alcohol and sea salt.  The stem was immersed in a mild Oxy-Clean solution.

Kaywoodie_7716_Drinkless_Before (7)

I used some of the Oxy-clean solution on a cloth to rub off the bowl top tars.  There was a little rim scorching and I used a worn 8000 grade sheet of micromesh to remove those marks.  The bowl was then buffed lightly with White Diamond rouge and several coats of Carnuba wax.

Les Young passed on to me a tip from Bill Feuerbach on re-clocking a stem, which worked well.  On our glass-top stove, I turned a burner to high.  I put the metal end of the shank square down on the burner for about 20 seconds.  This loosened the glue of the screw-in stem insert. I then quickly screwed the stem onto the pipe and gently moved it into the correct orientation.  From this shot, you can see that the stem has been moved into the correct position.

Kaywoodie_7716_Drinkless_Before (6)

Next up was to clean the step, which had already been soaked (with a dab of grease on the stinger and stem Cloverleaf logo).  I started with 800 grit wet paper, than moved to 1000, 1500 and 2000 grades.  This revealed that under the oxidation, there were several tooth indentions that I could not lift with heat.  I applied a drop of black Super-Glue to each spot and spritzed on some of the Hobby-Lobby accelerator.

Kaywoodie_7716_Drinkless_Before (8)


Kaywoodie_7716_Drinkless_Before (9)

After the glue was dry, I sanded the bumps flush with some 600 then 800 grit paper.  I then worked back thru the 1000, 1500 and 2000 grade wet sandpaper.  The next step was to polish the stem with the 8000 and 12000 grades of micromesh paper.  The stem was then buffed lightly with White Diamond.  There is still a little dimple of a tooth indention on the bottom of the stem, but the others filled in nicely.

The briar has two nicks that could be either handling marks or spots where fills came out.  I decided the finish of the rest of the pipe looked too good to try to repair these spots.  So they were left as character marks.

Kaywoodie_7716_Drinkless_Gallery Kaywoodie_7716_Drinkless_Finished (11) Kaywoodie_7716_Drinkless_Finished (12) Kaywoodie_7716_Drinkless_Finished (18) Kaywoodie_7716_Drinkless_Finished (14) Kaywoodie_7716_Drinkless_Finished (15) Kaywoodie_7716_Drinkless_Finished (17) Kaywoodie_7716_Drinkless_Finished (3) Kaywoodie_7716_Drinkless_Finished (4)