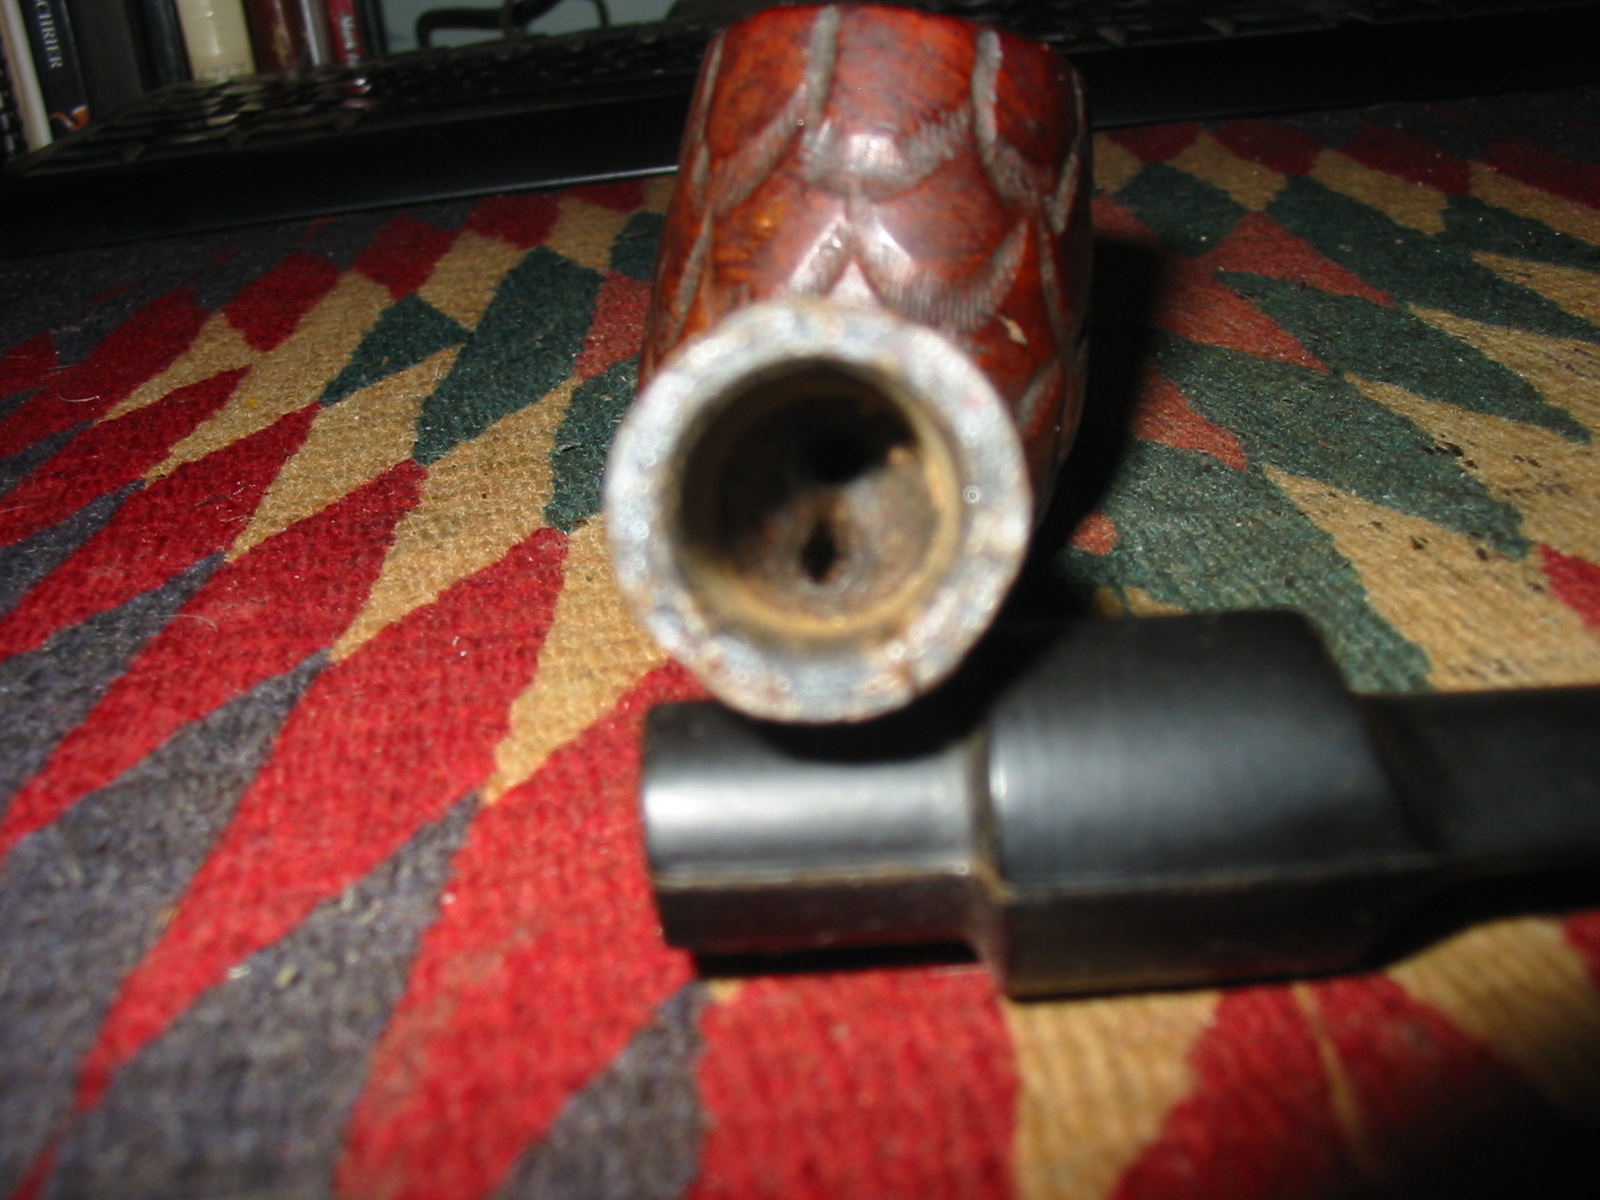
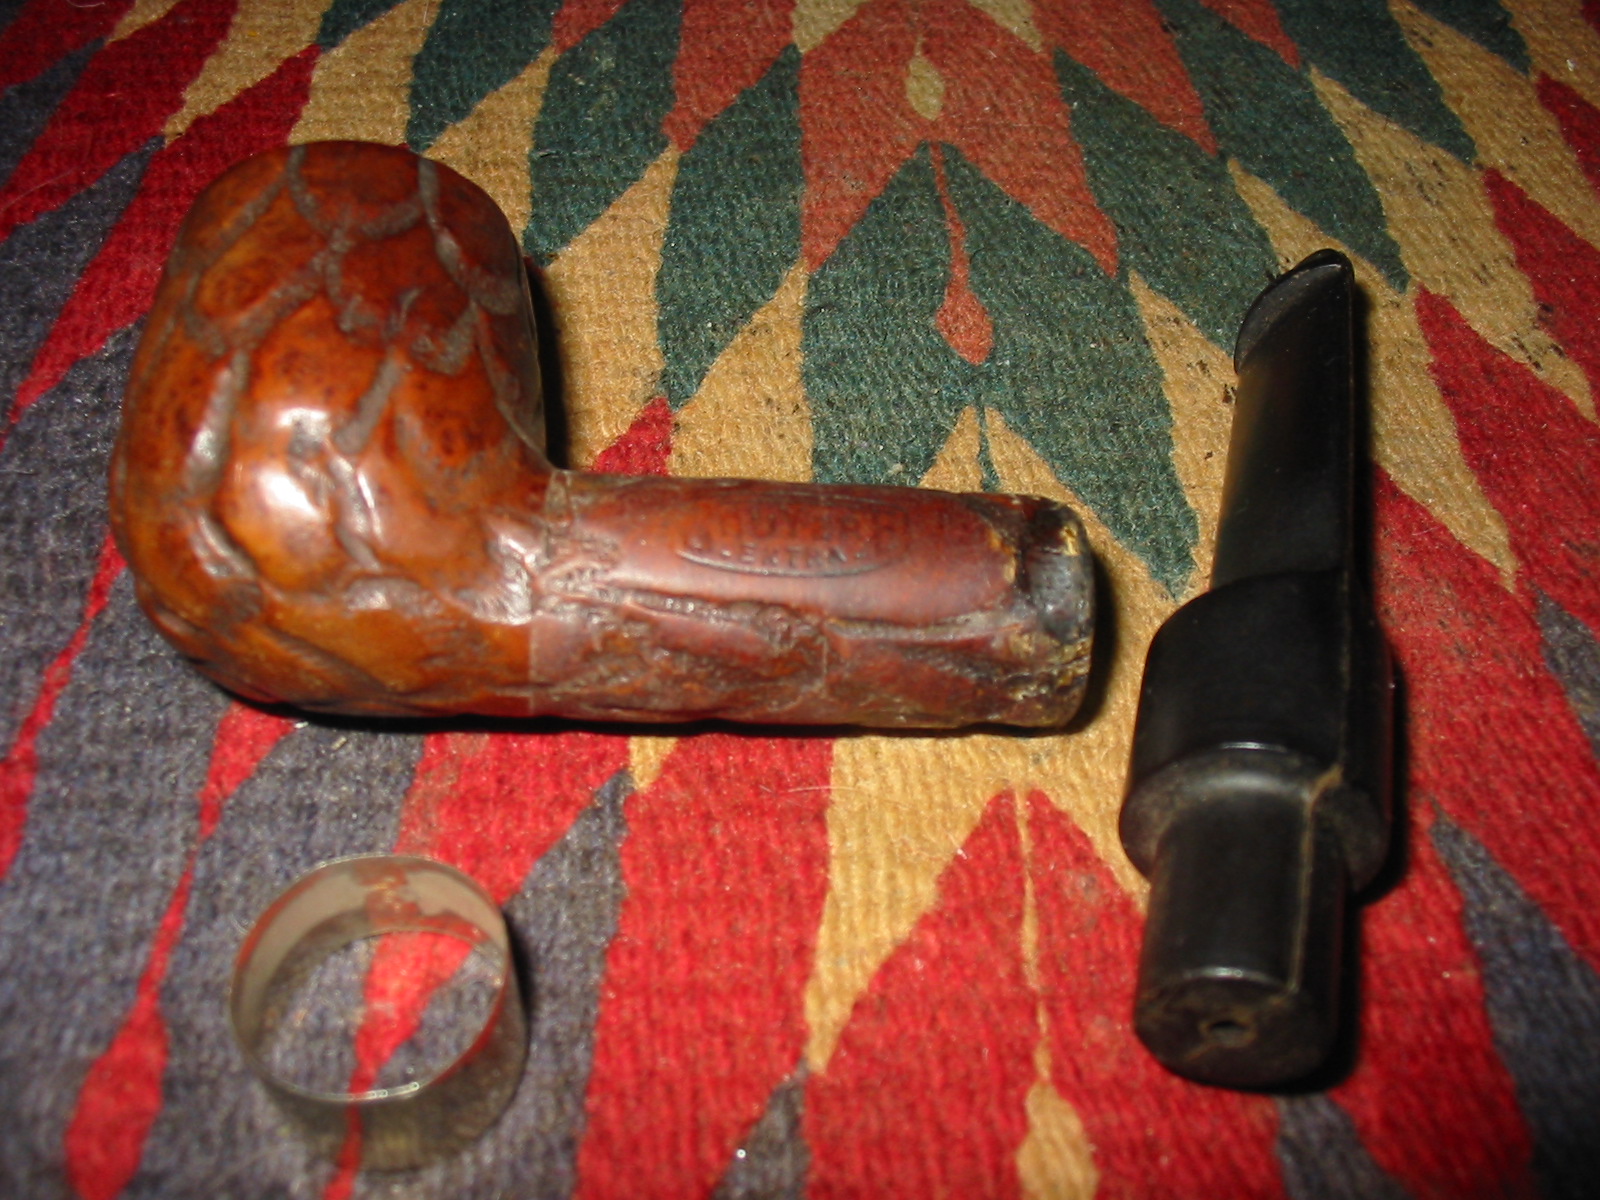
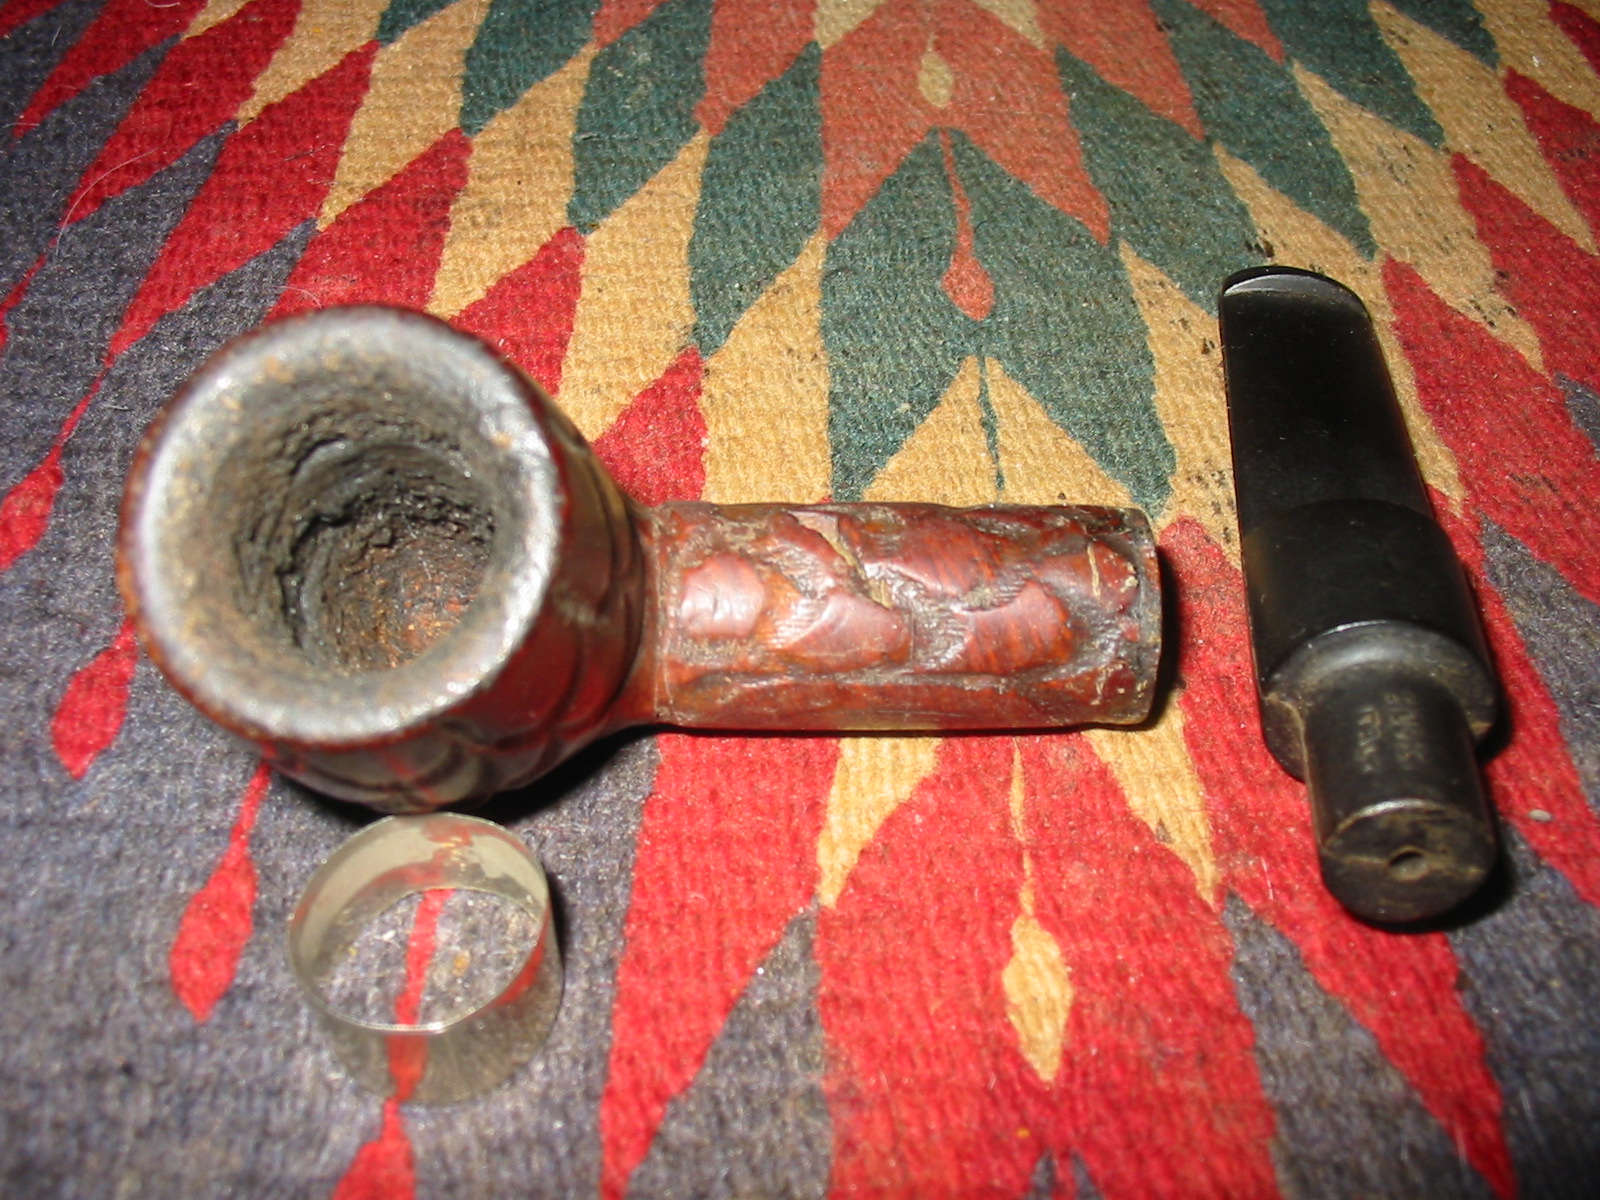
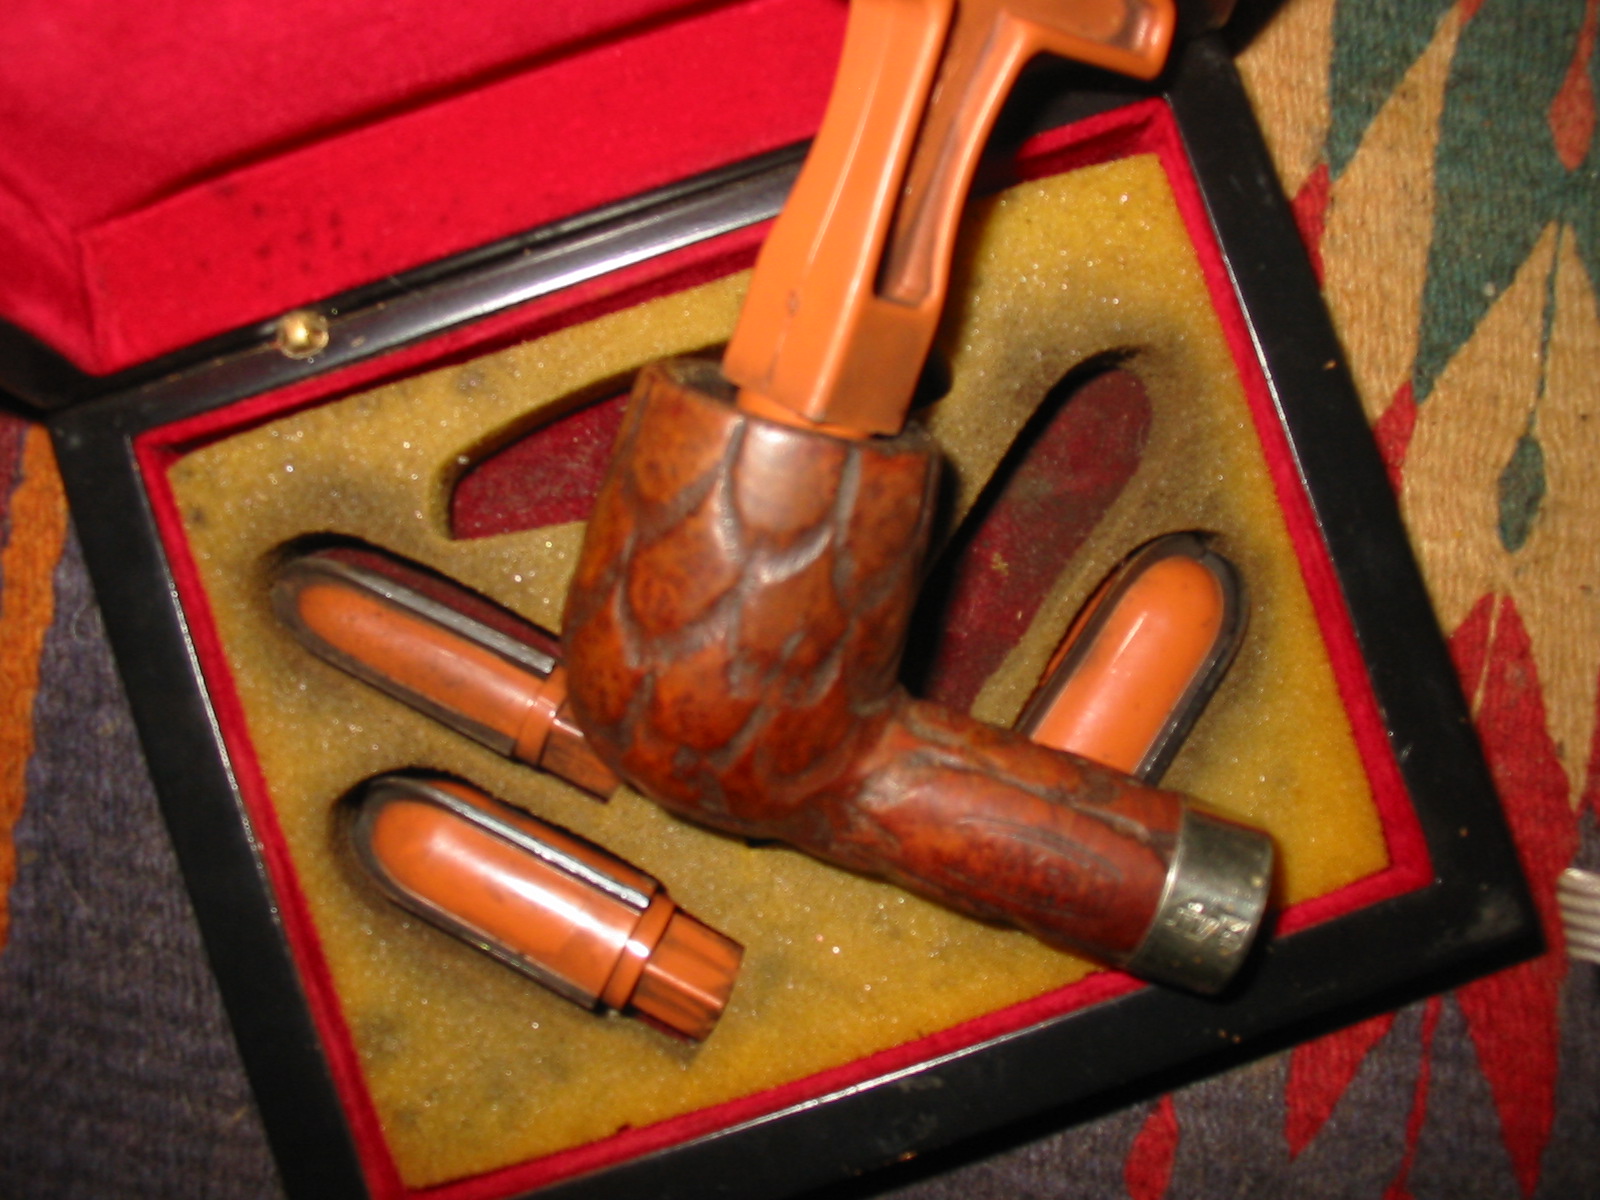
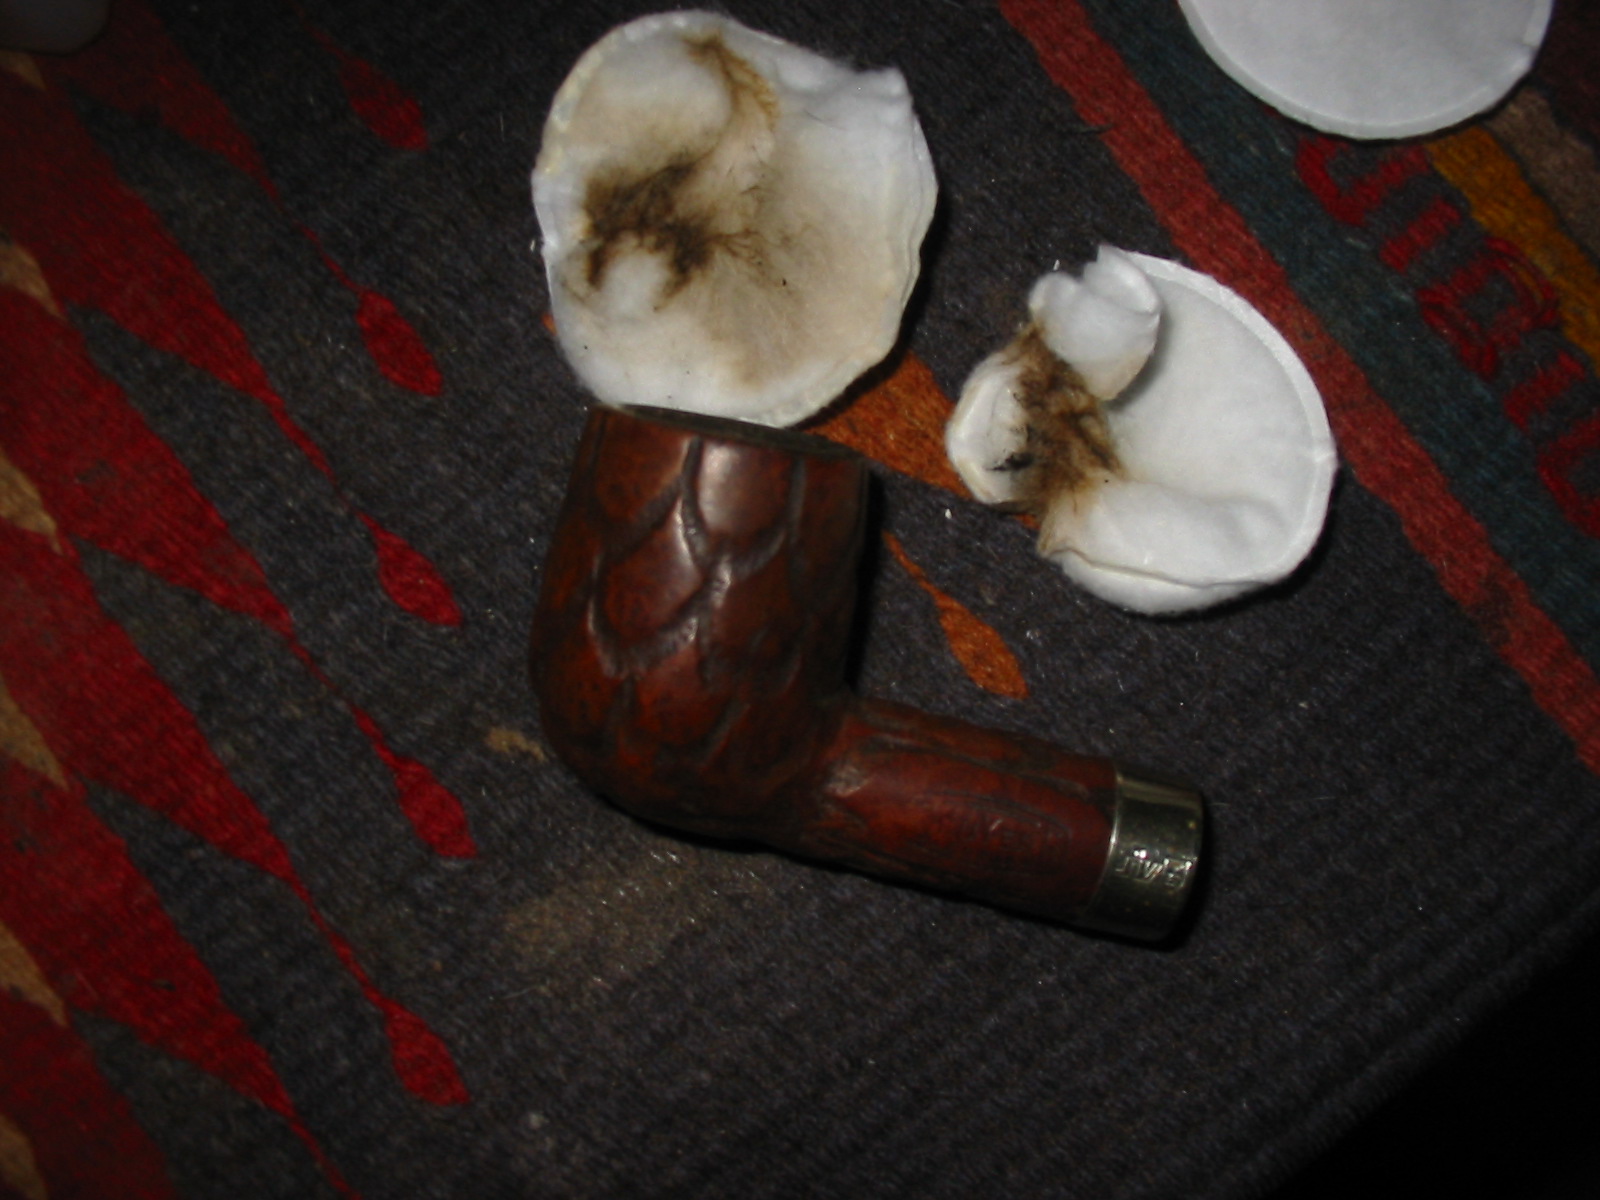
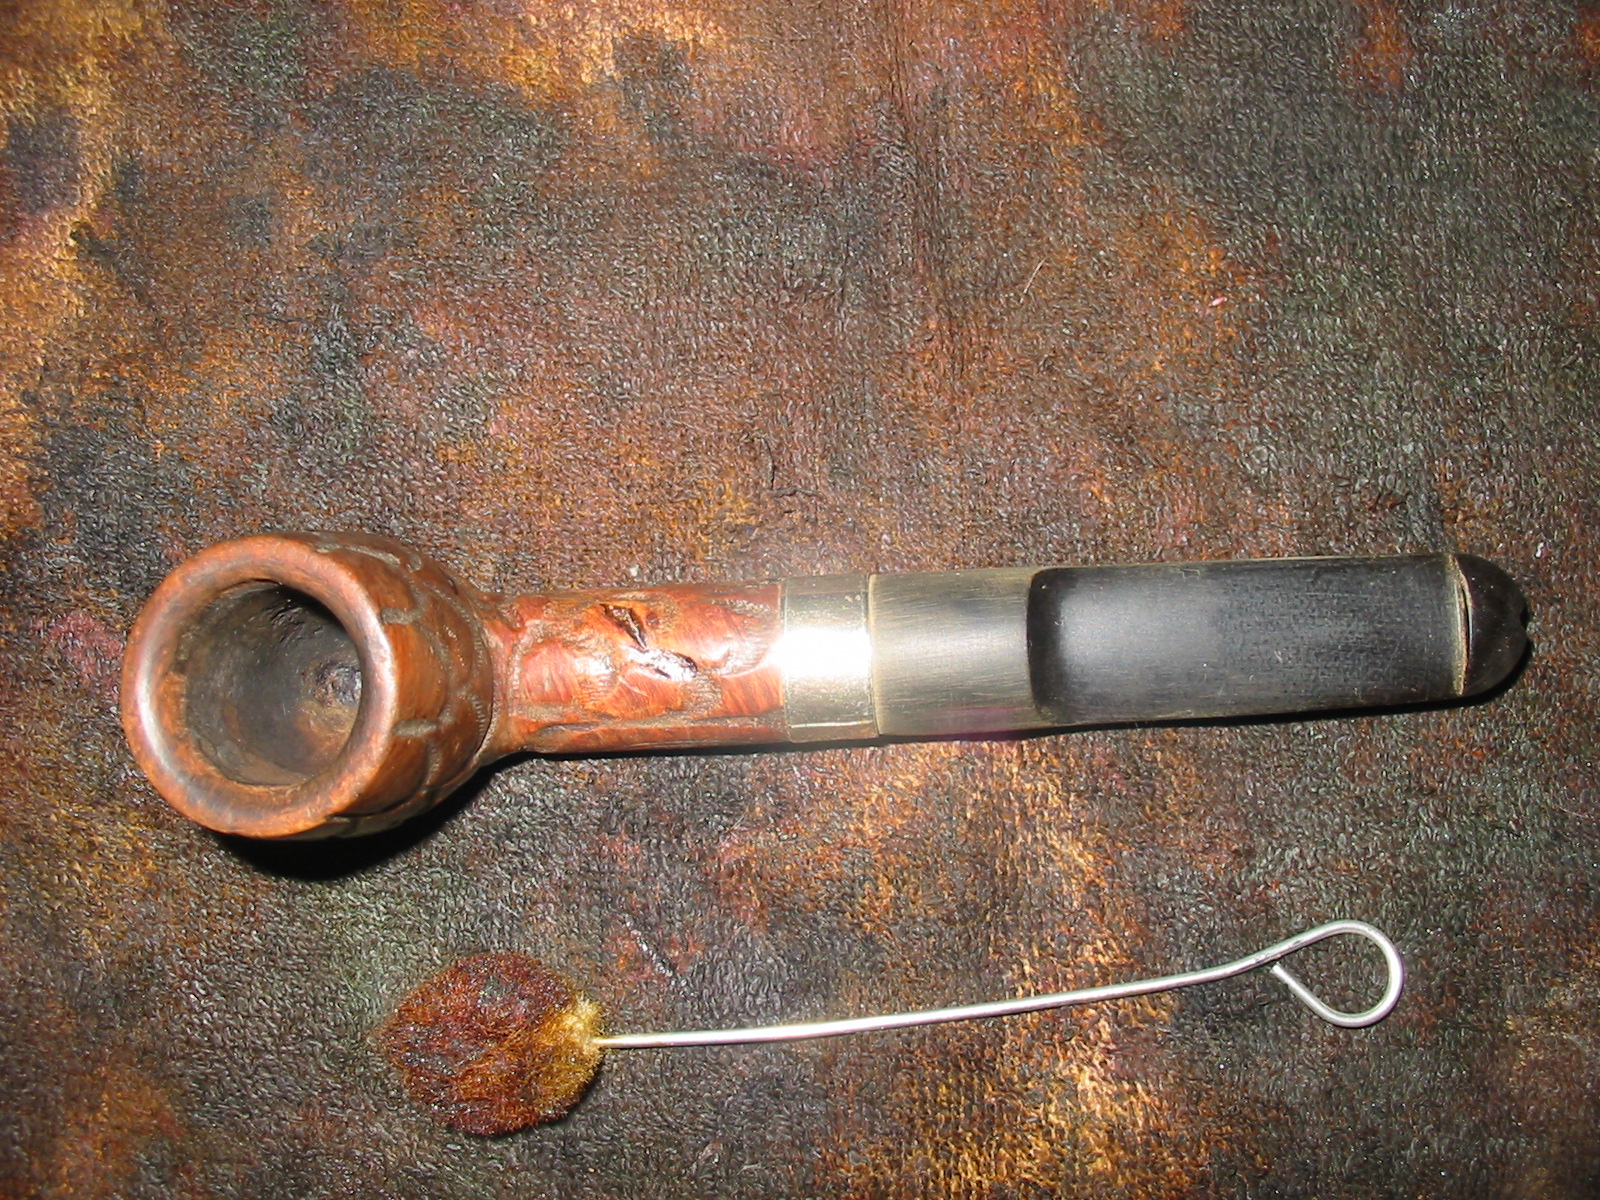
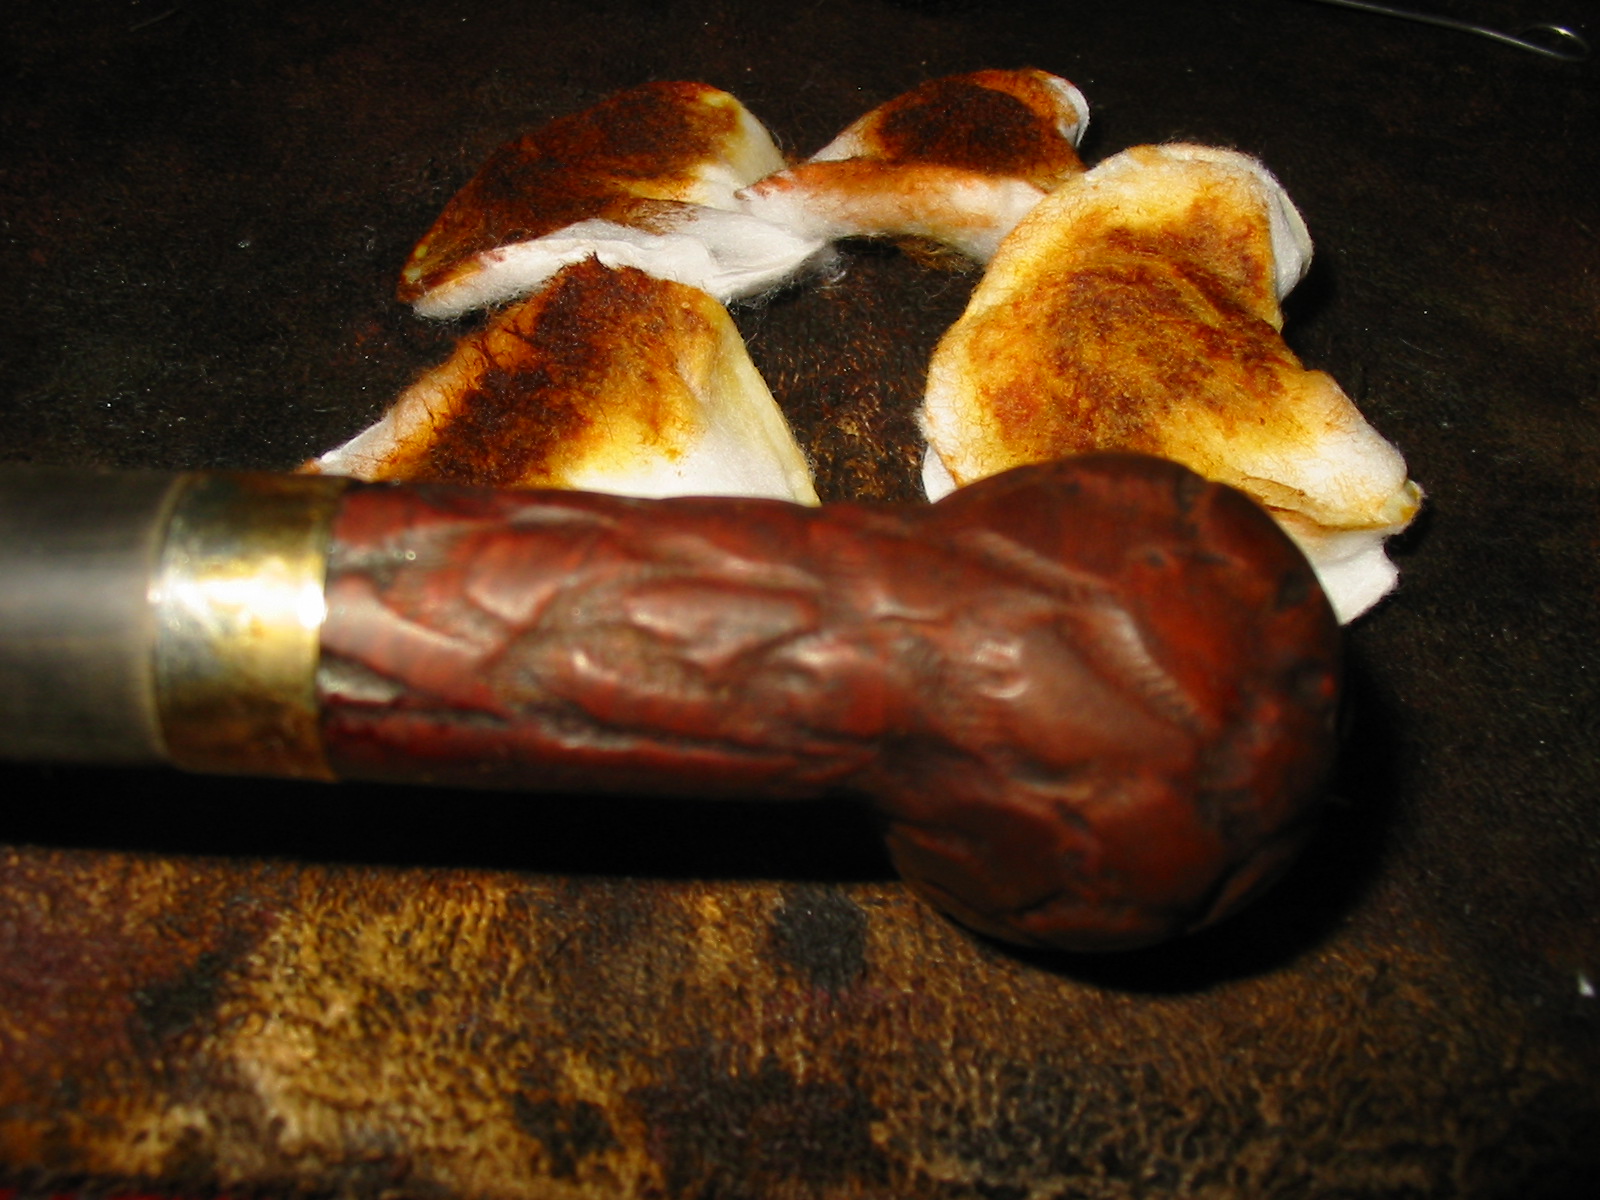
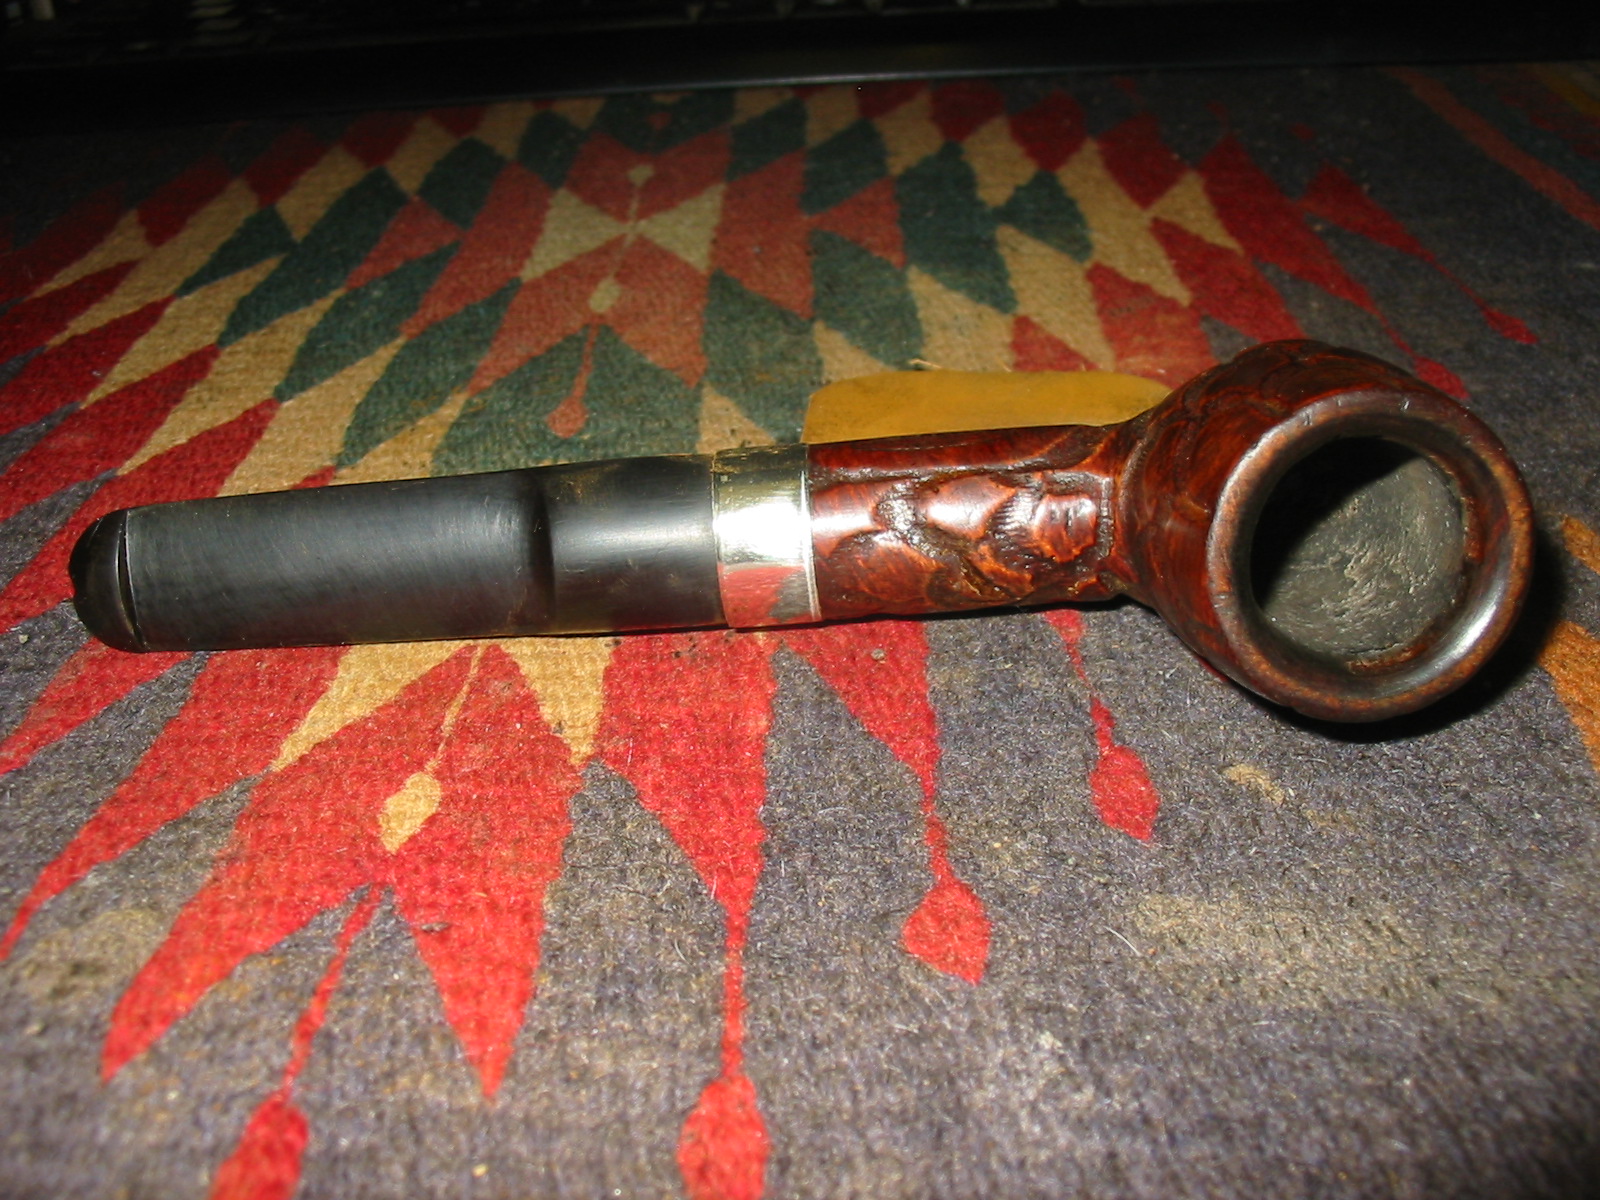
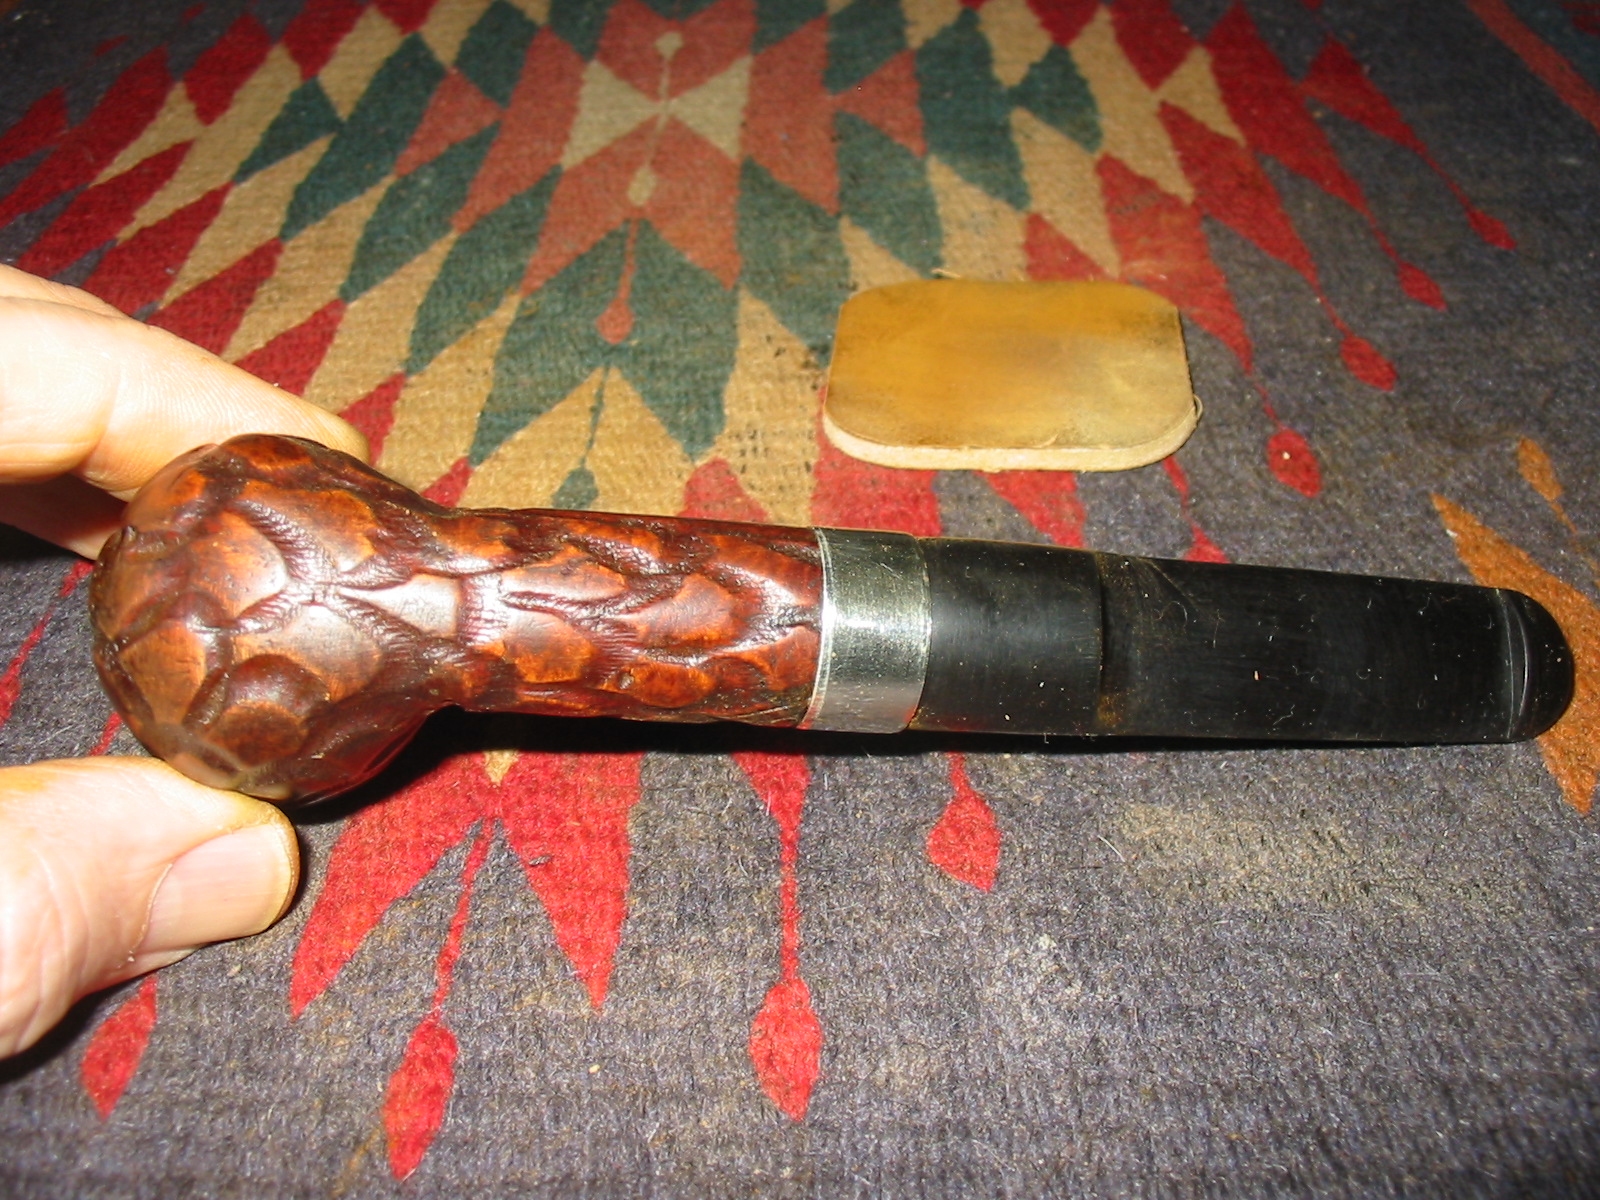
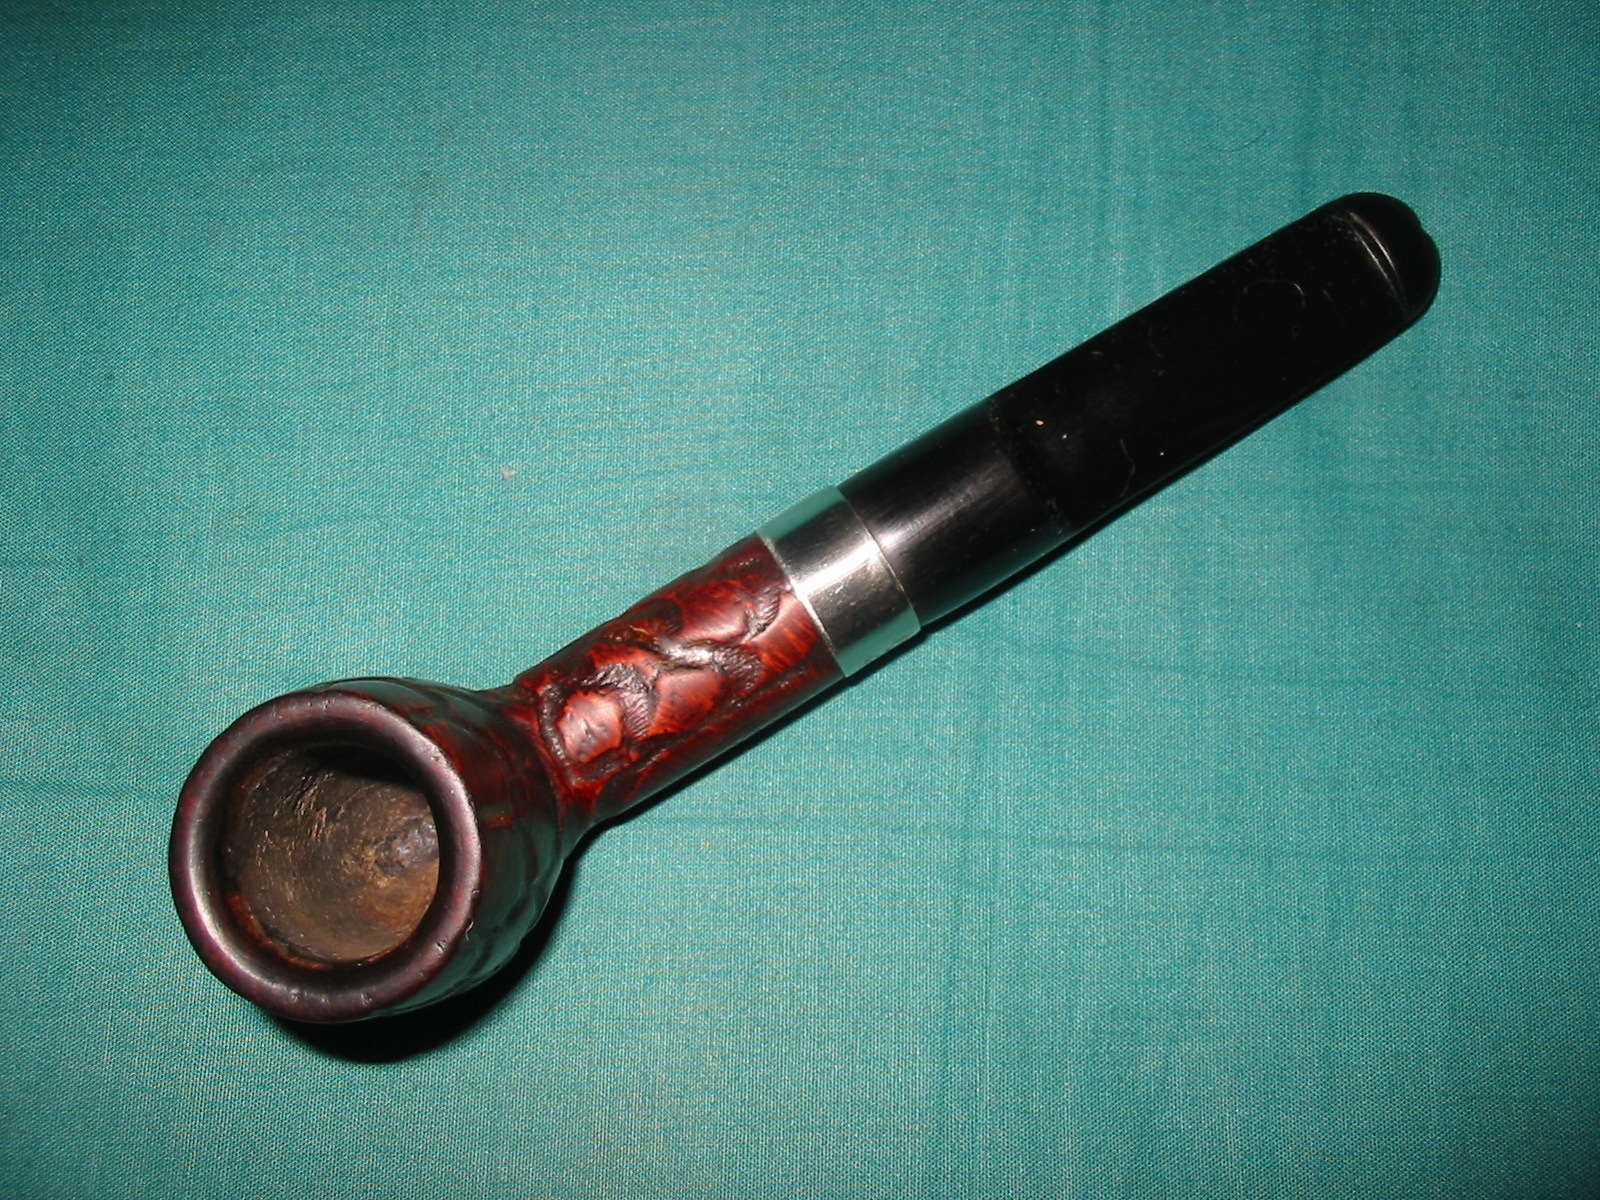
Yet another gift pipe is on the worktable. It is an interesting bowl. The exterior is carved with what looked like scales. There were several sandpits in the trails surrounding the scales. The shank had several cracks and looked as if it had previously sported a band. By appearances the band that was missing looked like it had been original rather than an addition for repairs. But the repairs were there nonetheless. The bowl was caked and the finish very dirty. It was worn away to a large degree. The fascinating part of the bowl was the drilling of the airway. The end of the mortise, which is quite large, is concave. At the end of the concave mortise there are two holes drilled looking like a colon “:”. The top hole is the airway leading into the bowl and the bottom hole is about a ½ inch deep and ends. With a stem in place the mortise looks to serve as a second chamber for cooling the smoke. The shank is stamped Bruyere over Extra in and oval with the ends flattened. There is no other stamping on the shank.

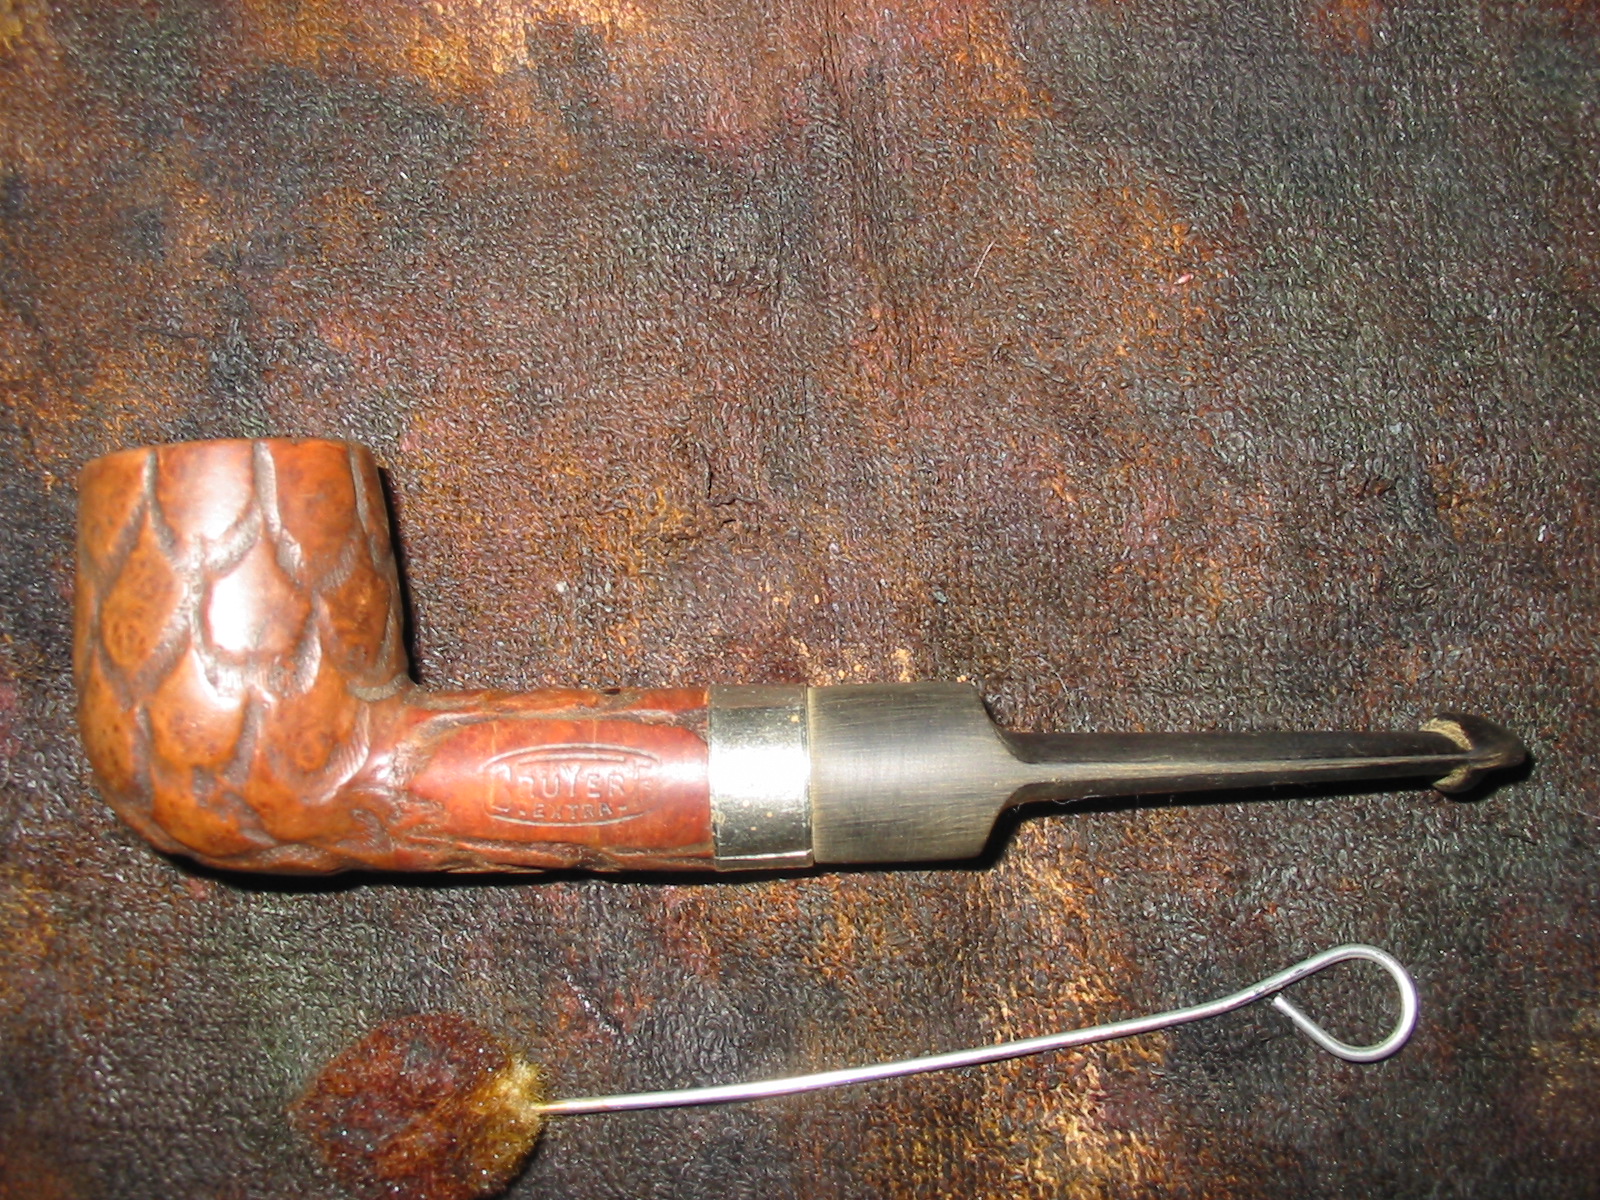
I went through my box of bands and found one that would work well on the cracked and repaired shank of the pipe. I also found a stem in my can of stems that would work well with this pipe. The tenon needed to be quite large in diameter to fit the large mortise. The stem I had was a faux Peterson stem. The airway was directly in the end of the button not on the top. Thus the look was Peterson like but the stem was actually a straight airway from tenon to button.

I added some wood glue to the area of the shank that the band would be pressed on and then heated the band and pressed it onto the shank. I reamed the bowl with a PipNet reamer to take the cake back to bare wood. I also scrubbed the rim down as it had a chamfered inner edge around the bowl.
I wiped down the bowl with acetone on cotton pads to remove the remnants of the finish and to clean up the debris and dust in the carved trails between the scales on the bowl and shank. I picked out the debris in the flaws in the trails, scratched the surface surrounding the flawed areas and then packed in briar dust with a dental pick and dripped superglue into the dust. I lightly sanded the areas of the fills and wiped the bowl down again with acetone on the cotton pads.


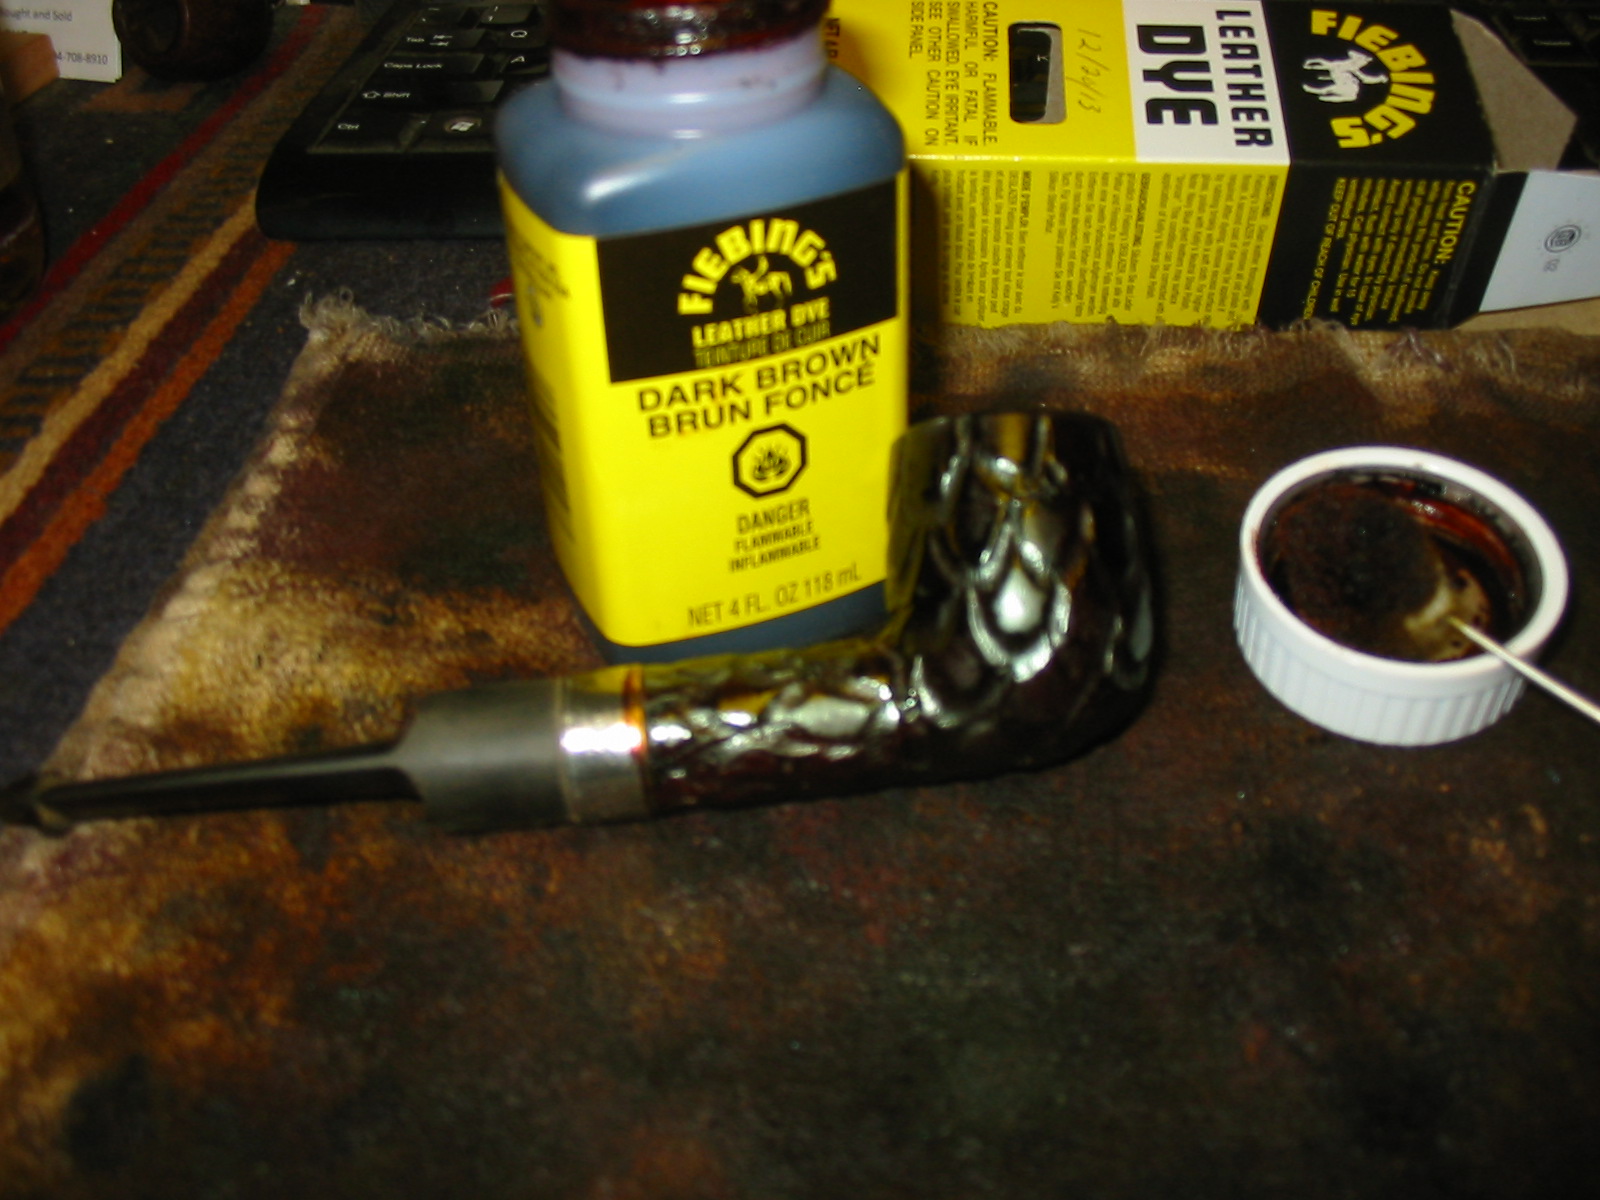
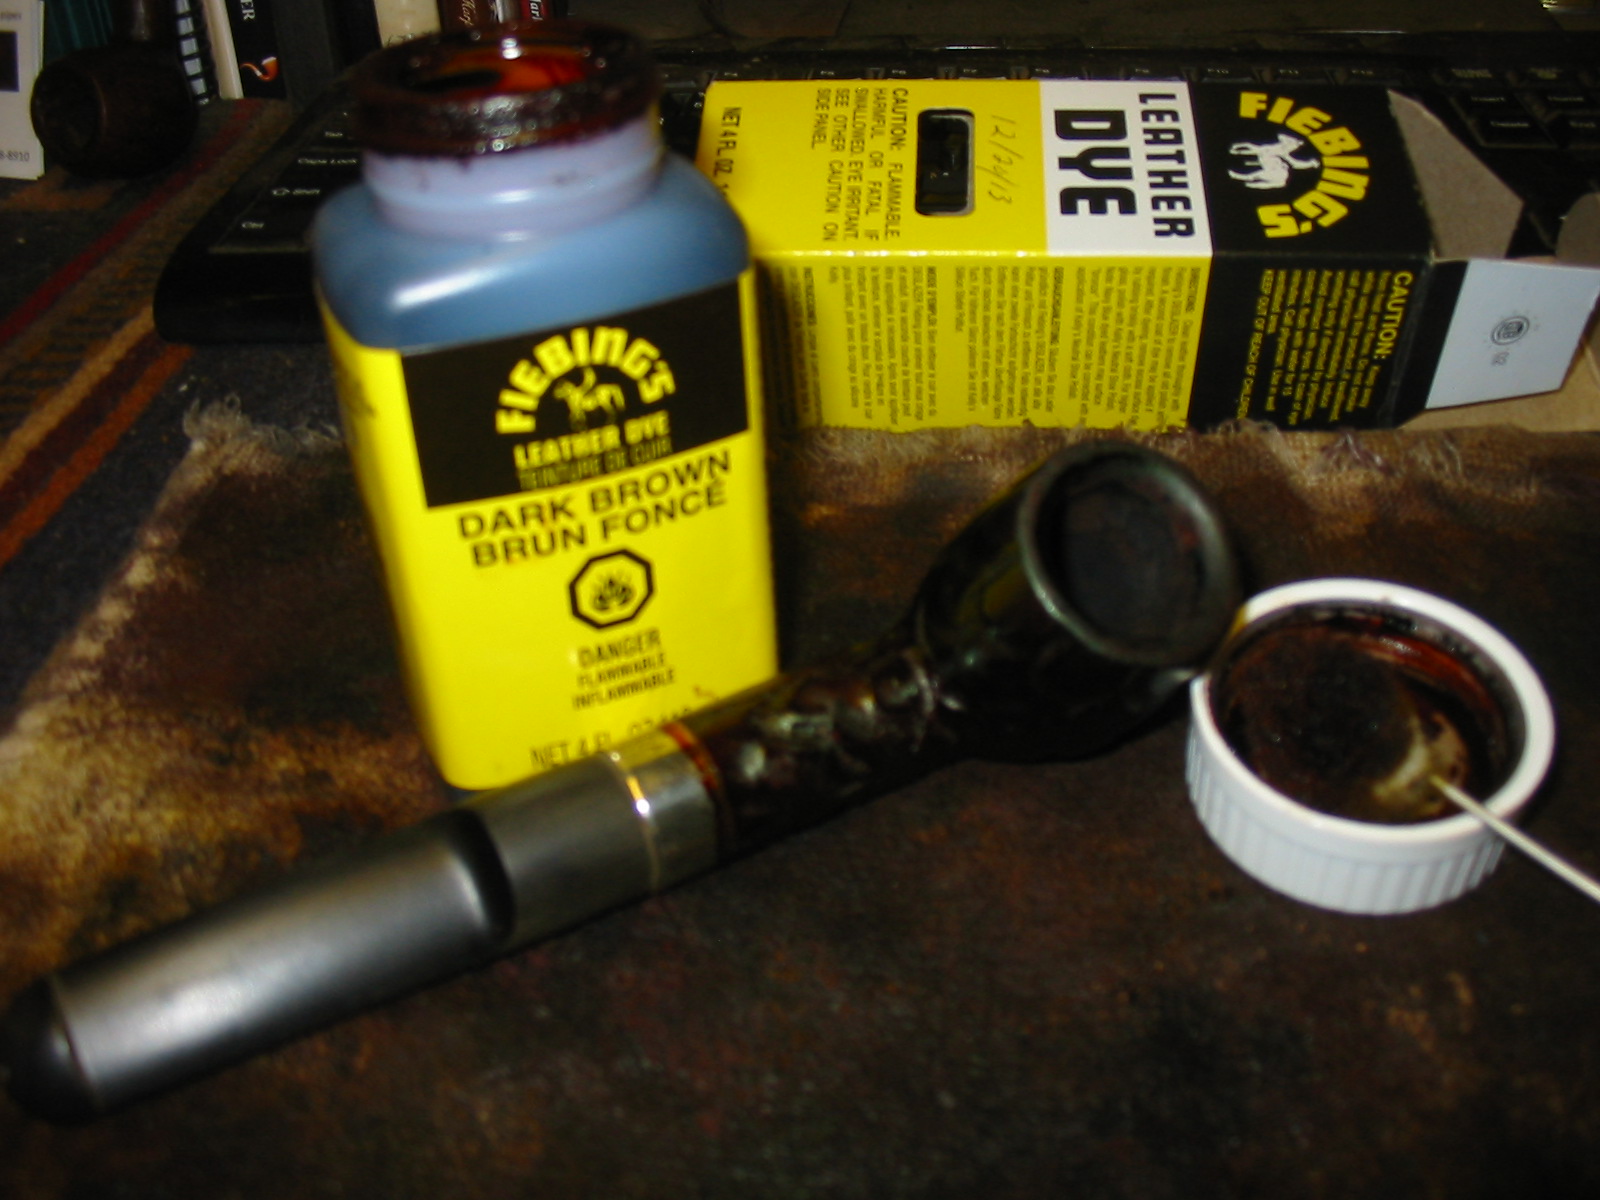
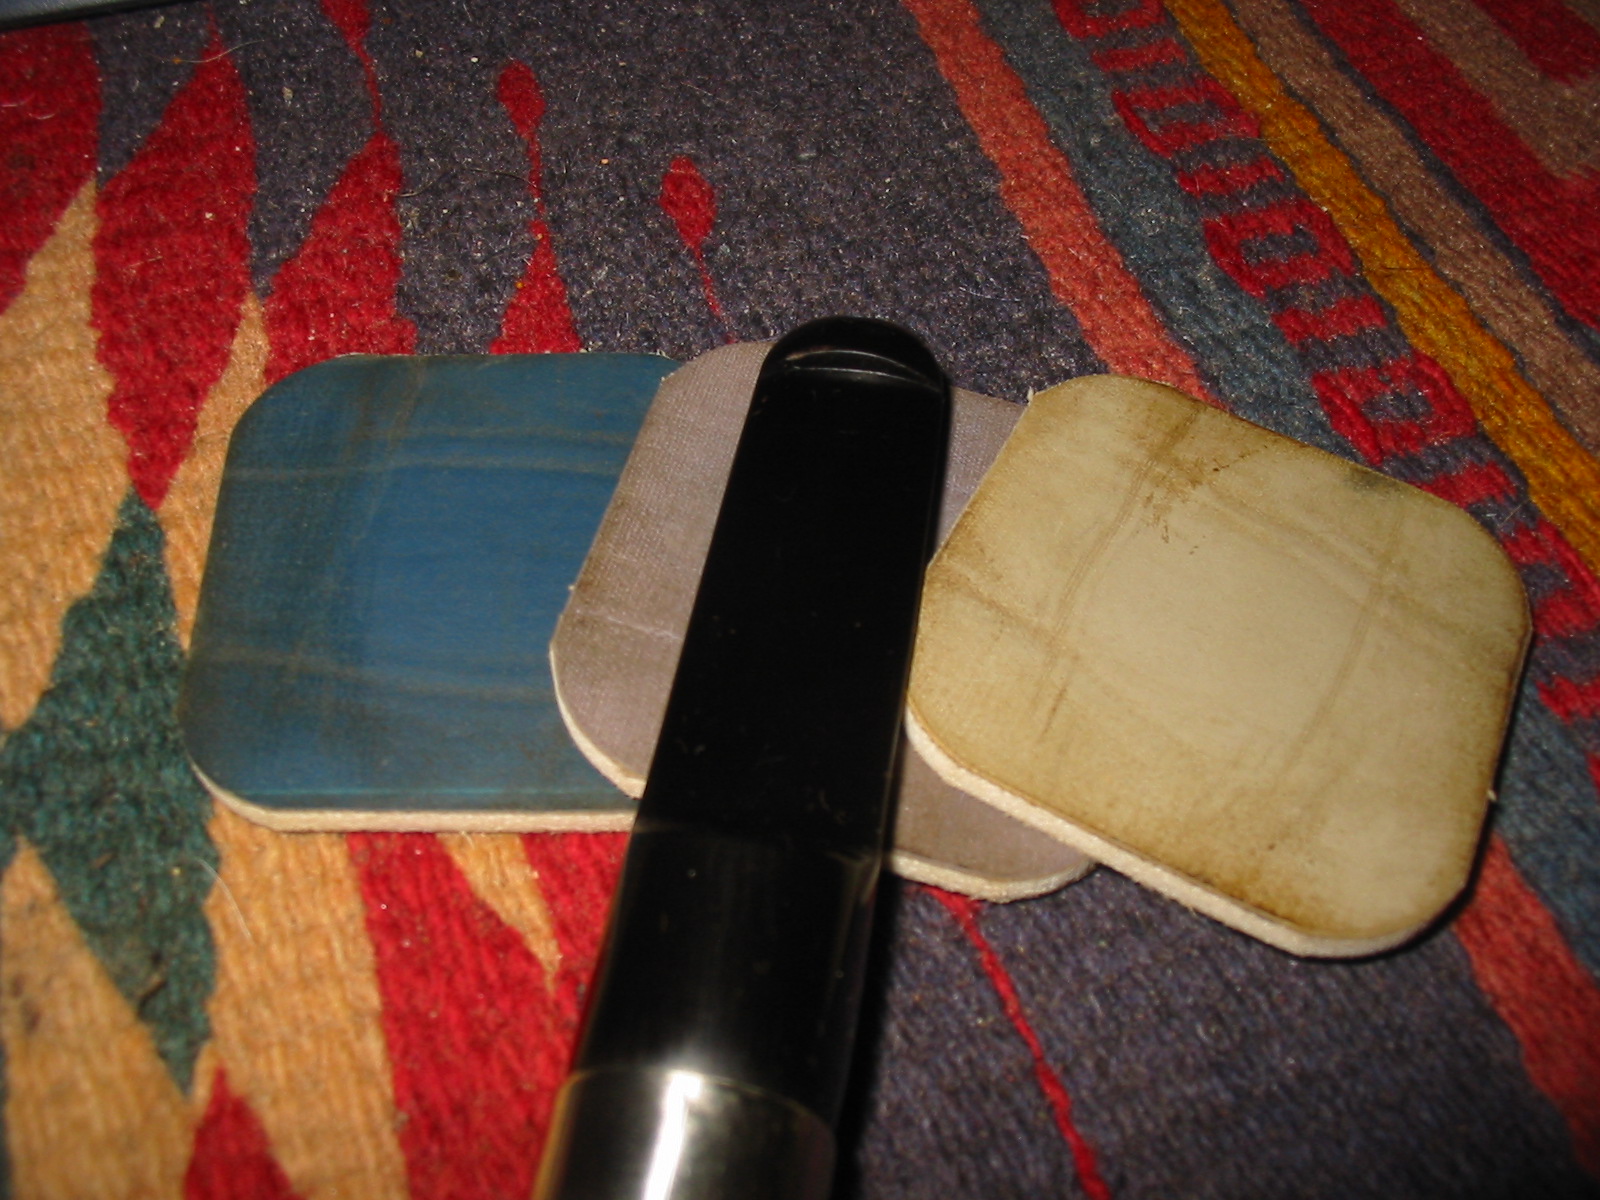
With the repairs completed, the band in place and the stem fitted to the shank it was time to stain the bowl. I wiped it down a final time to remove any remaining dust and debris before staining. I decided to use a dark brown aniline stain and applied it with the dauber that comes with the Feibings Shoe Dyes. The dauber works well on the wider grooves between the carved scales on the finish. I applied the stain, flamed the finish, reapplied the stain and flamed it again until the coverage of the stain was even.
I wanted a contrast to the finish – dark stain in the grooves of the trails and a bit more opaque stain on the surface of the scales so I wiped the bowl down with isopropyl alcohol to reduce the stain colour on the smooth surfaces of the finish.

I buffed the bowl with Red Tripoli and White Diamond on the buffing wheels to polish the bowl and give me an idea of the look of the finish once polished.


I sanded the smooth surfaces of the bowl with a 1500 grit micromesh sanding pad to further lighten the stain and allow the grain to pop through. The smooth surfaces had birdseye on most of them and I wanted that to stand out on the pipe.

I sanded the stem with 220 grit sandpaper to make the fit the shank even around the circumference of the saddle portion of the stem. I sanded it with medium and fine grit sanding sponges to remove the deeper scratches on the stem. I then used my normal line of micromesh sanding pads – wet sanding with 1500-2400 grit pads and dry sanding with 3200-12,000 grit pads. I also sanded the nickel band to polish it and remove the small scratches that were present in the finish.
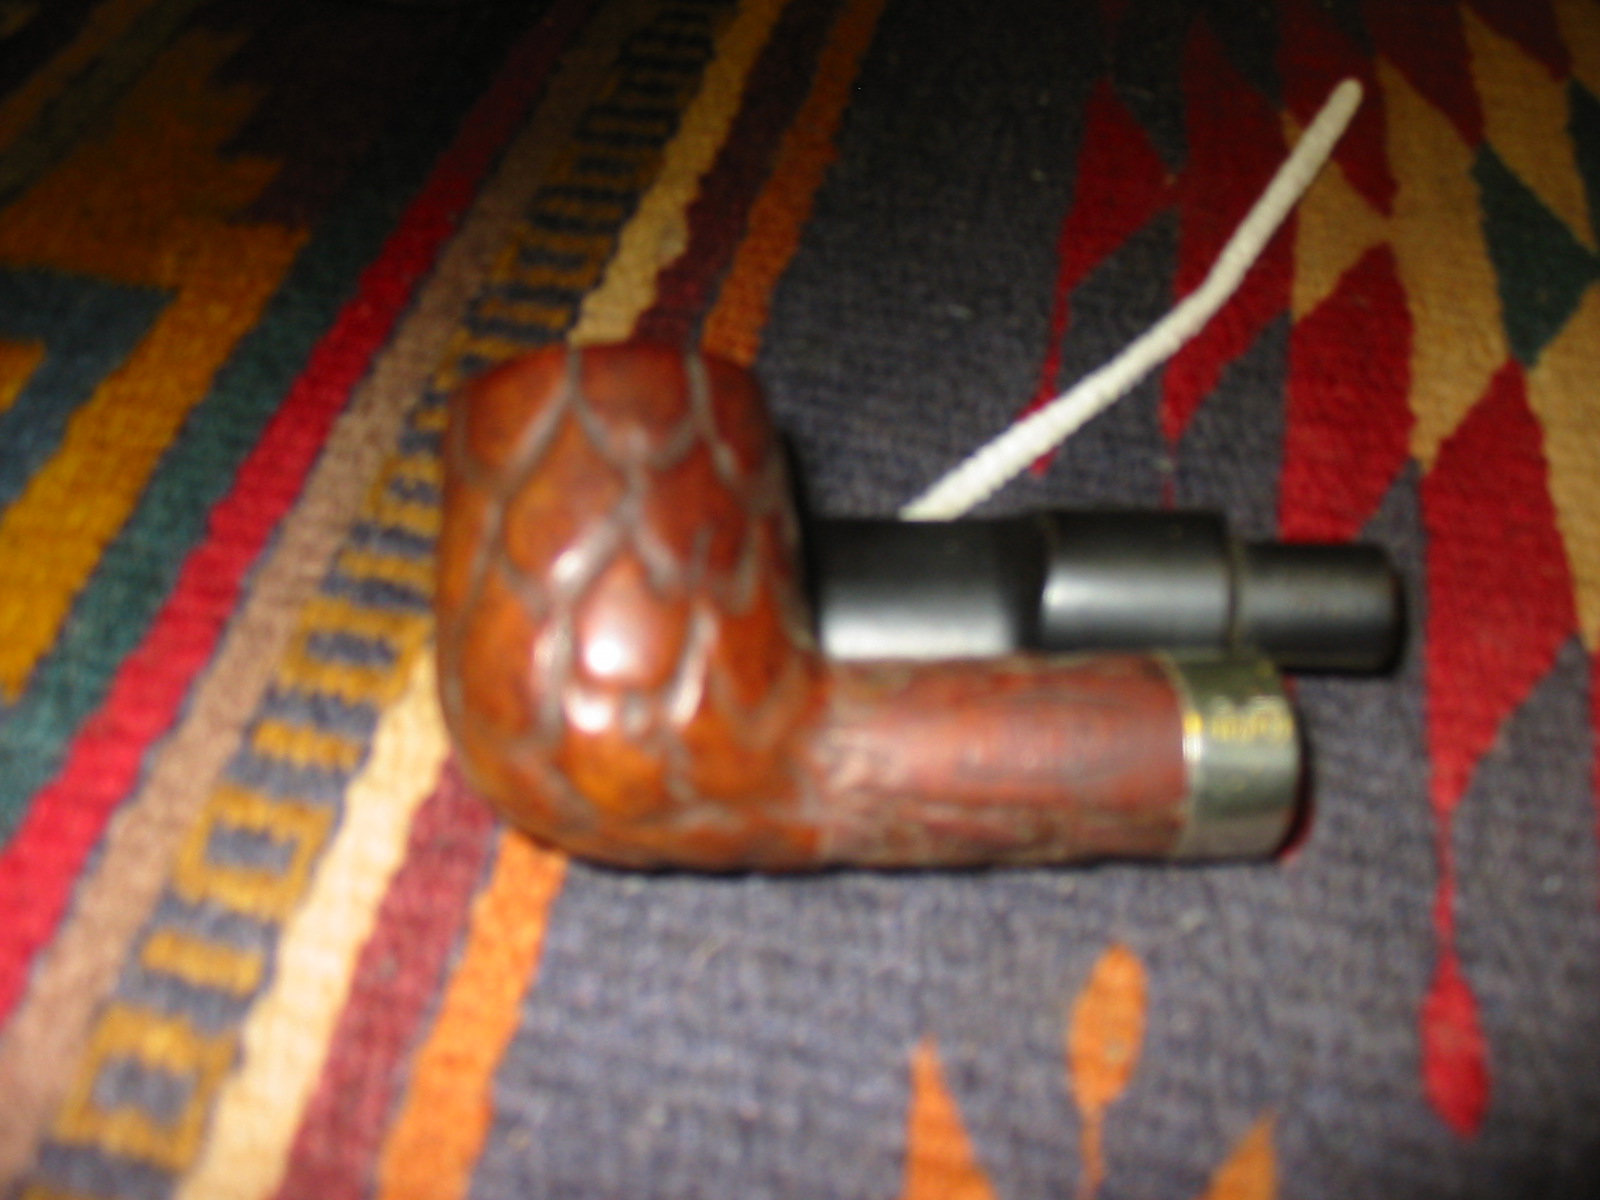
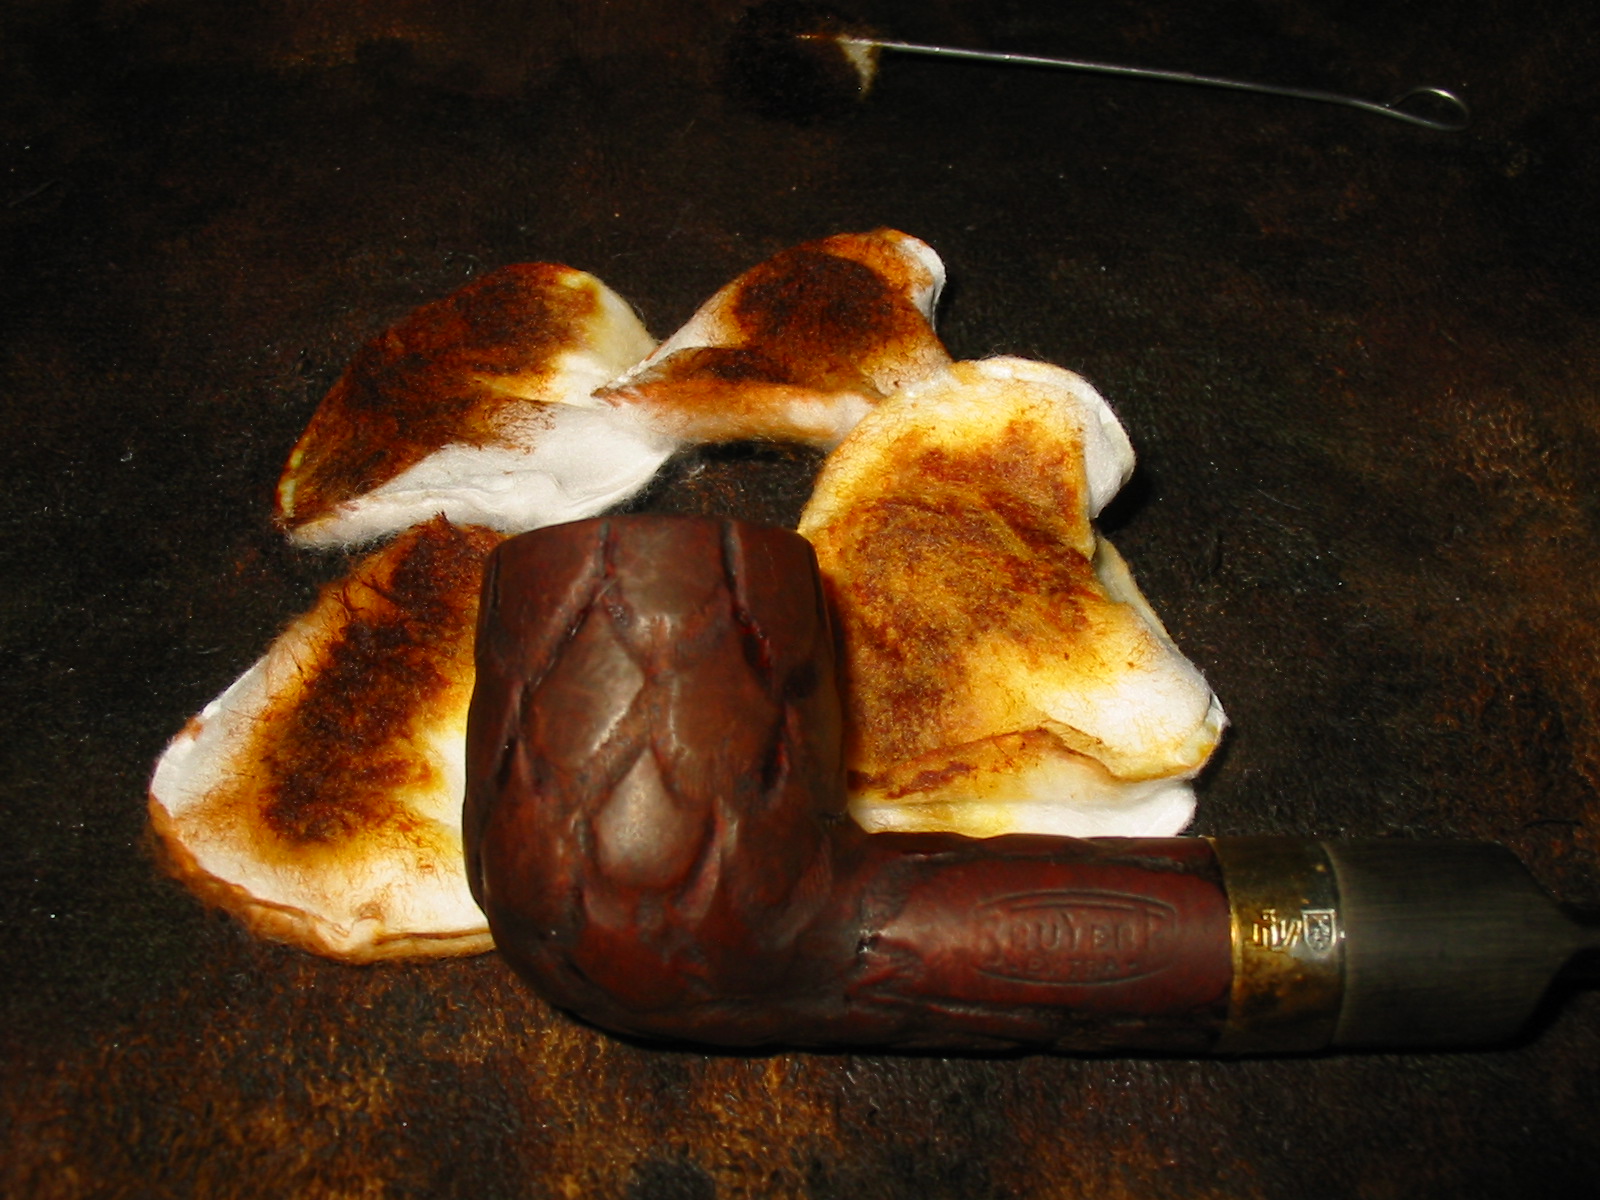
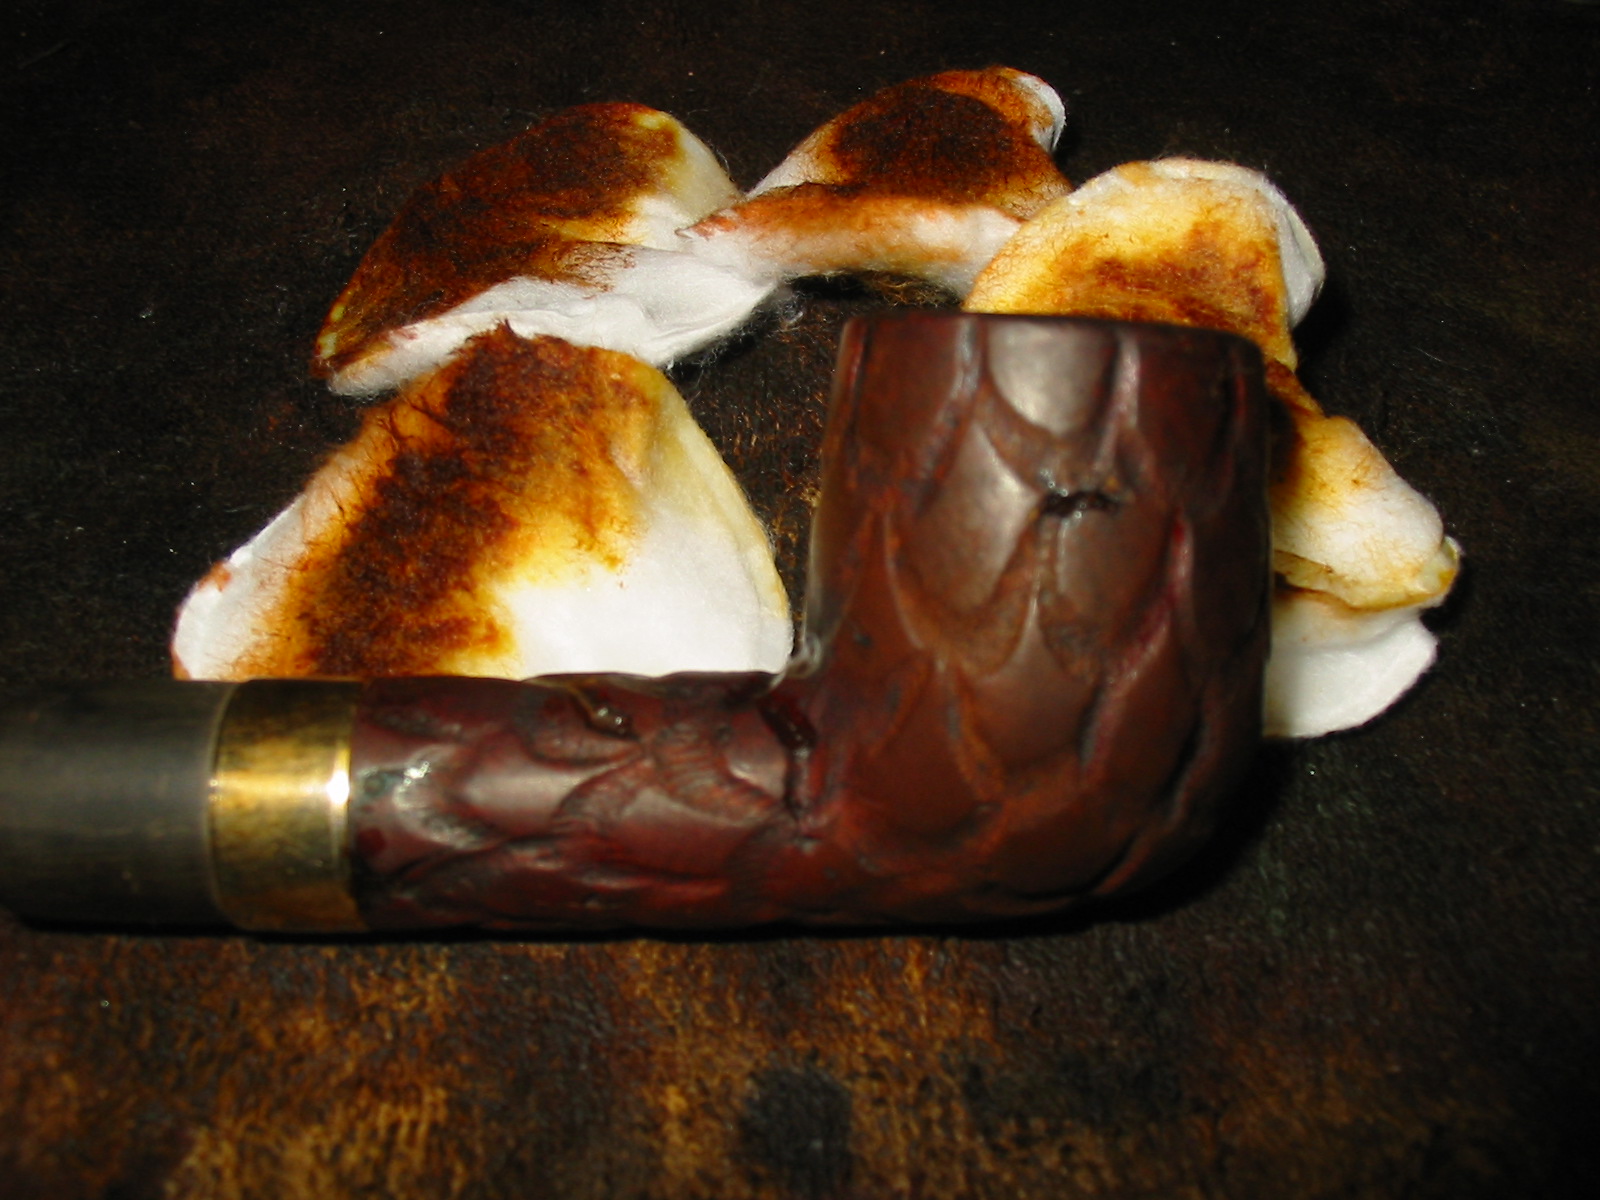
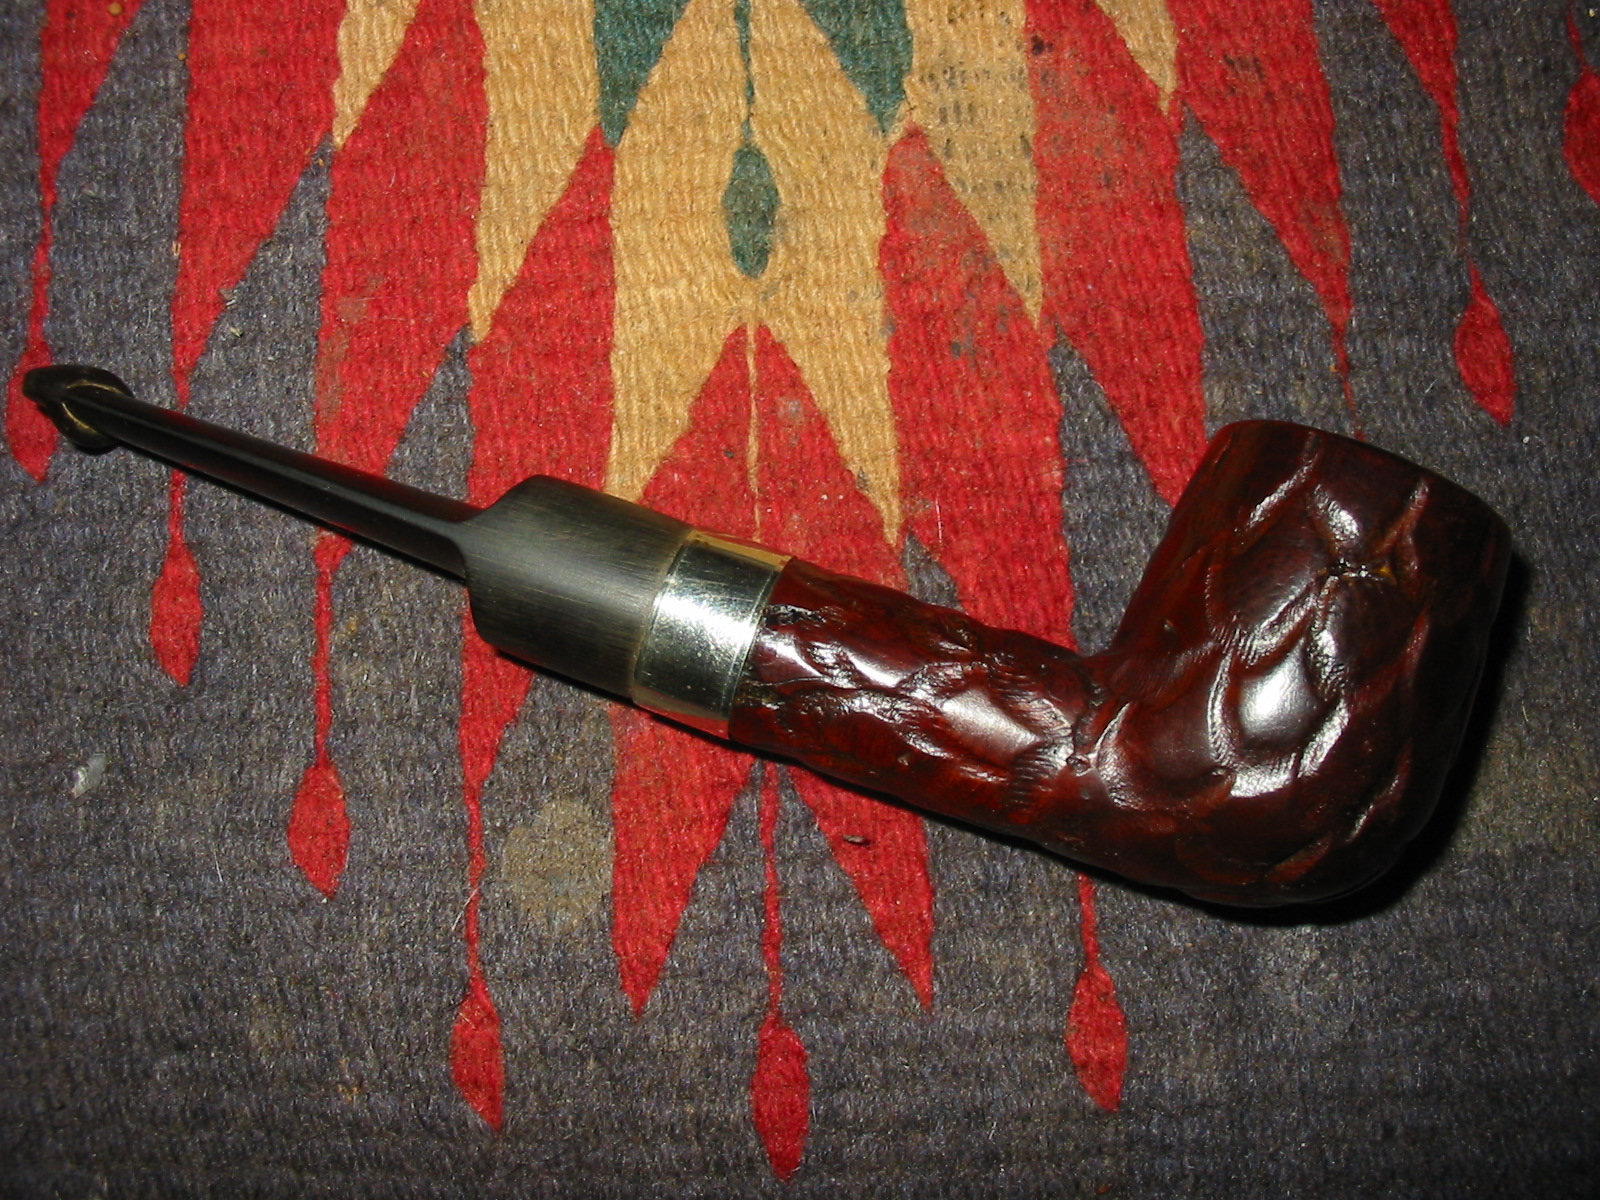
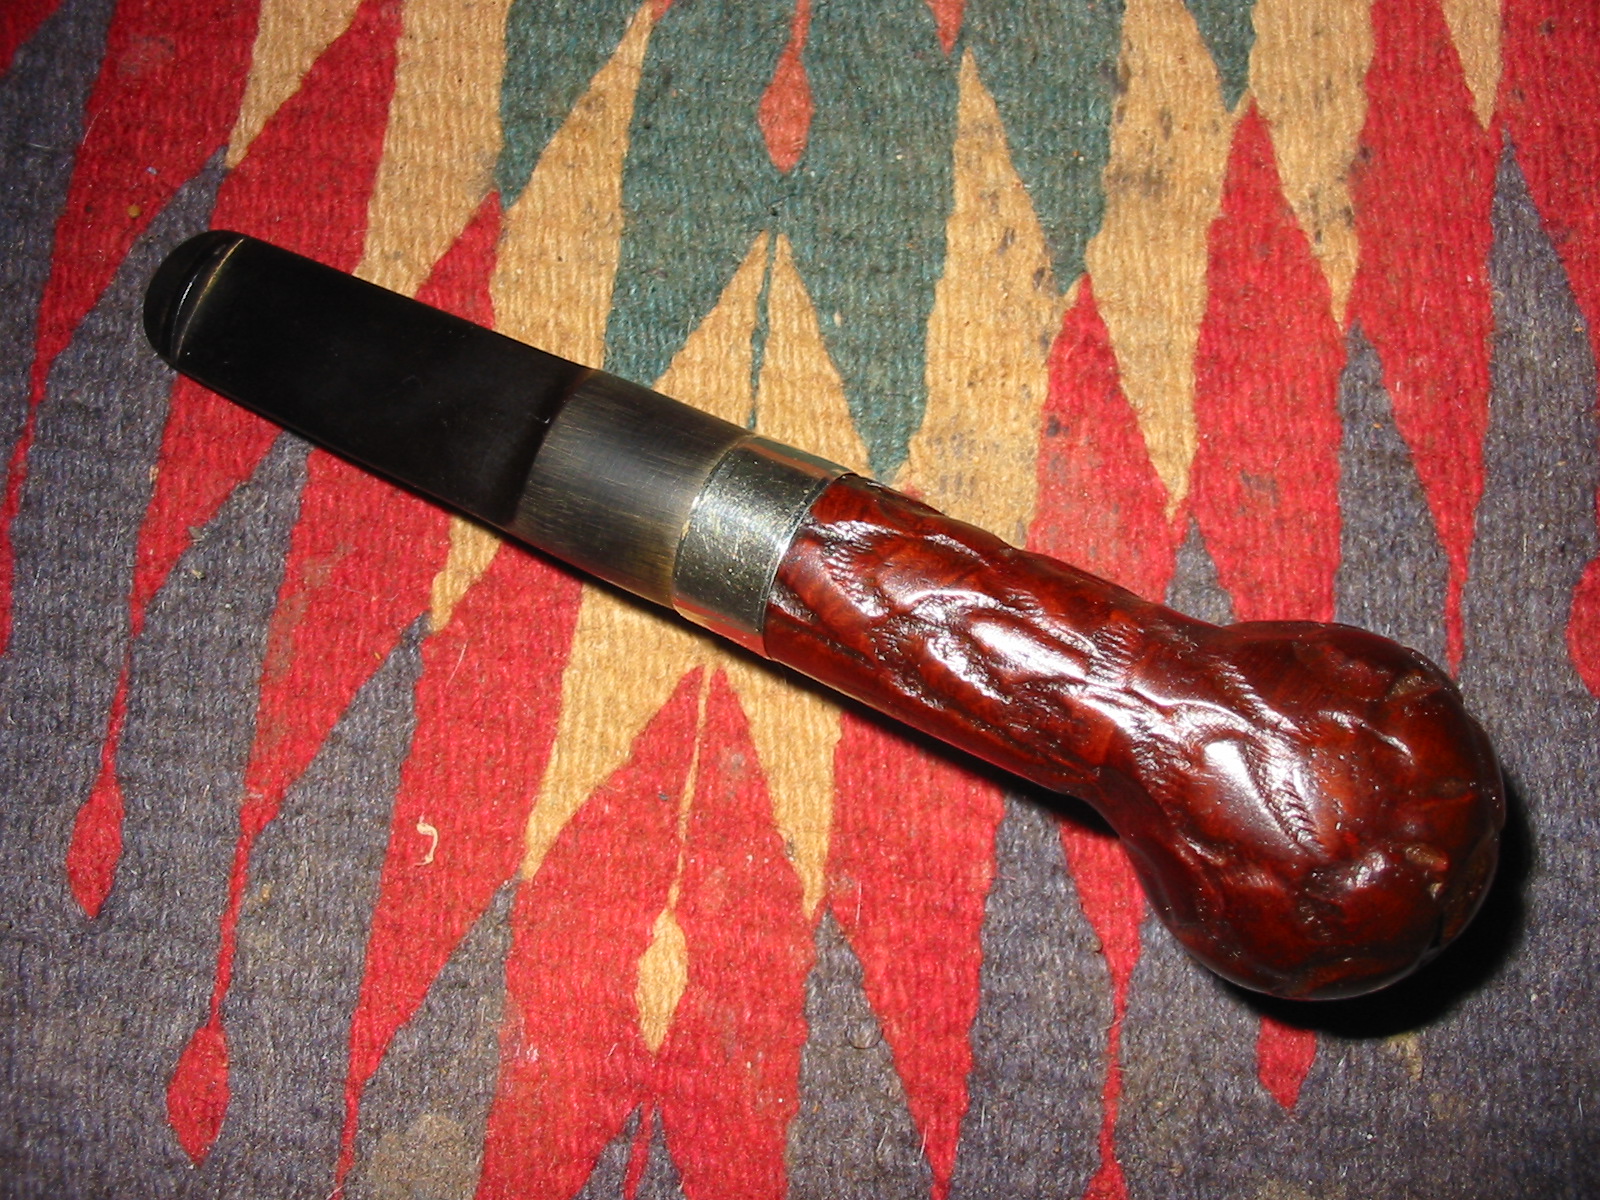
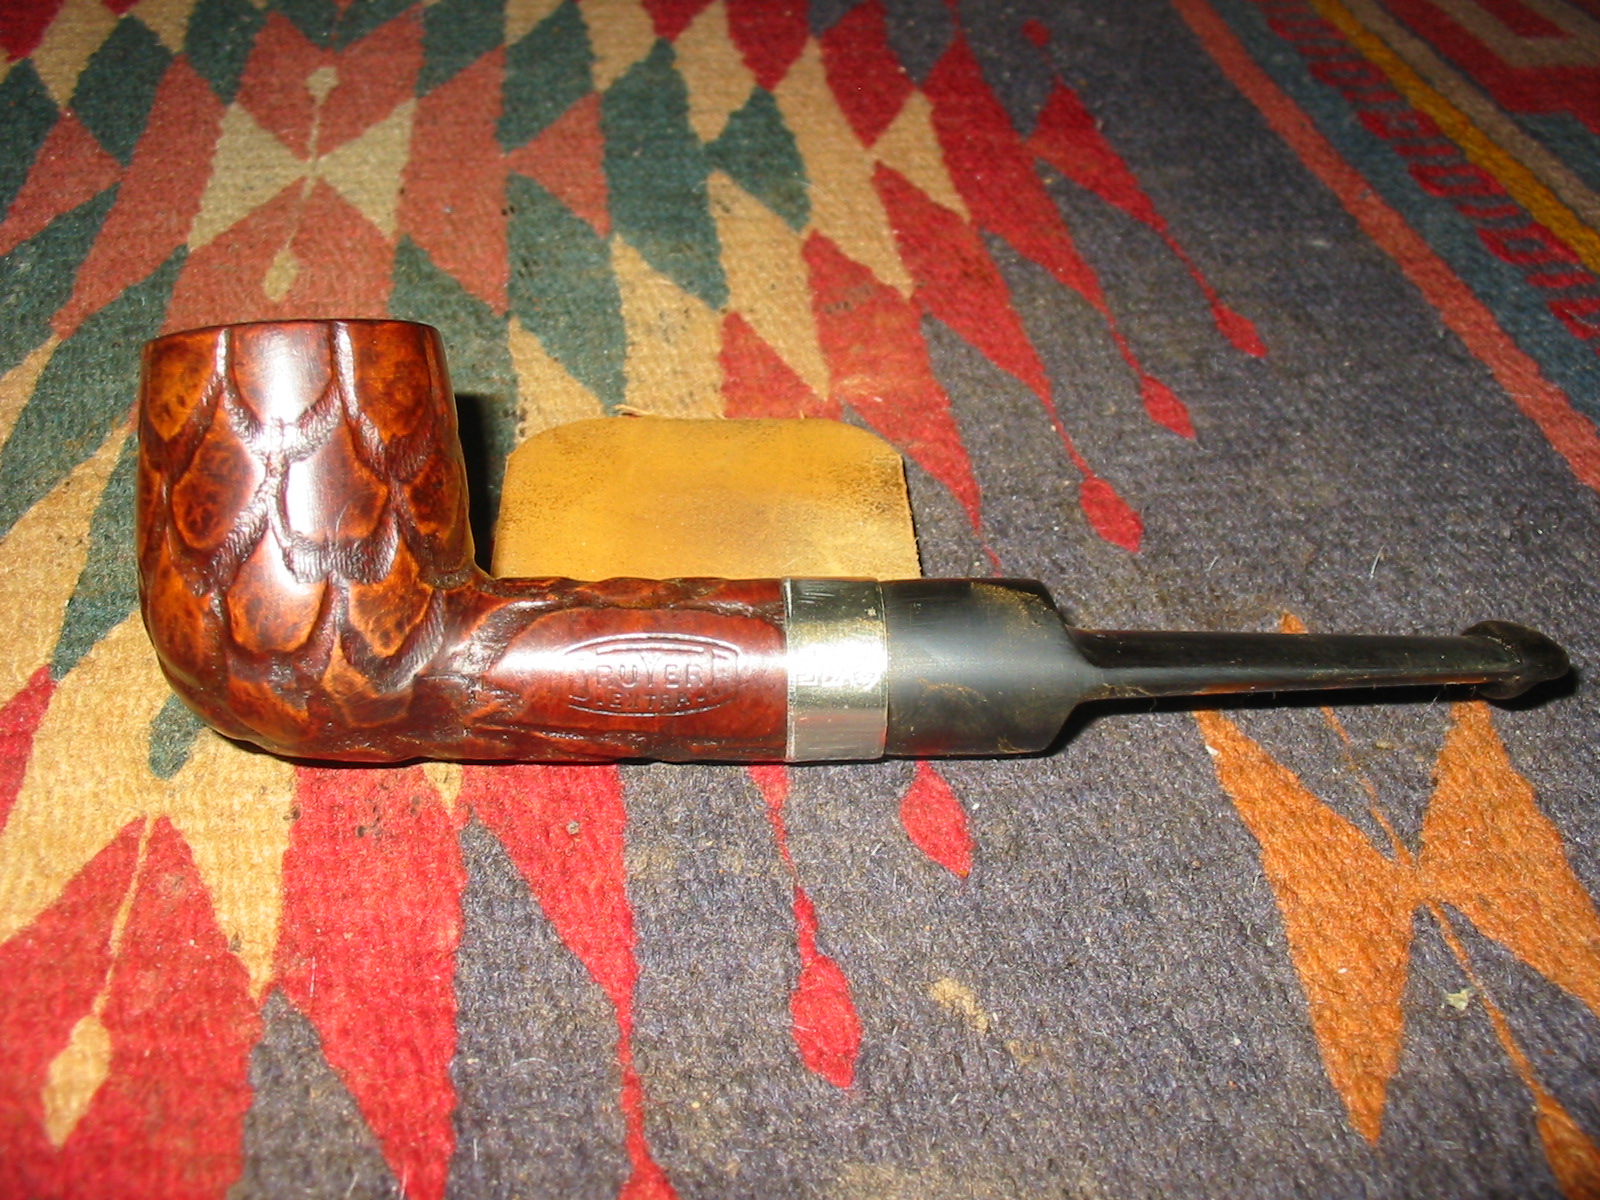
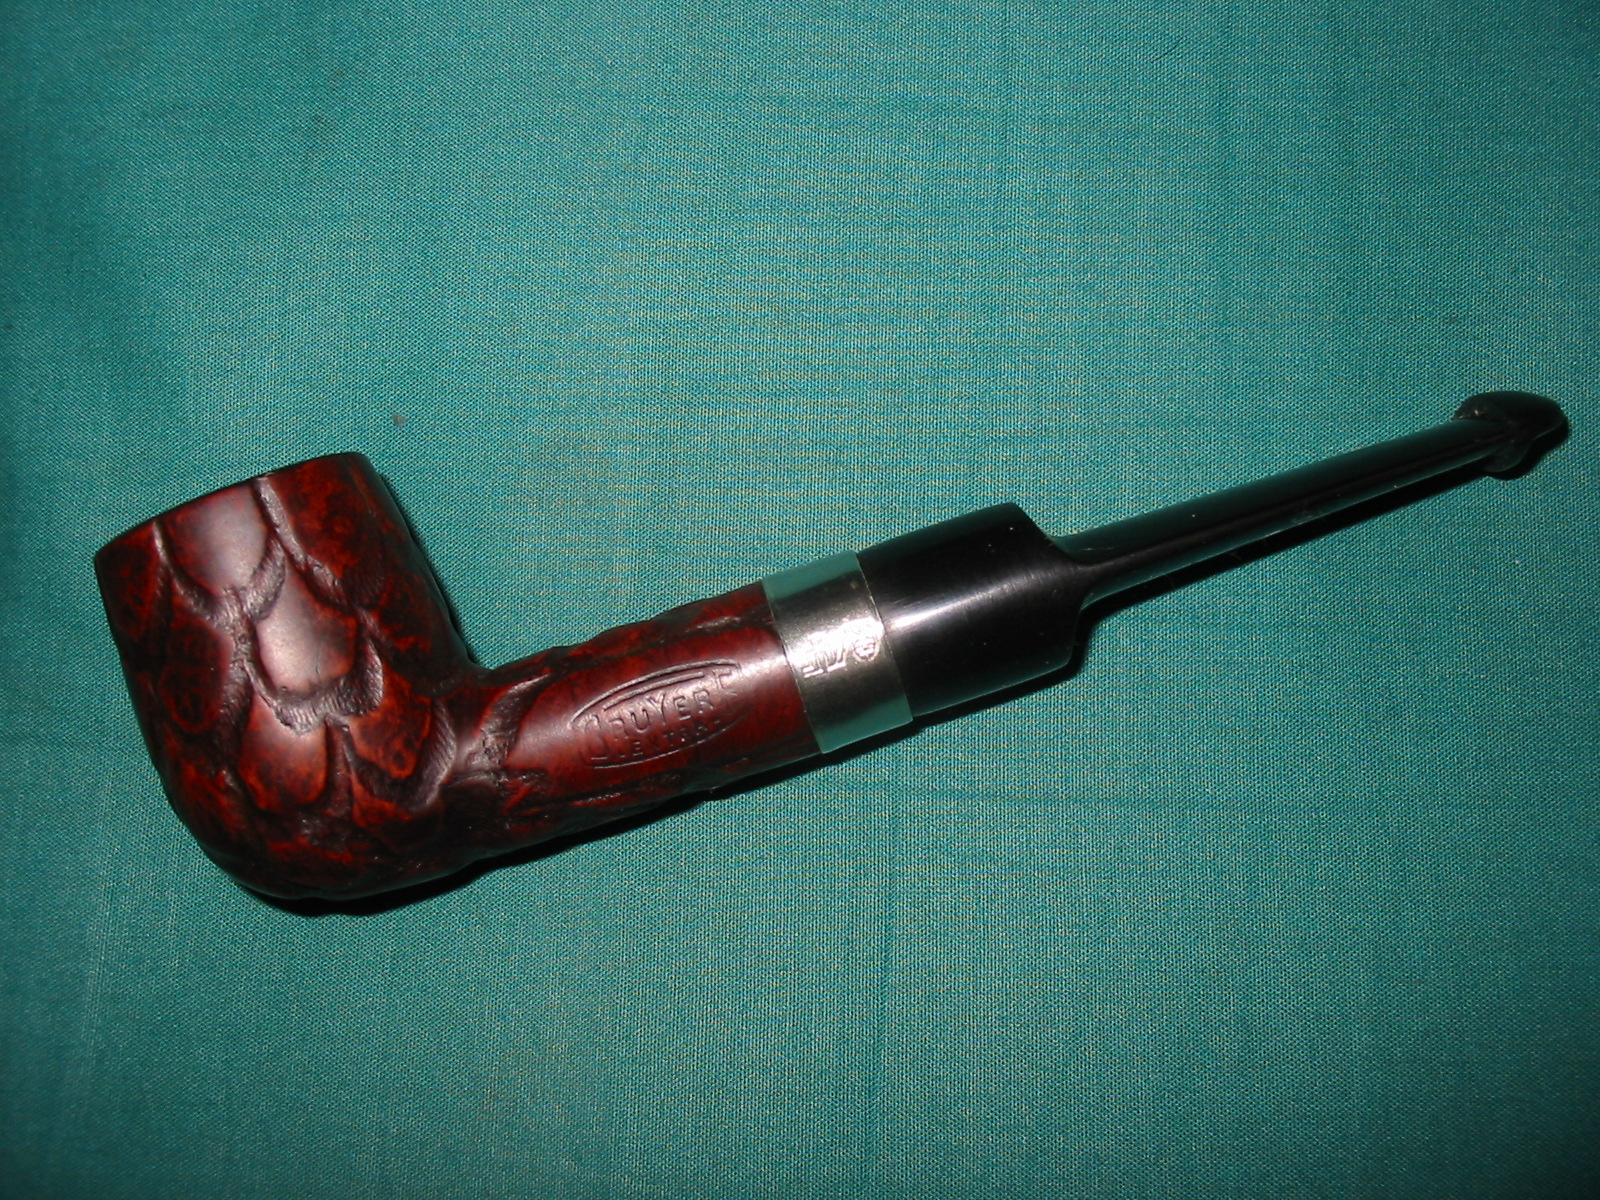
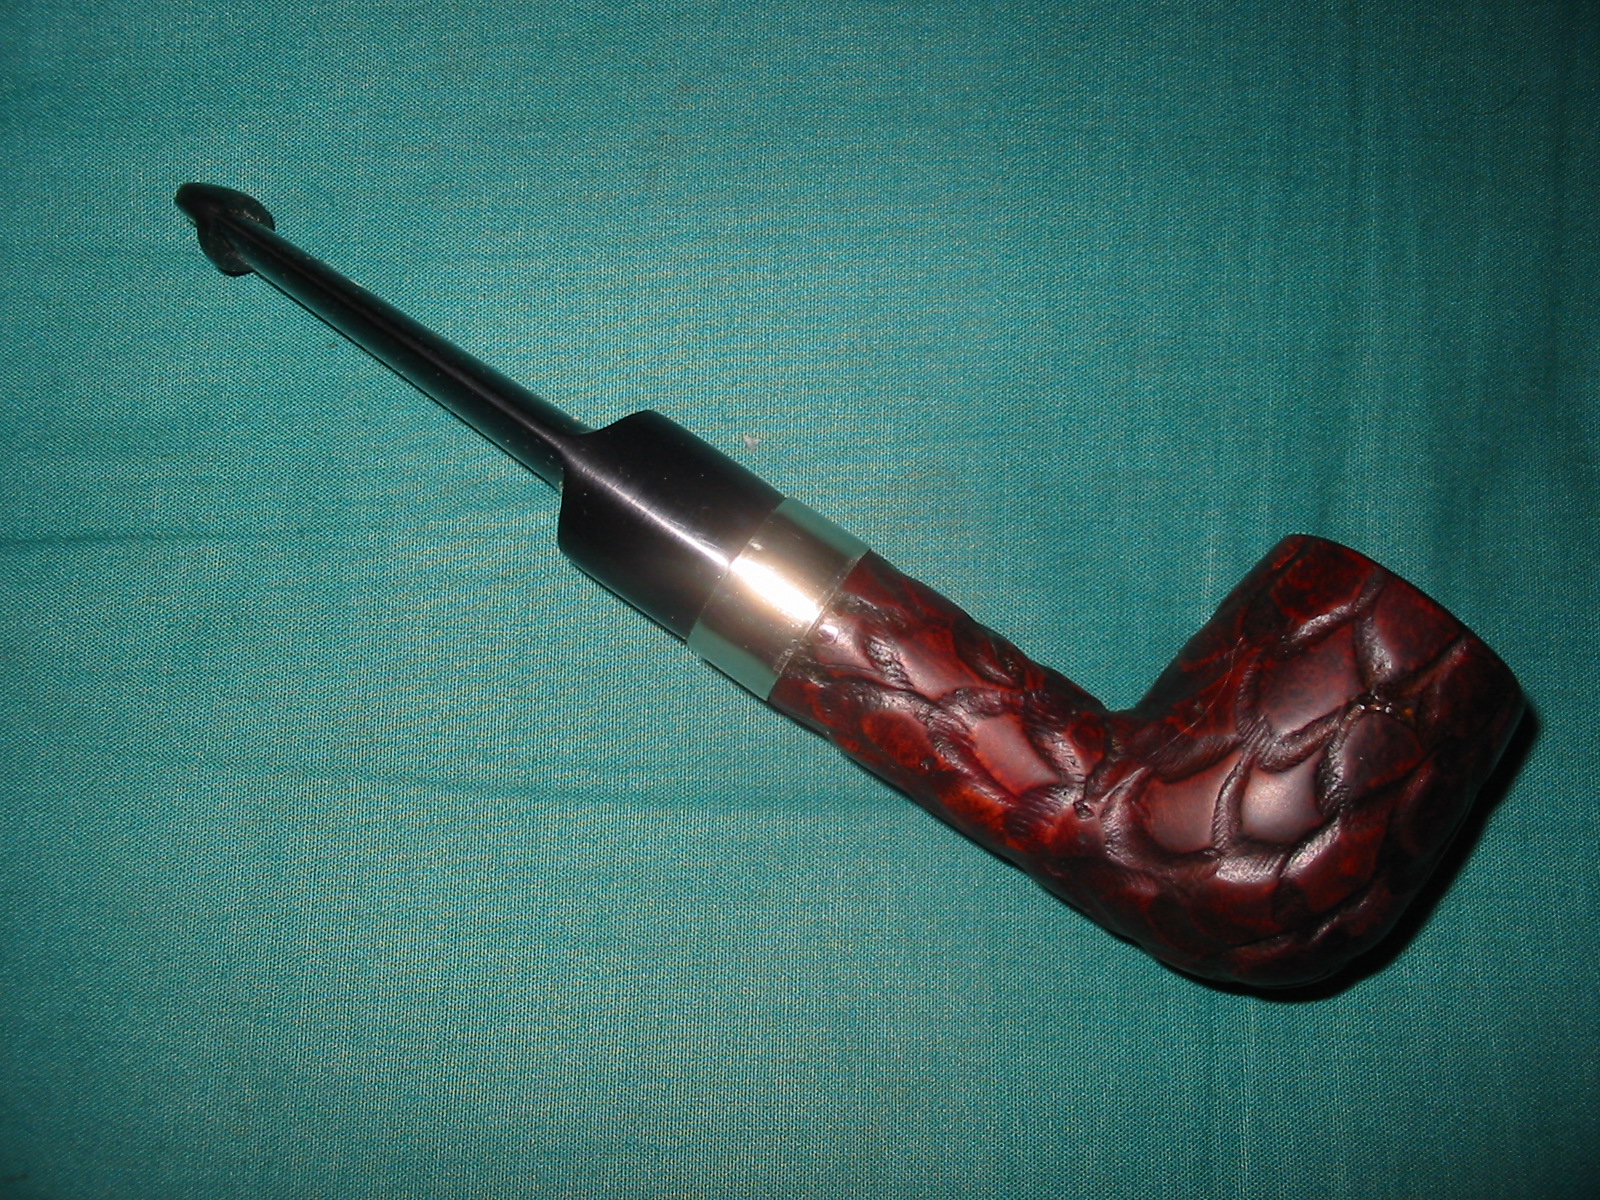
I rubbed the stem down with Obsidian Oil and once it was dry buffed the bowl and stem with White Diamond. I gave the pipe and stem multiple coats of carnauba wax and polished it with a clean flannel buff to finish the process. The old pipe has a new look and a great feel. I look forward to giving it a try to see how the second chamber – the reverse calabash actually works on this pipe. The photos below show the finished pipe ready to use!


Pipe looks great as usual
LikeLike
Thanks Bill. Great to have you here.
LikeLike
Wow, that might be the pipe worlds first double-chamber pipe! And, now with a p-lip, a truly unique smoking experience. Don’t forget to let us know how she performs.
LikeLike
The P-lip may be an interesting subject just by itself; we rightfully connect it with Peterson pipes, but it also have long and interesting tradition in the US made pipes, and not only with them. Here we have brief, not complete information:
http://www.pipephil.eu/logos/en/infos/p-lip-en.html
LikeLike
Thanks Jacek. The interesting thing about this Plip is that it is a faux Plip. The airway is not on top of the P but actually is a straight shot from tenon to the airway in the P.
LikeLike
Ok, that is a real first!
LikeLike
It is real pleasure to see one more pipe that got a new lease of life. Congratulations ! it is so good that the metal band does not “interfere” with/cover the area of markings. This is so good example of taking under consideration the principle of not covering the area with markings when using repair or ornamental metal rings. Hats off to you, Steve !
LikeLike