Blog by Steve Laug
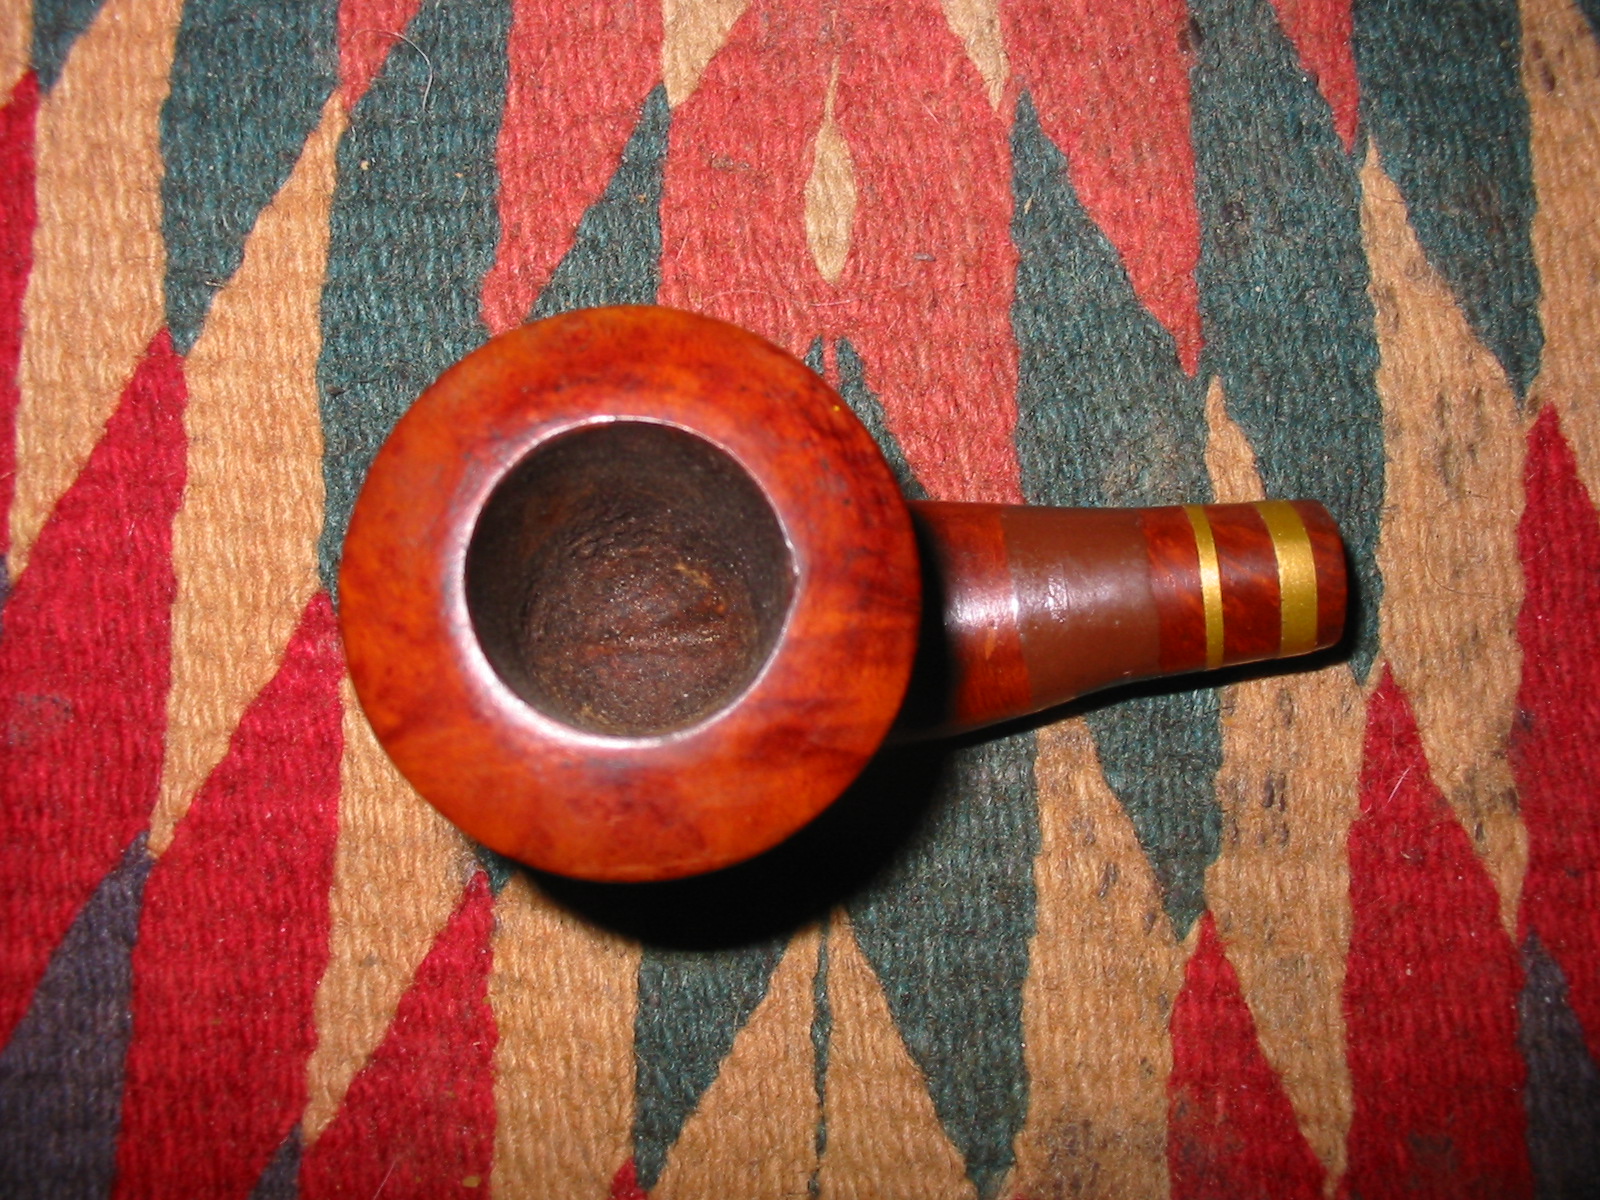
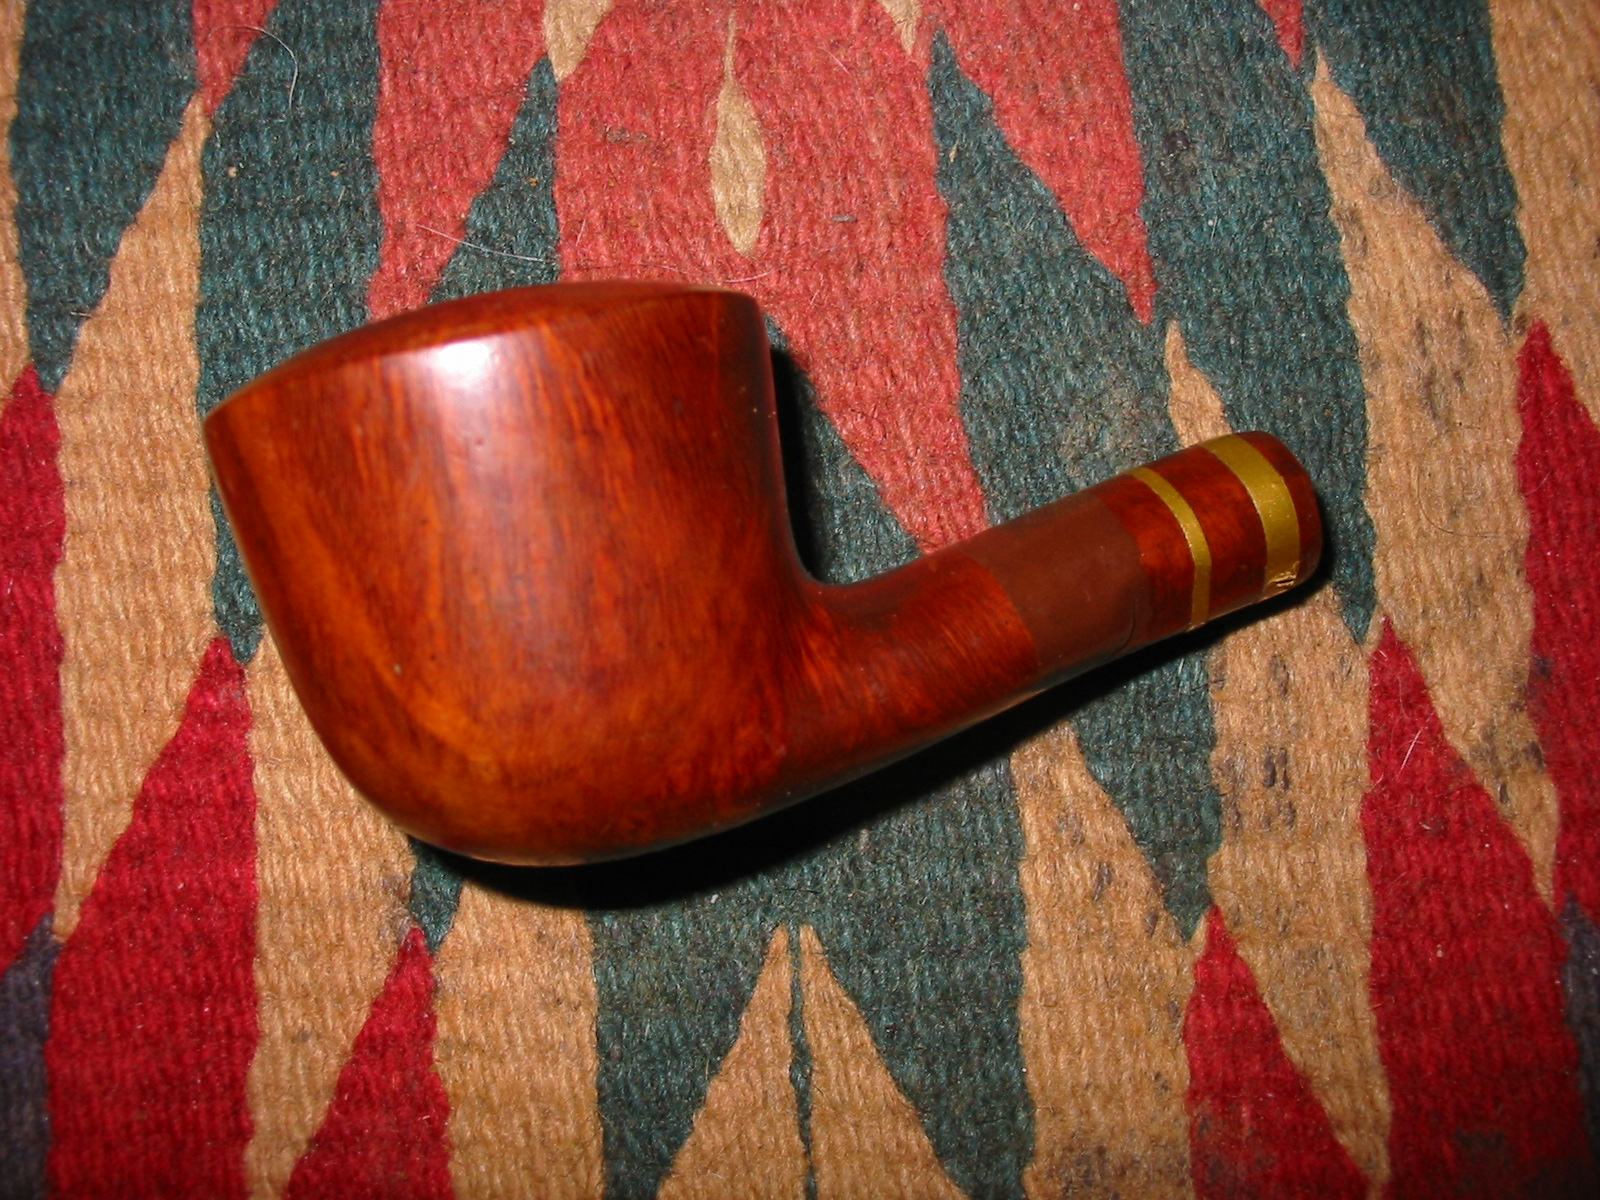
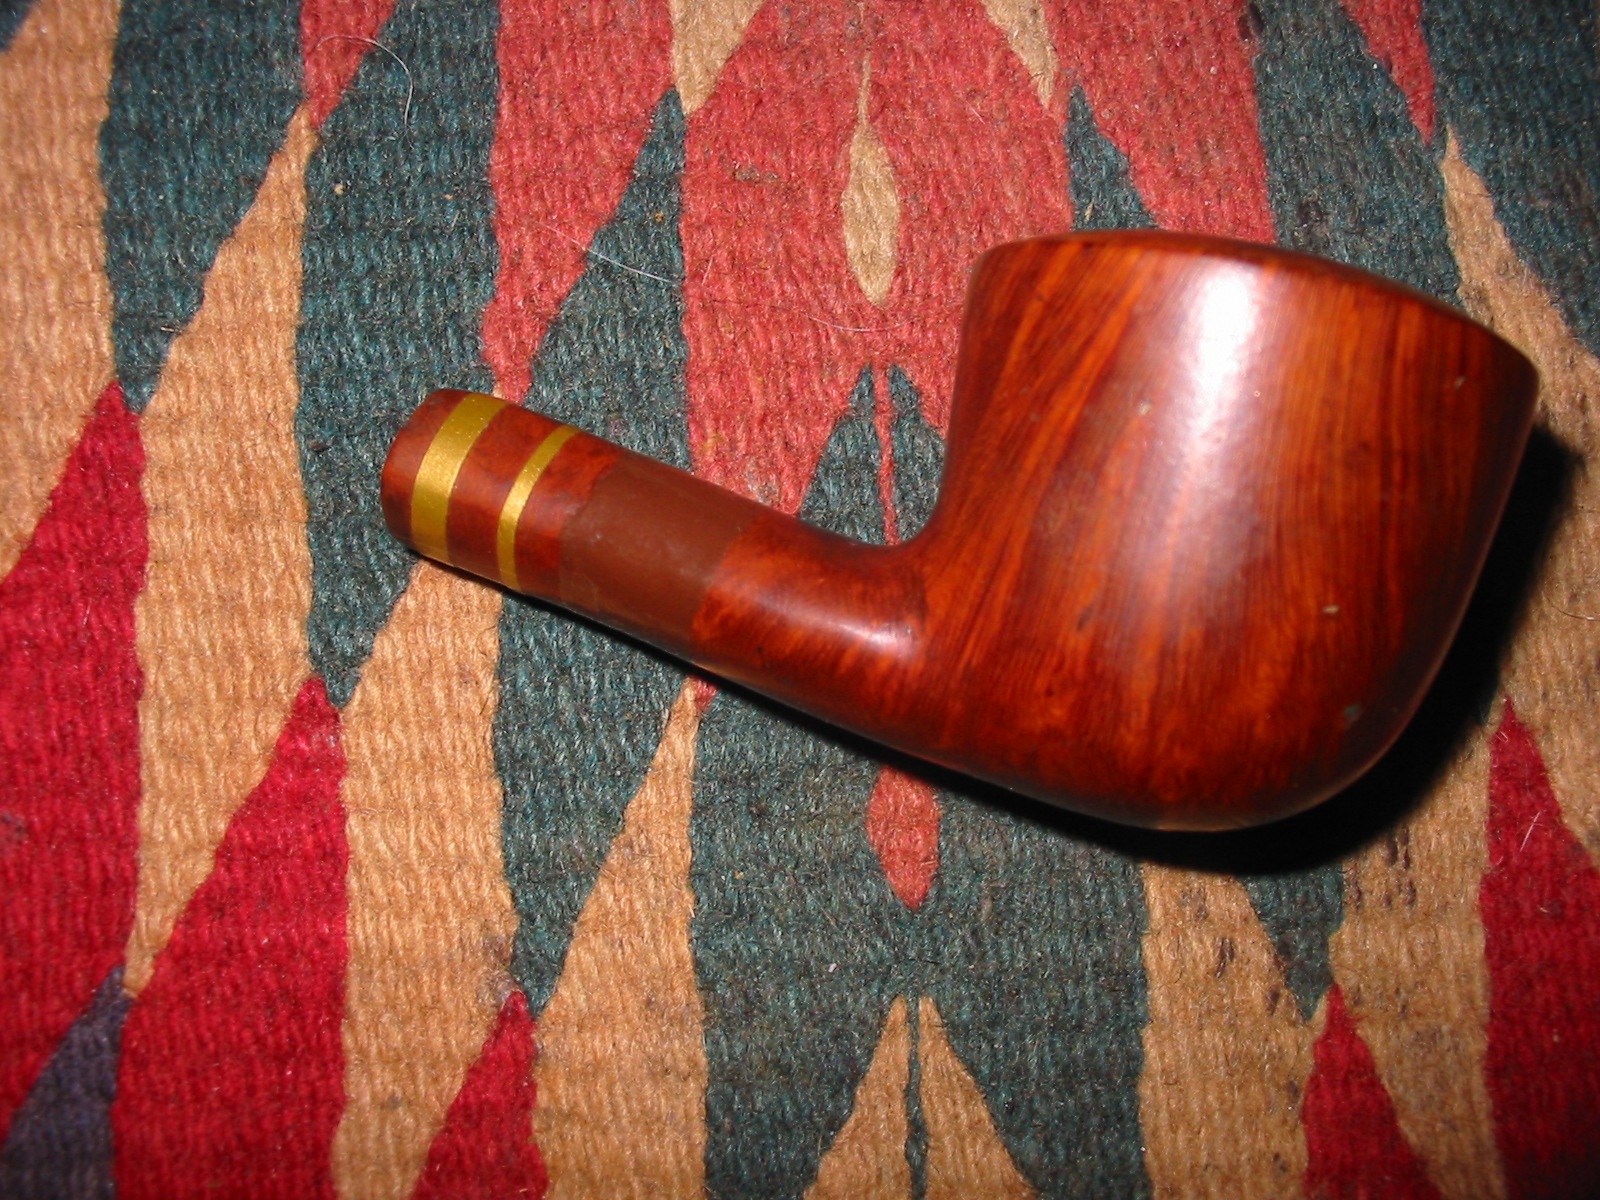
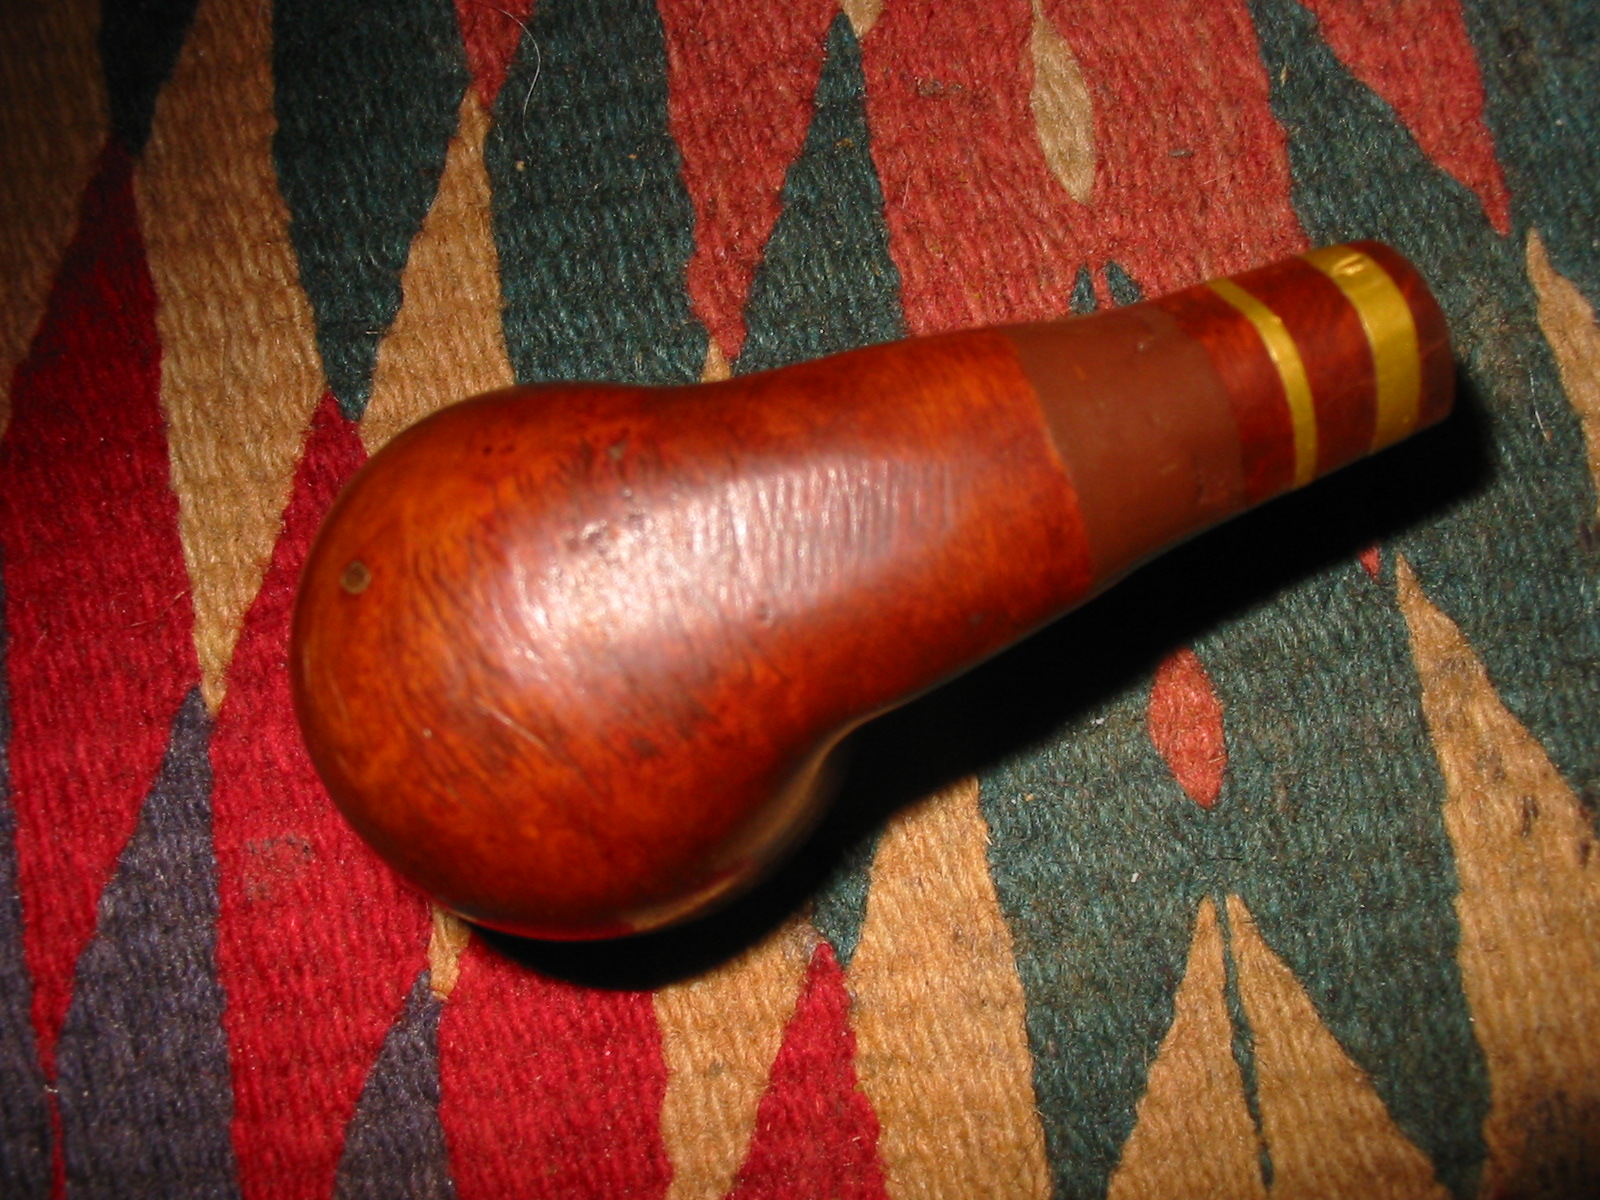
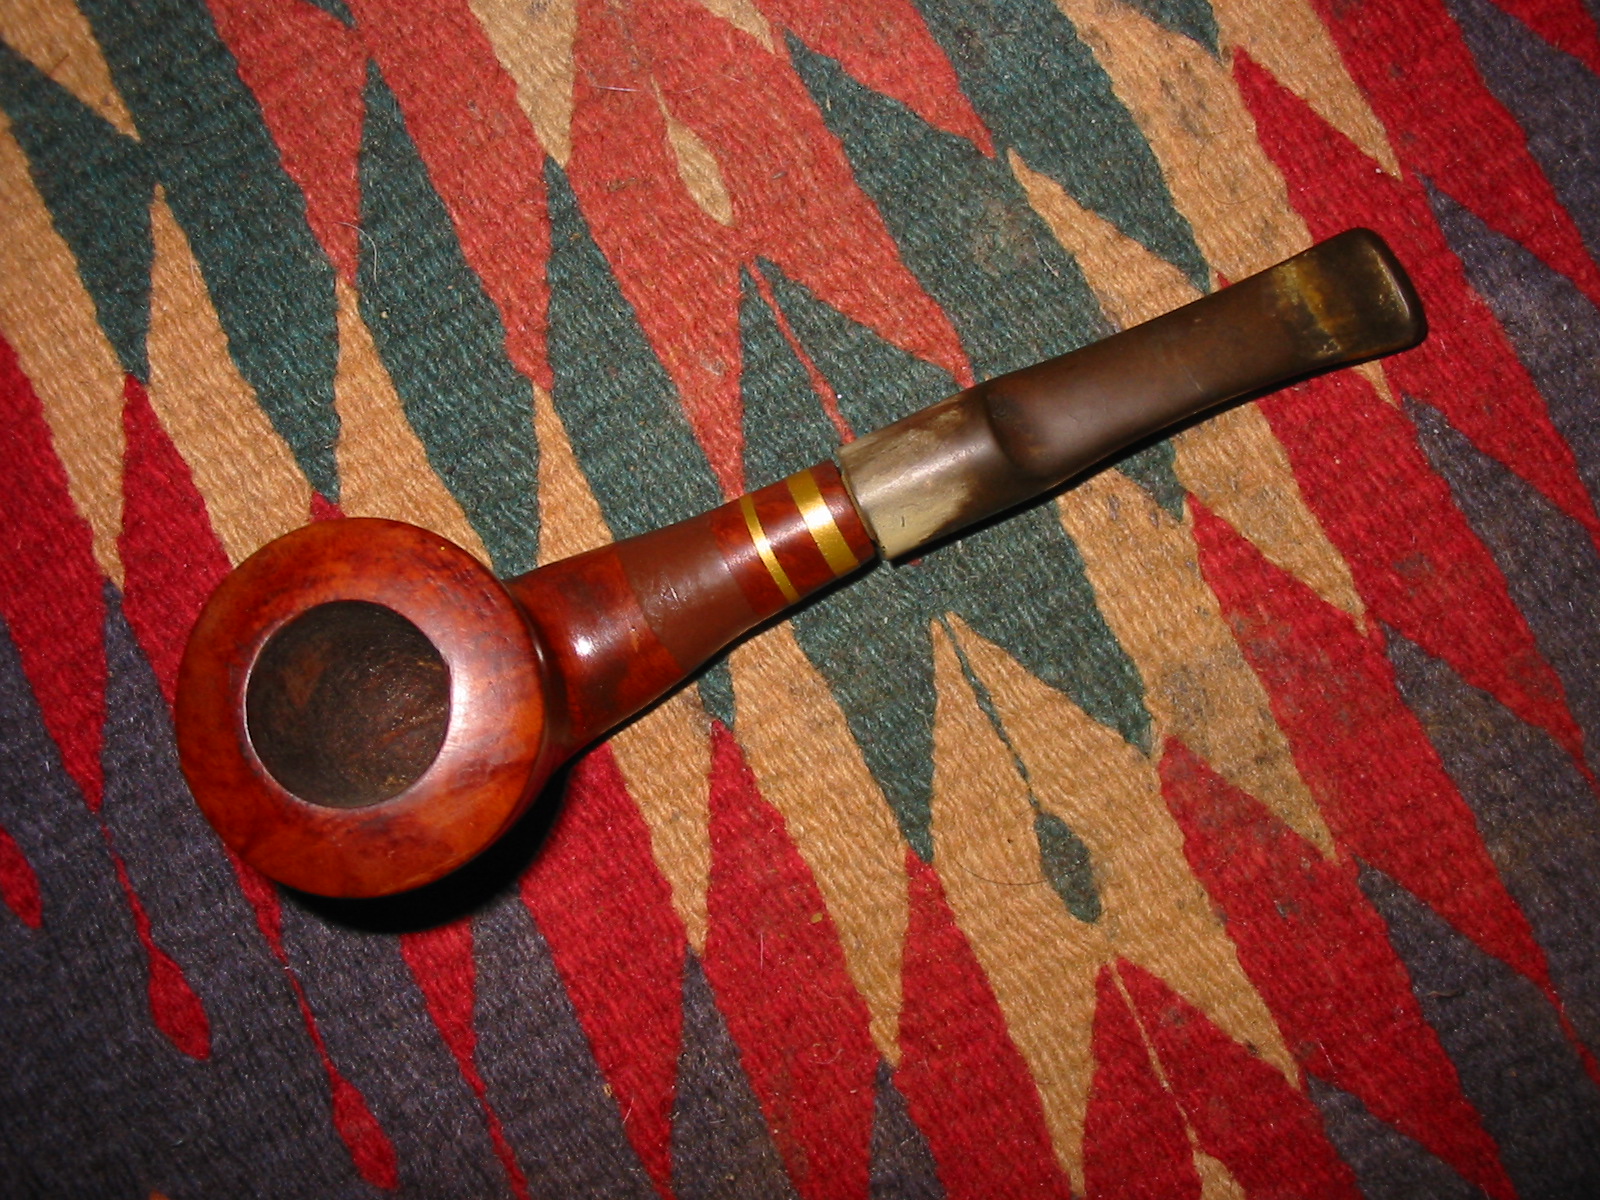
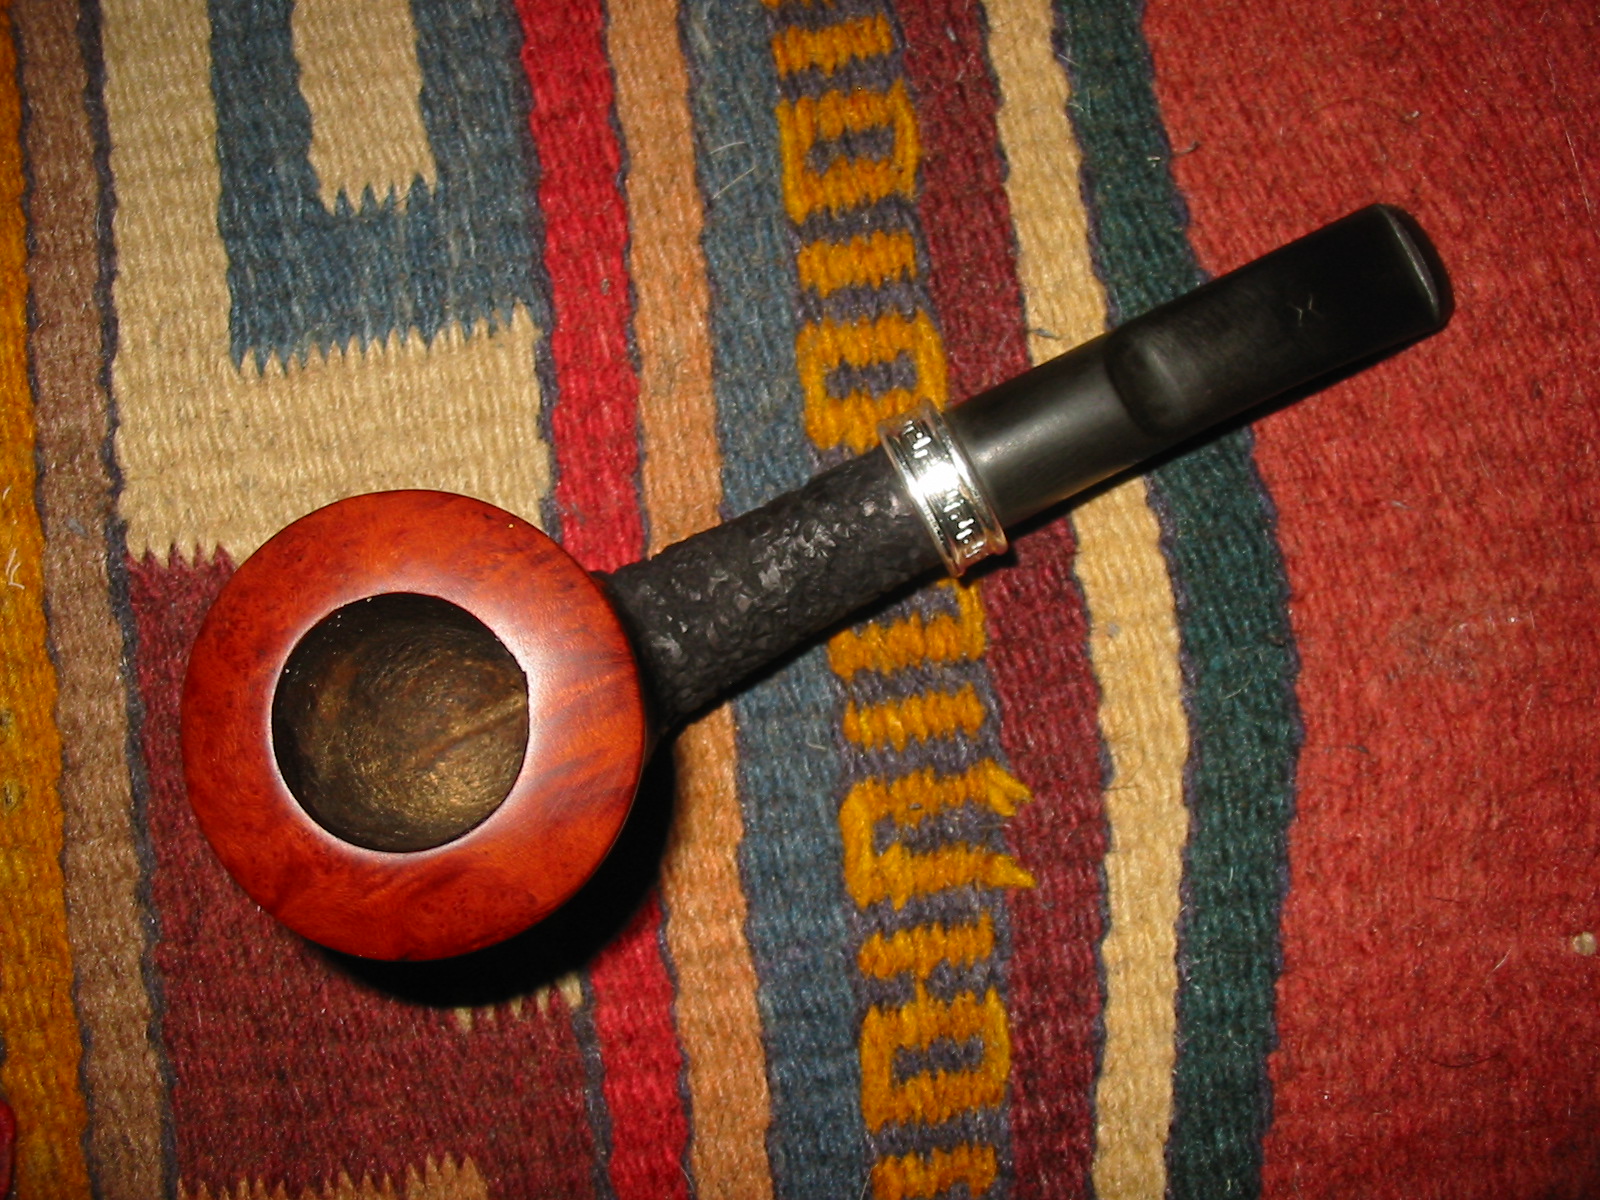
Andrew is turning out to be a great source of older pipe bowls in need of stemming. I received this old bowl in the mail from him not to long ago. It had a look to it that was interesting to me. The shank had been reworked somewhere along the way. I think that originally it may have had a diamond shank. Someone had carved it by hand into an almost round end and flattening as it moved toward the bowl. They had added three bands of coloured tape to the shank to dress it up. The first two bands were thin gold tape and the third was a wide swath of dark brown tape. The bowl was clean and reamed and the inside of the shank was also clean. The underside of the shank and bowl were rough. I think that the person who had reworked this bowl had used a knife to work on it and had not sanded it smooth after his work. There were also some pretty deep dents and grooves on the bottom of the bowl.
This old pipe bowl provided a challenge to me. The tape had to go but I had no idea what was underneath and hidden by it. The funky shape of the shank also needed to be reworked to give it a more artistic and shapely appearance. The restemming would also be a challenge in that the shank was not round at this point but very oddly shaped with all sides being unequal. I found an old saddle stem in my box of stems and tried that first – to me it was too long and gave the pipe an unbalanced look so I dug through my can of stems and found a saddle stem that was shorter that would look nice on the pipe.
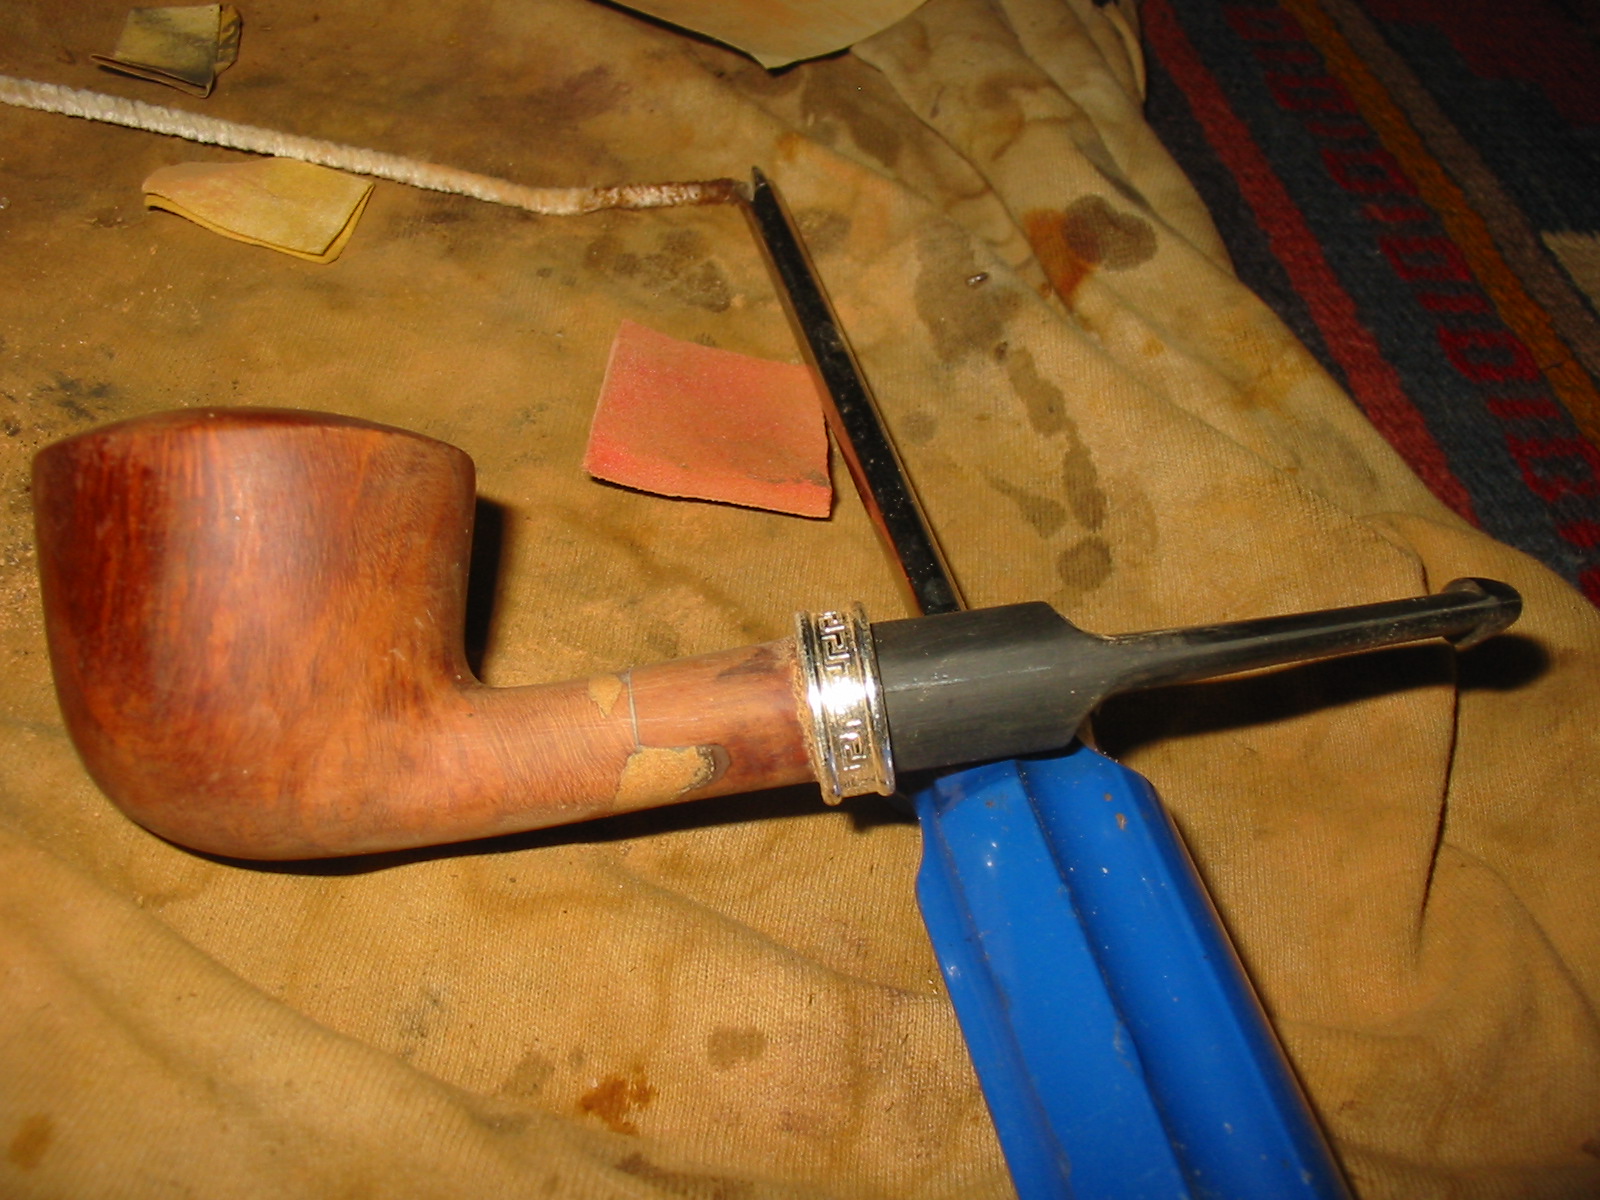
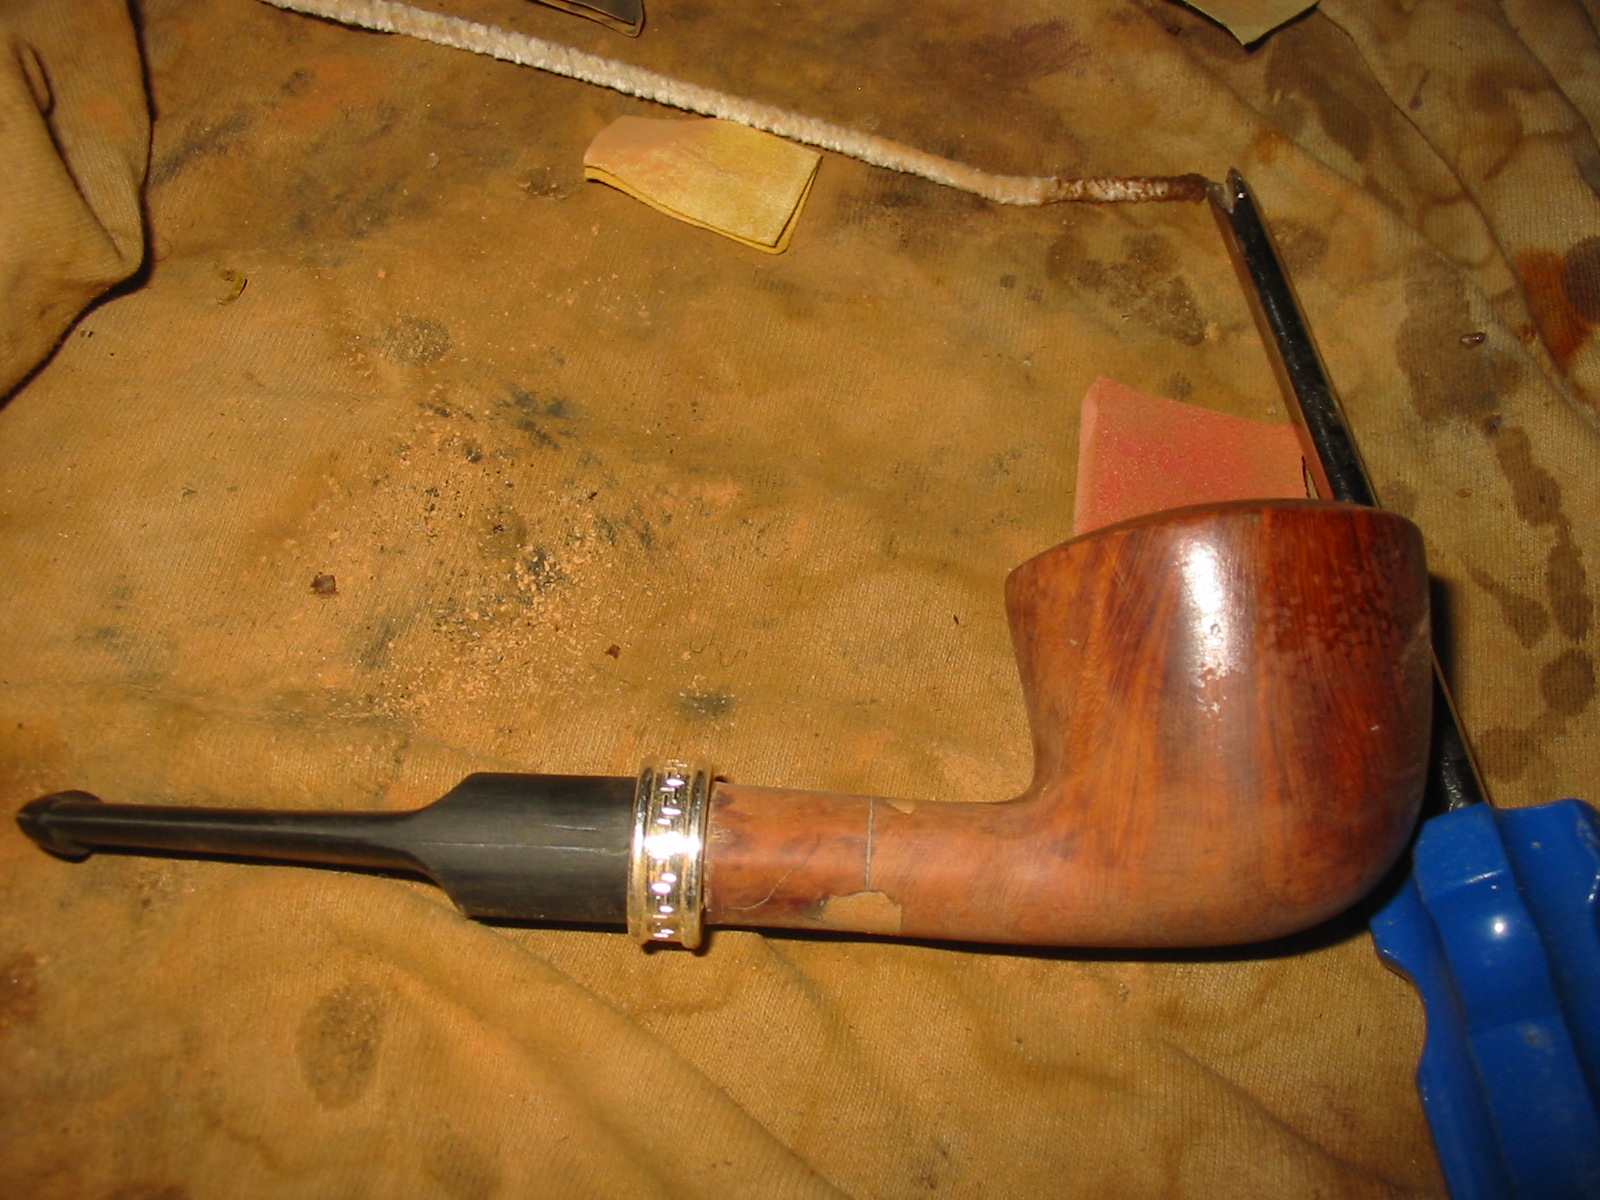
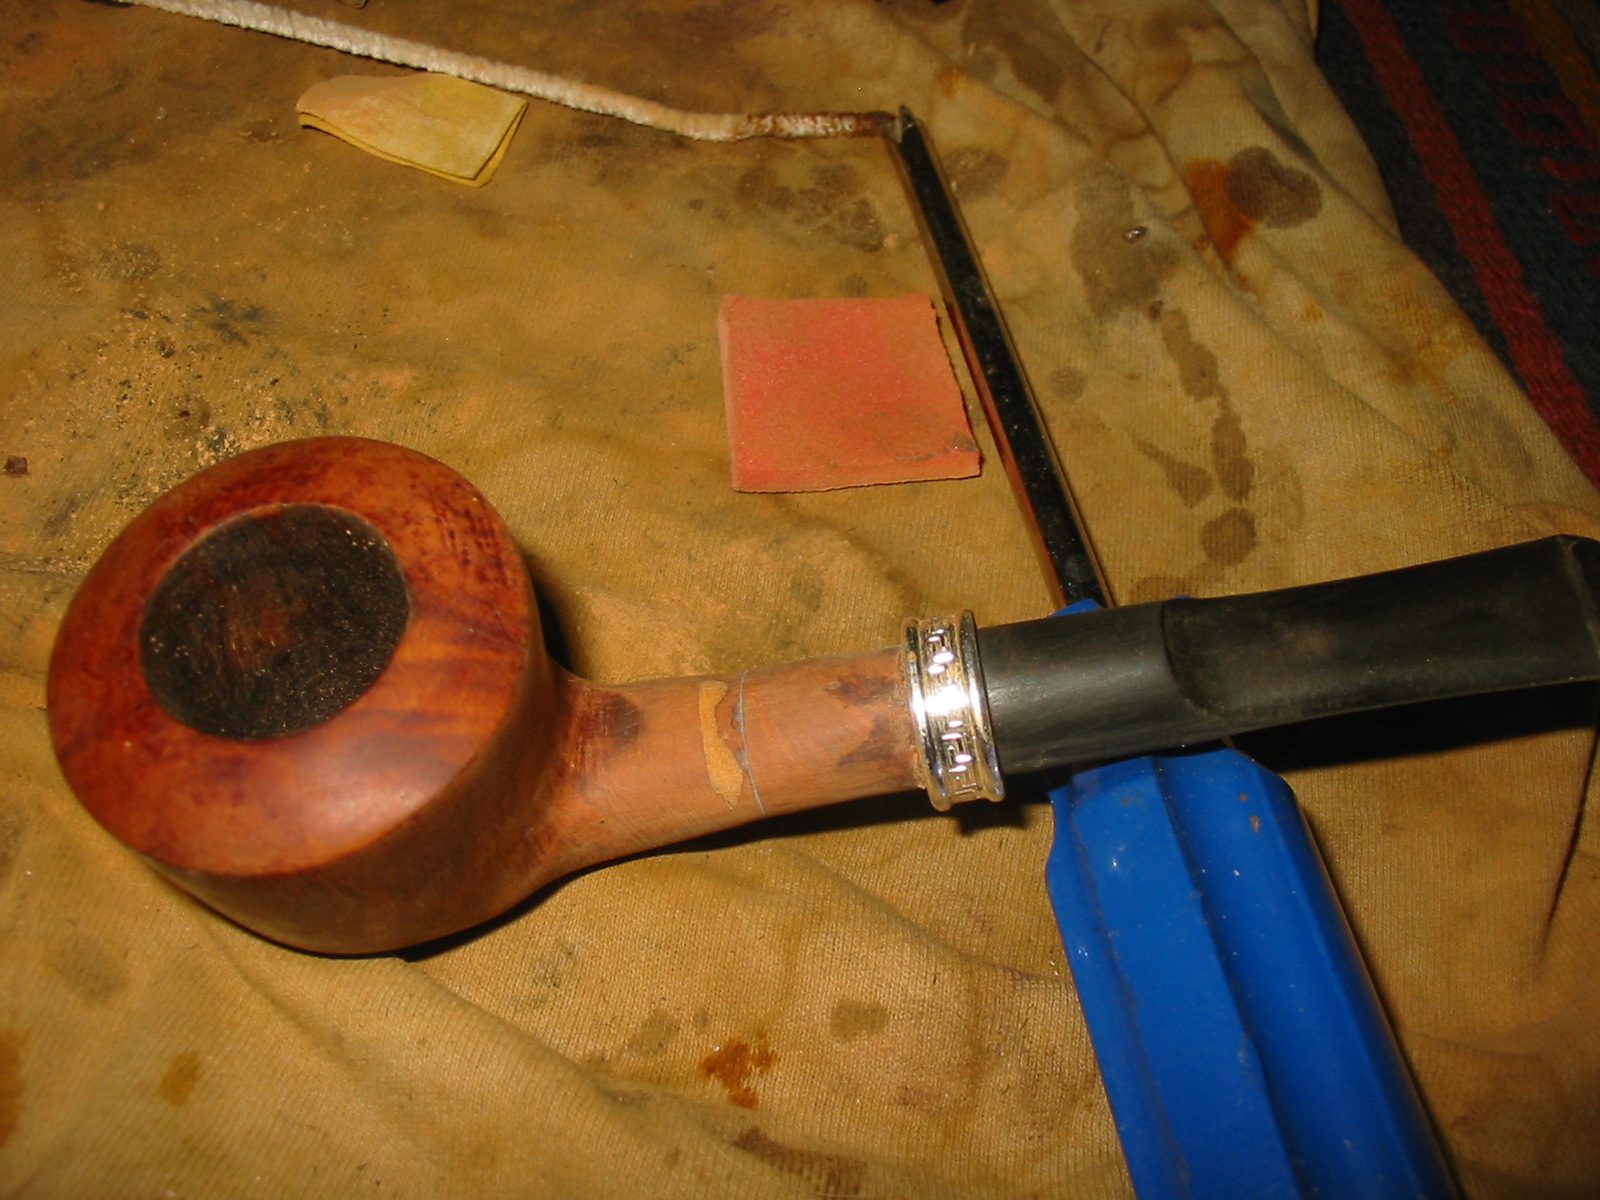
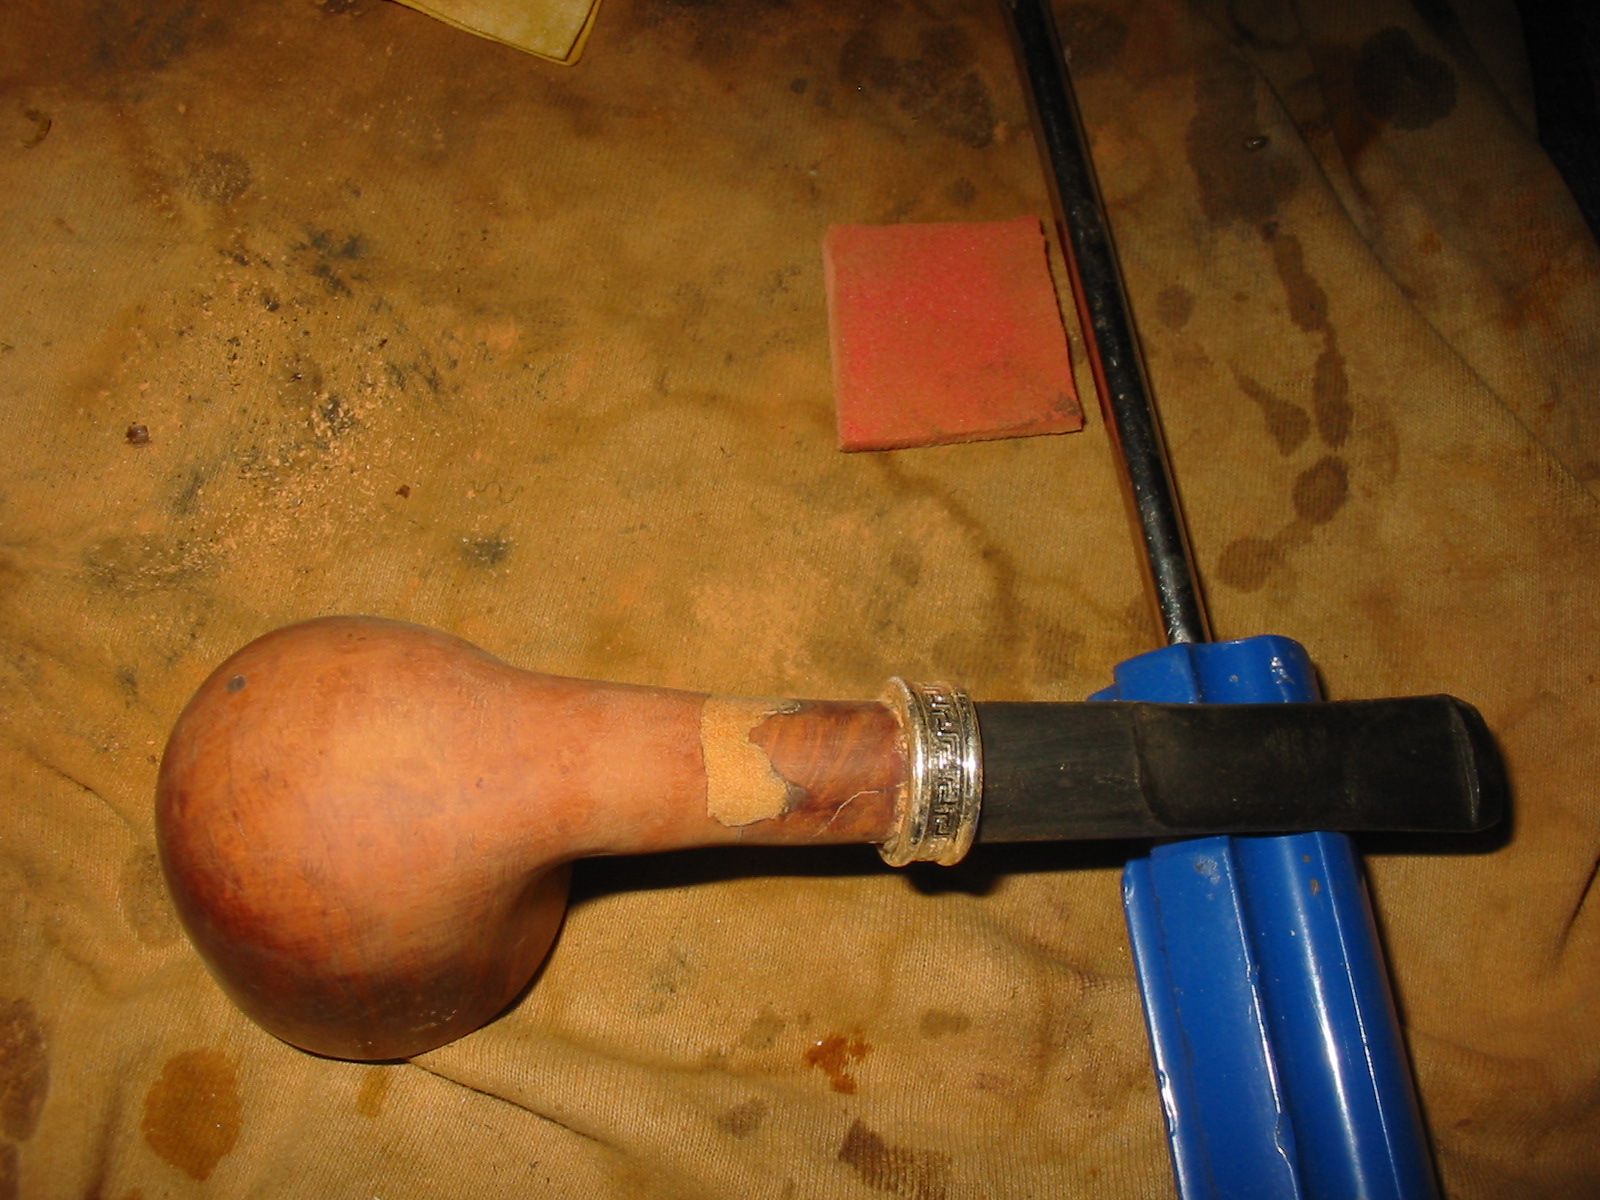
I peeled off the tape and underneath the two gold tape bands was a small crack in the shank. Underneath the brown tape was a huge fill on the top and underside of the shank. I used a Dremel with a sanding drum to reshape the shank and bowl union and also to reshape the end of the shank. I had a nice sterling silver wedding ring band that would work well on this pipe bowl so I reshaped the end of the shank with 220 grit sandpaper after the Dremel work and then applied all purpose white glue on the shank and pressed the silver band into place. Once it was in place I could see that the end of the shank was not straight but had been cut off at an angle. With the band in place I used the Dremel and sanding drum to straighten up the end of the shank. I finished that work by using the same sanding board set up I use for topping bowls. With all that finished I put the stem in place and sanded the bowl and shank until it was a clean smooth shape. I wiped the surface down with acetone on cotton pads to remove the urethane finish that the previous person put over all the bowl and tape. In the next four photos below the size of the large fill is obvious.
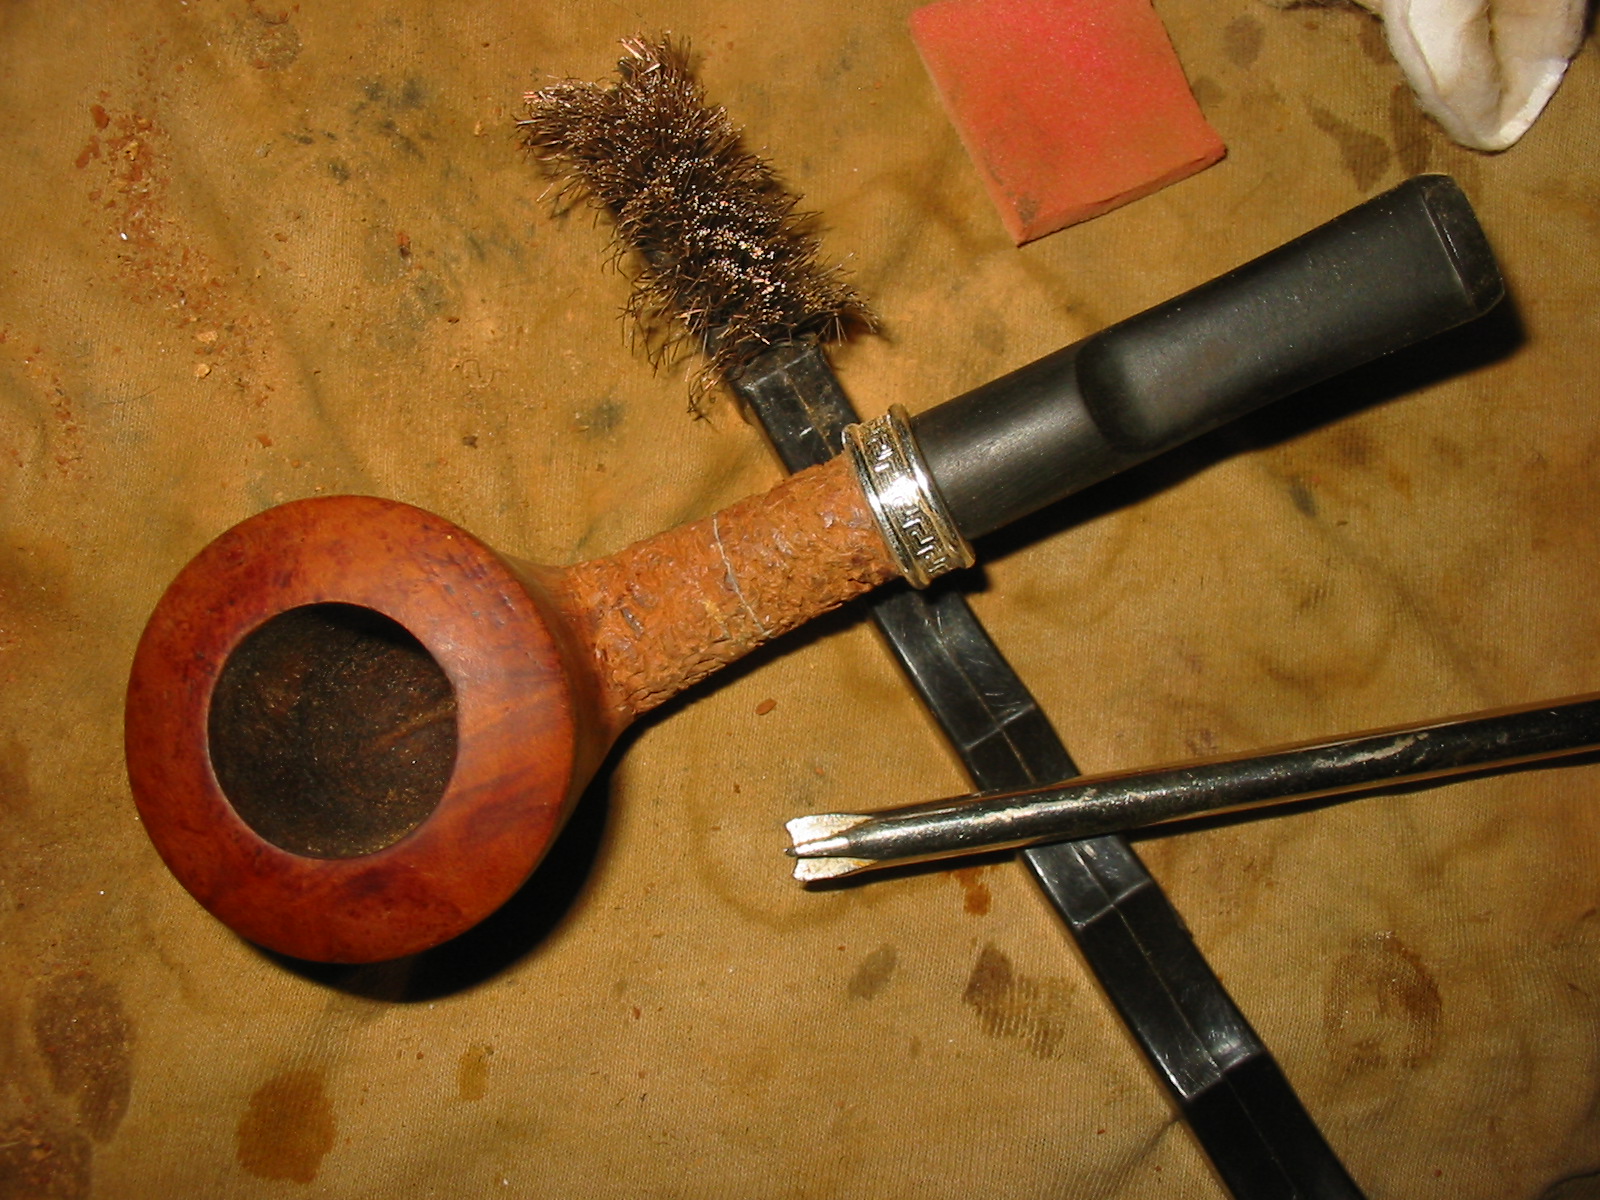
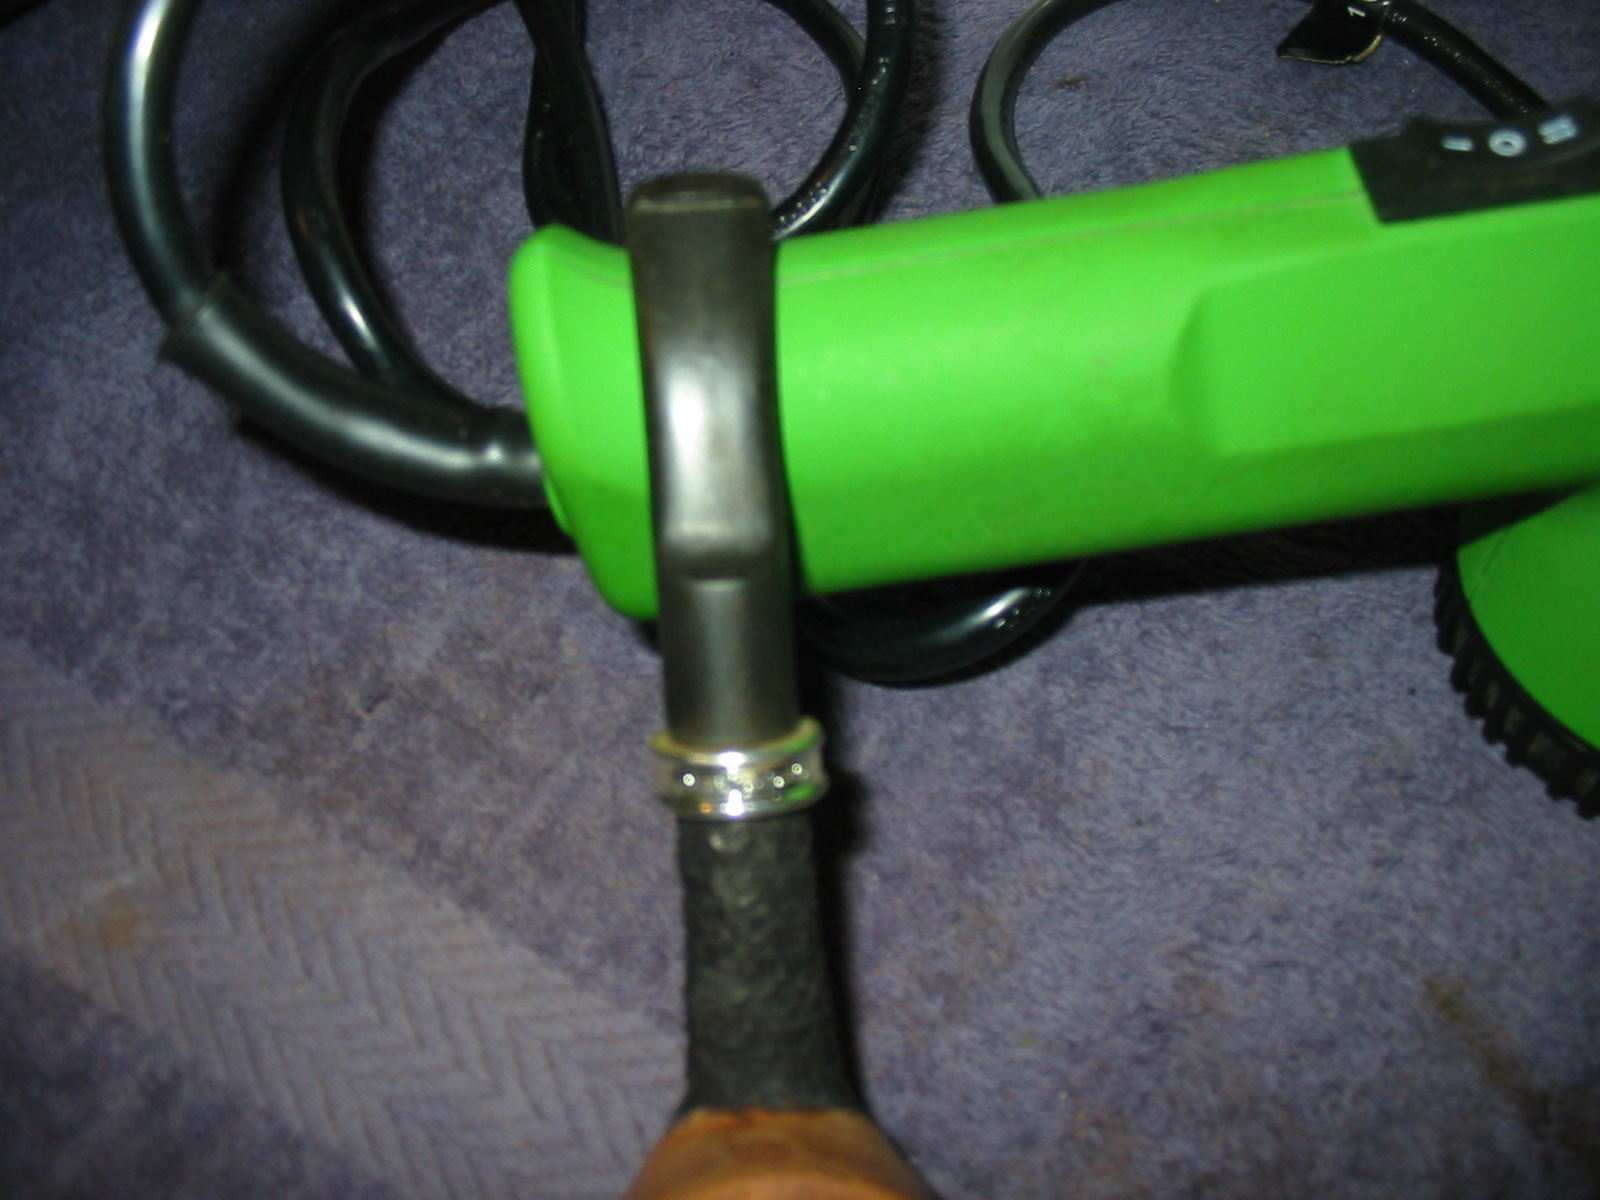
With the shaping of the bowl and shank finished and looking more balanced I had to make a decision on how to deal with the large fills on the shank. There were also several sand pits on the bottom of the bowl that needed to be addressed. I weighed my options and decided to rusticate the shank. I used the modified Philips screwdriver to rusticate the shank first. At this point I left the bottom of the bowl smooth and just worked on the shank. Once I had rusticated it I used a small brass tire brush to smooth out the roughness of the rustication. I find that the brush knocks off the loose pieces of briar and gives the finish a contrast of highs and lows. The rustication looked good against the wedding band and the smoothness of the vulcanite. I also liked the look of the rustication against the smoothness of the bowl.

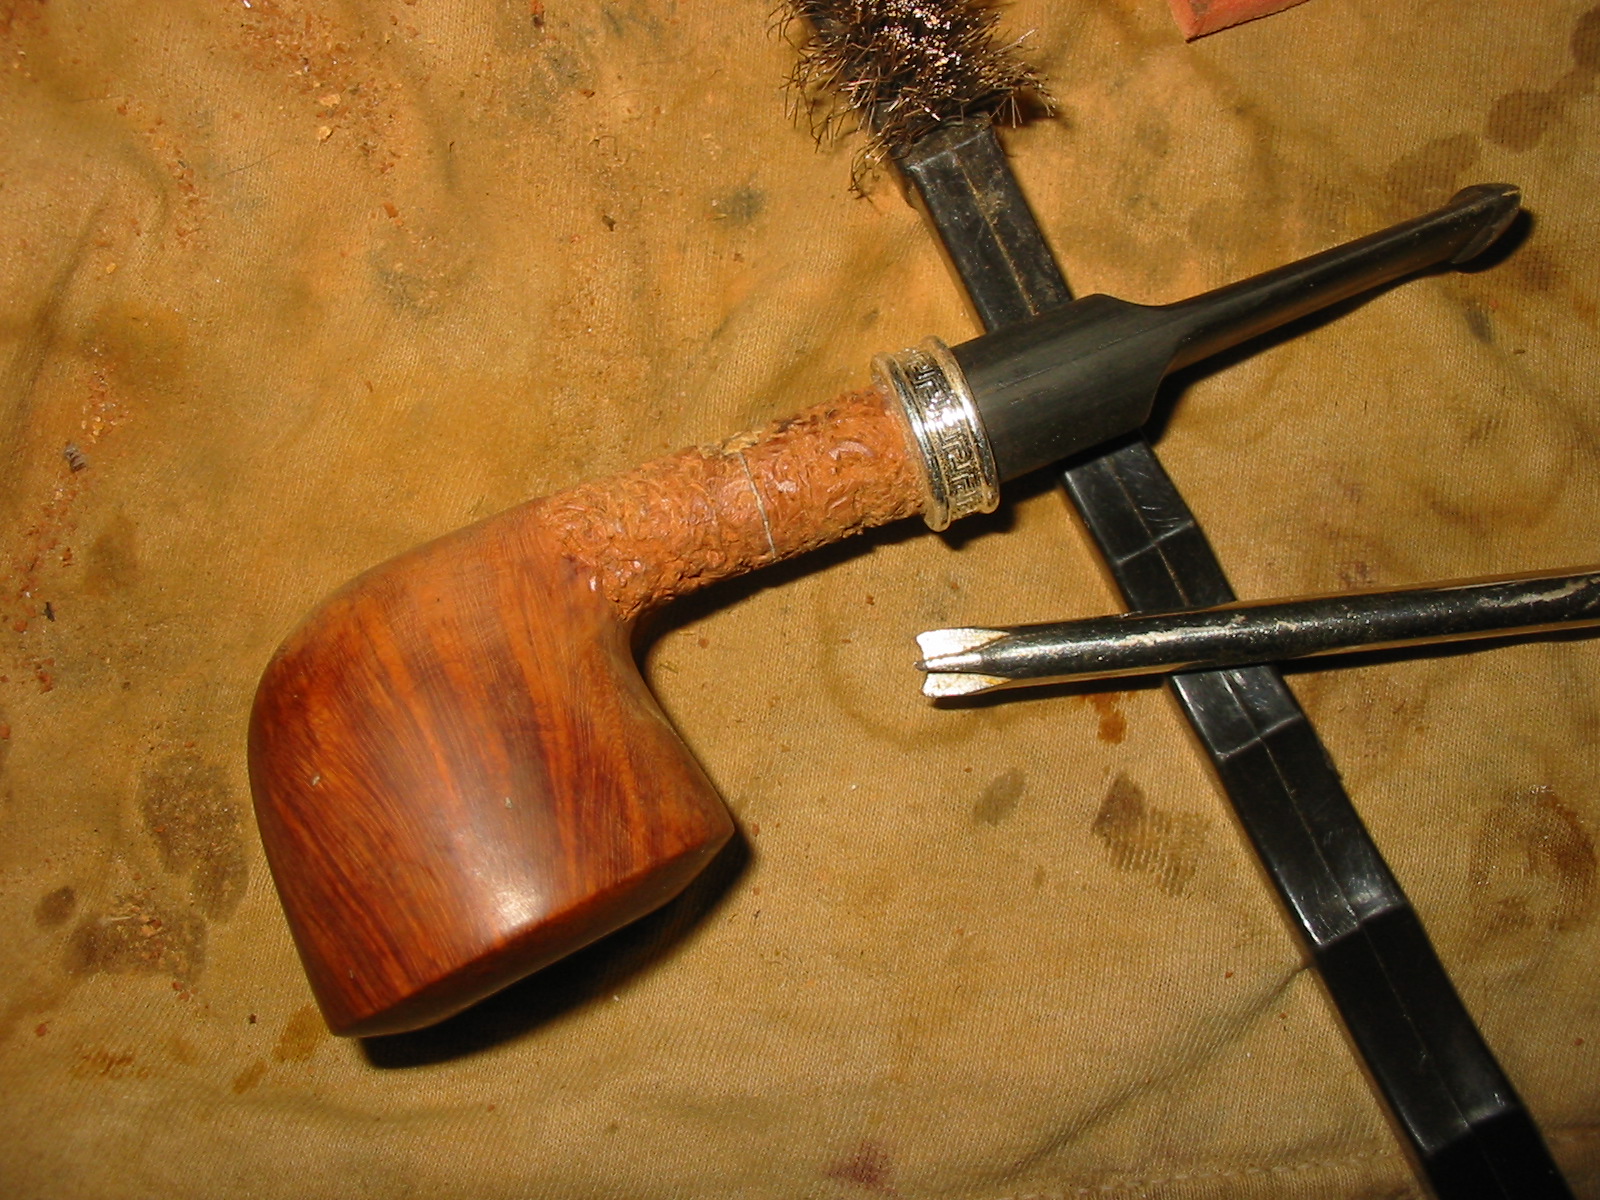
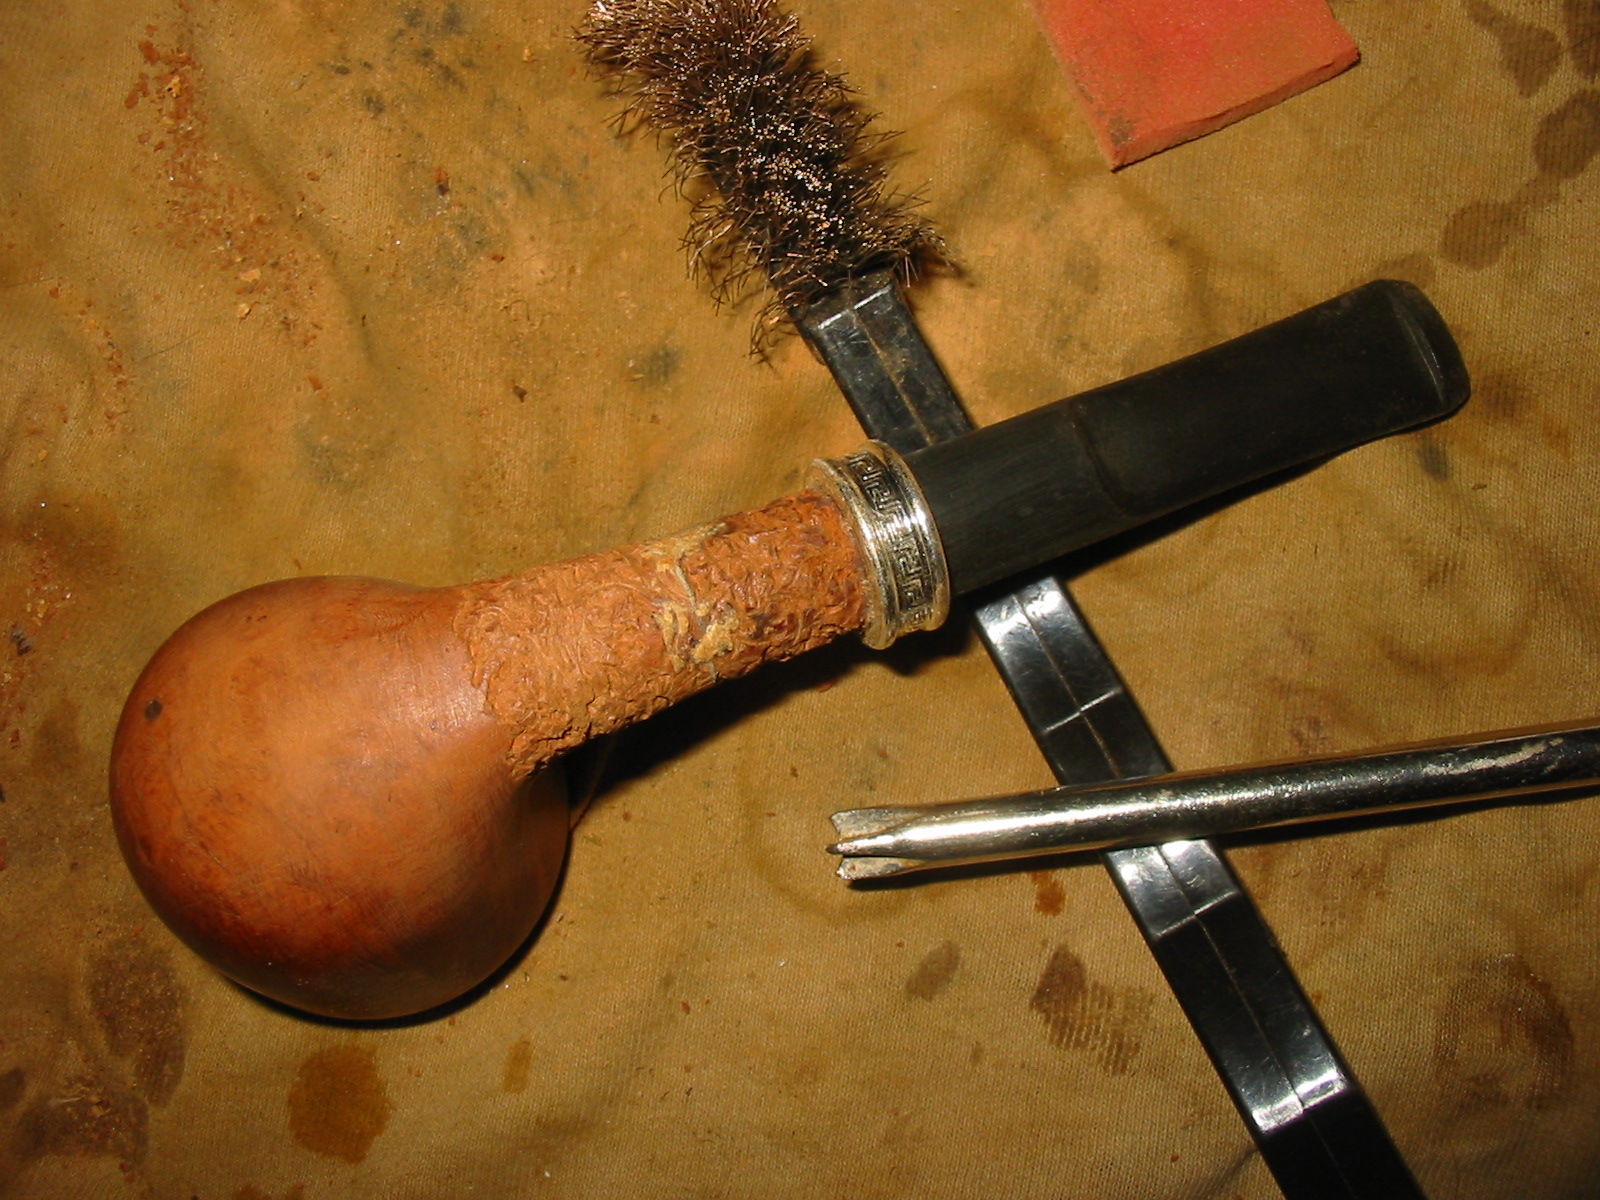
I stained the shank with a black aniline stain. I applied it heavily with a cotton swab and flamed and repeated the process until I had a good matte black finish on the shank. At that point I decided to carry the rustication to the bottom of the bowl and slightly up the sides and curve it into the top of the shank bowl union.

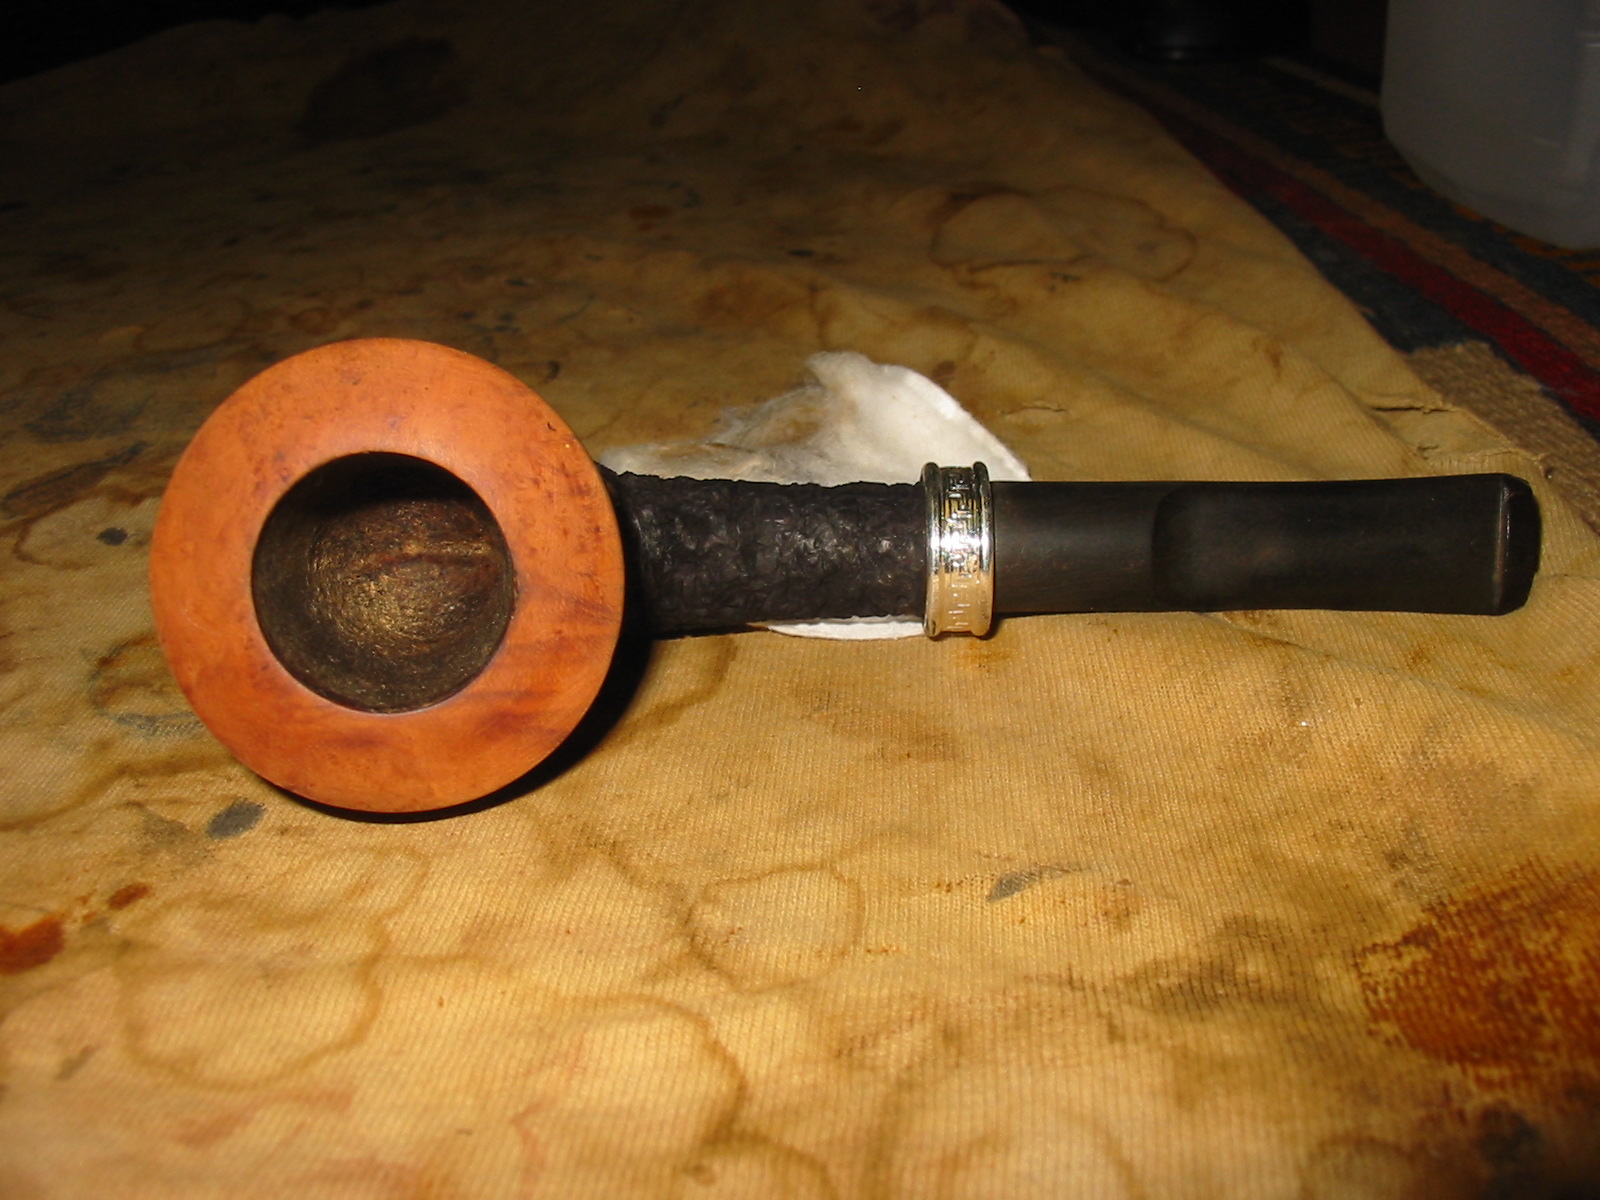
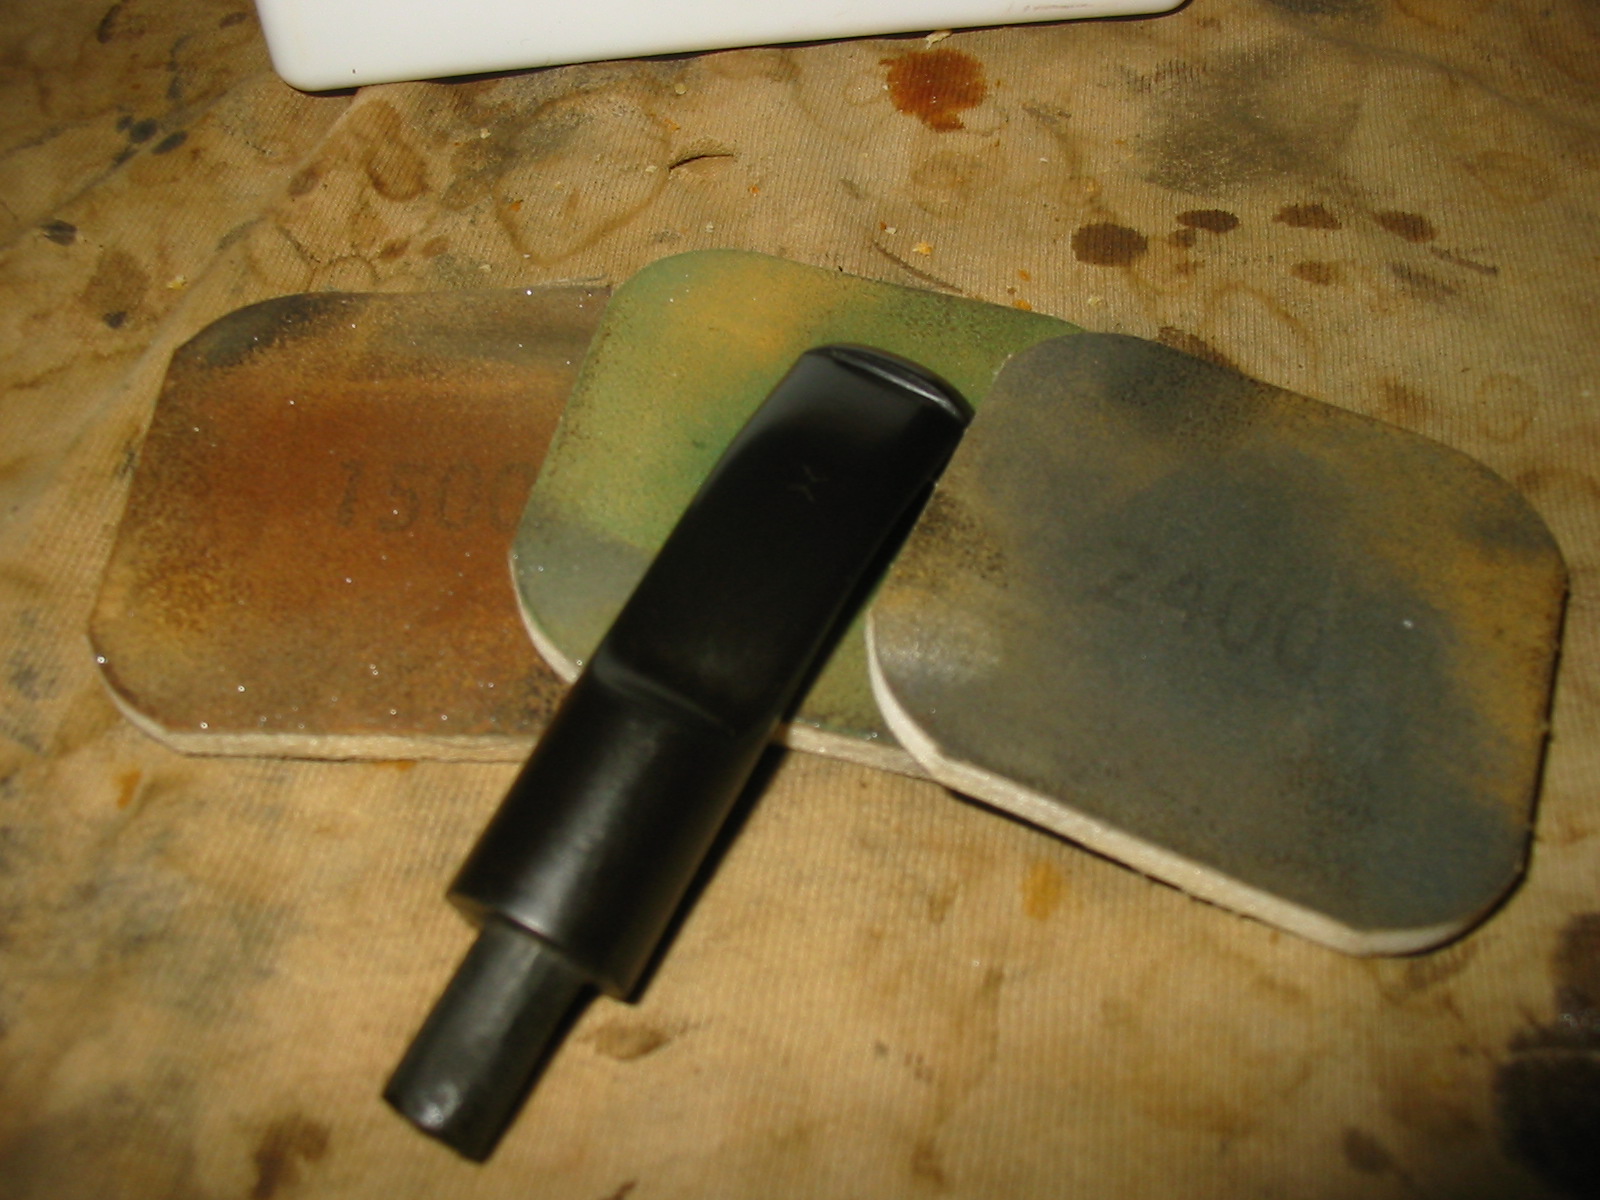
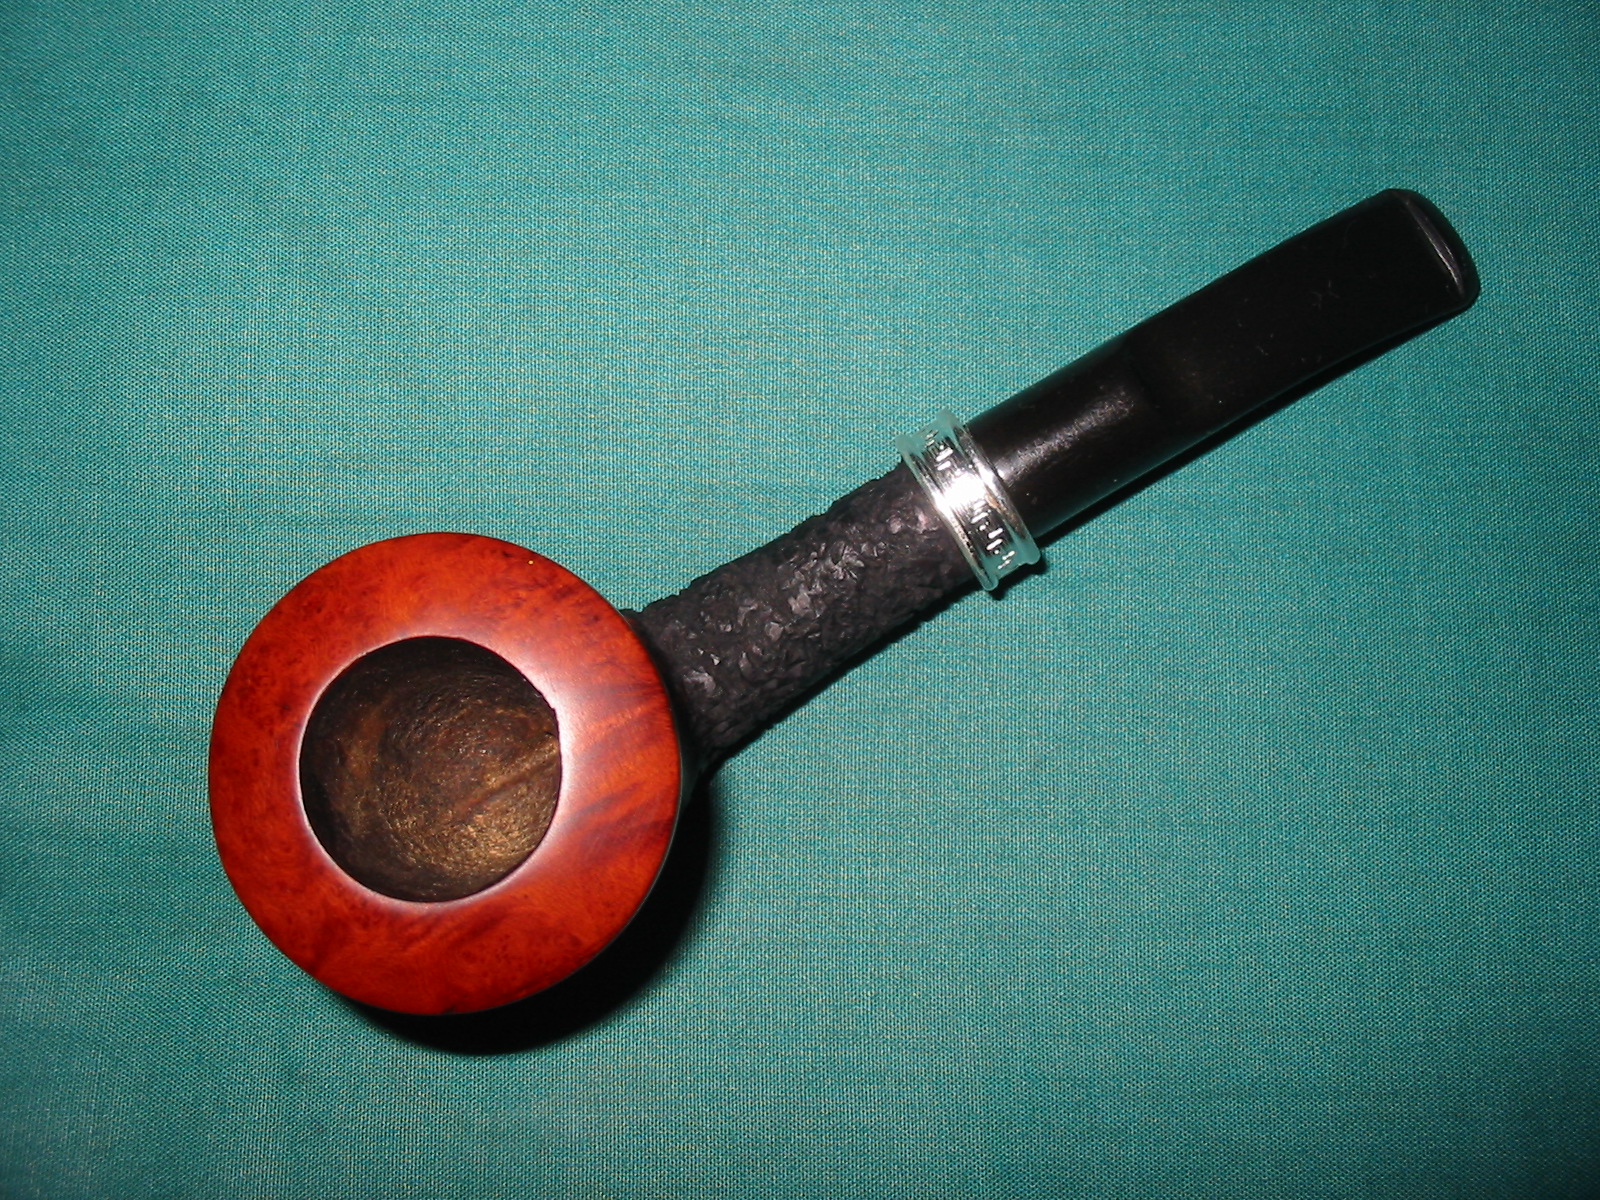
I stained the bottom of the bowl to match the shank colour. I applied a black aniline stain to the bottom and restained the shank at the same time. I flamed the stain and repeated the process until I had the coverage that I wanted on the bottom of the bowl. I then sanded the rest of the bowl with 200 grit sandpaper and then a medium and a fine grit sanding sponge. I finished by sanding it with 1500-2400 grit micromesh sanding pads. I wanted to have the briar clean and smooth on the upper portion of the bowl. The grain on that part of the bowl was quite nice. I wiped down the bowl with isopropyl on a cotton pad to remove the sanding dust. The state of the bowl at this point is shown in the next four photos below.

It was time to bend the stem so I heated the stem until it was pliable with a heat gun set on the lowest setting. I bent is over a rolling pin to the angle that I wanted and set the angle with cold water. This particular stem evidently was good quality vulcanite as it did not have any oxidation and the water did not bring any to the surface. That was a real gift in this process as I would have had to work out the oxidation on the stem as well. The next series of photos shows the process and the finished look of the bend.
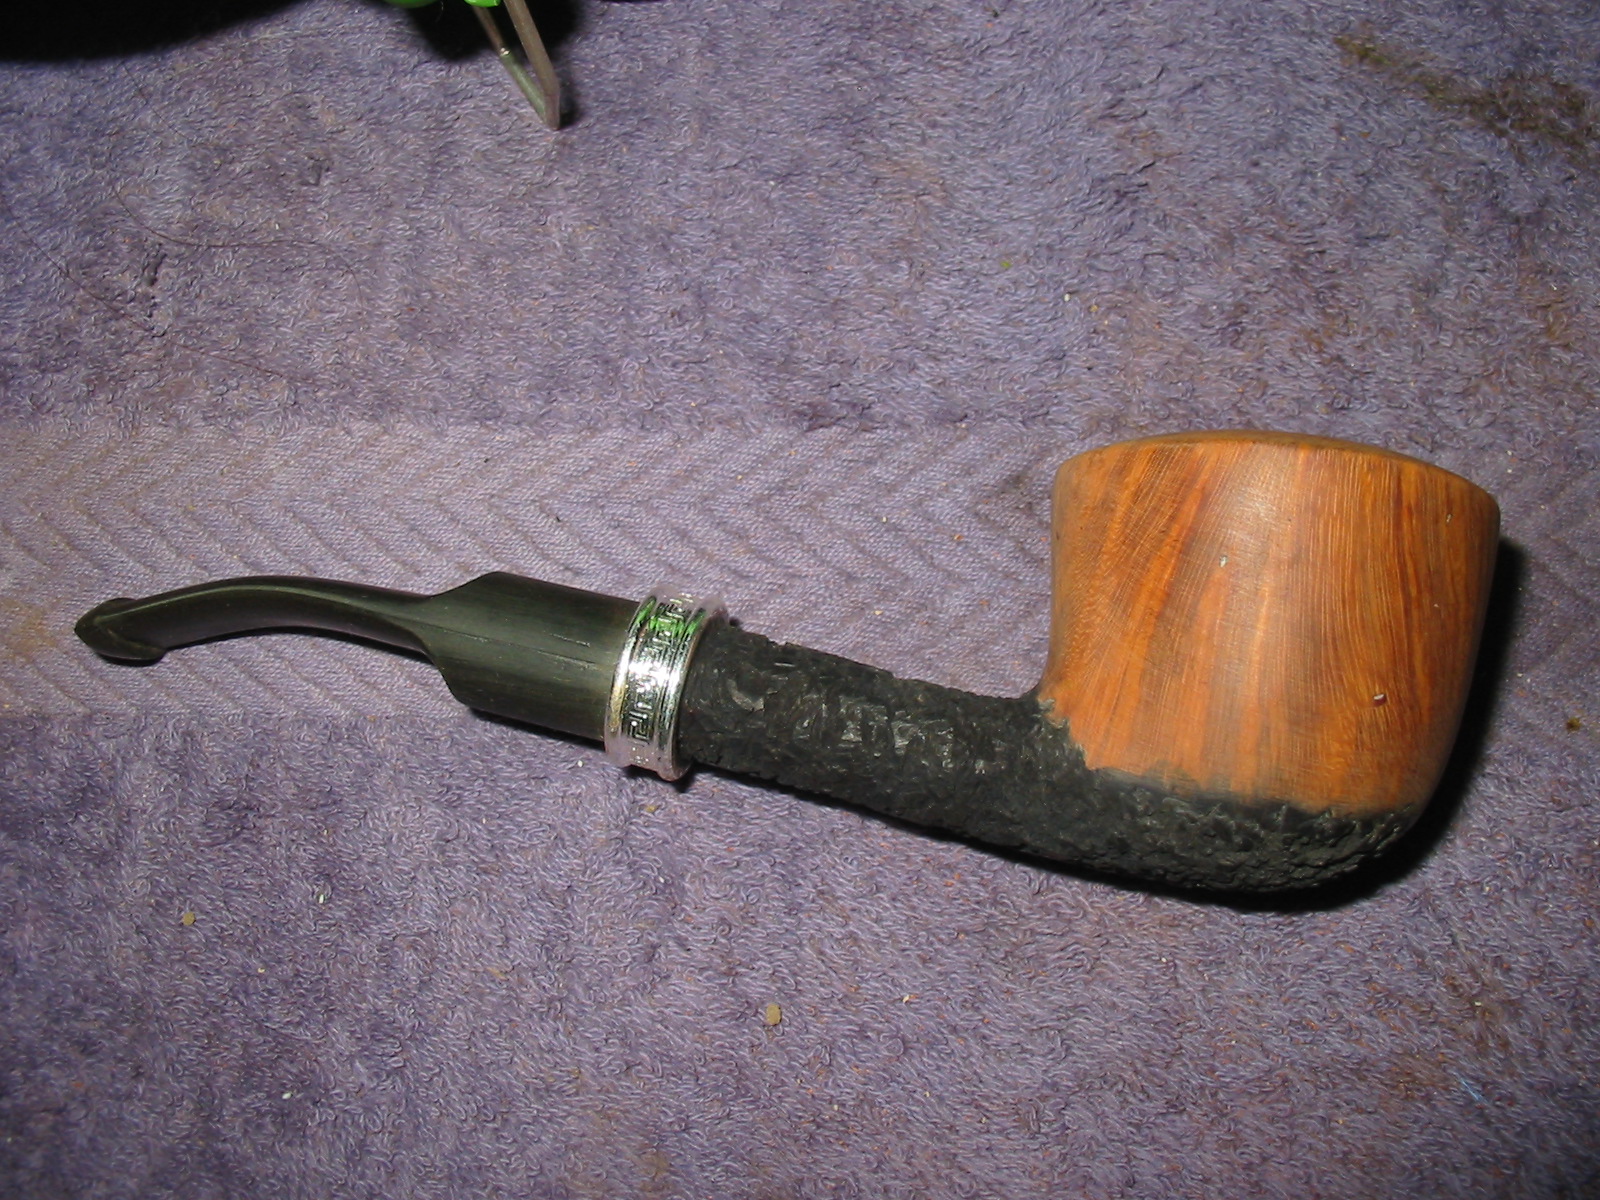
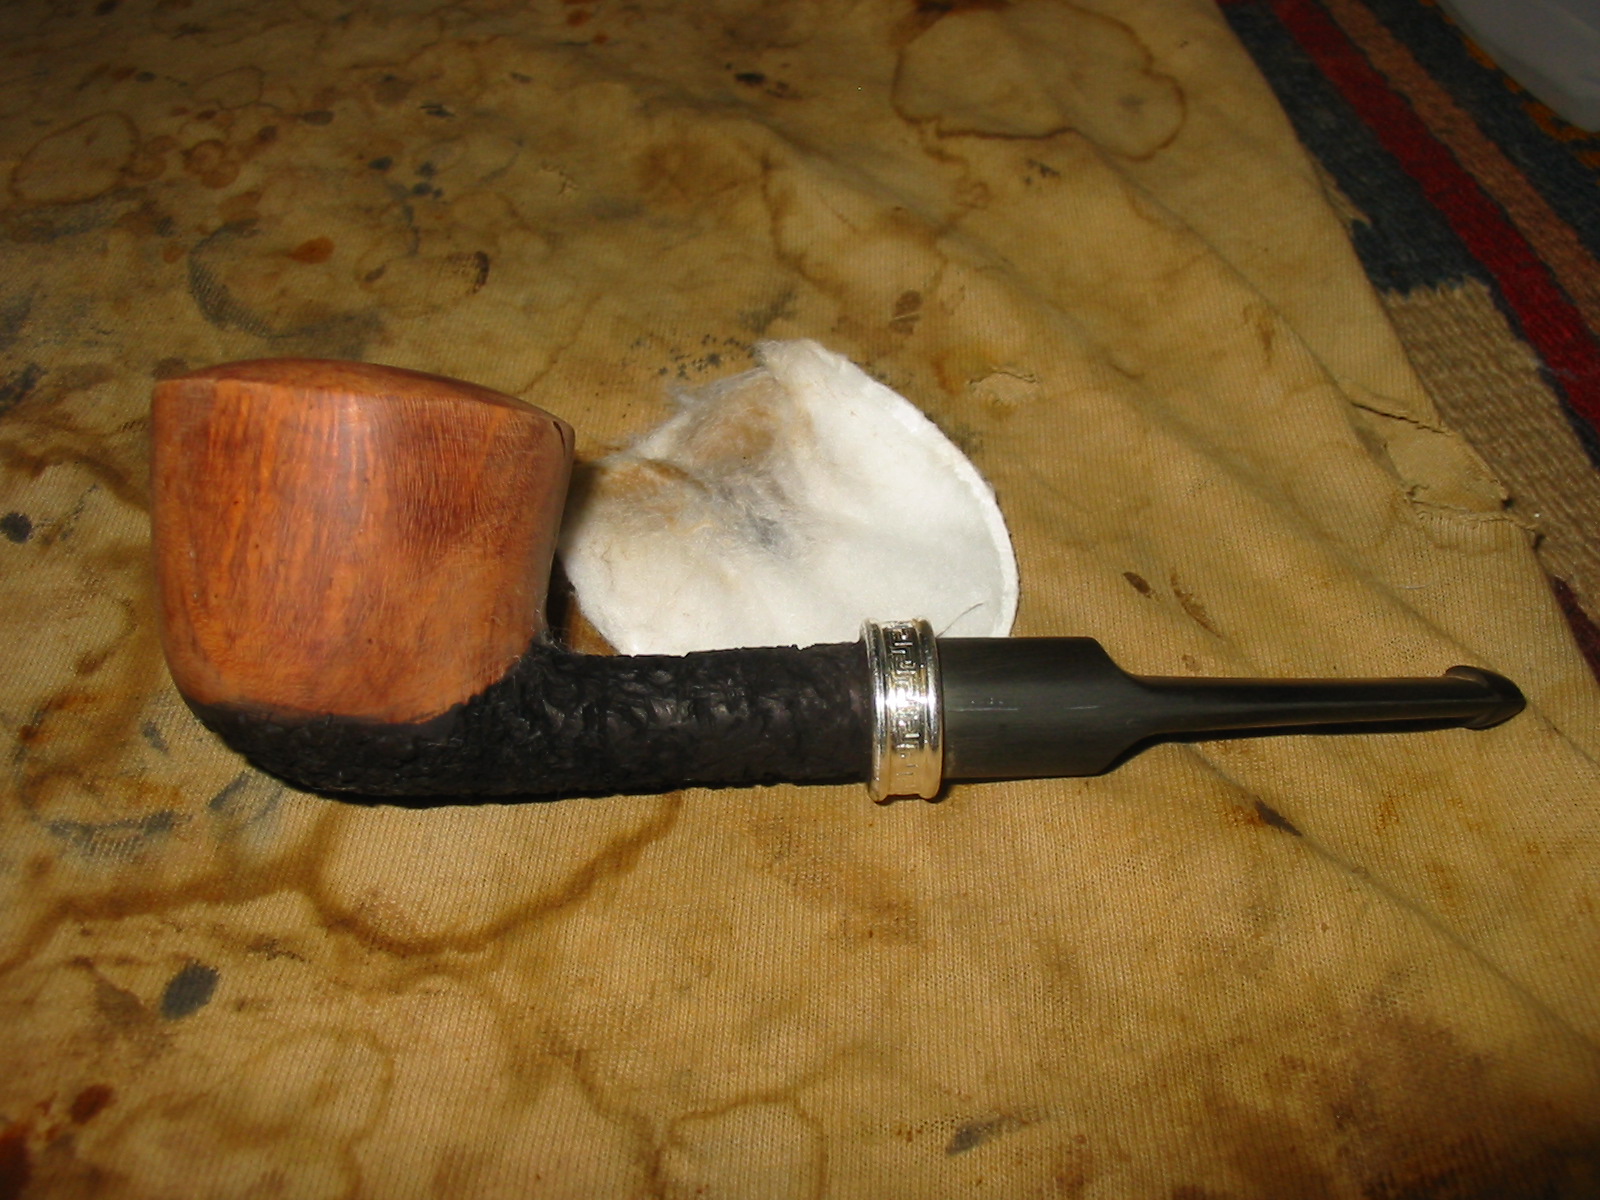
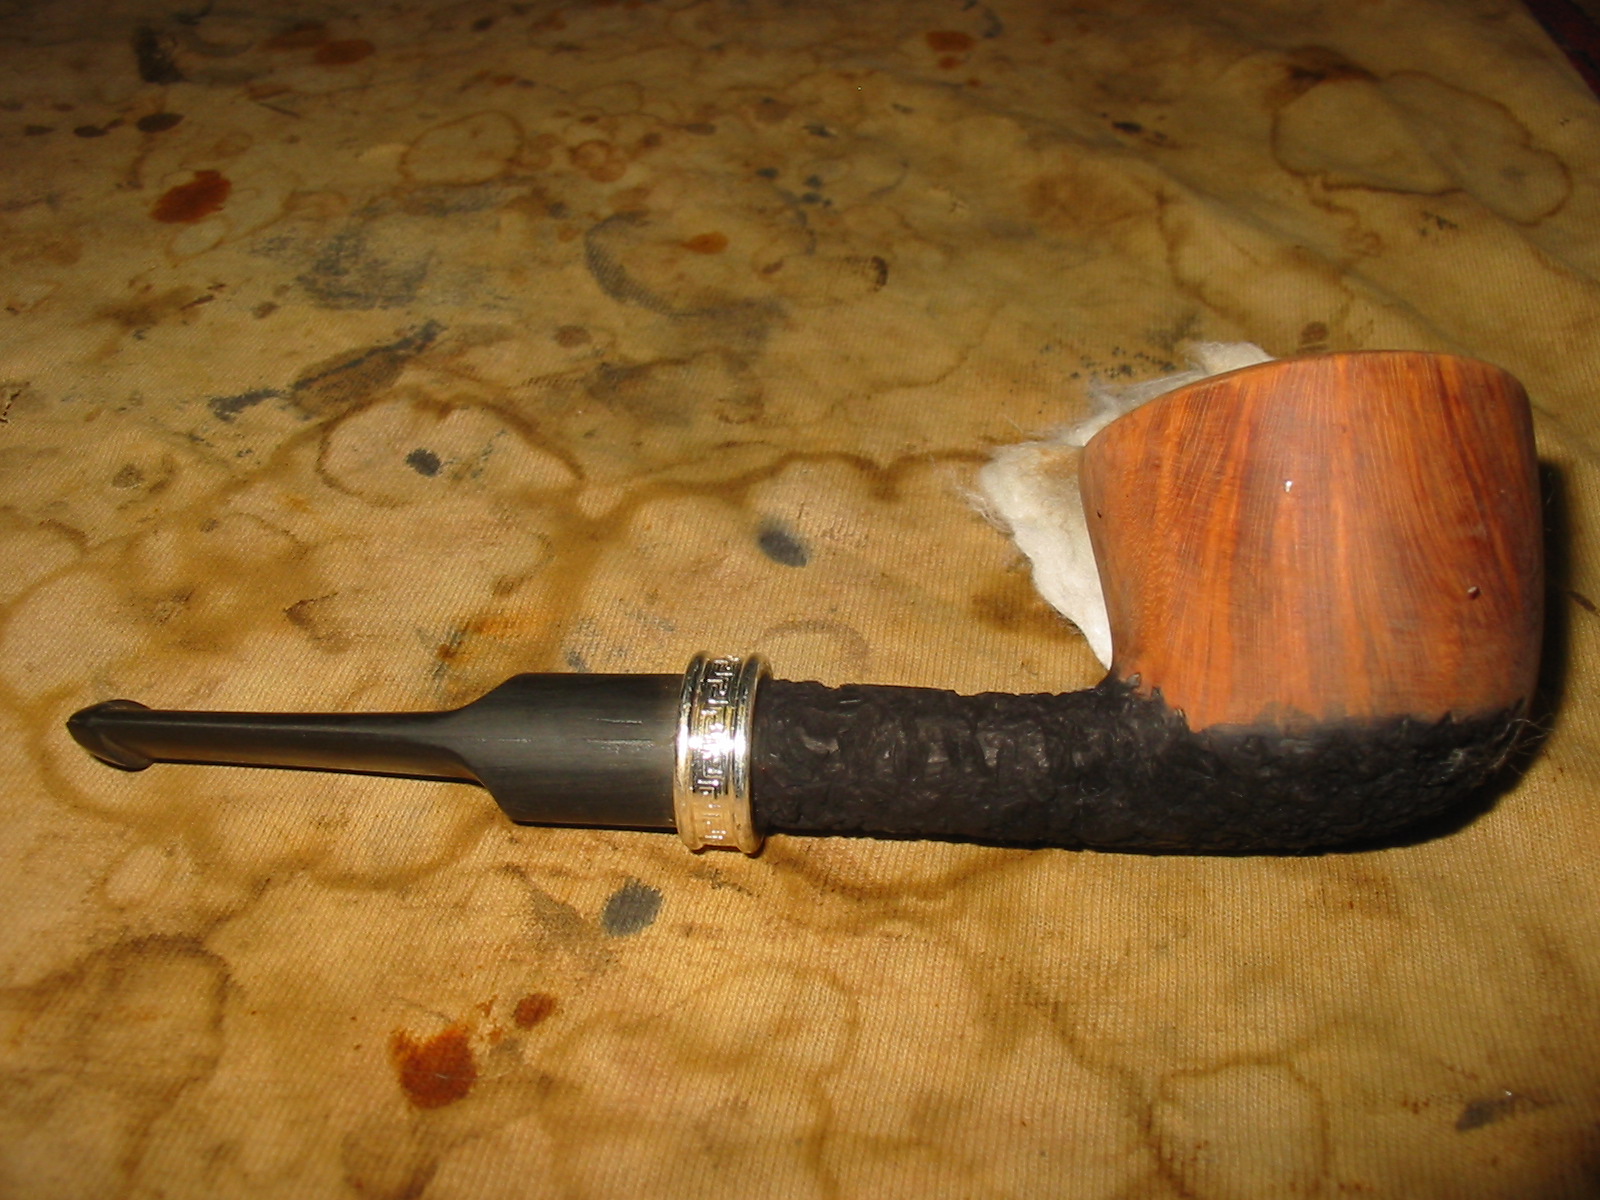
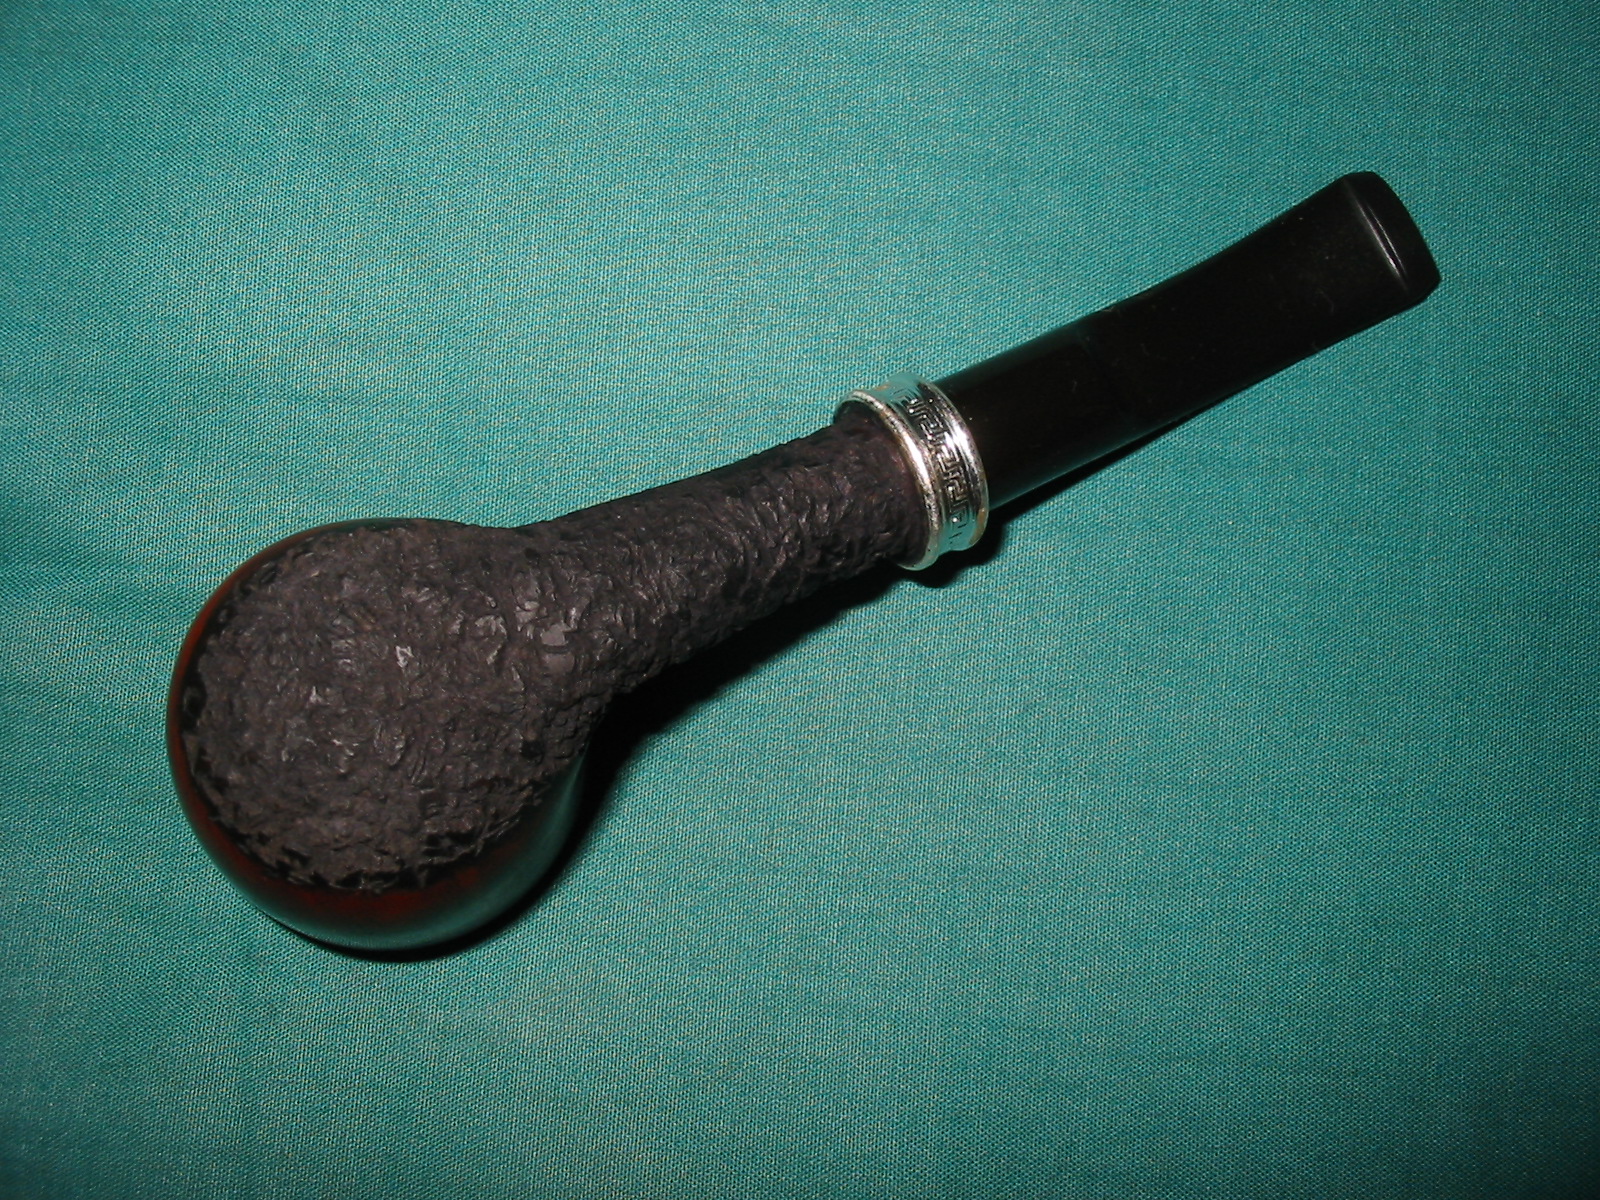
At this point I reflected on what I wanted to do with the upper part of the bowl. I could stain it with a variety of colours to contrast with the rusticated black portion of the shank and bowl bottom but I was not certain I wanted to do that. I finally decided to rub down the bowl with olive oil to bring out the grain. I rubbed it in by hand and repeated that until it was finished. I gave the bowl a light buff with White Diamond to give it a shine. I will still need to give it several coats of carnauba wax but the look works for me. The grain pops with the oil finish. The next series of four photos show the bowl finish at this point in the process.
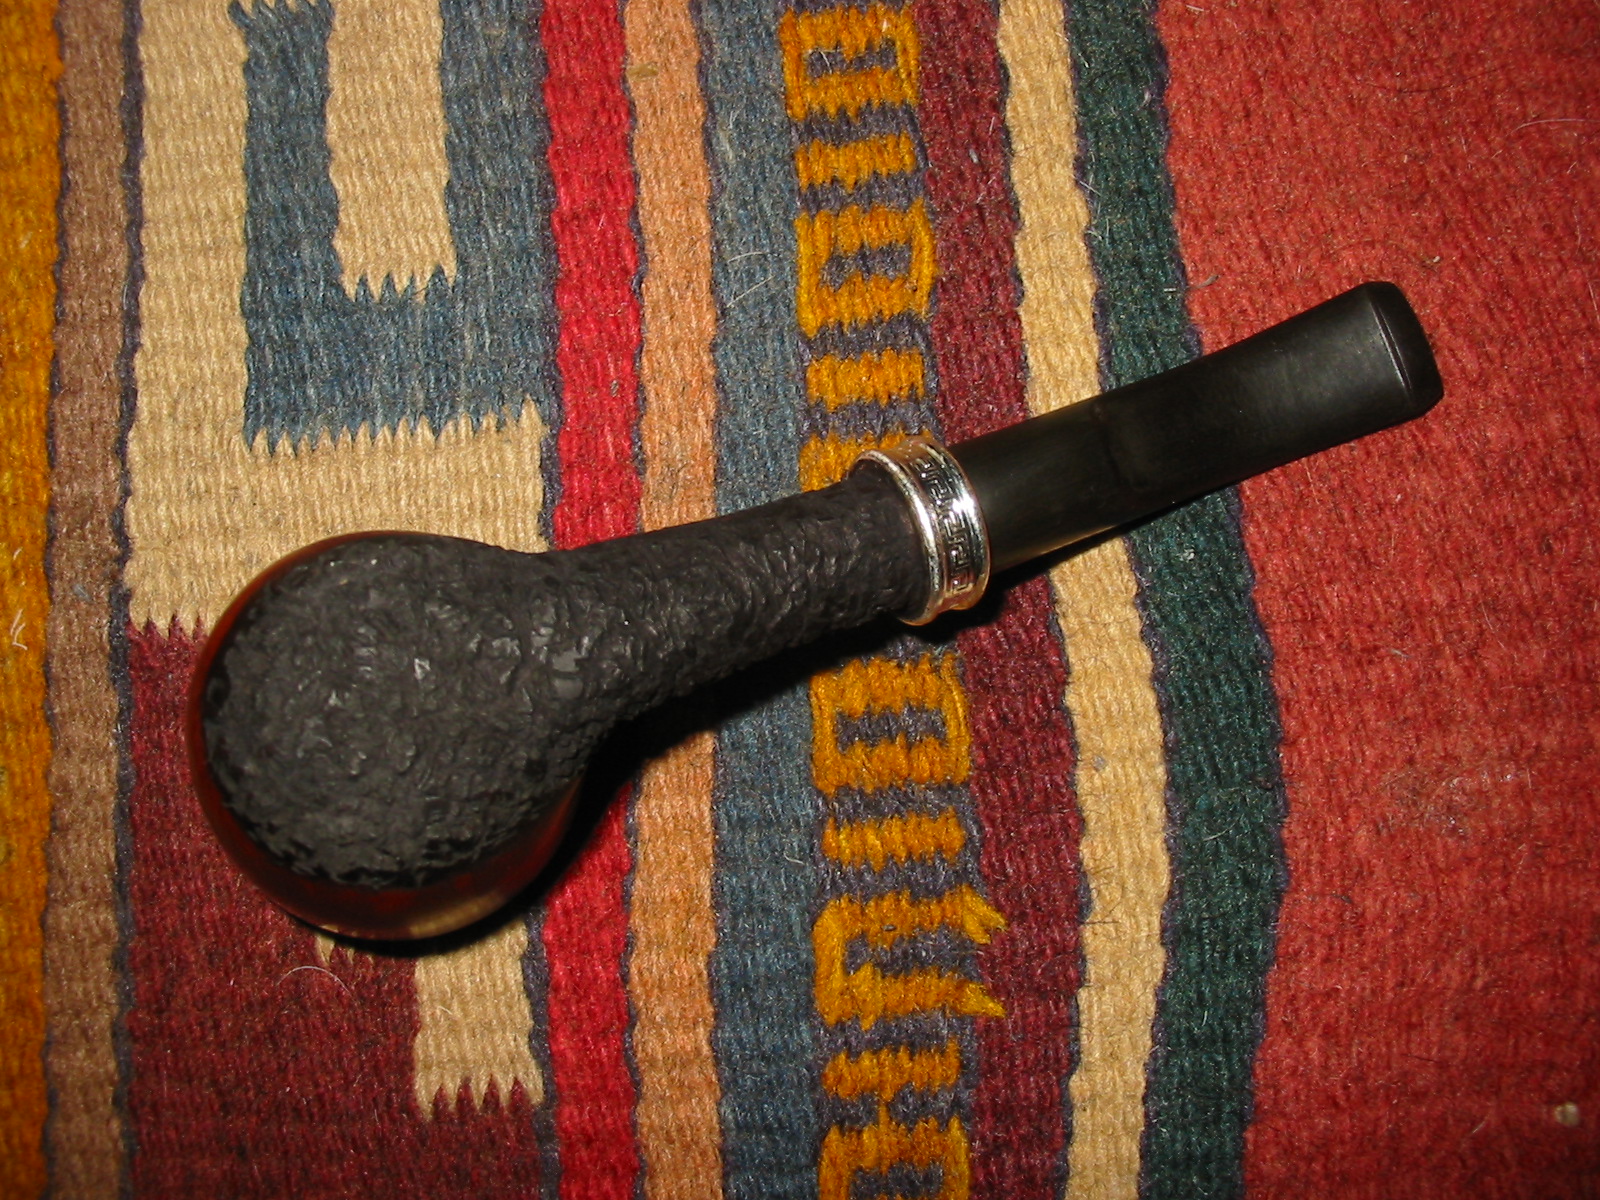
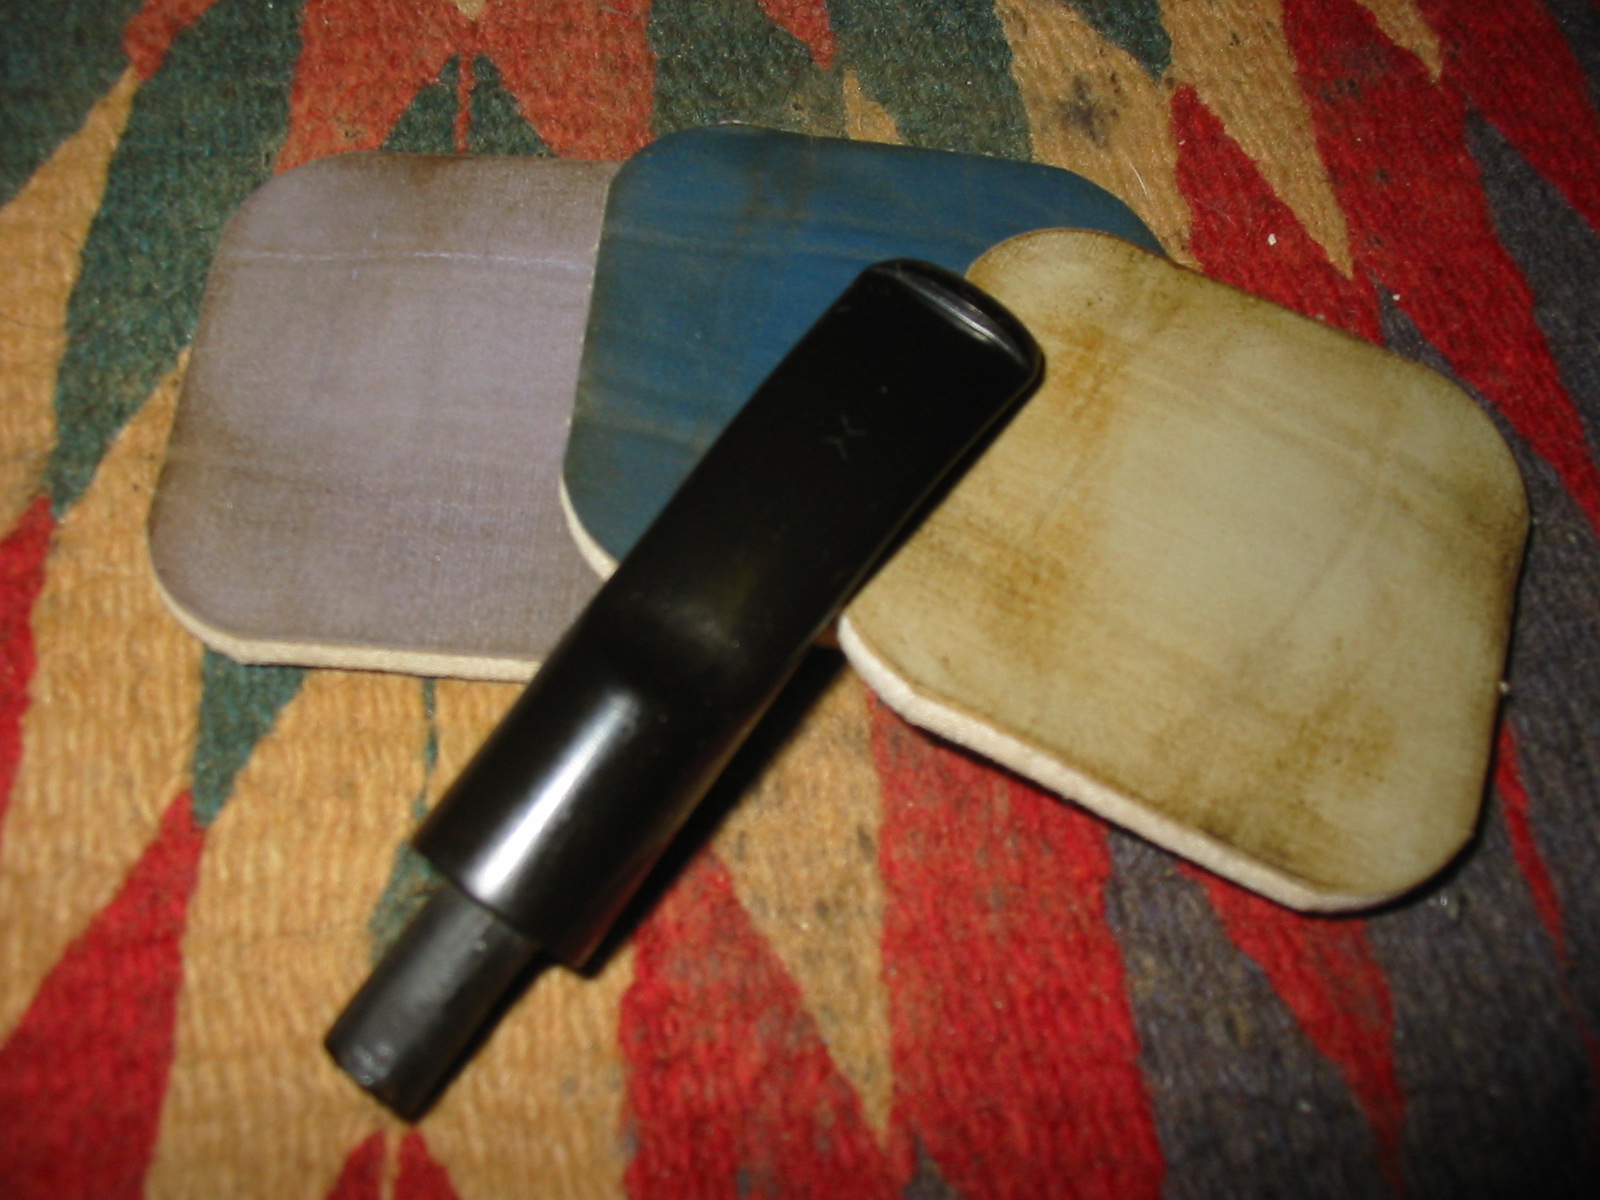
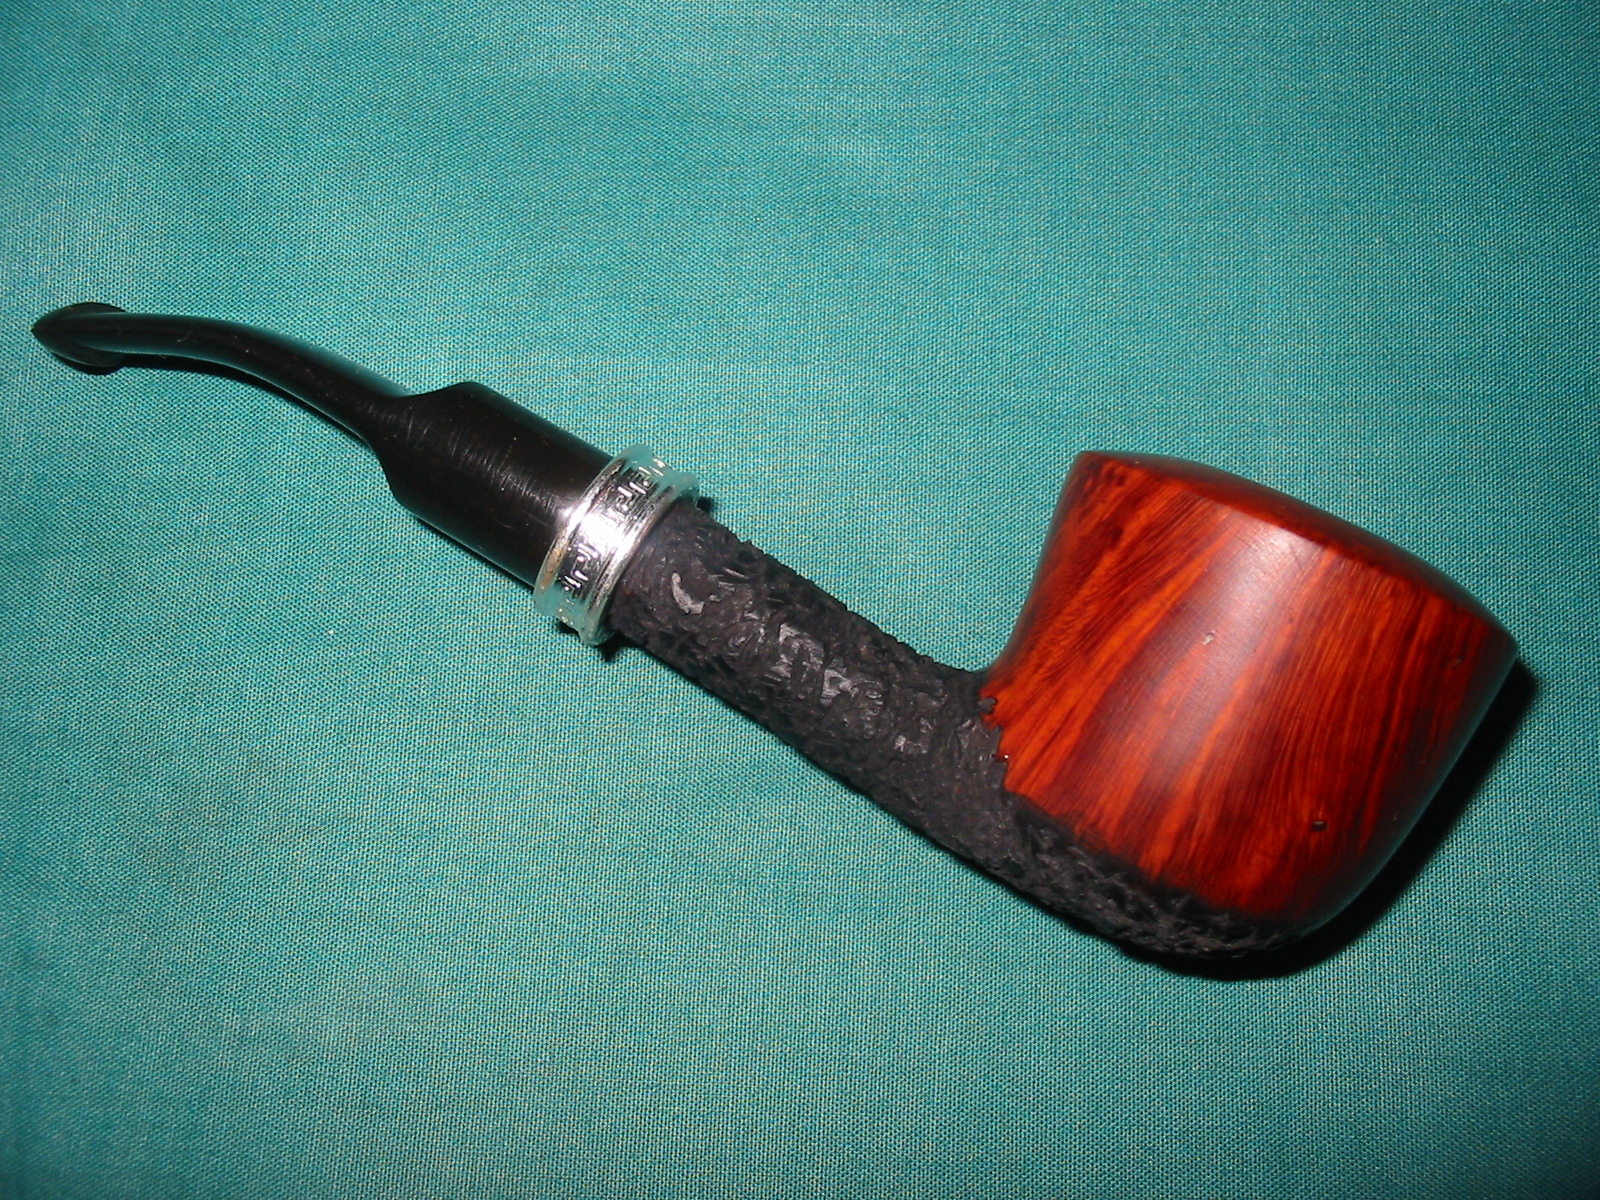
I liked the overall appearance of the pipe. It was certainly significantly different from the bowl that it was before I started. The old bowl had a more elegant look to it now and felt great in the hand. The chunky wedding band contrasts well with the shape and the finish of the bowl. Now it was time to work on the stem. I sanded the stem with 220 grit sandpaper to remove the casting marks on the sides of the saddled and blade of the stem. I followed that by sanding with medium and fine grit sanding sponges to further remove the scratches to the vulcanite. I finished the sanding with my usual list of micromesh sanding pads – wet sanding with 1500-2400 grit pads and dry sanding with 3200-12,000 grit pads. I rubbed the stem down with Obsidian Oil and let it soak in to the stem material.

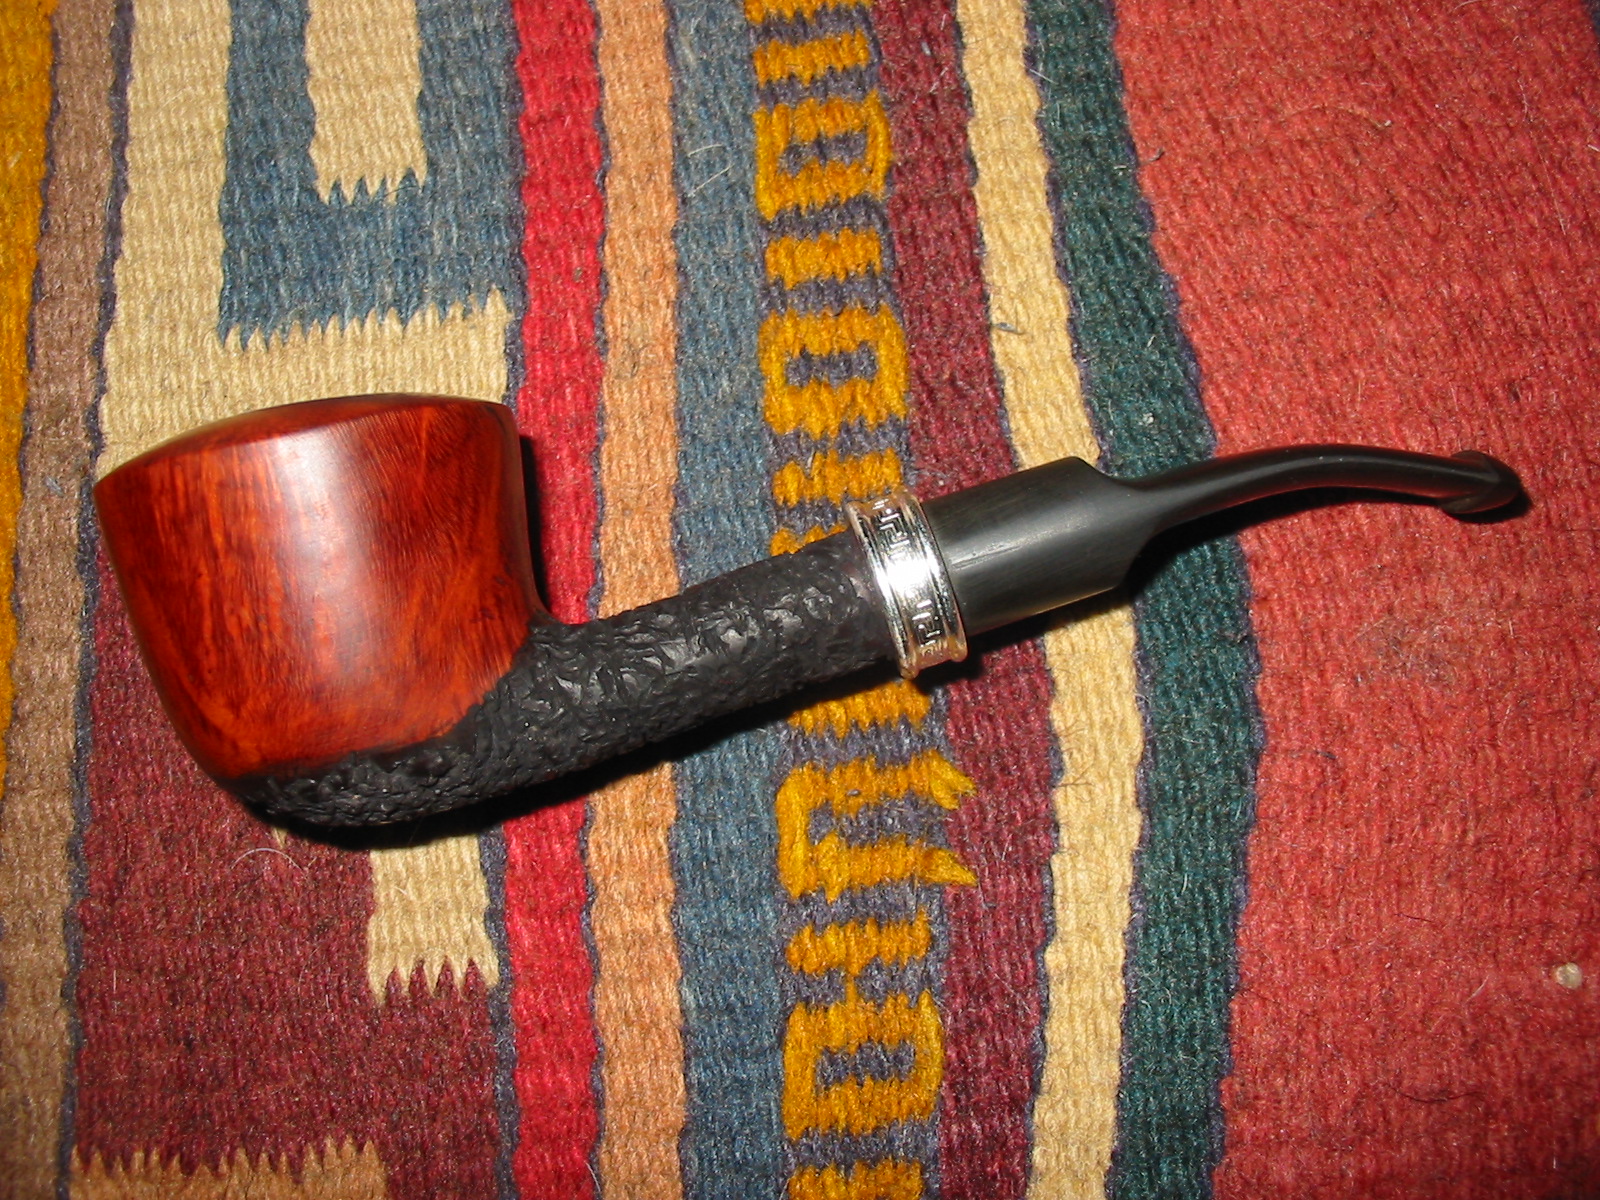
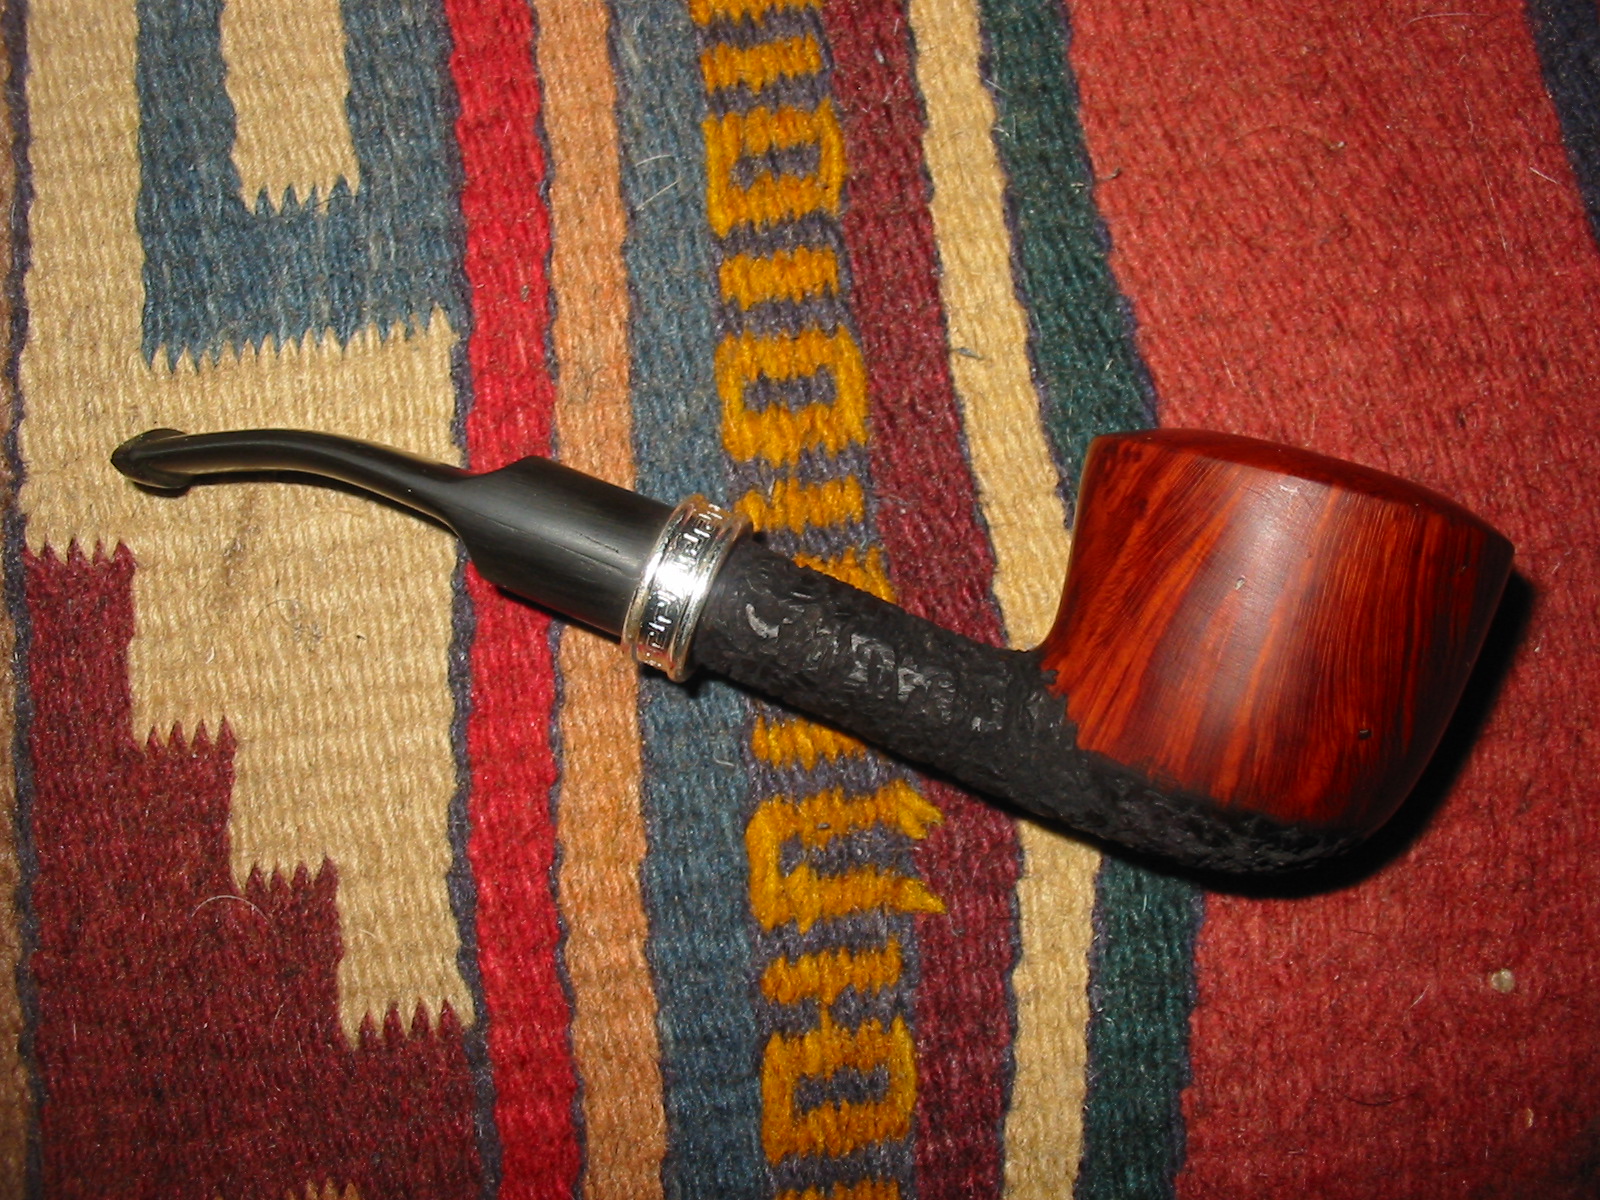
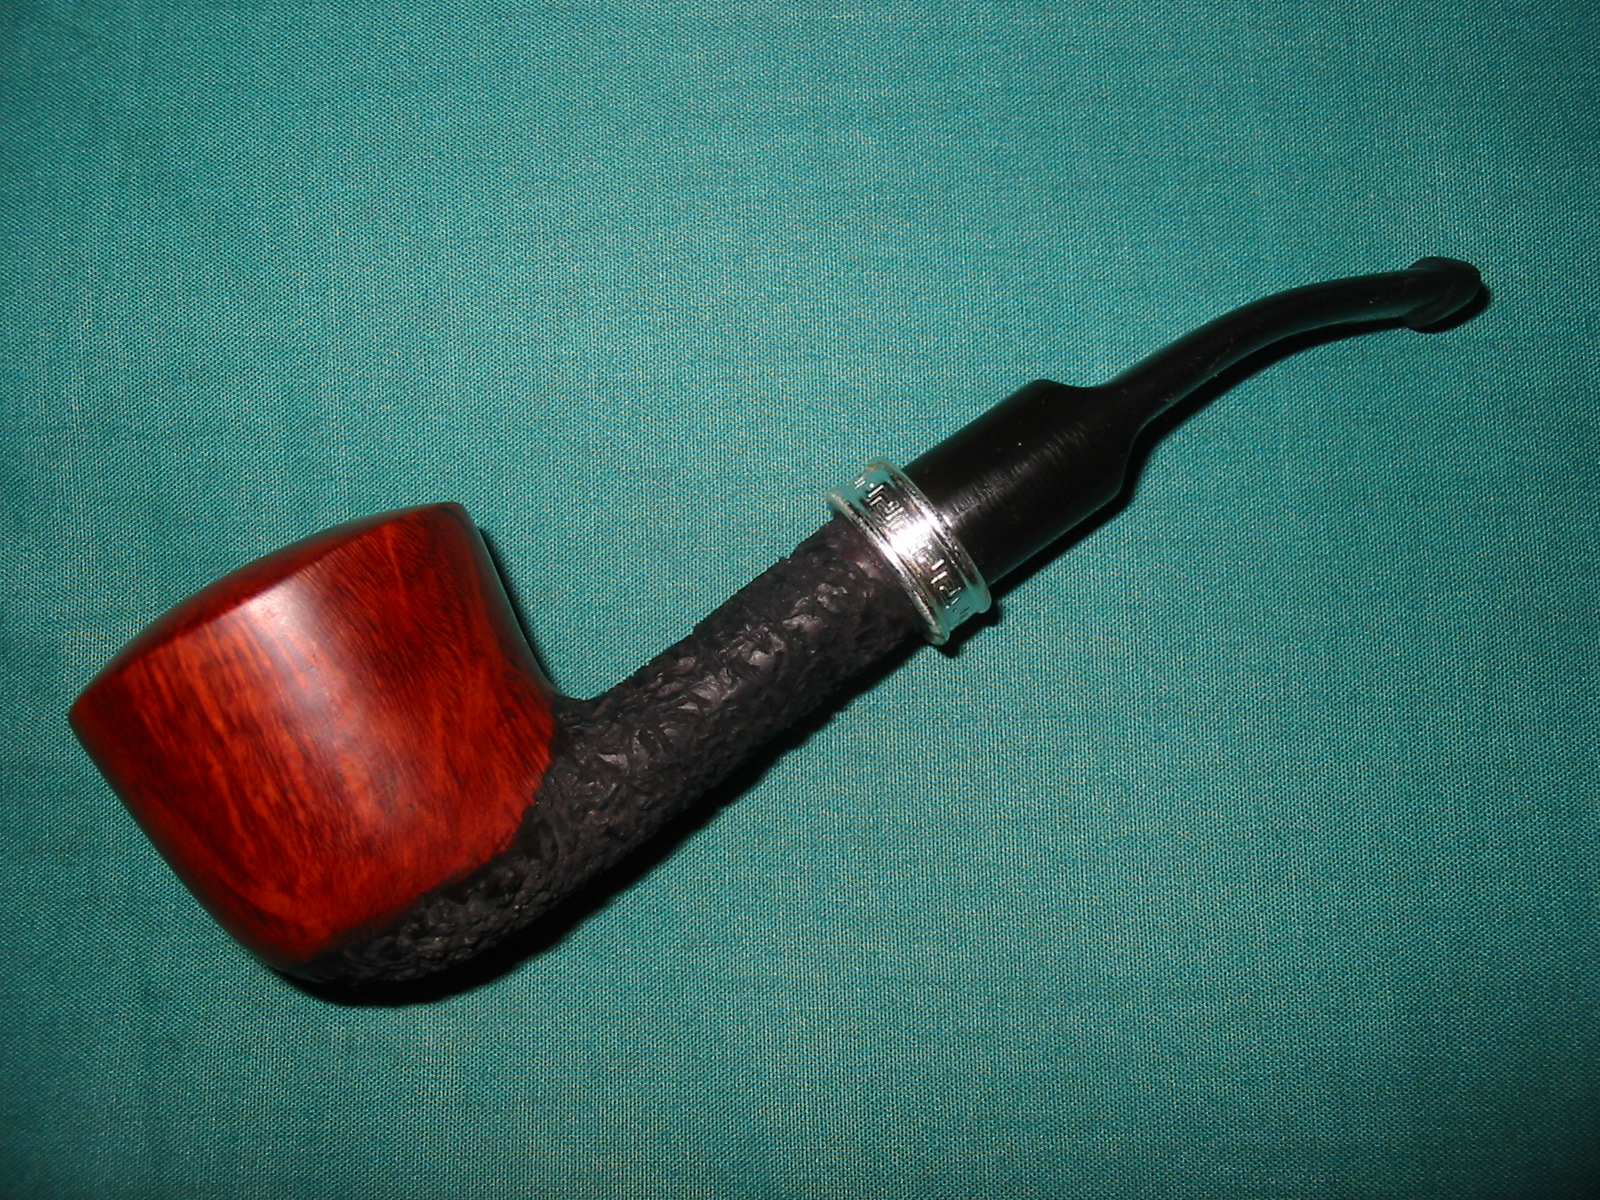
I buffed the finished pipe and stem with White Diamond and then gave it multiple coats of carnauba wax. I was careful to not get wax on the rusticated portion of the bowl and shank. The finished pipe is pictured below. It seems to me to have a much more dignified appearance than what it started with. I like the tactile feel of the bowl in my hand while at the same time maintaining the beautiful straight and flame grain on the bowl. I think this one will stay in my collection for quite awhile.

Nice work, Steve. And I understand difficulty of decision what to do with area with this large putty filling. You decided to “mask” it by rustication and it is IMO OK.
If thinking on rustication, I distinguish two main categories:

– the “free hand” rustication. Here could be interesting to see how ms. Daniela Cavicchi presets her rustication
Daniela Showing her Rustication Skills
http://www.theitalianpipe.com/make/cv/cvlab.htm
with use of selfmade (probably by her husband – known pipemaker) tool.
– the rustication that “takes under consideration”/follows directions and forms of natural grains. Here I use engraver’s burins like these shown here,
https://rebornpipes.wordpress.com/2014/02/28/some-remarks-on-dealing-with-damaged-stems-of-smoking-pipes-by-jacek-a-rochacki/
or cutters of proper shapes attached to my flexible shaft machine.
LikeLike