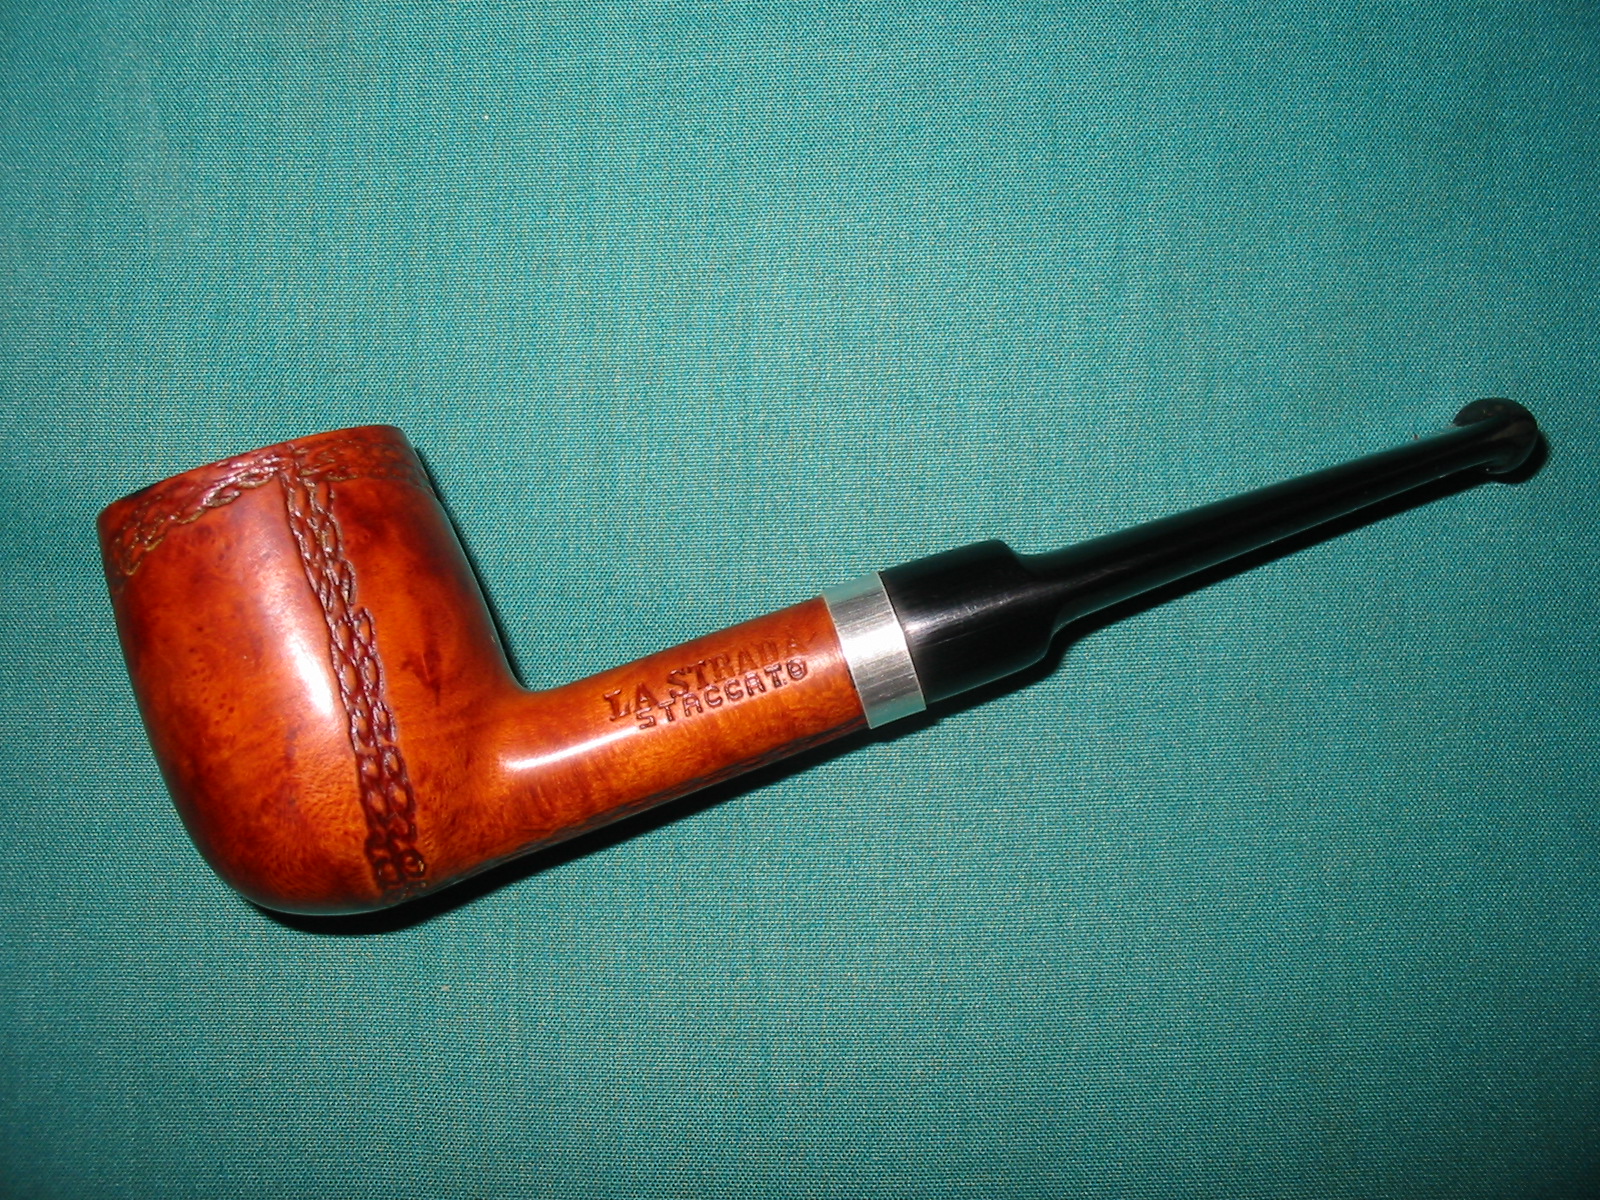
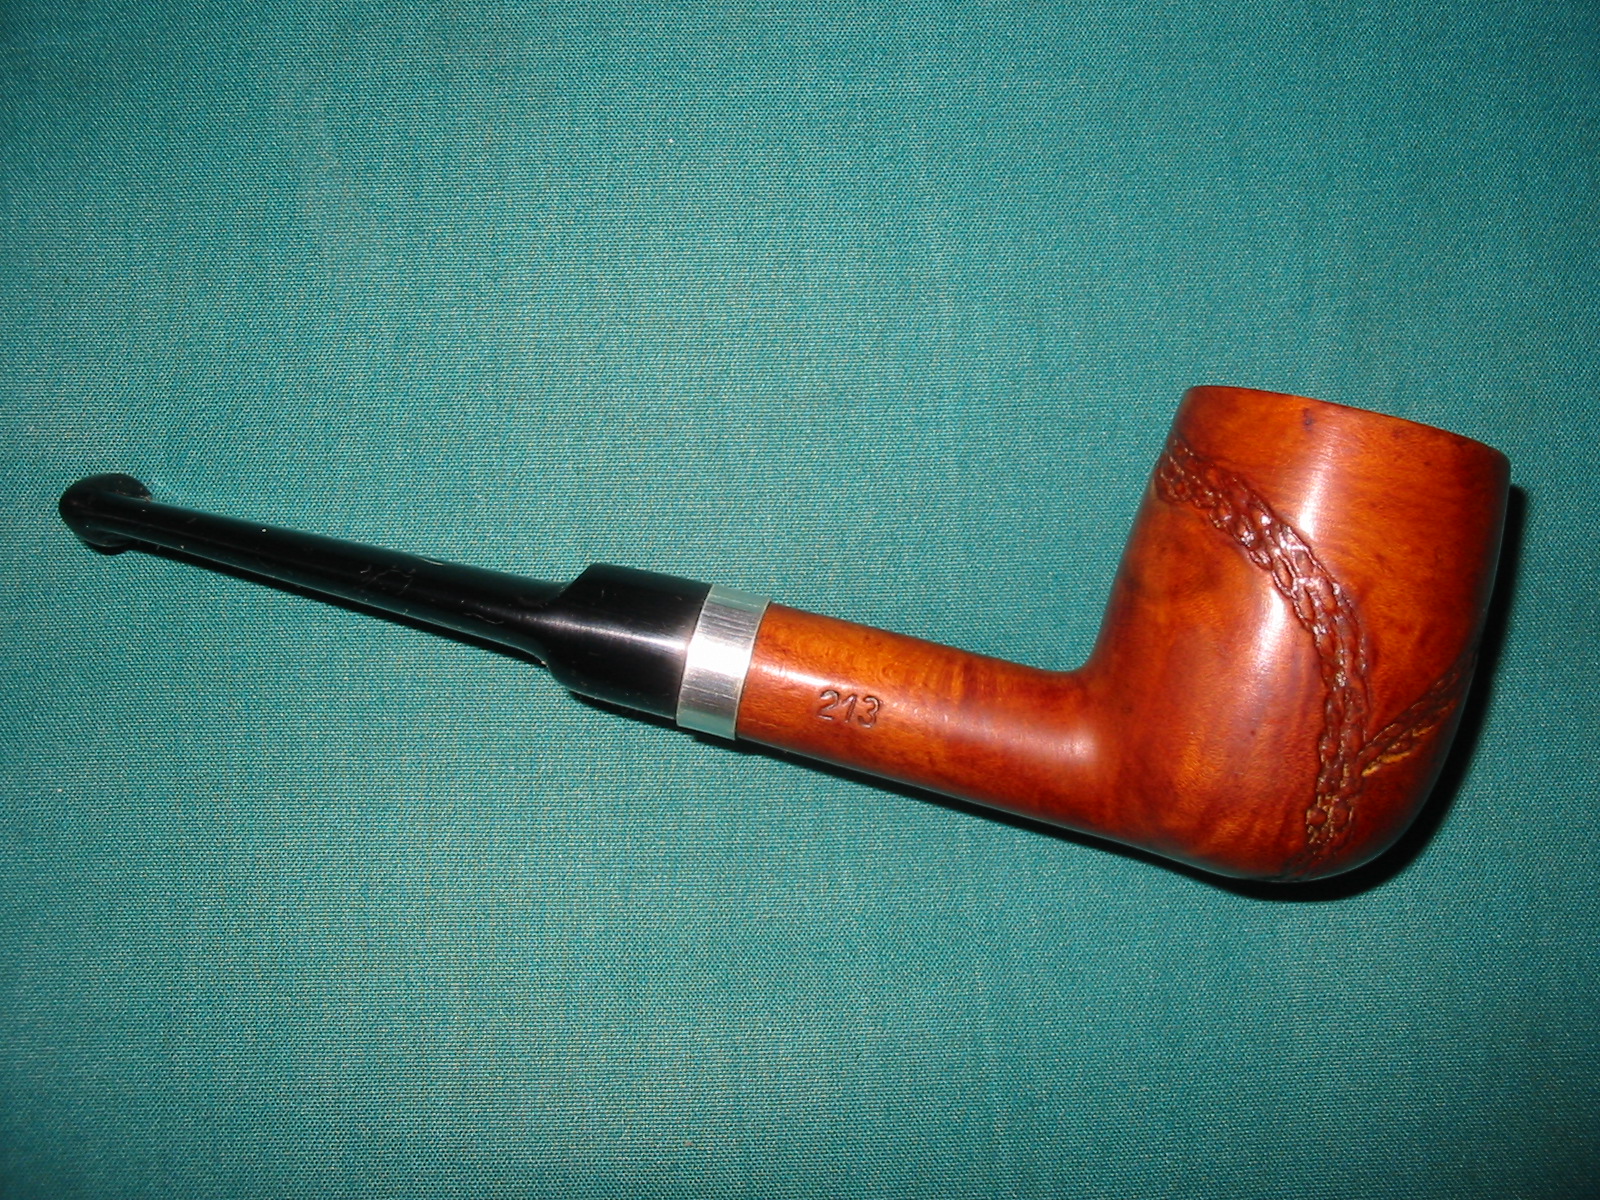
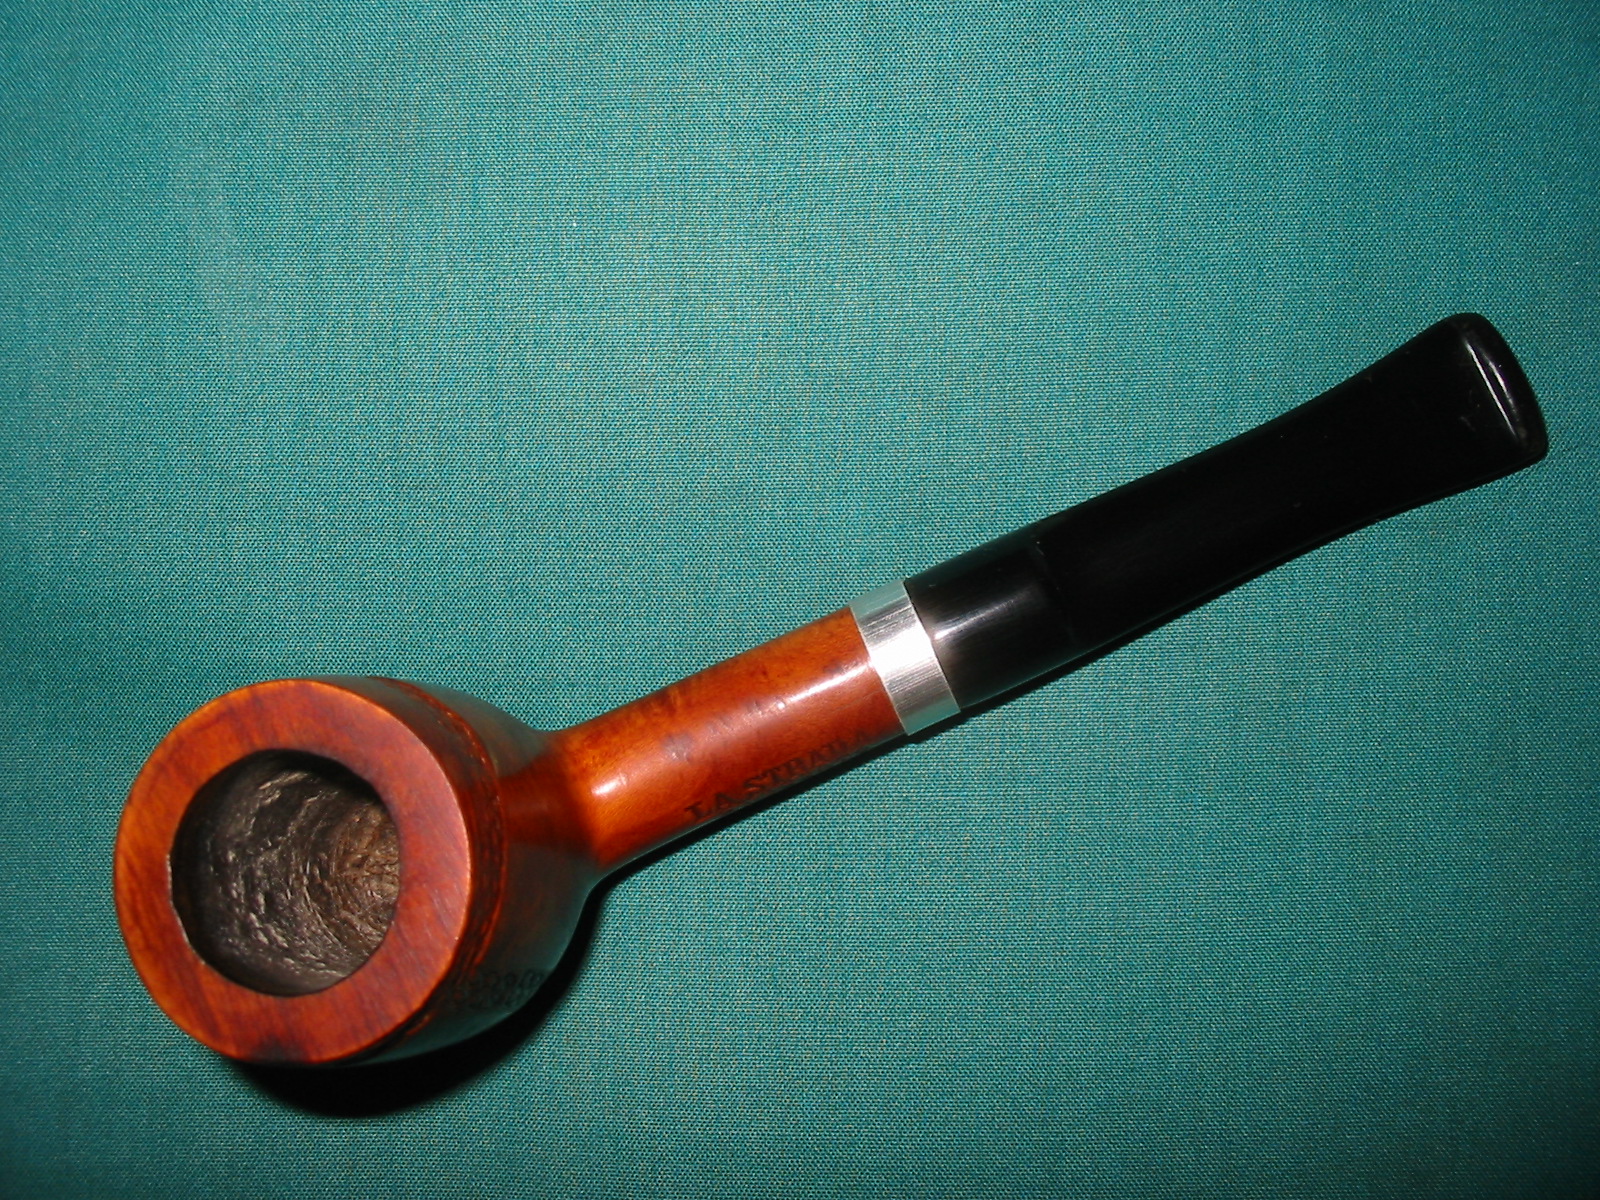
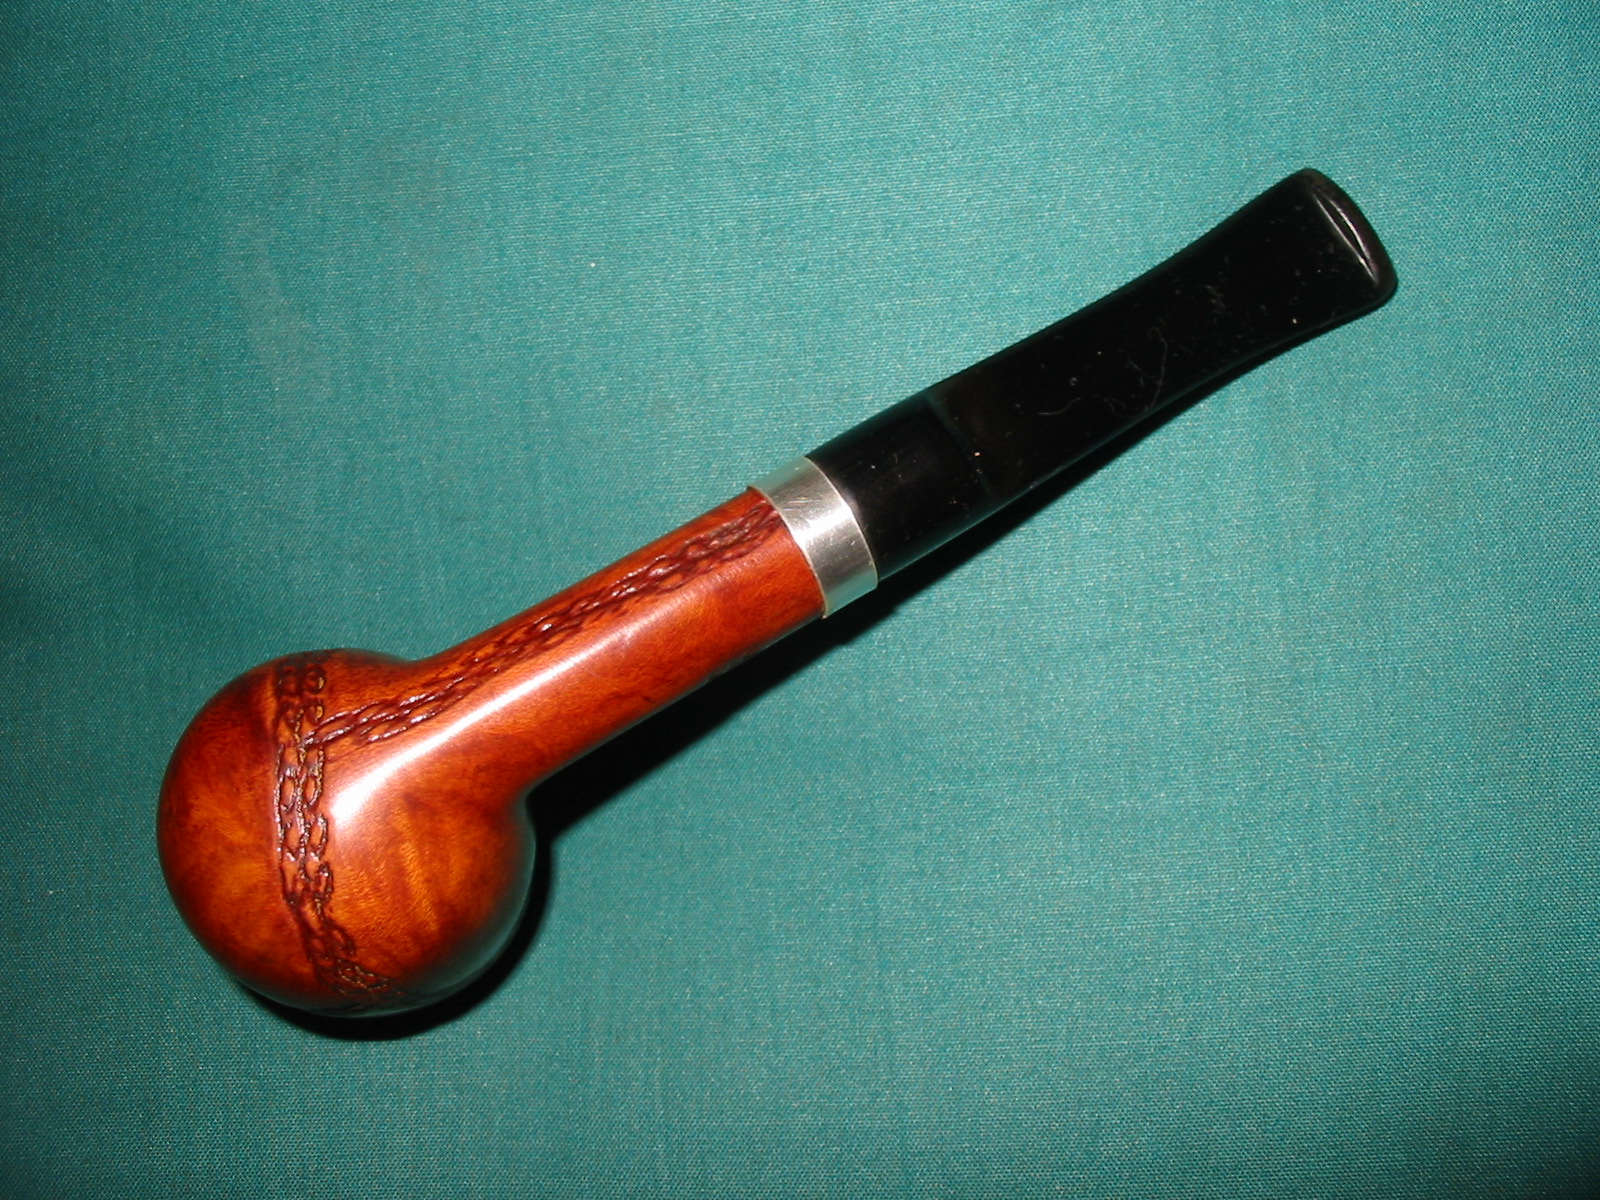
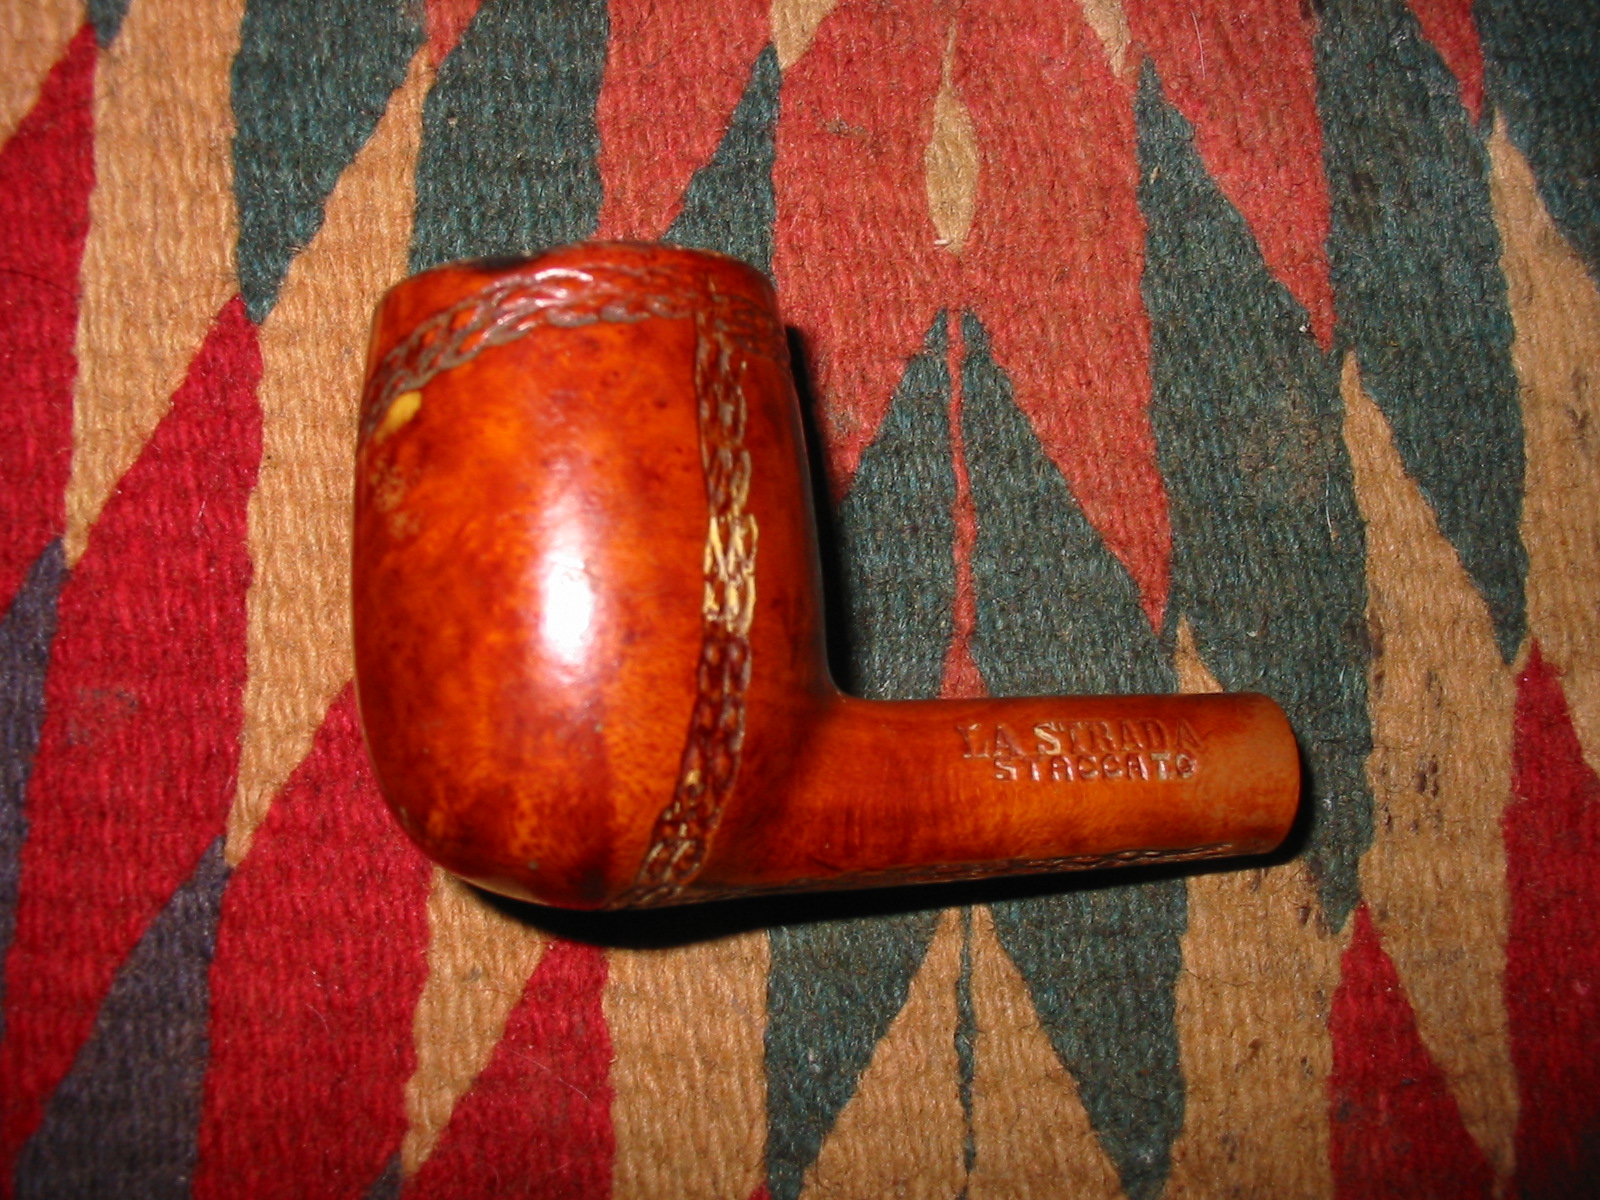
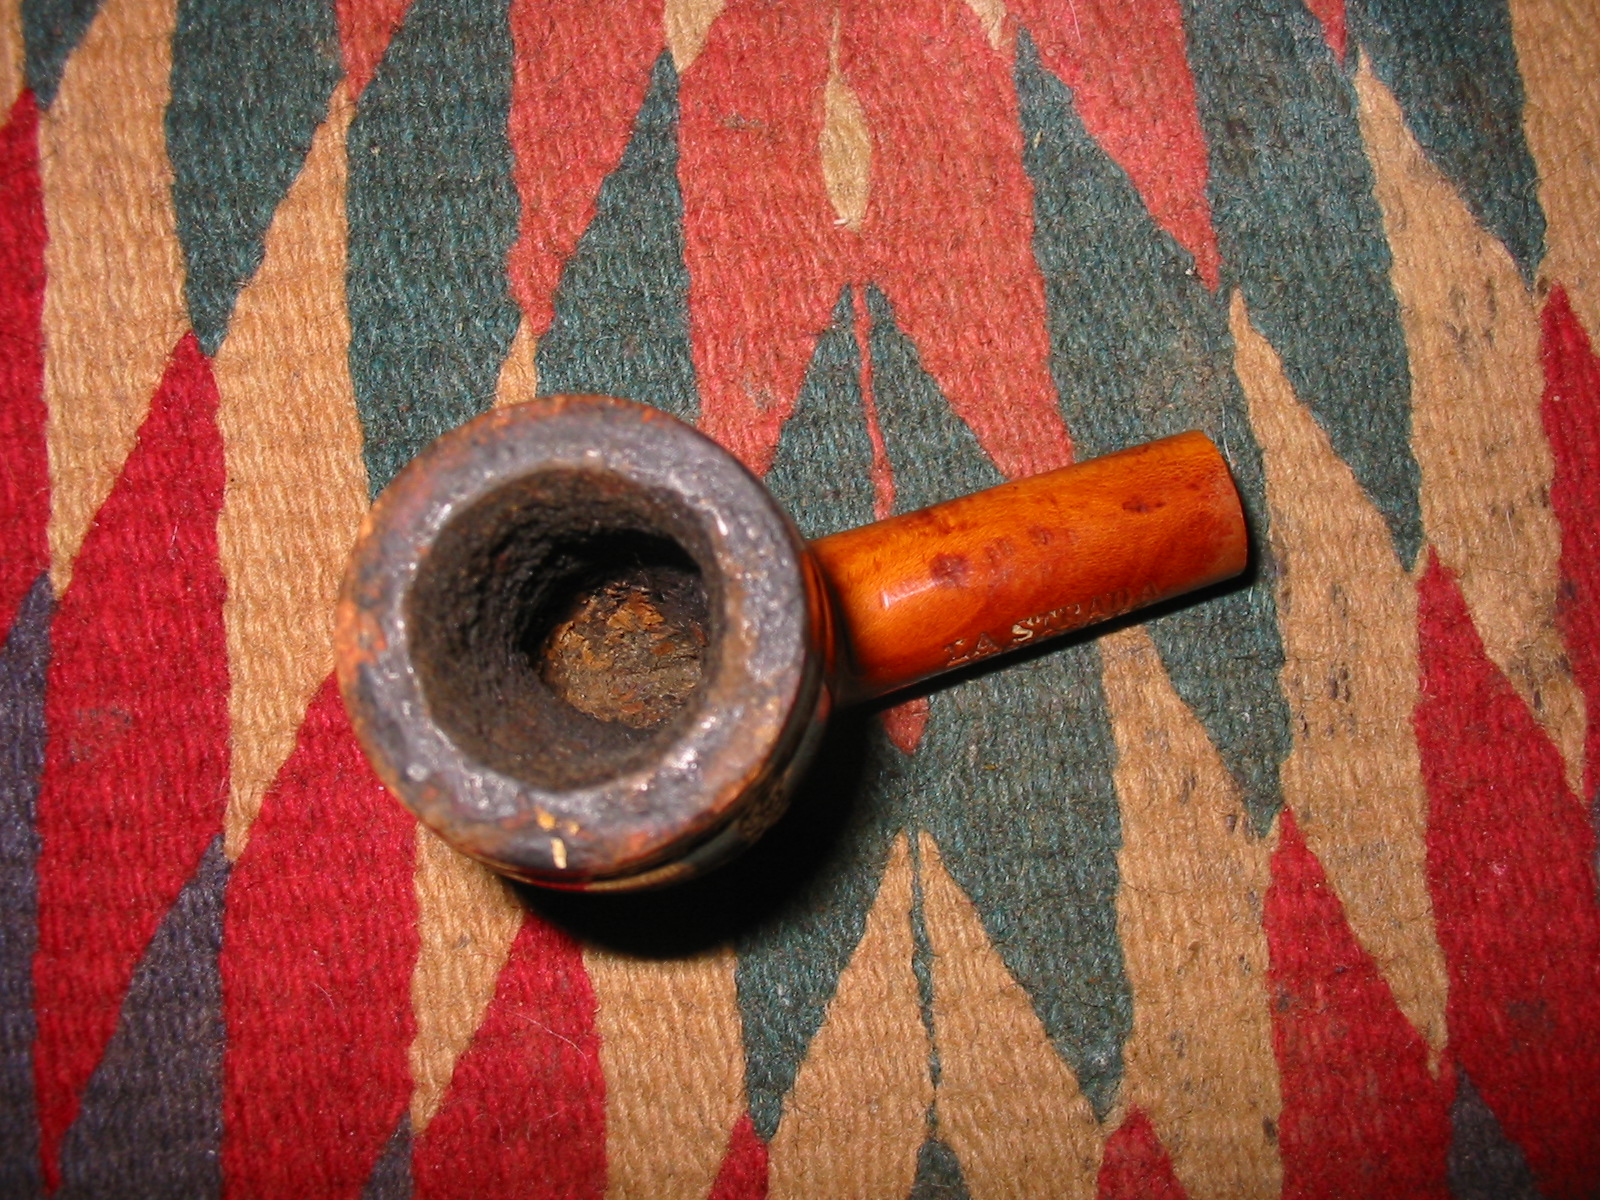
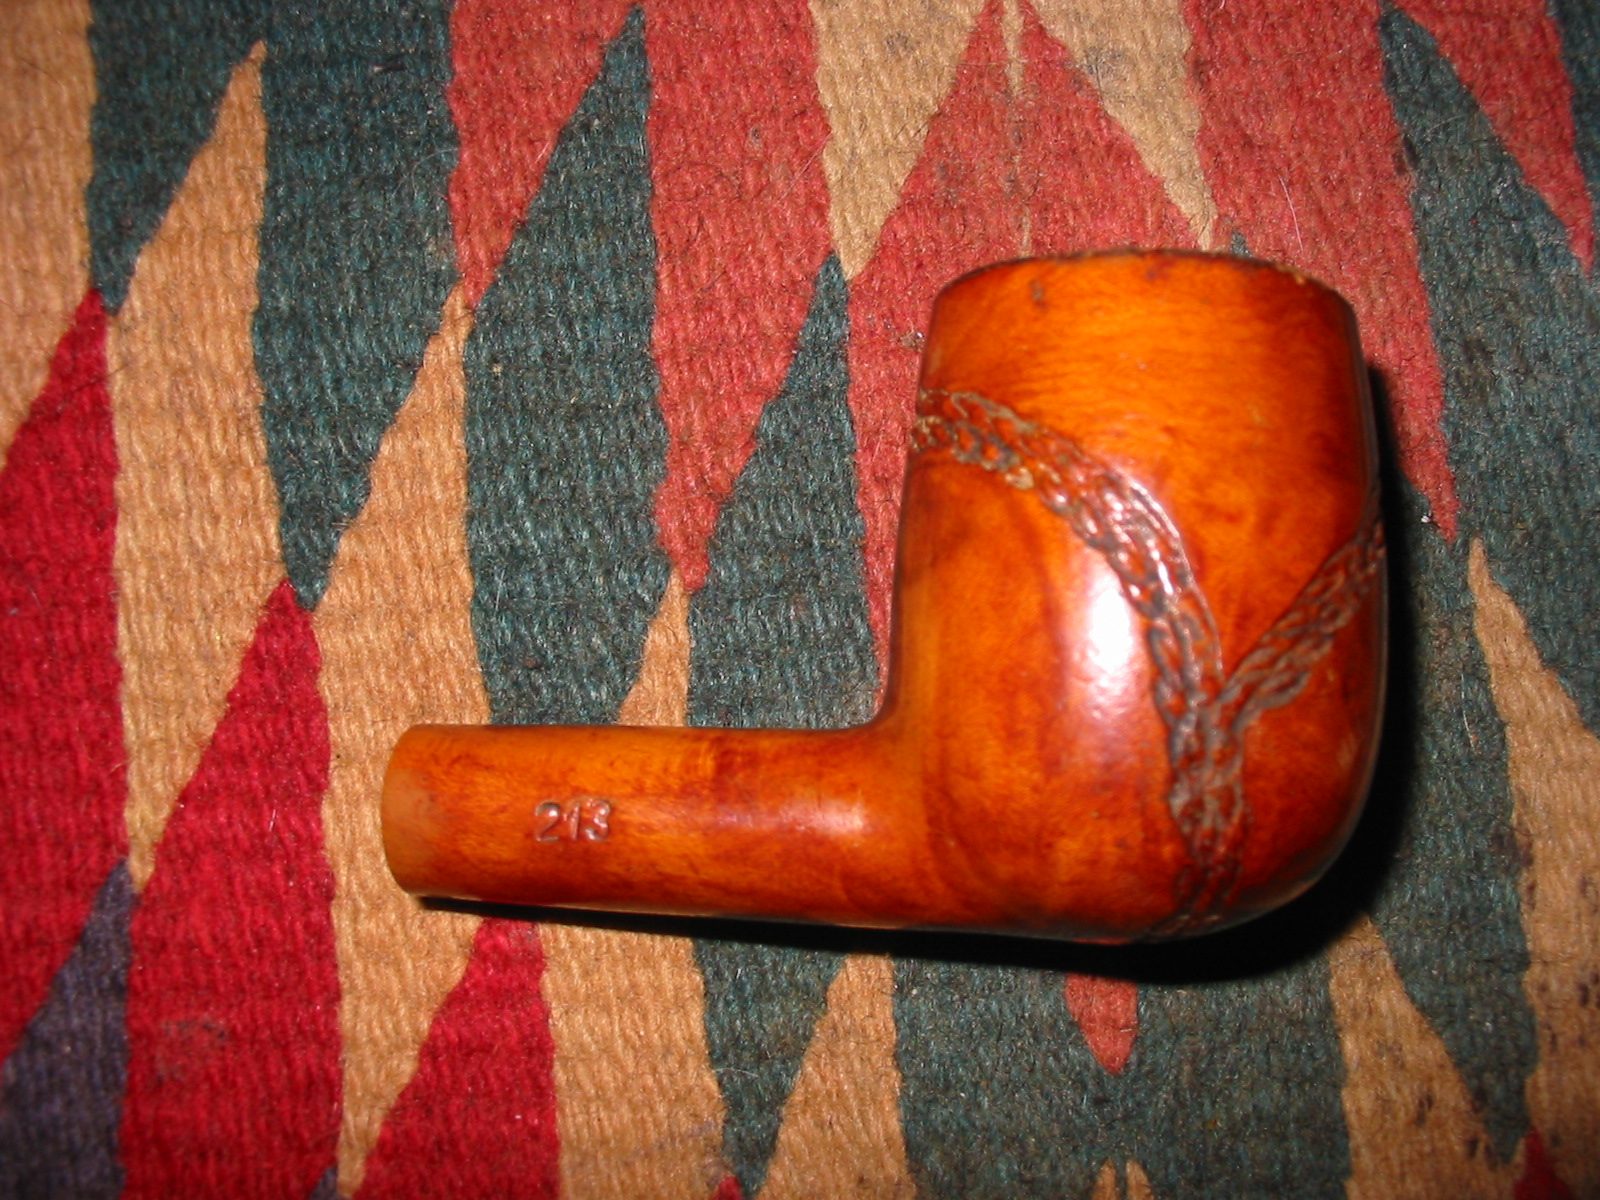
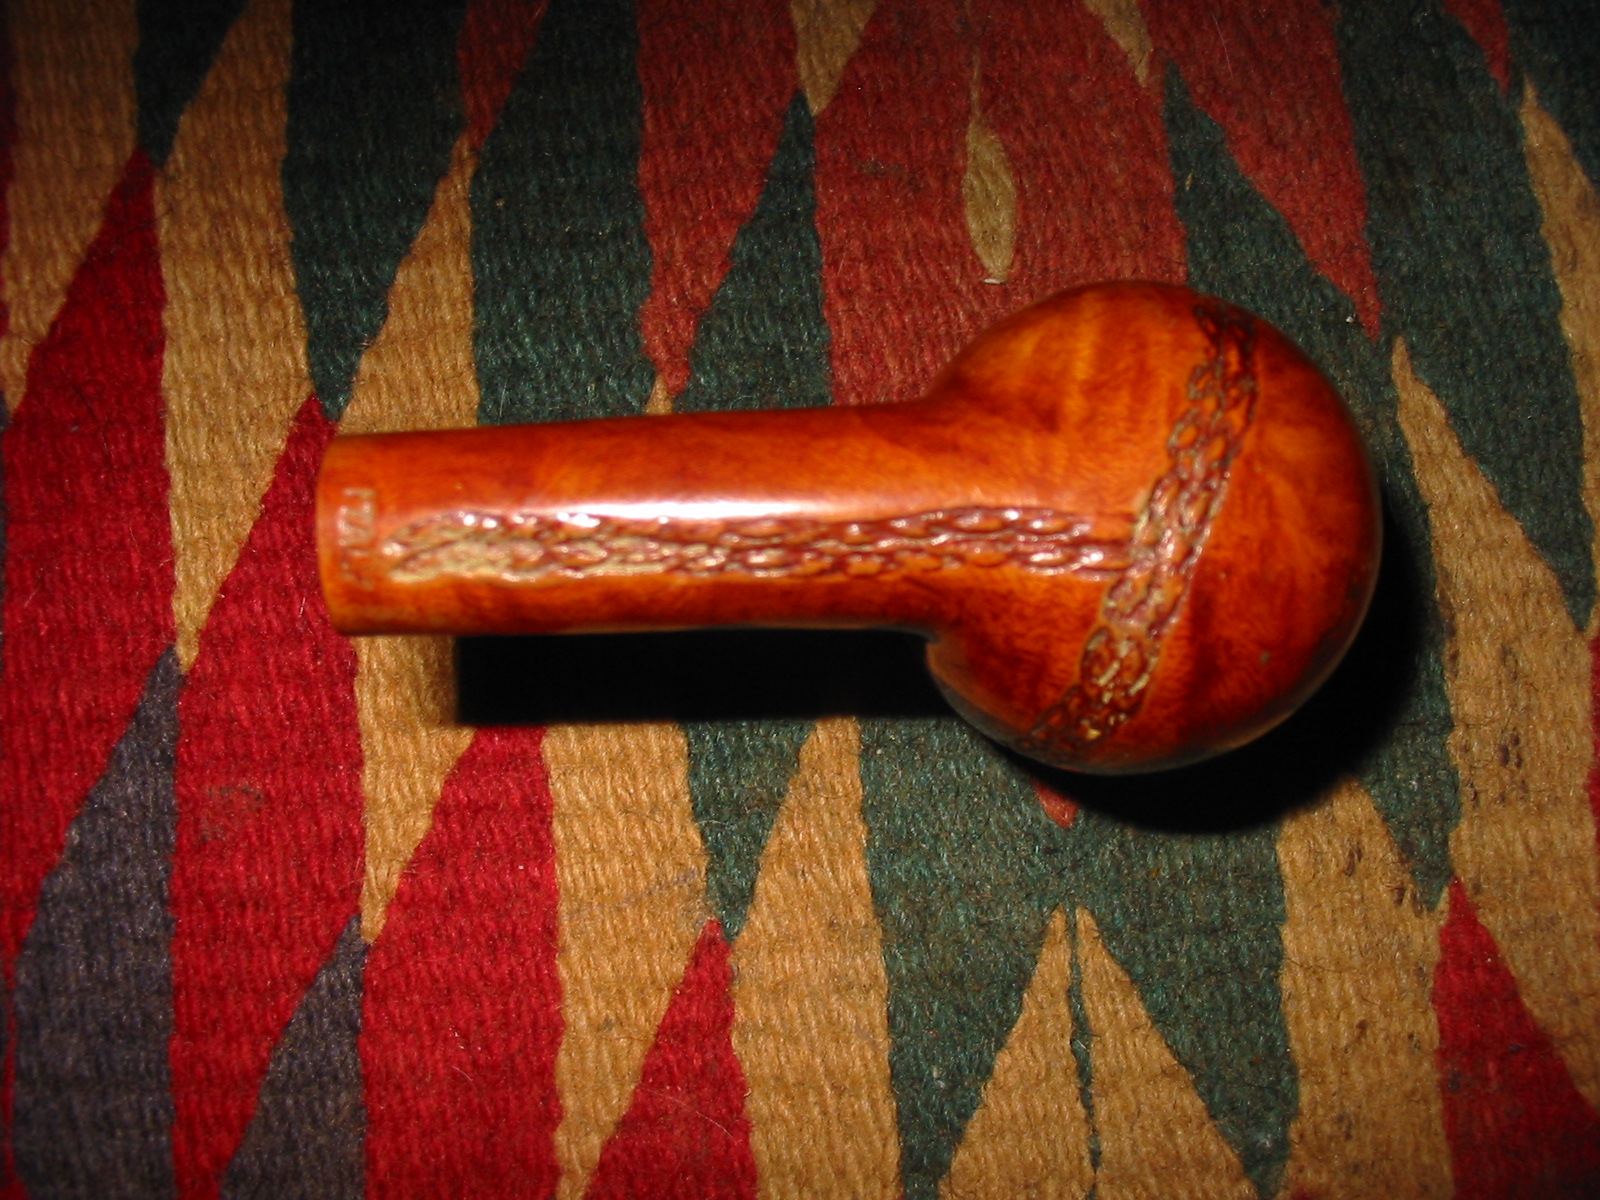
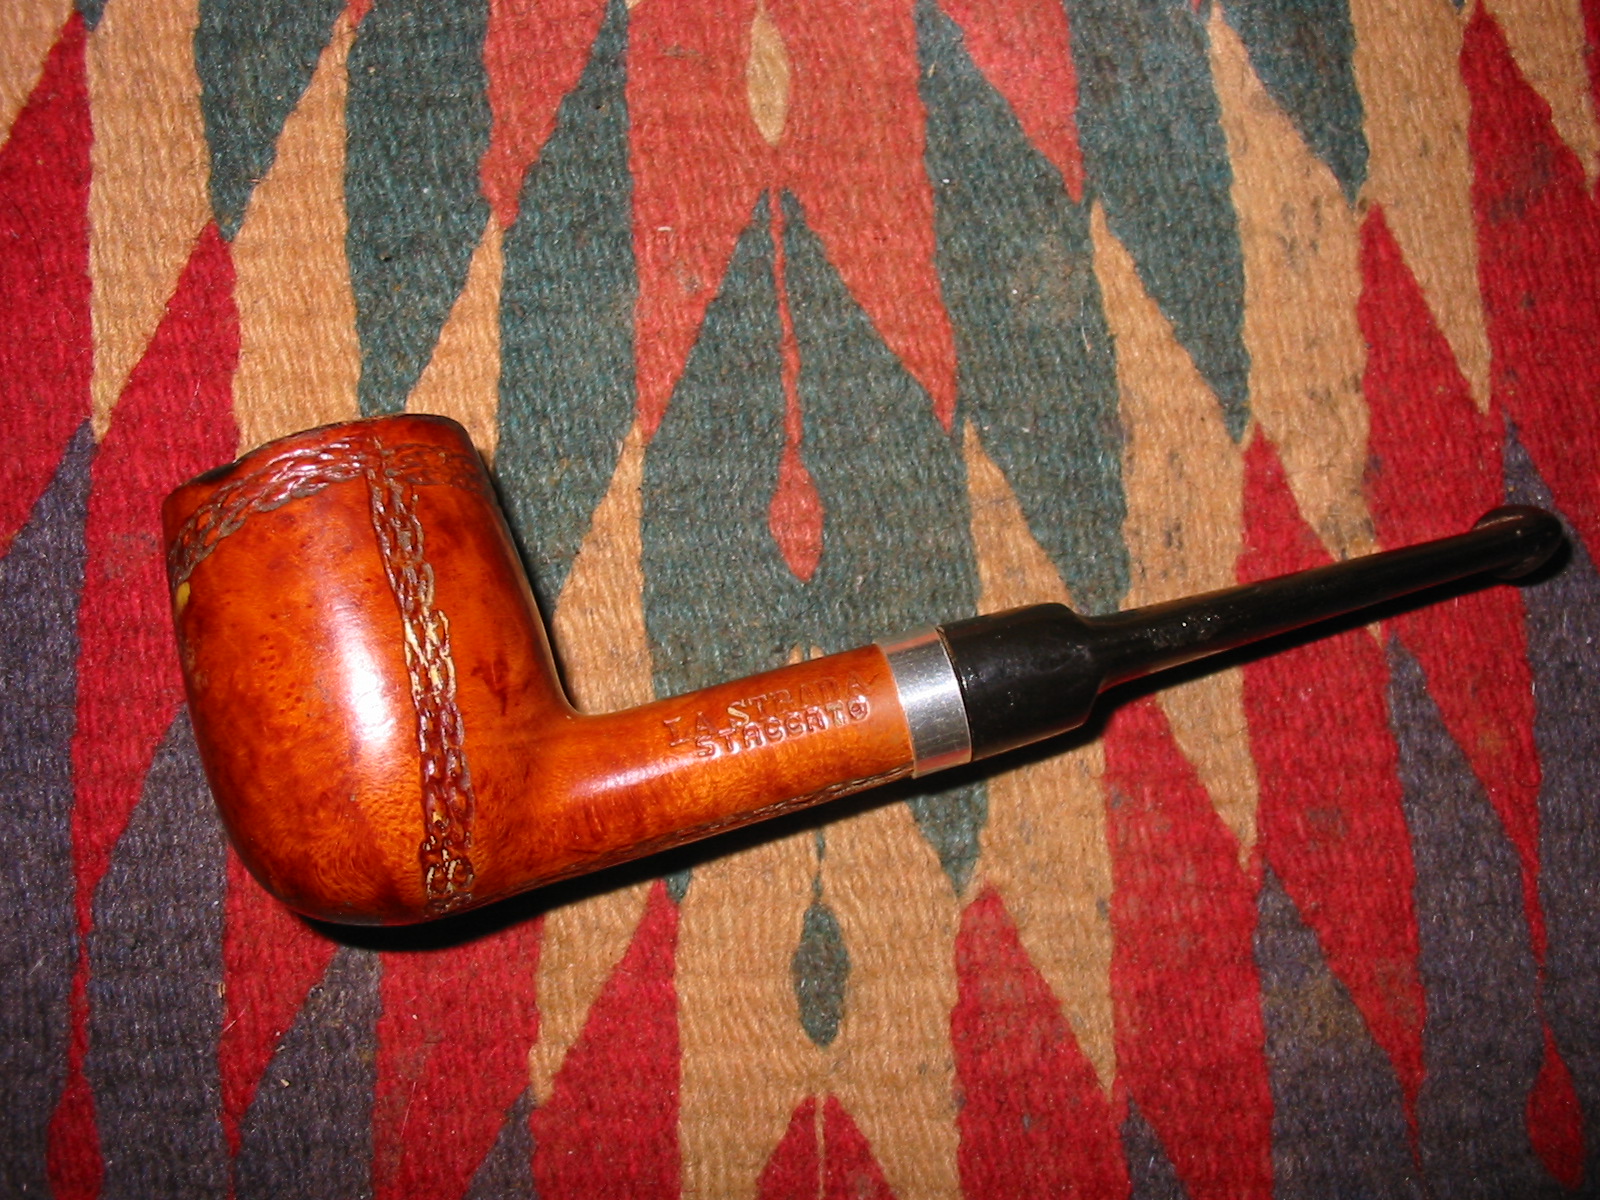
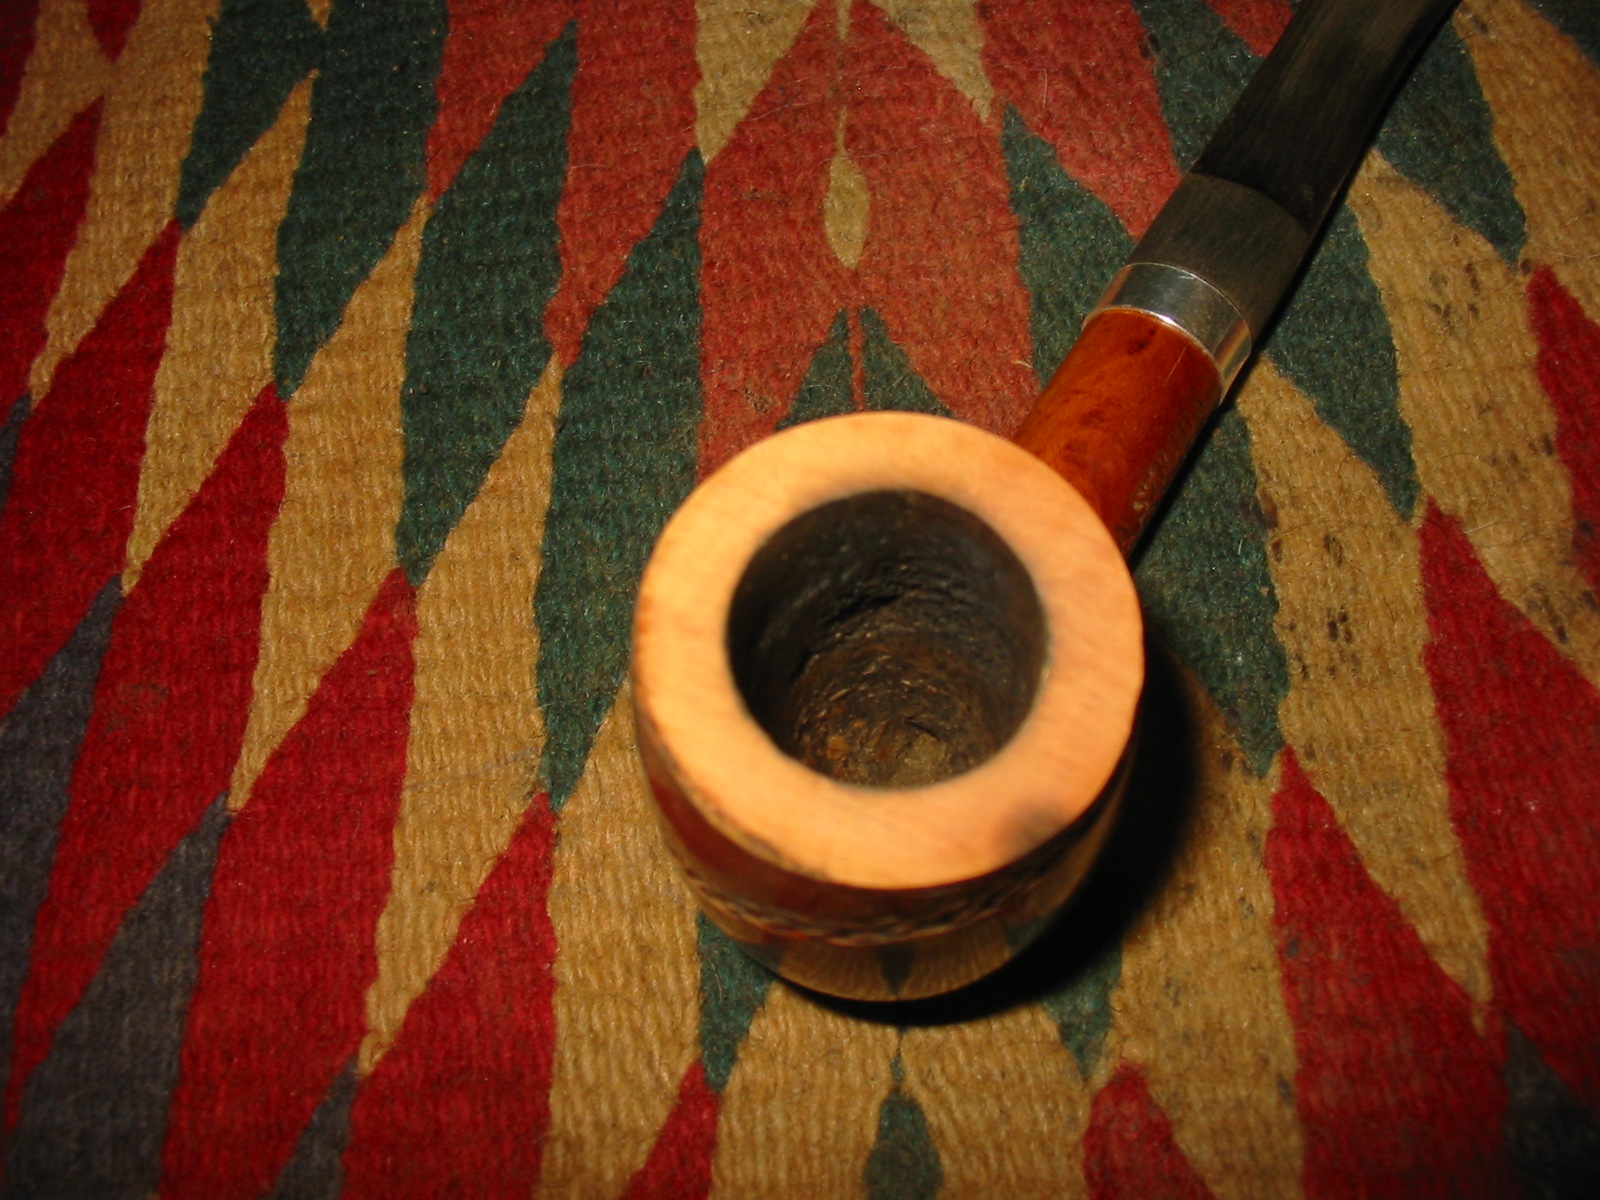
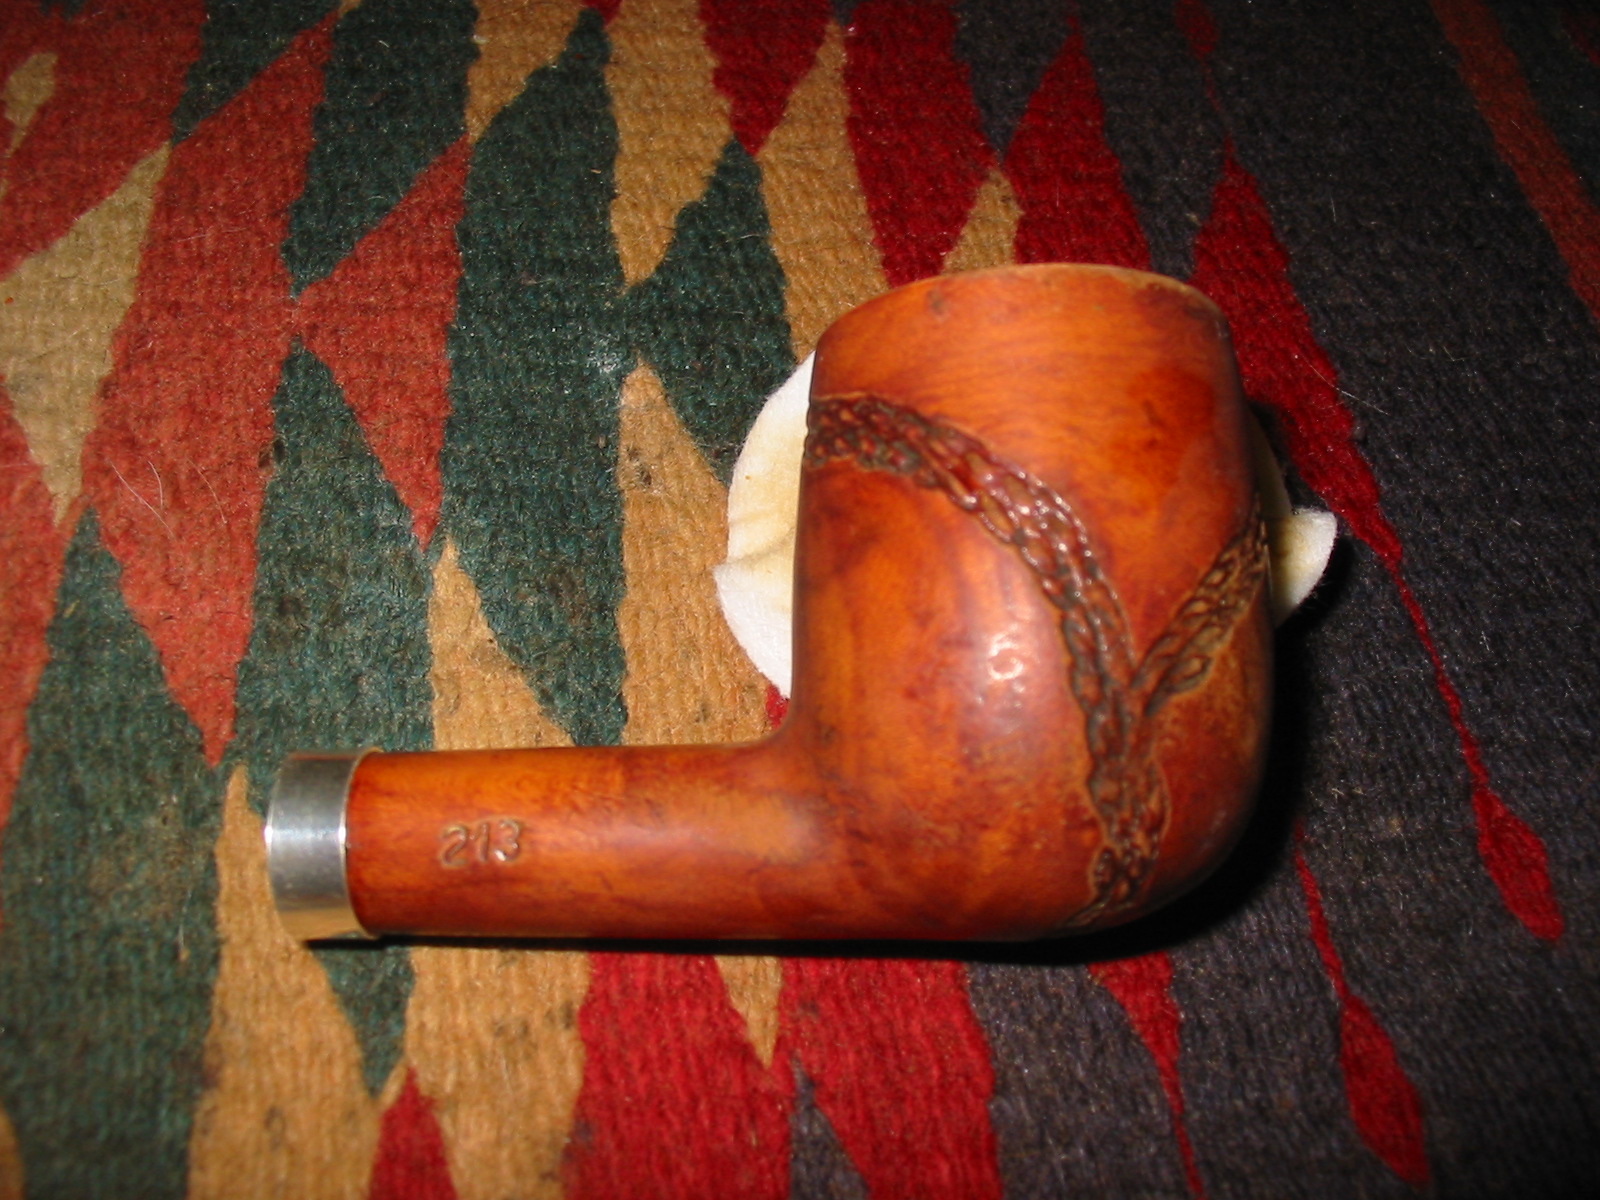
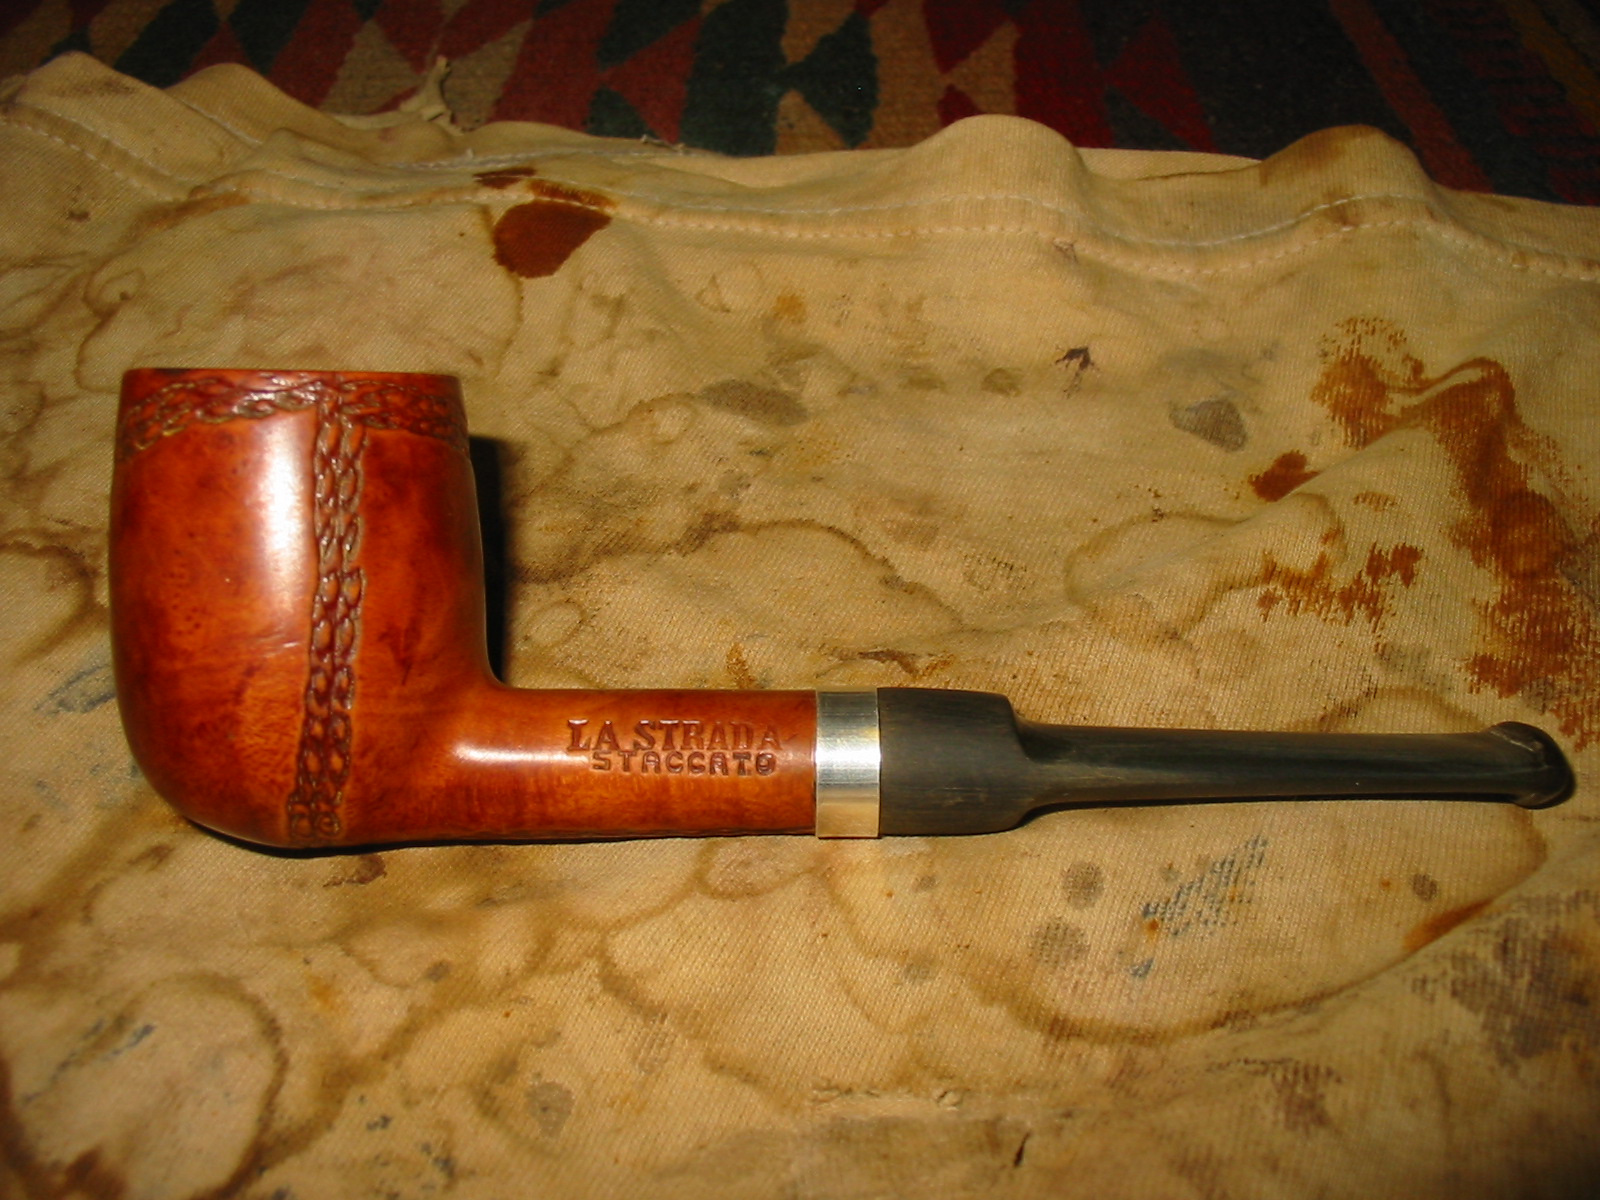
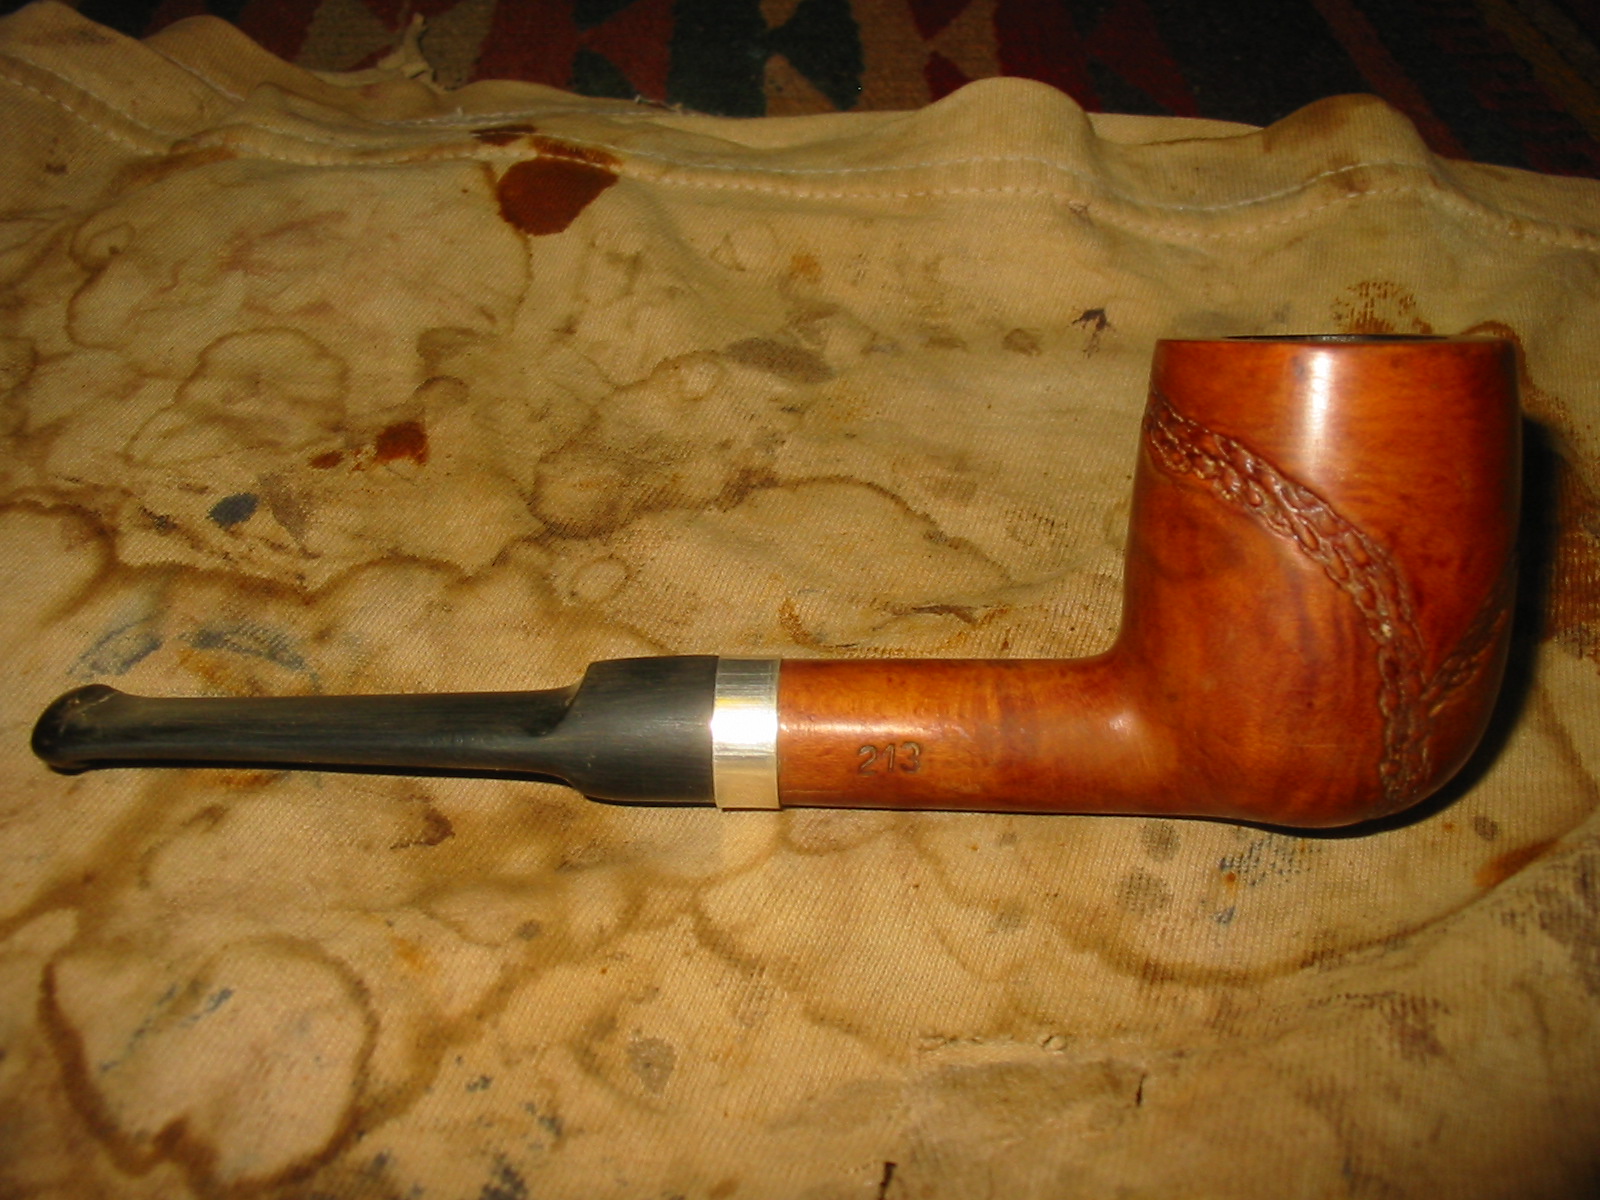
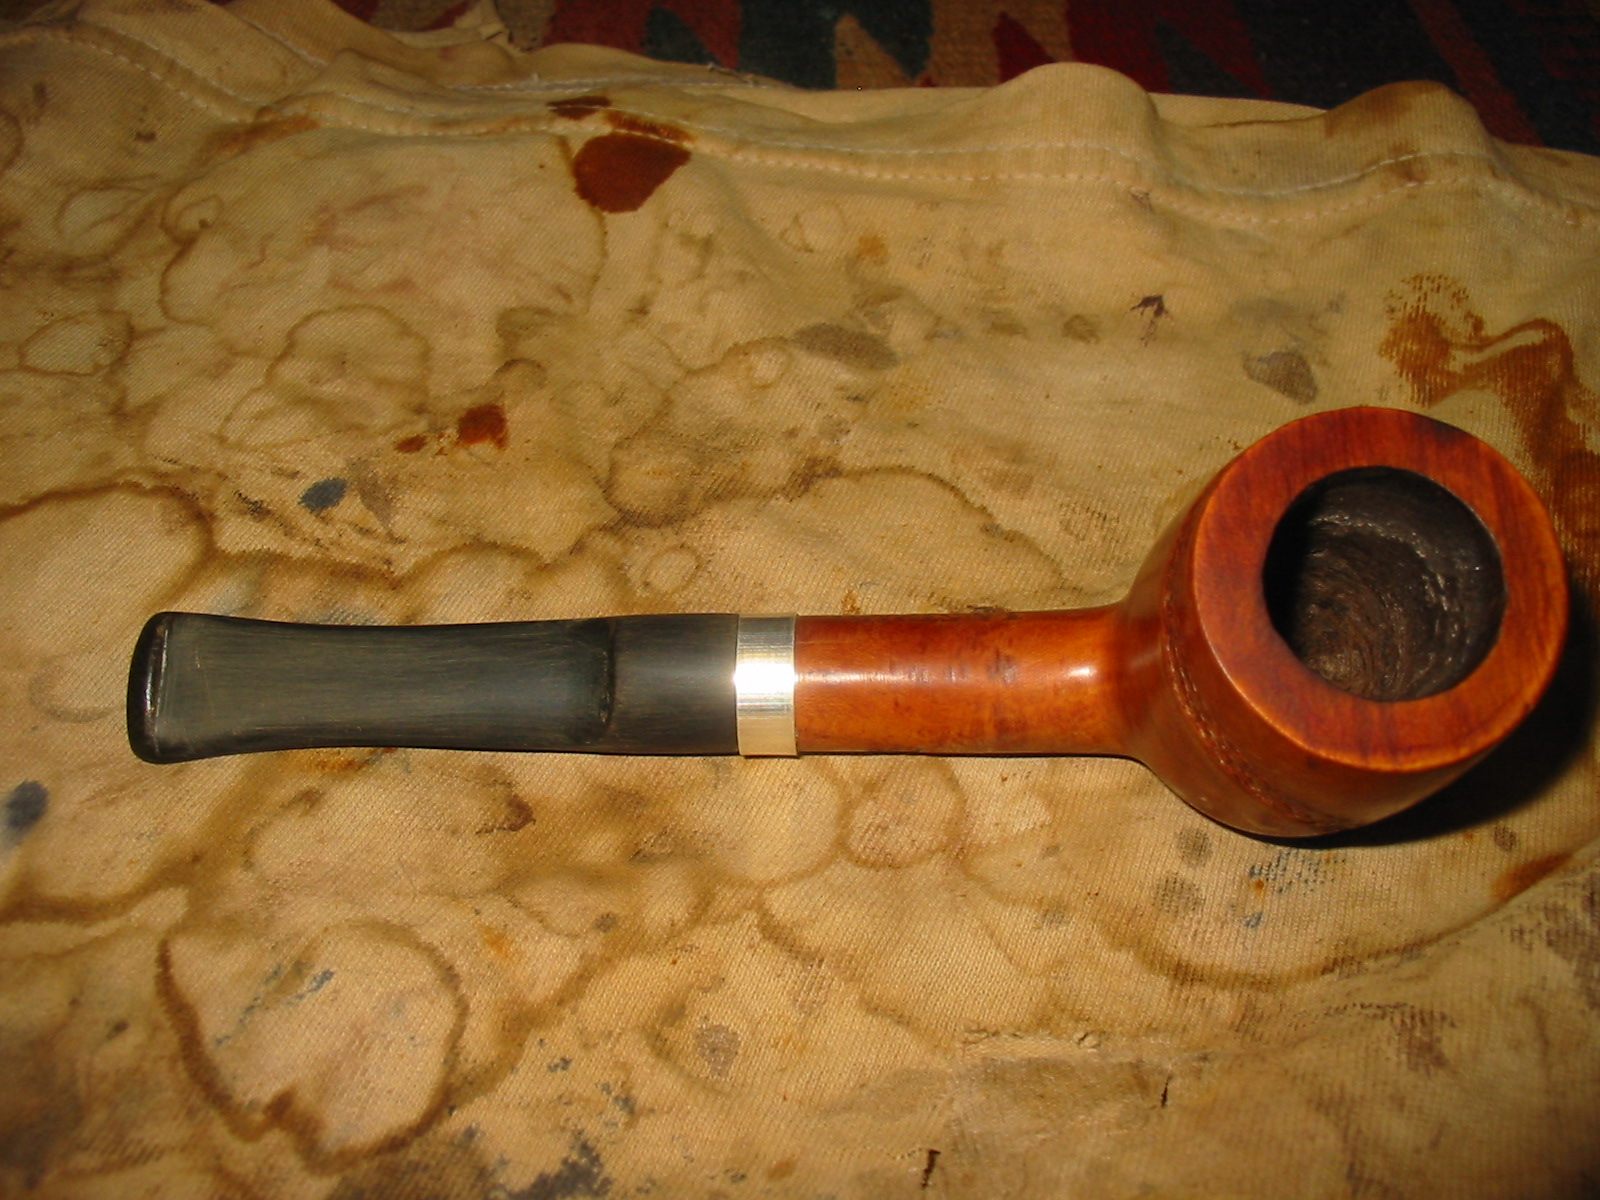
The last of the bowls that came to me as a gift from Andrew was a La Strada Billiard bowl. It was stamped La Strada over Staccato on the left side of the shank and shape 213 on the right side. It needed a stem and it had a few minor issues that needed to be addressed. The finish was an interesting rope rustication pattern that went around the bowl like a lasso and the finish under the rope pattern was leatherlike in terms of colour and look. Over the top of the finish was a plastic clear coat that added a perma shine to the bowl. The rim was in very rough shape and had been hammered on to hard surface in tapping out the dottle. The build up on the rim covered the damaged roughness of the surface. The bowl was badly caked on only one side of the bowl. The shank was clean and looked undamaged. There was no stem with the bowl and the shank was very clean.
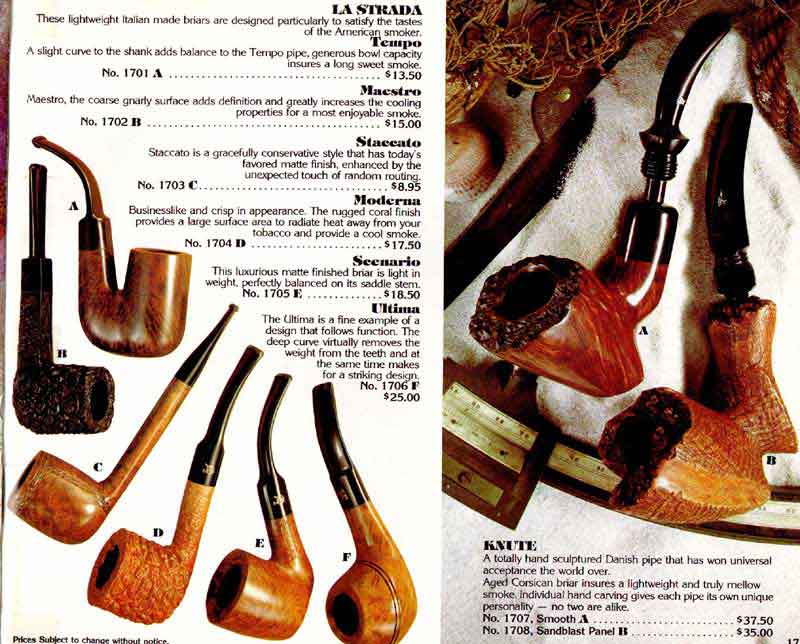
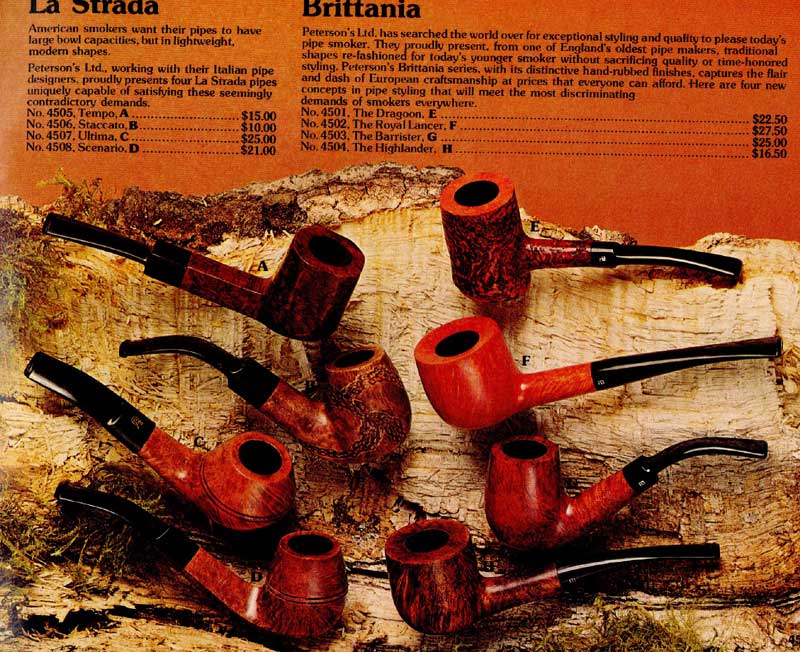
The La Strada was once again a brand with which I was unfamiliar. I had some vague memory of seeing them sold through Tinderbox but was not sure about that memory. I did a bit of research and found that indeed they had been sold there. They were Italian Made. Here is a page from a Tinderbox catalogue showing the brand. The catalog describes the pipe as “a gracefully conservative style that has today’s favoured matte finish, enhance by the unexpected touch of random routing.” The price was a princely $8.95-$10.00.
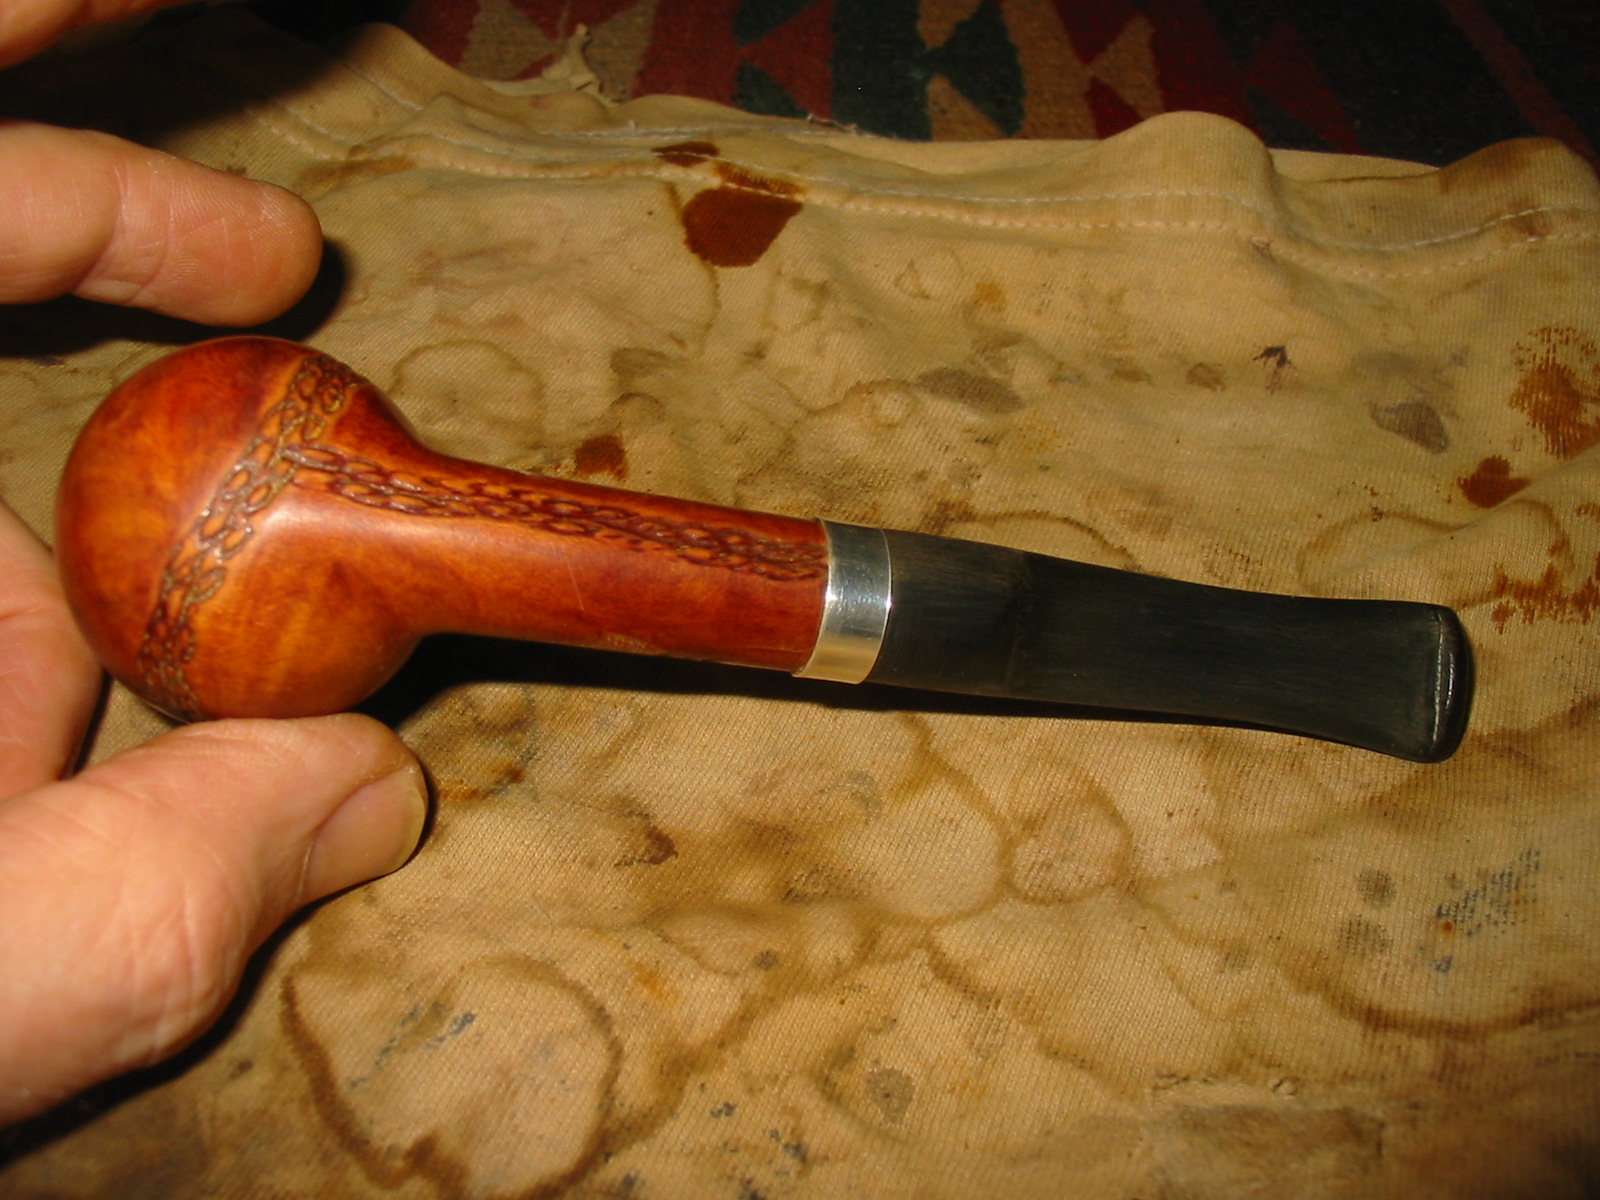
I sorted through my stems and found one that fit very nicely in the shank. When I inserted it there were two cracks revealed, one on top and one on the bottom of the shank. I honestly don’t know if they were present or if the happened when I put the stem in place. It was not a tight fit so I am unsure. It honestly did not matter as banding it would not be a problem. I found a silver band I had in my kit that was a good fit and pressed it into place on the shank. I heated the band with a heat gun and then pressure fit it onto the shank.


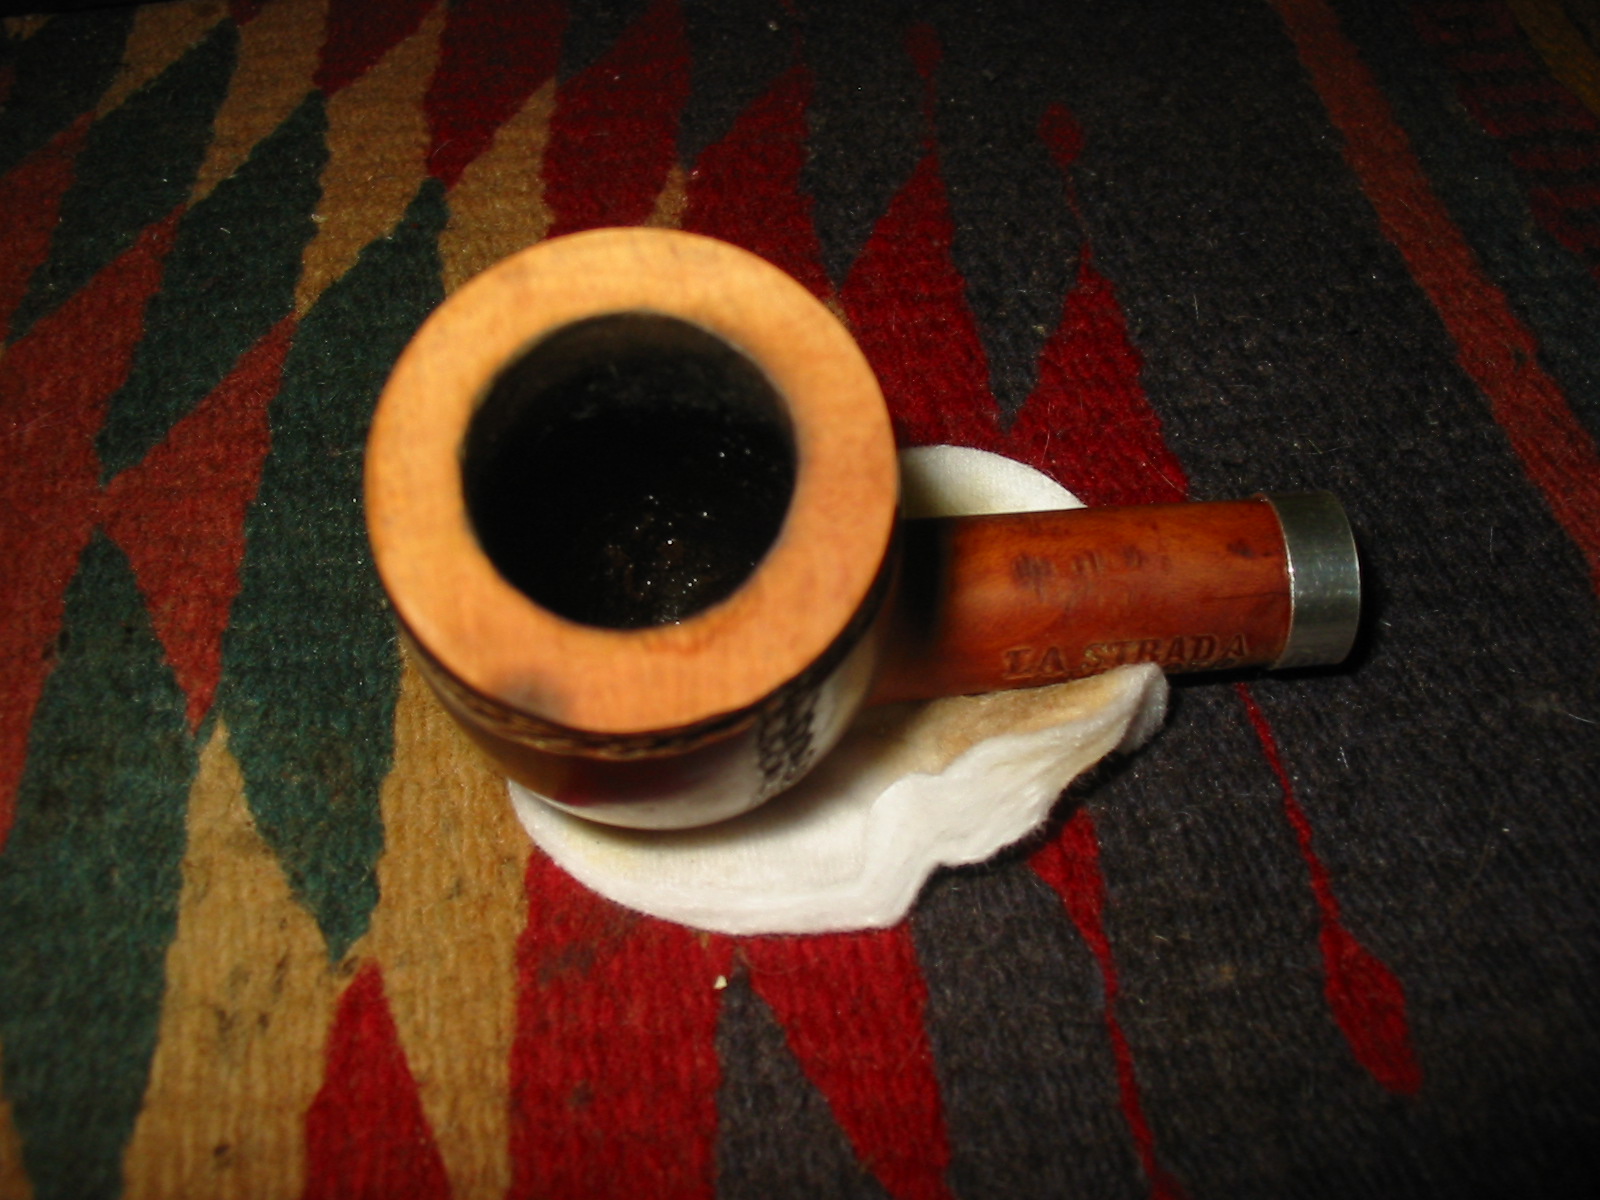
I reamed the bowl with a PipNet reamer (this seems to be more and more my reamer of choice in refurbishing).

I set up my topping board and then topped the bowl with 220 grit sandpaper. I removed enough of the surface of the rim to take away the damage to the top and the front of the bowl. There were also some burn marks on the left side of the rim that I was able to sand out the majority of damage.


I wiped down the bowl with acetone to try to break up the plastic/shiny finish that was on the bowl and was not able to remove it. The thick coat had bubbles that were thick around the rope rustication areas on the left side of the bowl. I finally put the bowl into an alcohol bath and let it soak overnight to try to break up the finish.


I took the bowl out of the alcohol bath and sanded it with a medium grit and a fine grit sanding sponge and was able to break through the finish and finally remove it. I wiped the bowl down again with acetone on cotton pads and the bowl was clean. I stained it with a dark brown aniline stain mixed 2:1 with isopropyl alcohol and applied and flamed it until the coverage matched the rim to the rest of the bowl. I buffed the bowl with White Diamond on the buffing wheel and brought it back to the work table and set it aside to work on the stem.
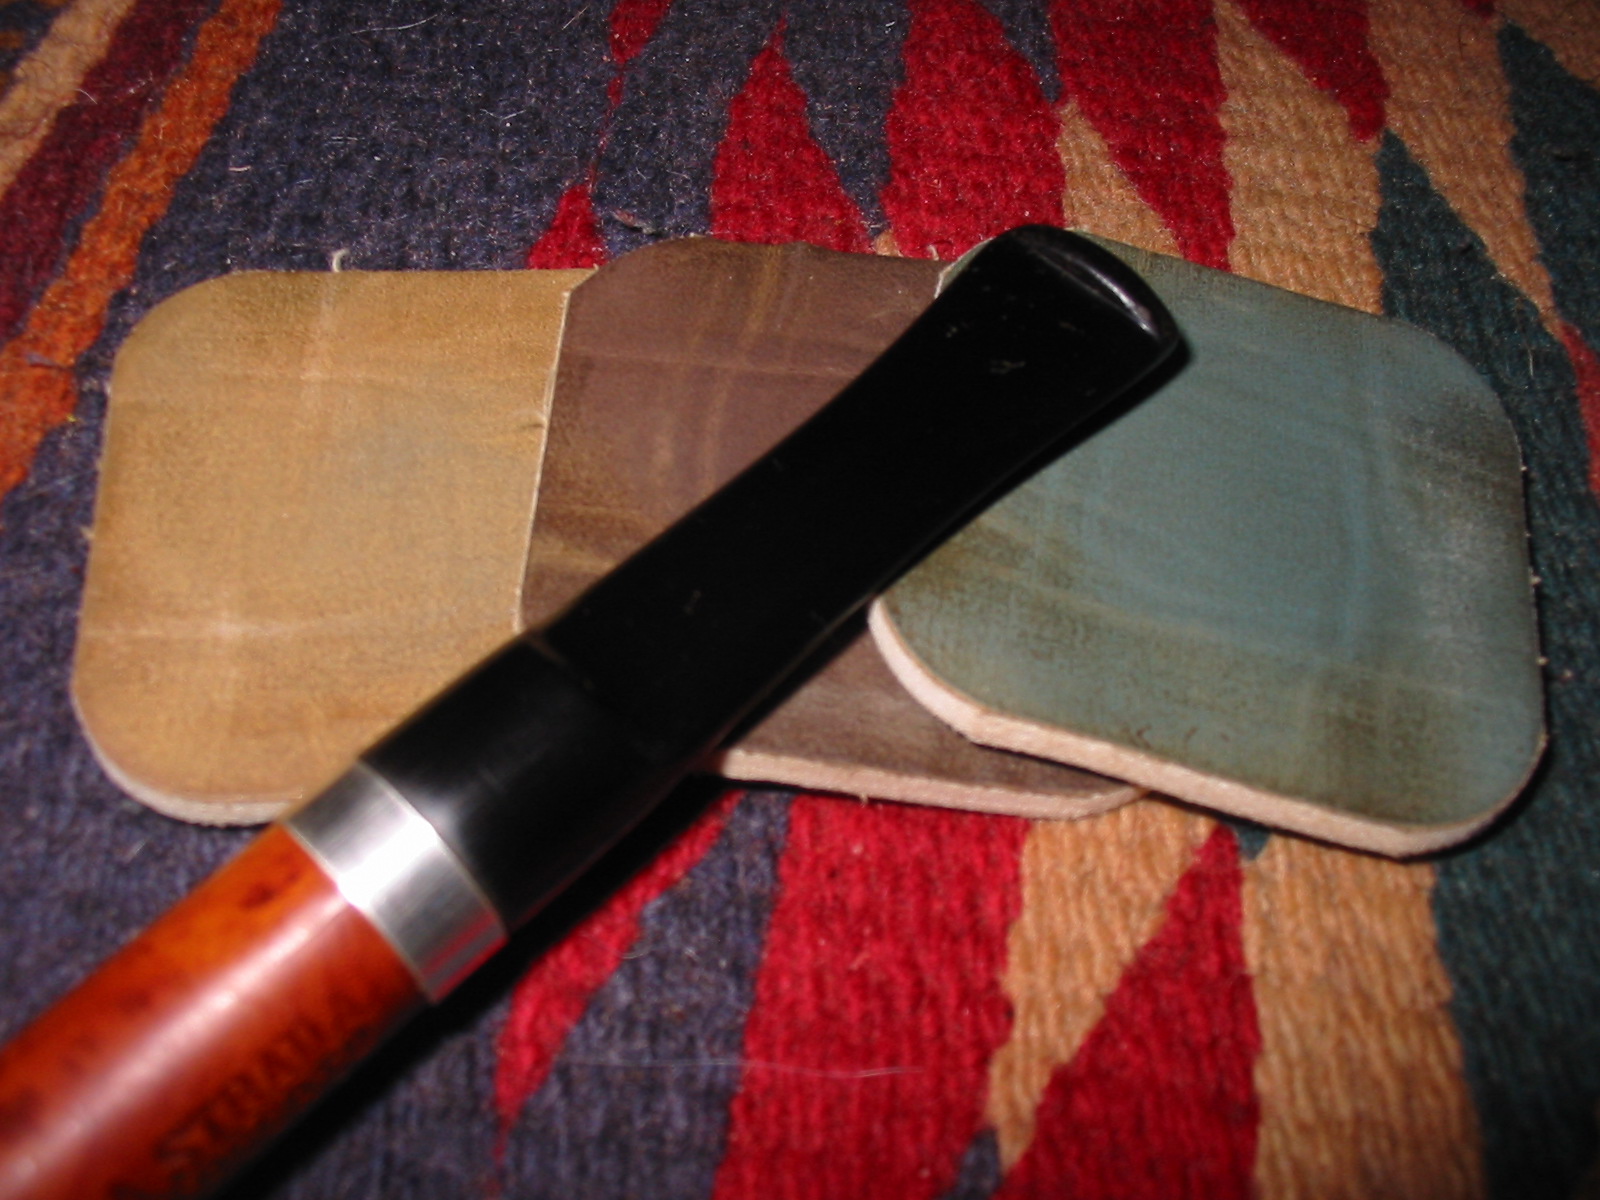
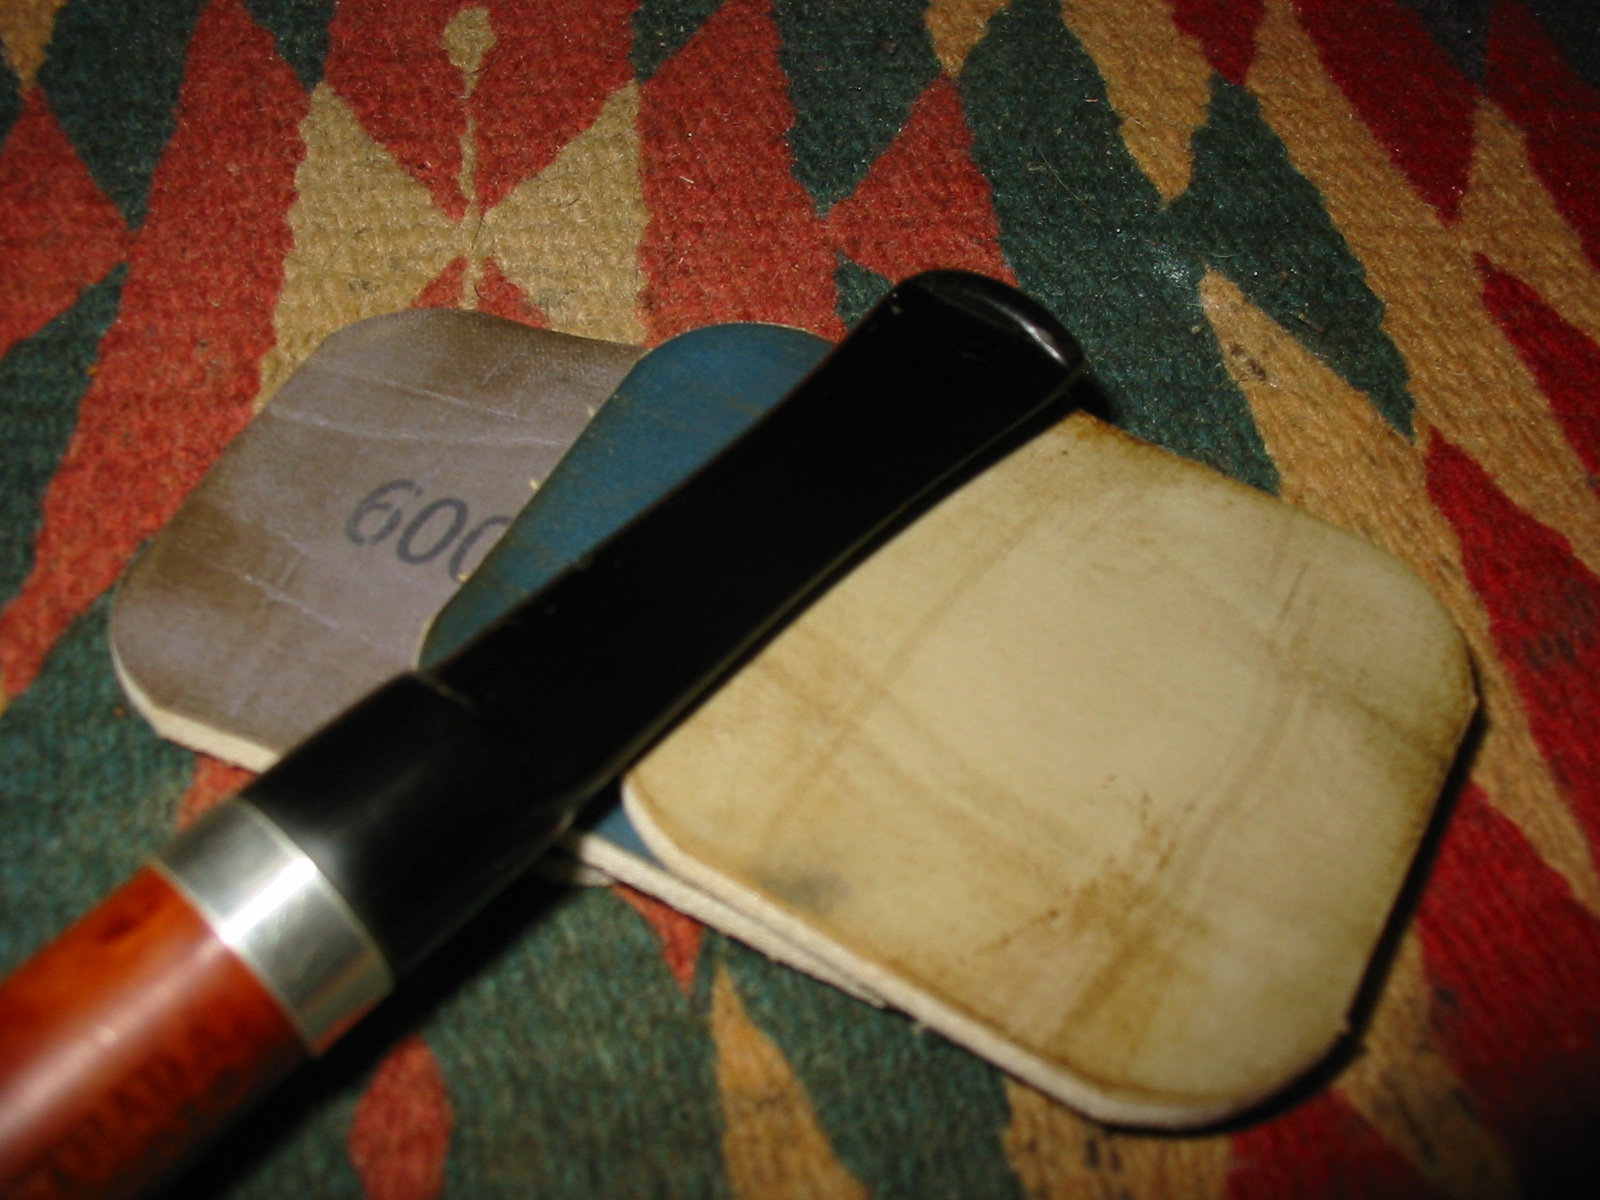
I sanded the tooth marks on the stem with 220 grit sandpaper and then a medium grit sanding sponge until they were no longer visible. I then used micromesh sanding pads to finish the stem. I wet sanded with 1500-2400 grit pads and dry sanded with 3200-12,000 grit pads. I rubbed down the stem with Obsidian Oil and when dry buffed it with White Diamond.

I polished the silver band with silver polish and micromesh sanding pads and then buffed the pipe and stem with White Diamond. I gave the pipe multiple coats of carnauba wax and buffed it to a shine with a soft flannel buffing pad. The finished pipe is shown in the photos below. It is ready for its initial and should make someone a good pipe in the long run.