Daily Archives: January 7, 2014

My Process of Topping a Damaged Pipe Bowl


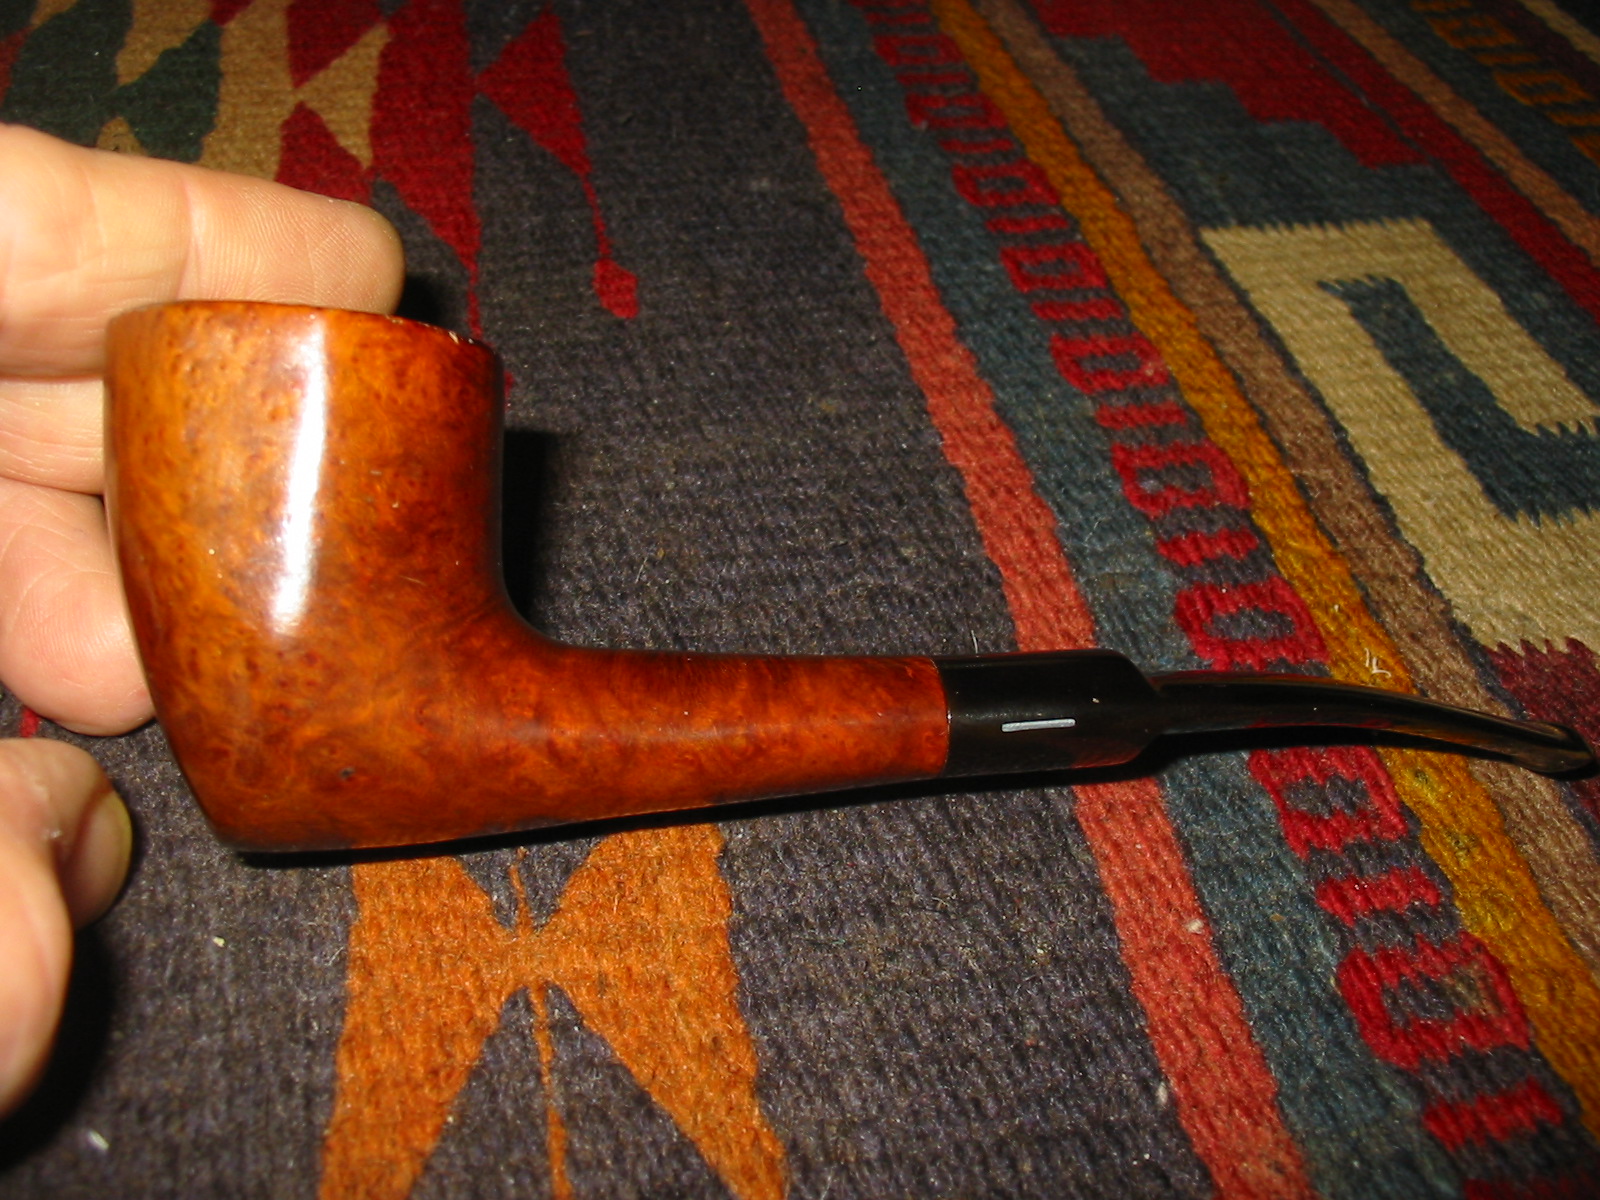
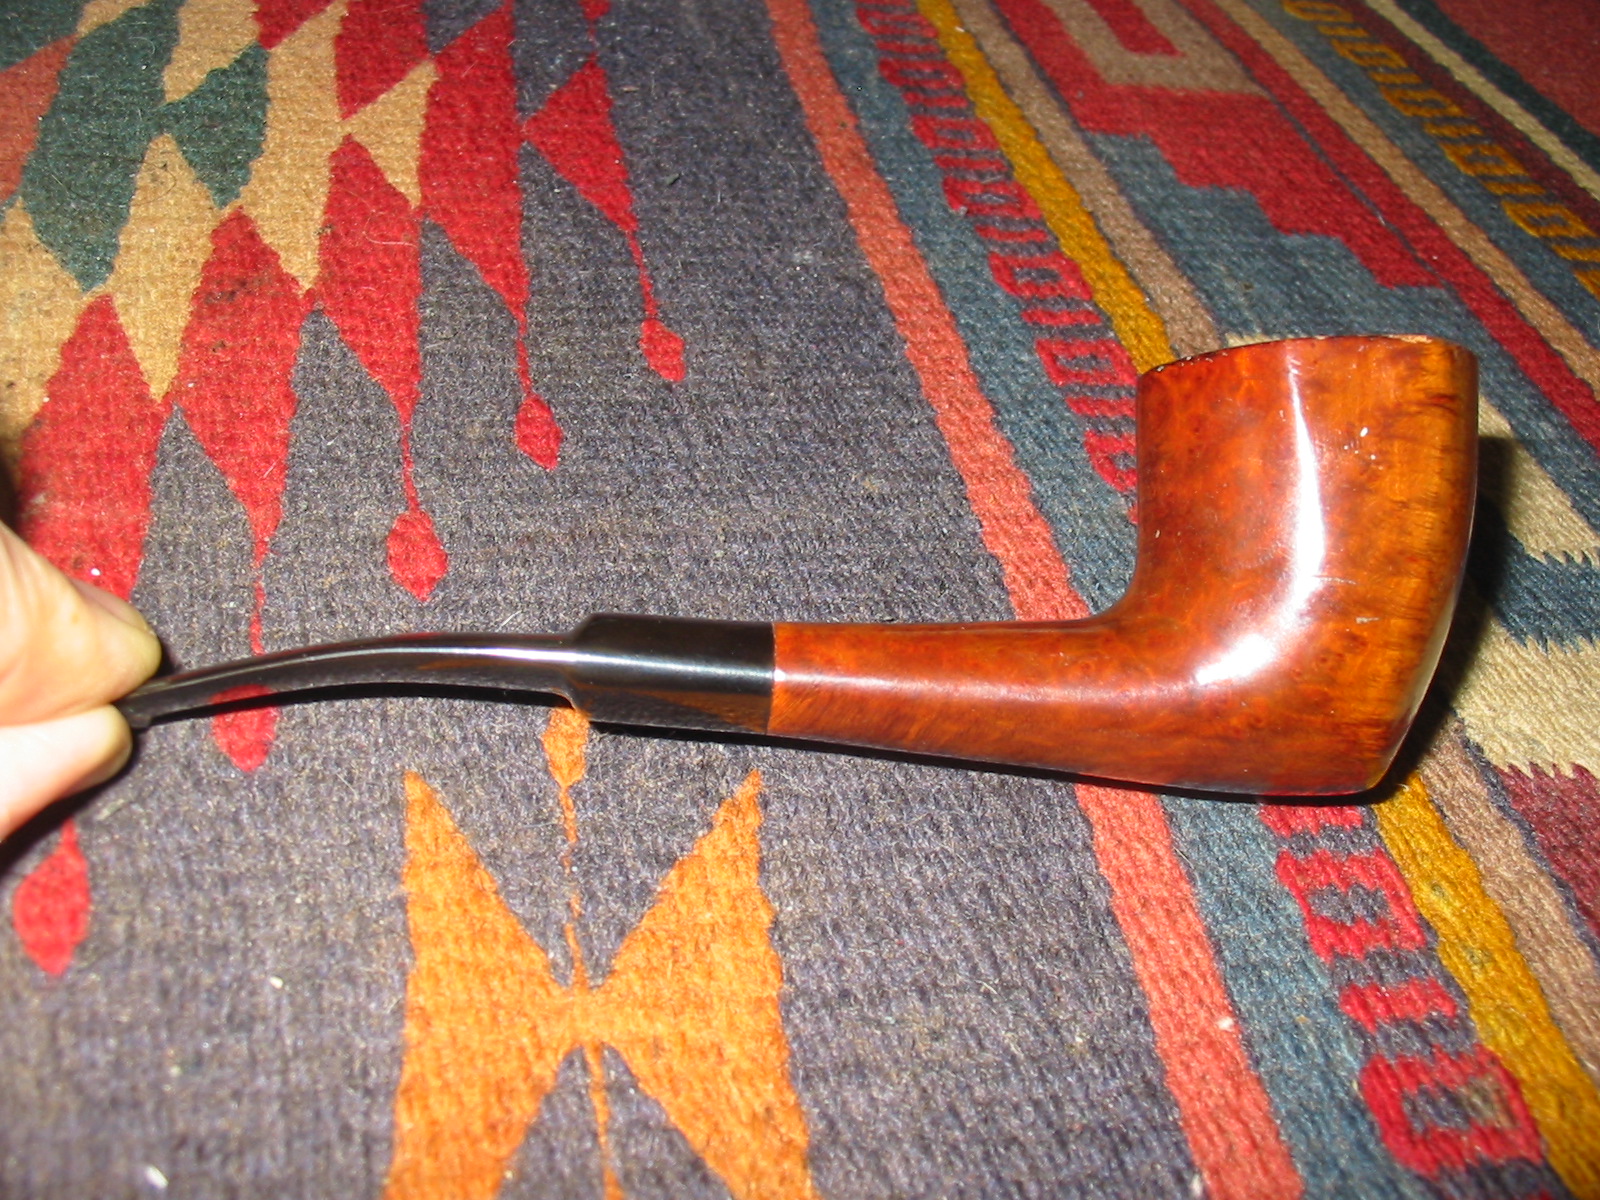
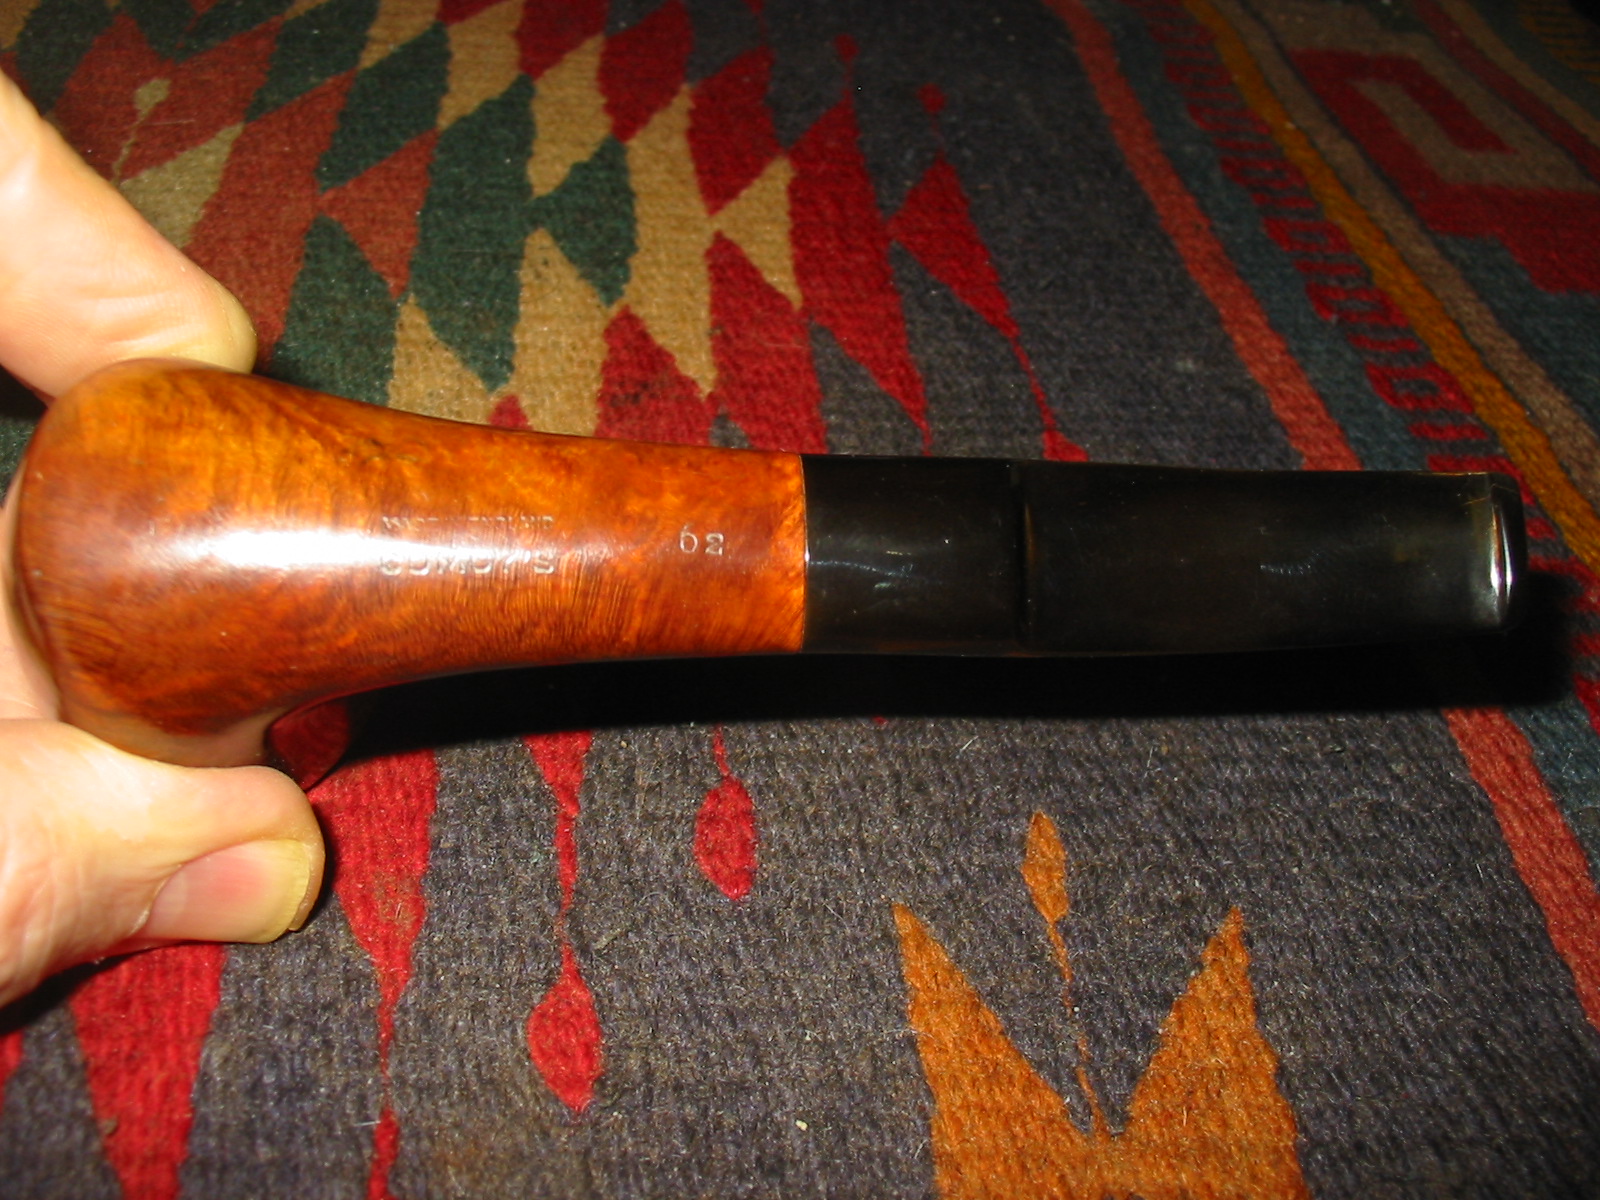
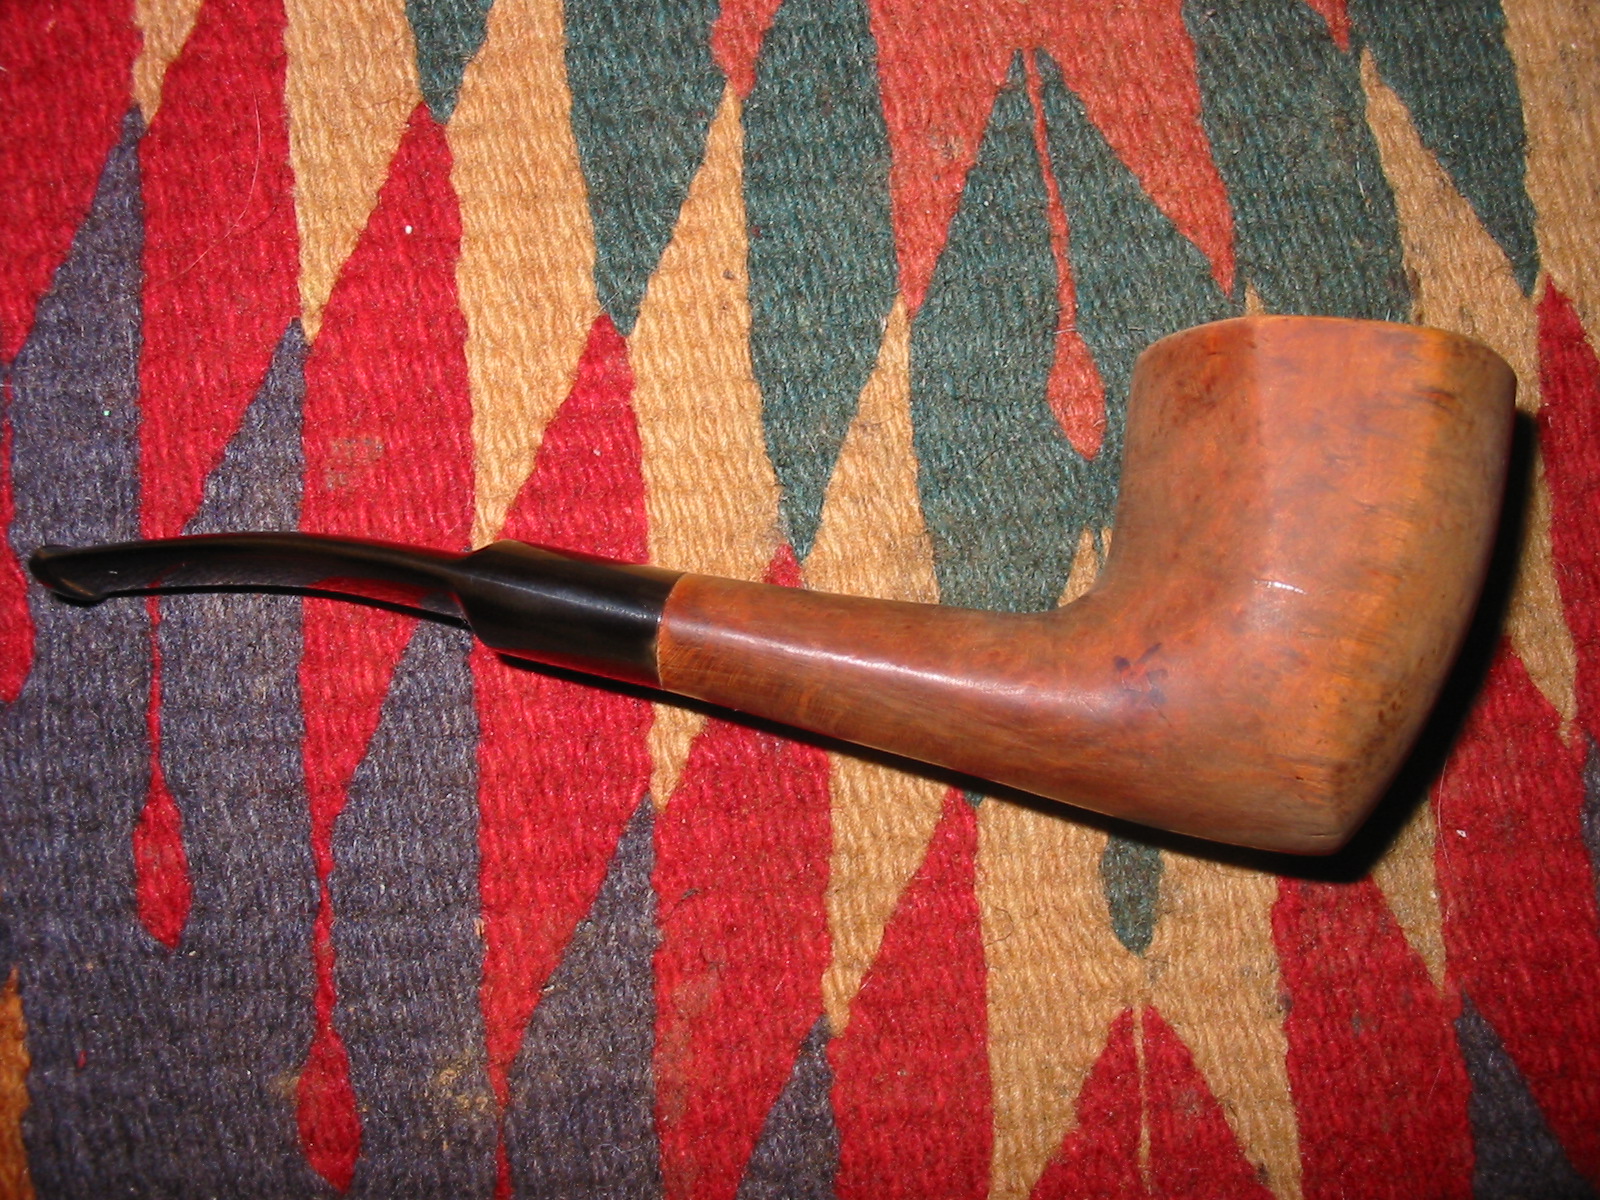
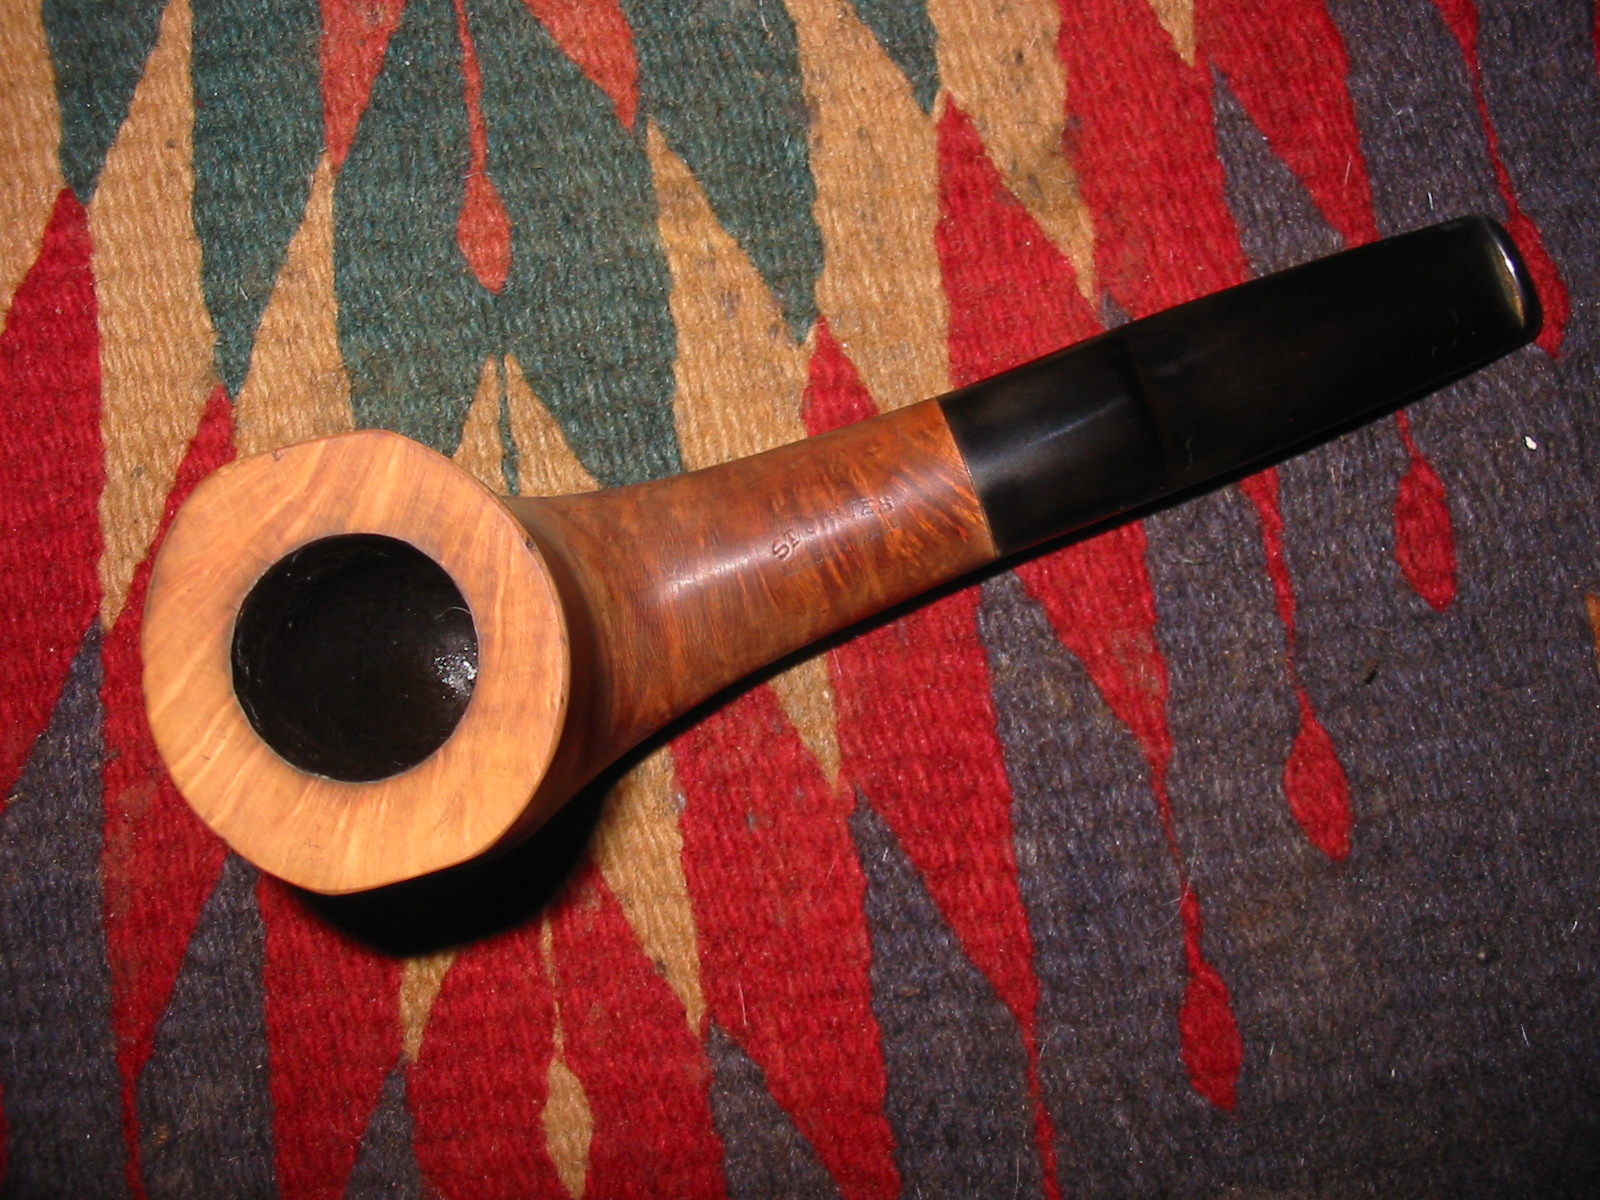
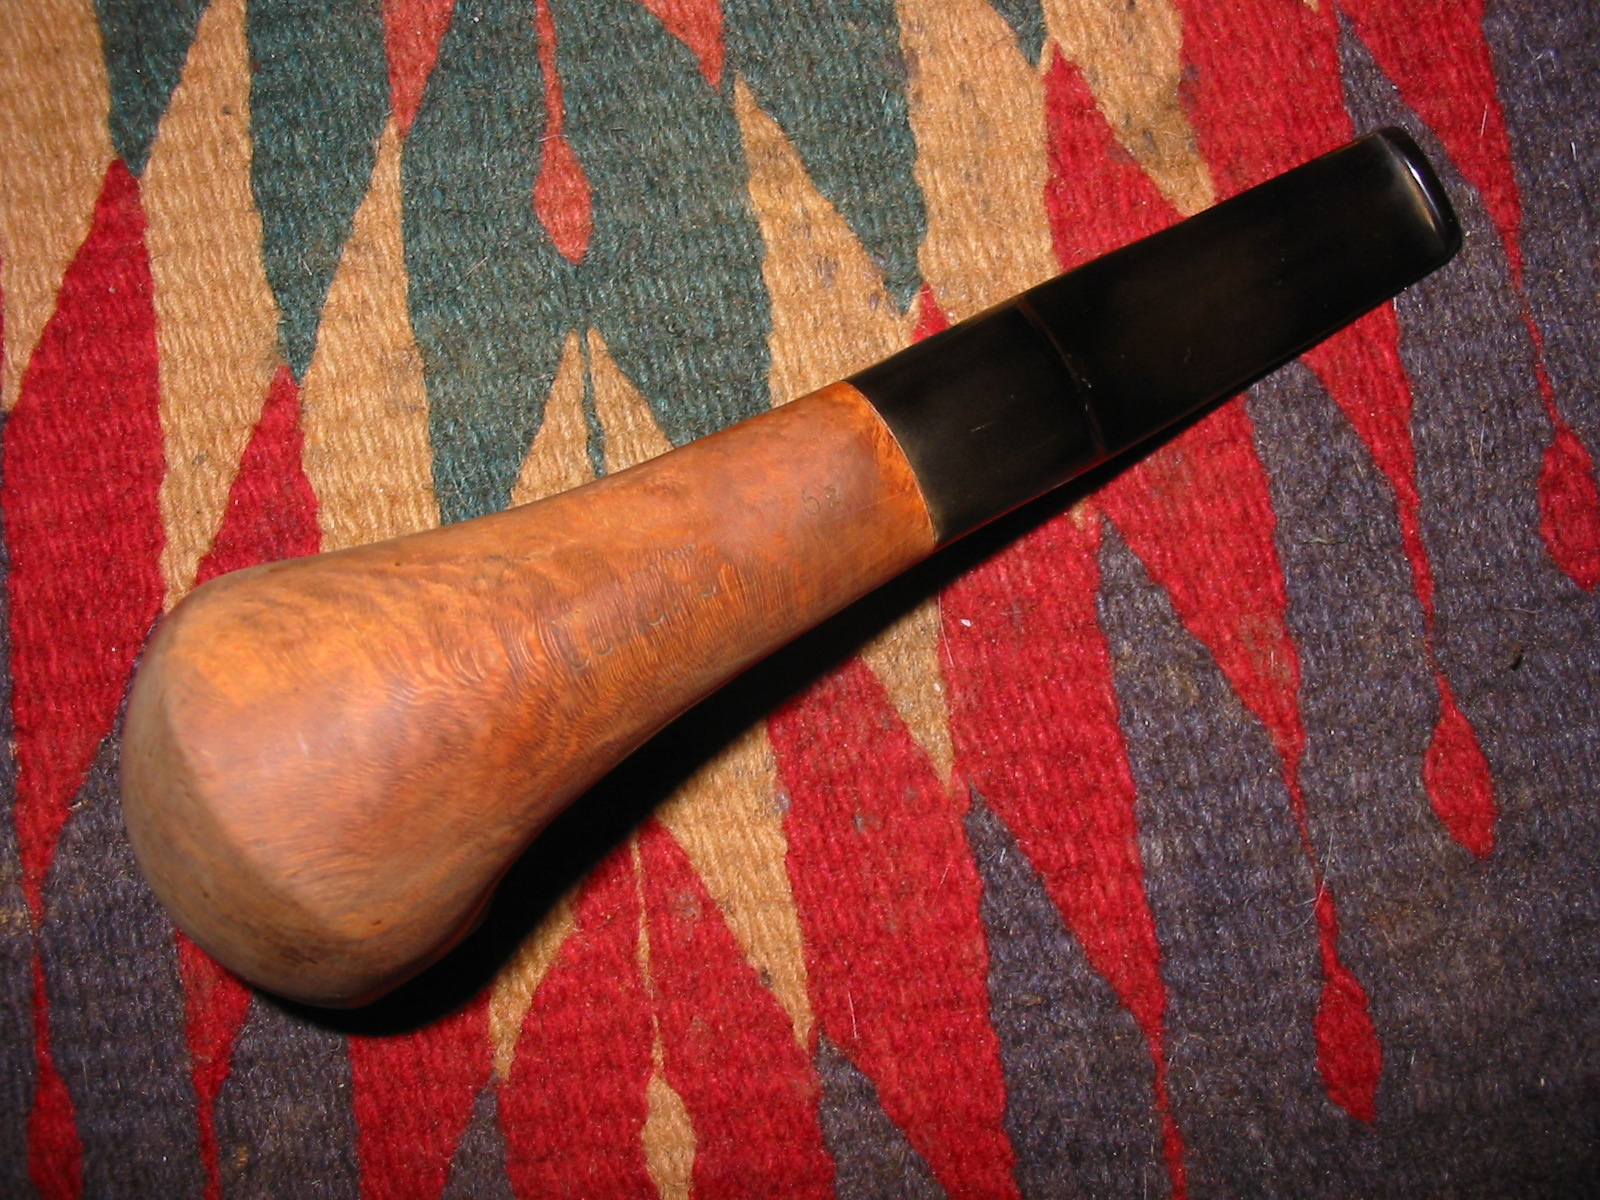
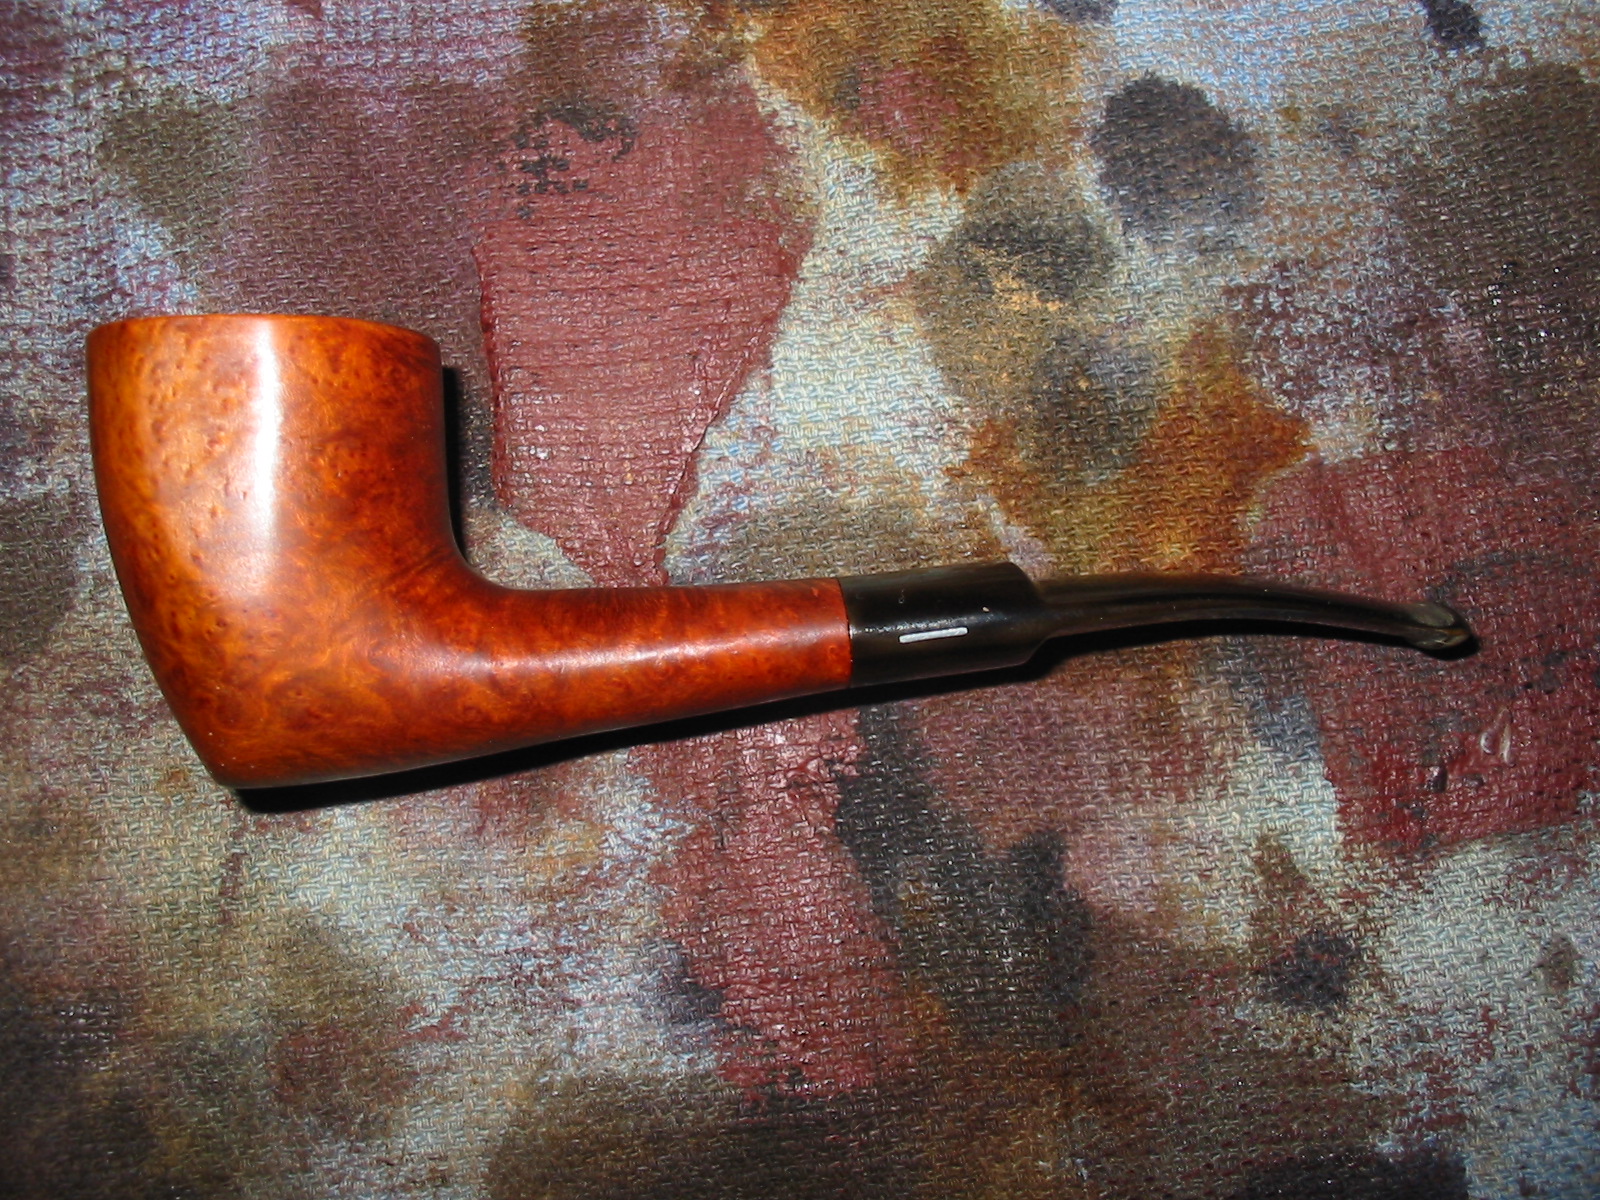
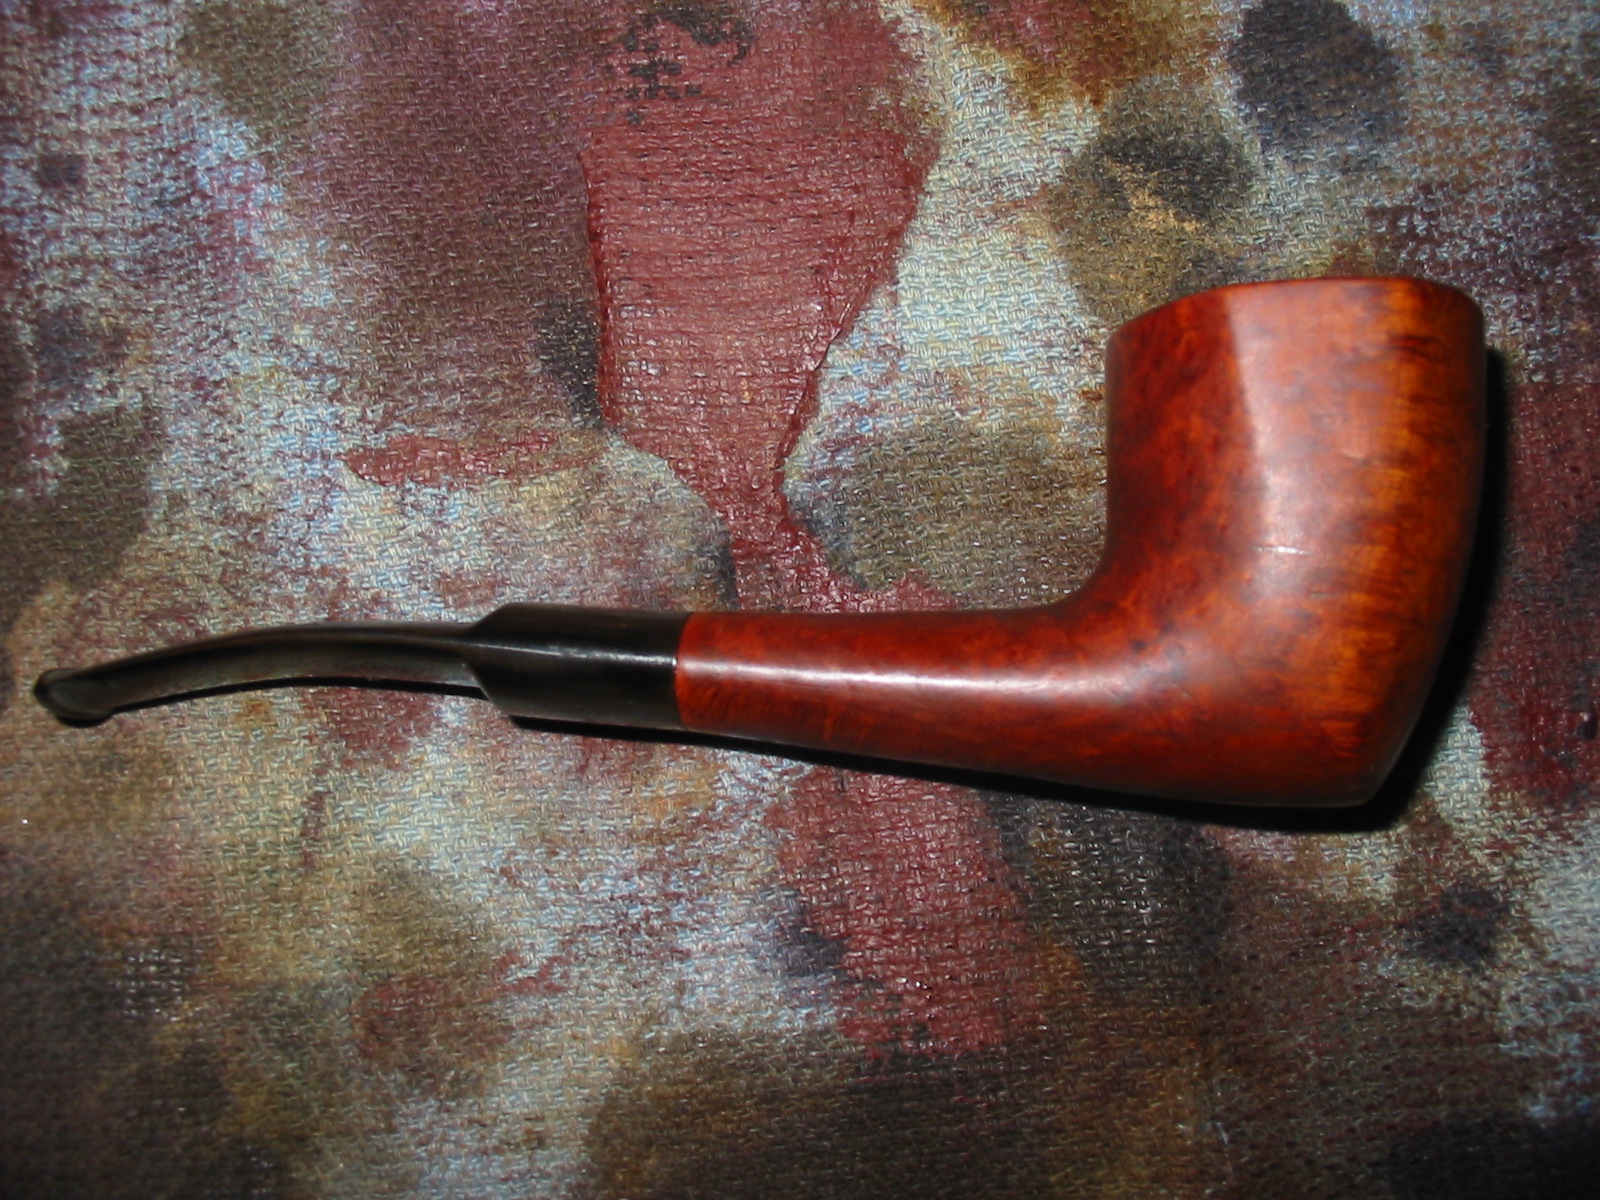
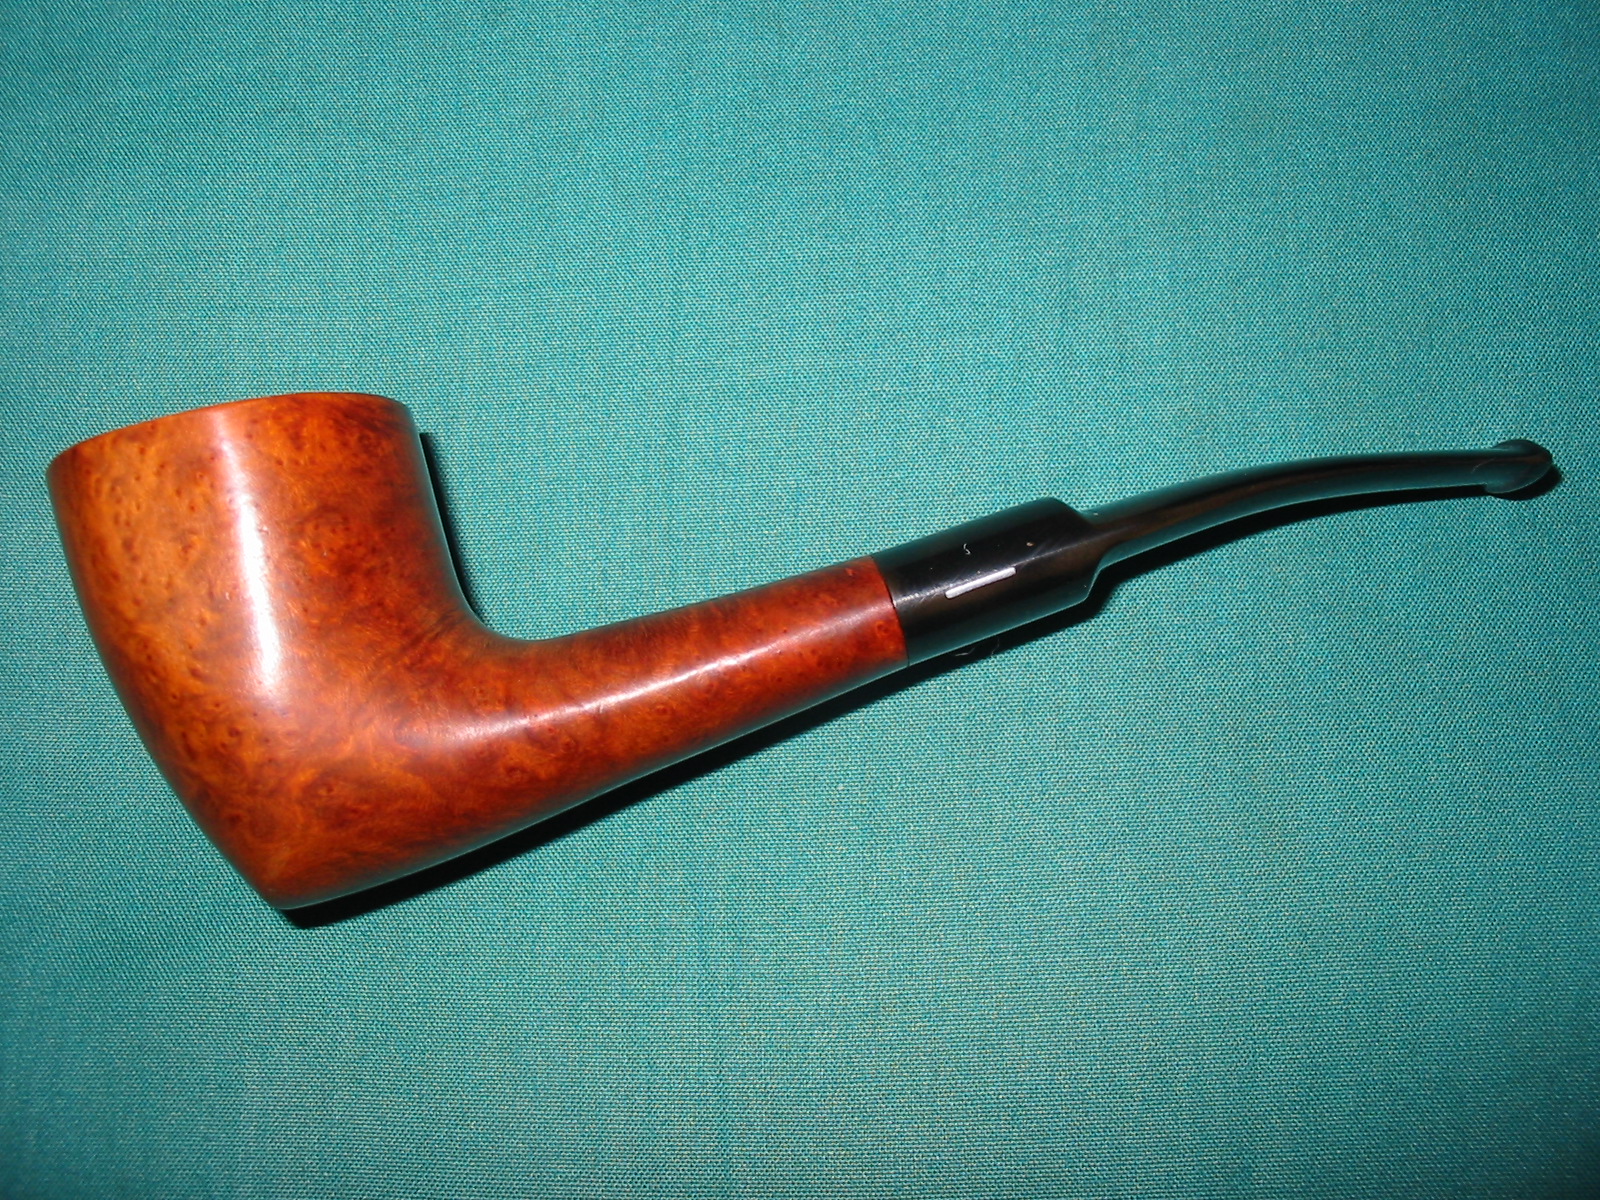
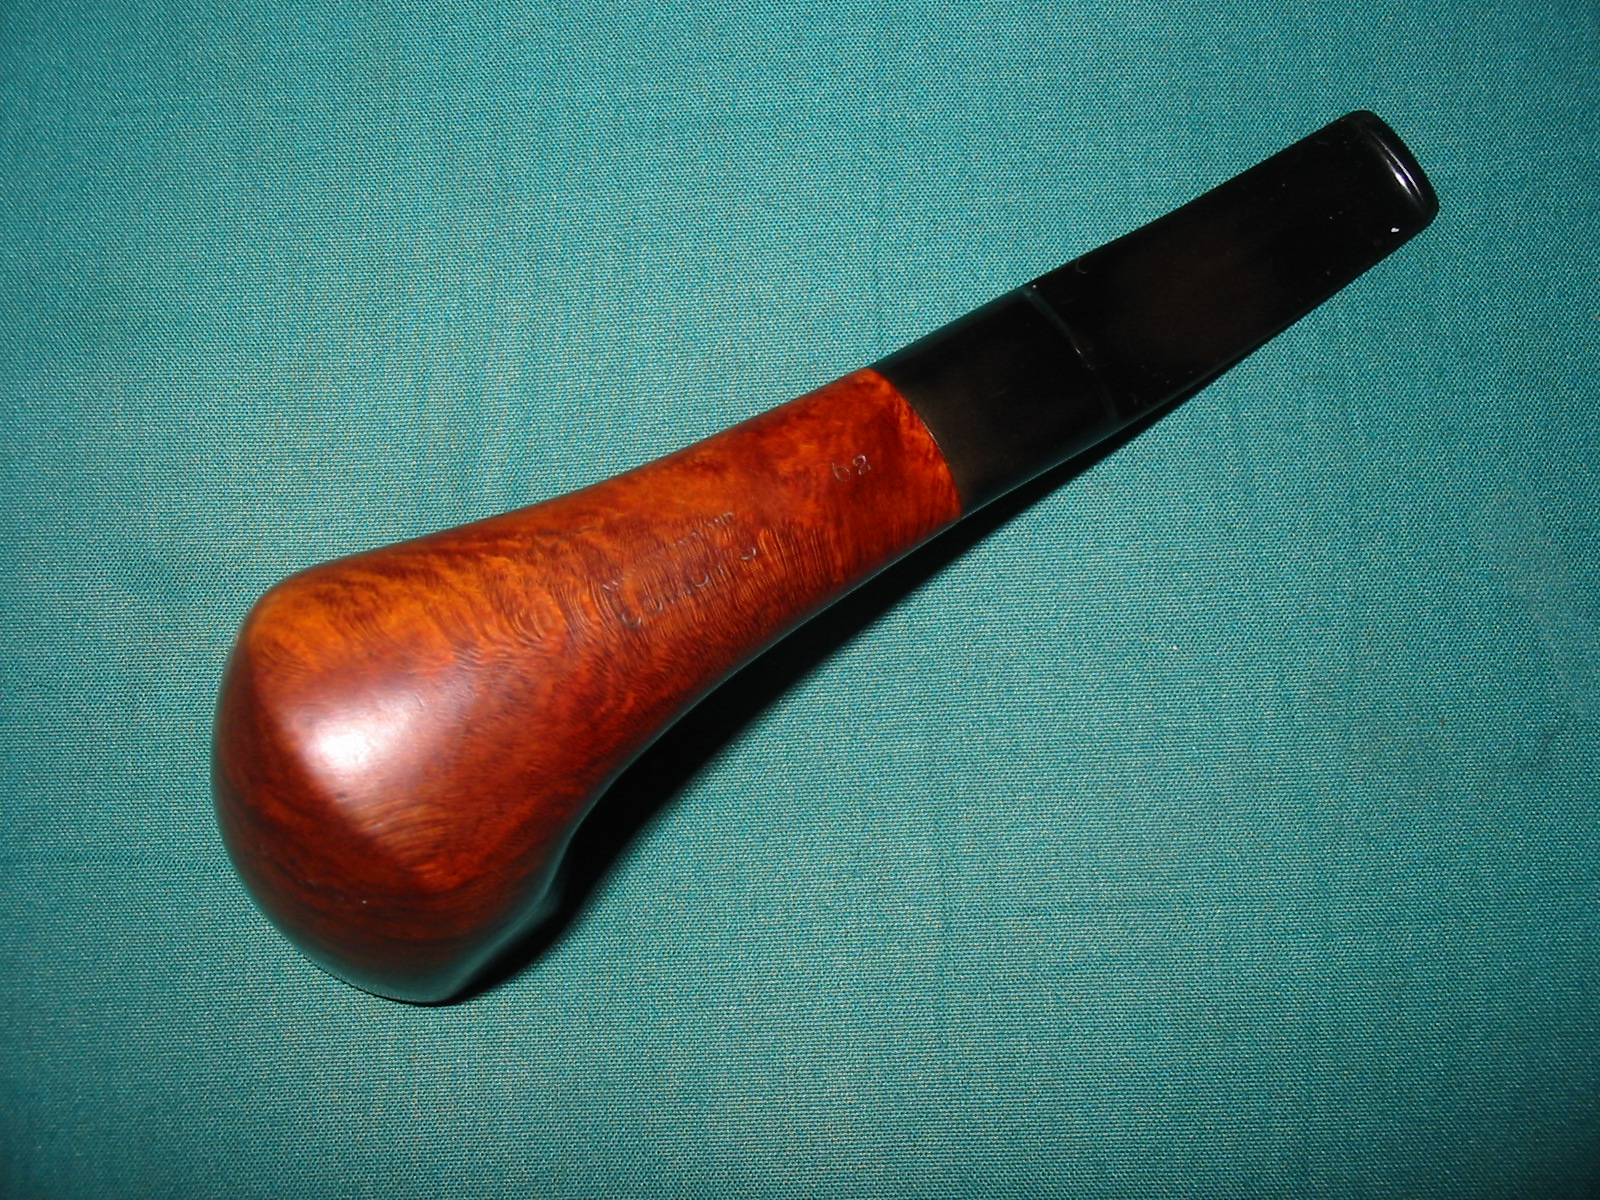
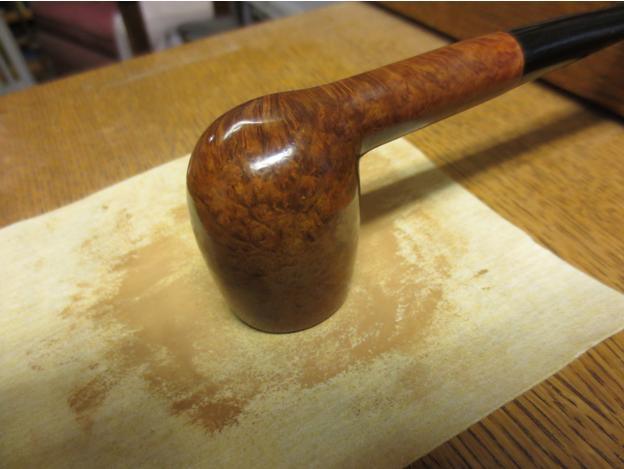
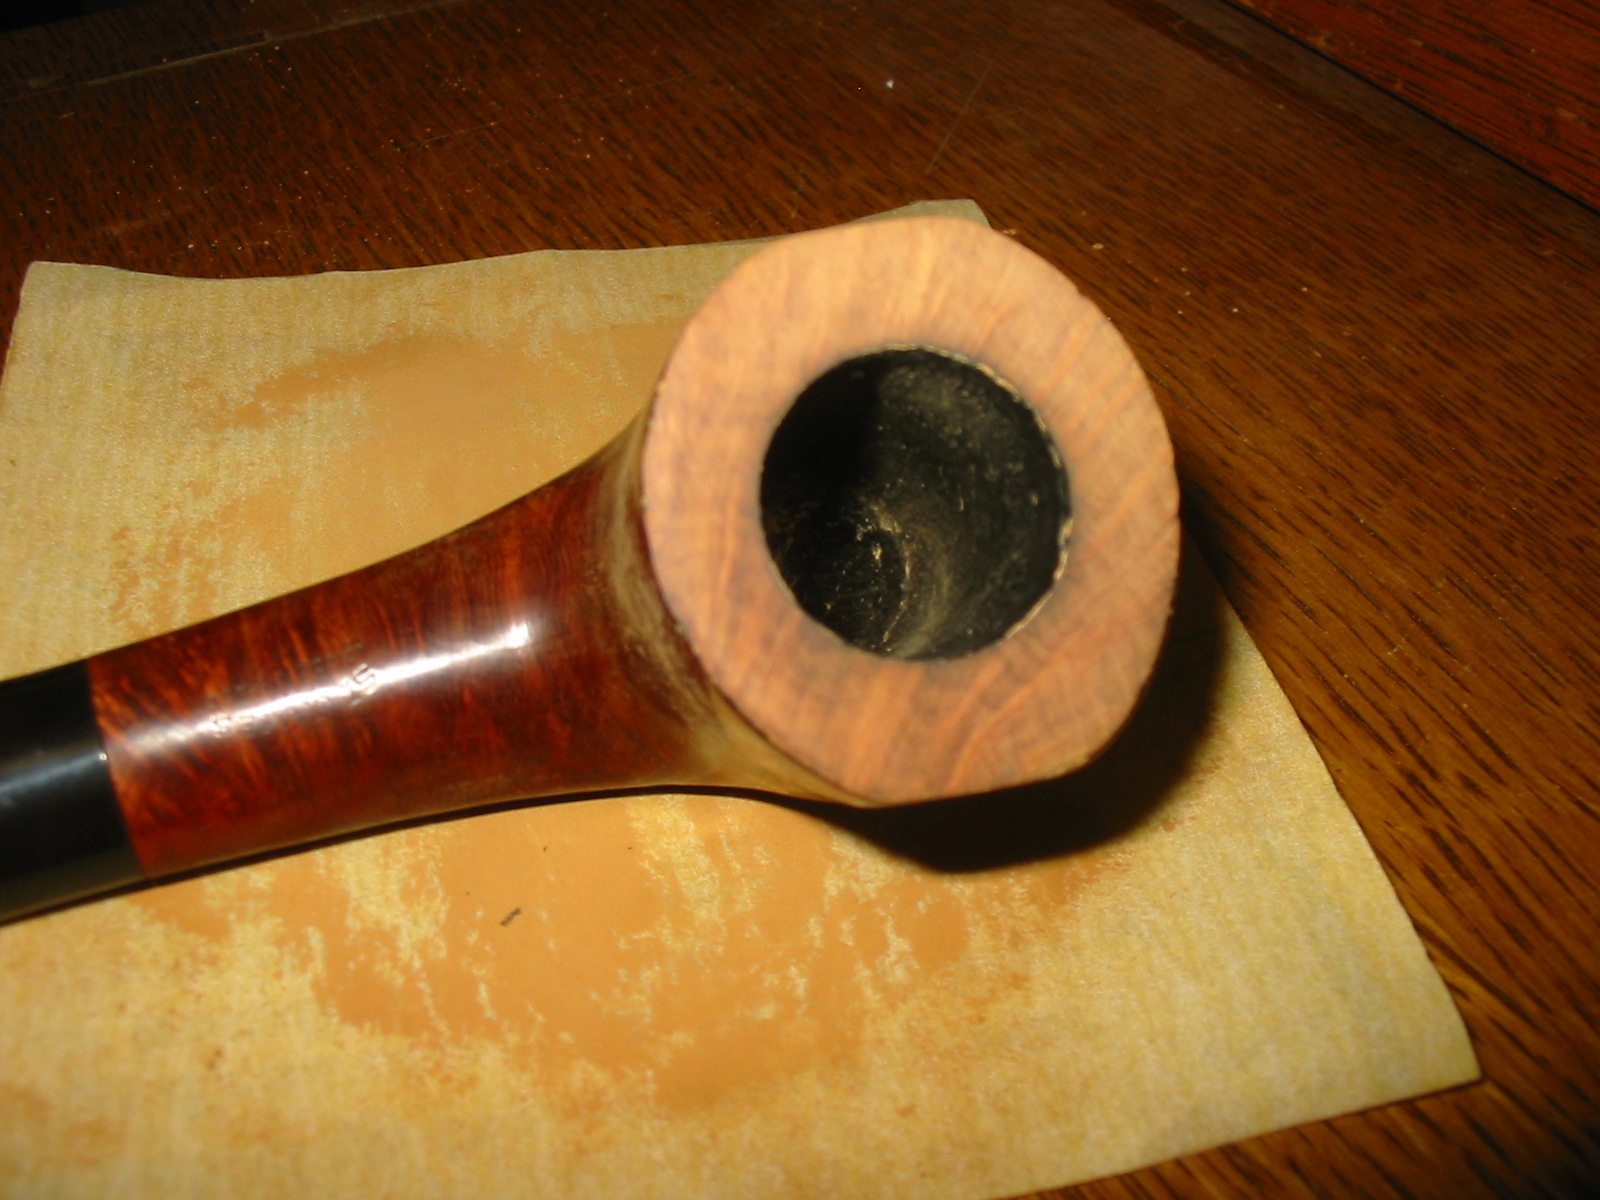
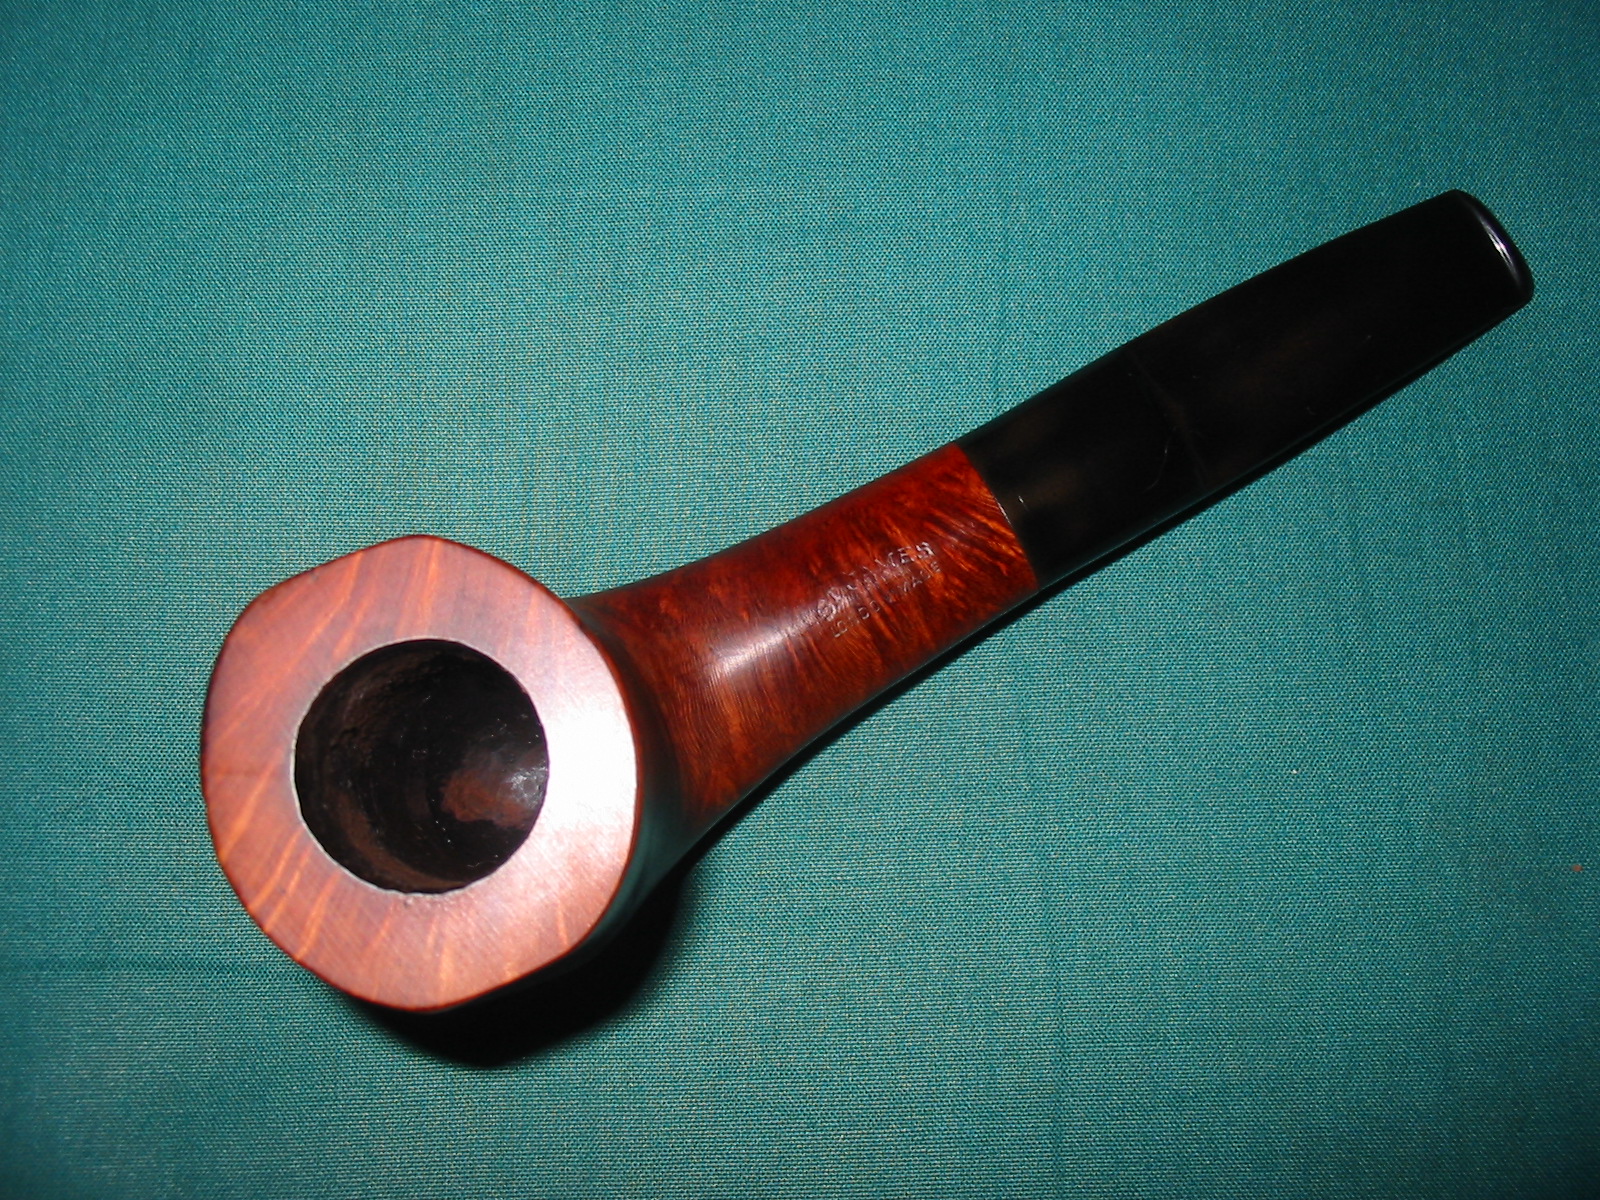
I seem to have been doing quite a few bowl topping job here recently. I decided to document the process a bit and focus on the rim work to make the work more clear so others can give it a try. I have chosen two different Comoy’s pipes and an Orlik billiard that I recently reworked. Each one had serious rim damage that needed topping to effectively repair them. The first one shown below was a Comoy’s London Pride that I have written about in full earlier. This one had both inner and outer rim edge damage. The top had become rounded on both edges and it was poorly done. I researched what it was supposed to look like and topped it accordingly. The second one was an Orlik billiard that had a different type of damage – burn marks and gouges that only a topping would repair. The third one was the Comoy’s St. James pipe that repaired.
comoys5

img_3907

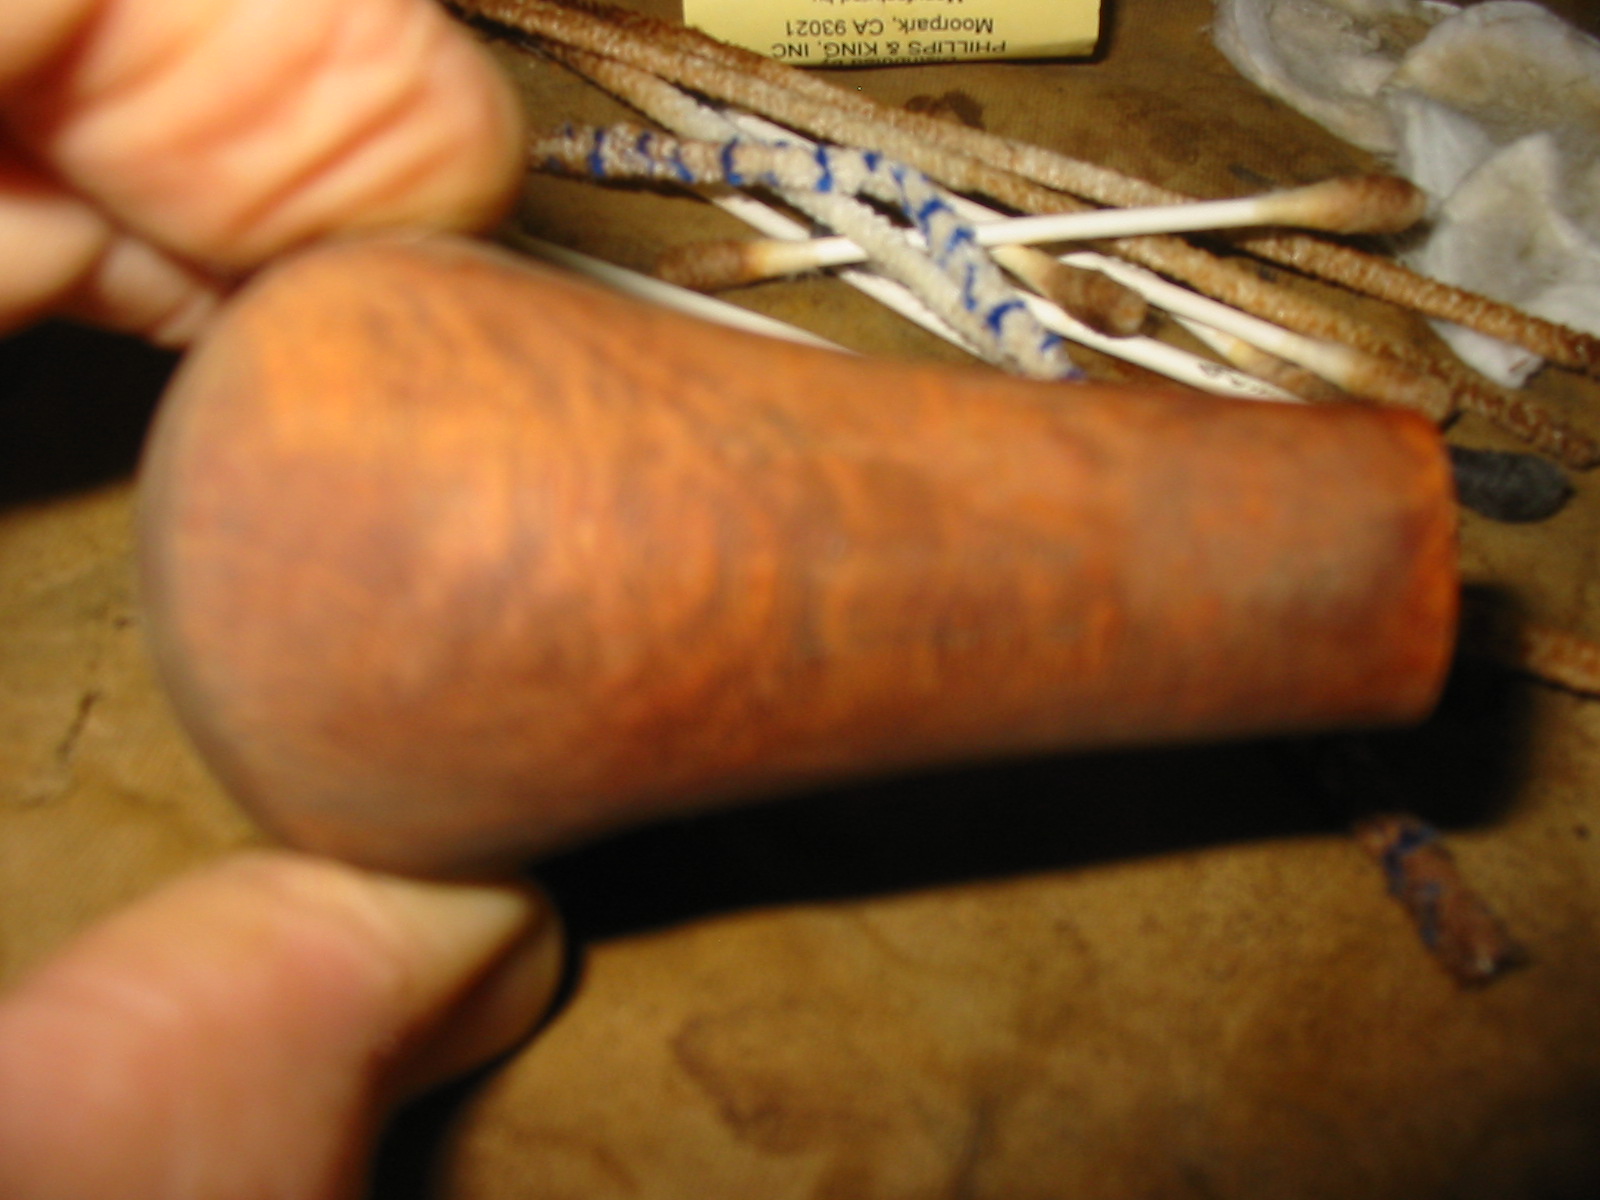
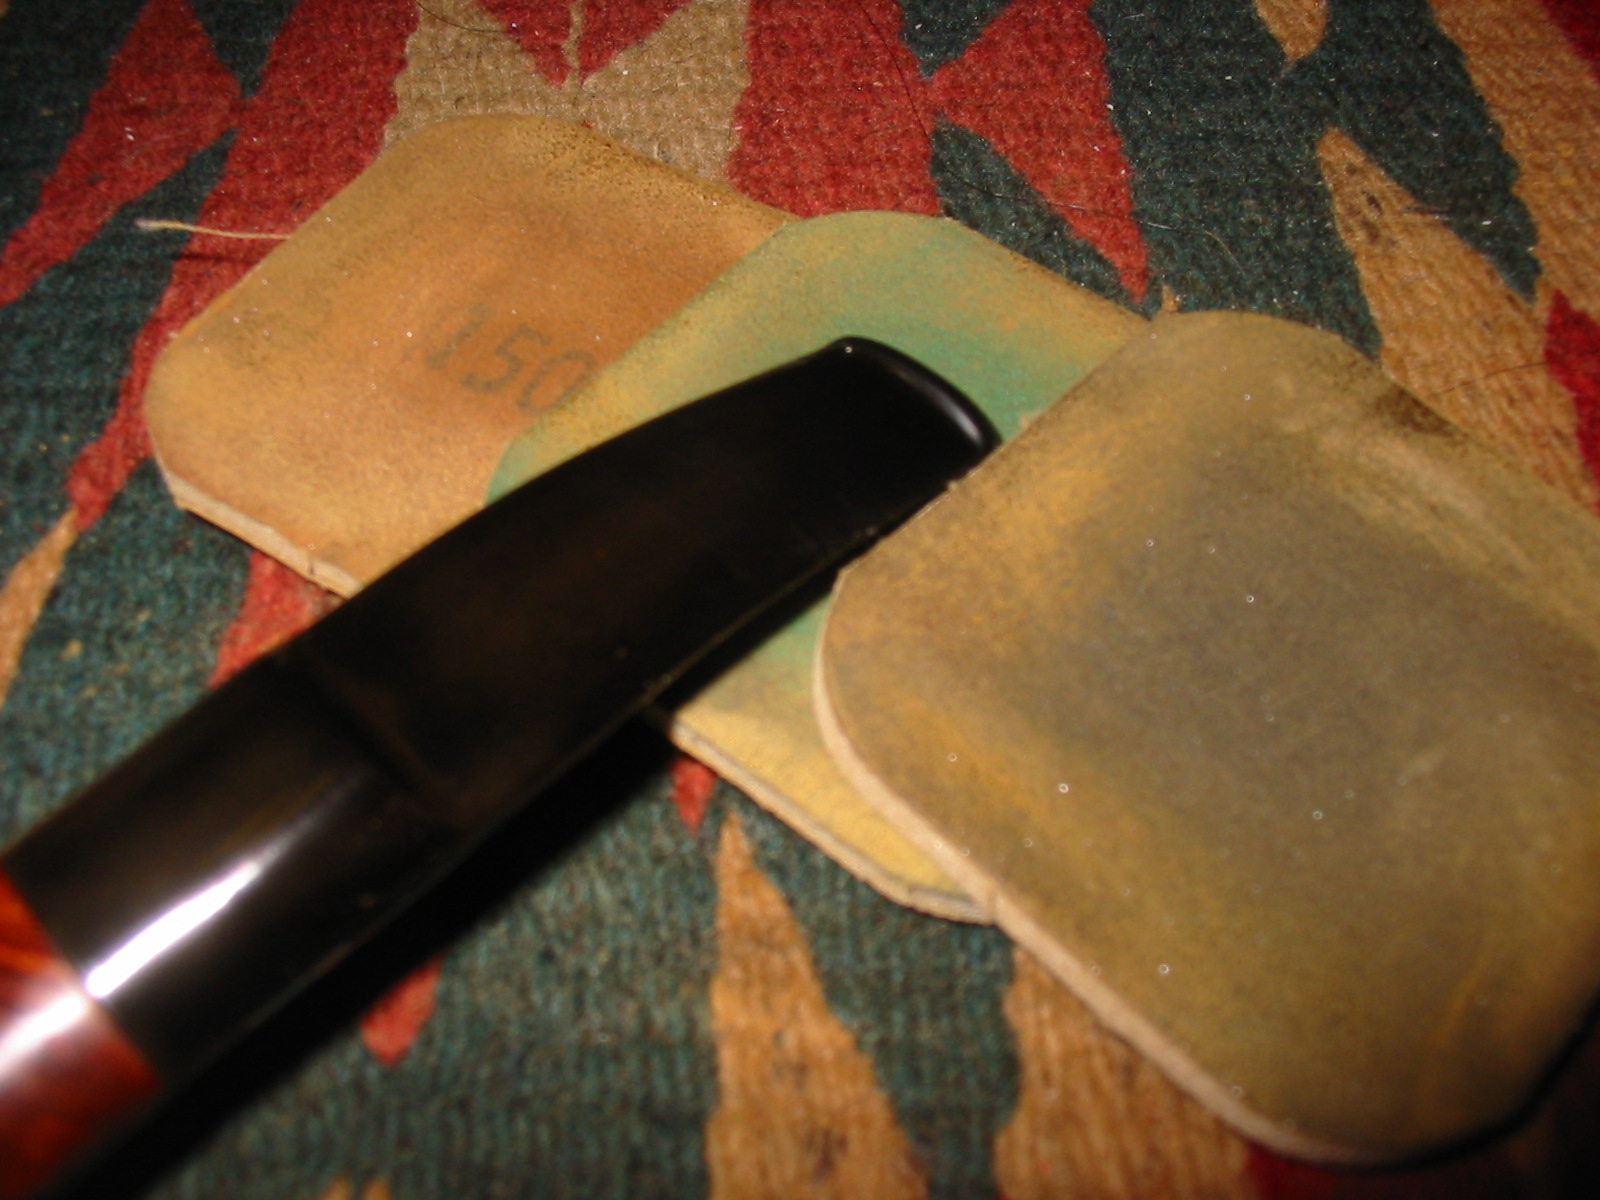
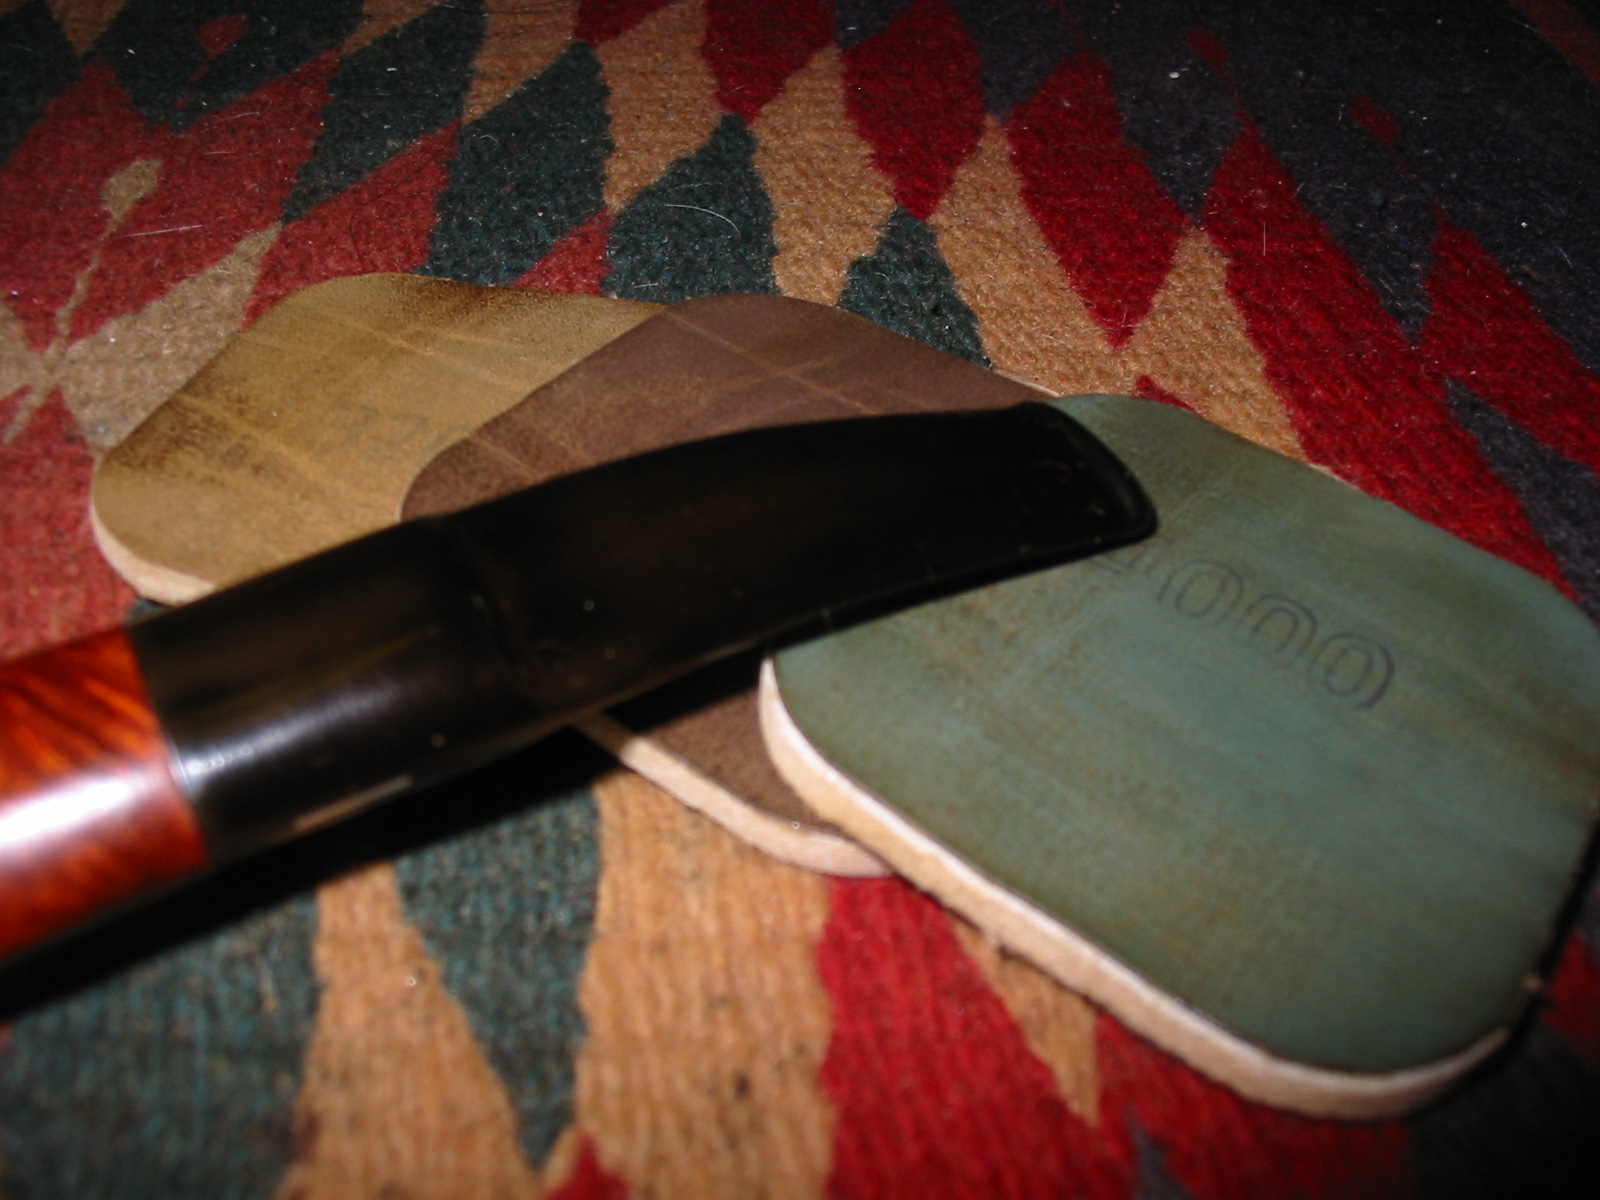
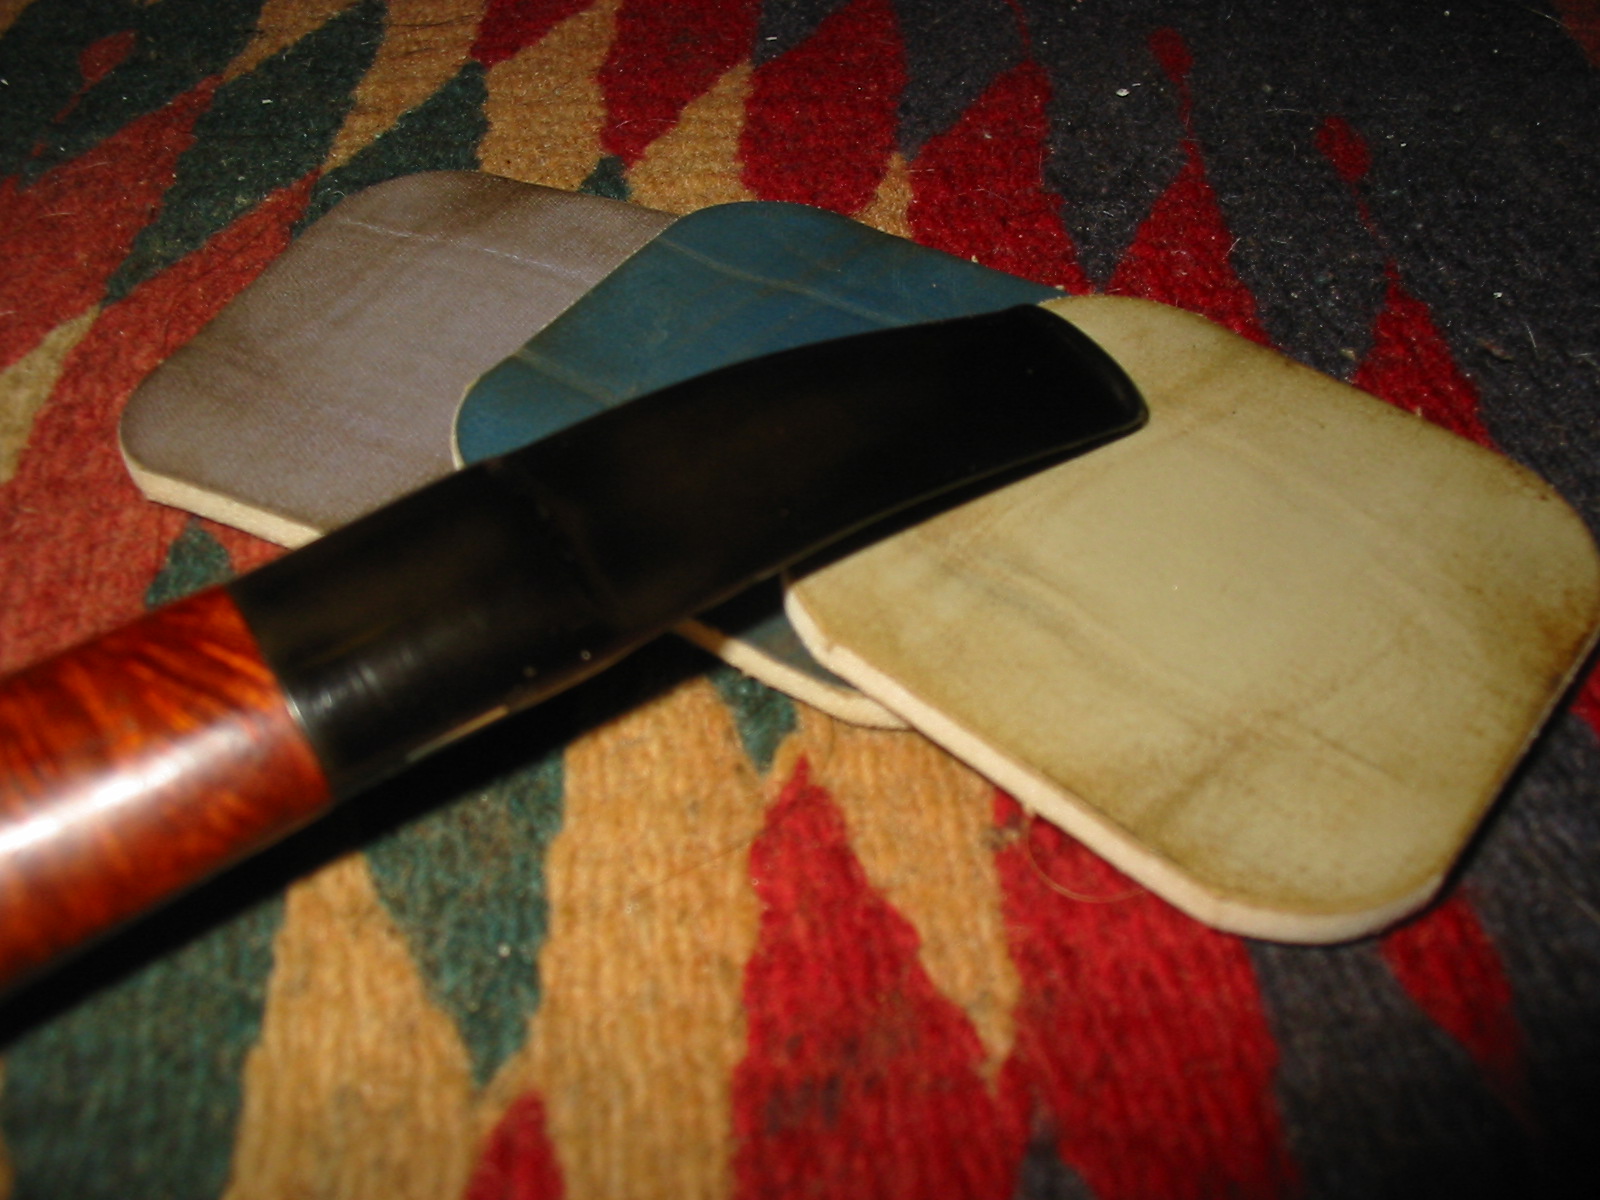
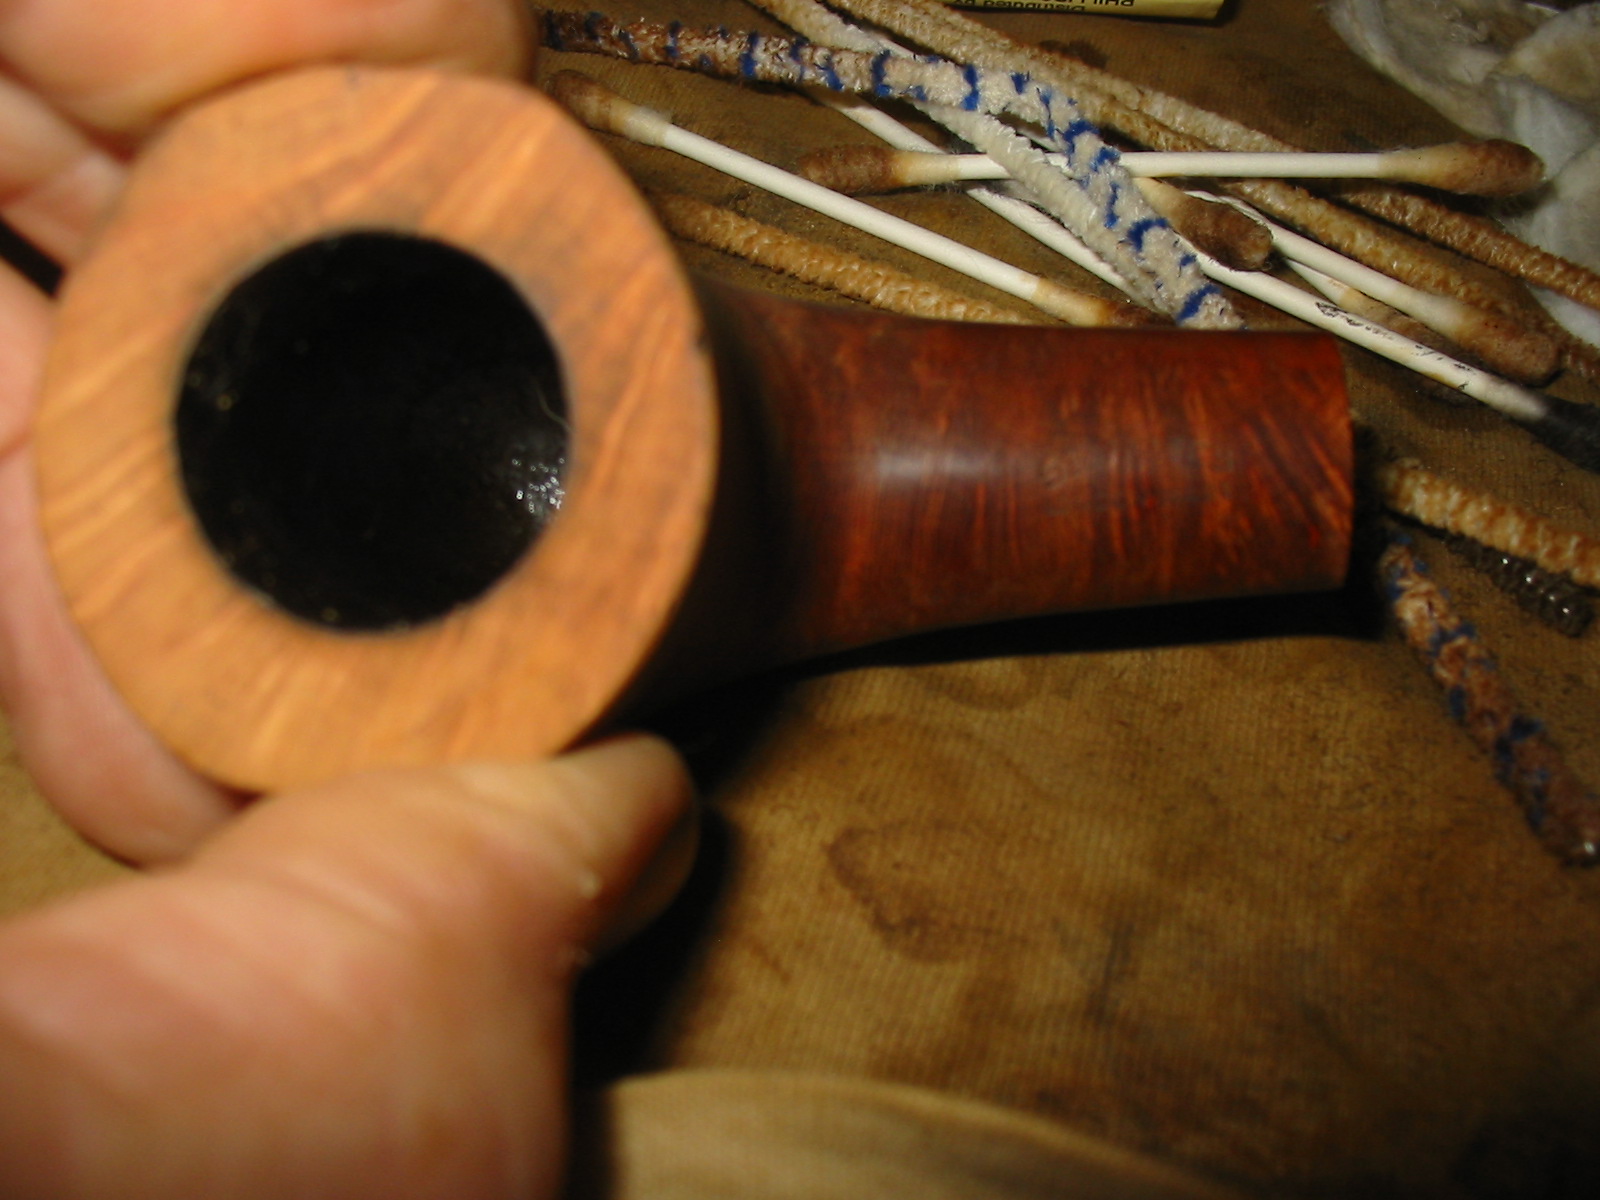
All of my bowl topping starts the same way. I have a flat board that I spread a piece of sandpaper on and place the bowl flat against the board on the sandpaper. As I work it against the paper I am careful to keep the bowl top flat against the paper and not lift an edge or angle the bowl. It is very easy to seriously change the profile of the bowl. I also constantly check to ensure that I only remove enough of the damaged briar to repair the problem and not take too much off.
IMG_3963

comoys6

img_3910

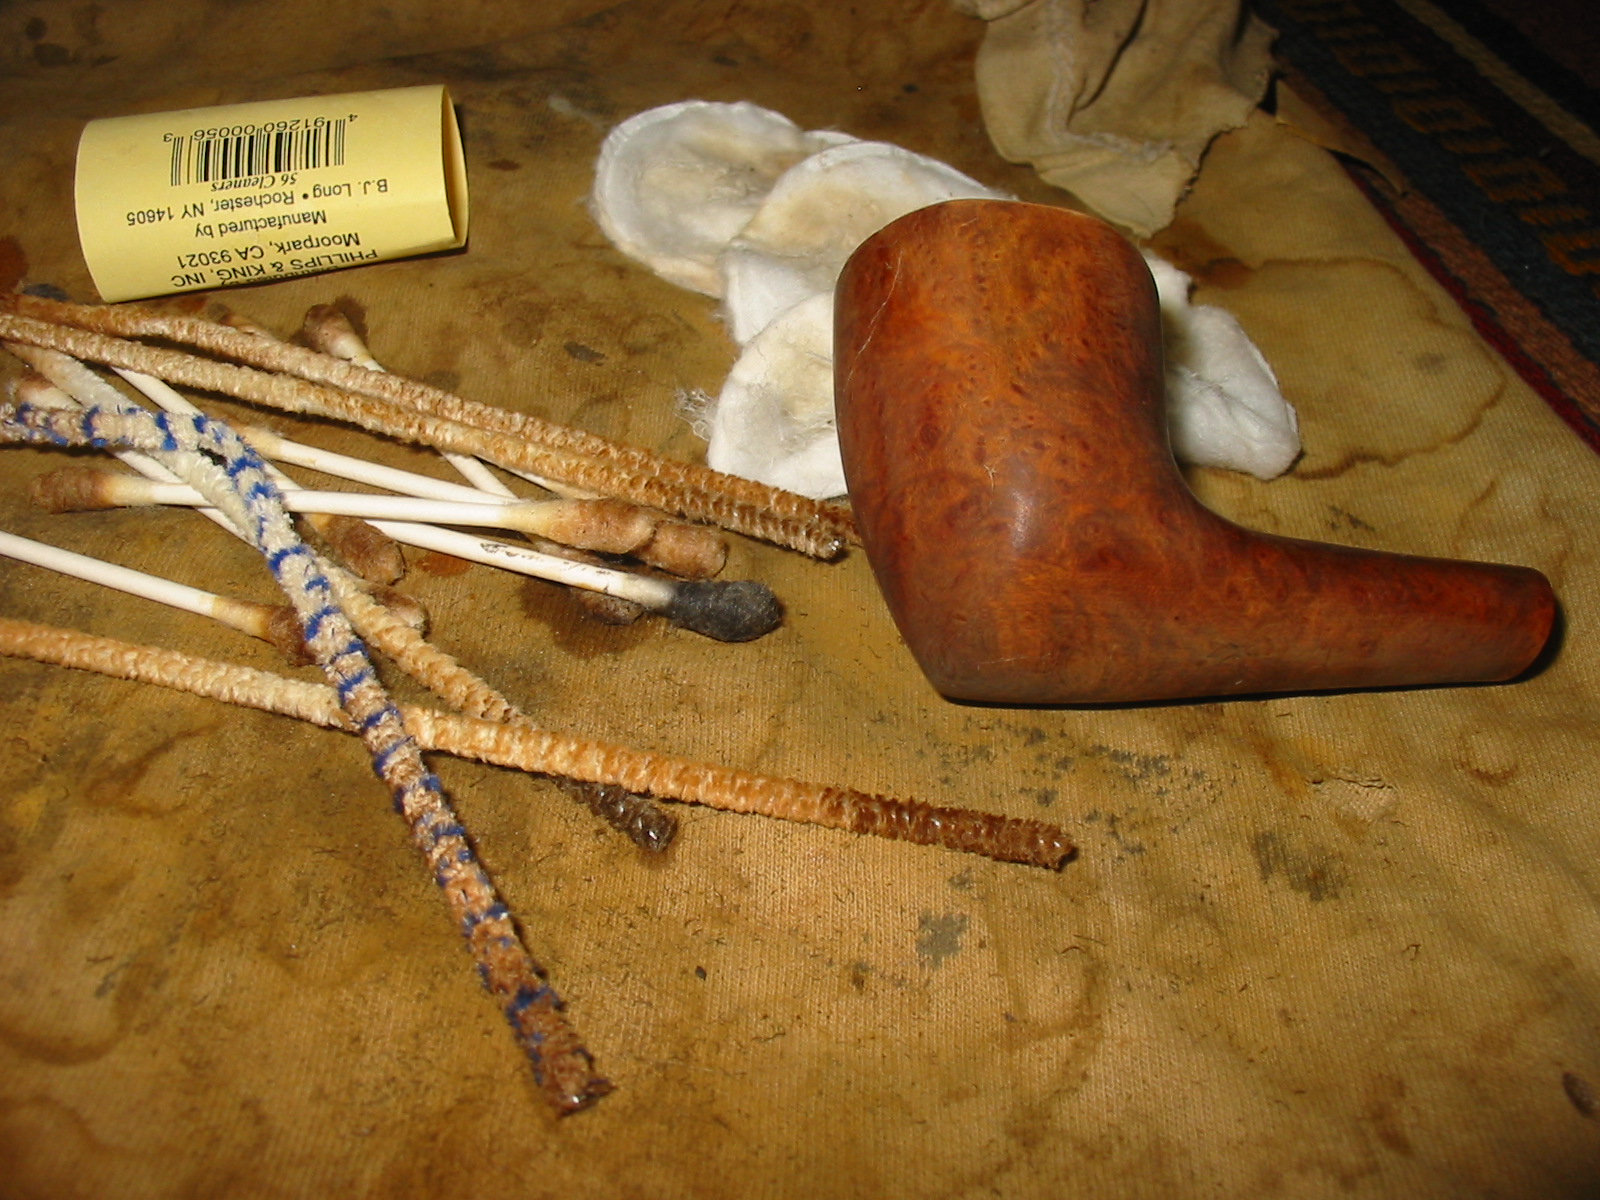
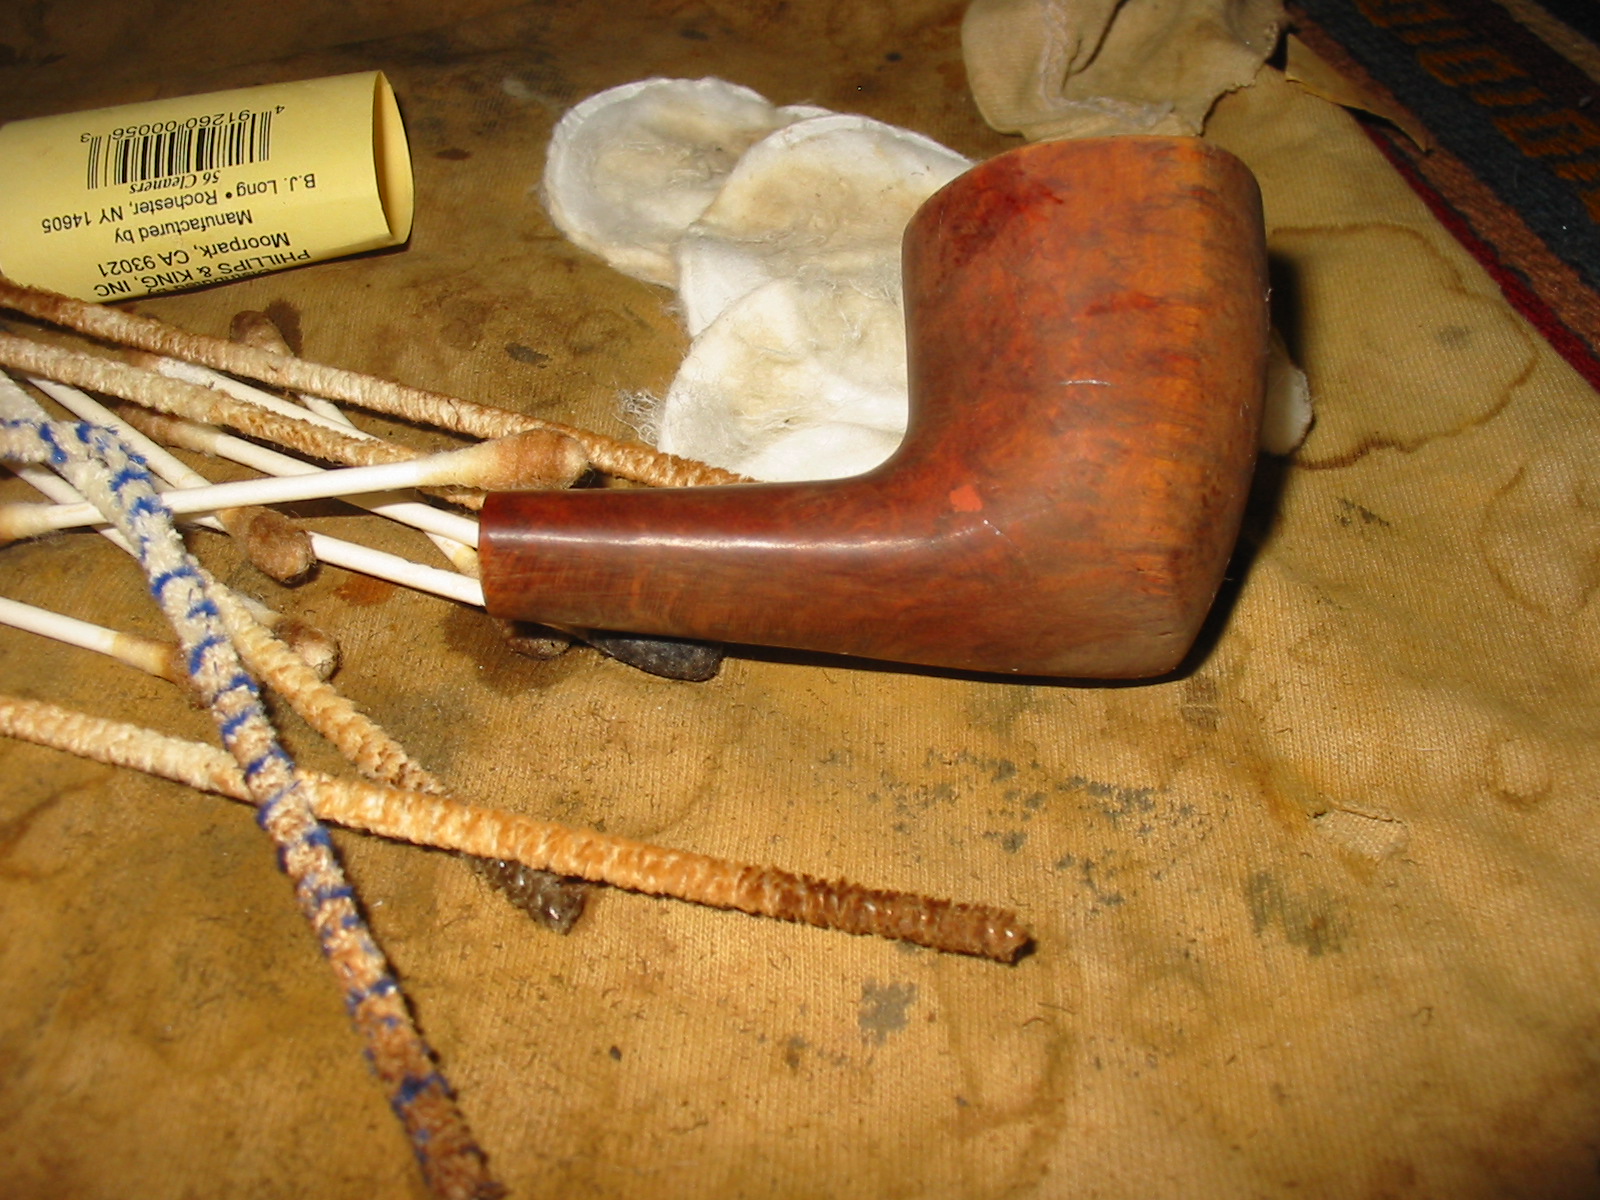
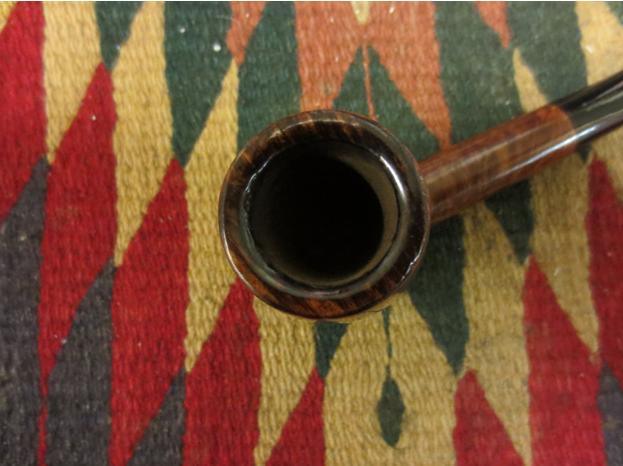
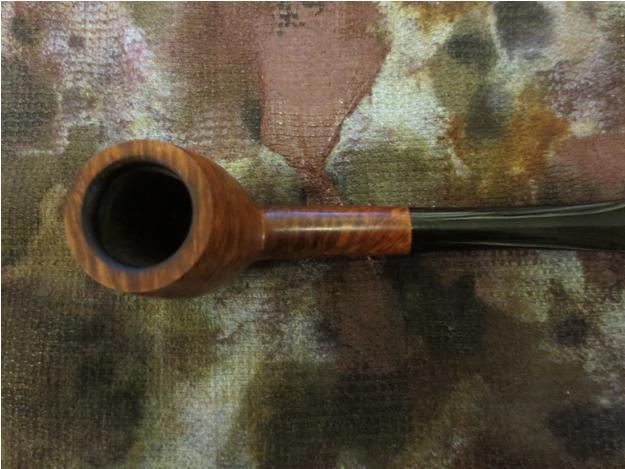
The next series of photos show the progress of the topping. On the Comoy’s St. James I took photos each time I checked on the progress of the topping so you can see the point at which I stopped the sanding. The other two bowls I show the end product of the topping.
IMG_3964

IMG_3966

IMG_3967

IMG_3969

IMG_3971

IMG_3972

comoys7

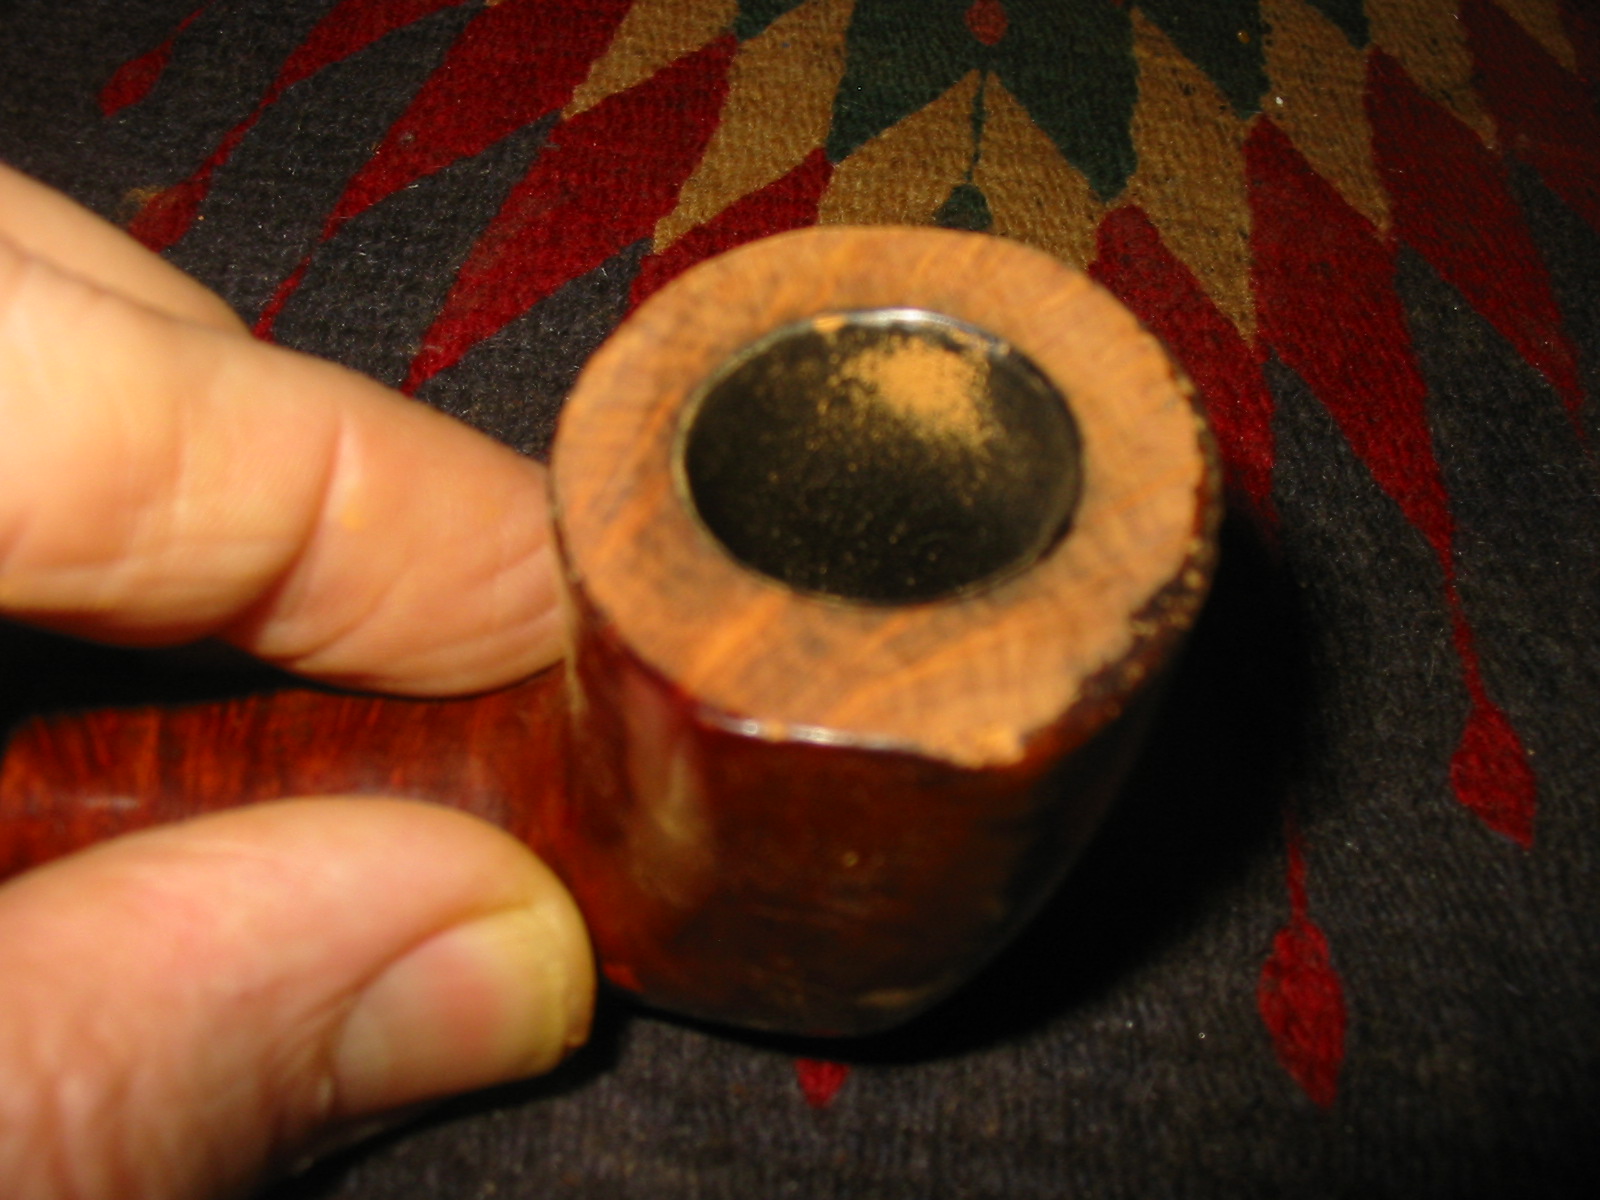
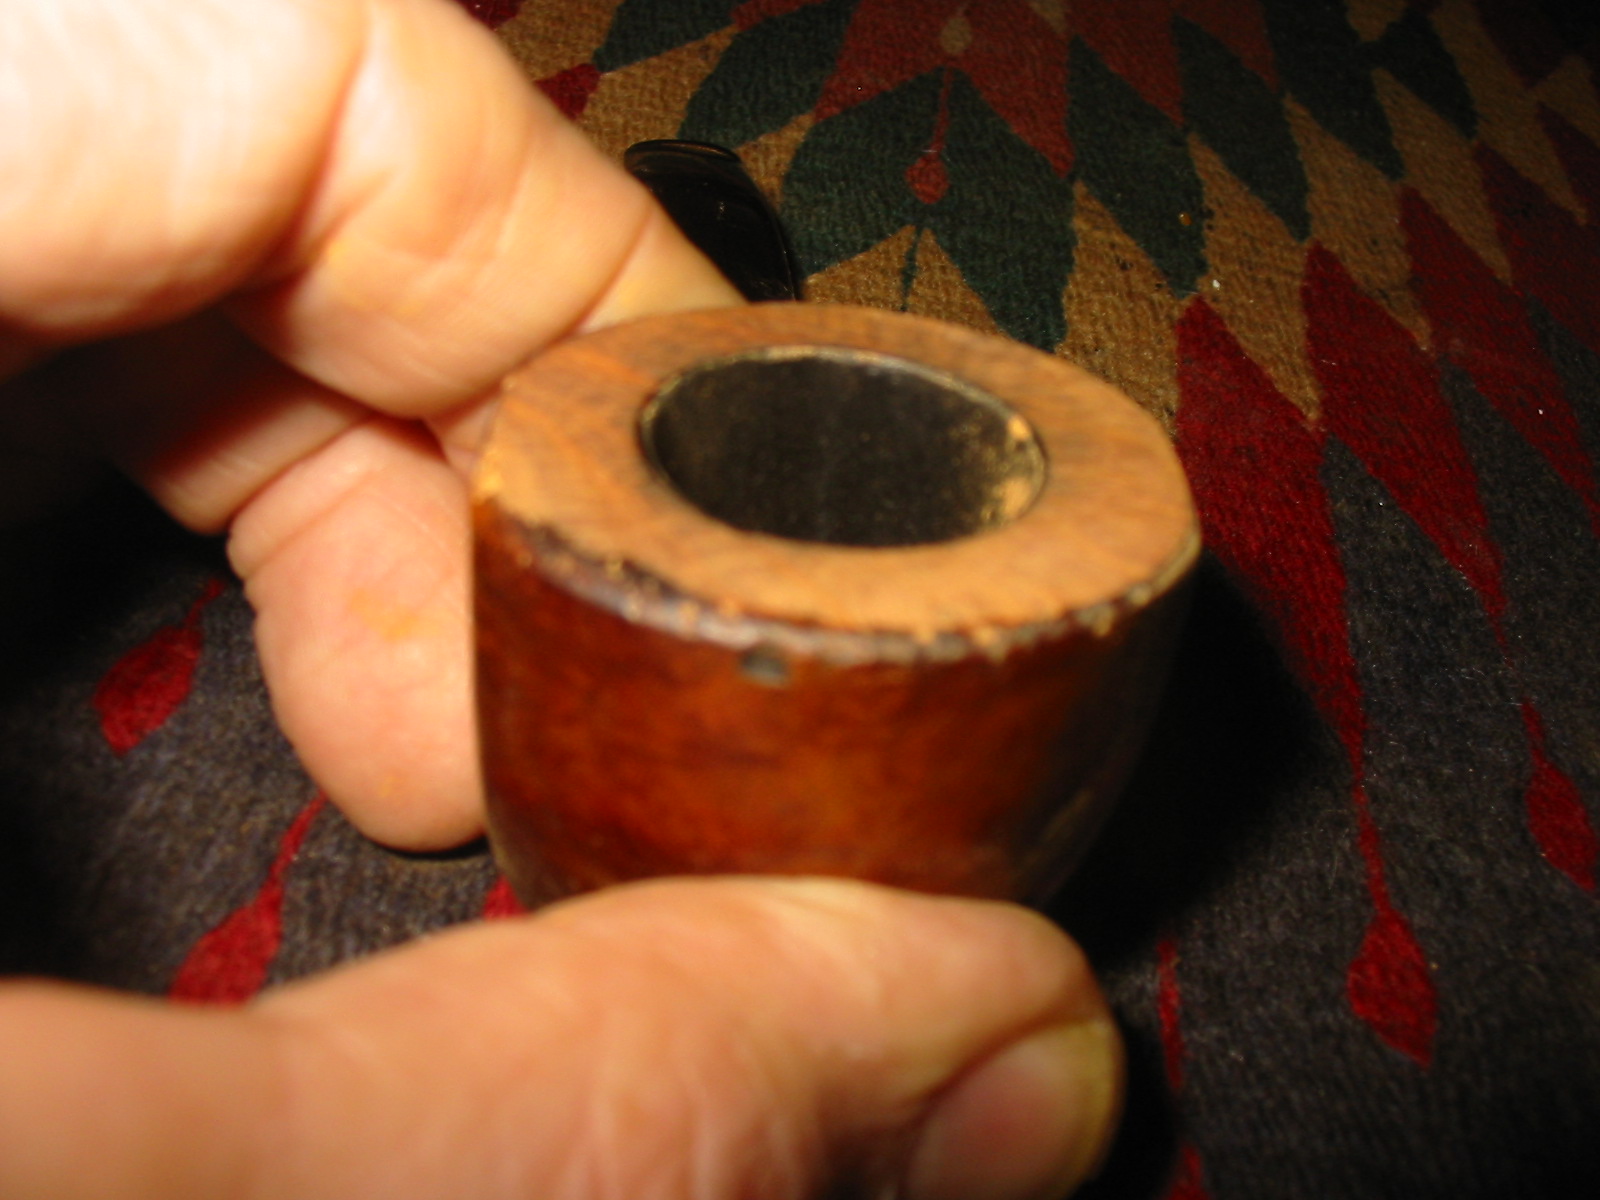
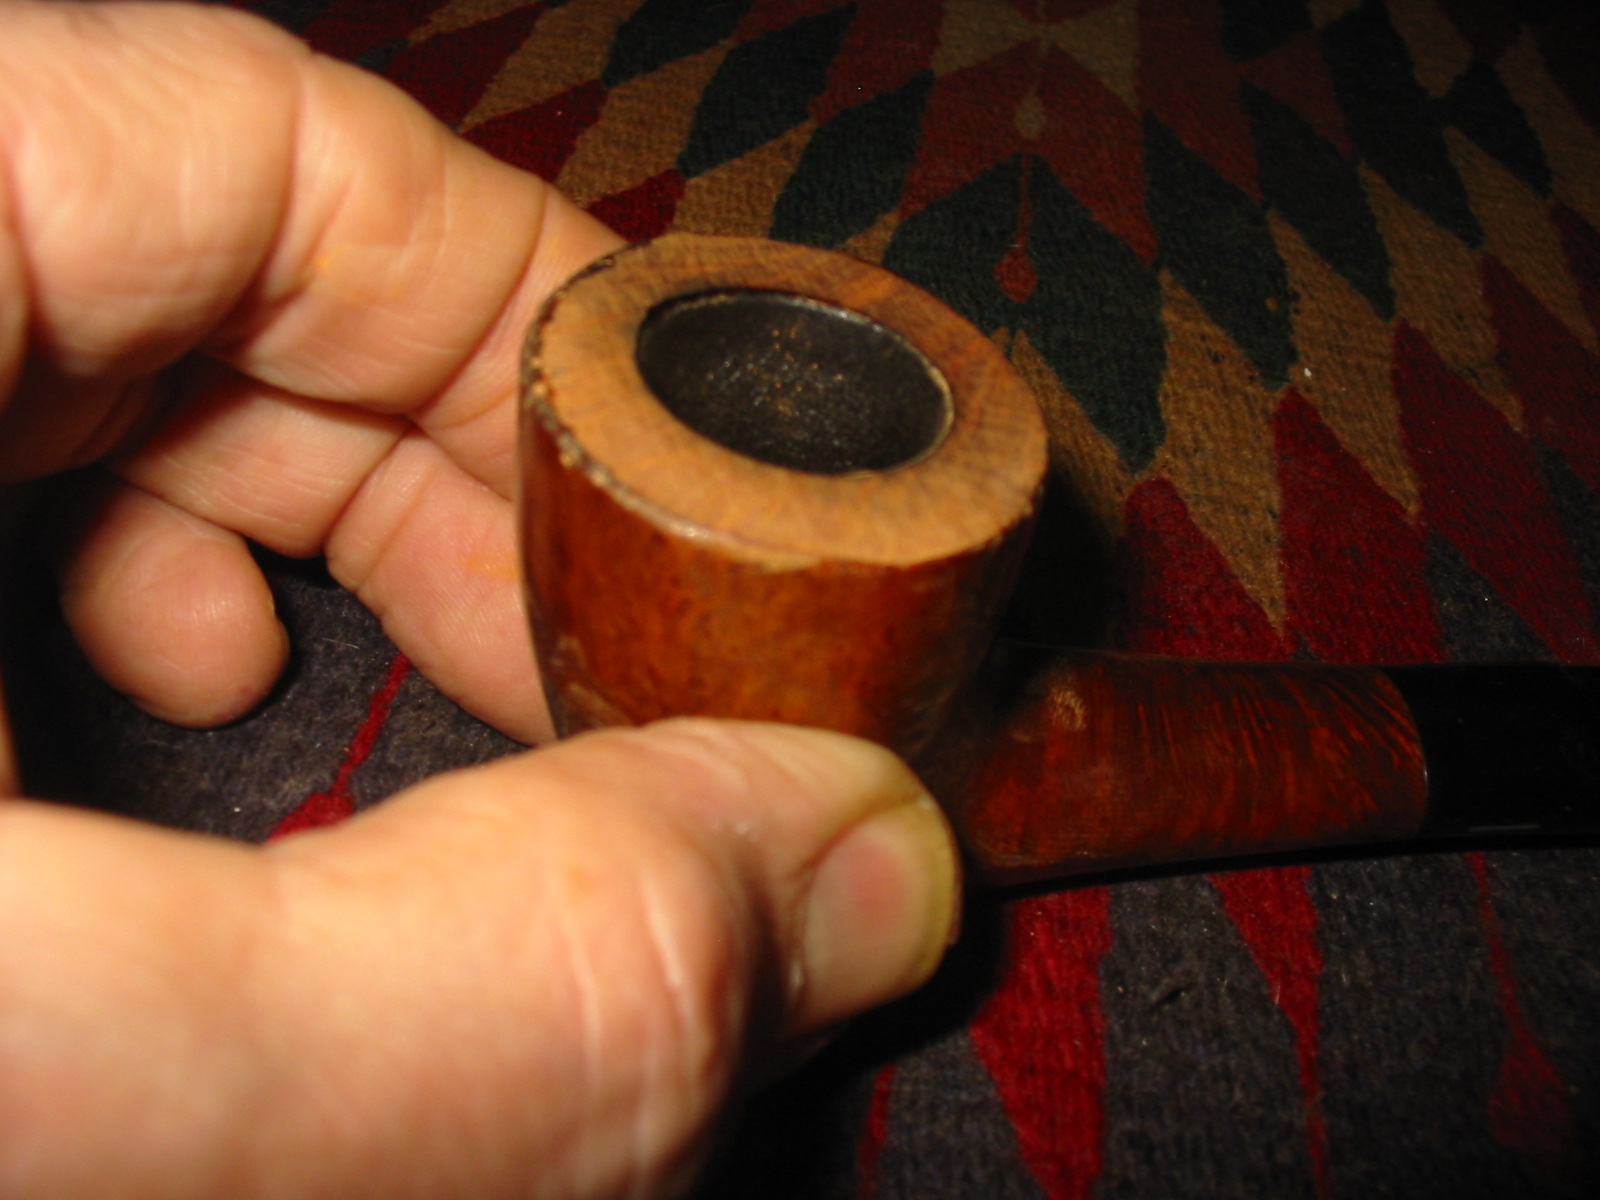
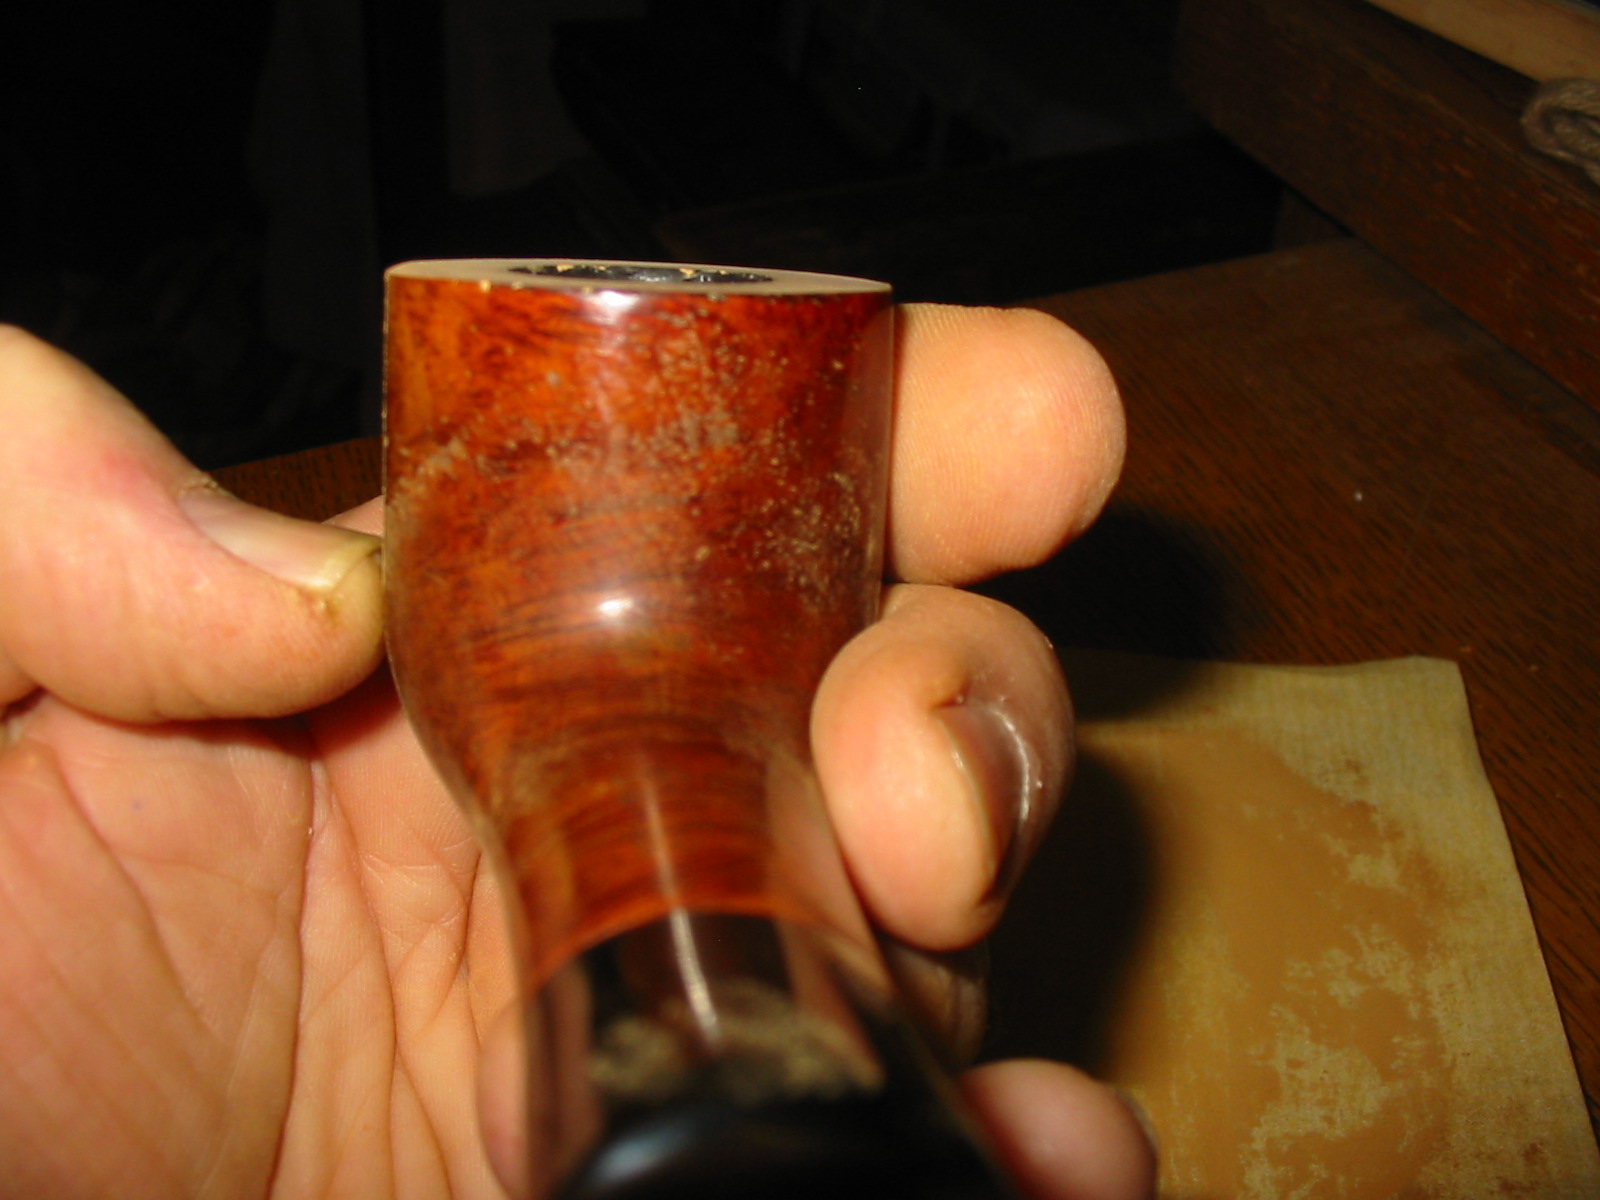
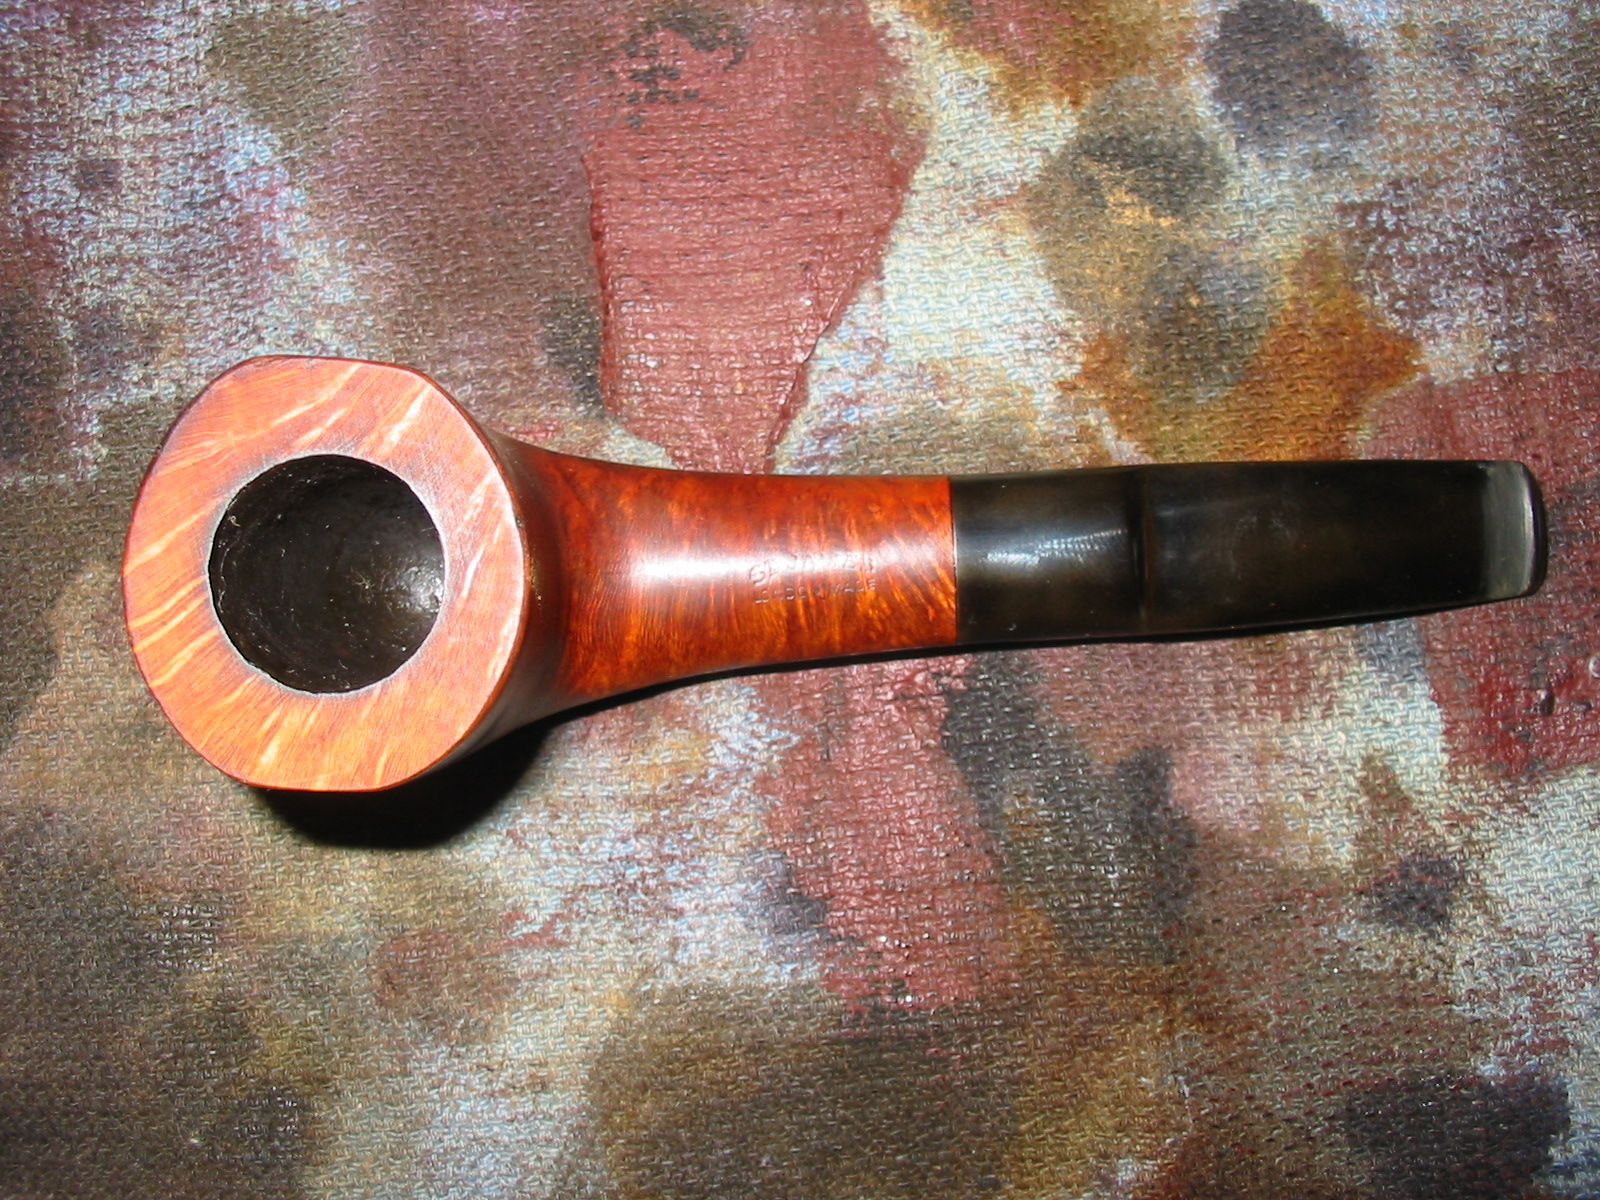
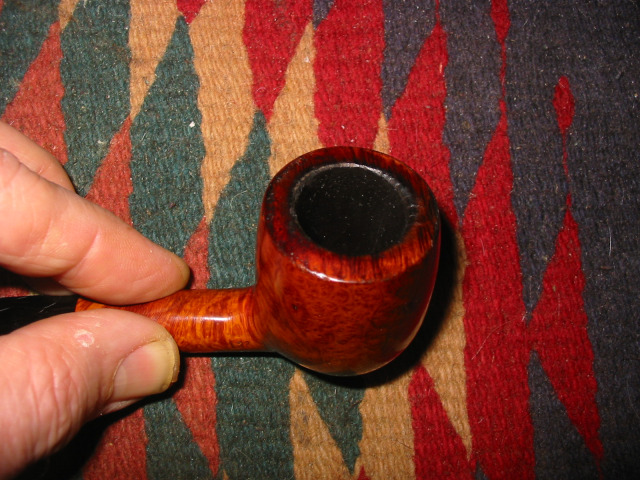
On each of the bowls that I top I also use a folded piece of sandpaper to smooth the inner edge of the rim. This has to be done carefully or the bowl can easily go out of round. On the Comoy’s London Pride I used the folded sandpaper to create a slight bevel on the inner edge of the rim to match what was originally on that pipe. On the St. James and the Orlik I merely sanded the edge to make a clean and smooth surface.
comoys8

img_3911

IMG_3977

Once the rim is successfully topped the process truly has only begun. The surface then needs to be sanded with higher grits of sandpaper and micromesh sanding pads to remove scratches and give a smooth out the briar so that when it is stained the surface does not show scratching or repair damage. Then it has to be stained in such a way that the colour blends in with the colour of the bowl. When I am refinishing a pipe I find that the simplest and most straight forward way to guarantee a match it is to remove the previous finish as much as possible and start from scratch with the whole bowl. This is not always possible and often the matching process takes several stains and several coats to get a good blend with the rest of the bowl. It is often a matter of darkening a stain or thinning it with alcohol to lighten it or even blending several colours of stain together to get the mix that actually blends in seamlessly to the bowl colour. This part is probably the most time consuming part of the process.

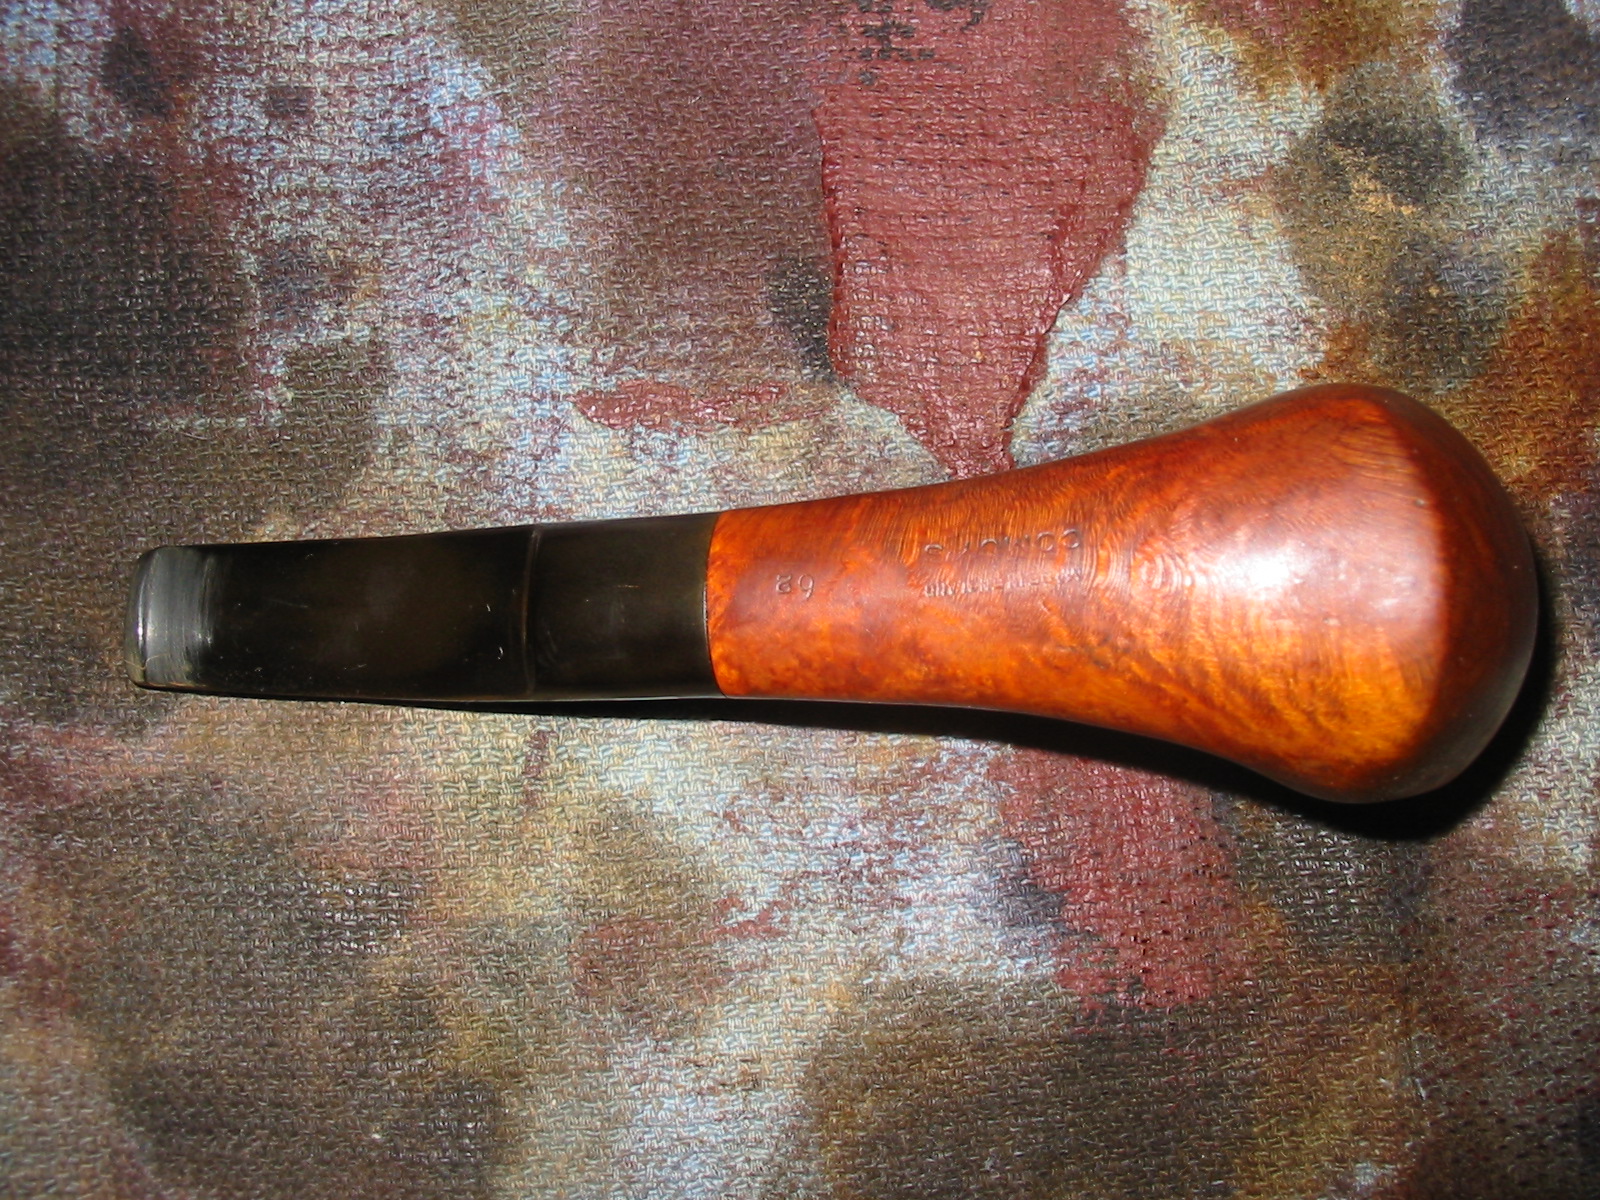
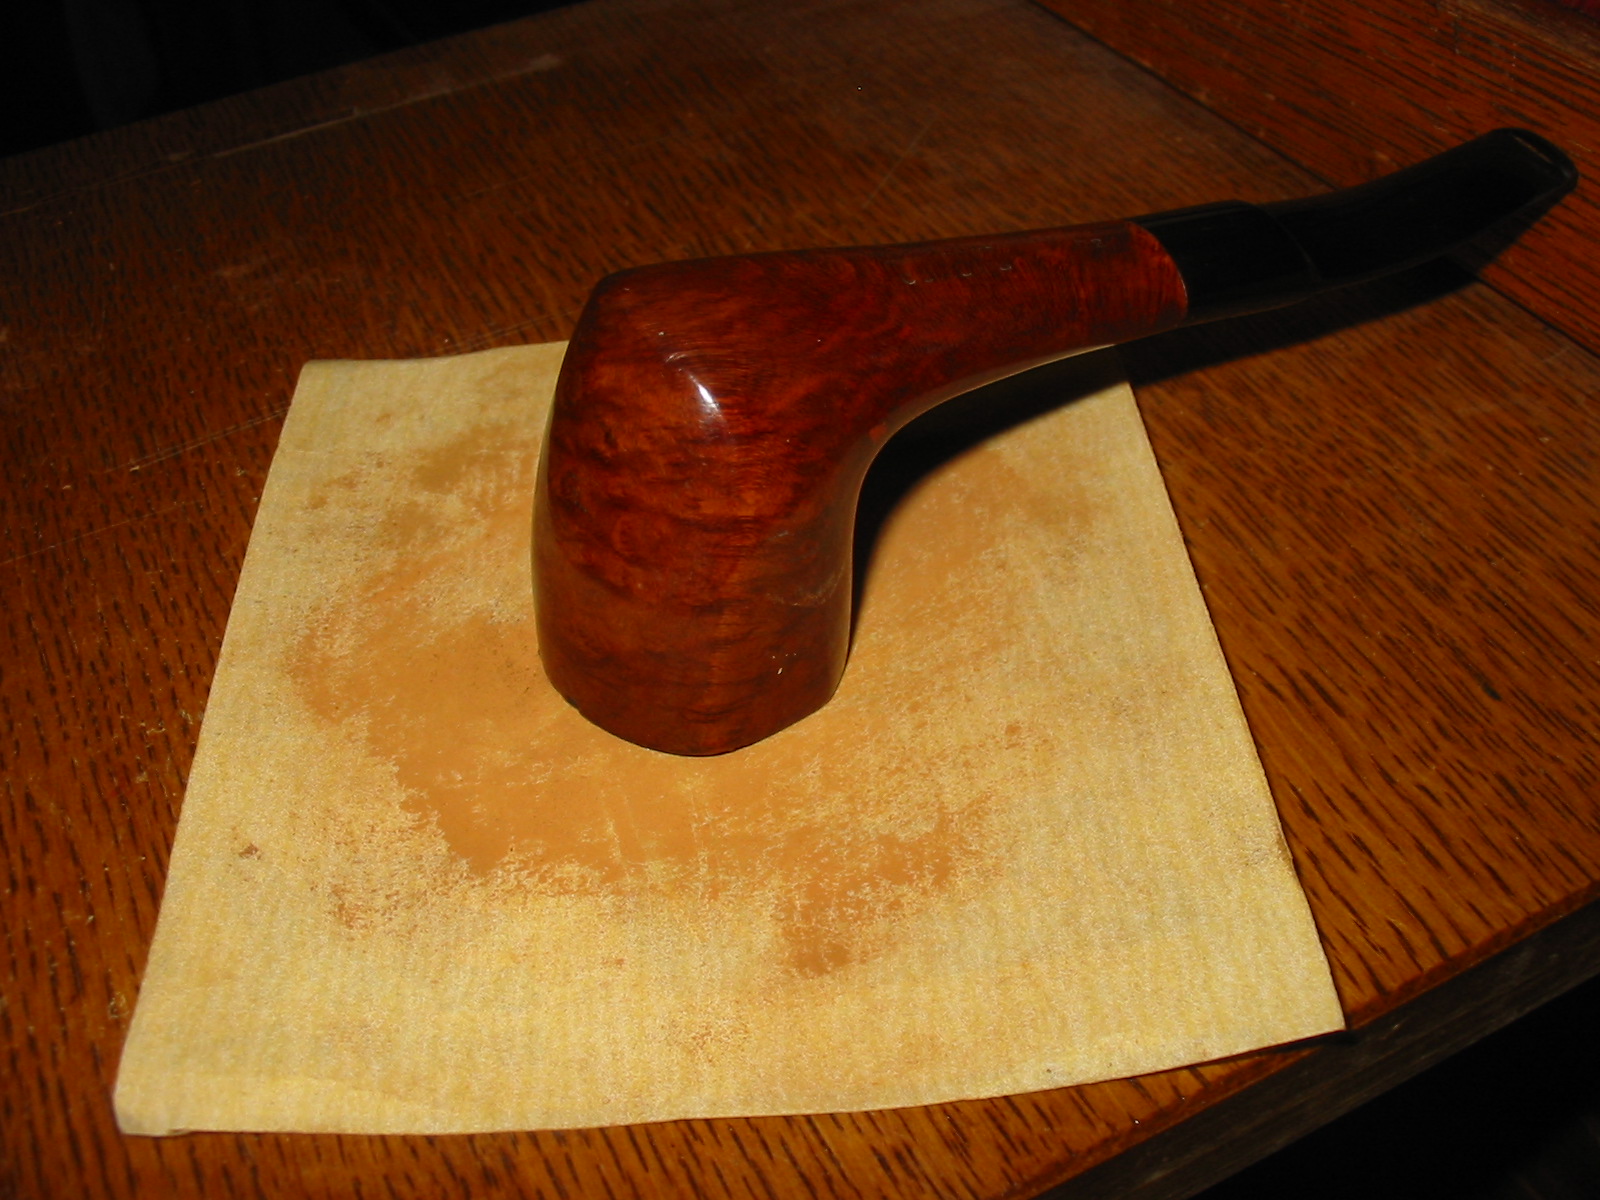
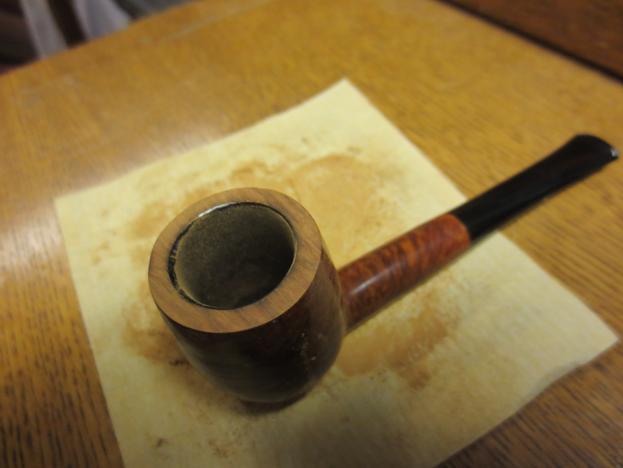
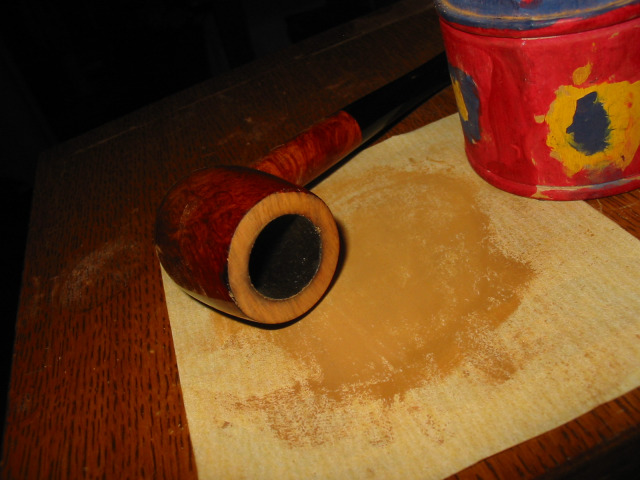
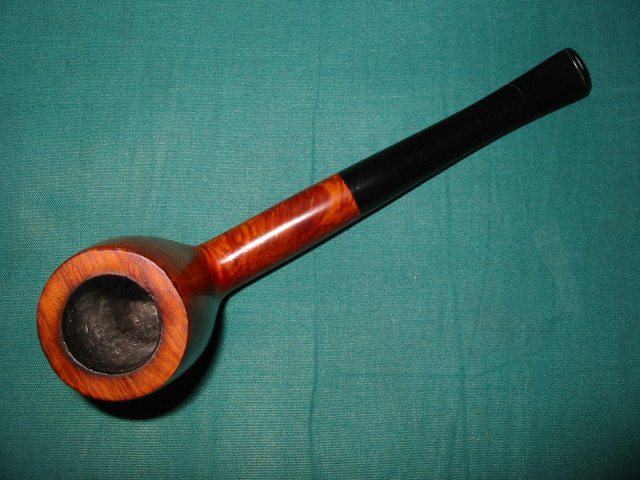
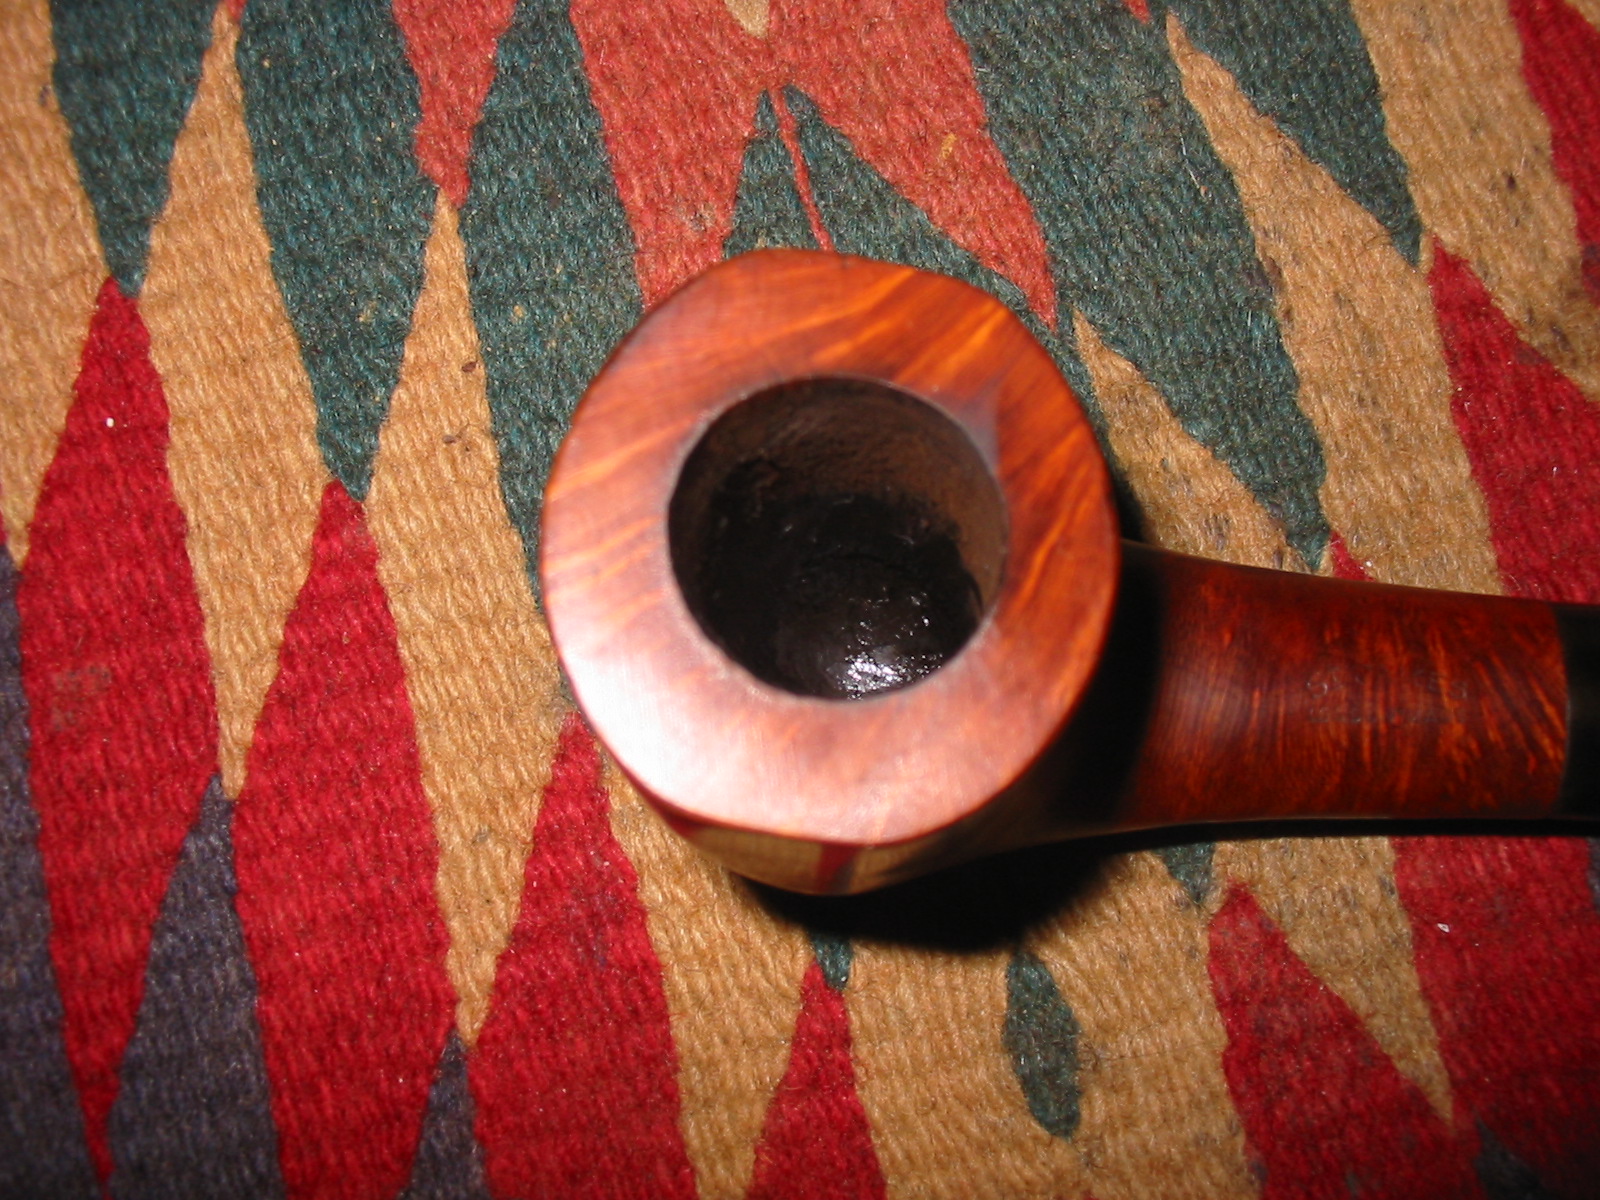
The first two photos below show the stain on the Comoy’s London Pride and how the bowl and rim match – both before and after buffing and waxing. The third photo shows the Orlik after staining and buffing. There is still a slight bit of rim darkening on this rim that I left on purpose. The fourth and fifth photos show the St. James after staining and then after buffing and waxing. The change in the shape or height of the bowl is negligible and the overall improvement to the profile and look of the pipe is well worth the effort.
comoys14

comoys19

img_3925

IMG_3989

IMG_3997

I continue to learn and experiment with the process of topping and sanding a bowl to repair the damage inflicted by the previous owner – whether it is thoughtless carelessness or accidental damage. Each time I do the work I become more confident in the process and pleased with the results. If you don’t try and practice you will never learn. If you have comments to add about the process or have suggestions of improvements I encourage you to record them, photograph them and share them with us all. The community benefits from the combined knowledge of its members. Thanks for reading this blog post.

The Building Of A Buffing Station Part 2 – Alan Chestnutt


This afternoon I received an email from Alan Chestnutt of reborn briar sigpic573_1.gif regarding the second part of his blog article on Building a Buffing Station https://rebornpipes.wordpress.com/2013/12/17/the-building-of-a-buffing-station-alan-chestnutt/. He gave permission to post the second part here for folks to read about and also use for their own buffing stations. Thanks again Alan for taking time to answer the questions that were raised by readers of the blog following your first post. I am looking forward to reading their responses to your further update on the project. It is much appreciated. Just a reminder Alan has a website http://www.estatepipes.co.uk/ where he sells some of the beautiful pipes he refurbishes. This is how Alan makes a living and he does great work. He is available for working on pipes that you may not want to tackle on your own. Without further introduction here is Alan’s post.

Steve Laug had asked me to provide further information following some questions received on his blog about the buffing station. I will provide links to the items I bought in the UK to put this together. The items were purchased from eBay, so should be easy to pick up in any country.

I had the arbor to connect the motor to the drive shaft machined locally in an engineering shop. There was already an extension shaft fitted to this motor which could not be removed. The drive shaft was wider than normal at 20mm and had a key way cut into it for the addition of a drive key. A normal motor drive shaft will look like the one below. If there is a drive key fitted in the shaft, it will pull out to leave the key way slot as shown.
buffer1

The arbor was machined from 30mm steel bar. Half the length of the arbor was drilled to 20mm to allow it to be tapped over the existing shaft. Two grub screws were fitted which screw down into the key way slot for an effective connection.
buffer2

Each buffing wheel is screwed on to the centre of a 250mm length of stainless steel bar threaded with a 12mm metric thread. The buffing wheels are held in place on each side with a lock nut and the large cup washers which came with my bench grinder to hold on the grinding wheels before I stripped them down to convert them to buffers. I had these available, but any large washer with a 12mm centre hole would have done the trick. I bought the threaded rod from this link. http://www.ebay.co.uk/itm/300813988264

The second half of the arbor has a 12mm threaded hole. This allowed the first section of rod to be screwed fully into the arbor until it met the drive shaft of the motor, and it was then locked in place with a nut.

Each 250mm section of the threaded rod is joined together by screwing them into a 12mm threaded bush and then locked in place each side with a lock nut. http://www.ebay.co.uk/itm/181149210581
buffer3

Each bush is then supported by a pillow block bearing as shown below. The external diameter of the bush matches the internal diameter of the bearing. Two grub screws on the bearing lock the bush in place to provide a smooth rotating shaft. http://www.ebay.co.uk/itm/320695884156
buffer4

buffer5

The end piece rod simply has the bush screwed on to it, secured with a lock nut and again supported by a block bearing.
buffer6

Each piece connects together to form the completed unit as shown below. The upright supports for the bearings also provided the ideal platform to secure 2 batten light fixings fitted with strong daylight bulbs for good working visibility.
buffer7

buffer8

I opted for four separate sections of threaded rod as opposed to one long section to make it easier if I have to change an individual buffing wheel. I can easily isolate and detach the section required and attach the new buffing wheel. Fitting of a machine switch to the front allows me to easily switch the motor on and off. http://www.ebay.co.uk/itm/360736015048
buffer9

Comoy’s St. James Shape 62 Restored


This oddly shaped Comoy’s came to me in a lot that was donated years ago to the Vancouver Pipe Club. It has been sitting for a long time needing a bit of care to bring it back to life before going to the Club to be sold or given away. It is stamped on the top of the shank, St. James in an arc over London Made in a straight line. On the underside of the shank it is stamped Made in England by Comoy’s followed by 62. The finish was rough on this one; the top of the rim had been beaten against something hard and had damaged the outer edge to the point that it was no longer sharp. The inner edge of the rim was not too bad but the bowl had been coated with a black rubbery bowl coating that was grim. There was one rather large fill on the right side of the bowl near the shank/bowl junction. The stem had some oxidation next to the button and some small tooth chatter there as well. The stem also had one silver bar inset in the vulcanite on the left side. It is not a logo that I have come to associate with Comoy’s but rather with Savinelli. I am not certain the stem is original. Perhaps someone here can shed some light on the stem logo and this particular line of Made in England by Comoy’s Pipes.
IMG_3960

IMG_3961

IMG_3962

I decided to top the bowl and try to repair the outer rim damage. It was truly a mess. In the next photos you will see the set up for topping and also several photos of the bowl rim as I began to sand it out. The sanding dust stuck to the bowl coating.
IMG_3963

IMG_3964

IMG_3966

IMG_3967

IMG_3969

IMG_3971

IMG_3972

When I finally got the topping done to the point where the rim was more smooth and crisp I also sanded the outer edge to minimize some of the deeper chips and rough areas that I left because I did not want to top too much of the bowl. I then cleaned out the bowl and the shank and wiped the bowl down with acetone on cotton pads to remove the varnish coat that had been put on the bowl. I reamed out the bowl coating with a PipNet reamer as I wanted to remove the sticky black substance and wanted to see what the walls of the bowl looked like underneath the ooze.
IMG_3973

IMG_3974

IMG_3976

IMG_3977

I sanded the bowl and rim with a medium grit sanding sponge and then with a 1500 grit micromesh sanding pad to remove the scratching that was present under the finish and that left behind by the sanding sponge. I wiped it down a final time with acetone on a cotton pad to clean and prepare it for restaining.
IMG_3978

IMG_3981

IMG_3982

IMG_3983

I used a black permanent marker to bring grain lines into the fill area and minimize the way it stood out. In the second photo you can see the effect of the marker and stain on the fill near the bowl/shank junction. Previously it had stood out and now it was muted. I restained the bowl with MinWax Medium Walnut stain. I rubbed it on with a cotton pad and wiped it off with a cloth and repeated the process until the stain had given the bowl a good coverage. I sanded the oxidation and tooth marks near the button on the top and the bottom of the stem with the medium grit sanding sponge.
IMG_3985

IMG_3986

IMG_3987

IMG_3988

I took the next photo to show the improvement to the damaged rim and the clean edges that were now present. The stain did a great job in bringing out the grain on the rim. It follows the pattern of the grain on the shank.
IMG_3989

I buffed the stem with red Tripoli and then sanded it with my usual array of micromesh sanding pads – wet sanding with 1200-2400 grit pads and dry sanding with 3200-12,000 grit pads. I buffed the stem with White Diamond and rubbed in a coating of Obsidian Oil to protect against further oxidation.
IMG_3990

IMG_3991

IMG_3992

I buffed the pipe with White Diamond and then gave it multiple coats of carnauba wax. I finished by buffing it with a soft flannel buff. The finished pipe is shown below. Soon it will go the Pipe Club for their benefit.
IMG_3993

IMG_3994

IMG_3997

IMG_3998