Daily Archives: July 28, 2013

An Engagement Pipe (GBD 548 Seventy-Six)


My family had a pretty big life event here last week. My daughter came home from New Orleans for a week of vacation, with the boyfriend of two years in tow again. He had called us a few weeks prior to ask permission to marry her, the first of our daughters to get engaged. This young man is quite a gentleman, as you might have guessed (who knew guys still ask for permission?). He and I share a number of interests, including pipes. I enjoyed my week with him and we were able to spend some time in the shop where I shared with him some estate pipe restoration techniques. He left here with a few briars that he cleaned. I miss him and her already.

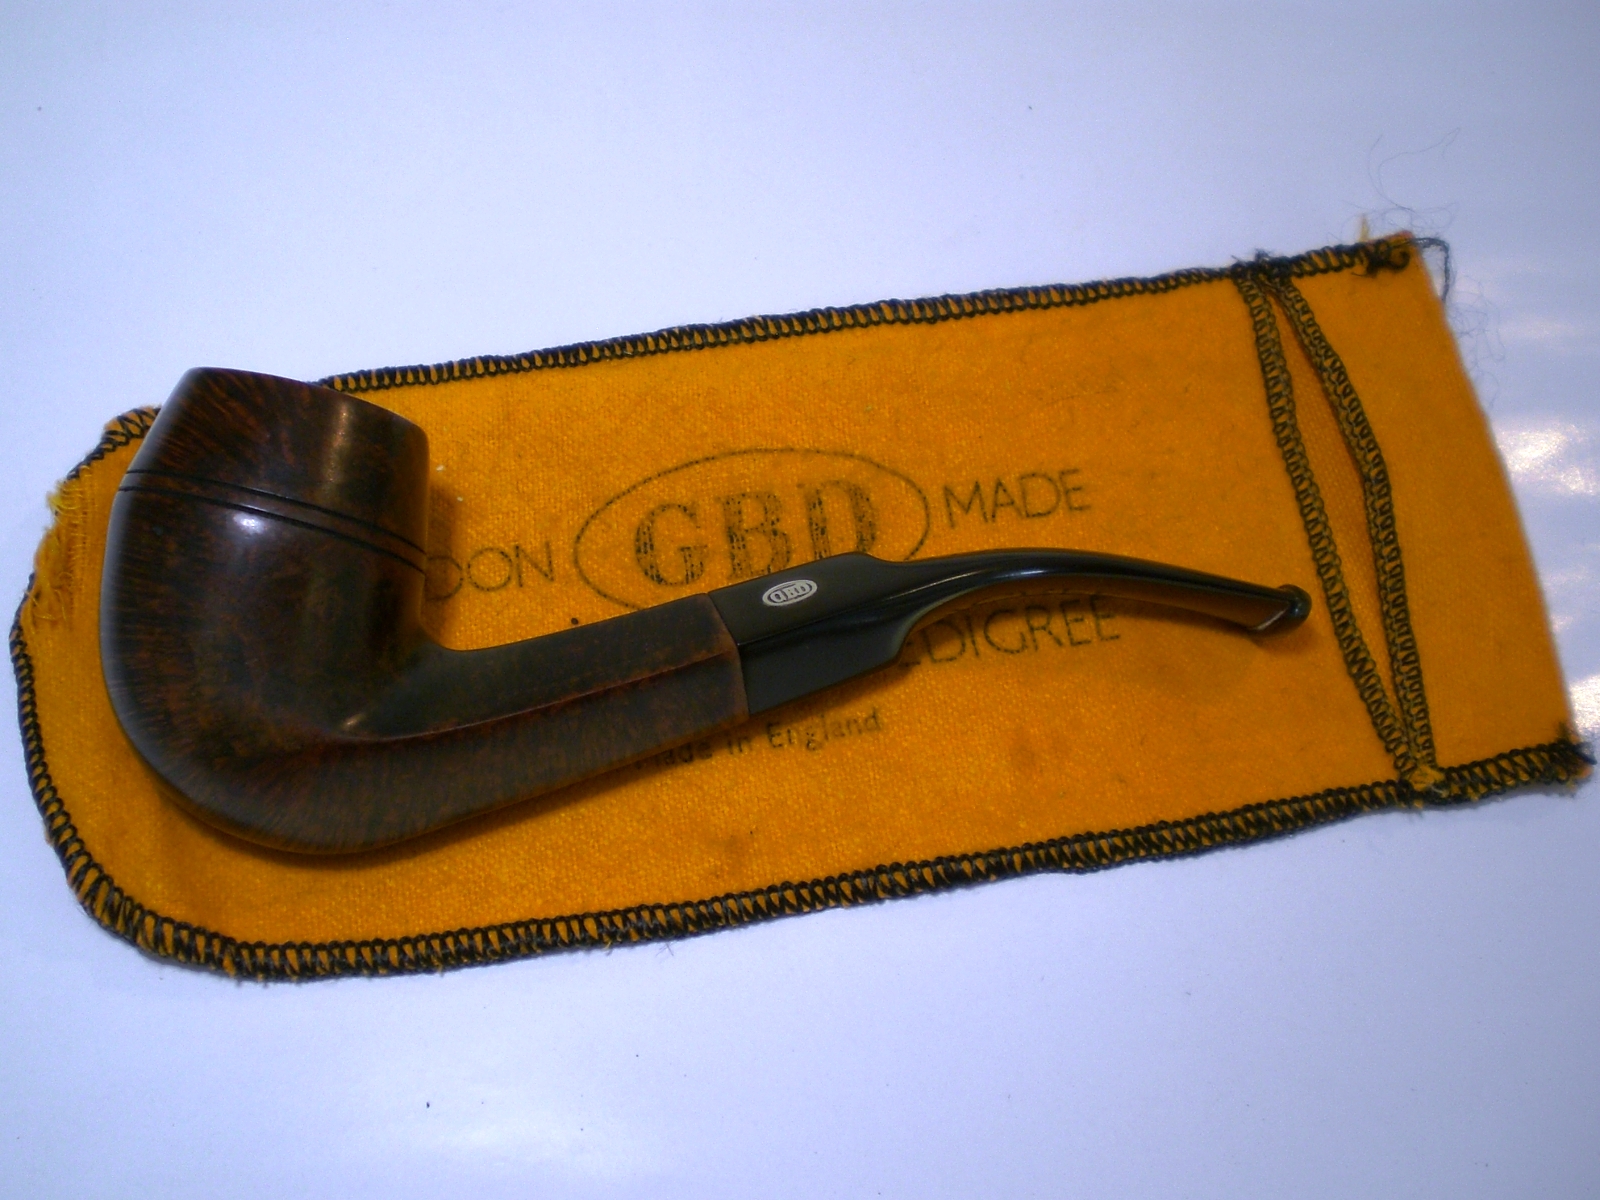
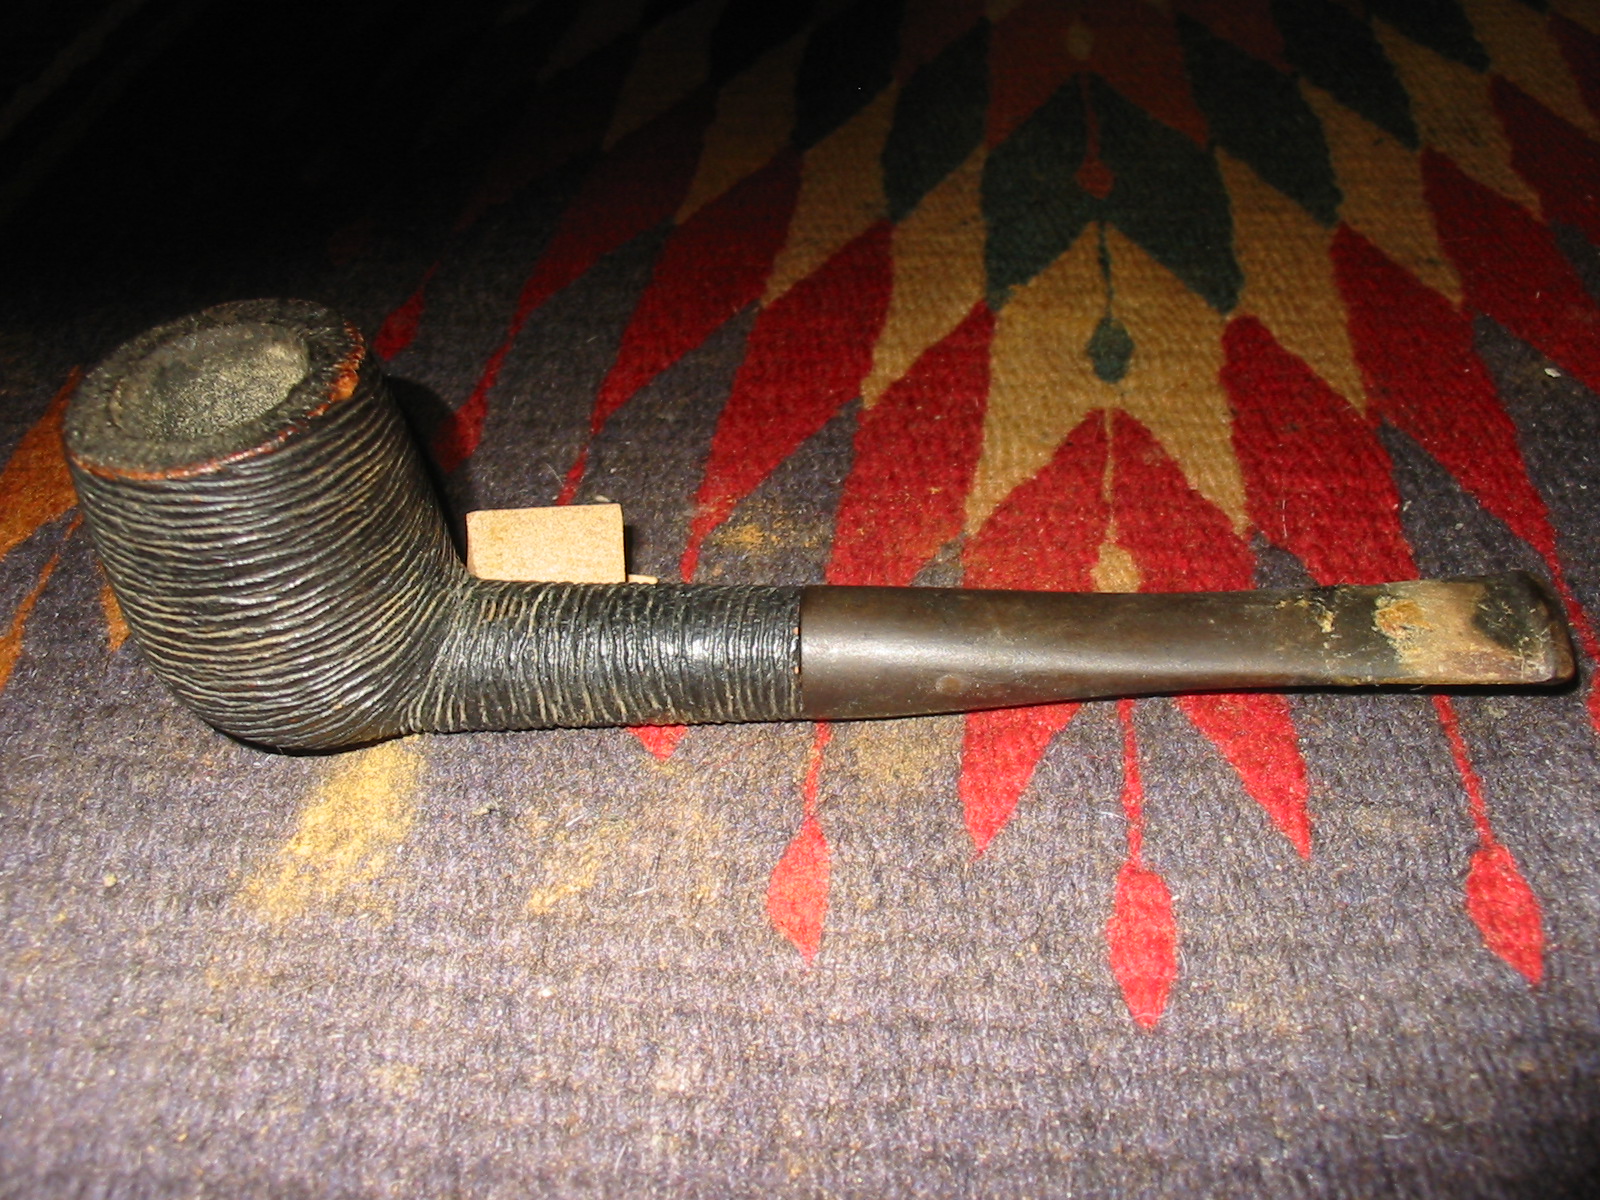
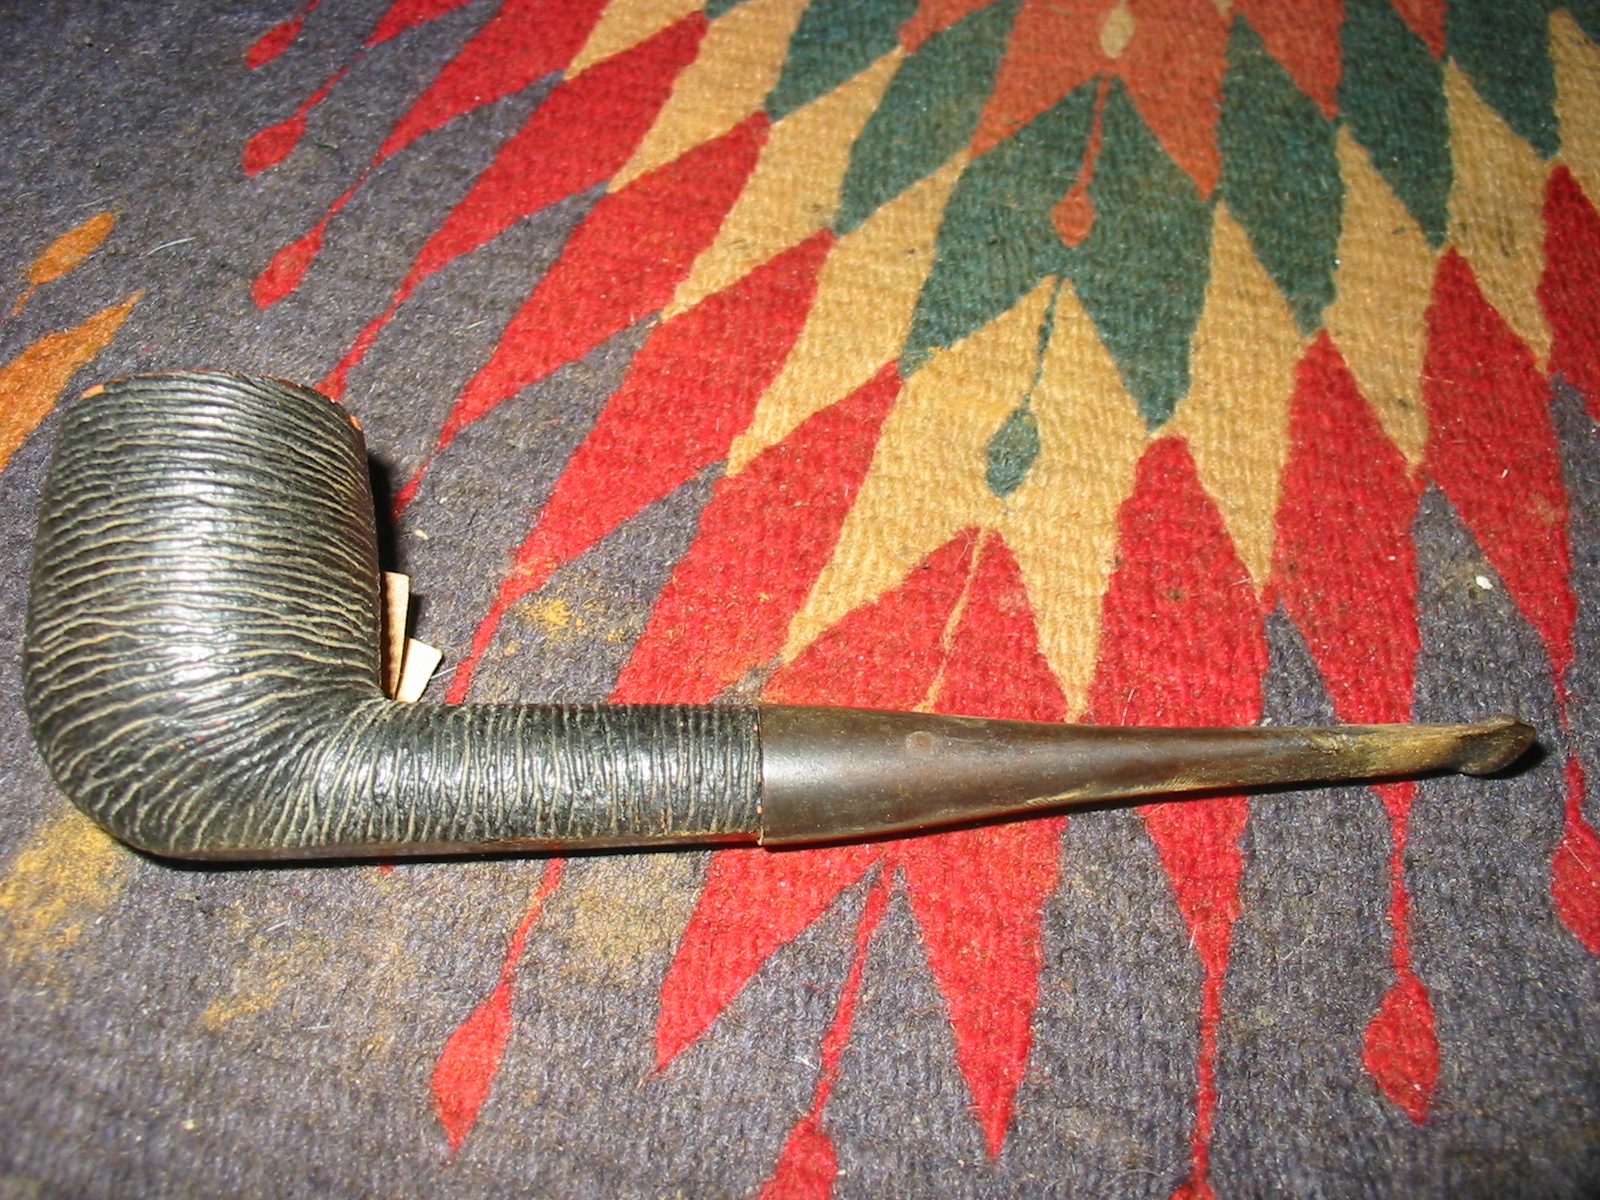
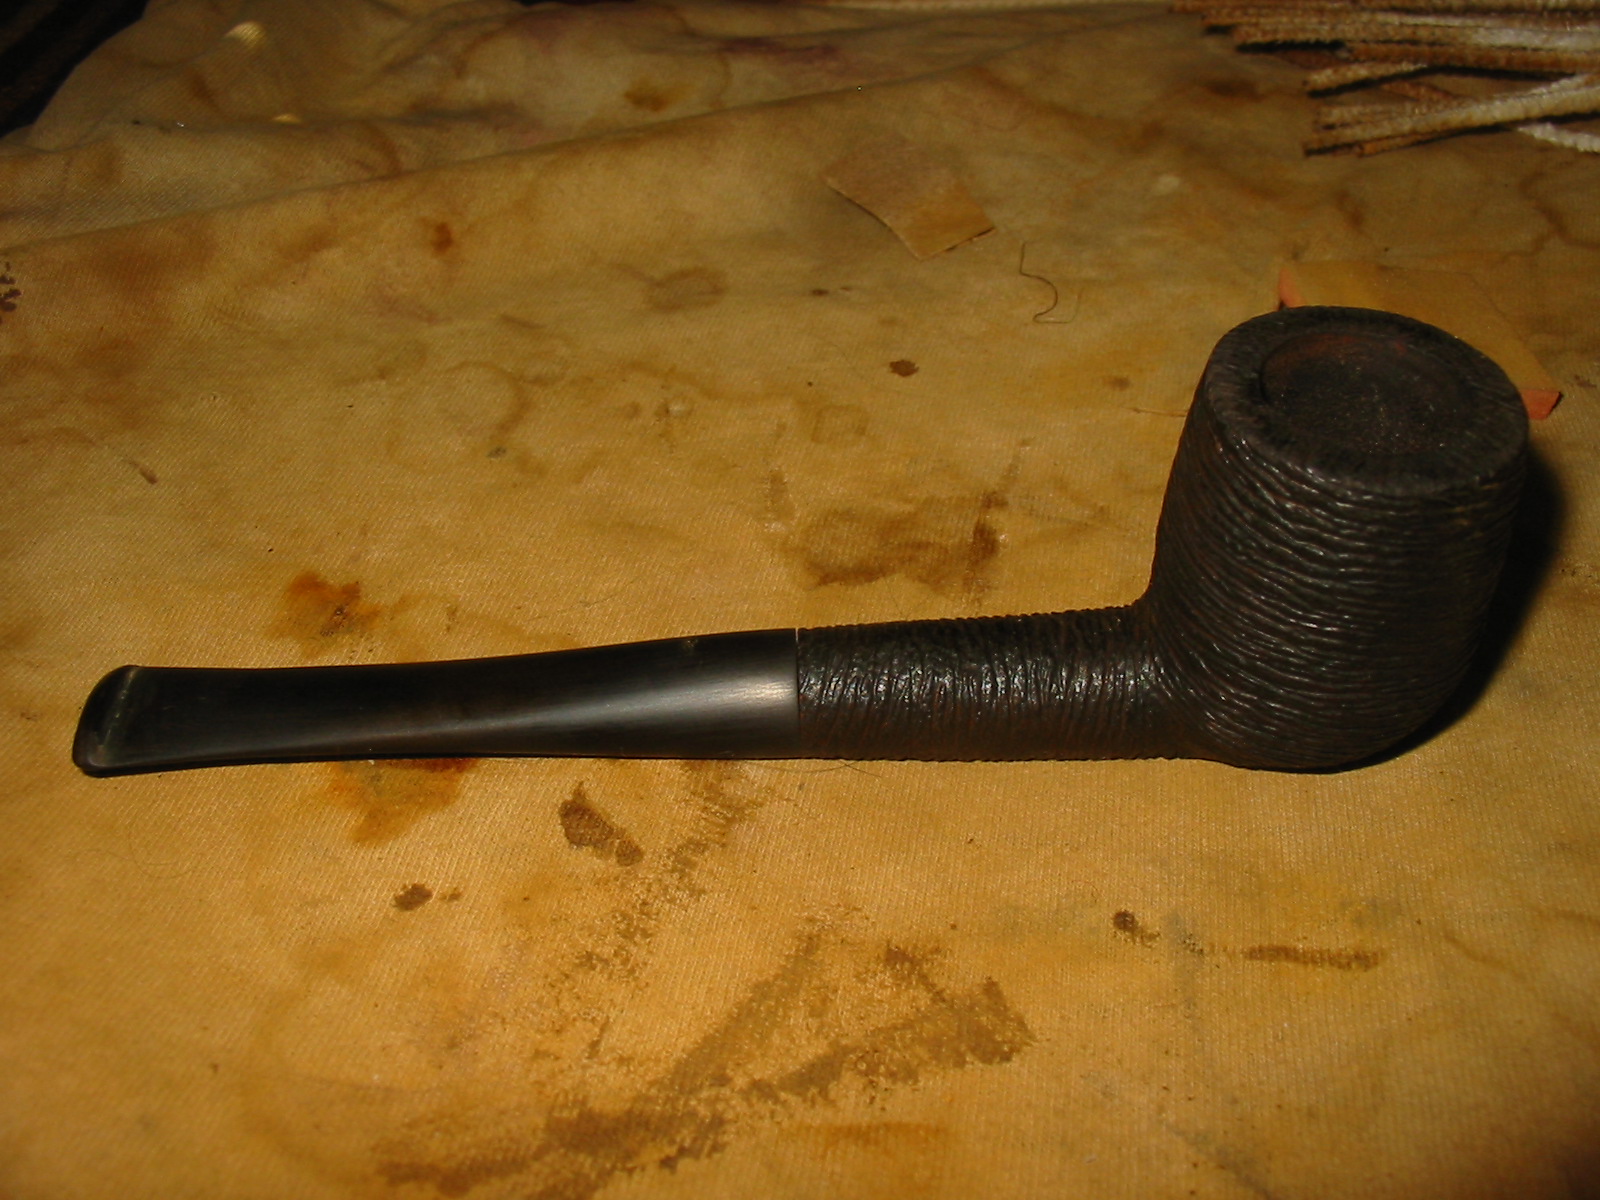
As they were getting ready to depart, I found this GBD Seventy-Six, shape 548, on Ebay. I later learned it was sold by our own Bob Landry. The pipe had some issues and I was a bit skeptical that a good outcome could result. I’m a fan of the Seventy-Six line and I liked the tall bulldog shape. The bowl top had some chips on it but the tall bowl looked like there was plenty of briar there to top it just a bit. The stem was in great shape, just oxidized and I rationalized that if it didn’t work out, at least I had a brass rondell for the parts box. The big concern was the two burn marks on the briar (photographed and described well by Bob). I knew it would require a restain. Here is the pipe as it was received.

GBD_584_76-Before

GBD_584_76-Before (1)

GBD_584_76-Before (2)

GBD_584_76-Before (3)

GBD_584_76-Before (4)

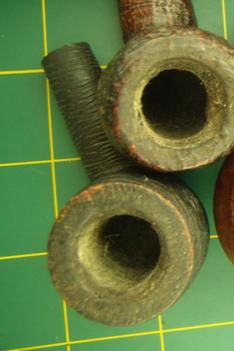
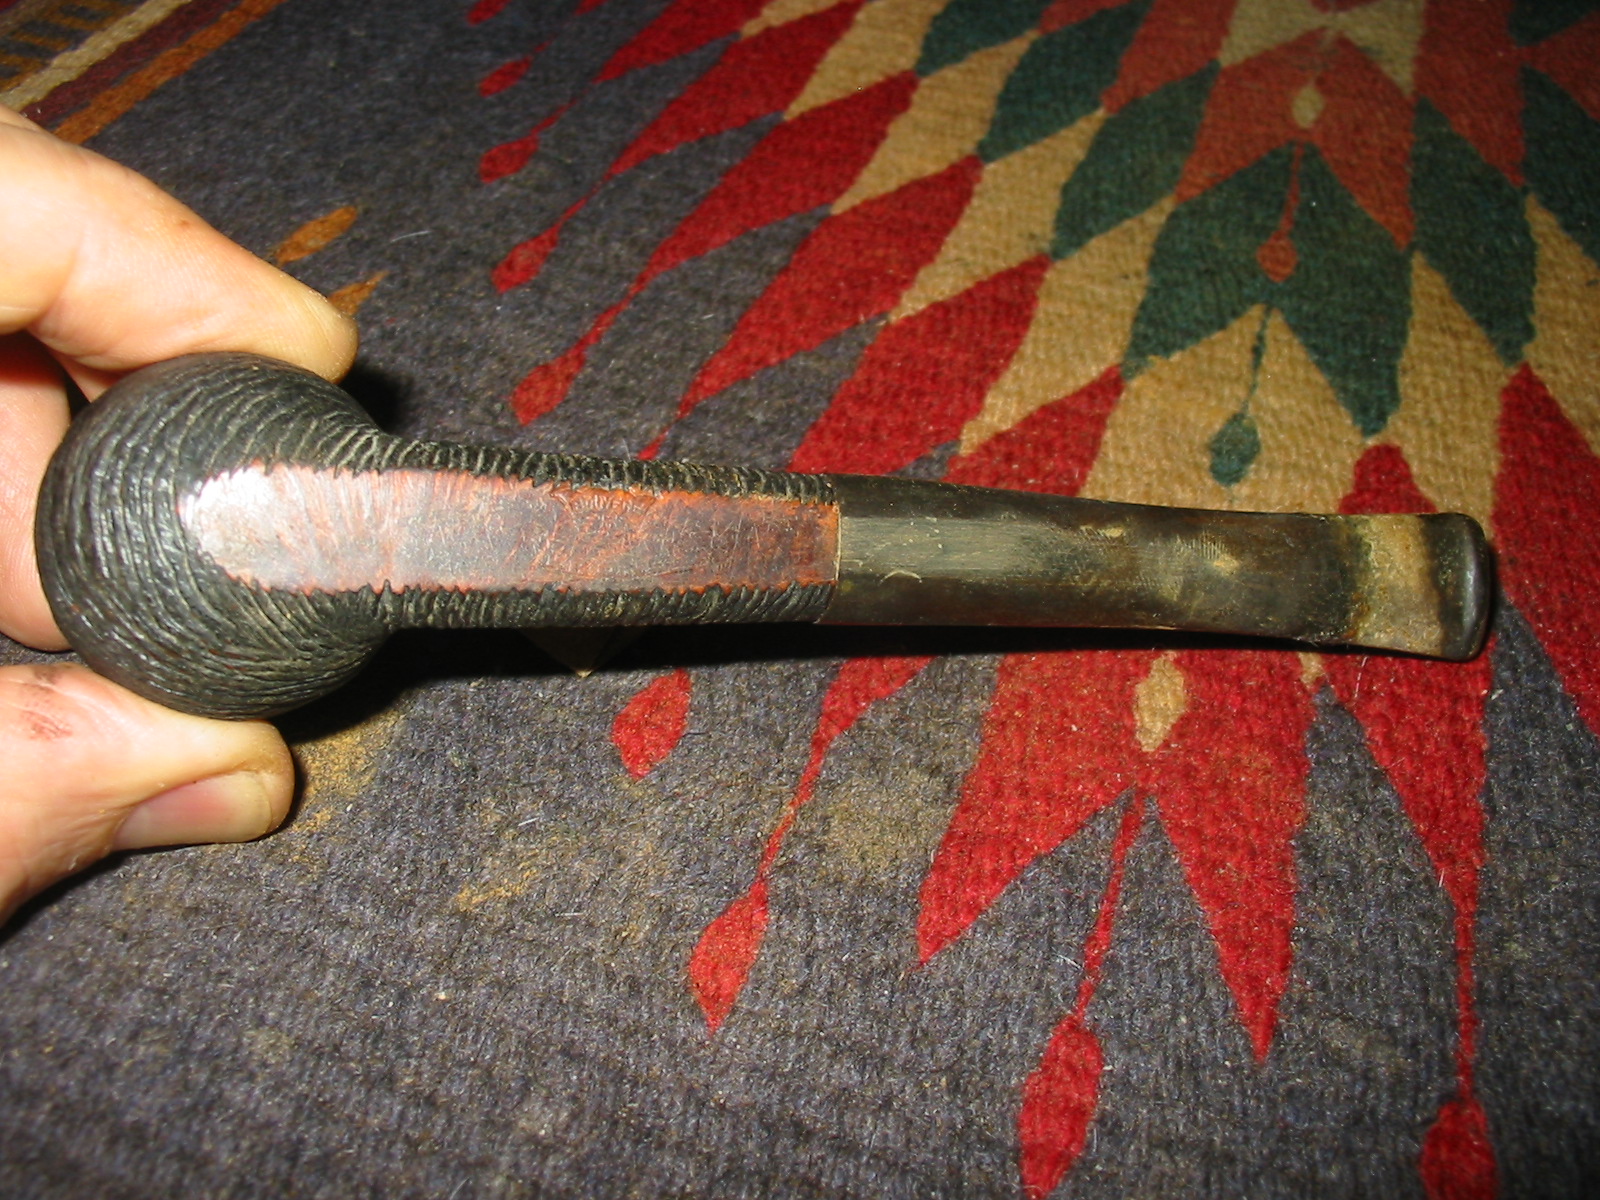
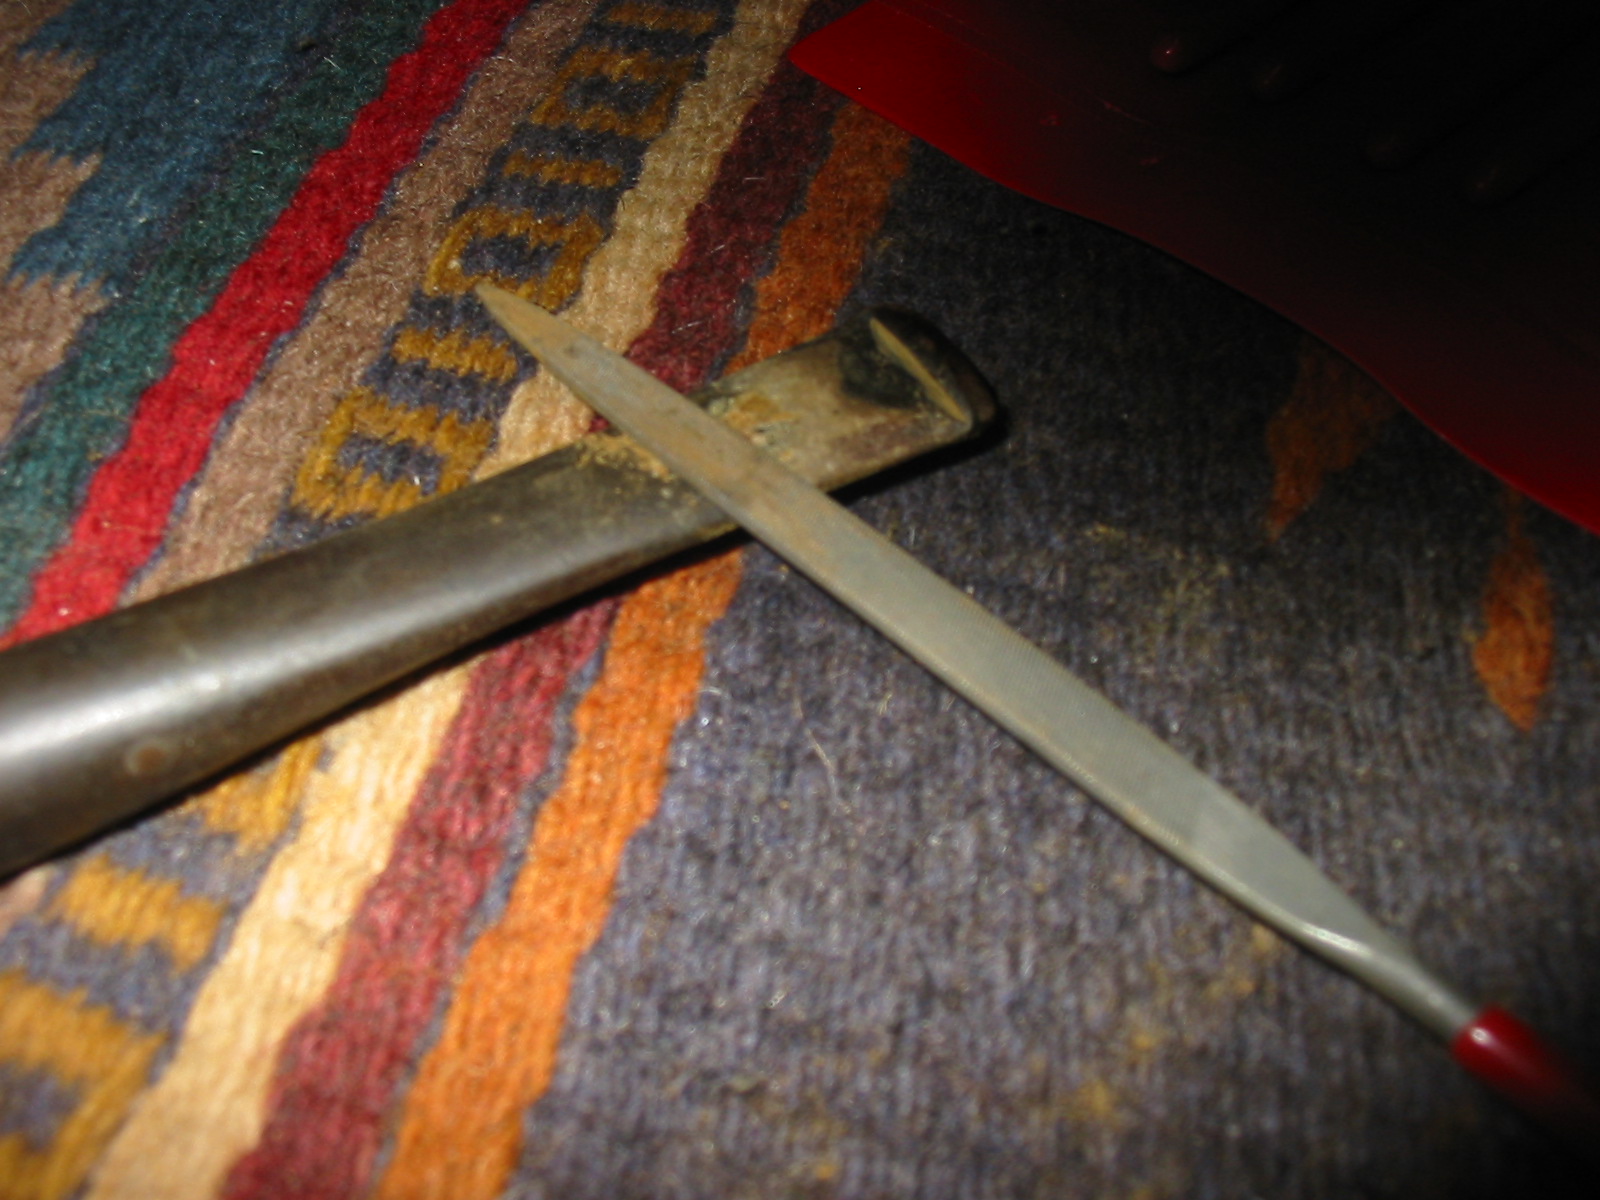
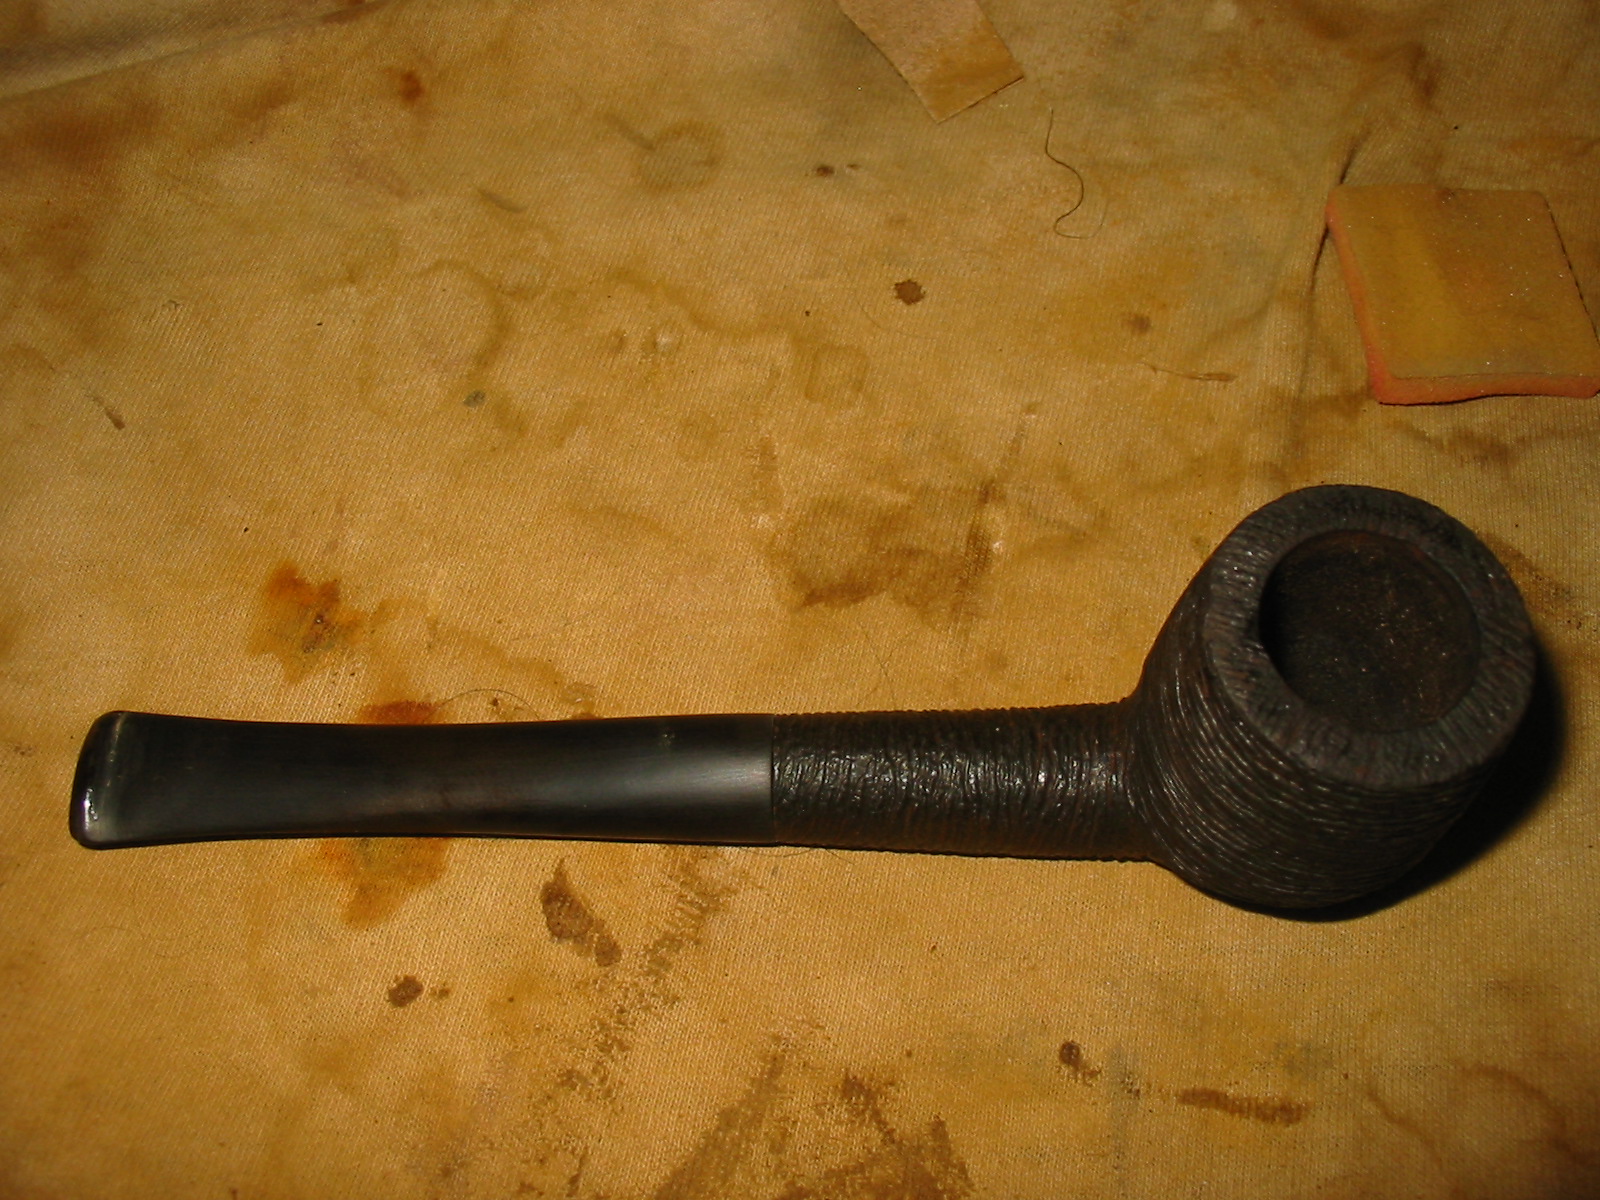
I reamed the bowl and found it to be in great shape. I used a sheet of 800 grit paper on my flat work bench to top the bowl and work past the damaged area. That fix came out great and the tall bowl definitely lent itself to that repair. Next up, I soaked the bowl in alcohol to remove the stain. This really exposed the burned areas. I tried to sand past them, but that was not possible and I was afraid of putting a flat spot on the bowl, particularly on that right side. This work exposed some other nicks on the bottom of the bowl. I was able to buff/sand out most of those.

GBD_548_76_Work (4)

GBD_548_76_Work (3)

GBD_548_76_Work

GBD_548_76_Work (2)

The GBD Seventy-Six line used a two stain process that I really like, much like Comoys used. I stained the bowl black but must have put it on too heavy, as I had a hard time getting the black off. The plan was to sand off the black, leaving it to highlight the grain and then apply a very light brown stain. I mulled over just leaving it black, but that didn’t set well with me either. I was a bit frustrated at this point and almost bagged the whole project and save the stem for a future project. I left it on the bench for the better part of a week, working on other projects. I decided to soak off the black stain and left it in an alcohol bath for several days. That finally did the trick and afterwards, I sanded the briar smooth with some 2000 grit paper and then 8000 grit micromesh.

GBD_548_76_Work (5)

GBD_548_76_Work (6)

GBD_548_76_Work (9)

GBD_548_76_Work (8)

GBD_548_76_Work (7)

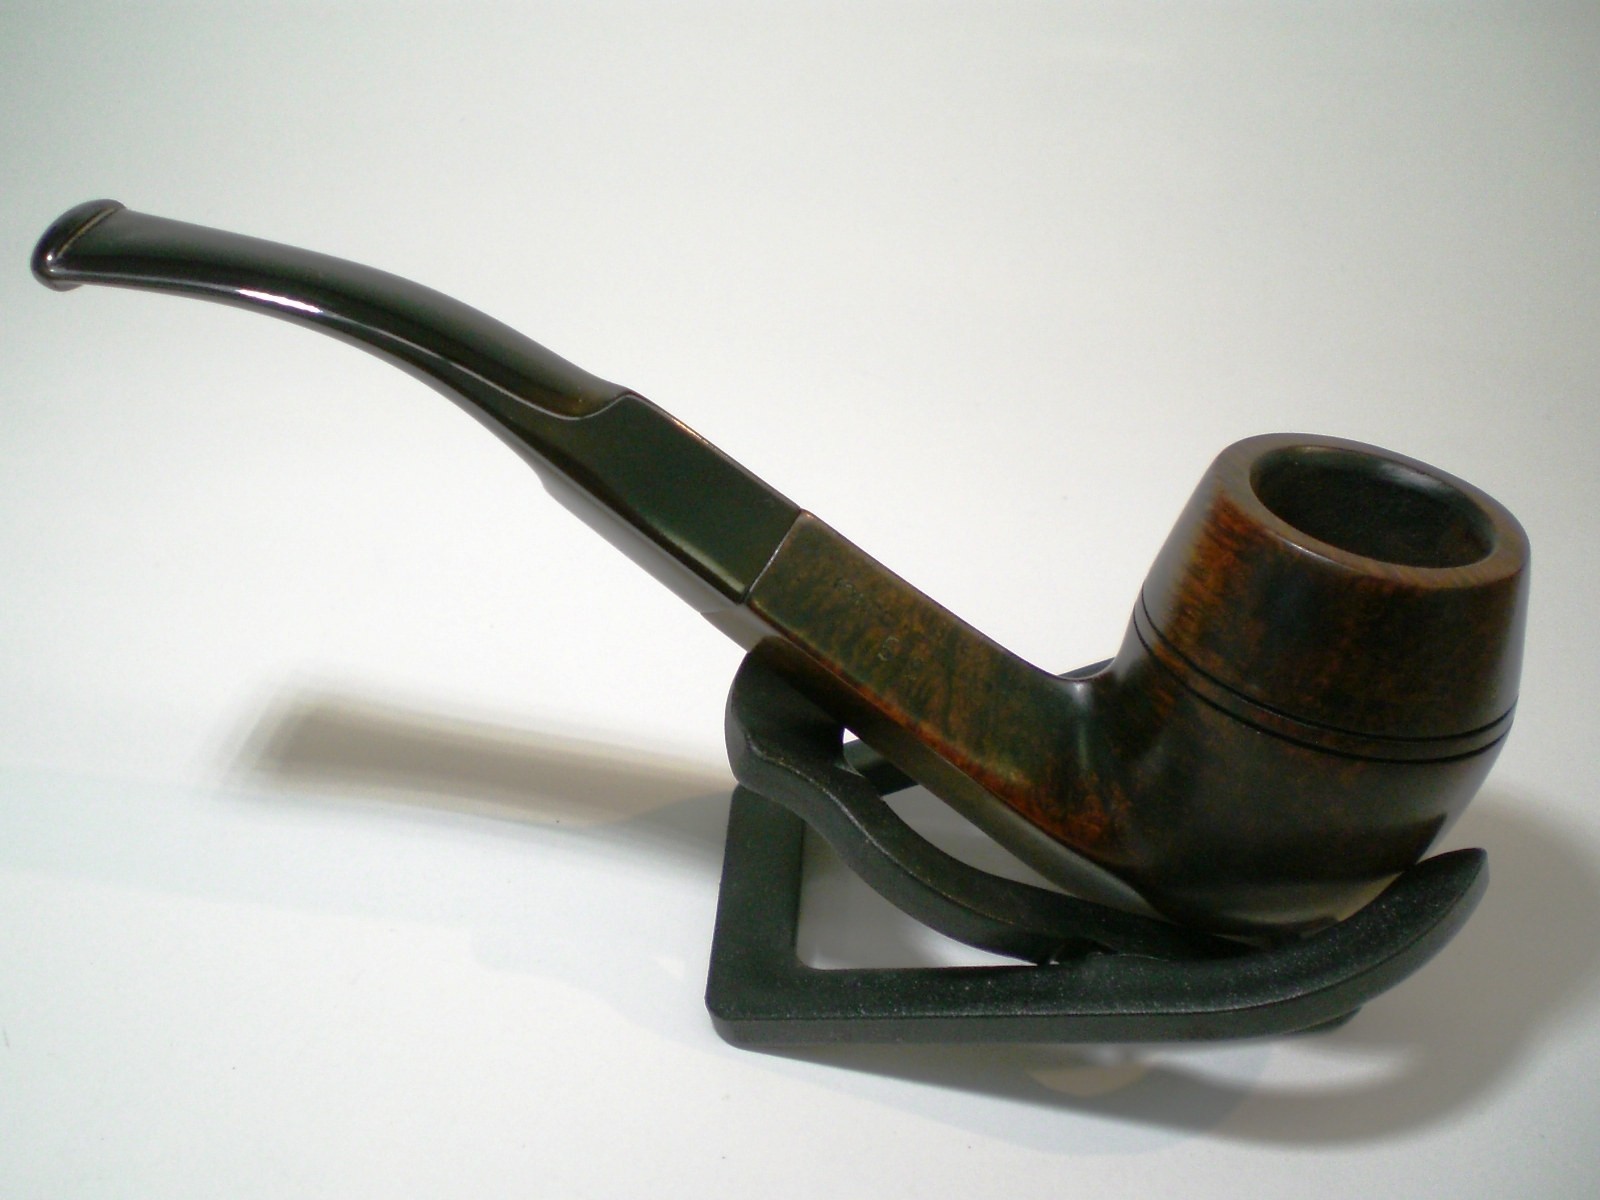
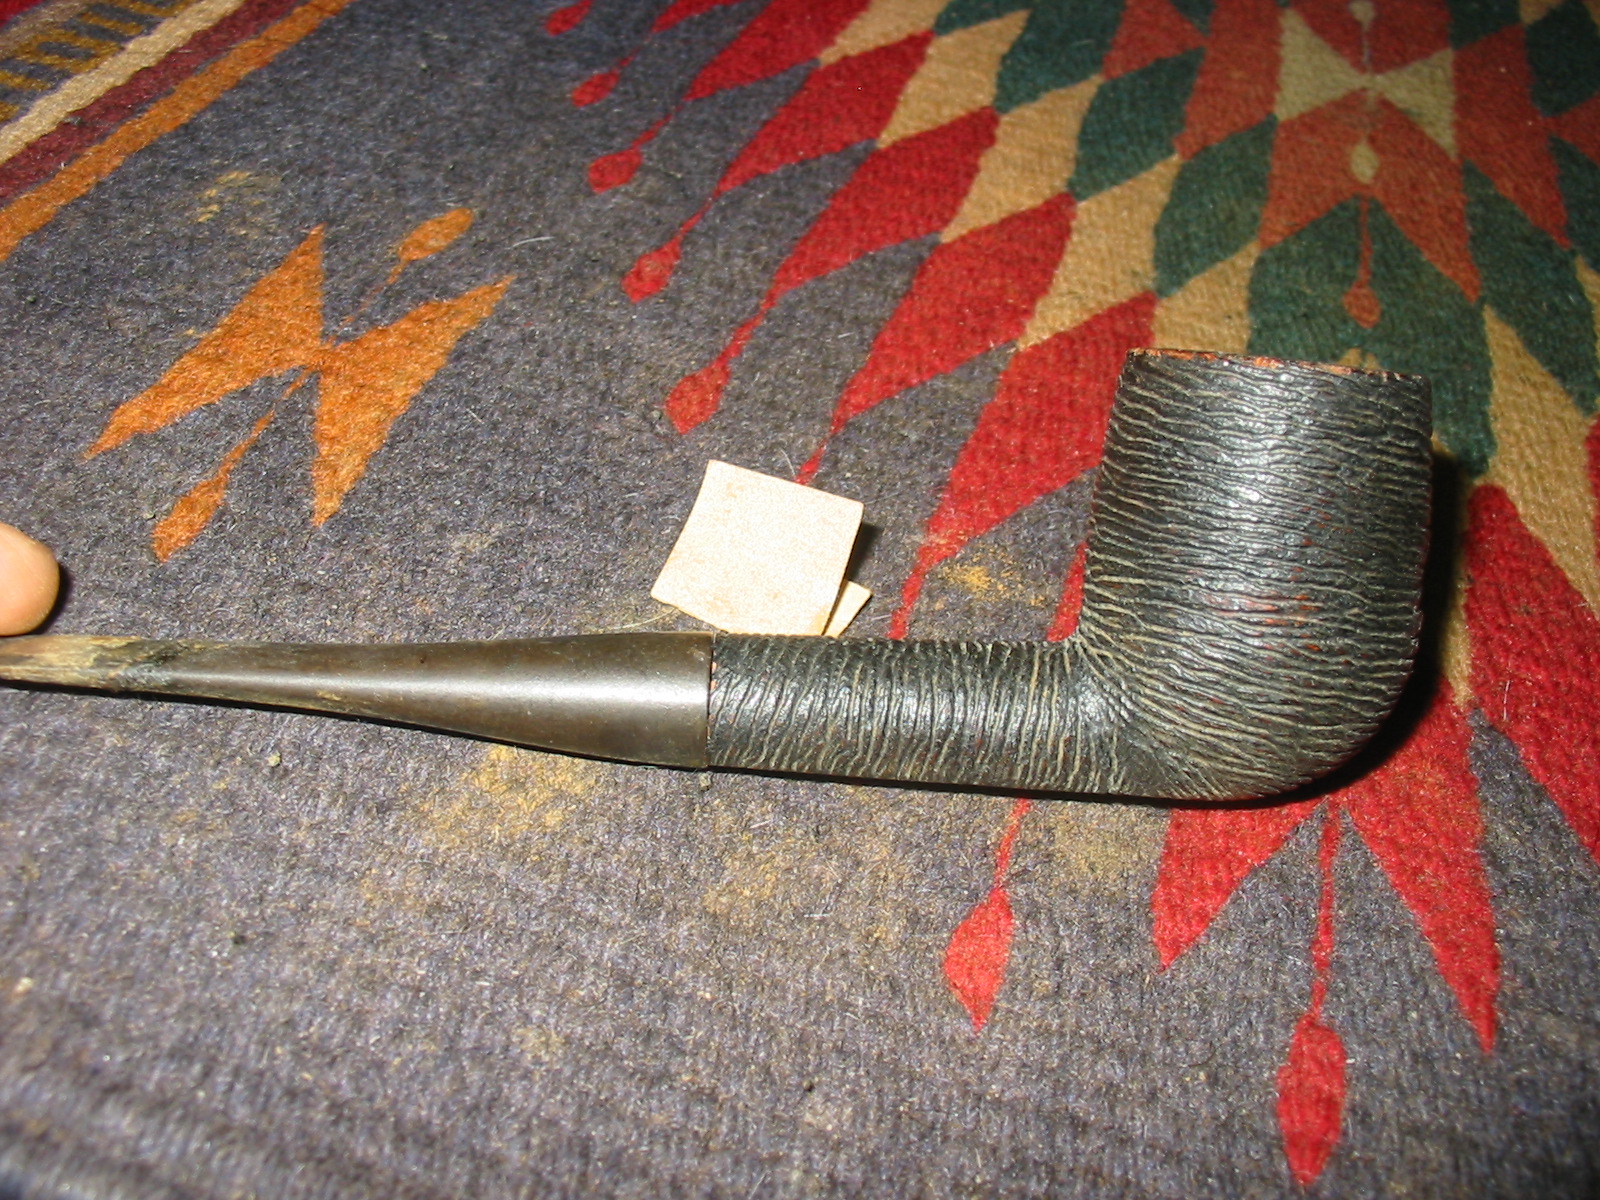
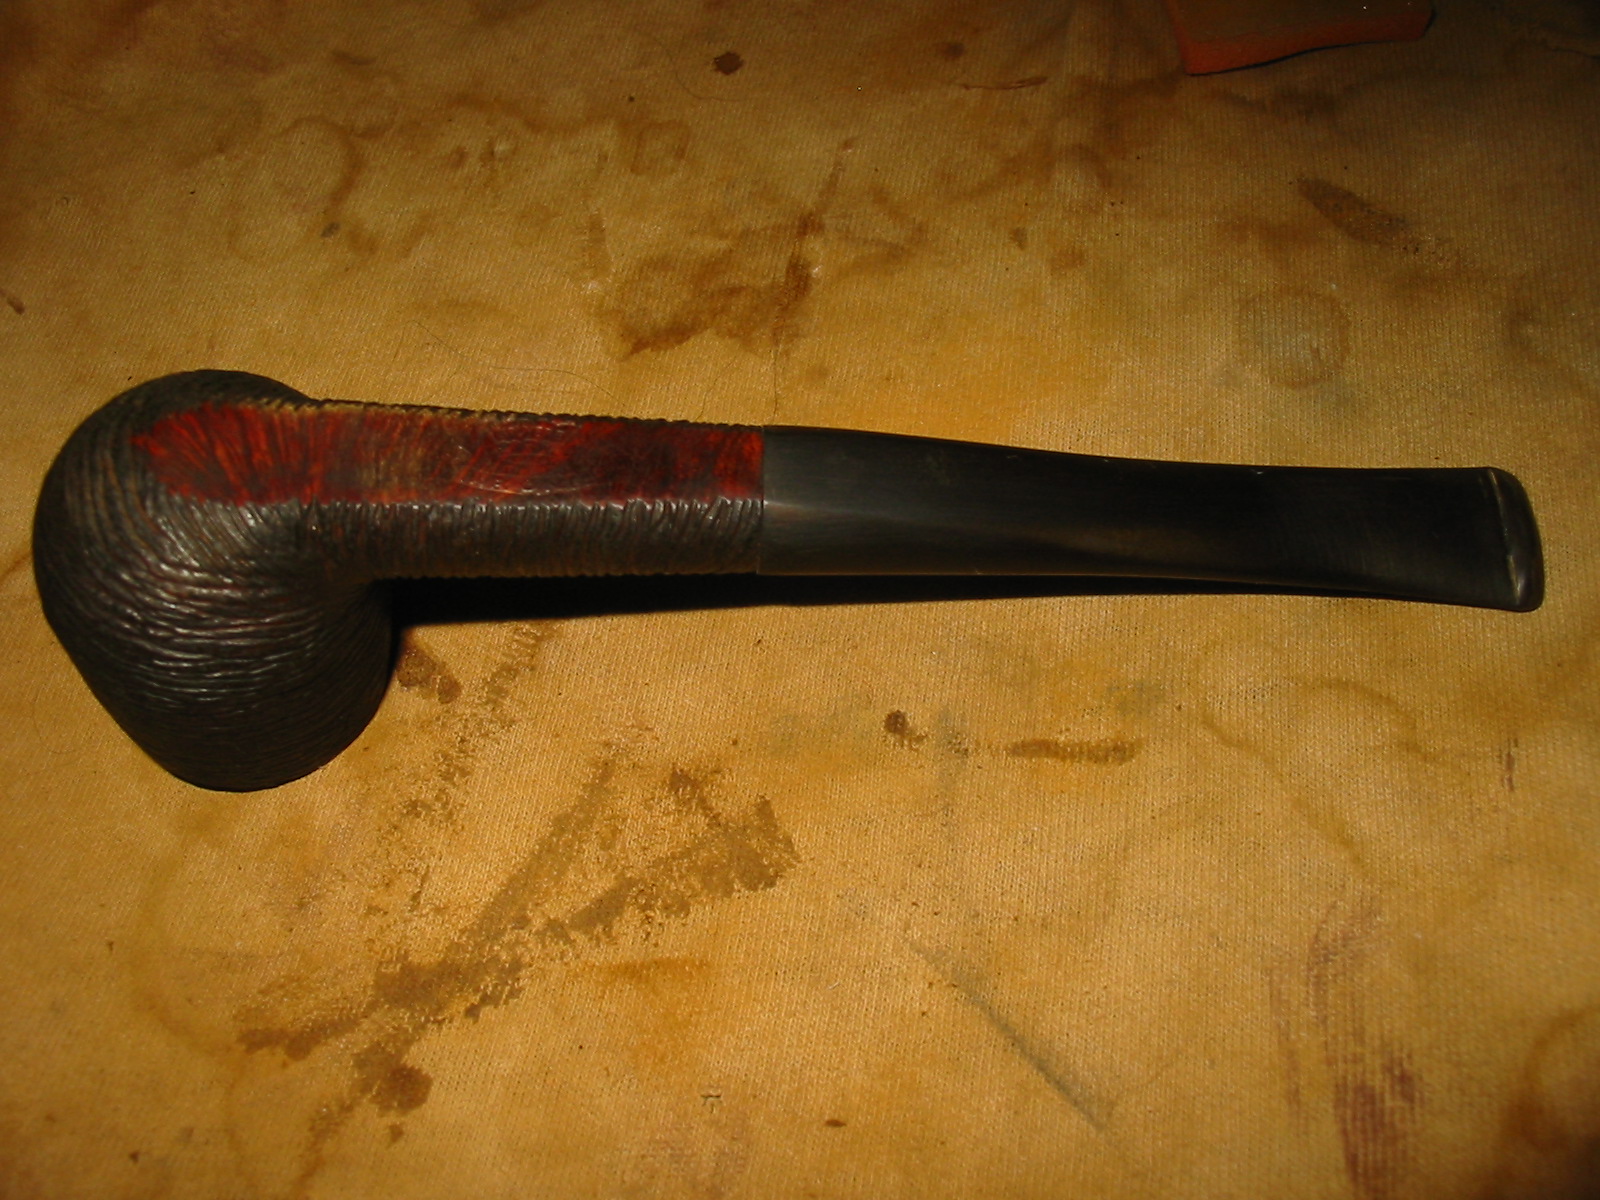
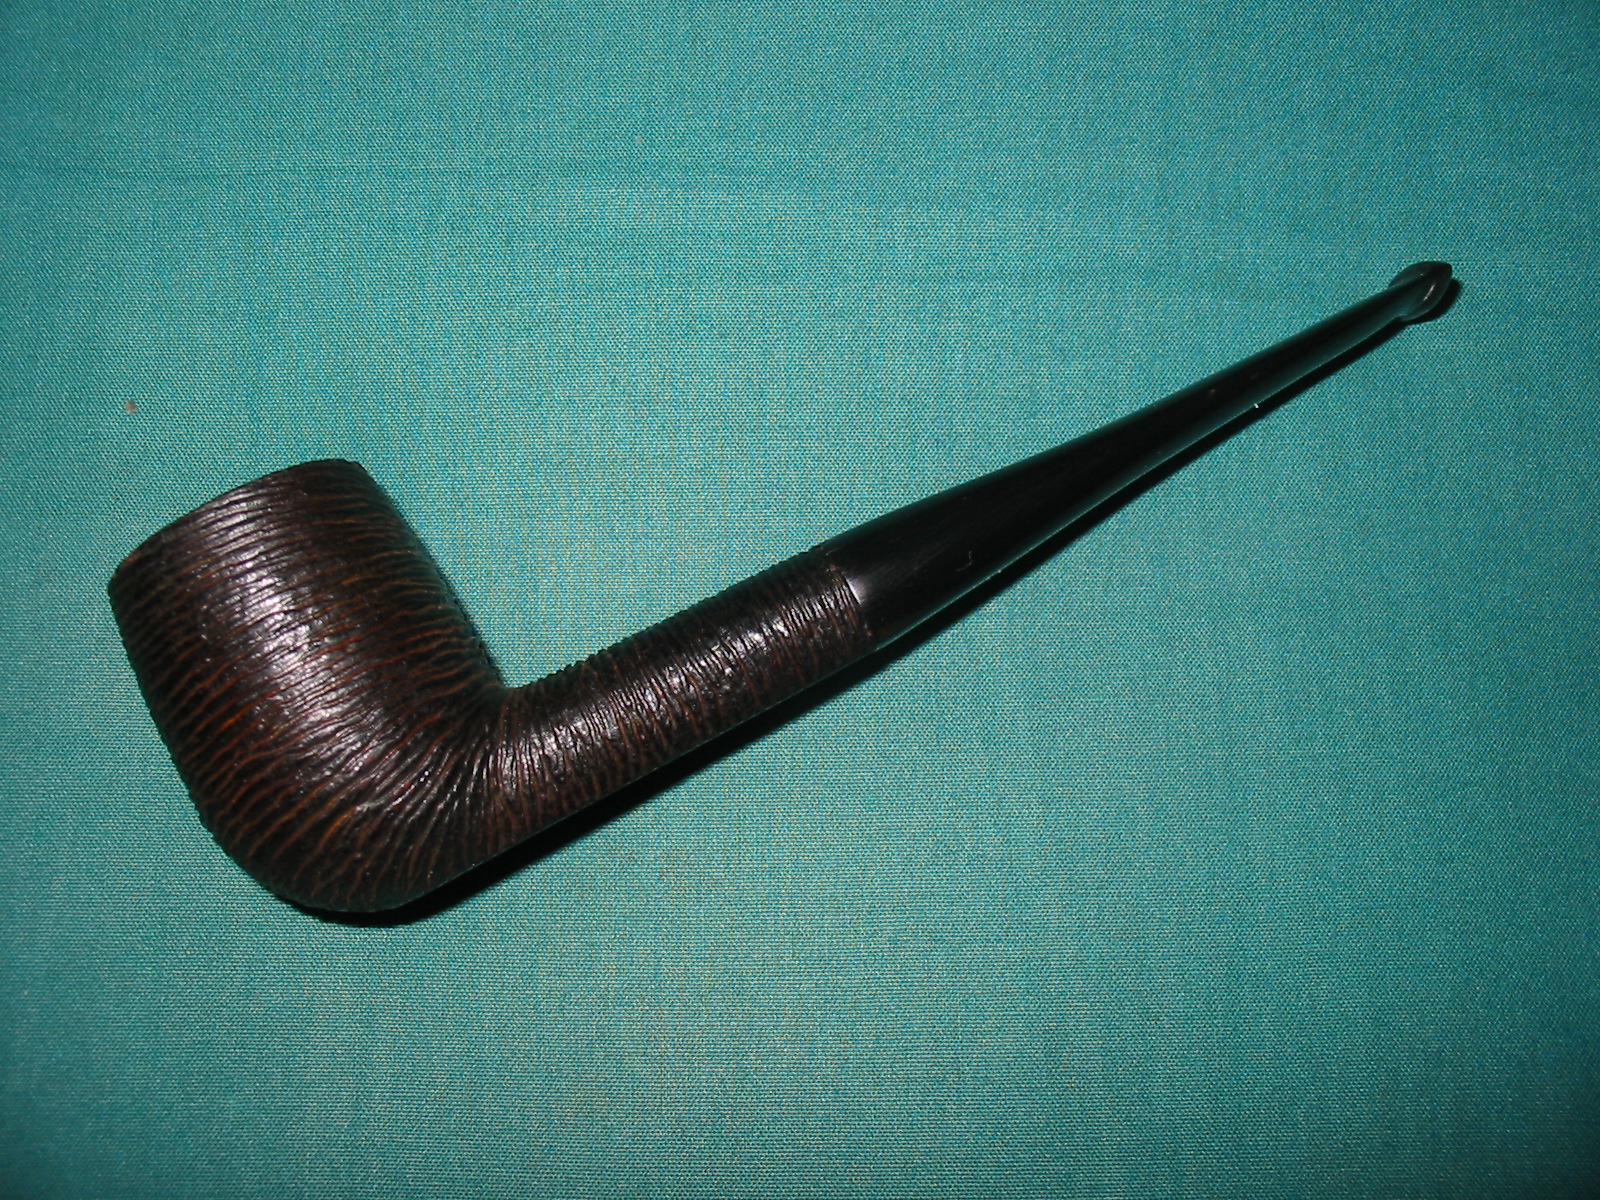
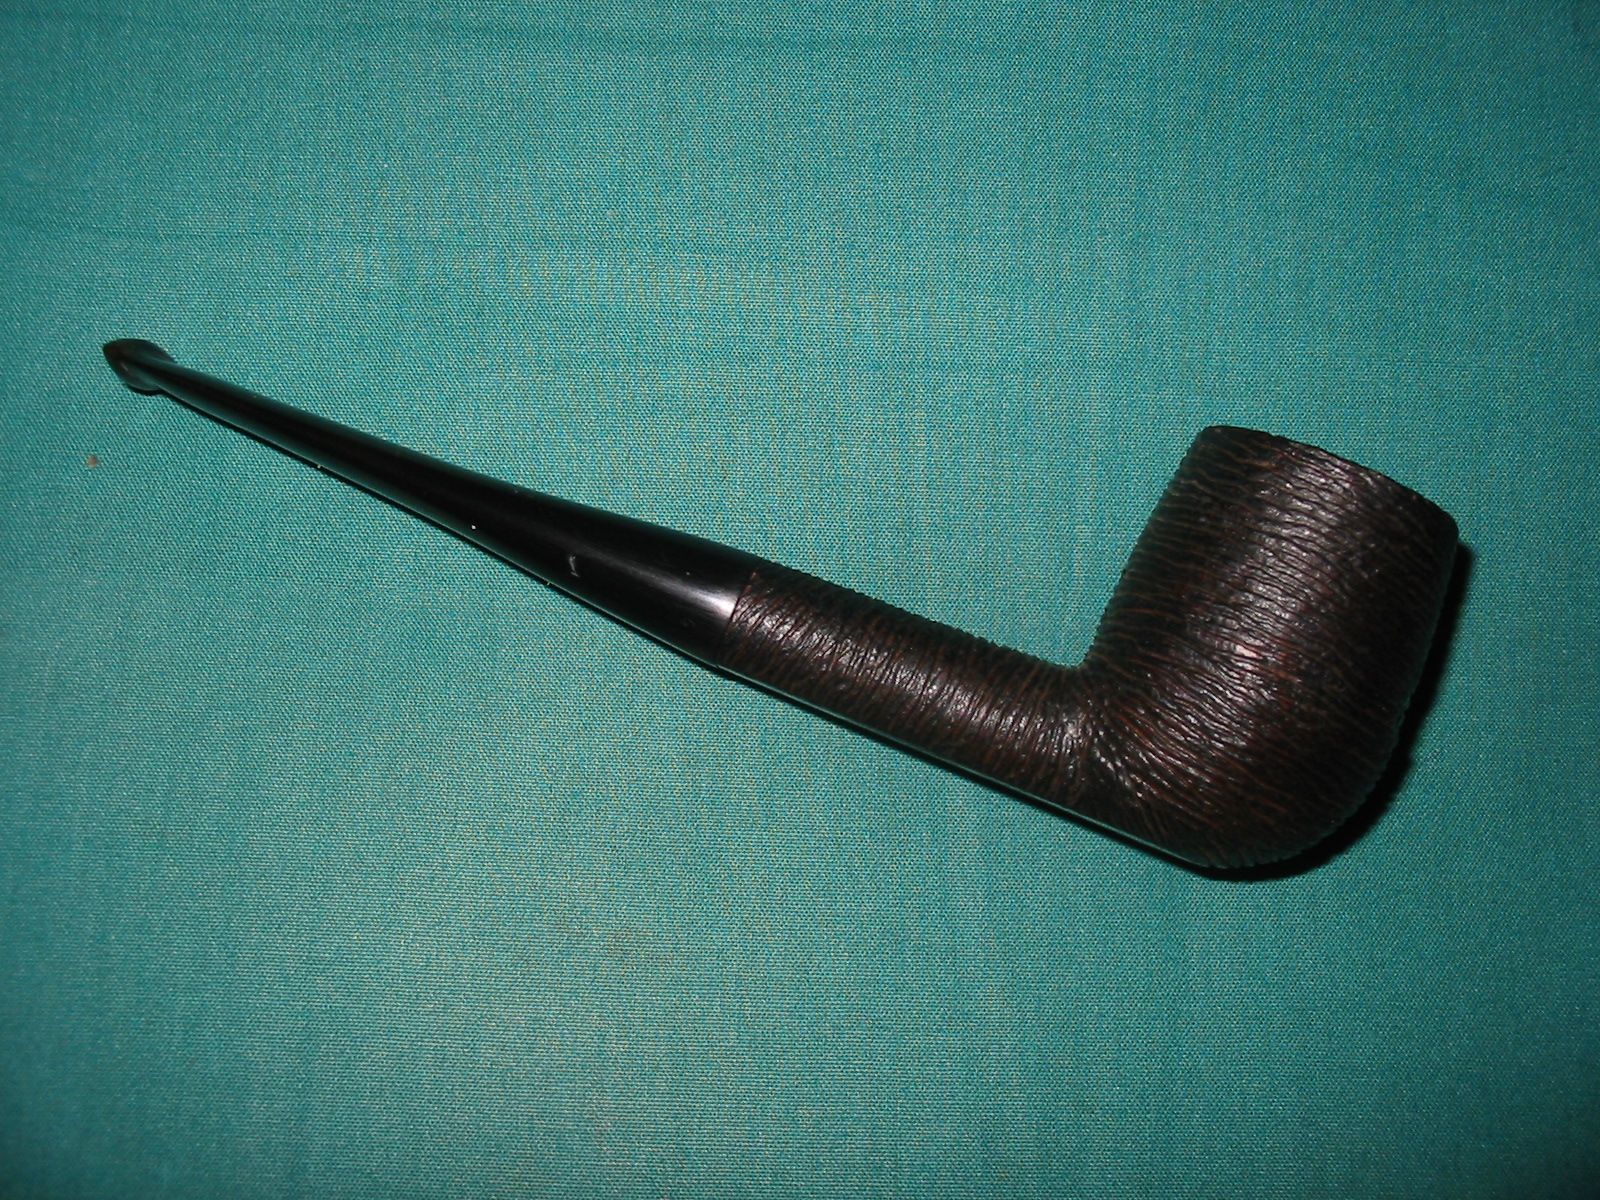
I then applied a very light brown stain using Feiblings Medium Brown heavily diluted with alcohol (20:1 ratio or so?) The combination of the black and brown stain finally hid the burn marks rather well and I was pleased with the outcome. The bowl was then polished with White Diamond and then several coats of carnuba wax was applied.

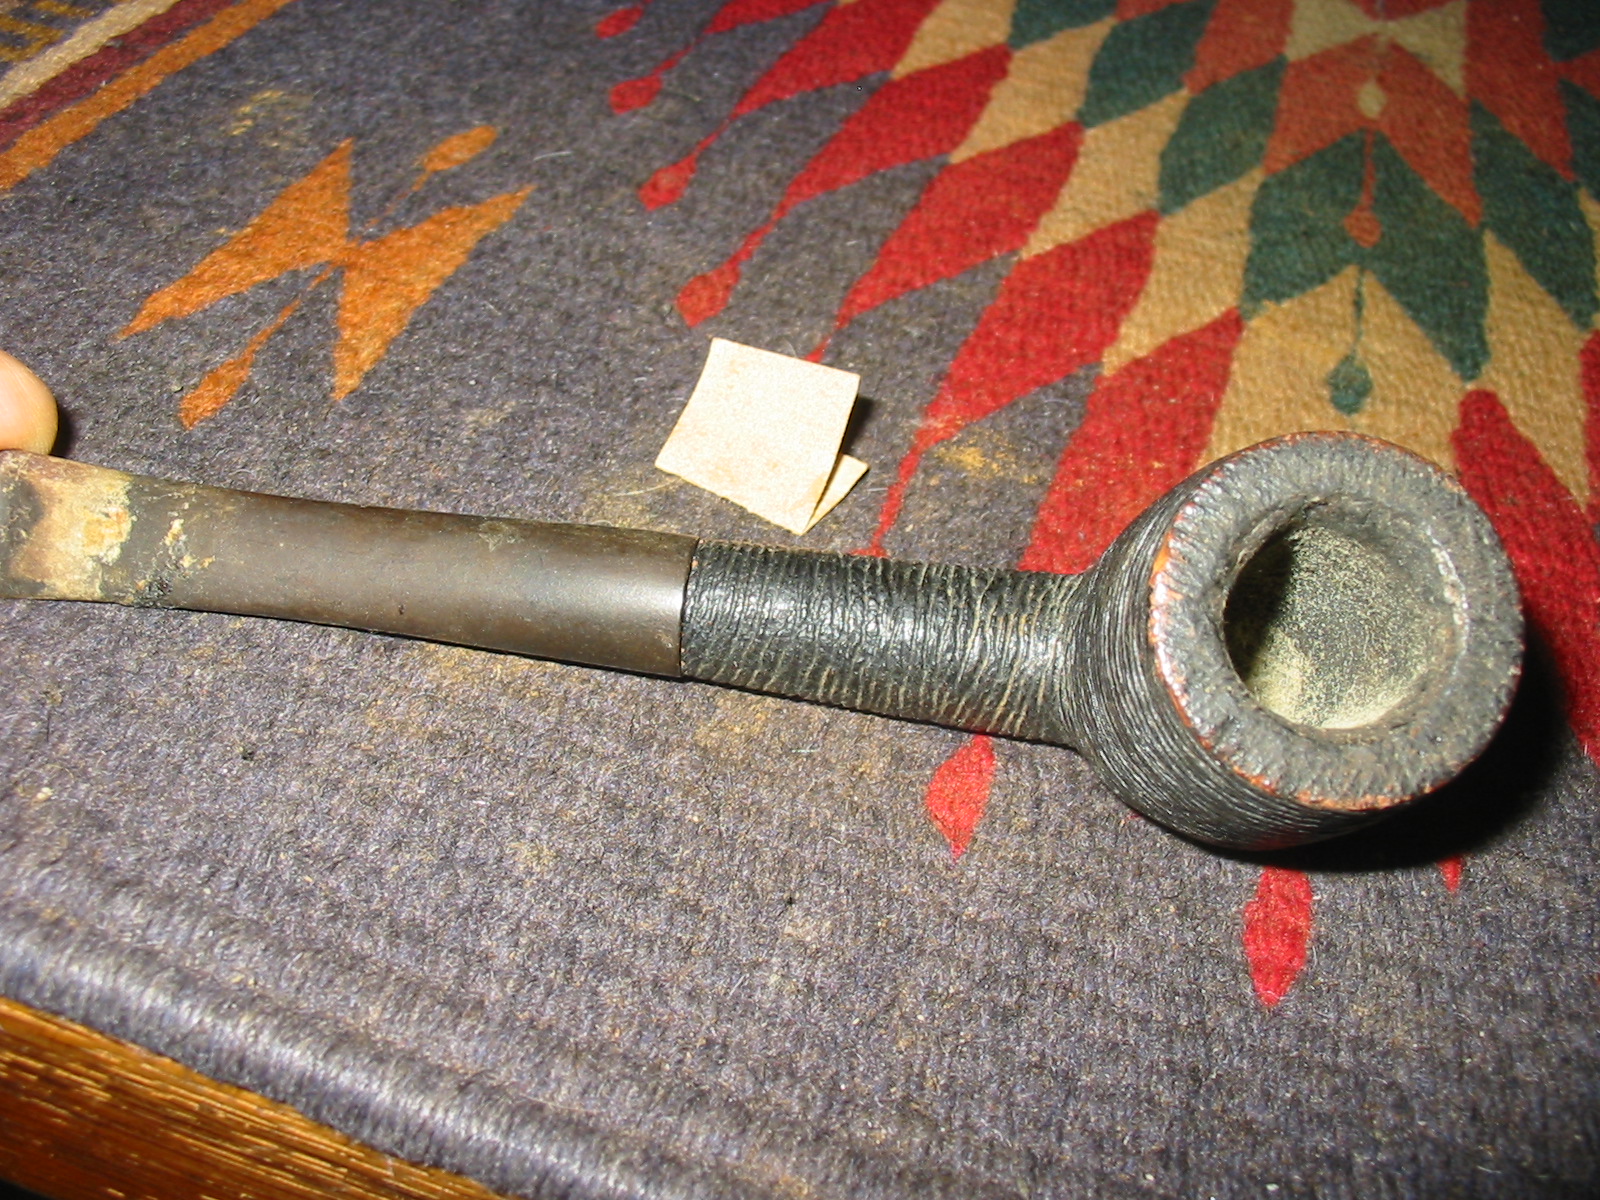
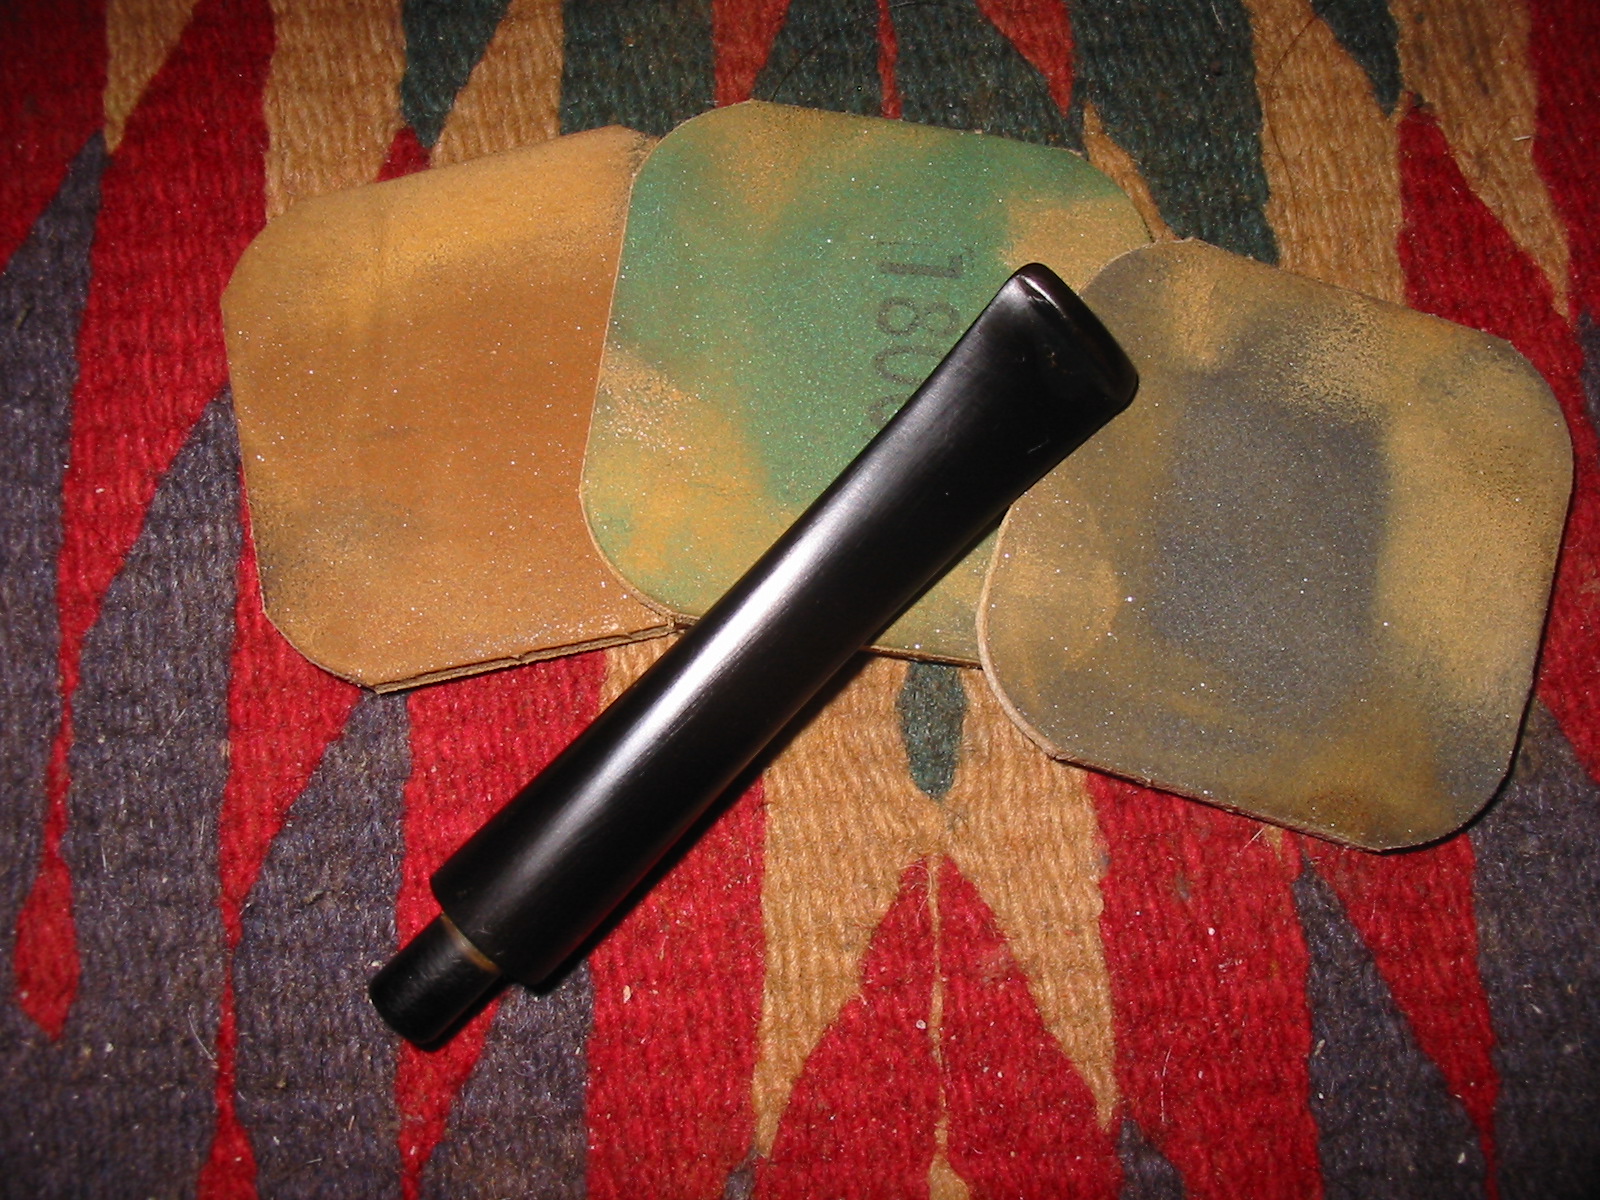
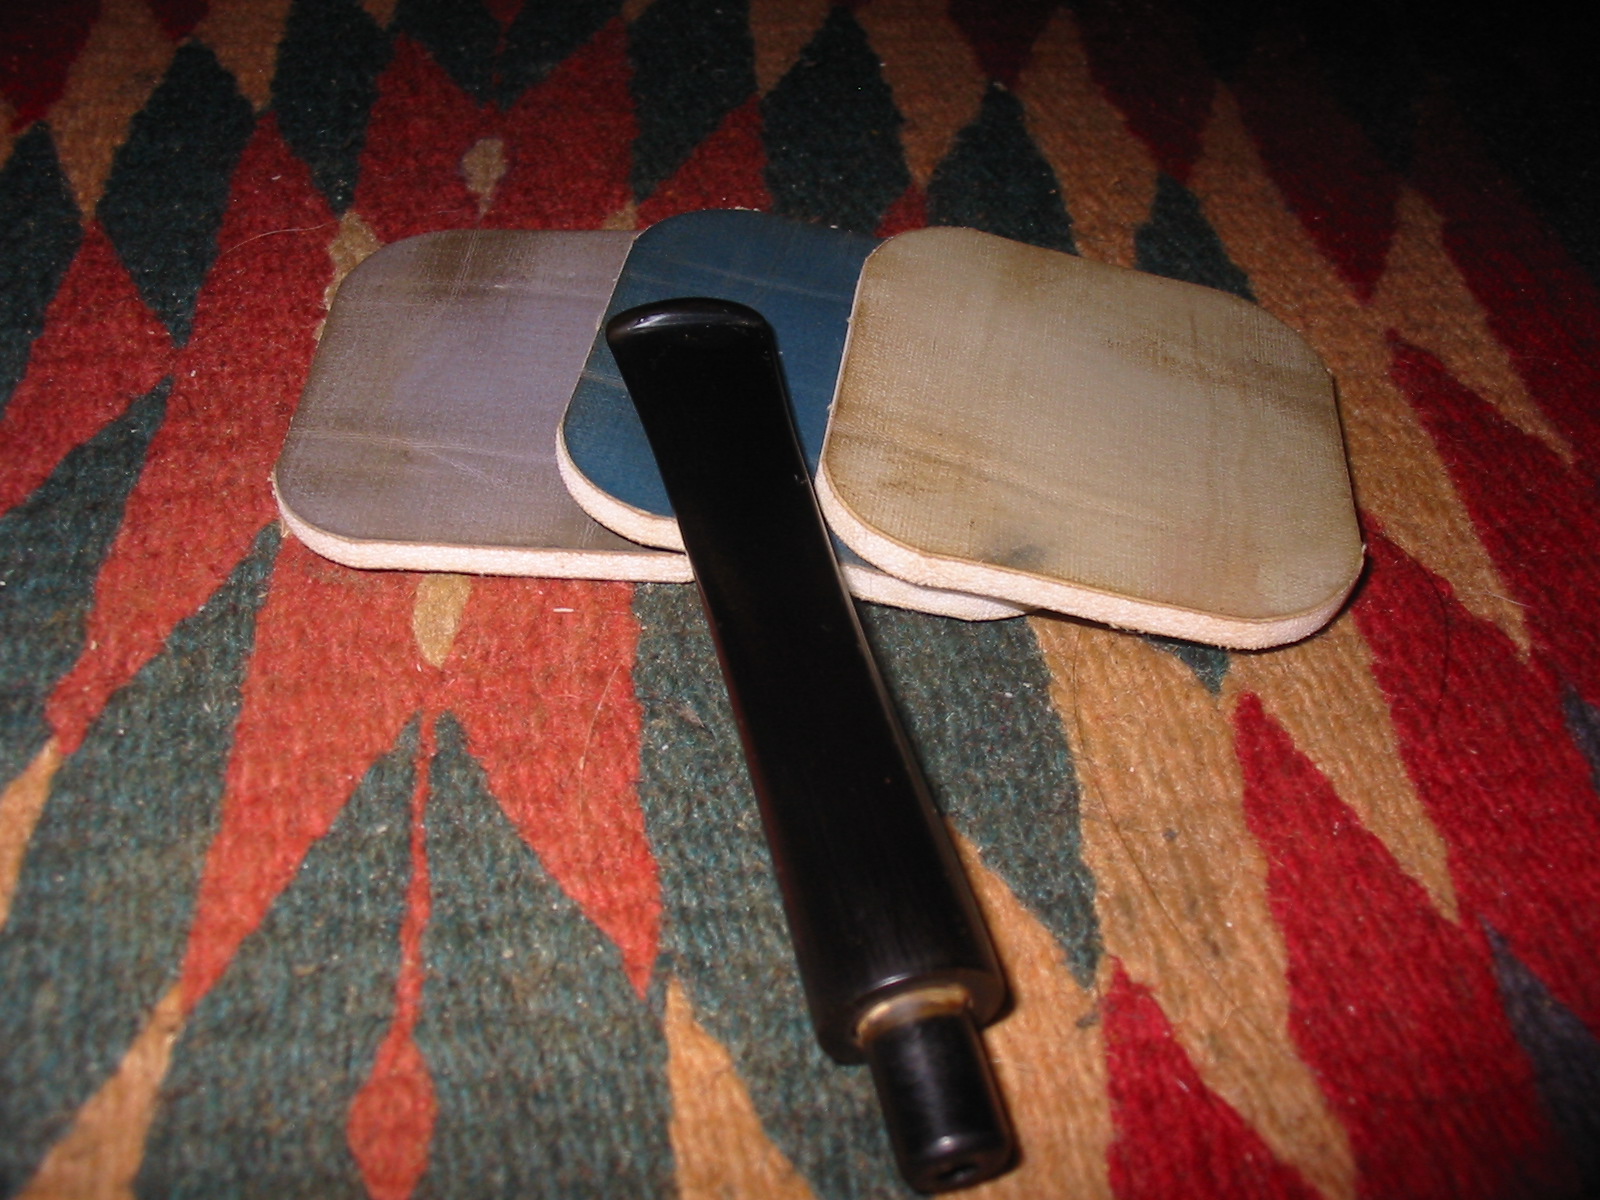
With the bowl completed, I turned my attention to the stem, which didn’t require nearly as much work. Using a piece of plastic, cut into a round shape I inserted it as a shield between the stem and the briar for the sanding work. I sanded the stem with 800, 1500 and 2000 grit paper, all wet. I then moved to 8000 and 12000 grit micromesh sheets. The stem was then buffed with White Diamond and an automotive plastic polish.

This shows the plastic shield.

GBD_584_76_Work (10)

As I was finishing the pipe and thinking about my daughters marriage, it struck me that there were some similarities in this pipe project and a successful marriage. Like a marriage, at times things don’t always go the way you anticipated and being patient with your spouse or a project always pays off. I sent the pipe off to my future son-in-law with a note welcoming him to our family. I hoped when smoking the pipe, he would remember the week he spent here and his proposal to my daughter.

GBD_584_76-Finished (4)

GBD_584_76-Finished (3)

GBD_584_76-Finished (2)

GBD_584_76-Finished (1)

GBD_584_76-Finished

Restemming a Bruyere Krone Billiard


I am just about finished restemming the lot of pipe bowls I picked up on EBay. This is one of the last two pipes that I have left in the lot below. It is the fourth pipe down in the left column. It has an interesting rustication pattern that reminds of one that is done on Saseini pipes. It is striated around the bowl and then tapers up from the bottom to a striated pattern around the shank. It has a flat bottom on the shank that is smooth and stamped Bruyere in a crown with a large R in the centre of the band on the crown. Underneath the crown is an unfurled banner that is stamped K R O N E. I have no idea of who the maker is or when and where it was made. The stamping is faint so I may be missing a few letters but I think this is an accurate rendering of what is stamped. The finish was pretty dirty with grime in the grooves on the bowl and shank. The rim was caked with a tarry buildup and the grooving on the rim was not visible. There were also place on the finish where the stain was missing and the briar underneath exposed. The inside of the bowl had dust and cob webs and a pretty large cake buildup that would need to be removed. The bowl came without a stem and fitting one would take flattening of the stem on the underside to match the shank.

bowls1

sas

I went through my box of estate stems and found one that was a good fit to the shank. Once the cleanup of the stem was done and a flattening of the underside of the stem the pipe would look like it came with that stem. The stem had a calcified buildup around the button and some tooth marks as well. The oxidation was not too bad but was present.

IMG_1492

IMG_1493

IMG_1494

IMG_1495

IMG_1496

The clean angles of the button against the stem were gone so I recut them with needle files to clean up the edge. I reamed the bowl back to bare briar with a PipNet reamer starting with the smallest cutting head and progressing to the one that was the diameter of the bowl without the cake. Once it was cleaned out I scrubbed down the bowl with Murphy’s Oil Soap and a soft bristle tooth brush to remove the grime. I scrubbed the buildup on the rim with a soft bristle brass tire brush to remove the tars. Once I had scrubbed it I rinsed it with warm water to remove the soap and dried it off with a cotton towel. I wiped down the bowl with acetone on a cotton pad and prepared it to be stained. After heating it with a heat gun I stained it with a dark brown aniline stain. I used a permanent black marker to touch up the raw briar areas where it was scratched or damaged. I reapplied the stain and flamed it. The newly stained pipe is shown in photos 2 and 3 below.

IMG_1497

IMG_1498

IMG_1499

I sanded the stem with medium grit emery paper to remove the calcification around the button and also heated the tooth marks with a Bic lighter to lift them as much as possible. I “painted” the surface of the stem with the flame to burn off the sulfur of the oxidation that I had loosened by sanding. I repaired the tooth marks on both sides of the stem with black superglue and set it aside to dry overnight.

IMG_1500

The next morning I cleaned out the bowl and shank with pipe cleaners, cotton swabs and Everclear. I sanded the stem and the superglue patch with 220 grit sandpaper and then with a medium grit sanding sponge to clean up the scratches in the finish. I put it back on the bowl to get an idea of the overall look of the pipe and see if the diameters of the stem fit the shank. I needed to flatten the bottom of the stem some more to match the bottom of the shank and also removed some more of the material on the diameter of both sides to bring it into line with the shank. Once the stem was well fitted I moved on to sanding with micromesh sanding pads from 1500-12,000 grit.

IMG_1501

IMG_1502

IMG_1503

IMG_1504

IMG_1505

IMG_1506

IMG_1507

I buffed the stem with White Diamond and a Blue polish. I gave the bowl a light buff with White Diamond to bring up the shine. I gave the bowl a coat of Halcyon II wax and buffed it by hand with a shoe brush. I gave the stem multiple coats of carnauba and buffed it on the buffer with a clean flannel buff. I think the pipe came out well. Does anyone know anything about the brand?

IMG_1508

IMG_1509

IMG_1510

IMG_1511