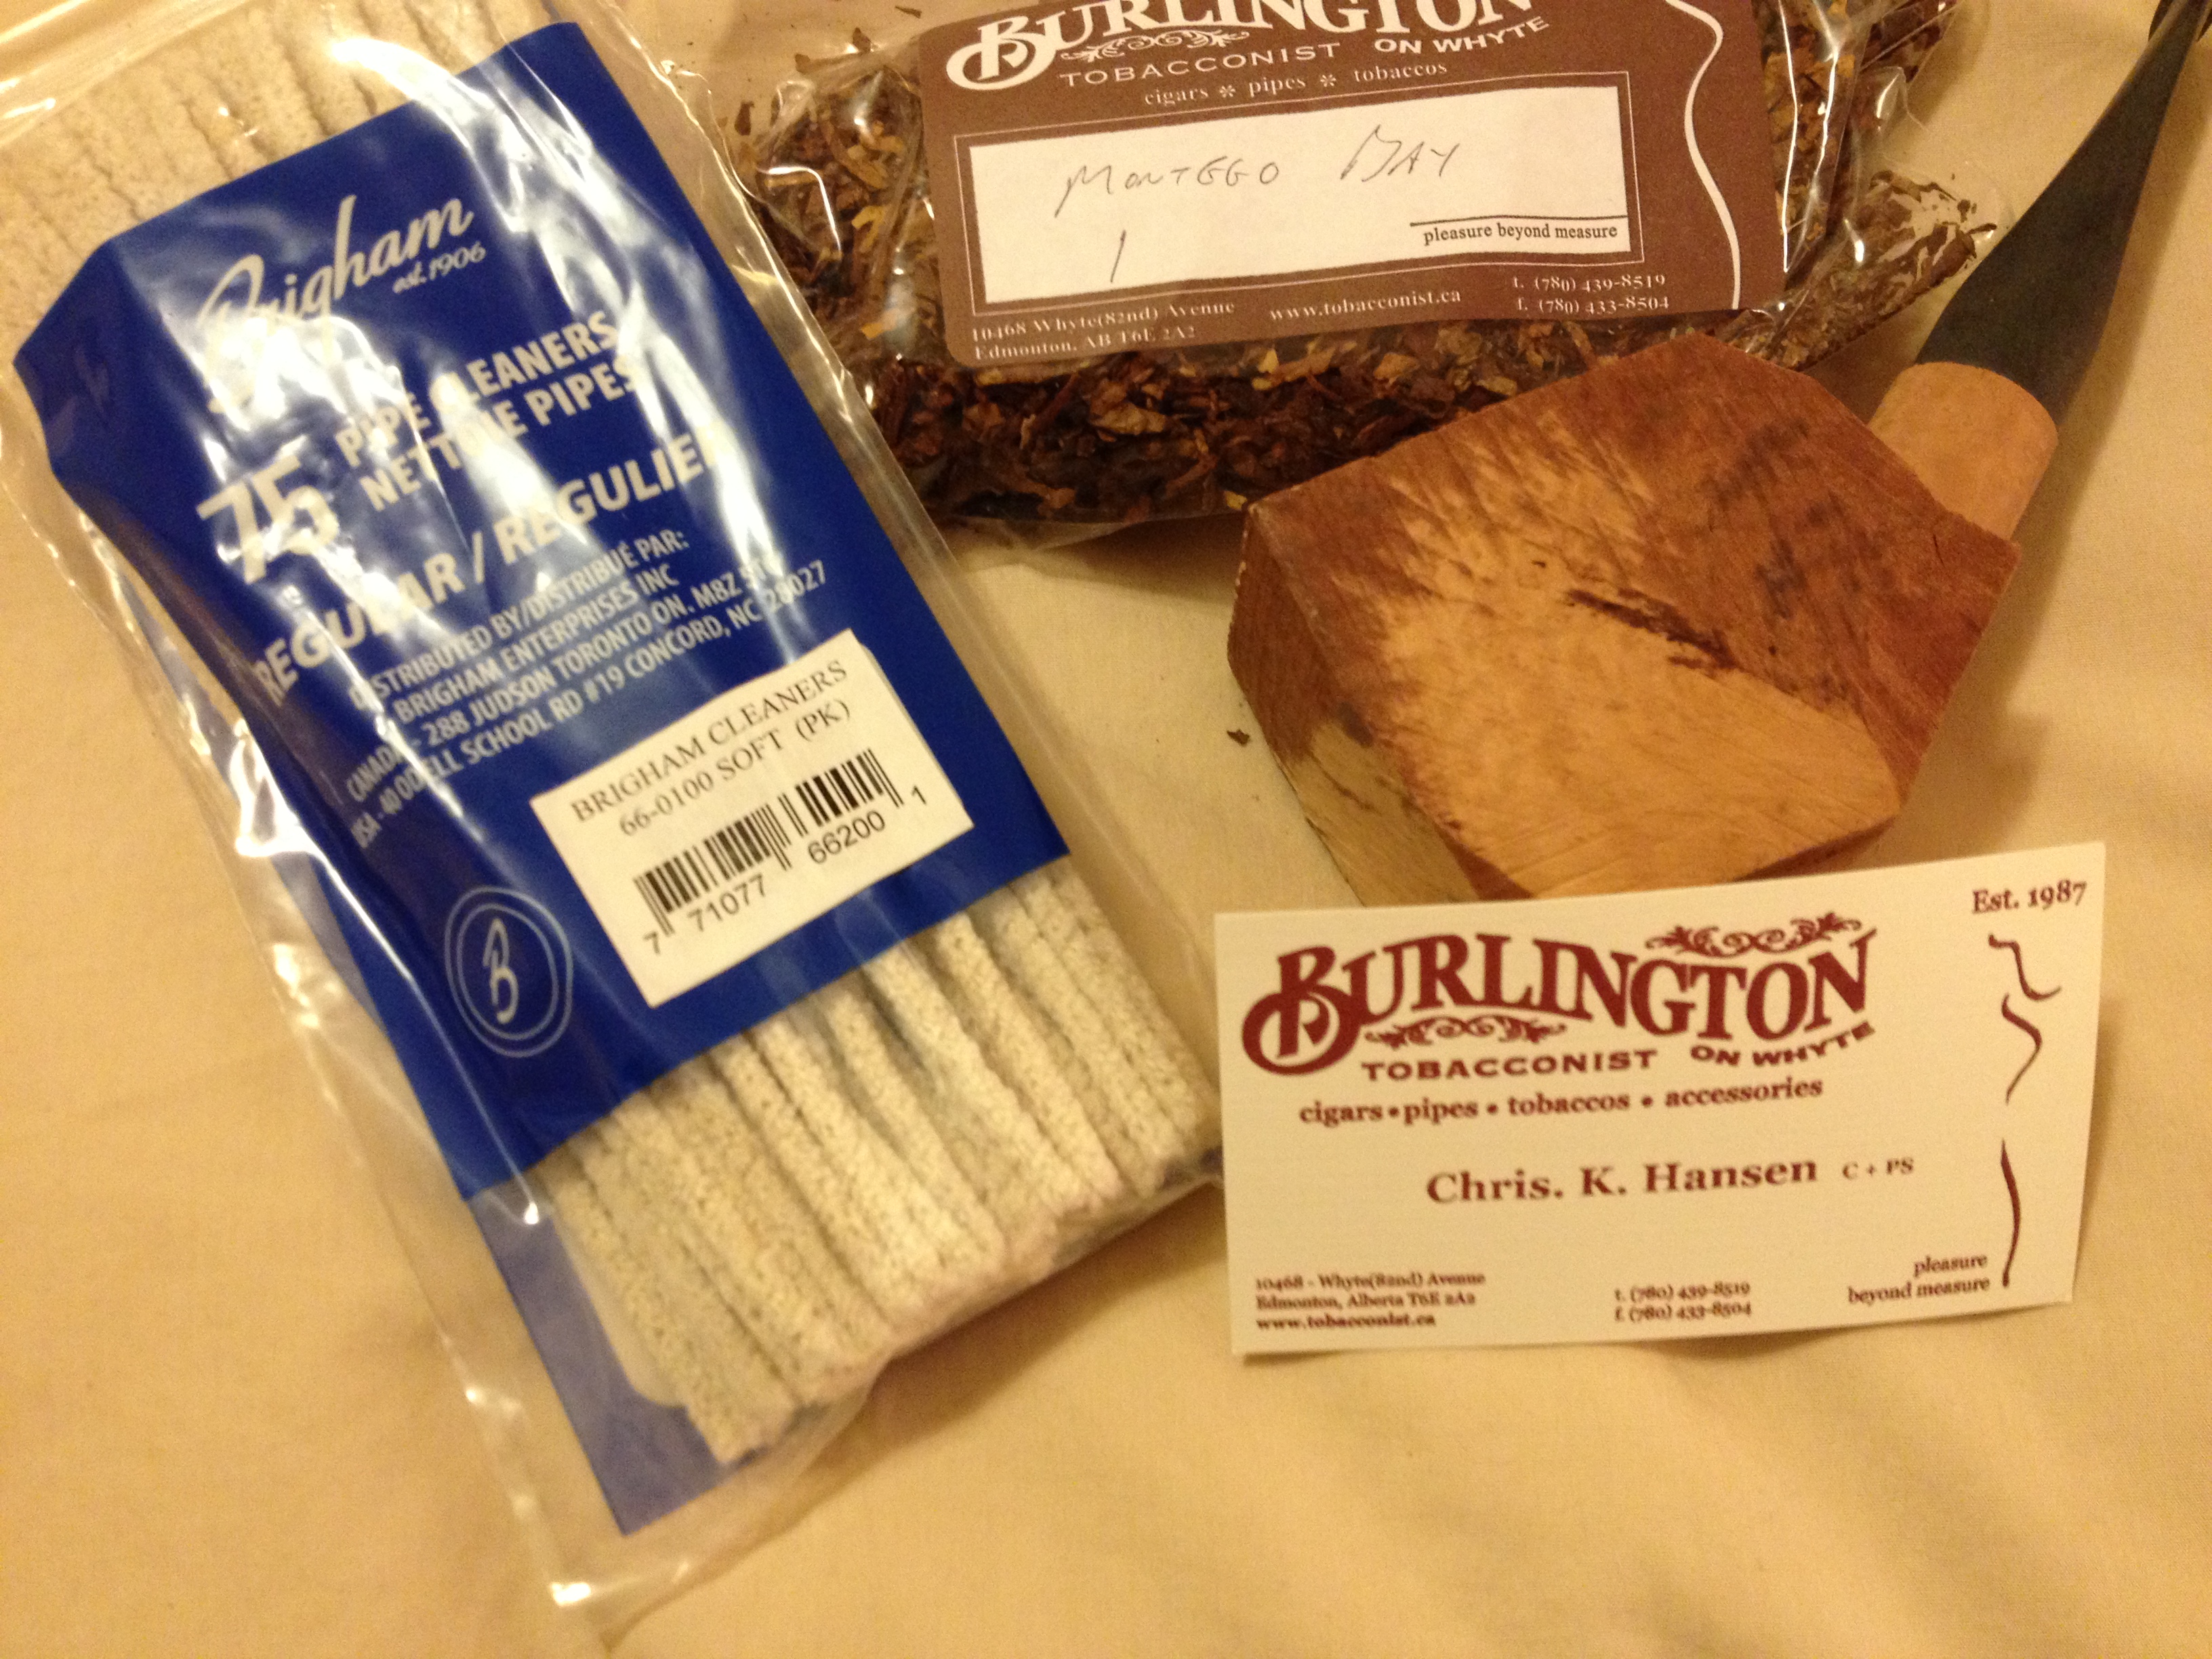
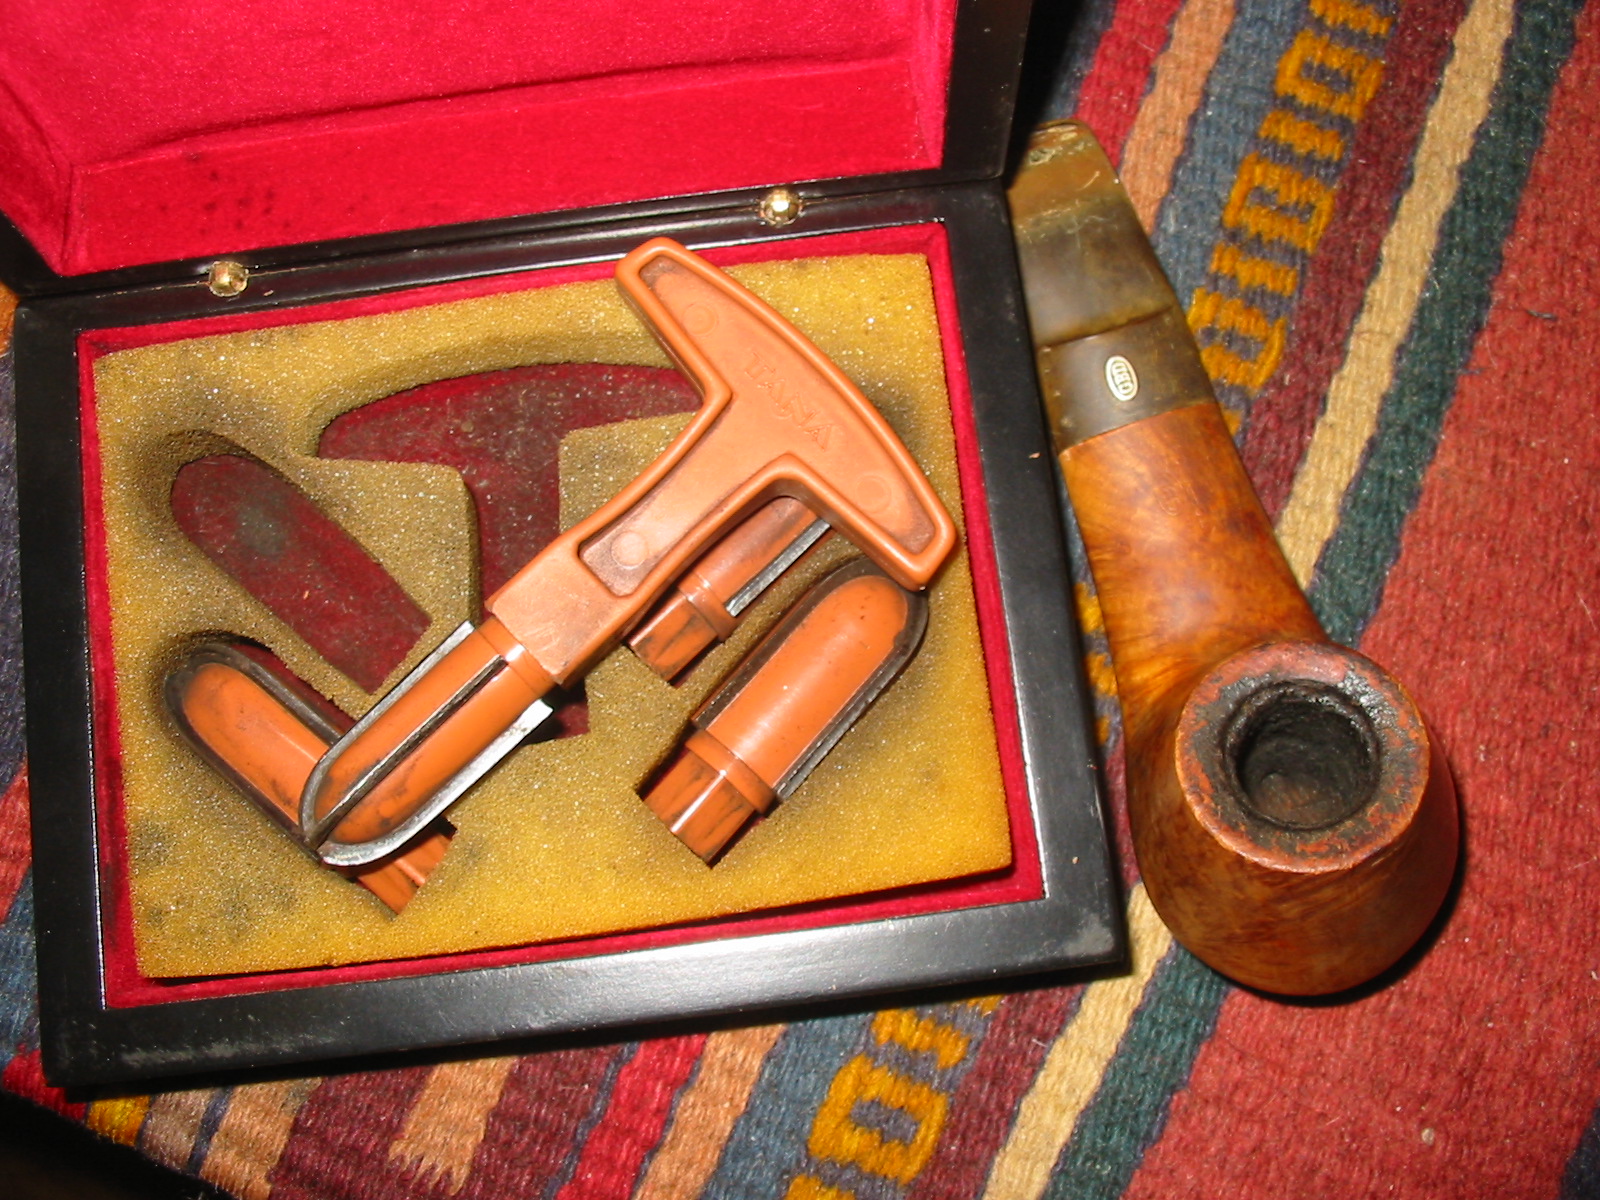
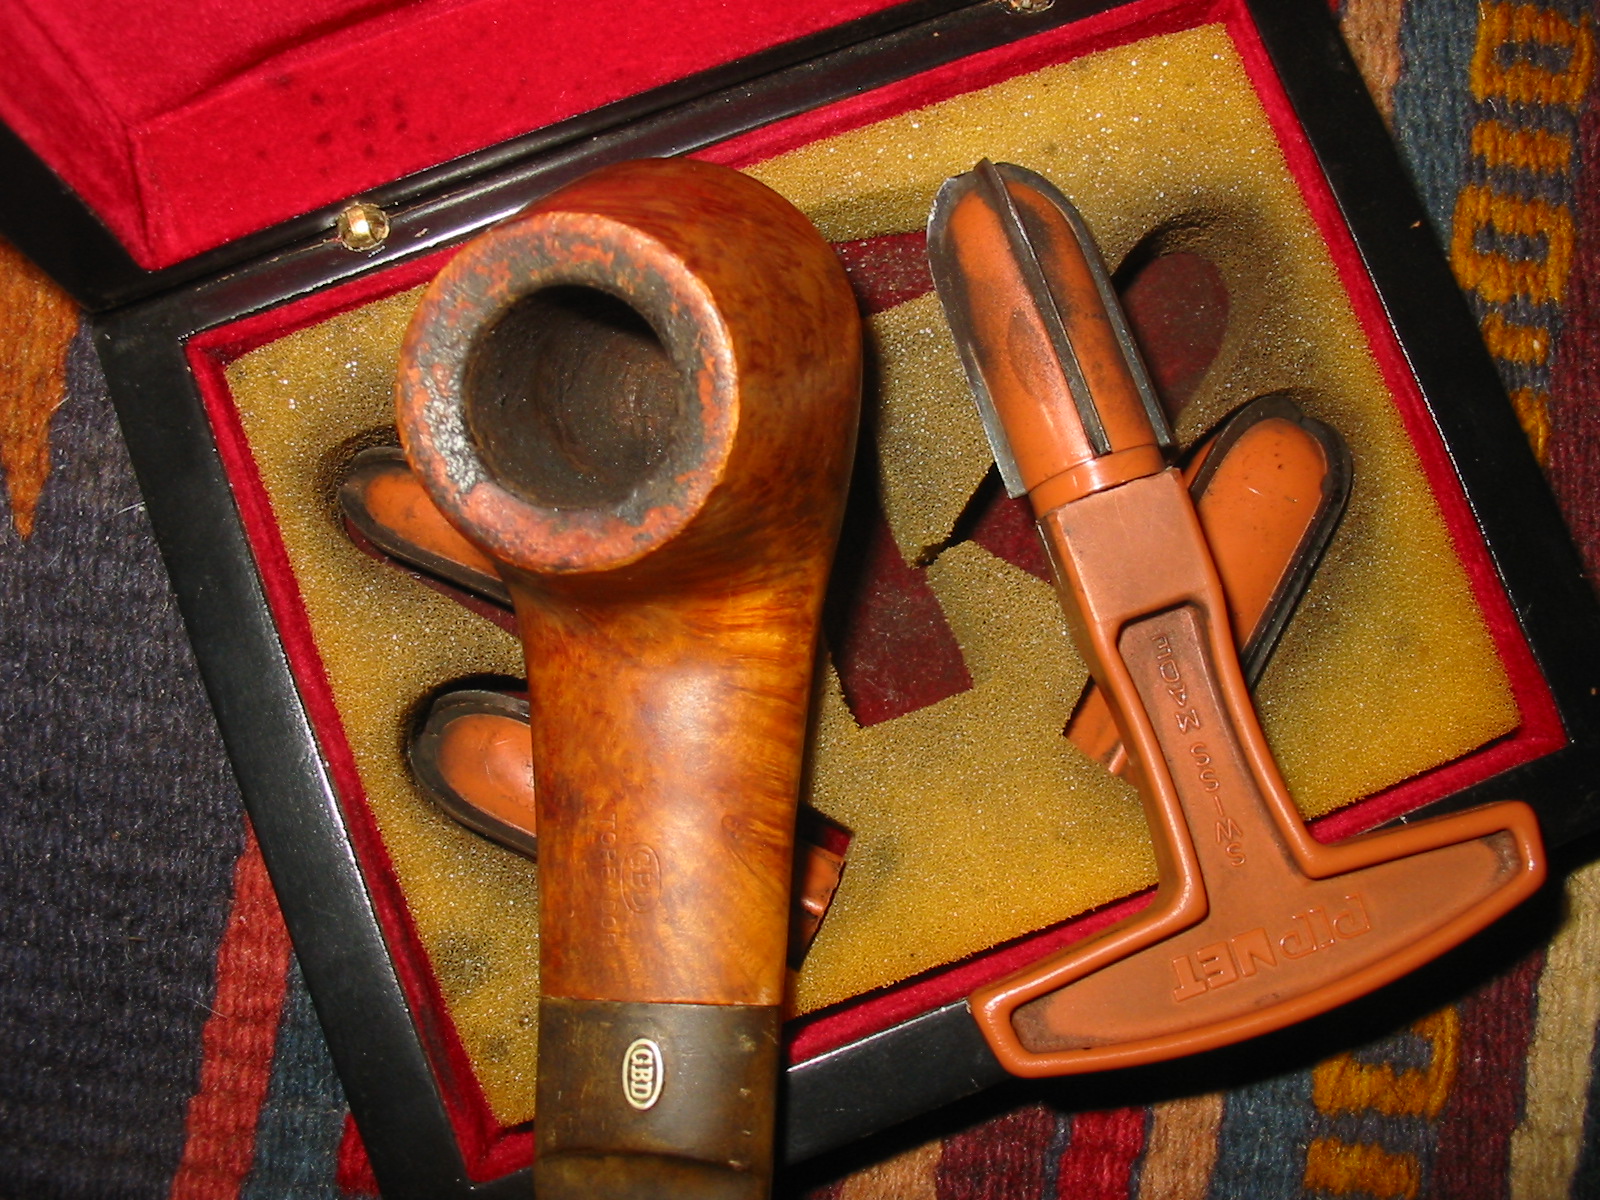
I picked this old-timer up at an antique mall in Edmonton, Alberta two weeks ago. It was part of the threesome of pipes and tobacco and pipe cleaners that I purchased at the mall that day. In the photo below it is the pipe on the bottom of the picture.

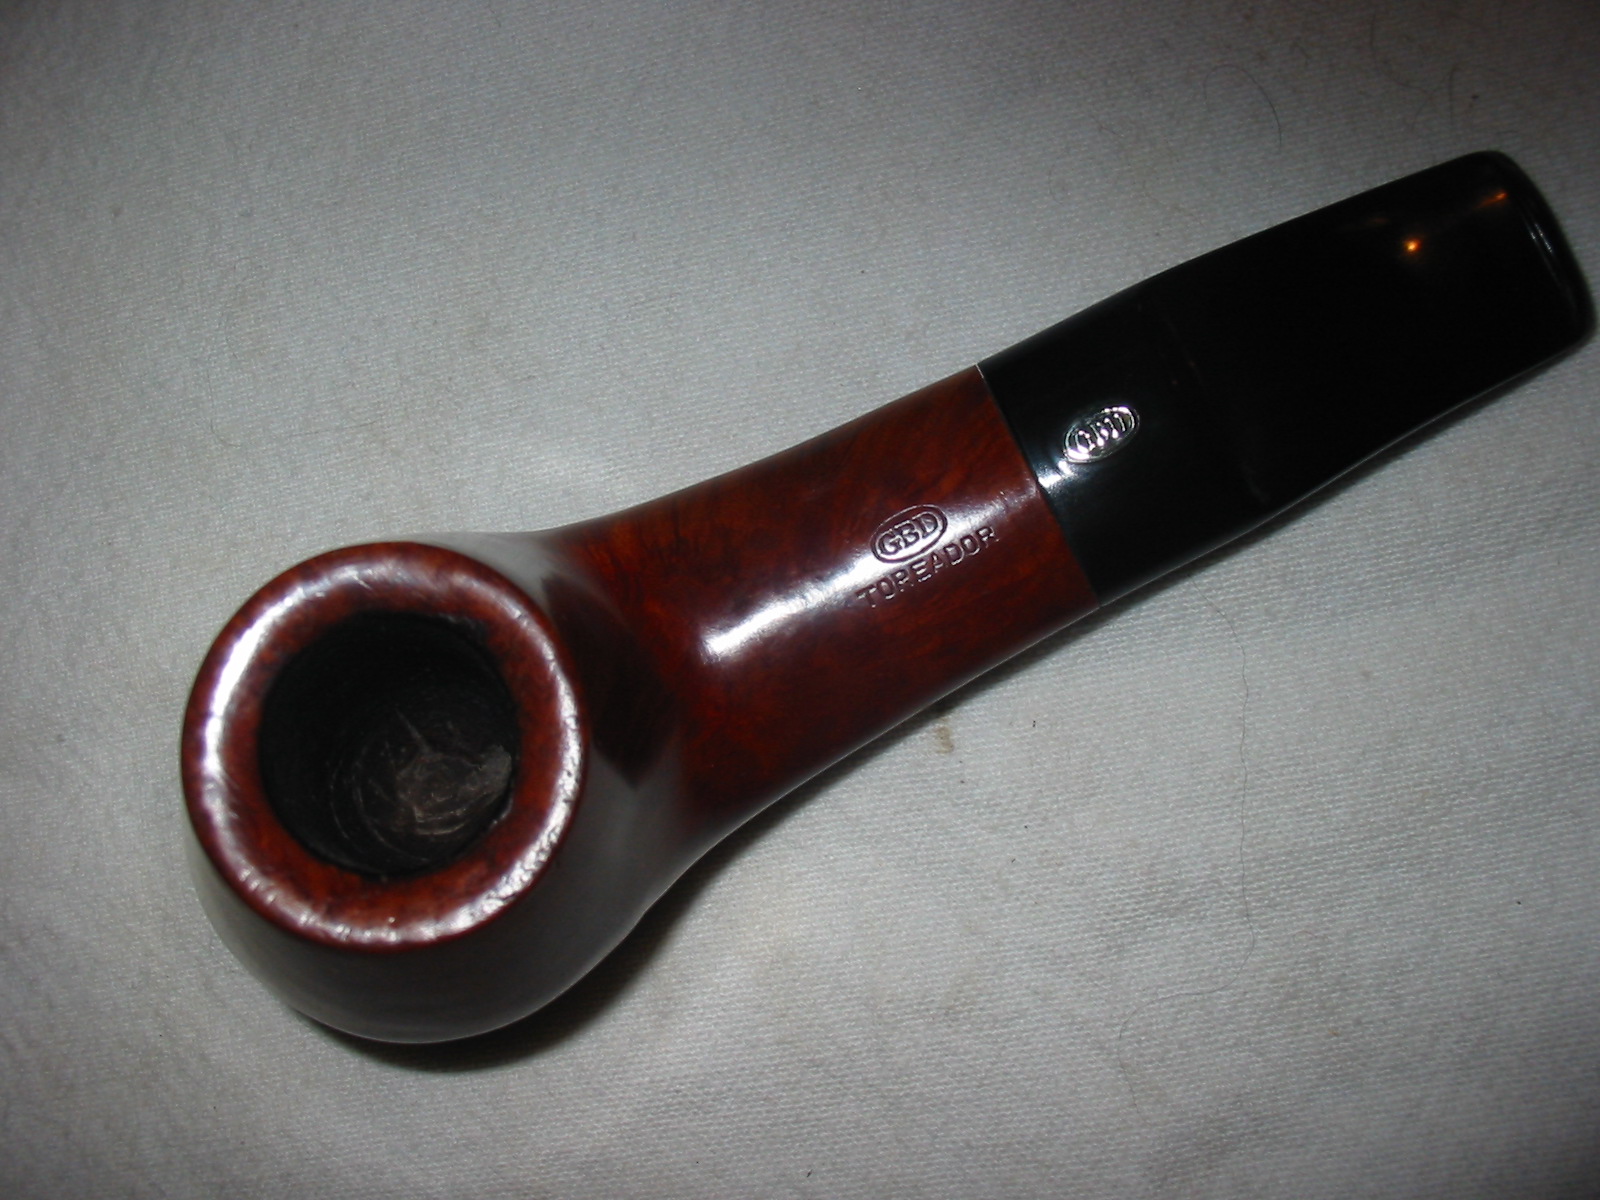
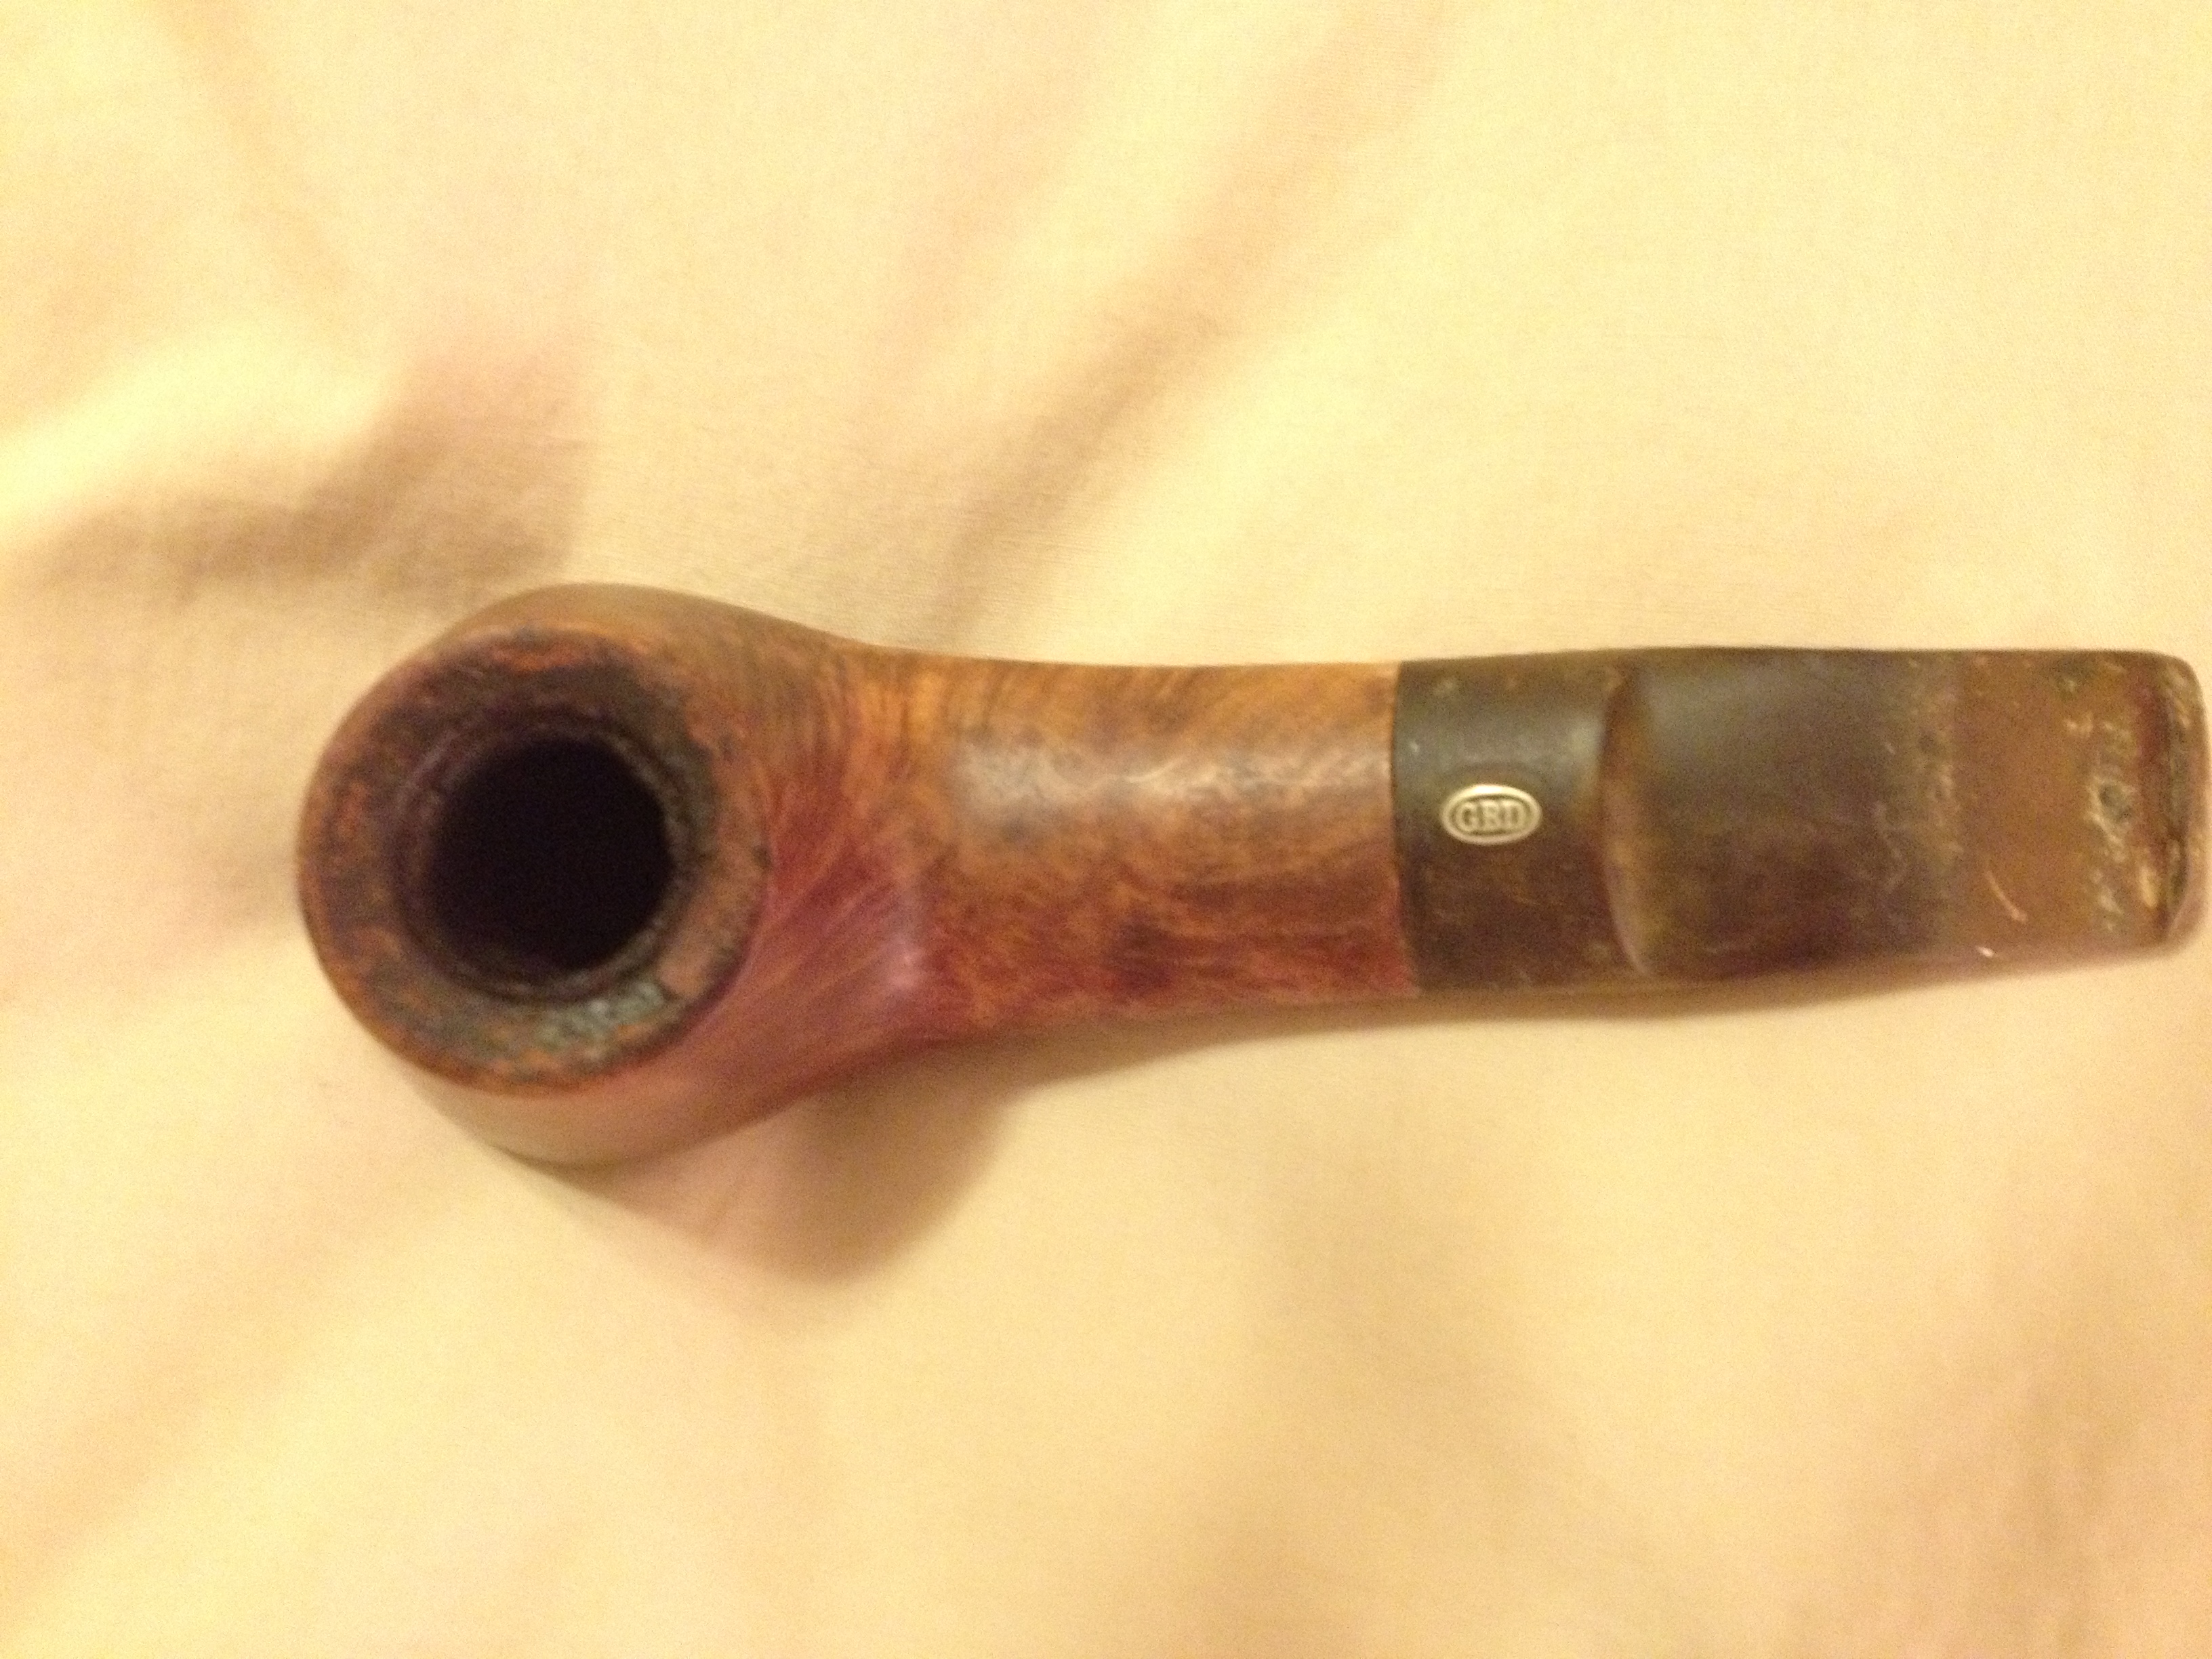
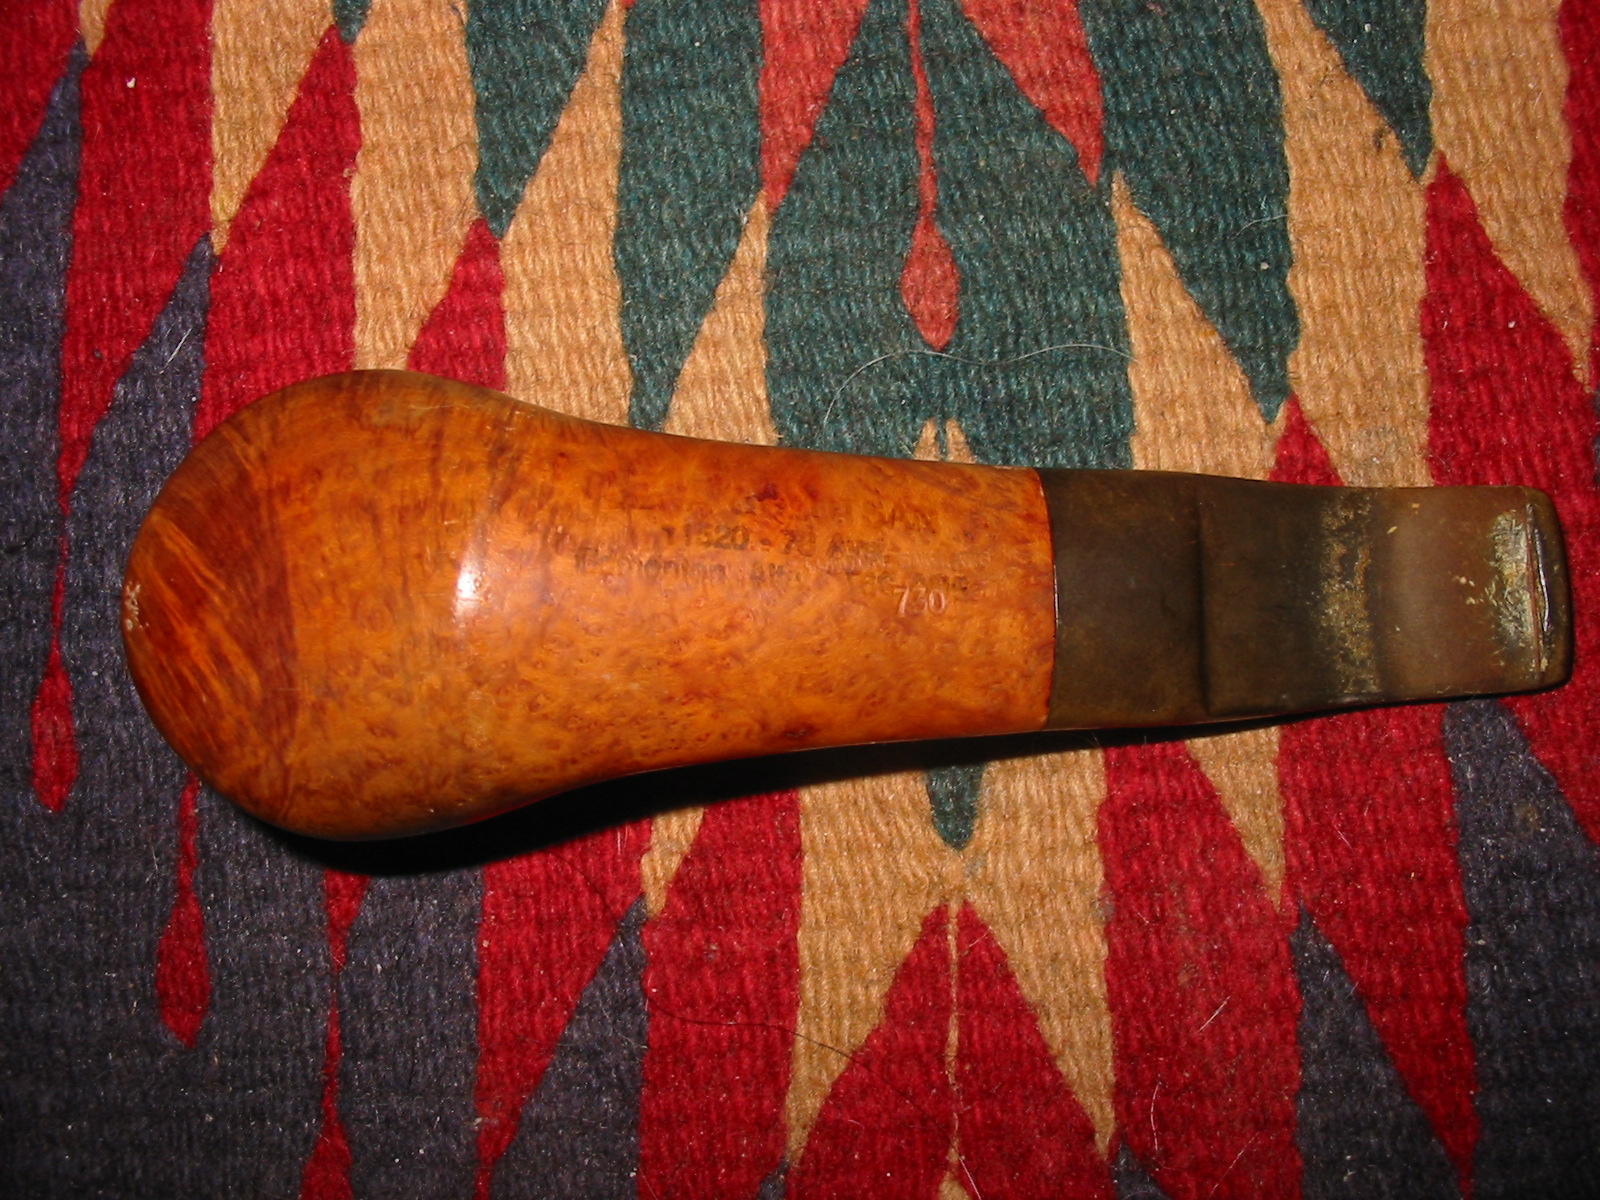
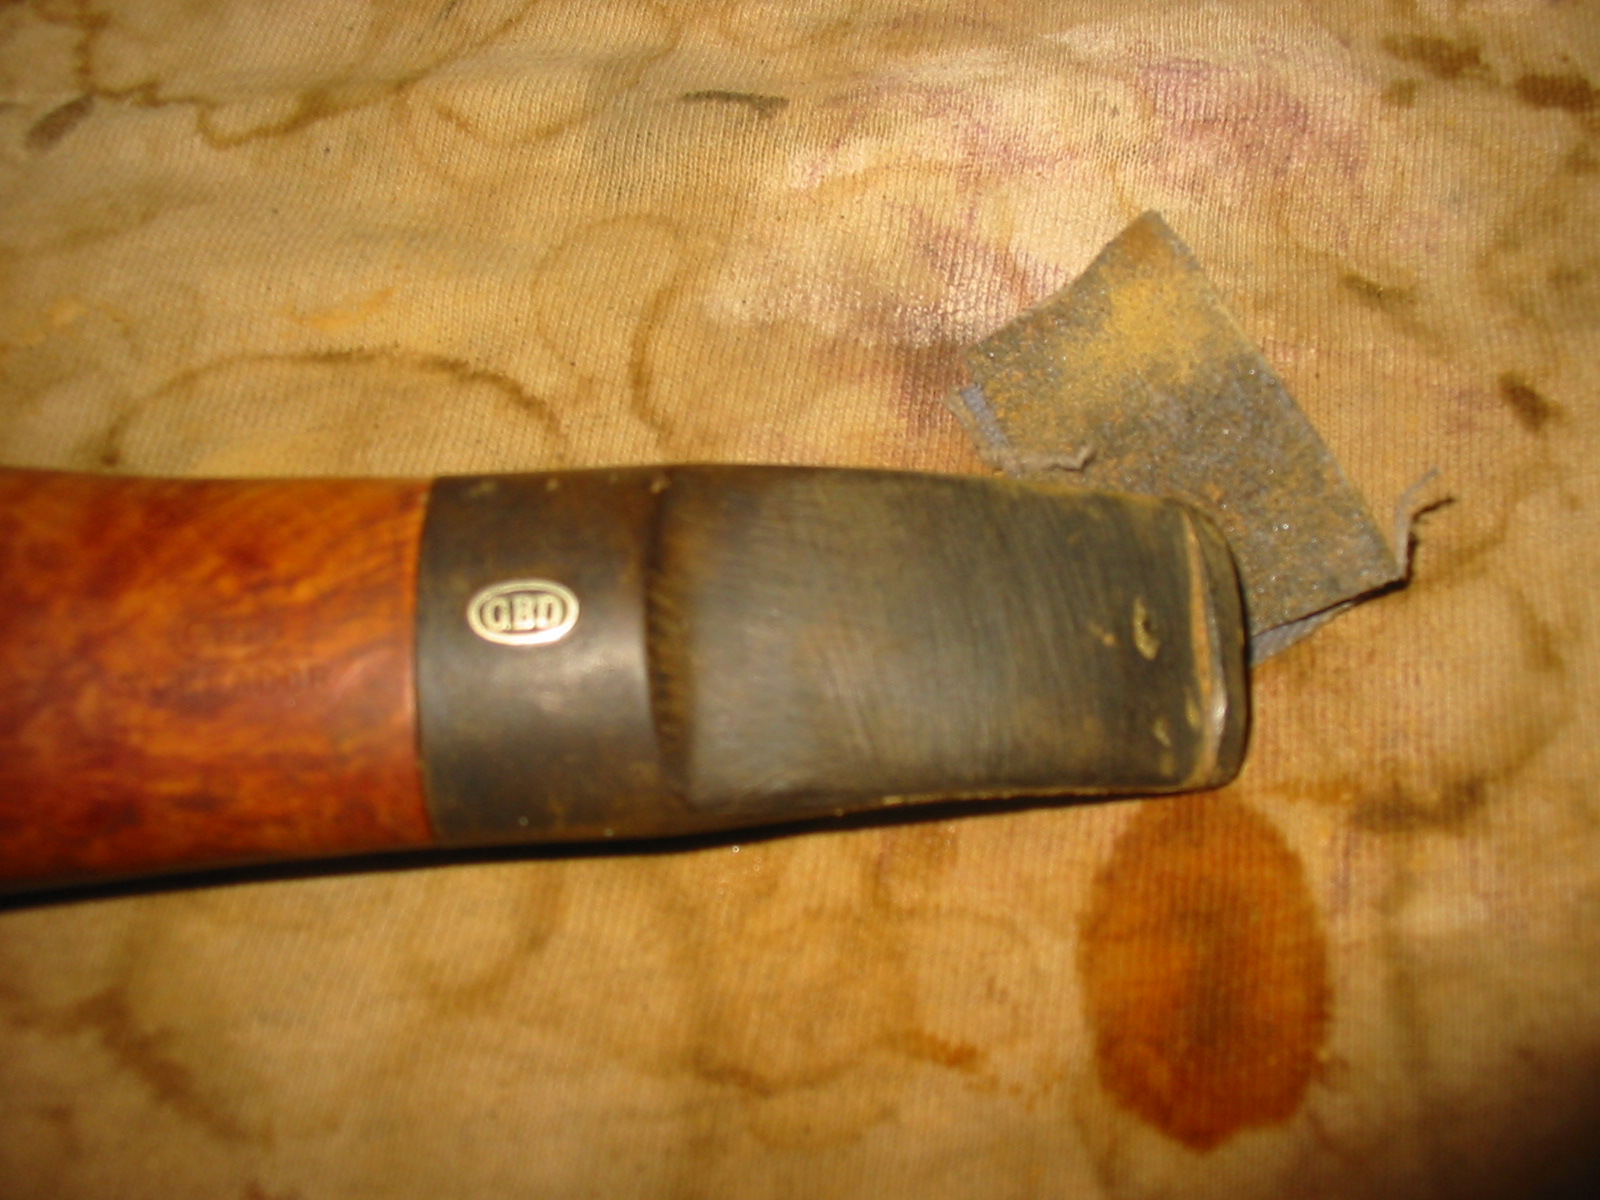
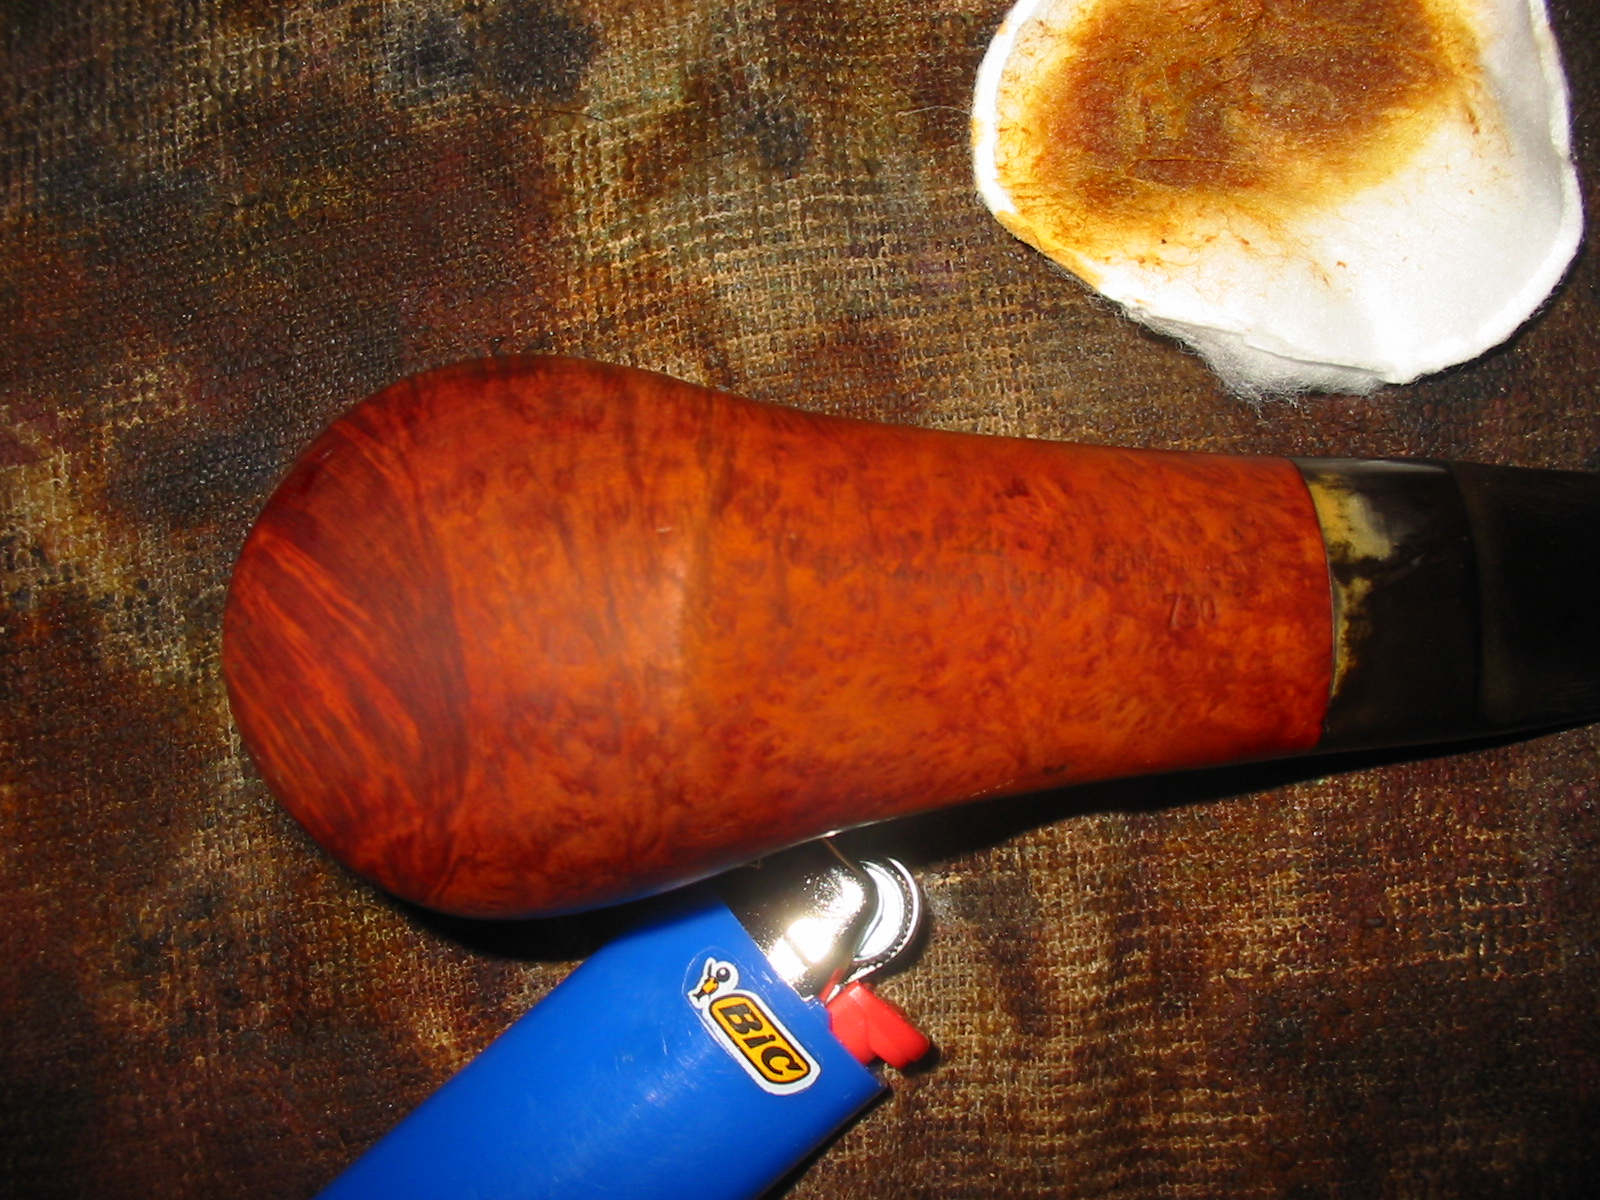
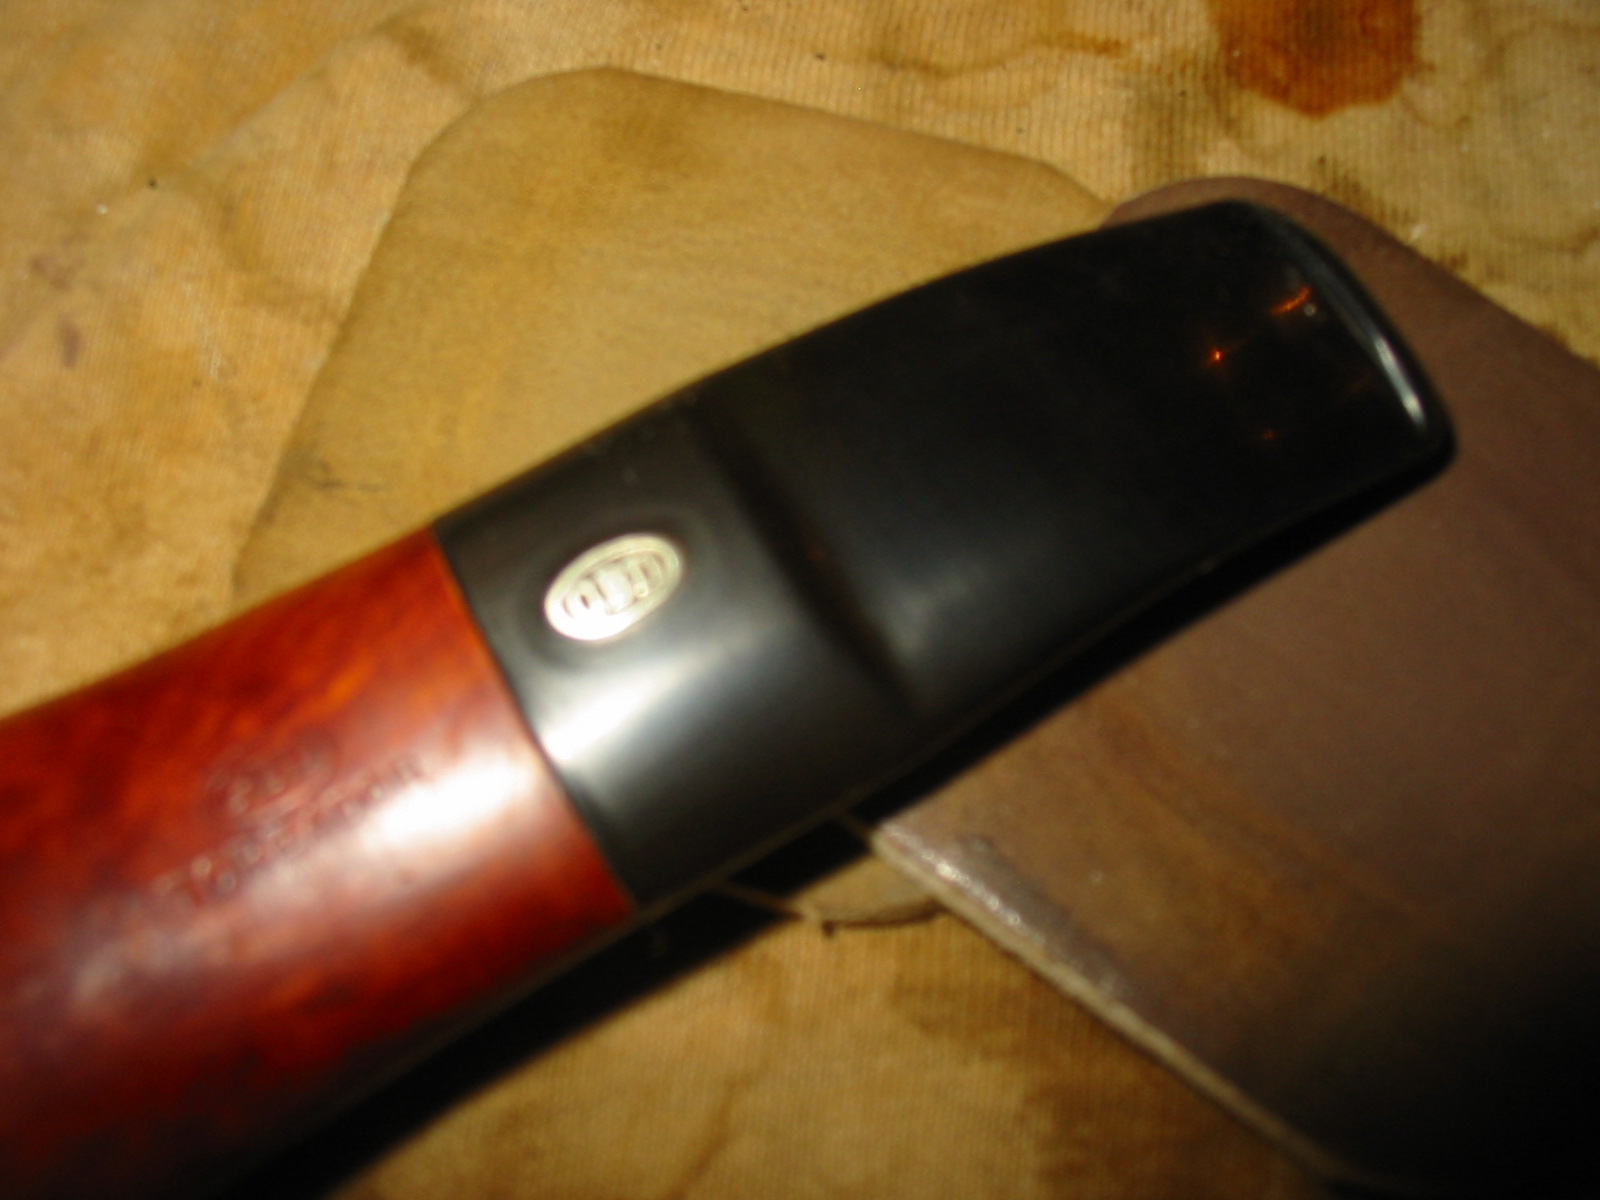
I had never seen the stamping on a GBD nor had I seen the shape number. It is not listed on any of the GBD name or shape charts that I have on my computer. I wrote to a friend who works with a lot of GBDs and he replied as follows: “I have not heard of a “Toreador” line, but nothing surprises me on GBD lines. They had a seemingly endless array of model lines. The 730 shape isn’t listed on my shape charts, but they are full of holes and I constantly see shape new shape numbers pop up. The pre-Cadogan key is the “London, England” stamp coupled with a metal rondel. “Made in London England” in a circle is Cadogan era, even with a metal rondell”. From my research and his I looked at the stampings on this pipe. It is stamped GBD in an oval over Toreador on the top of the shank. On the underside it is stamped London, England over 730. This would seem to put the date of this pipe in the pre-Cadogan era.
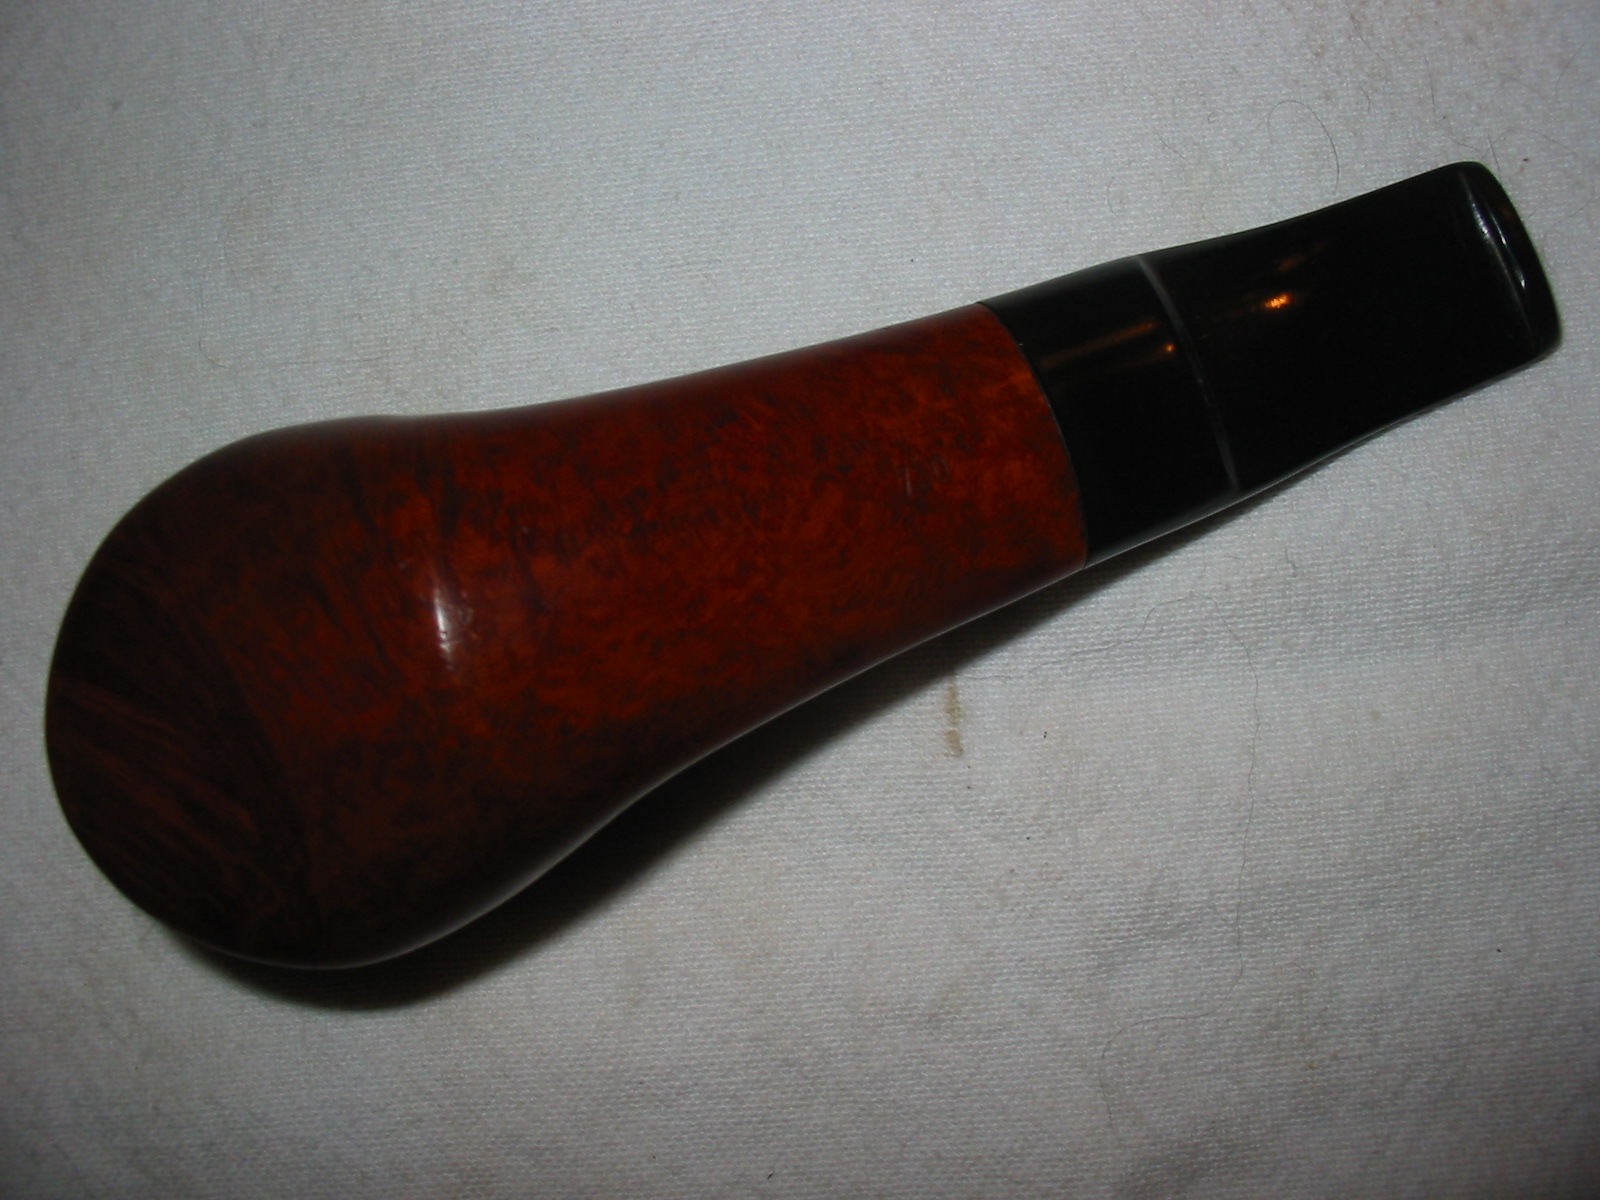
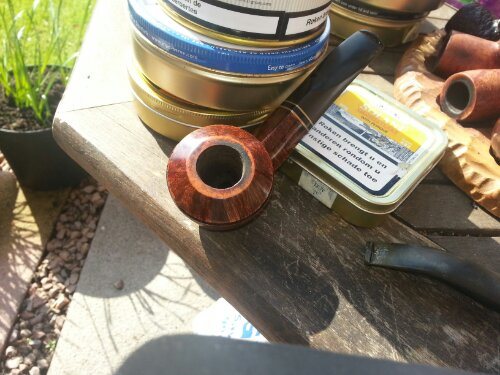
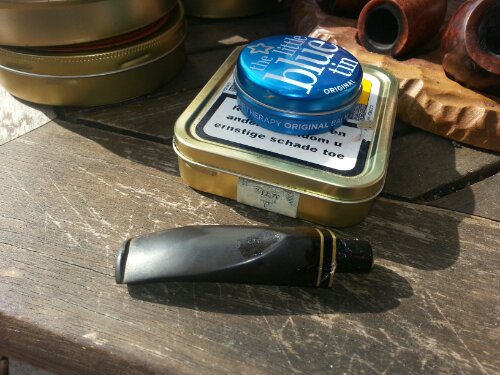
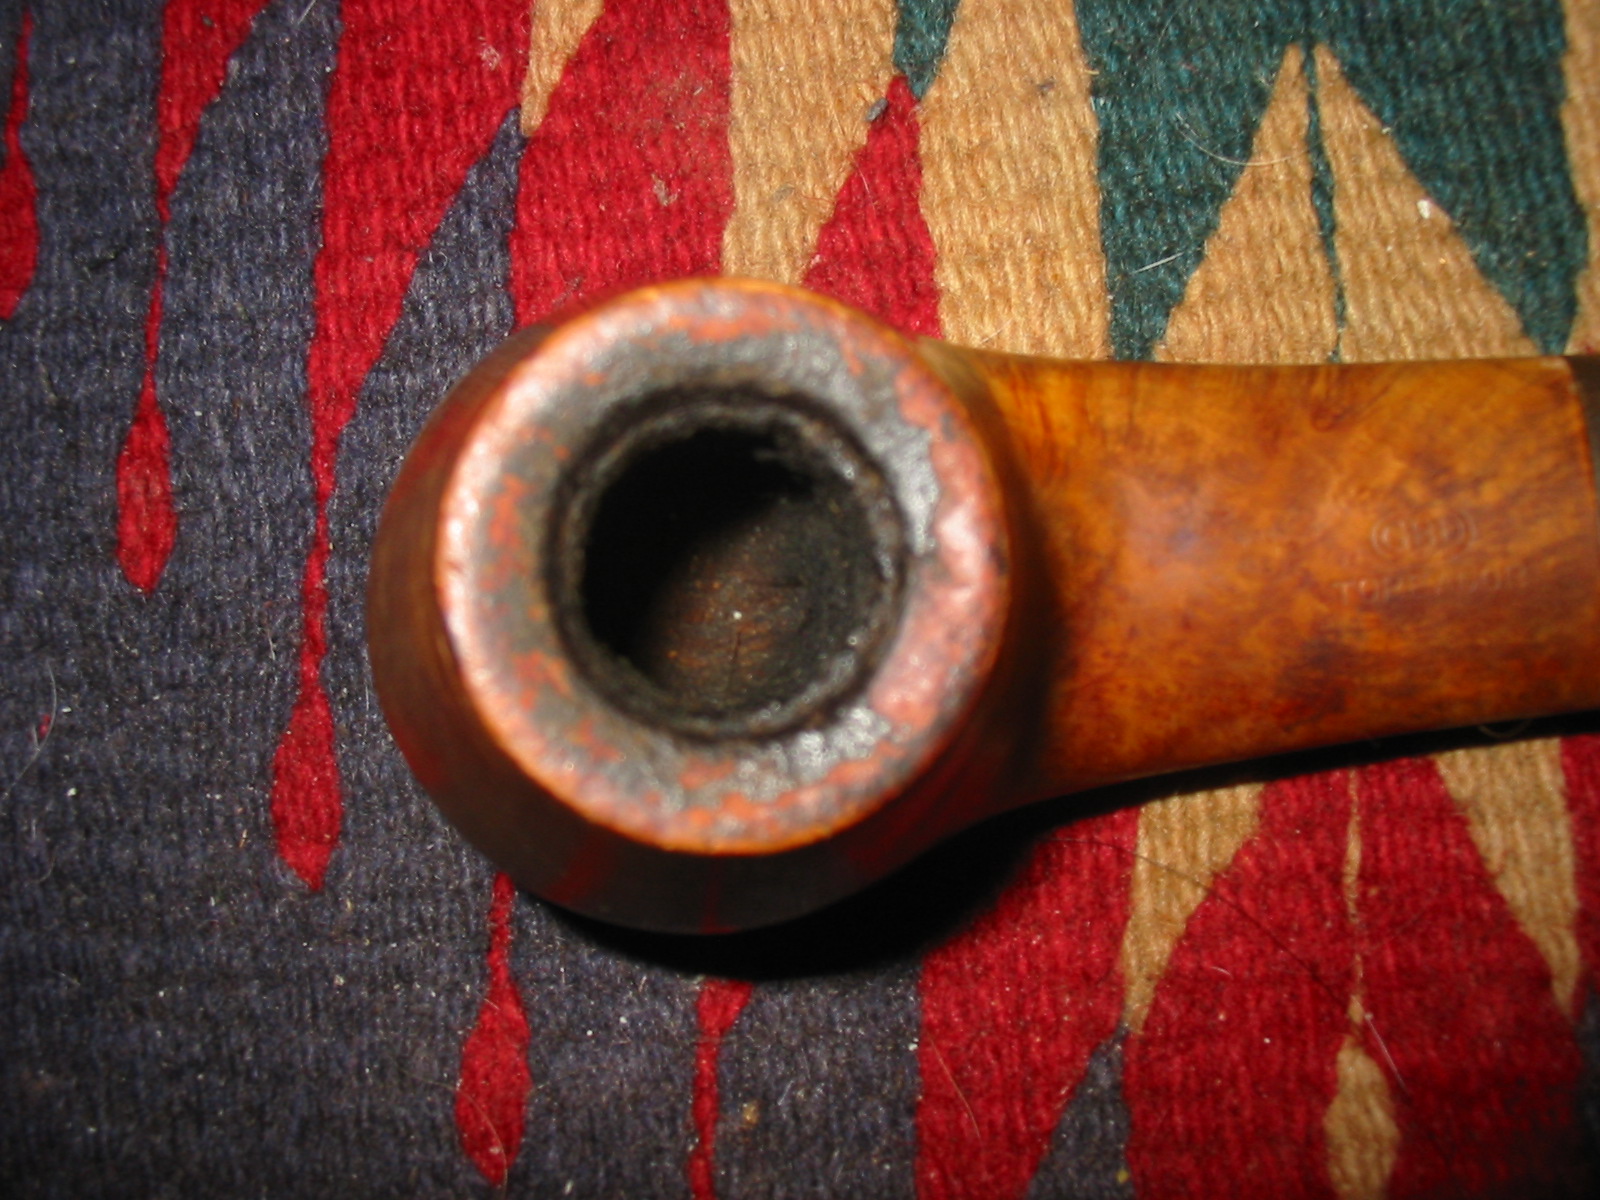
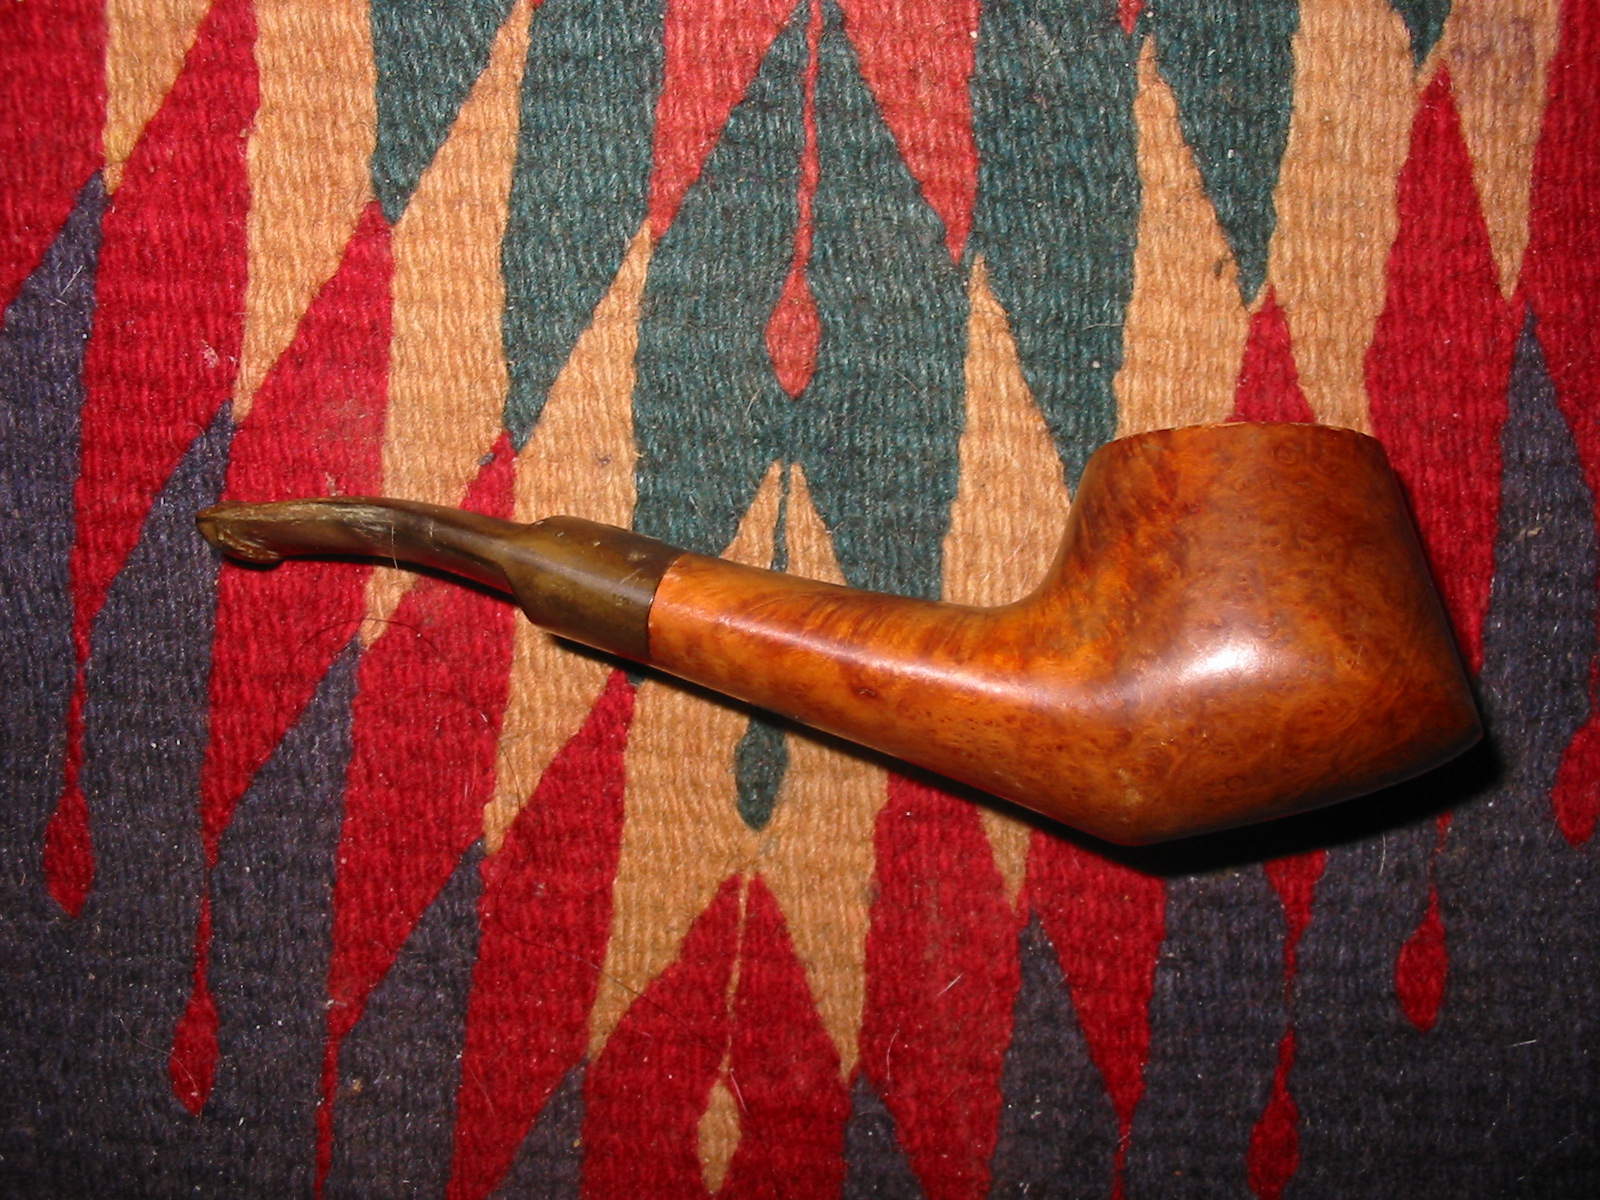
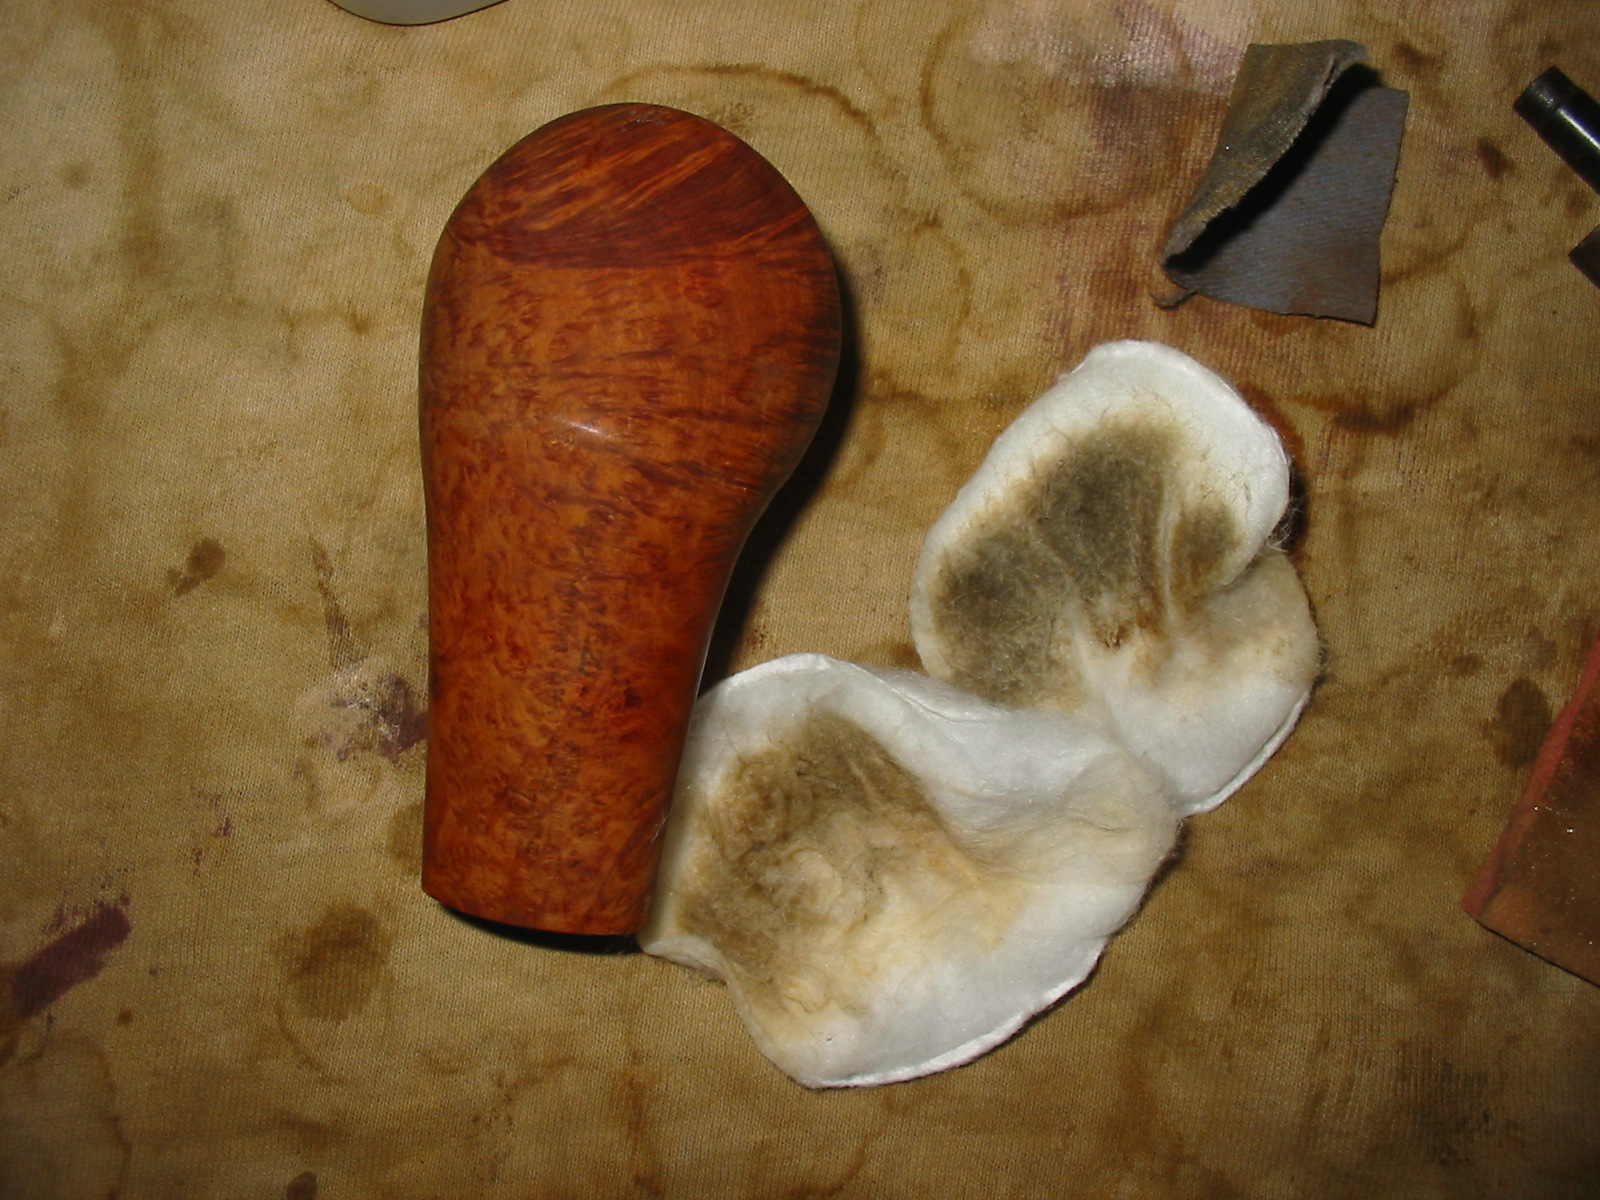
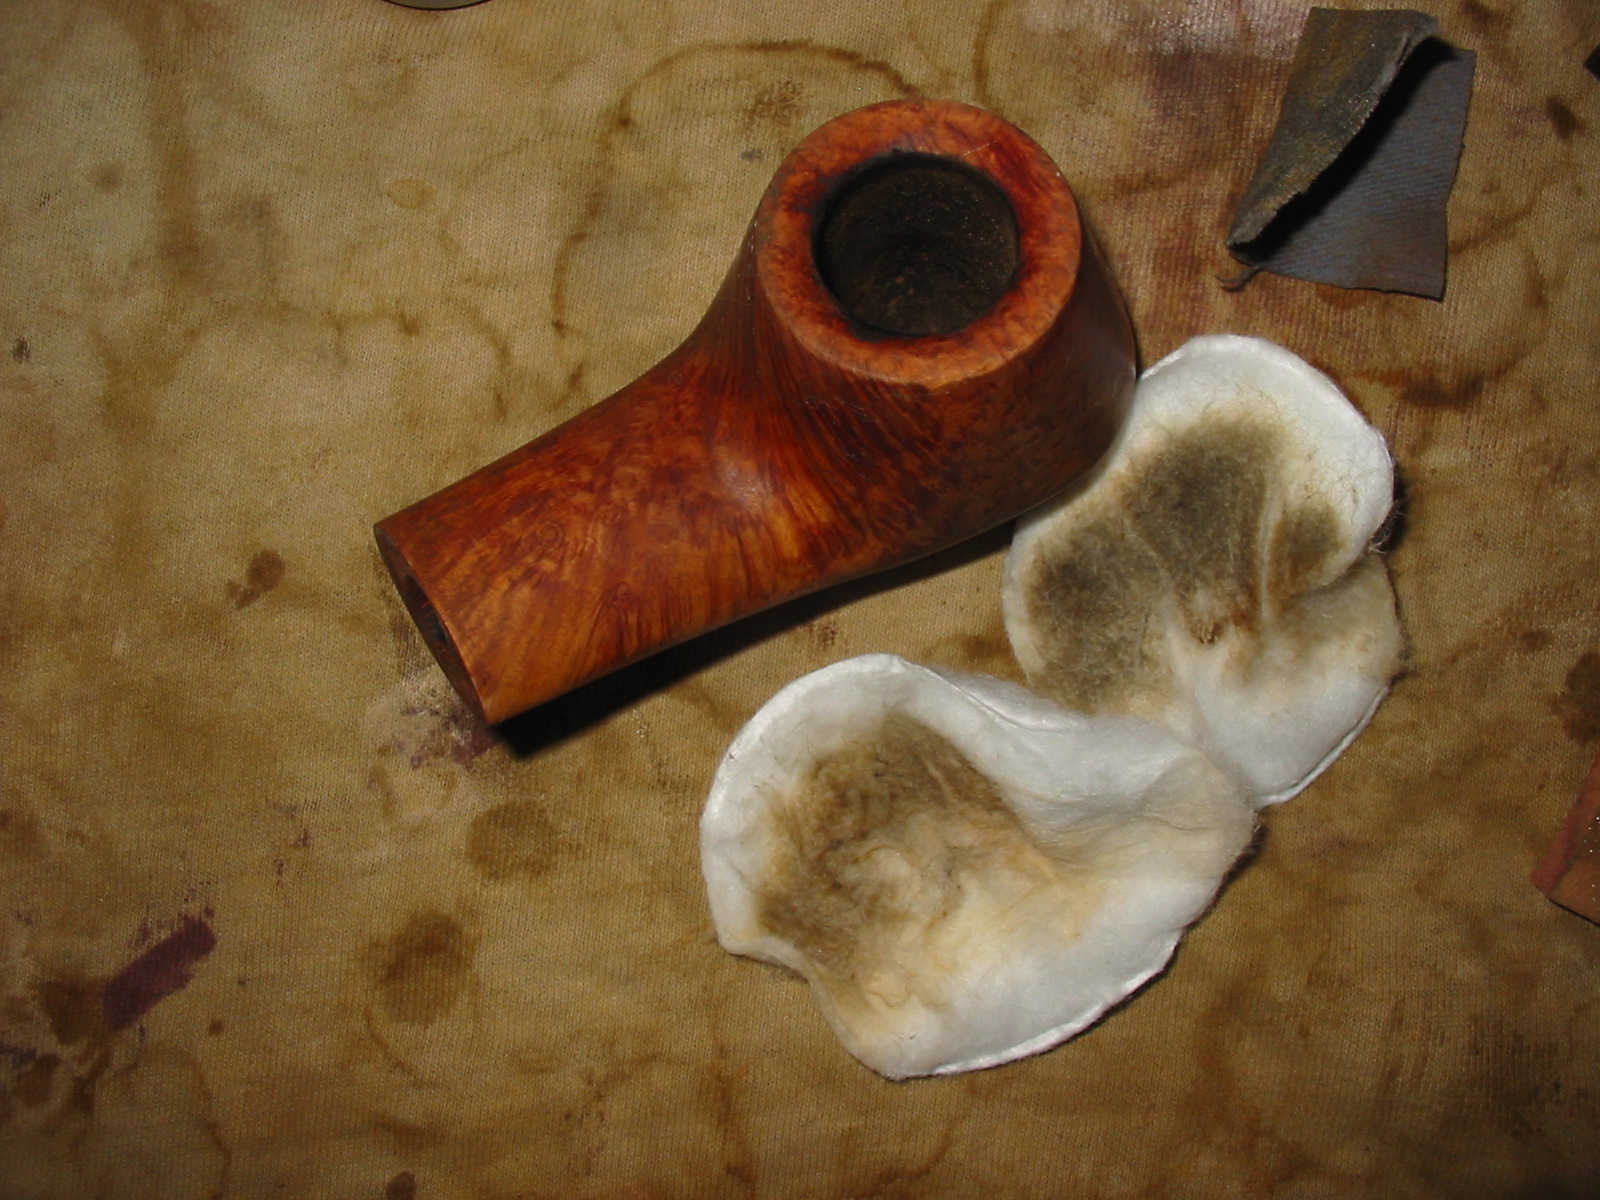
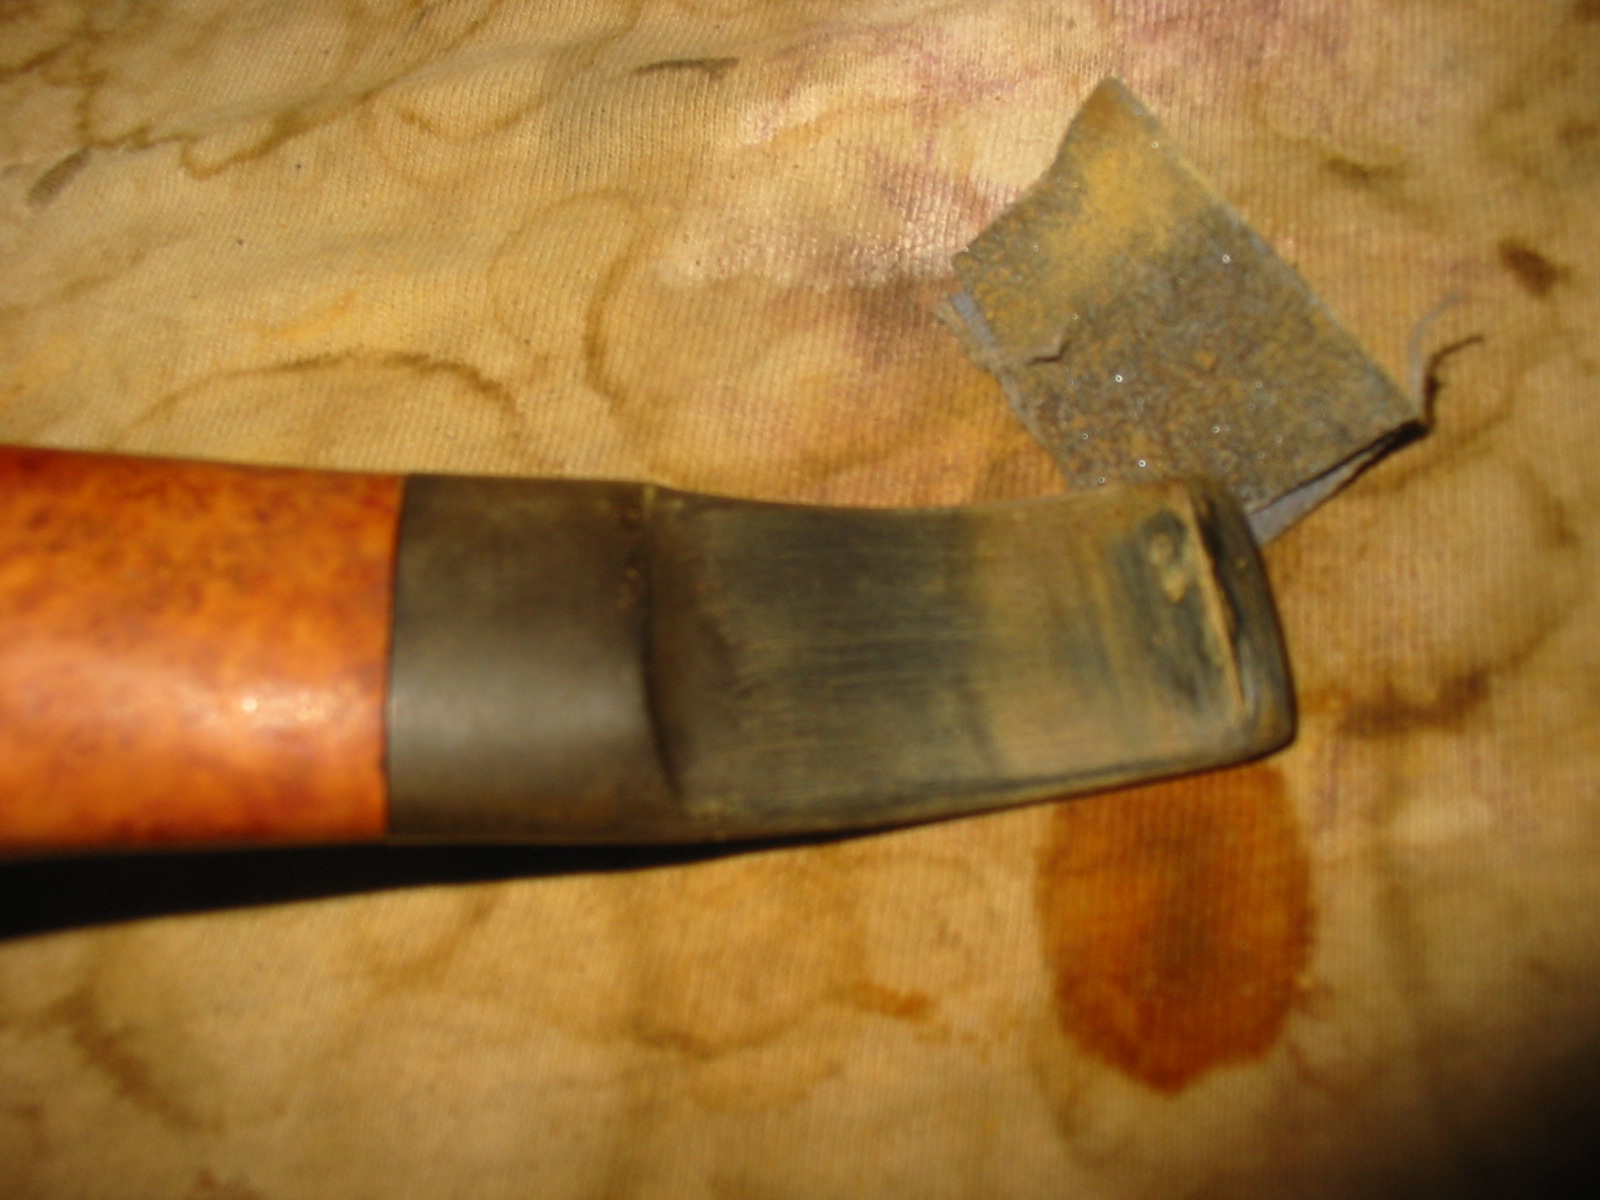
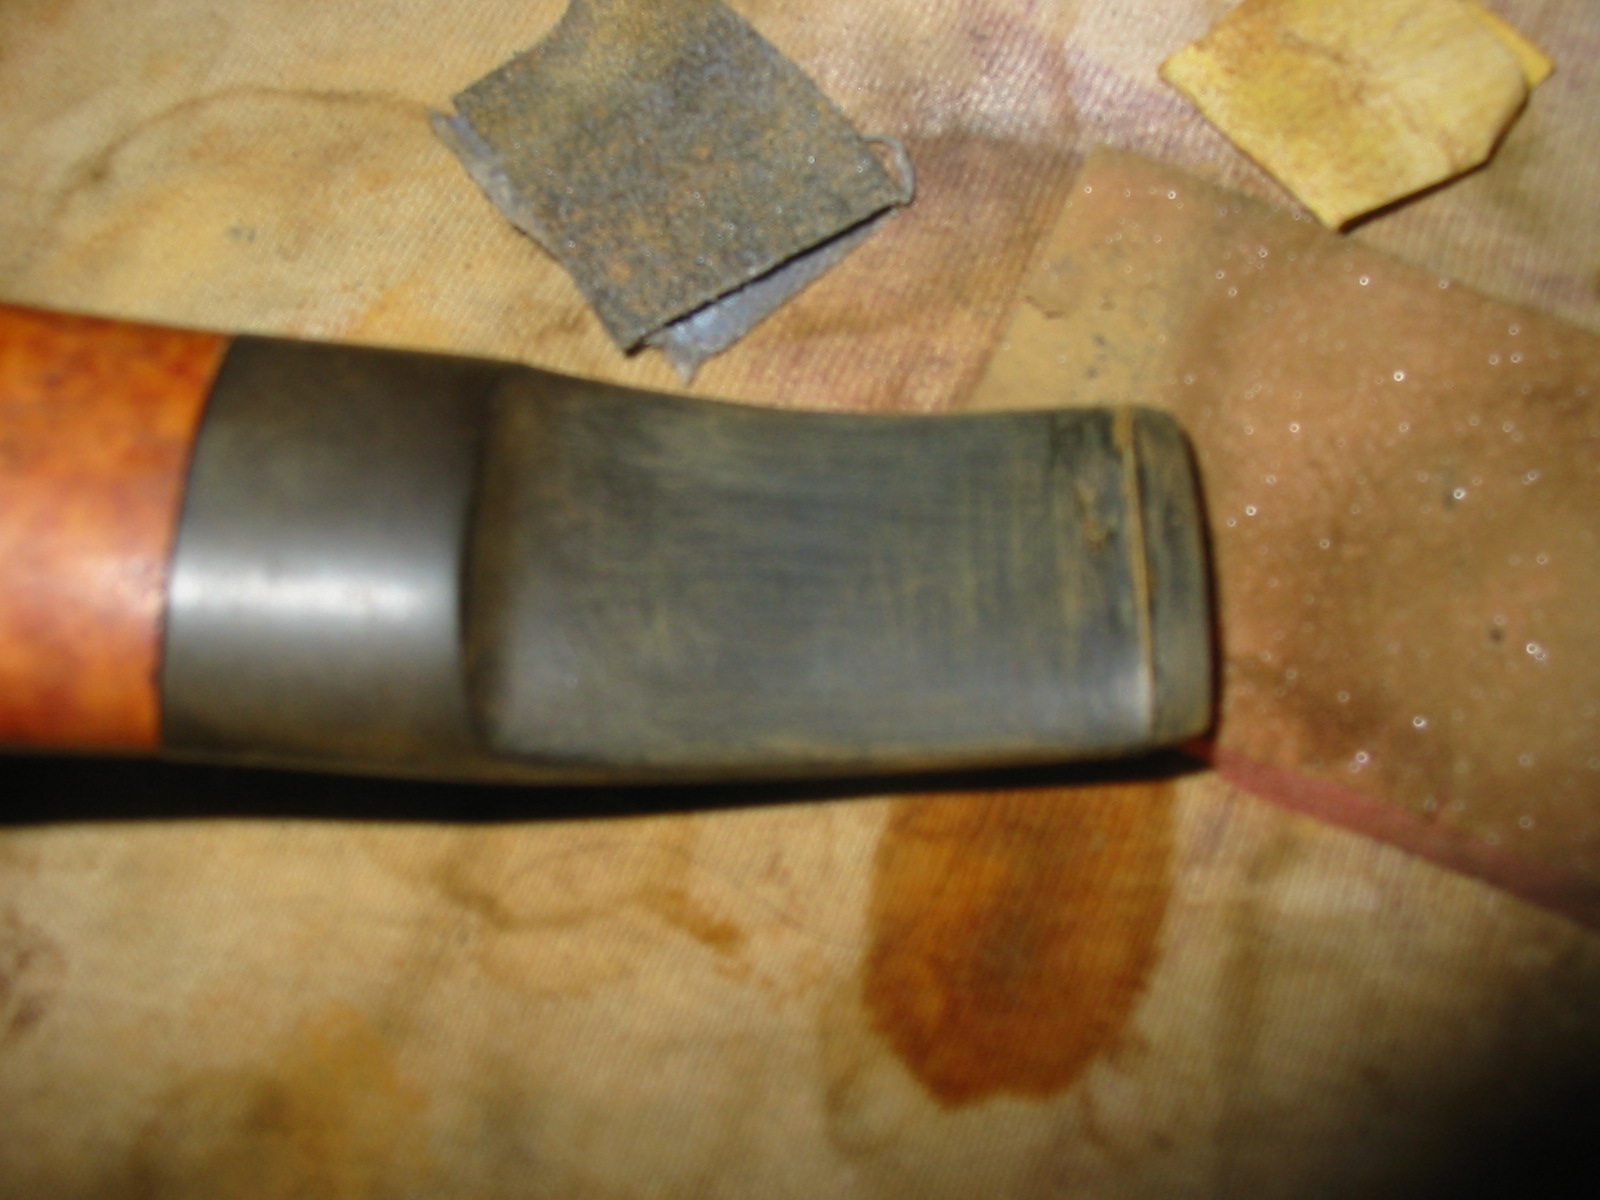
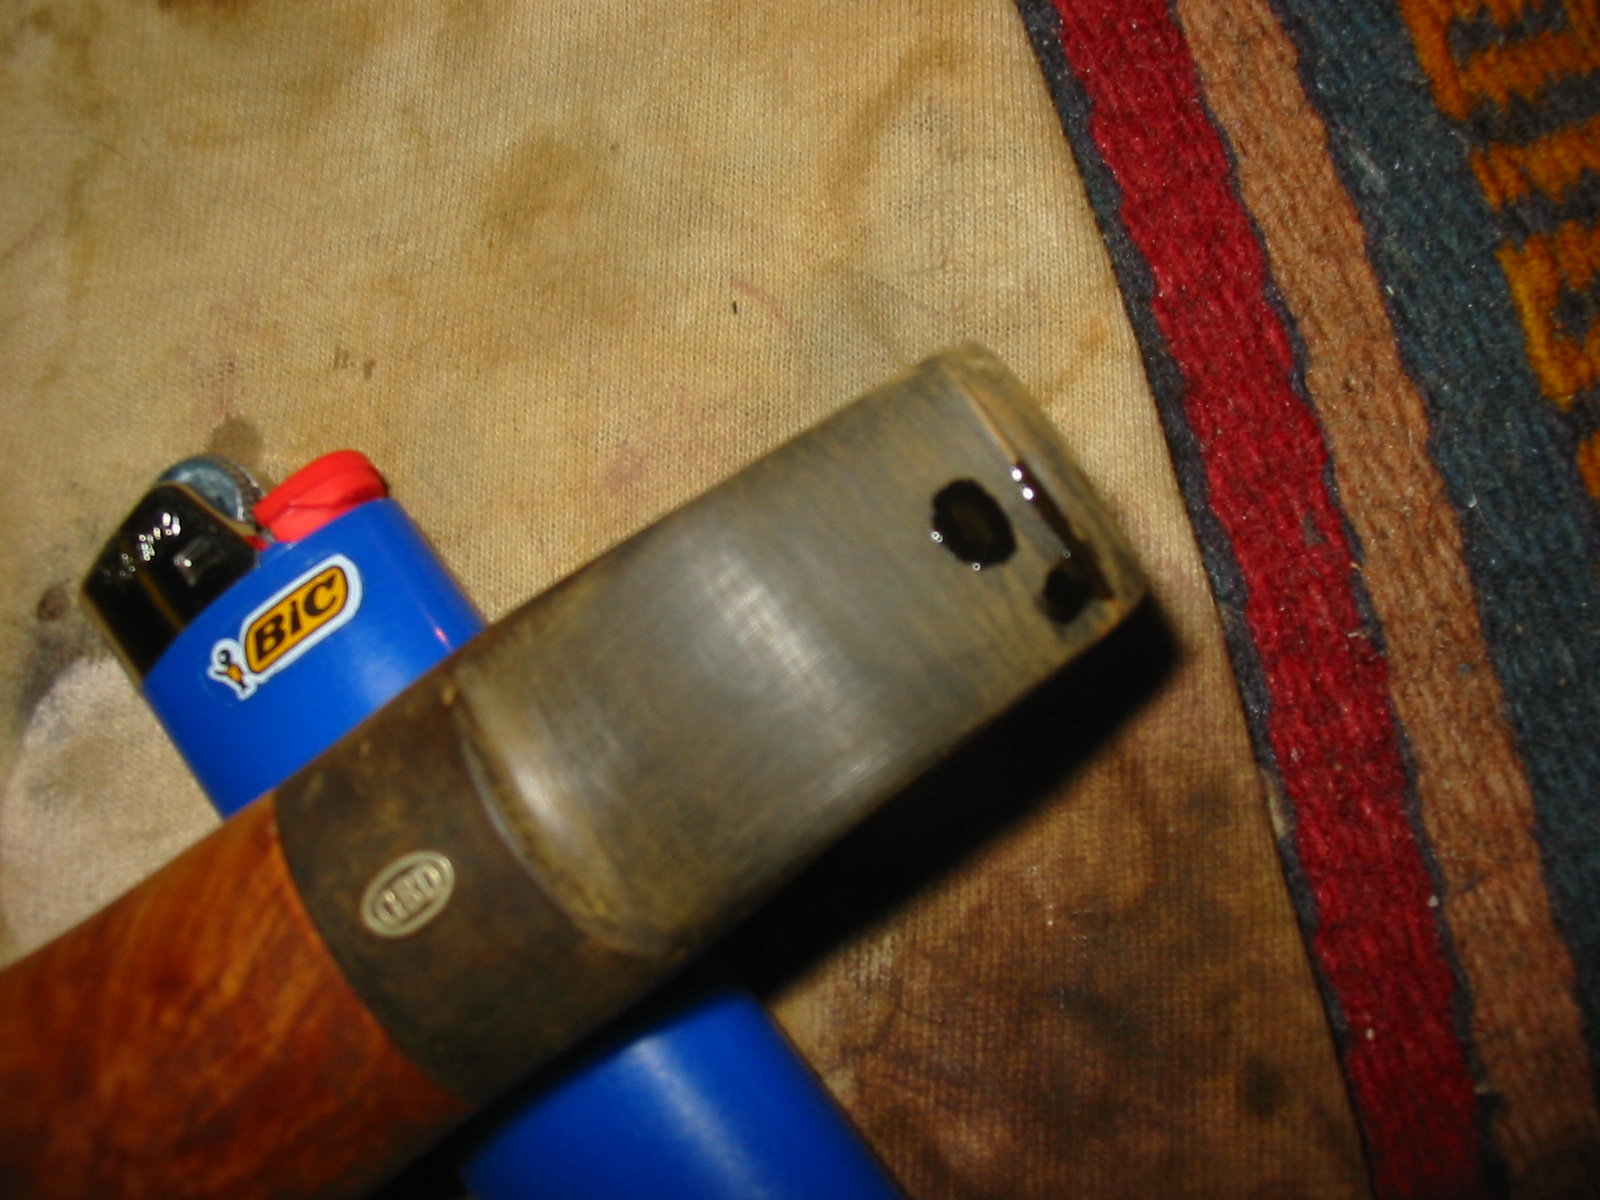
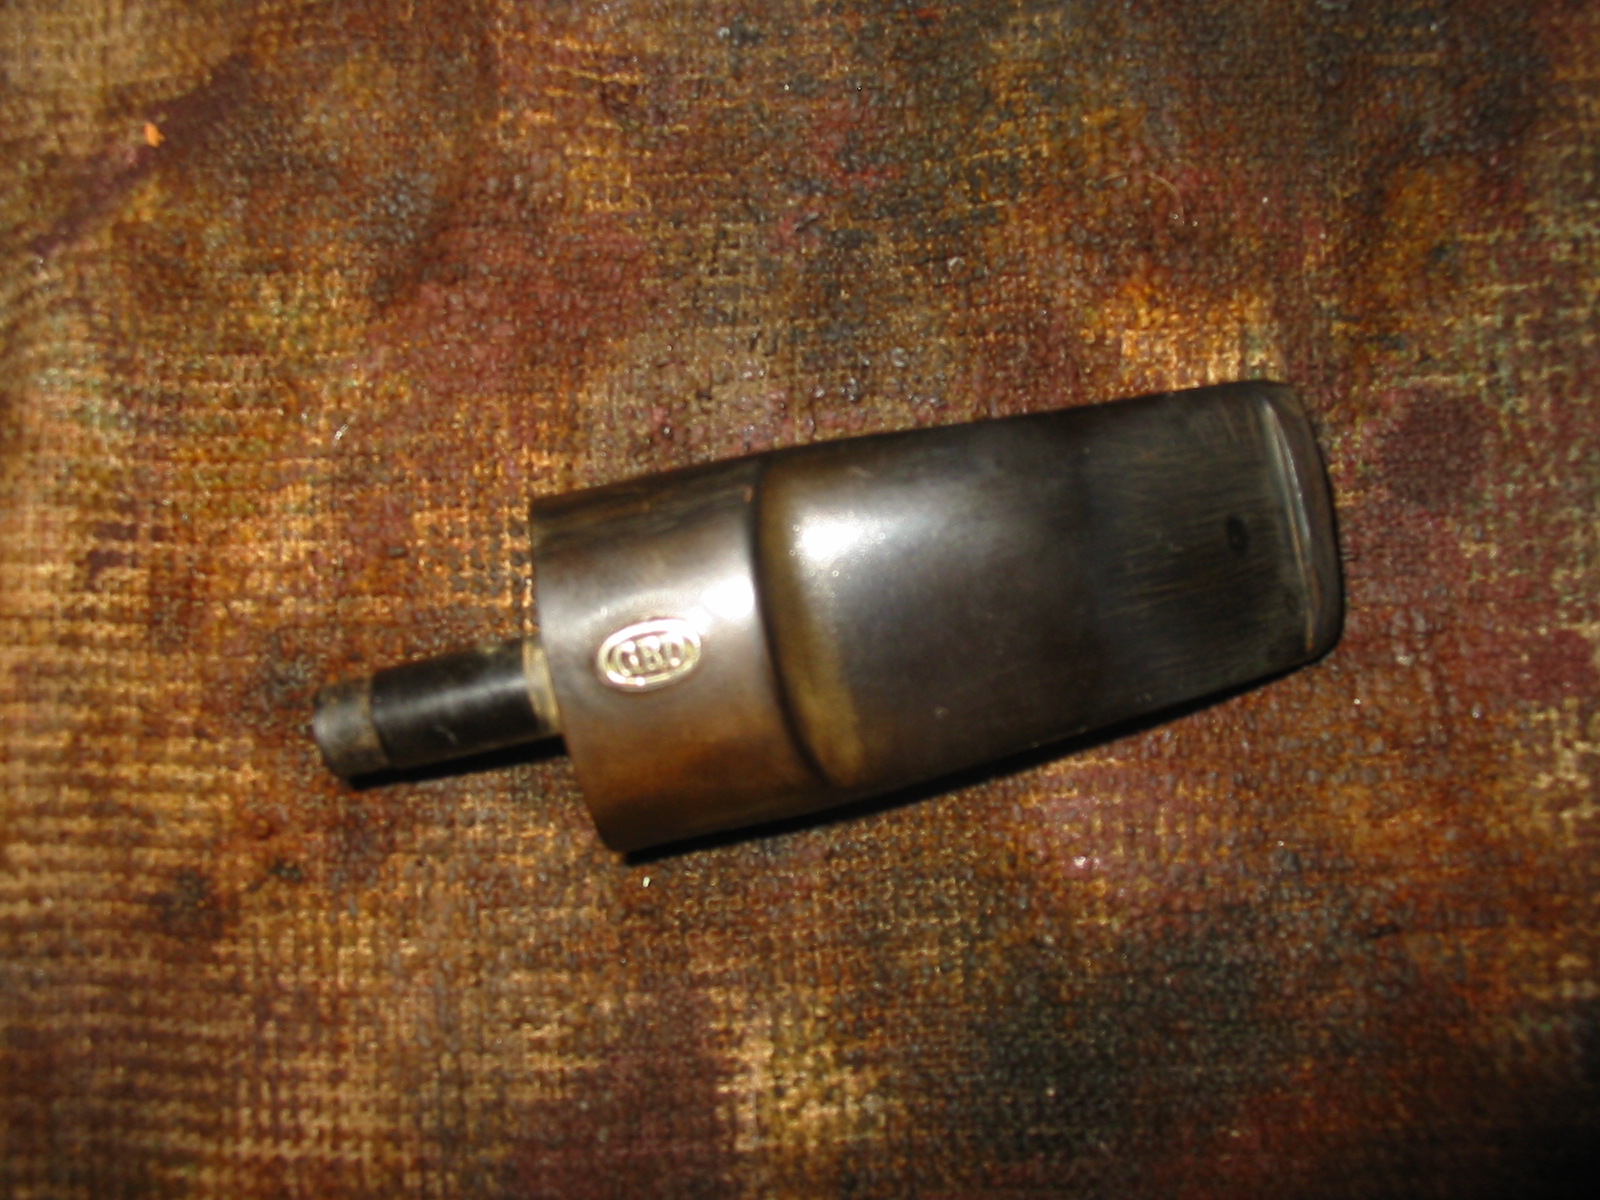
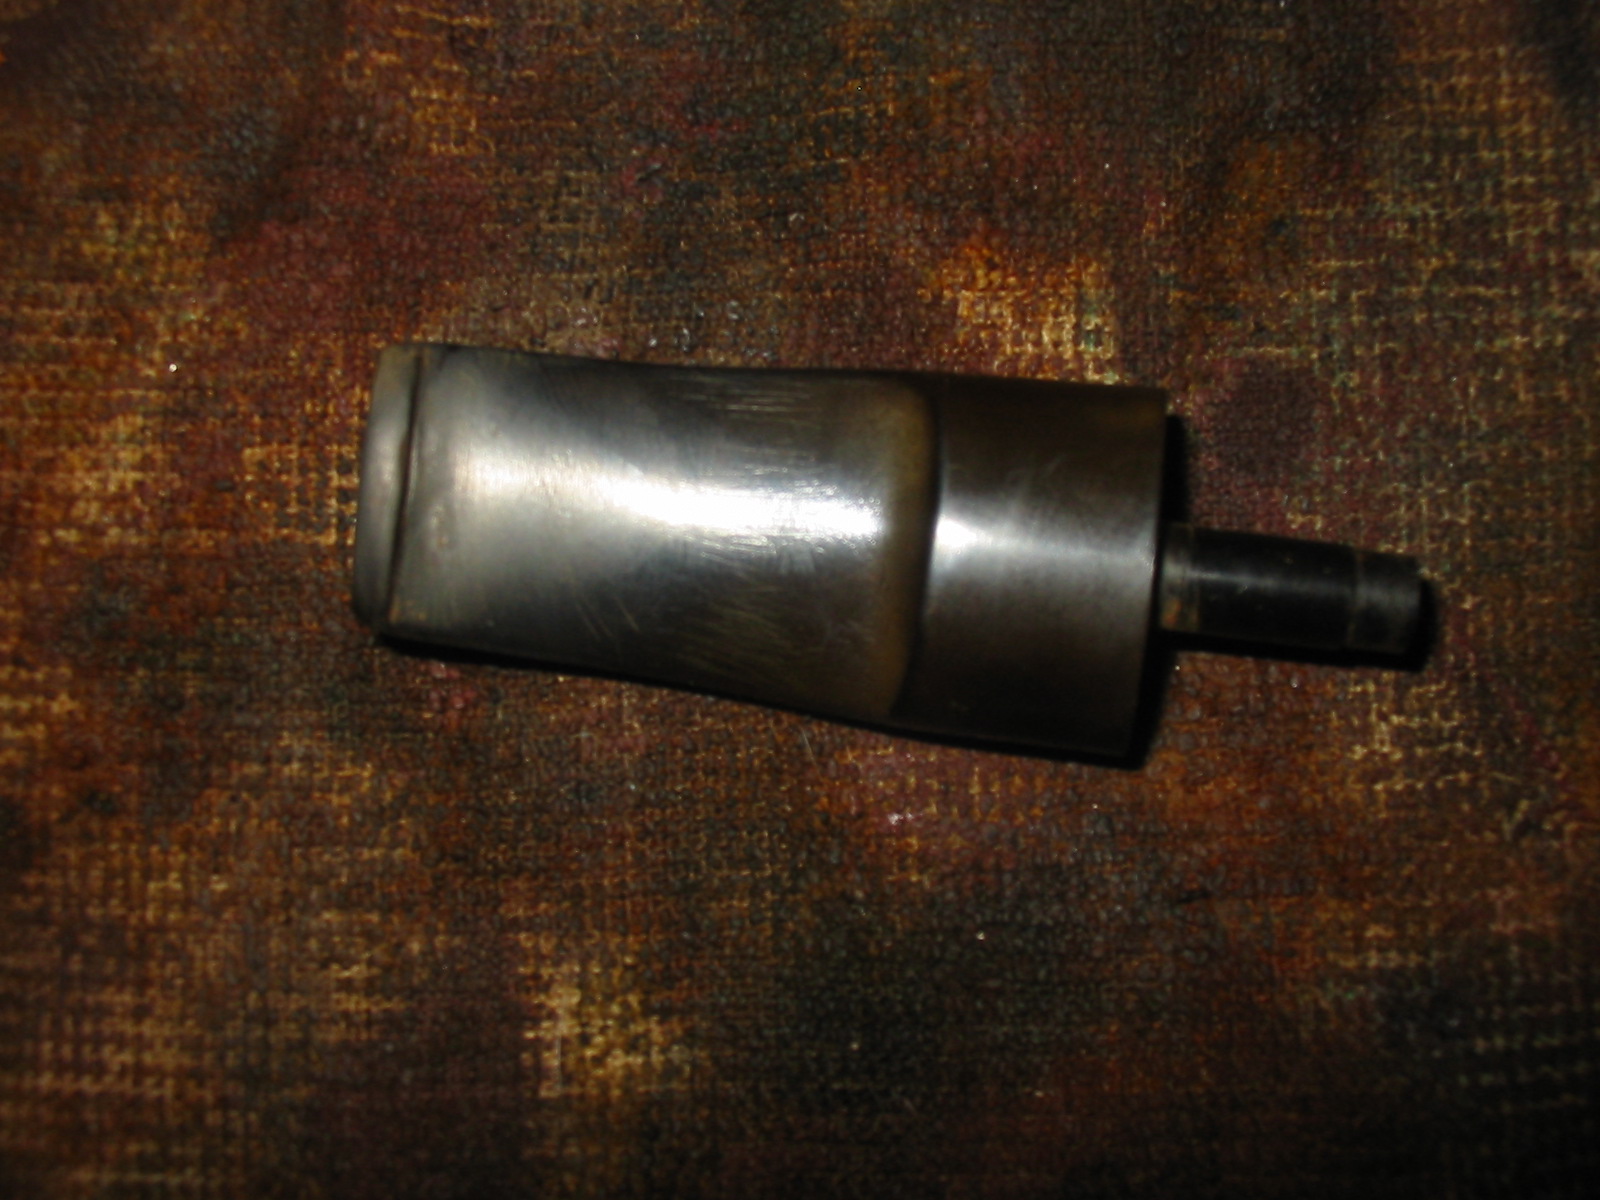
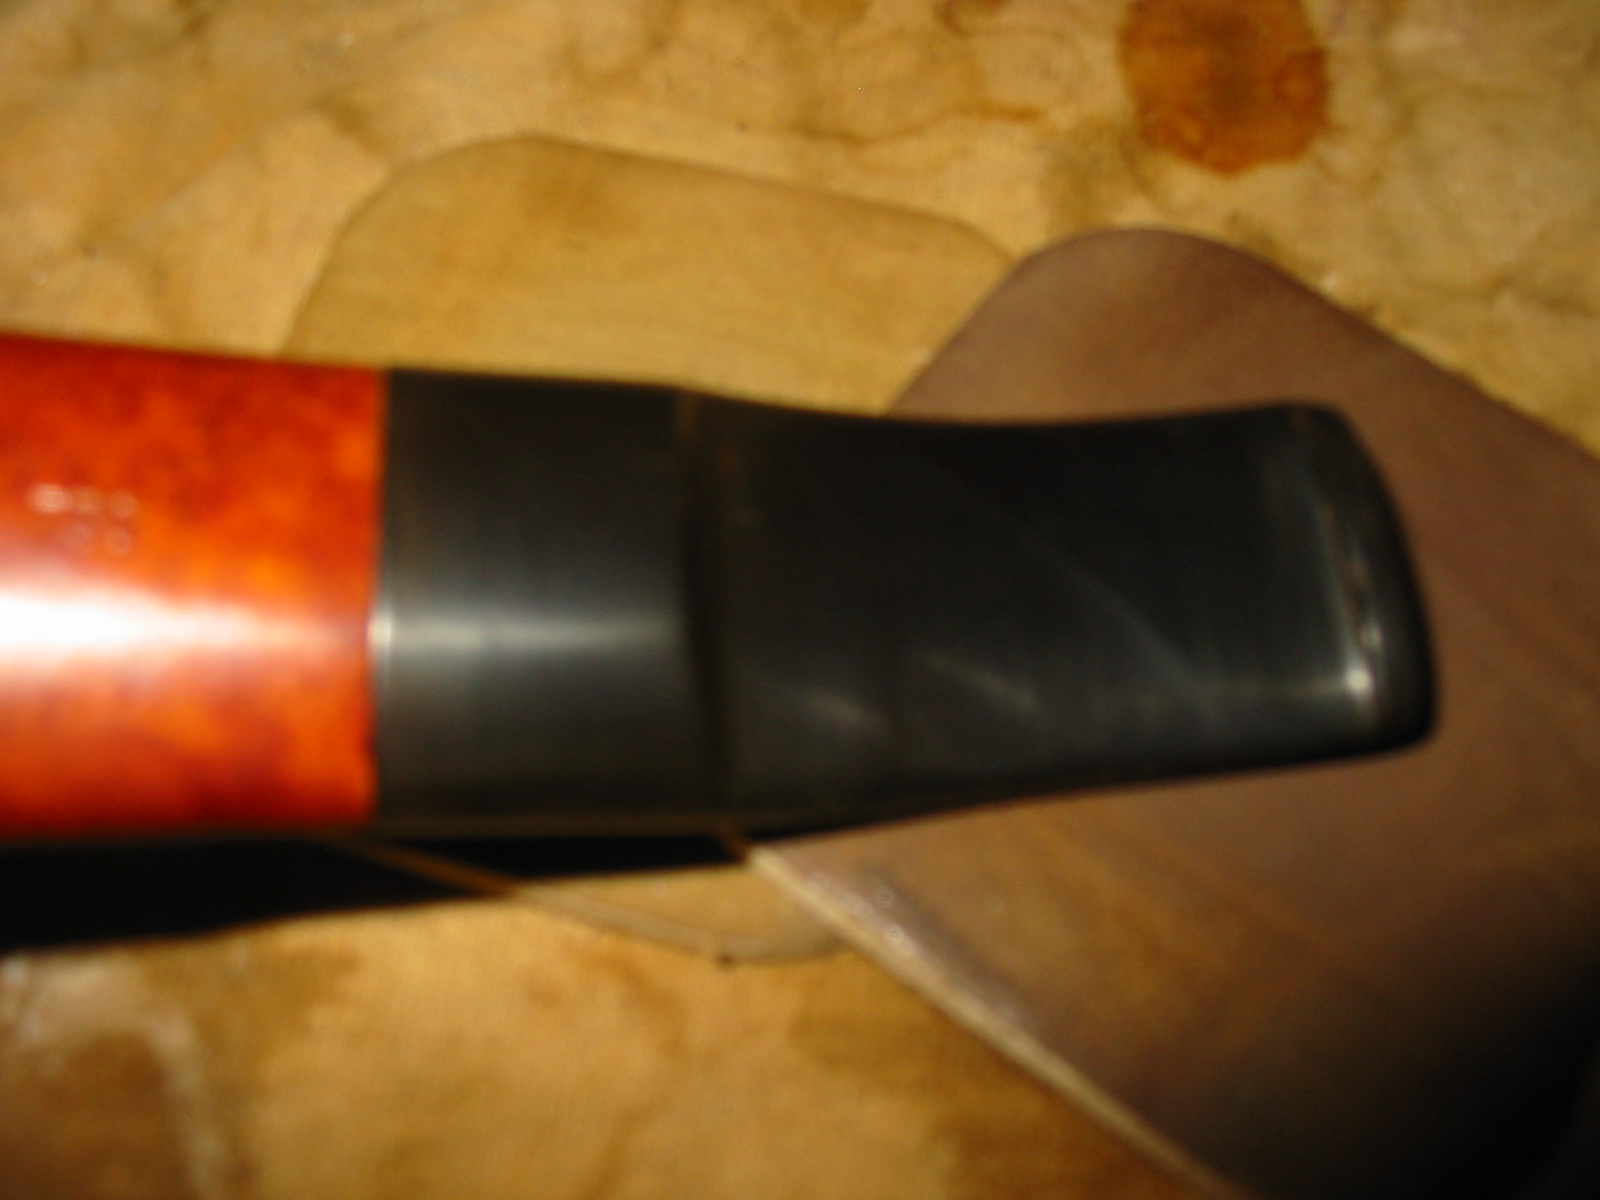
The next series of six photos show the pipe as it was when I found it. The first picture was taken at the antique mall with my iPhone. The remaining five photos were taken at my work bench before beginning to work on the pipe. The bowl was thickly caked with a hard buildup of carbon. The rim was coated with tars and buildup as well. The stem was upside down when I picked it up and very tight. I was able to turn it and straighten it out for the picture. It was oxidized and there was a line across the stem that showed where it had a rubber bite guard in place on it. There were two tooth marks on the top of the stem visible below and also two on the underside of the stem near the button. The slot in the end of the button was closed off with tar and the shank and inside of the stem were filthy.


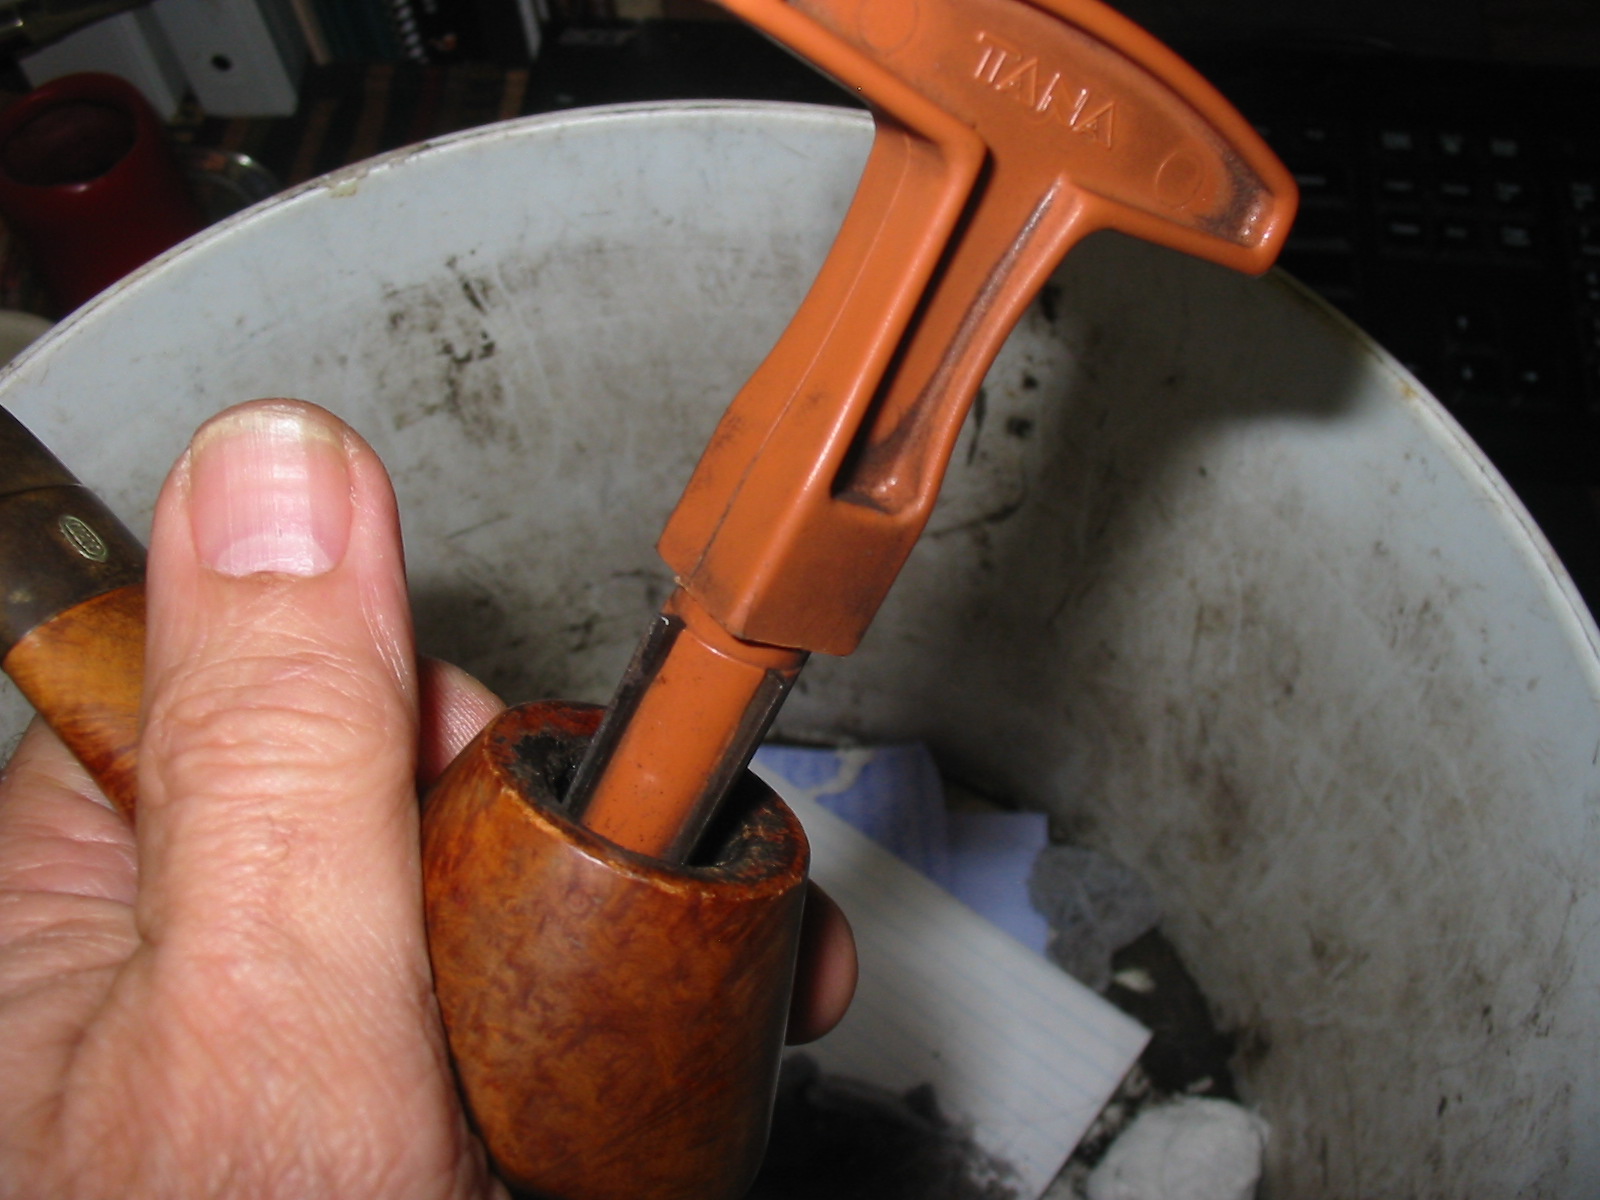
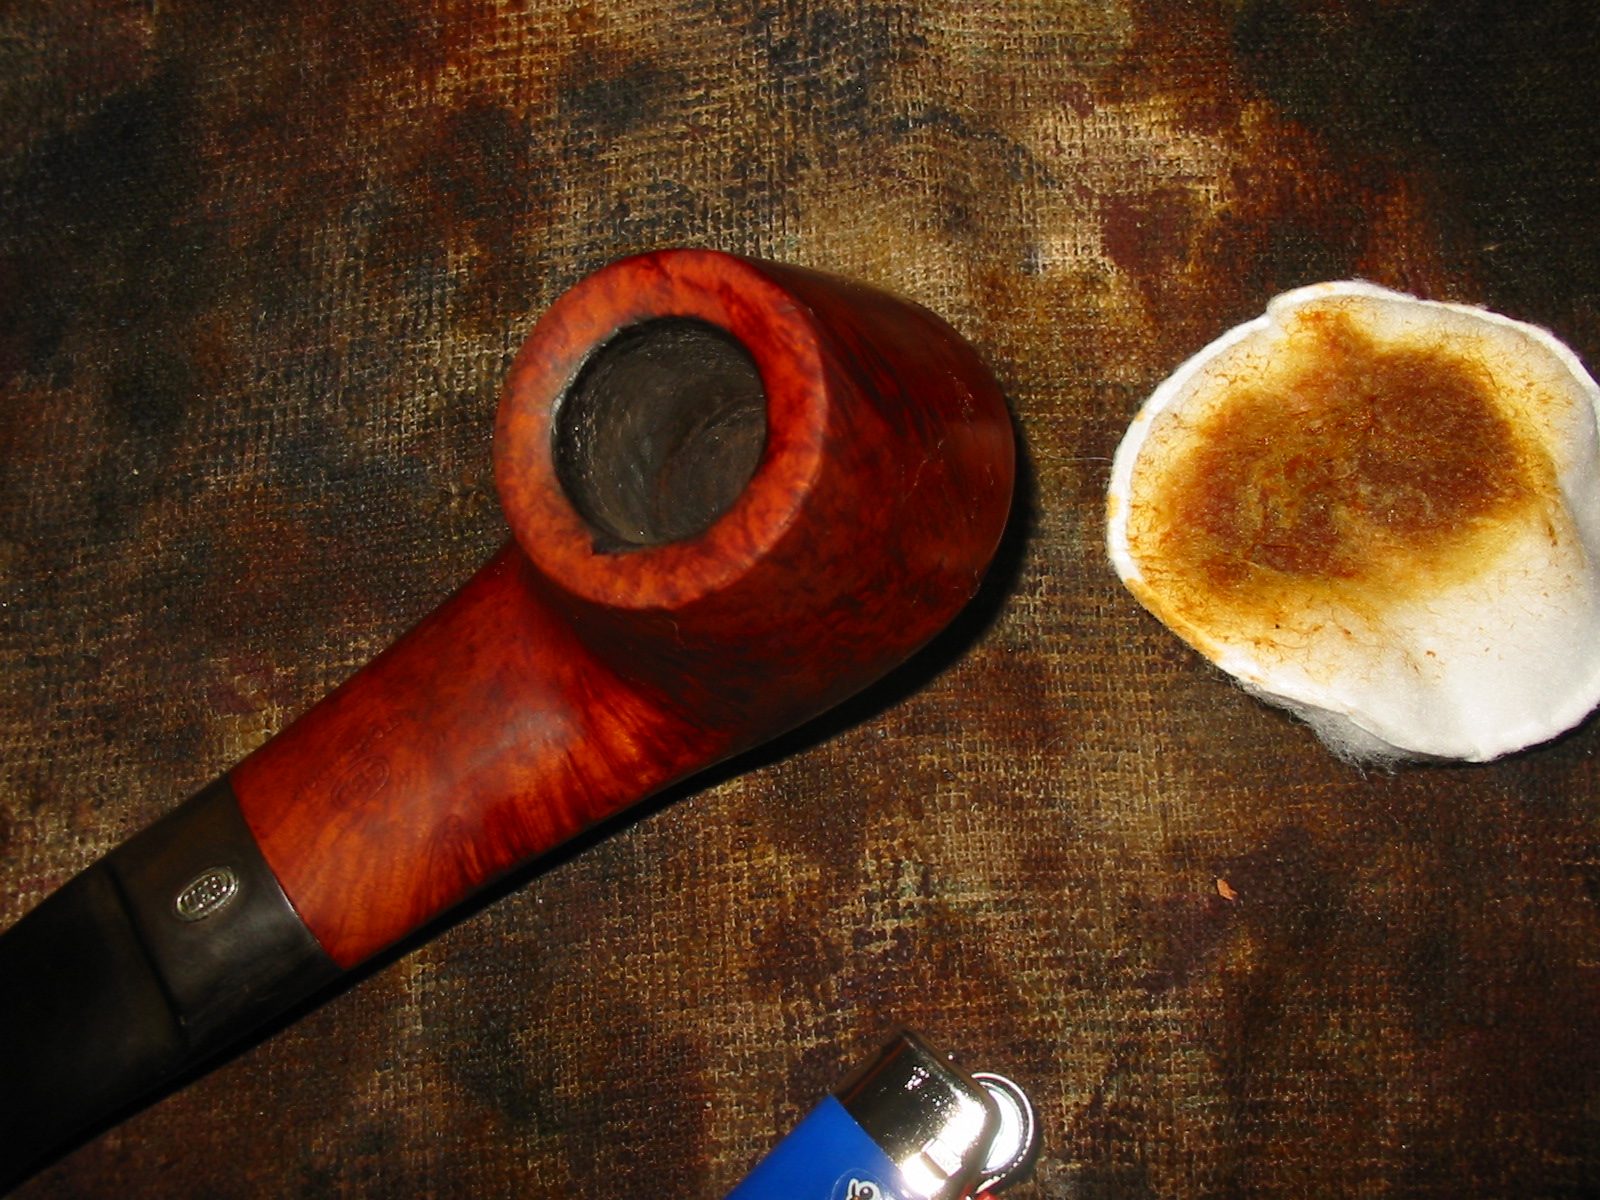
I decided to use my PipNet reaming set on the bowl. I started with the smallest bit and worked it around. Once I dumped out the cuttings I used the next size up to take the cake back to the briar. I like to start over and build my own cake in the bowl. I find that I can develop a hard cake when I work at it slowly.
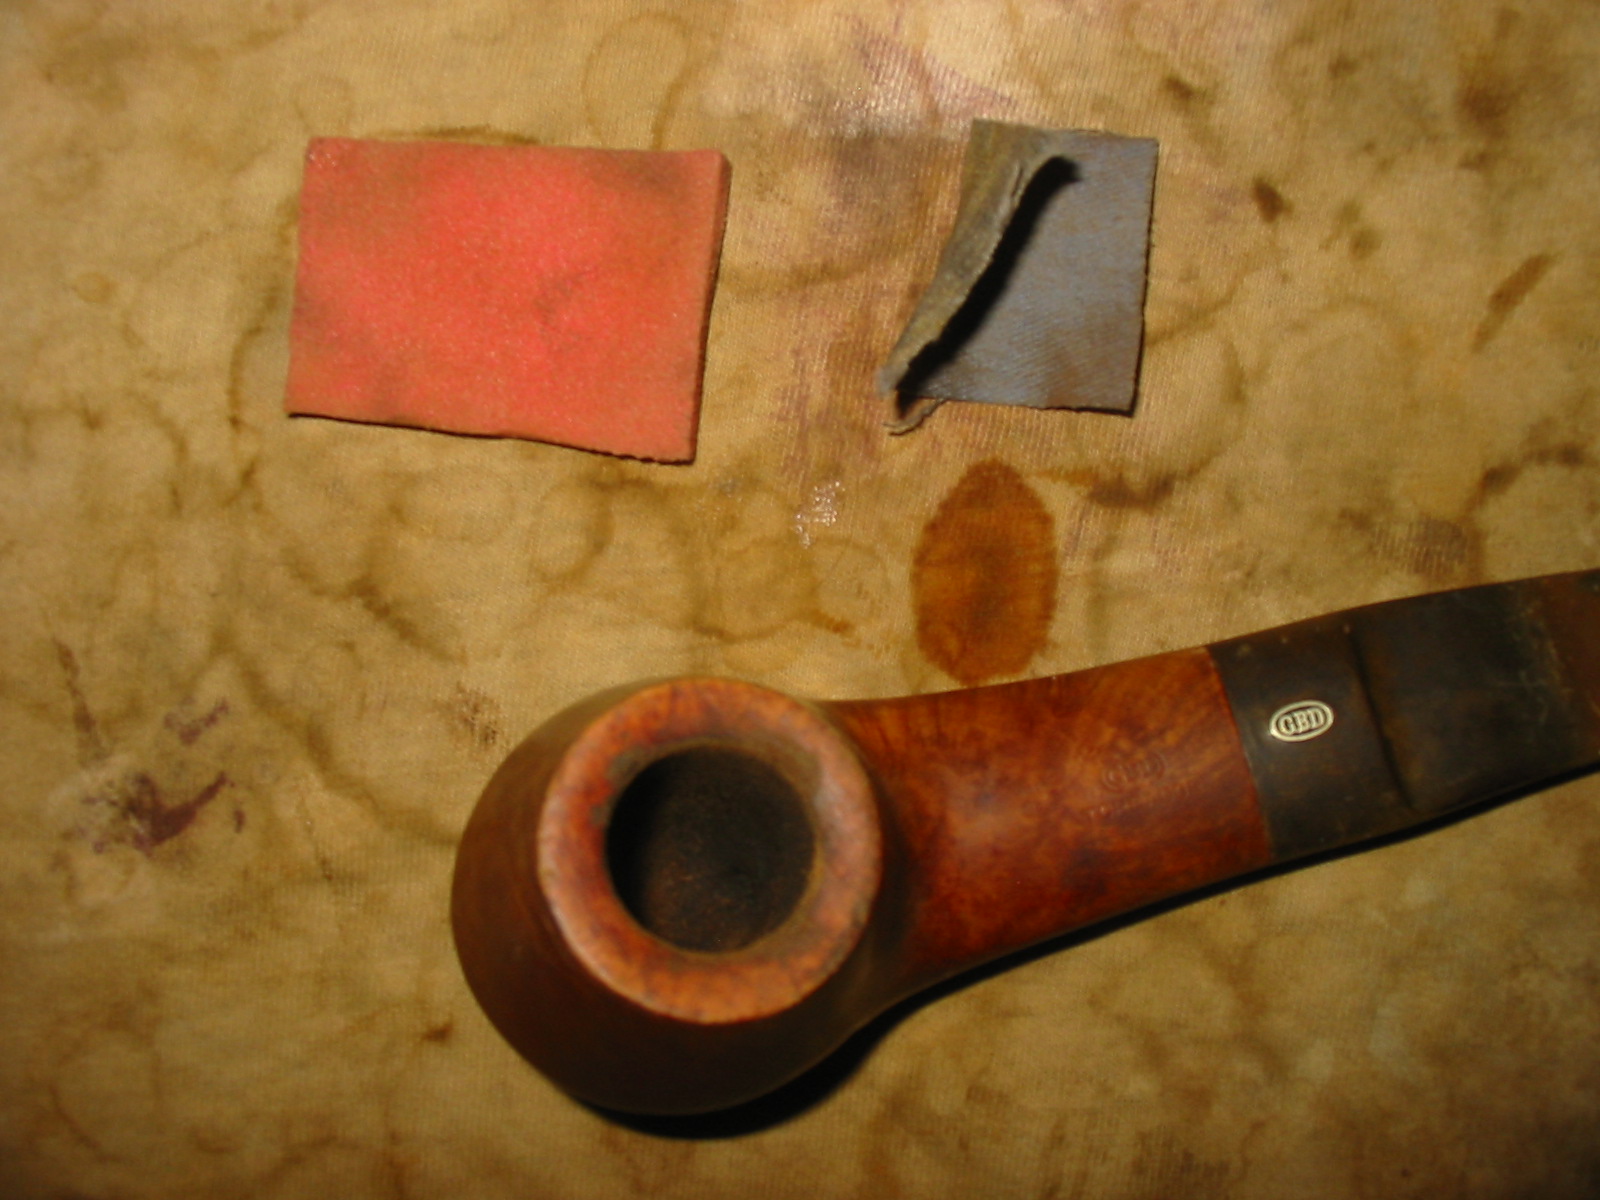
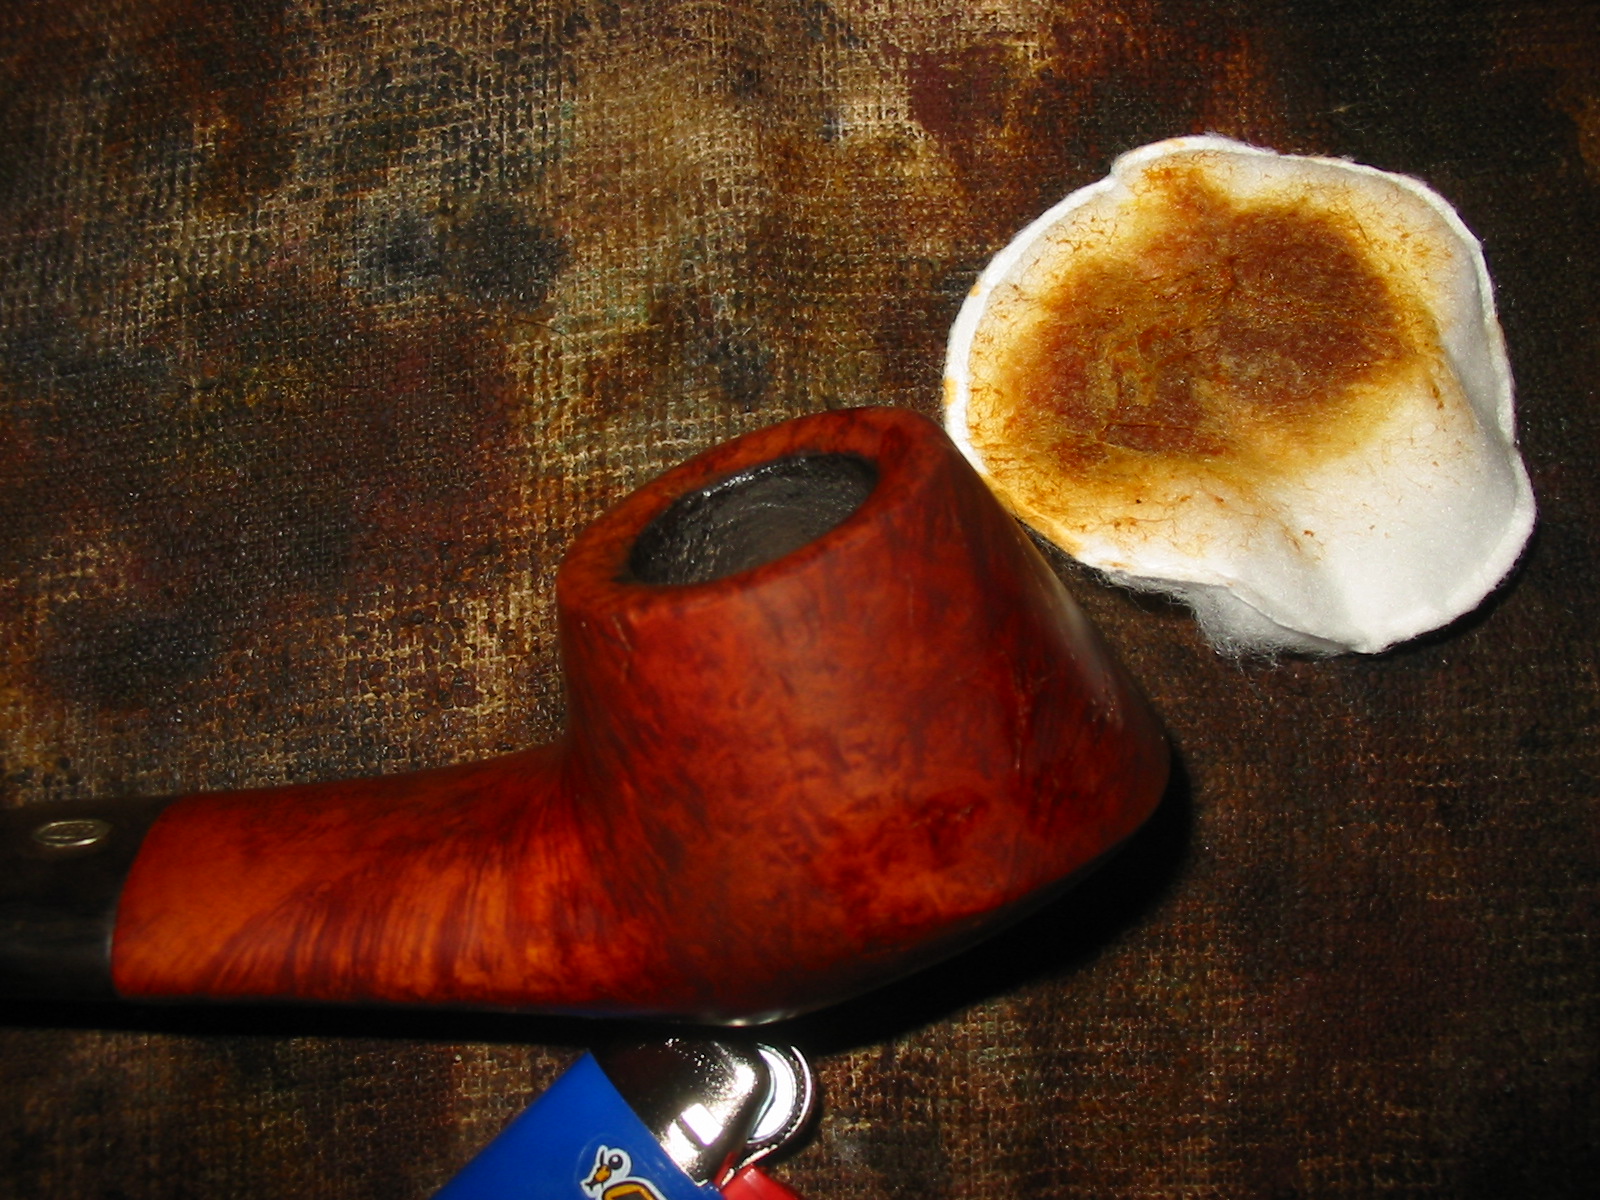
Once I reamed the bowl out to the way I like it I worked on the rim of the bowl. I used some fine grit emery cloth to start breaking up the hard tars and then a fine grit sanding sponge to remove what remained. I work to keep the sharp inner and outer edge of the rim. I do not like it when it is rounded. This rim was also chamfered in toward the bowl and I wanted to keep the angles on that even when I was finished working it over. The next two photos show the cleaned rim. It has been sanded and the buildup is removed. There is a bit of rim darkening that will come off with a bit more work.
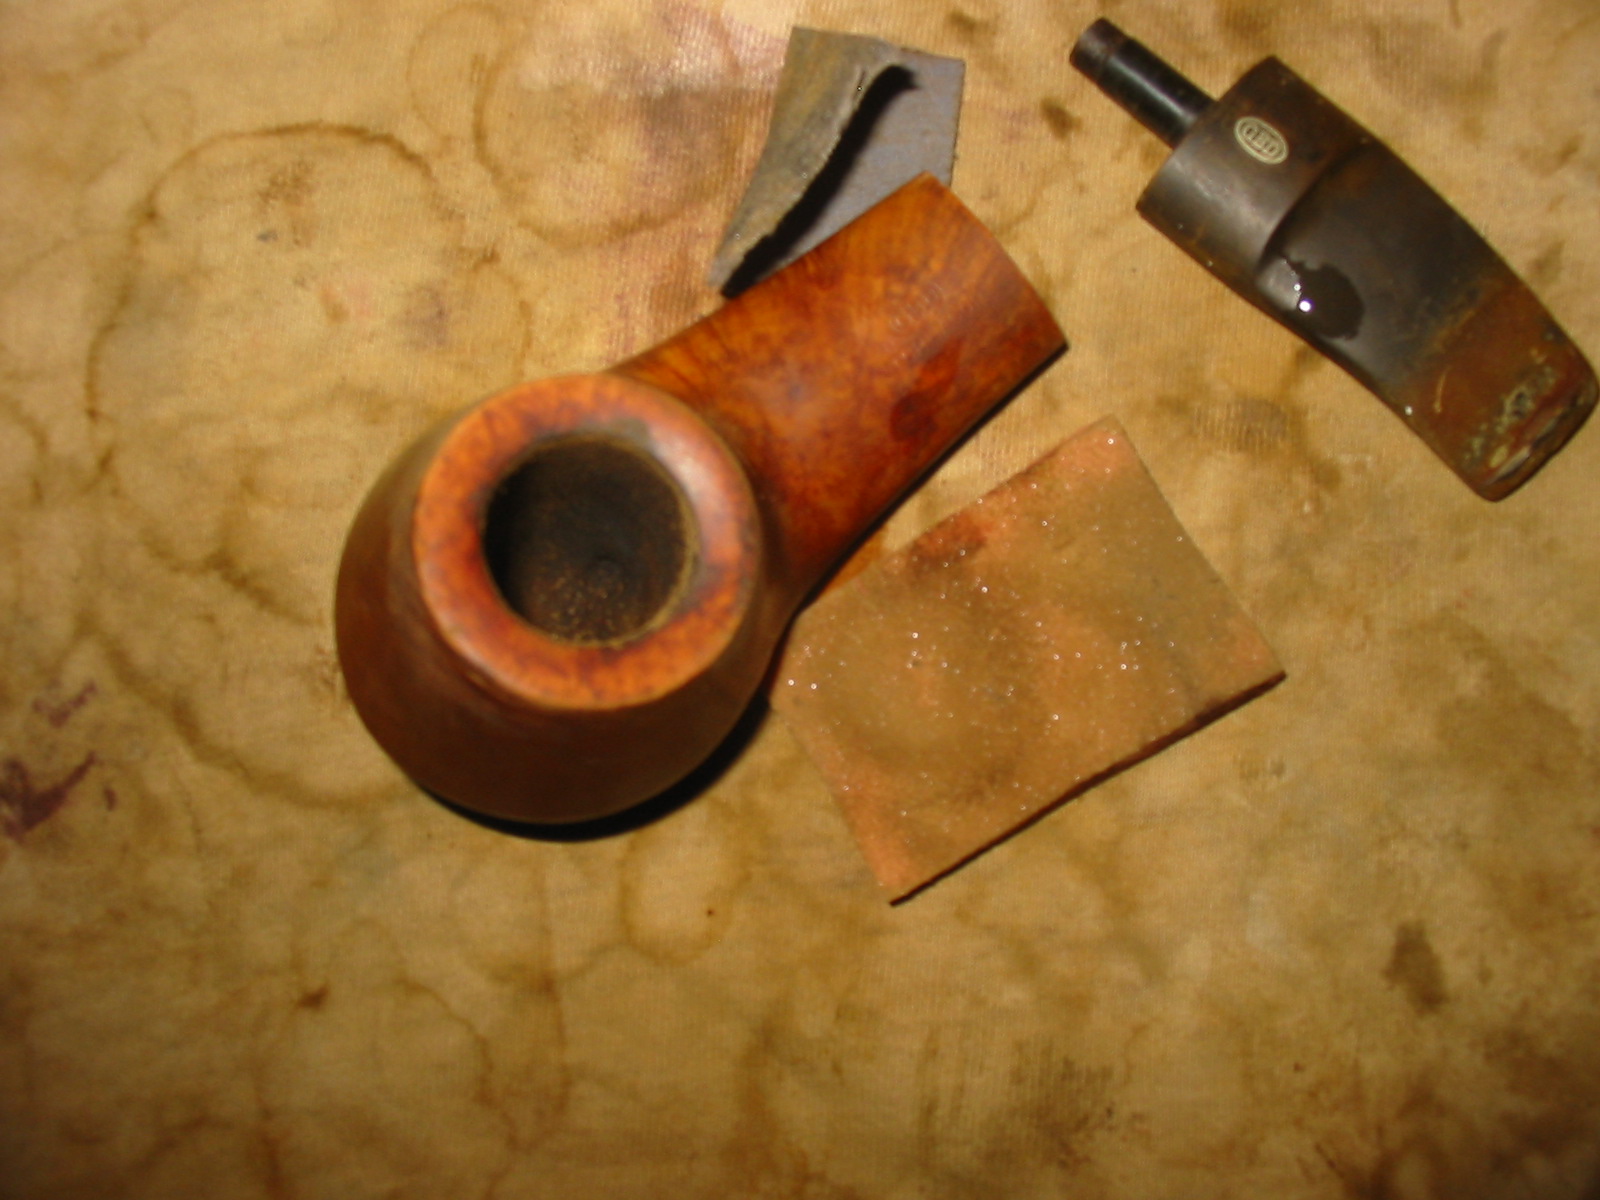
The next four photos show the bowl after I have wiped it down with acetone on a cotton pad. The darkening on the rim is growing fainter with each wipe. The pads are coloured from the dirt and grime as well as the stain from the pipe. I have found that the dark and medium brown wipe off and leave a yellow colour on the pads. I repeated the wipe down several times until the surfaces were clean.
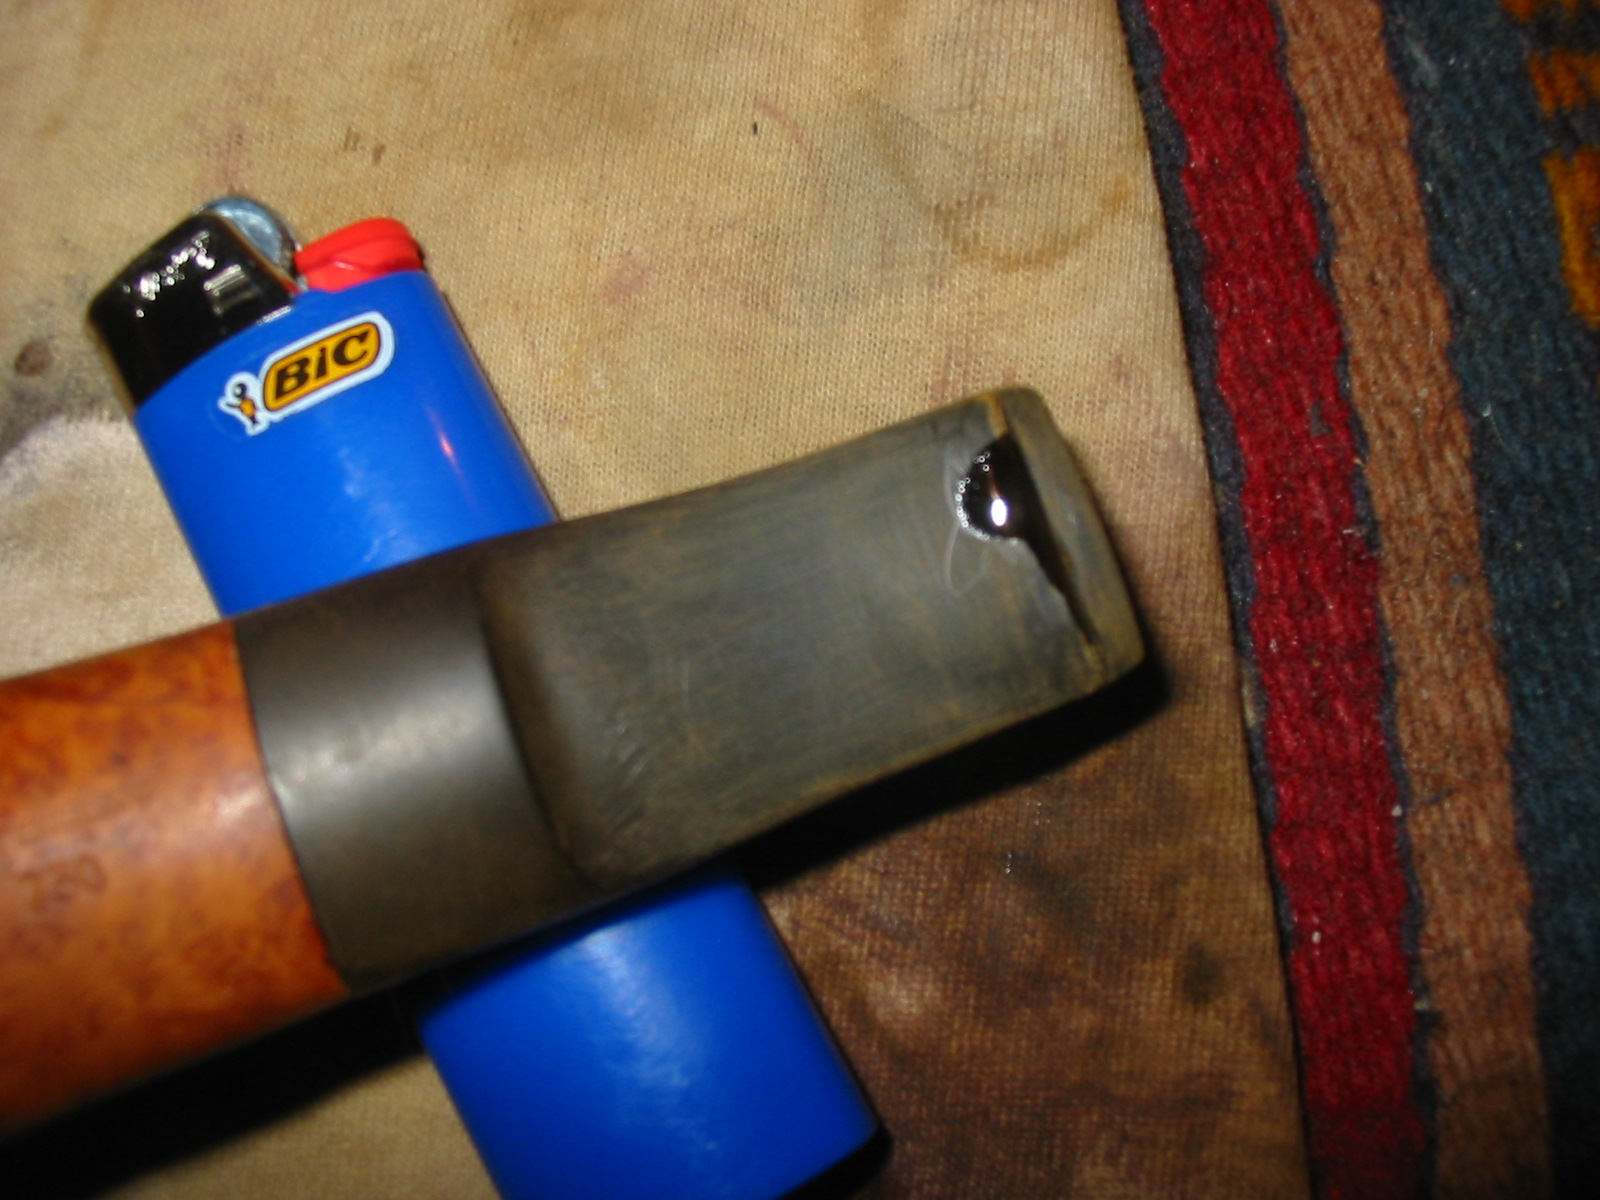
After wiping the bowl down I cleaned out the stem and the shank. I used pipe cleaners and Everclear to scrub out the insides of the stem and shank. I scrubbed until they came out clean. I worked on the area of the button slot to clean out the tar buildup in that area. Then I decided to work on the stem. I sanded out the calcification on the stem from the rubber stem bite protector. It leaves a white sediment buildup that is rock hard so I sand it with medium grit emery paper. Removing this buildup also reveals the depth and nature of the tooth marks in the stem. The first picture below shows the topside of the stem and the tooth marks. The second picture shows the underside of the stem and the two tooth marks next to the button.
I then sanded the stem with 240 grit sandpaper and the medium grit sanding sponge to further remove the scratches and clean up around the tooth marks. Once I had the stem cleaned up of the white buildup and the scratches reduced I wiped down the stem with Everclear. I heated the surface of the stem with a lighter to lift the tooth marks as much as possible and then I picked out the grit and grime in the tooth marks with a dental pick to provide a clean surface for the superglue repair. The first two photos show the sanded stem and cleaned surface. The third and fourth photos below show the superglue patch. On this stem I chose to use clear superglue rather than the black glue. I often use them interchangeably.

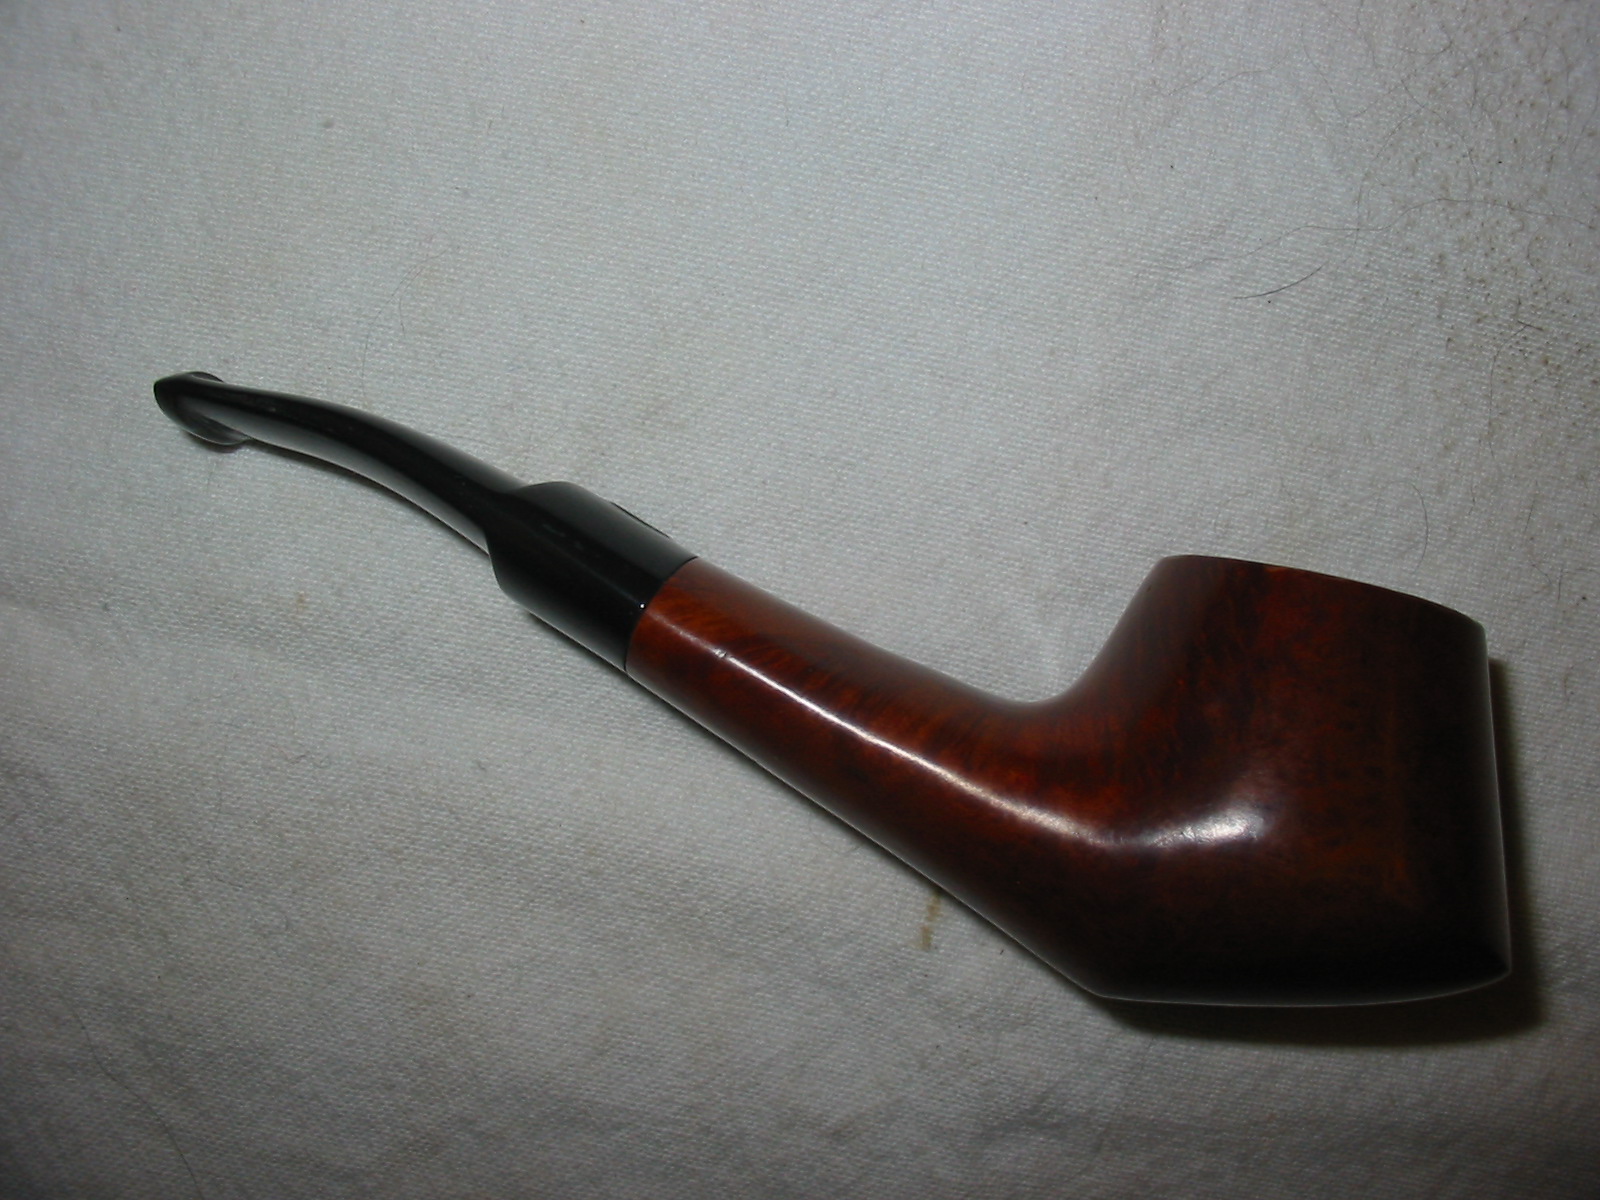
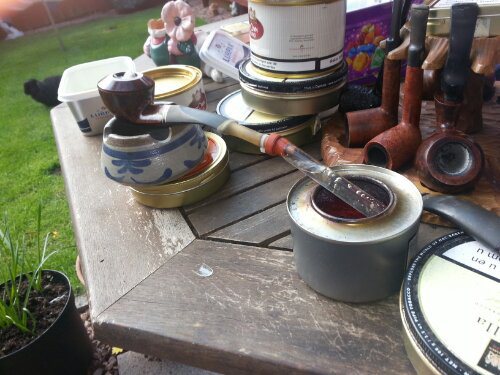
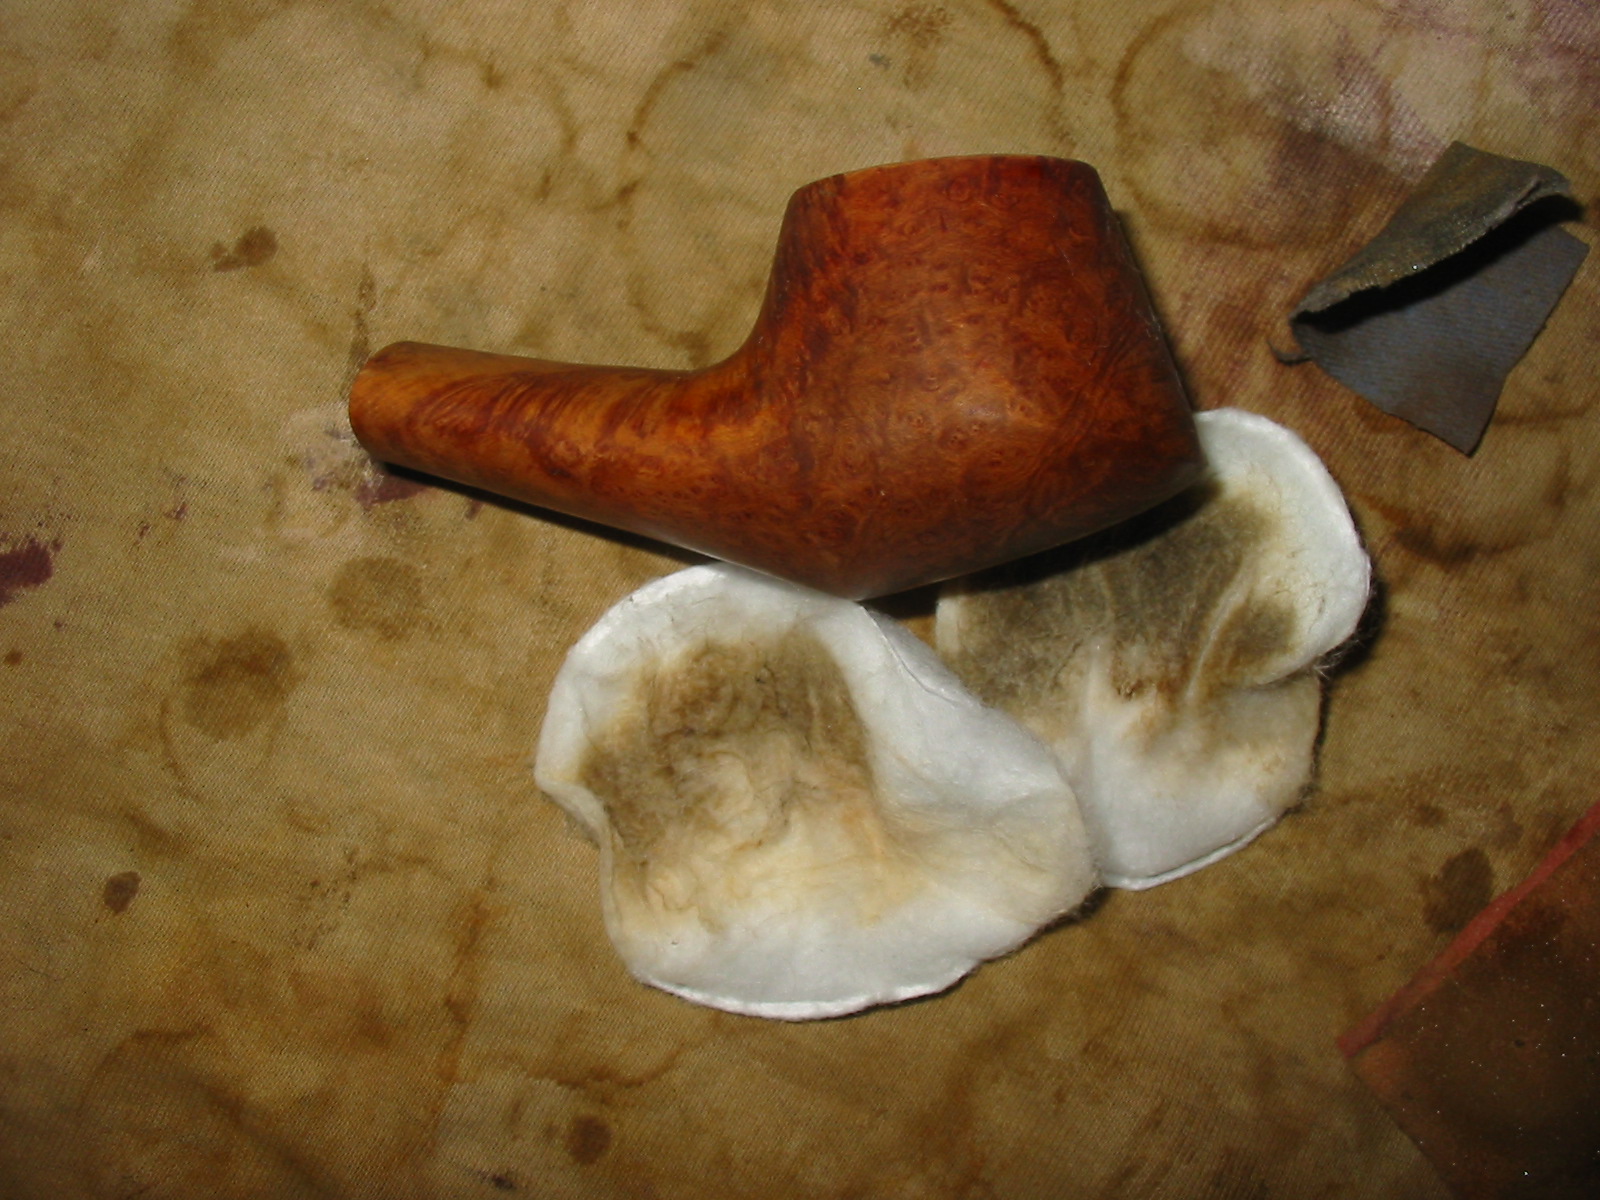
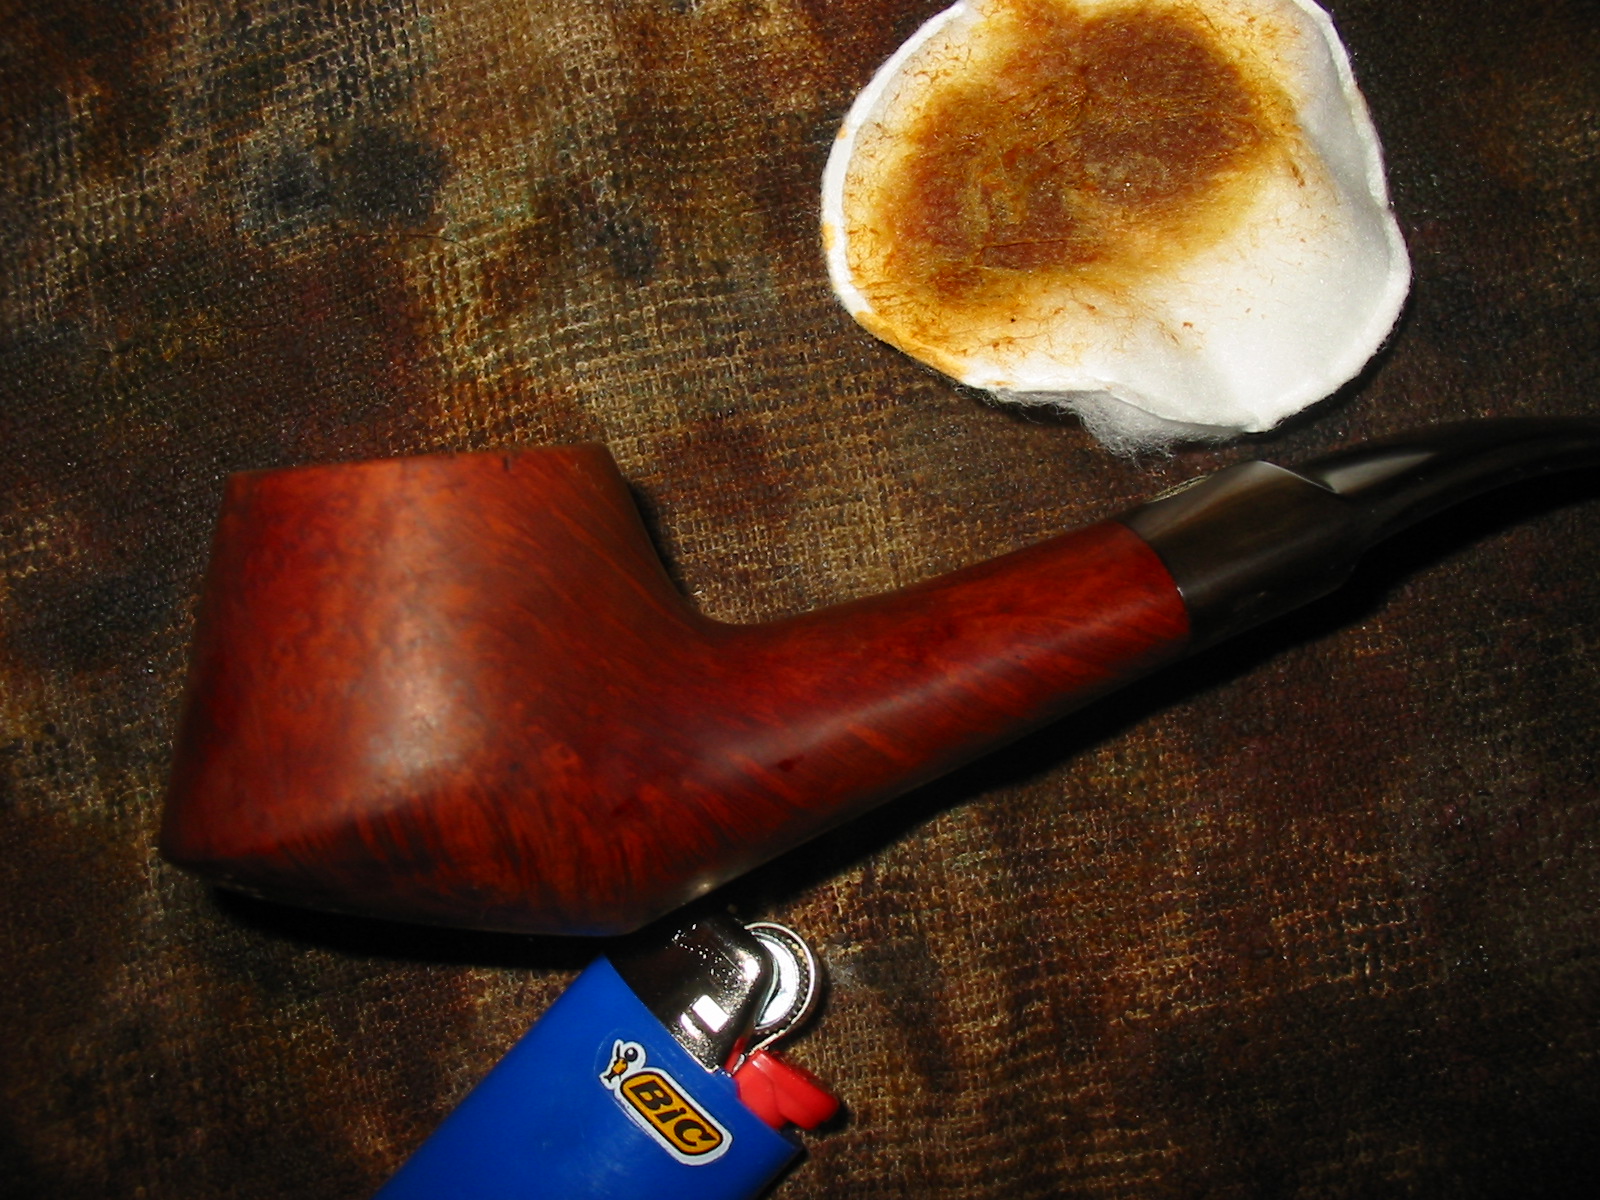
I set the stem aside to dry and worked on the bowl again. I wiped it down a final time with acetone on a cotton pad. I chose to stain it with a dark brown aniline stain, thinned 2:1 with isopropyl alcohol. I did not want to darken the colour of the pipe but merely bring it back to its original colour as determined from several other smooth GBD pipes of this era. I gave it a coat of stain and flamed it with a lighter. I reapplied the stain and also flamed it a second time. The next series of four photos show the pipe after it has been stain. I wiped it down with a soft cloth. It had not been buffed at this point.
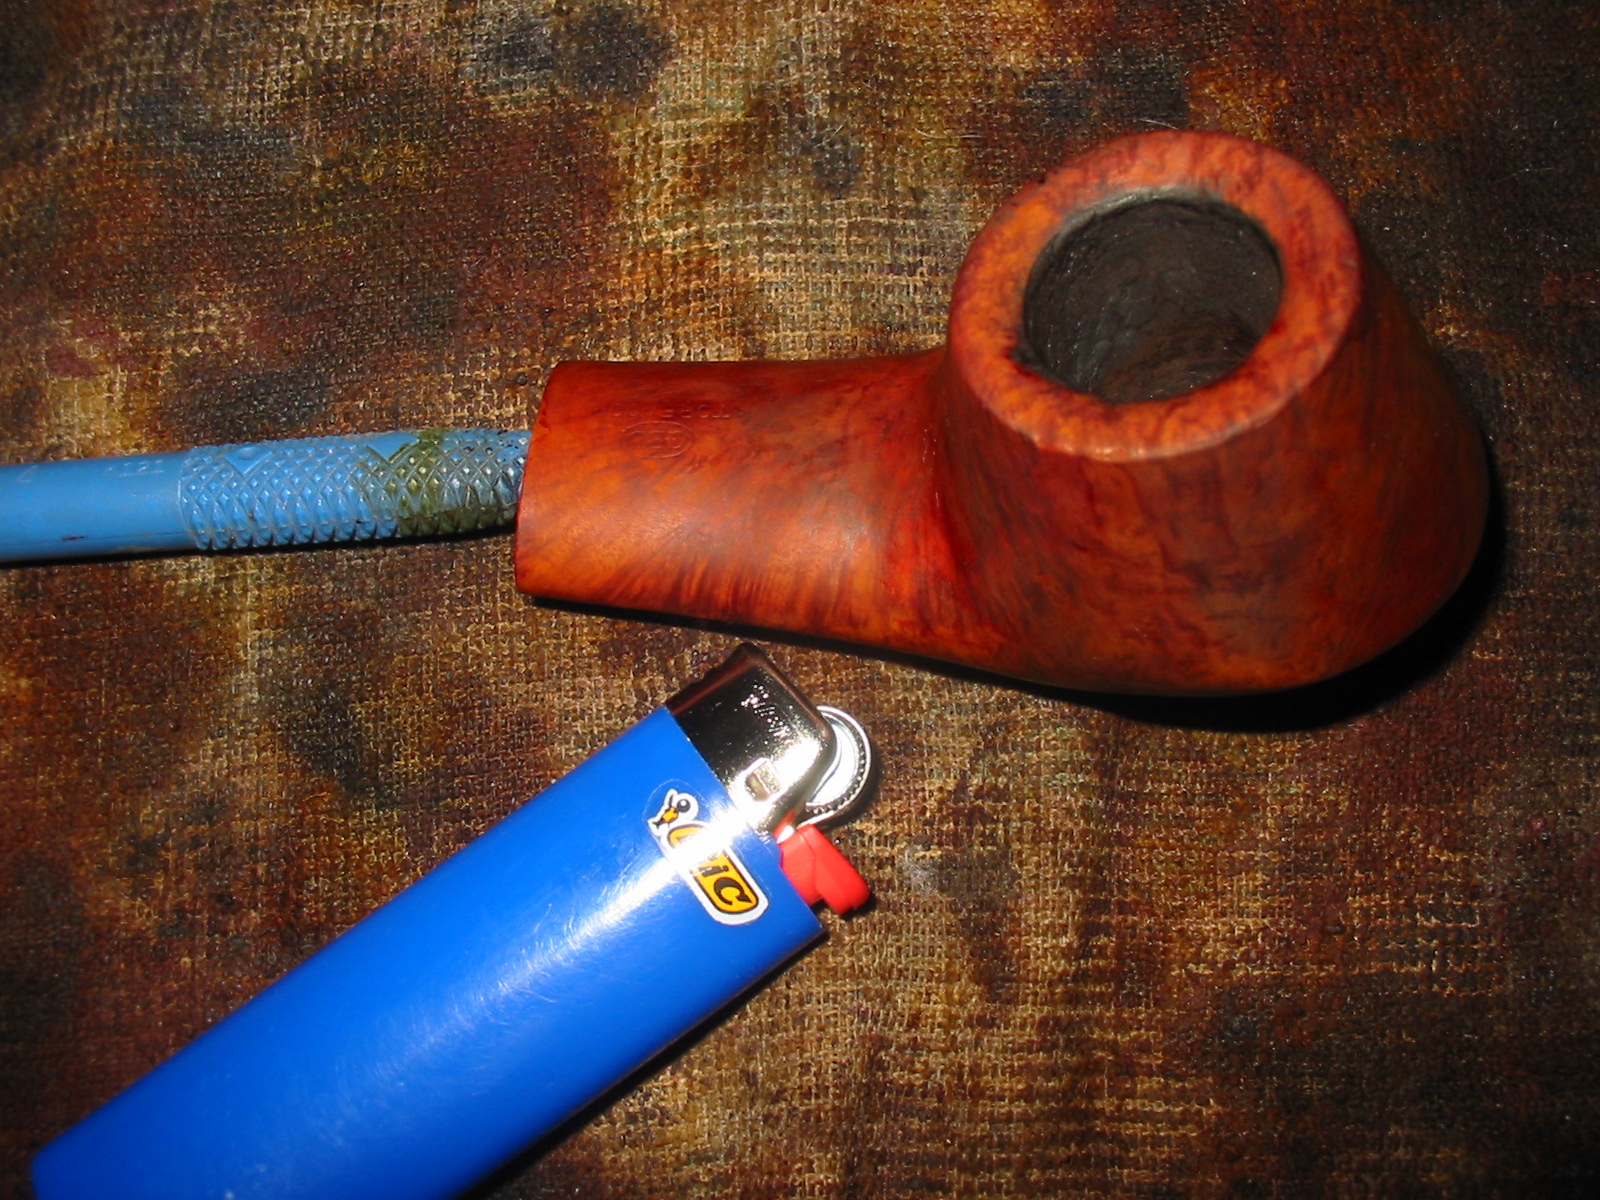
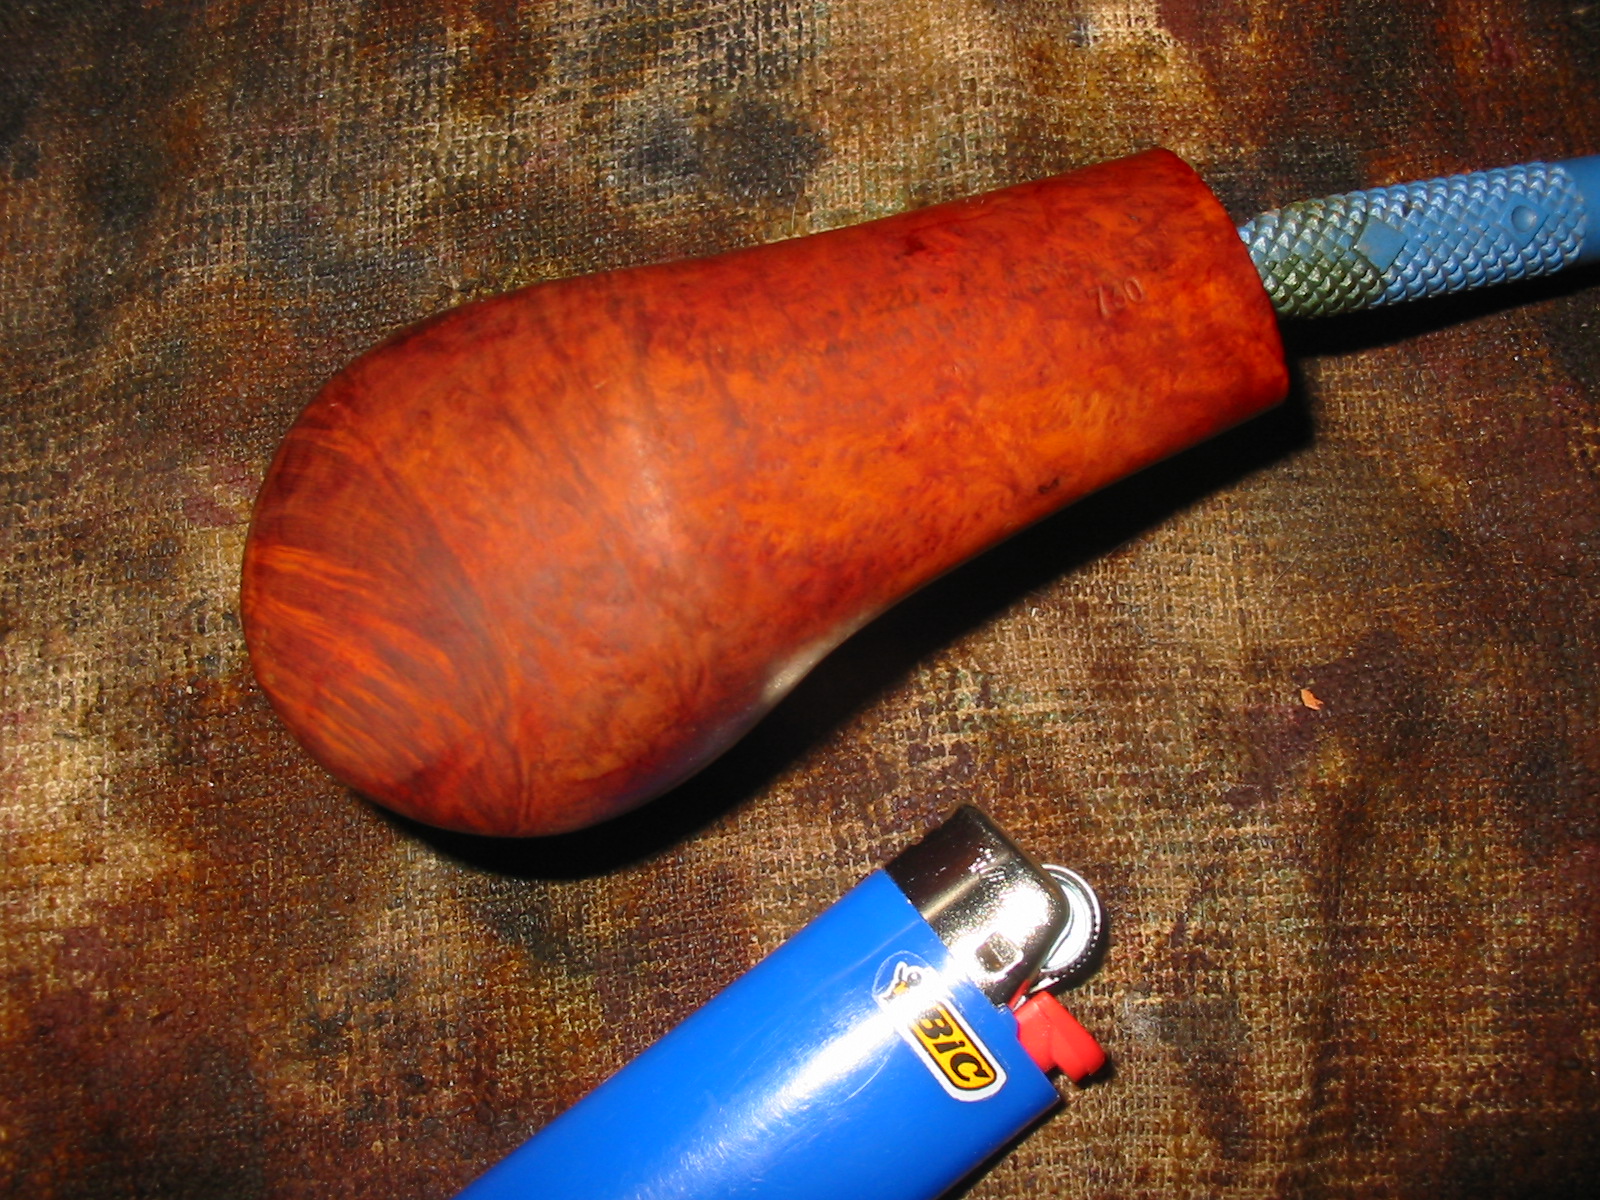

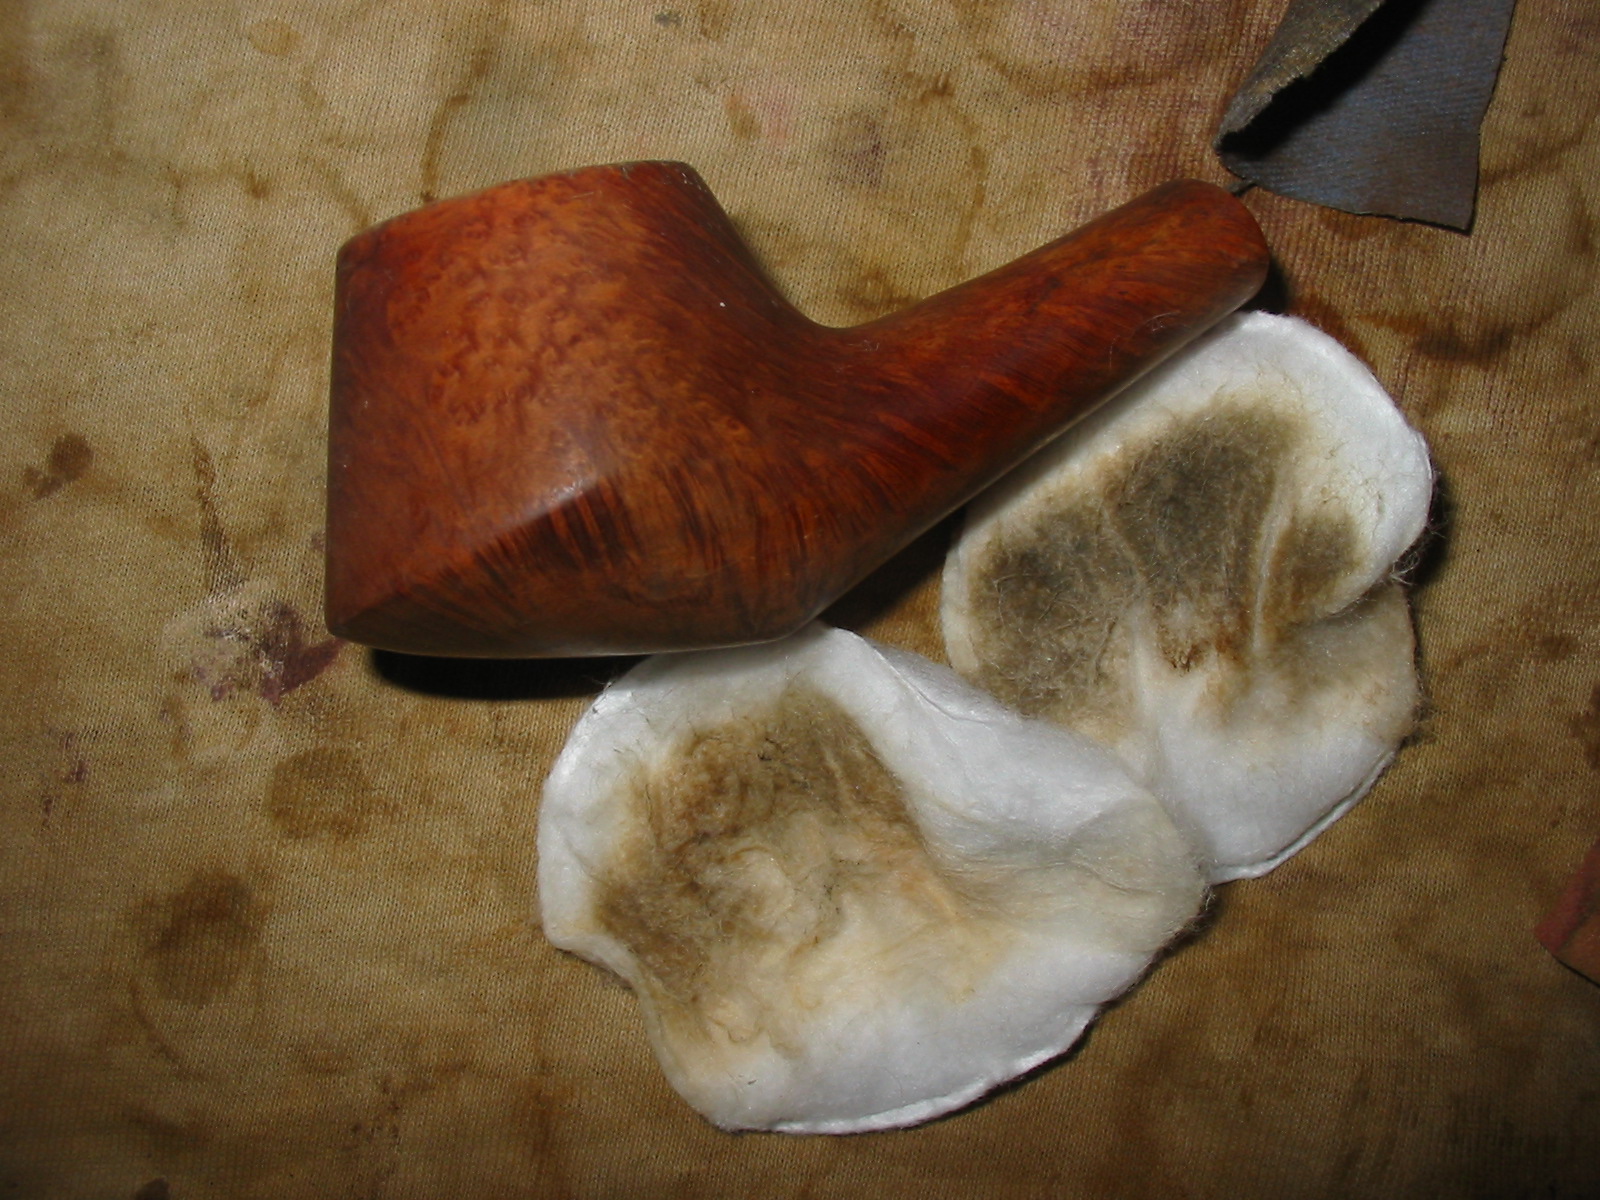
After the initial staining the colour was a bit dark and opaque to my liking so I use a cotton pad and wiped the bowl down with Everclear to lighten it and make the grain stand out a bit more. The next four photos show the bowl after wiping it down.
With the bowl finished it was time to work on the stem once again. The superglue was dry and it was time to do some sanding. The next two photos below show the stem after sanding on the patches. The topside and the underside tooth marks are repaired and even with the surface of the stem at this point. Now the stem needed to be worked on with further sandpapers and the micromesh sanding pads.
I wet sanded the stem with 1500 and 1800 grit micromesh sanding pads to remove the scratches left by the other sandpapers. I wet the sanding pads and then sanded the stem, wiped off the grime and water and resanded it until the majority of the scratches were removed from the surface of the stem. I worked the pads around the GBD rondel so as not to sand it and remove surface or stain in the metal. The next two photos show the stem after sanding with these two grits.

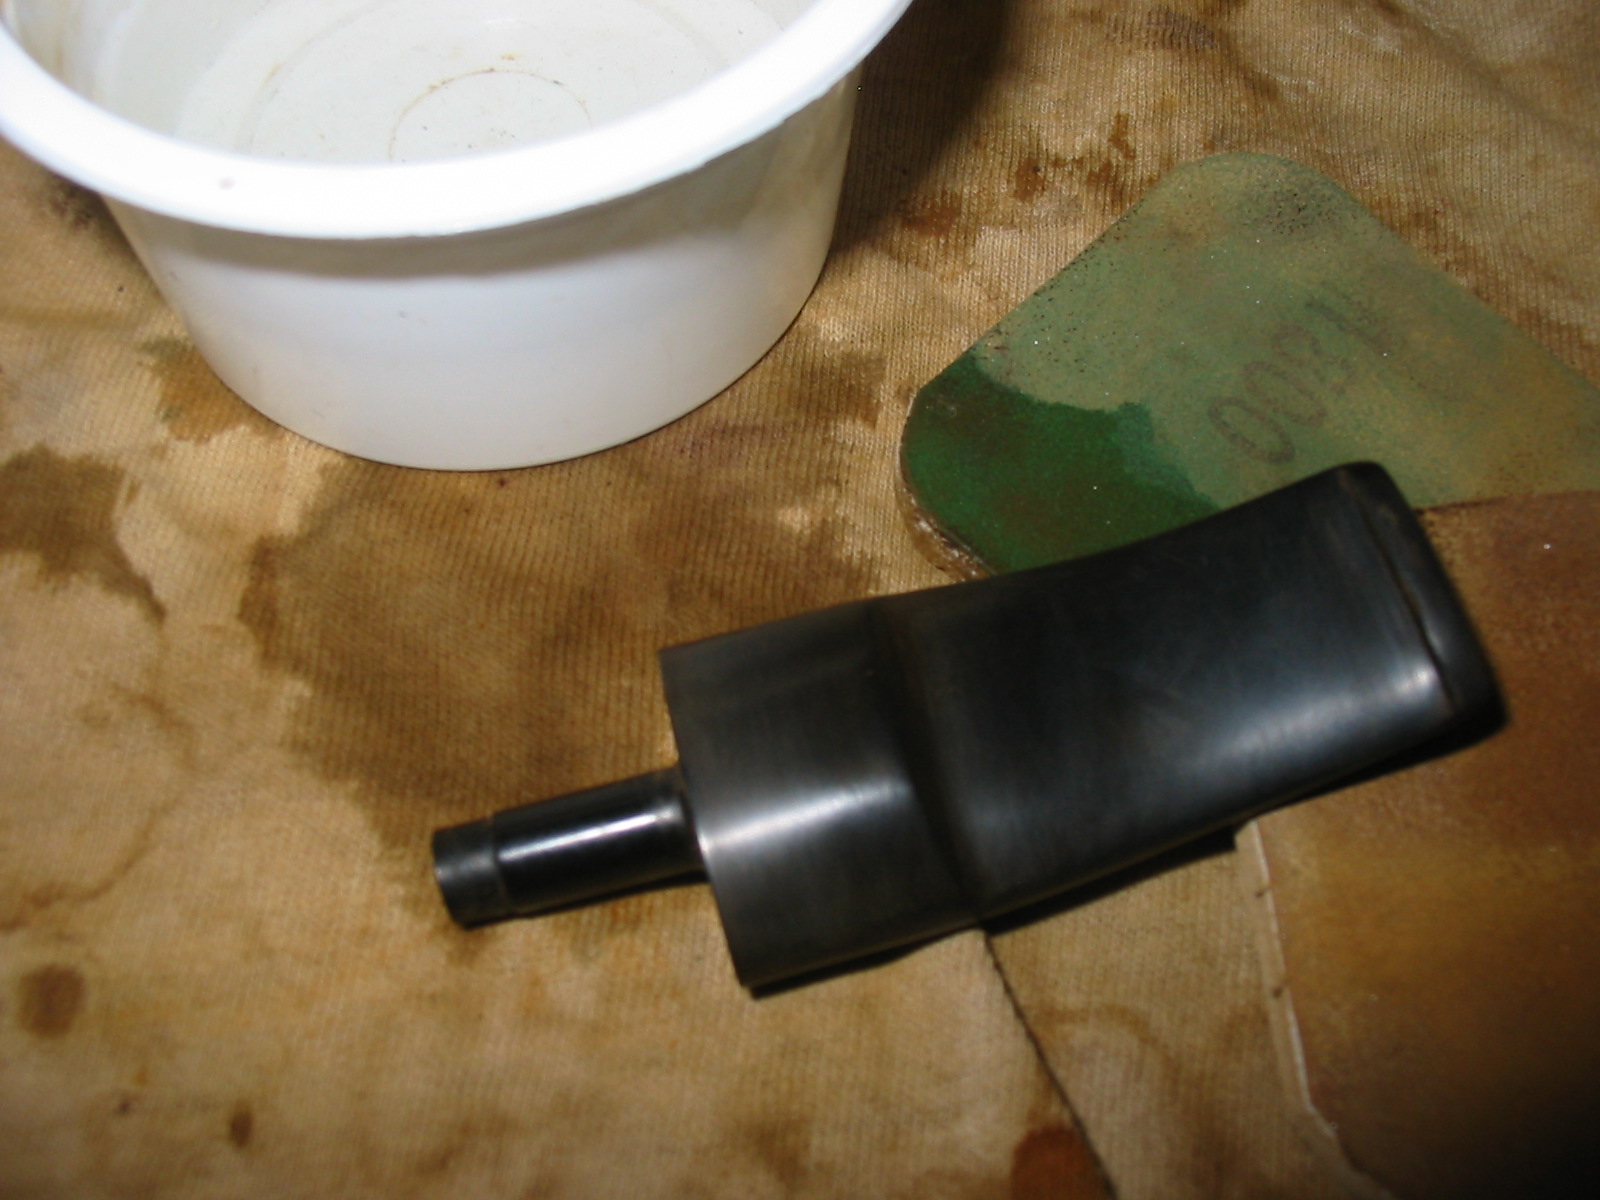
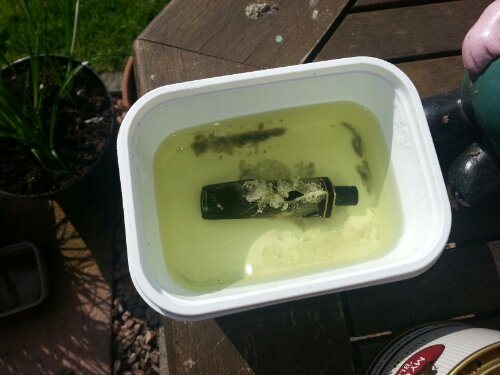
I had read much about using the Barkeepers Friend cleaner to remove oxidation so I mixed up a paste of the powder and scoured the stem with a tooth-brush. The paste worked very well to remove the oxidation around the rondel and around the sharp edges of the button. It really took care of the remaining oxidation. I applied the paste, wiped it off, rinsed, reapplied and repeated the process until I was satisfied with the results. The next two photos show the stem after polishing with the paste.


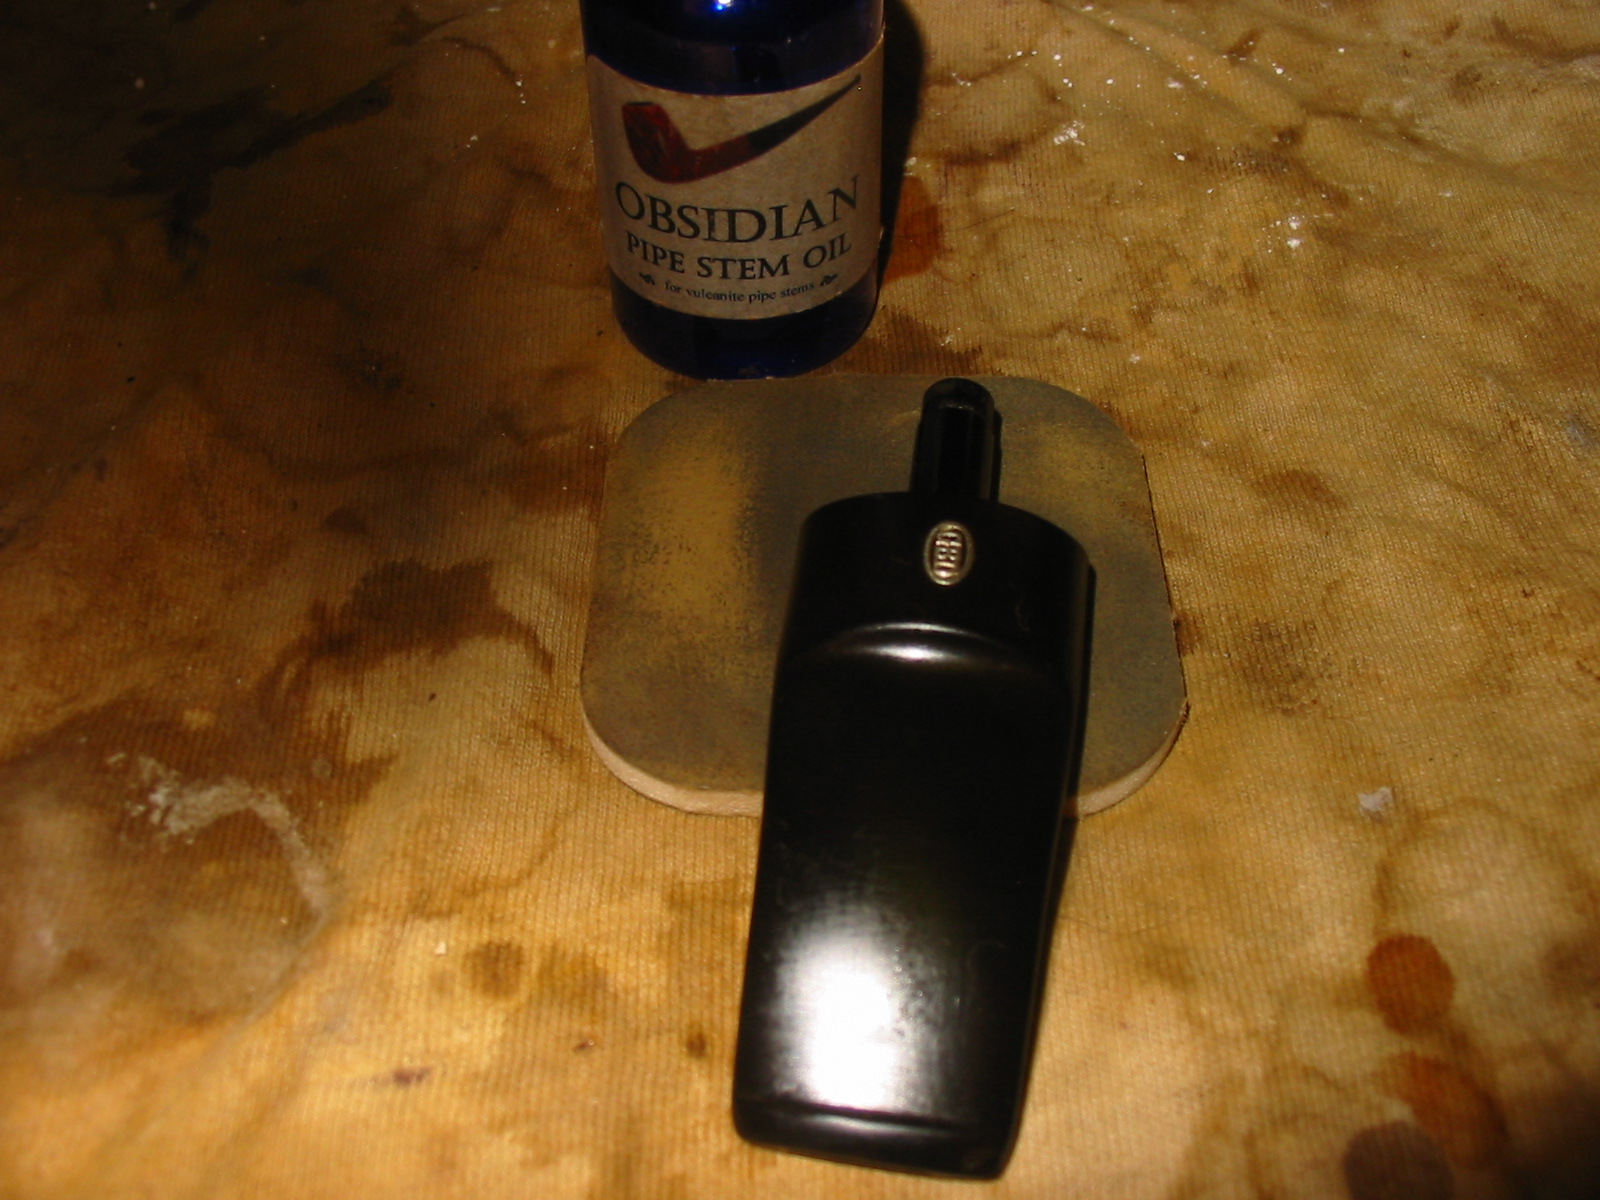
I then sanded the stem with 2400 and 3200 grit micromesh sanding pads to begin to bring out the shine. I also applied a coat of Obsidian Oil to the stem, rubbed it in and let it dry. The first two photos below show the stem after this treatment. Photos three and four show the stem after I had dry sanded it 3600 grit micromesh sanding pads. Photos five and six show the stem after I had finished sanding it with the remaining 4000 – 12,000 grits of micromesh sanding pads. I gave it another coat of Obsidian Oil before I took the pipe to the buffer and gave it a final buff with White Diamond.

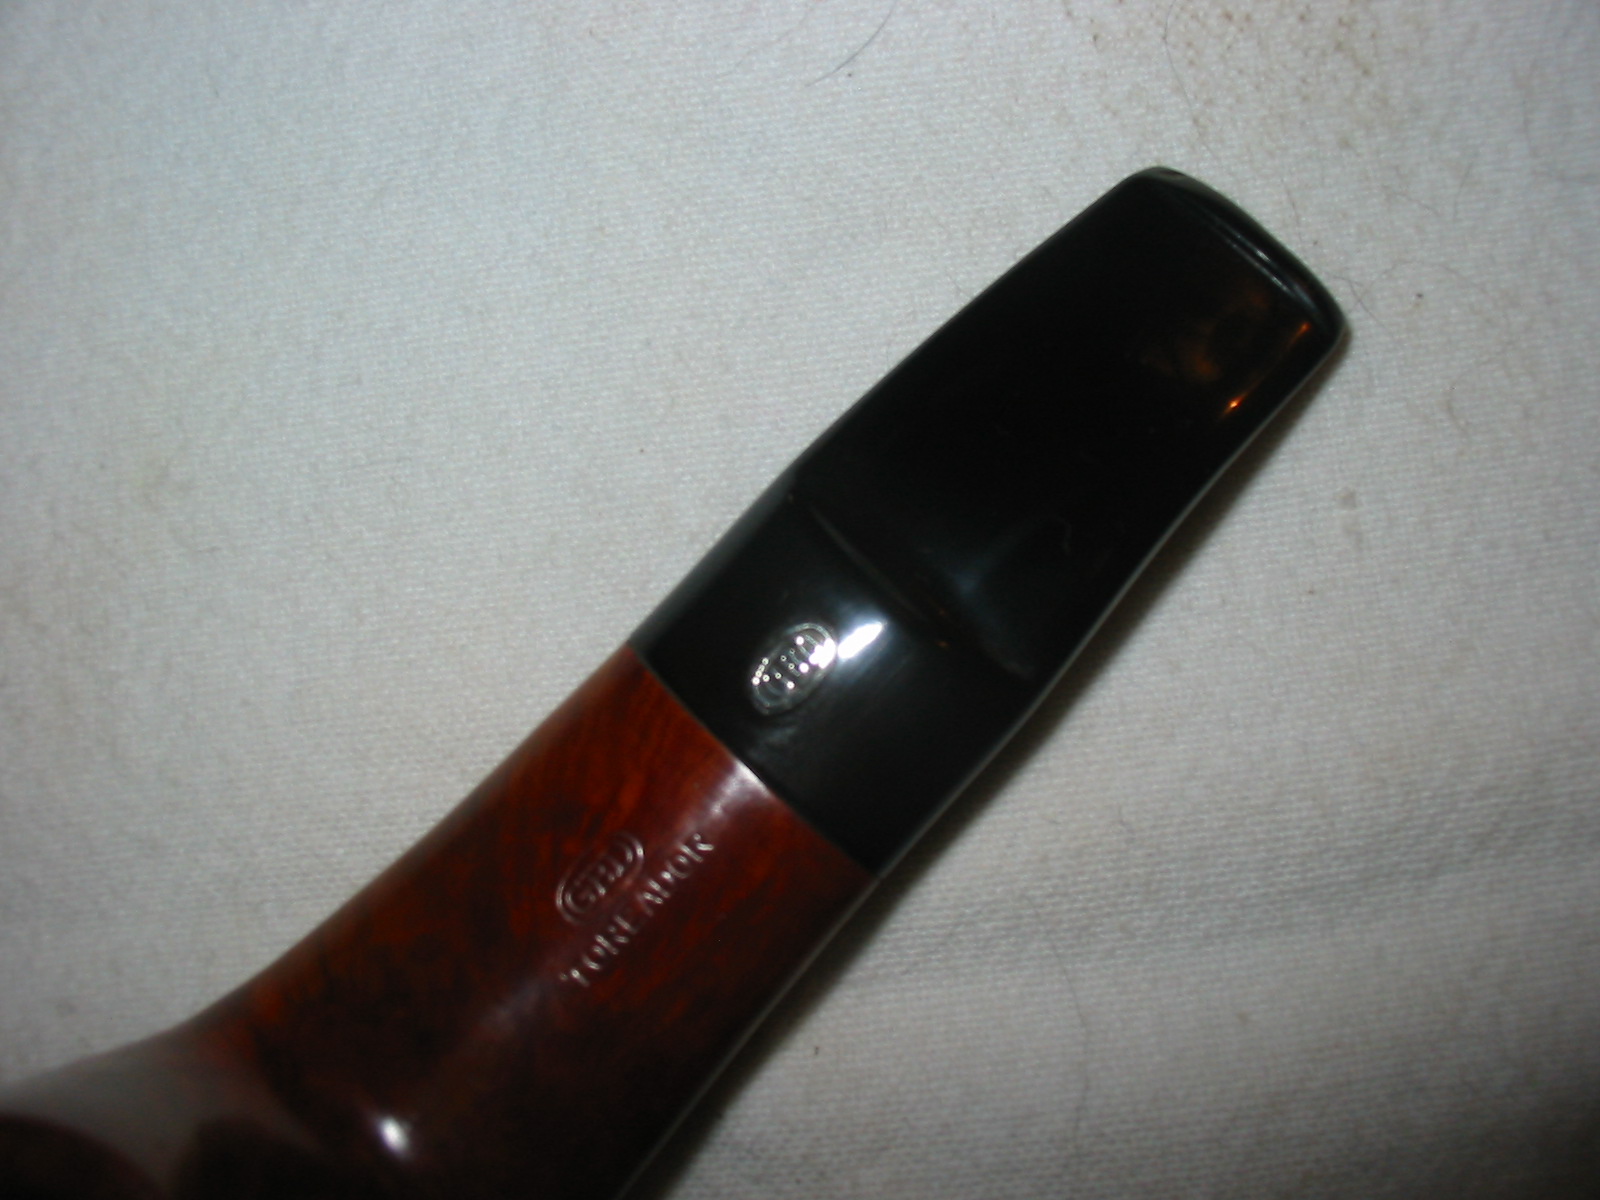

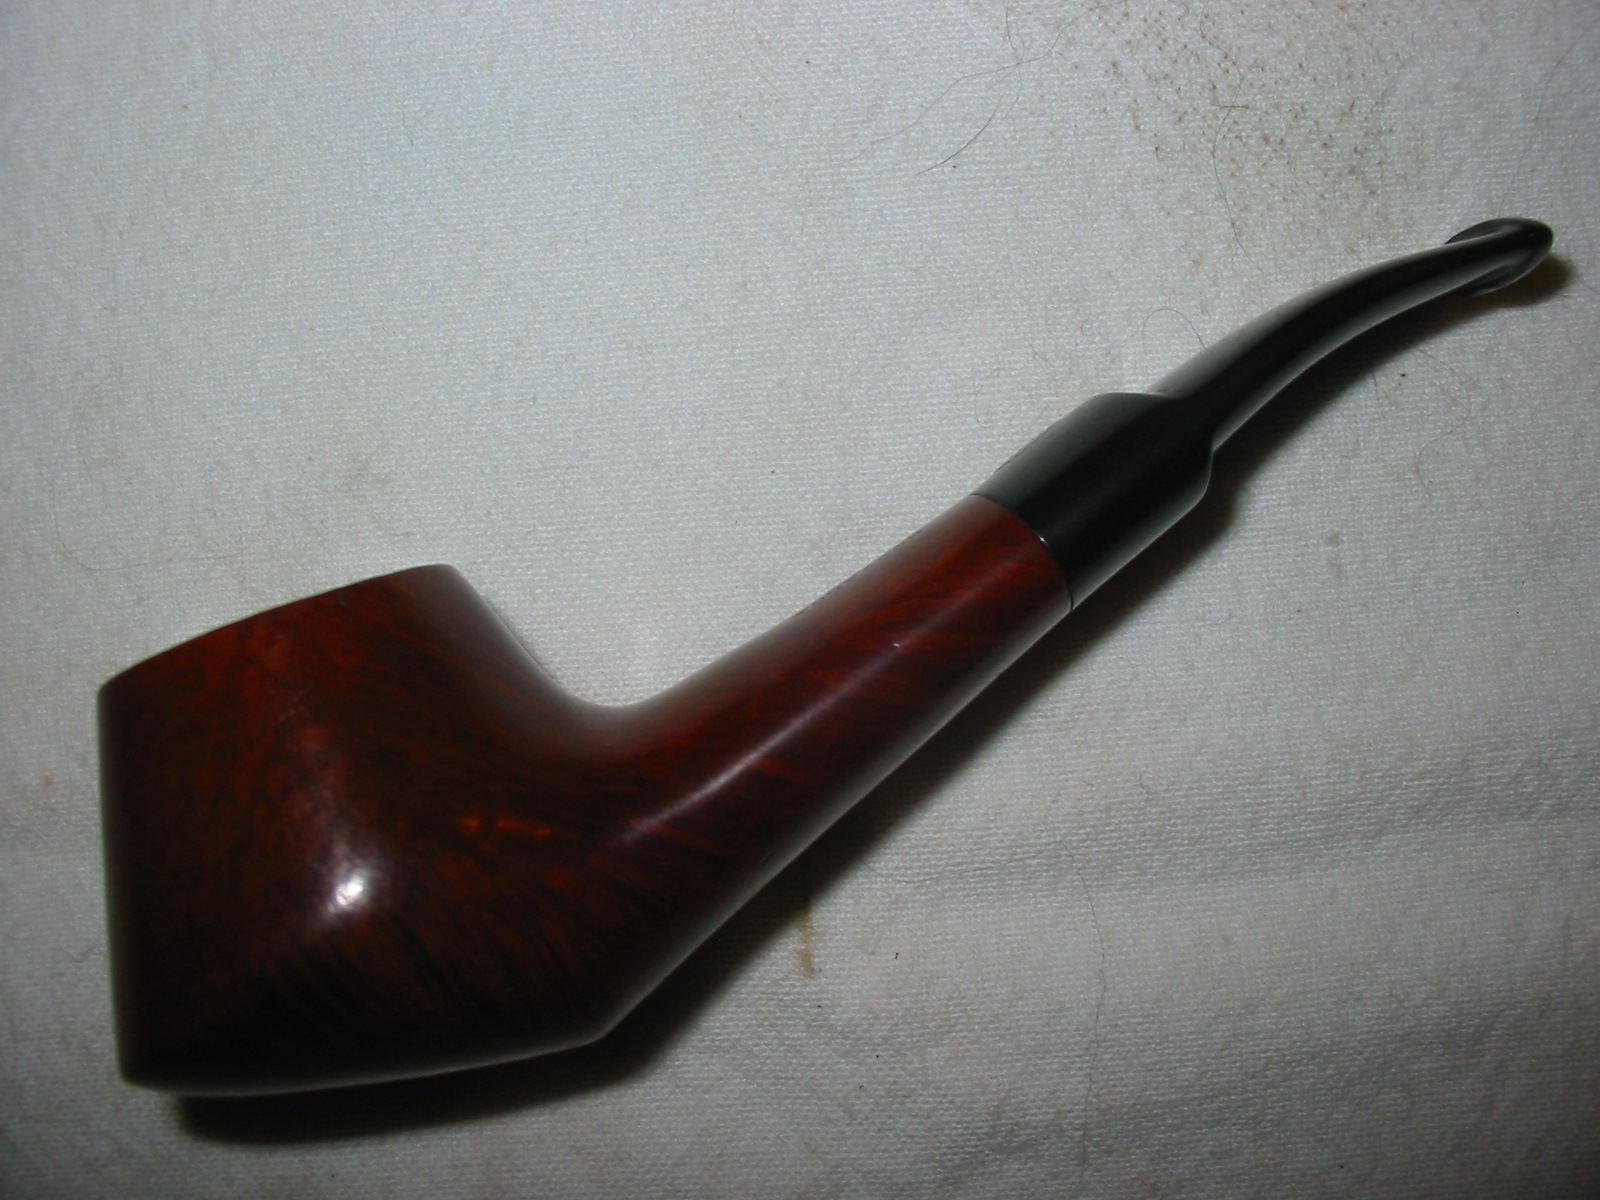
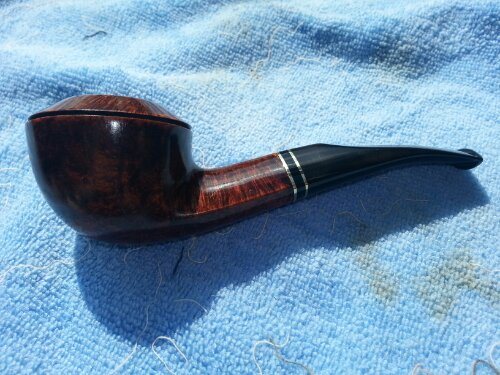
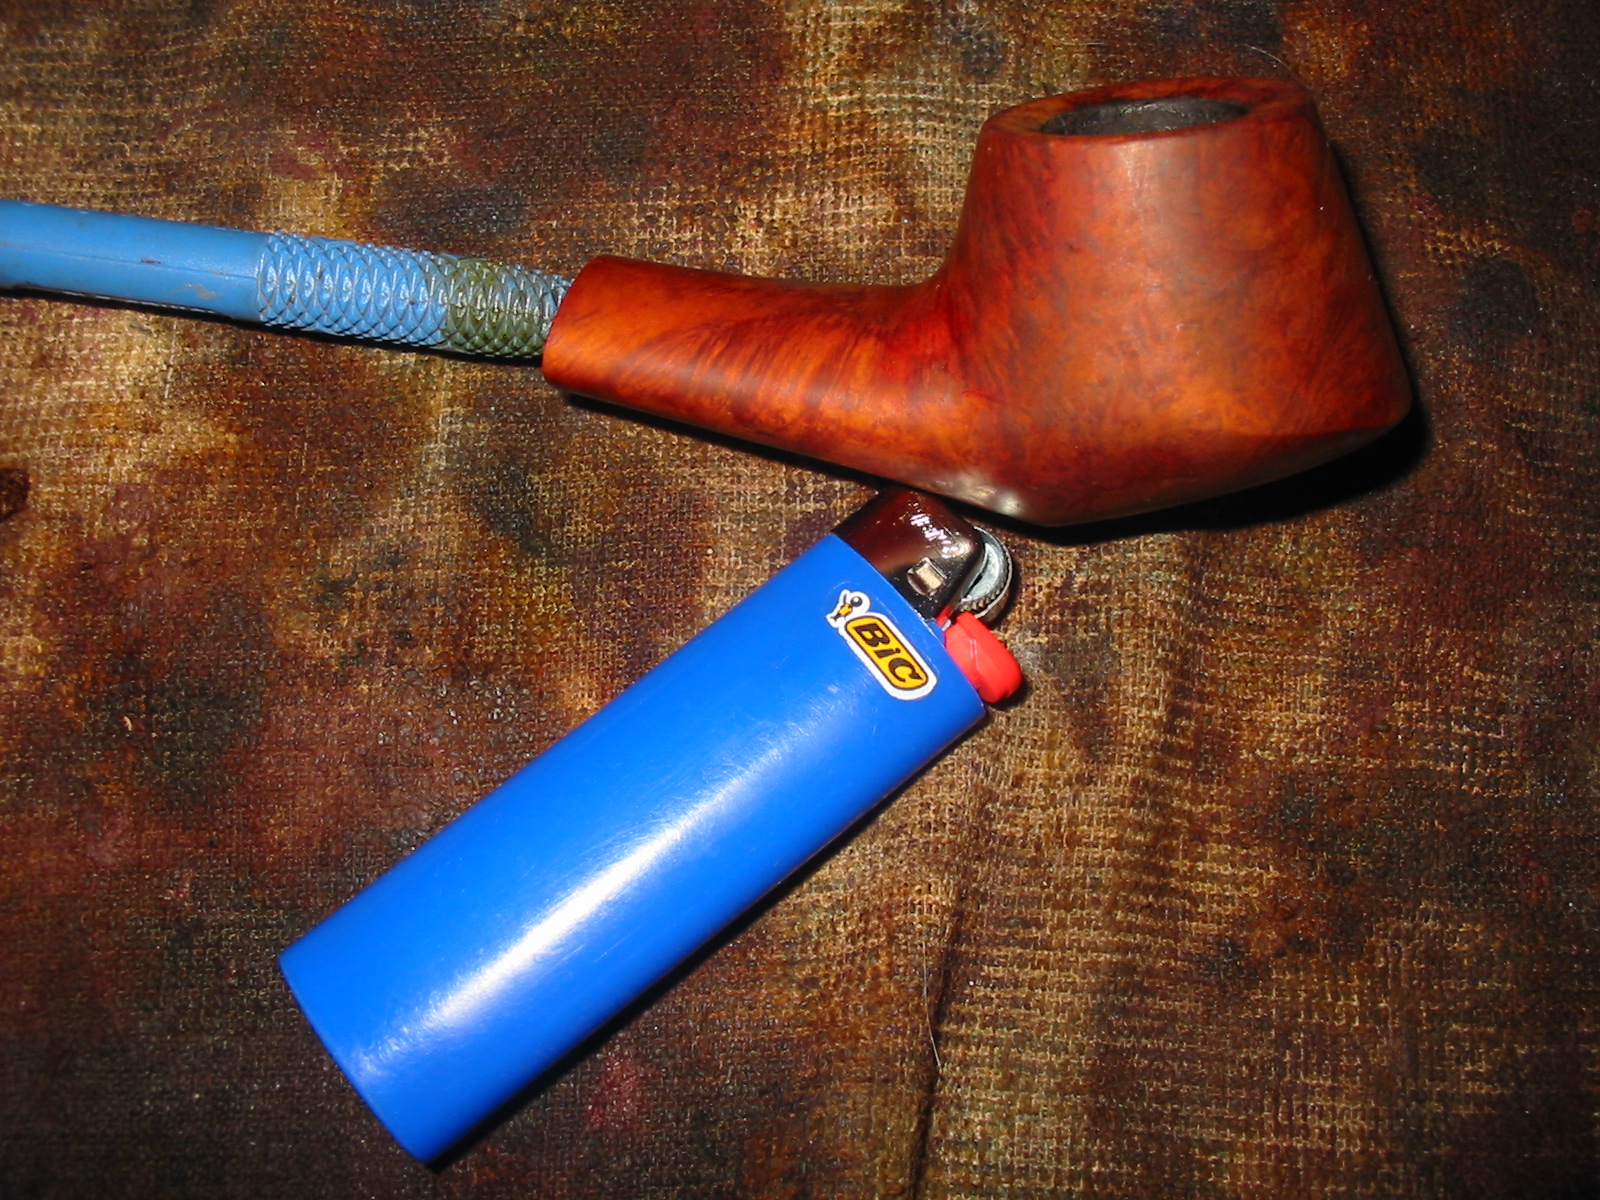
The final series of four photos show the finished pipe. There are some dents remaining in the surface of the rim that show up under the light of the flash. They are not nearly as visible in normal light. The pipe is ready to be put to use. It came a long way from the shelf of the Edmonton Antique Mall to the finished pipe it is now.