Blog by Steve Laug
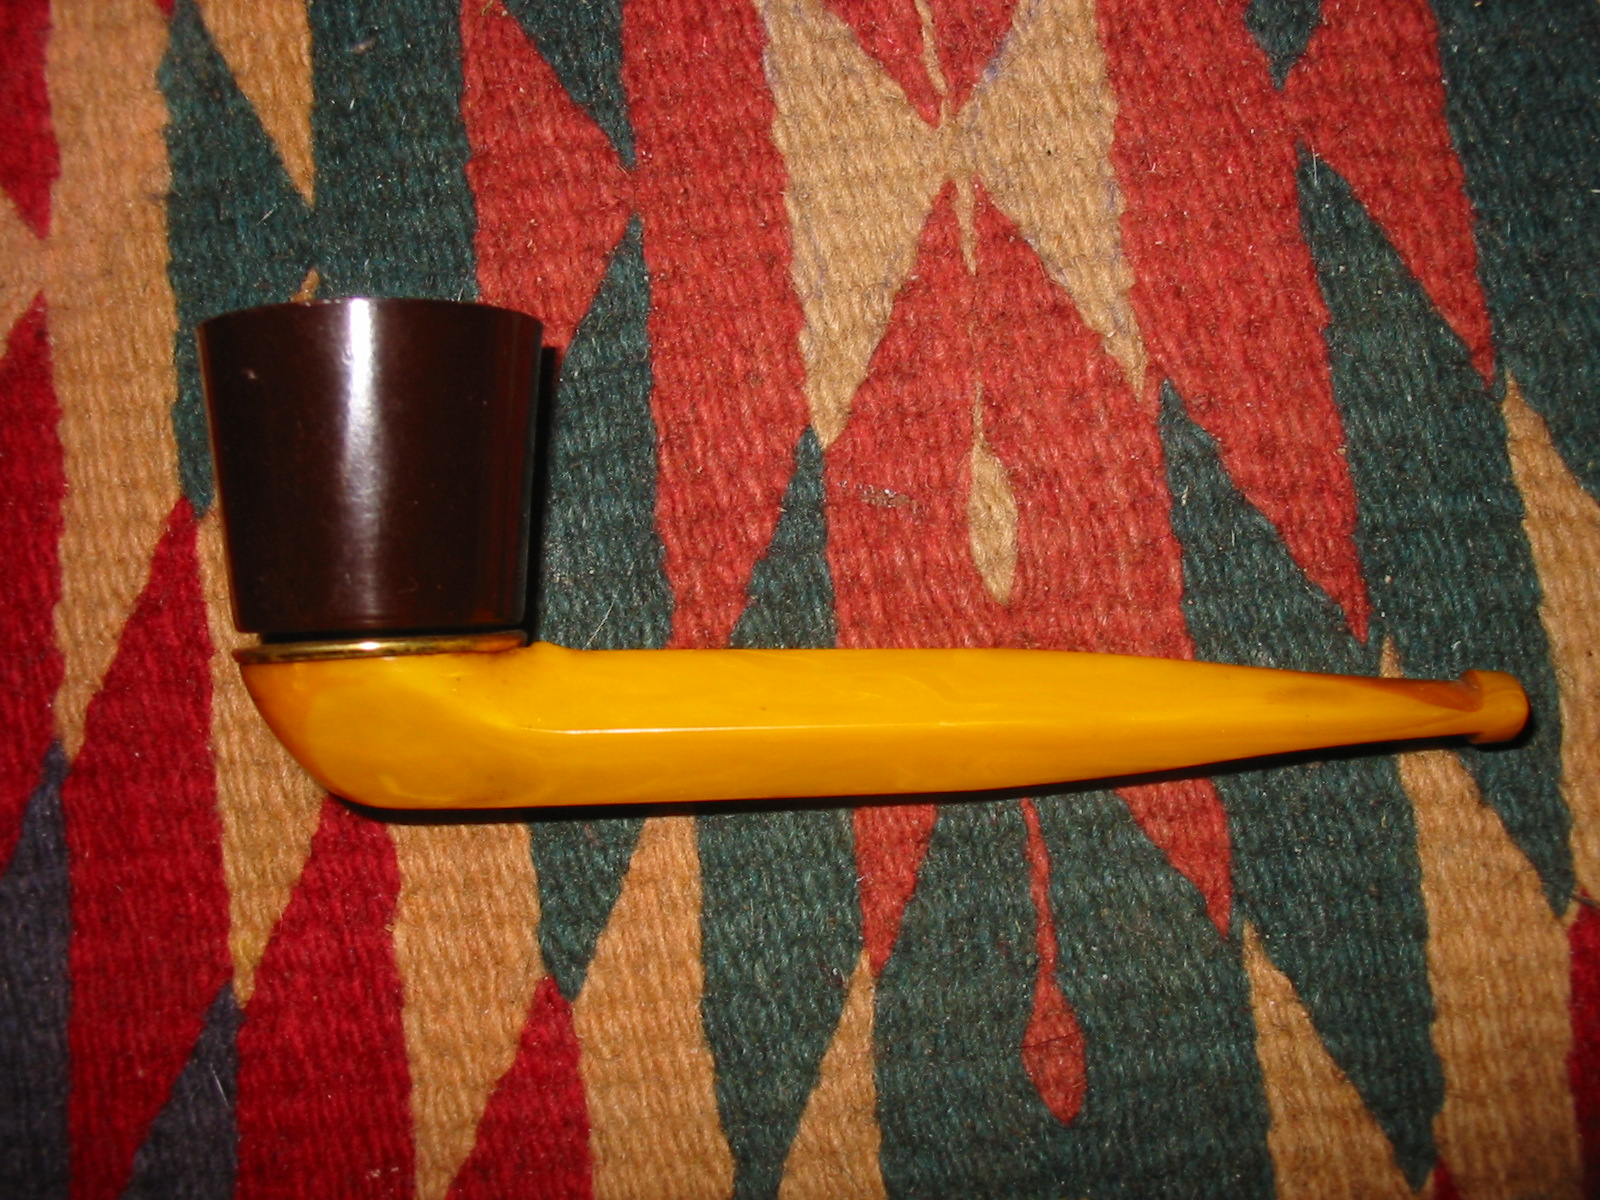
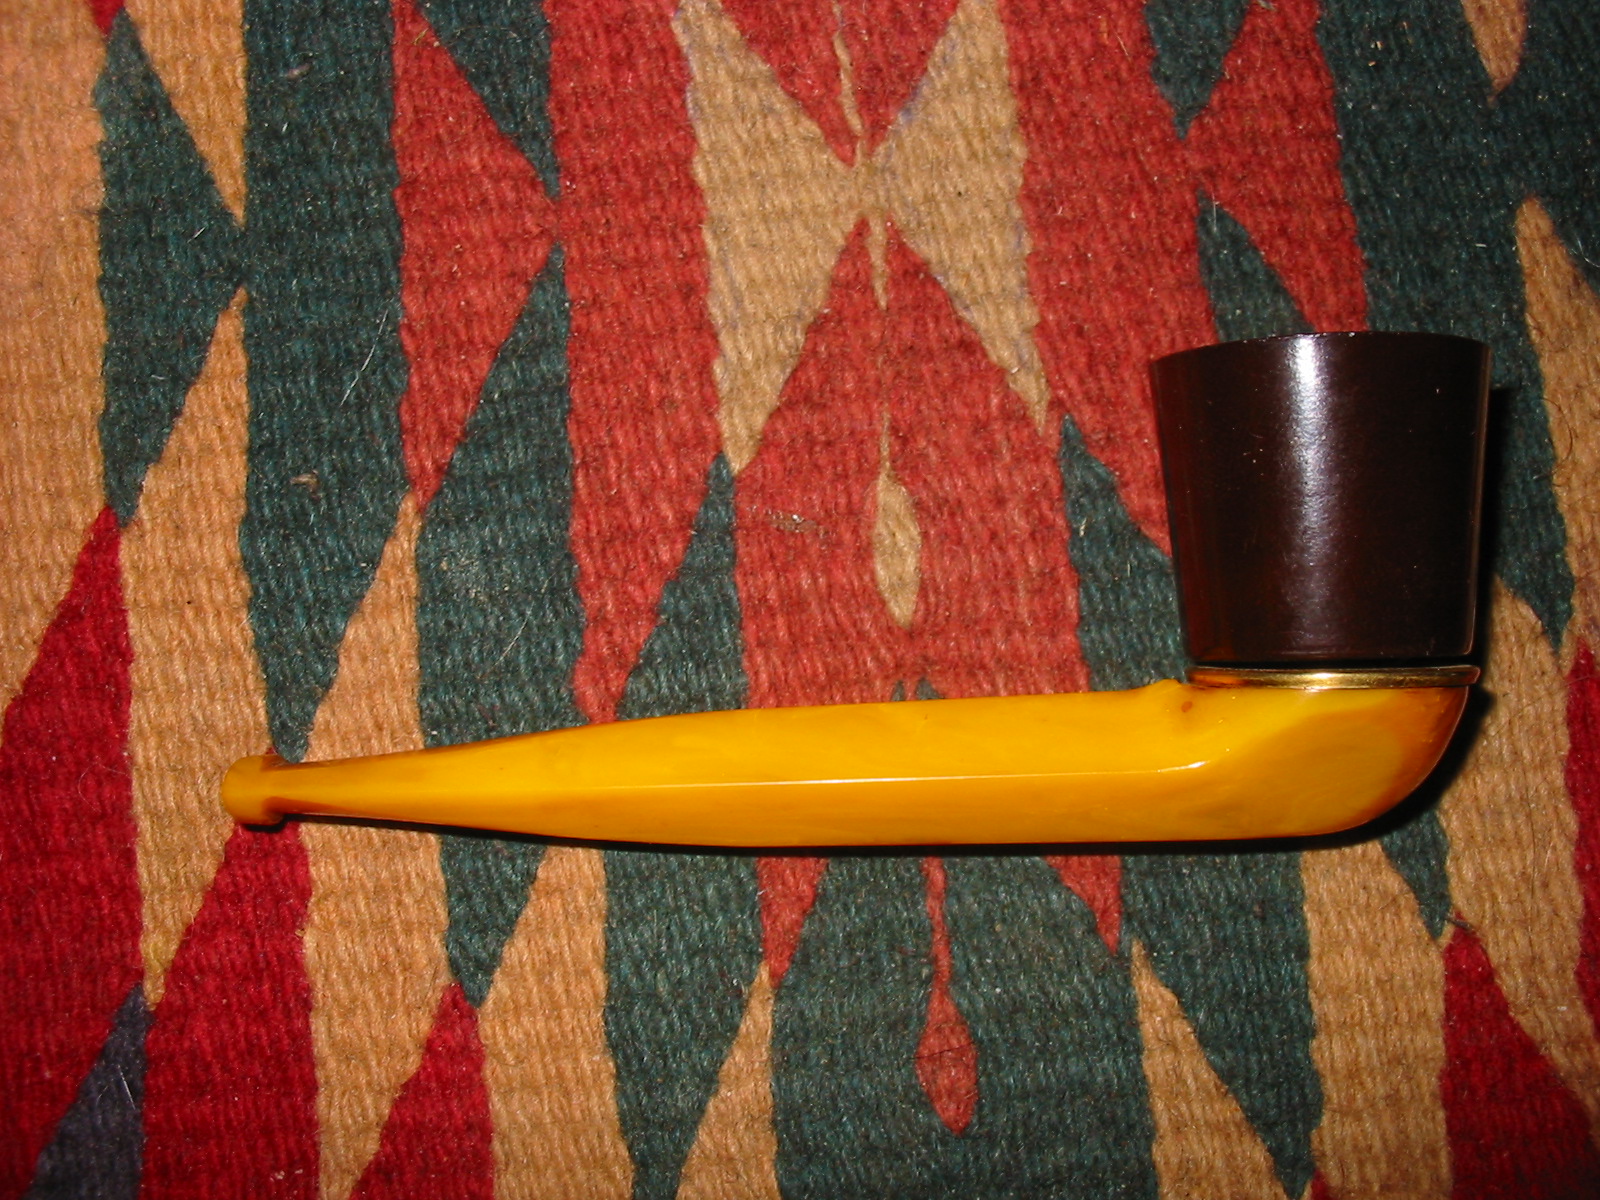
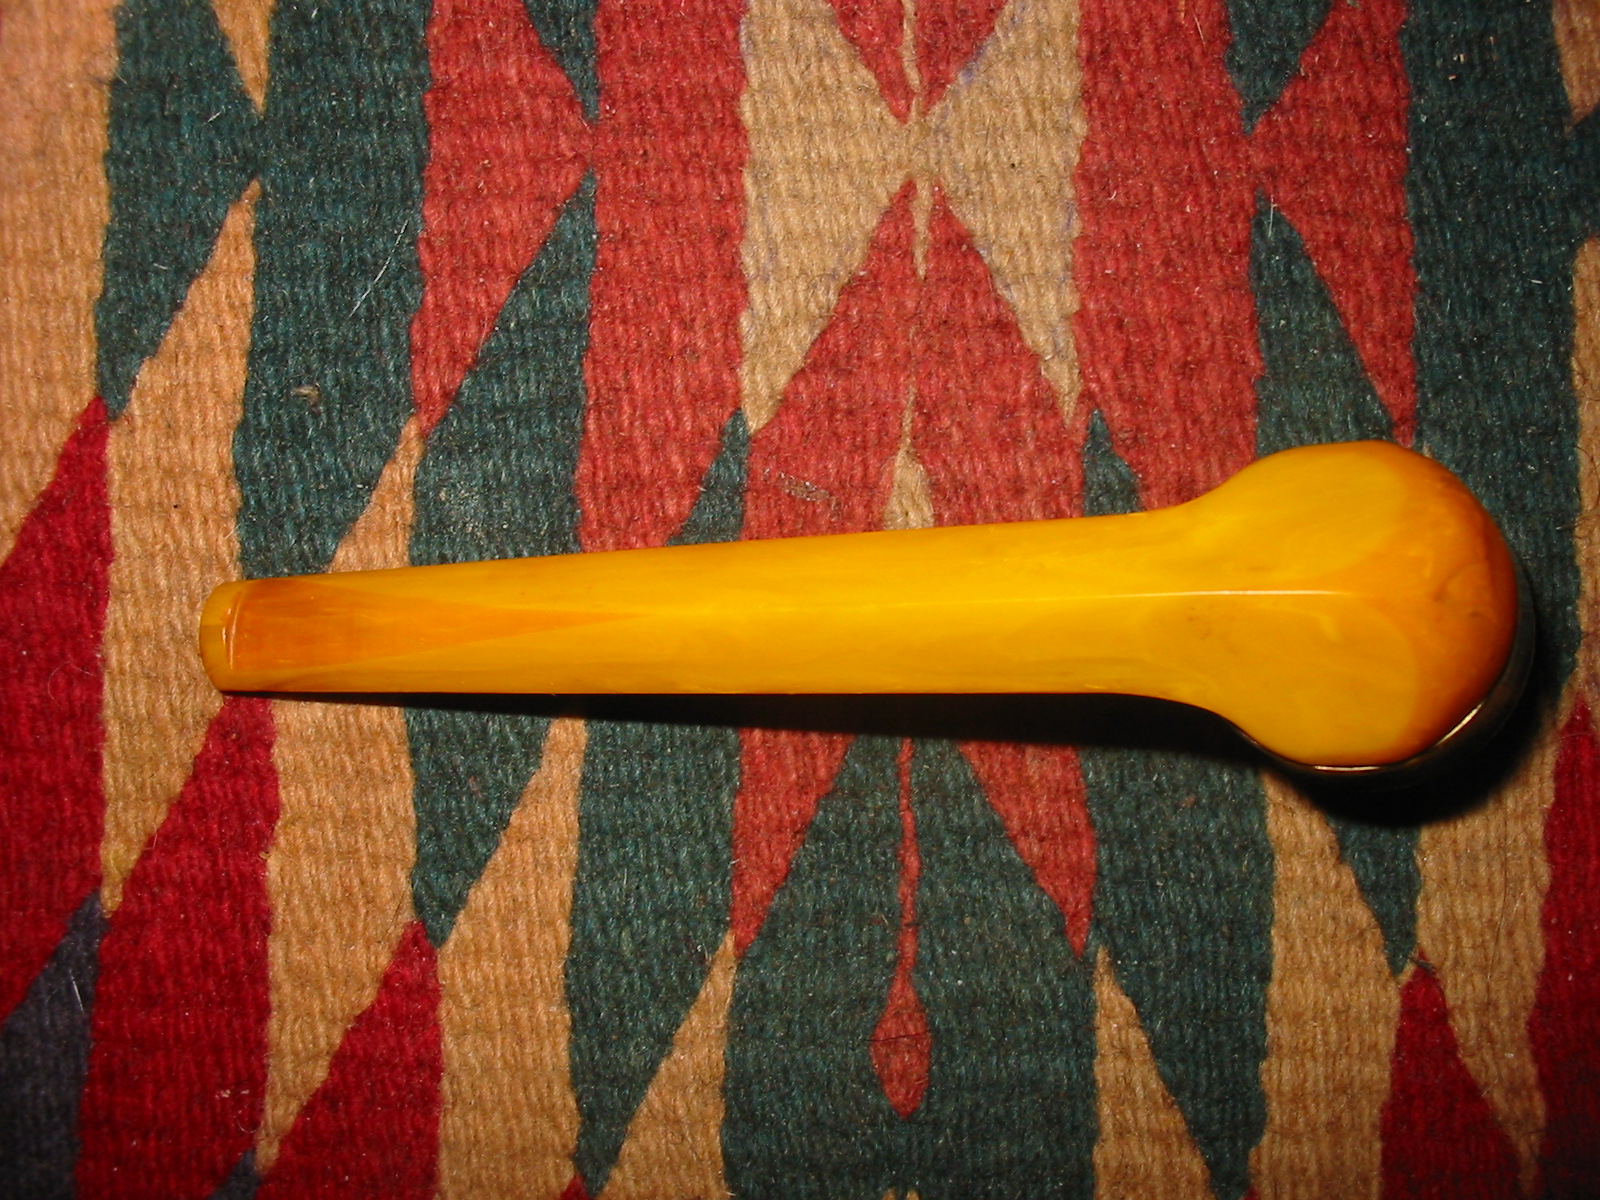
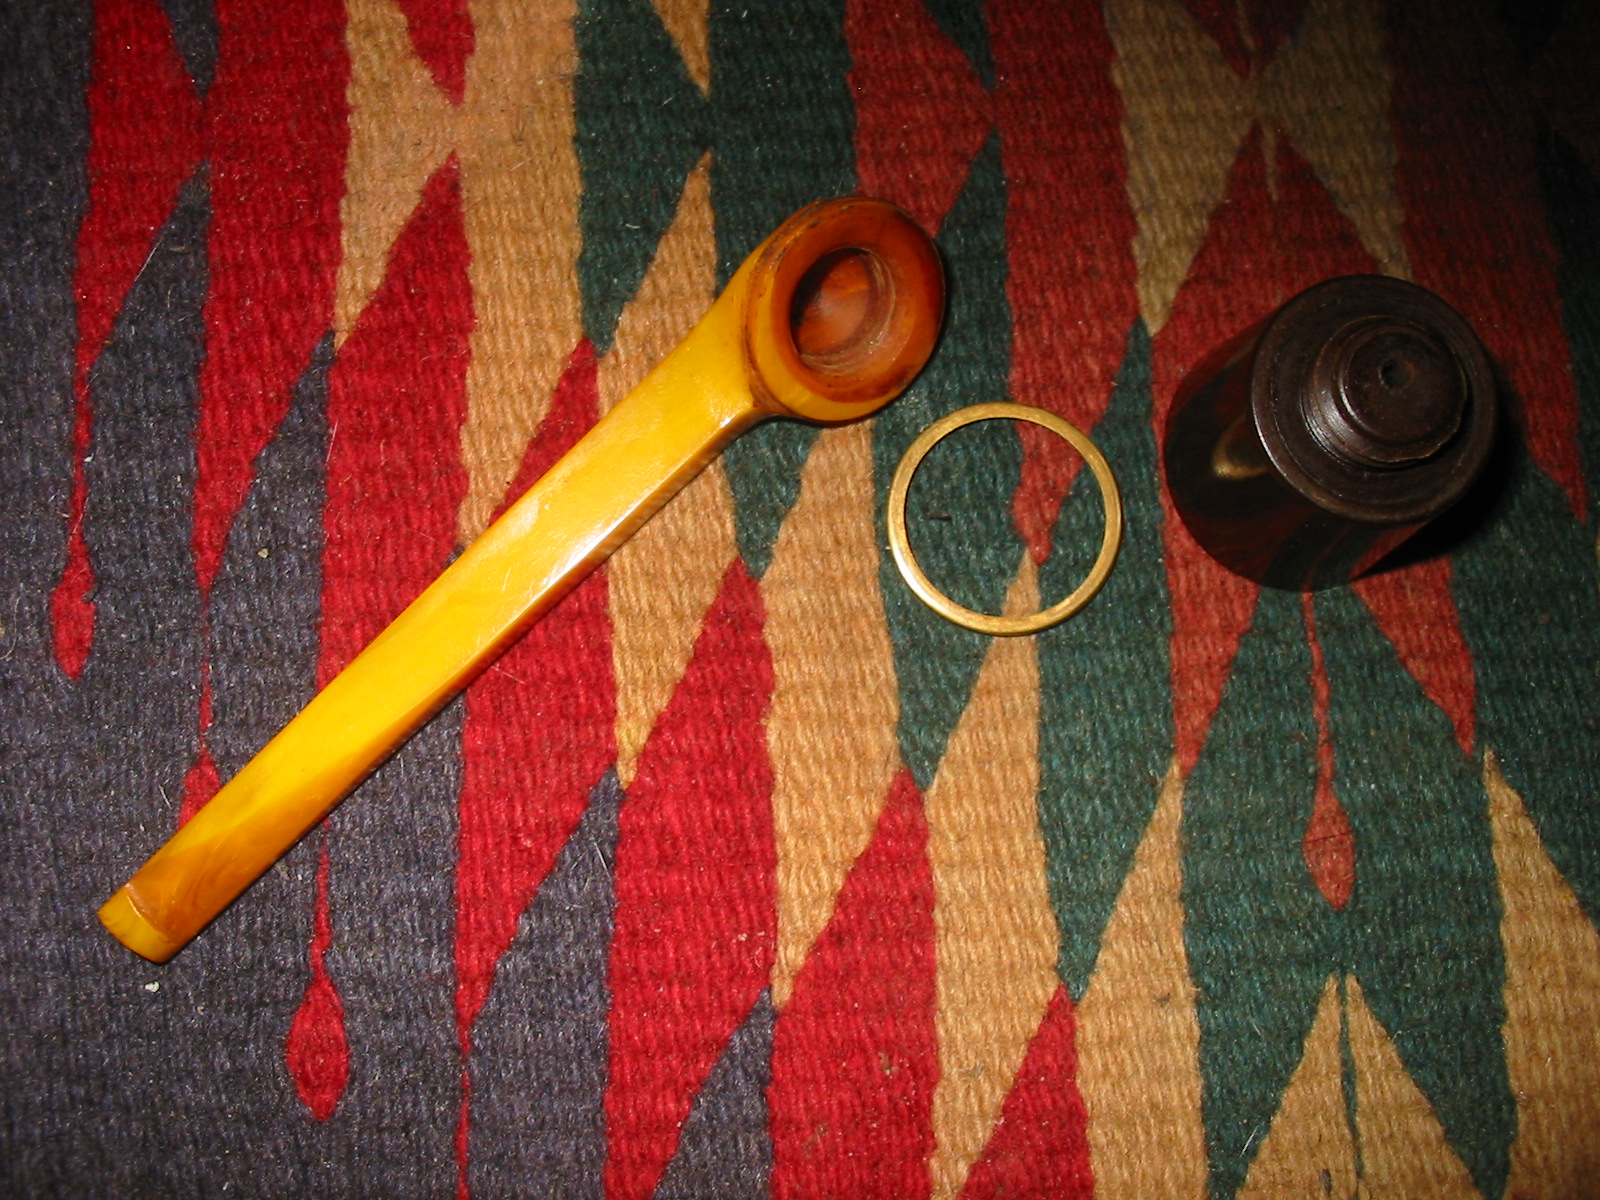
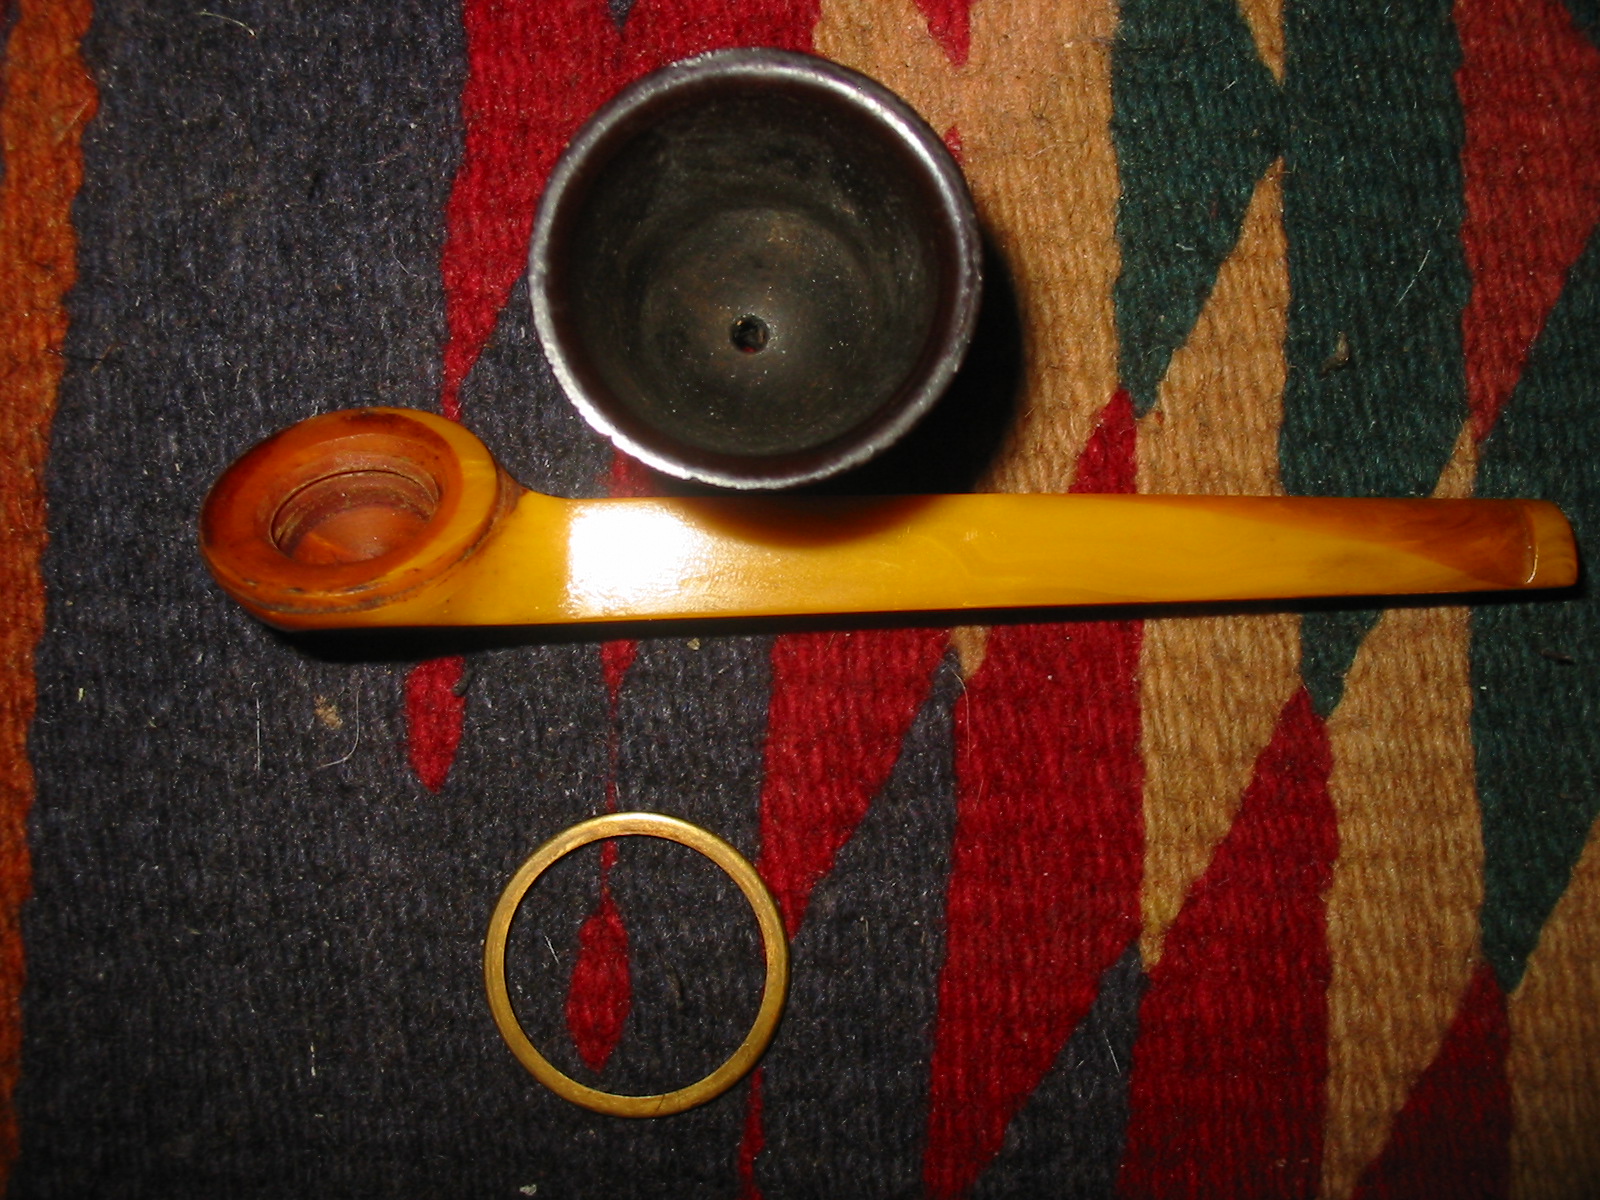
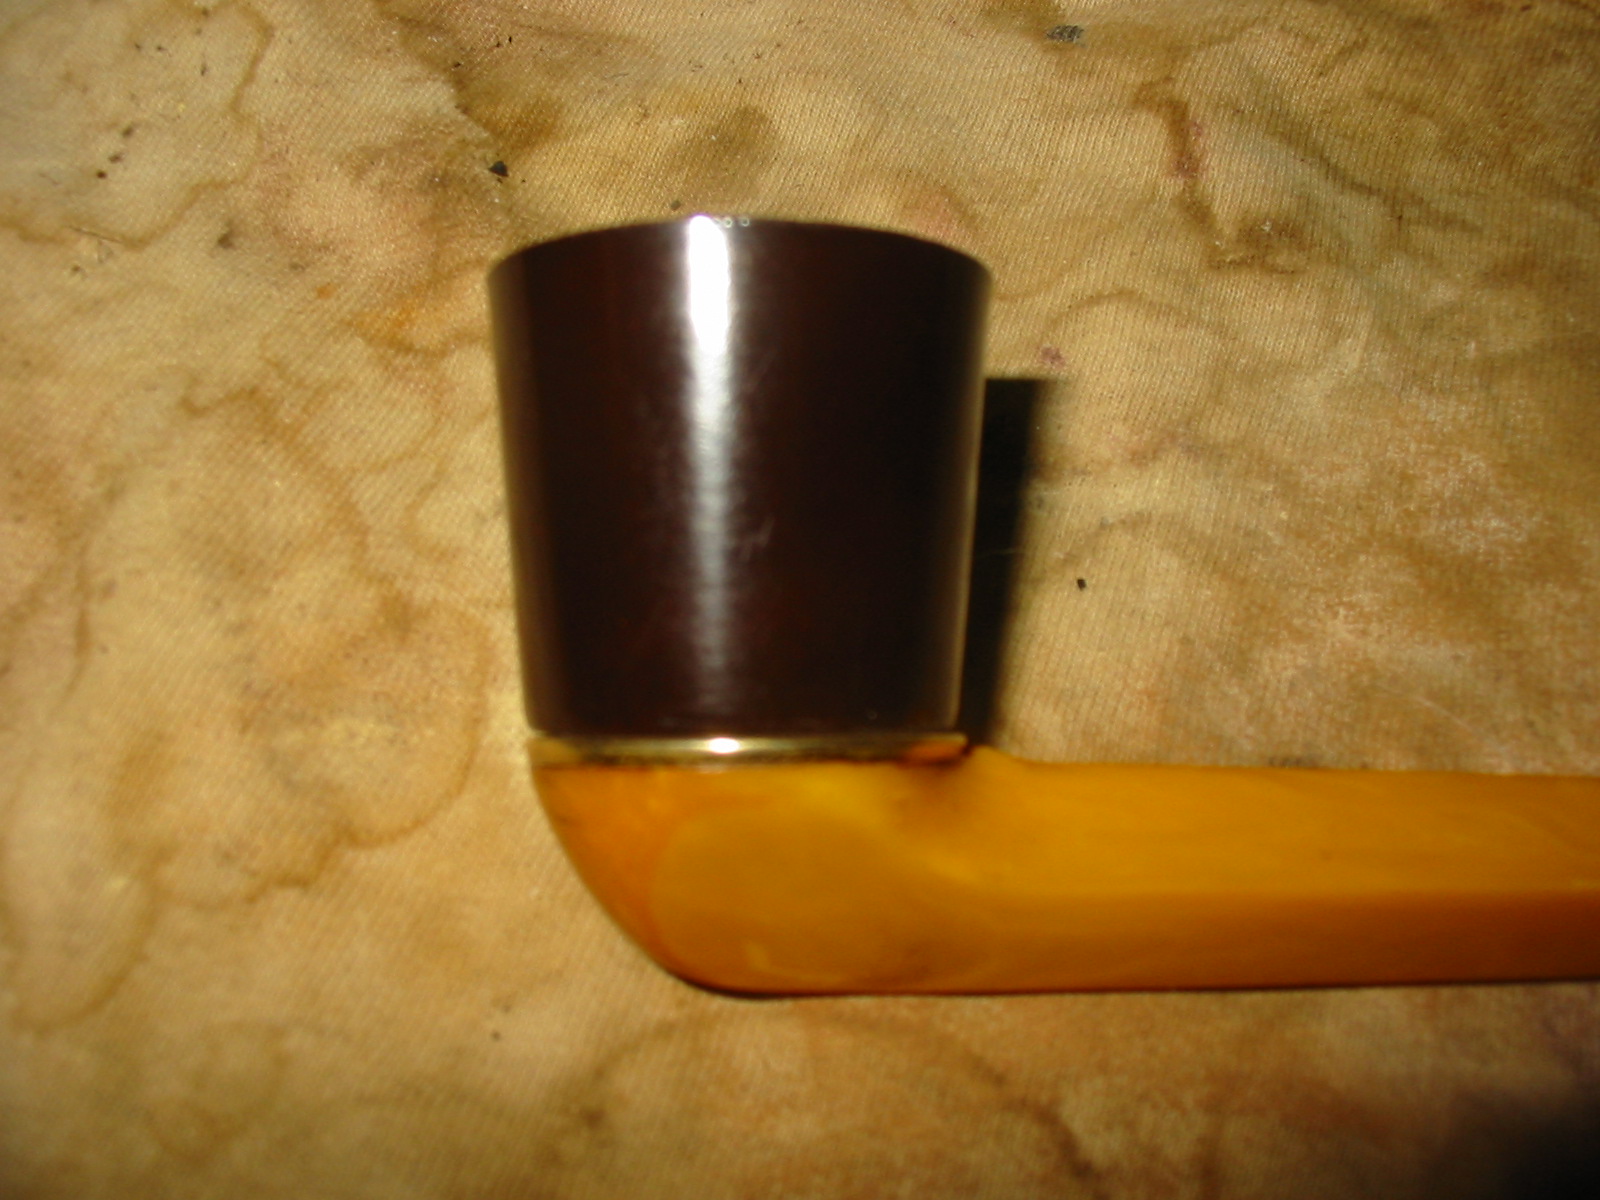
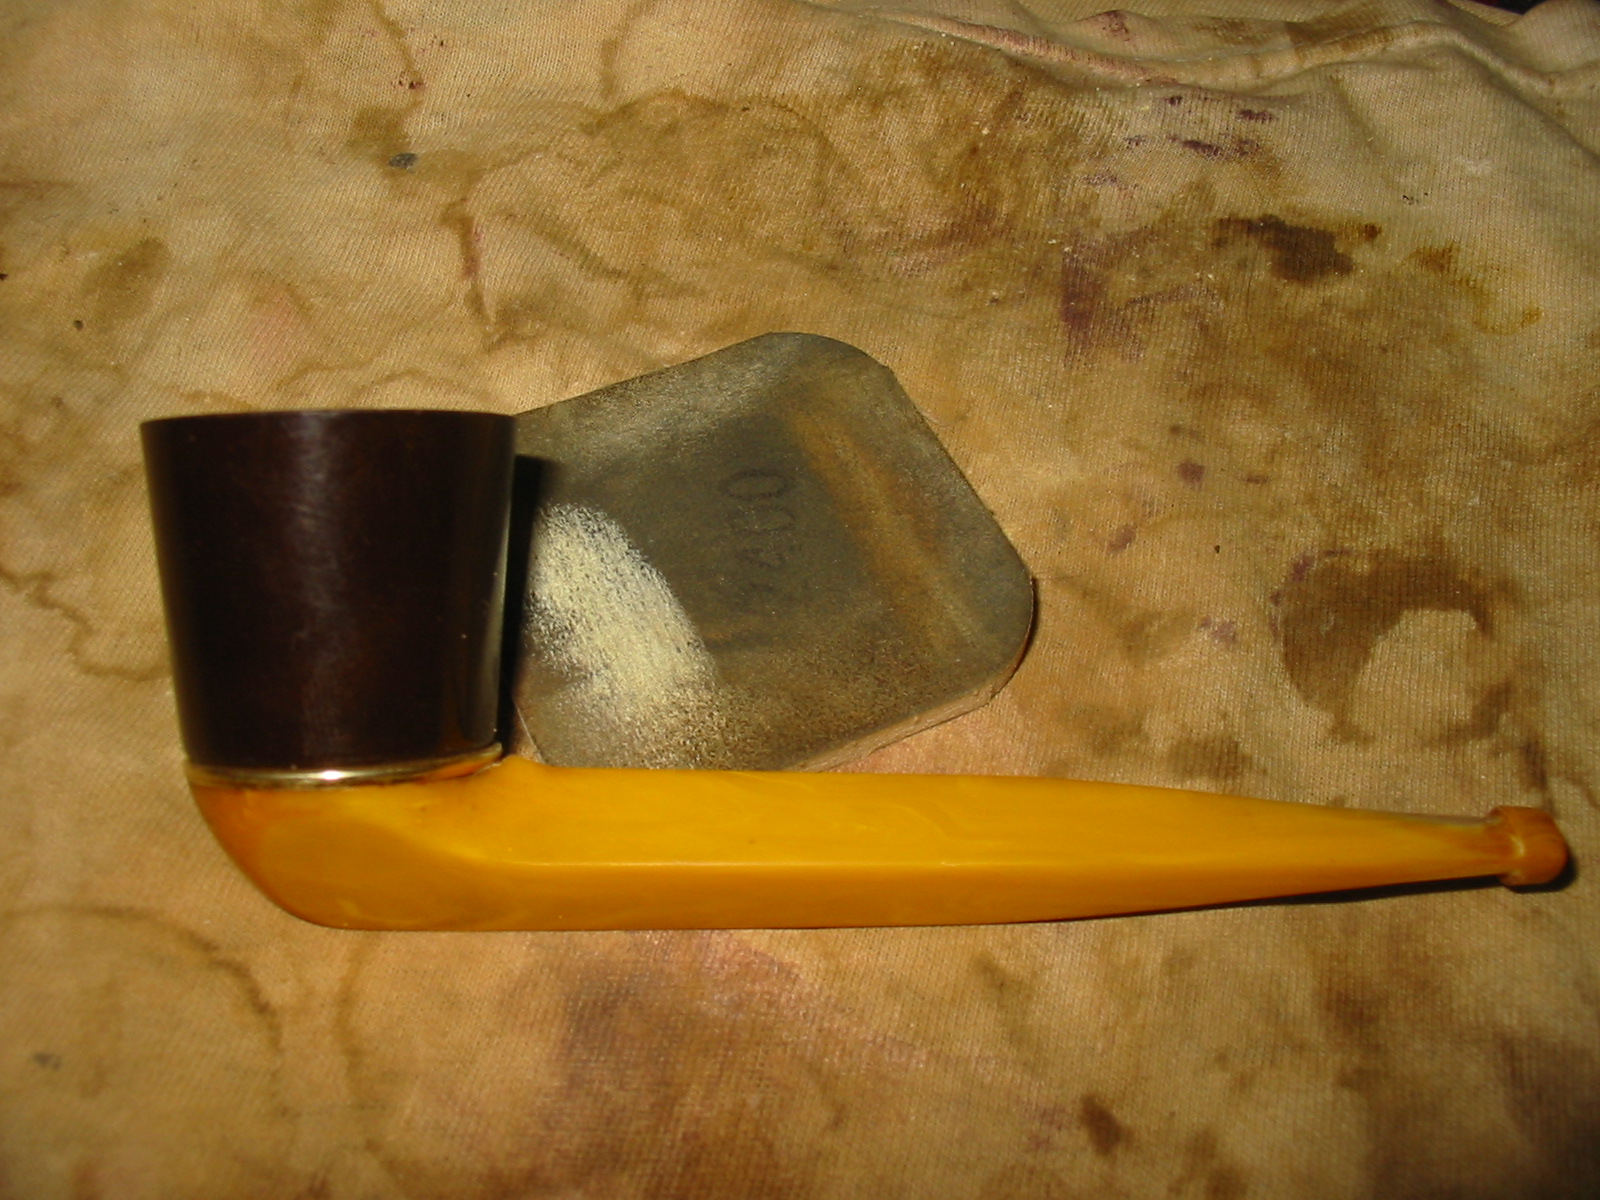
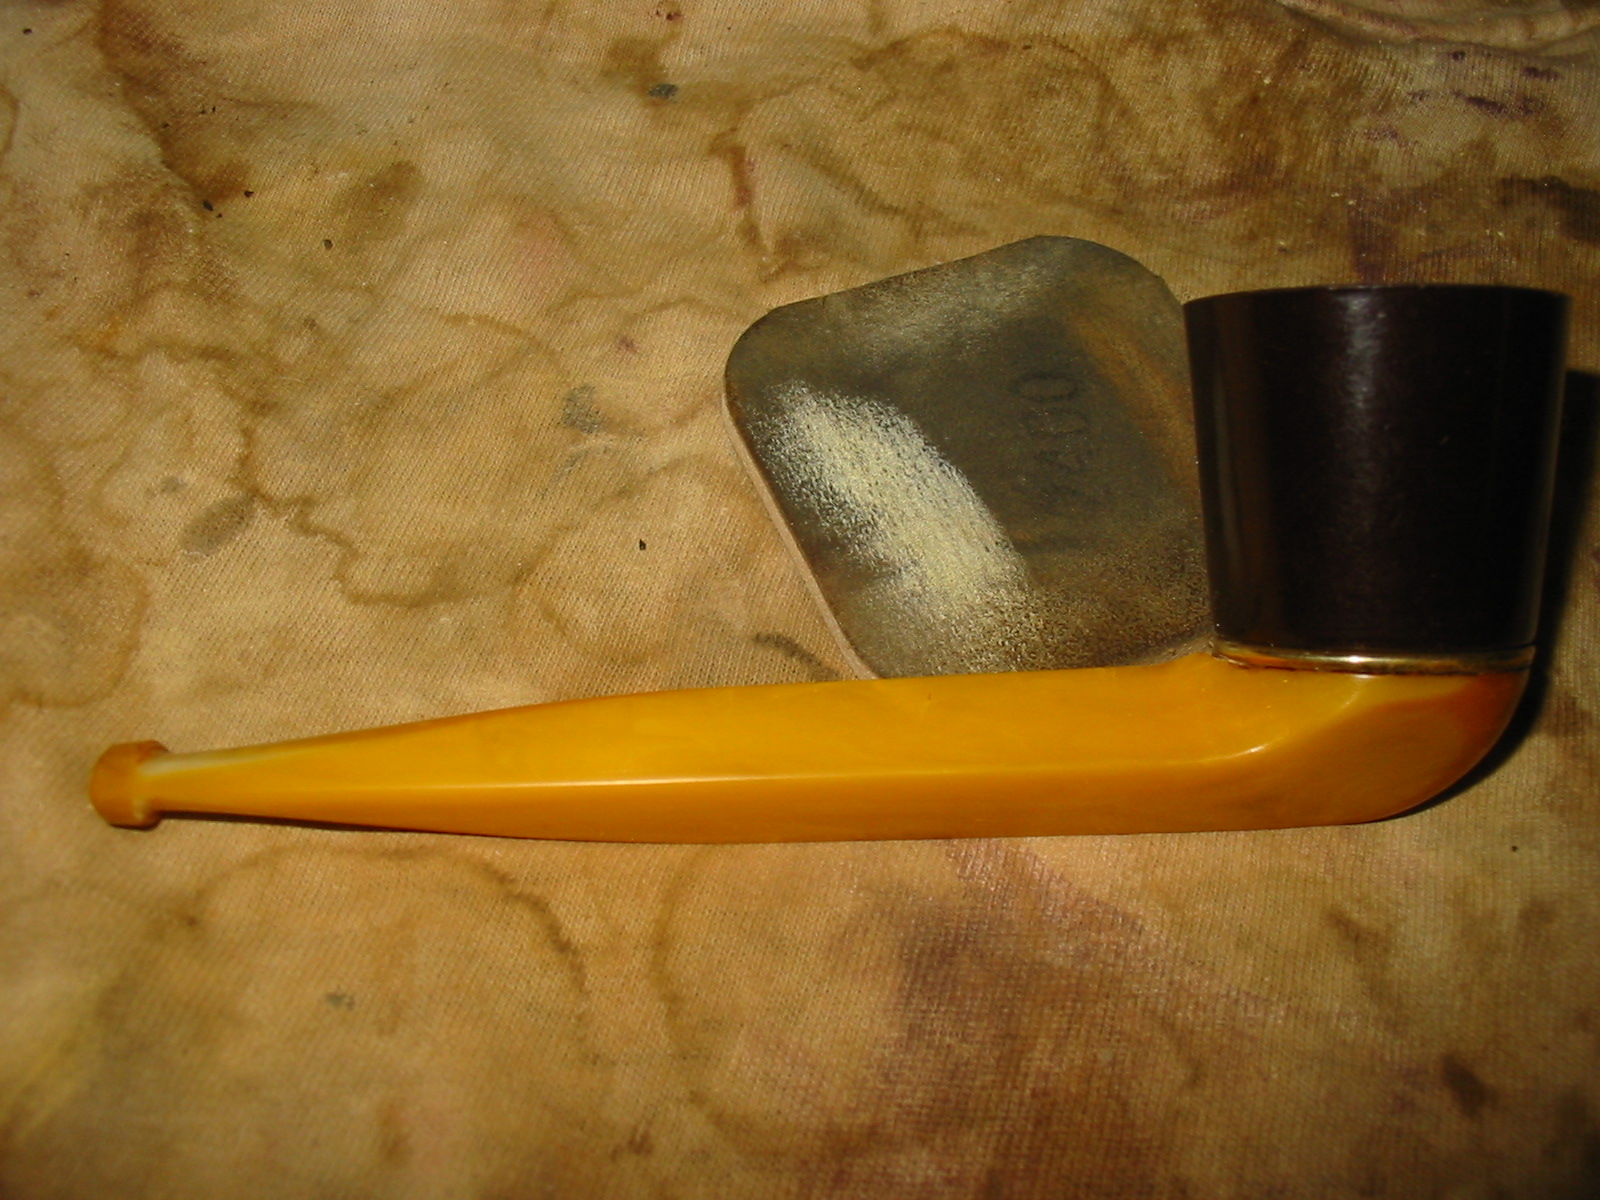
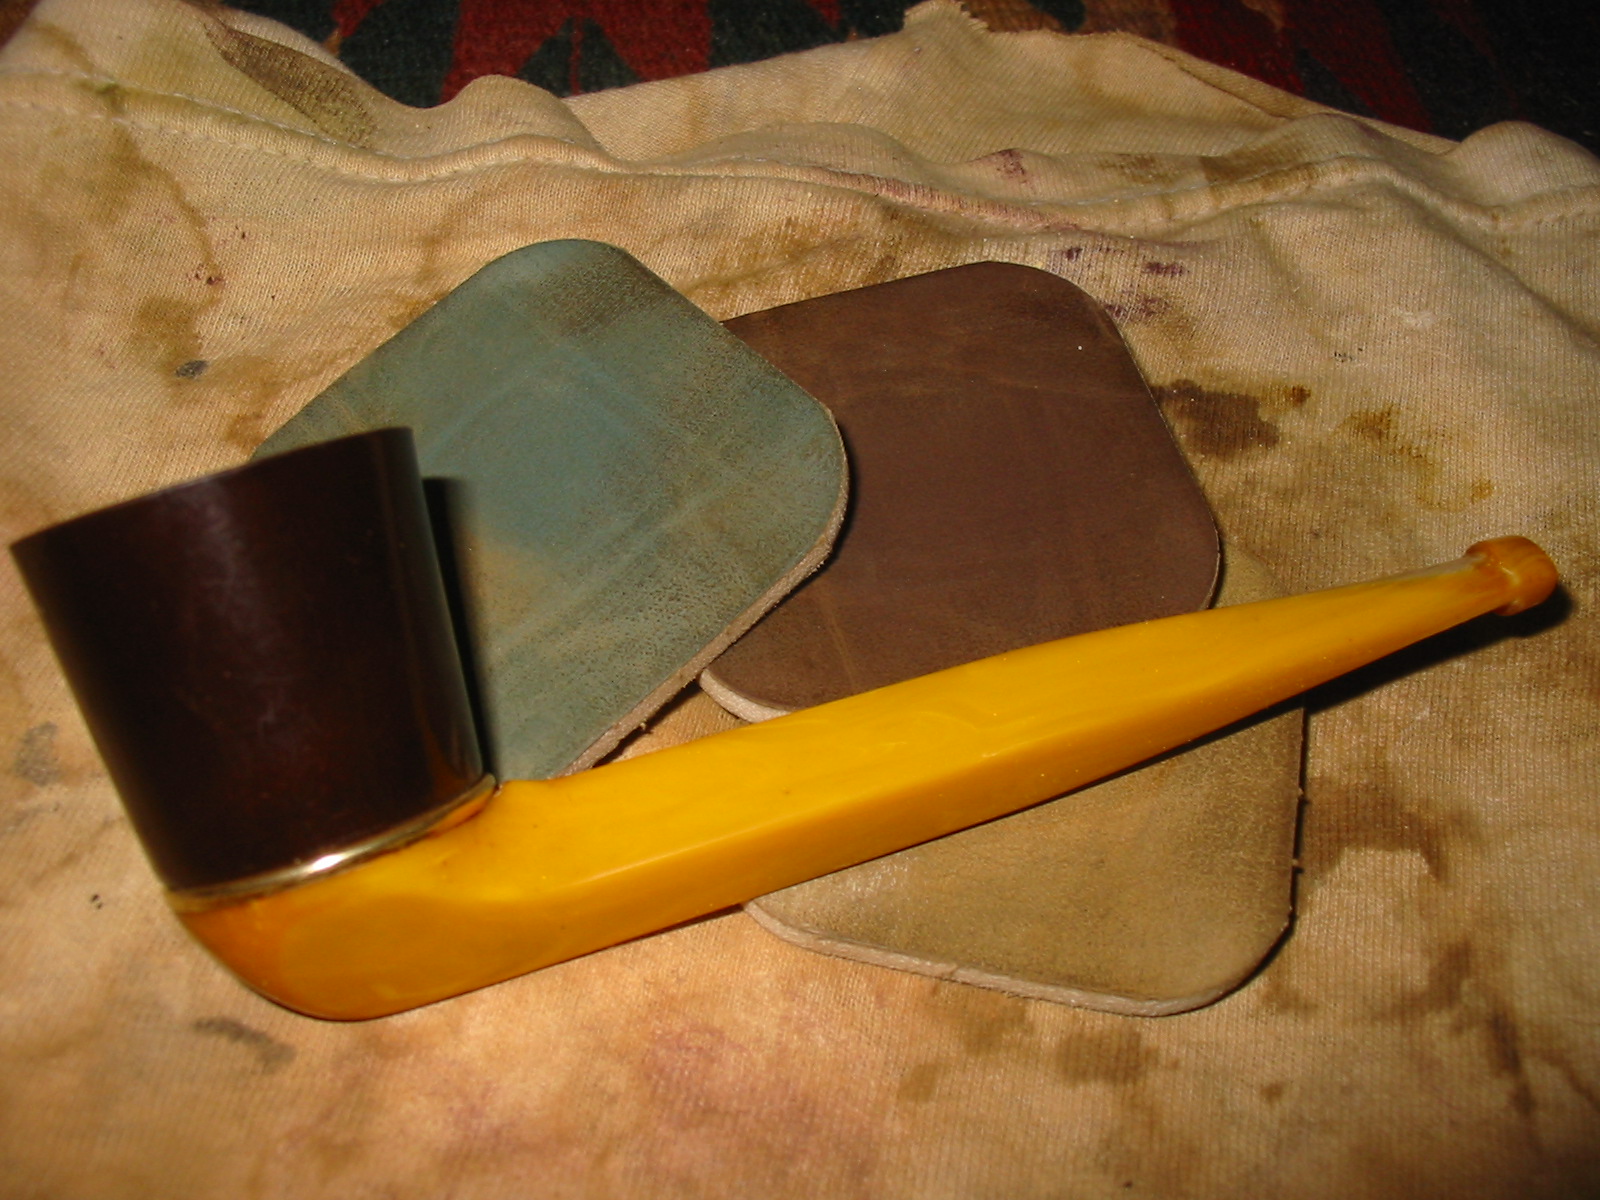
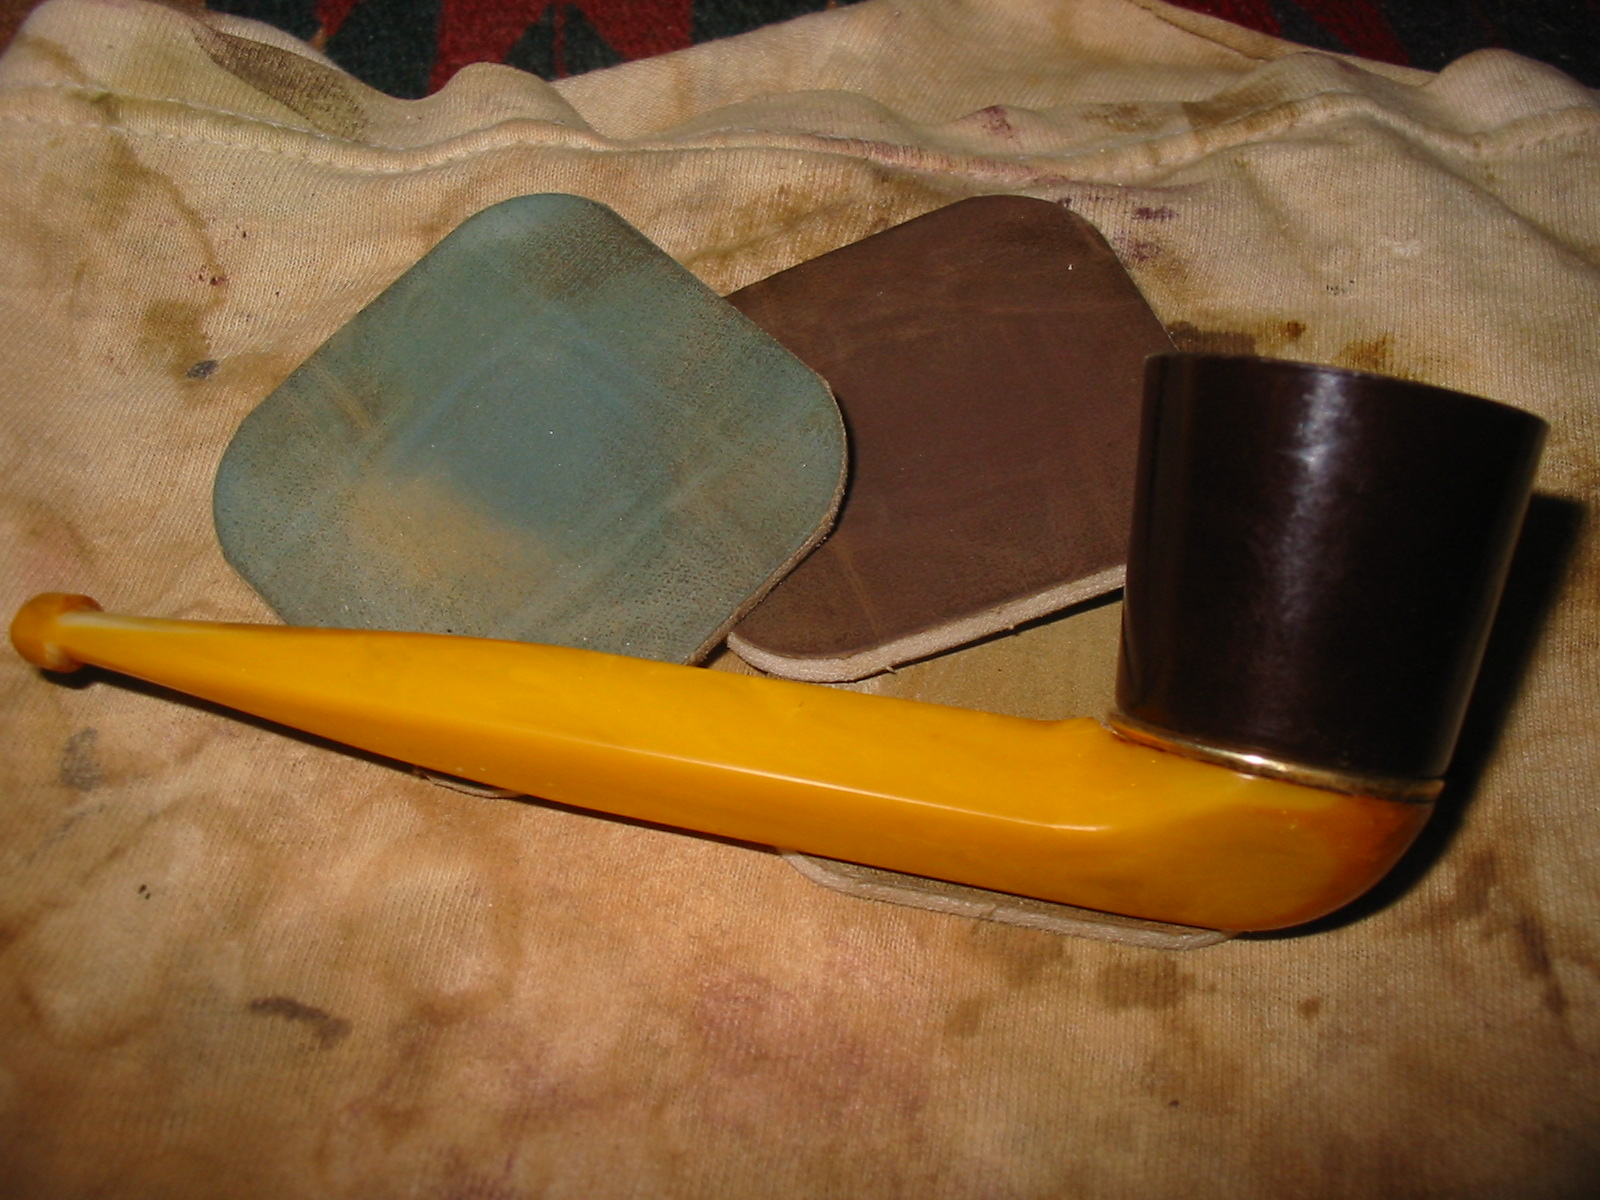
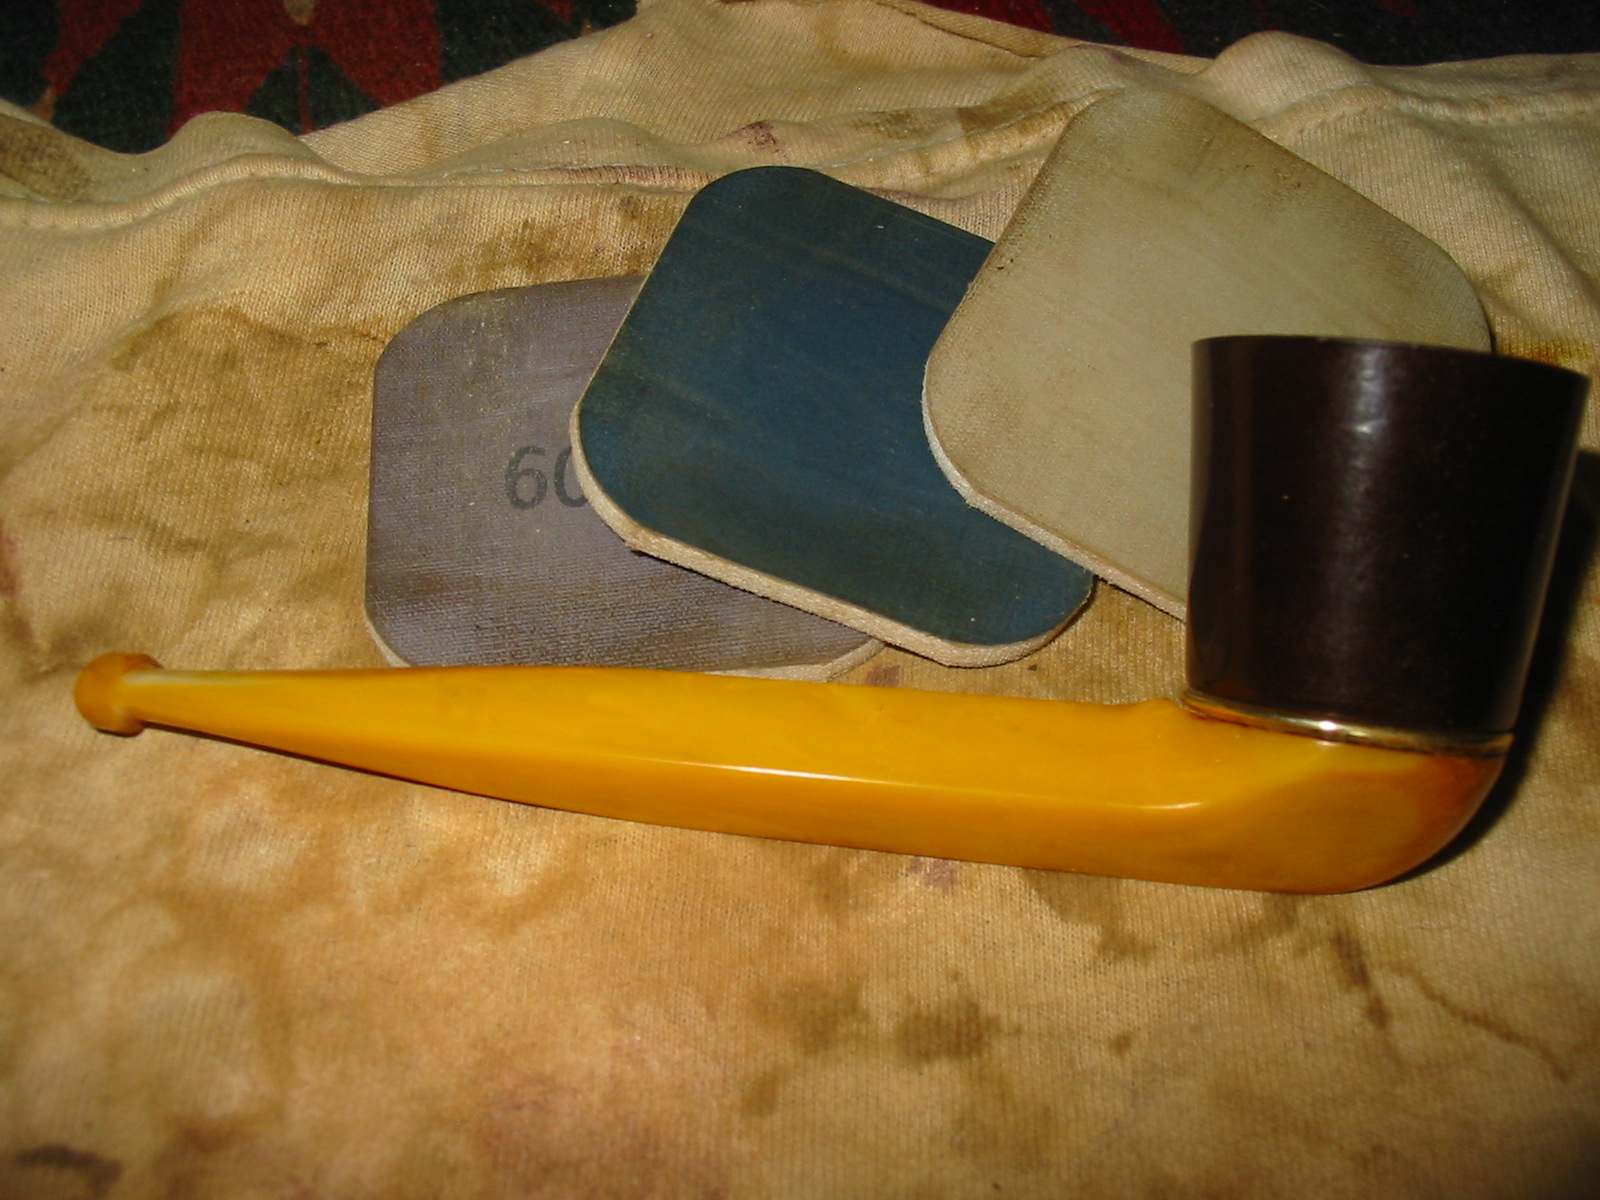
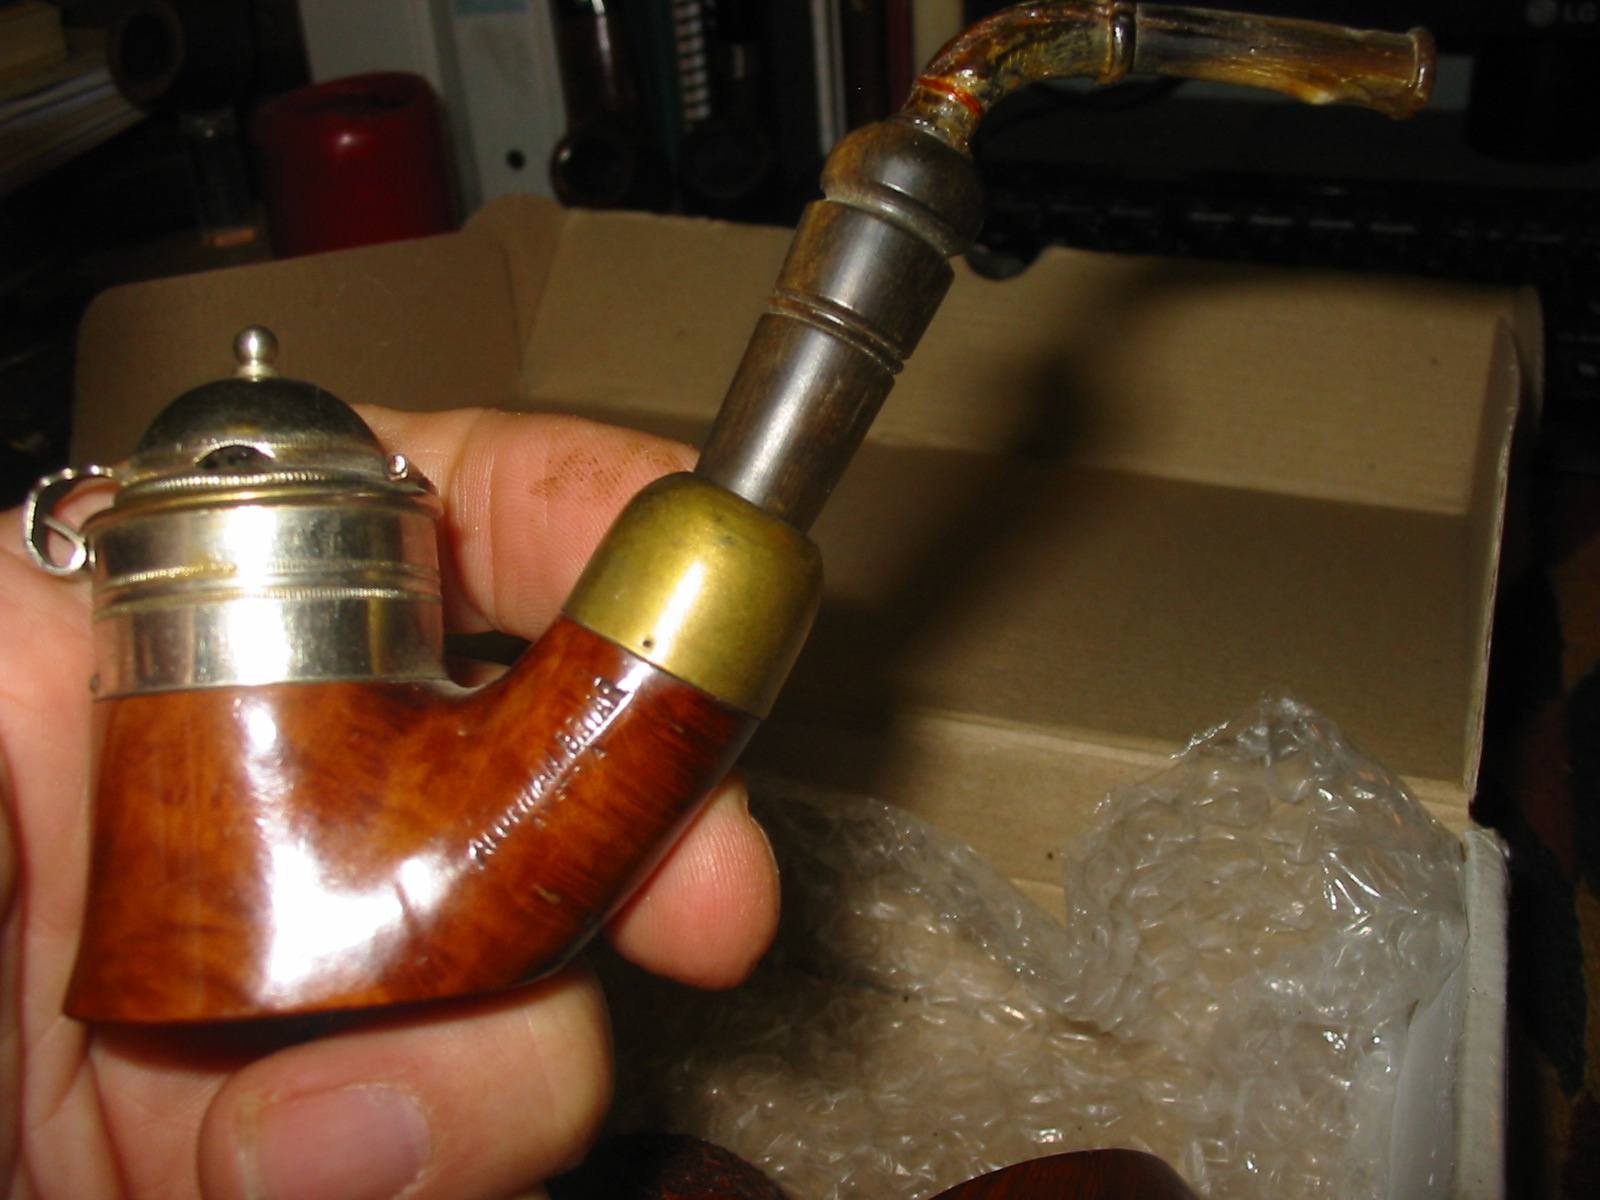
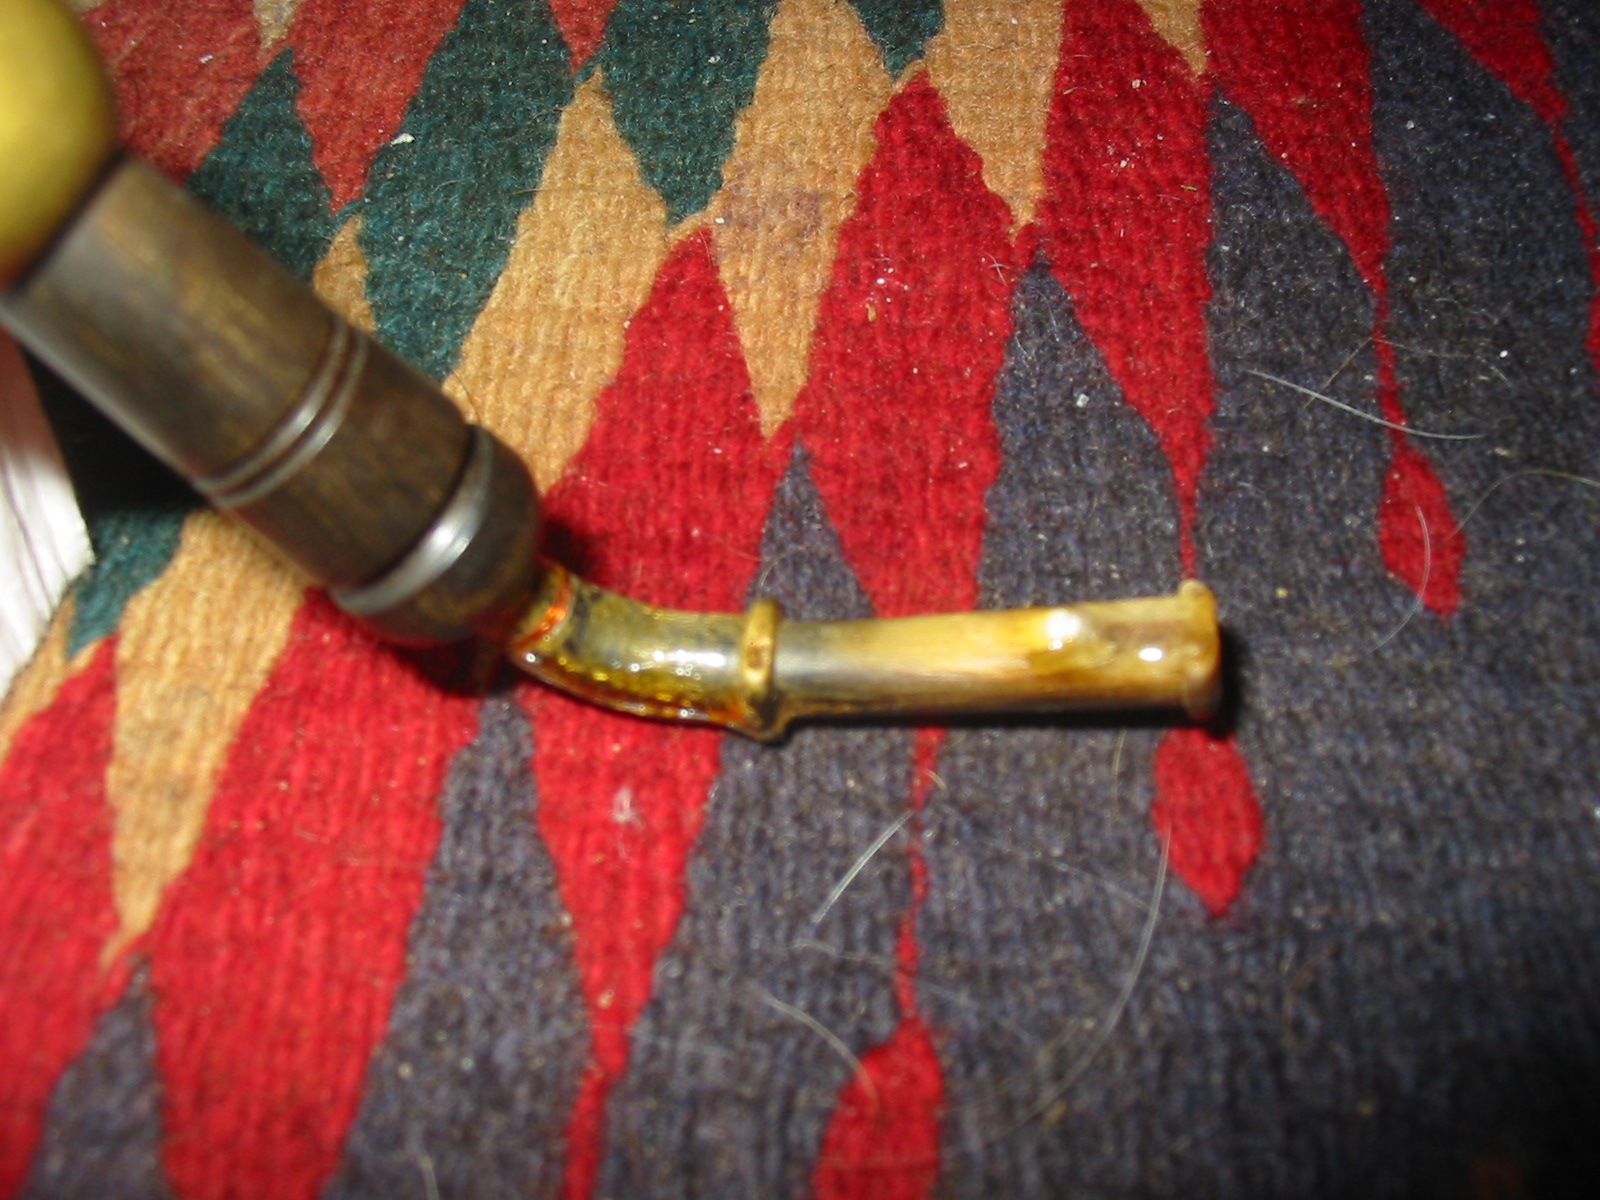
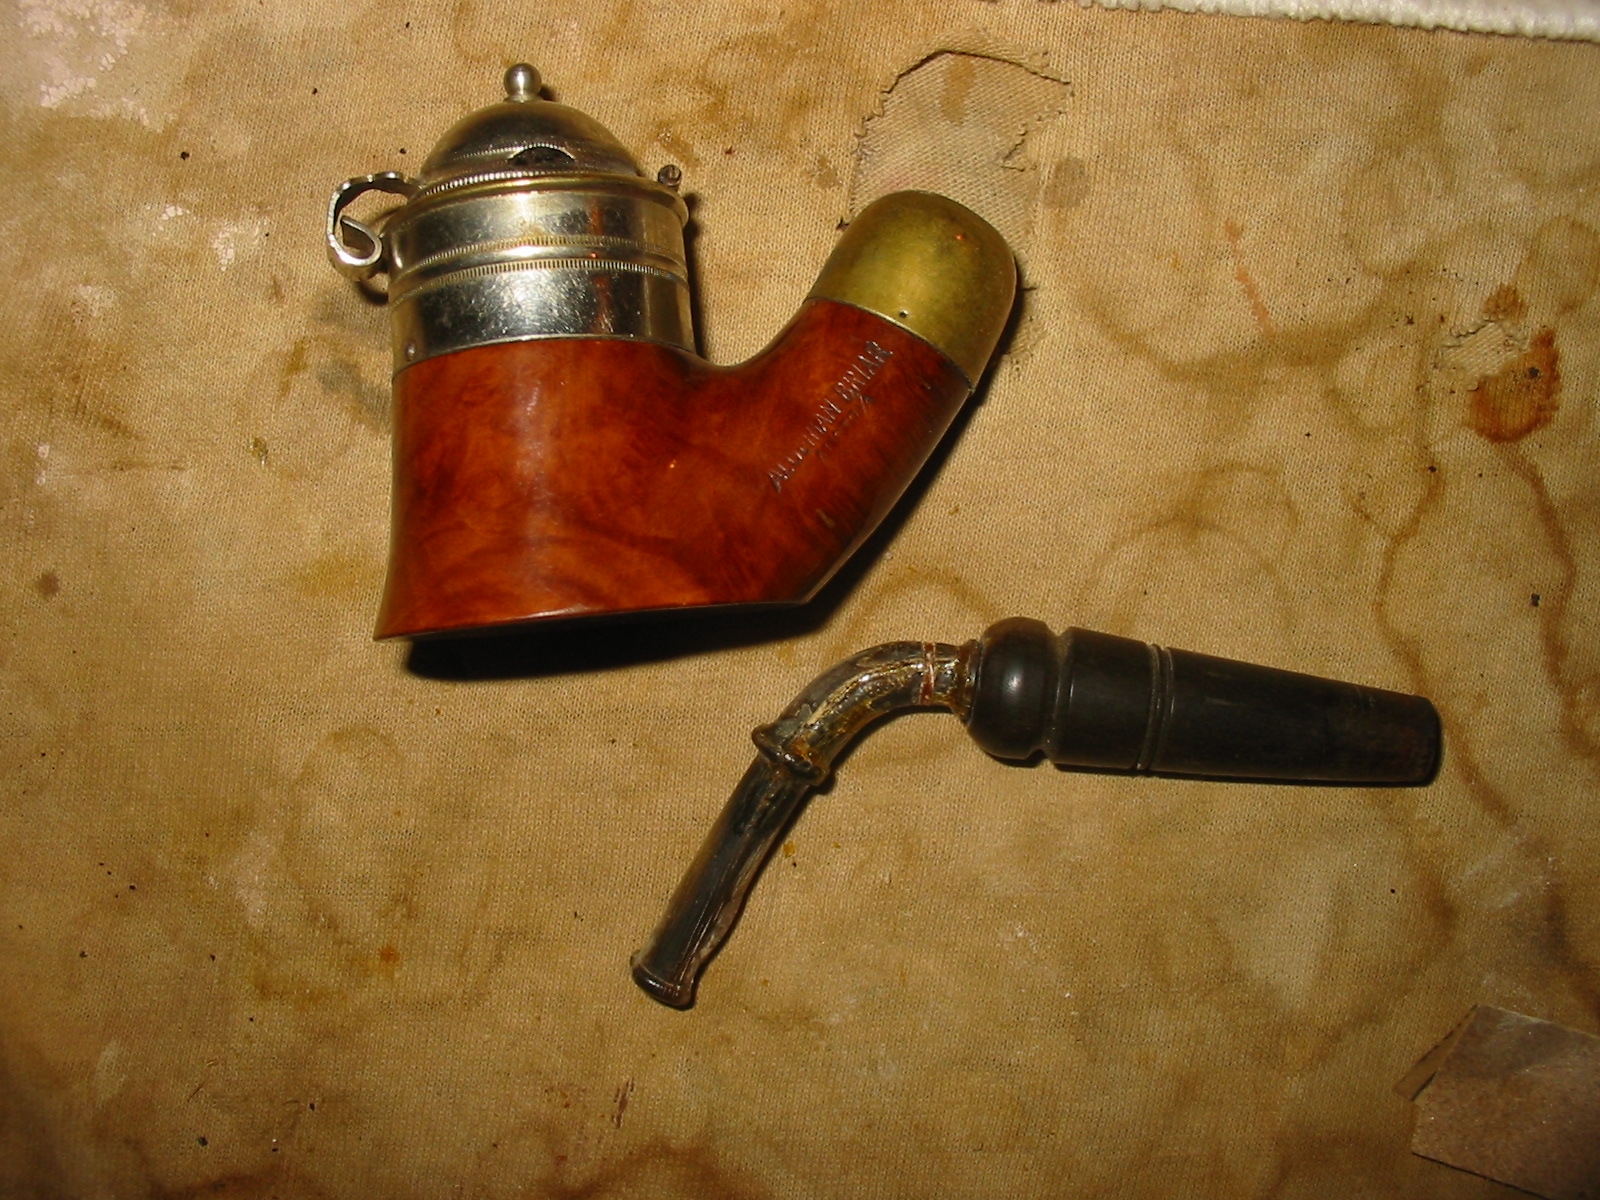
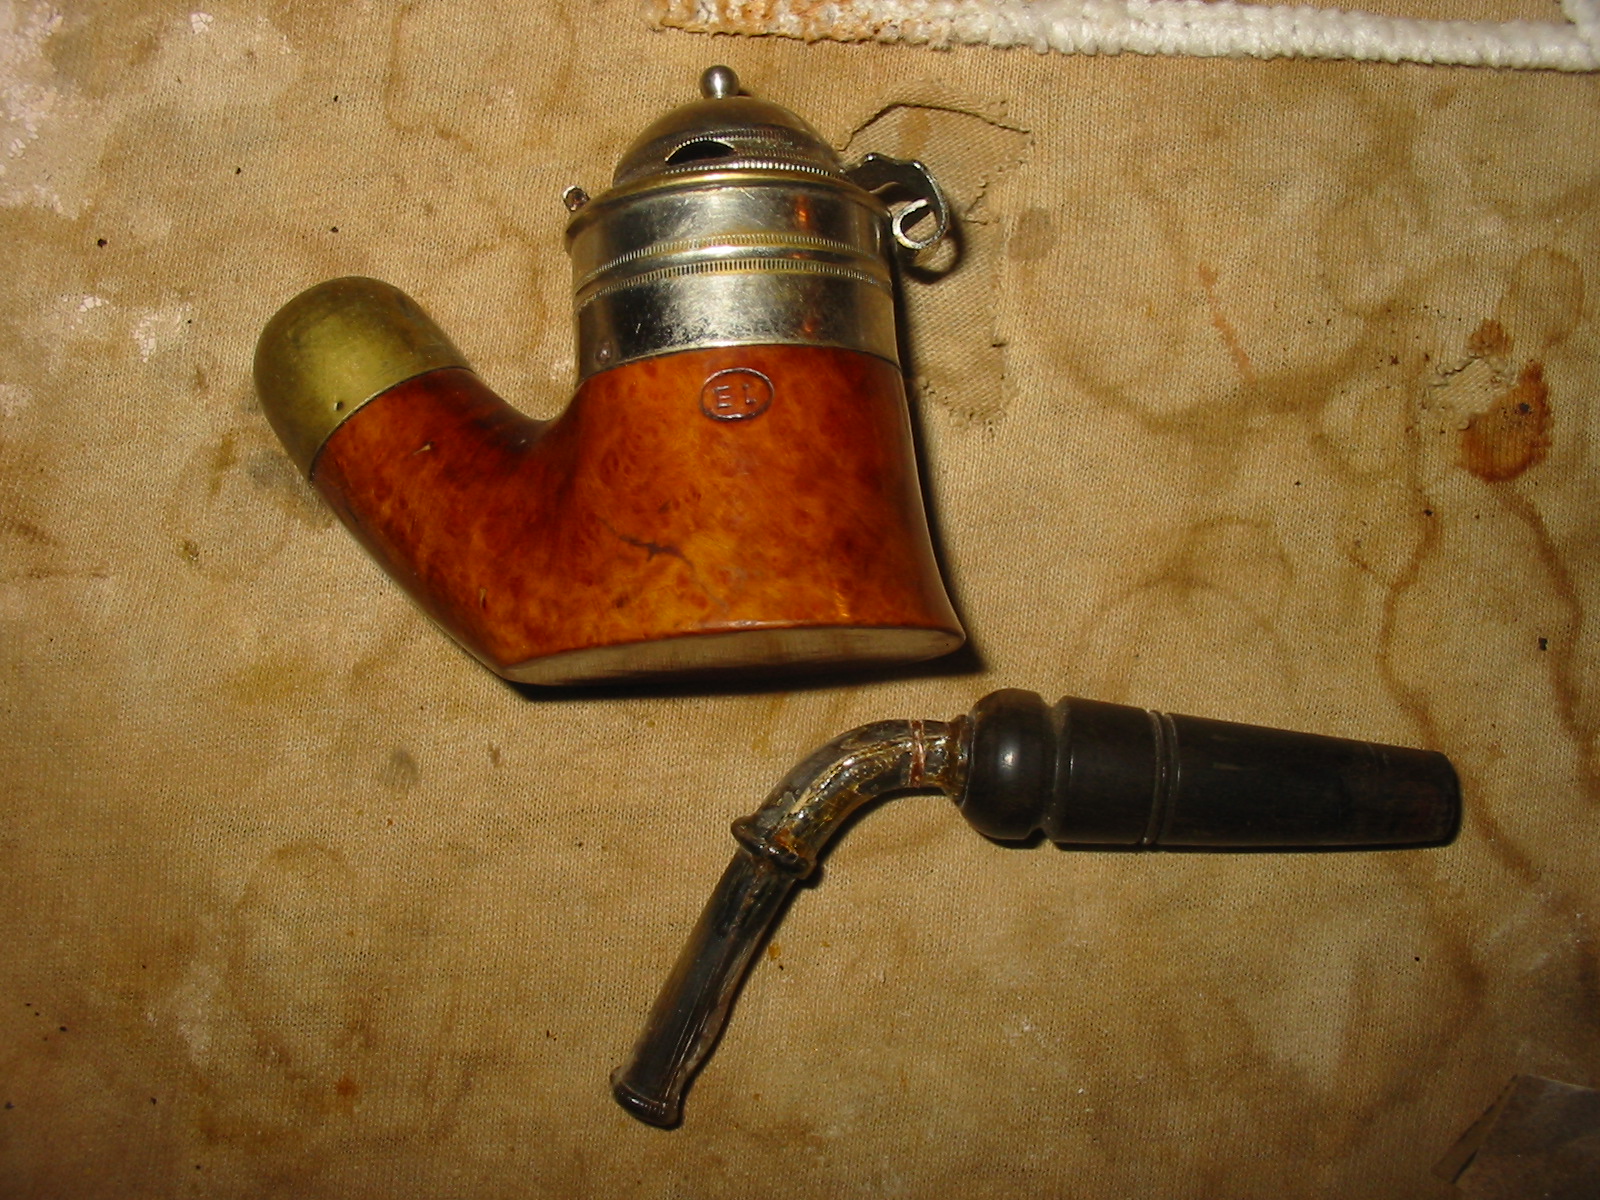
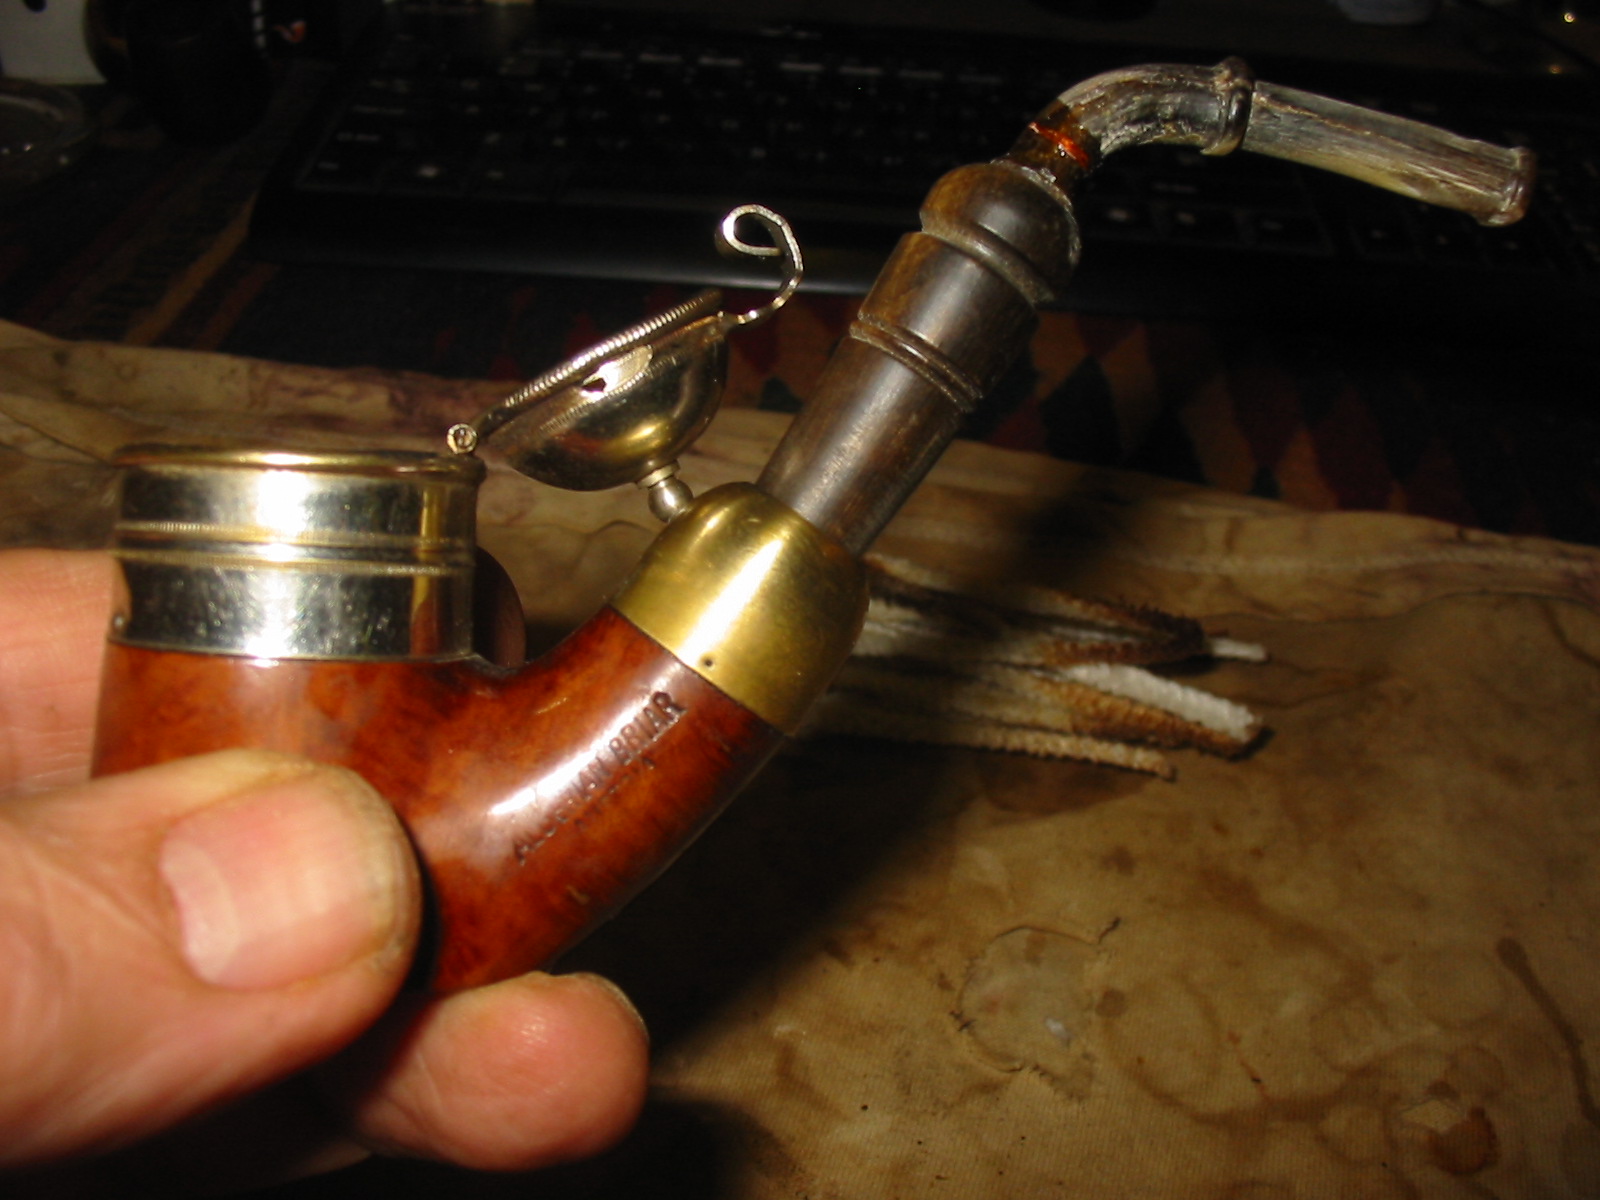
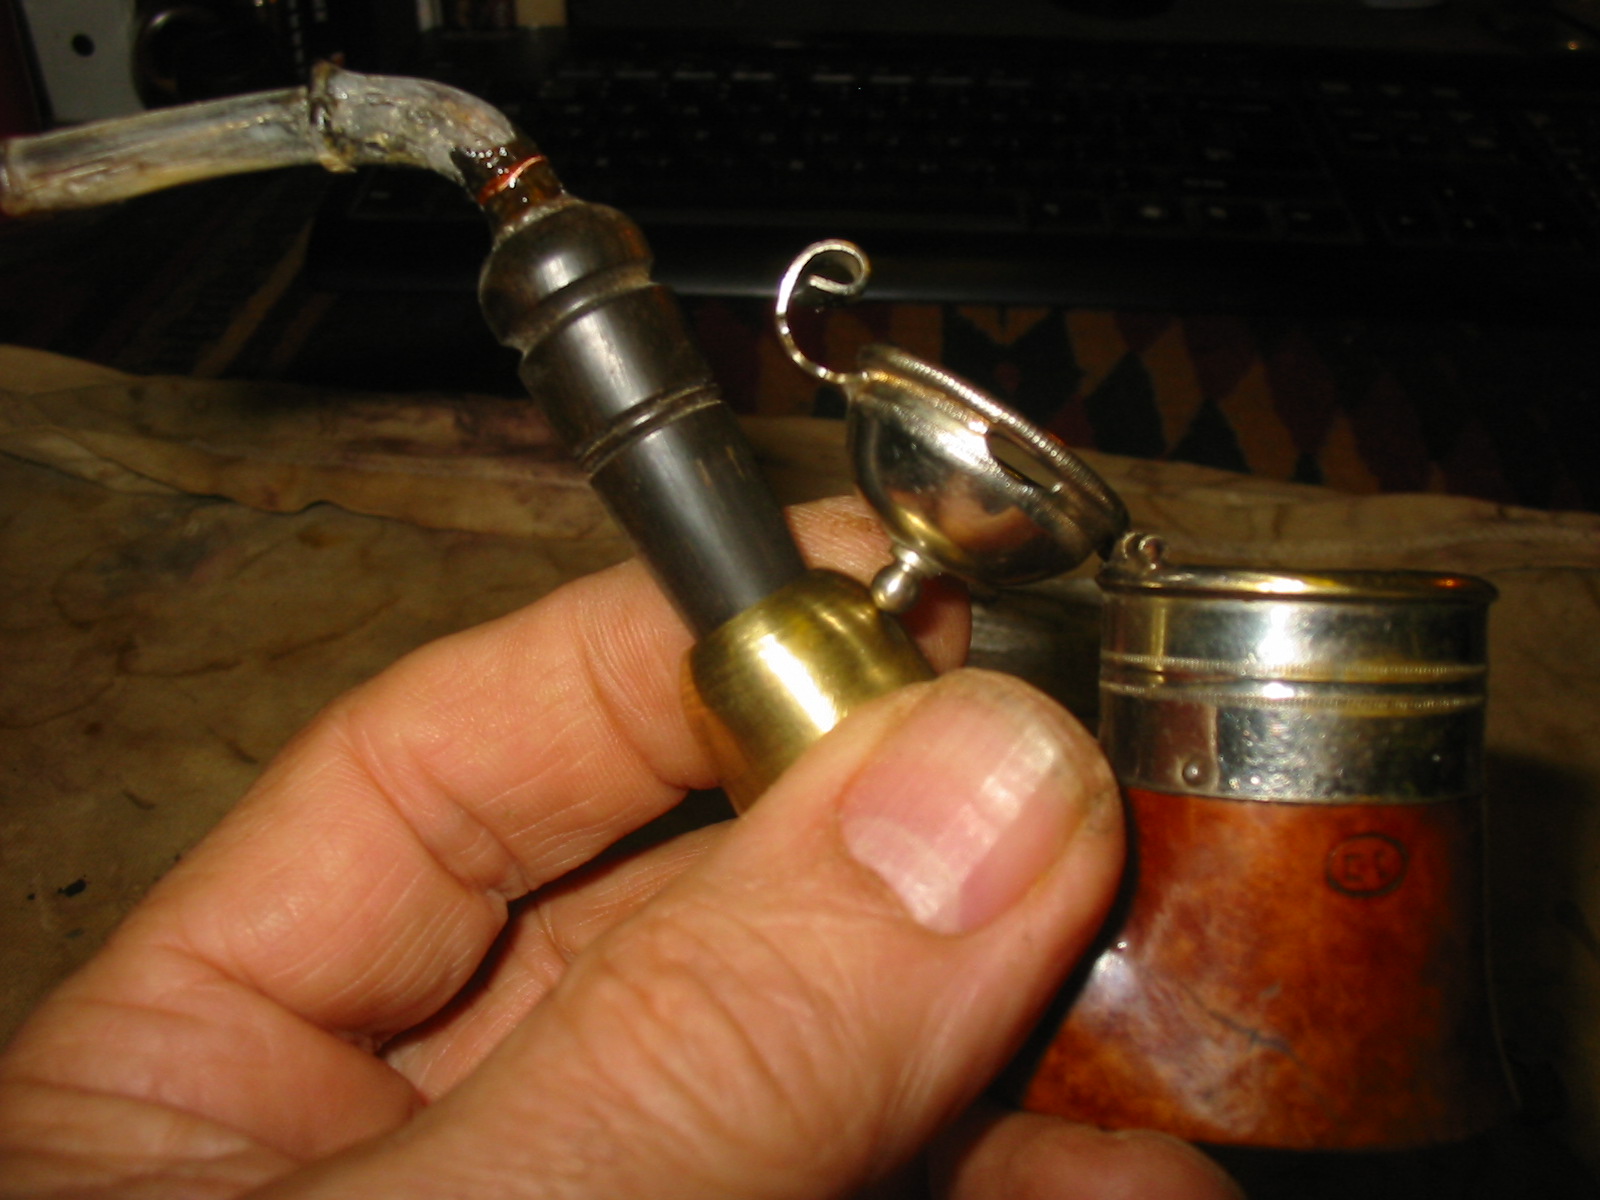
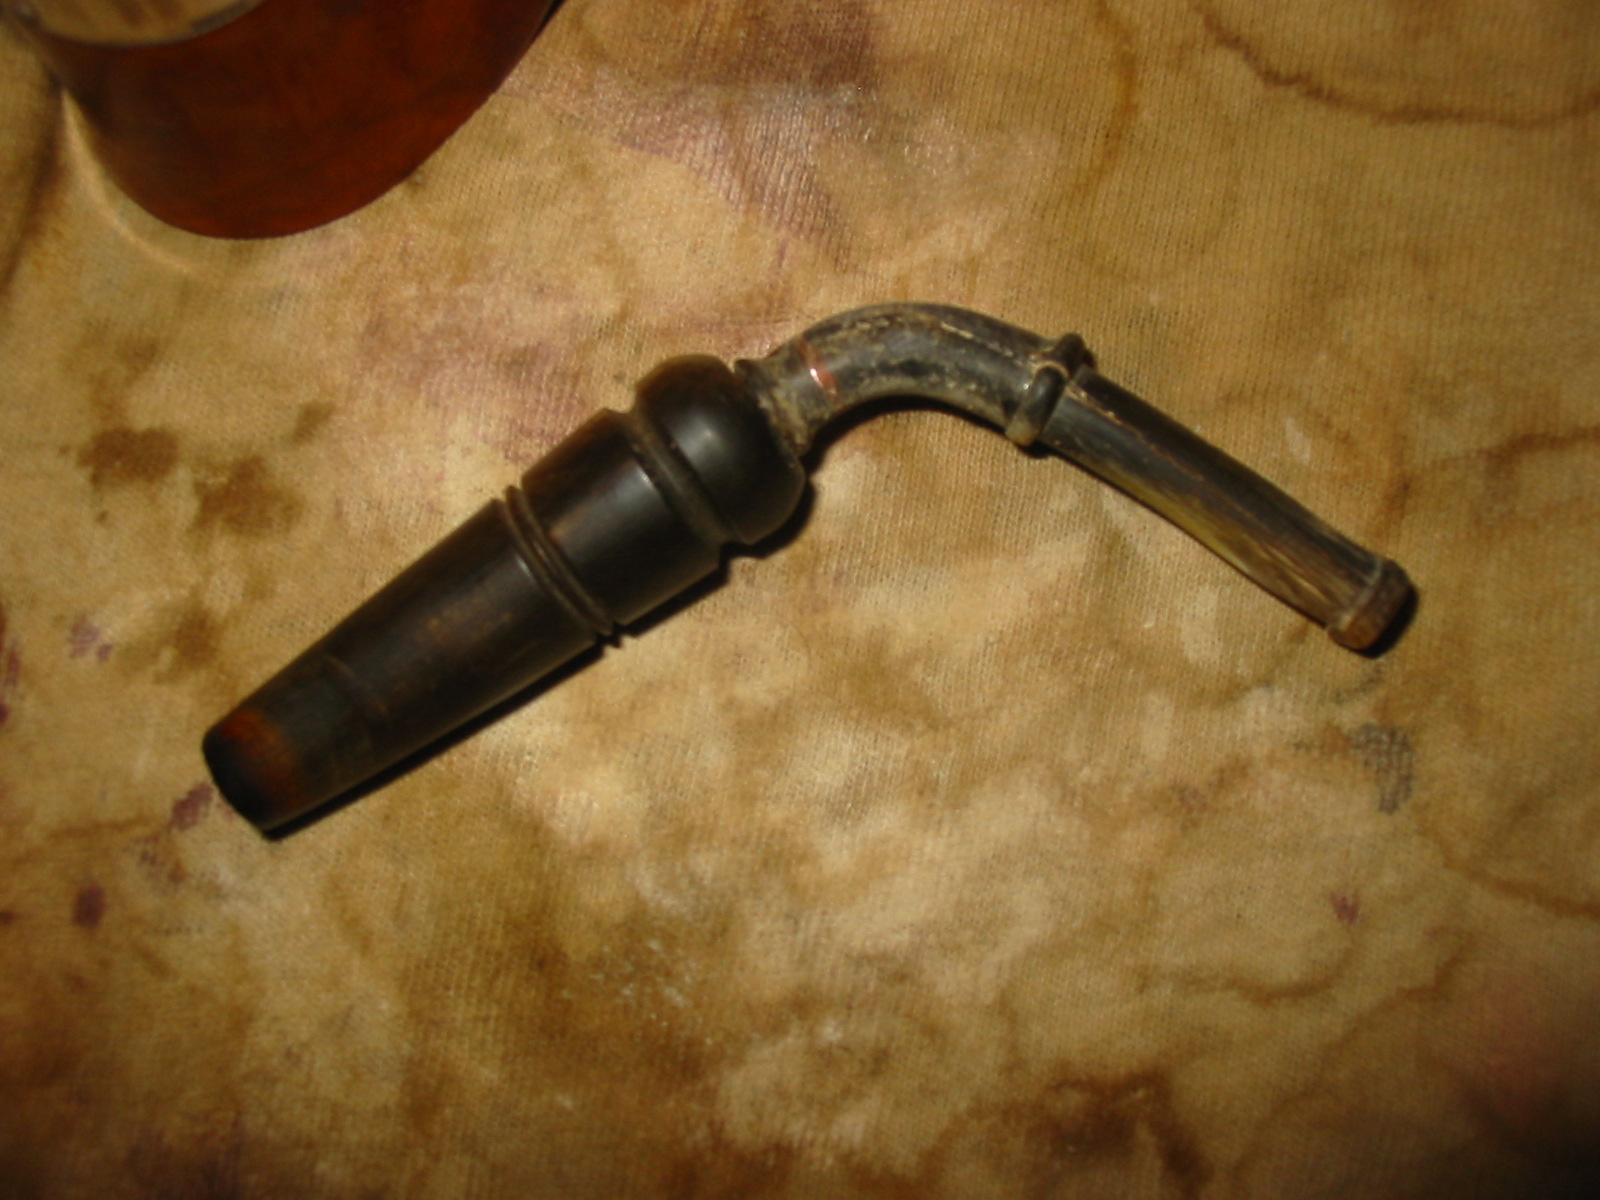
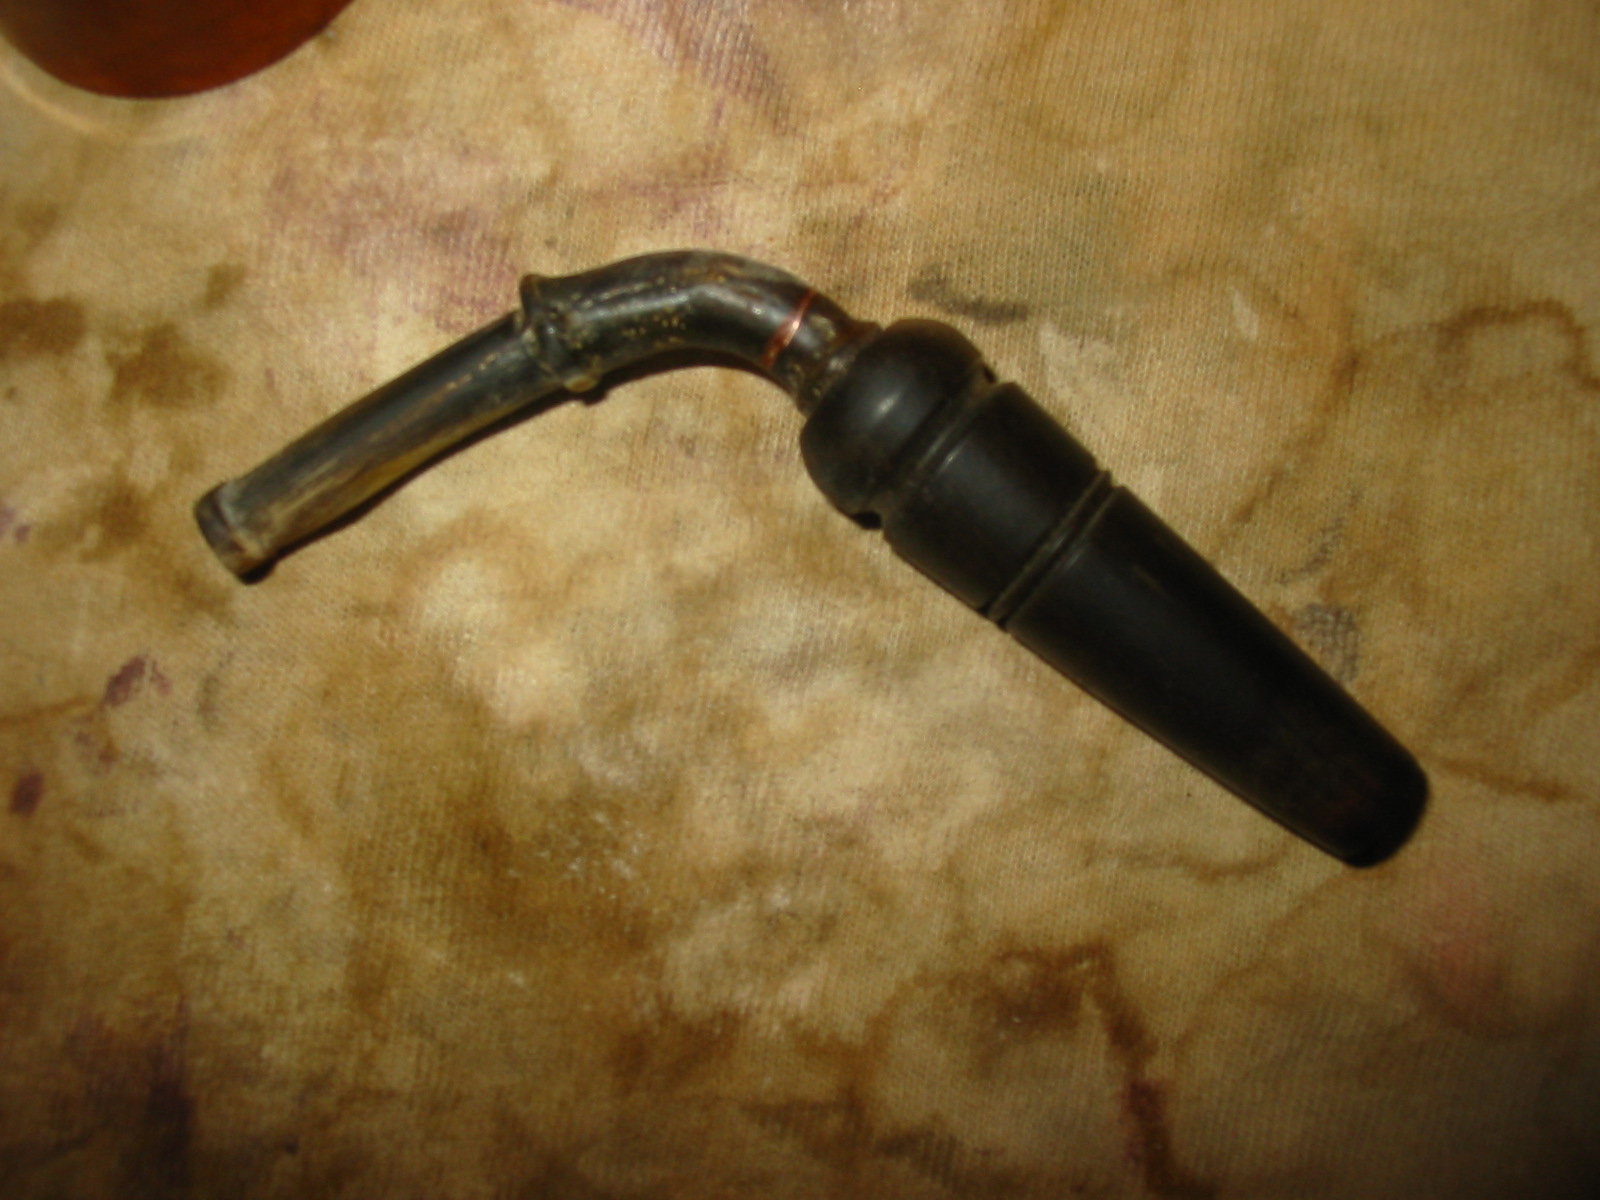
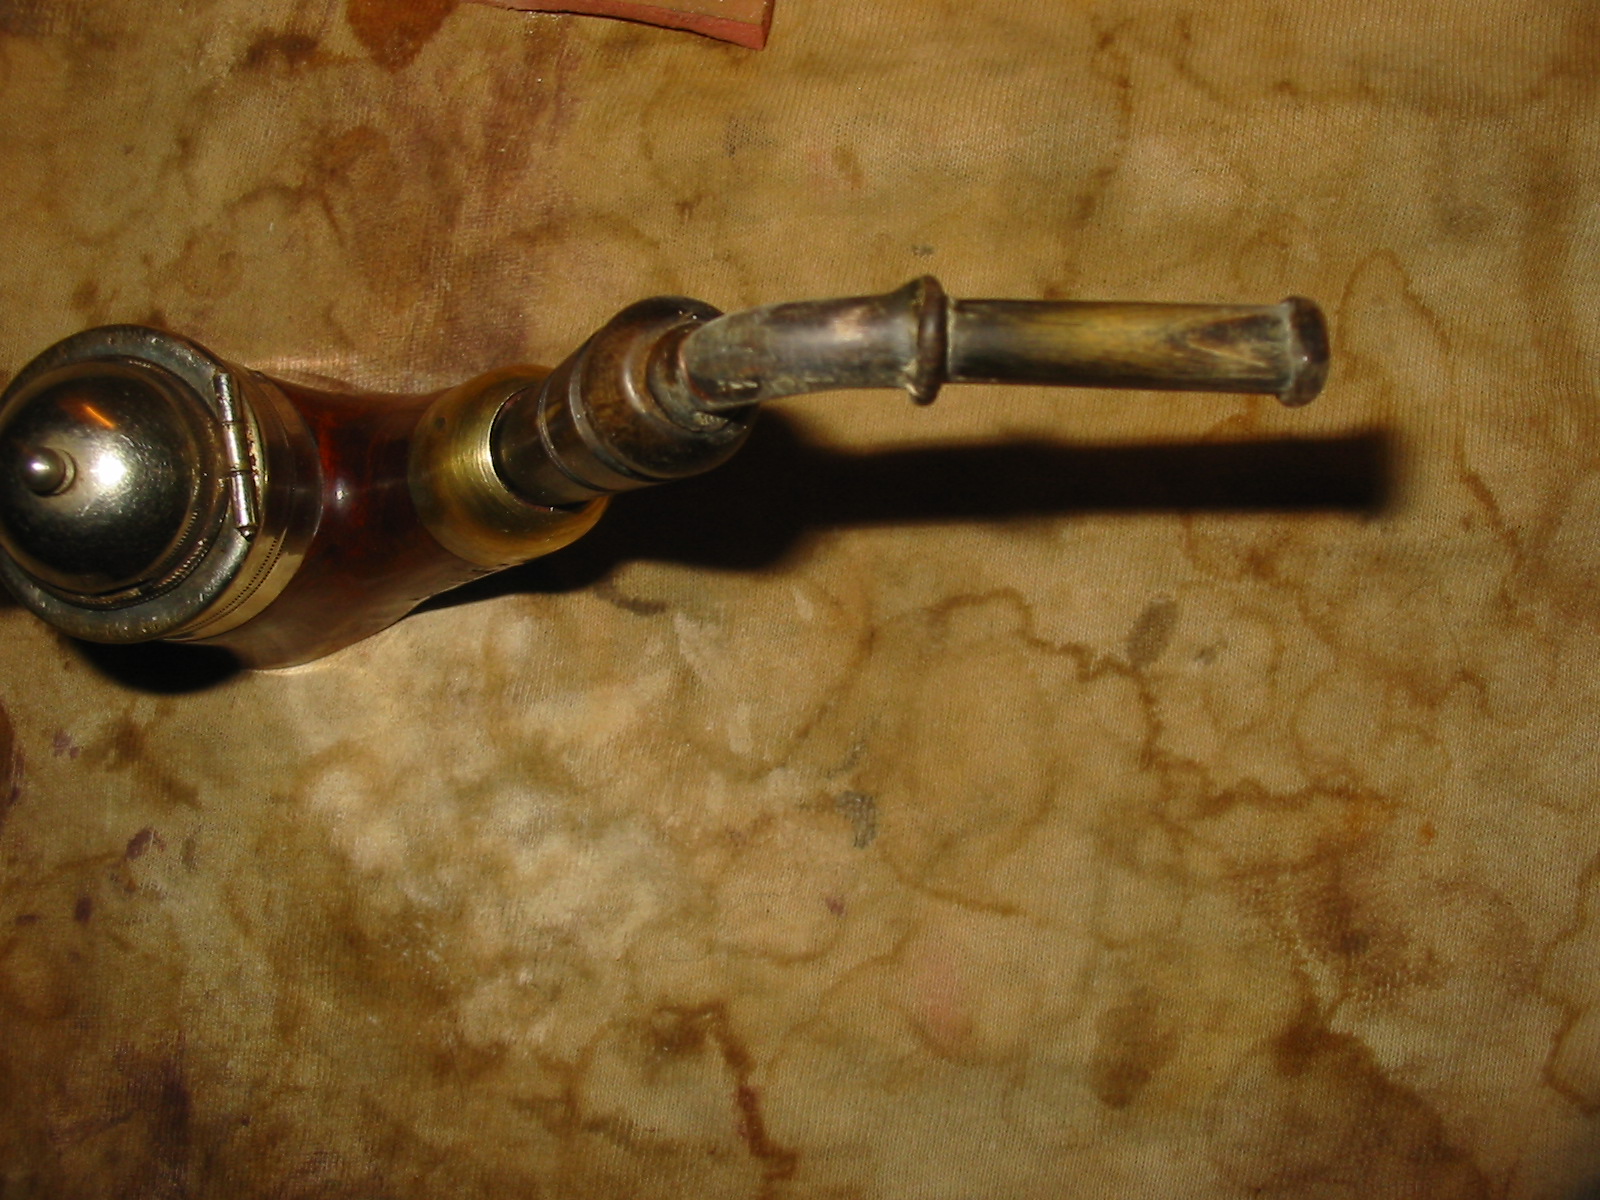
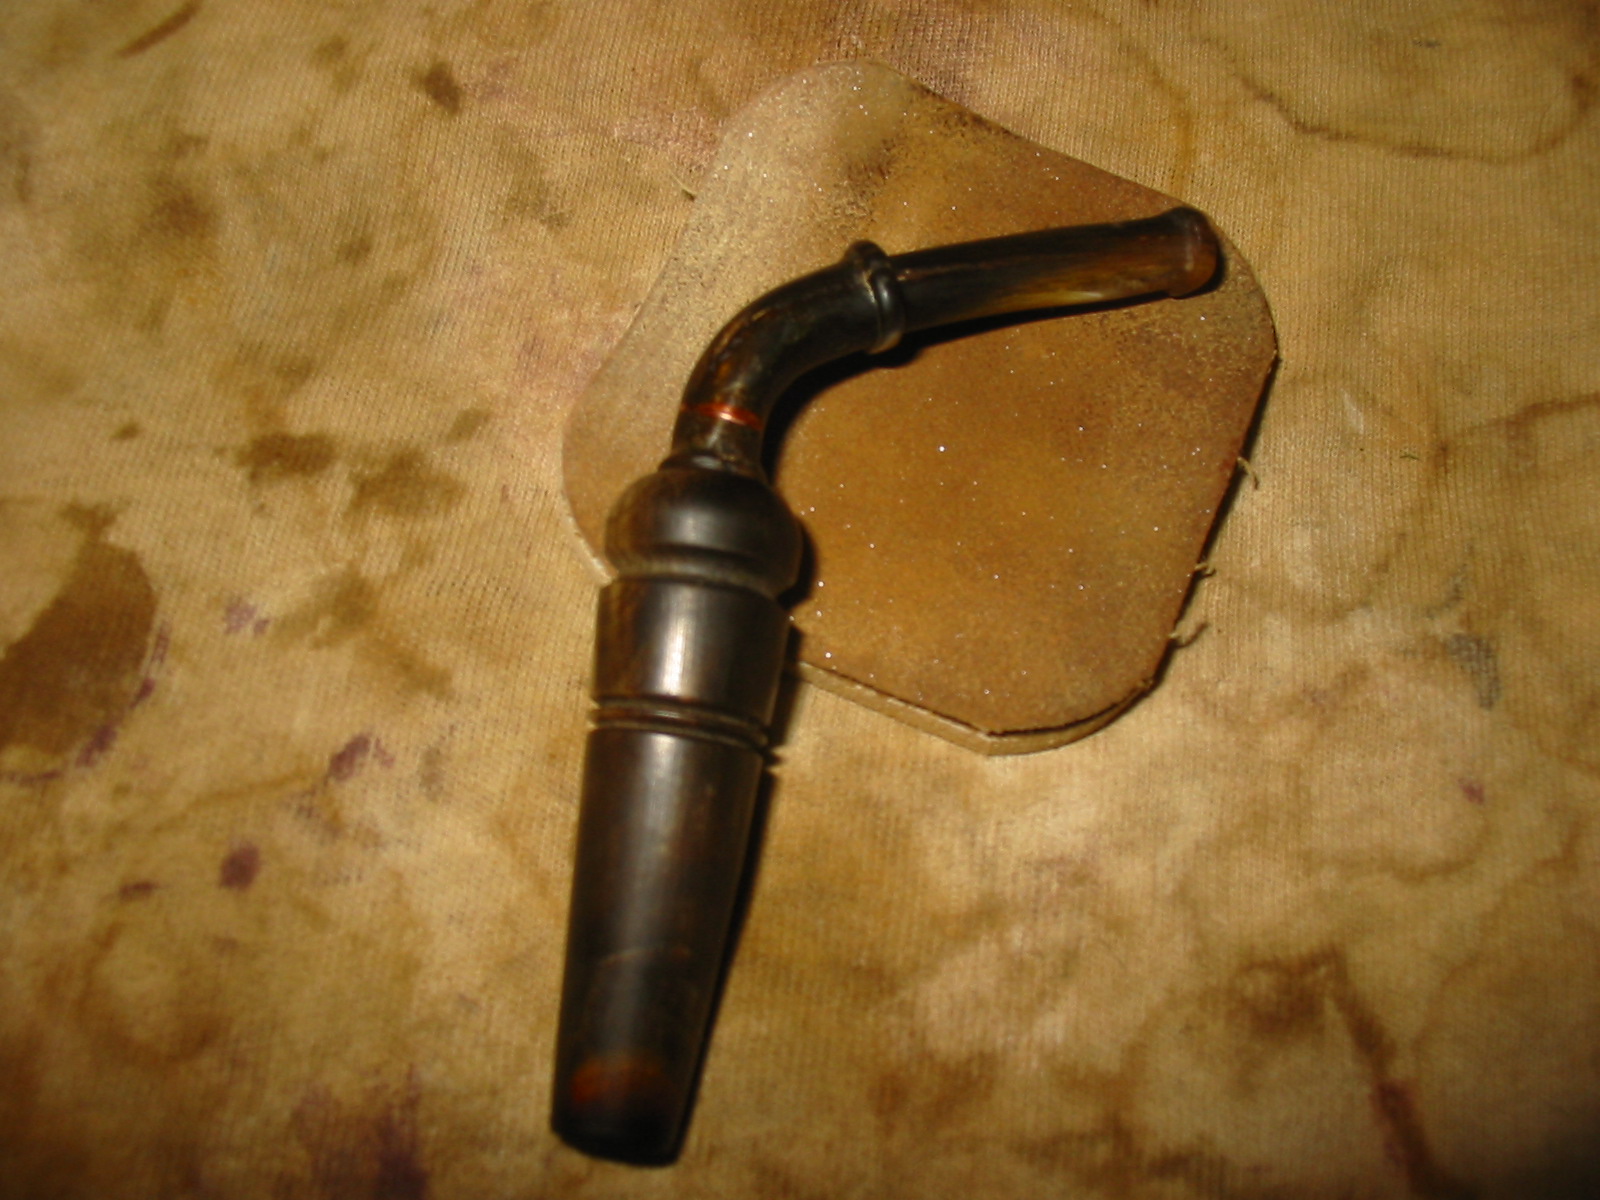
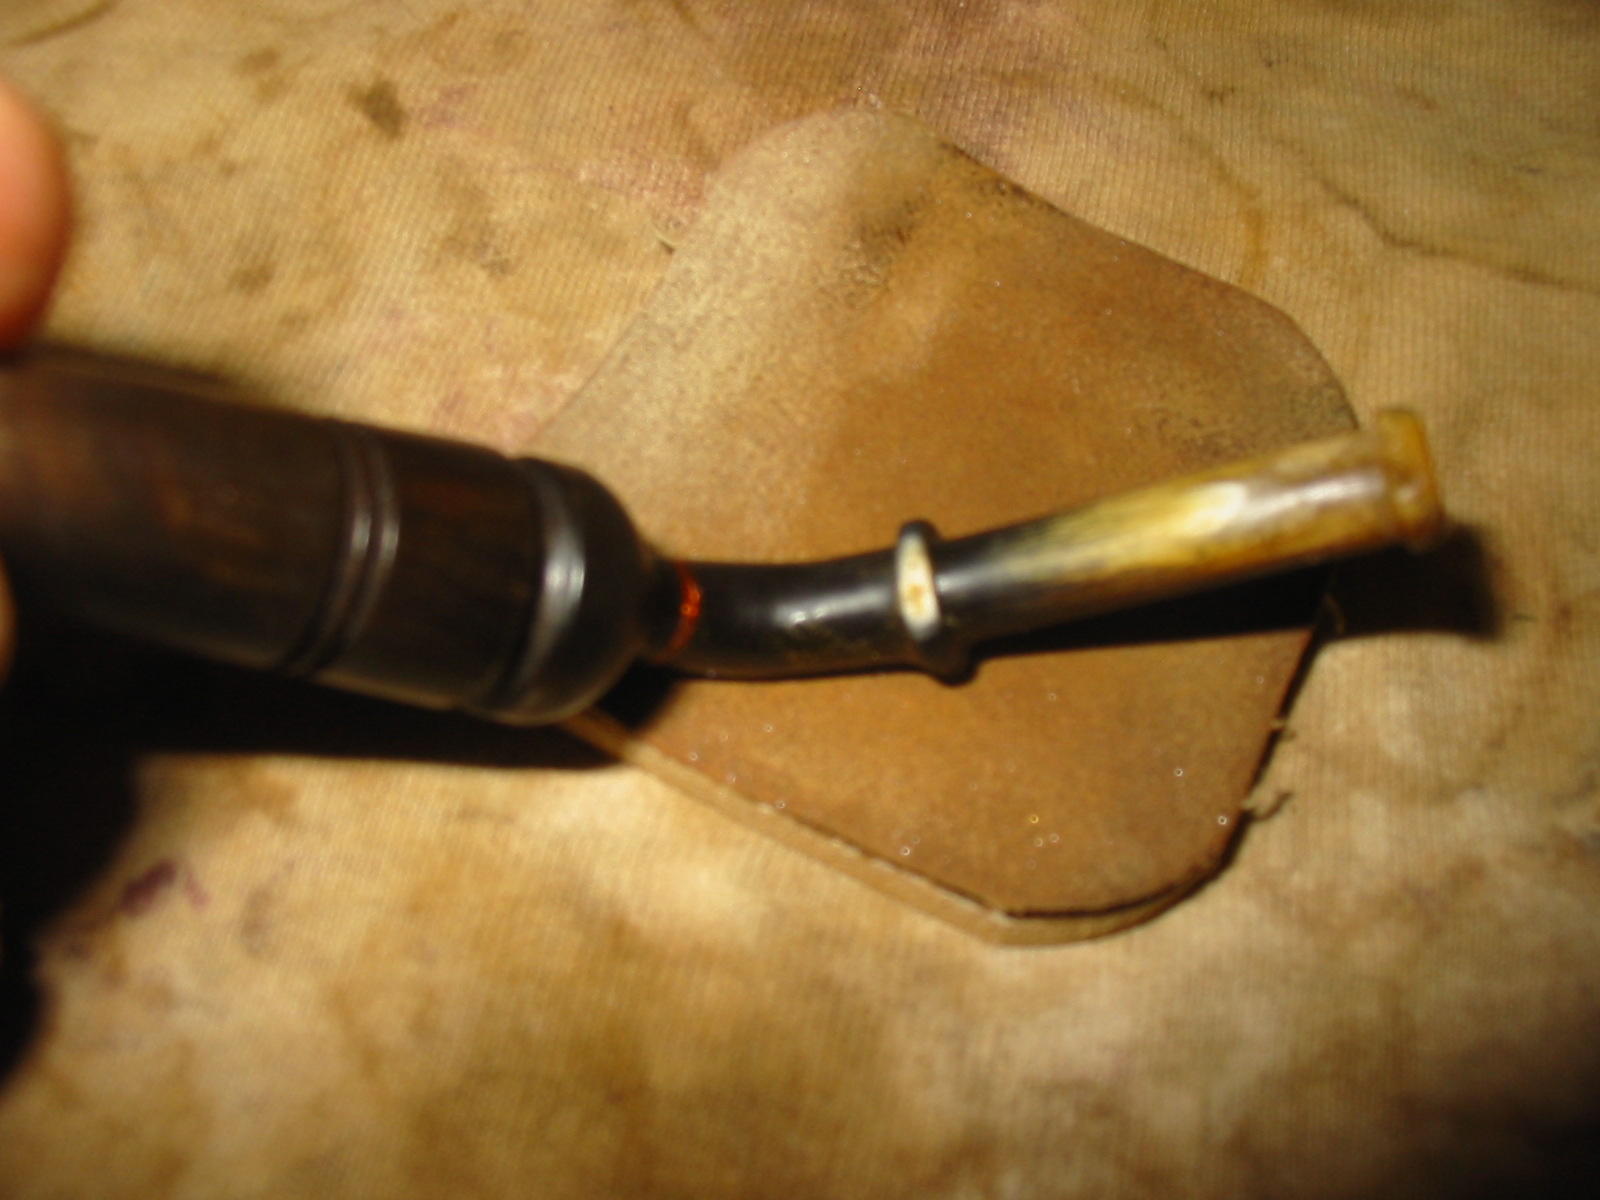
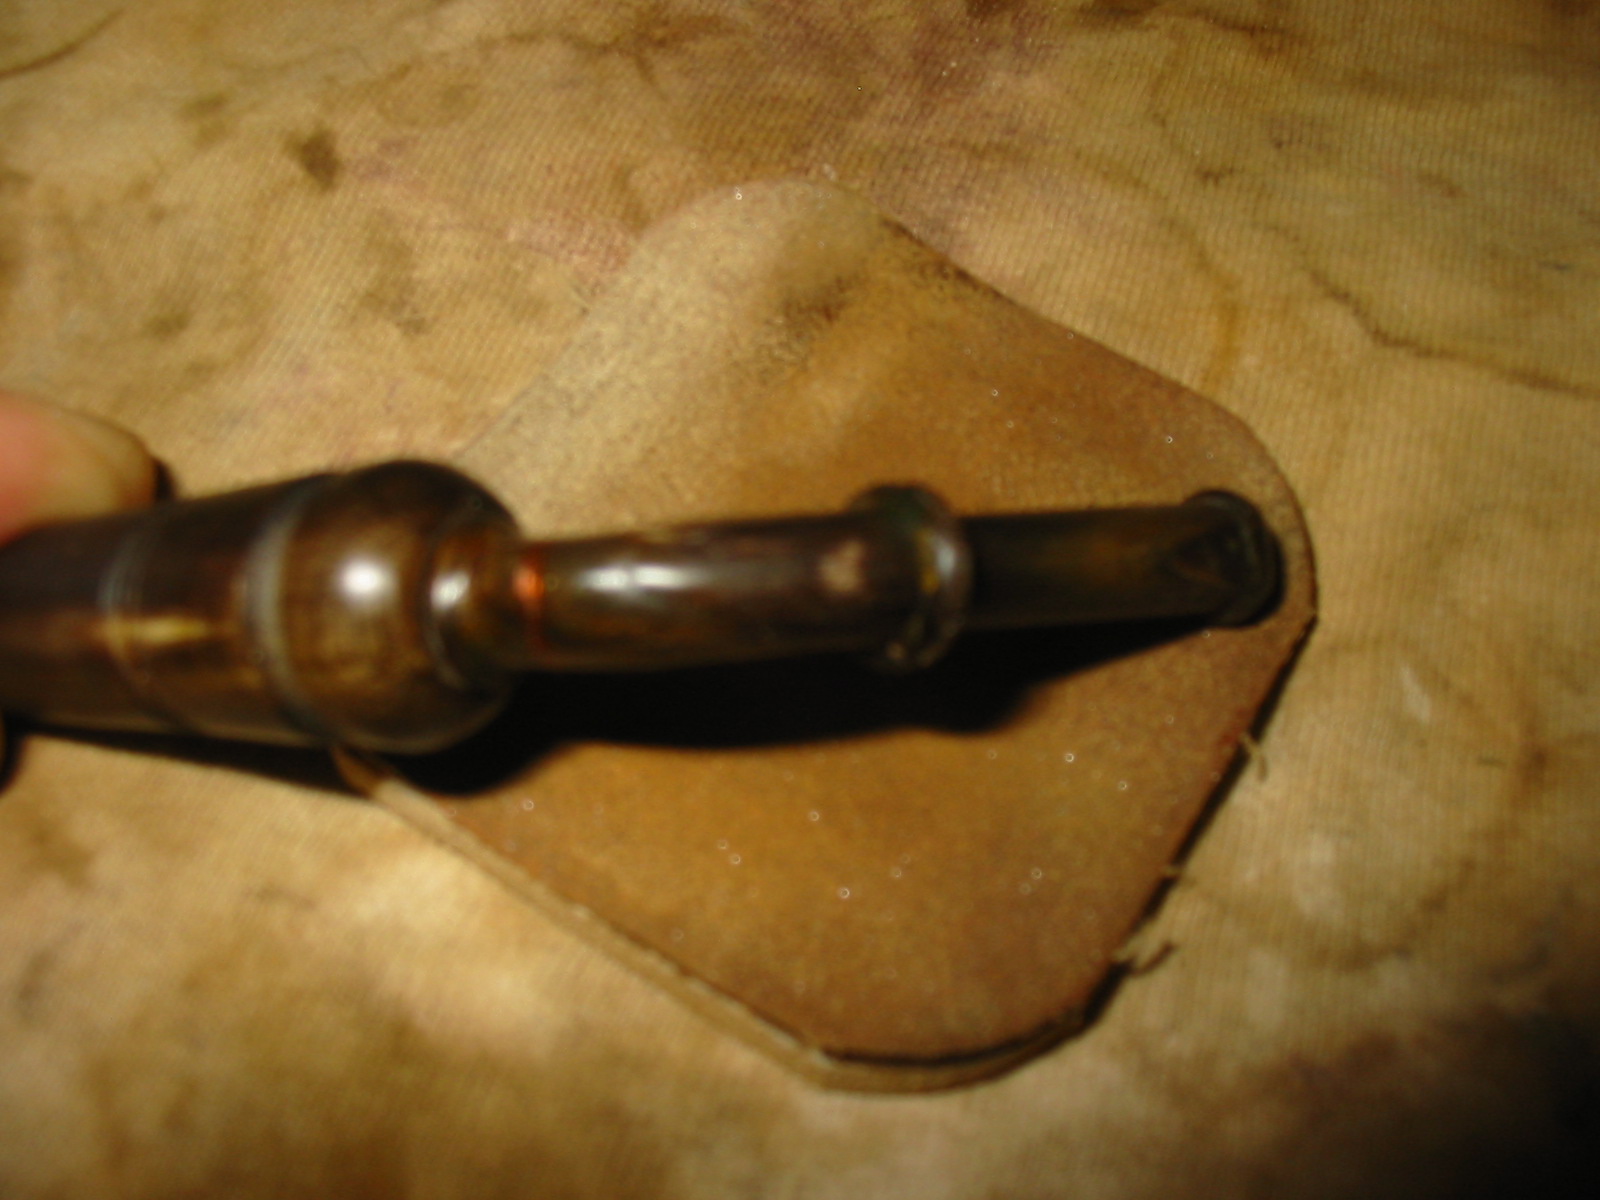
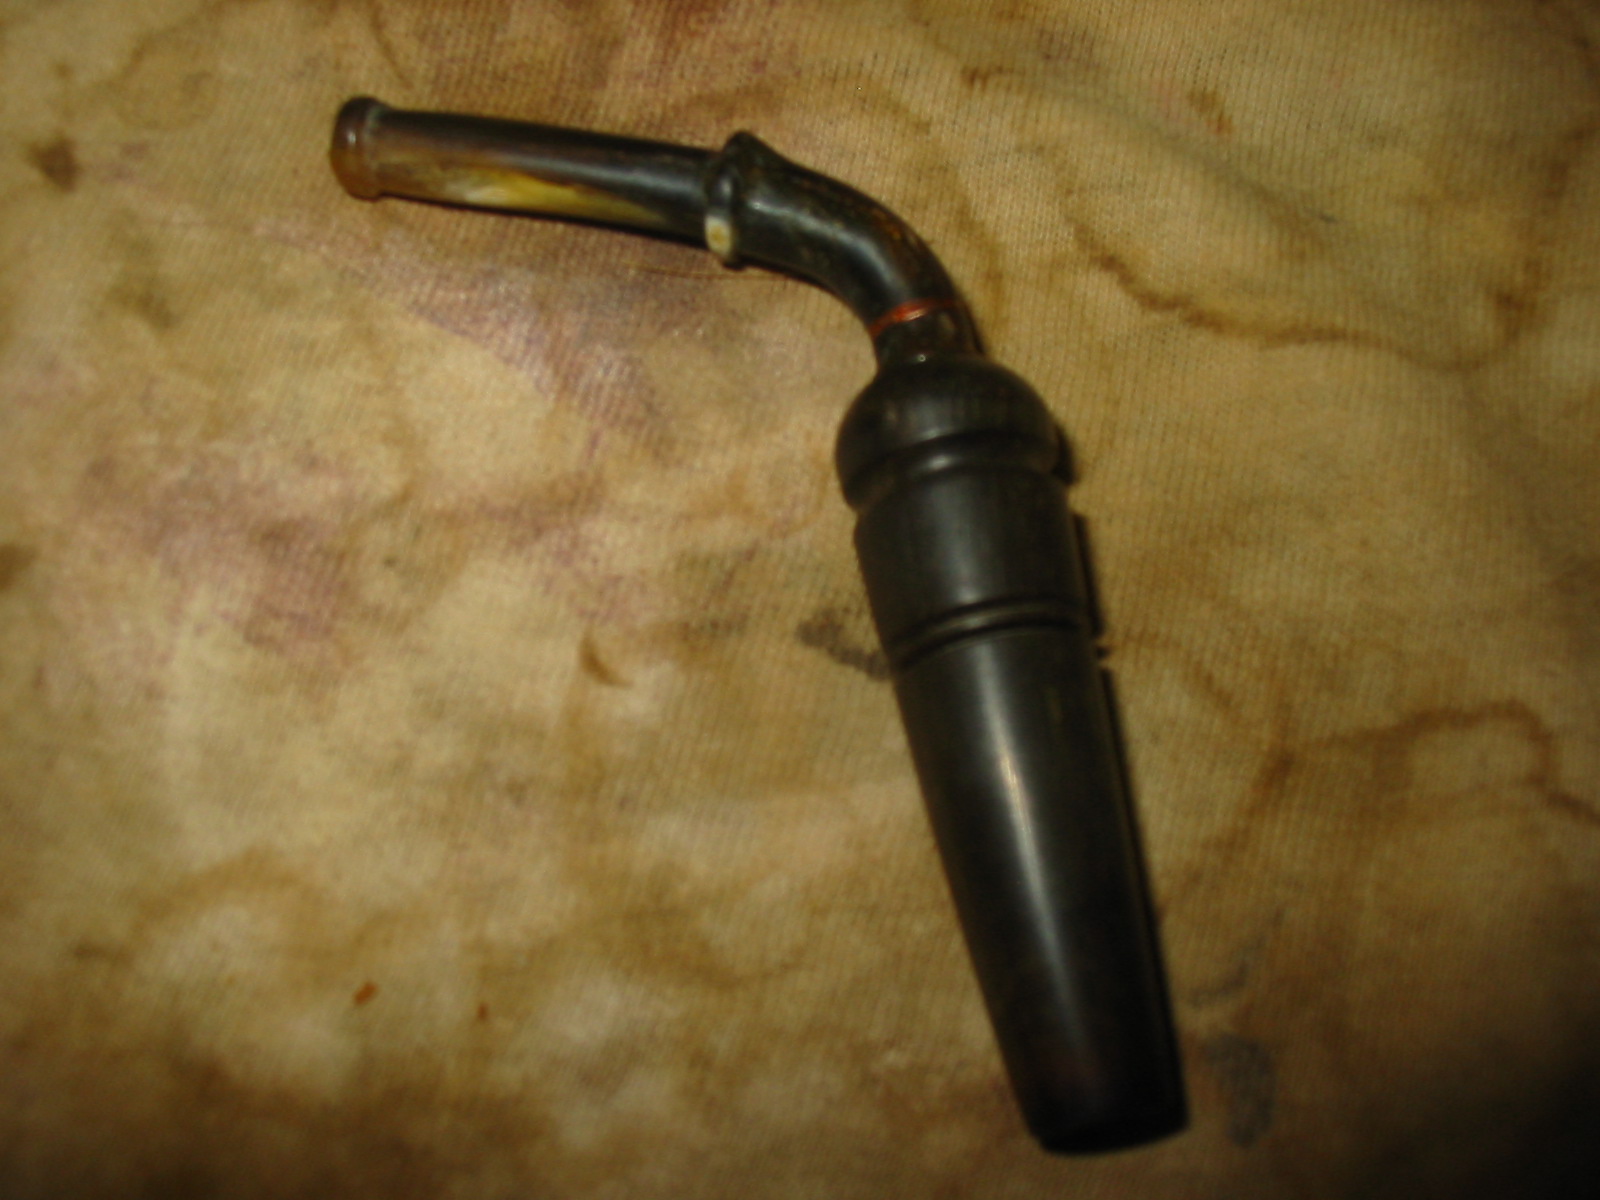
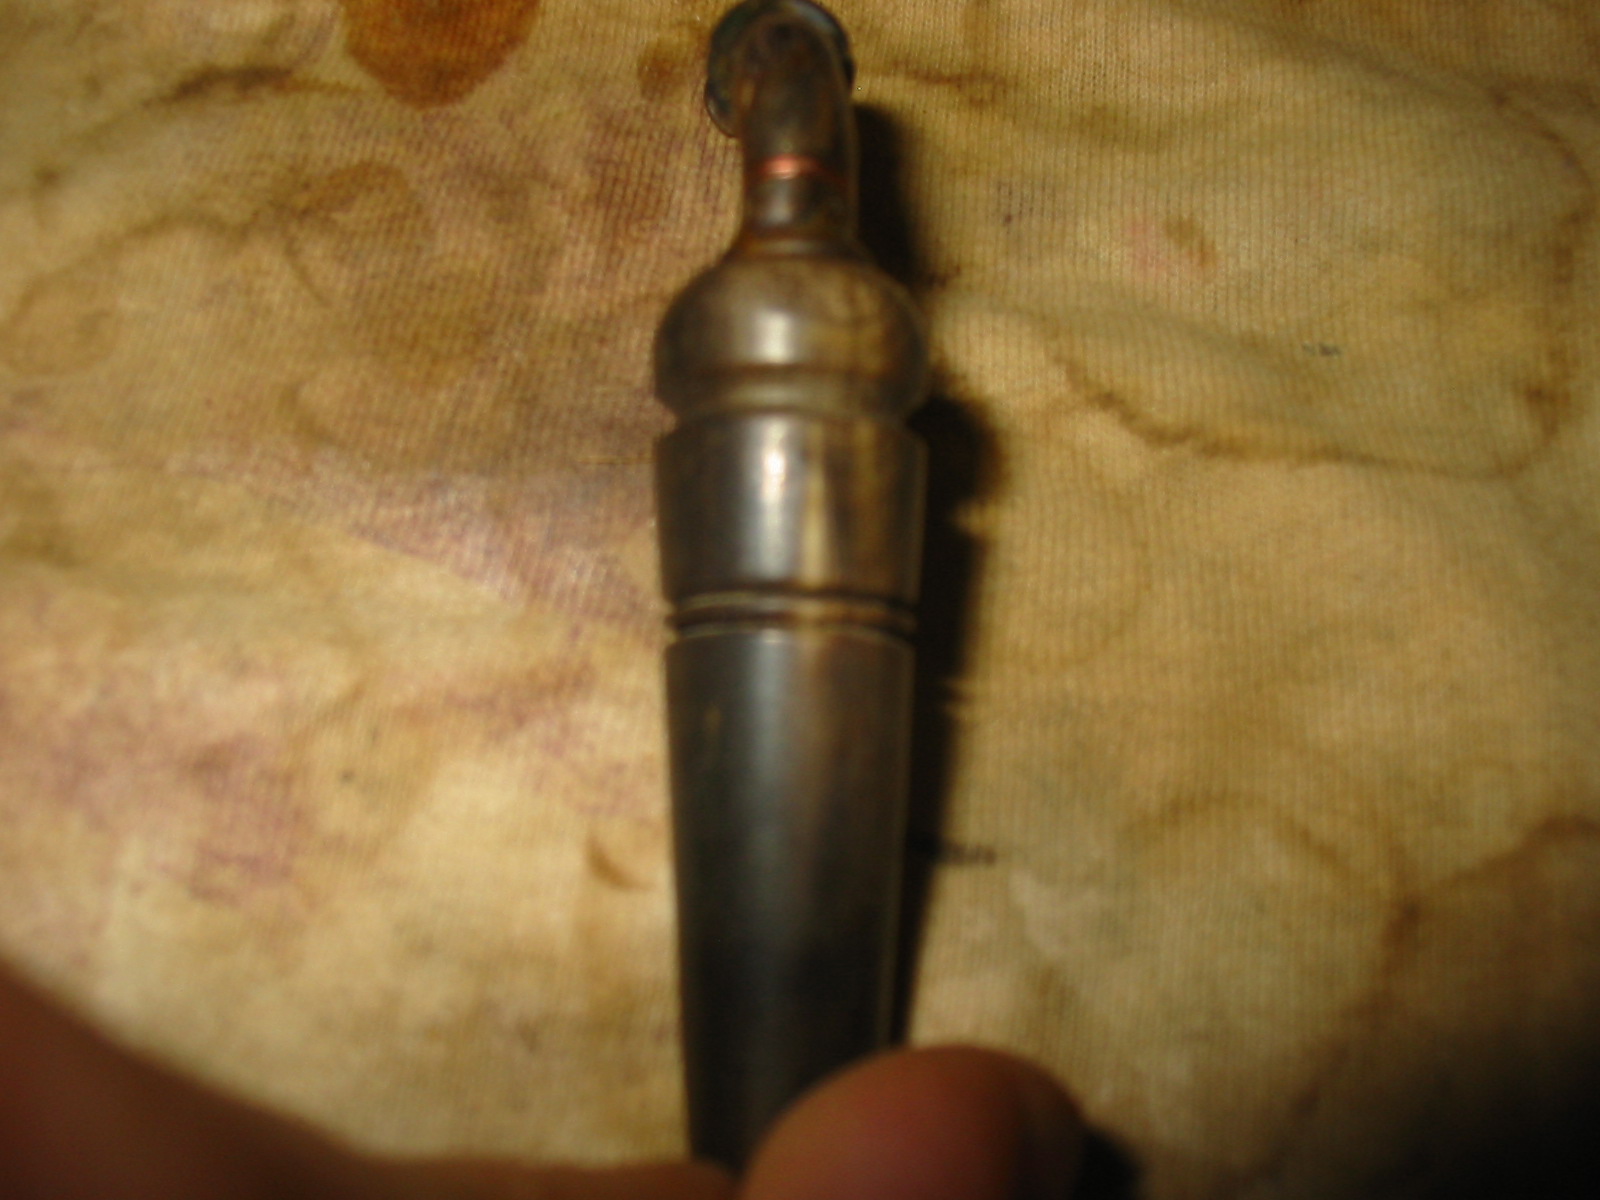
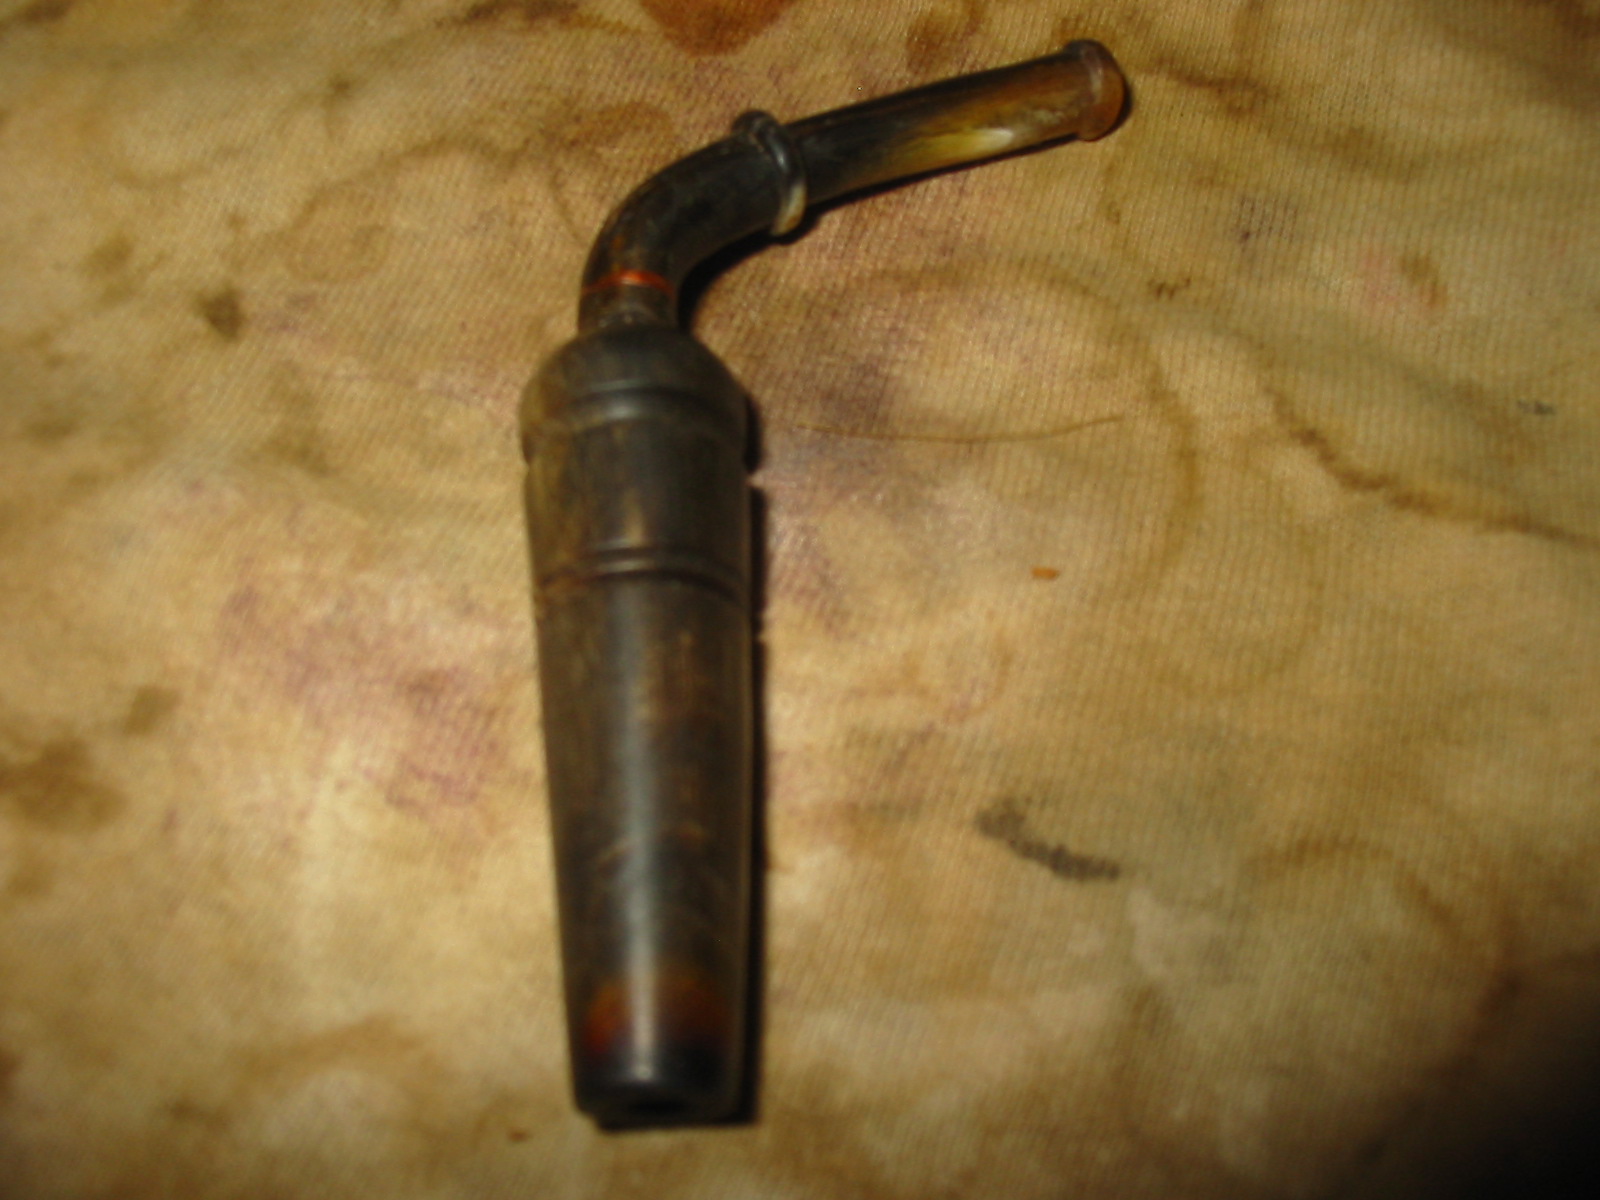
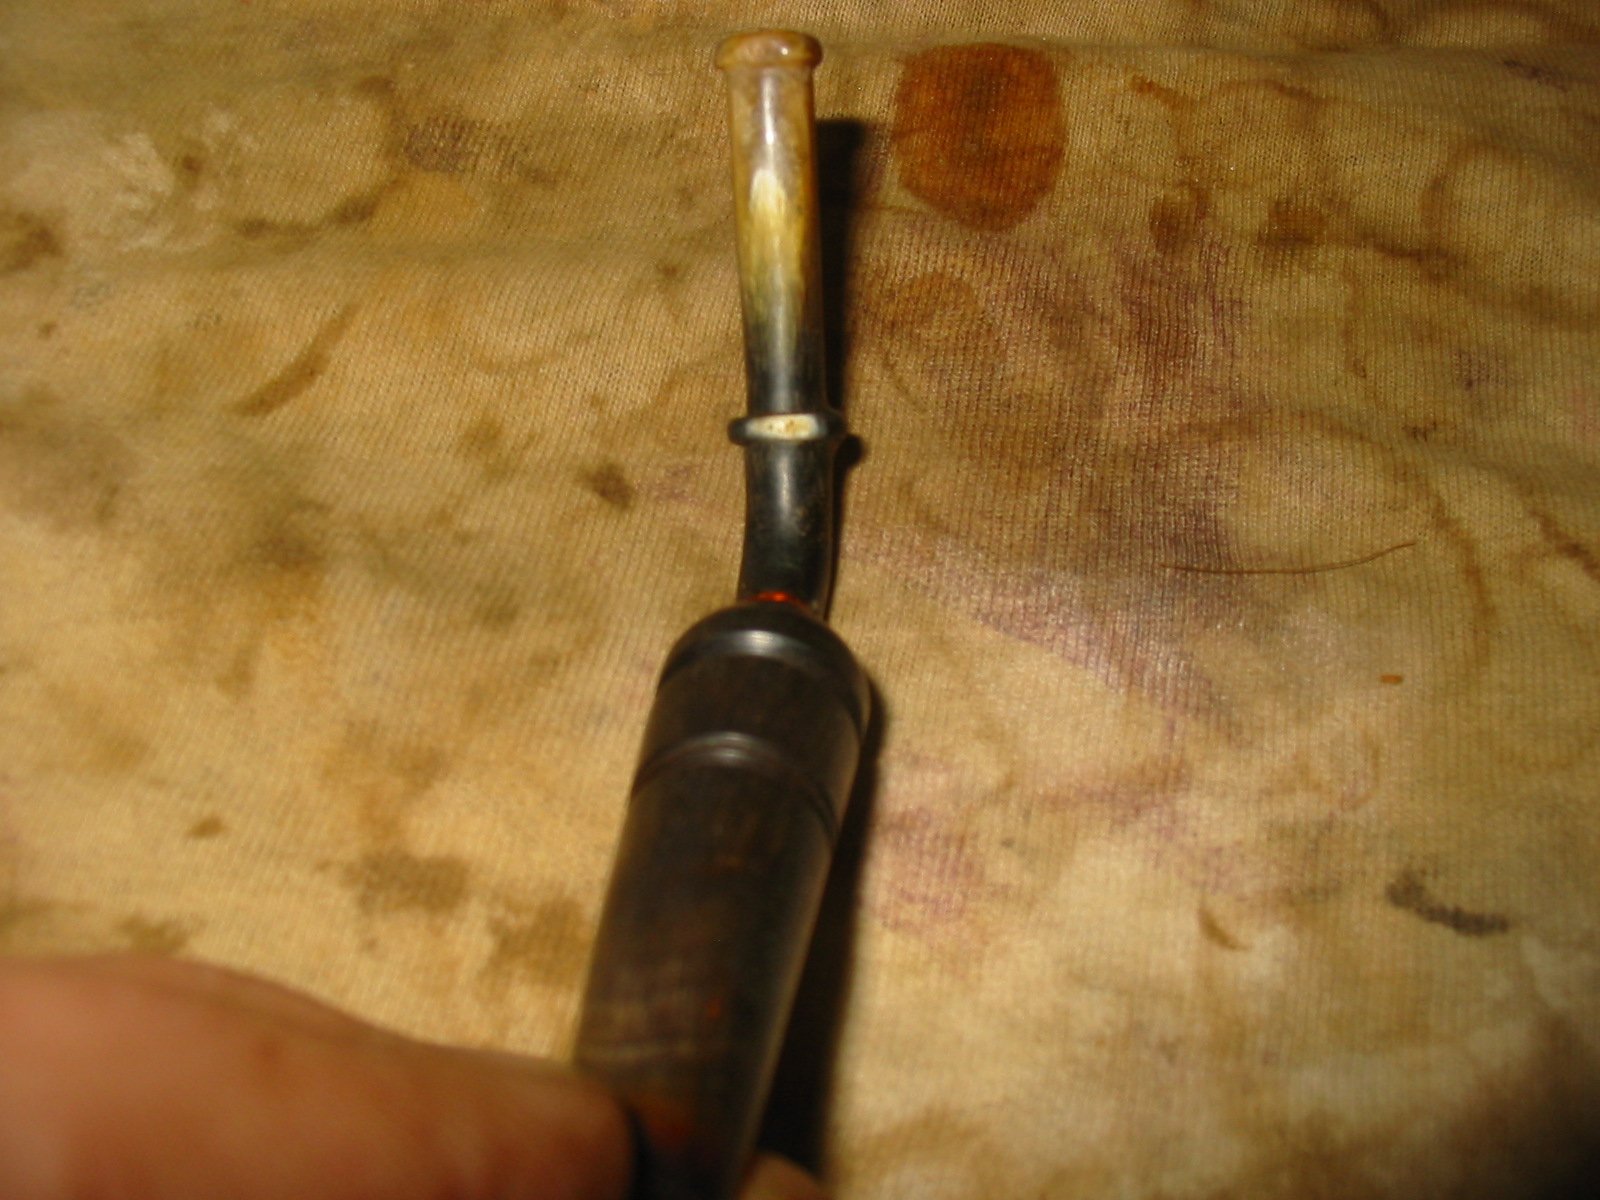
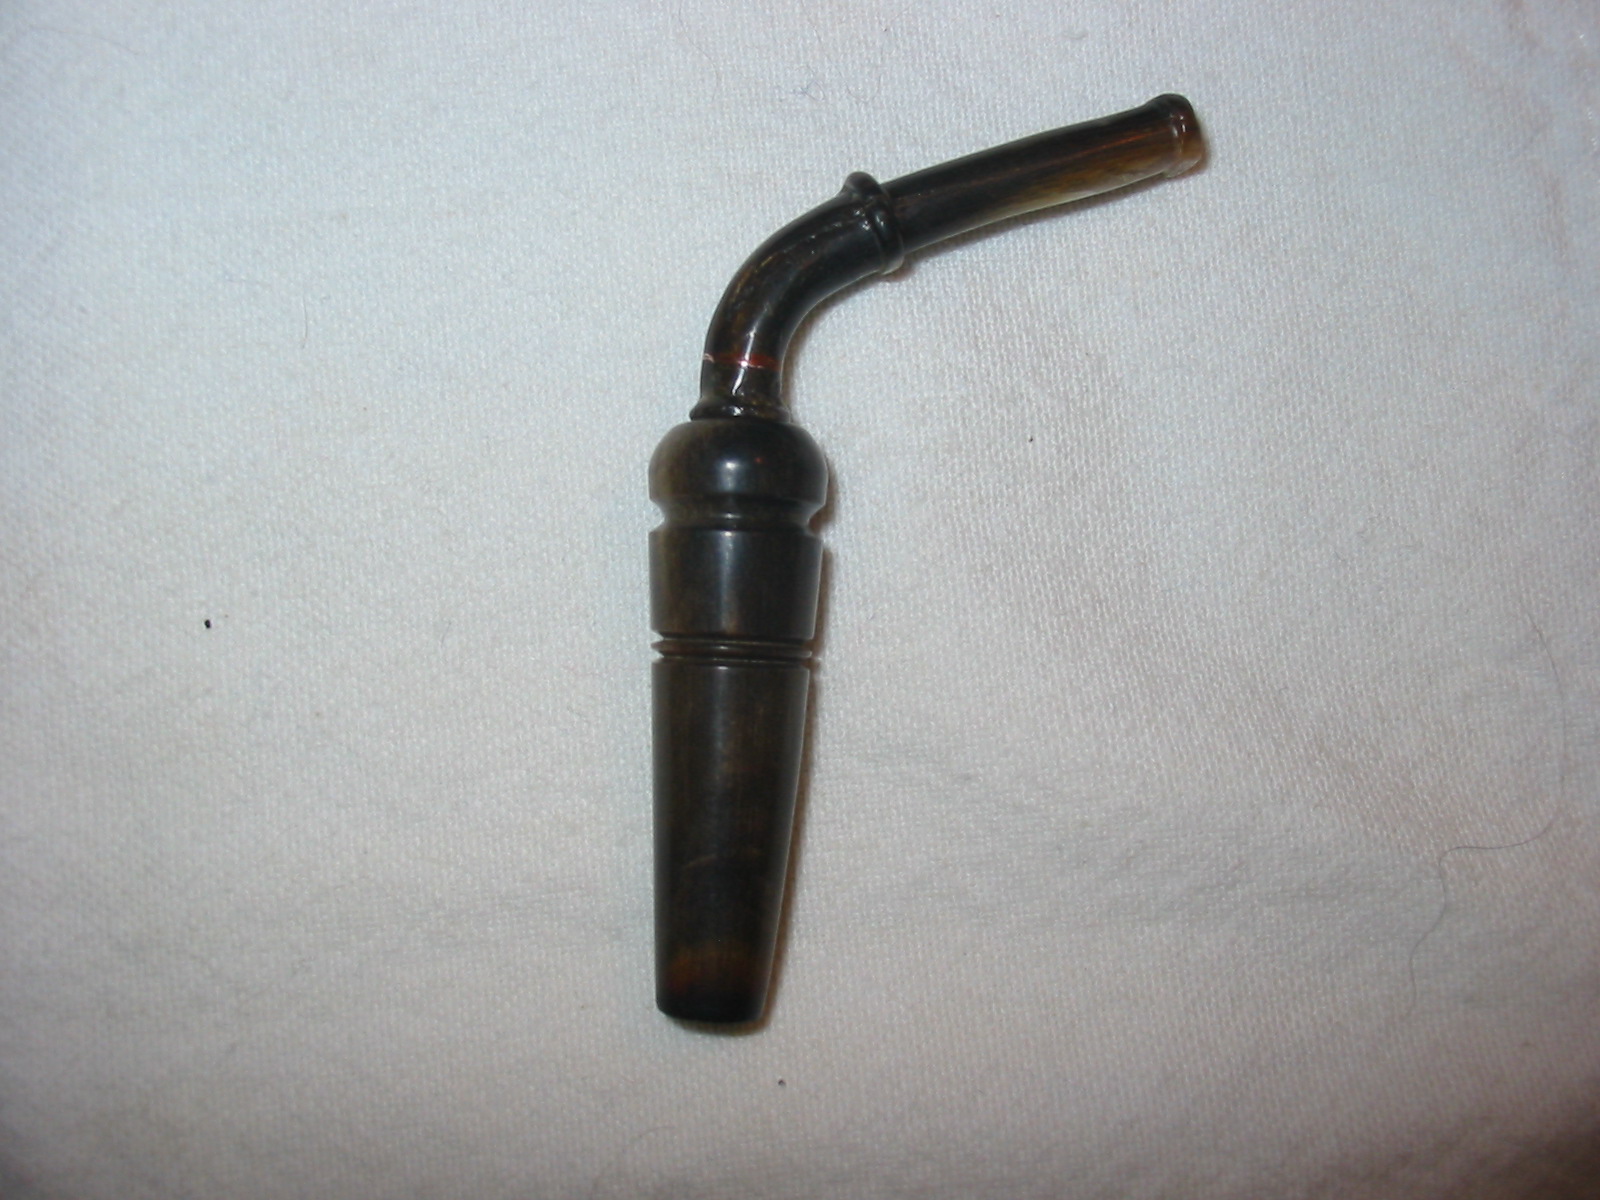
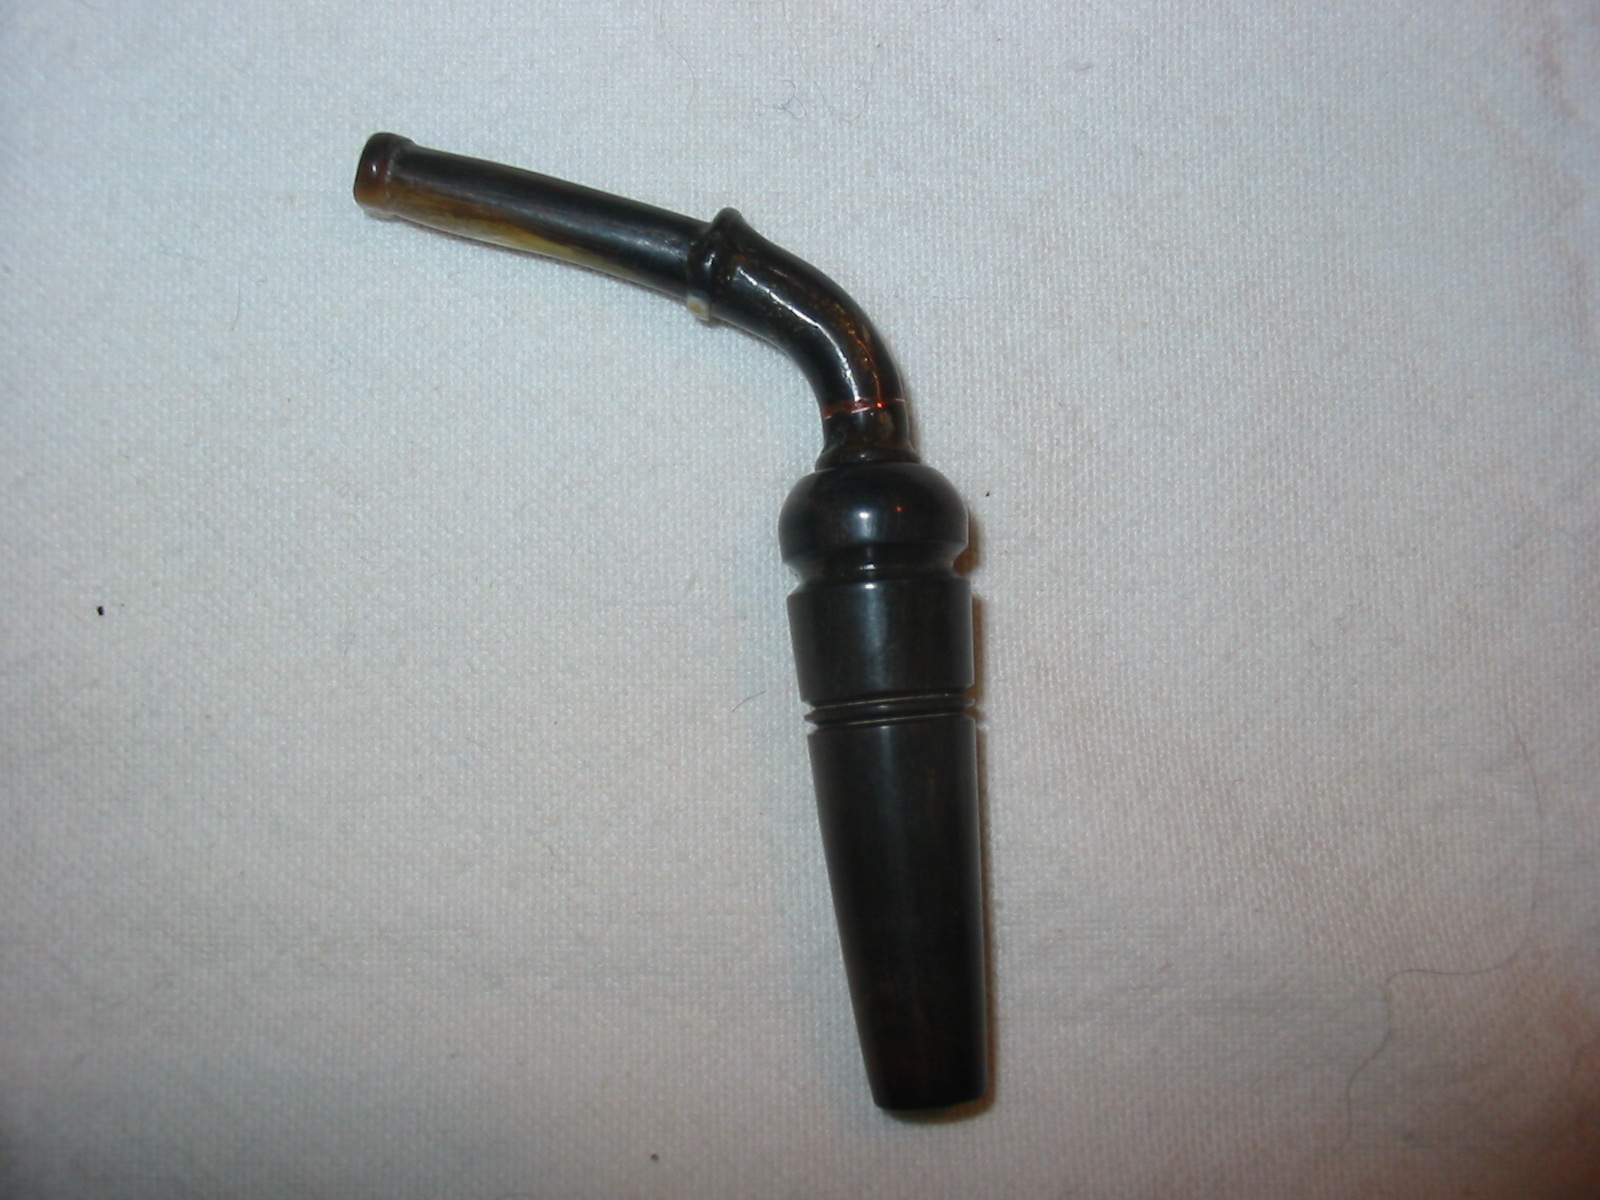
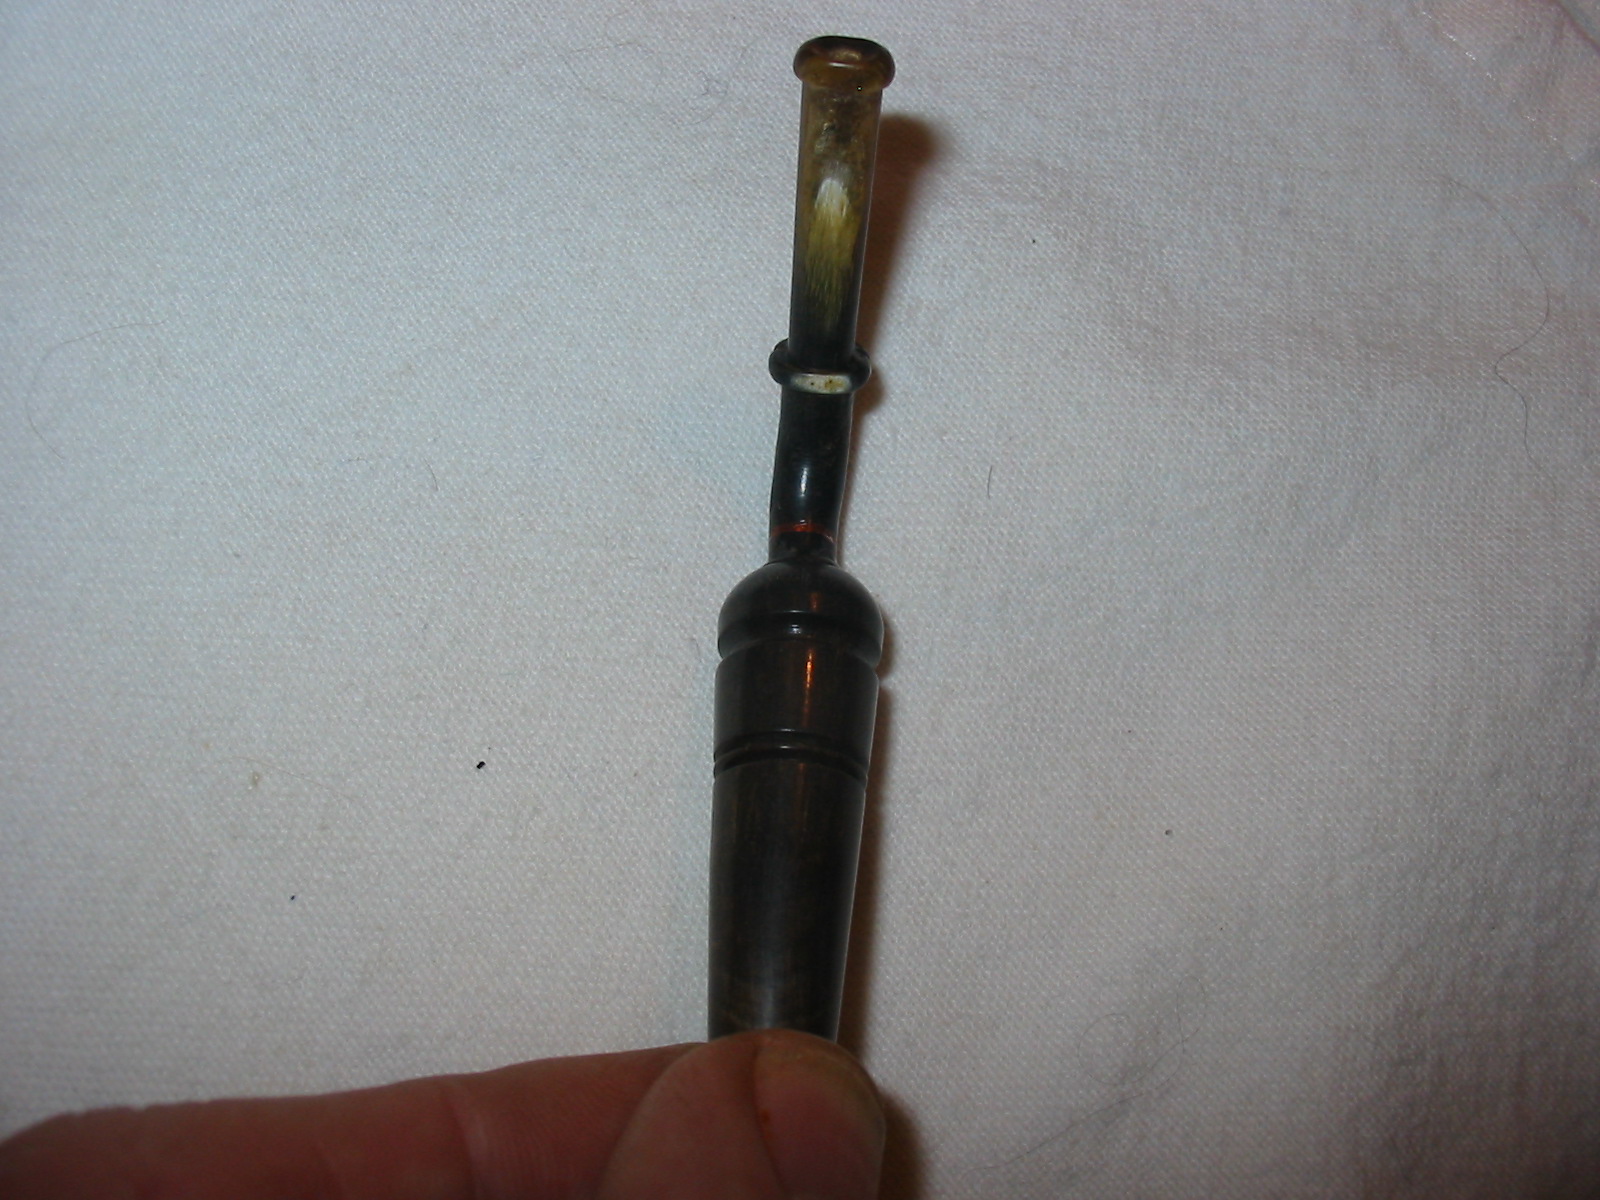
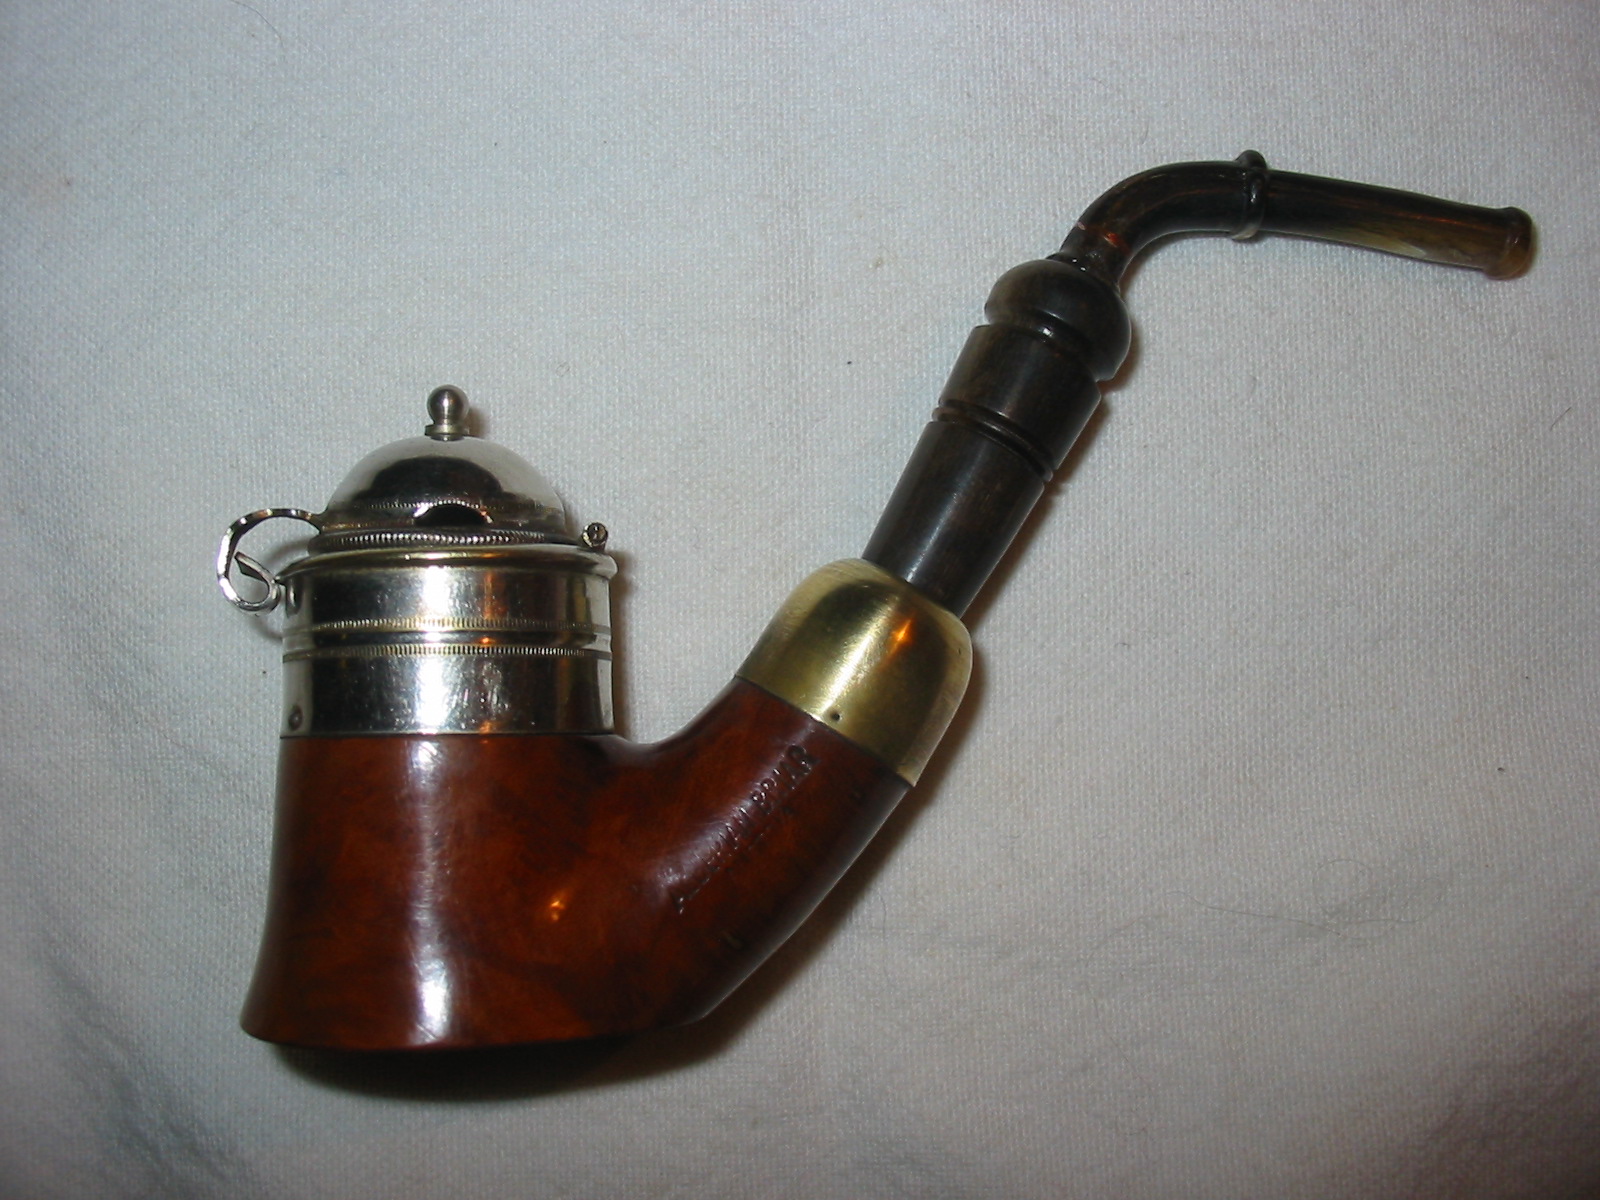
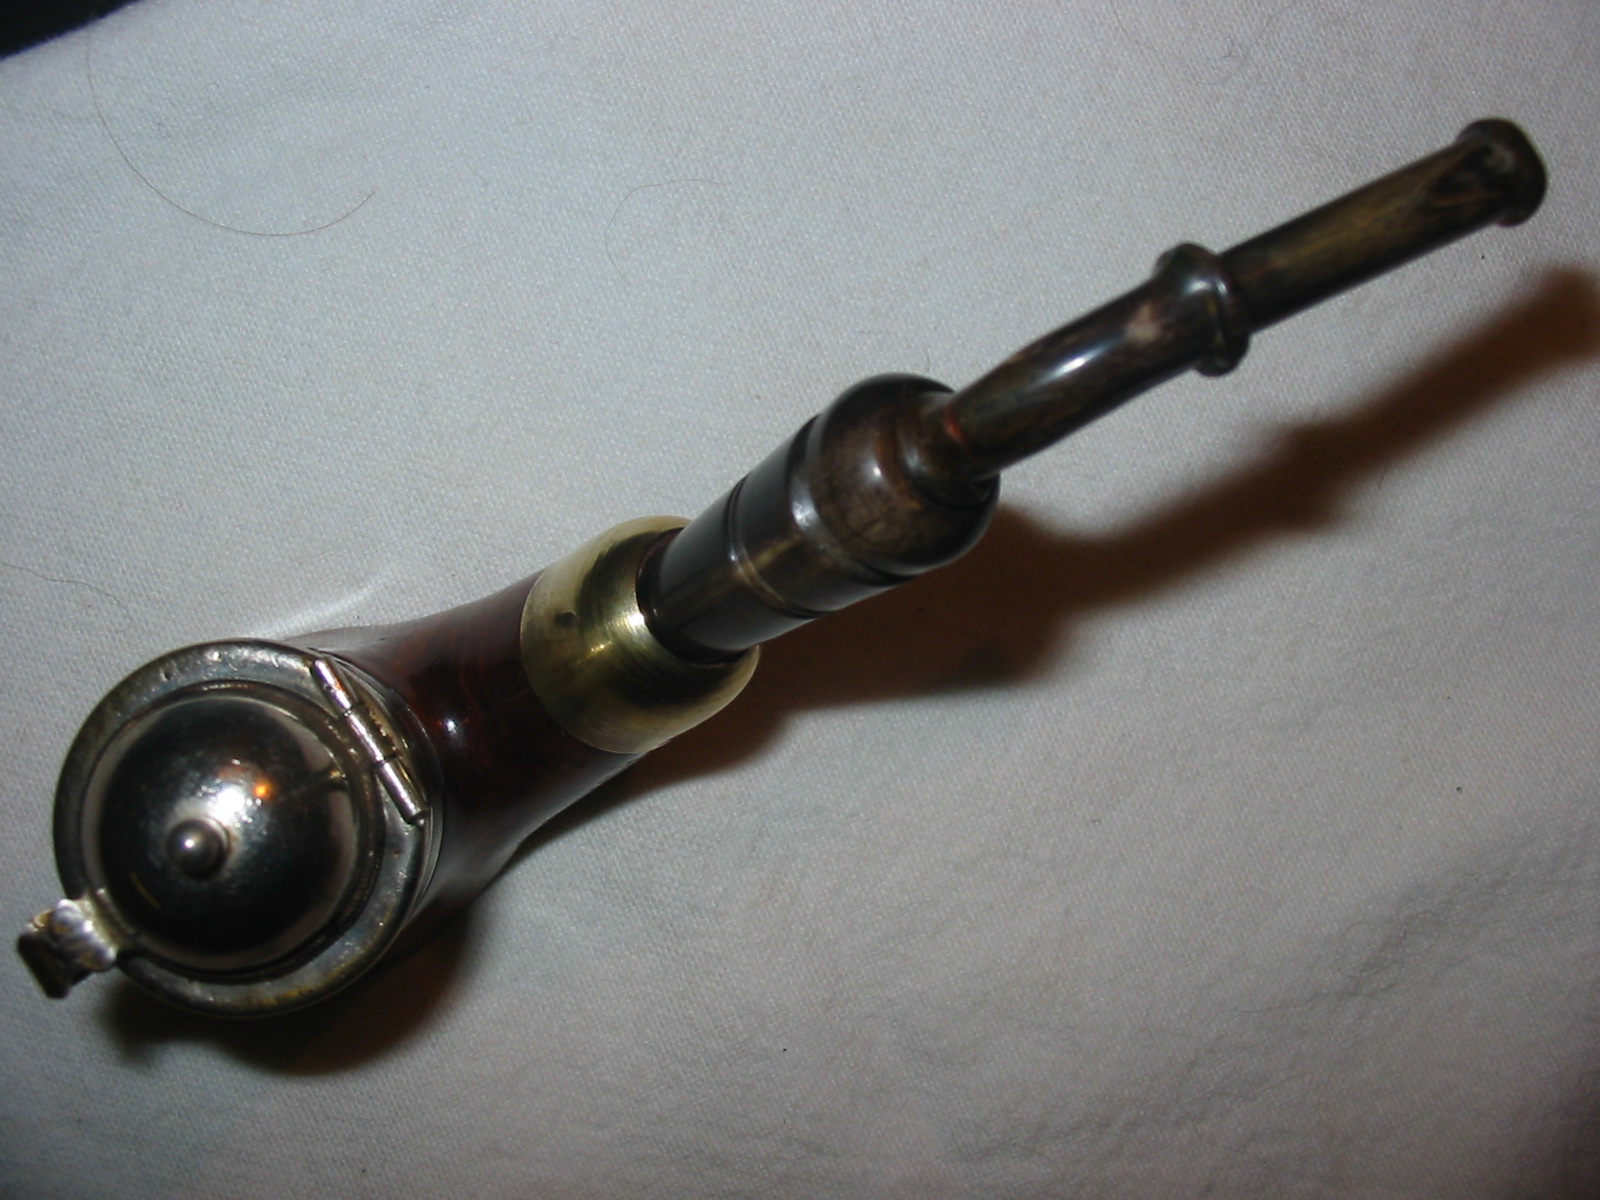
This is the second pipe that was given to me by Chuck Richards. It was a real challenge and it was actually an enjoyable restoration project. This particular pipe is stamped Algerian Briar over Austria on the left side of the shank and on the right side of the bowl below the cap it is stamped EL in an oval. It is actually a nice piece of briar. It is capped by a silver rim cap that goes down the bowl a 1/2 inch. It is rounded over the edges of the rim and flattens in towards the inner rim leaving a briar edge of 1/8 inch. It is topped by a silver wind cap that is hinged a little off centre toward the right side from the back of the bowl. The front of the cap has a folded ornate flap stamped with curls and swirls on the surface. This flap acts as a catch for the lid on the outer lip of the bowl. The cap has a small ball-shaped handle on the top that is for decoration. The cap also has two half circle opening for air. The bowl was heavily caked with a crumbly and soft cake. The stem was horn and was nicely carved. It had also been repaired at least once in its life. At the junction of the smaller part of the stem to the saddle there had been a repair done. It looked at first as if it was copper wire that was used to band the horn which seemed to have splintered and been repaired. Upon closer examination I am almost certain it is a small copper band that was set into the horn stem to secure the break. It is solid. The upper portion of the stem had also splintered and not been repaired. The round end of the button had been worn down on the top and bottom edges to where it was almost squared off. The splinter on the bottom of the stem was loose. The horn was also covered with a shiny lacquer like substance that hid the beauty of the horn. I wonder if it was part of the original repair. The next series of three photos show the pipe as it appeared when I took it out of the shipping box and bubble wrap. I was really interested in seeing what I could do with this one – a worthy challenge that would be enjoyable to work on.


I took it to my work table and removed the stem. I examined the shank and the bowl as well as the stem. I have noted above what I saw in my examination. The interior of the shank was in good shape, there was little wear on the inside from the insertion of the horn stem. The drilling was similar to a Peterson in that it had a sump area with the airway drilled above that. It allowed for condensation of the tobacco juices to settle into that well. It was full and dark and the stain of the juices had migrated up the stem and stained the bottom edge. You can also see the repairs that had been made to the stem in the three photos below. The bowl cap was tarnished and the brass shank cap was also tarnished. The stamping is also clearly visible in the photos. At this point I sat and examined the stem to make a decision whether to seek and revive it or to replace it with a newer Peterson style fish tail stem. After some time examining it I decided to see what I could do with the existing stem and left the other stem idea in reserve should I need to do that.


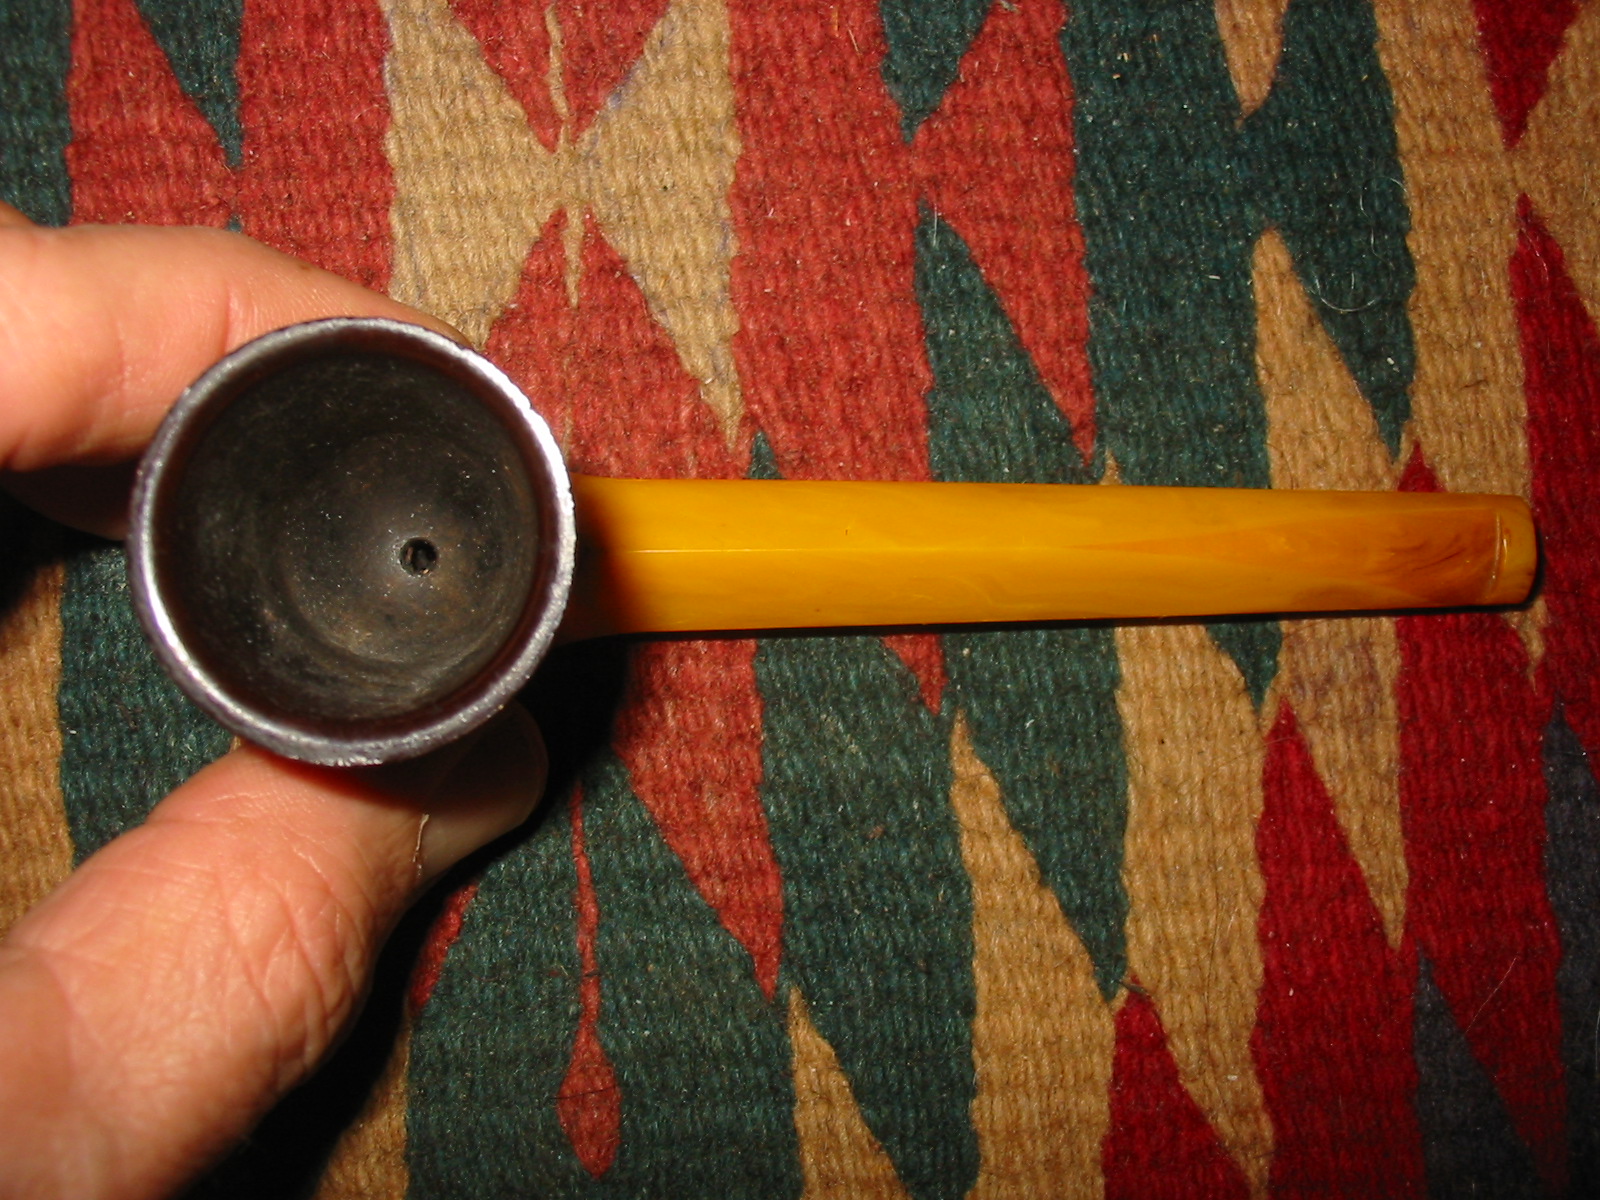
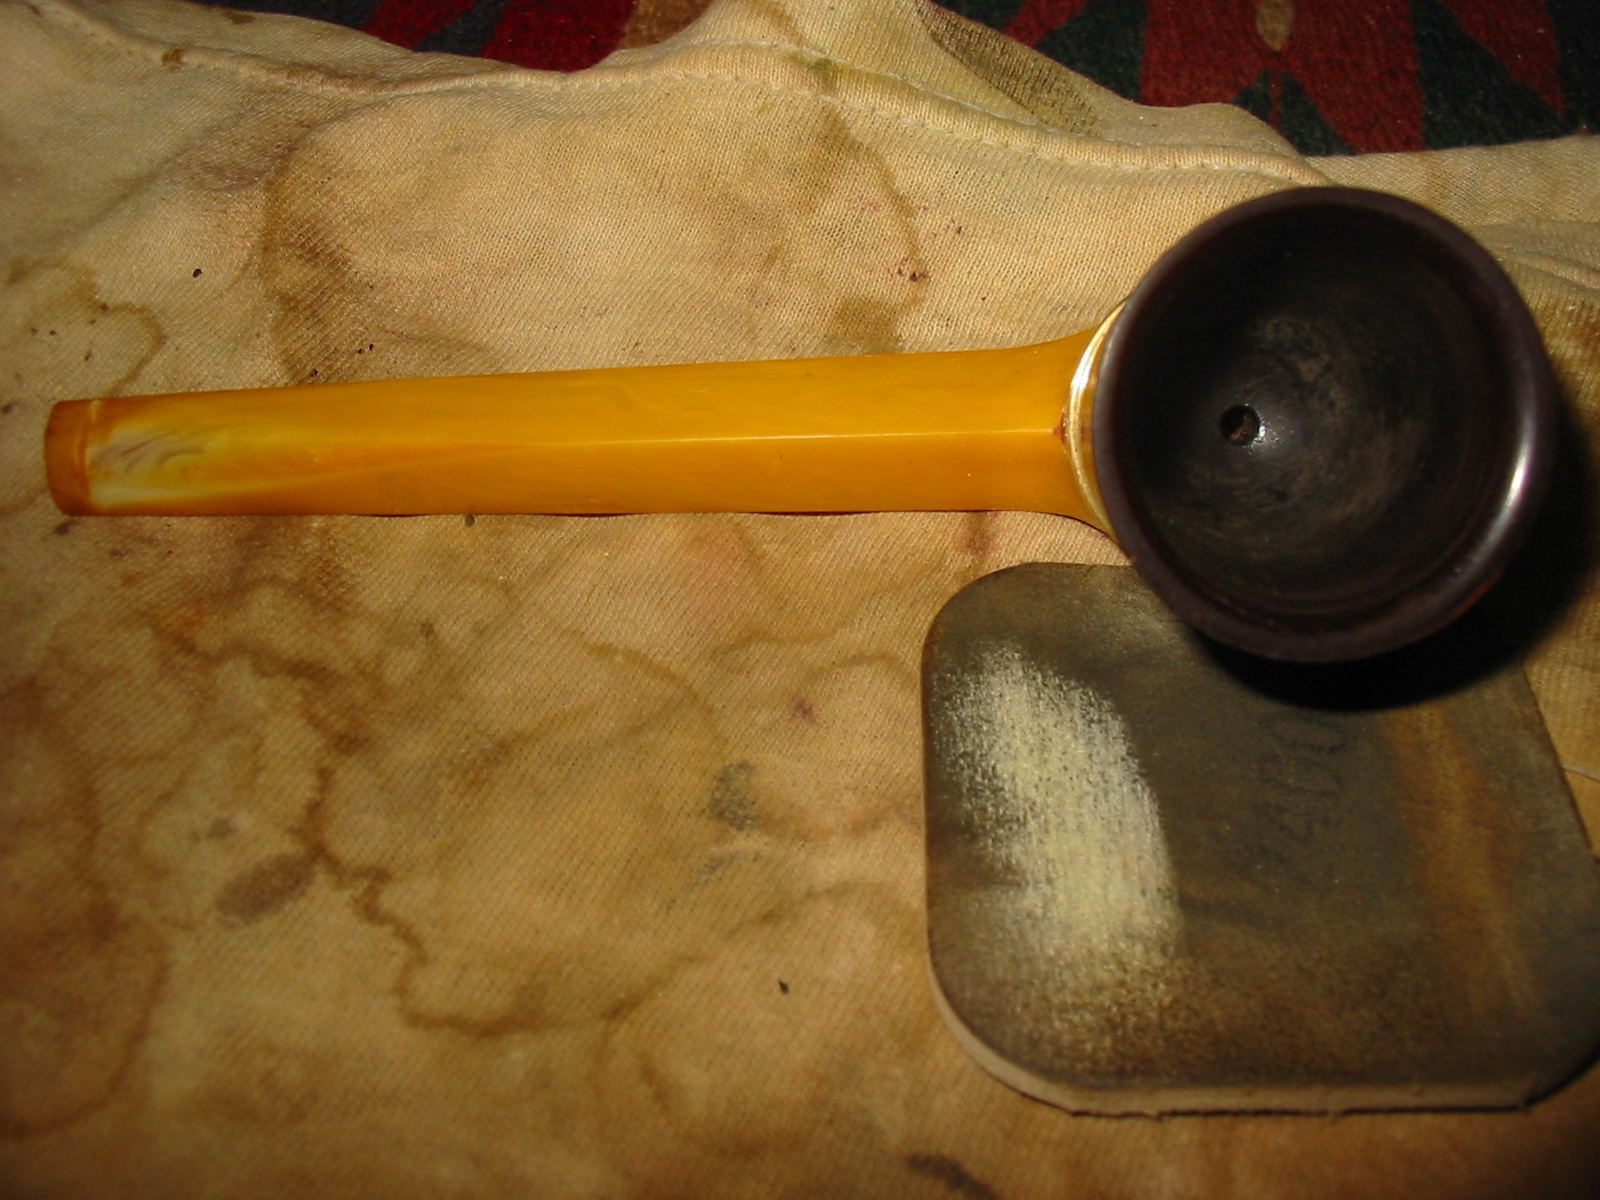
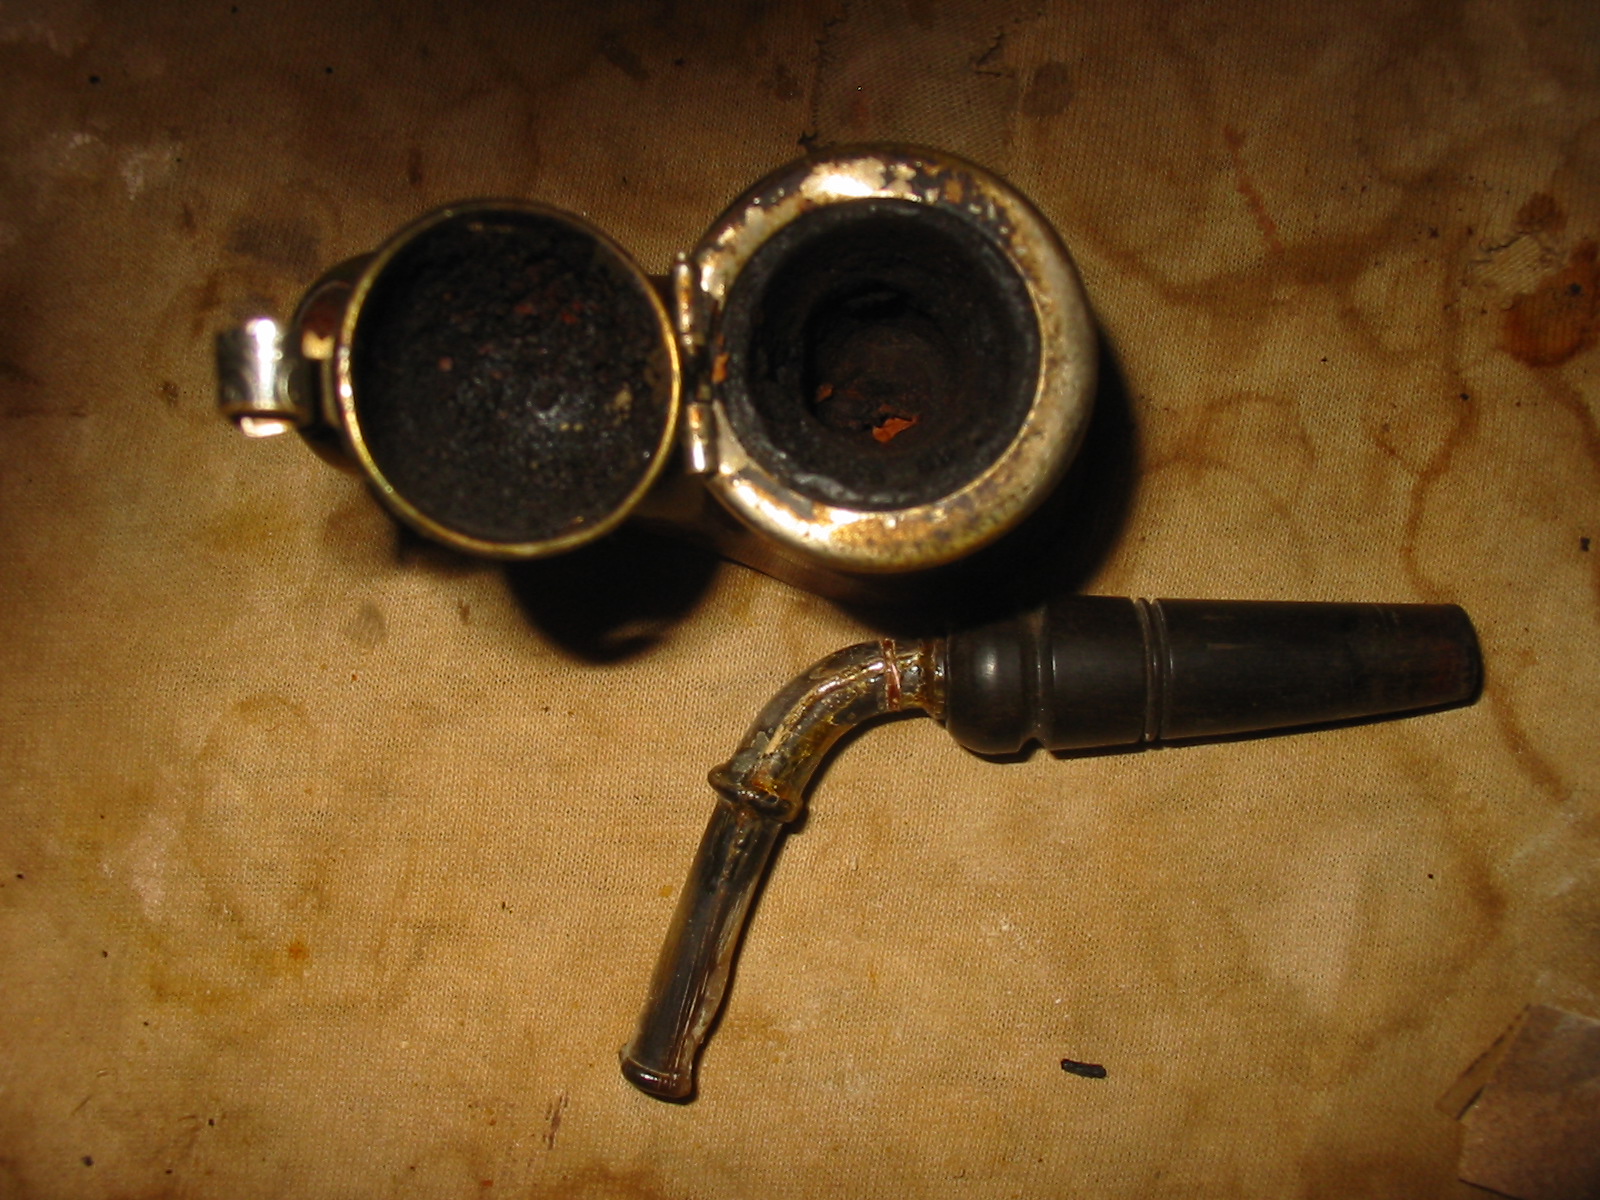
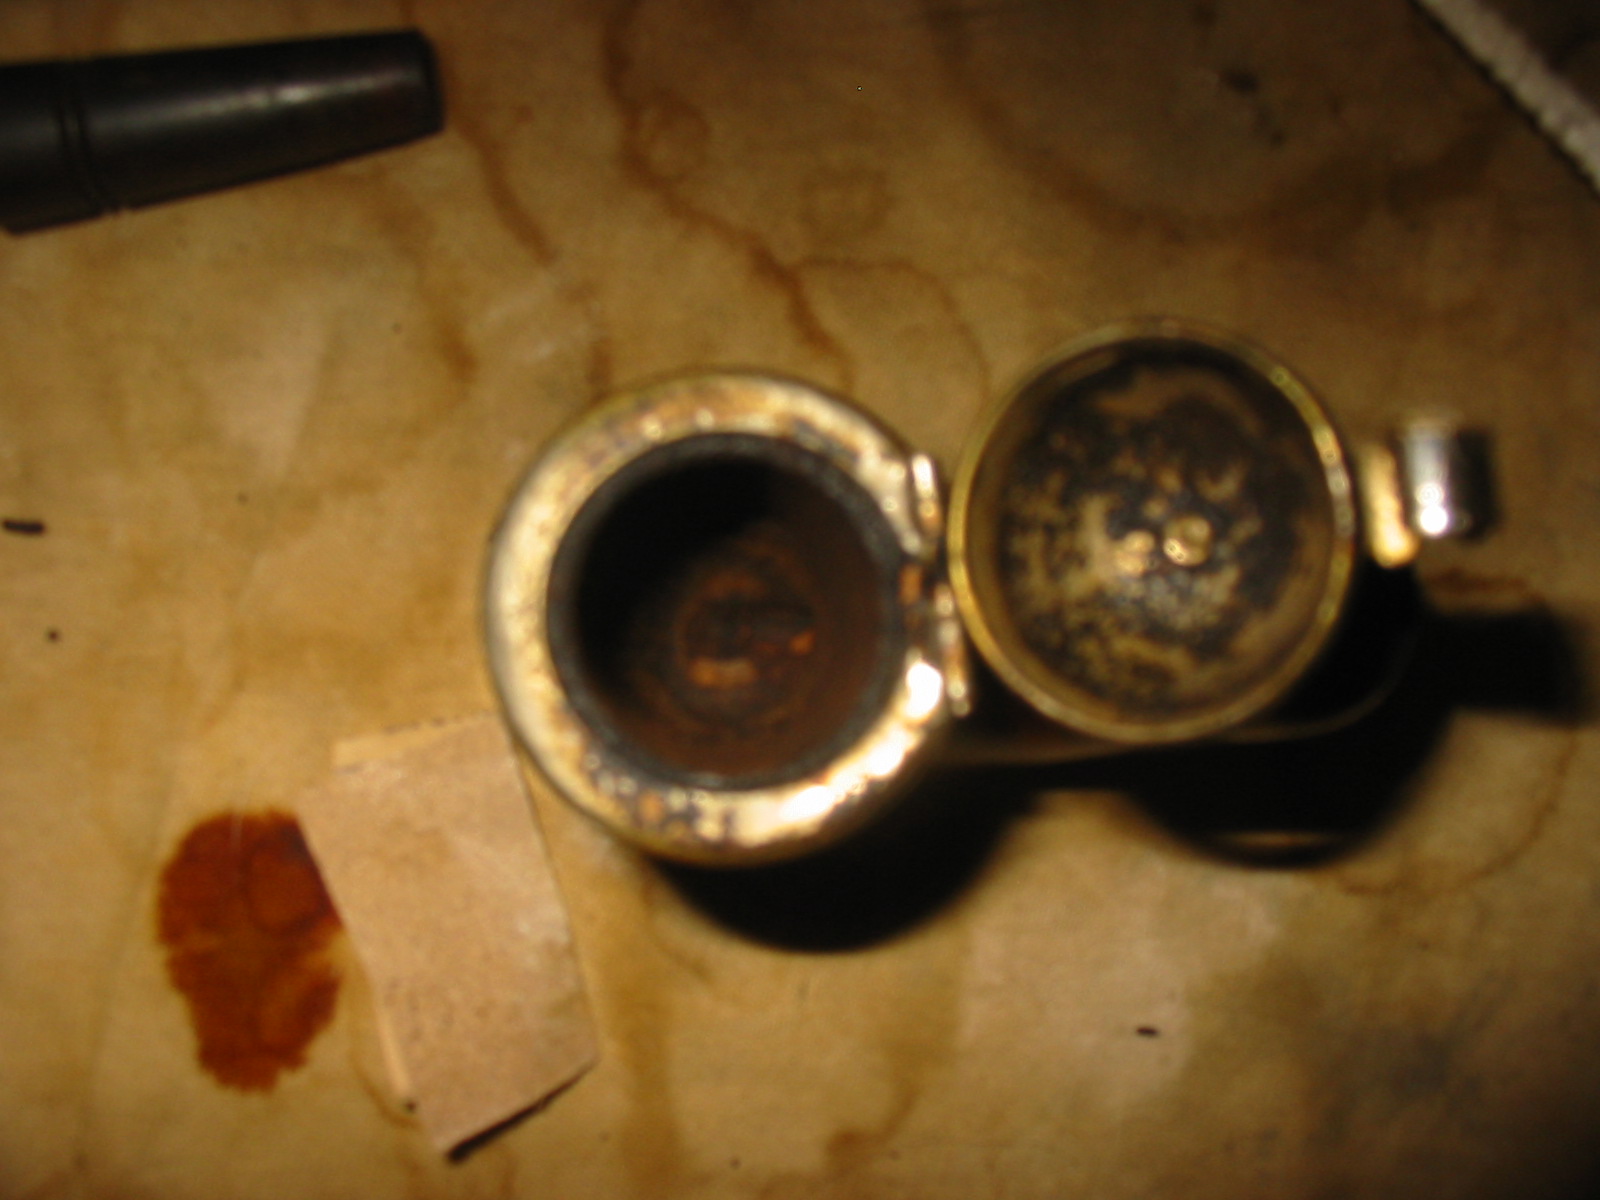
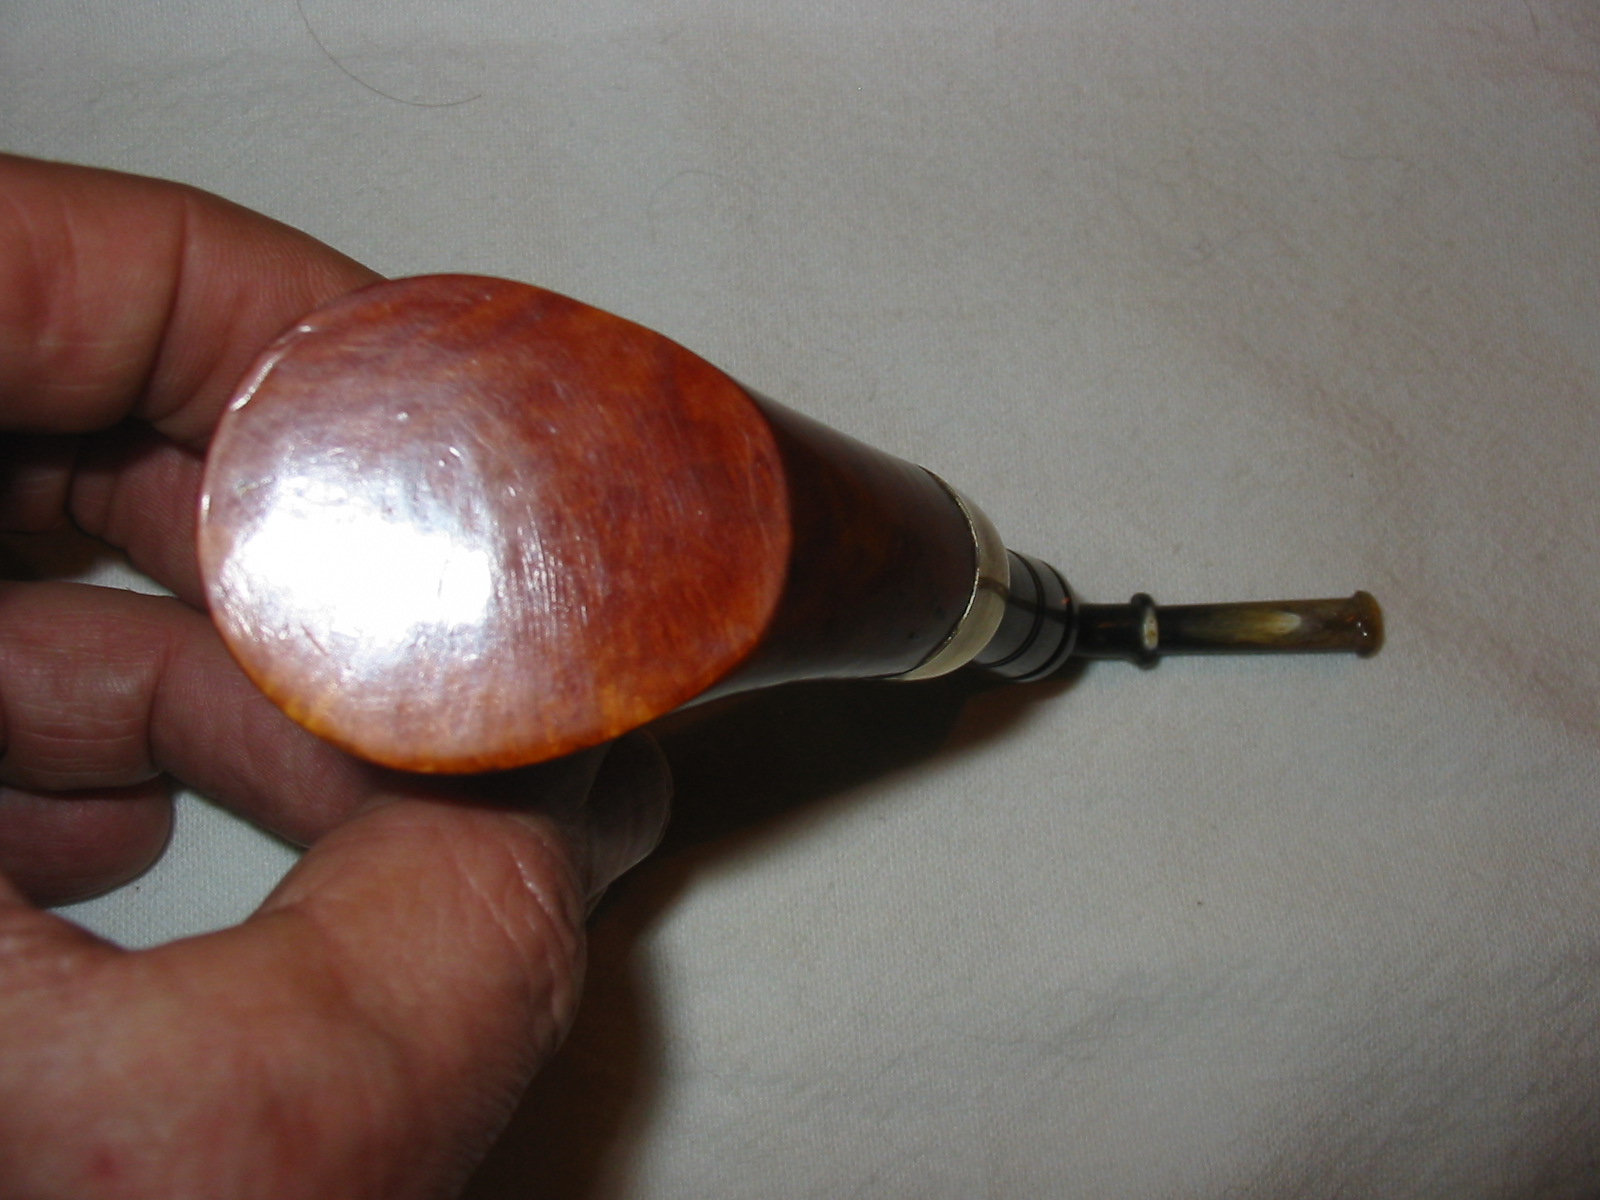
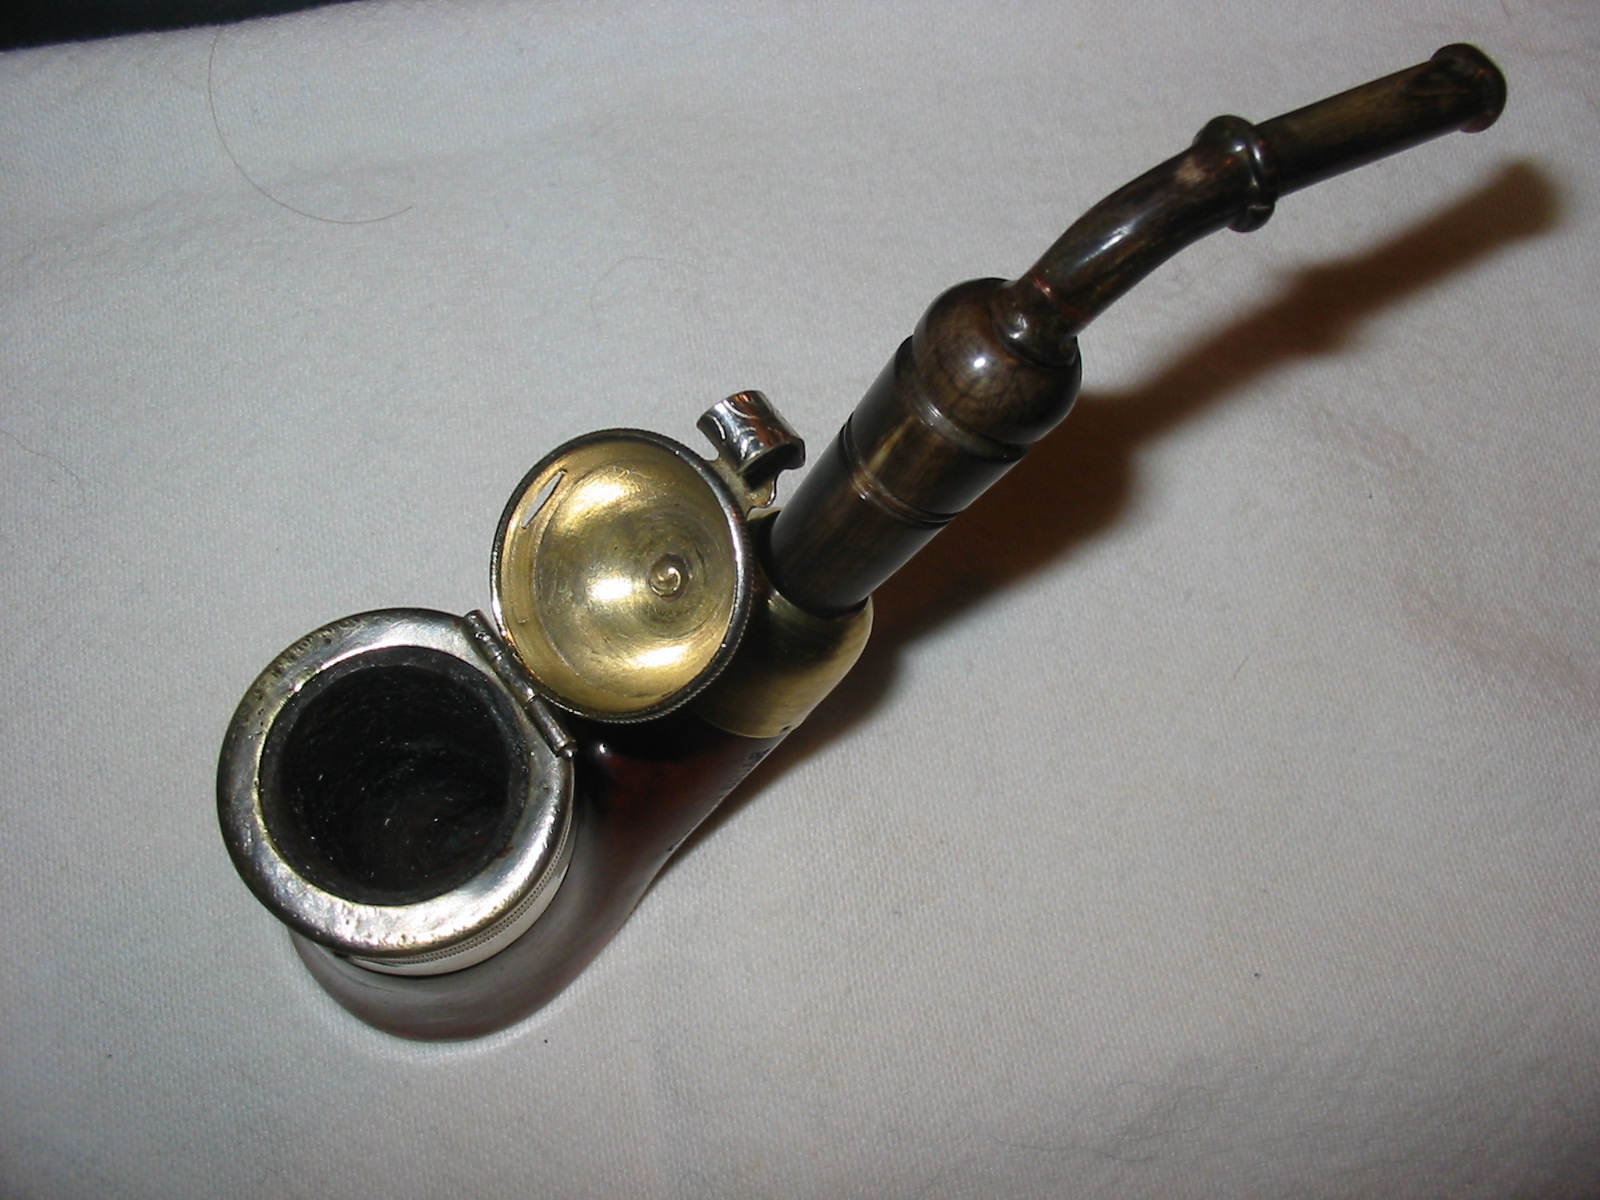
The first of the next two photos shows the bottom of the bowl and give a clear idea of the nice piece of briar that I was dealing with. The second photo shows the inside of the bowl and the wind cap. The cake and build up of lava like tar on the lid is prominent.


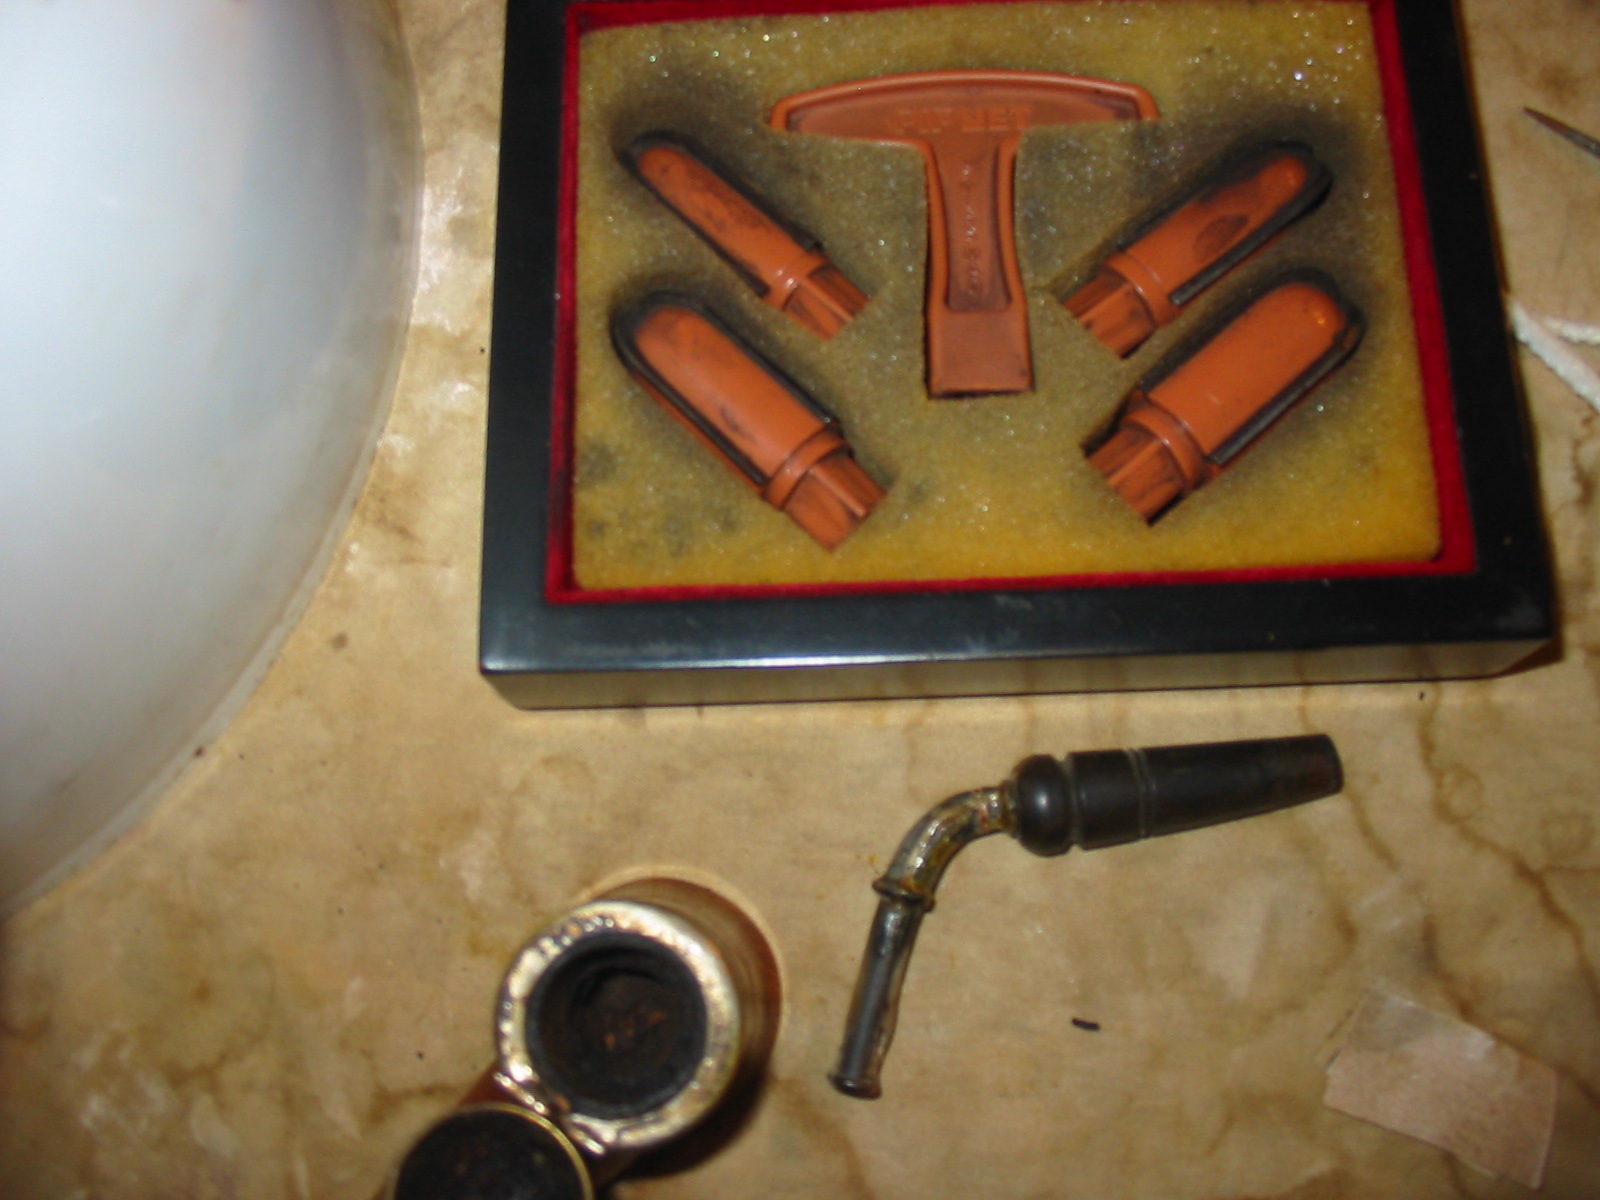
I decided to begin with cleaning the bowl. I used a PipNet reamer set with different sized cutting blades. I used the first two heads on this bowl. The first one, the smallest opened up the cake and cut off the broken edges. I followed that up with the second cutting head and took the cake back to the briar so that I could give it a thorough cleaning. The next four photos show the reaming process. I also cleaned out the sump and the airway in the shank with folded pipe cleaners, cotton swabs and Everclear. Once that was done I also scraped out the inside of the cap with the head of the cutting blades on the PipNet set.


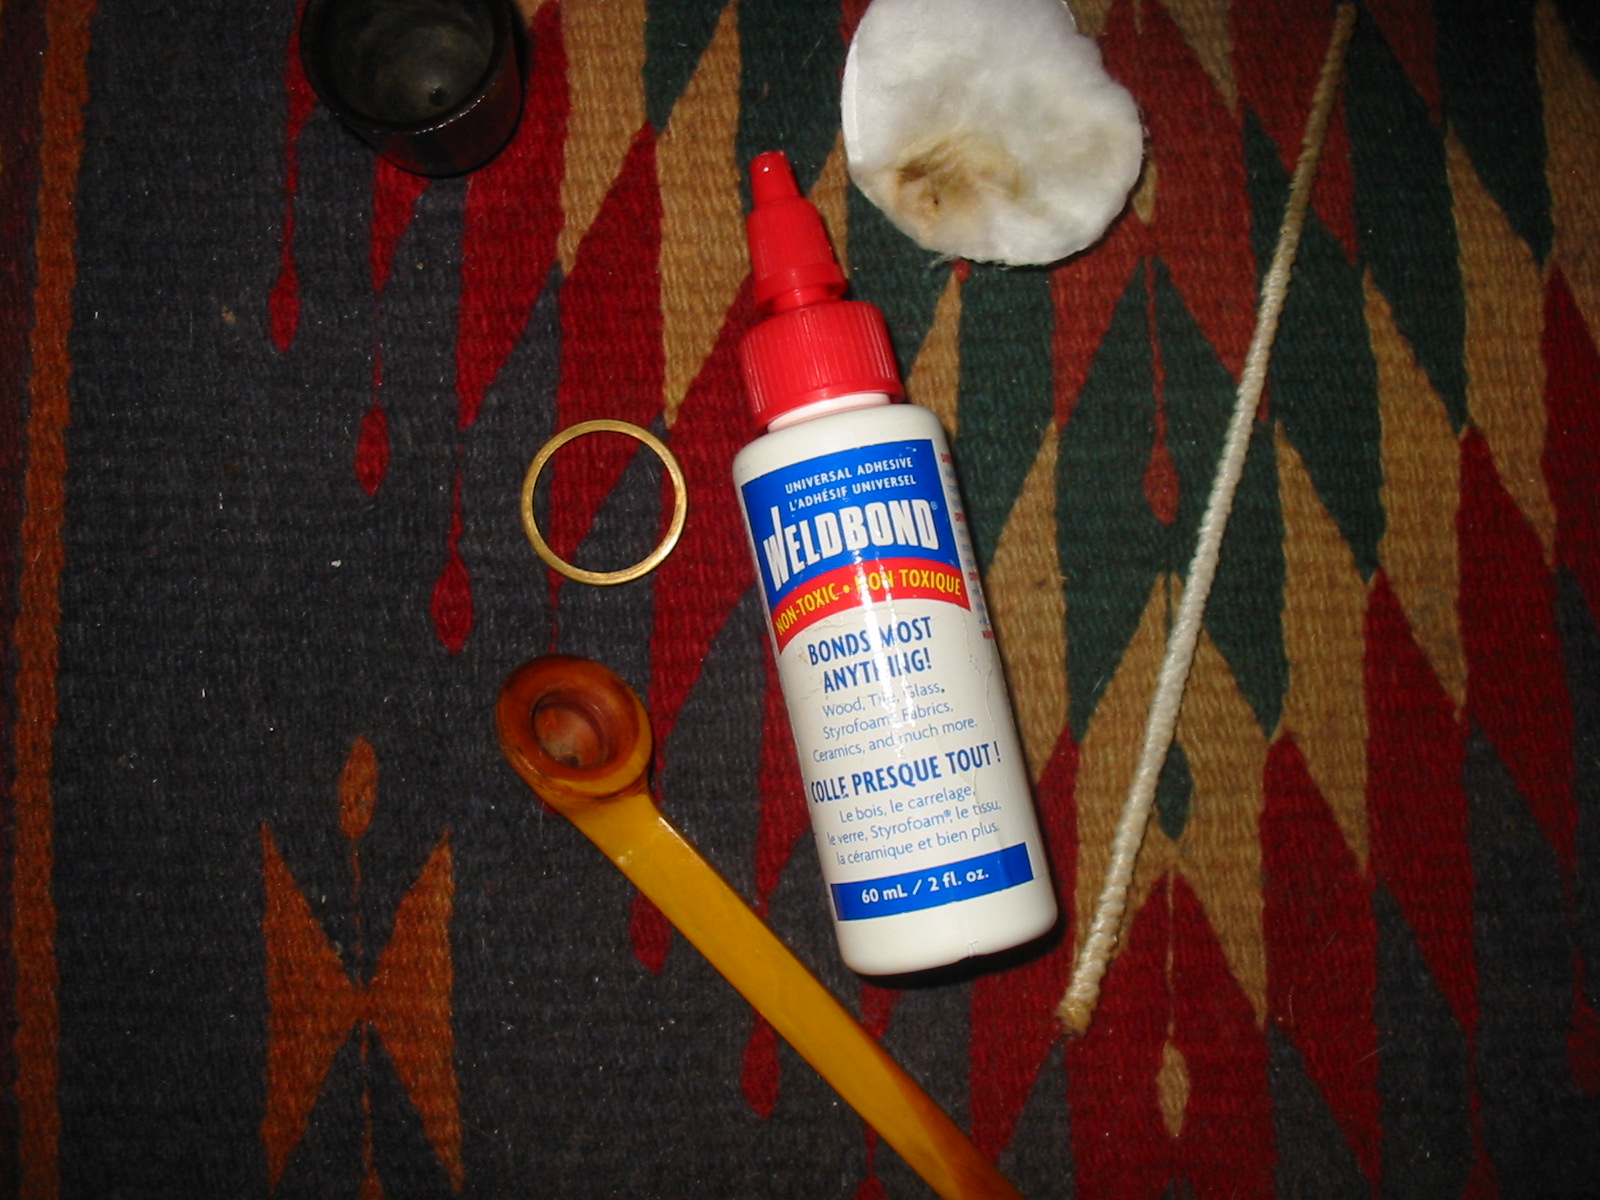
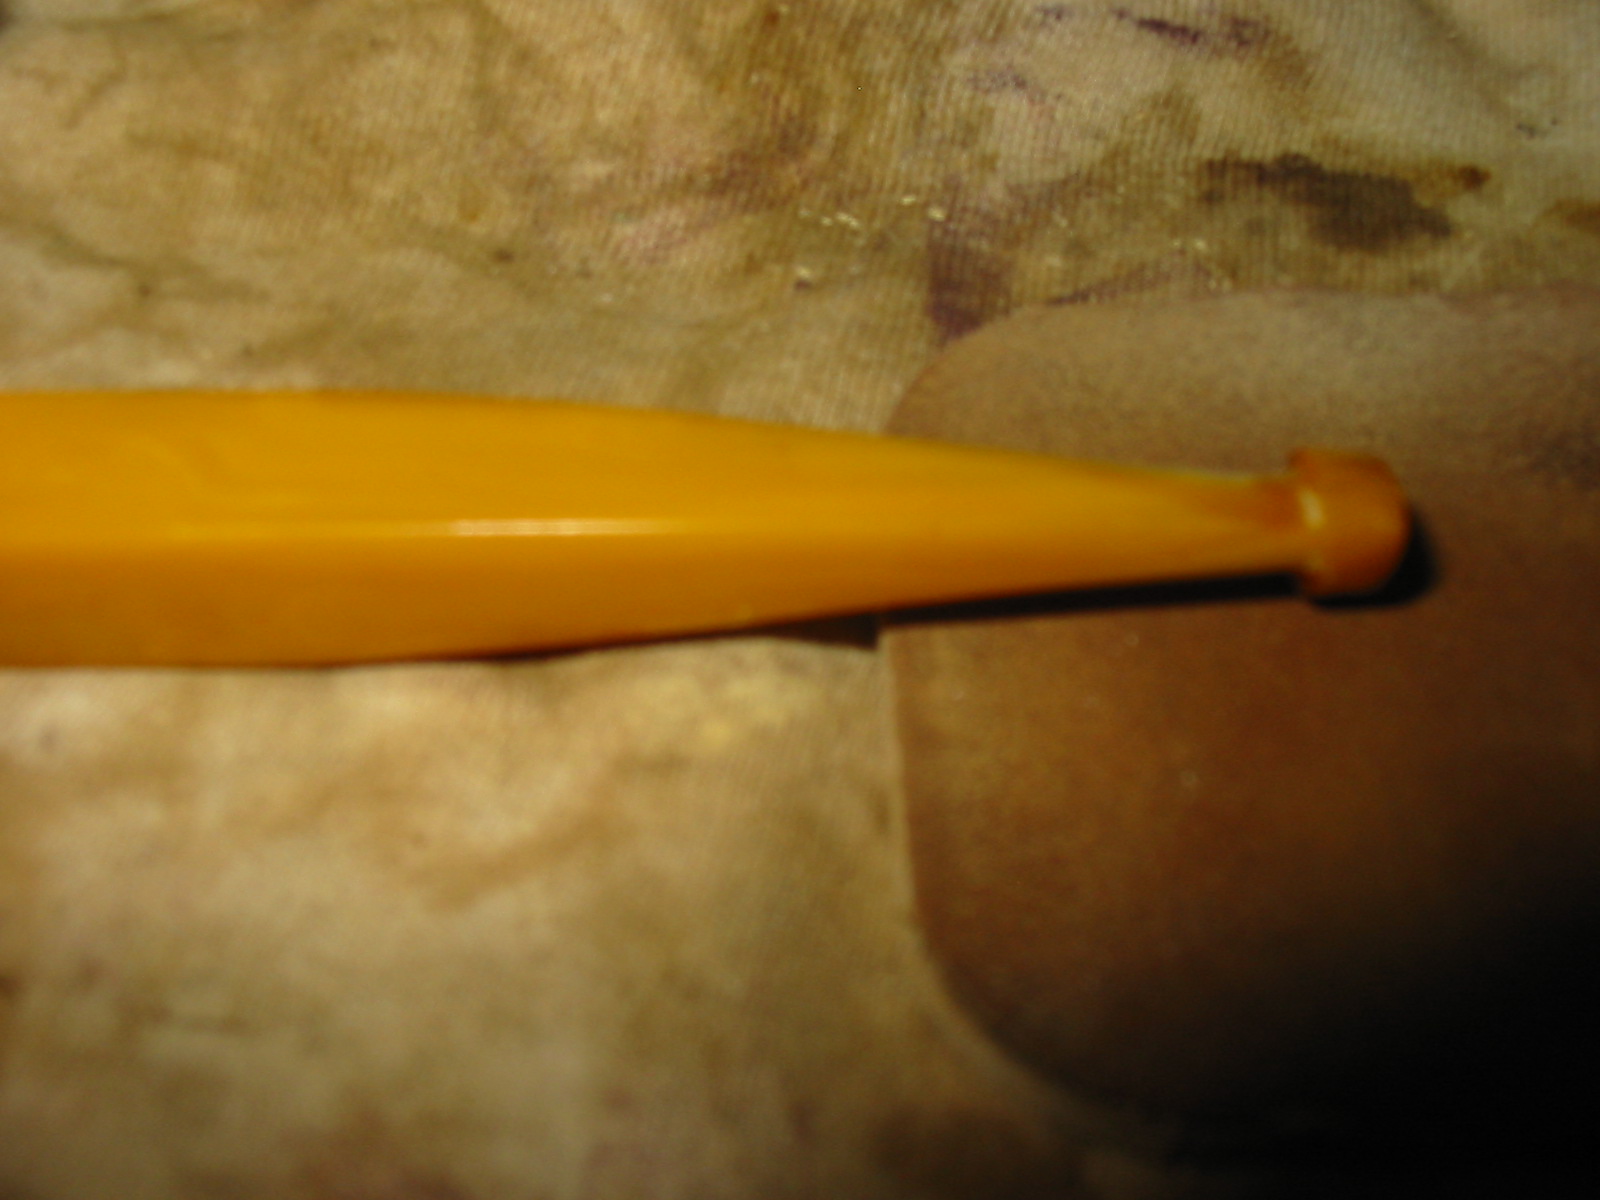
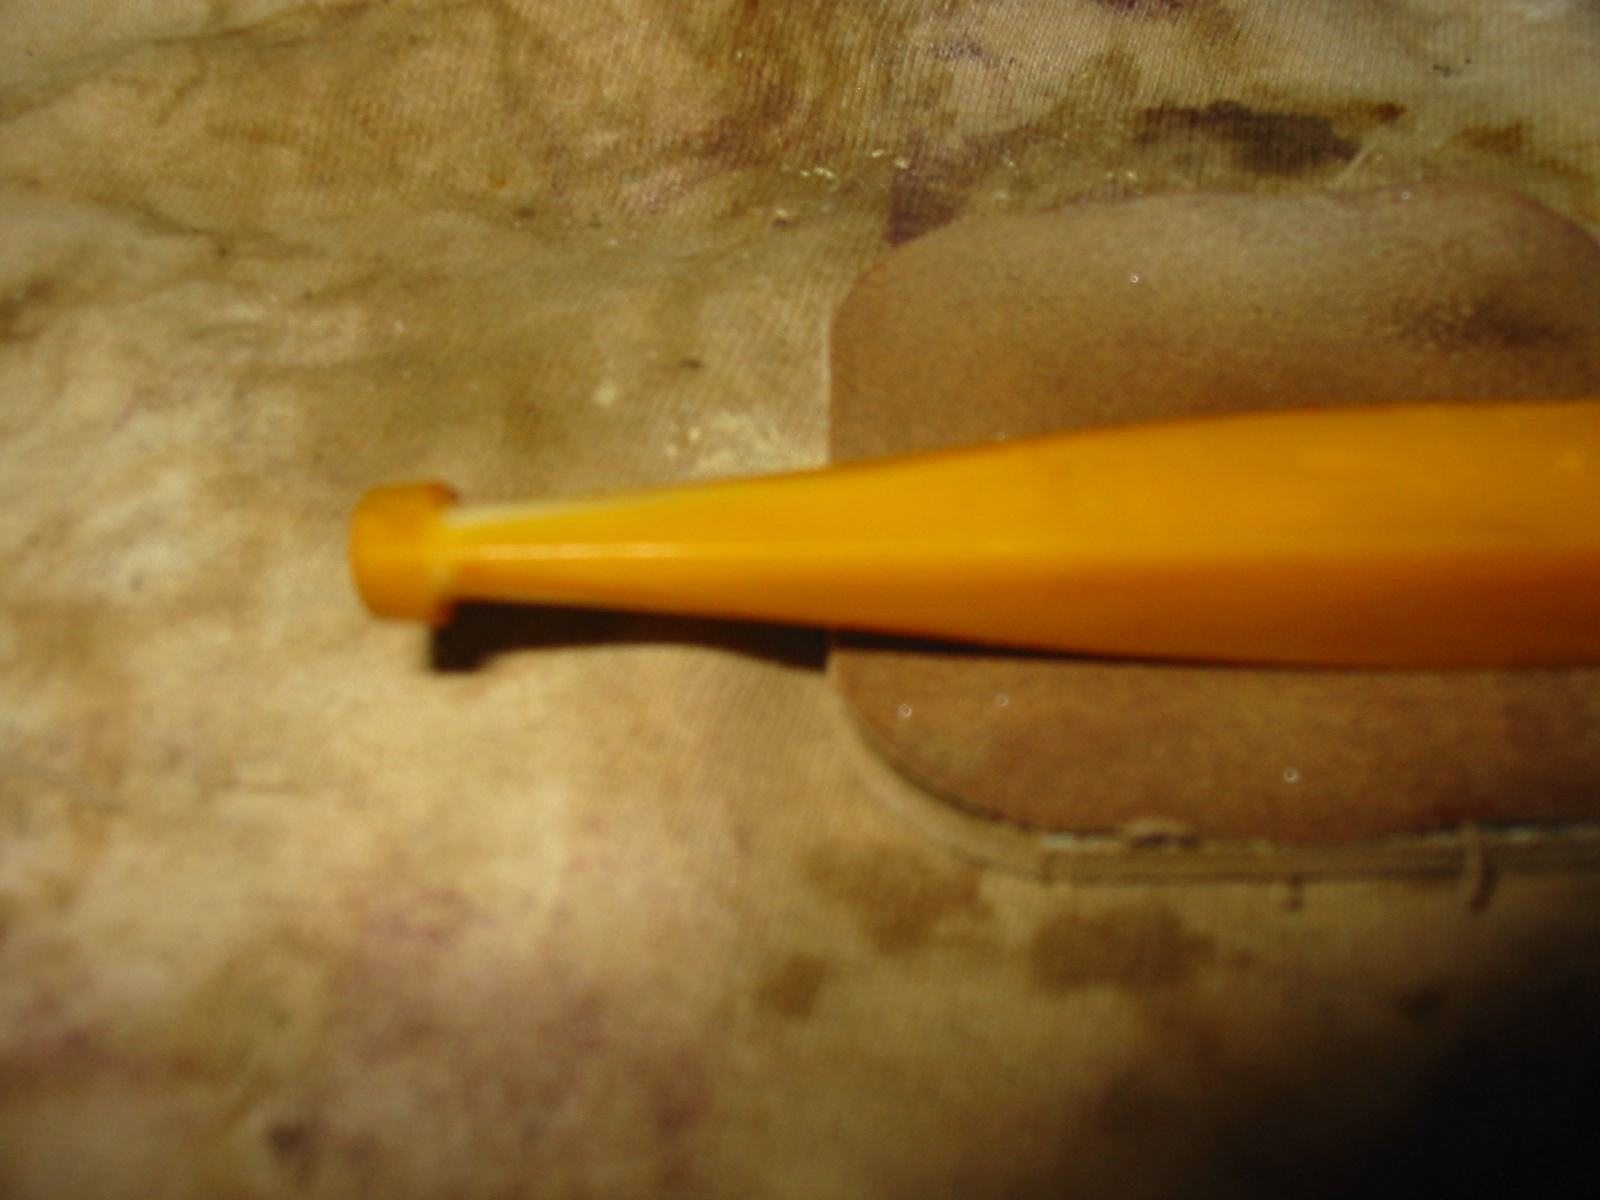
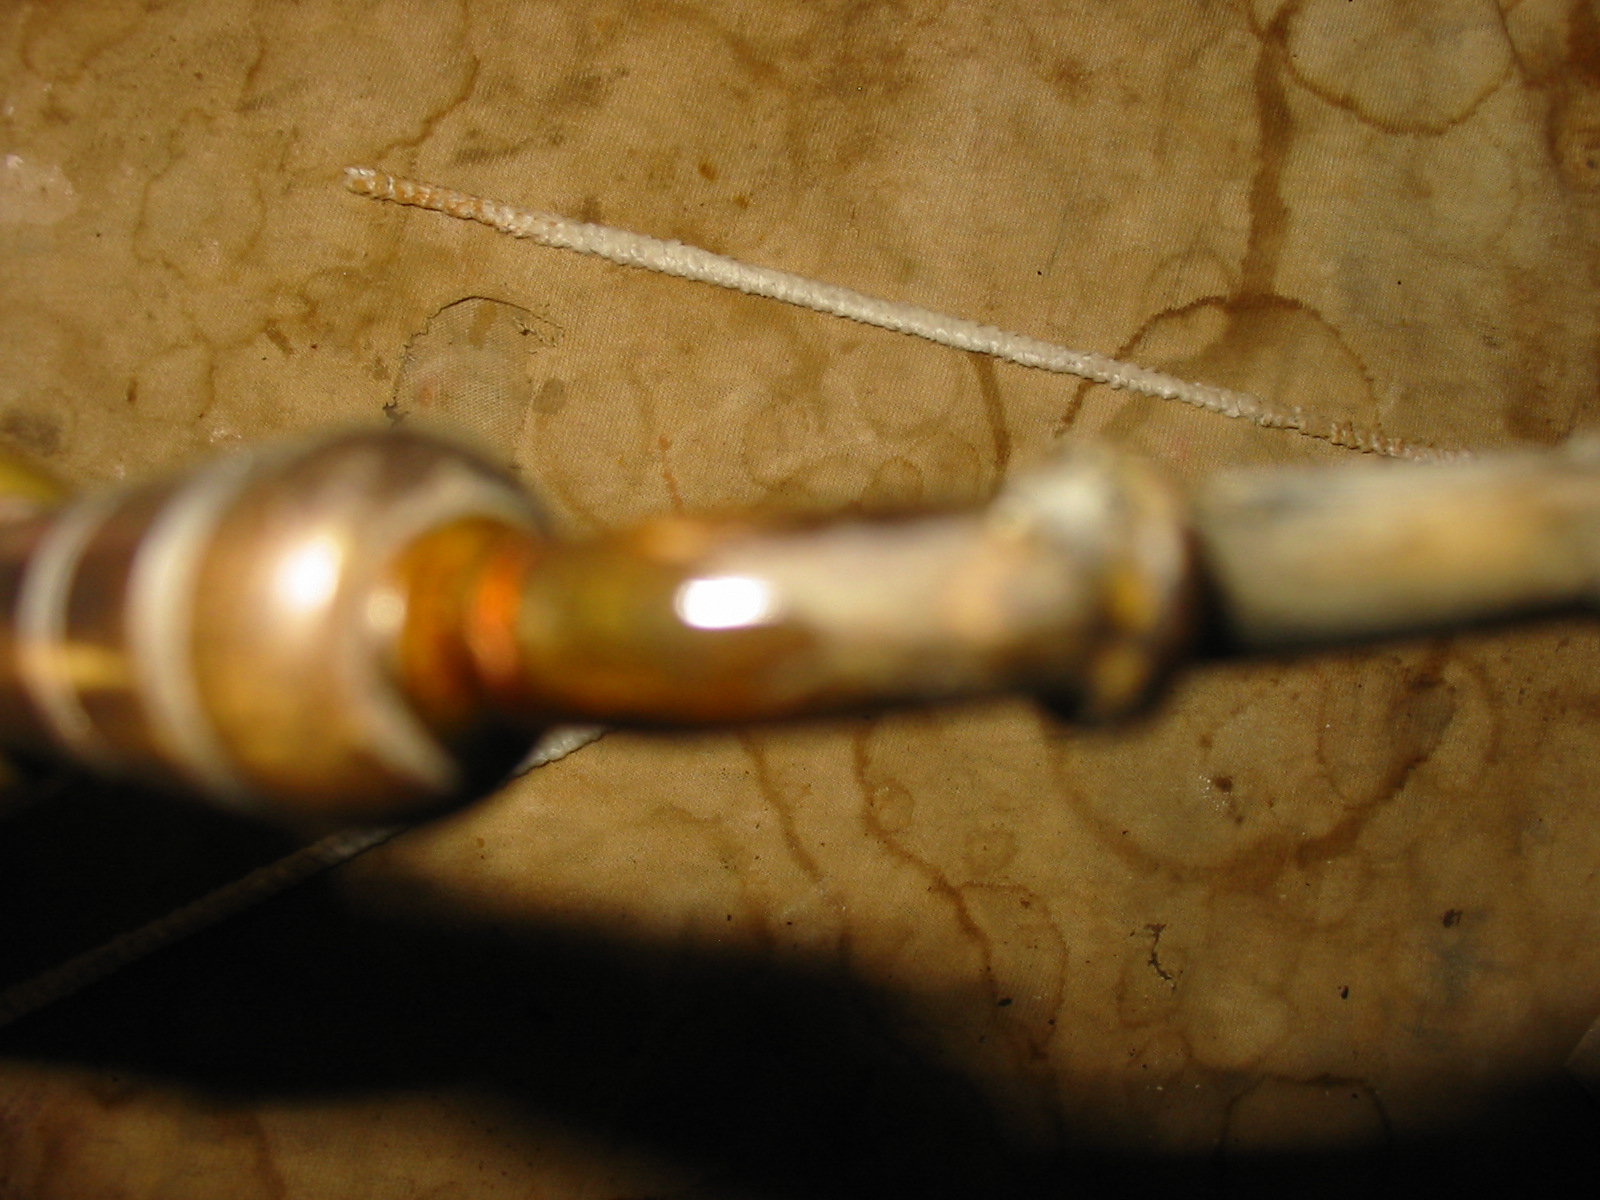
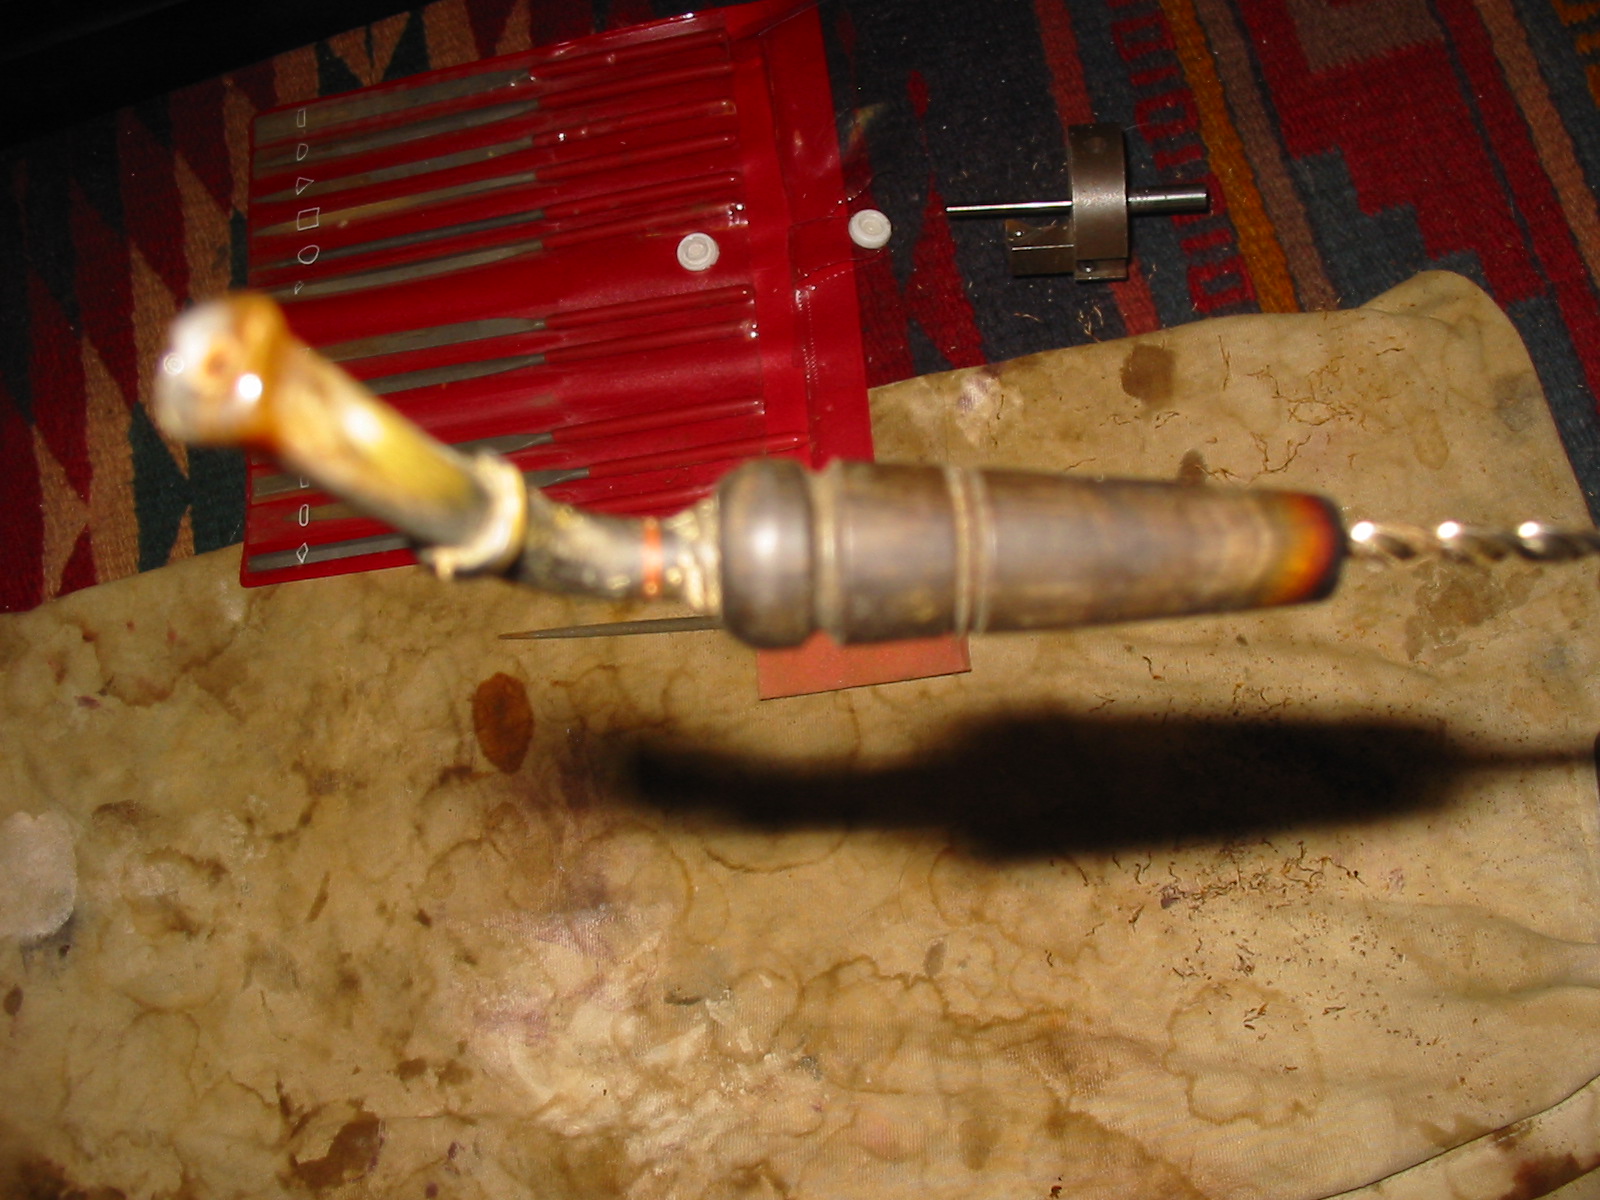
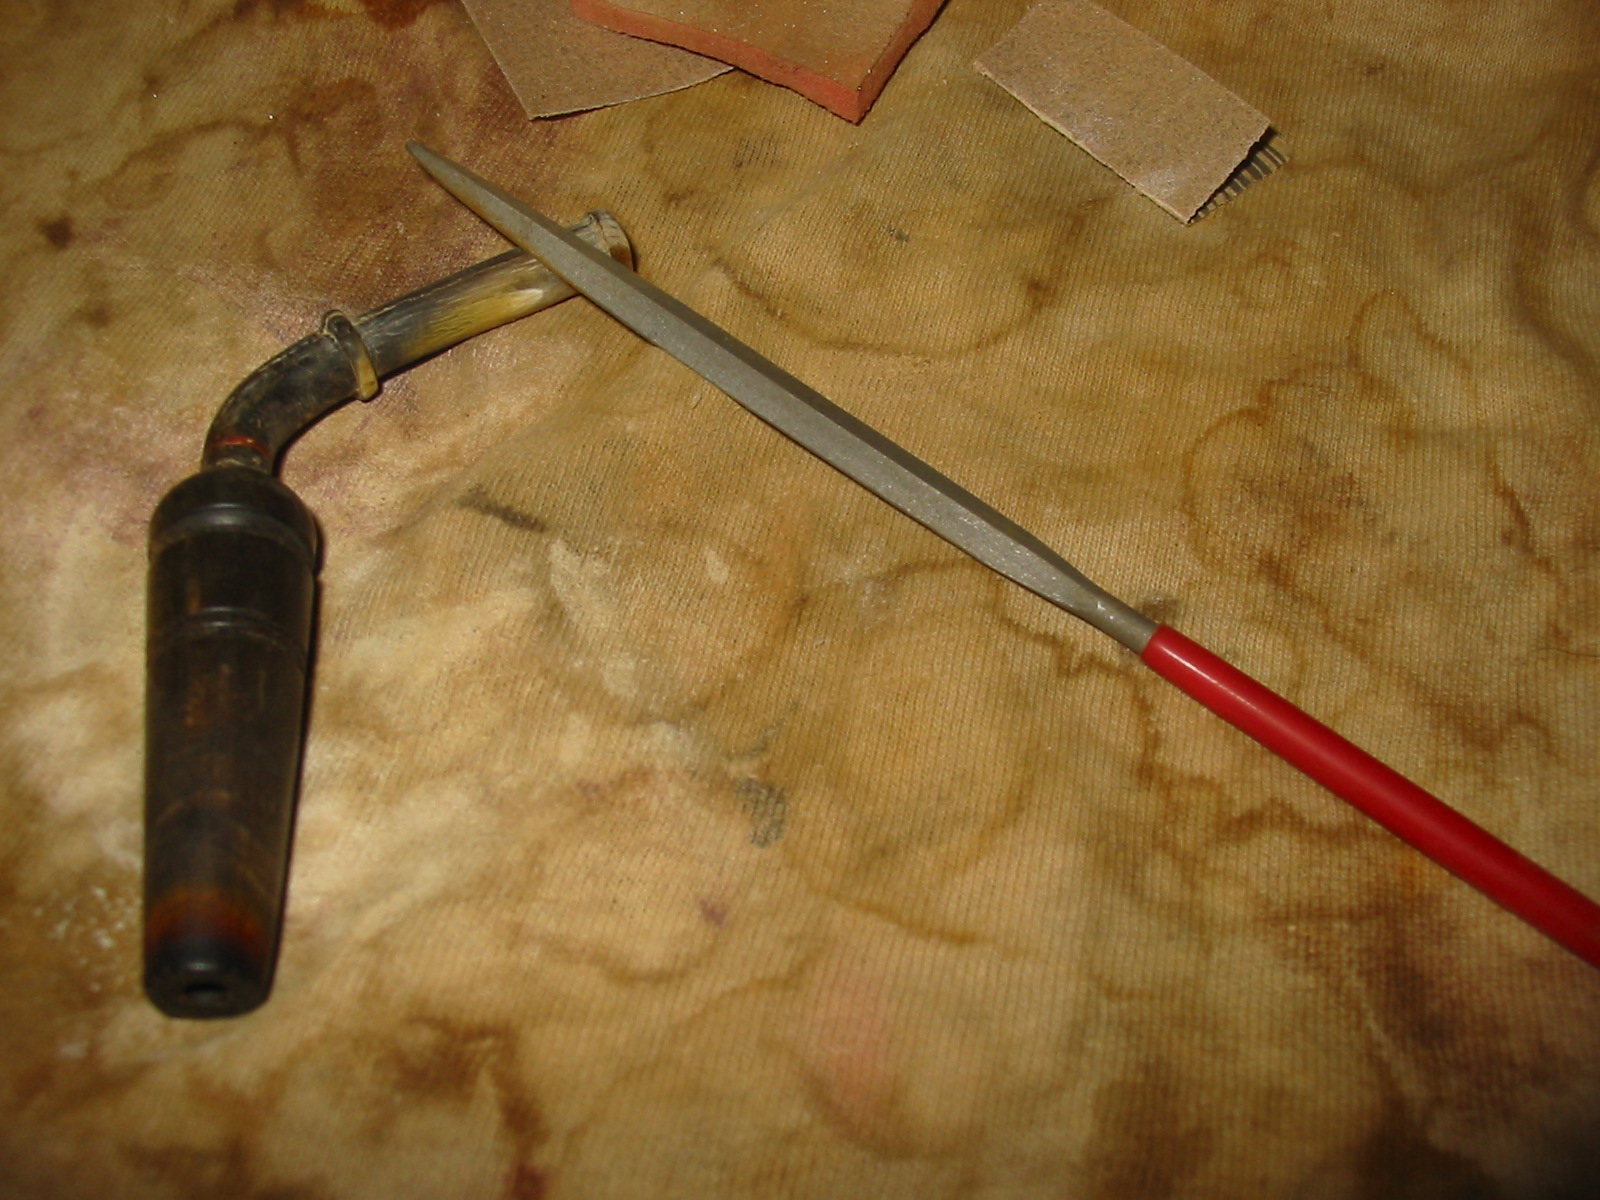
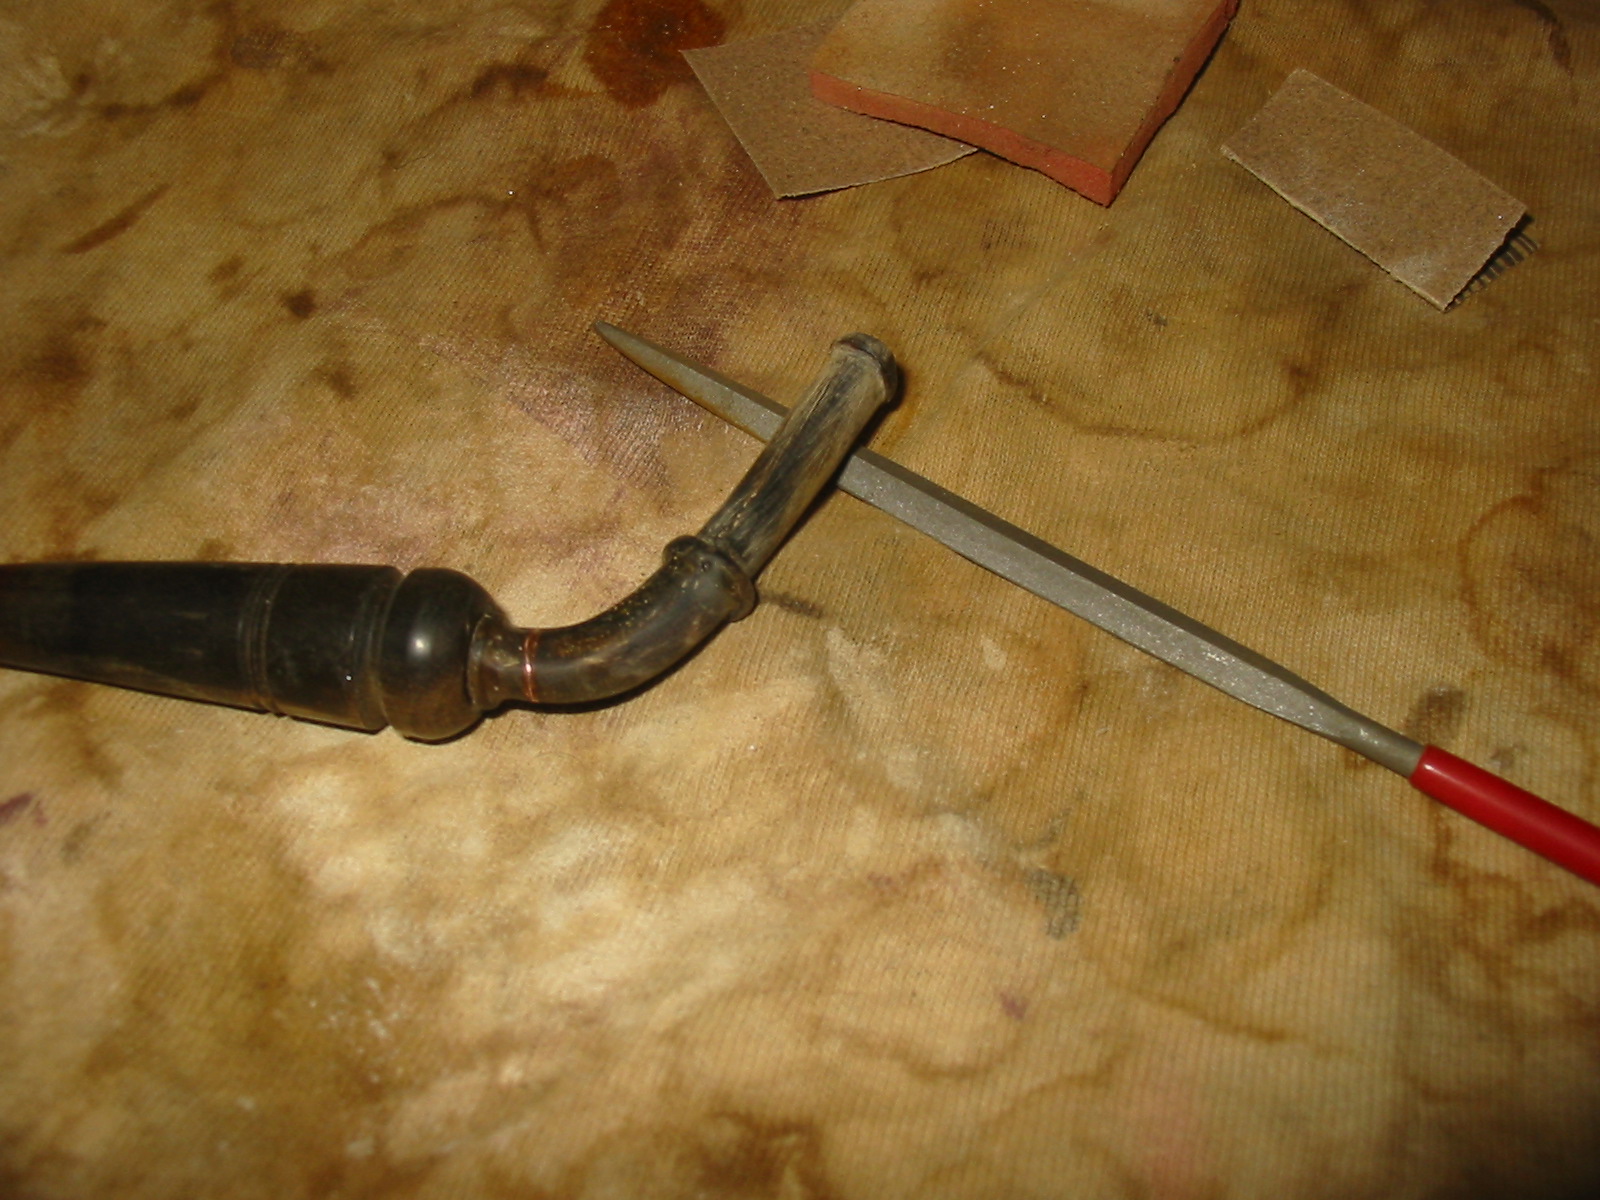
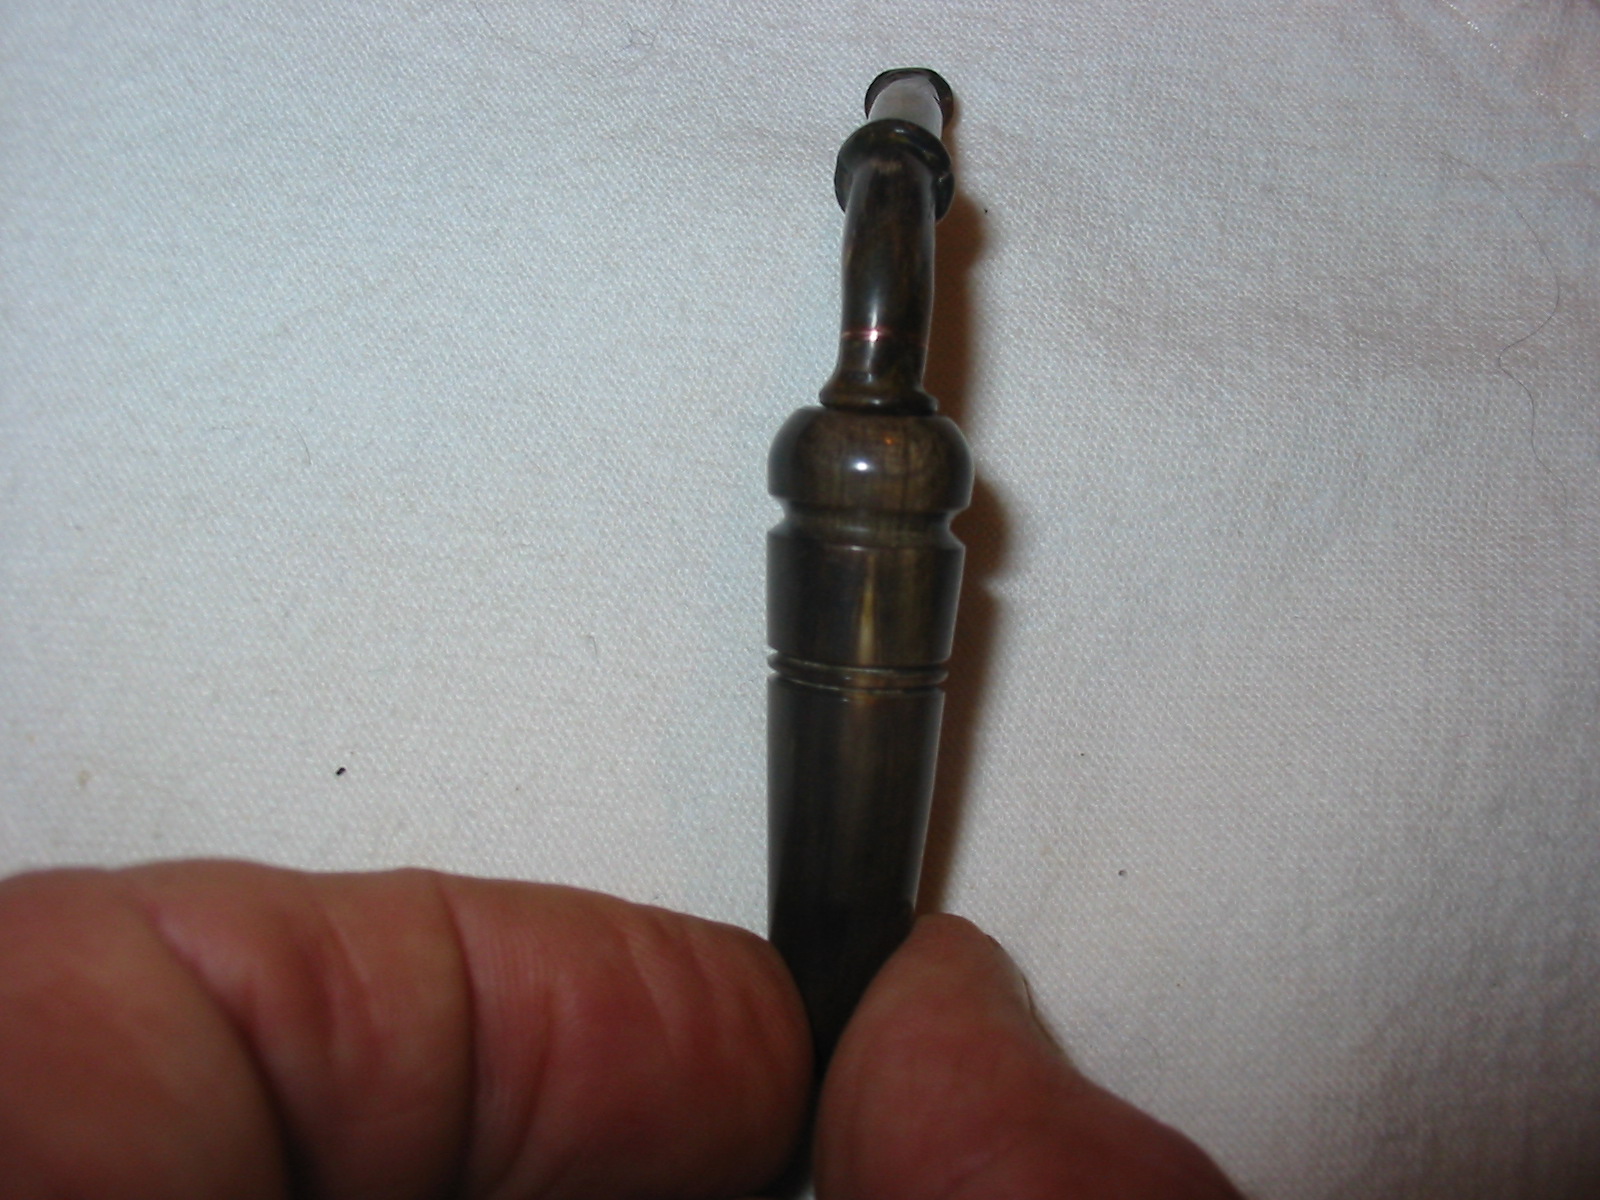
I took a break from the work on the cap and bowl to work on the stem. I cleaned of the surface with a damp cloth and then used superglue to fill the openings in the surface of the stem left from the previous repaired splits. I also used it to repair the splintered part on the bottom of the stem. Once the glue was dry I used 240 grit sandpaper to sand off the excess glue and also the clear coat of varnish or lacquer on the stem. I tried to put a pipe cleaner through the stem and was not successful. I blew through it and found that it was open but that the draw was tight. I would work on that later. The main purpose at the moment was to see what was underneath the clear coat. The next photos show the grain pattern on the horn stem underneath the clear coat. That gave me hope to see if I could restore that unique pattern in the horn stem and bring it back to life. The entire stem from tip to the bottom of the tenon was all horn so it would have a unique look if I was able to restore it. Several of the photos below are out of focus, I apologize for that, however they help to see the pattern and colours of the horn stem. You can also see the repairs on the side of the stem toward the button and the copper band around the lower part of the stem.


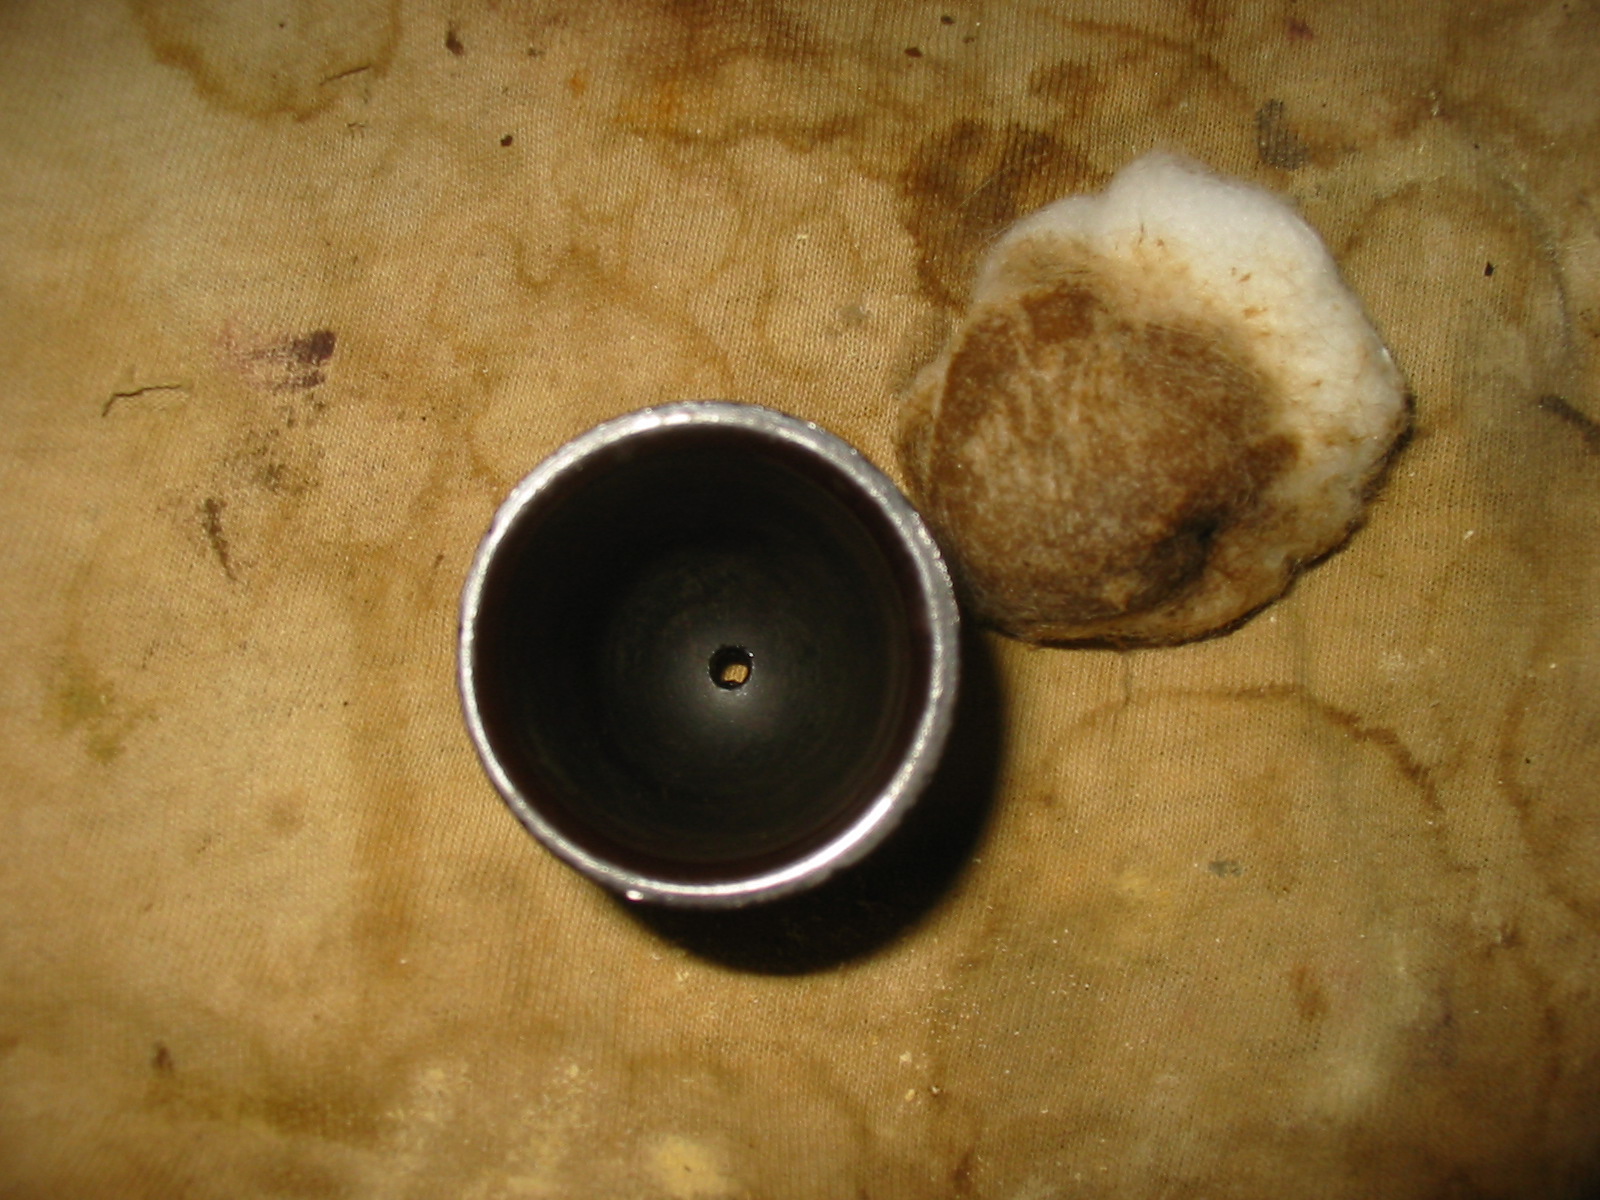
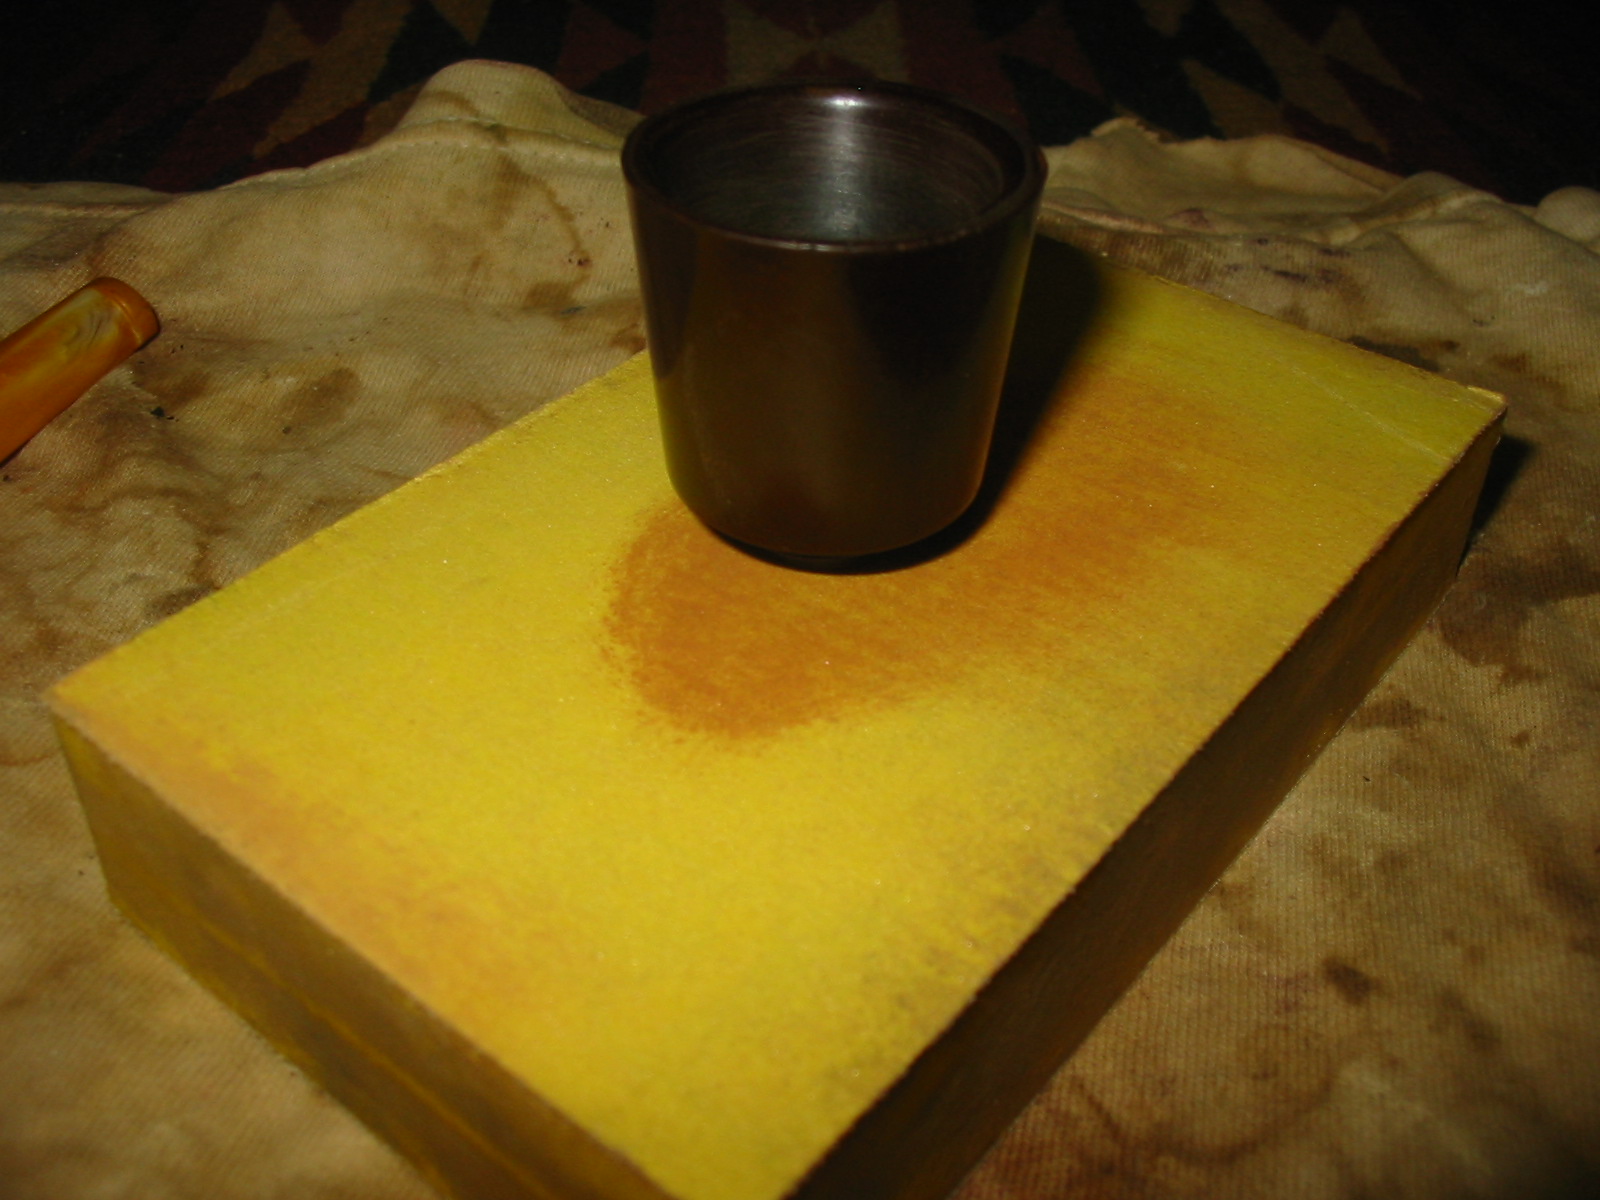
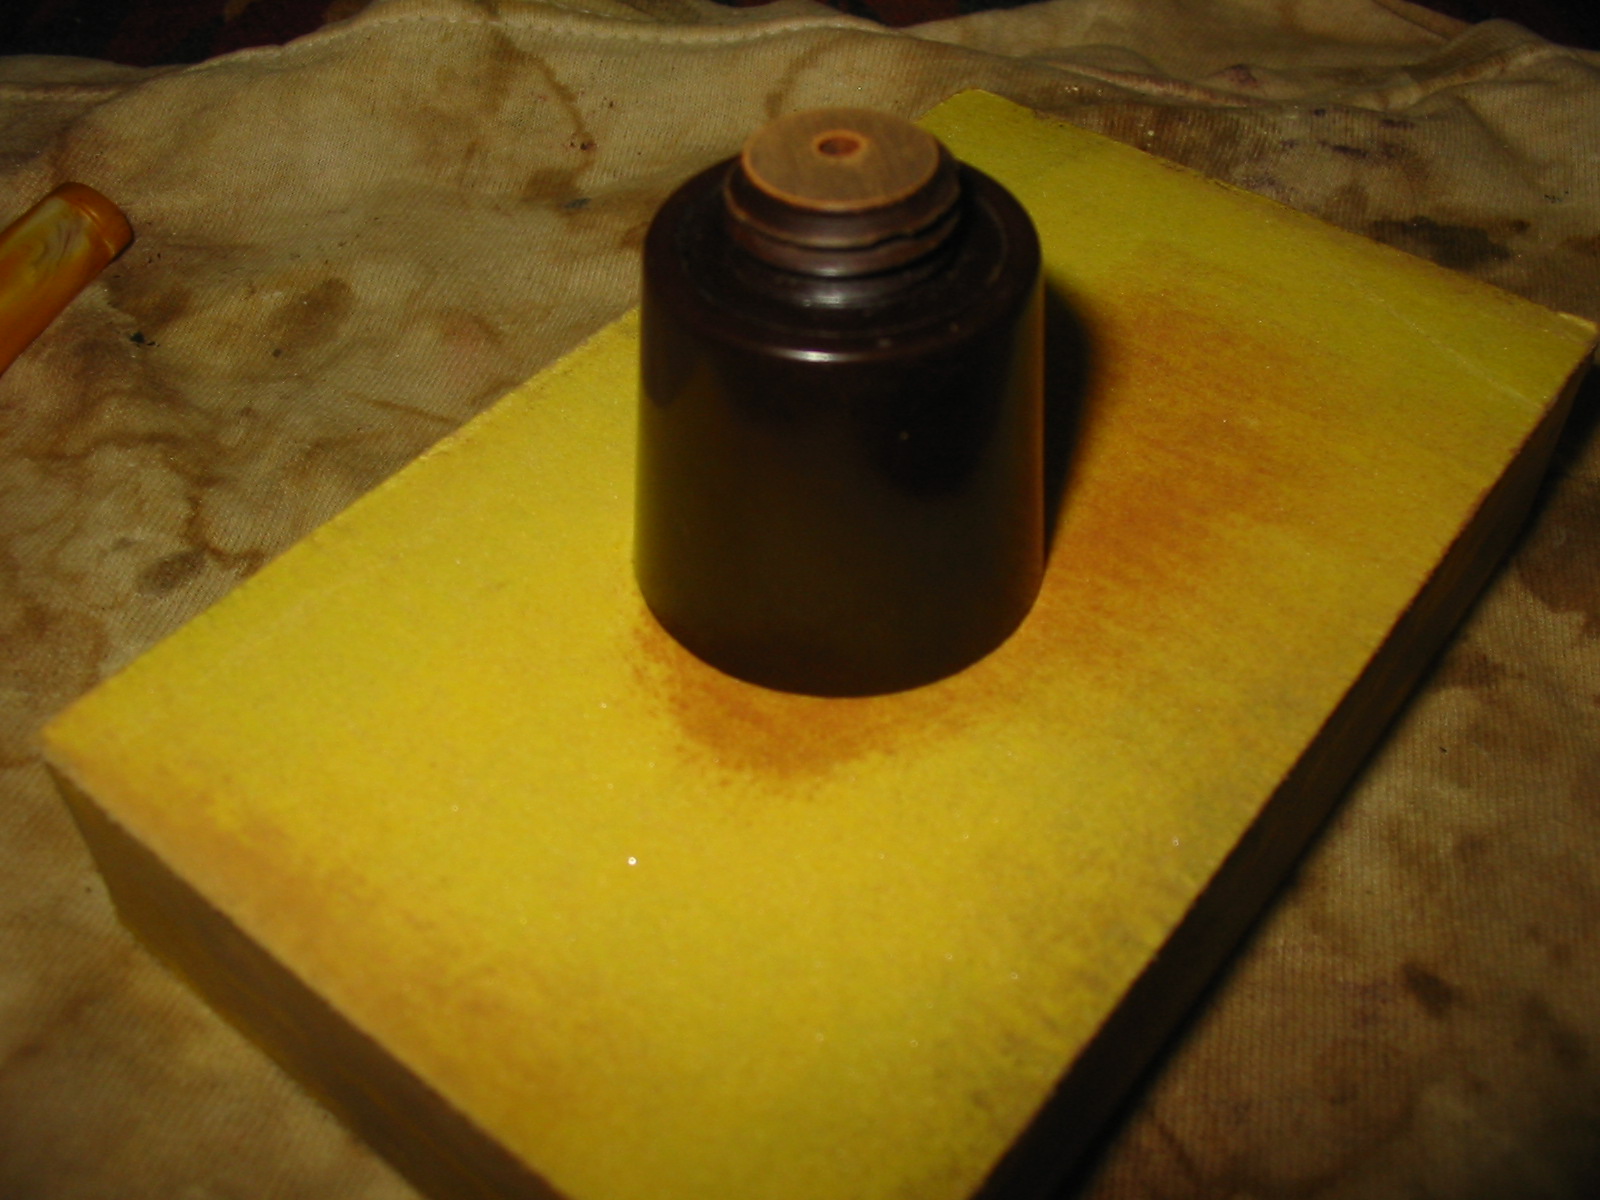
I worked on the inside of the cap and the rim with 0000 steel wool to remove the build up and tars. I worked on that until the surface of the inside shined and the rim was clean. I then polished the silver with a silver cloth to bring back some of the shine to the bling. The next three photos show that process. (You might have the impression from the photos that I bounced back and forth between the stem and the bowl in this refurbishing. While it appears that way in the photos it actually happened over the period of several days and hours. Each time I set the pipe aside to go and do something else I would come back and pick up at whatever point struck my fancy at the moment.)


The next time I came back to work on the pipe I decided to open up the stem and improve the draw. I was able to ascertain that the tenon end of the stem was much more constricted than the button end. I could easily fit a pipe cleaner in the button and down about half way but was unable to do the same from the tenon end. Even the thinnest pipe cleaner would not go through from the tenon end. I measured the length of the tenon portion of the stem and then used a small drill bit to drill the depth of the larger portion of the tenon. I did this with a cordless drill and proceeded slowly. I was careful to keep the drill bit at the same angle as the airway as I did not want to make the problem worse by slanting the airway or overdrilling the stem. The next two photos show the drilling. The third photo below shows the newly opened end of the stem. The draw was now quite open and the airway clear for a pipe cleaner to easily pass all the way through the stem.


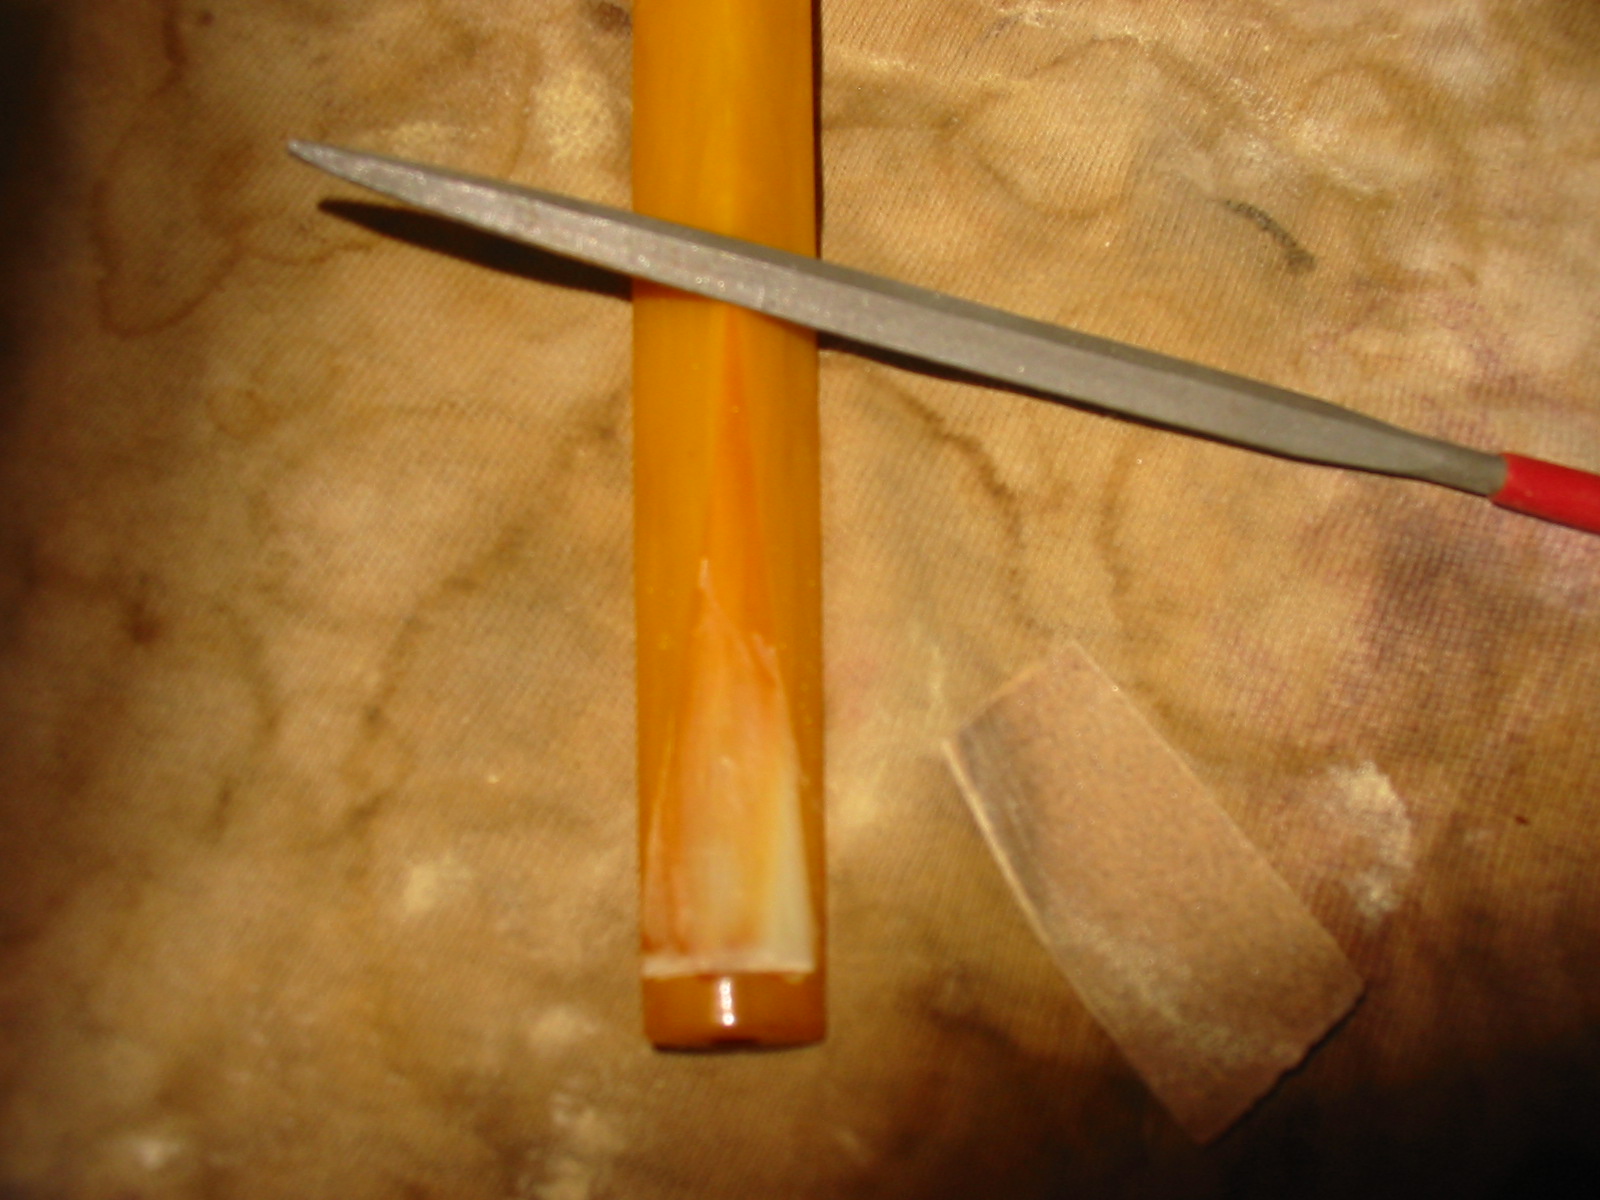
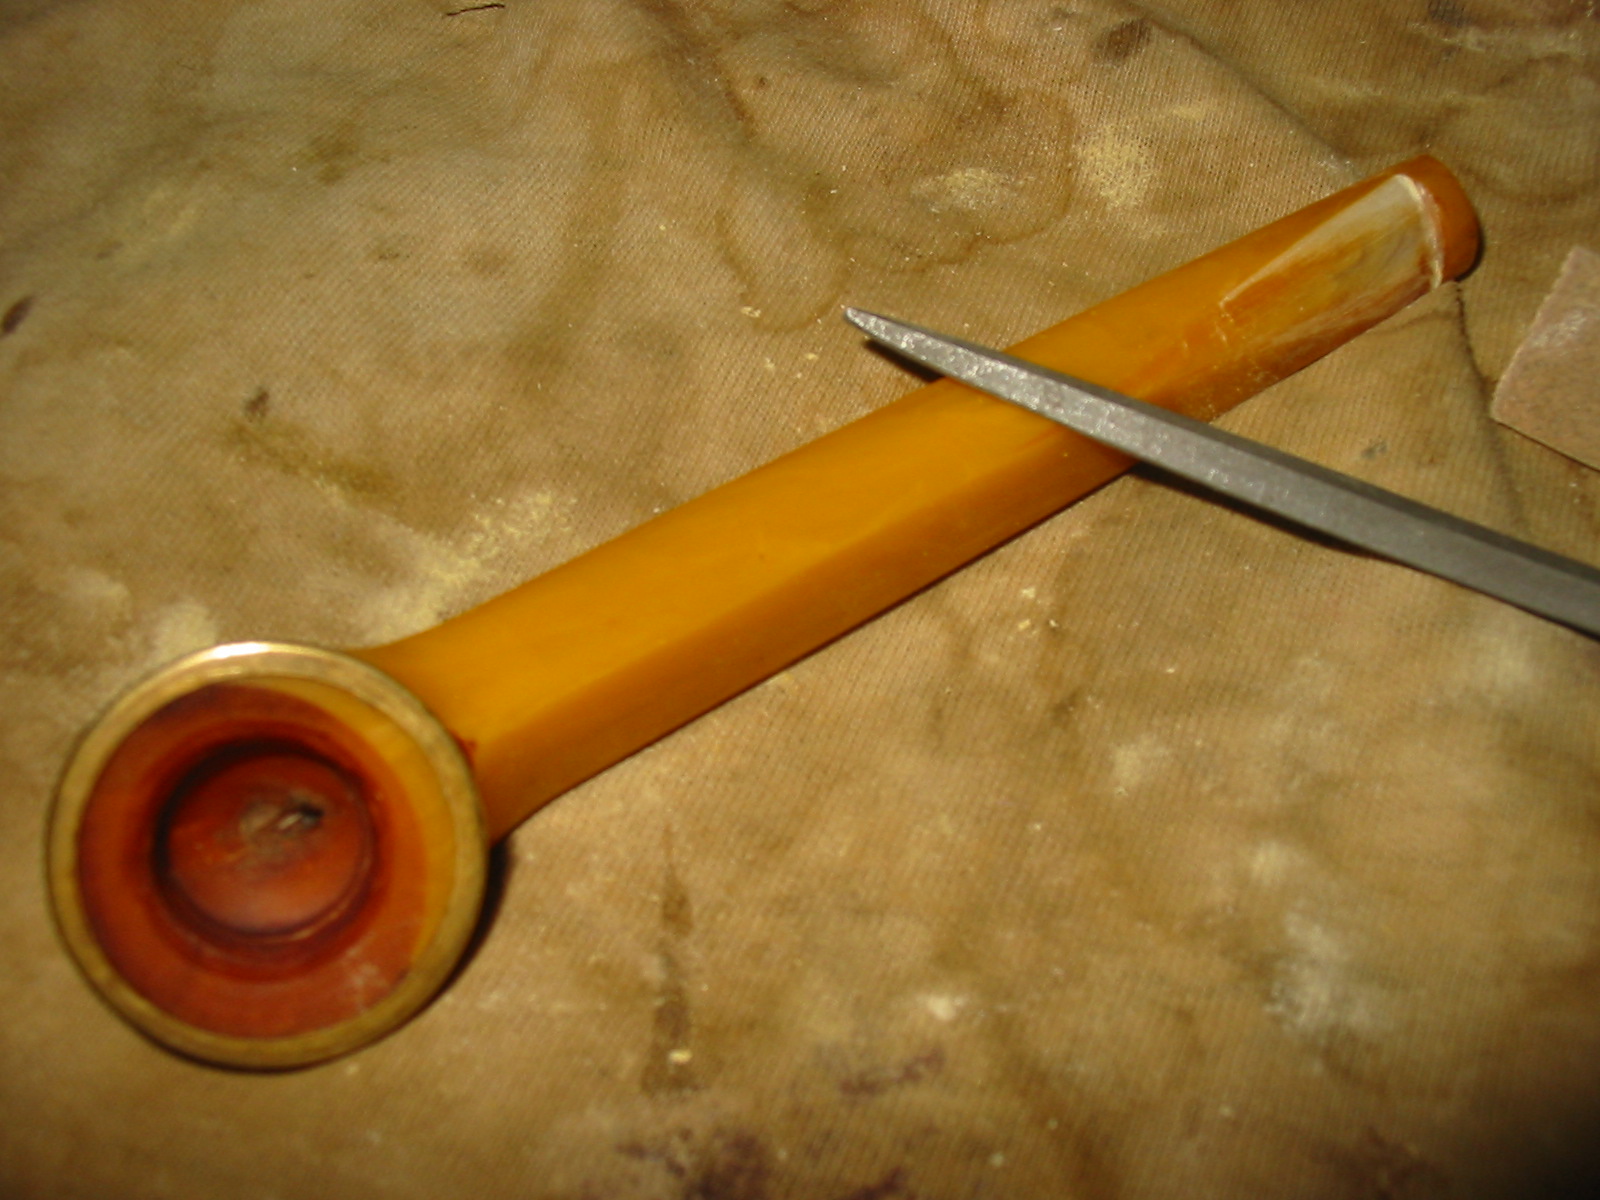
I redefined the button area using needle files. The top edge and the bottom edge next to the button were not sharp and distinct. As the top and the bottom of the button had been flattened, it was almost parallel with the stem. I used the needle files to sharpen the edge and to round the button surface as well. The next two photos show the process and picture the results. Note also that the stem is shaping up nicely with the various sandpaper and the colours and definition of the horn are coming out beautifully.


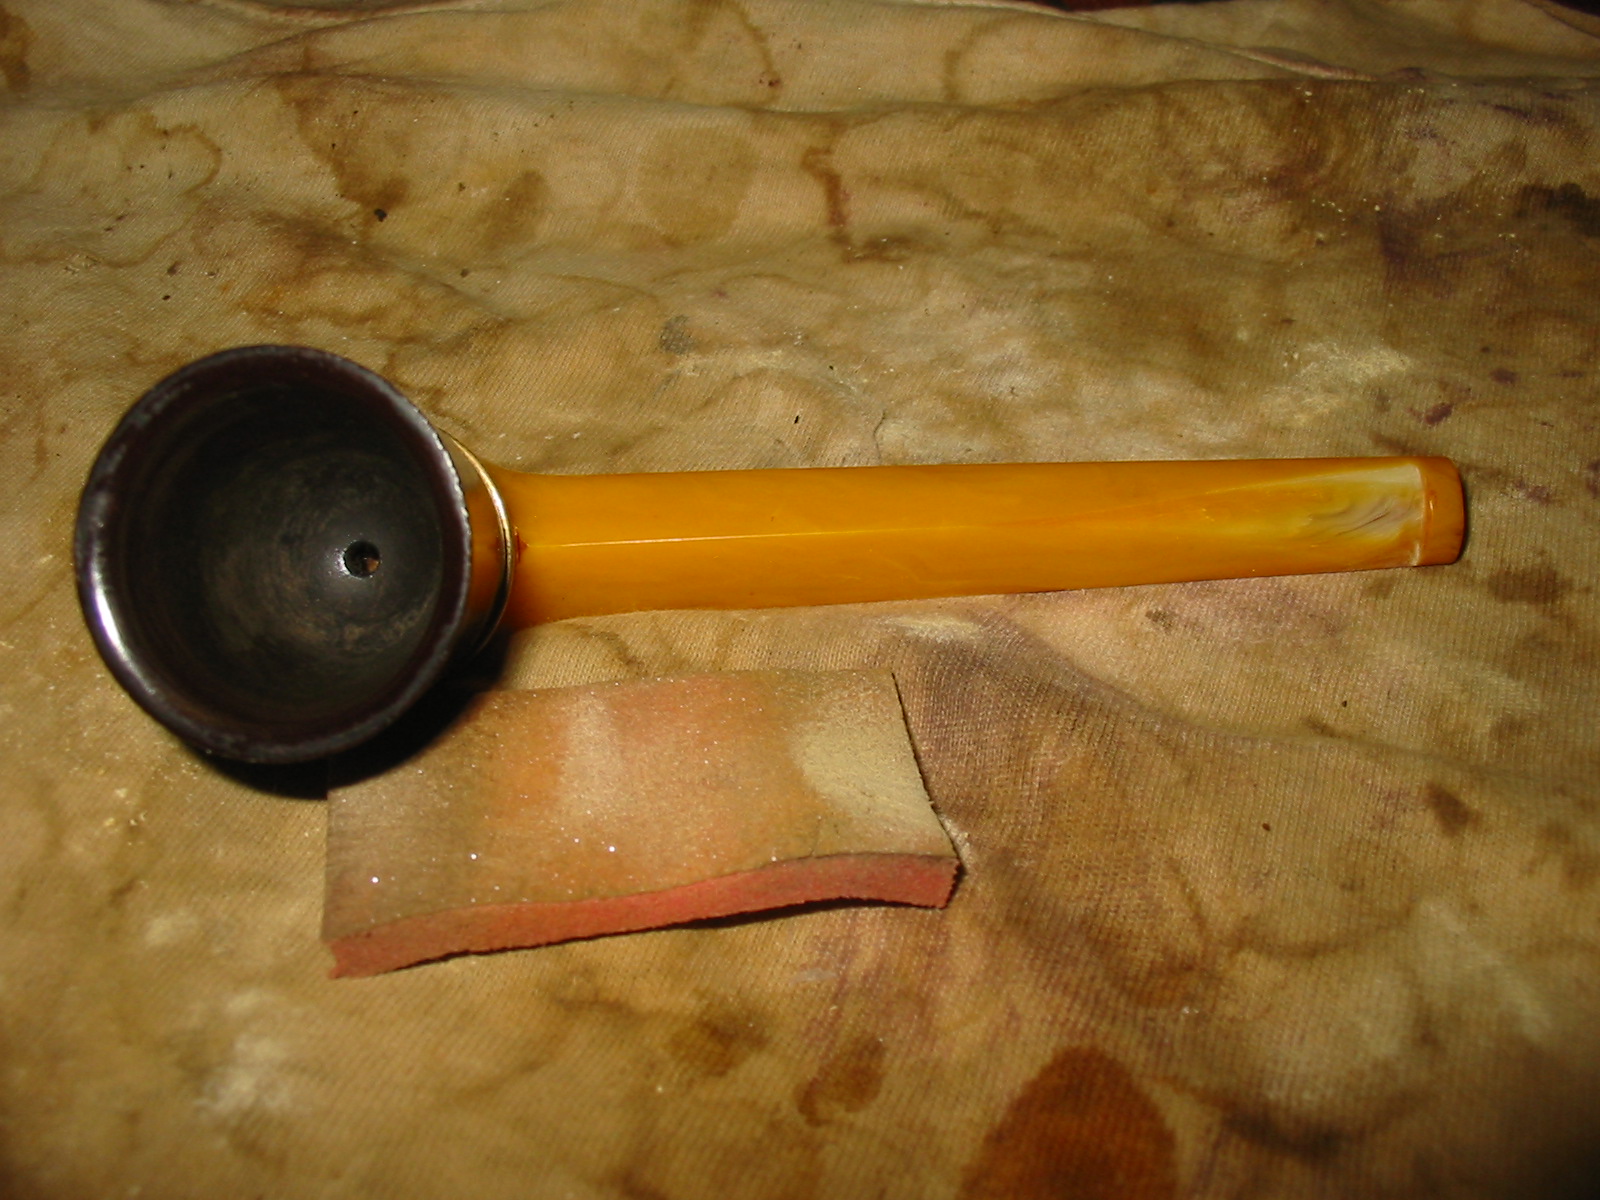
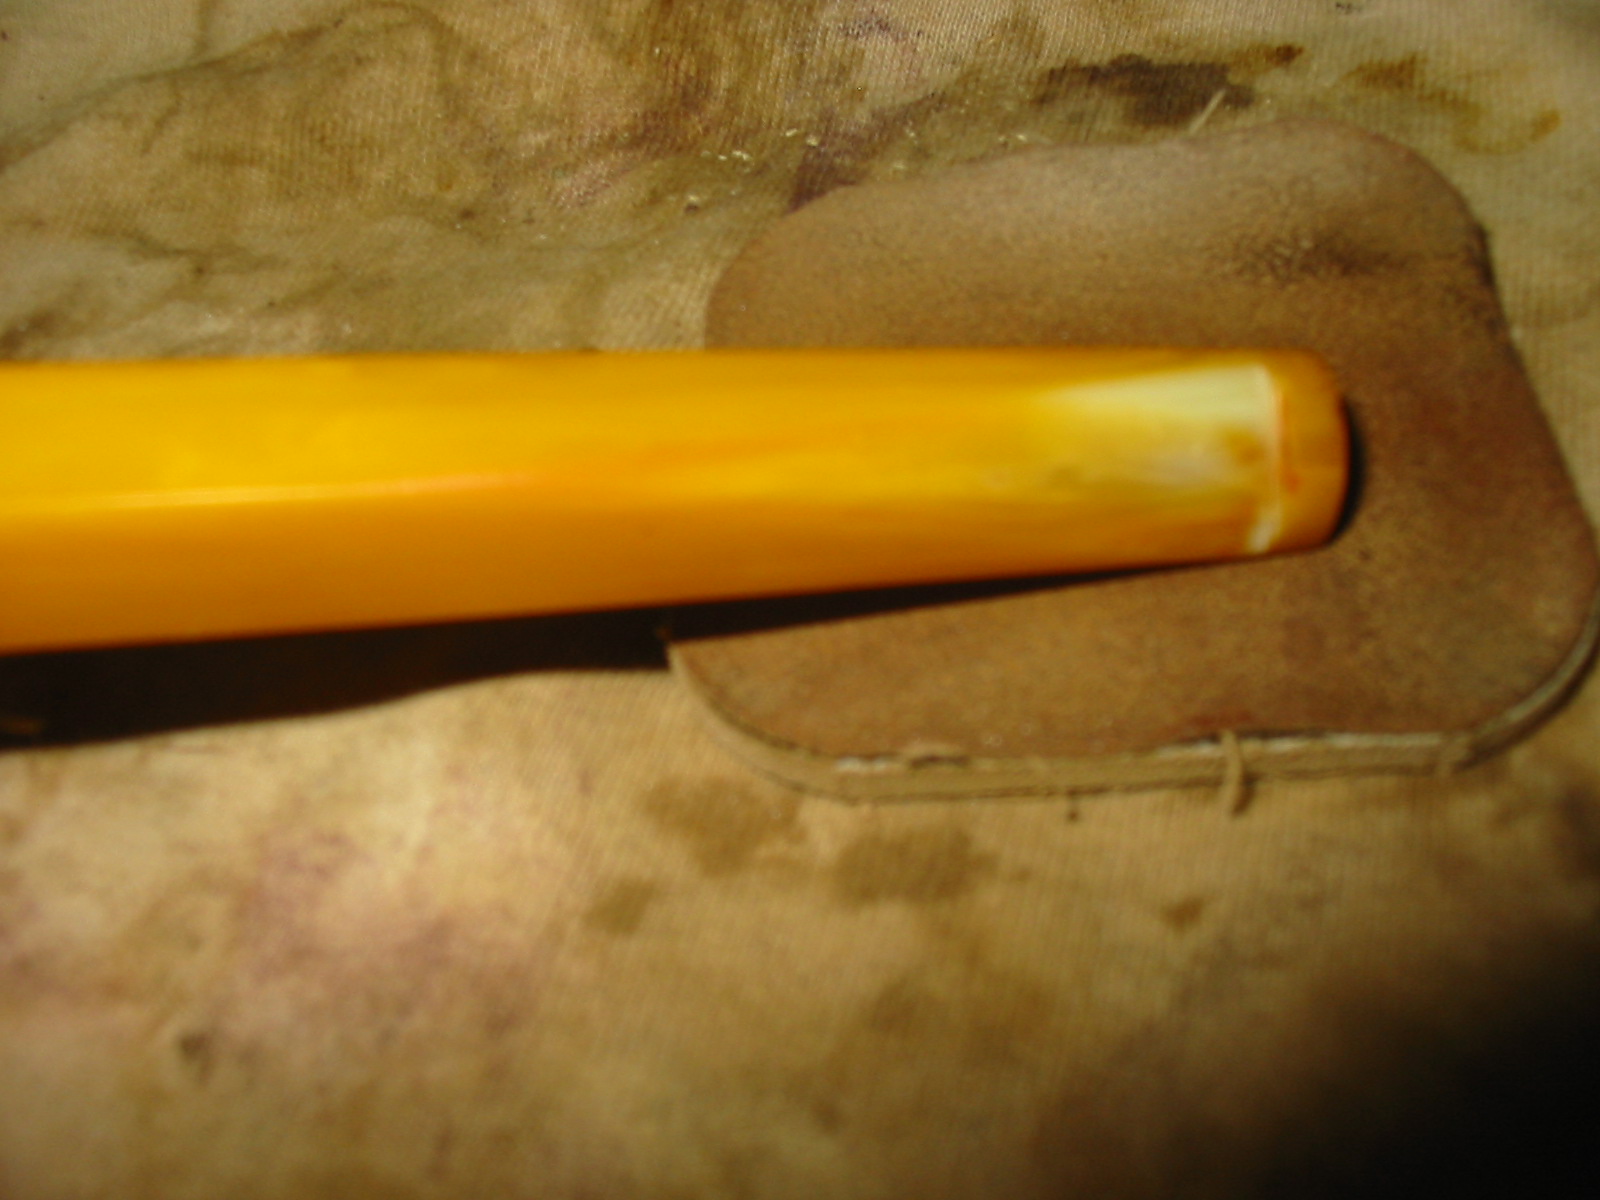
The next series of four photos shows the progress of sanding the stem with 240, 320 grit sandpaper and a fine grit sanding sponge. The thick, shiny coat that hid the horn is pretty well gone at this point. The sanding has also smoothed out the shape of the stem and removed the overfills of the previous repair. The stem is beginning to take shape and the grain of the horn is visible. I think that the repair will work well and when I am done I will have a stem that will work quite well.


I continued to sand the stem with micromesh sanding pads from 1500-12,000 grit. I wet sanded with the 1500, 1800 and the 2400 grit pads. My goal was to remove the scratches in the horn and begin to bring out the natural shine of the material. The next series of four photos show the effects after sanding with the 1500 grit pads. The next four that follow show the finished stem after sanding with all of the micromesh pads. Once it was finished I coated it with Obsidian Oil to add some life to the horn stem. I have found that it soaks into the horn material and builds some luster over time. You can now see the variations in colour, almost striations in the horn stem. This pearlescence is what I love about the old horn stems and what made me want to try to redeem this old-timer.


I took the stem to my buffer and carefully buffed it with White Diamond. I was careful to have a light touch on the wheel as I did not want to damage the horn. The material is sensitive to pressure on the wheel so care must be exercised when buffing it. I gave it multiple coats of carnauba wax and hand buffed with a shoe brush and a soft cotton cloth. The next four photos show the rejuvenated stem ready to be put back on the pipe.


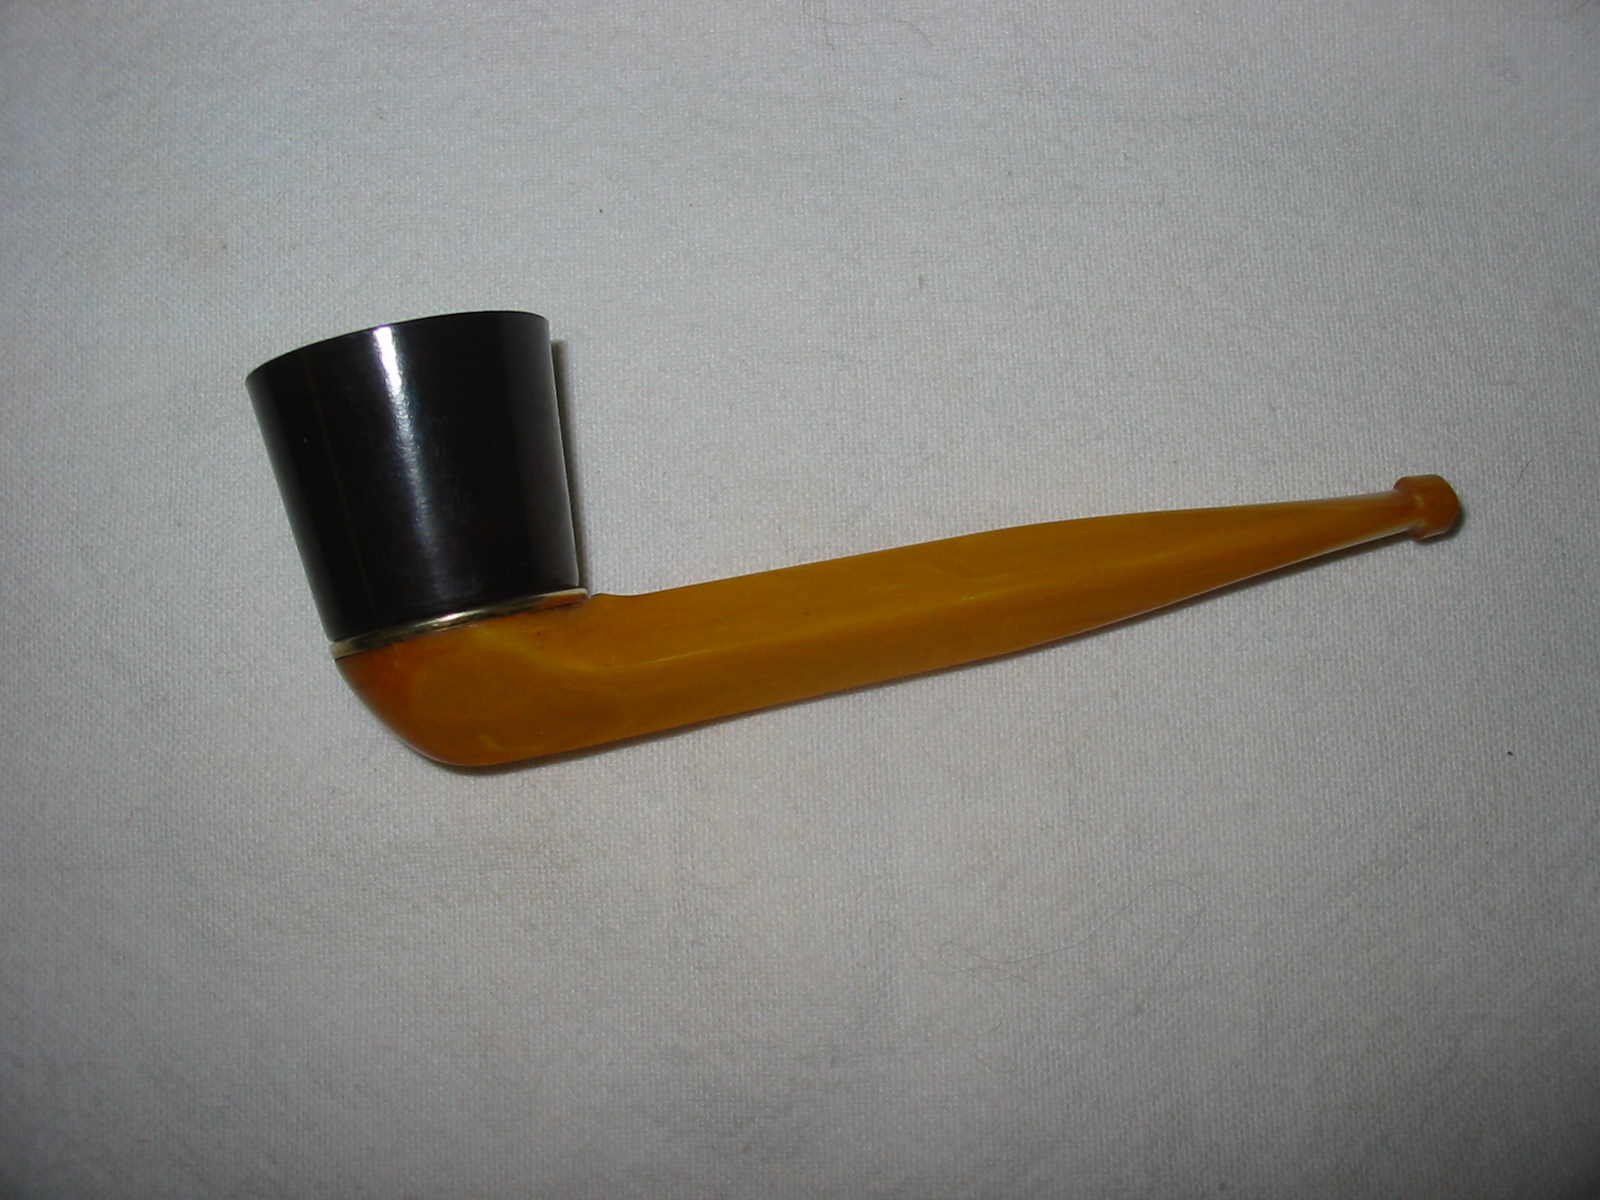
I reinserted the stem in the pipe, polished the entirety with another coat of carnauba and buffed it by hand to give it a shine. The next five photos show the finished pipe. This old-timer is ready to be loaded with a bowl of aged tobacco, fitting to the age of the pipe and given its reintroduction to its original purpose. This restoration was a pleasure to do and one that gave me a sense of accomplishment in bringing back the old horn stem. The variations in colour and the striations in the horn really give life to this old pipe. The copper repair in the stem actually adds a flair of uniqueness and mystery to the pipe – it makes me wonder who did it and where it was done. Thanks for the challenge Chuck.