Blog by Steve Laug
I have always wondered what it would be like to work on a Cavalier shaped pipe. There was something intriguing about working on a long shank with an end cap and a bowl carved coming out of the side of the shank. The look of the pipe and the dapper appearance may well have contributed to the name of the shape. It is made to hang from the mouth of the pipe smoker and be clenched as he is doing other things. This one is another of the pipes that came to me from my brother Jeff.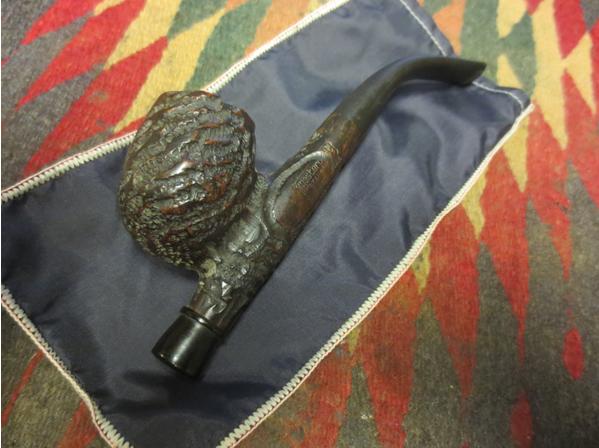
 It is a great example of the shape. It is a rusticated Cavalier that has brown and dark contrasting colours over a worm trail like rustication. The end cap is a hard rubber and has a bone tenon connecting it to internal threads in the bottom of the shank. The stem is also a good quality rubber as it is not even oxidized. There are tooth marks on the bottom and the top of the stem near the button left behind by the clencher that smoked it.
 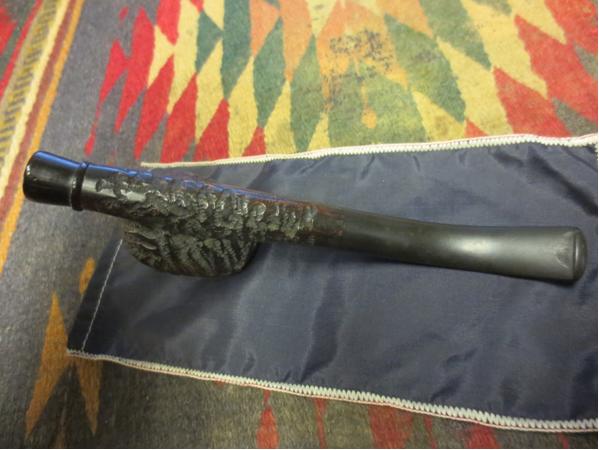 The rim of this one is in great shape no damage. The amazing thing was that there was unsmoked tobacco in the bottom of the bowl. There was also a thick cake on the walls of the bowl. It did not extend to the bottom of the bowl but ended shortly above the entrance of the airway at the bottom of the bowl.
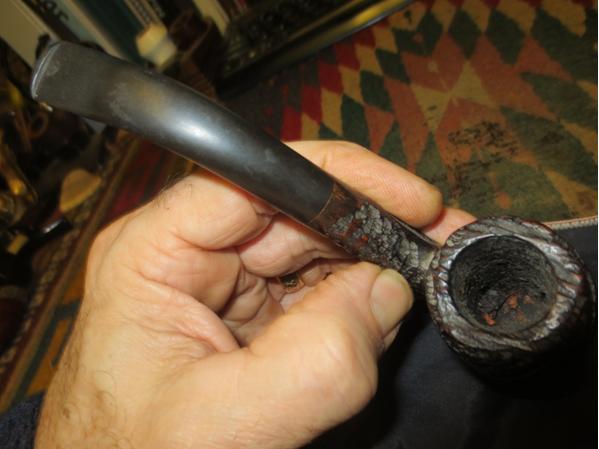
 The pipe came in its own satin bag which is why the pipe was in such good shape. The finish was dirty and dusty in the grooves but that was the extent of the issues with it. This would be an easy clean up. I took it apart and took the photo below of the parts of the pipe.
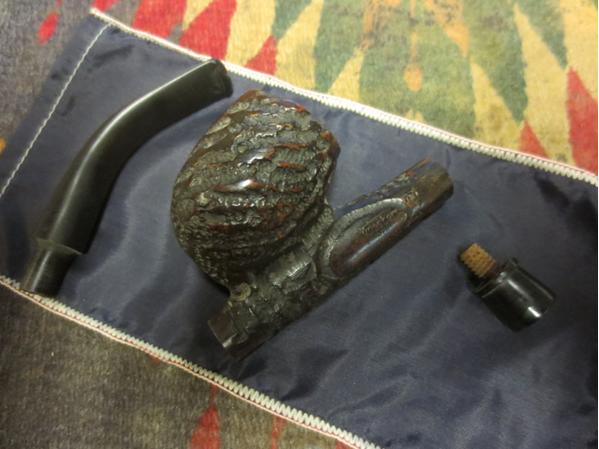 It is stamped on the left side of the shank with the words Mastercraft over Standard over Imported Briar. All words are in upper case on the shank. It appears that the stamping was to be done in a smooth oval on the shank but it missed the oval by about a ¼ inch and sits over the rustication on the shank.
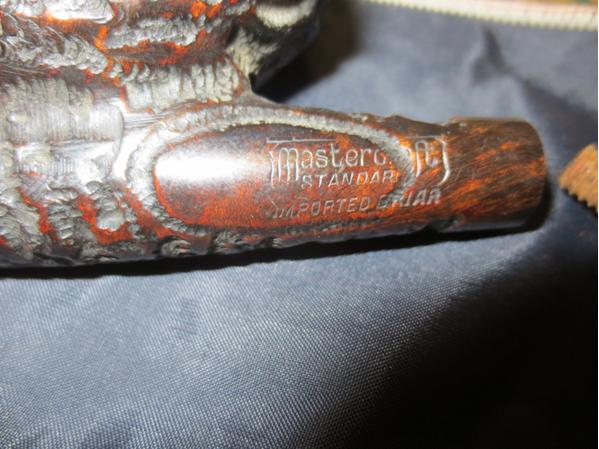 I scrubbed the bowl and the threads on the end cap with Murphy’s Oil Soap and a tooth brush. I rinsed off the pipe with running water and dried it off. The cleaned finish looked very good. I would not need to do much with the finish on this pipe.
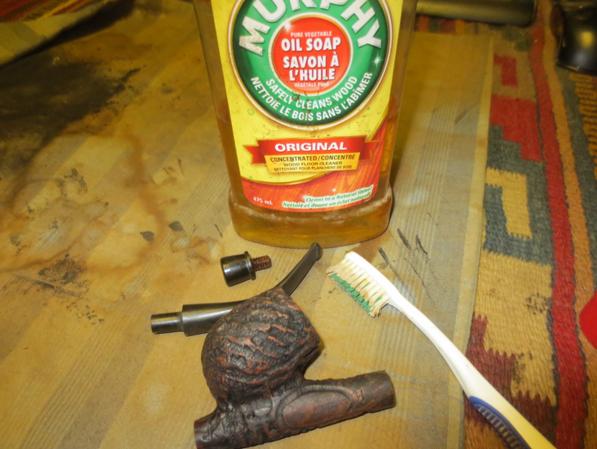 I removed the tobacco remnants from the bowl and then reamed the bowl with a PipNet reamer. I took the cake back to bare briar.
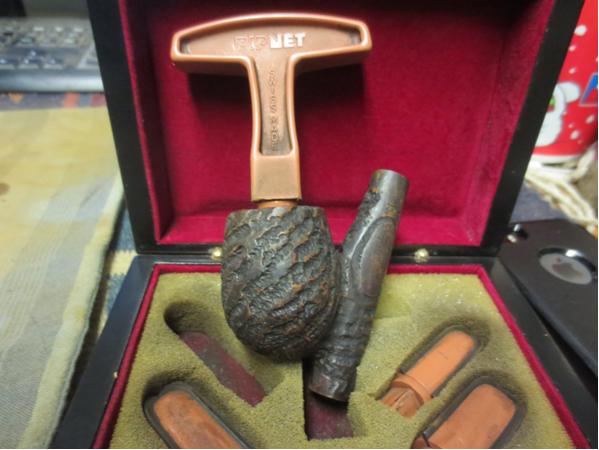
 I cleaned off the threads on the end cap – it was a bone tenon – with a brass bristle wire brush. One it was clean I put a coat of Vaseline on the tenons and screwed it back in place.
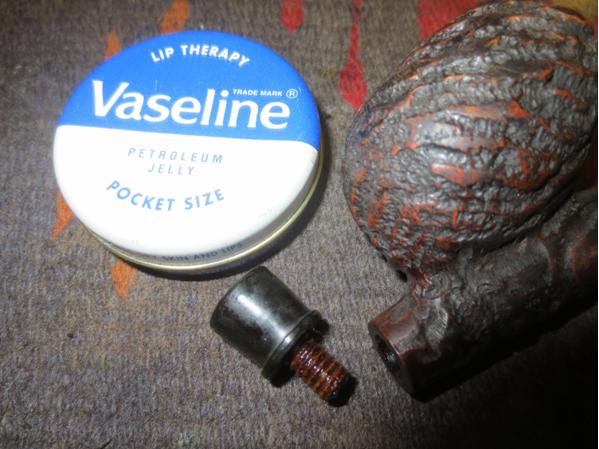 Before I put the end cap in place I cleaned out the inside of the shank from end to end with pipe cleaners, cotton swabs and alcohol. Once it was clean I put the end cap in place. I also cleaned out the airway in the stem at the same time.
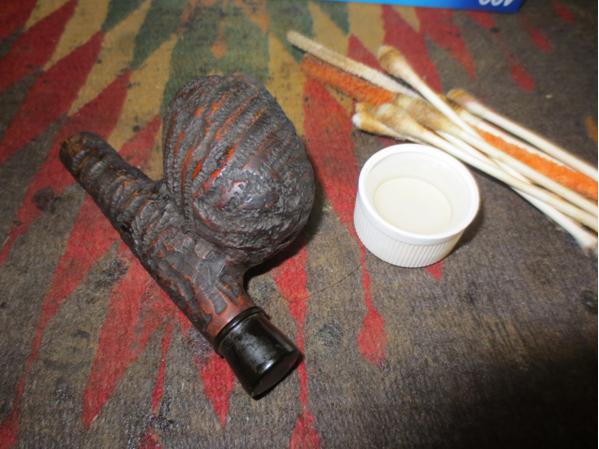
 The deep gouges in the top and bottom sides of the stem needed to be cleaned up. There was a lot of tooth chatter around the deep gouges so I sanded out the tooth chatter with 220 grit sandpaper. The sanding work left two gouges on the underside and one on the top side of the stem that would need some work.
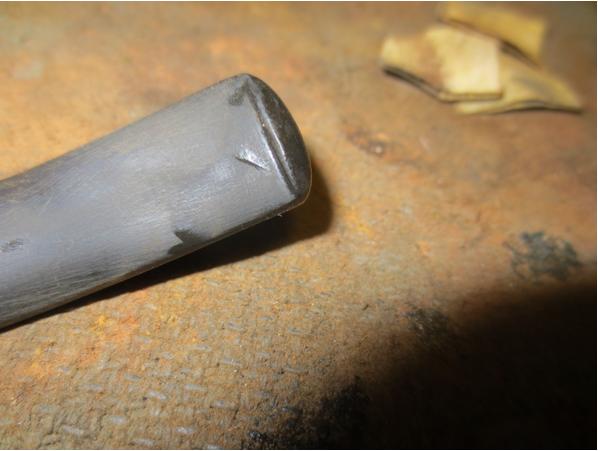
 I cleaned out the divots with alcohol and dried it off. I filled them in with black super glue until there was bubble over the surface. I let the glue cure.
 While the stem patch cured I worked on the end cap. I wet sanded it with 1500-2400 grit micromesh sanding pads and rubbed it down with Obsidian Oil. I dry sanded it with 3200-4000 grit pads and gave it another coat of oil. I finished sanding it with 6000-12000 grit pads and gave it a final rub down of the oil. I let it dry.
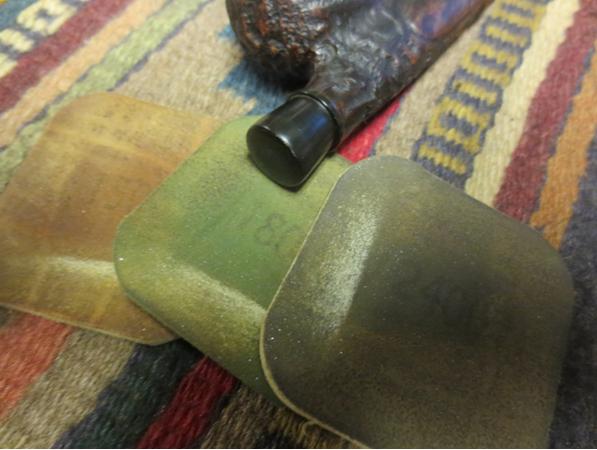

 When the end cap was dry I rubbed down the bowl with a light coat of olive oil to bring some life back to the dry briar. At this point the pipe is beginning to look really good. The contrast stain of the black and the dark brown gives depth to the rusticated finish of the bowl.
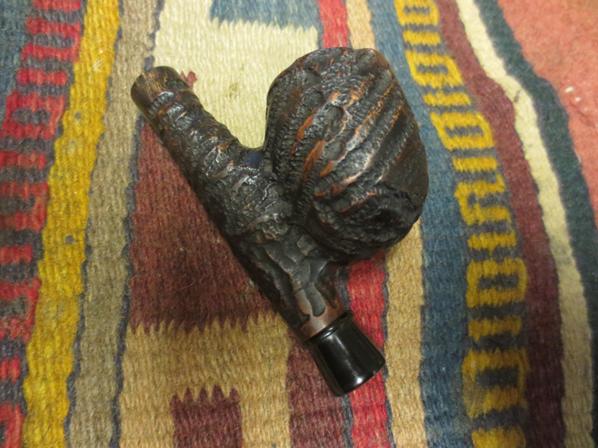


 Once the glue dried on the stem I used a needle file to sharpen the edge of the button and clean it up. I flattened the repair on the blade of the stem as well.
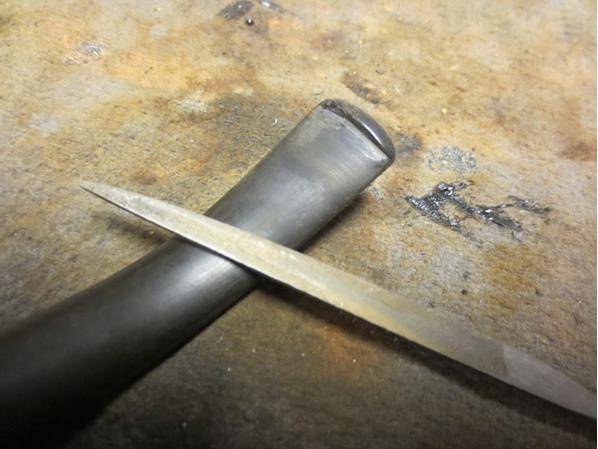 I sanded the repaired areas on the stem and the newly made file marks with 220 grit sandpaper. I worked until the repair was blended into the surface of the blade. The repair on the top stood out more at this point in the process. That would change as I worked on it longer.
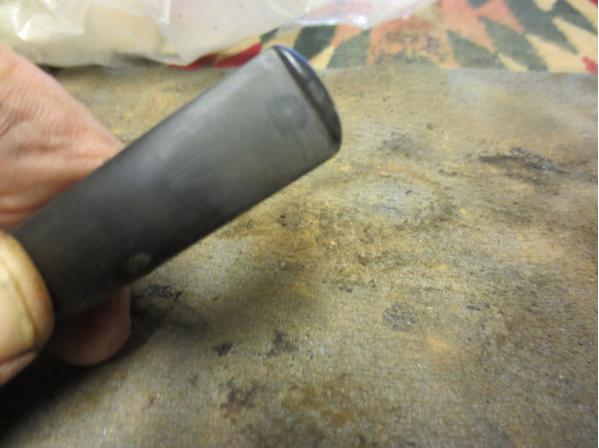
 I sanded the stem with micromesh sanding pads – wet sanding with 1500-2400 grit pads and rubbed the stem down with Obsidian Oil. I dry sanded it with 3200-4000 grit pads and gave it another coat of oil. I finished with 6000-12000 grit pads and gave it a final coat of oil. I let the oil dry before taking the pipe to the buffer.
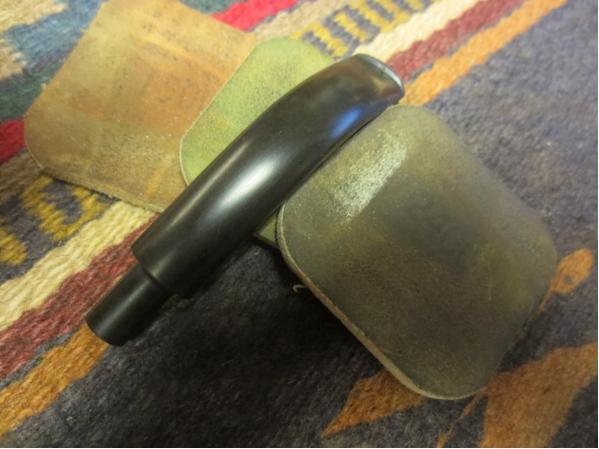

 I buffed the stem with Blue Diamond and lightly buffed the bowl. Care had to be exercised to not get build-up in the rustication. It takes a very light touch to keep that from happening. I gave the stem several coats of carnauba wax. I used Conservator’s Wax on the bowl and hand buffed the bowl with a shoe brush. I hand buffed the pipe with a microfibre cloth to add some depth to the shine. The finished pipe is shown in the photos below. It is a beautiful pipe and I love the feel of it in my hand. It was an enjoyable restoration. Thanks for looking.
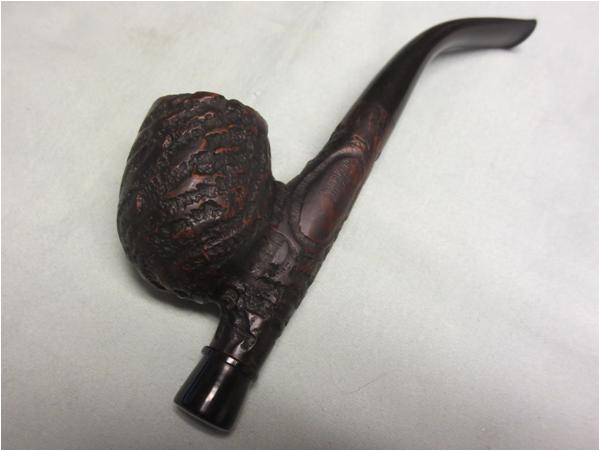


Pingback: Pipe Shapes |
Never cared for the looks of a Cavalier but i like that one with the rustication. You should show that to Tom over at The Dr Grabow Forum he might be able to give you some good info on it. He might get a kick out of seeing it .
( Tom used to be Vice President or President of Mastercraft )
LikeLike
I will try to post it there this evening! Thanks Troy.
LikeLike
That pipe will stand out in the crowd! It cleaned up nicely.
LikeLike
I can’t say I’ve see a Mastercraft Cavalier shape, nice work!
LikeLike