Blog by Steve Laug
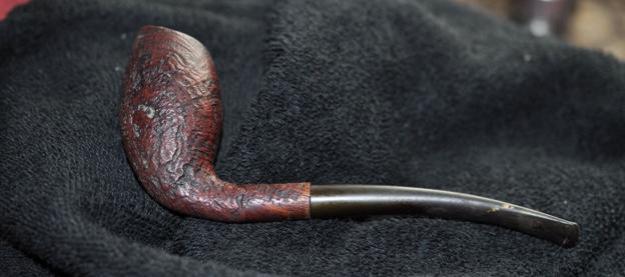
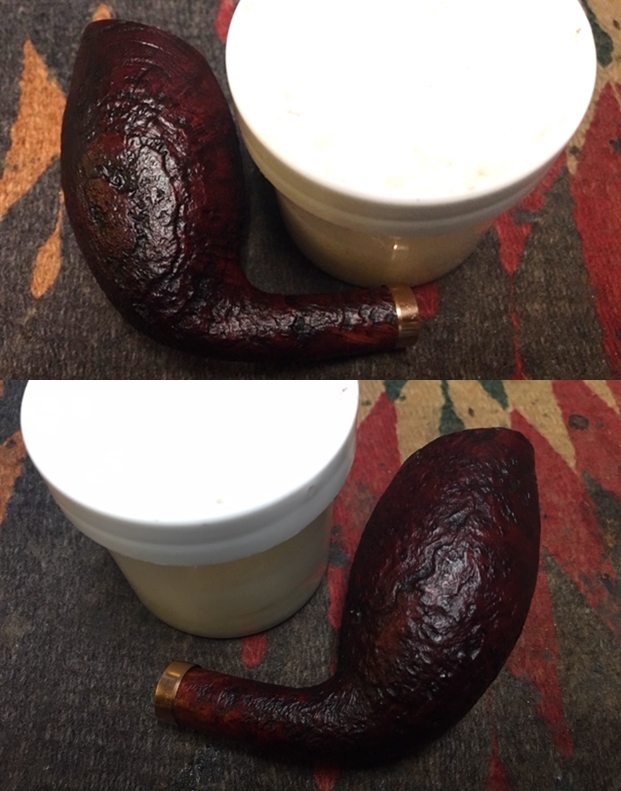
The next pipe on the work table came to us from an online auction on 11/09/18 in Corning, New York, USA. The pipe is an interesting Danish looking take on a Cherrywood or Poker shaped pipe. The pipe is well shaped and has nice grain around the bowl. The pipe is stamped on the left side of the shank and reads Larsen [over] Copenhagen. At the stem shank union it is stamped around the shank end and reads De Luxe on the top side. On the underside it reads Handmade [over] Made in Denmark. There was a lot of grime ground into the smooth and finish on the briar. The bowl was heavily caked with an overflow of lava on the top and inner edge of the rim. The inside edge looks quite good and the outer edge in good condition. The thin vulcanite taper stem was oxidized and dirty with tooth chatter and marks on the top and underside near the button. It had promise but it was very dirty. Jeff took some photos of the pipe before he started his cleanup work. 
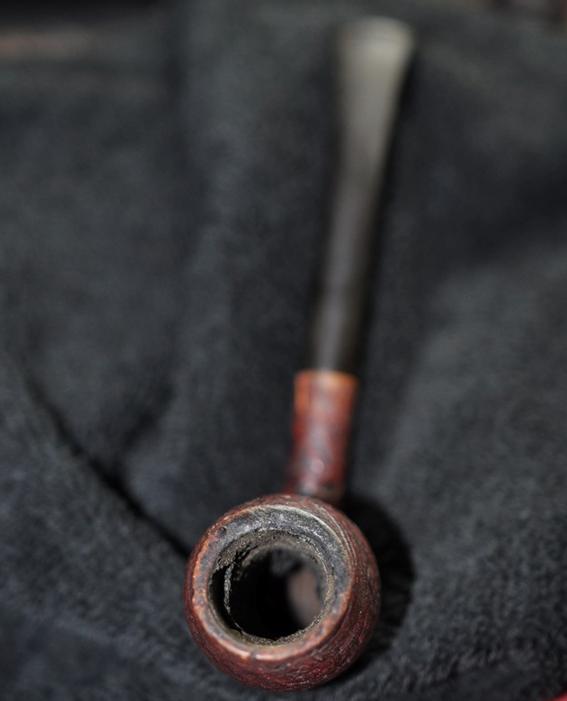
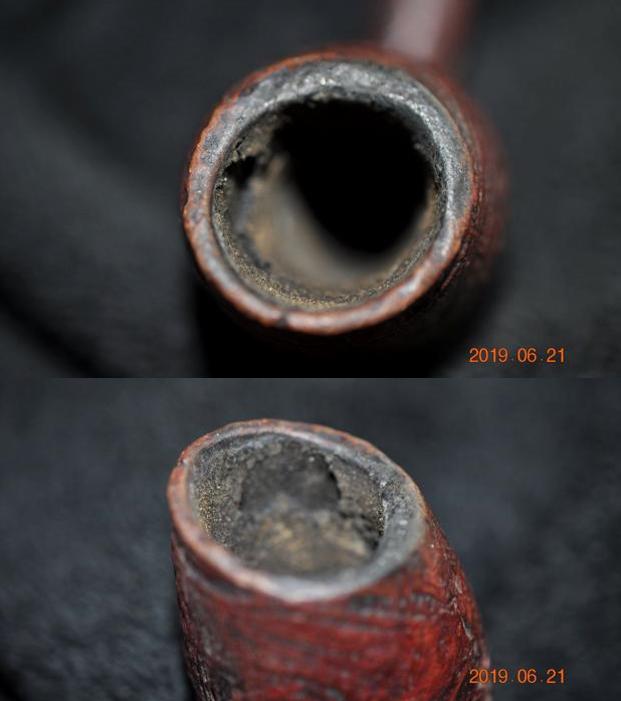
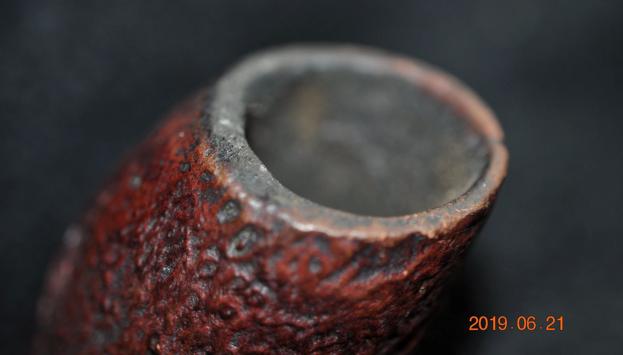
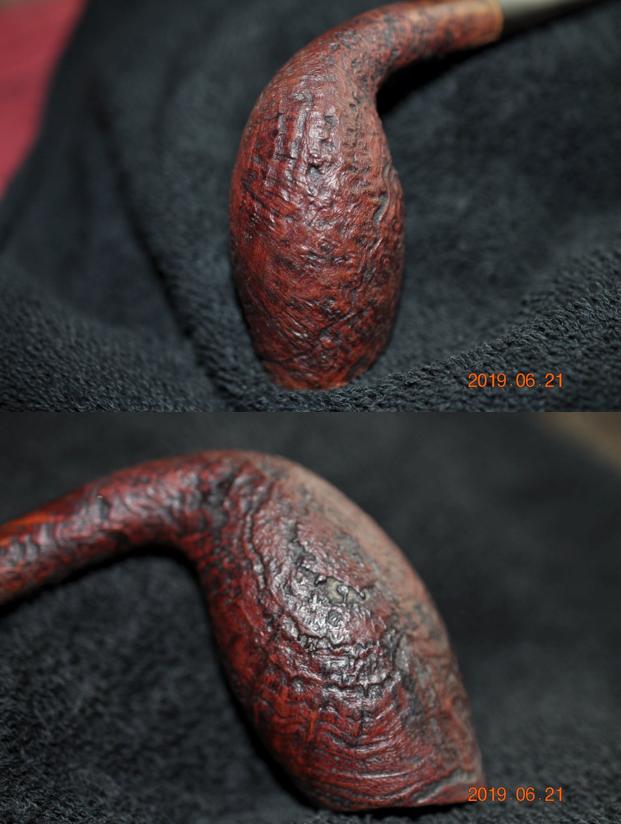
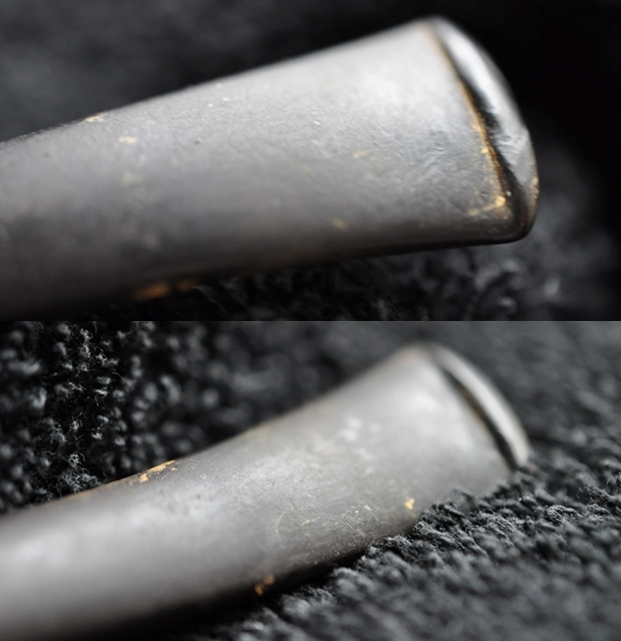
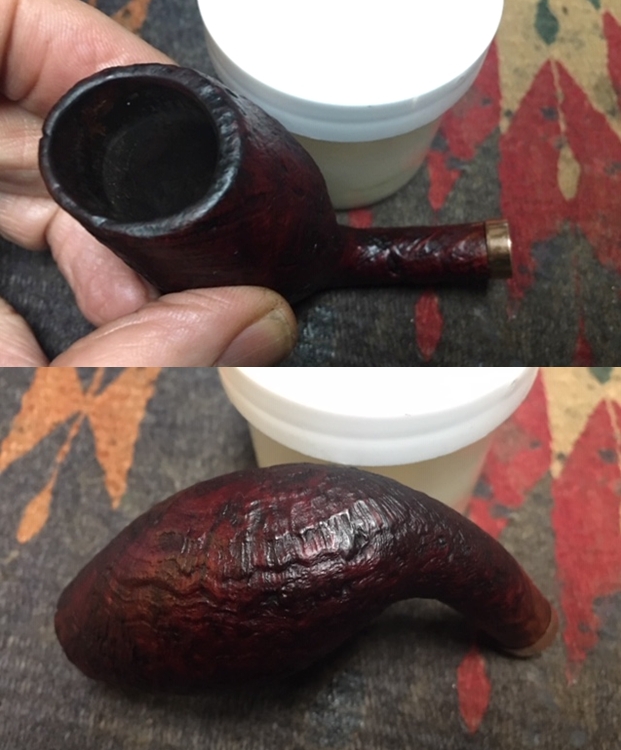
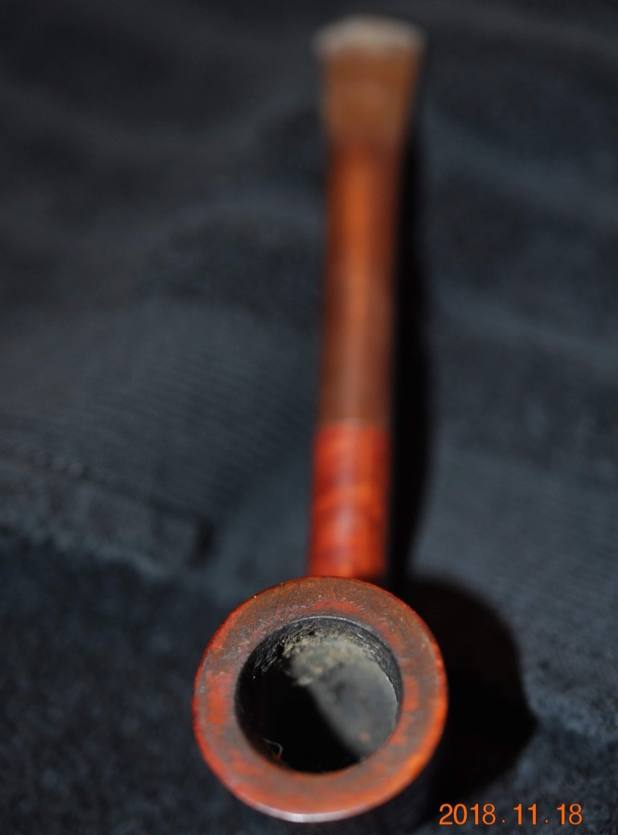 He took photos of the rim top and bowl to give a clear picture of the thickness of the cake and debris as well as the lava on the rim top and inner edge of the rim. The photos also shows some scratching on the outer edge of the bowl. He also took photos of the top and underside of the stem to show the condition. The photos show the overall condition of the stem.

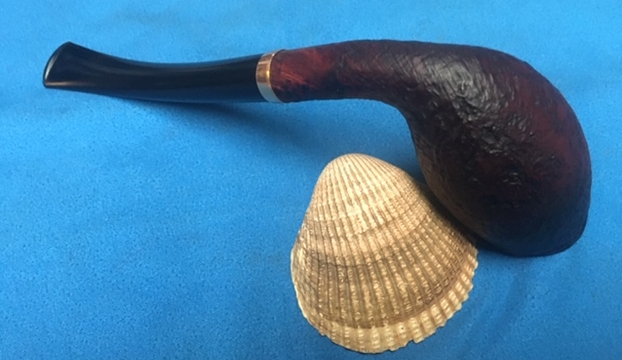
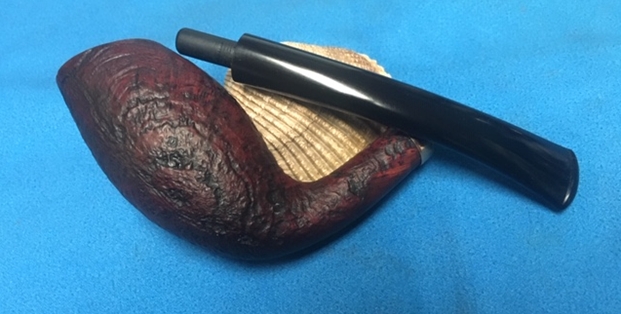
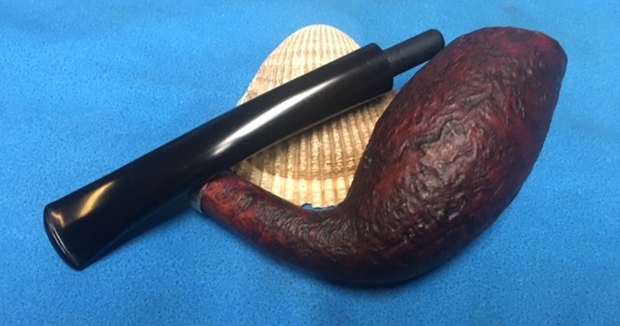
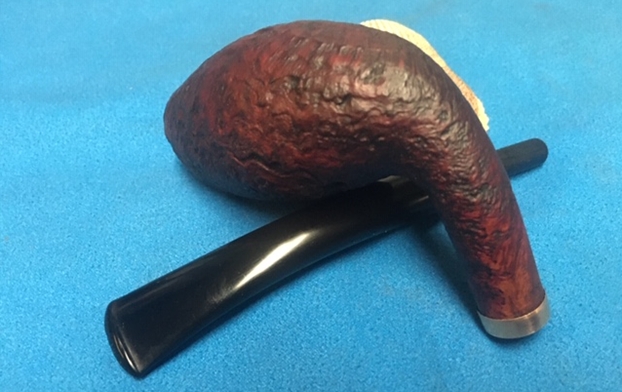
 Jeff took a photo of the side and heel of the bowl to give a picture of what the briar looked like. It truly has some nice grain – birdseye and cross grain around the bowl and shank.
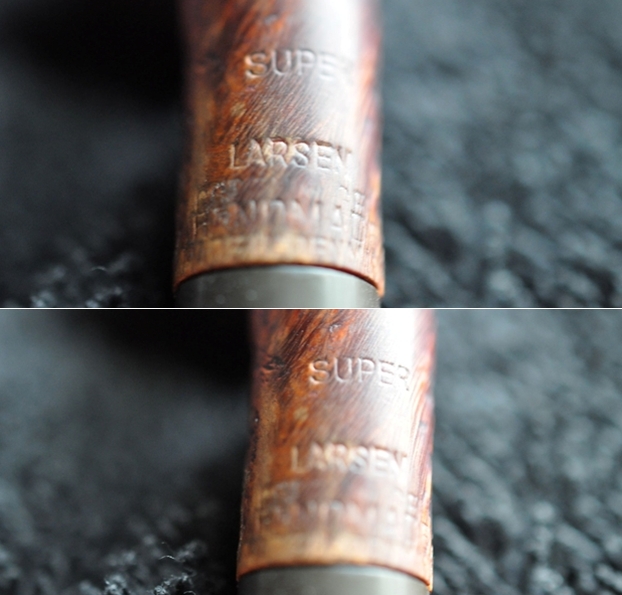
  The stamping on the left side of the shank and the shank end is faint but readable and read as noted above.
  I turned to Pipephil (http://www.pipephil.eu/logos/en/logo-l2.html) to get a quick view of the brand once again. I did a screen capture of the site’s information and have included that below.
  From what I can figure out the pipe I am working on is a WO Larsen as it is stamped similarly to the ones in the photos though it does not have the WO in front of the Larsen. It also has the Copenhagen stamping on the shank and the Handmade stamp that is the same. Nothing definitive here but that is what I surmise.
I turned to Pipedia (https://pipedia.org/wiki/W.%C3%98._Larsen) for a quick read. The site is worth reading the history of the shop and the brand and its influence on Danish pipe carving.
I wonder if it could also be a pipe from the Larsen and Stigart pipe shop in Copeonhagen though the stamping does not include the Stigart part (https://pipedia.org/wiki/Larsen_%26_Stigart). I quote below.
Larsen & Stigart was a Copenhagen pipe shop which at point sold pipes stamped with their shop name and made by Karl Erik Ottendahl, including the Champ of Denmark line. They also employed their own in house carvers, including Søren Eric Andersen, for approximately a decade. Among others they are said to have supplied Danish shapes to Dunhill.
What I learned from the research is that in all likelihood the pipe is a WO Larsen made pipe. I am uncertain as the stamping does not include the WO stamp. It is a beauty though.
Armed with that information I turned to work on the pipe itself. Jeff had reamed the pipe with a PipNet pipe reamer and removed the rest of it with a Savinelli Fitsall Pipe Knife. He scrubbed the bowl with undiluted Murphy’s Oil Soap with a tooth brush. He rinsed it under running warm water to remove the soap and grime. He cleaned out the inside of the shank and the airway in the stem with alcohol, cotton swabs and pipe cleaners. He soaked the stem in a Before & After Deoxidizer bath and rinsed it off with warm water. I took photos of the pipe before I started my part of the restoration work. 
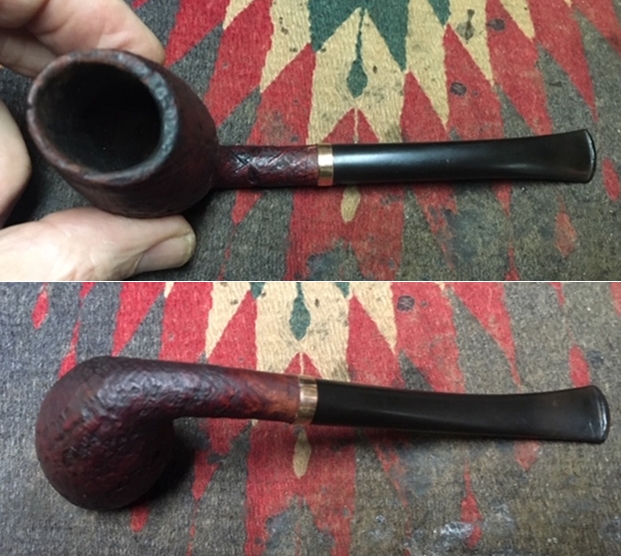
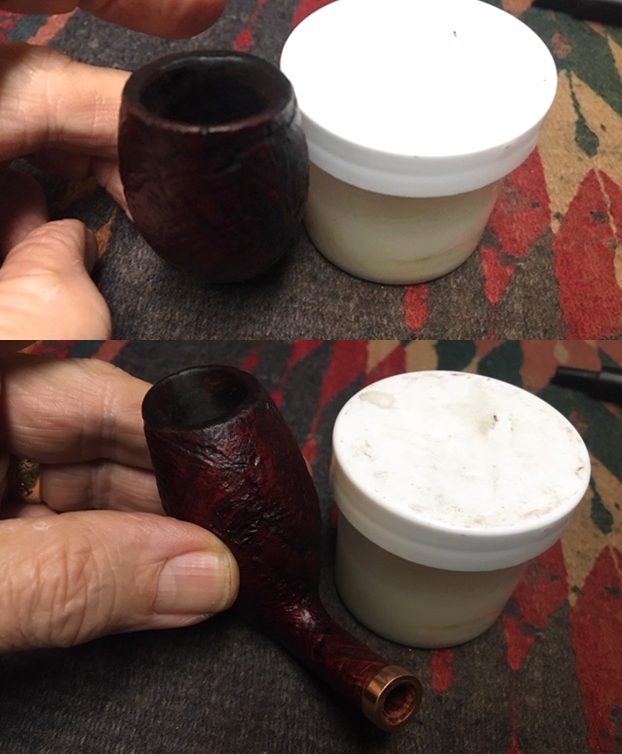
 The rim top cleaned up really well. The rim top, inner and outer edge of the bowl show some scratching but otherwise look good. The stem surface was oxidized but looked good with a few tooth marks and chatter on both sides near the button.
  The stamping on the left side of the shank and shank is faint but readable. It is stamped as noted above.
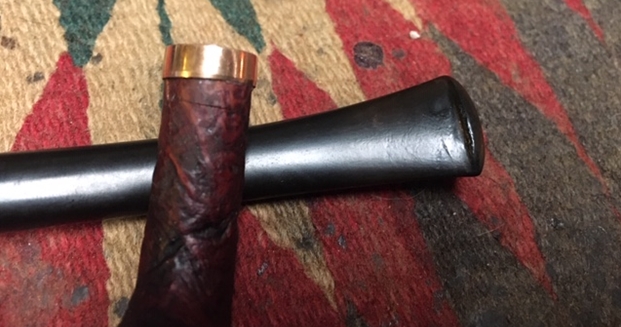
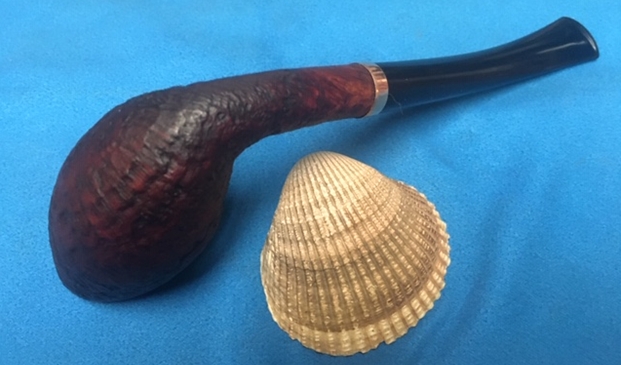
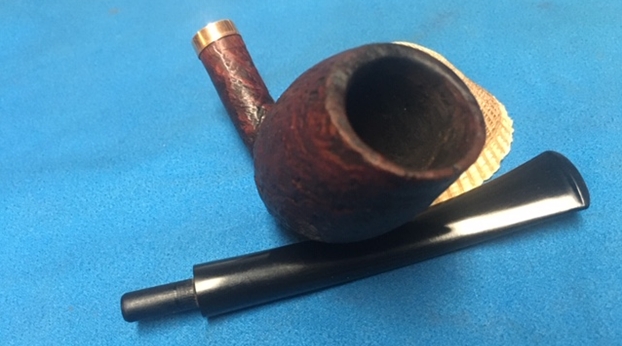
  I removed the stem and took a photo of the pipe to give a sense of the whole. The thin taper stem is nice and the photo gives a sense of what the pipe looks like.
  I decided that I would begin the work on the pipe by polishing rim top, edges and sides of the bowl with micromesh sanding pads – 1500-12000 grit pads. I wiped the bowl down after each pad with a damp cloth.


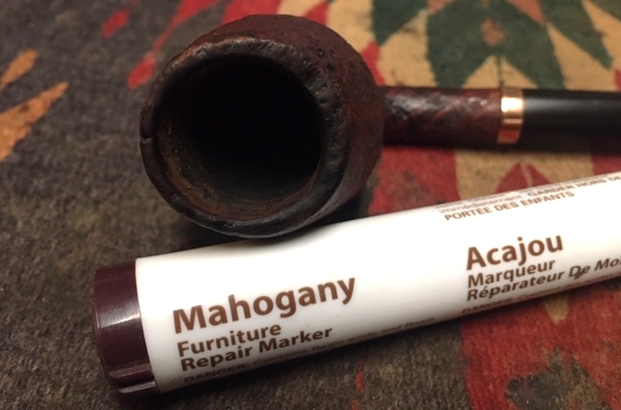
 I rubbed the bowl and shank down with Before & After Restoration Balm. I worked it into the surface of the bowl sides and shank with my fingertips to clean, enliven and protect the briar. I let the balm sit for about 10 minutes and buffed with a cotton cloth to raise the shine. The grain came alive and the single fill on the front of the bowl blended into the briar well.

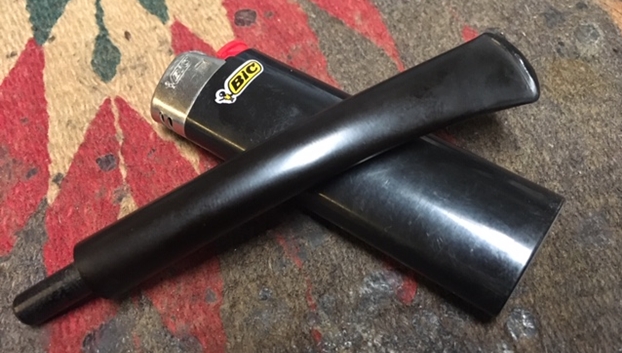
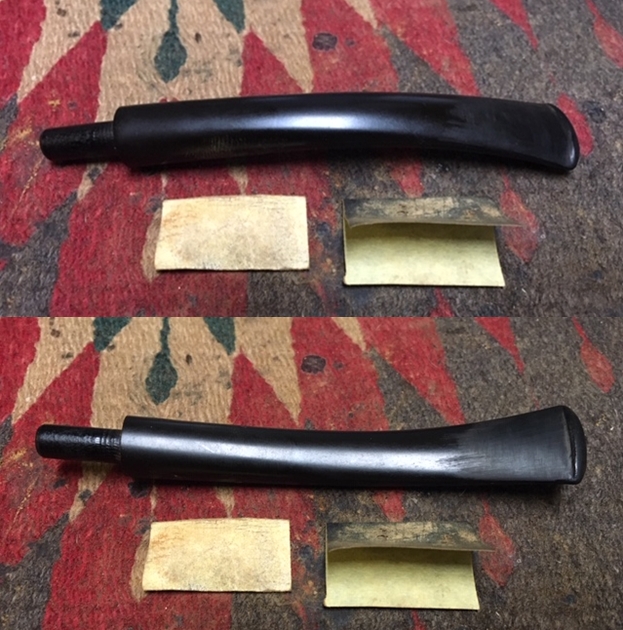
 I set the bowl aside and turned to work on the stem. I “painted” the stem surface with the flame of a lighter and was able to lift out all of the tooth marks and chatter on the surface. The little that remained I sanded out with 220 grit sandpaper. I started polishing it with 400 grit wet dry sandpaper.
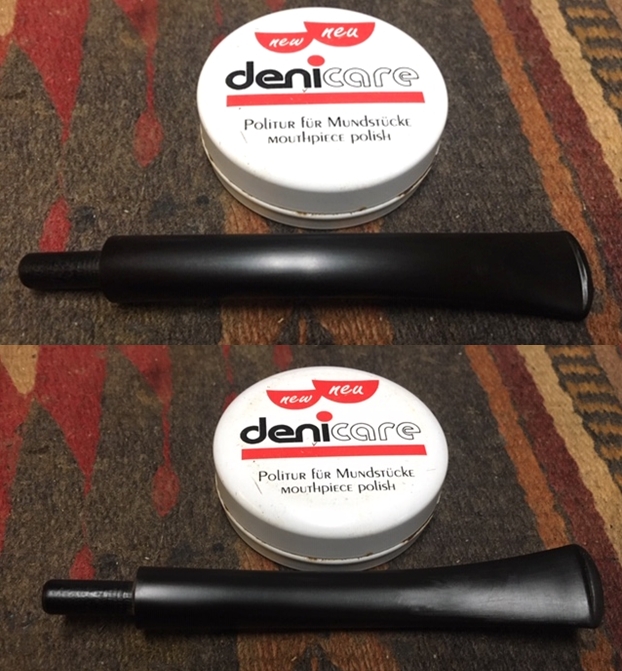
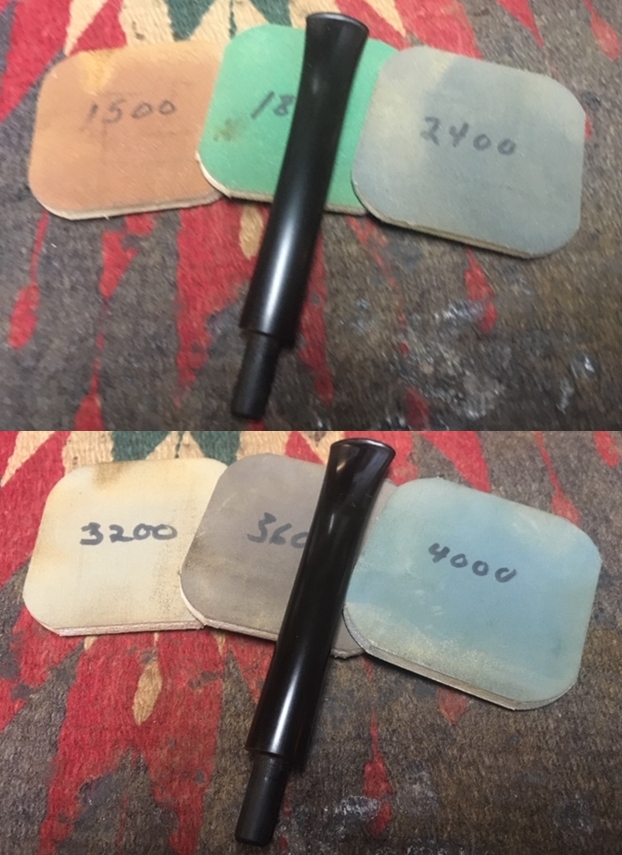
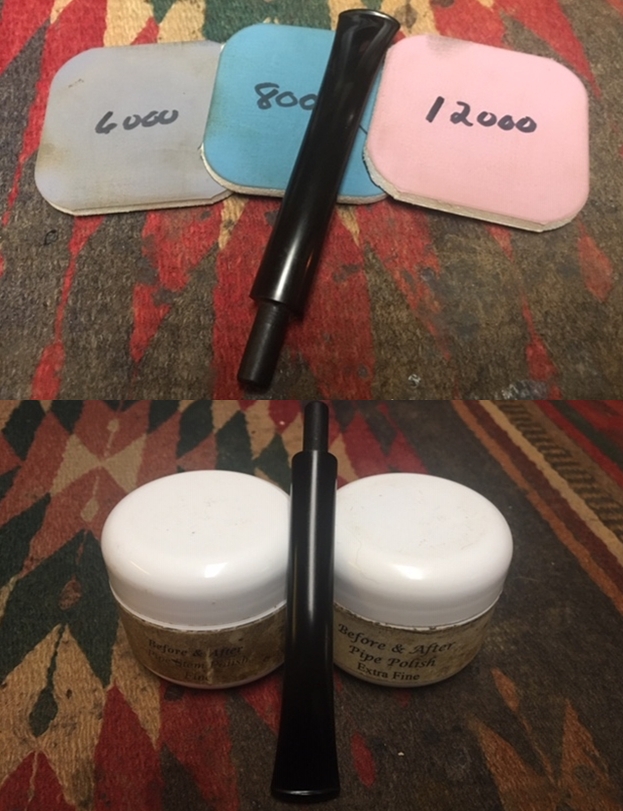
 I polished the vulcanite stem with micromesh sanding pads – 1500-12000 grit pads. I wiped it down with Obsidian Oil after each sanding pad. I used Before & After Pipe Polish – both Fine and Extra Fine to further polish the stem.
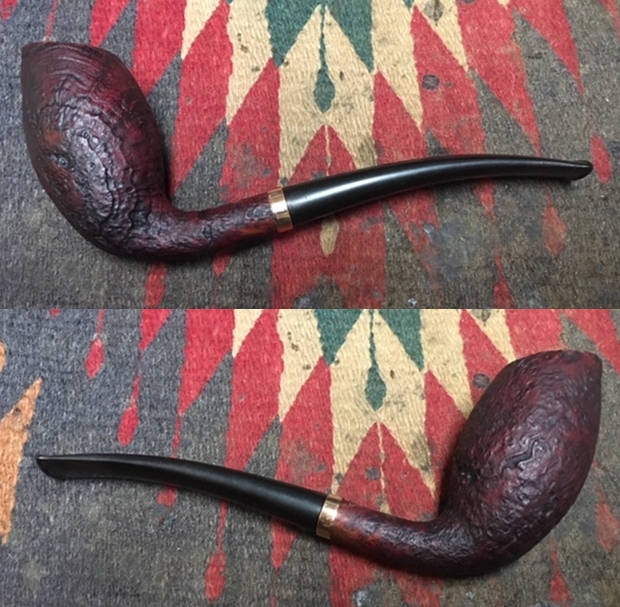
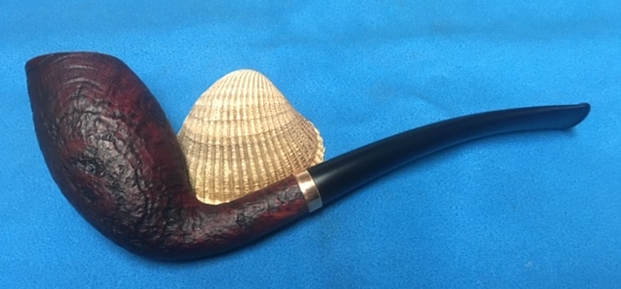
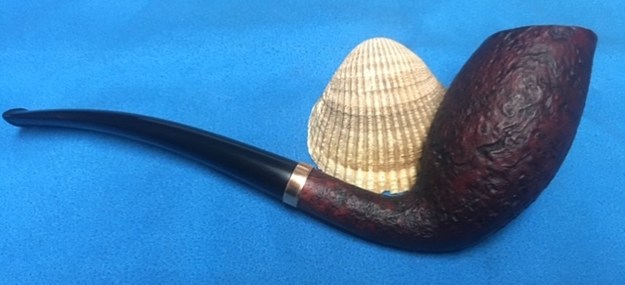
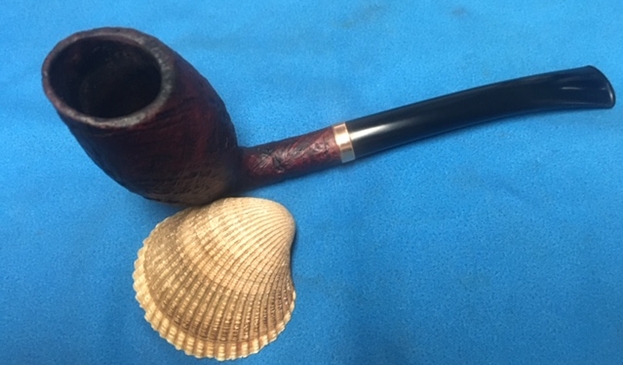
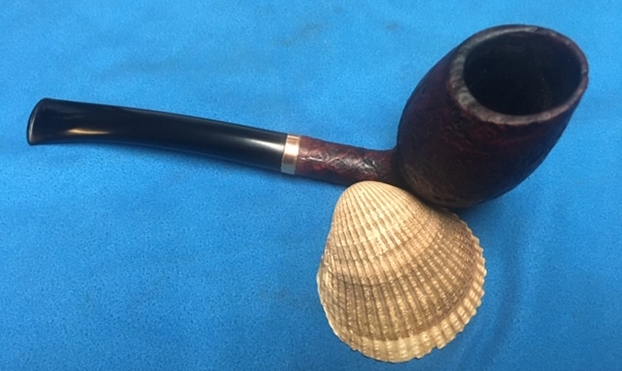
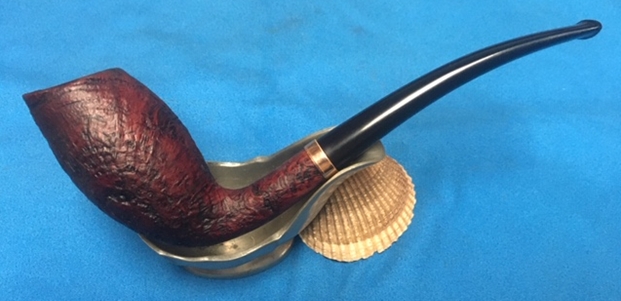
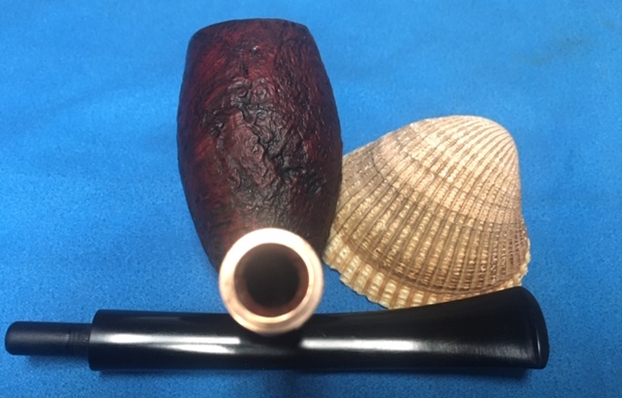
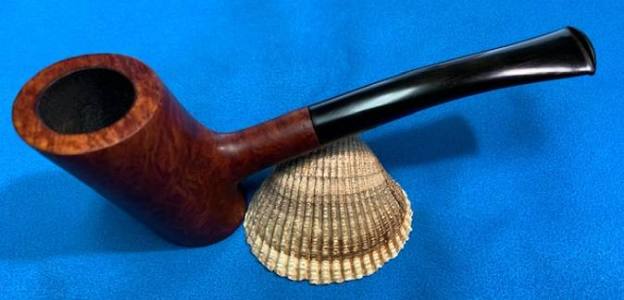
 This Larsen De Luxe Handmade Pencil Shank Cherrywood is a great looking pipe now that it has been restored. The shape is elegant and flowing with a thin tapered vulcanite stem. I put the stem back on the bowl and carefully buffed the pipe with Blue Diamond on the buffing wheel using a light touch on the briar. I gave the bowl and the stem multiple coats of carnauba wax on the buffing wheel and followed that by buffing the entire pipe with a clean buffing pad. I hand buffed the pipe with a microfiber cloth to deepen the shine. The finished Larsen De Luxe Cherrywood fits nicely in the hand and feels great. Give the finished pipe a look in the photos below. The dimensions of the pipe are Length: 5 inches, Height: 2 inches, Outside diameter of the bowl: 1 ¼ inches, Chamber diameter: ¾ of an inch. The weight of the pipe is 32 grams/ 1.13 ounces. I will be putting it on the rebornpipes store shortly in the Danish Pipe Maker Section. If you are interested in adding this pipe to your collection send me a message or an email. Thanks for reading this blog and my reflections on the pipe while I worked on it. There are many more to come!