By Steve Laug
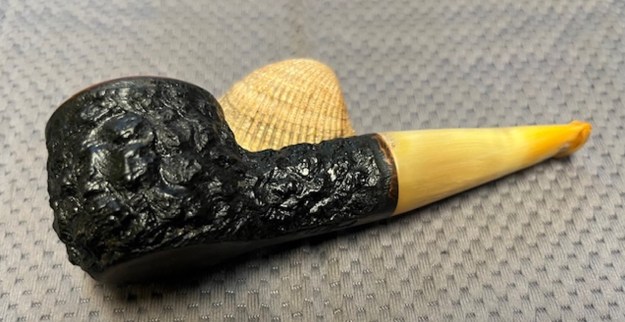
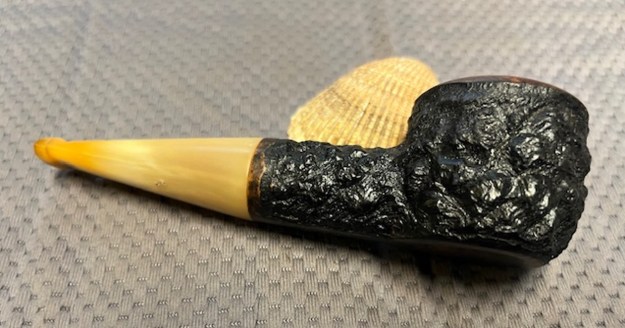
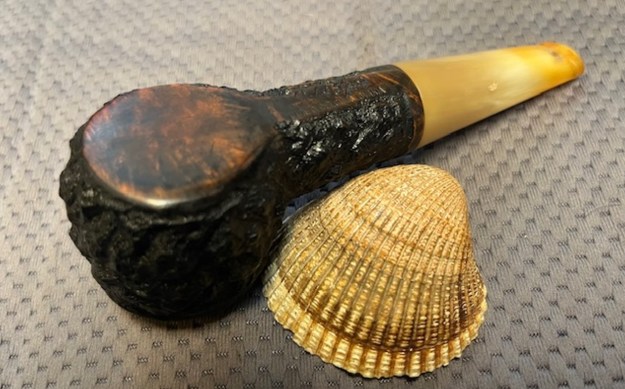
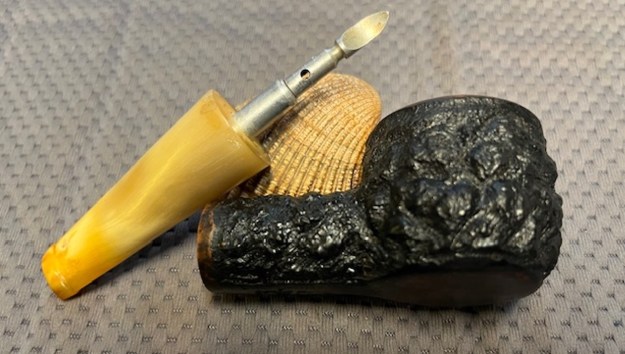
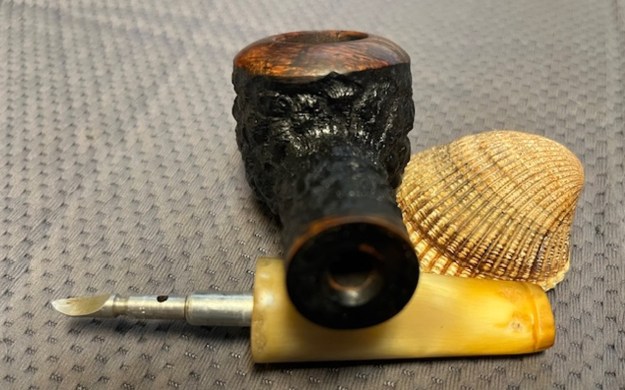
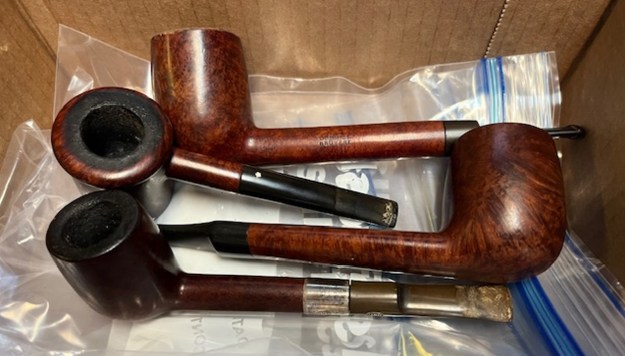
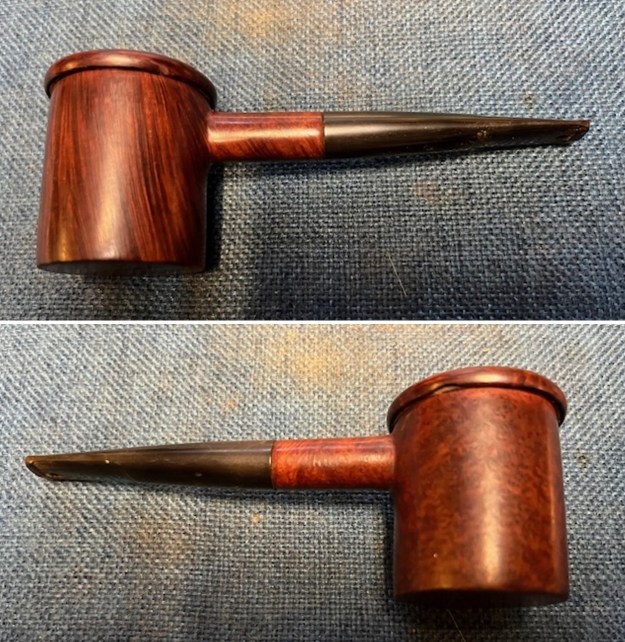
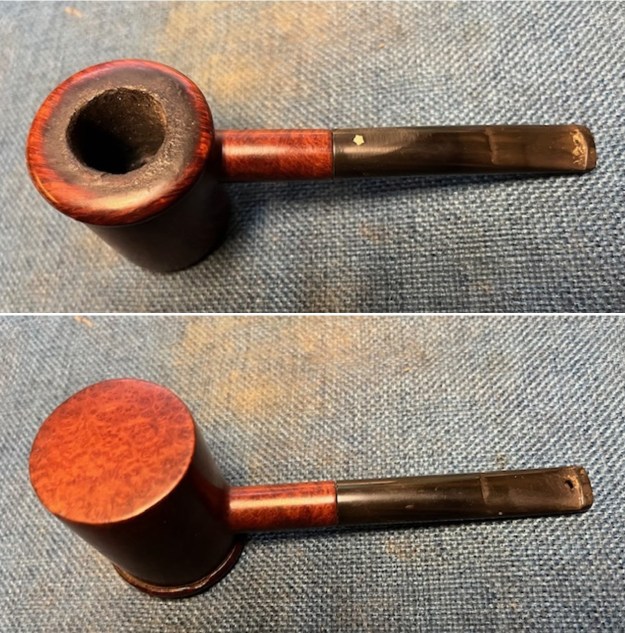
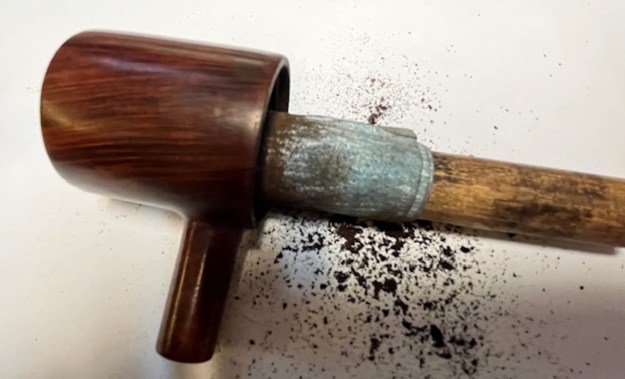
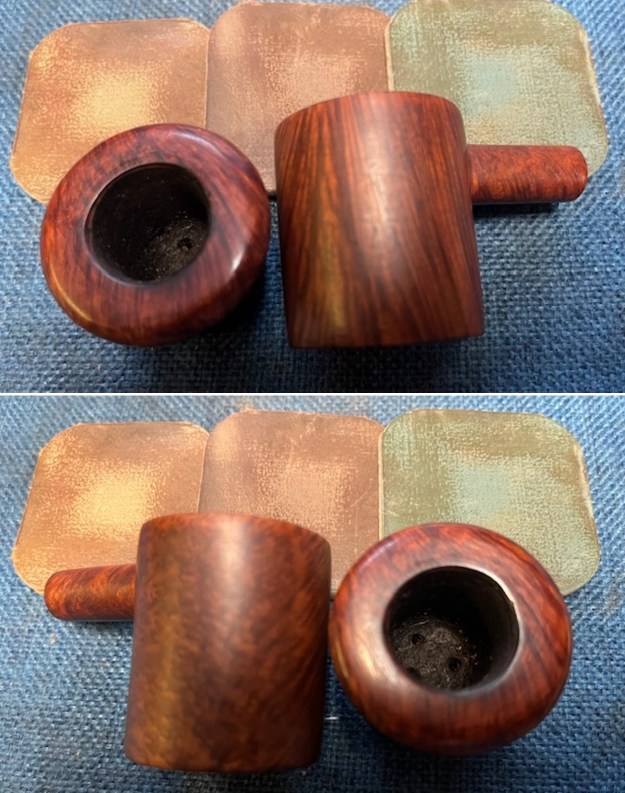
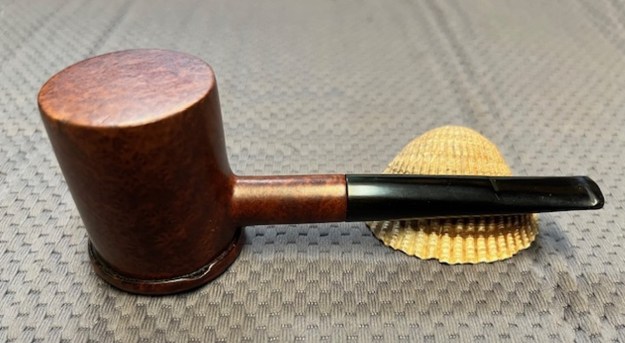
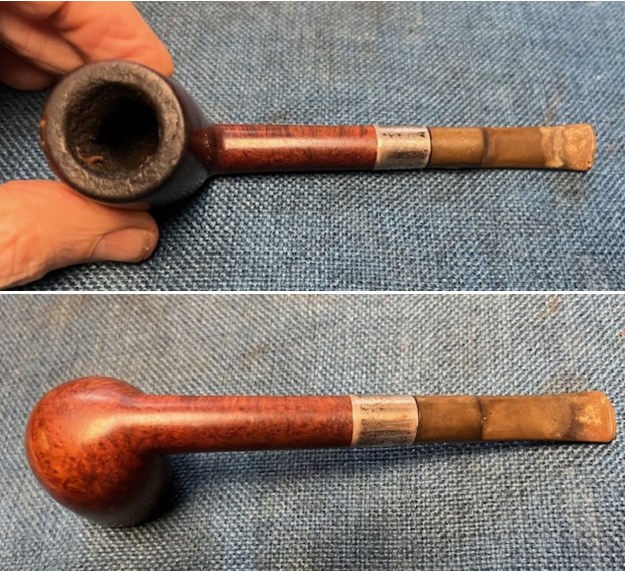
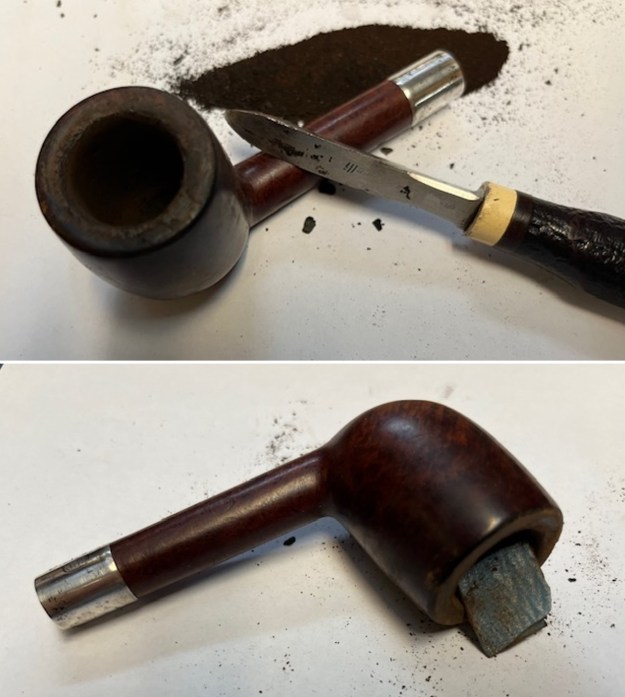
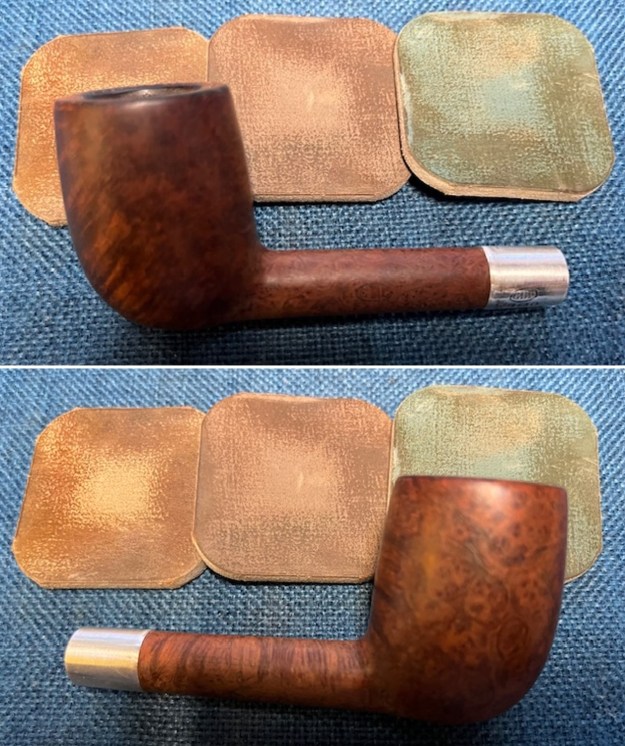
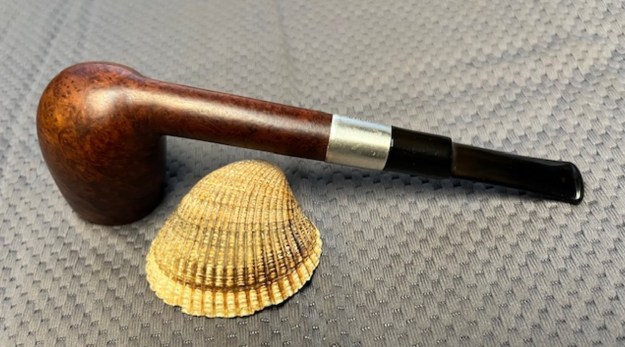
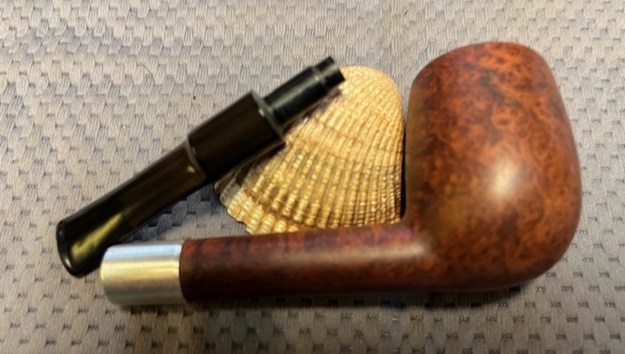
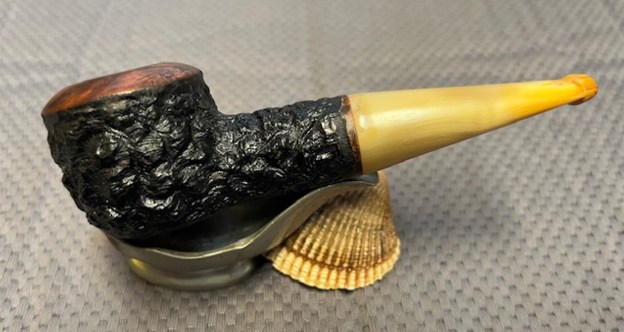
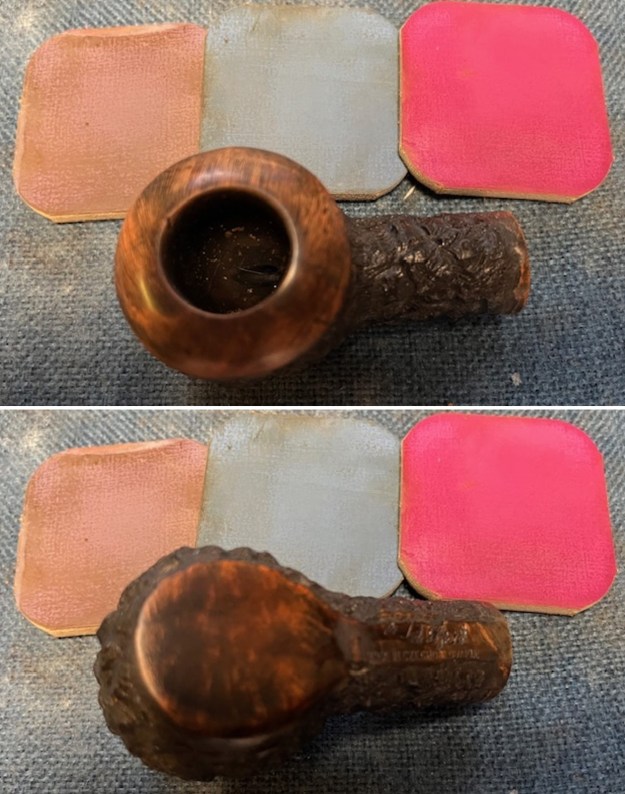
A few weeks ago, I visited my Dad and family in Idaho Falls, Idaho. I stayed with Jeff and we went through pipes he had in boxes that needed clean up. I pulled a few of them out that caught my eye and brought them home with me. The next pipe on the table is one of those. We purchased it on 05/20/24 from an estate in Long Island, New York, USA. It is a rusticated pot with a smooth crowned rim cap. It is stamped on a smooth panel on the underside of the shank and read Gold Spot [over] Made in Czechoslovakia. The stamping of the Gold Spot brand had been done multiple times and was a bit hard to read. The finish was heavily rusticated with a finish even rougher than the Sea Rock finish. It was very dirty with a lot of grime built up in the valleys and ridges of the rustication. The bowl had a moderate cake in it and the rim top had a thick coat of lava built up. The inner edge of the bowl had lava on it and it appeared to have some damage. The horn stem had a push tenon. The tenon was metal/aluminum and had a stinger apparatus in the end. The stem was in rough condition with a lot of worm holes around the left side where it met the shank. There were also a lot of worm holes on both sides of the stem ahead of the button. There was also a worm hole on the underside of the stem mid stem. I took a few photos of the pipe in the car on the way home and have included them below.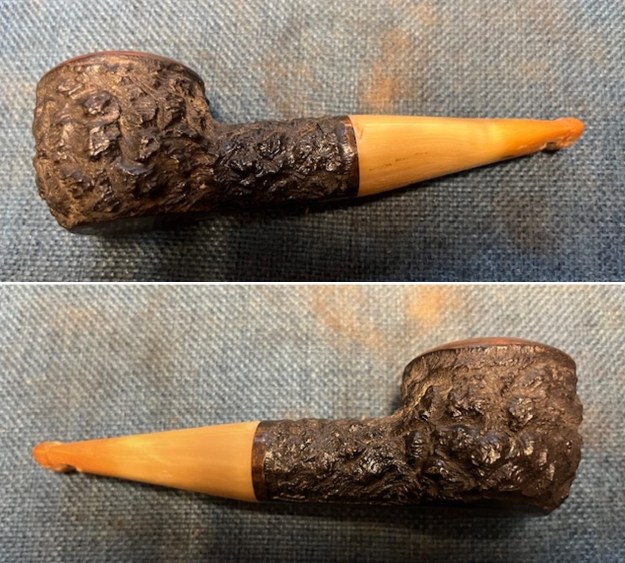
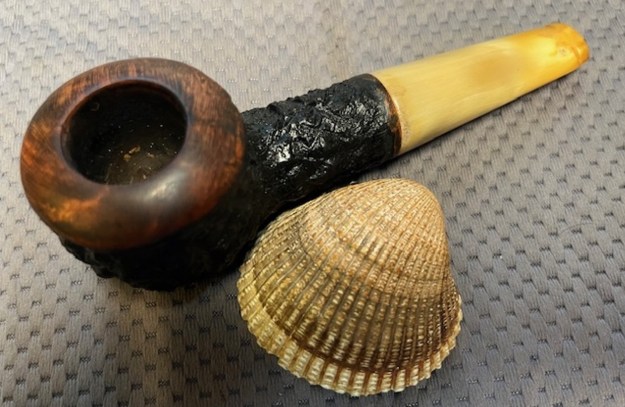
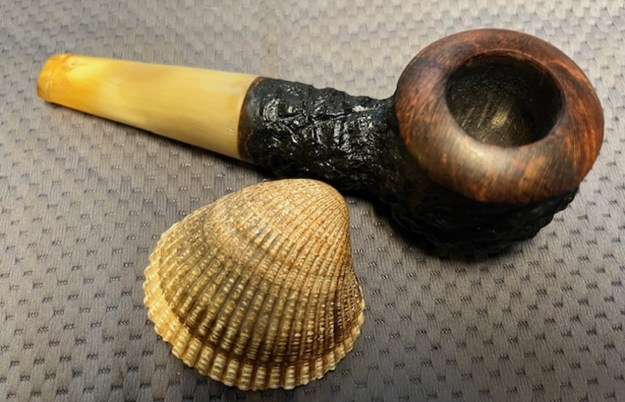
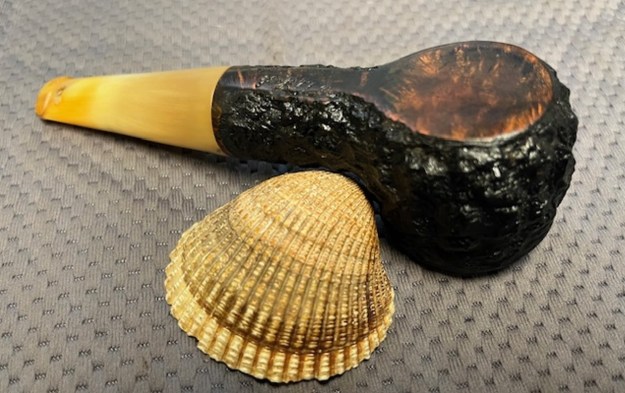
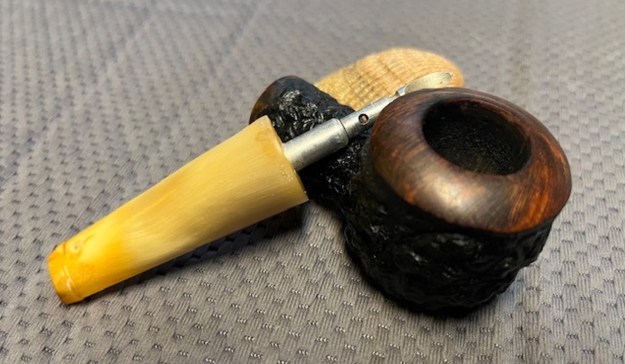
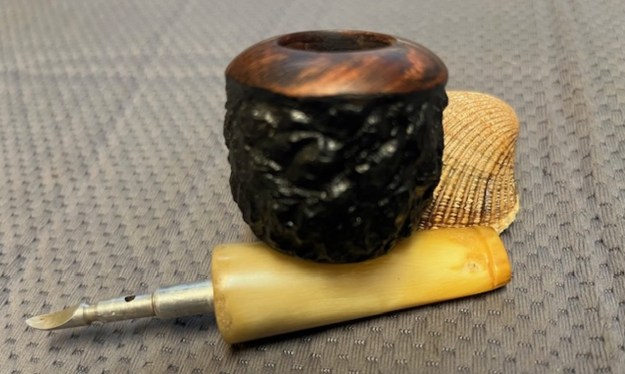
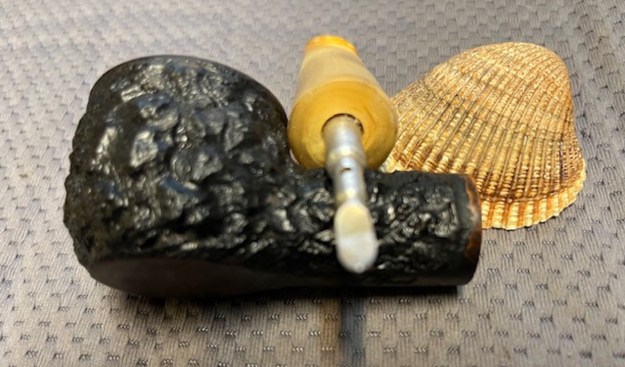
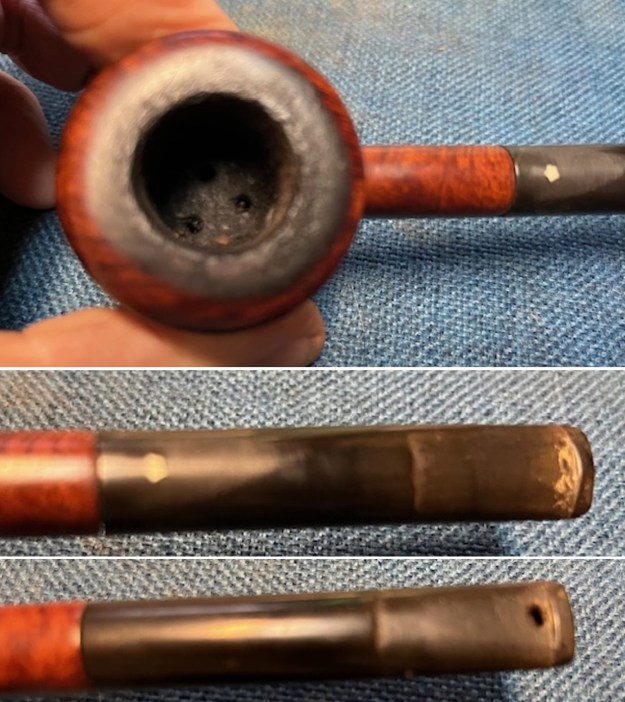
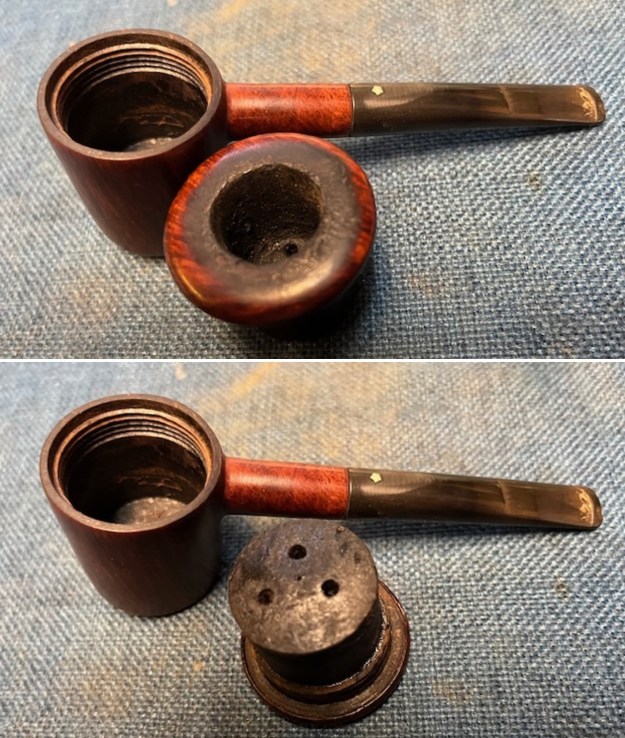
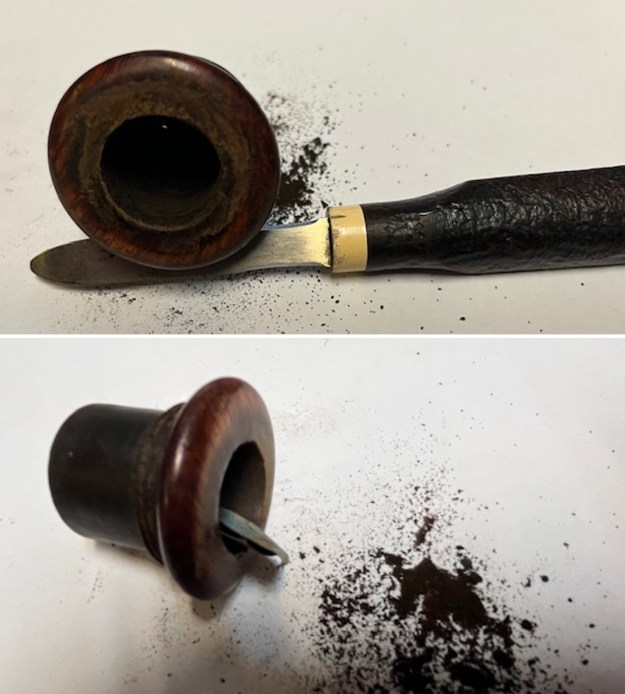
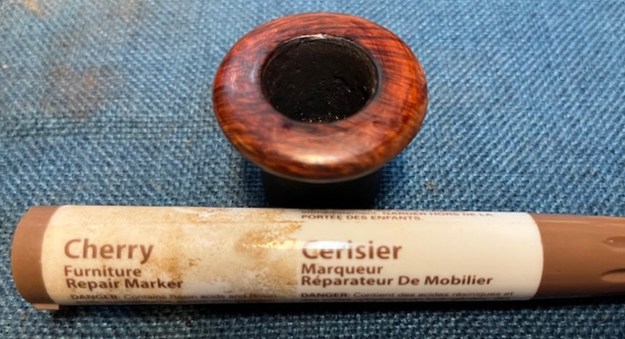
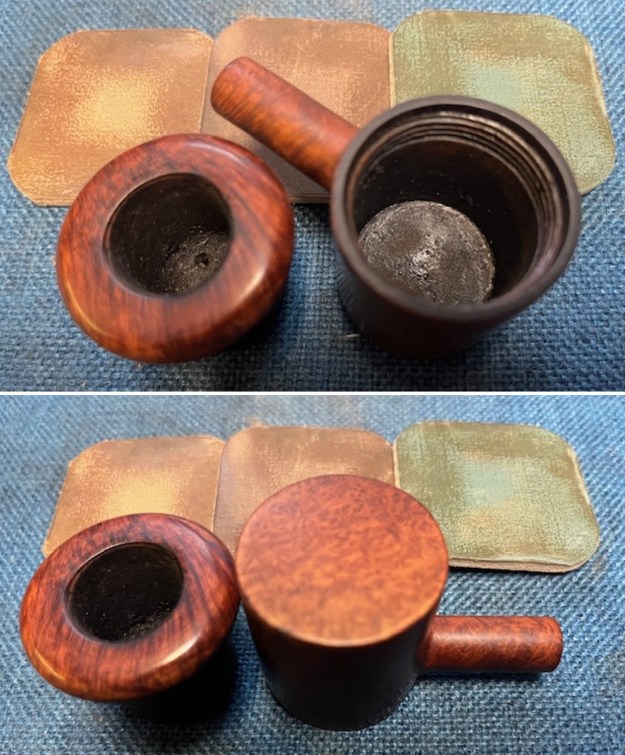
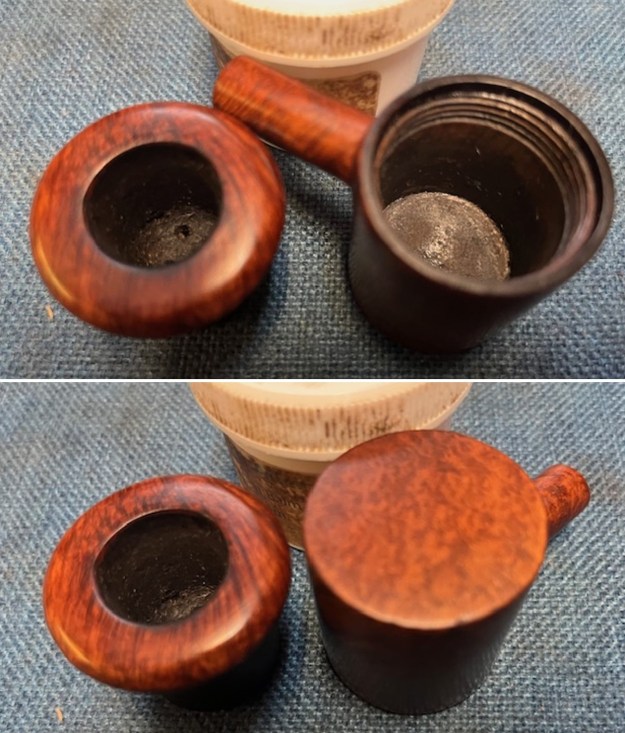
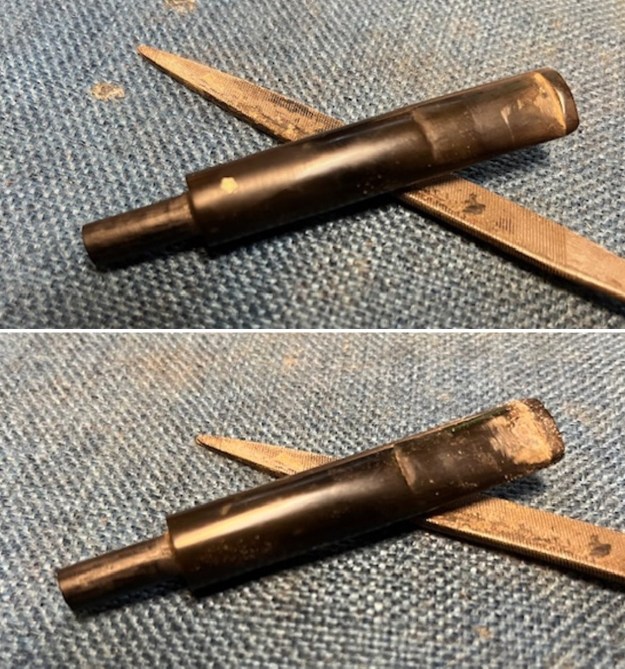
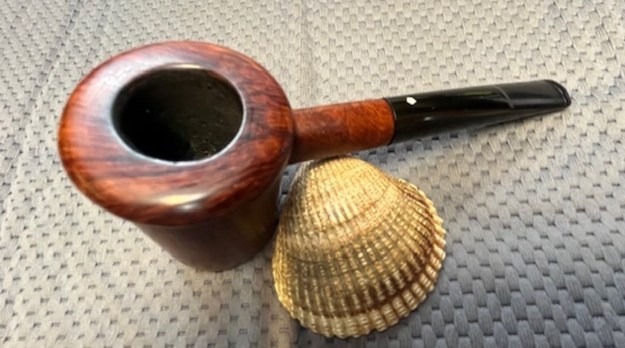
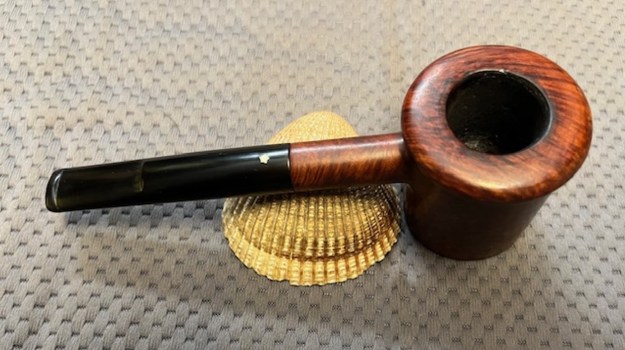
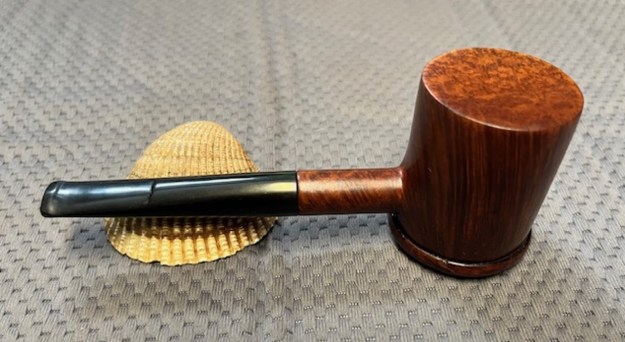
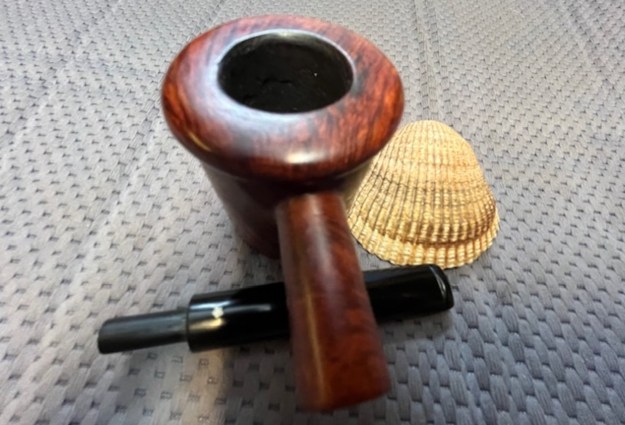
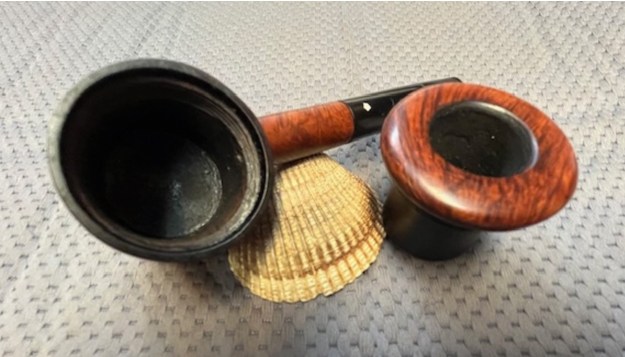
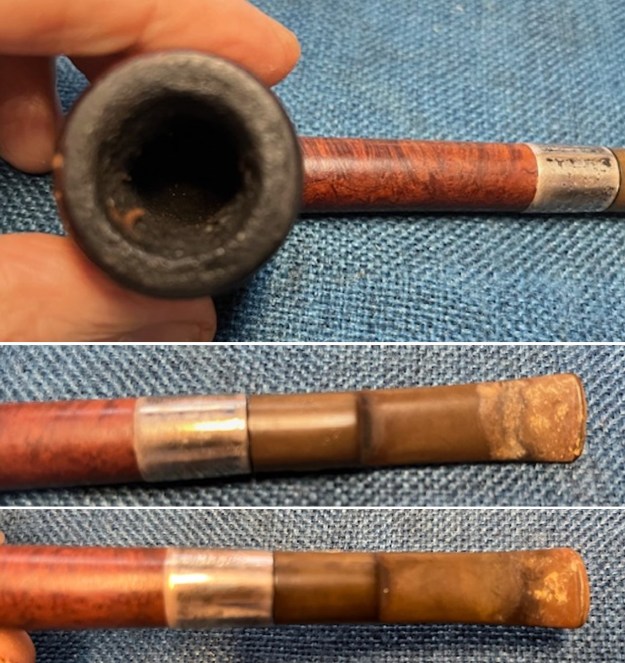
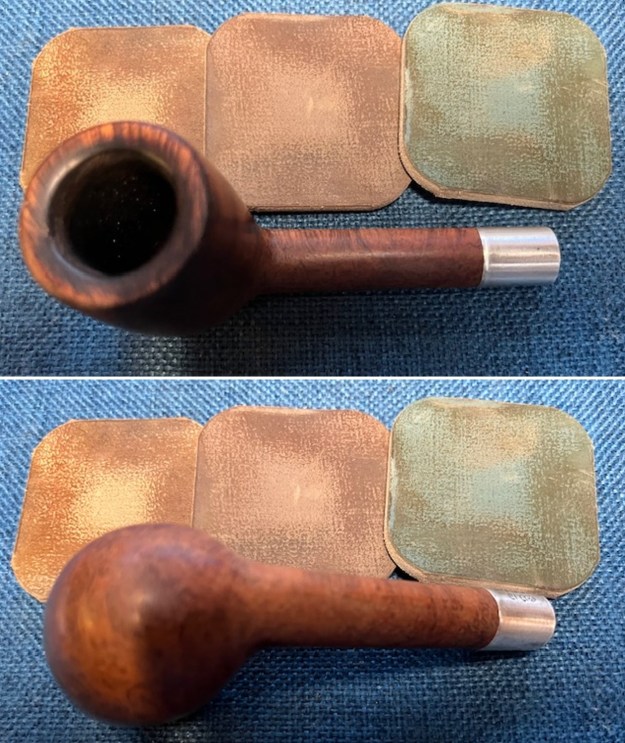
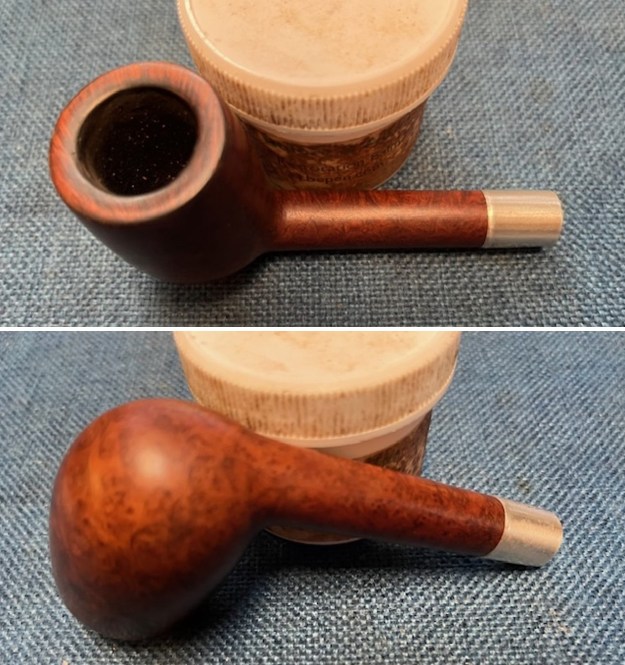
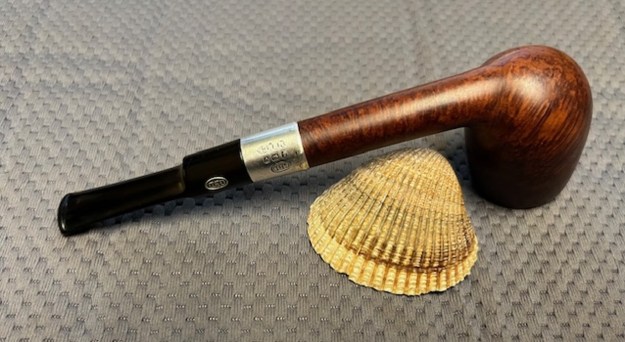
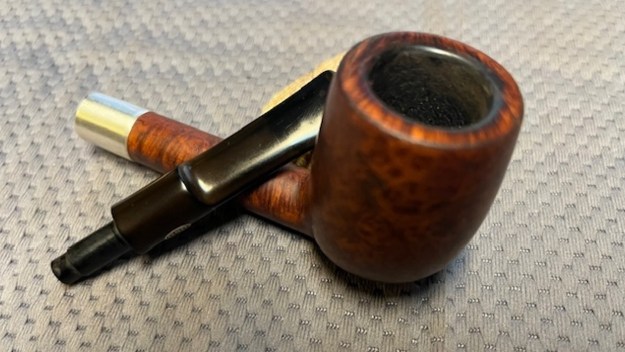
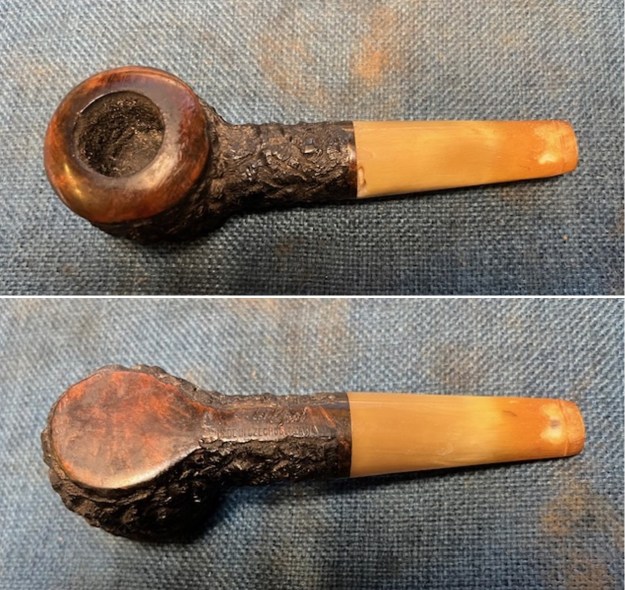 I took a photo of the rim top and bowl to show the condition of both of them. The bowl had a thick cake and lava build up on the rim top. The inner edge was coated in lava but also appeared to be rough from previous reaming. The photos of the horn stem show the worm holes on the top at the stem/shank junction and on the underside mid stem. There were deep worm holes and tooth damage on both sides just ahead of the button.
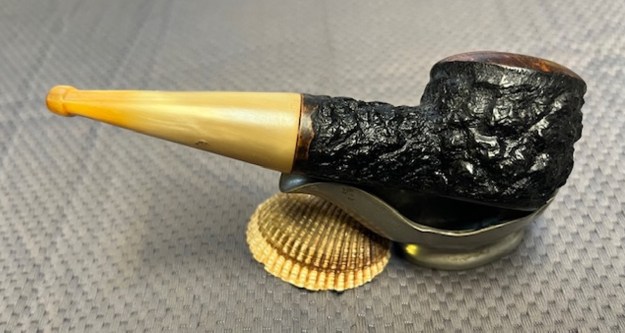
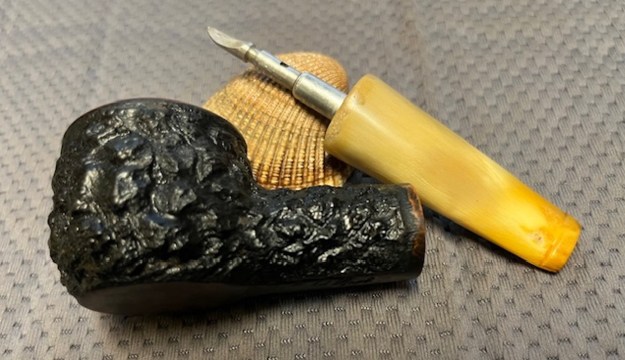
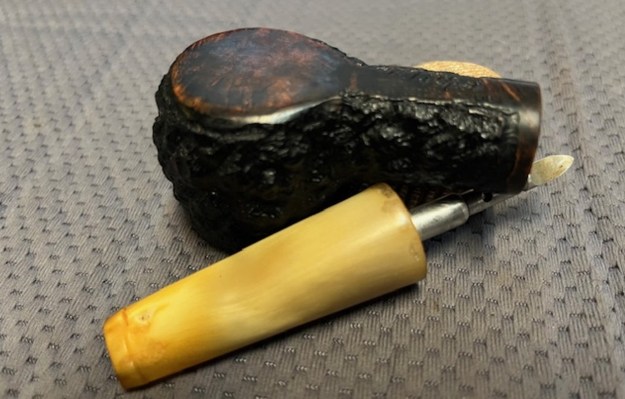
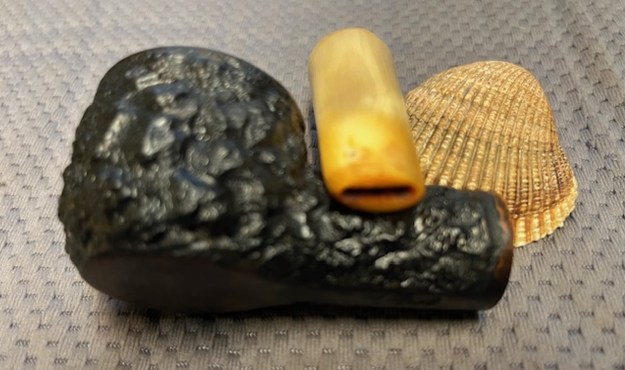
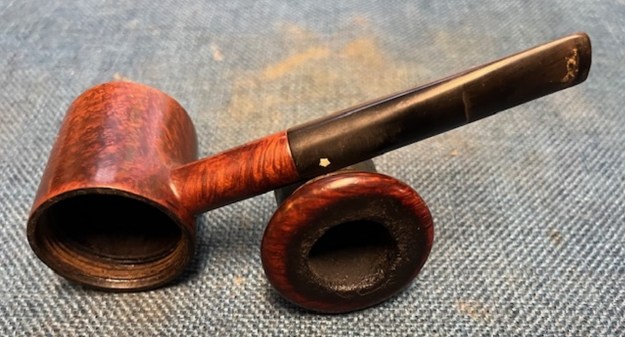
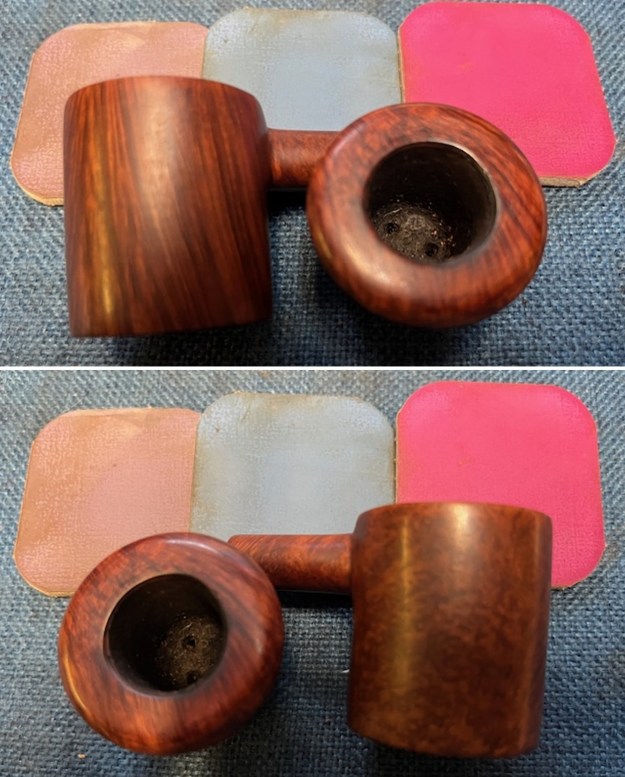
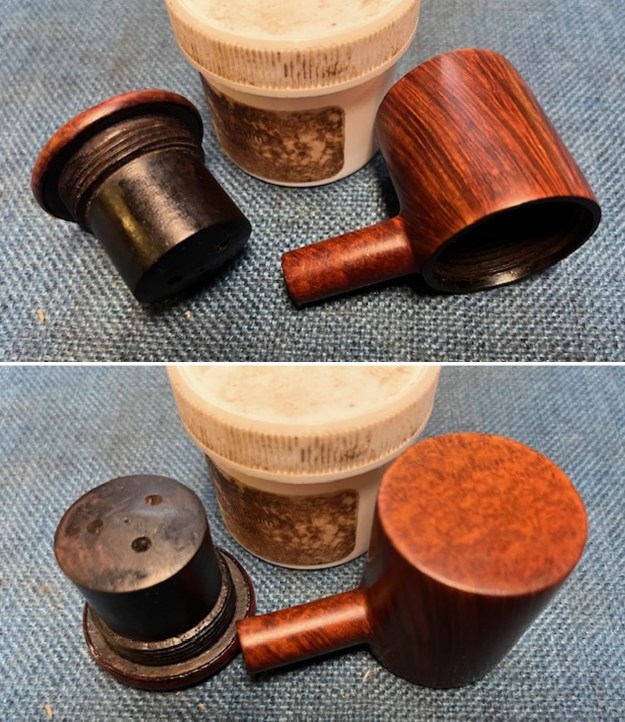
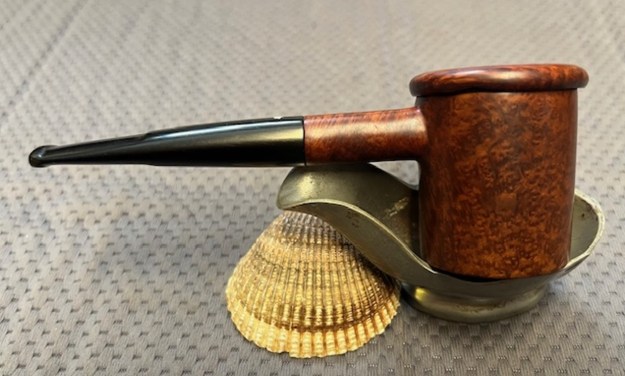
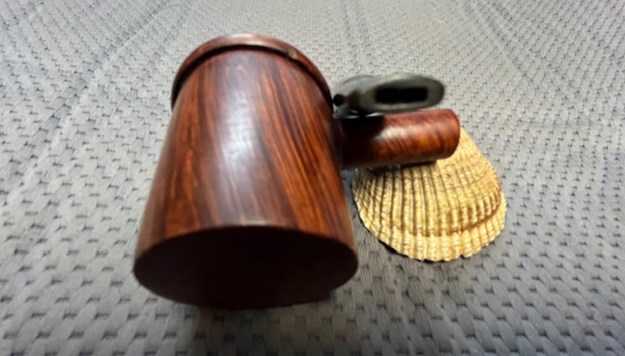
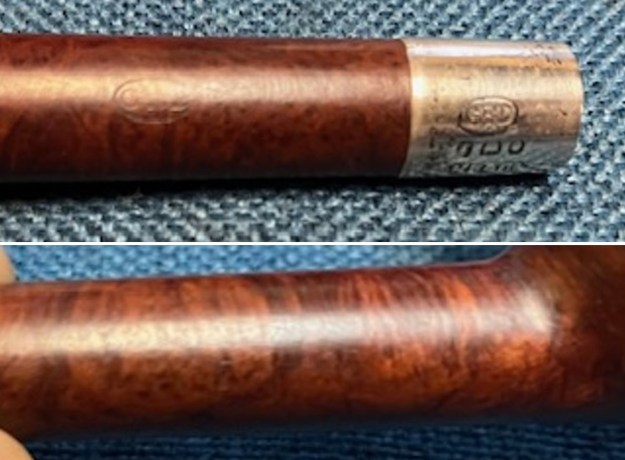
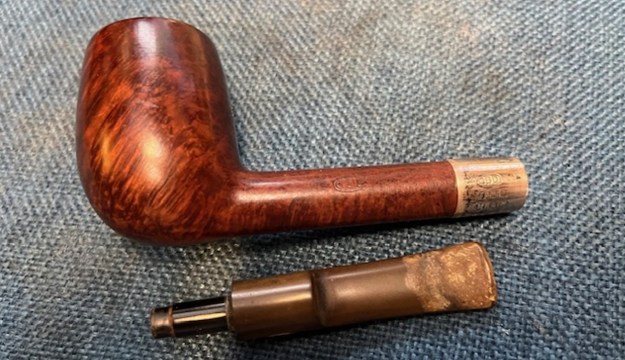
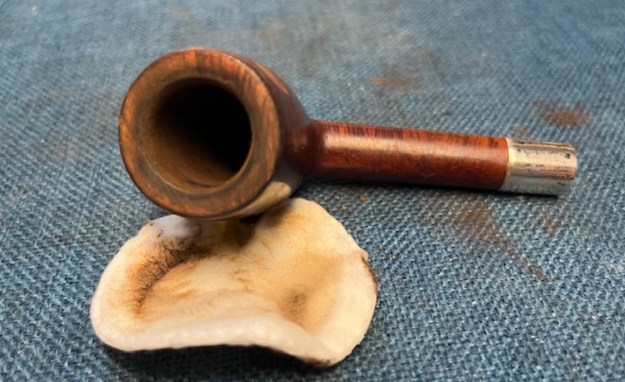
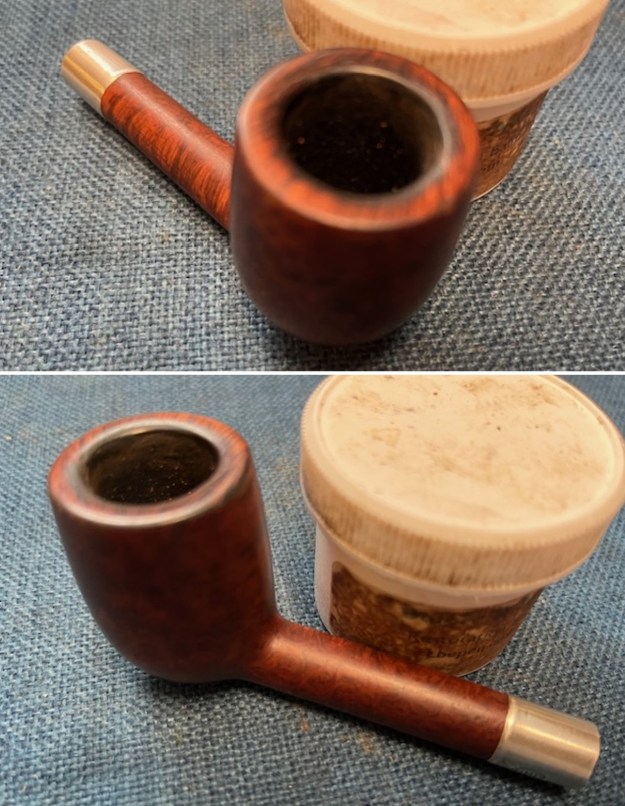
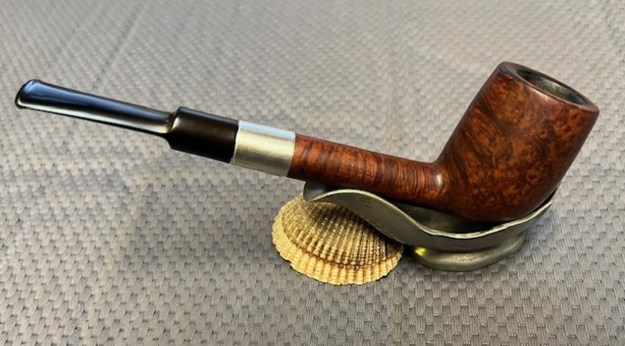
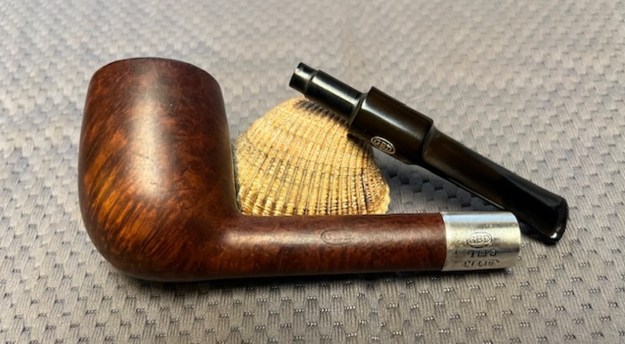
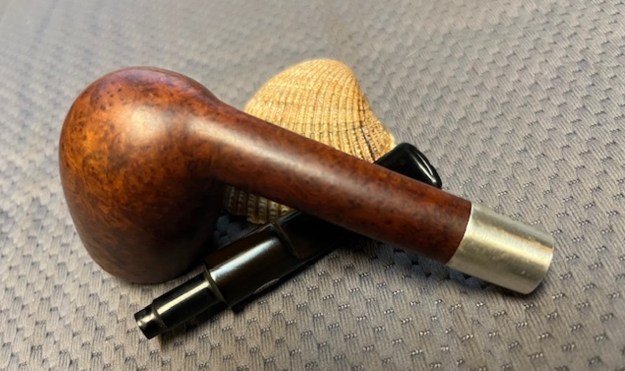
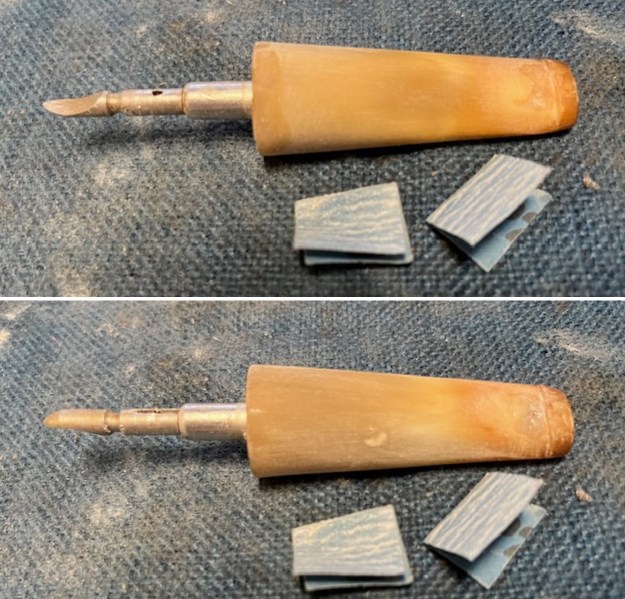
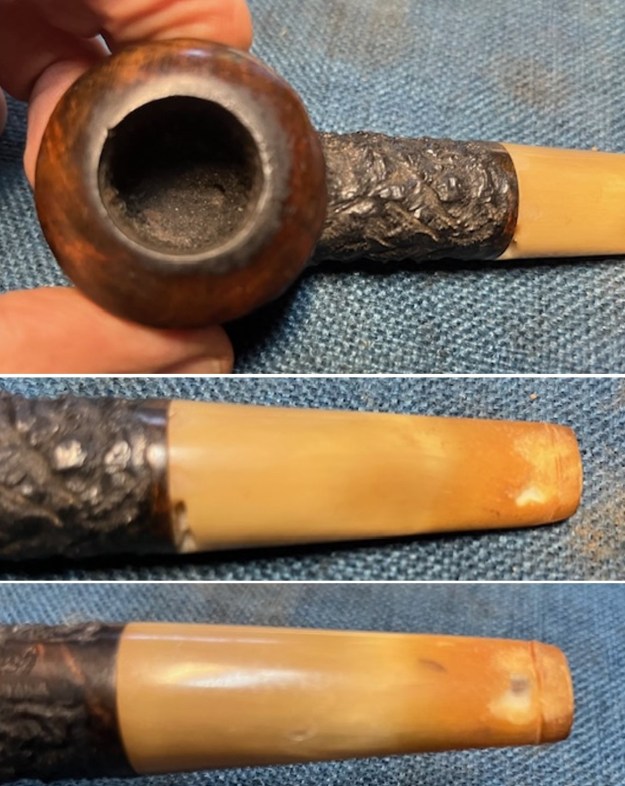 I took a photo of the stamping on the underside of the shank. The stamping, though double stamped was readable as noted above. I removed the stem from the shank and took a photo to show the proportions of the pipe.
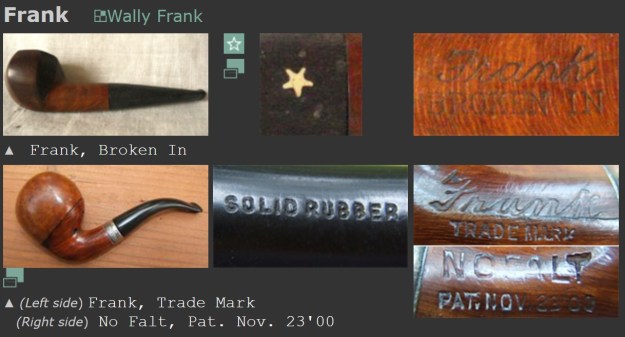
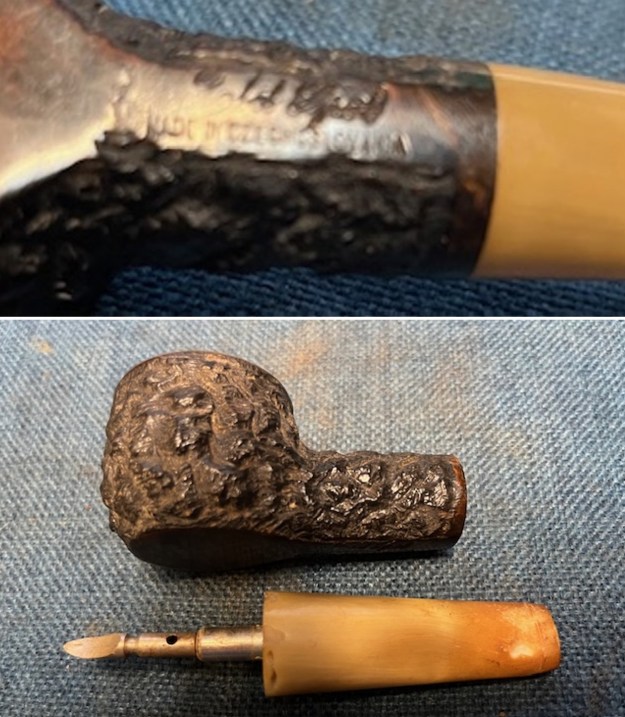 I decided to do a bit of digging on the brand of the pipe. The rustication on the bowl and the stamping Made in Czechoslovakia is the same style as a pipe I did back in April of 2016. That one was an Old River is a stylized signature and this one is a Gold Spot in the same style of signature. I am including the information I gather on the blog I wrote on the Old River pipe. I had asked for information on the brand and was able to gather a lot of help. Here is the link to the blog (https://rebornpipes.com/2016/04/28/restoring-an-old-sea-slug-or-an-old-river-chubby-bent-apple/).
I received some responses on the blog. One of the most helpful ones was from a fellow named Tomas. Here is what he wrote to me:
Hello Rebornpipes, I am your big fan from Czech Republic in Europe. Old River pipes comes from Czechoslovakia, made in factory in “Prosec u Skutce”. This factory still works under name BPK.
Having that information was a great boost on identifying this pipe maker. I checked on Pipedia and found a link to BPK (https://pipedia.org/wiki/BPK). I quote:
A long tradition of producing pipes. BPK company exports pipes to more than 40 countries. The production of pipes has been traditionally connected with small town Prosec u Skutce since 1842. Prosec is situated in the heart of Czech Republic, approximately 150 km (93 miles) far from Prague. Since the change of political situation in 1989 the company BPK, Ltd has been continuing in the traditional production.
I Googled BPK pipes and found this link (https://www.pipeshop-saintclaude.com/bpk-343). I quote what it told me about the brand below:
Located in the town of Proseč, Czech Republic, the BPK workshop makes pipes since 1842. The firm succeeded at a time when pipe market was growing. At first, BPK pipes were actually not made with briar, but with other types of wood: alder, maple or pear tree. M. Zabor Bernard Kopperle (officer of the company) will only begin to use briar in 1910 for his pipes. The result is stunning because of the briar properties, particularly for tobaccos combustion: more heatproof and better for smokers when it comes to the taste. The BPK pipes success was immediate, and pipes were therefore exported in numerous neighbor countries. In the late 30s, more than 600 craftspeople worked for the production of BPK pipes! Nowadays, these pipes are still liked by smokers thanks to their classical design. Their silhouettes are simple and without any flourishes. Last criterion, and an important one: BPK pipes are proposed at an affordable price!
That gave me history on the brand and some connection to present pipes that are made by BPK but I still wanted to find a connection to the older company before the 1992 separation of Czechoslovakia into the Czech Republic and Slovakia. That gave me a possible end date for the pipe. Though I cannot definitively prove it I am fairly certain that the pipe was made by BPK. I cannot find any listings for Gold Spot Made in Czechoslovakia pipes. The similarities to the finish on this one and the rustication on the various Old River pipes made by BPK lead to make the connection.
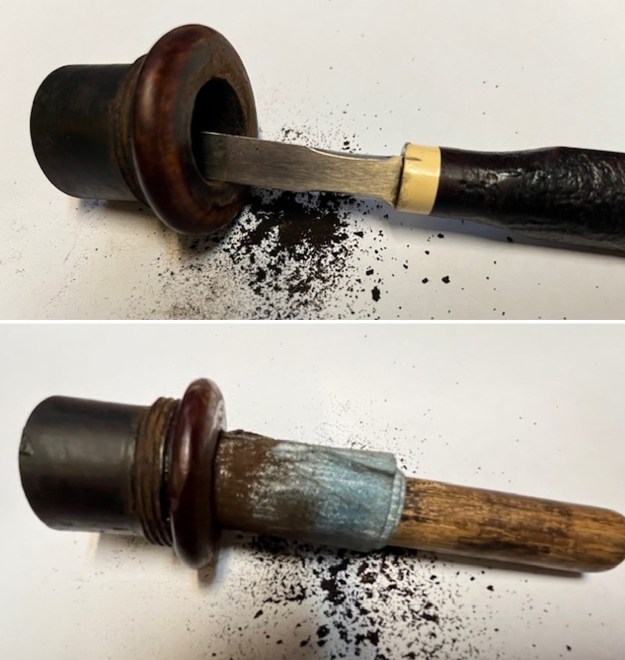
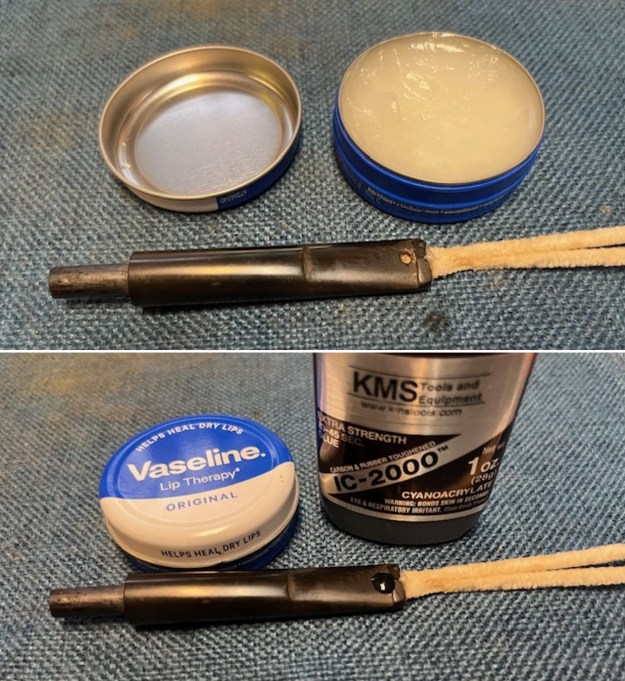
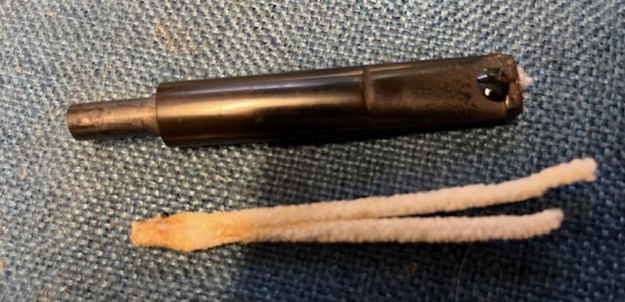
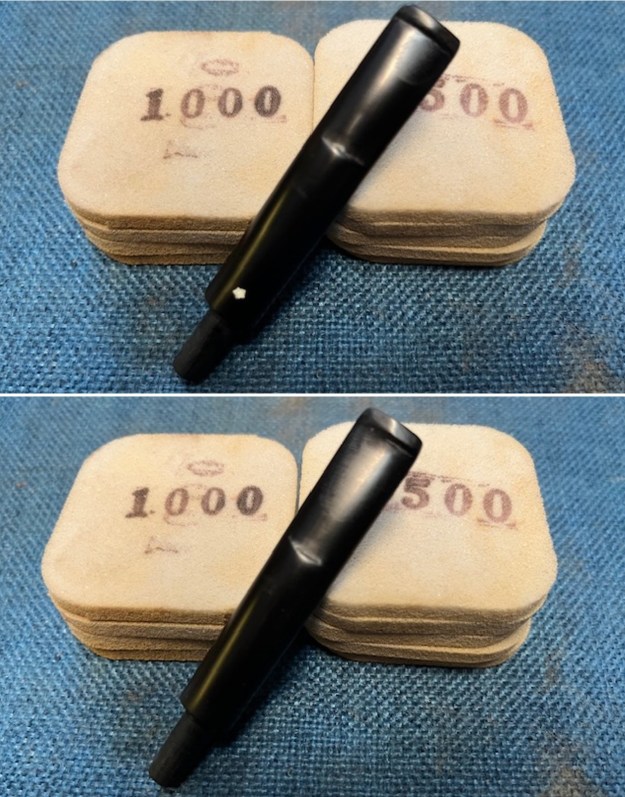
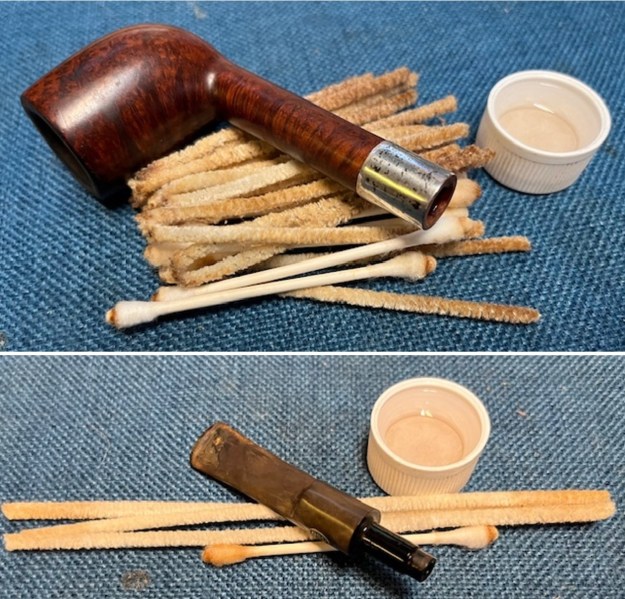
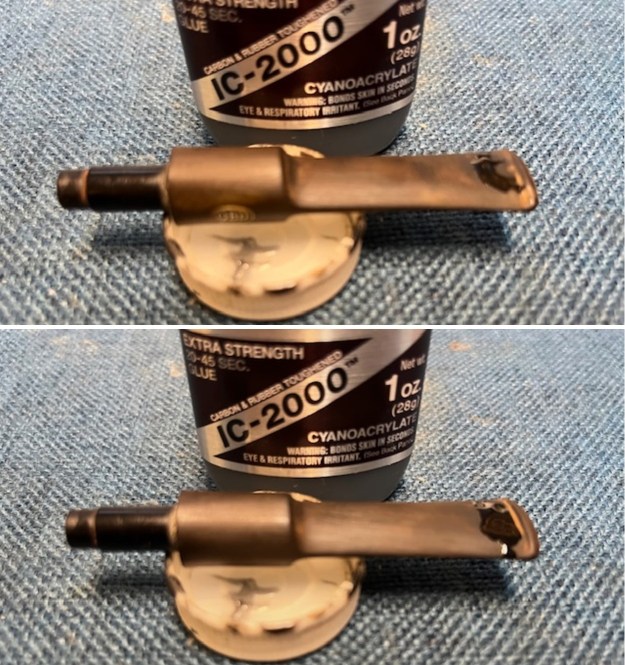
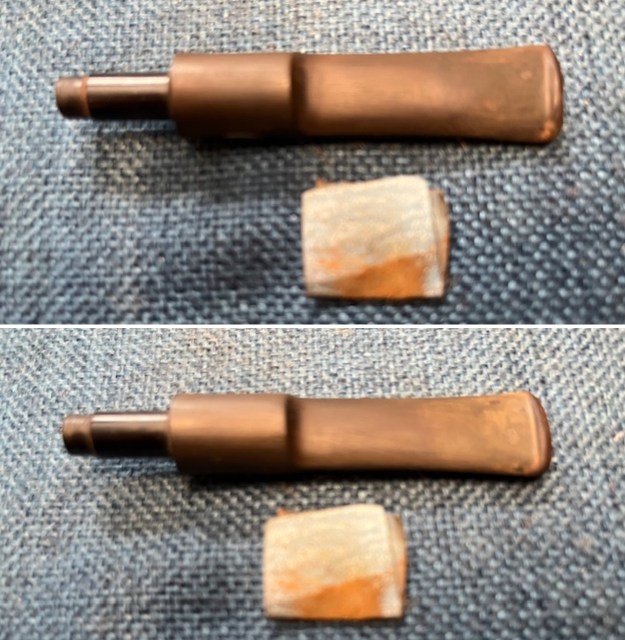
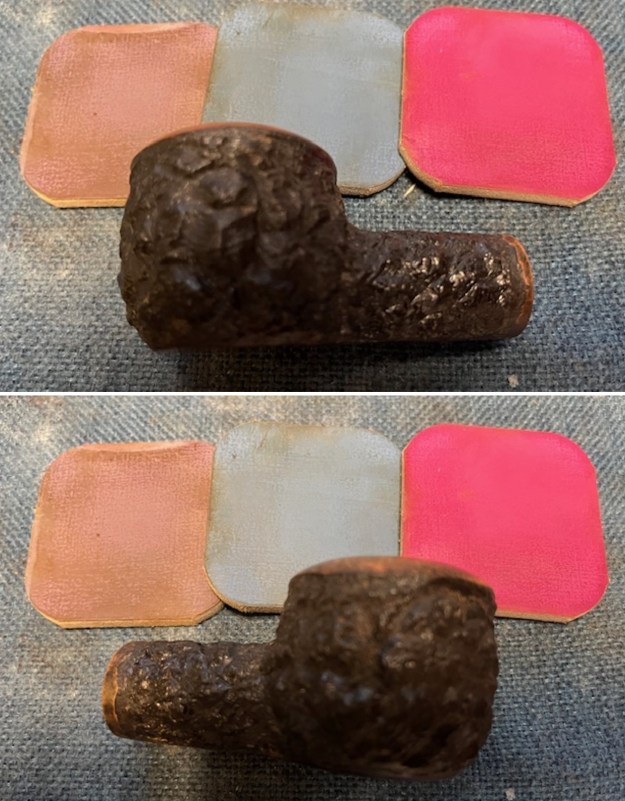
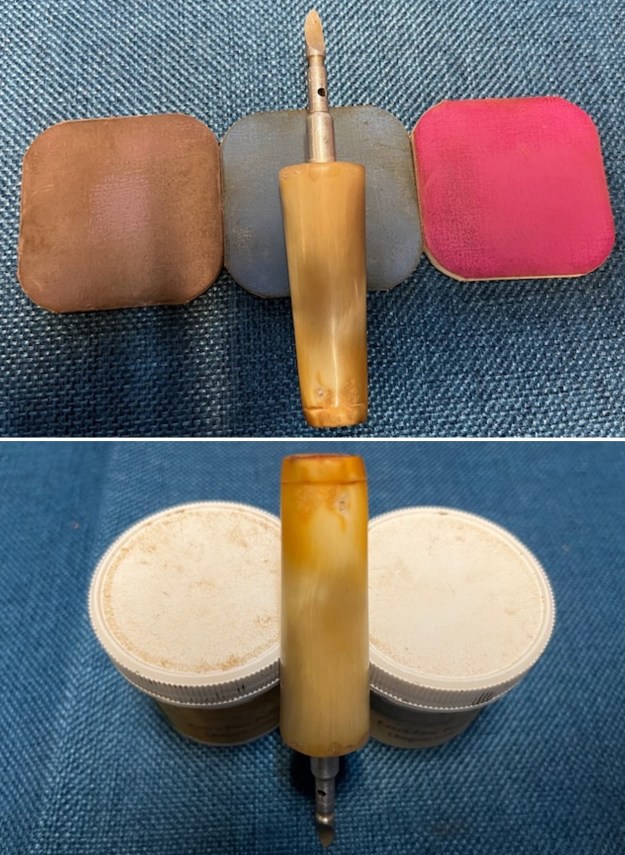
Now it was time to work on the pipe itself. I decided to do some work on the stem first. There were a significant number of worm holes in the material as visible in the pictures below. There were also some worm holes and tooth marks on the top and the underside of the stem ahead of the button. 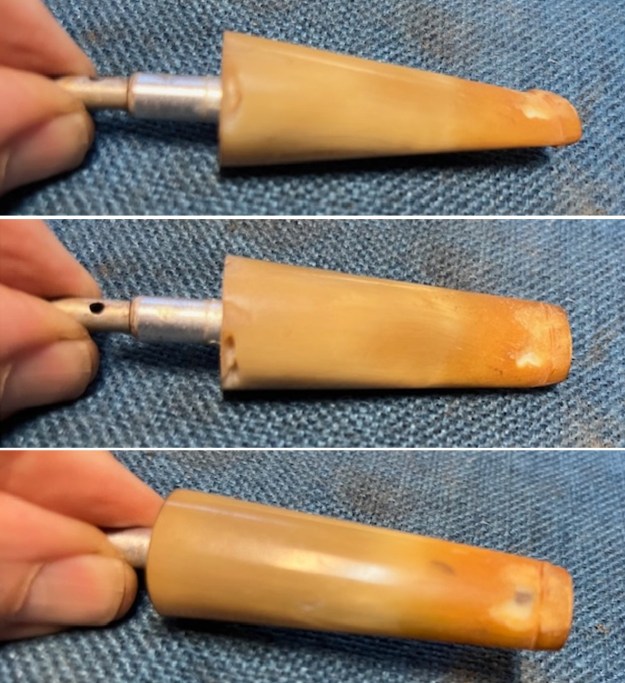 I wiped down the stem surface with alcohol on a cotton swab to remove any oils or debris from the worm holes or tooth damage areas. Once they were clean I filled them in with several layers of clear CA glue and set the stem aside to let the repairs cure.
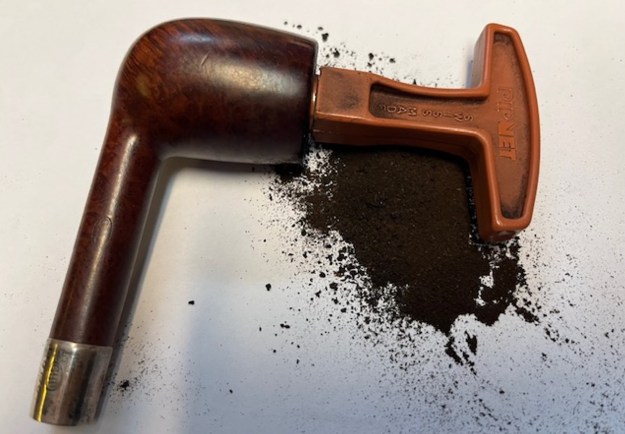
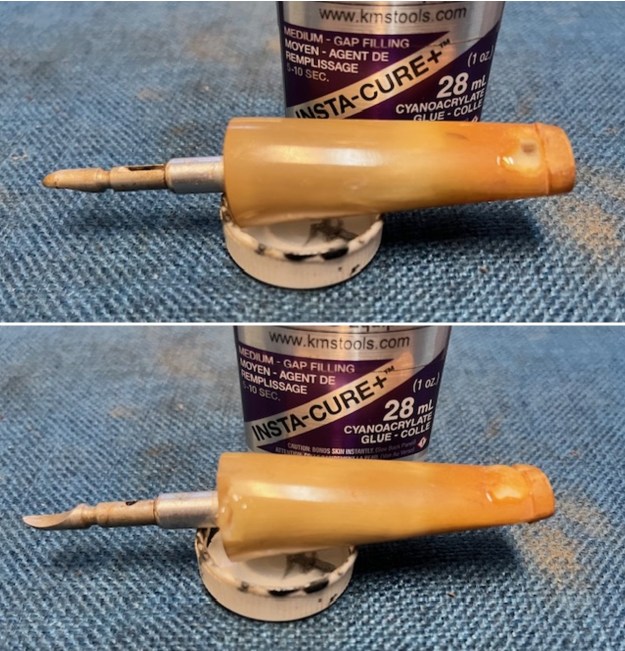 While the stem repairs cured I turned my attention to the bowl. I used a PipNet Pipe reamer first to take out the majority of the cake. It was a deep bowl so I used a Savinelli Fitsall Pipe Knife to clean up the remaining cake in the bowl and to scrape off the lava on the rim top. I used a dowel wrapped with 220 grit sandpaper to smooth out the walls of the bowl. I checked for damage on the bowl walls and it was in good condition.
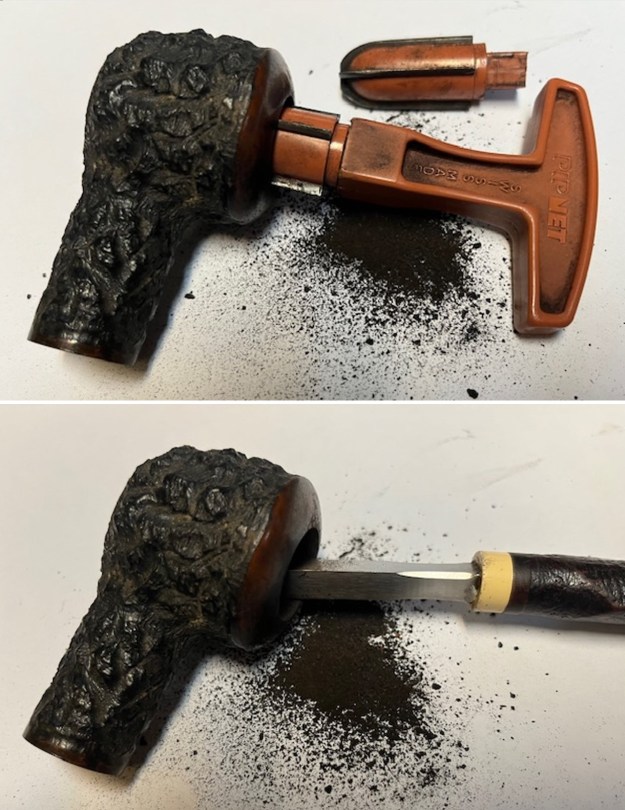
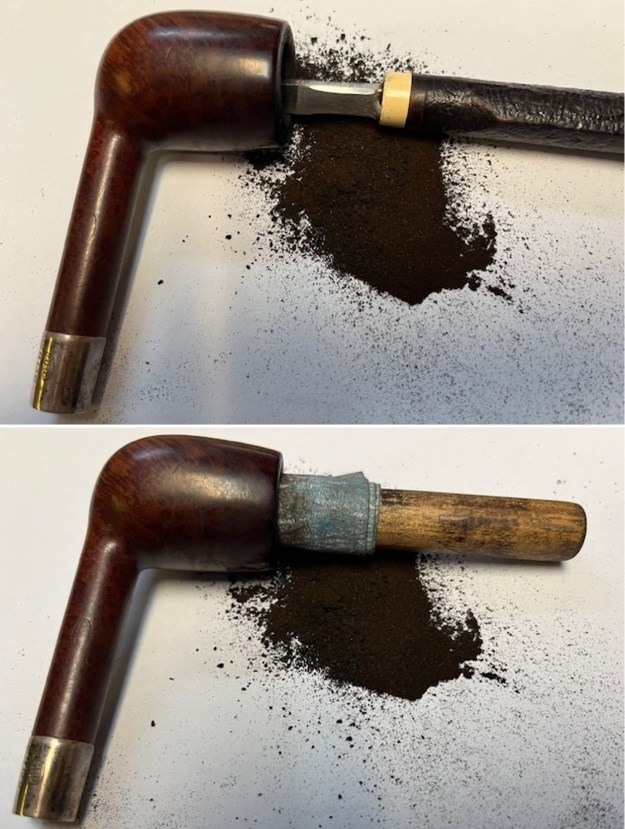
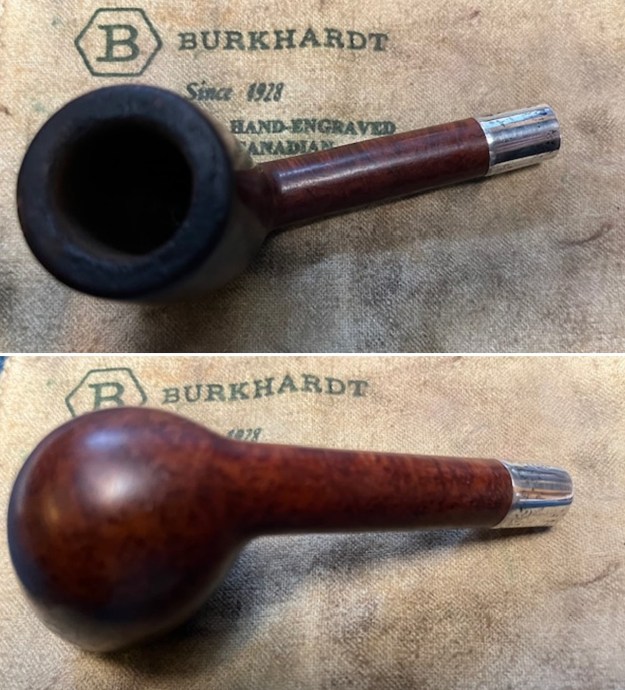
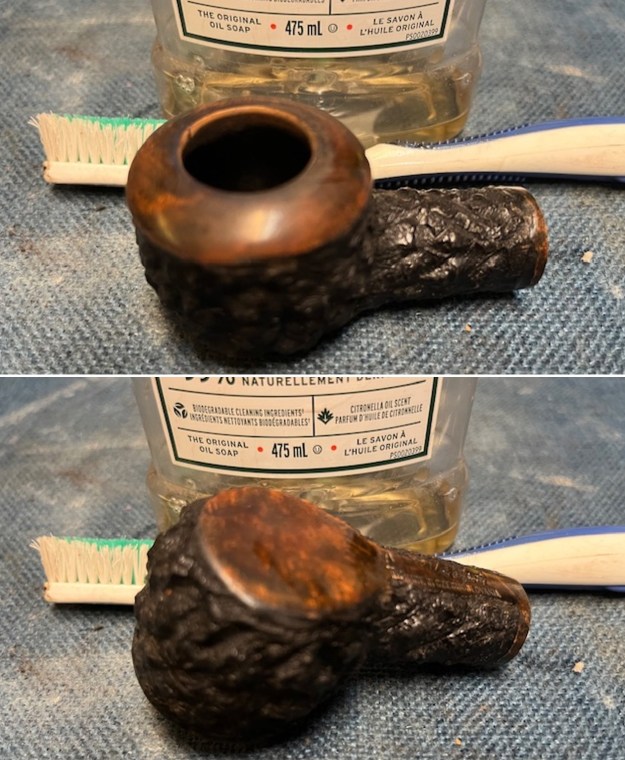
 I scraped the rim top with a Savinelli Fitsall Pipe Knife. I cleaned up the inner edge of the bowl with a folded piece of 220 sandpaper.
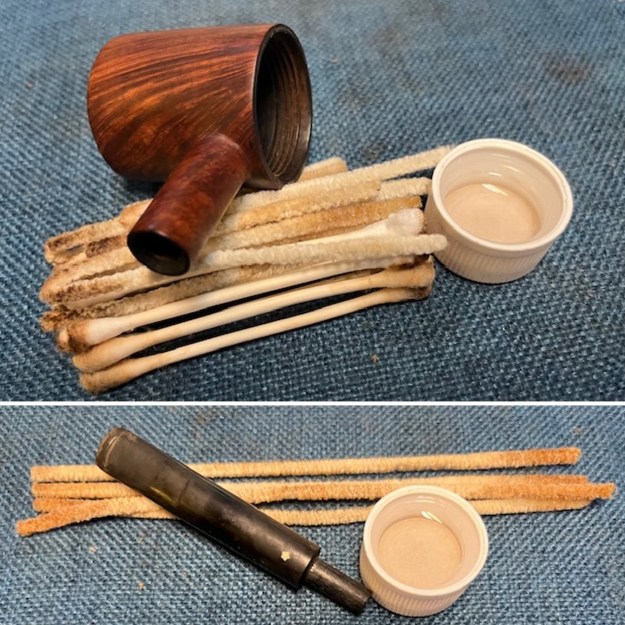
 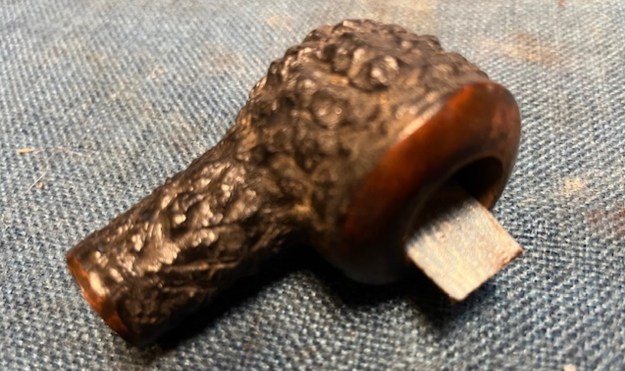 I scrubbed out the inside of the shank, mortise and the airway in both the stem and the bowl. I used pipe cleaners, cotton swabs and isopropyl alcohol. It cleaned up very well.
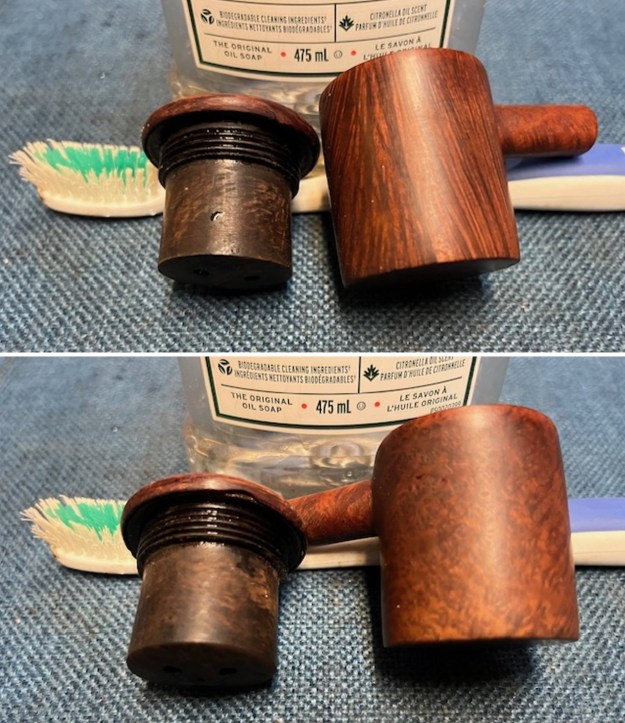
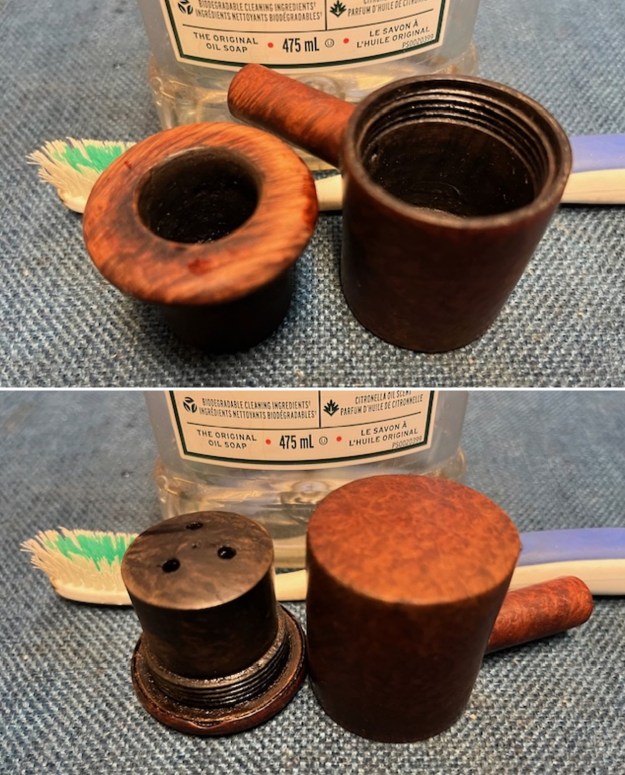
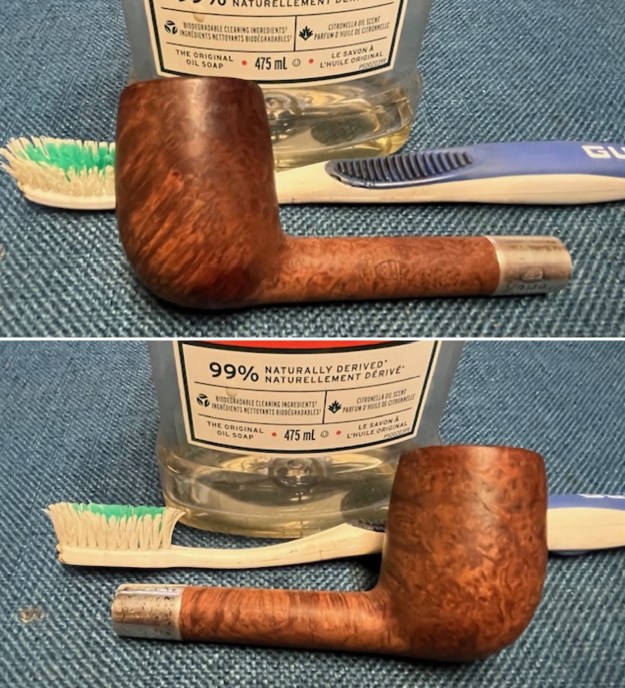
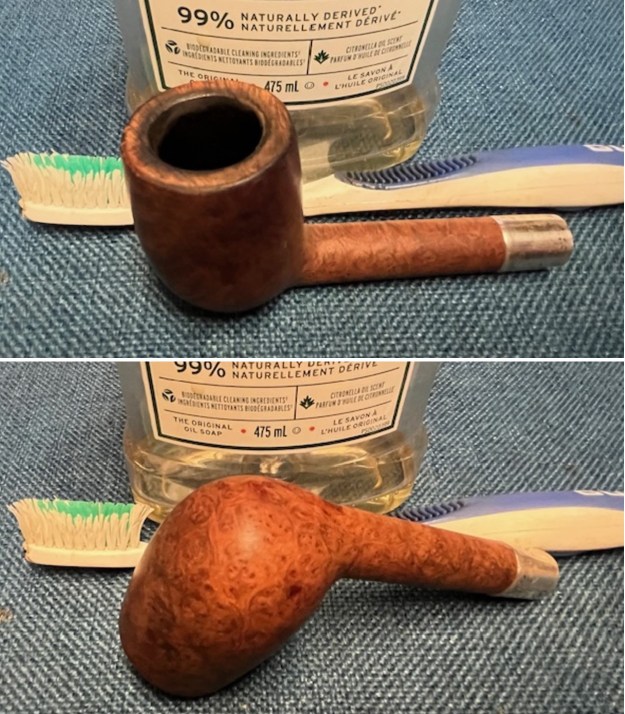
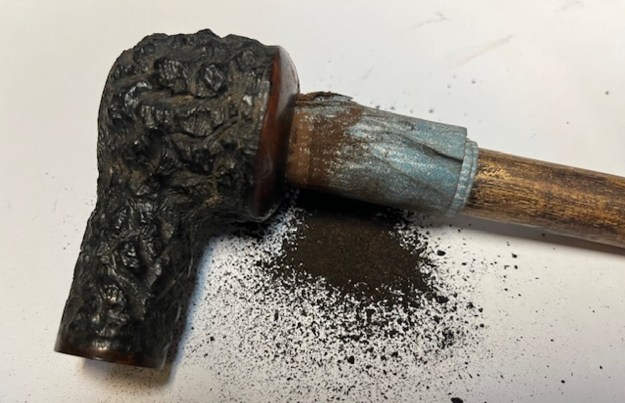
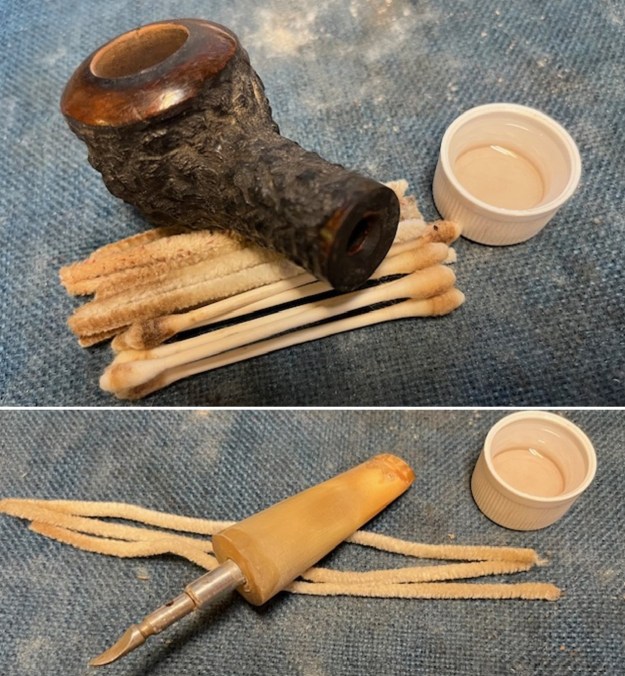 I scrubbed the exterior of the briar with a tooth brush and undiluted Murphy’s Oil Soap to remove the build up on the surface of the briar and clean off the lava on the rim top. I scrubbed it and then carefully rinsed the bowl with warm water. I dried it with a soft cotton cloth. It certainly looked significantly better and the patina remained in the wood.
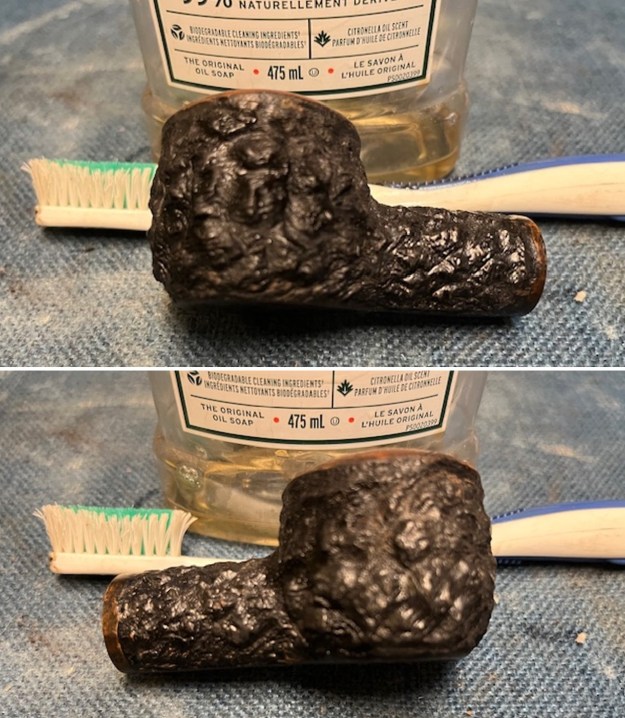
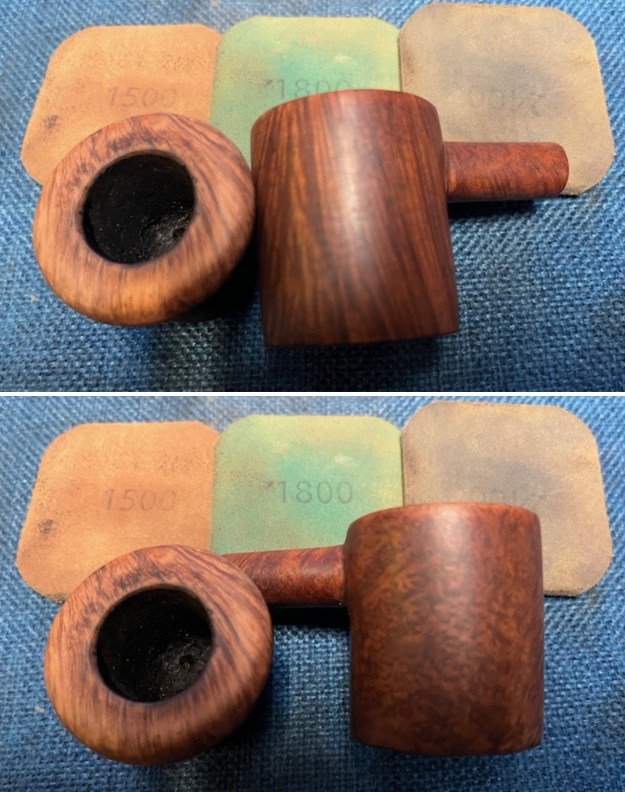
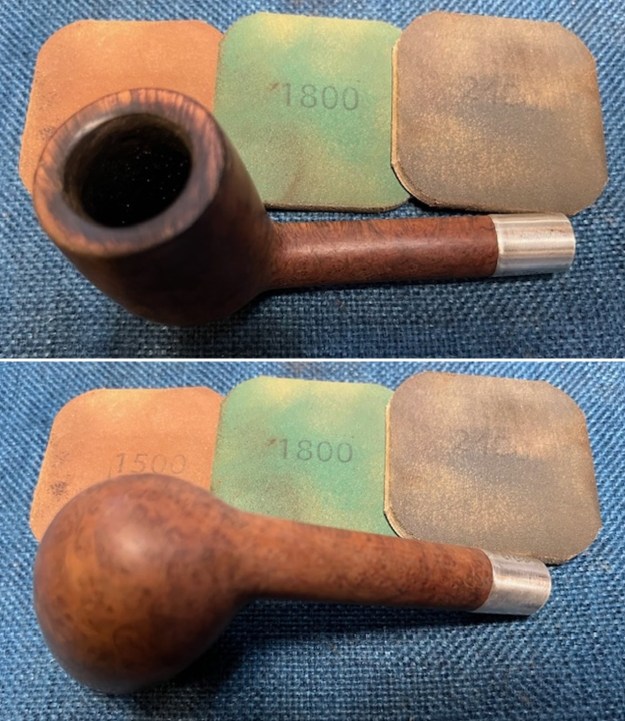
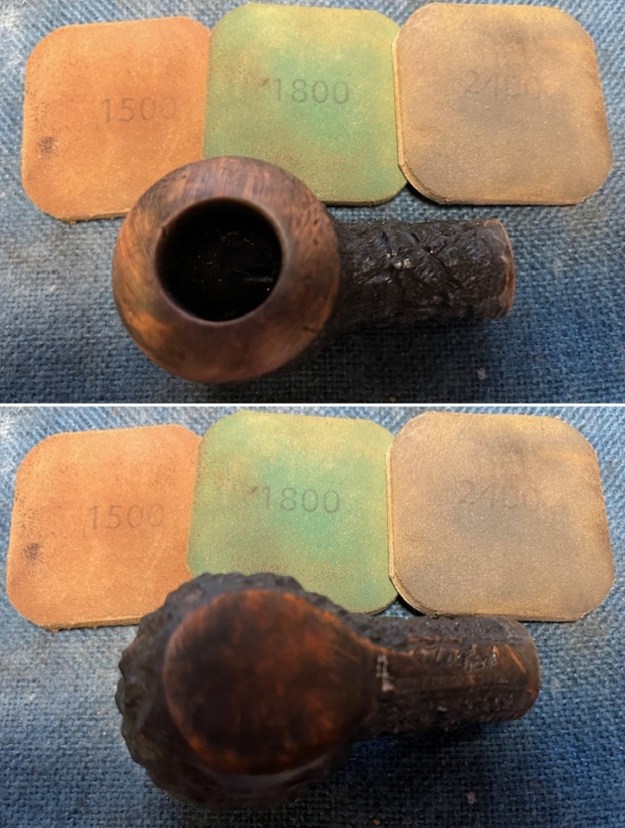
 I polished the smooth briar with micromesh sanding pads to minimize the scratches in the briar. I dry sanded with 1500-12000 grit pads and wiped the bowl down after each pad with a damp cloth to remove the sanding debris. By the end of the nine pads the briar took on a rich shine and the rim top looked very good.
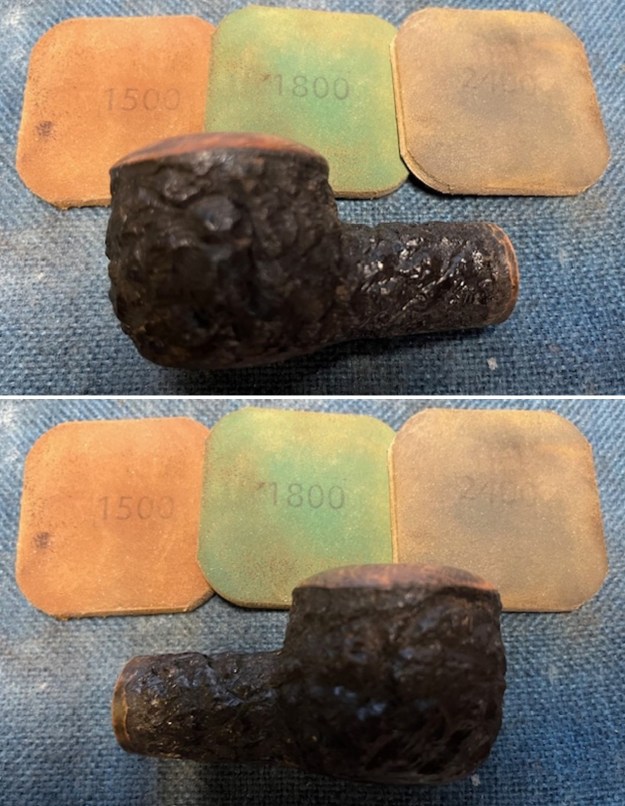
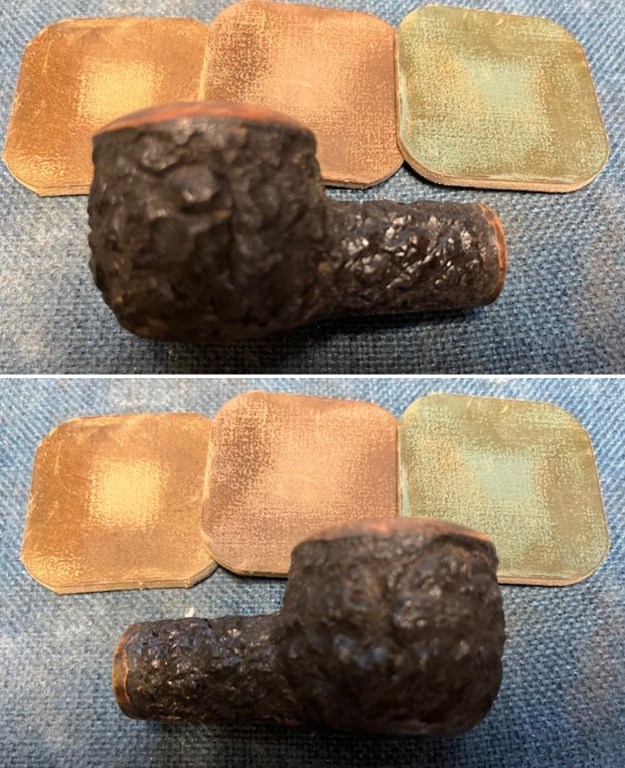
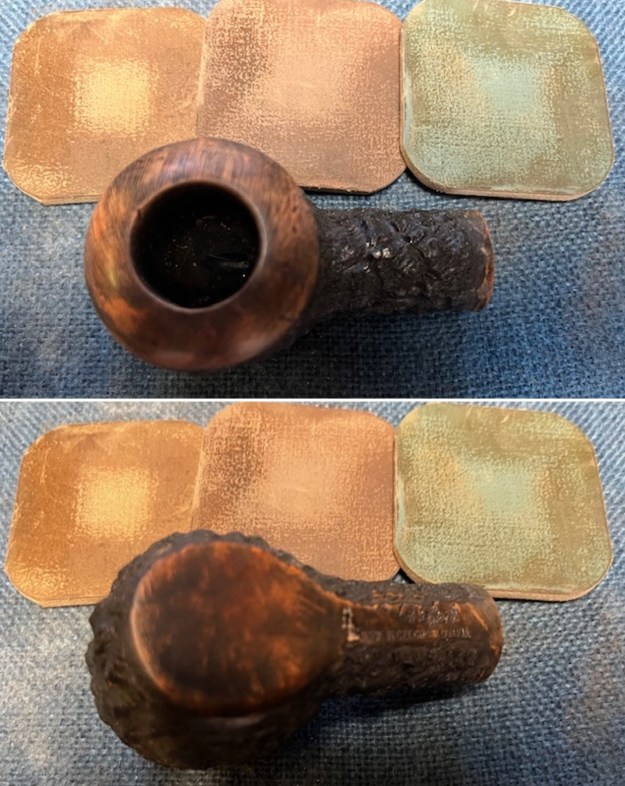
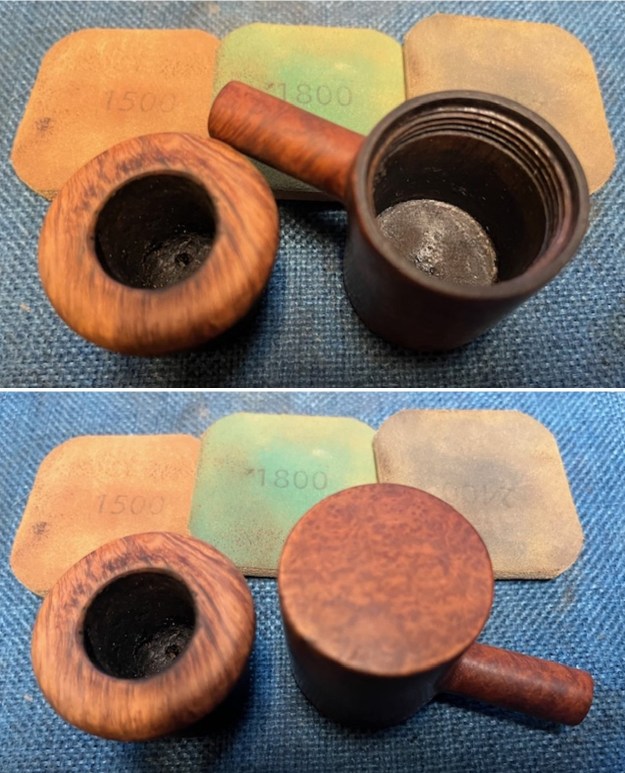
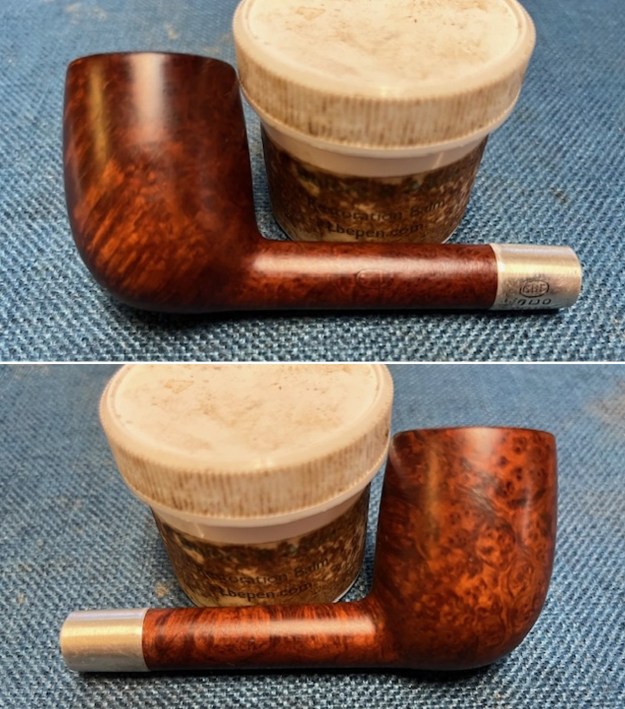
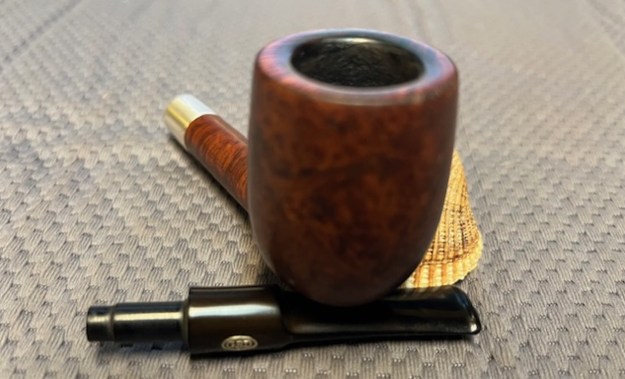
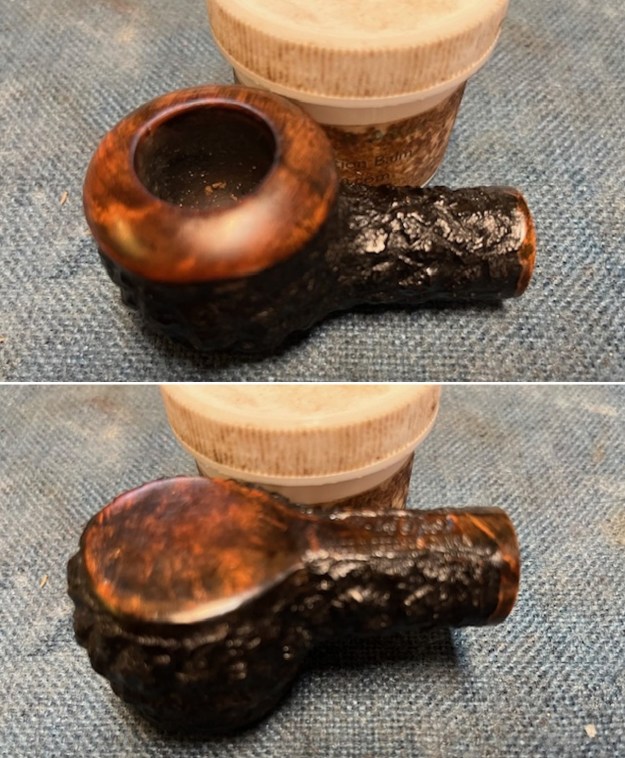
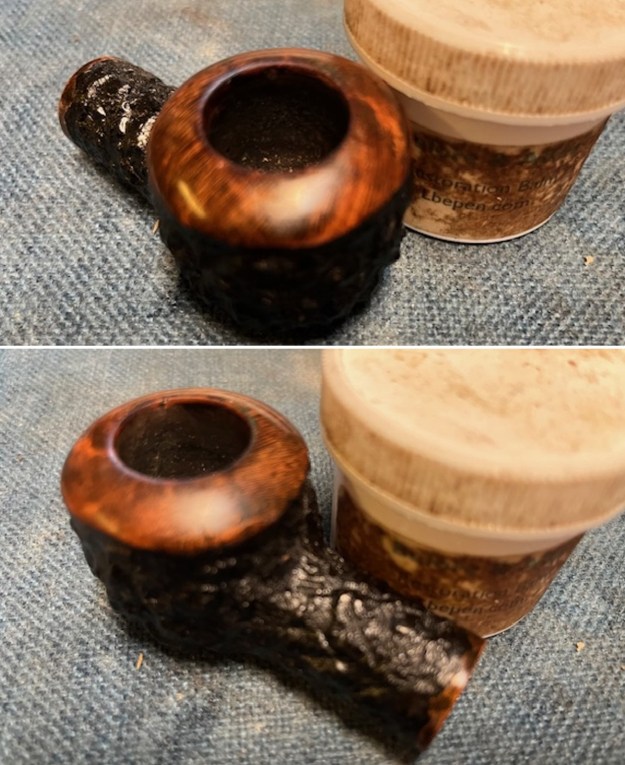
 I rubbed the bowl down with Before & After Restoration Balm. It is a paste/balm that works to deep clean the finish, enliven and protect the briar. I worked it into the briar with my finger tips o make sure that it covered every square inch of the pipe. I set it aside for 10 minutes to let it do its work. I buffed it with a cotton cloth. The briar really began to have a deep shine. The photos I took of the bowl at this point mark the progress in the restoration.
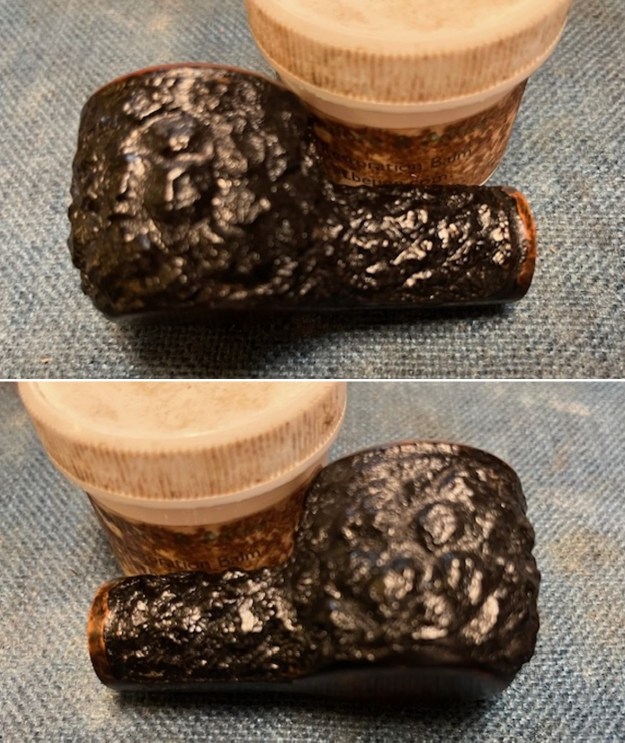
 I set the bowl aside and turned my attention to the stem. The repairs to the stem surface had cured. I used several files to flatten the repaired areas ahead of the mouthpiece and around the shank end. I cleaned up the file areas with a folded piece of 220 grit sandpaper to blend them into the stem surface.
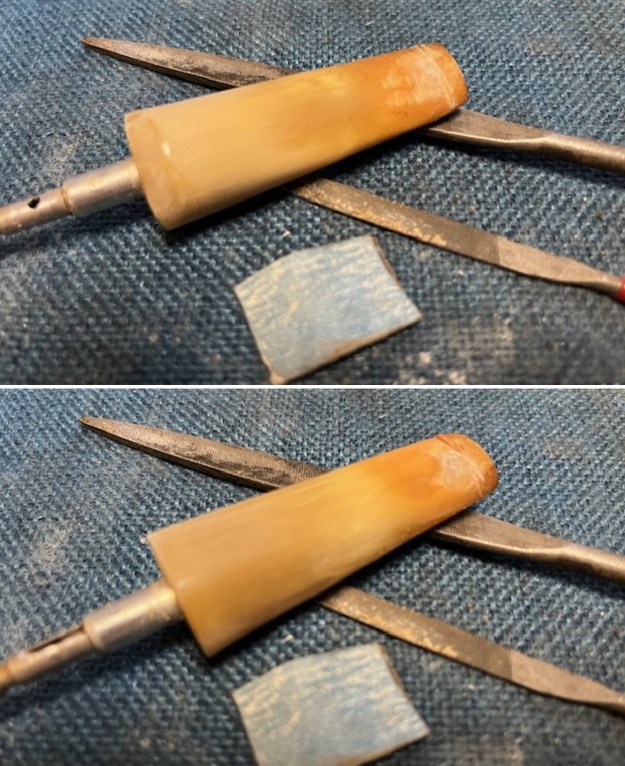
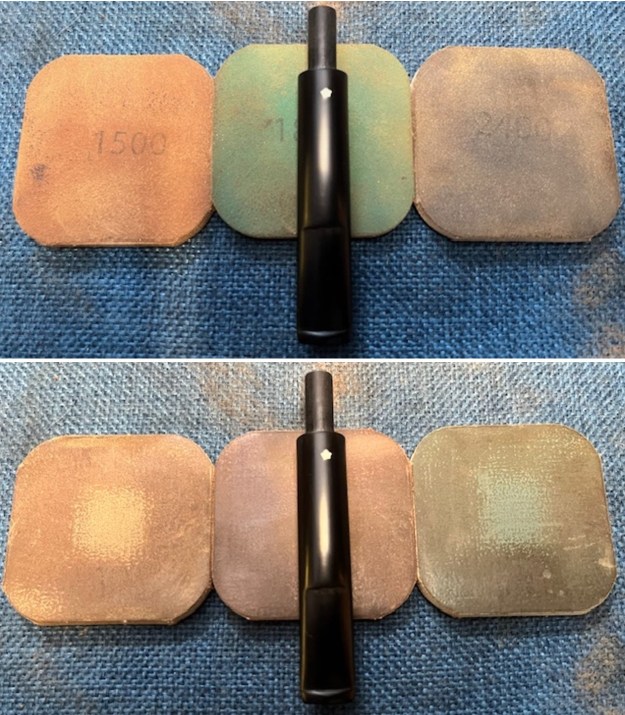
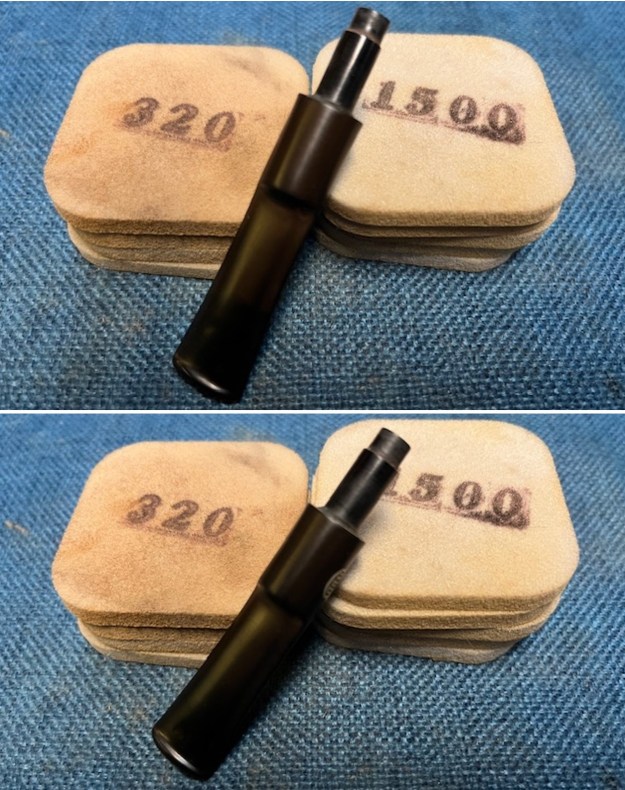
 I sanded the stem with 320-3500 grit sanding pads to break up the remaining oxidation. I wiped it down after each sanding pad with an Obsidian Oil impregnated cloth. It began to look good.
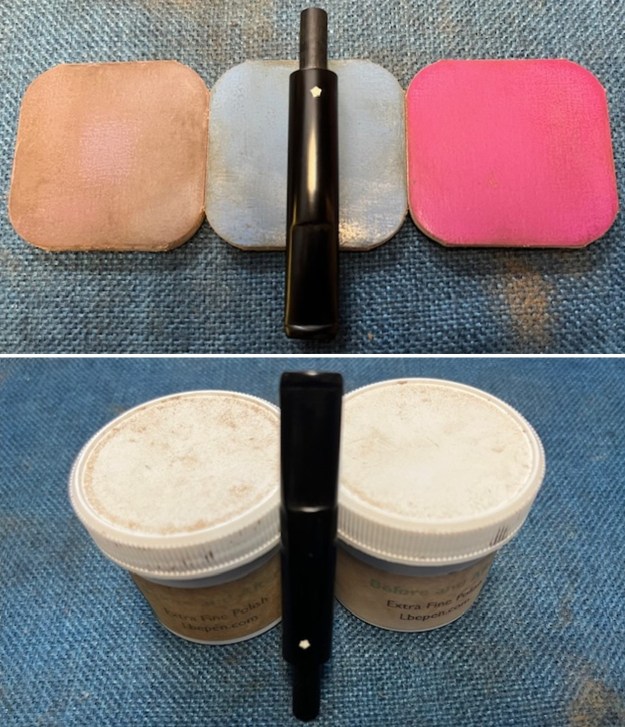
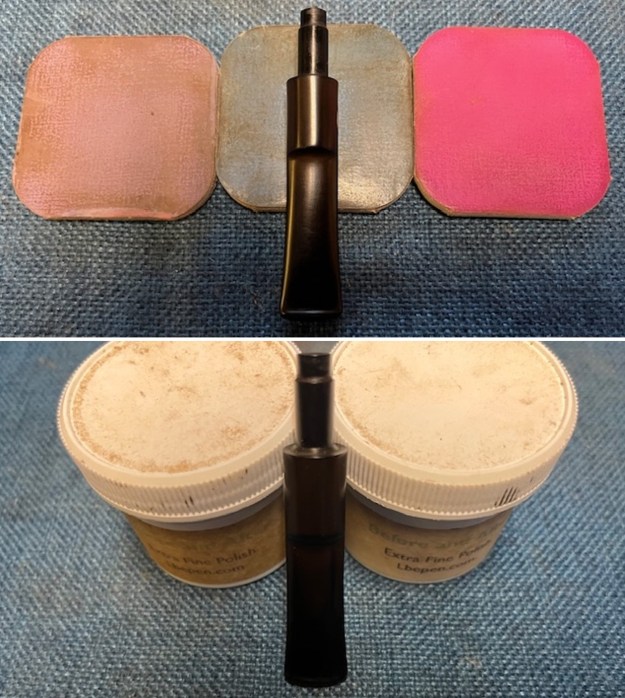
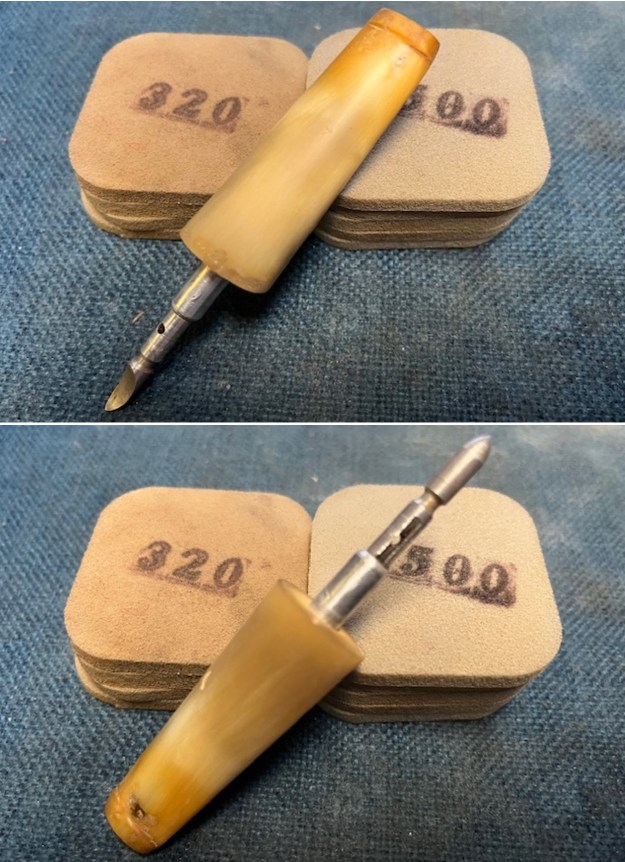 I polished the stem with micromesh sanding pads – dry sanding with 1500-12000 grit pads. I wiped the stem down after each sanding pad with Obsidian Oil. I polished it with Before & After Pipe Stem Polish – both Fine and Extra Fine. Once I had finished the polishing I gave it final coat of Obsidian Oil and set it aside to dry.
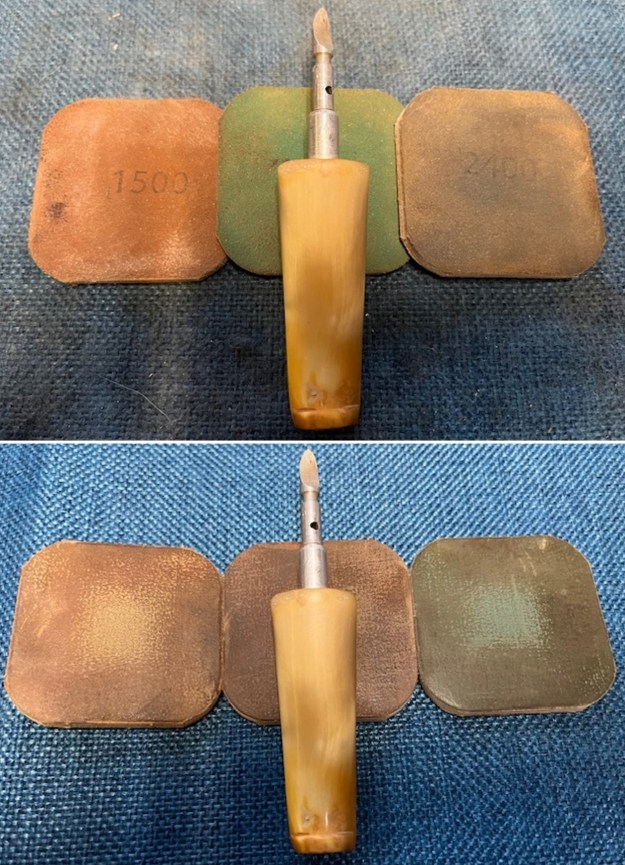
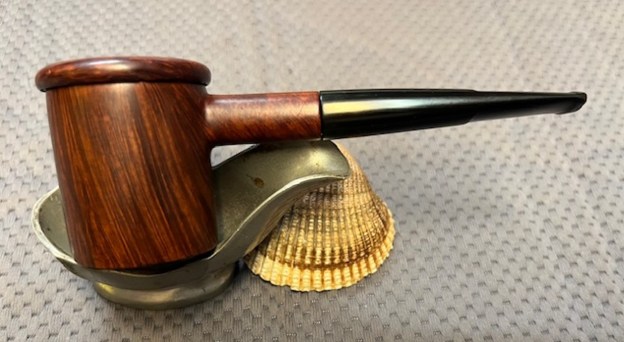
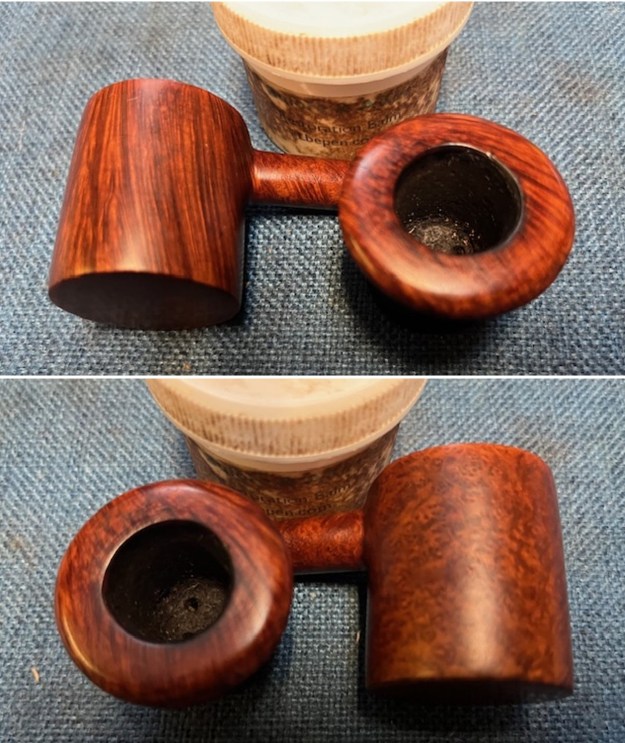
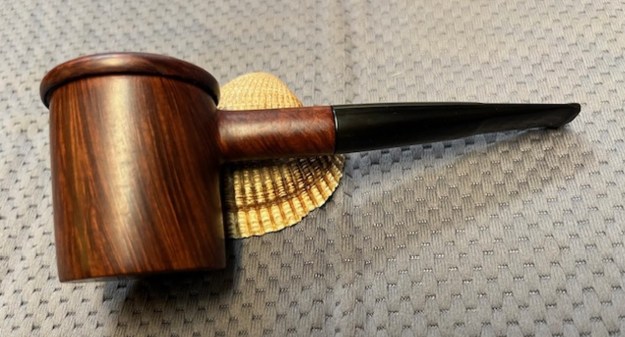
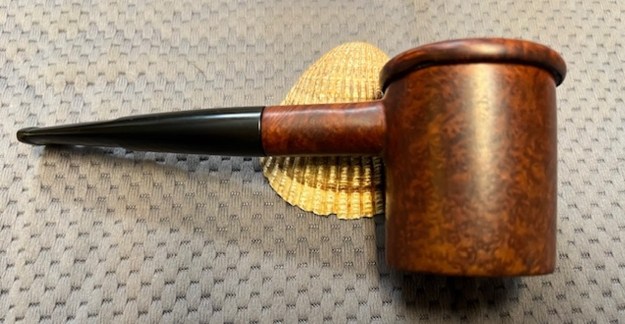
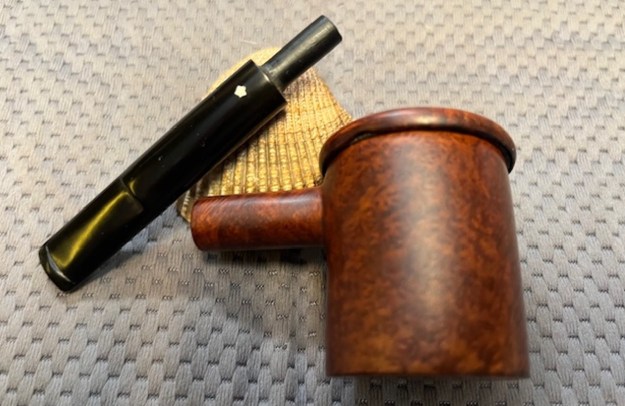
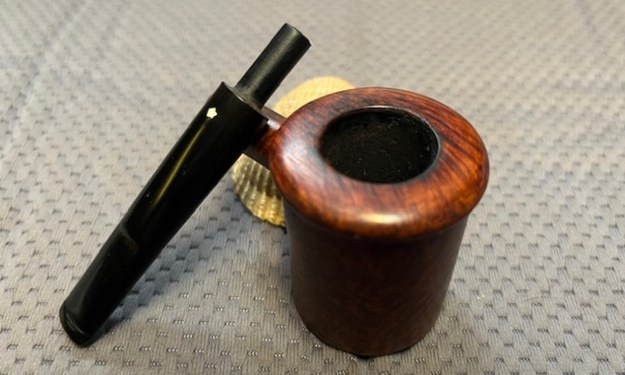
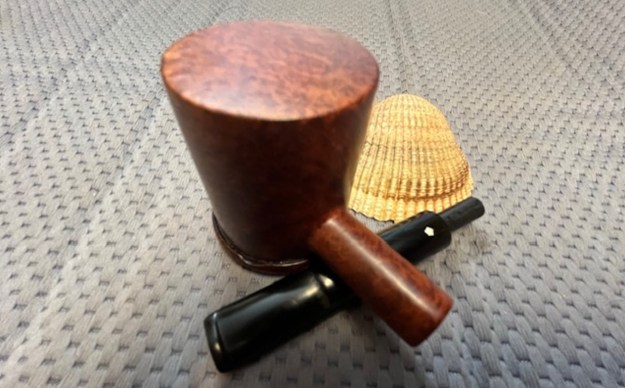
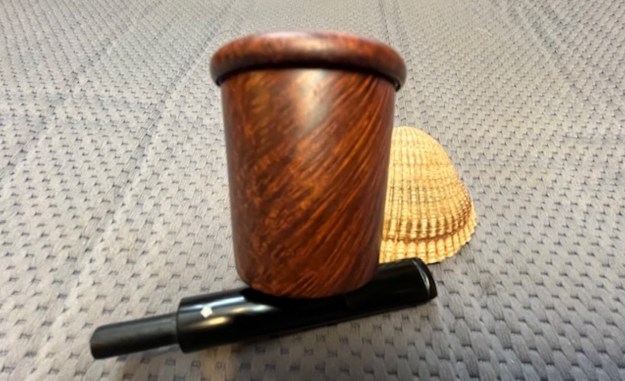
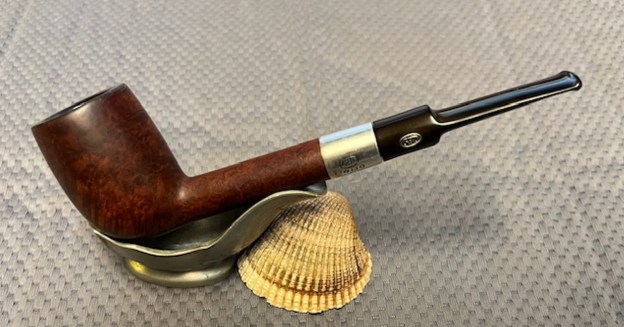
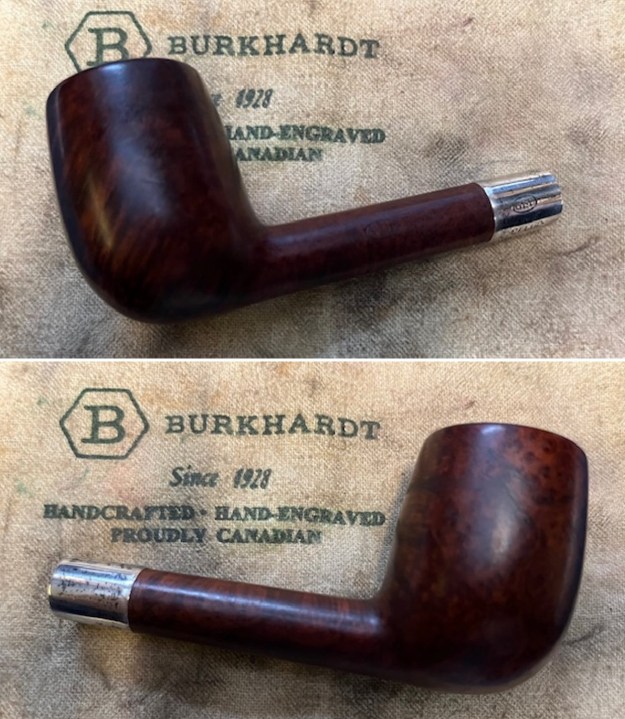
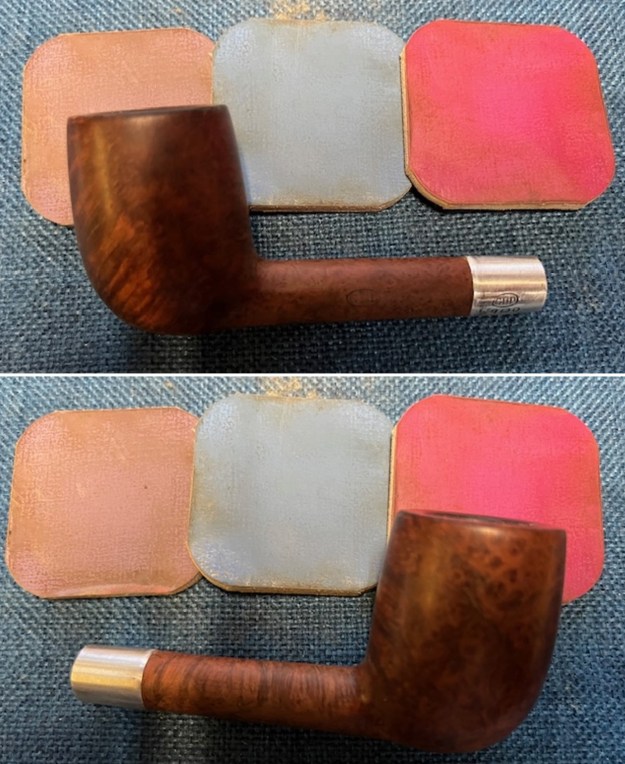
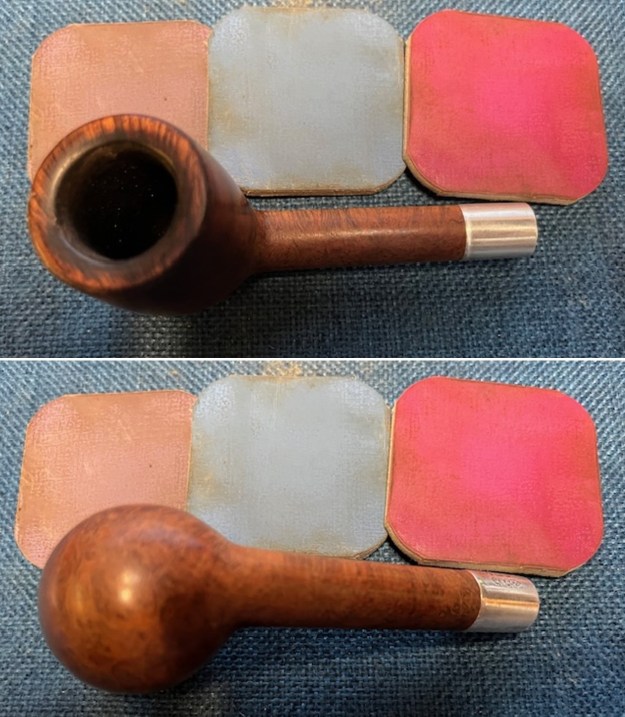
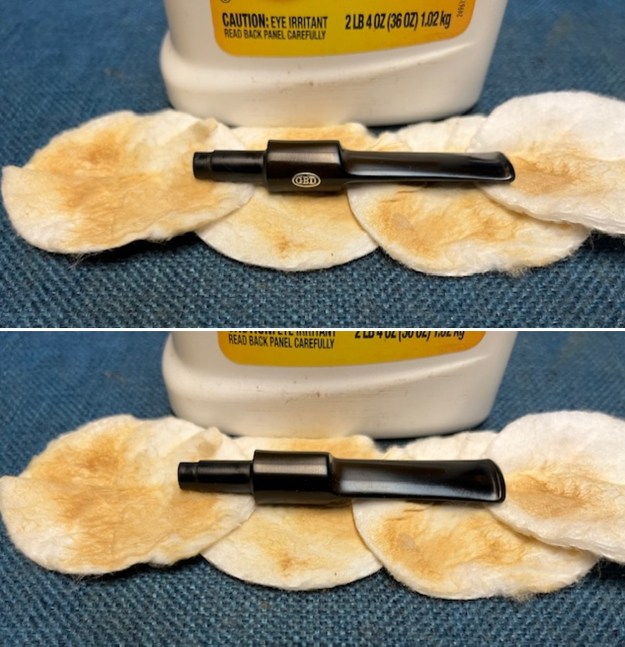
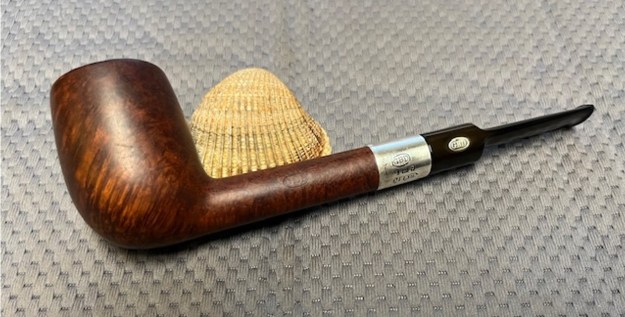
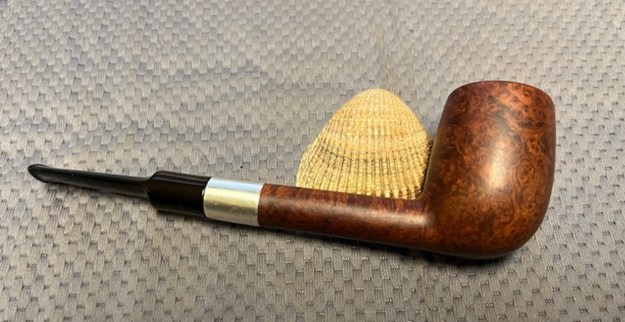
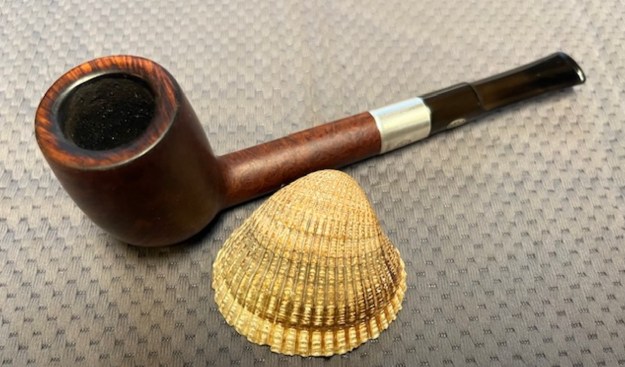
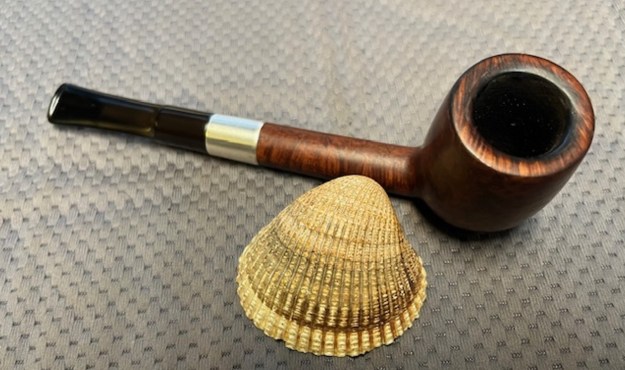
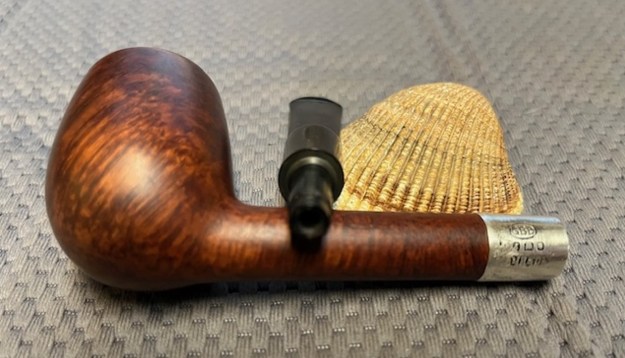
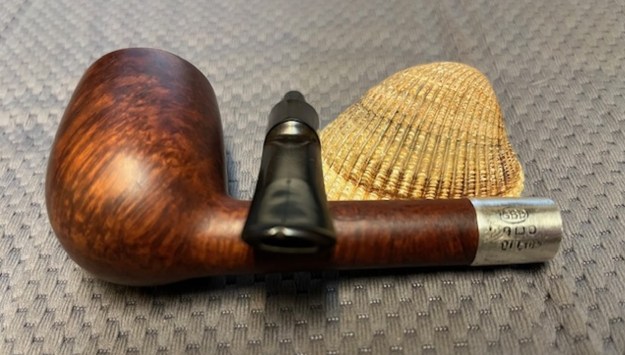
 I put the Gold Spot Made in Czechoslovakia Rusticated Pot bowl and stem back together. I polished the bowl and stem with Blue Diamond to polish out the scratches in the briar and the repaired horn stem. I gave the bowl multiple coats of Conservator’s Wax and the stem multiple coats of carnauba wax. I buffed the pipe with a clean buffing pad to raise the shine. I hand buffed it with a microfiber cloth to deepen the shine. The pipe polished up pretty nicely. The reddish/brown stains worked amazingly well with the polished horn taper stem. The grain around the bowl and shank and looks quite remarkable. This is truly a beautiful BPK Gold Spot Rusticated Pot. The finished pipe is shown in the photos below. The dimensions of the pipe are Length: 5 inches, Height: 1 ½ inches, Outside diameter of the bowl: 1 ½ inches, Chamber diameter: ¾ of an inch. The weight of the pipe is 1.98 ounces/55 grams. For now, this one will join the Old River Pipe in my collection and be enjoyed with some good Virginia very soon. Thanks for walking through the restoration with me. Cheers.
As always, I encourage your questions and comments as you read the blog. Thanks to each of you who are reading this blog. Remember we are not pipe owners; we are pipe men and women who hold our pipes in trust until they pass on into the trust of those who follow us.