Blog by Paresh Deshpande
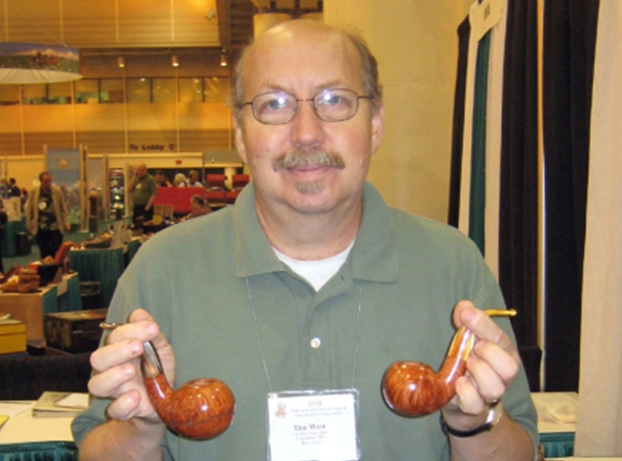
 Just five months ago, I had worked on a Tim West large (read that as huge and beautiful) Free Hand pipe that I had purchased on eBay. Though I haven’t smoked it till date (I never did smoke any of my restored pipes till Steve came to visit us and made me smoke one!!), but something about a Tim West carved pipe has got me hooked on. Maybe it is the finish or grain or size, I can’t pinpoint exactly but the bottom line remains that I absolutely like the pipes carved by this gentleman. So when I came across a pair of Tim West pipes for auction on eBay, I just could not resist the temptation of going in for the kill. Tim West pipes sell for big money and many clamor for them, but surprisingly, for this auction there were no bidders until the last hour. Finally, when the auction ended, there were a few bidders including self, and I ended up winning it at a price point that I was very comfortable with (even though I had to stay awake until wee hours of the morning to place bids)
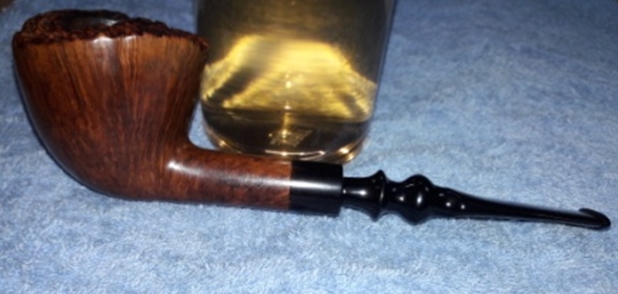
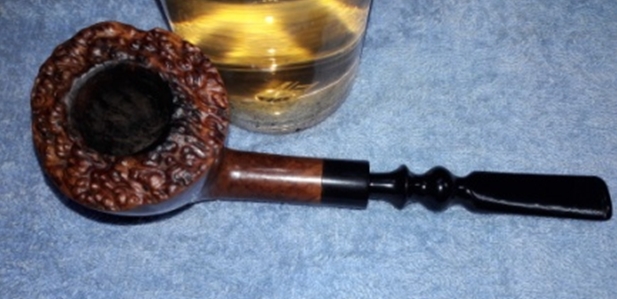
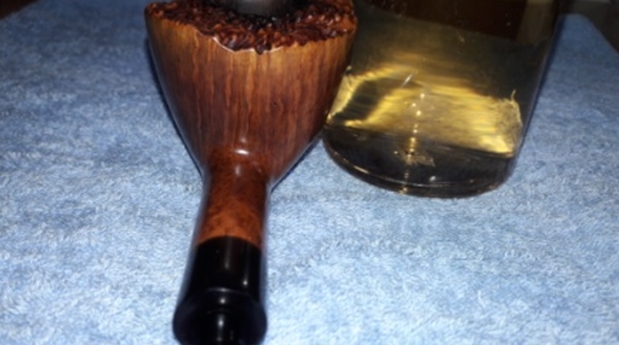
Am I glad that I made this purchase!! They are in pristine condition, maybe smoked a few times only. These pipes reached my home while I was away at my place of work. But Abha, my wife took the delivery and posted pictures of the pipes as she received them. Both these pipes appear to a part of a set, but did not come in their presentation case, if there was one. I inferred this as they are identical in many aspects. Both the pipes are Paneled Bulldogs with a diamond shank and diamond saddle stem and similar grain and natural finish to the pipe. The only difference being in the stampings they bear and that one is ½ bent Bulldog while the other is a straight Bulldog. These pipes have minimalistic stamping with the bent Bulldog stamped as “TIM WEST” in fancy block letters on the left side of the shank while the straight Bulldog is stamped with two overlapping square boxes bearing the stamp “TIM” over “WEST” over “PIPE” in the lower box again on the left side of the shank. Shown below are the pictures of the pipe, as received by Abha and the stamping on each. Since I had worked on a Tim West pipe but only a few months ago, the research I did then, is still fresh in my mind. However, for those interested, I would recommend that they visit rebornpipes.com for an update on the restoration and background information about the carver. Here is the link to the write up: https://rebornpipes.com/2019/03/11/restoring-a-tim-west-pipe/
INITIAL VISUAL INSPECTION
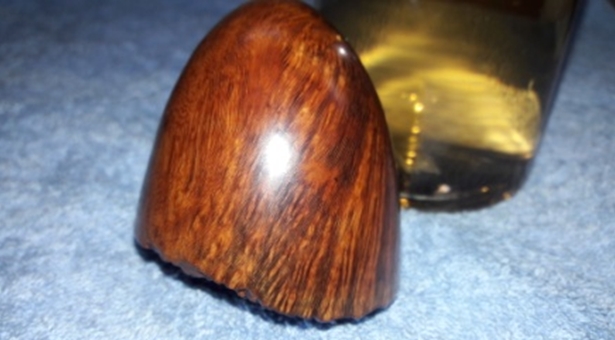
As stated above, both the pipes that were received were in pristine condition. The stummel surfaces were clean with a natural finish to the surface. Both stummel had a beautiful mix of straight, swirls and bird’s eye grain on the sides, front, back, shank and the heel respectively. There is not a single dent; ding or fill on the stummel surface of either pipe. The finish had dulled a little. This will be addressed once I polish the stummel with carnauba wax.


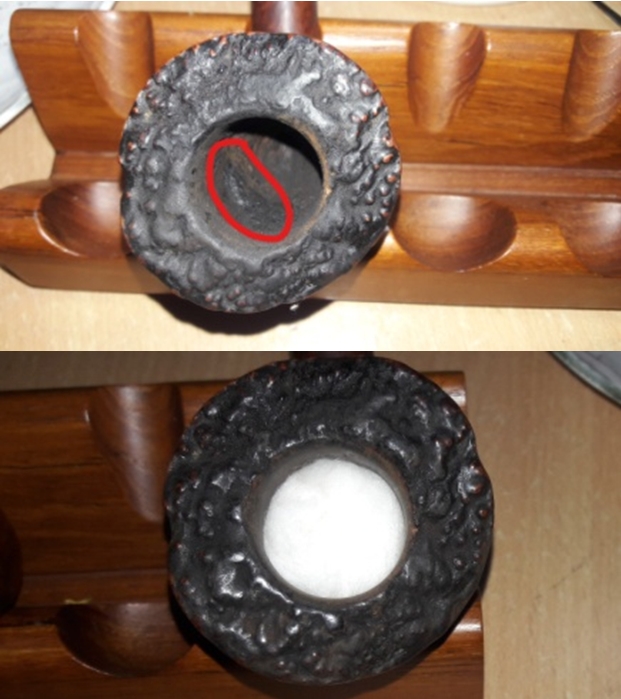
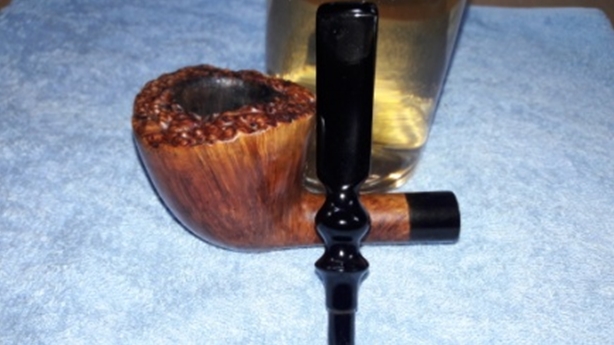
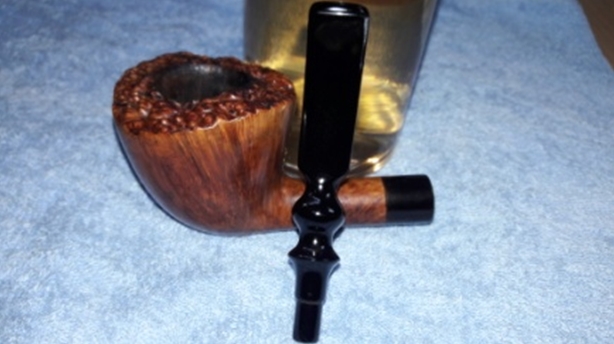
 The rim top surface was in excellent condition with no signs of overflowing lava or burn/ charring on the surface on either of the pipes. The inner and outer rim edges on both these pipes are sans any sort of damage. What little darkening over the rim surface that is seen on the straight Bulldog should get cleaned with a simple wipe with saliva and folded pipe cleaner. There is a little cake formed in the chamber of both pipes, an indication that the pipe has been smoked a few times. I do not foresee any issues with the condition of the walls of the chamber. The draught hole in both the pipes is dead center and at the bottom of the chamber and should be fantastic smokers. The chamber is odorless.


 The mortise and shank of both the pipes has signs of usage and little accumulation of gunk, but it should clean up nicely by just running a few pipe cleaners dipped in alcohol through it. The airflow is nice, even and smooth.
 The vulcanite stem on these pipes are without any tooth chatter or bite marks. The button and button edges are also intact. There is a little deposition of grime at the bottom of the button edge on both pipes. A simple cleaning with a sharp knife should clean it up nicely. The tenon and the slot of both pipes show little deposition of dirt and tar residue. The vulcanite stem is nice black and shiny without any traces of oxidation. This did give rise to a question in my mind; is it possible that the stem is made from high quality plastic and not vulcanite? But to me it appears vulcanite.

 The long and short of my initial visual inspection is that this is a very simple project that only requires a little cleaning and polishing to get both the pipes like the way they would have come out when brand new.
THE PROCESS
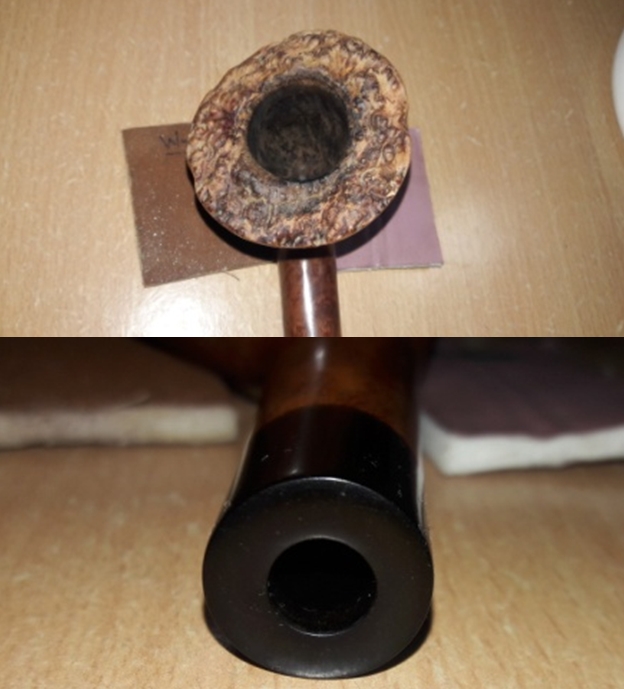
Abha, my wife, started this project by first removing what little cake that was formed due to previous use. With the fabricated smaller knife, she took the cake out down to the bare briar. While she did the second pipe, Pavni, my youngest daughter, further sanded the chamber walls of the first pipe with a folded piece of 220 grit sandpaper and removed the last traces of the remaining cake. When Abha finished reaming the second pipe, Pavni worked her magic on it too. Both the Bulldogs now have a smooth and even surface sans any old cake. The chamber walls, as expected, are in excellent condition.


 Once the chamber was cleaned, Abha cleaned out the internals of the shank and the mortise of both the pipes. Just a few pipe cleaners dipped in isopropyl alcohol were sufficient to clean the shank and mortise of both. She wiped the shank end with a moist cloth to remove what little grime had accumulated on the end surface. The pipes are now smelling clean and fresh.
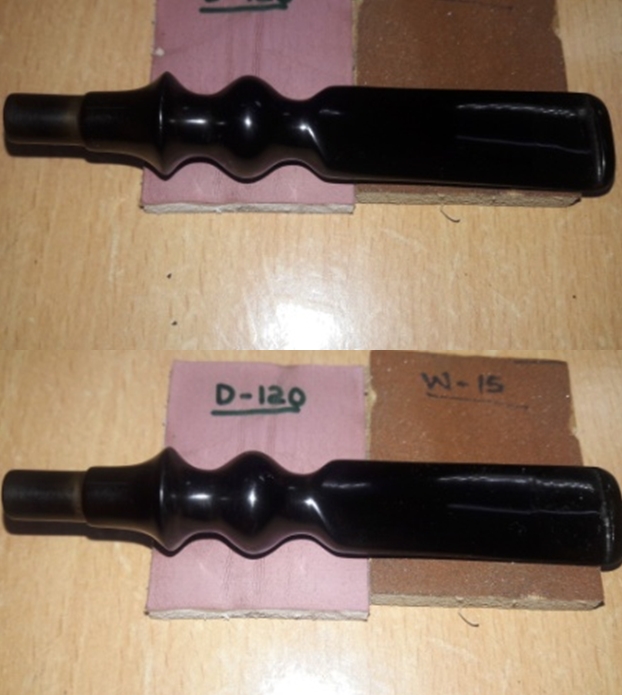
 With the internals of the stummel of both pipes nice and clean, Abha turned her attention to the cleaning of stem airway of both these pipes. She ran a few pipe cleaners dipped in isopropyl alcohol and this was sufficient to have clean and fresh airway and the slot in each pipe. With the thin sharp edge of another fabricated small knife, I removed all the depositions from the bottom of the button edges of both the pipes. Since there was no damage or oxidation on either stems, Abha rubbed a little “Before and After Extra Fine” stem polish in to the stem with her fingers. She continued the rub till there was no trace of the polish on her fingers and followed it up with a vigorous buffing using the microfiber cloth. Rubbing a small quantity of Extra Virgin Olive oil in to the stem surface of each pipe completed the refurbishing of the stems. Unfortunately, neither of us took any pictures of the finished stems as we both were engrossed in talking with each other while simultaneously working on the pipe.
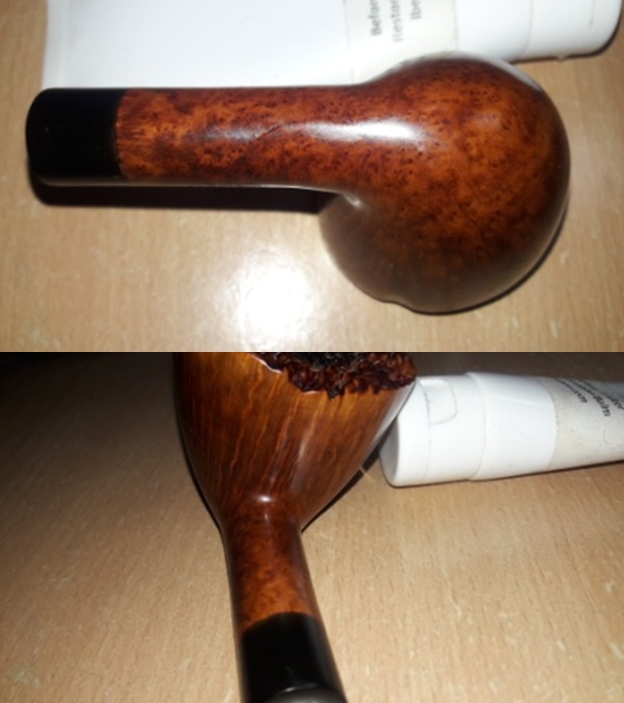
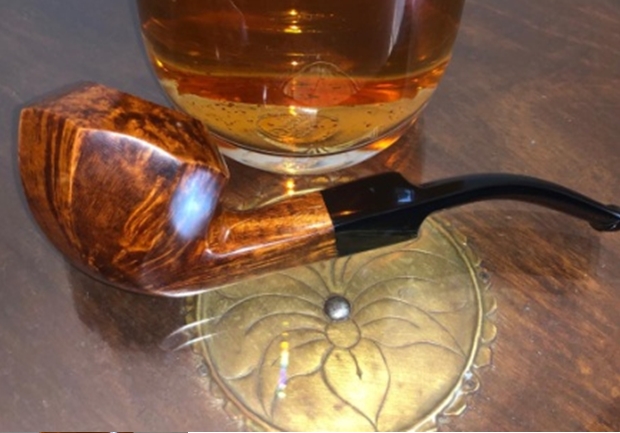
She wiped the stummel surface of both pipes with a moist cloth to remove any dust or carbon that would have settled on the surface during the cleaning of the internals. She scrubbed the stummel down with the microfiber cloth to further clean and dry the surface and rubbed a small quantity of “Before and After Restoration Balm” in to briar and let it rest for a few minutes. The balm almost immediately works its magic and the briar now has a nice vibrant appearance. She buffed the stummel of both these pipes with a soft cotton cloth and handed over the pipe for me to finish. To finish, I re-attach the stem with the stummel and mount a cotton cloth buffing wheel on to my rotary tool. I set the speed at about half of the full power and applied several coats of carnauba wax over the stummel and the stem of each pipe. I finished the restoration by giving both the pipe a rigorous hand buffing using a microfiber cloth to deepen the shine further. The completed pipe, with the dark and light brown hues of the stummel contrasting with the shiny black shank extension and stem, looks lovely, fresh and vibrant; the photographs speak for themselves. The beauty and shapes of these pipes make it my favorites and have been added to my rotation. If only these pipes could tell some of the stories and techniques used by Mr. Tim West while carving his pipes… Cheers!!


 P.S. Many readers would be wondering as to why I would take the trouble of doing and recording this write up when there is no major repair/ restoration work/ processes involved in this project. Well, the answer is two folds; firstly, the discerning reader would have noted that the majority part of sprucing up of these pipes was done by Abha, my wife and it is for this reason that I decided to pen it down, to give her, her due. Secondly, these pipes were completed when the two of us were left alone (Pavni had left for her playtime and Mudra, my eldest daughter was studying for her Entrance exams). The quality time that we spent together chatting and discussing things out was very satisfying and this while we both (she more than me!!!) worked on pipes, makes it all the more sweeter. That she shares my passion and enjoys it too is a blessing. I feel complete when I am with her. And those are the reasons for this write up!!
The pictures have been so arranged that all pictures to the left of your screen are of the ½ bent Bulldog and those to the right, are of the straight Bulldog.
Hope you enjoyed and shared our happiness while reading through this write up and yes, thank you for your time which you have spent while reaching here!!