by Kenneth Lieblich
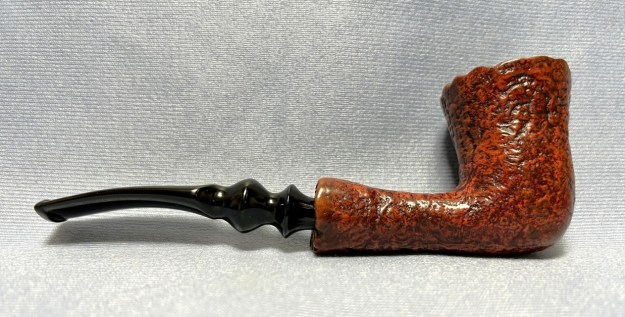
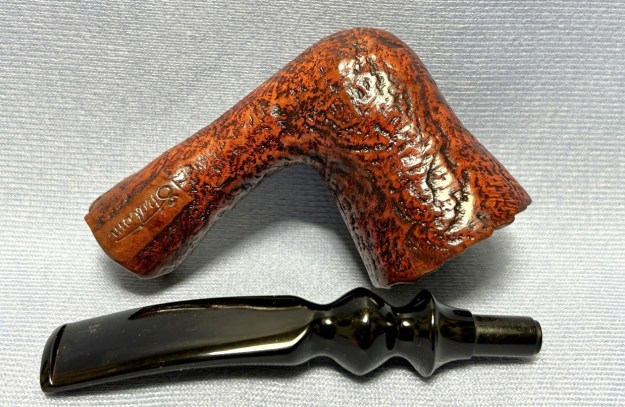
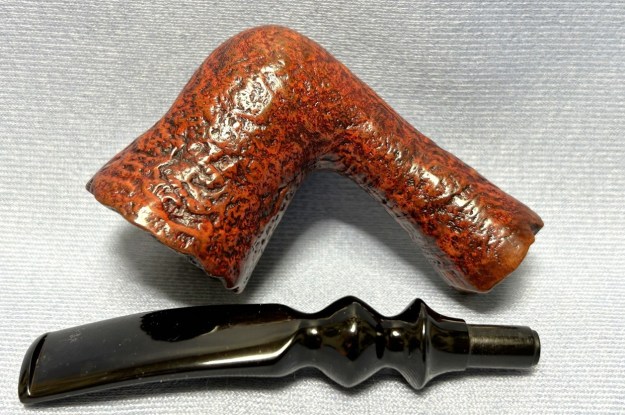
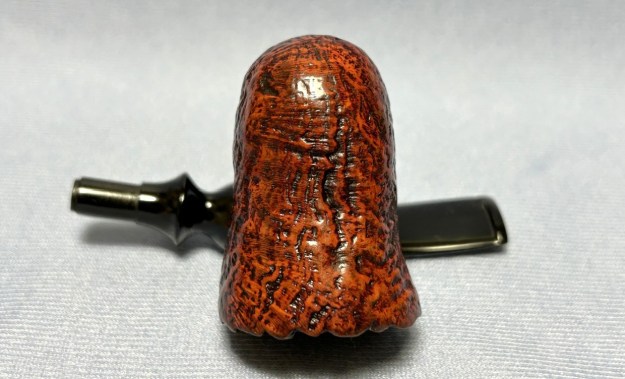
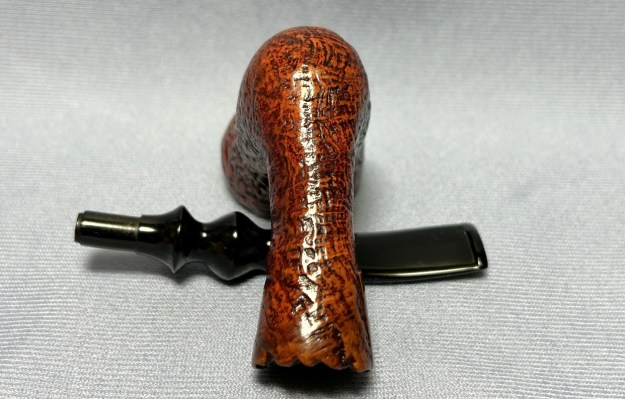
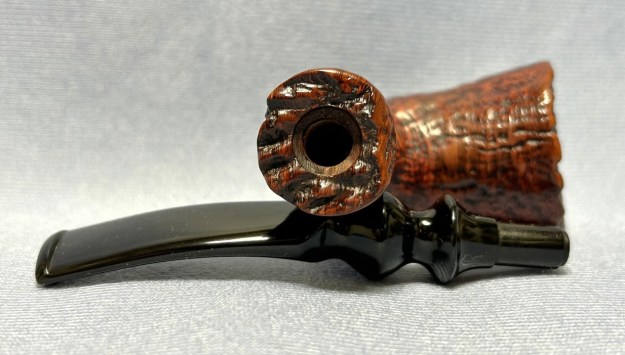
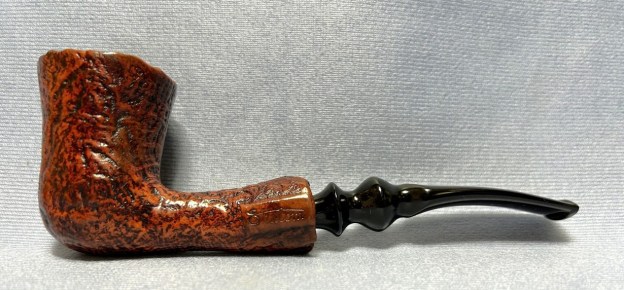
Today, for your viewing pleasure, I have a charming – almost whimsical – pipe from the Shalom Pipe Company of Israel. This pipe came to me in an auction lot of various and sundry things. I thought the shape was quite peculiar, with it’s large, deep bowl and sandblasted exterior. It’s light and handsome – and it looked to be in good condition, so I chose it for my next restoration.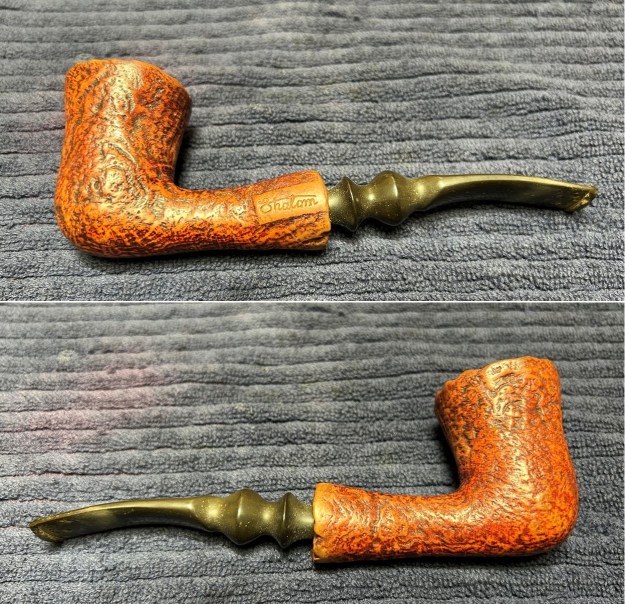
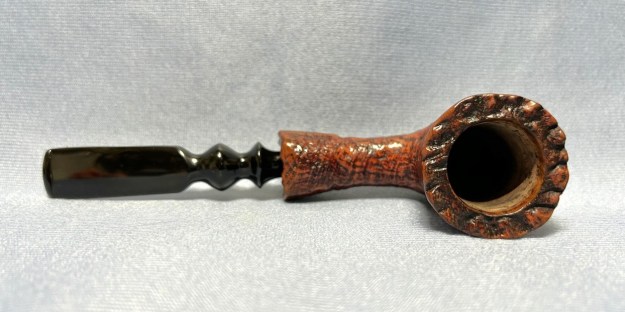
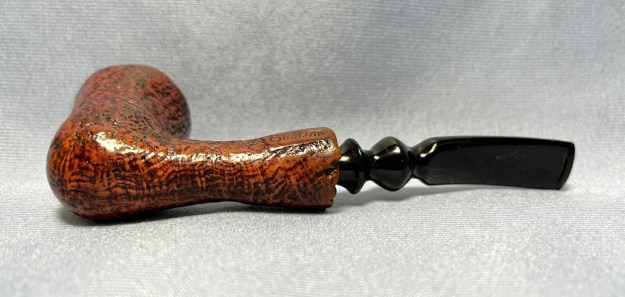
 There’s only one mark on the pipe – and that is the word Shalom on the left of the shank. I was familiar with the company, but went to Pipedia to see what they had to say.
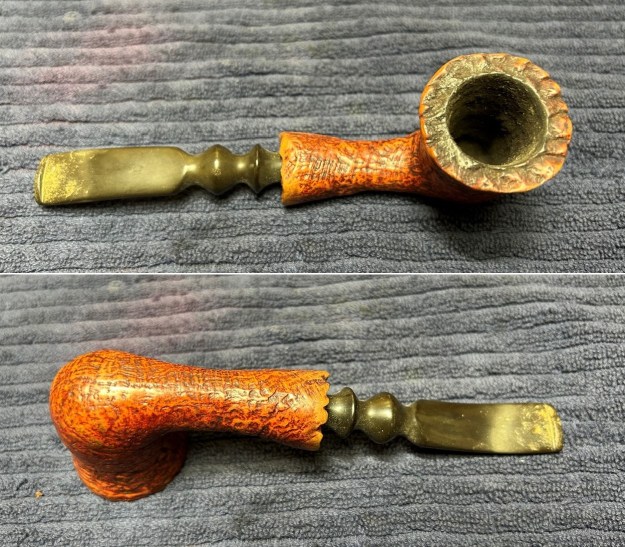
Not much is known about Israel’s sole pipe factory though it’s reported to have operated quite successfully on international markets. Beside the brand “Shalom” the mainstay brand was Alpha – especially well known in the USA. Alpha was popular for a range of fresh and unusual shapes. Series (afaik): Caprice (s), Citation (s), Classic (b), Pedestal (s), Regent, Region (b), Rex (s). (1) (1) (b) = blasted, (s) = smooth. Alpha also produced at least one of its Citation forms for Carey’s “Magic Inch” series. Mentioned in context with Shalom Pipe Factory was a Danish pipemaker named ‘Muki Liebermann’, who later lived and worked in the USA. Muki is known for his unique briar bending technique and his original shapes that gave inspiration to many of the most praised Danish pipemakers. Shalom was taken over by Robert L. Marx of New York City, later Sparta, NC, then of Mastercraft. Mastercraft continued the Alpha pipes introducing new lines.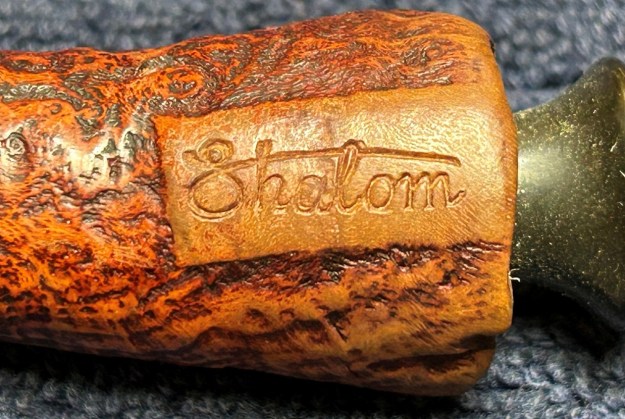 This made me wonder if this pipe was, in fact, made by Muki Liebermann – I have no evidence of that, but it certainly fits. Anyway, nothing here gave me any information about this specific pipe, but I clicked on the Alpha link to see if I could find further information. Indeed, I found that the same shape of my pipe was also released by Alpha (slightly different stem, but the stummel is the same). See below…
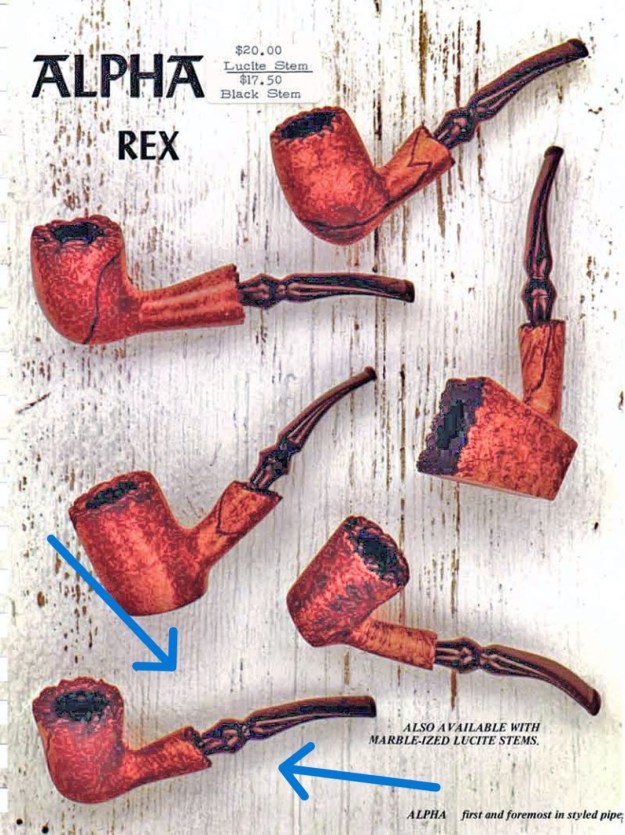 Let’s take a closer look at the pipe itself. The stummel was in good shape. Dirty, of course, but nothing looked damaged or overly worn. The stem was also generally ok – it had the usual wear and tear. The only thing that gave me pause was a couple of tooth dents. But I felt confident that I could resolve that.
 I used oil soap on a few cotton rounds and wiped the stem down to provide an initial cleaning of filth. The primary cleaning comes next. I cleaned the inside of the stem with both pipe cleaners and cotton swabs dipped in 99% lemon-infused isopropyl alcohol. I scrubbed thoroughly to make sure the interior was clean.
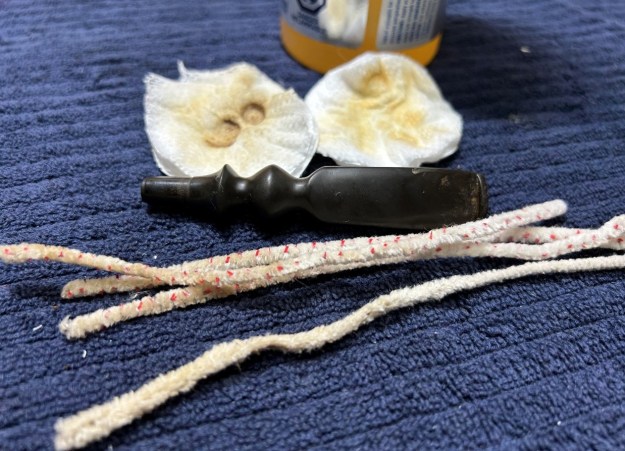 I used a disposable lighter and ‘painted’ the stem with its flame. The gentle heat of the flame can cause the dents in the vulcanite of the stem to expand back into shape. In this case, it didn’t work too well – but no big deal.
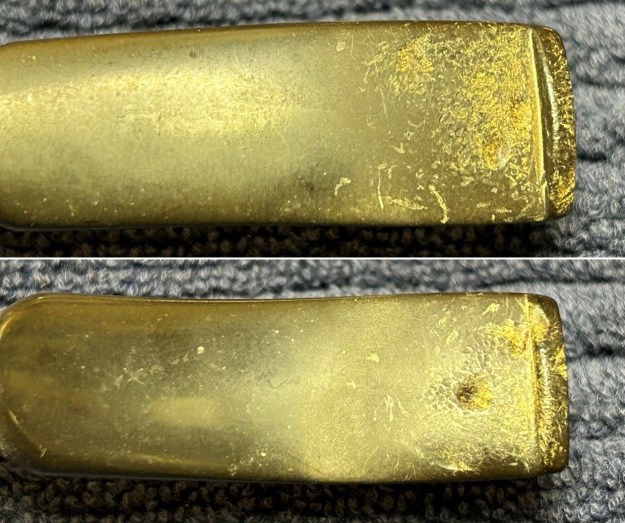
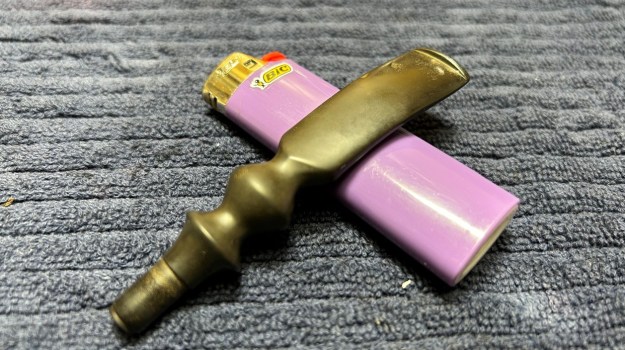 The goal of the next step is the removal (or minimization) of oxidation. Going to my sink, I used cream cleanser, cotton rounds, and a toothbrush, and scoured the stem to remove as much surface oxidation as possible. As the photos show, the result is a hideous brownish mess – but better off the stem than on it.
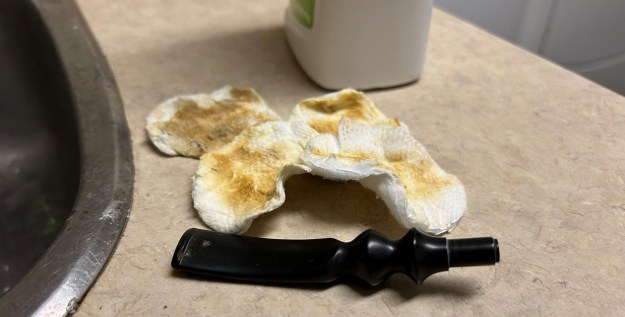 Once the stem was reasonably clean, I soaked it overnight in some de-oxidation fluid. This solution works to draw oxidation in the stem to the surface. This is a major aid and an important step in ensuring a clean stem. The following day, I drew the stem out from its bath and scrubbed the lingering fluid with a toothbrush.
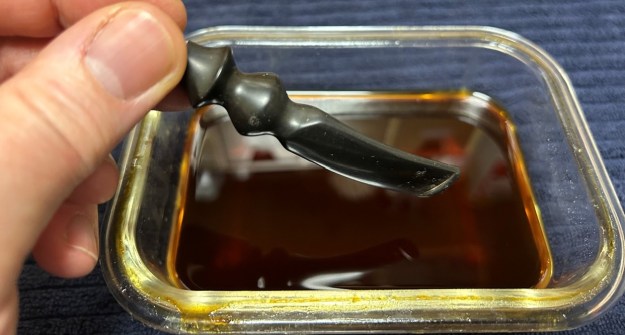 Now that the stem is clean and dry, I set about fixing the marks and dents in the vulcanite. This is done by filling those divots with black cyanoacrylate adhesive, impregnated with carbon and rubber. I left this to cure and moved on.
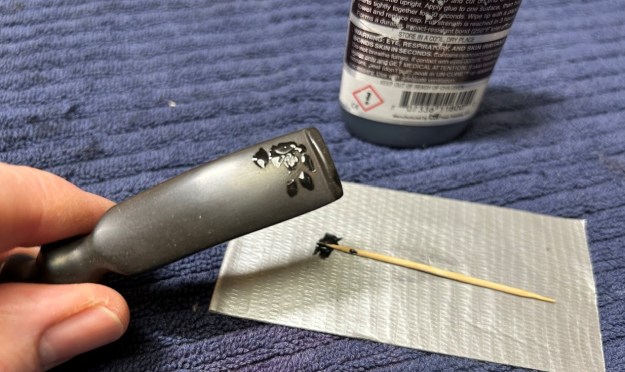 The penultimate step for the stem is sanding. First, with my set of needle files, I reduce the bulk of the cyanoacrylate repairs. I want to remove the excess adhesive as near to the surface as possible, without cutting into the vulcanite. Following that, I use all nine of the micromesh sanding pads (1,500 through 12,000 grit) to sand out flaws, even out the vulcanite, and provide gentle polishing of the finished surface. I also apply pipe-stem oil while using the last five micromesh pads. There was a wonderful, deep black shine to the stem when I was done.
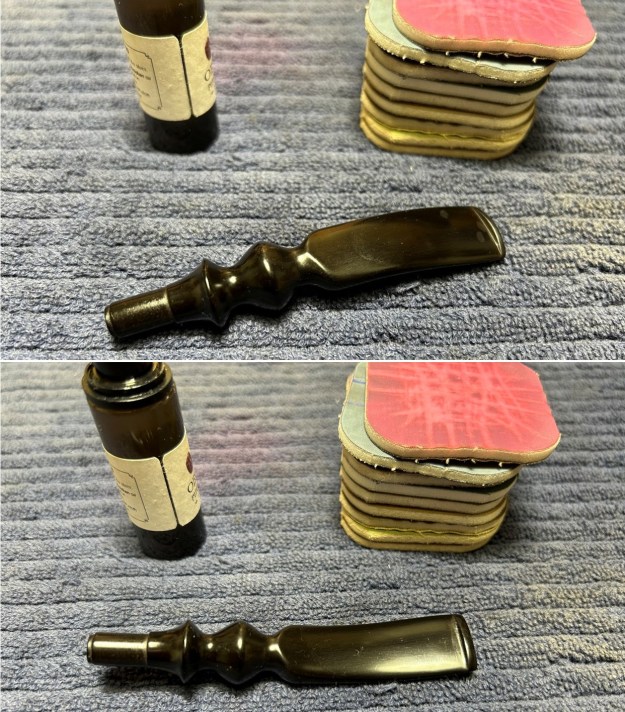 Now that the stem is (nearly) complete, I can move on to the stummel. The first step for me is to ream out the bowl – that is to say, remove all the cake inside the bowl. This accomplishes a couple of things. First (and most obviously), it cleans the bowl and provides a refurbished chamber for future smoking. Second, when the old cake is removed, I can inspect the interior walls of the bowl and determine if there is damage or not. I used a reamer and a piece of sandpaper taped to a wooden dowel. Collectively, these ensure that all the debris is removed. Pleasingly, the walls of the bowl looked to be in good condition.
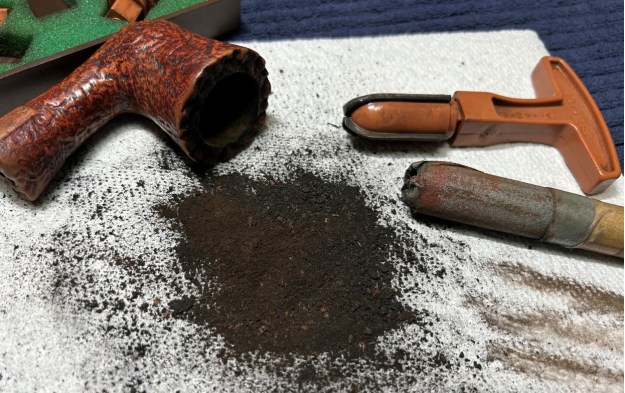 Similar to the stem, I then cleaned the stummel with both pipe cleaners and cotton swabs dipped in 99% lemon-infused isopropyl alcohol. With a pipe this dirty, it took quite a while and much cotton to get clean.
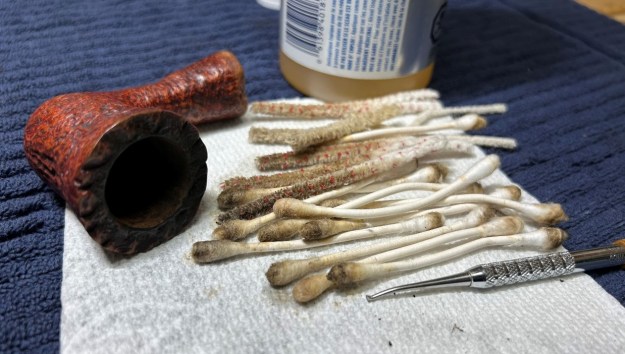 I then decided to ‘de-ghost’ the pipe – that is to say, exorcize the remaining filth from the briar. I filled the bowl and the shank with cotton balls, then saturated them with 99% isopropyl alcohol. I let the stummel sit overnight. This caused any remaining oils, tars and smells to leach out into the cotton.
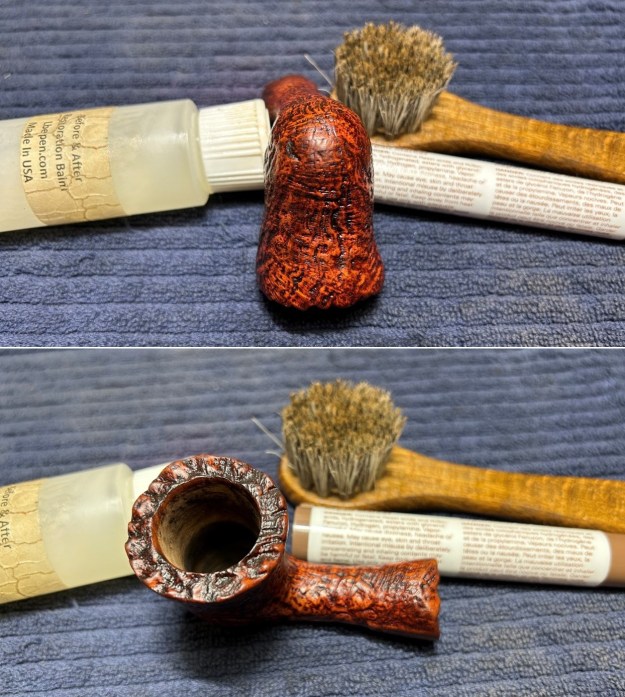
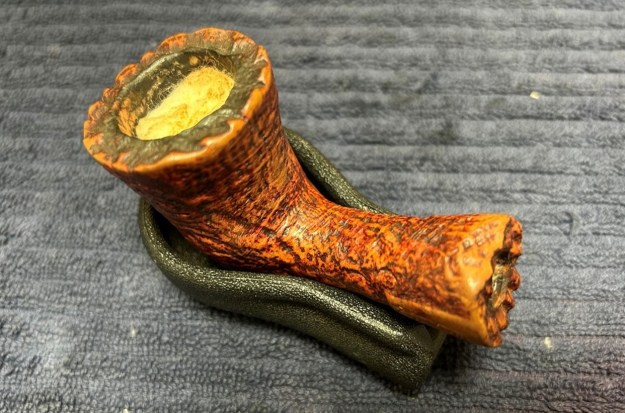 To tidy up the briar, I also wiped down the outside with some oil soap on cotton rounds (and a nylon-bristle brush for the rim). This does a good job of cleaning any latent dirt on the surface of the briar. The last step of the cleaning process is to scour the inside of the stummel with some soap and tube brushes. This is the culmination of a lot of hard work in getting the pipe clean.
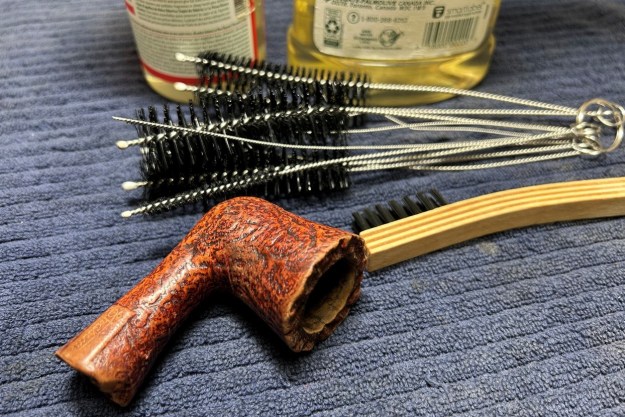 I used a few of the smoother micromesh pads – but just on the flat section where the logo is. After that, there were a few spots that needed to be tinted in the same colour as the rest of the stummel. I used some of my furniture pens (which is simply dye in pen form) to match the colour. I rubbed some Before & After Restoration Balm into the briar and let it sit for 20 minutes or so. The balm moisturizes the wood and gives a beautiful depth to the briar. I then buffed it with a microfibre cloth.
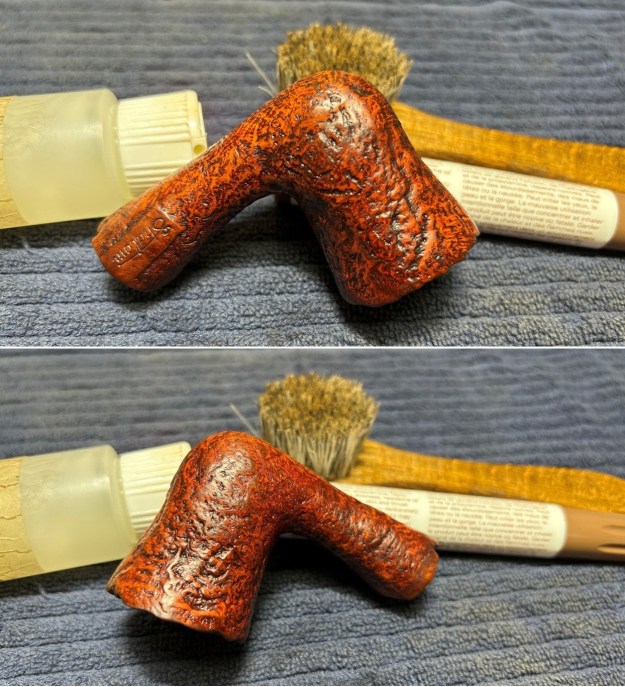
 For the final step, I took the pipe to my bench buffer and carefully polished it – first with a white diamond compound, then with three coats of carnauba wax. This procedure makes the pipe look its best – the stummel sings and the stem glows.
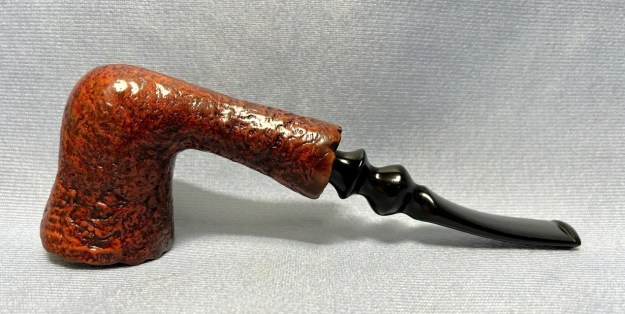
All done! This Shalom freehand Dublin looks fantastic again and is ready to be enjoyed by its next owner. I am pleased to announce that this pipe is for sale! If you are interested in acquiring it for your collection, please have a look in the ‘Various Makers’ section of the store here on Steve’s website. You can also email me directly at kenneth@knightsofthepipe.com. The approximate dimensions of the pipe are as follows: length 6⅛ in. (155 mm); height 2⅛ in. (54 mm); bowl diameter 1½ in. (37 mm); chamber diameter 1 in. (24 mm). The weight of the pipe is 1¼ oz. (38 g). I hope you enjoyed reading the story of this pipe’s restoration as much as I enjoyed restoring it. If you are interested in more of my work, please follow me here on Steve’s website or send me an email. Thank you very much for reading and, as always, I welcome and encourage your comments.