Blog by Steve Laug
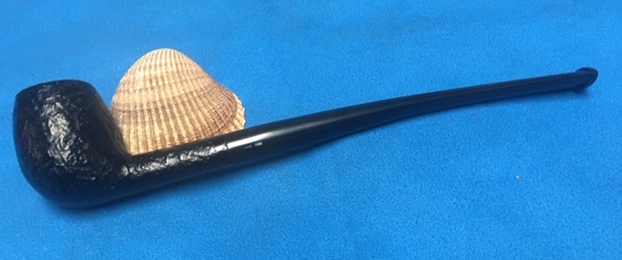
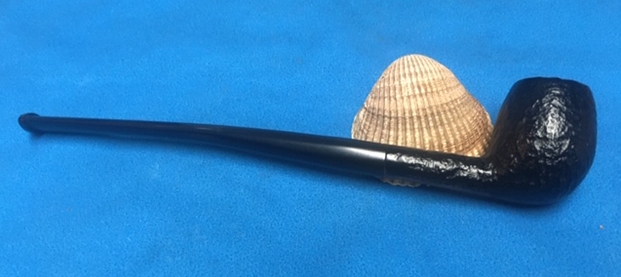
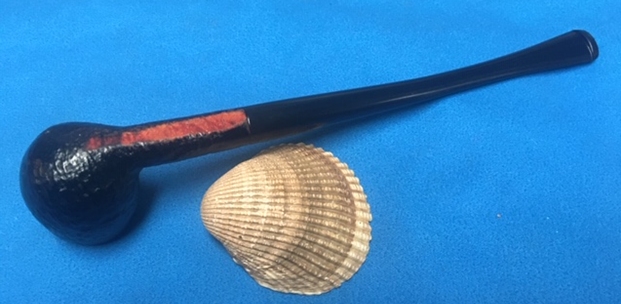
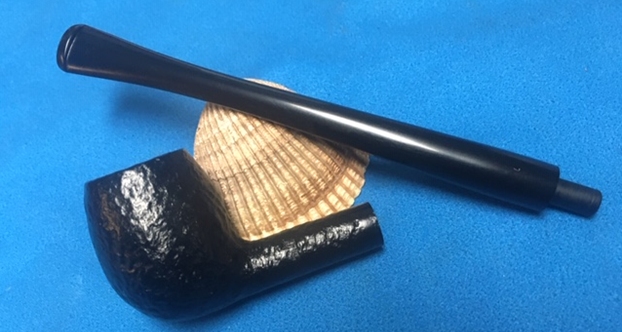
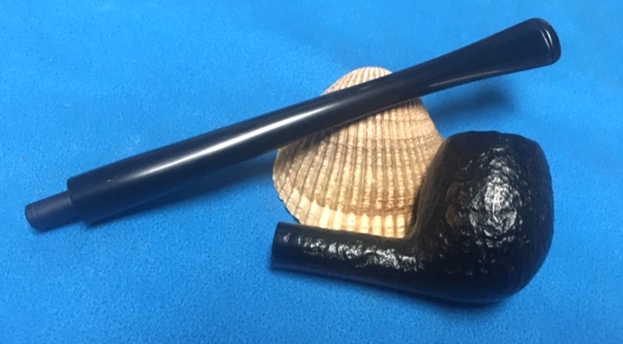
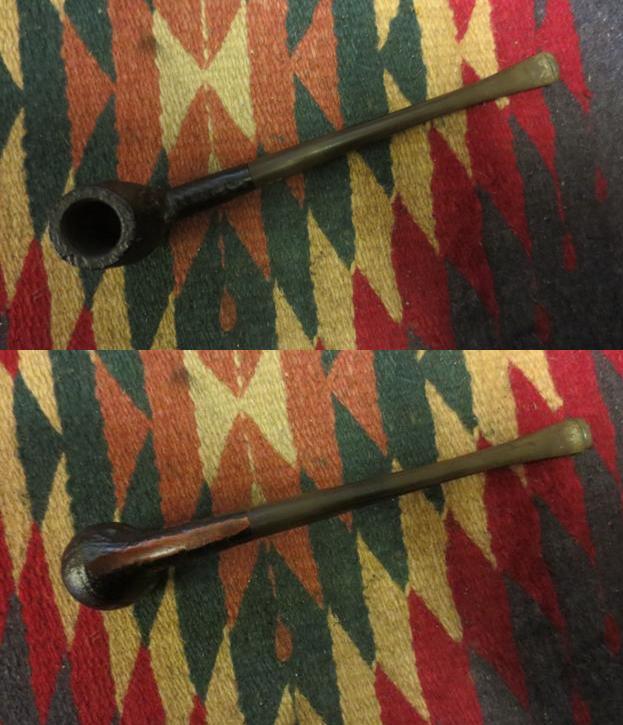
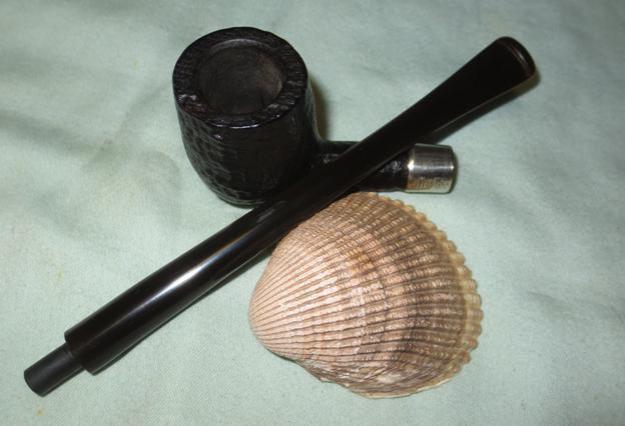
Jeff and I pick up a lot of pipes from a variety of places. The last time I visited him in Idaho I went through out boxes of pipes to be restored and picked out some unsmoked pipe that I could quickly spruce up and turn around on the rebornpipes store. This is one of those pipes. It is a small sandblast bowl with a five inch long stem. It is stamped Semi Churchwarden on the underside of the shank on a smooth panel. There are two side by side white bars on the left side of the taper stem. The pipe was unsmoked but dusty from sitting around for a long time before coming to us. The finish was interesting but quite lifeless. The stem looked good but had some debris stuck to it – maybe a price sticker glue or something like that and some small nicks and scratches in the surface. Otherwise it was a great looking little pipe. It is delicate looking but also well made. I took some photos of the pipe before I cleaned and polished it.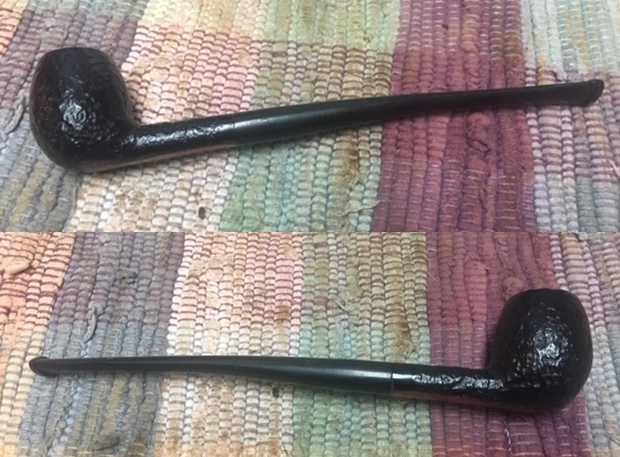
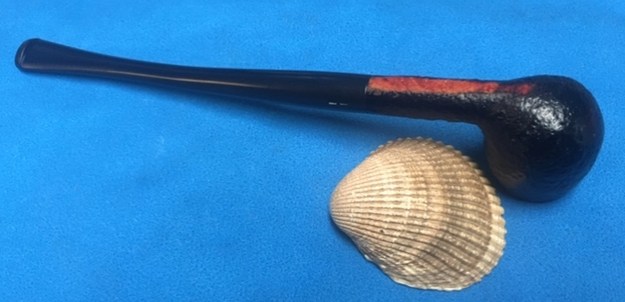
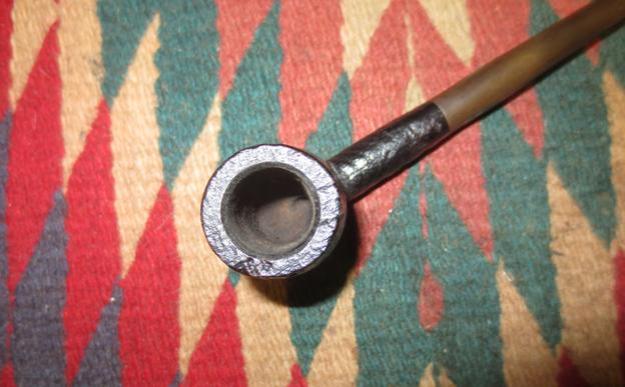
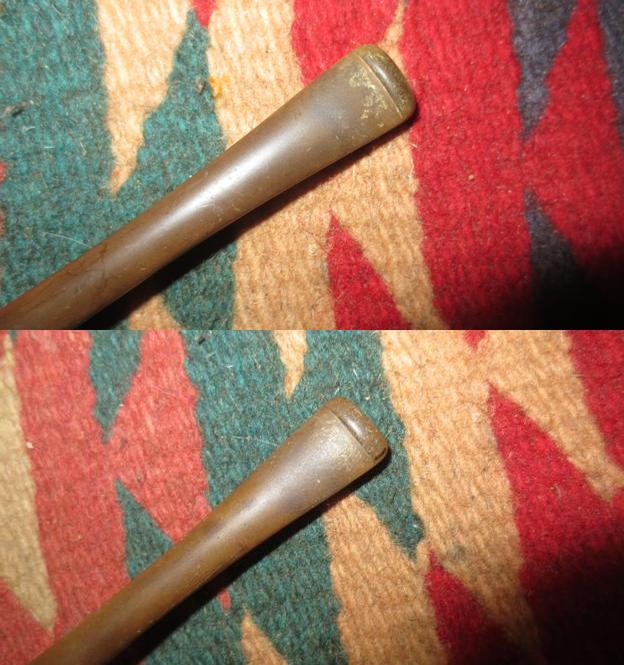
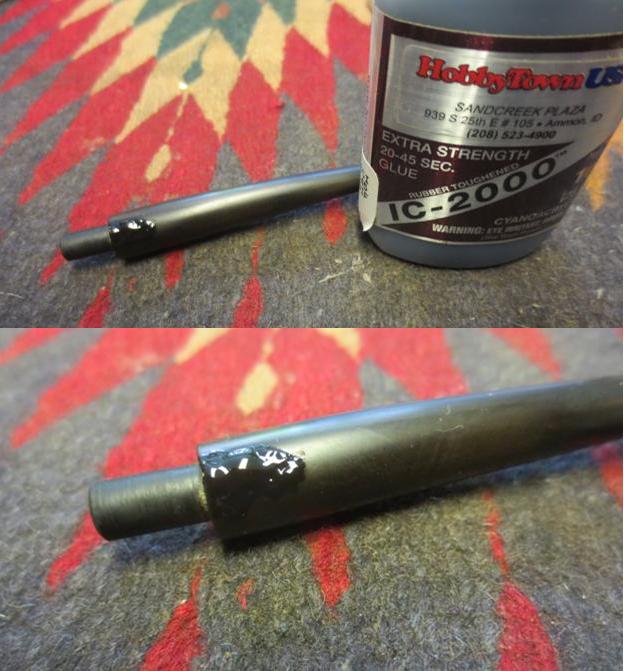
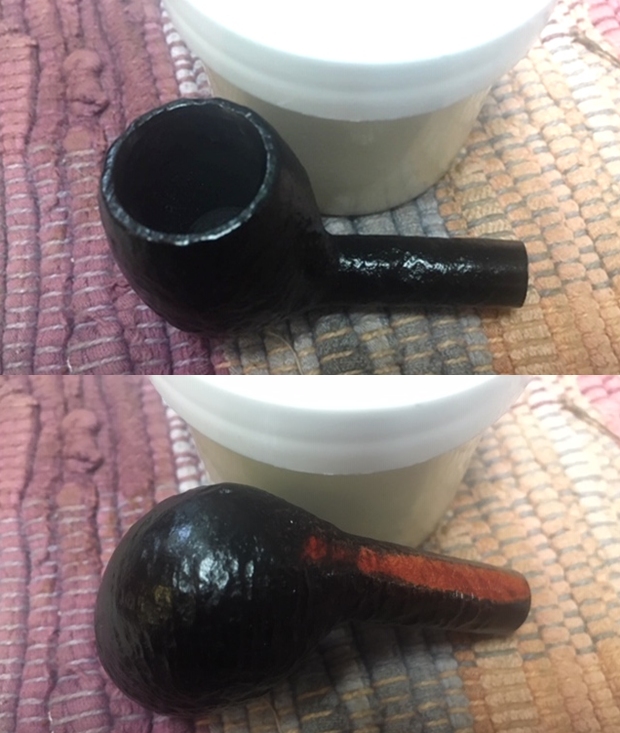
 I took photos of the bowl and rim top to show the unsmoked NOS (New Old Stock) condition. I also took some photos of the stem to show the nicks, scratches but also otherwise new condition. It would polish up really well.
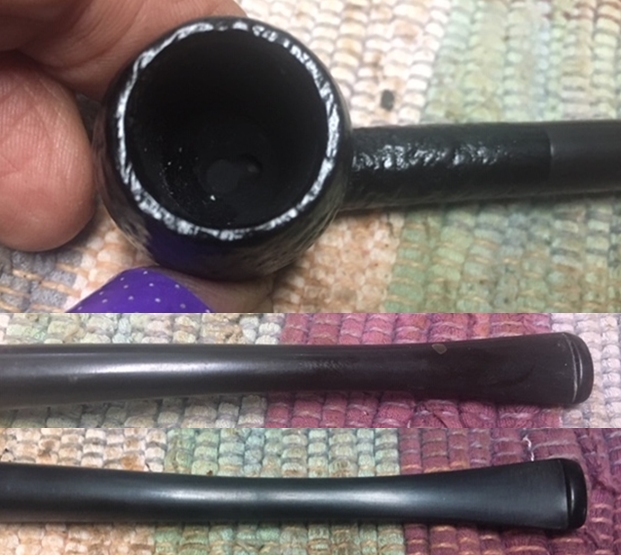 I took a photo of the stamping on the underside on the shank. You can clearly see the SEMI CHURCHWARDEN stamp. It is very readable. There is no other information – country of manufacture, shape number etc.
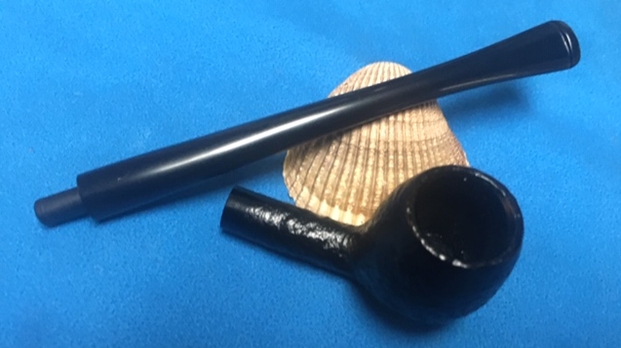
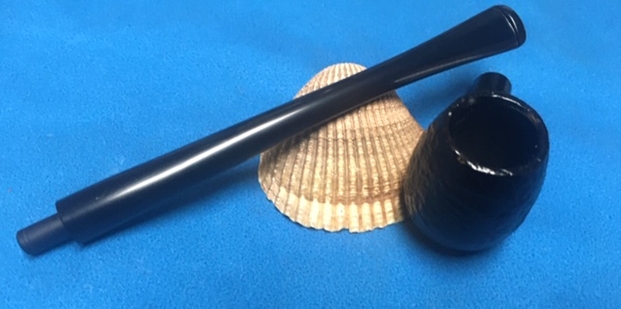
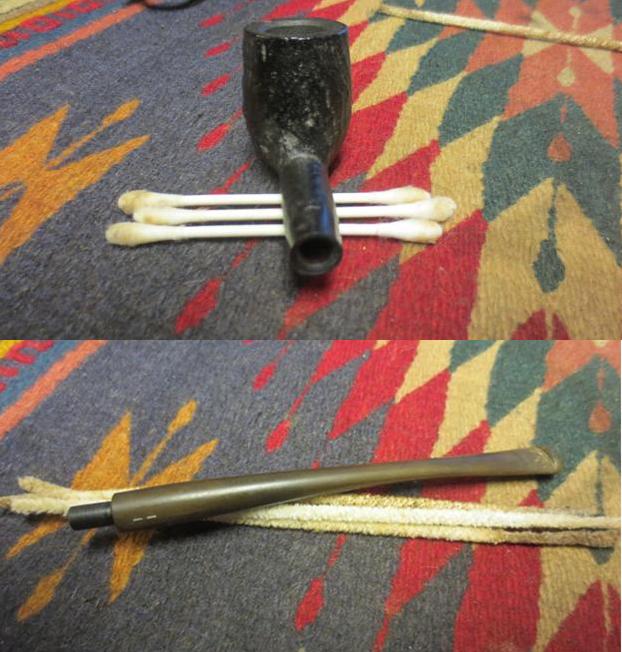
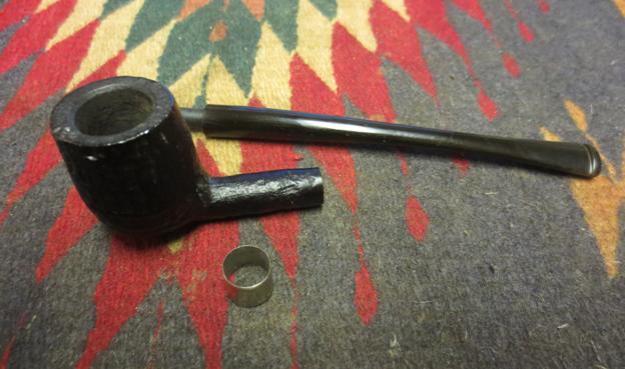
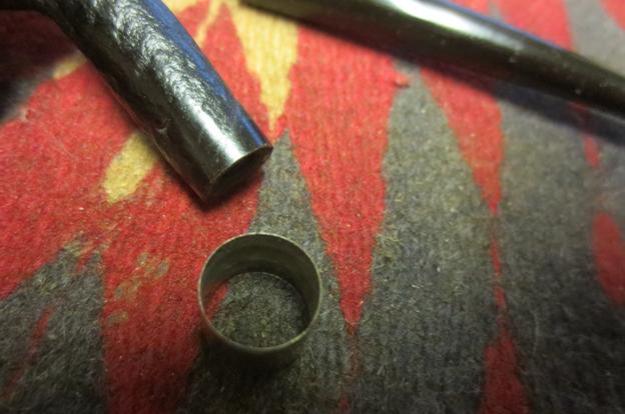
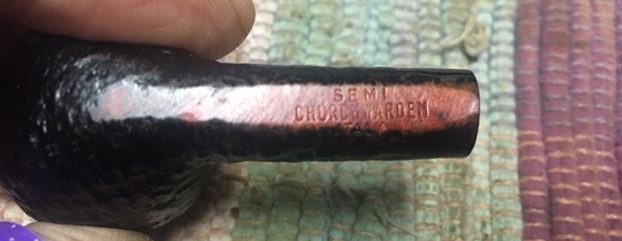 I removed the stem from the shank and took photos of the parts. It is a well proportioned pipe.
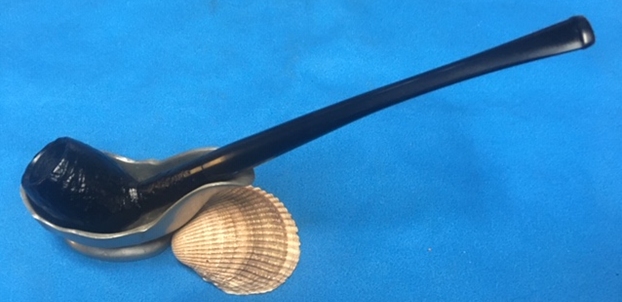
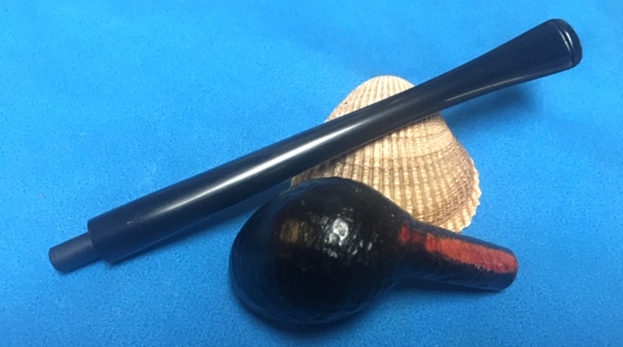
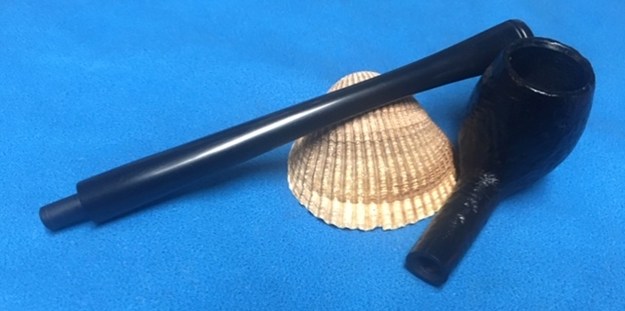
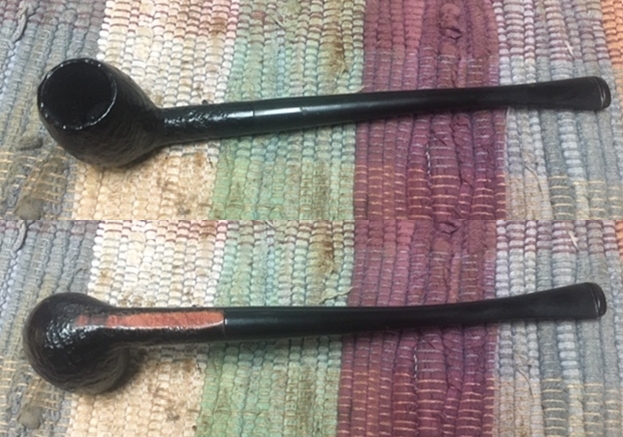
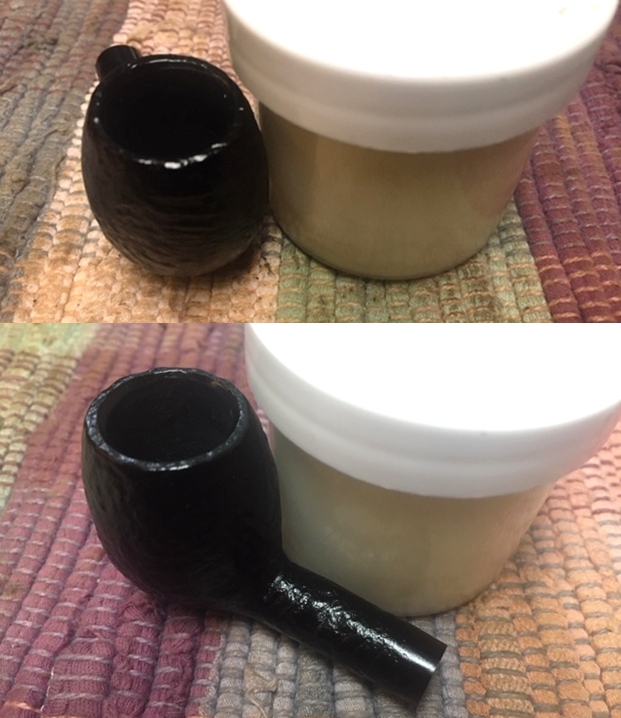
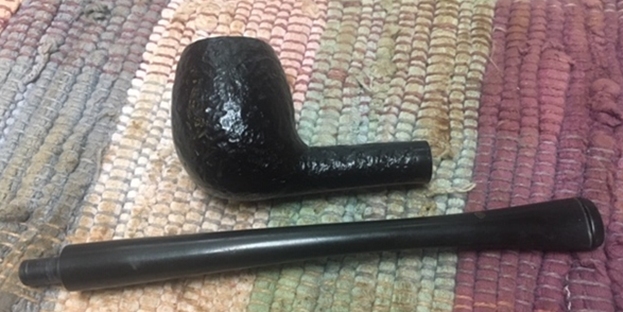 Since it was so clean it did not require any repairs or reshaping. I wanted give a little life to the bowl finish so I worked some Before & After Restoration Balm into the surface of the briar with my fingertips to clean, enliven and protect it. I let the balm sit for a little while and then buffed with a cotton cloth to raise the shine. The photos show the bowl at this point in the restoration process.
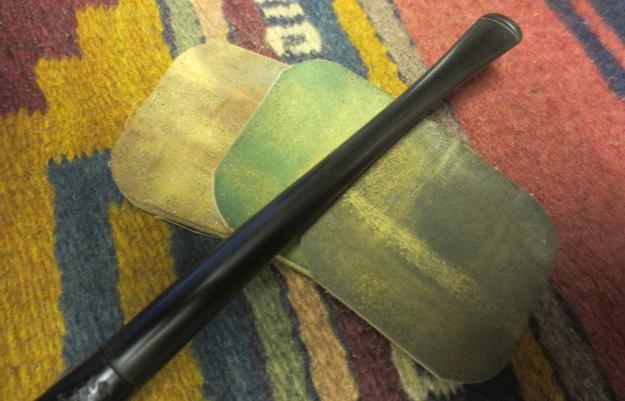
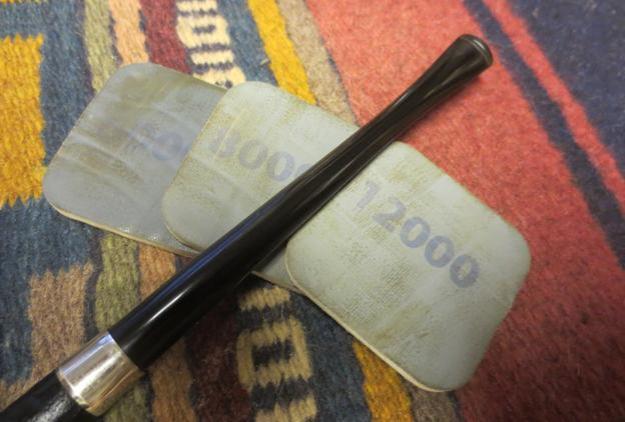
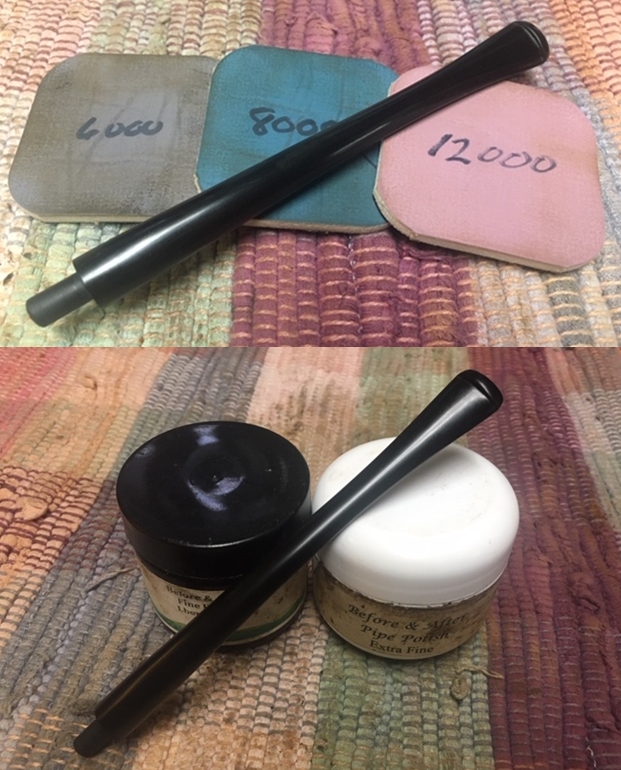
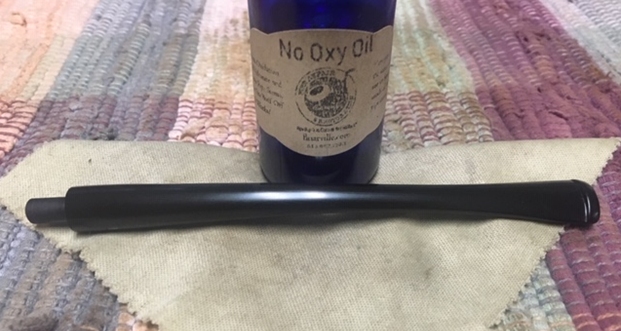
 I polished the stem with micromesh sanding pads – dry sanding with 1500-12000 grit sanding pads. I wiped it down after each sanding pad with a cloth containing some Obsidian Oil. I finished polishing it with Before & After Pipe Stem Polish – both Fine and Extra Fine and buffed it off with a cotton cloth. I gave it a coat of Briarville’s No Oxy Oil to preserve and protect the stem.
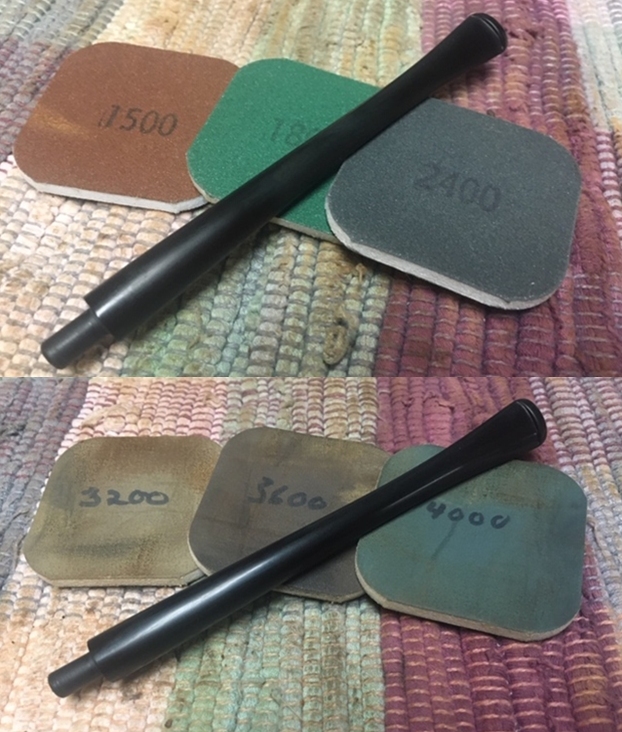
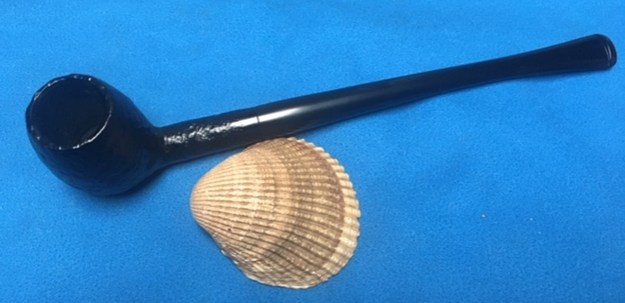
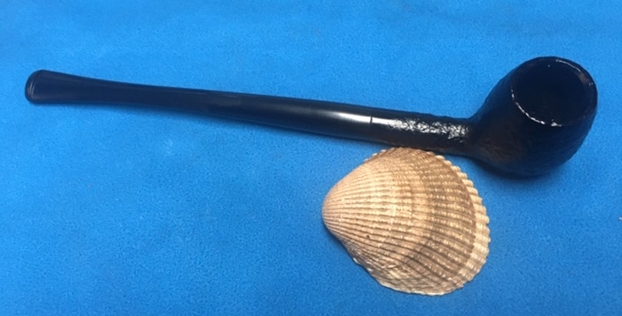
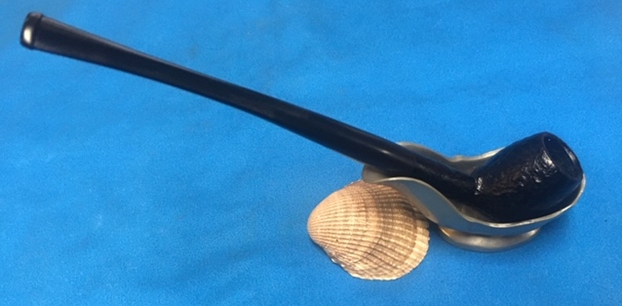
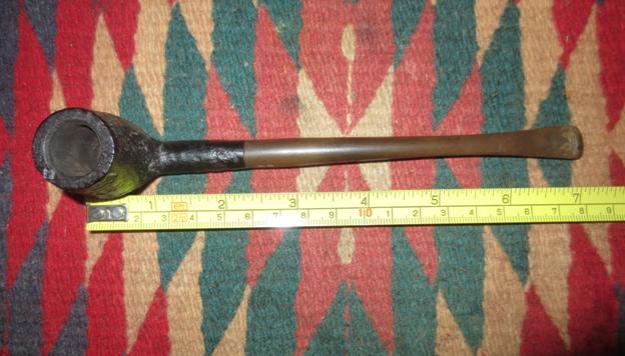
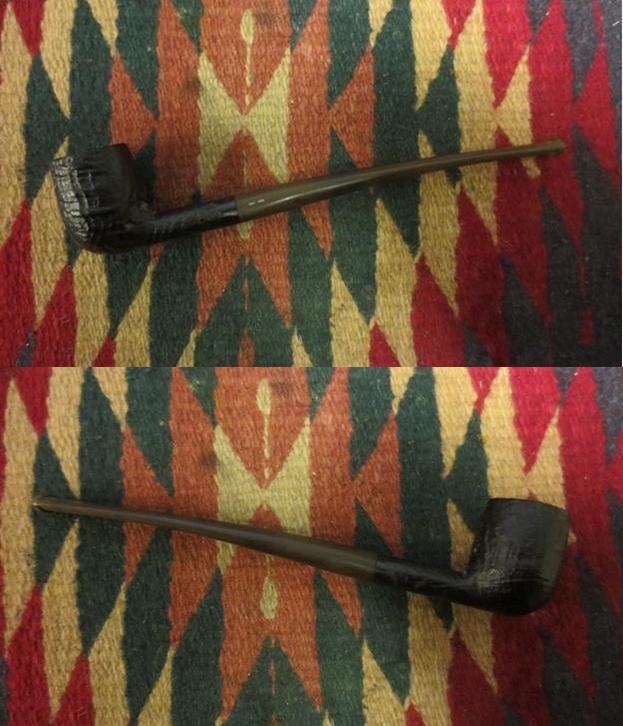
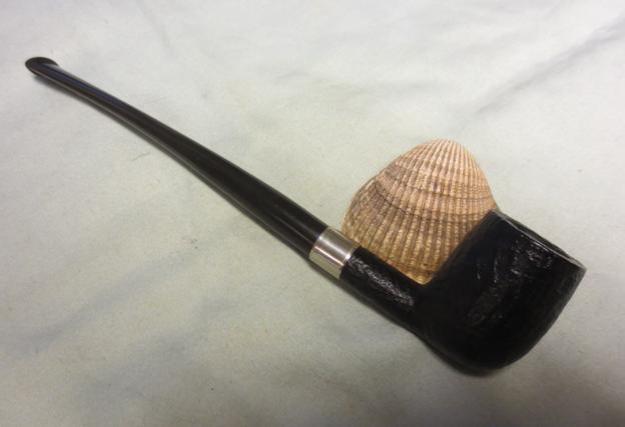
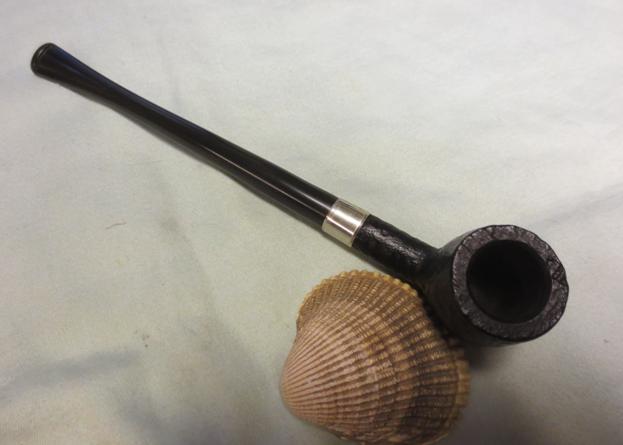
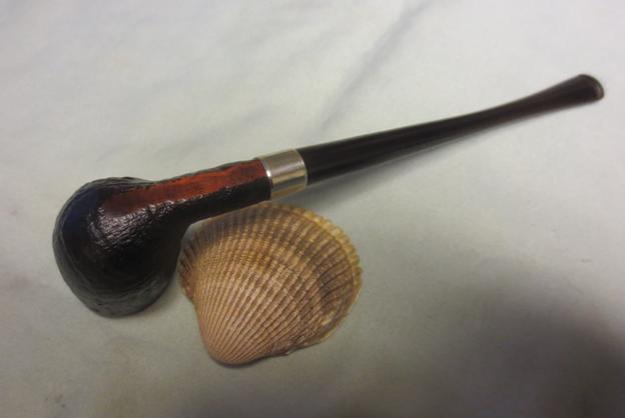
 I put the stem back on the bowl and buffed the pipe with Blue Diamond on the buffing wheel. I carefully avoided the stamping on the shank during the process. I gave the bowl multiple coats of Conservator’s Wax and stem multiple coats of carnauba wax on the buffing wheel and followed that by buffing it with a clean buffing pad on the buffer. I hand buffed the pipe with a microfiber cloth to deepen the shine. The finished pipe is actually a nice looking miniature. The sandblast is not deep but still gives a tactile feel to the bowl. Give the finish pipe a look in the photos below. The dimensions of the pipe are Length: 7 ¼ inches, Height: 1 ½ inches, Outside diameter of the bowl: 1 inch, Chamber diameter: 5/8 of an inch. This small Semi Churchwarden is a bit of an anomaly to me. It is one of those pipes that is too long to be a regular billiard and too short to be a real Churchwarden. Even so it is a nice pipe in exceptional condition. Thanks for walking through the sprucing up process with me as I worked over another beautiful pipe. This one will be going on the rebornpipes store shortly. If you are interested in adding it to your collection let me know. Thanks for your time.