Blog by Steve Laug
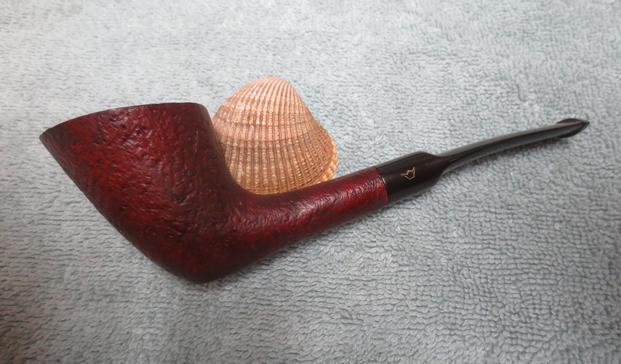
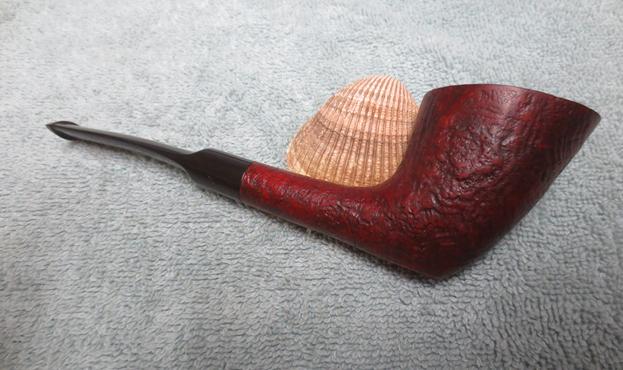
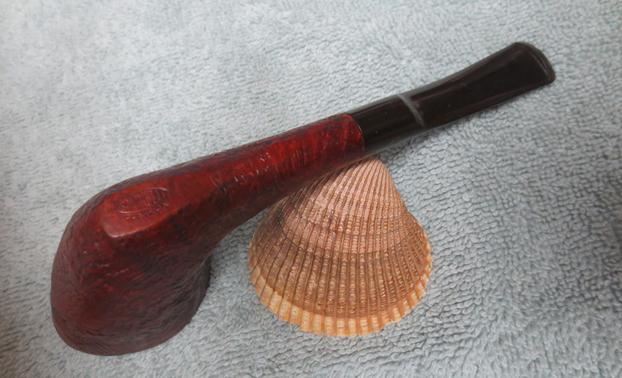
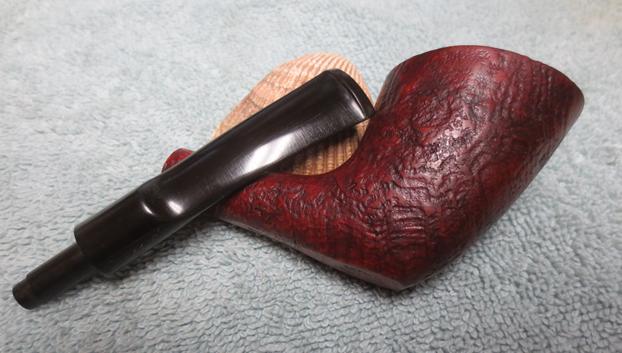
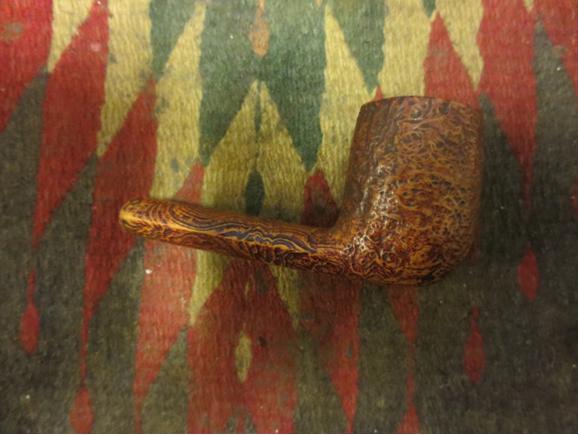
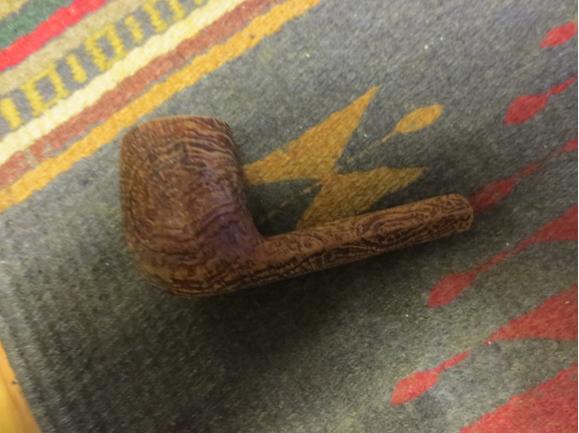
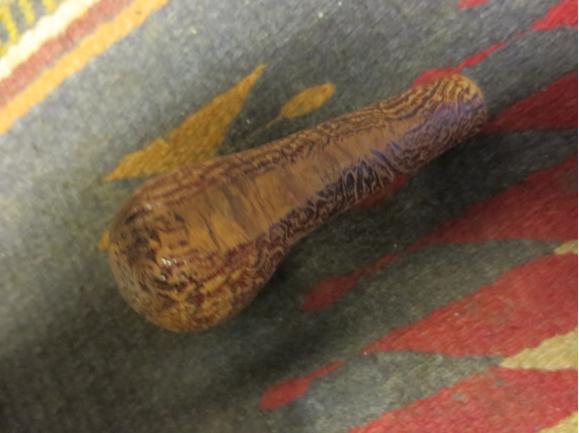
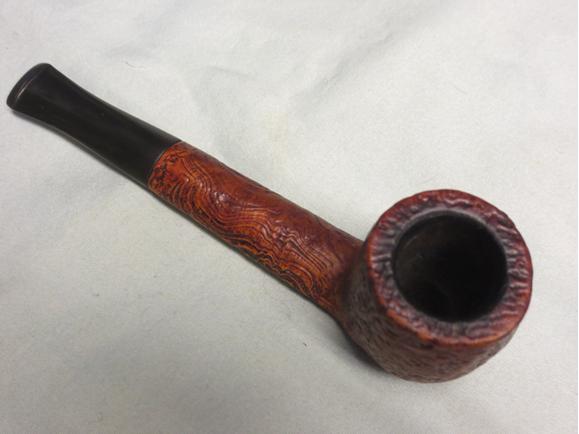
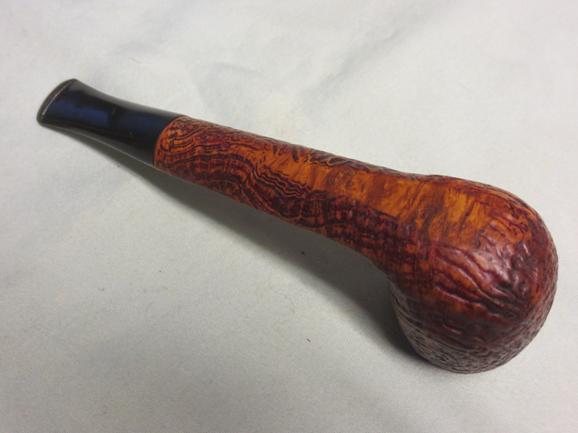
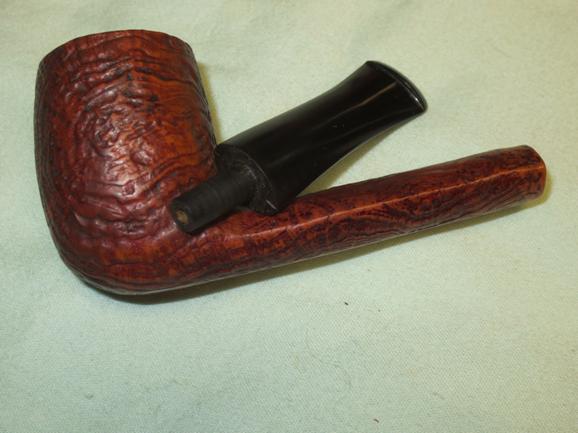
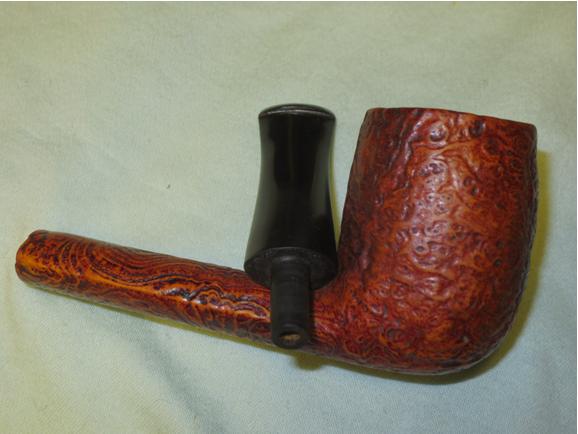
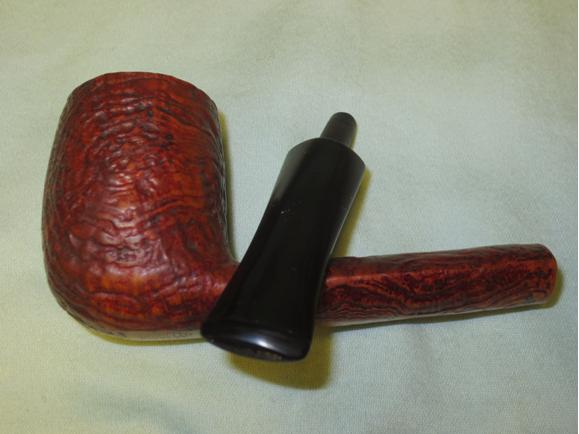
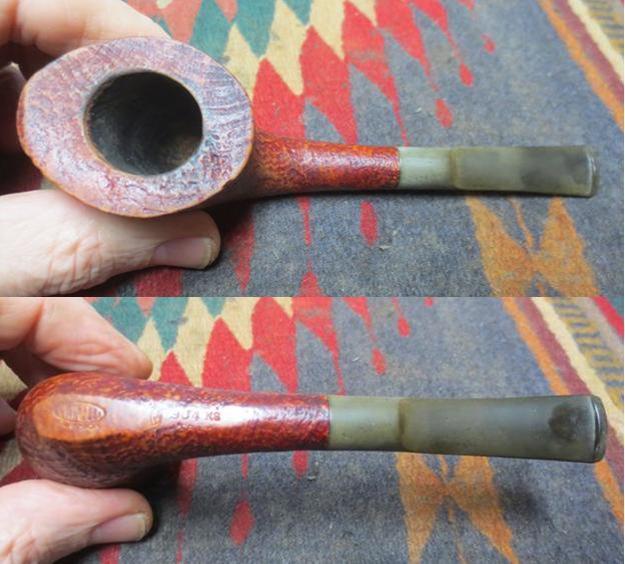
I have been cleaning up and restoring quite a few pipes over the holidays. I have had some free time and needed the space to relax and pipe refurbishing has always done that for me. Tomorrow I go back to the normal work week and then do some more traveling so my pipe work time will slow down considerably. I am hoping to finish a couple of more pipes this afternoon but we shall see. My brother picked up another interesting pipe for me to work on. The box he sent me before Christmas had a lot of unique and interesting pipes. This one is no exception to the pipes he sent me. I would call the shape of this Savinelli pipe a horn. It is a sandblast version that had a dirty finish and some overflow of cake and darkening on the rim. The pipe is stamped on a smooth part of the underside of the shank. It reads Savinelli in an oval over Classica. Next to that is the Savinelli S in a shield and next to that it is stamped 904KS over Italy. The stem is oxidized and there are tooth marks and chatter on the top and underside near the button. There is a crown logo stamped on the left side of the saddle shank. My brother took photos of the pipe when it arrived in Idaho Falls and before he cleaned it. The first four photos show the overall condition of the pipe. 
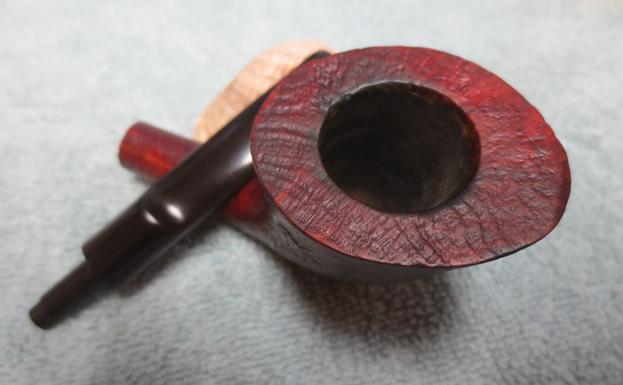
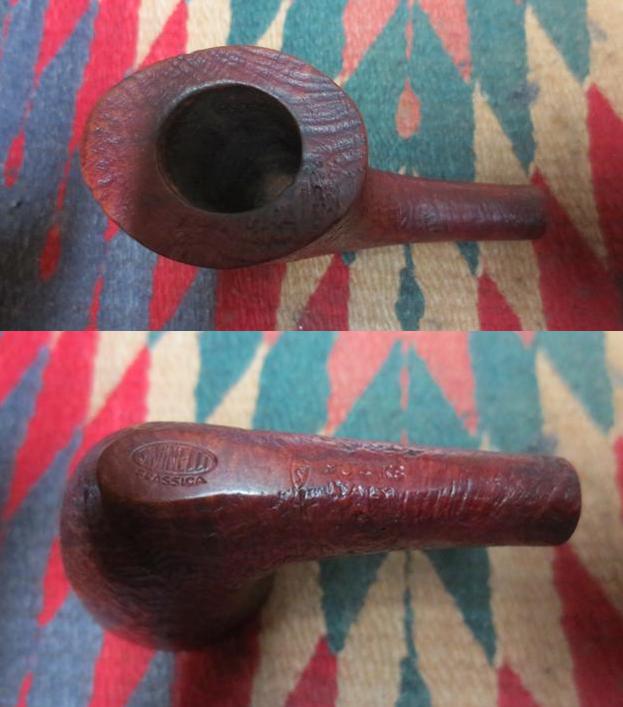
 He took a close up photo of the bowl and rim. Note the light cake in the bowl and the tars and oils built up on the back side of the rim top. The crevices of the sandblast are filled in but the inner and outer edge of the bowl look to be in good condition.
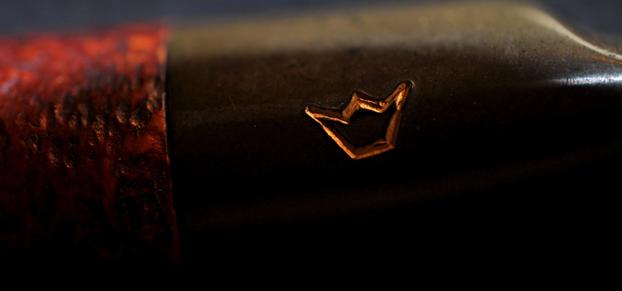
 The next three close up photos, show the stamping on the underside of the shank. The stamping is clear and readable. The S shield and the Italy stamp are the most hard to read but they are still readable. The fourth photo shows the gold crown on the side of the stem is also very clear.
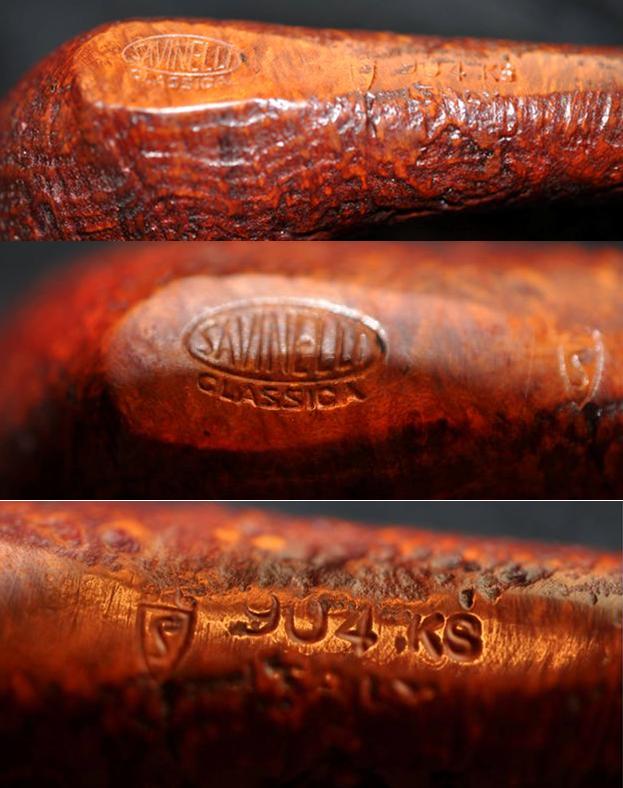
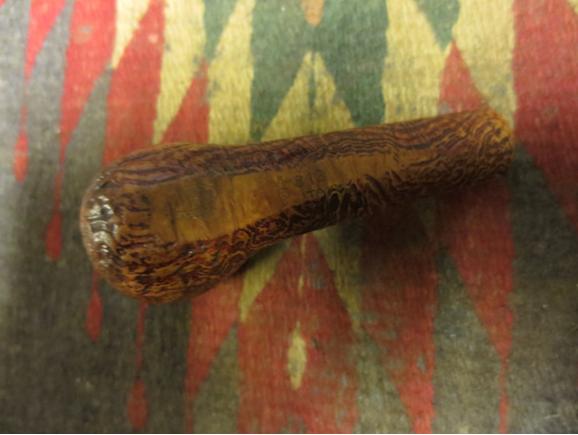
 The last two photos he sent to me show the tooth marks and chatter on the stem near the button. The oxidation is light but in the curves of the saddle they are darker.
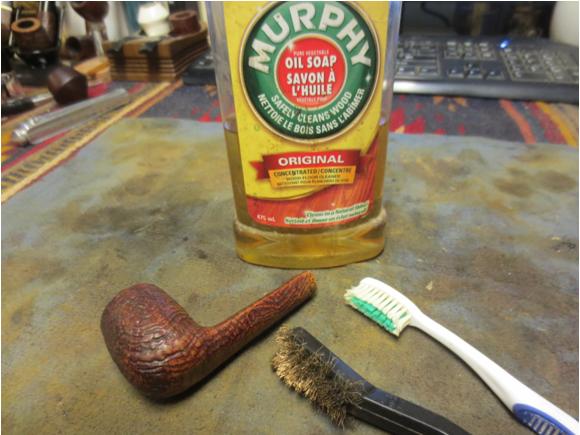
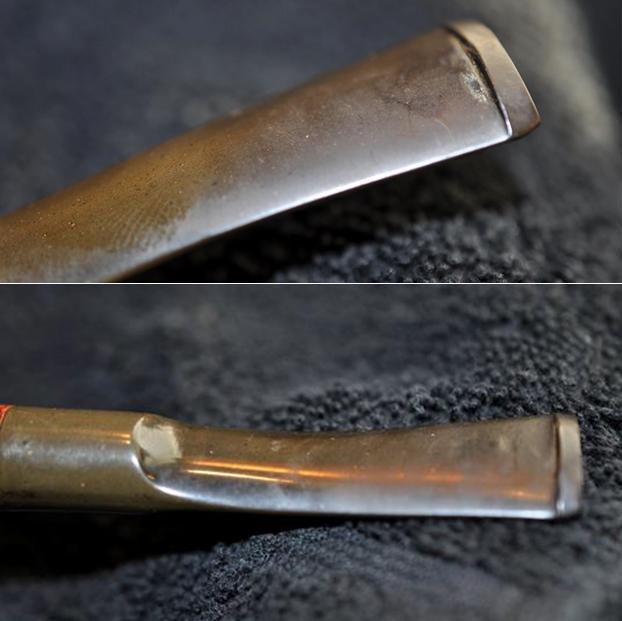 My brother scrubbed the exterior of the pipe and stem with Murphy’s Oil Soap and rinsed it with running water. He scrubbed the rim top to remove the oils and tars from the grooves and crevices. He reamed the bowl, cleaned out the inside of the shank, mortise and airway in the stem with alcohol, pipe cleaners and cotton swabs. When I received the pipe in Vancouver I took photos of what it looked like. The oxidation came to the surface of the stem and the finish looked washed out.
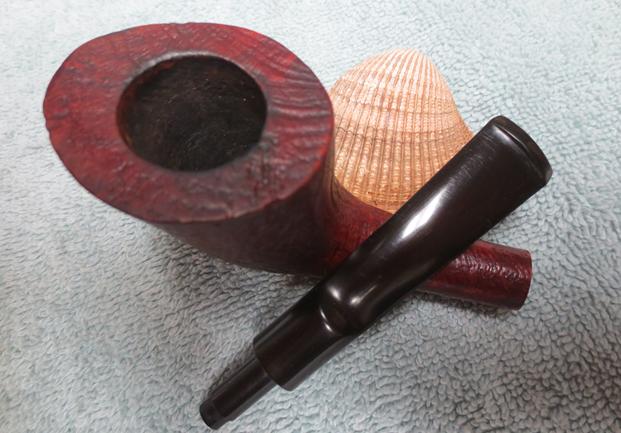
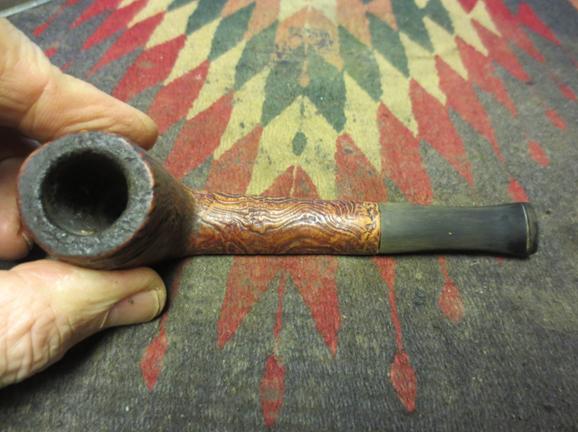
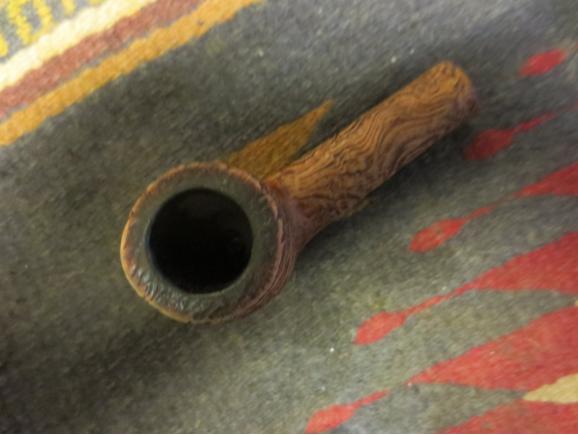
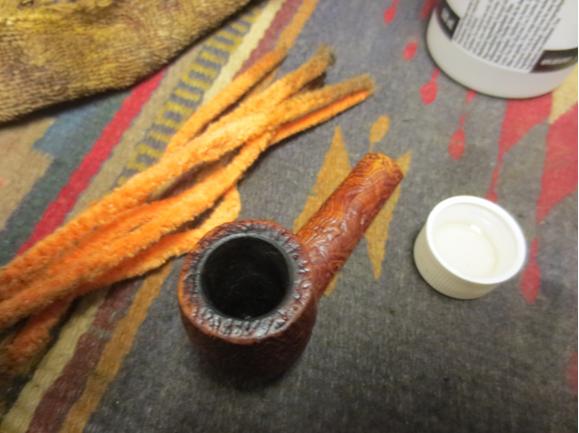
 I took a close up of the rim top and the bowl. The bowl was very clean and my brother had been able to clean up the crevices in the sandblast. The stain was worn on the sides and top of the rim.
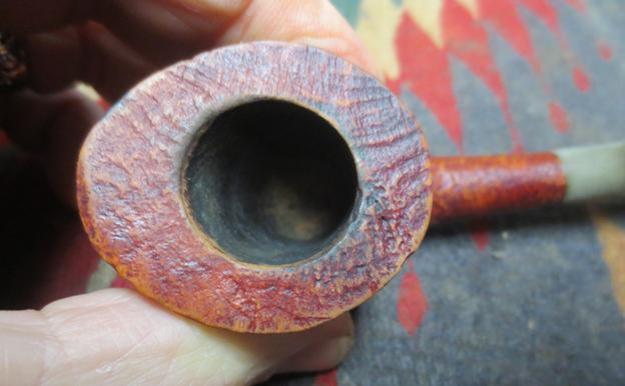 I took close up photos of the stem. There are some dents in the top edge of the button and along the sharp edge of the button. There were tooth marks on both sides of the stem and some tooth chatter.
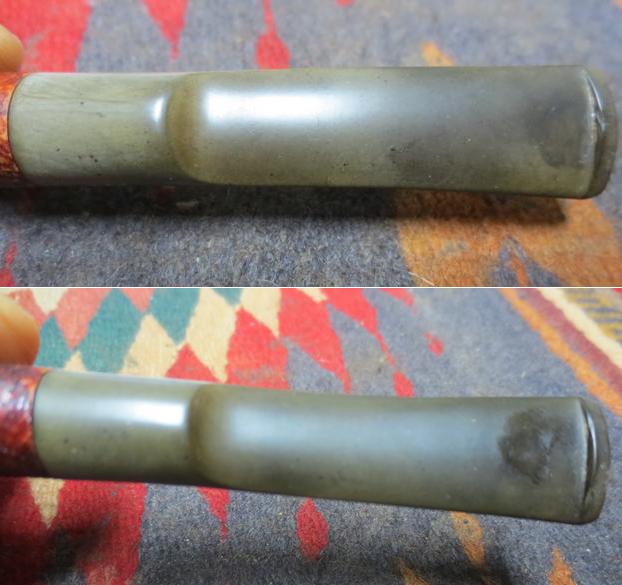 I started the restoration process by working on the bowl. I wiped it down with alcohol and cotton pads to remove and dirt or grime. After it was cleaned off I restained it with brown aniline stain, flamed it and repeated the process until the coverage and colour were even and what I was looking for on this particular blast.
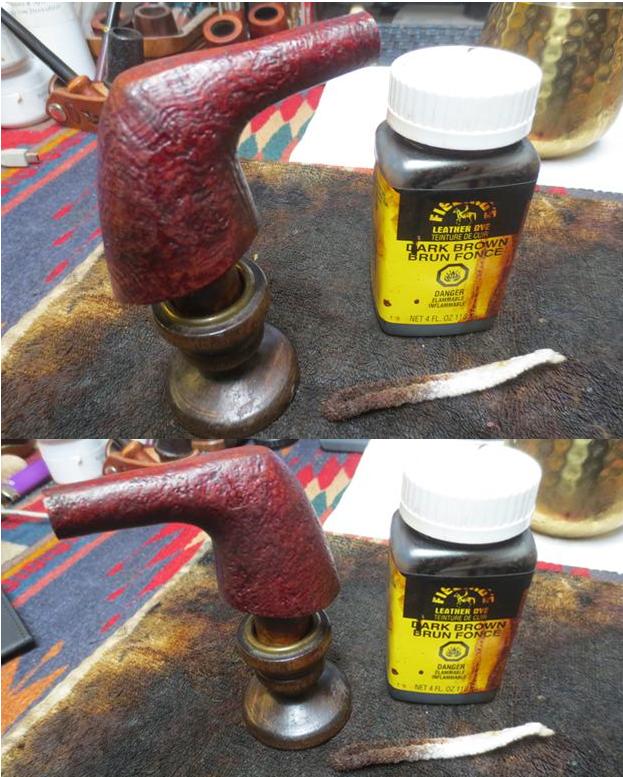
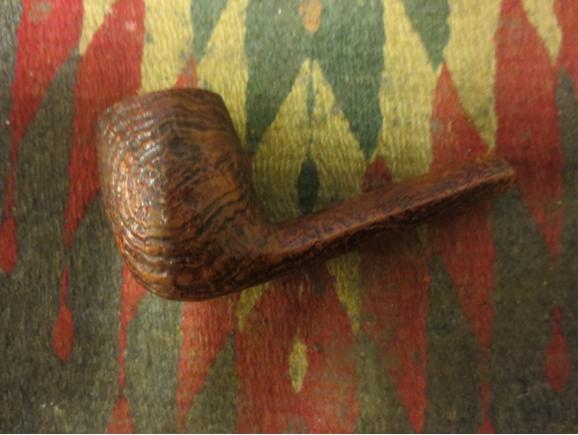
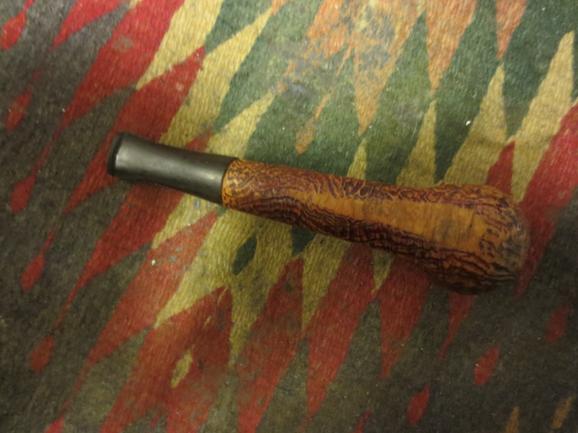
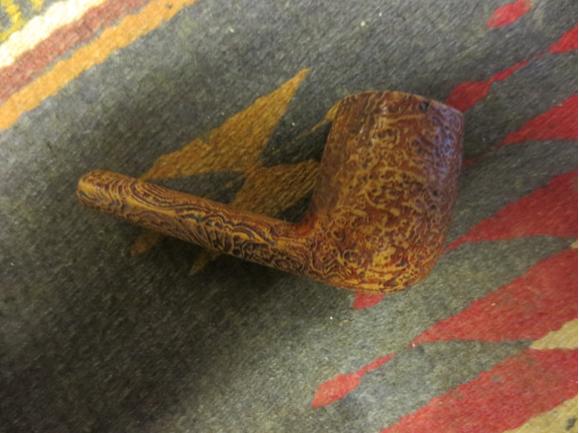
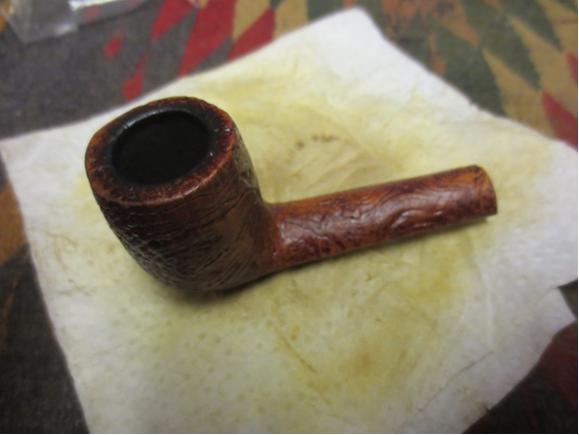
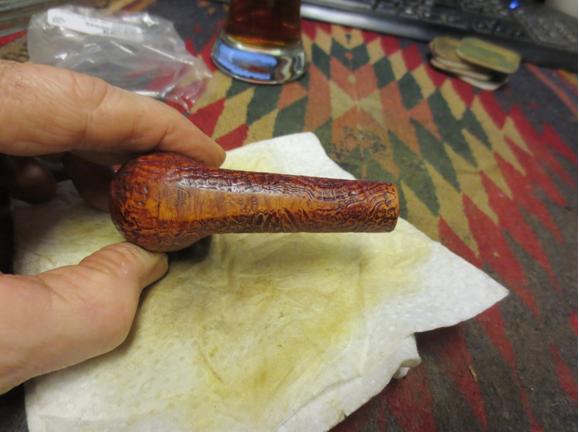
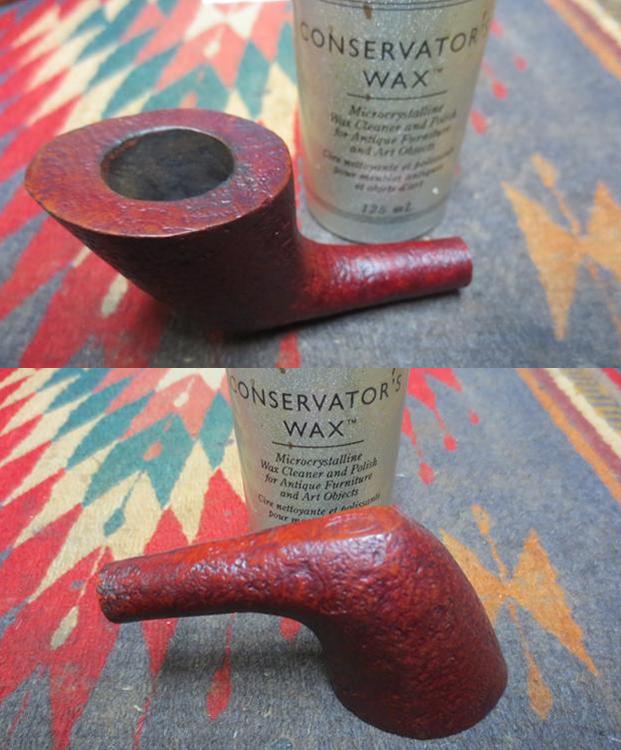
 When the finish was dry I lightly buffed it with a shoe brush. I took photos of the bowl after the staining.
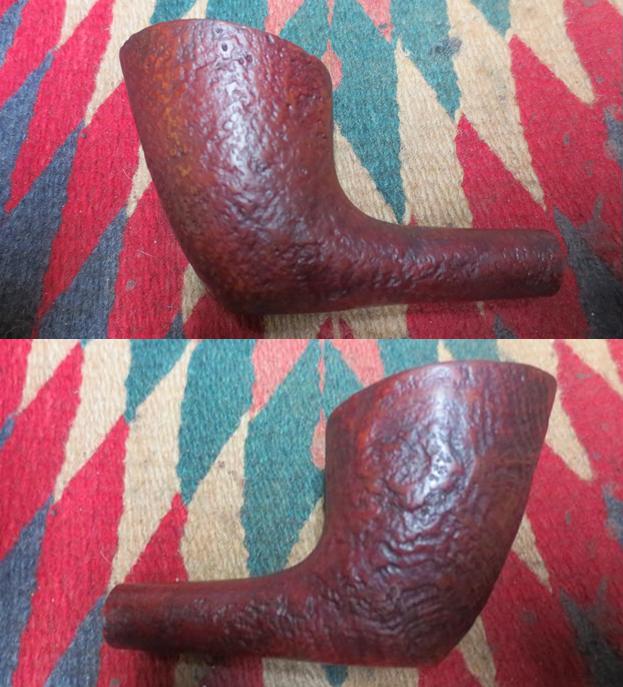
 I hand waxed the bowl with Conservator’s Wax and buffed it harder with a shoe brush. I was able to raise the shine on the bowl and it was beginning to look better and better.
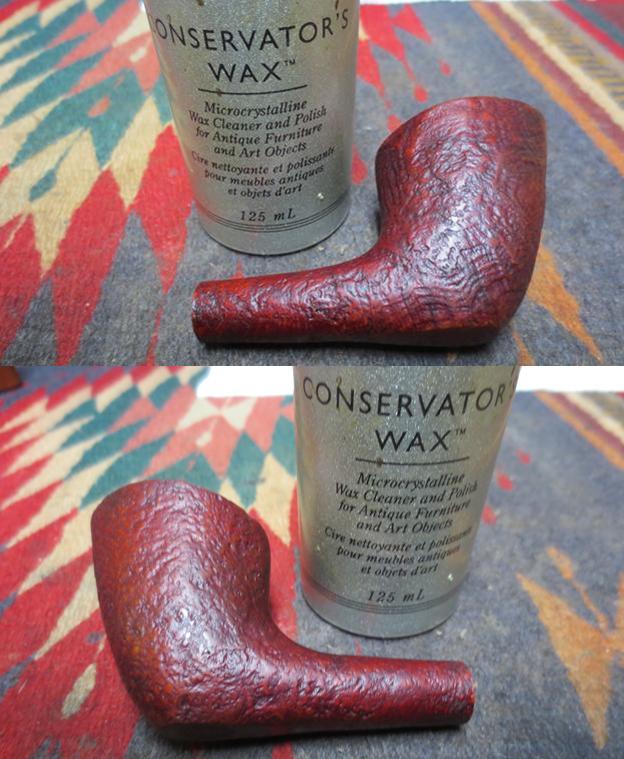
 I sanded out the tooth marks and chatter with 220 grit sandpaper. I sanded the remainder of the stem at the same time to break up the oxidation. I was careful around the crown logo on the stem side. While the gold stamp was light the stamping itself was deep in the vulcanite and would be easy to restore once the stem was clean.
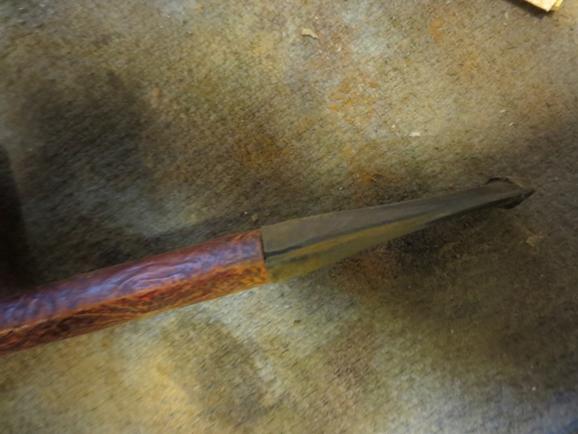
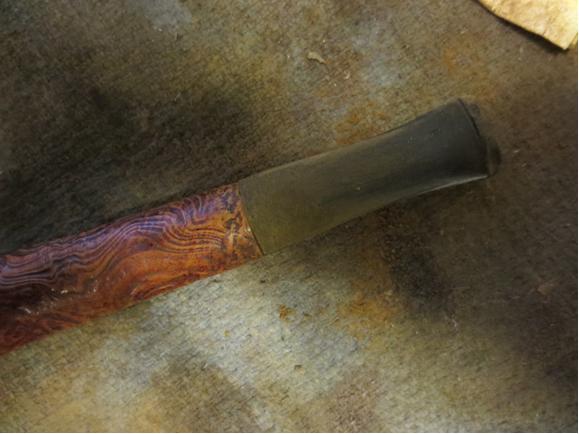
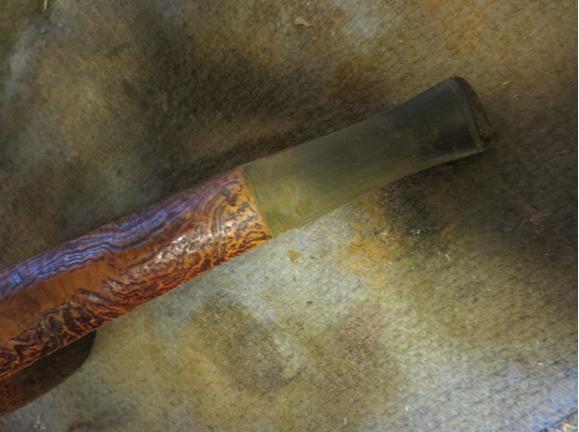
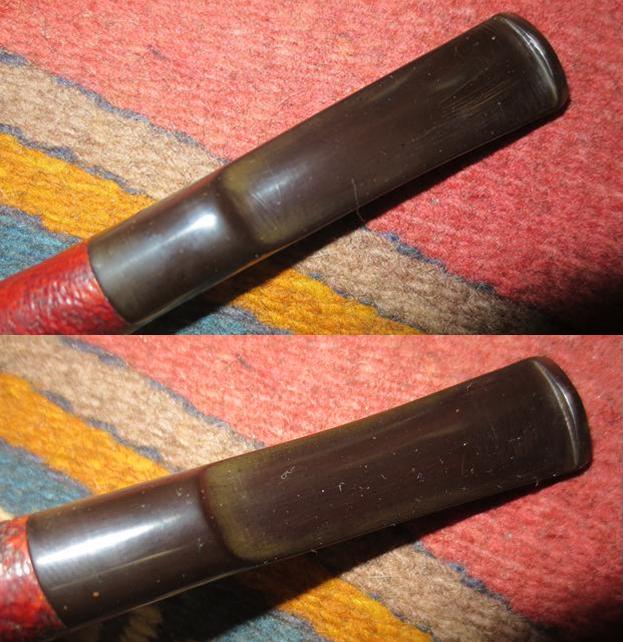
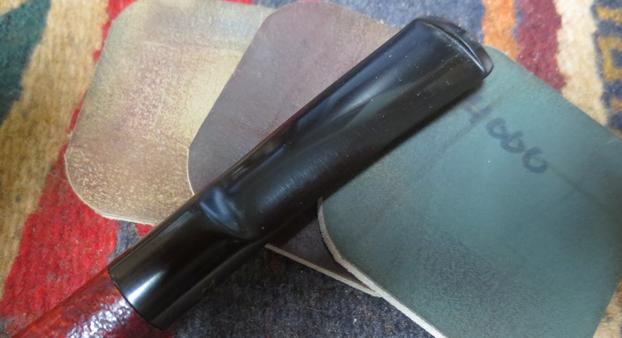
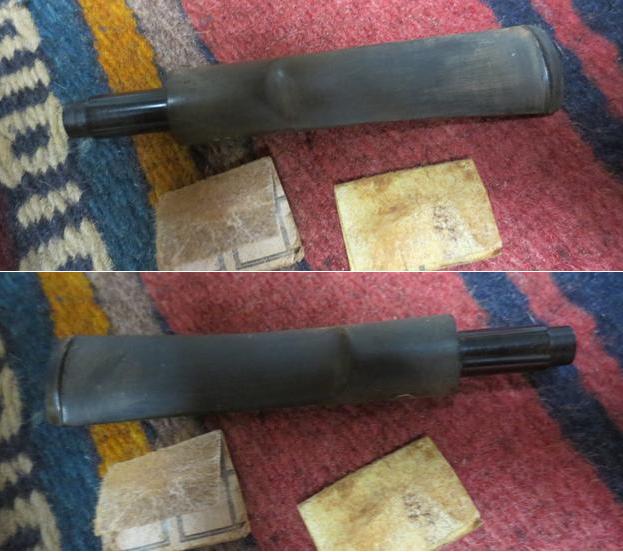 I decided to scrub the stem with the Before & After Stem Deoxidizer and pipe stem polish starting with gritty DeniCare polish and then using Before & After’s Fine and Extra Fine Stem polish. While it cut through the oxidation on the flat and round portion of the stem it did not work as well in the curves of the saddle. I took photos of the stem after spending about an hour scrubbing the stem with the polishes. You can see the shadows of oxidation that still needed to be dealt with.
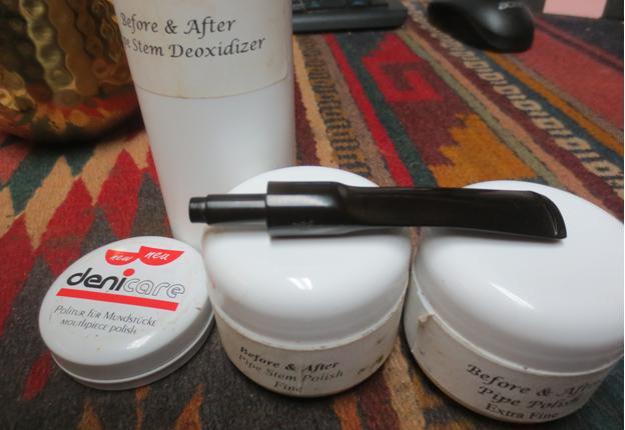
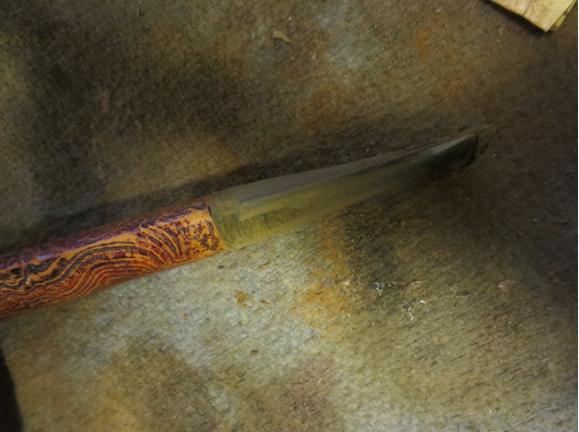
 I used Rub’n Buff European Gold to rework the stamping in the crown on the side of the stem.
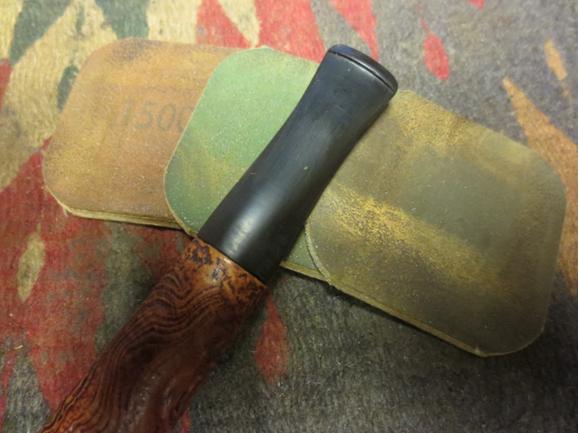
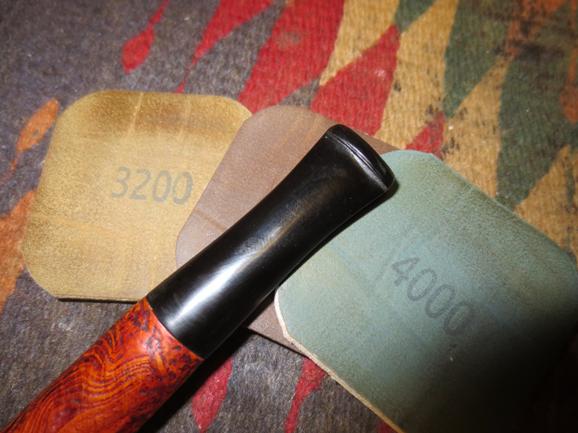
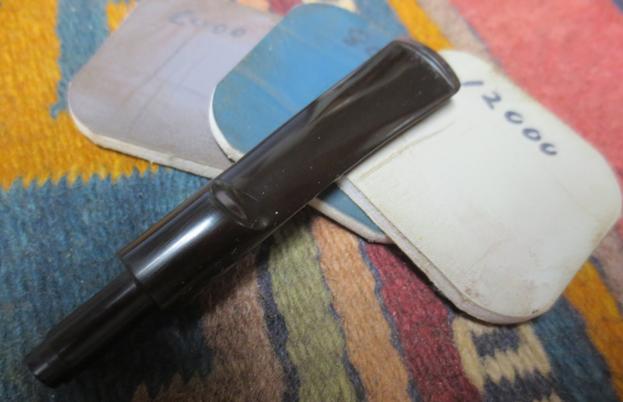
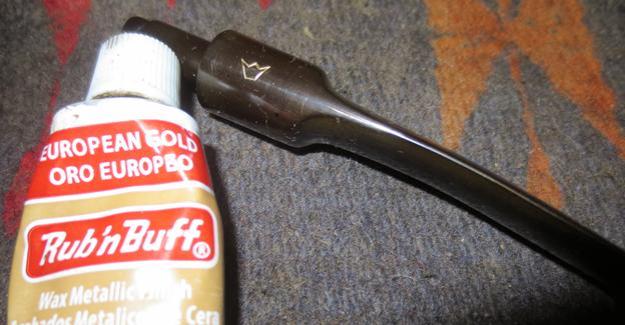 I worked over the stem with micromesh sanding pads – wet sanding with 1500-2400 grit pads and dry sanding with 3200-12000 grit pads. I rubbed the stem down with Obsidian Oil after each set of three pads. After the last set of pads I gave it a final coat of oil and set it aside to dry.
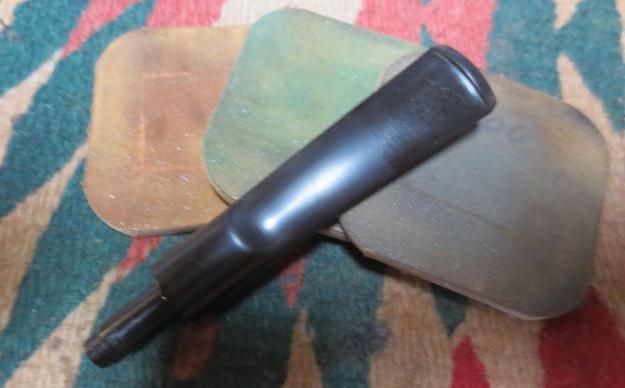
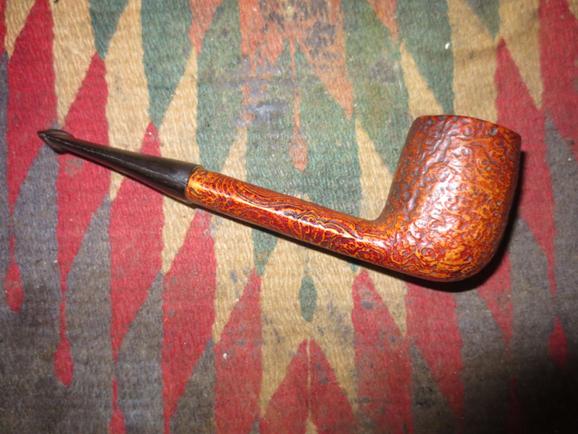
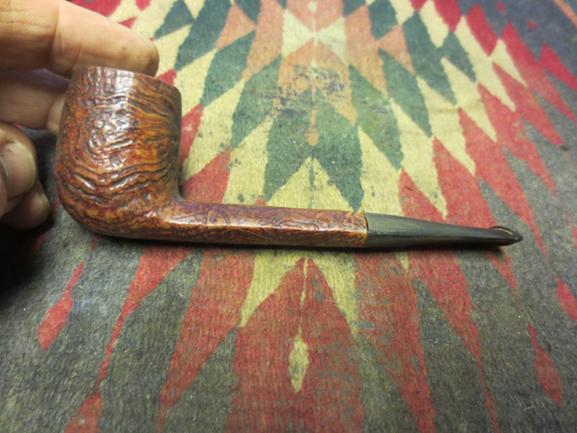
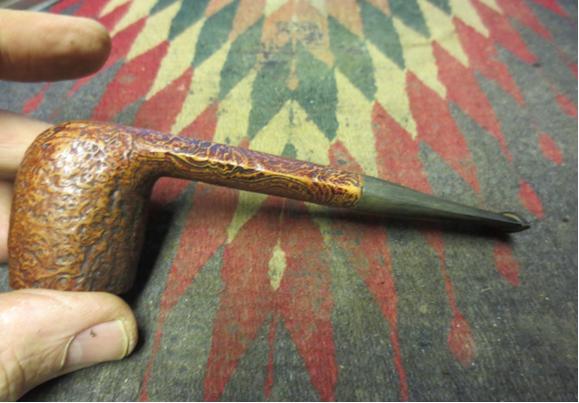
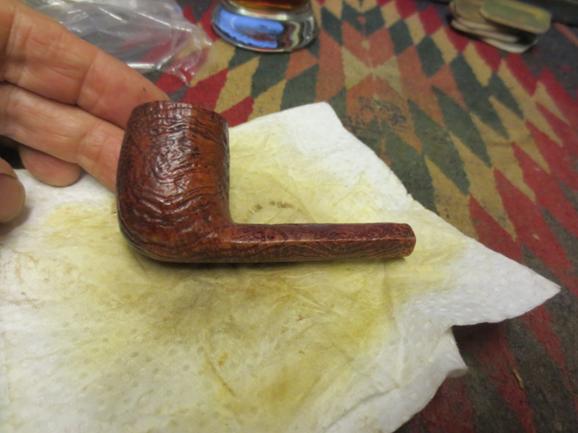
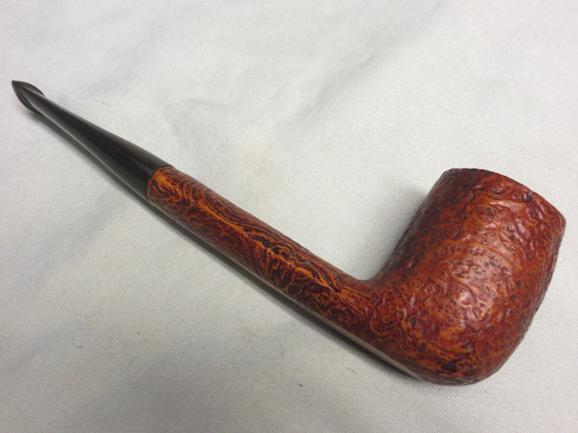
 I buffed the stem with Blue Diamond on the buffing wheel and gave the stem several coats of carnauba wax. I gave the bowl another coat of Conservator’s Wax and buffed the bowl and stem with a clean buffing pad to raise the shine. I hand buffed it with a microfiber cloth to deepen the shine. The finished pipe is shown in the photos below. It is a great looking pipe that has a lot of life in it. It should be a good addition to someone’s rack and provide years of good smokes. Thanks for looking.