Tag Archives: replacing fills with briar dust and superglue

Reworking a Peterson’s Irish Seconds Canadian


Blog by Steve Laug

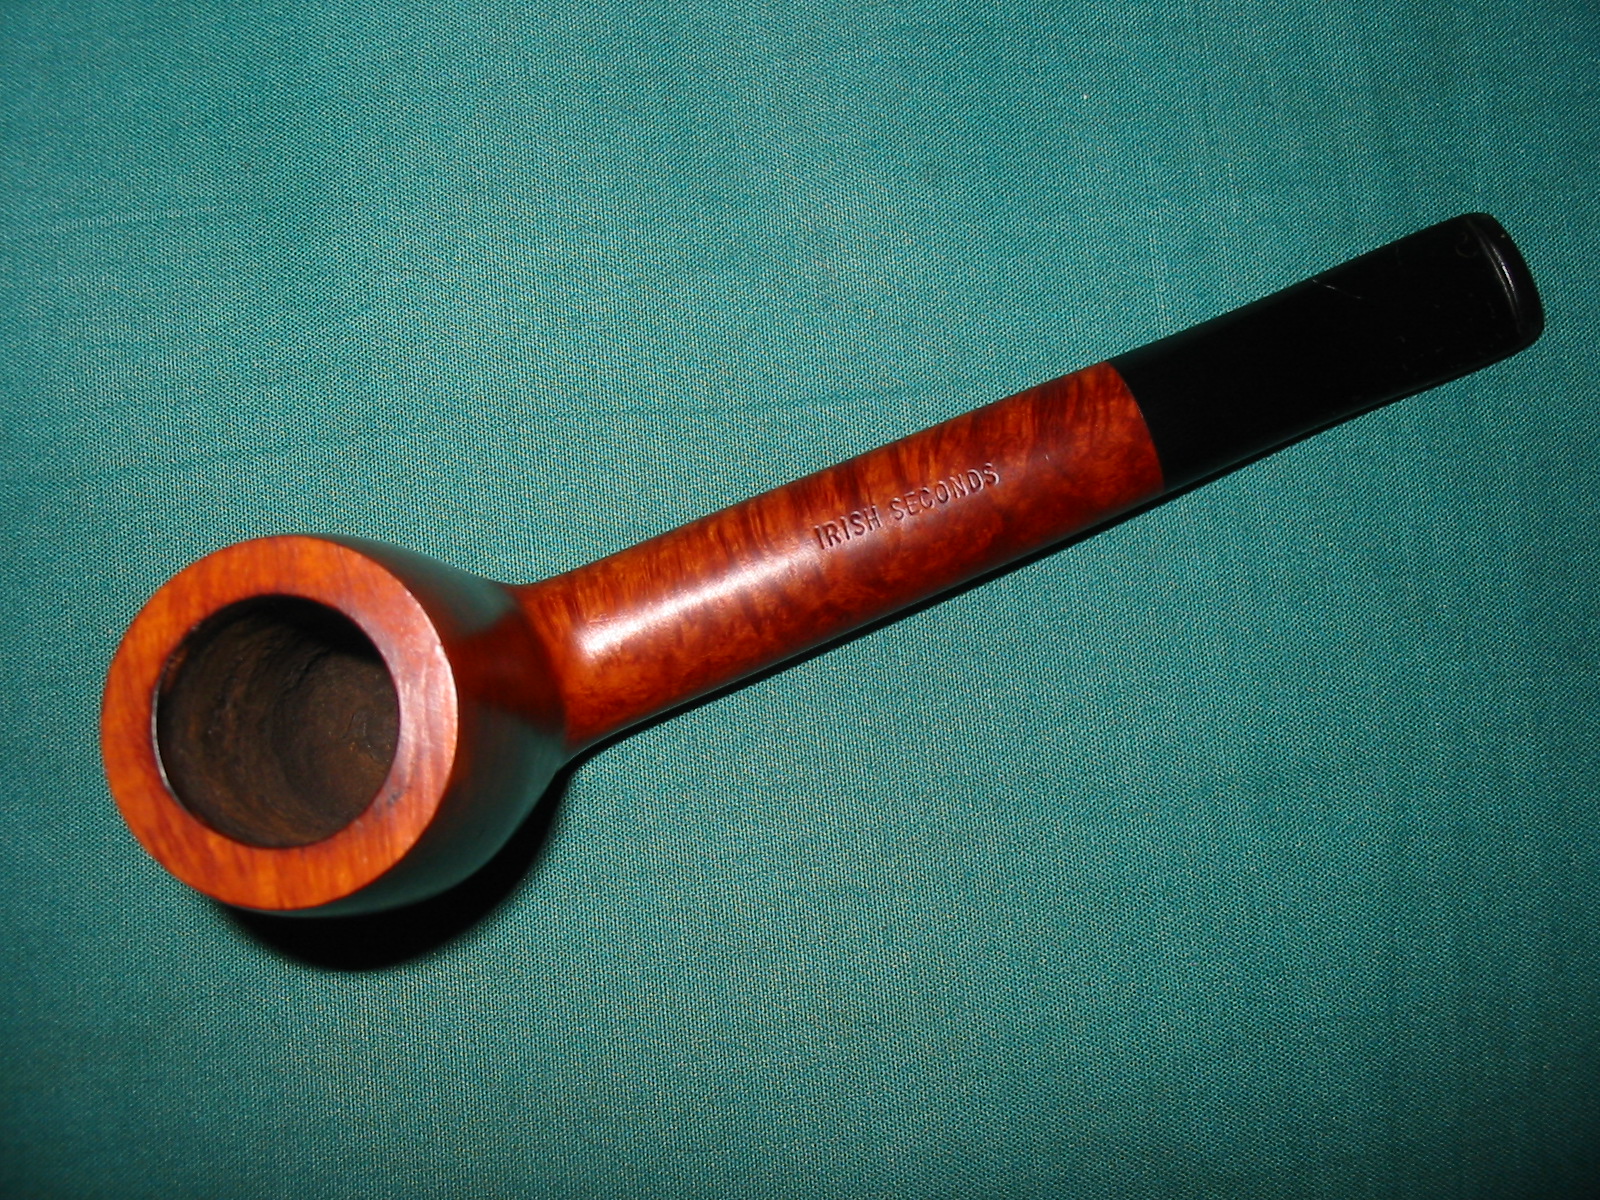
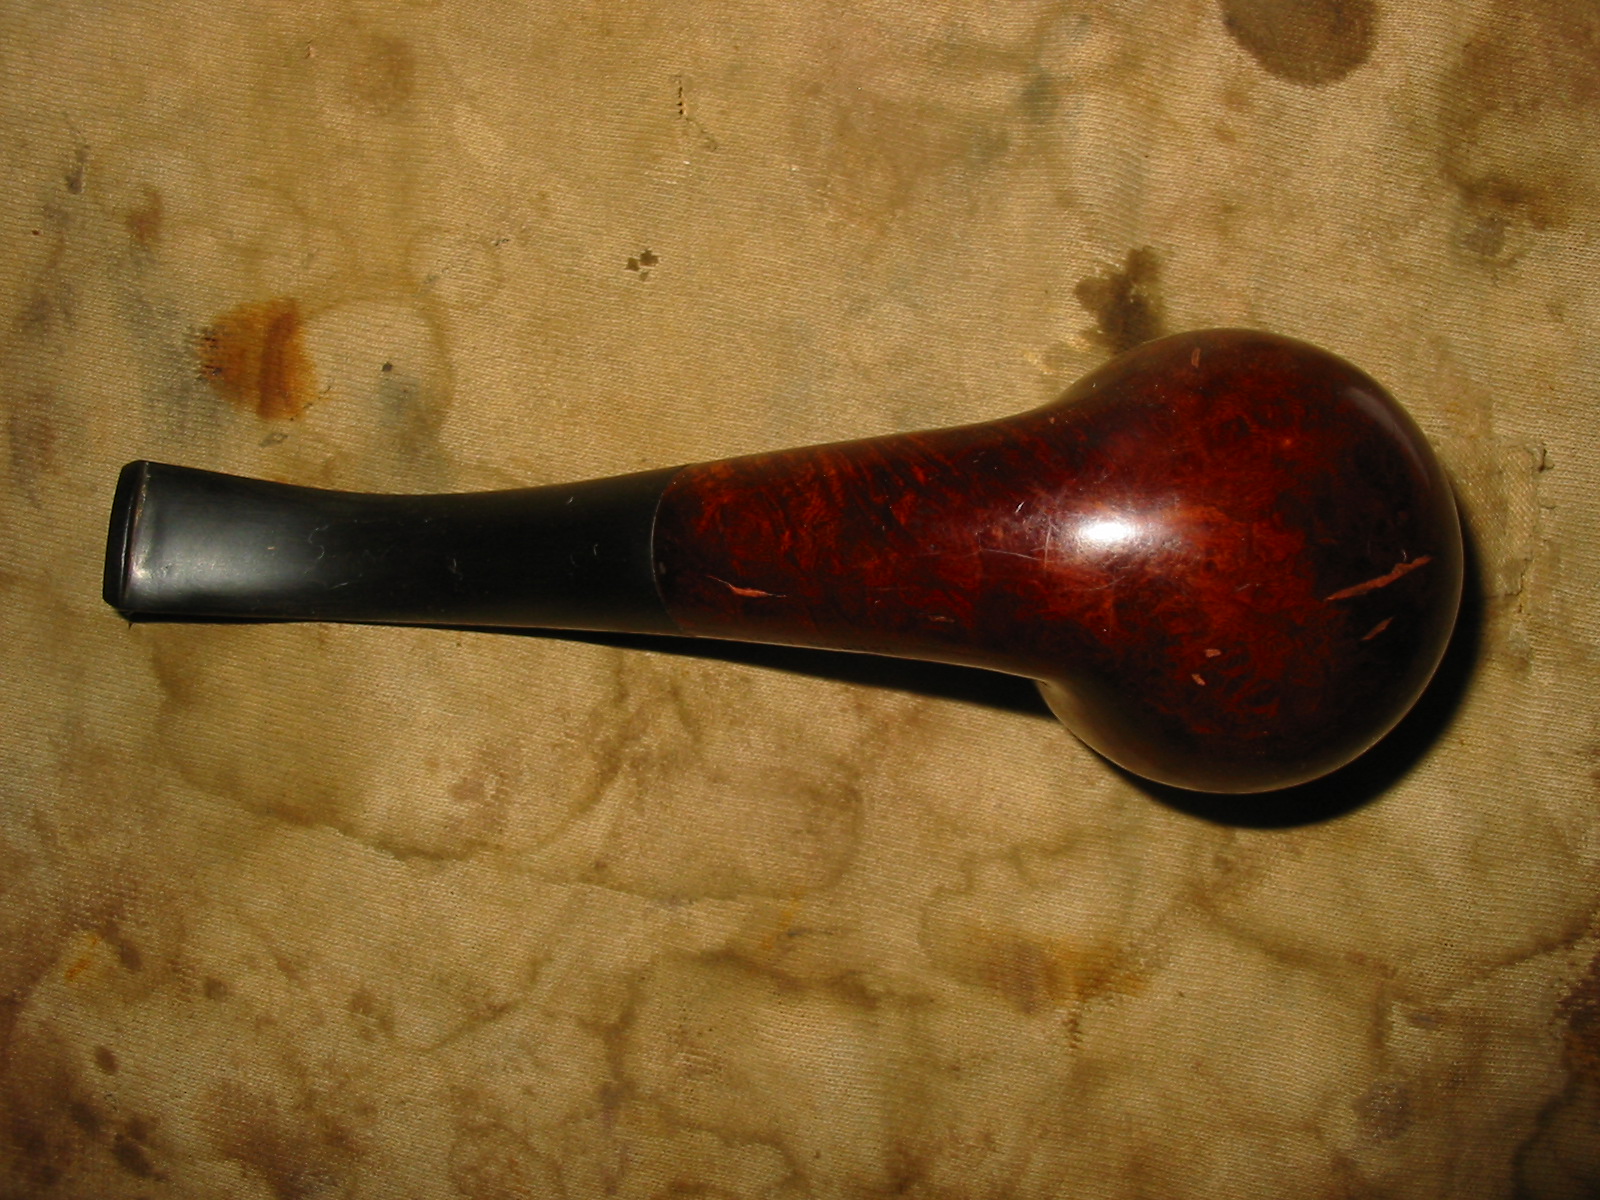
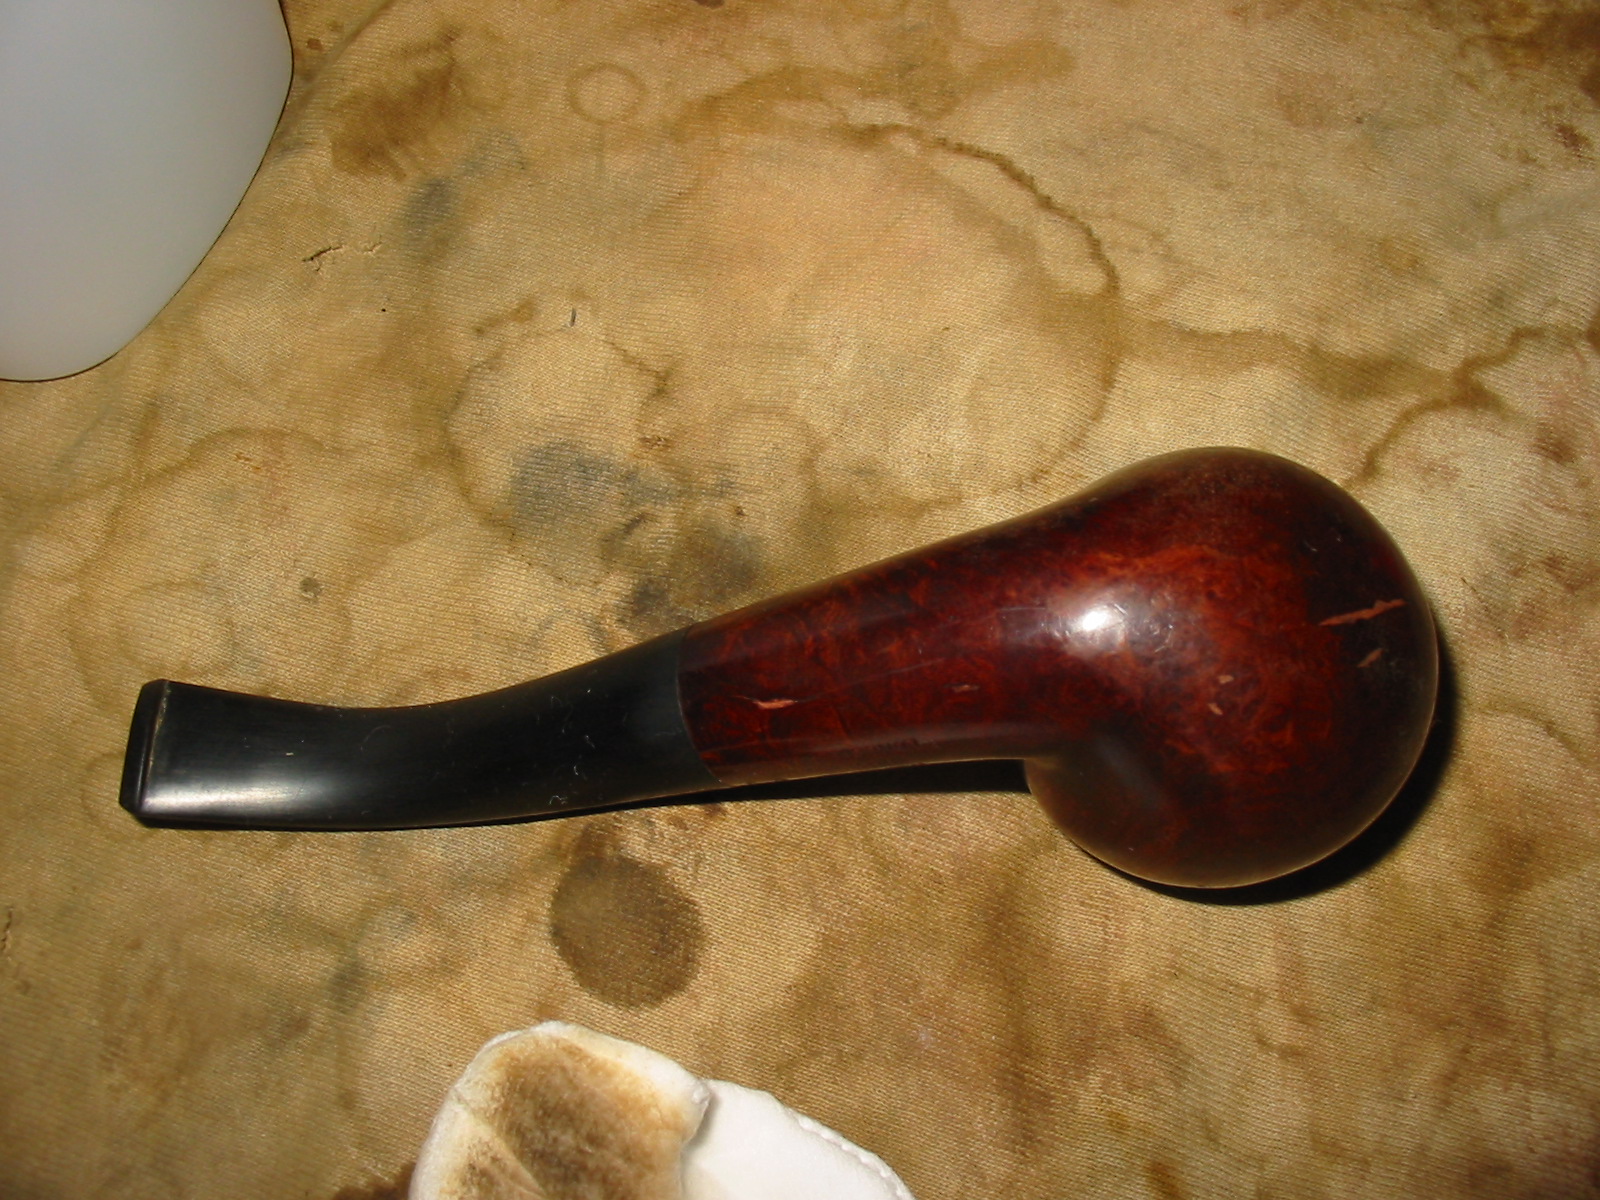
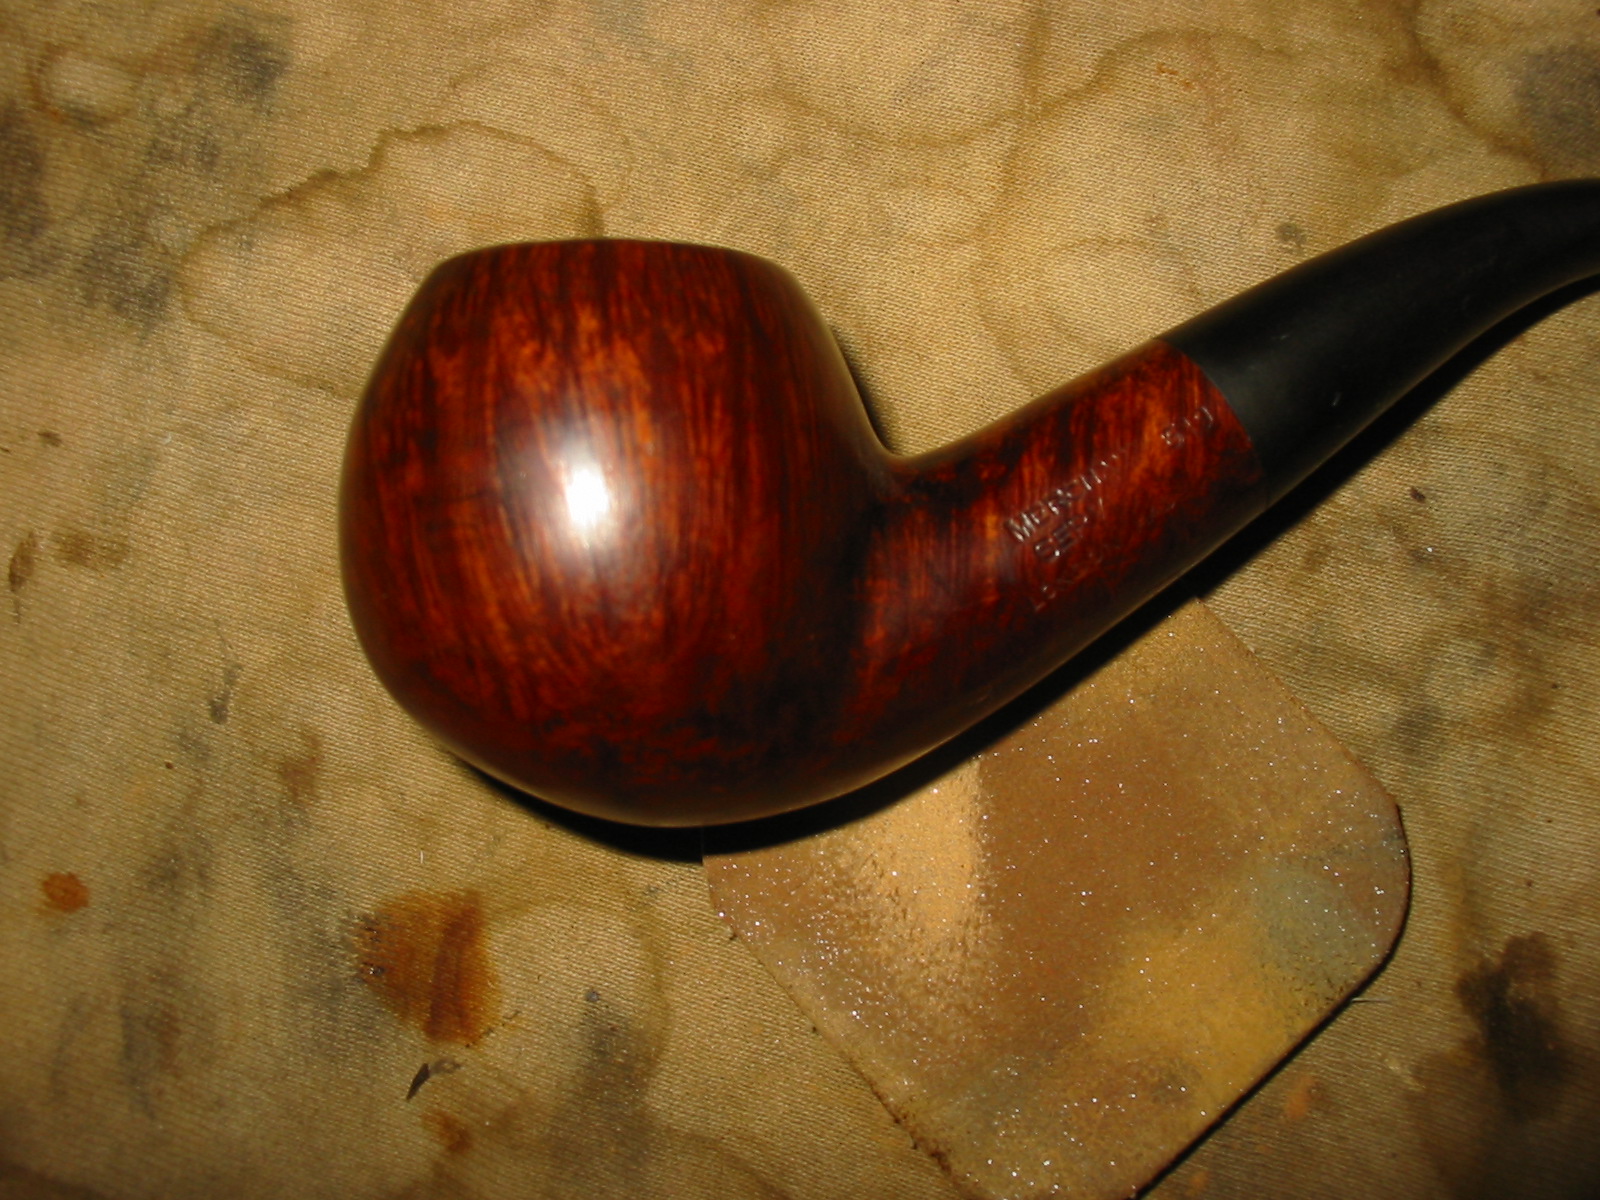
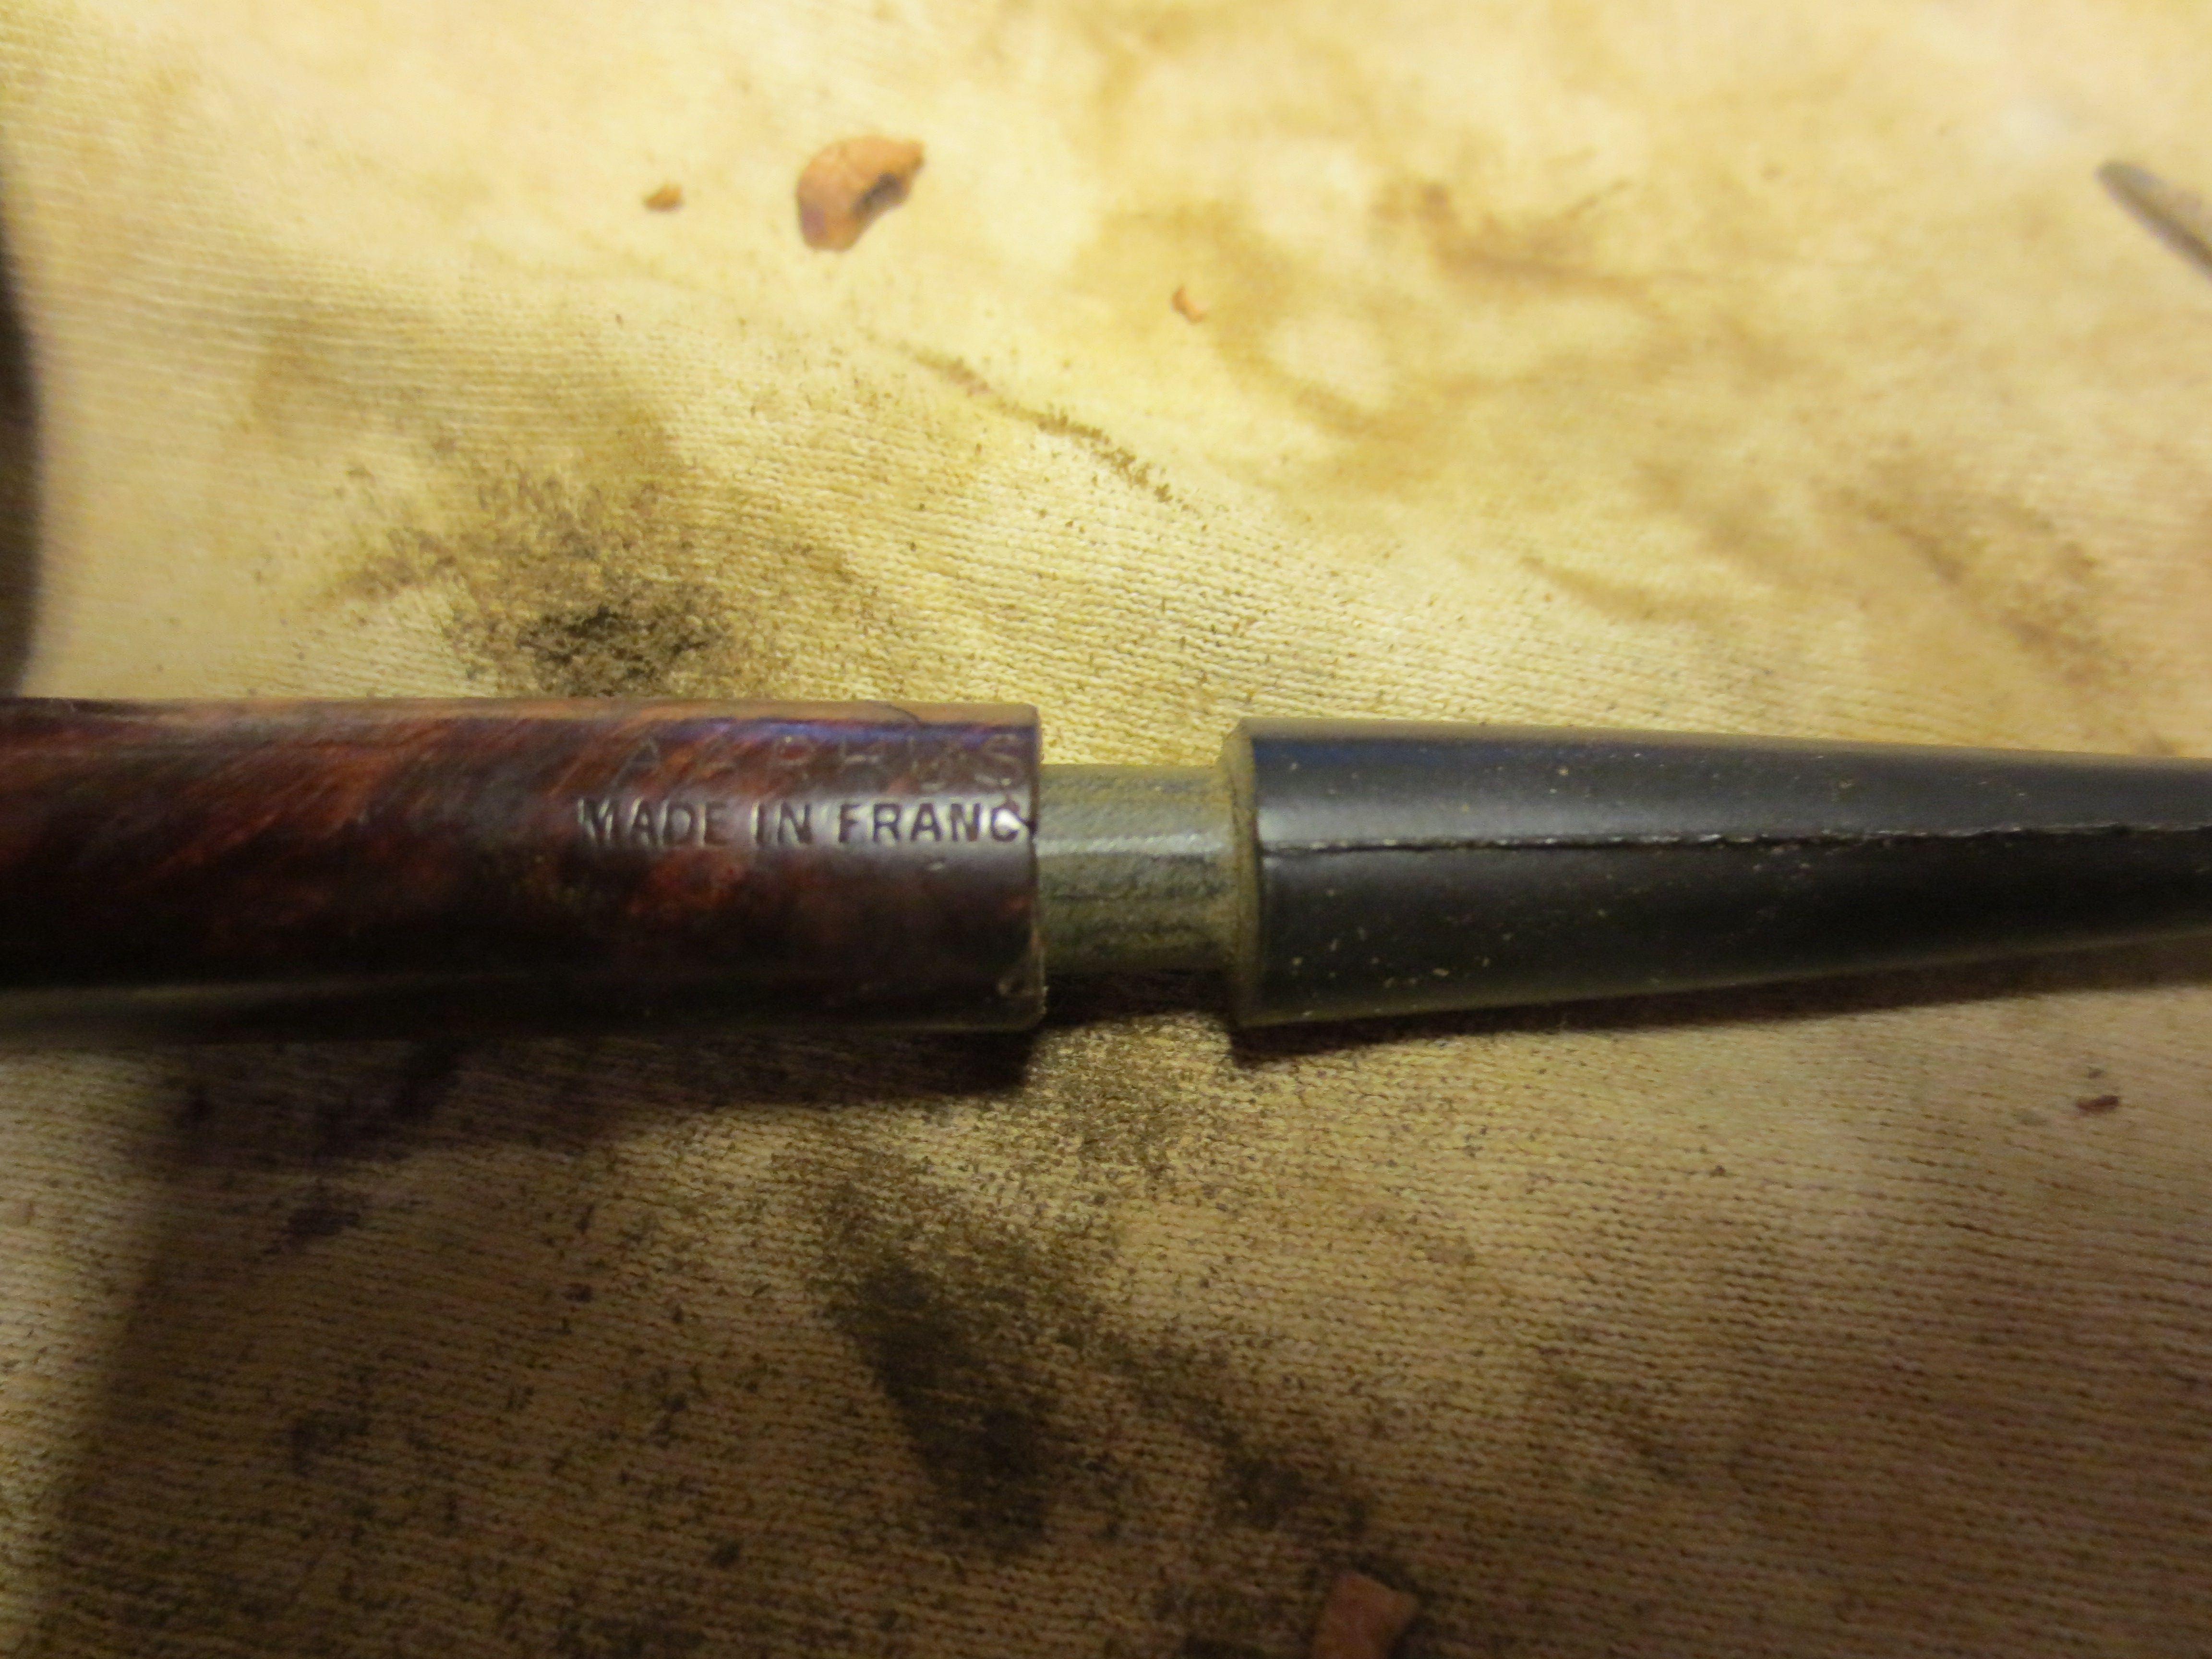
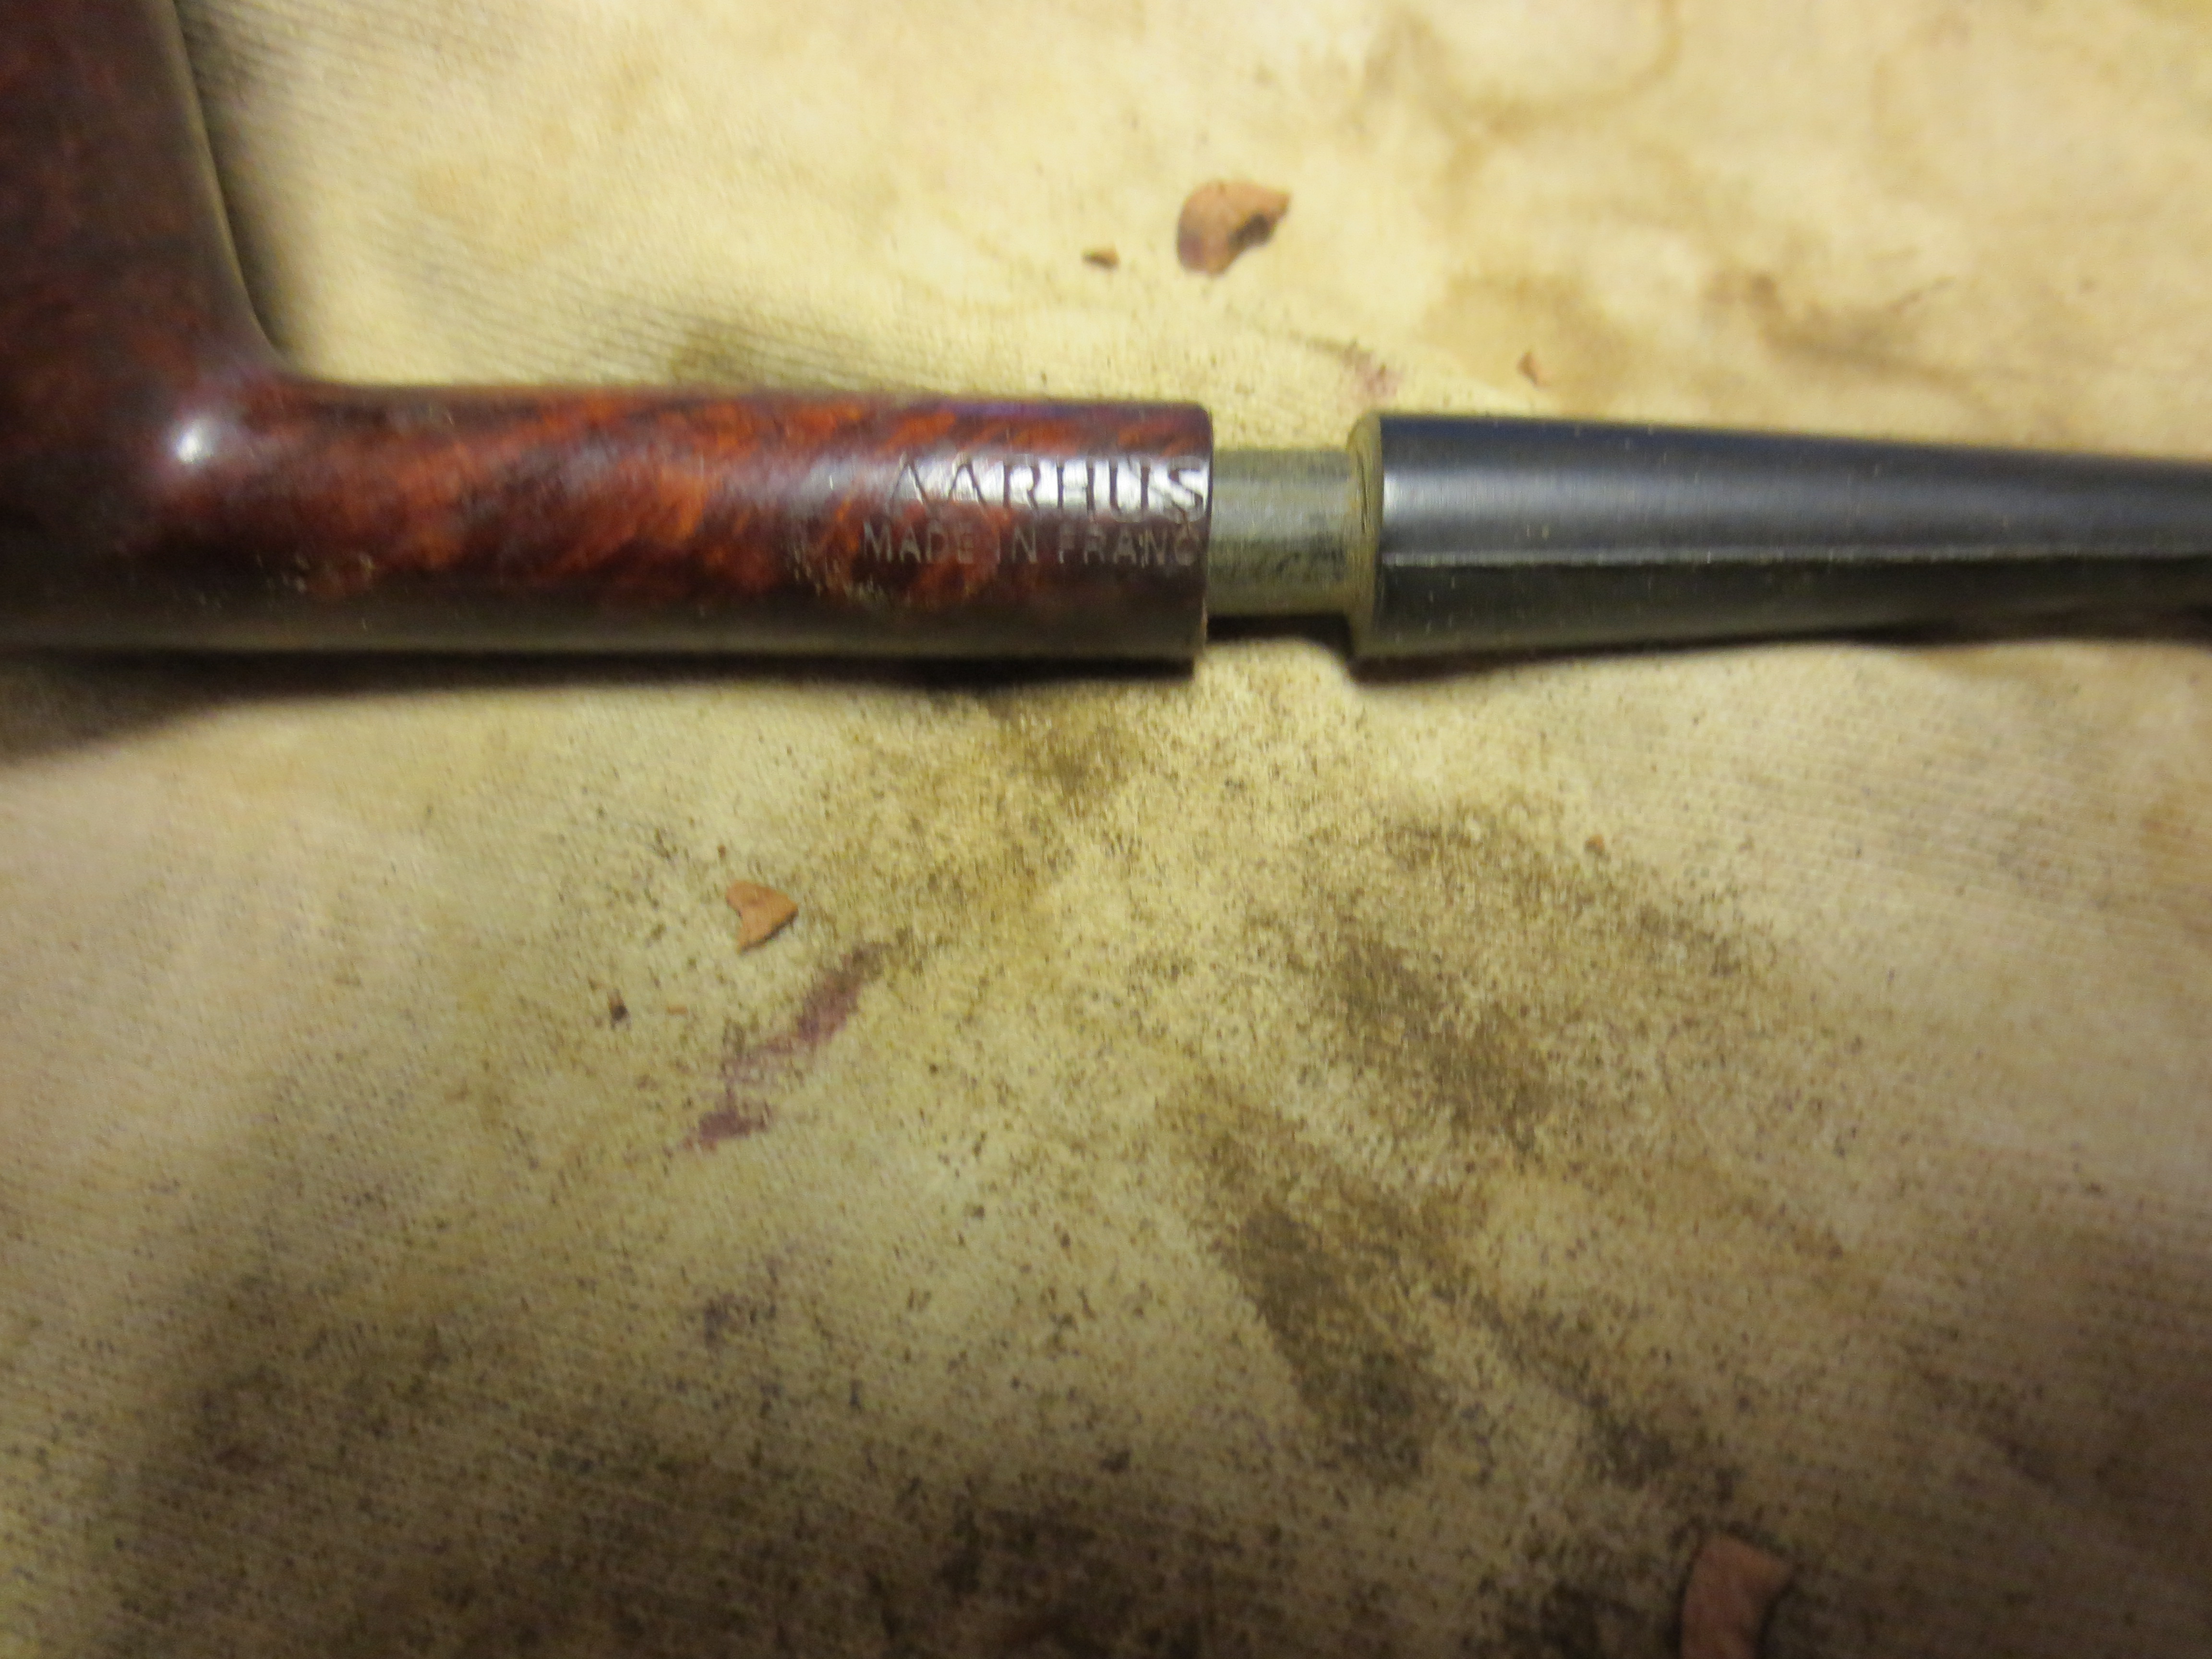
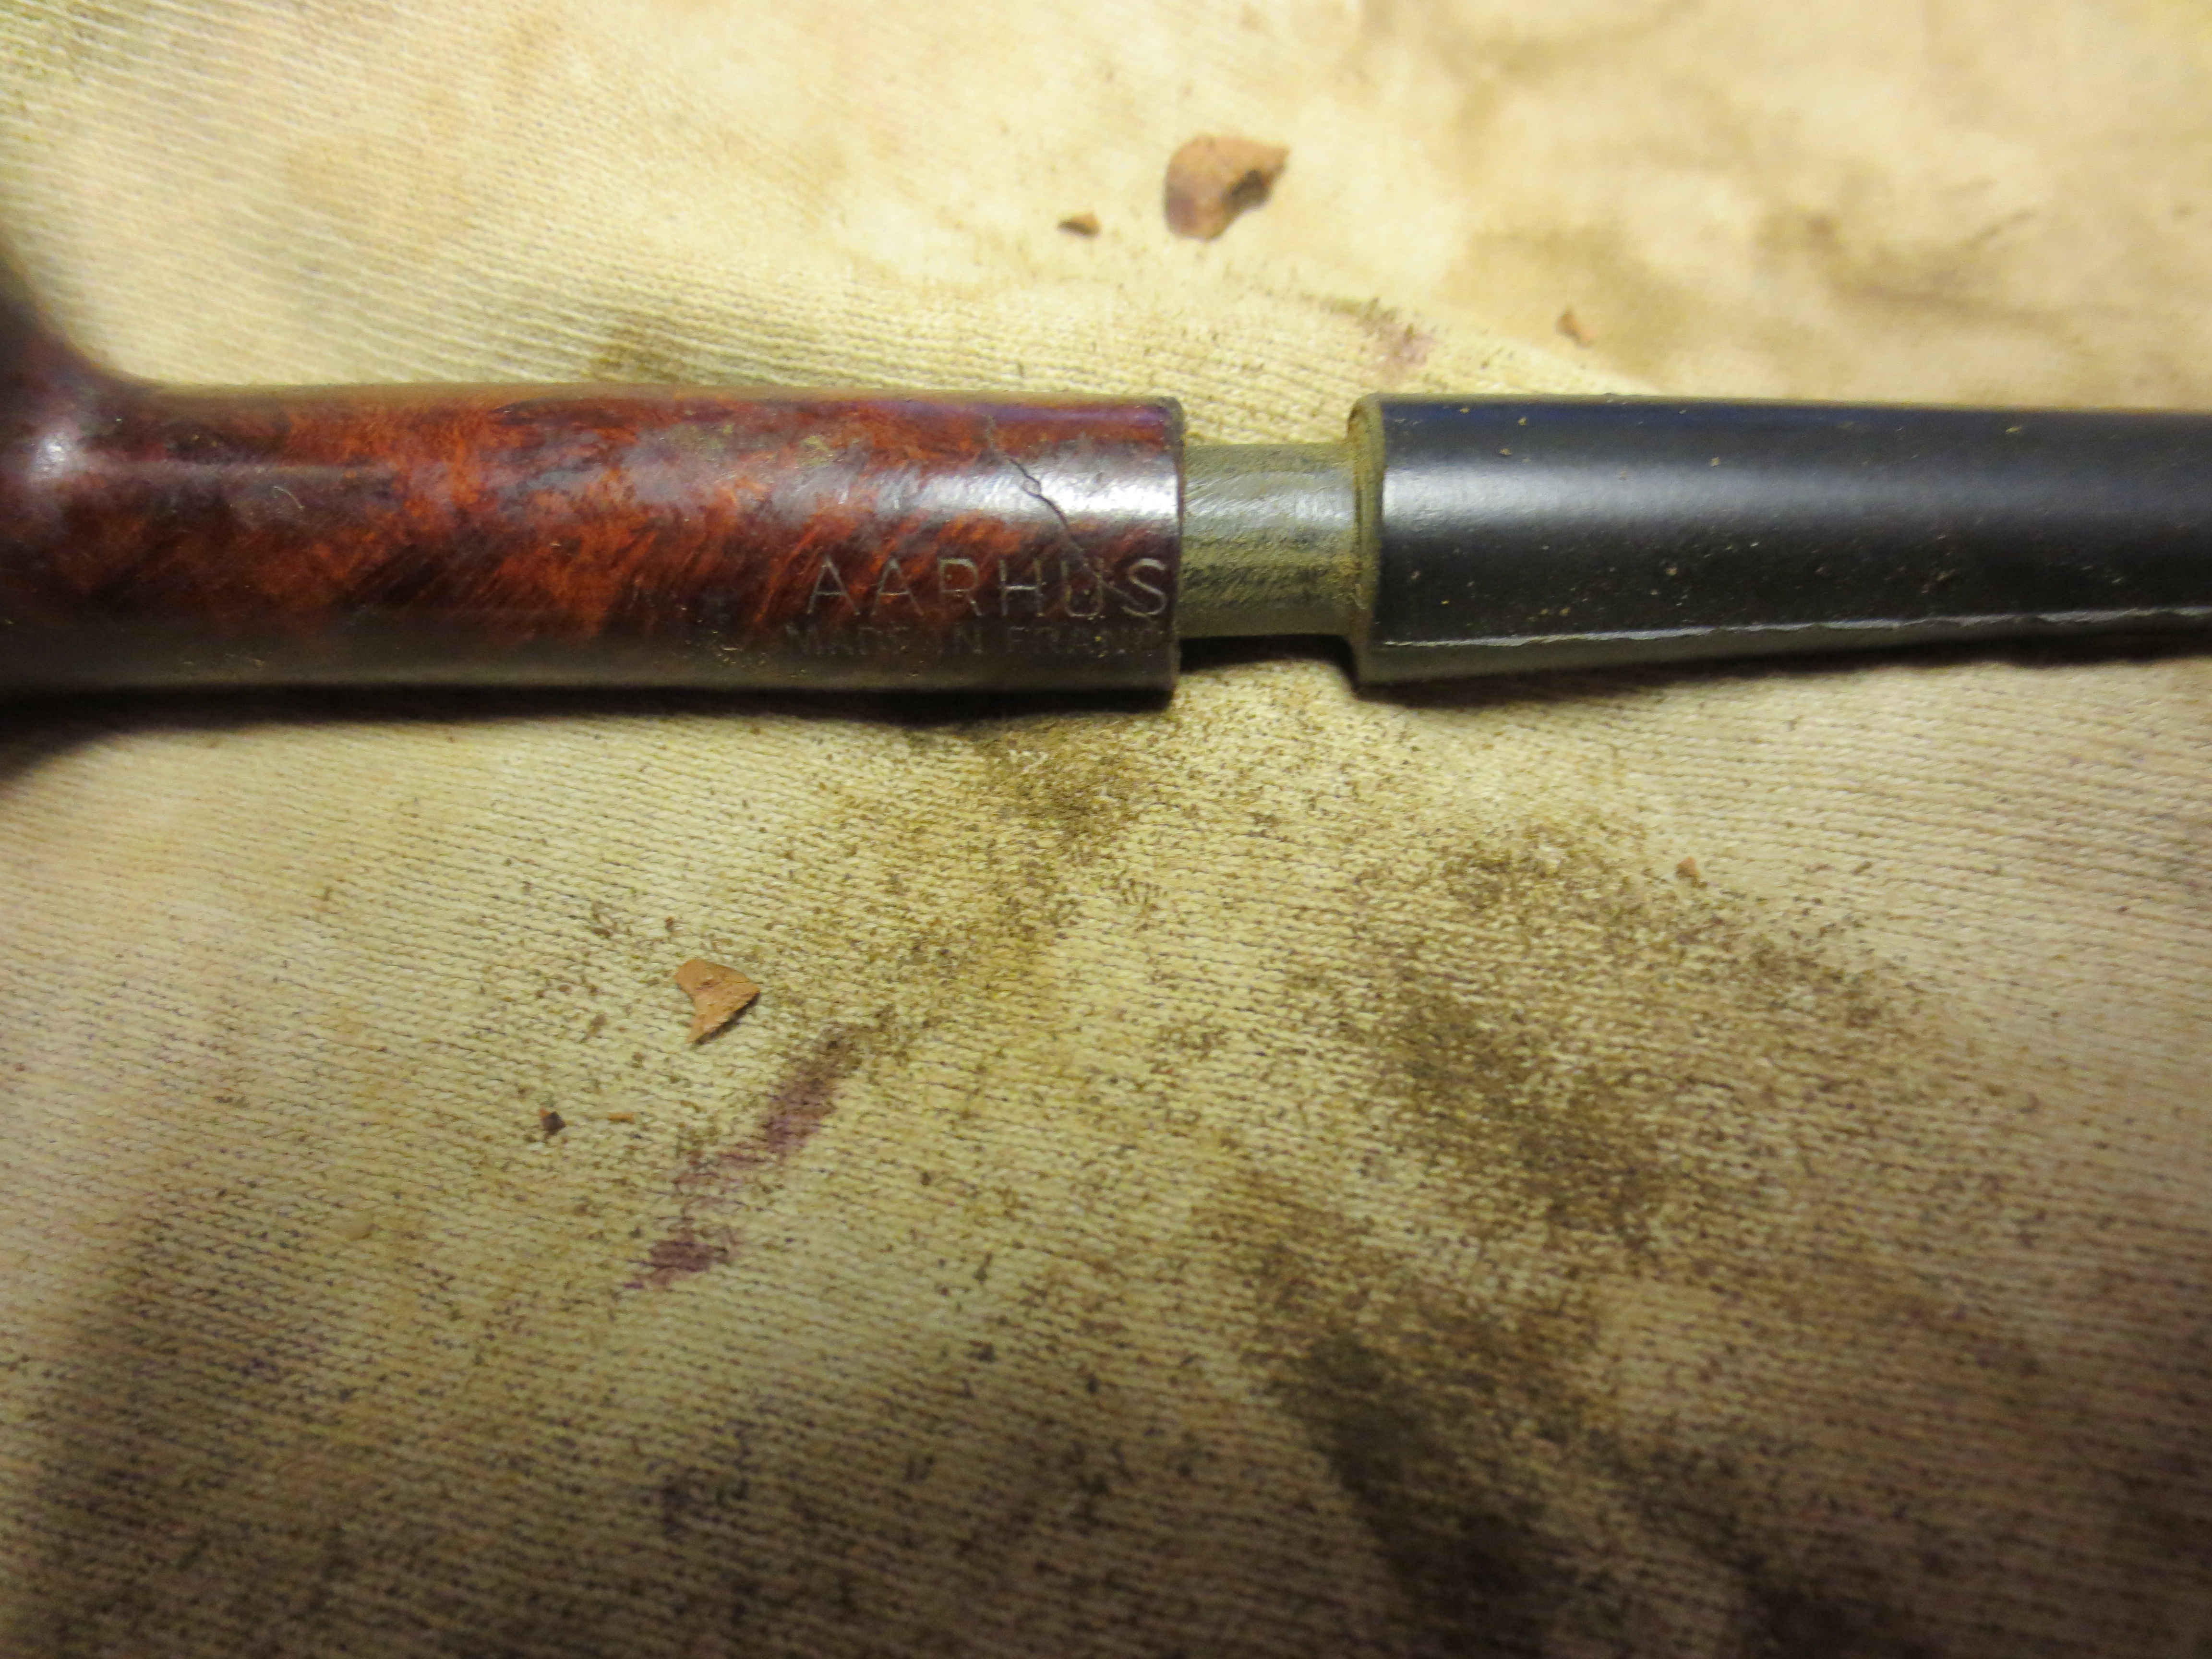
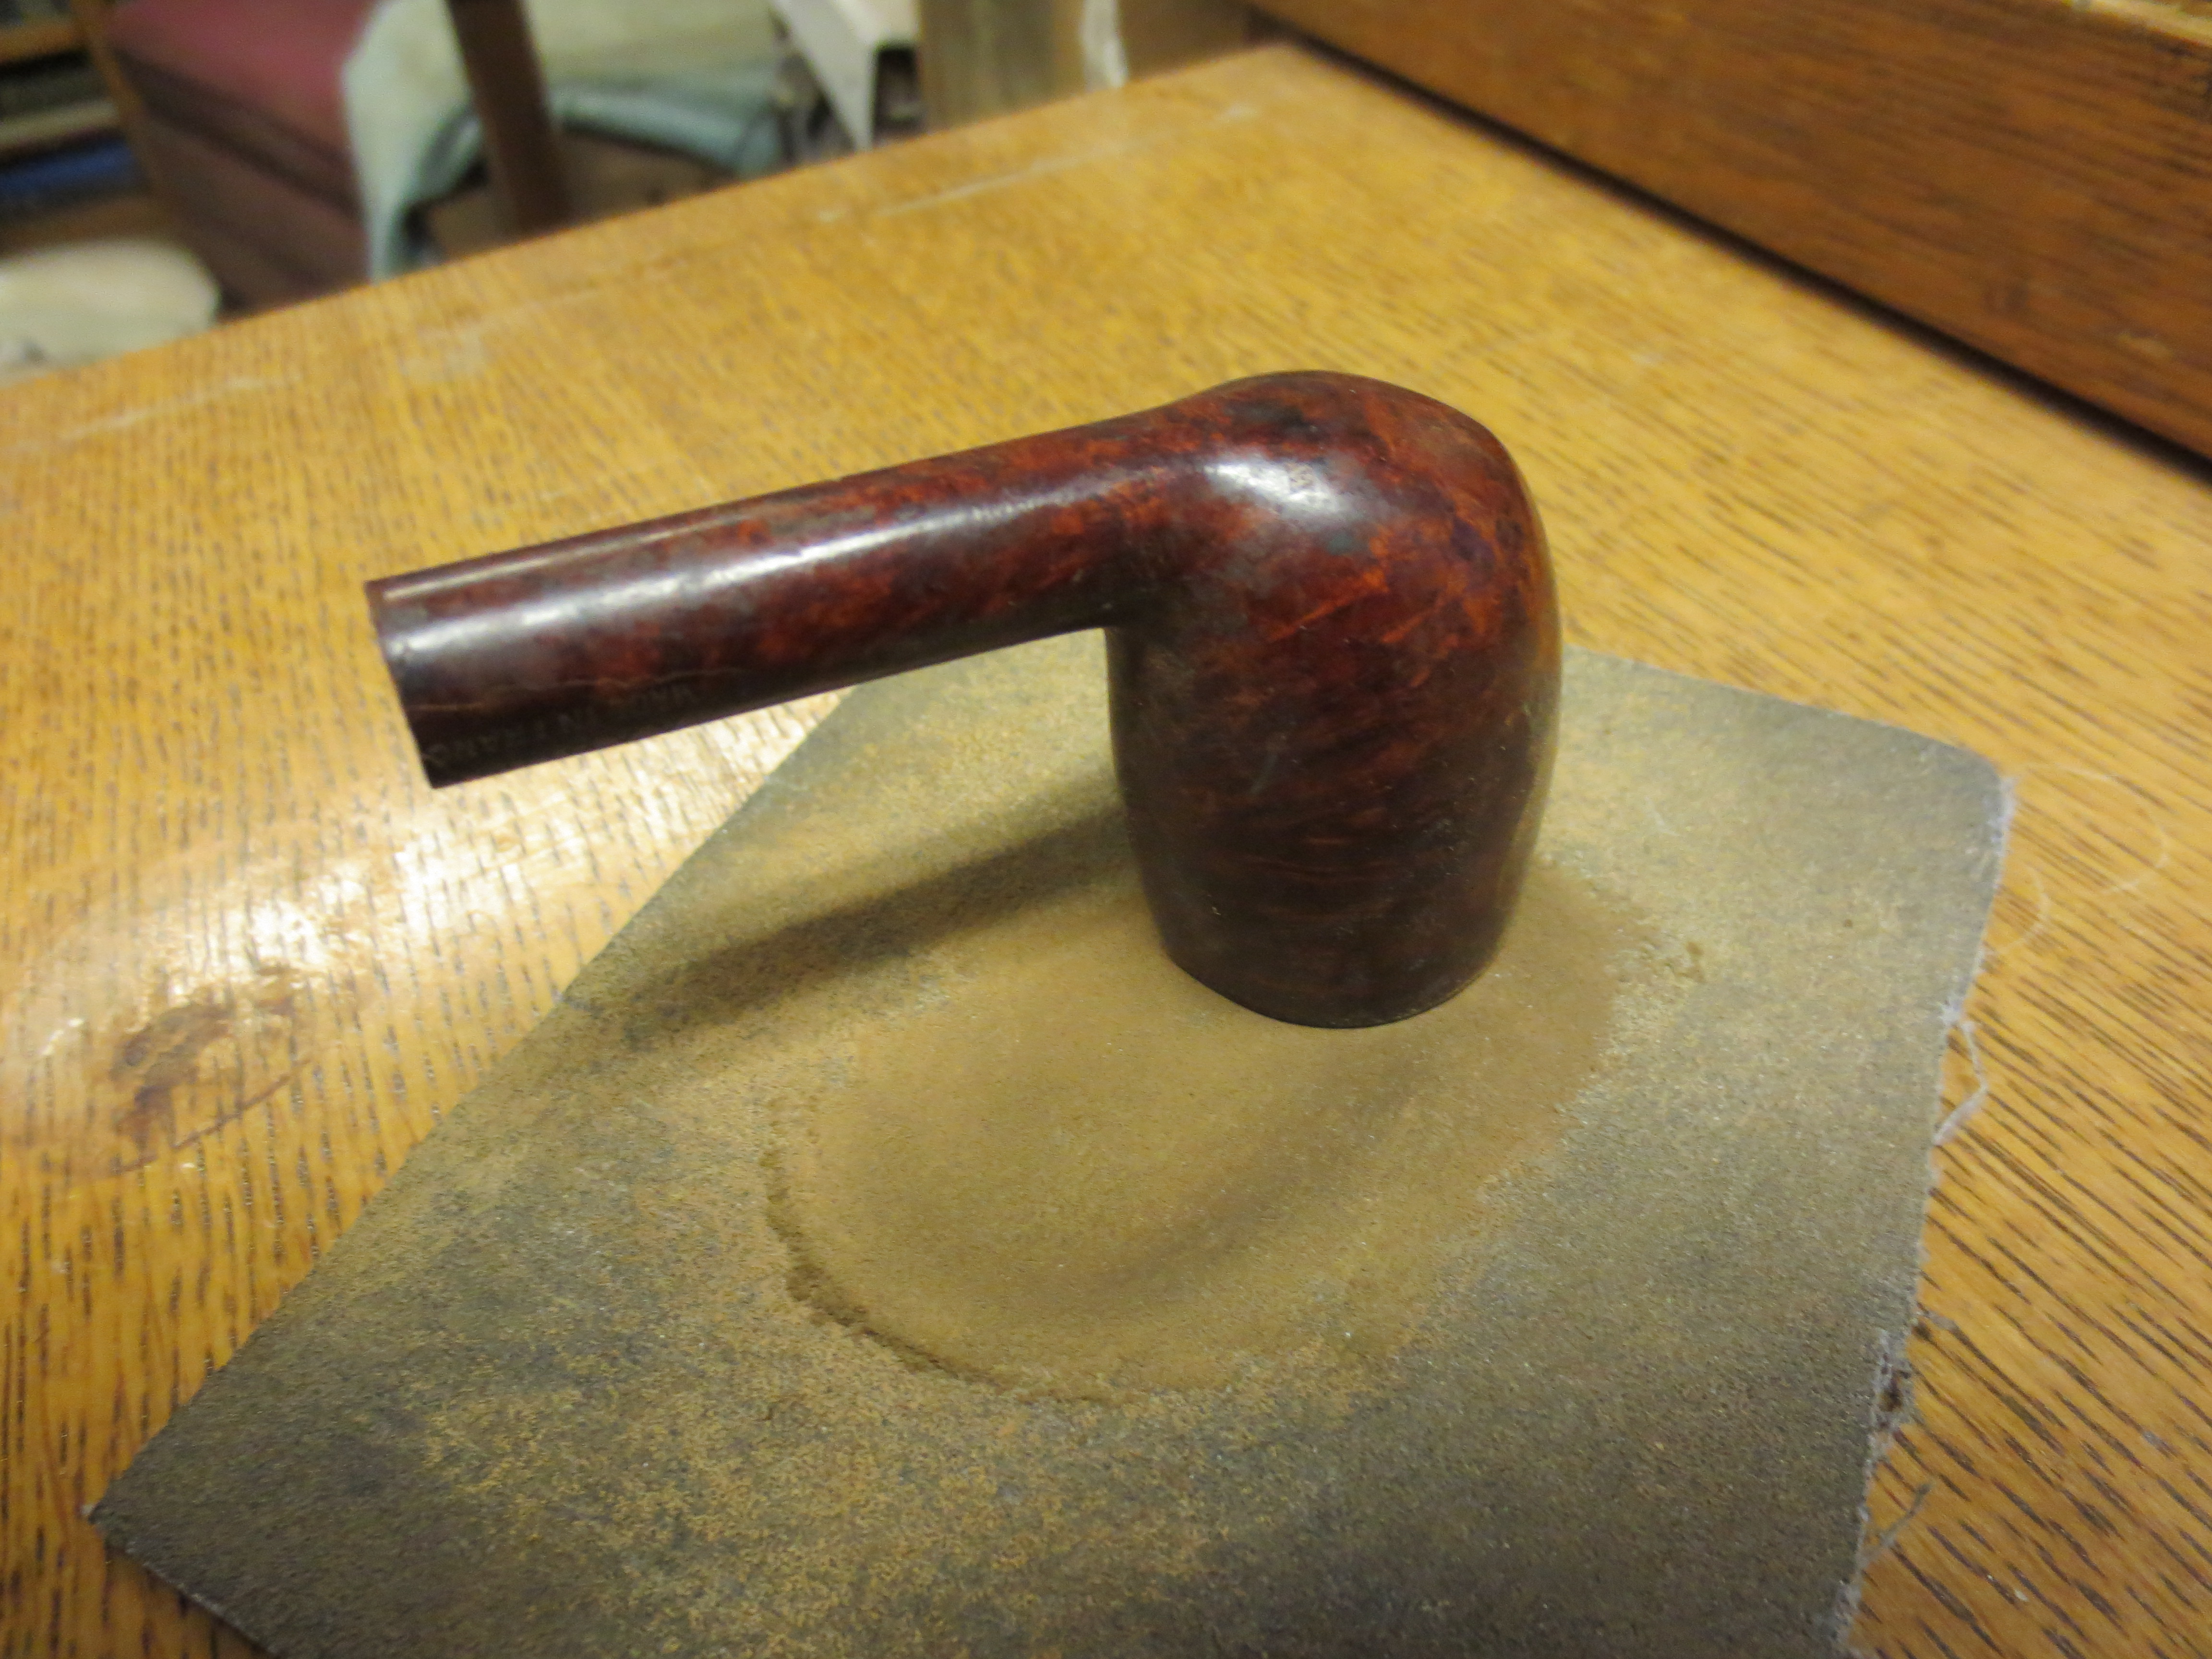
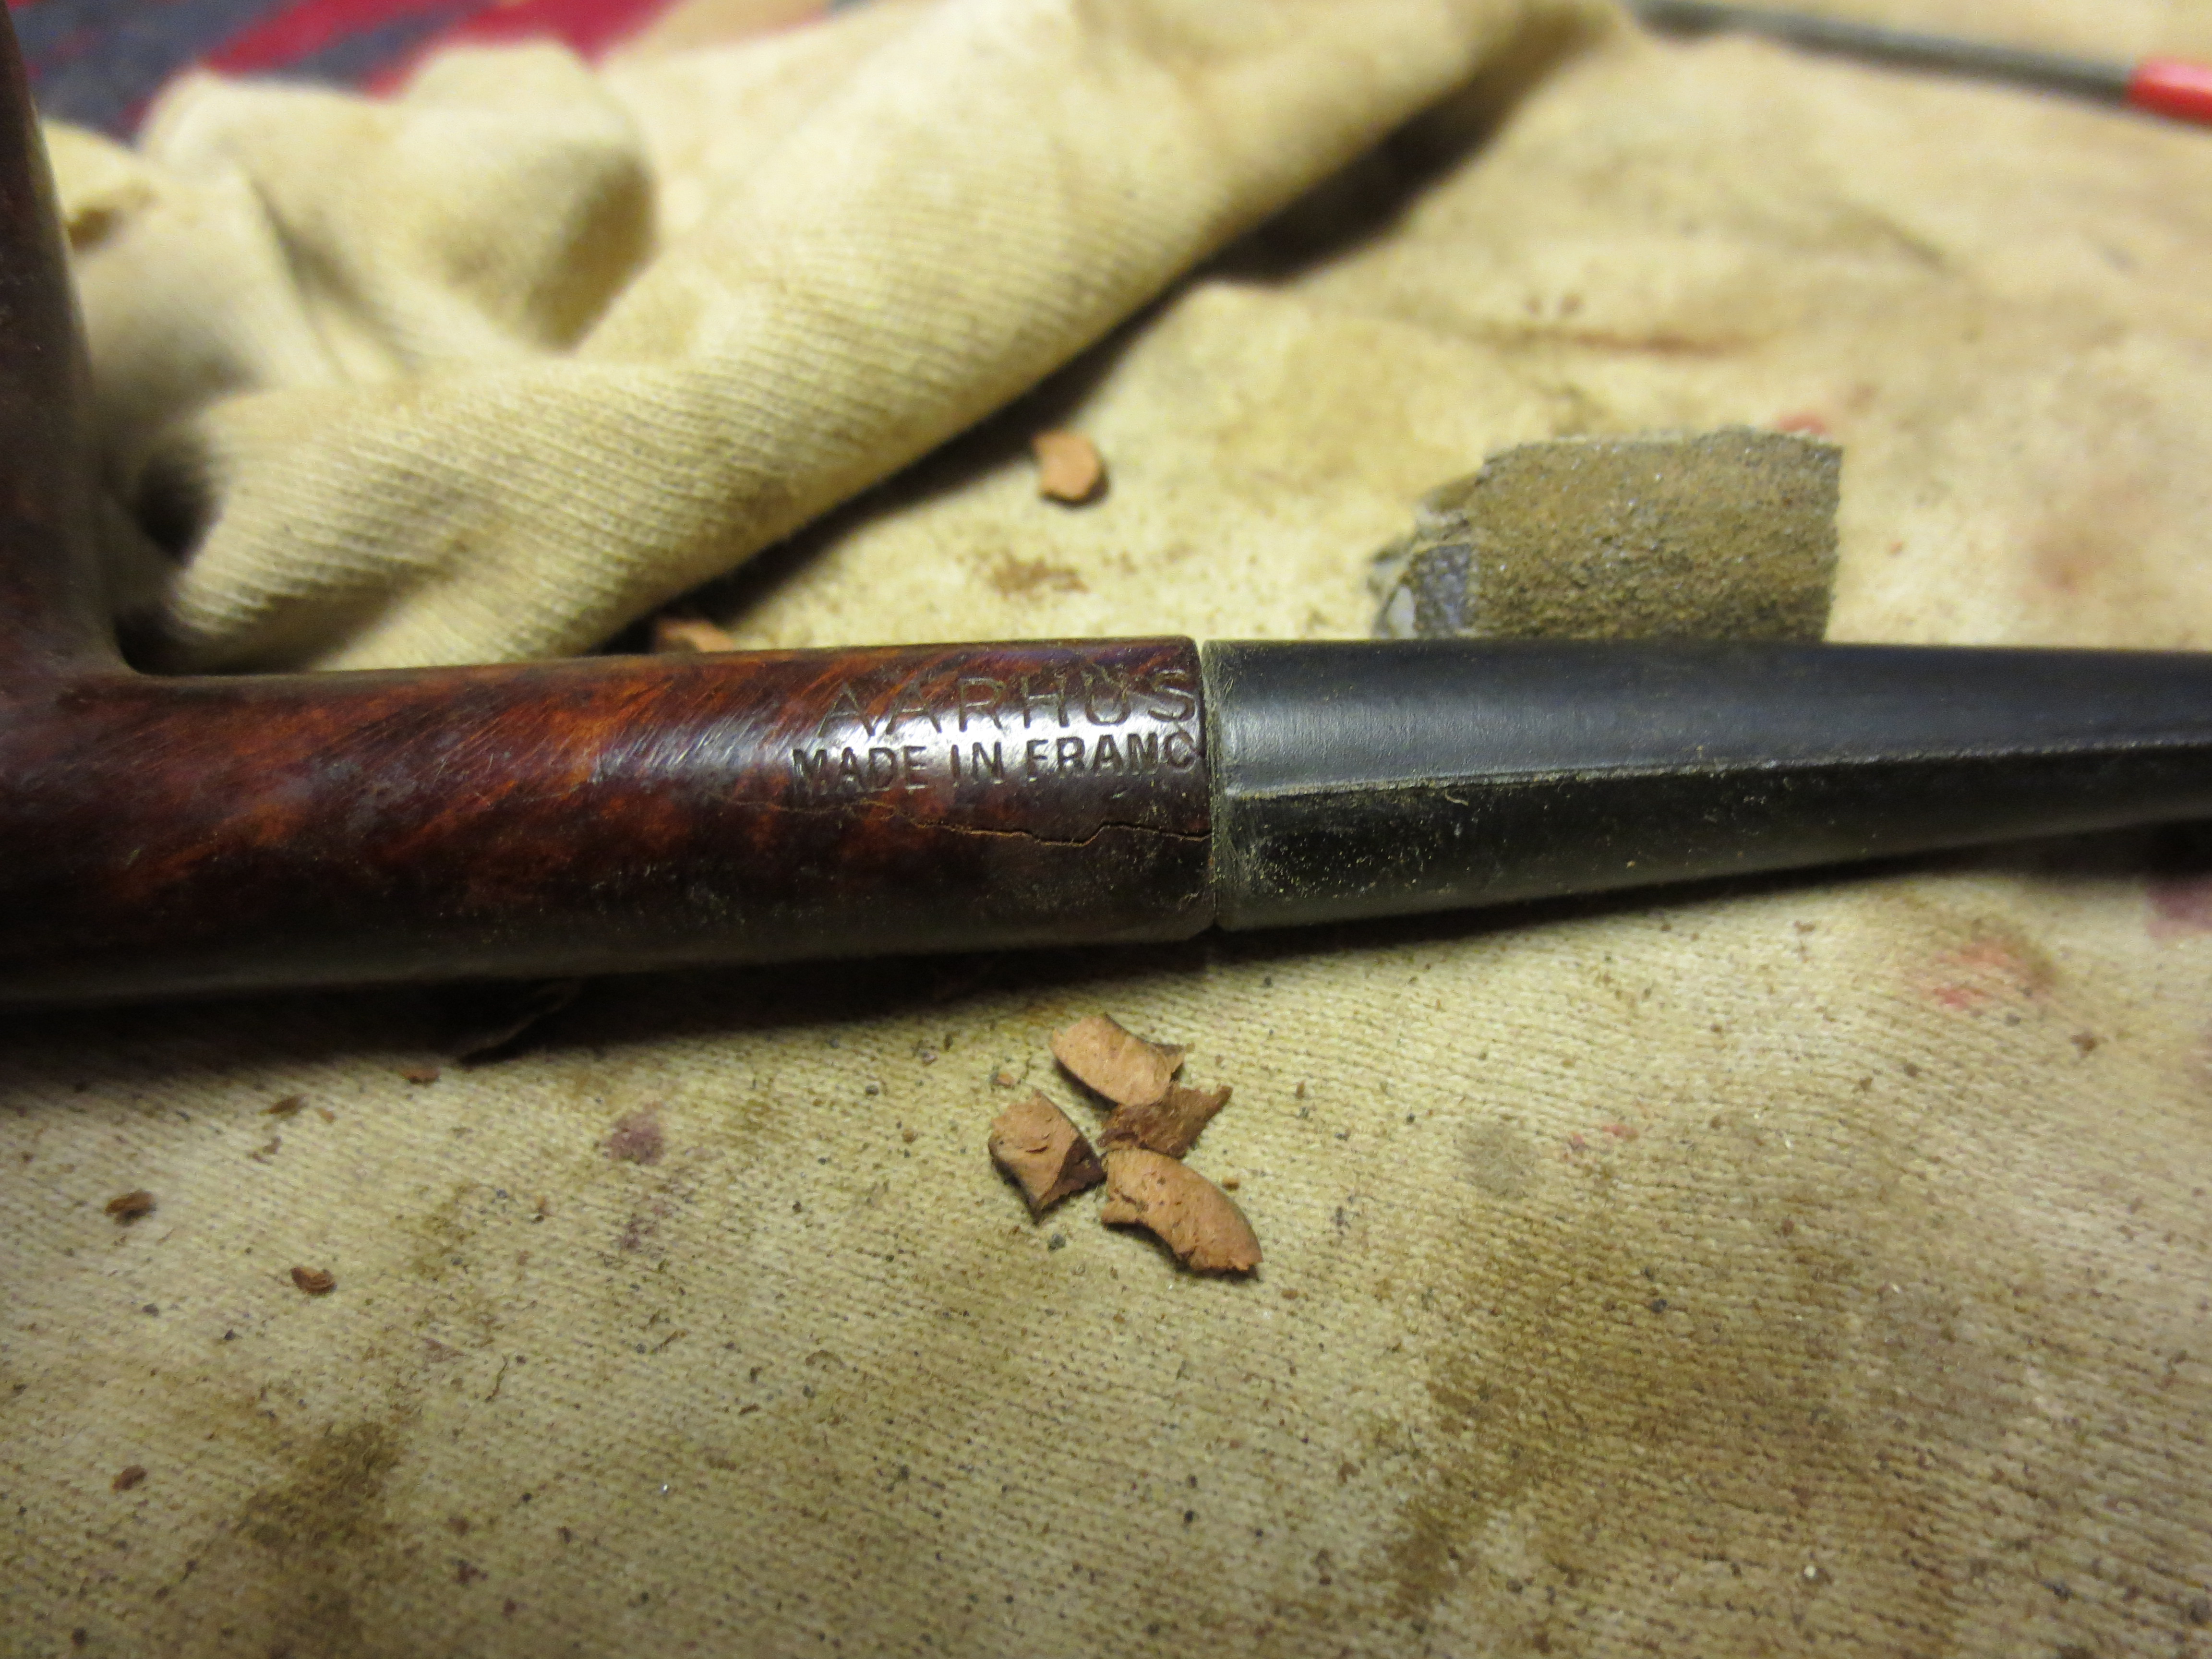
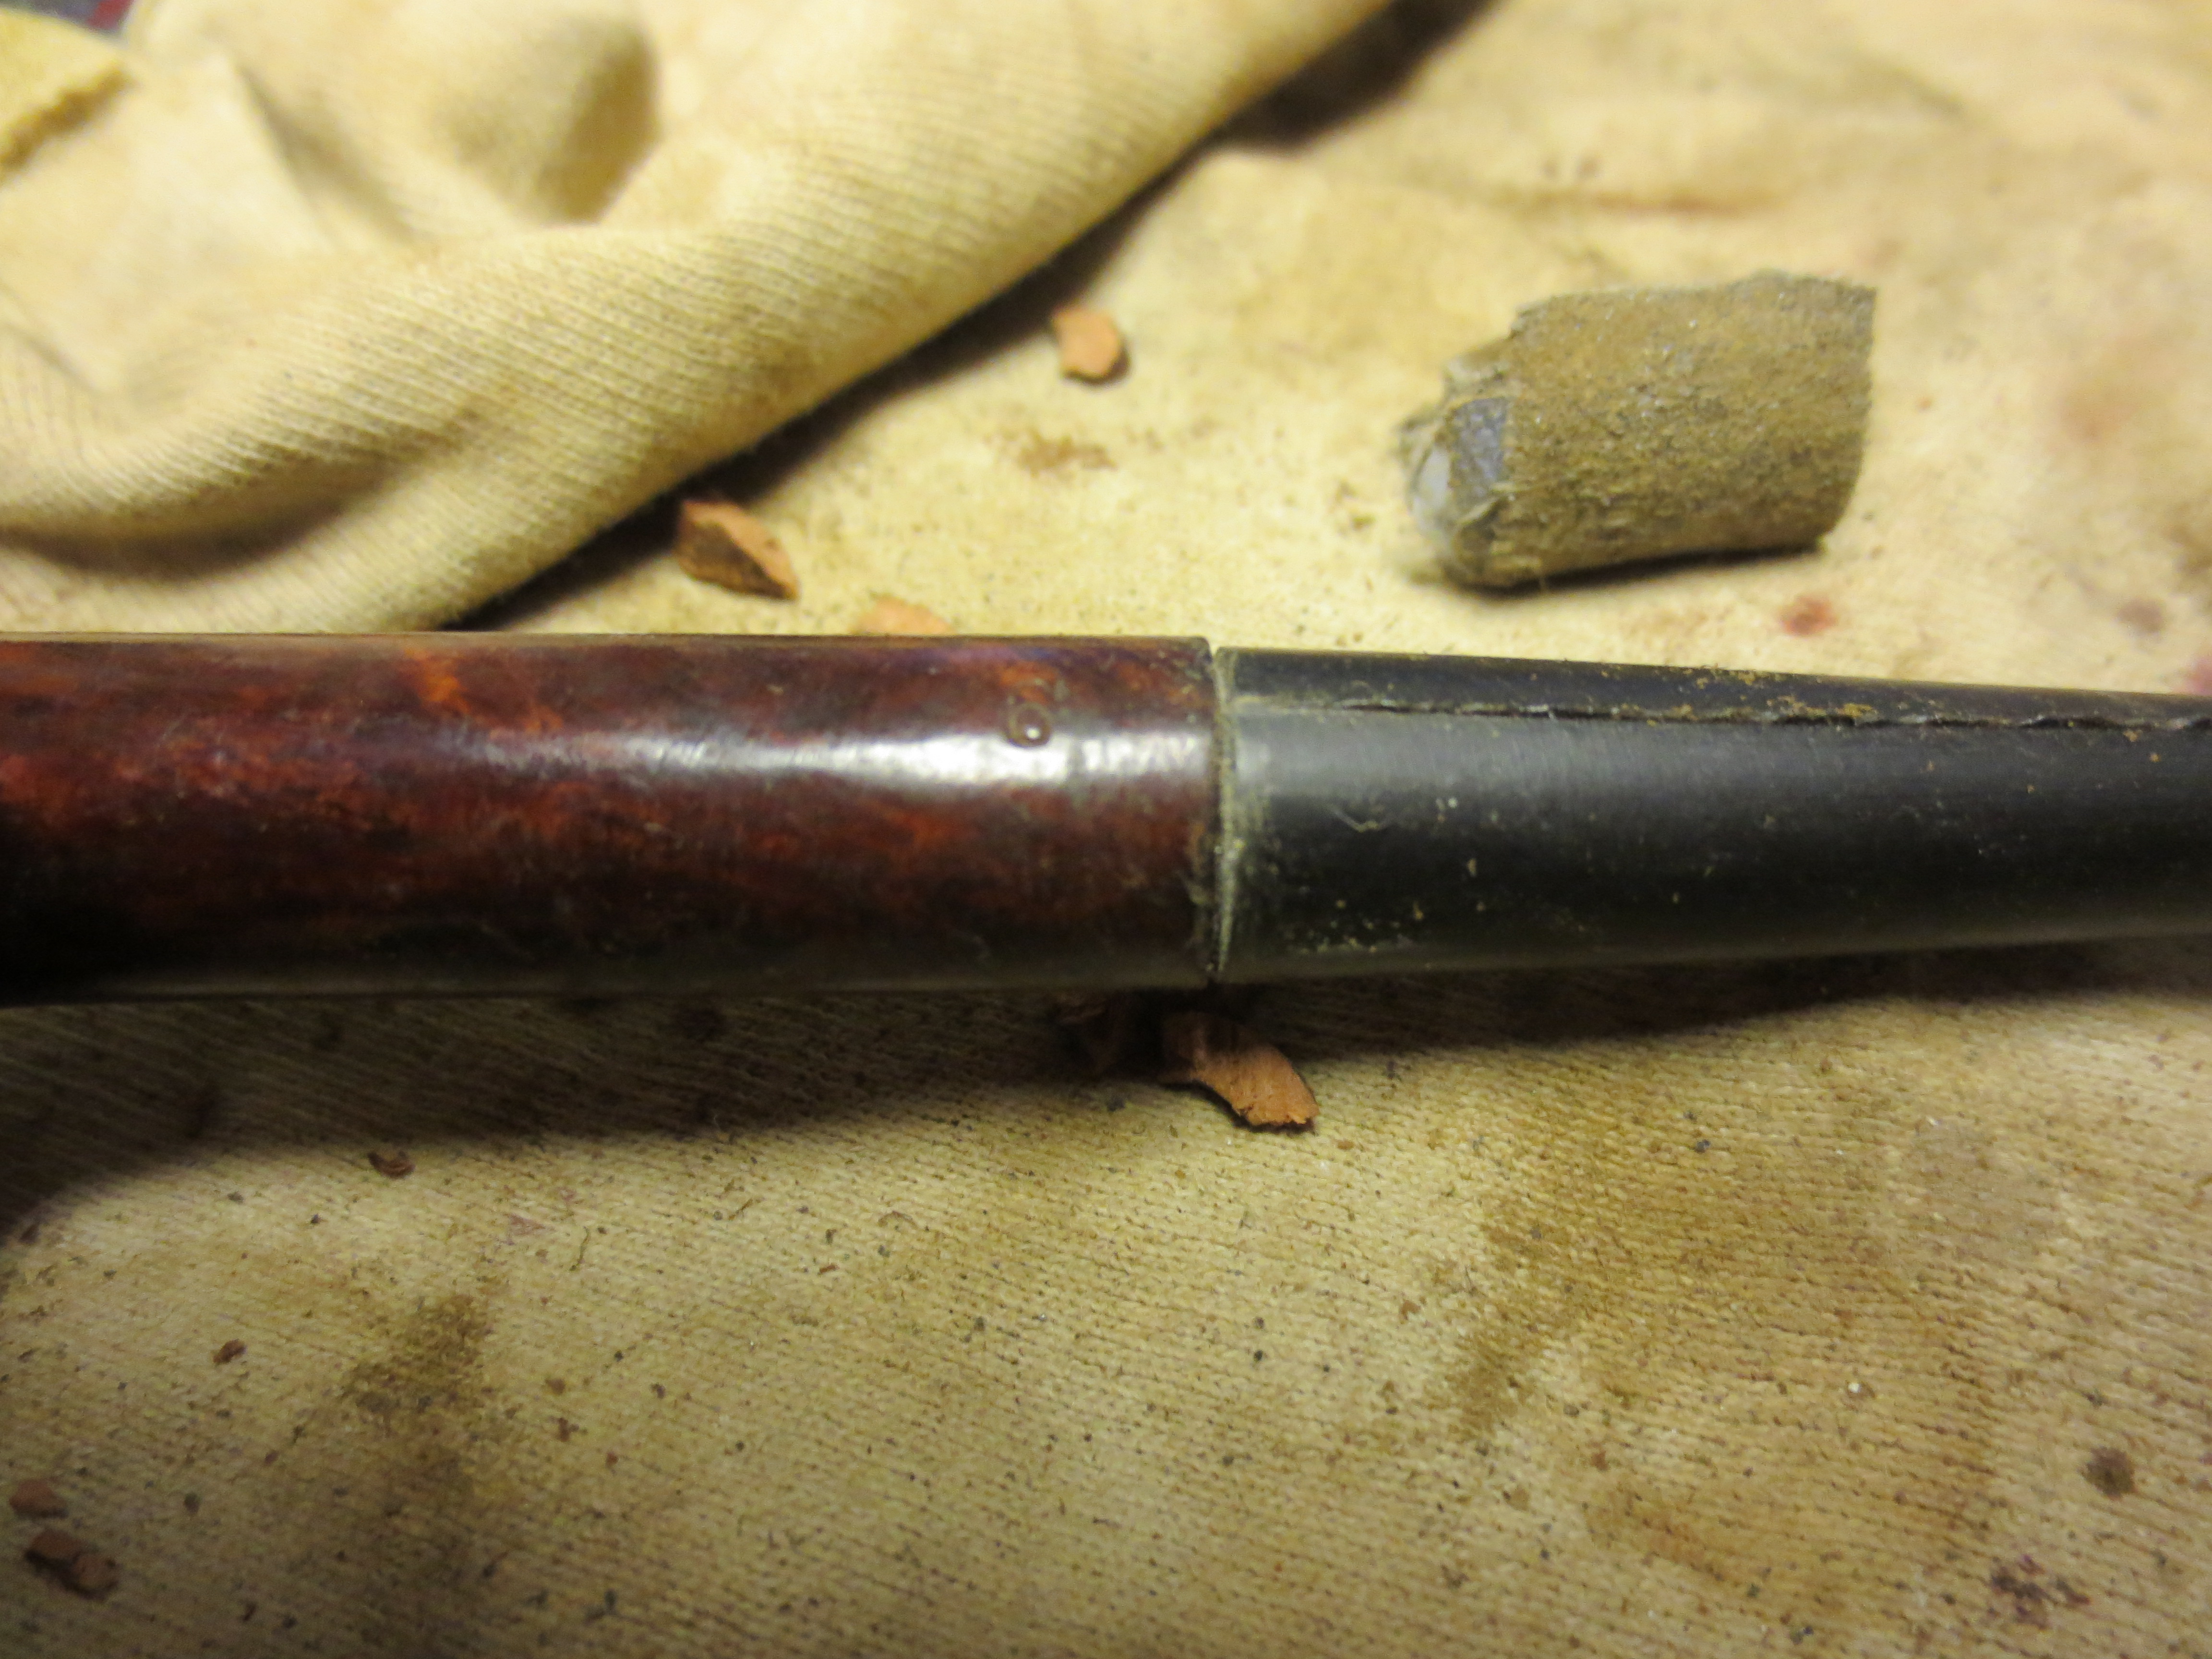
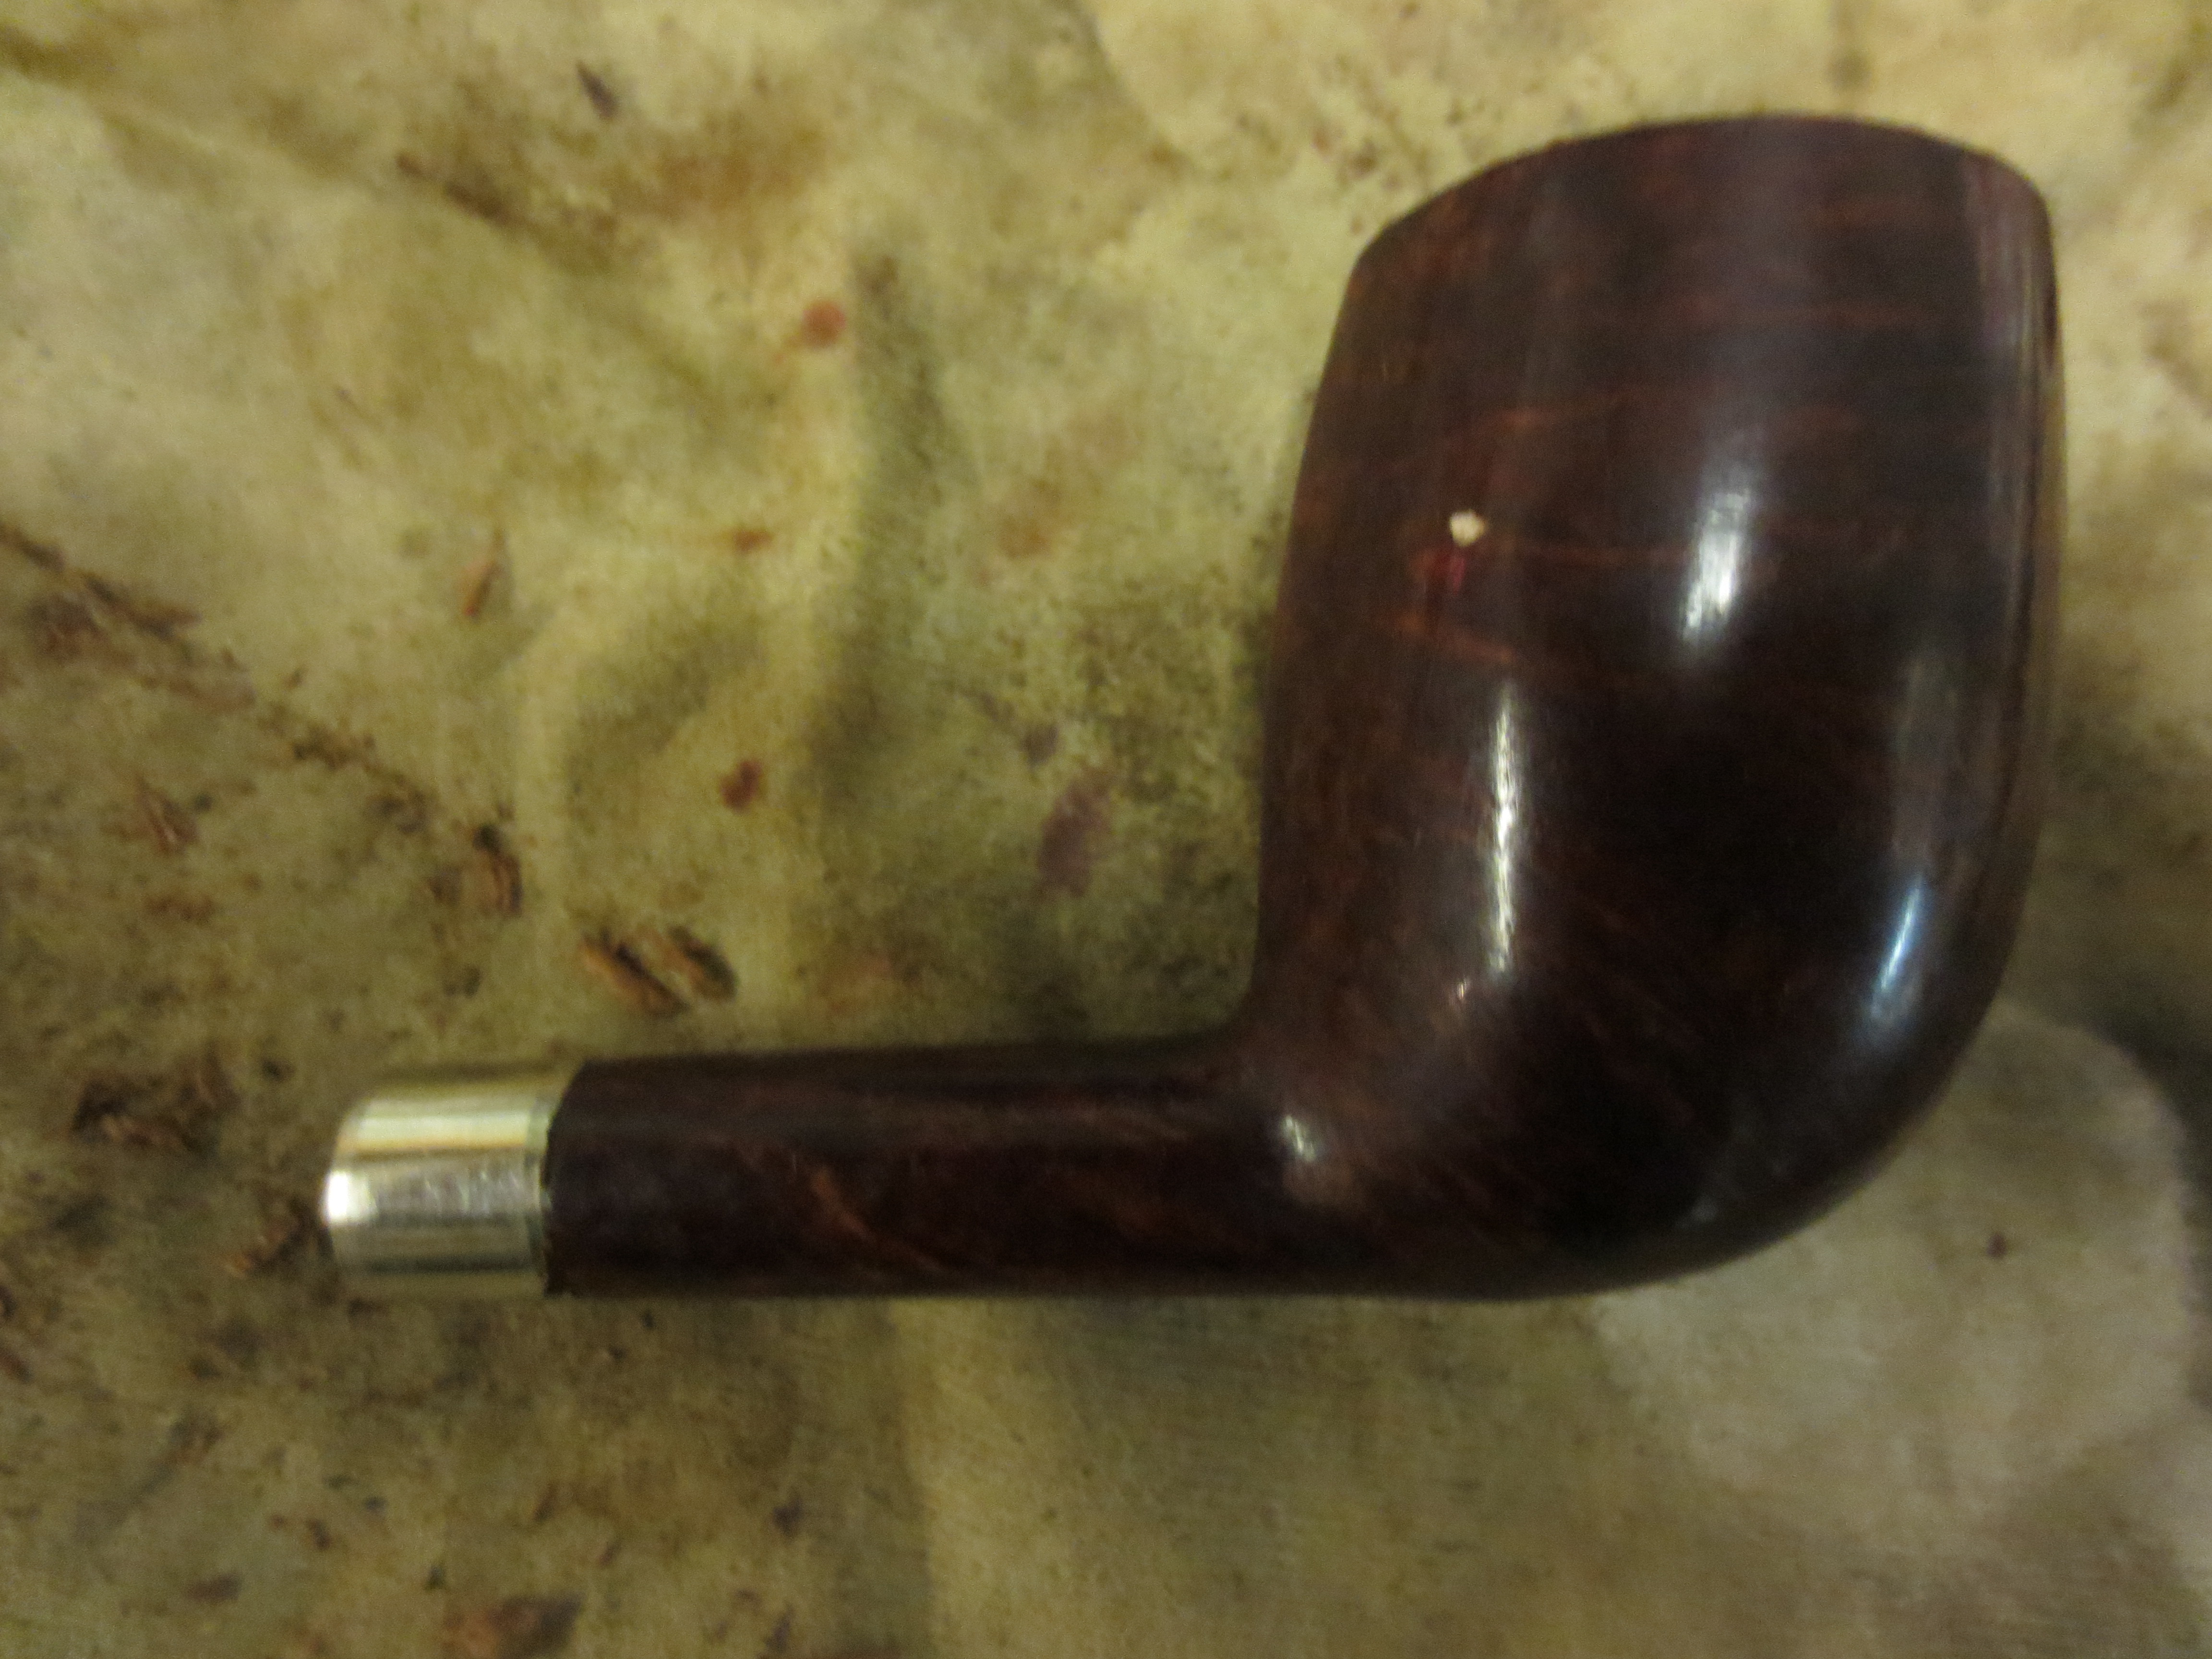
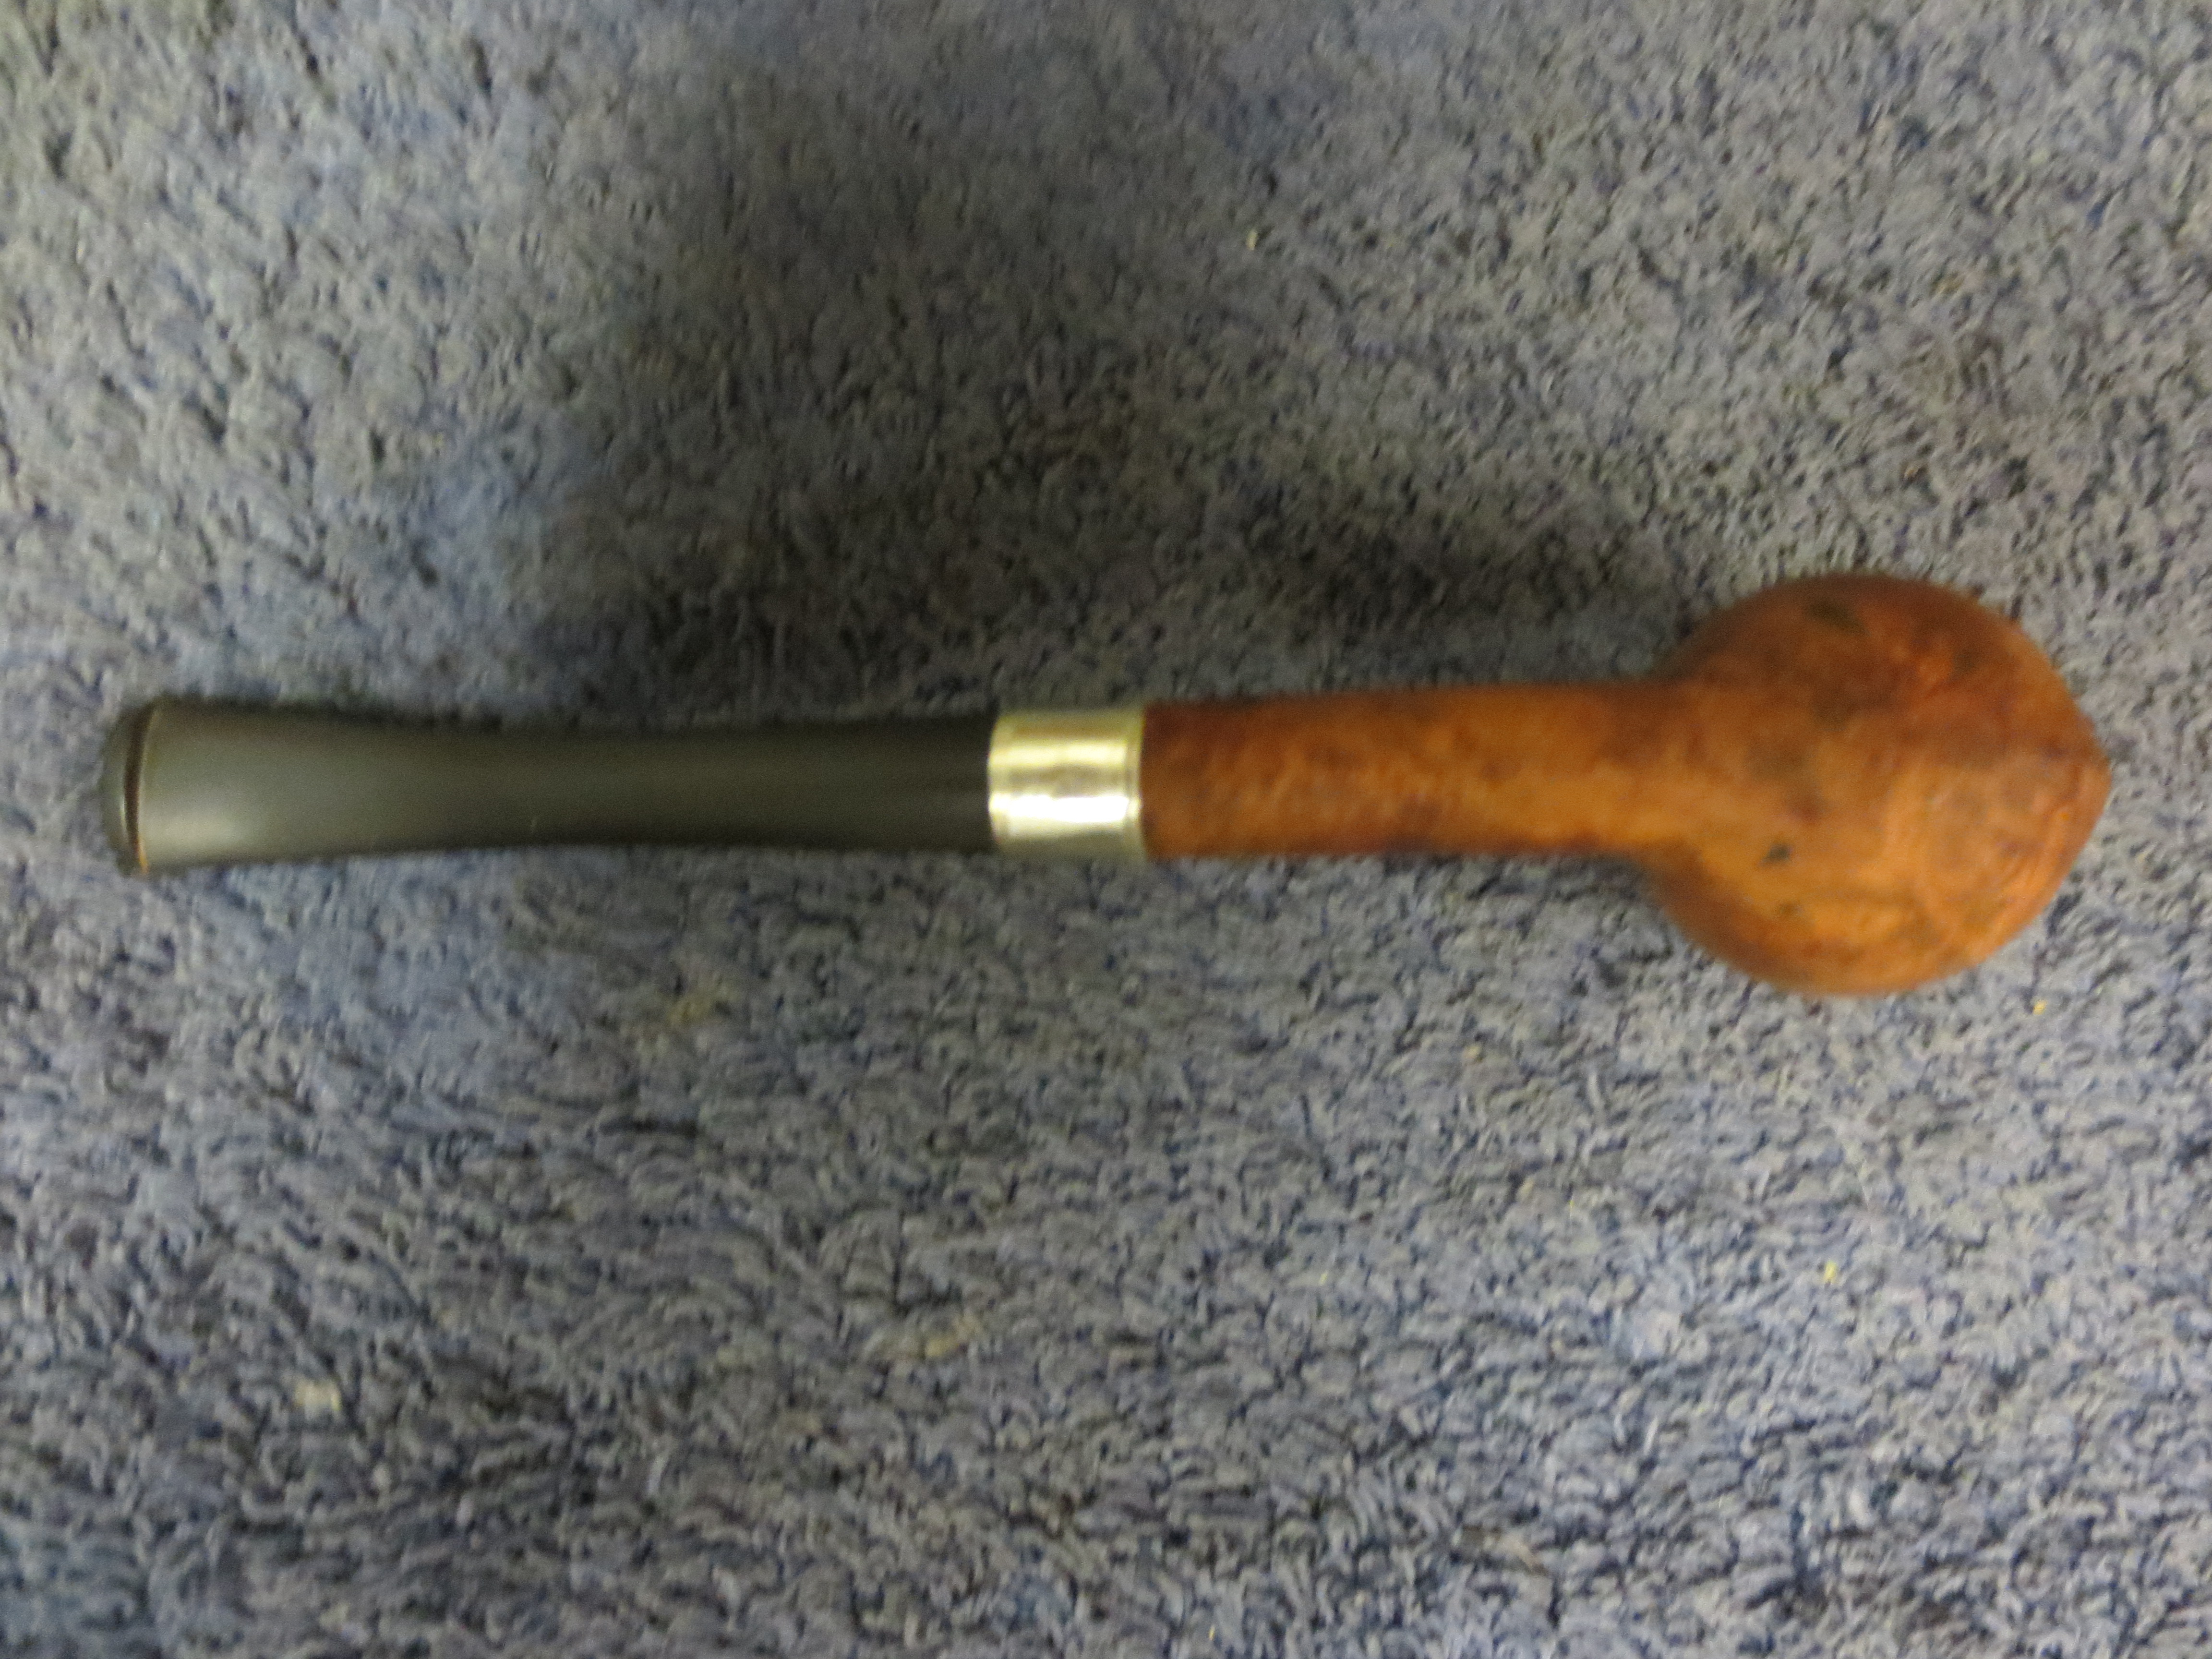
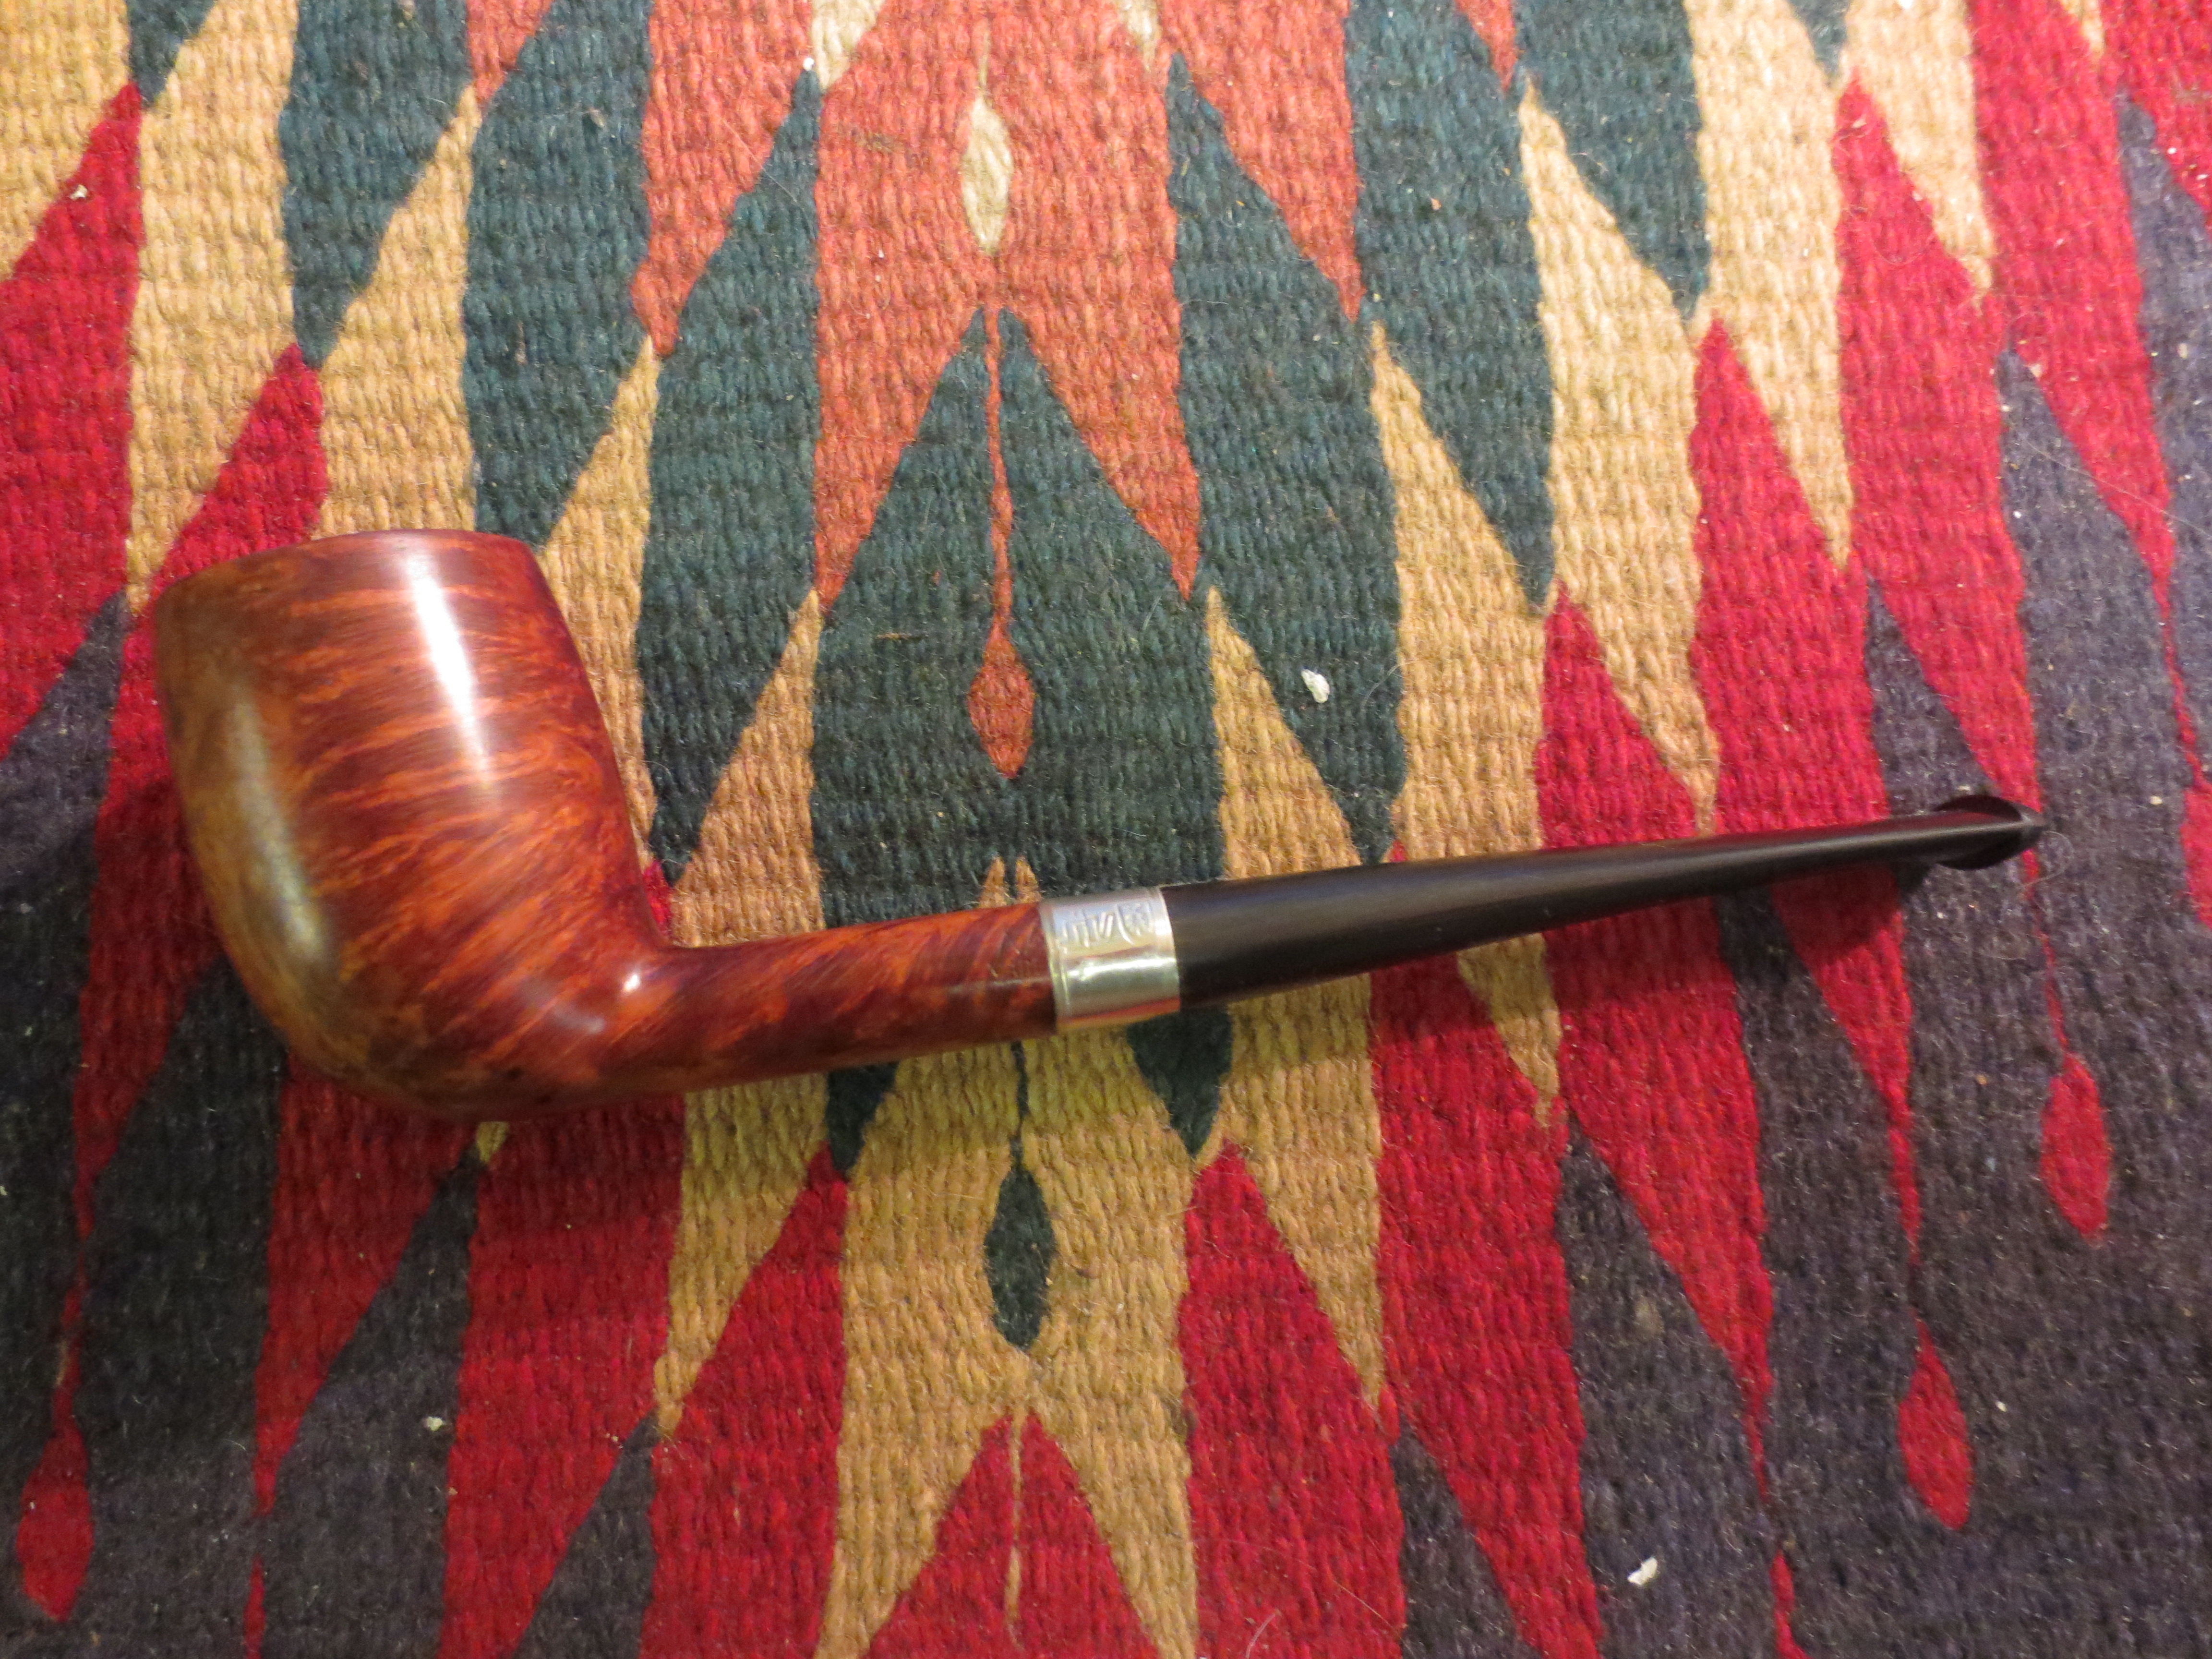
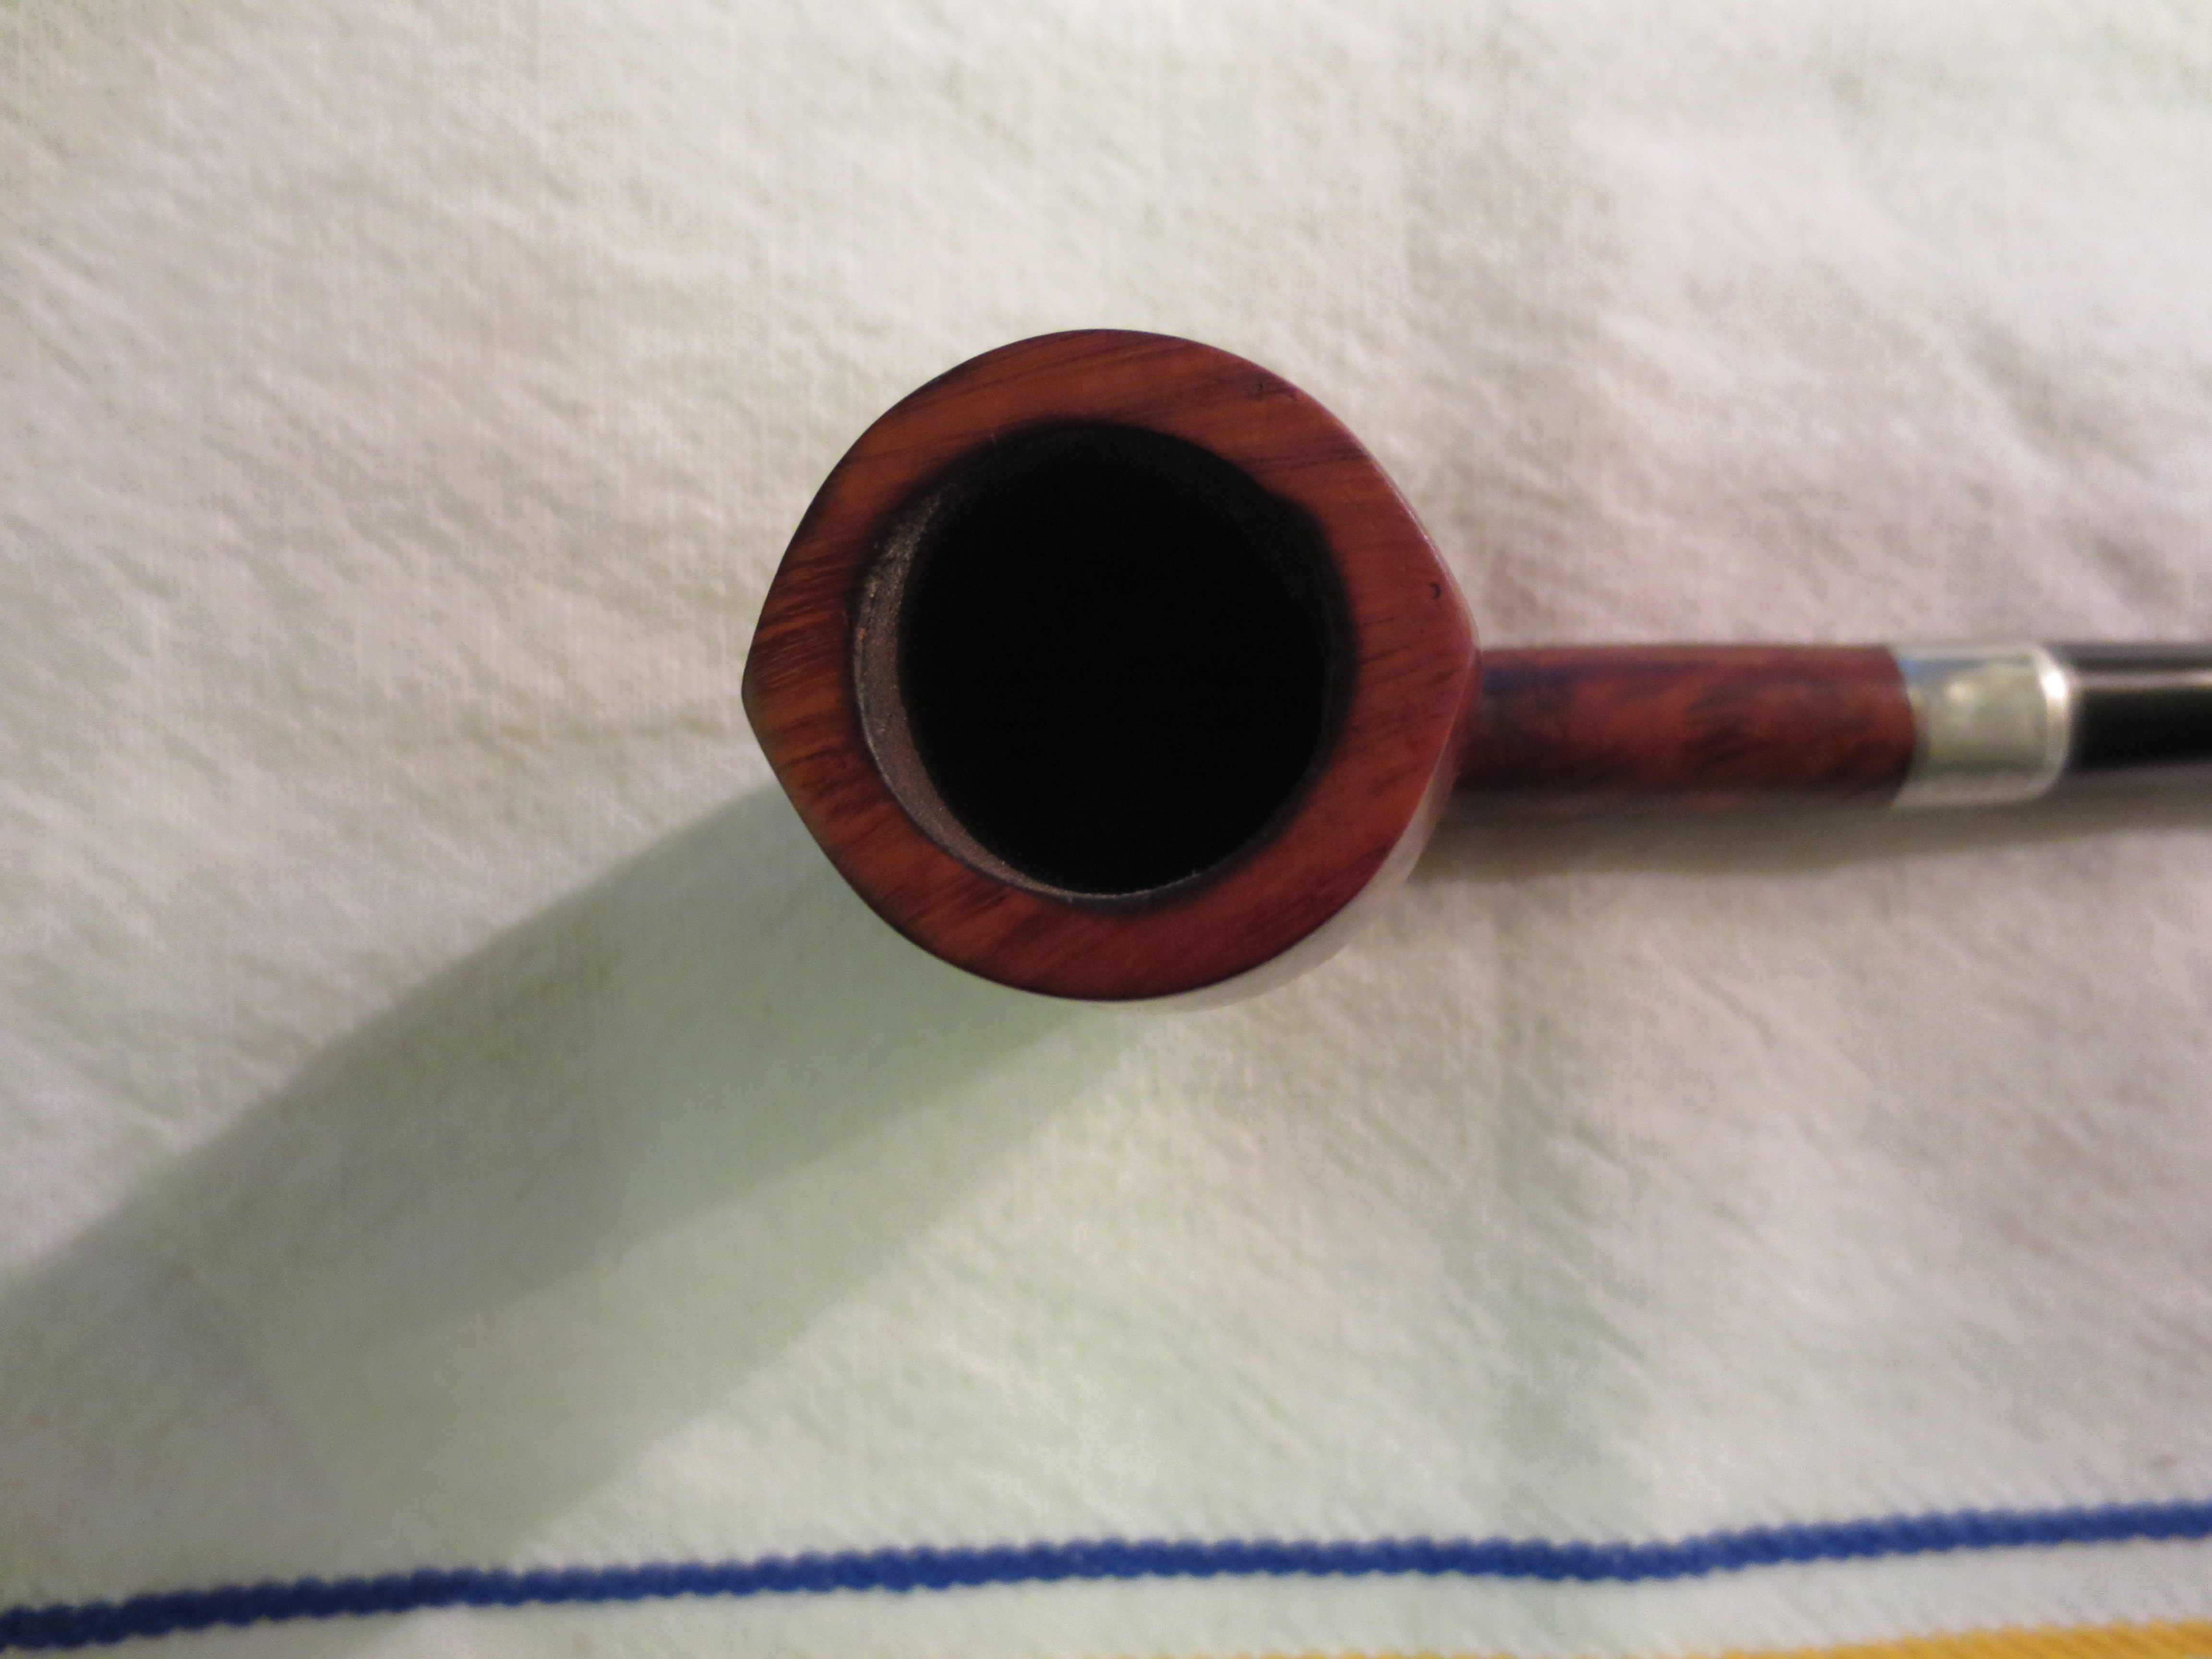
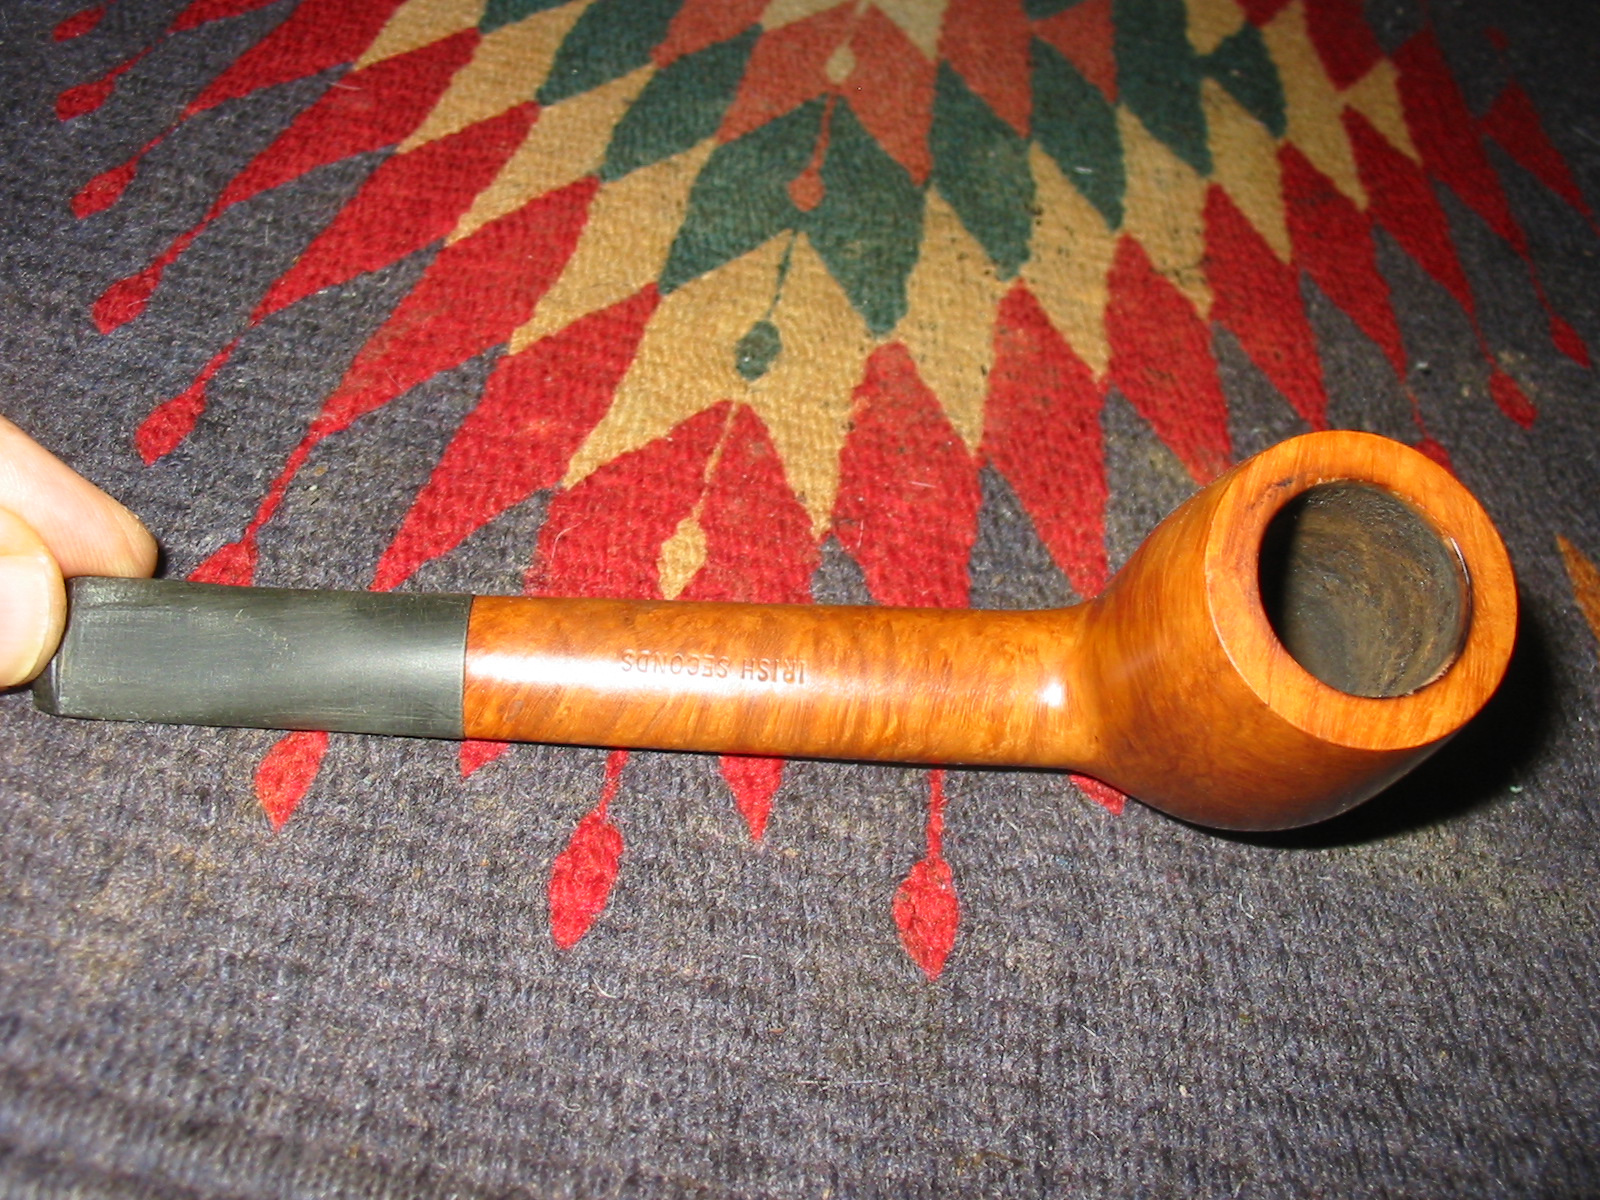
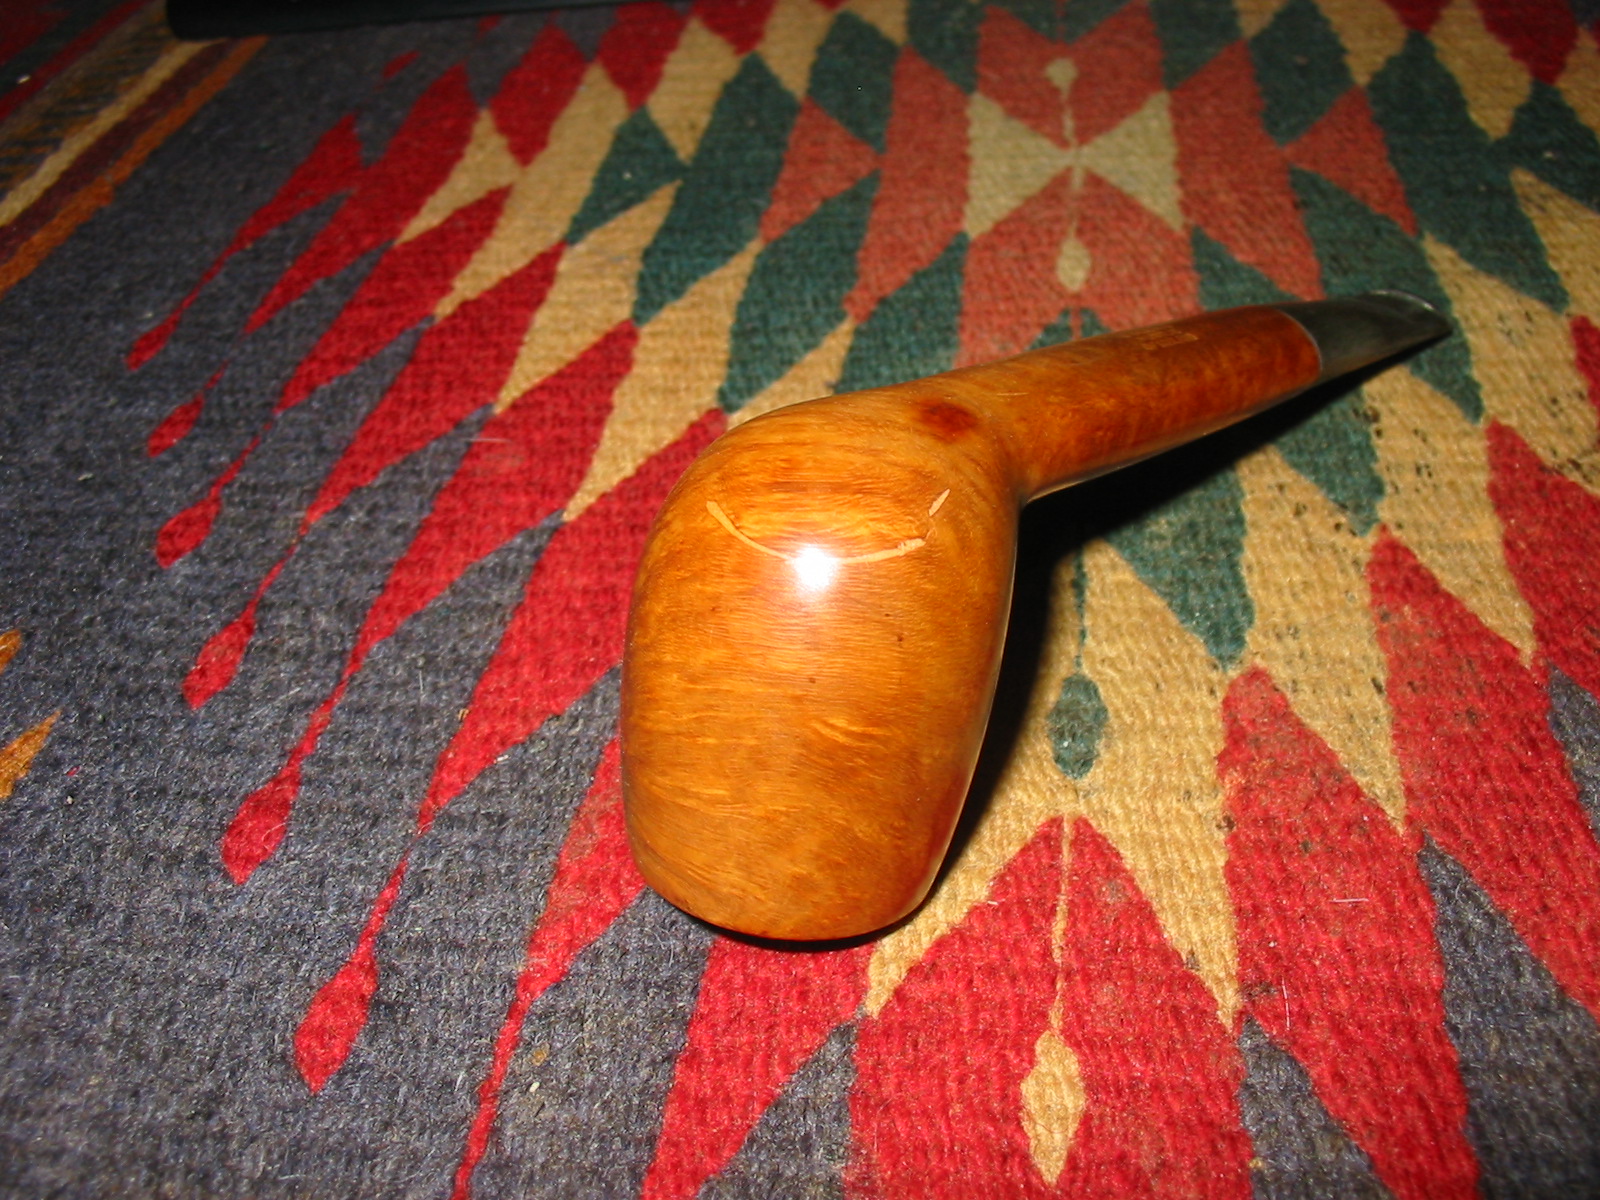
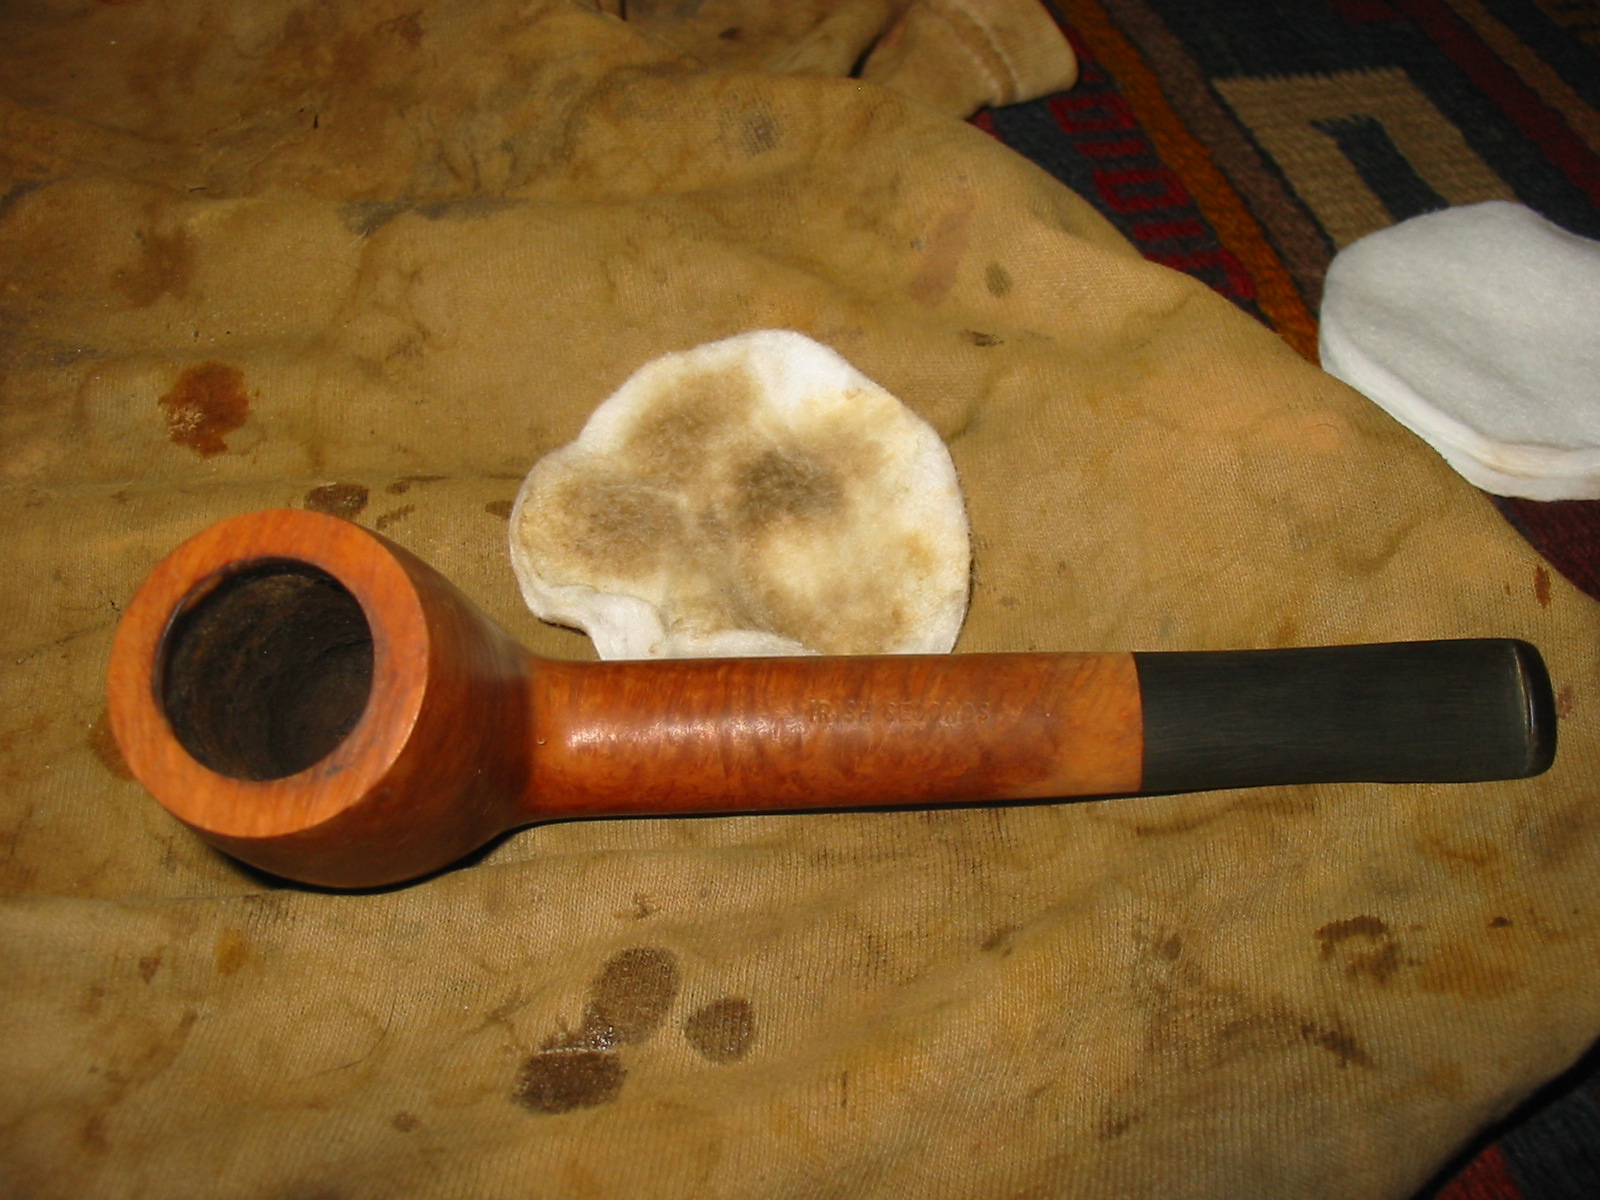
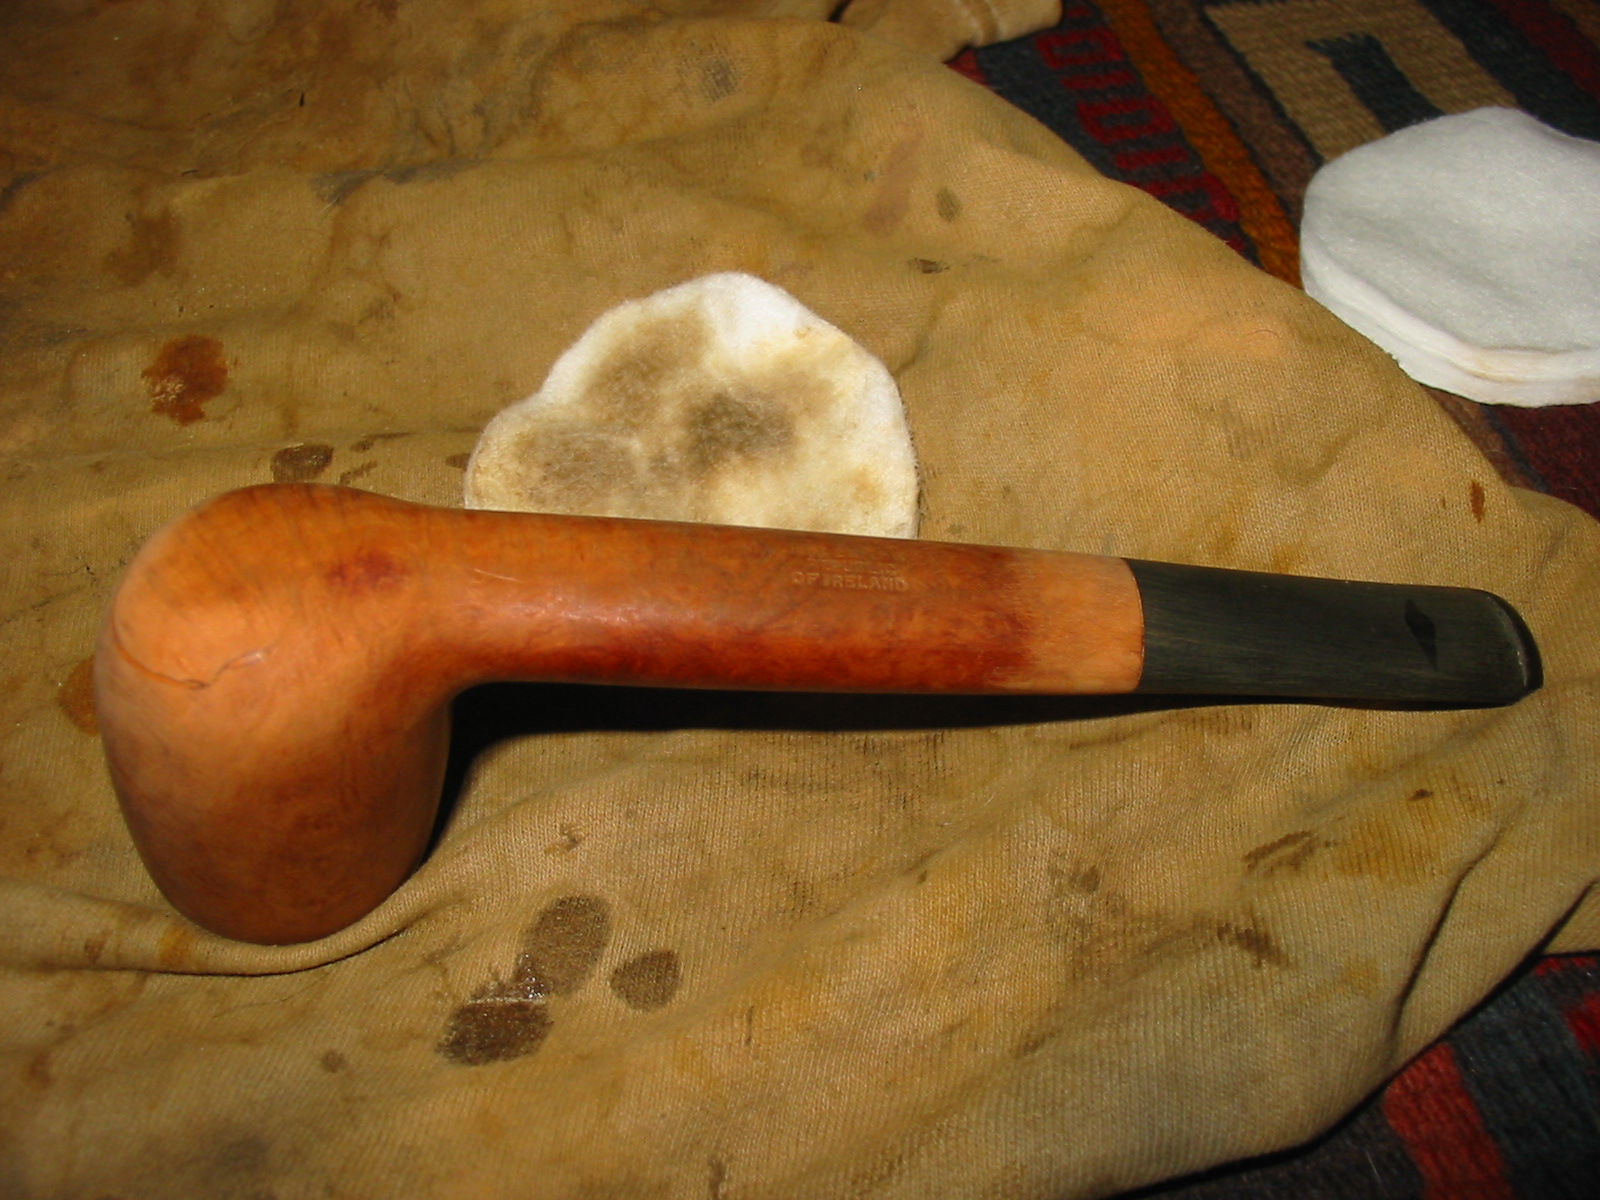
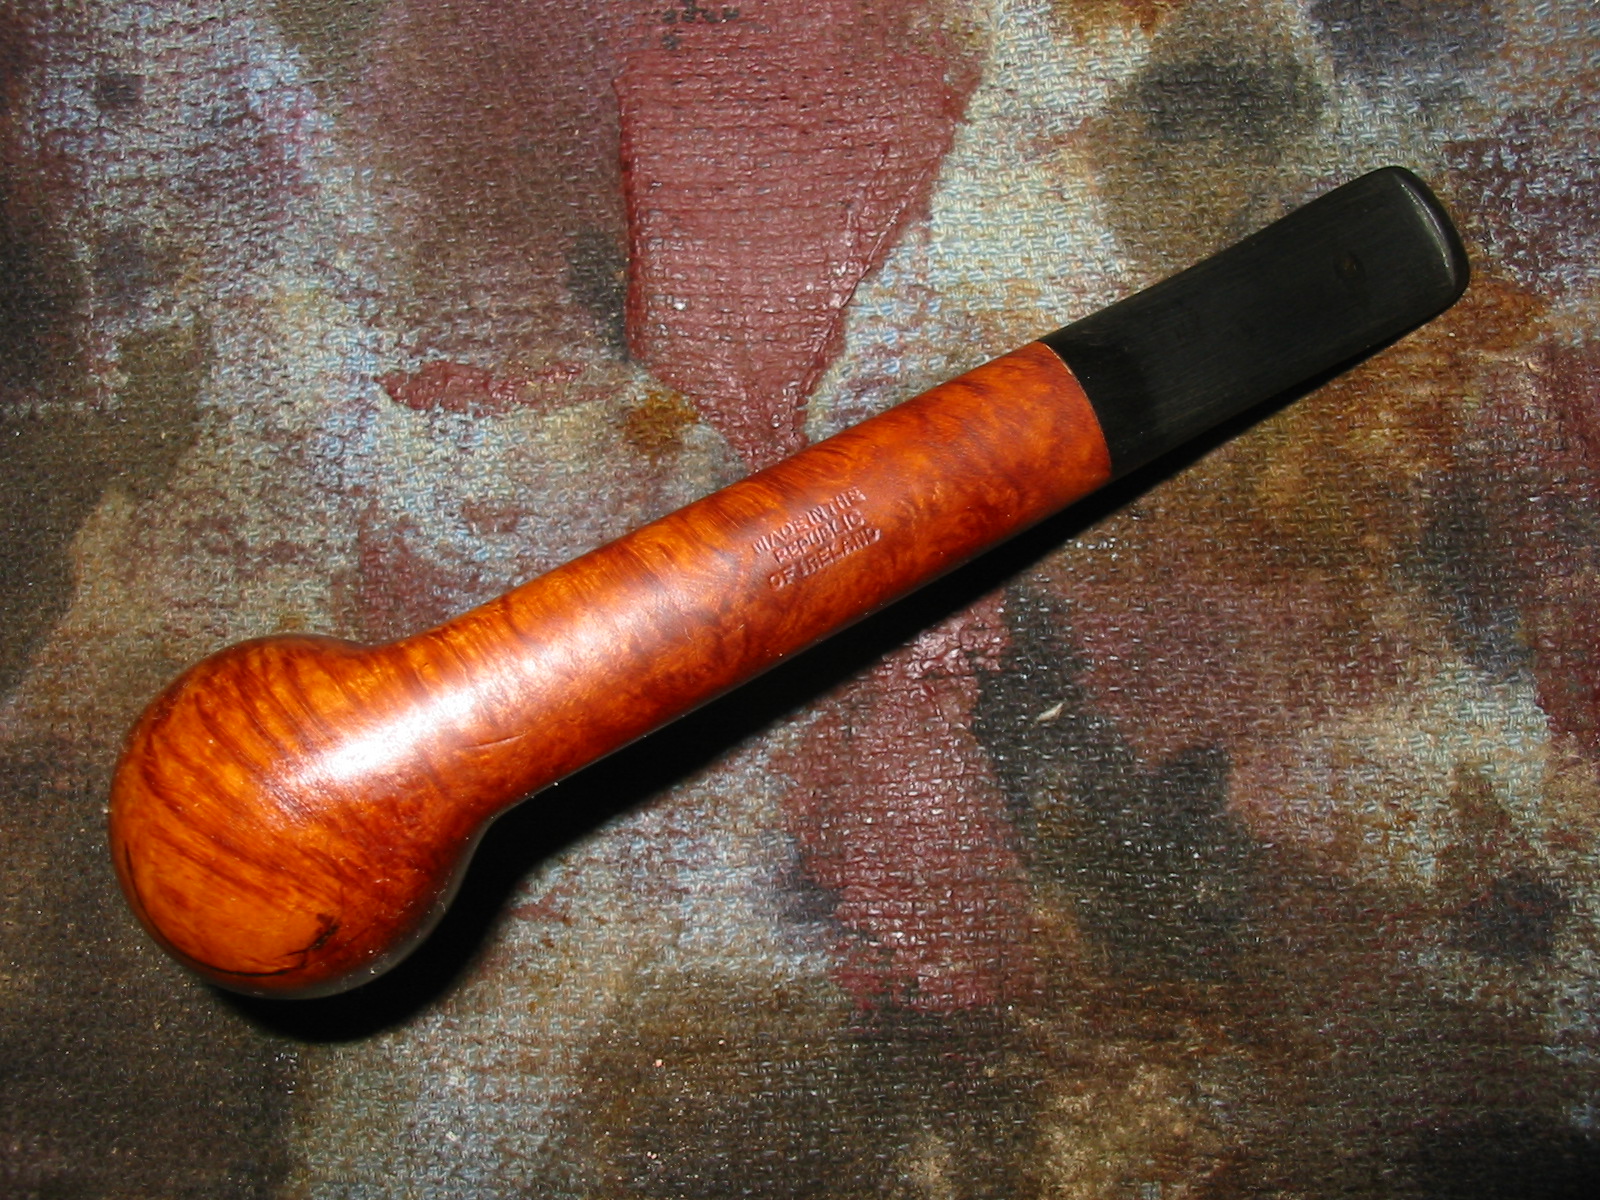
This pipe was another one I got in my trade with Mark, an Irish Seconds made by Peterson. It is stamped on the top of the shank, IRISH SECONDS and on the underside of the shank, Made in the Republic of Ireland. There is no shape number or other stamping on the pipe. The briar is actually very nice except for a flaw that ran around the bottom of the front of the bowl like a smile. It had been filled with white putty that had shrunk and left a shallow groove its entire length (from side to side of the front). The finish was non-existent and I am not sure it ever had been stained. The stem was evidently a replacement and did not fit well against the shank. The diameter of the oval on the shank and that of the stem did not match. The stem was also lopsided at the junction. On the underside of the stem there was a trough carved about ½ inch from the button that functioned as a groove to make the stem a dental bit. It too was poorly executed and was rough. The dimensions on this pipe are diminutive – its length is 5 ¼ inches, height is 1 5/8 and outer diameter of the bowl is 1 ¼ inches. It fits well in the hand and is very light in weight. I suspect that if it were not for the flaw noted above this would have been a higher grade Peterson.
IMG_4708

IMG_4709

IMG_4710

IMG_4711

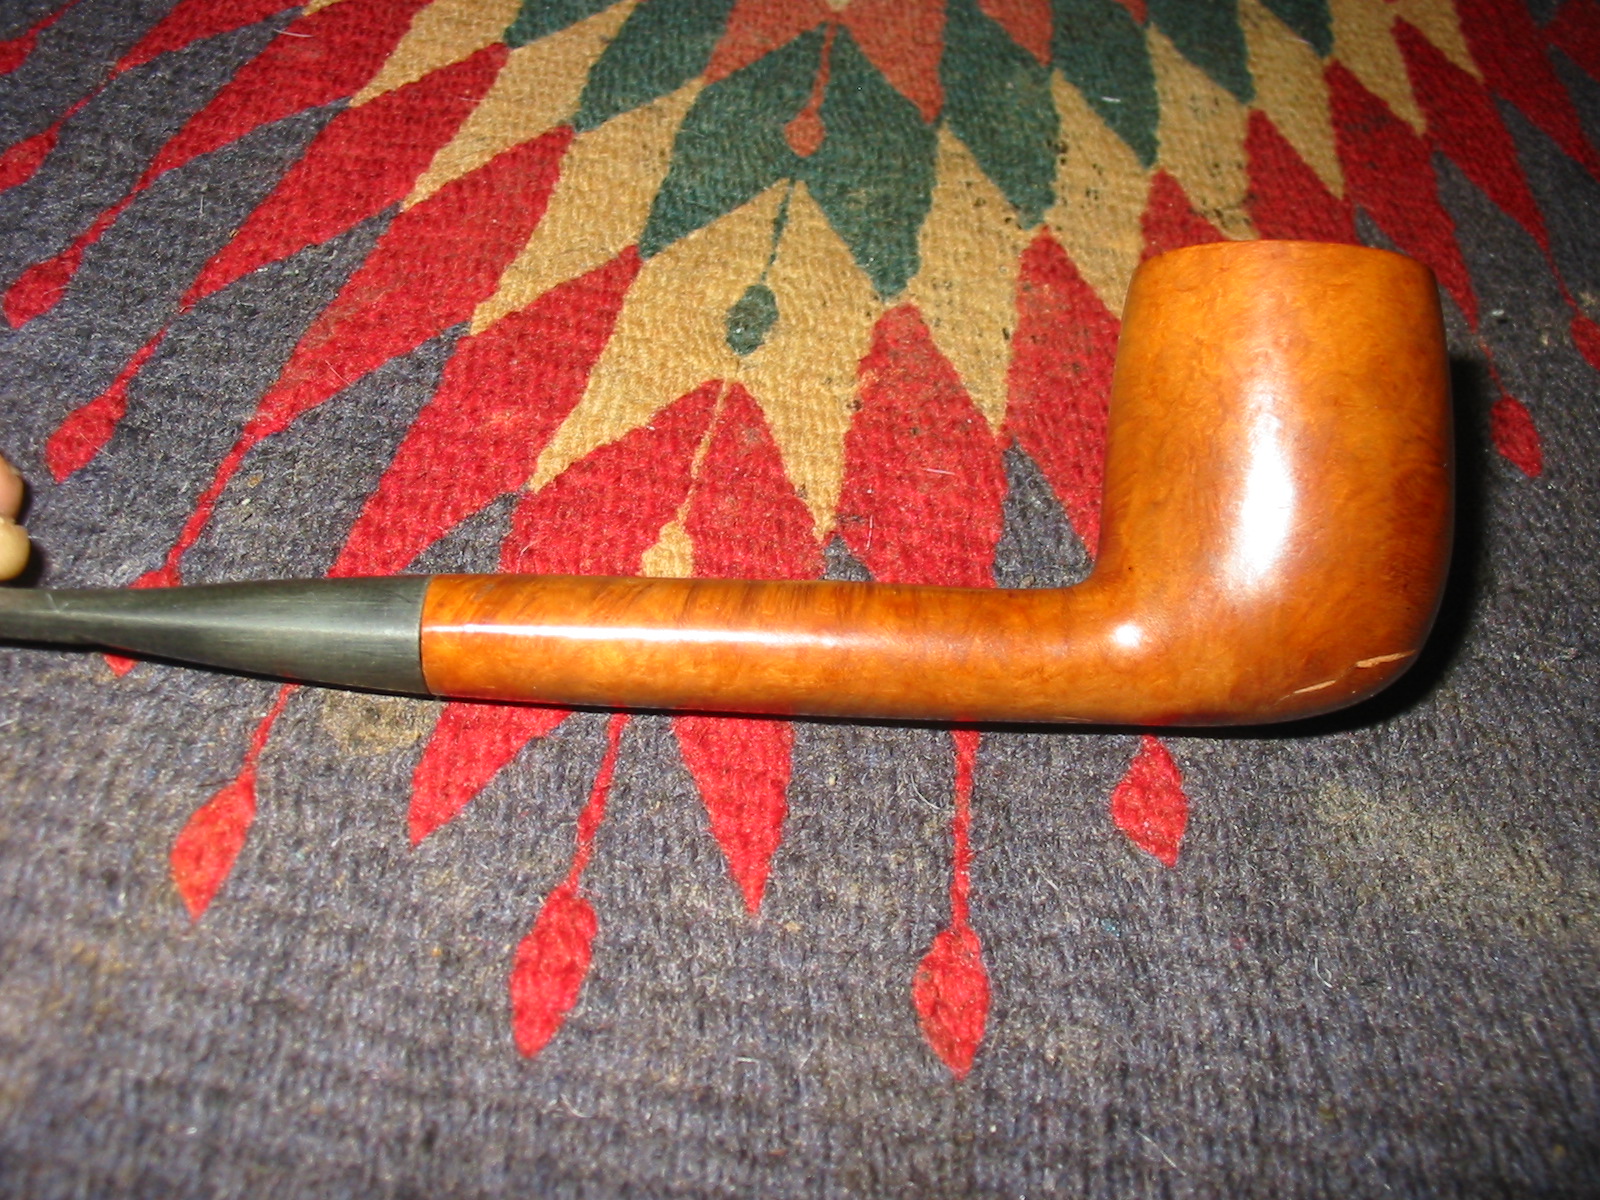
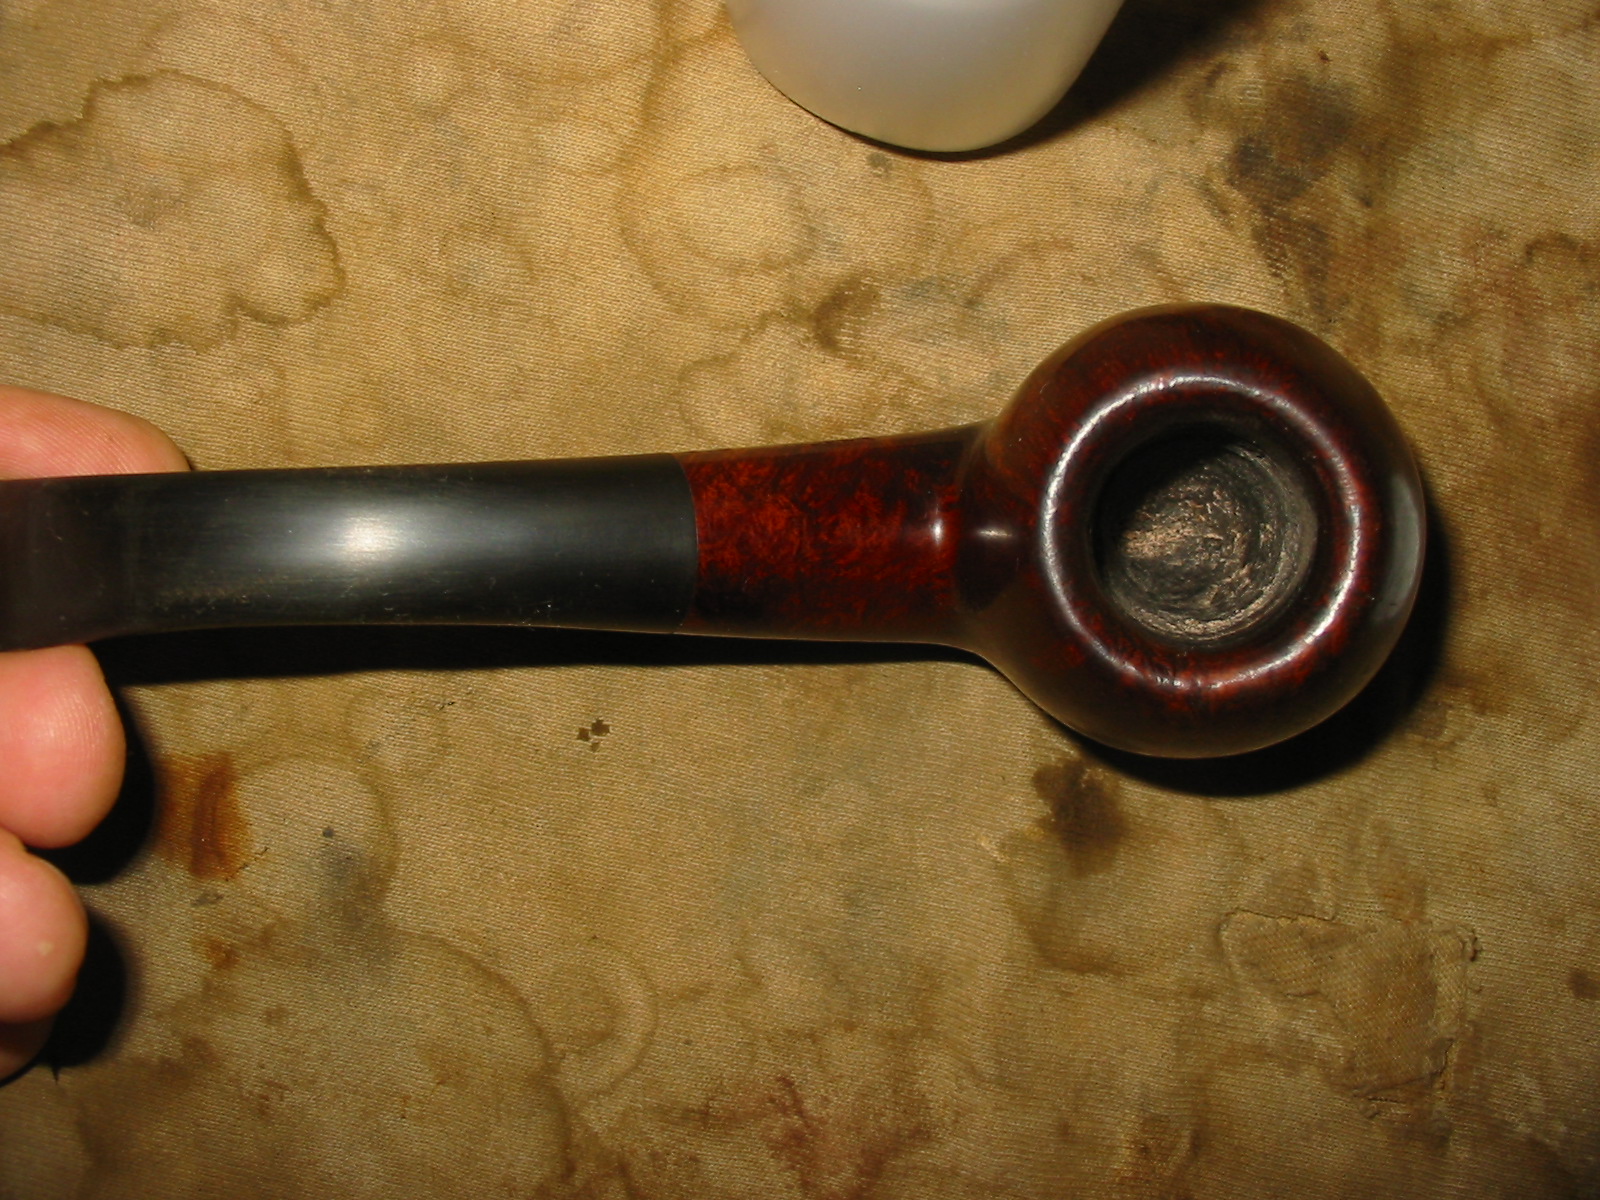
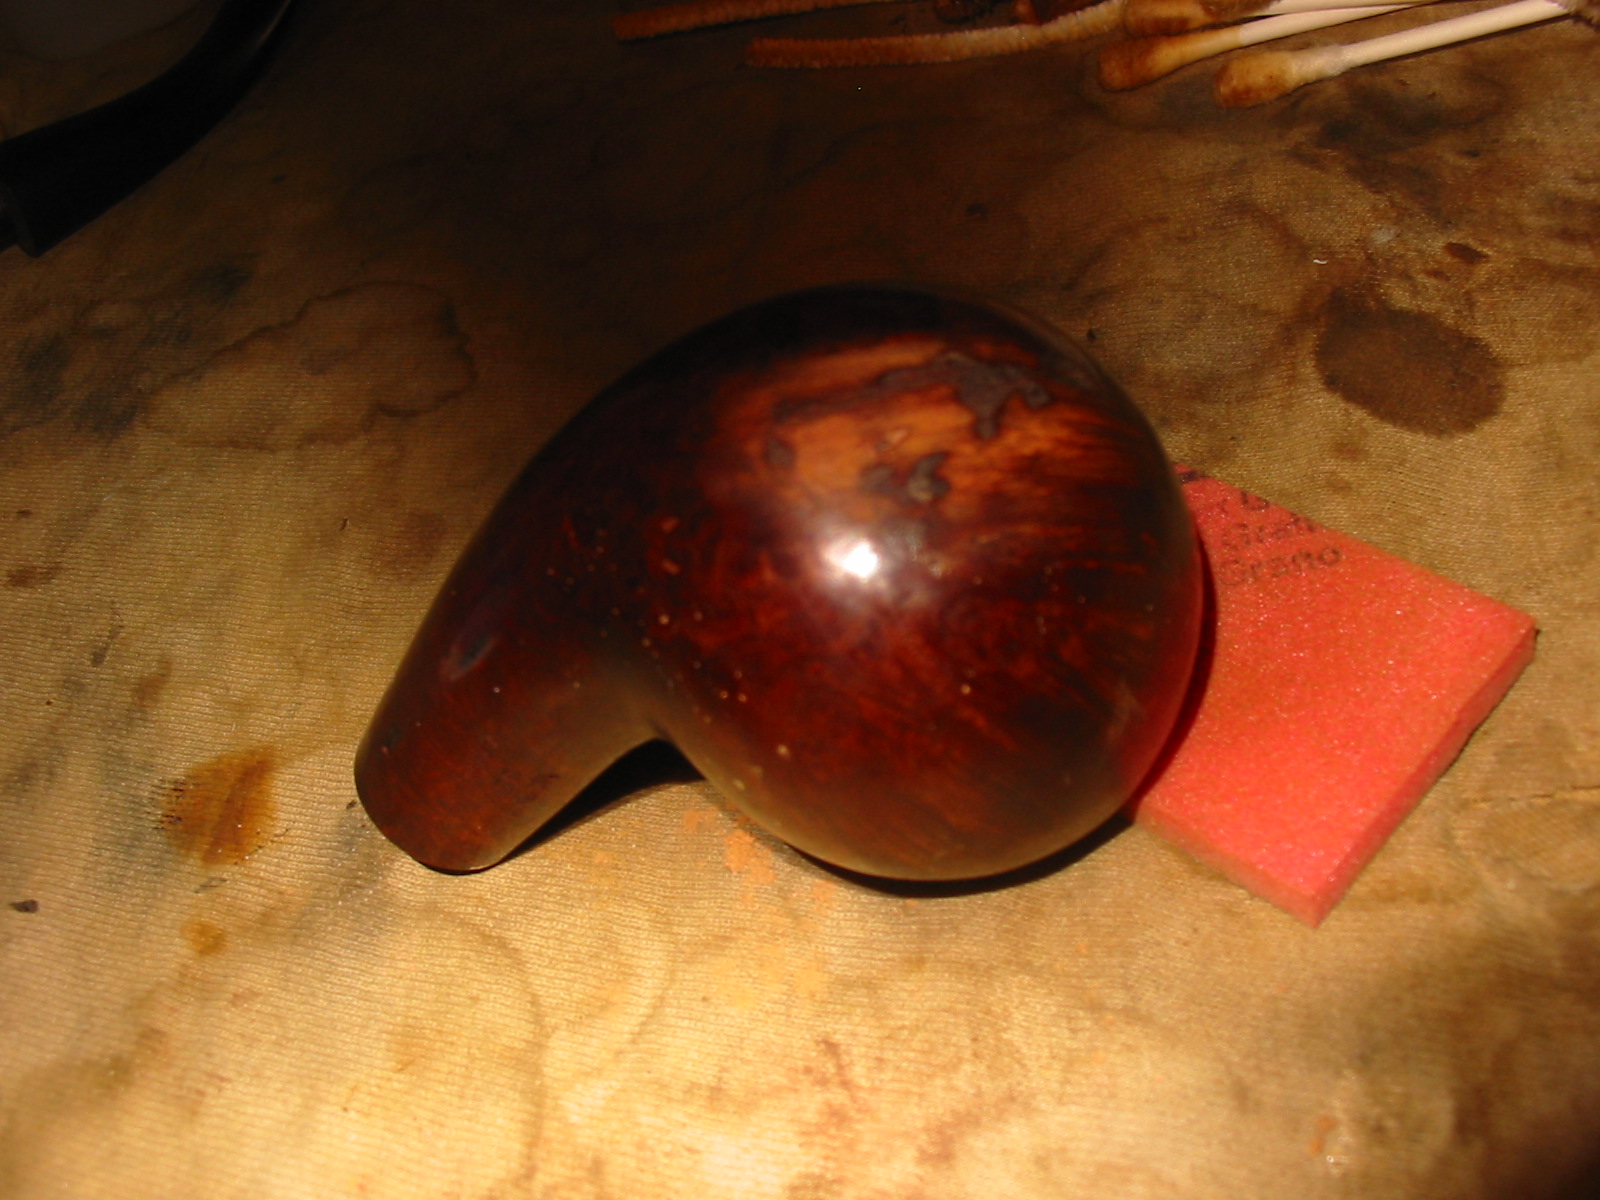
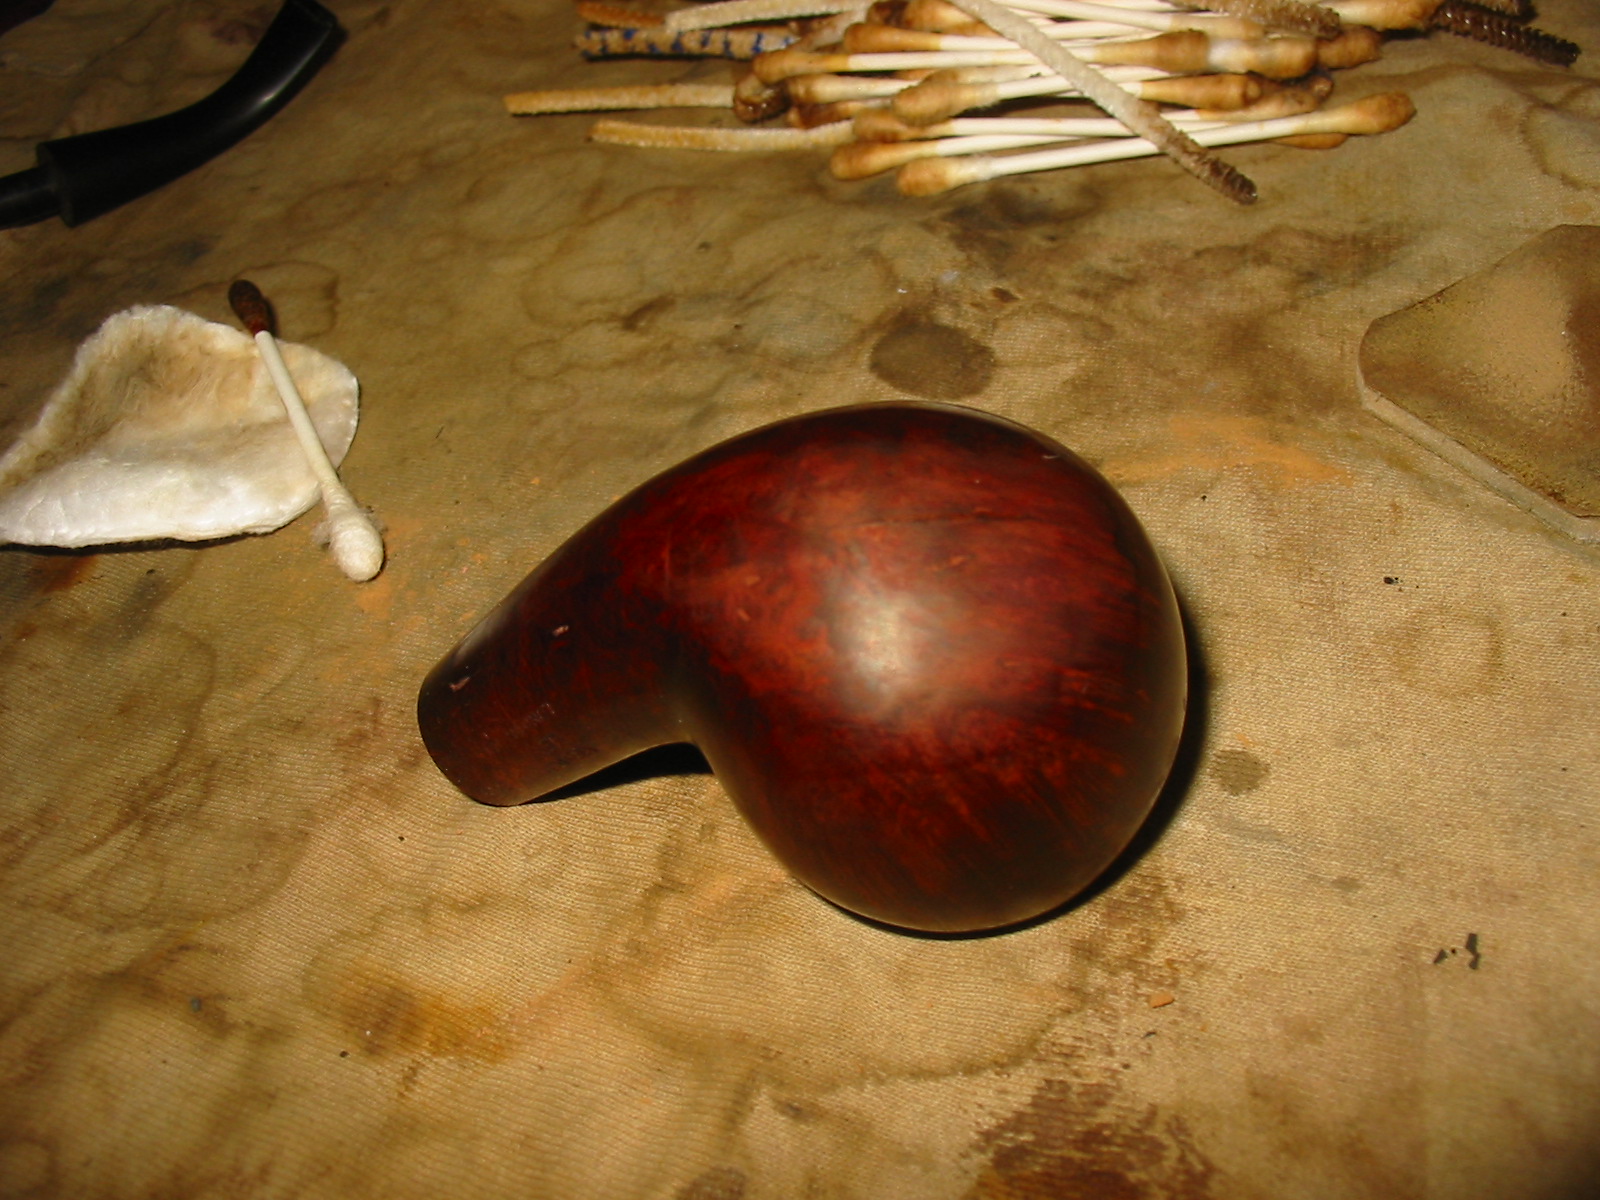
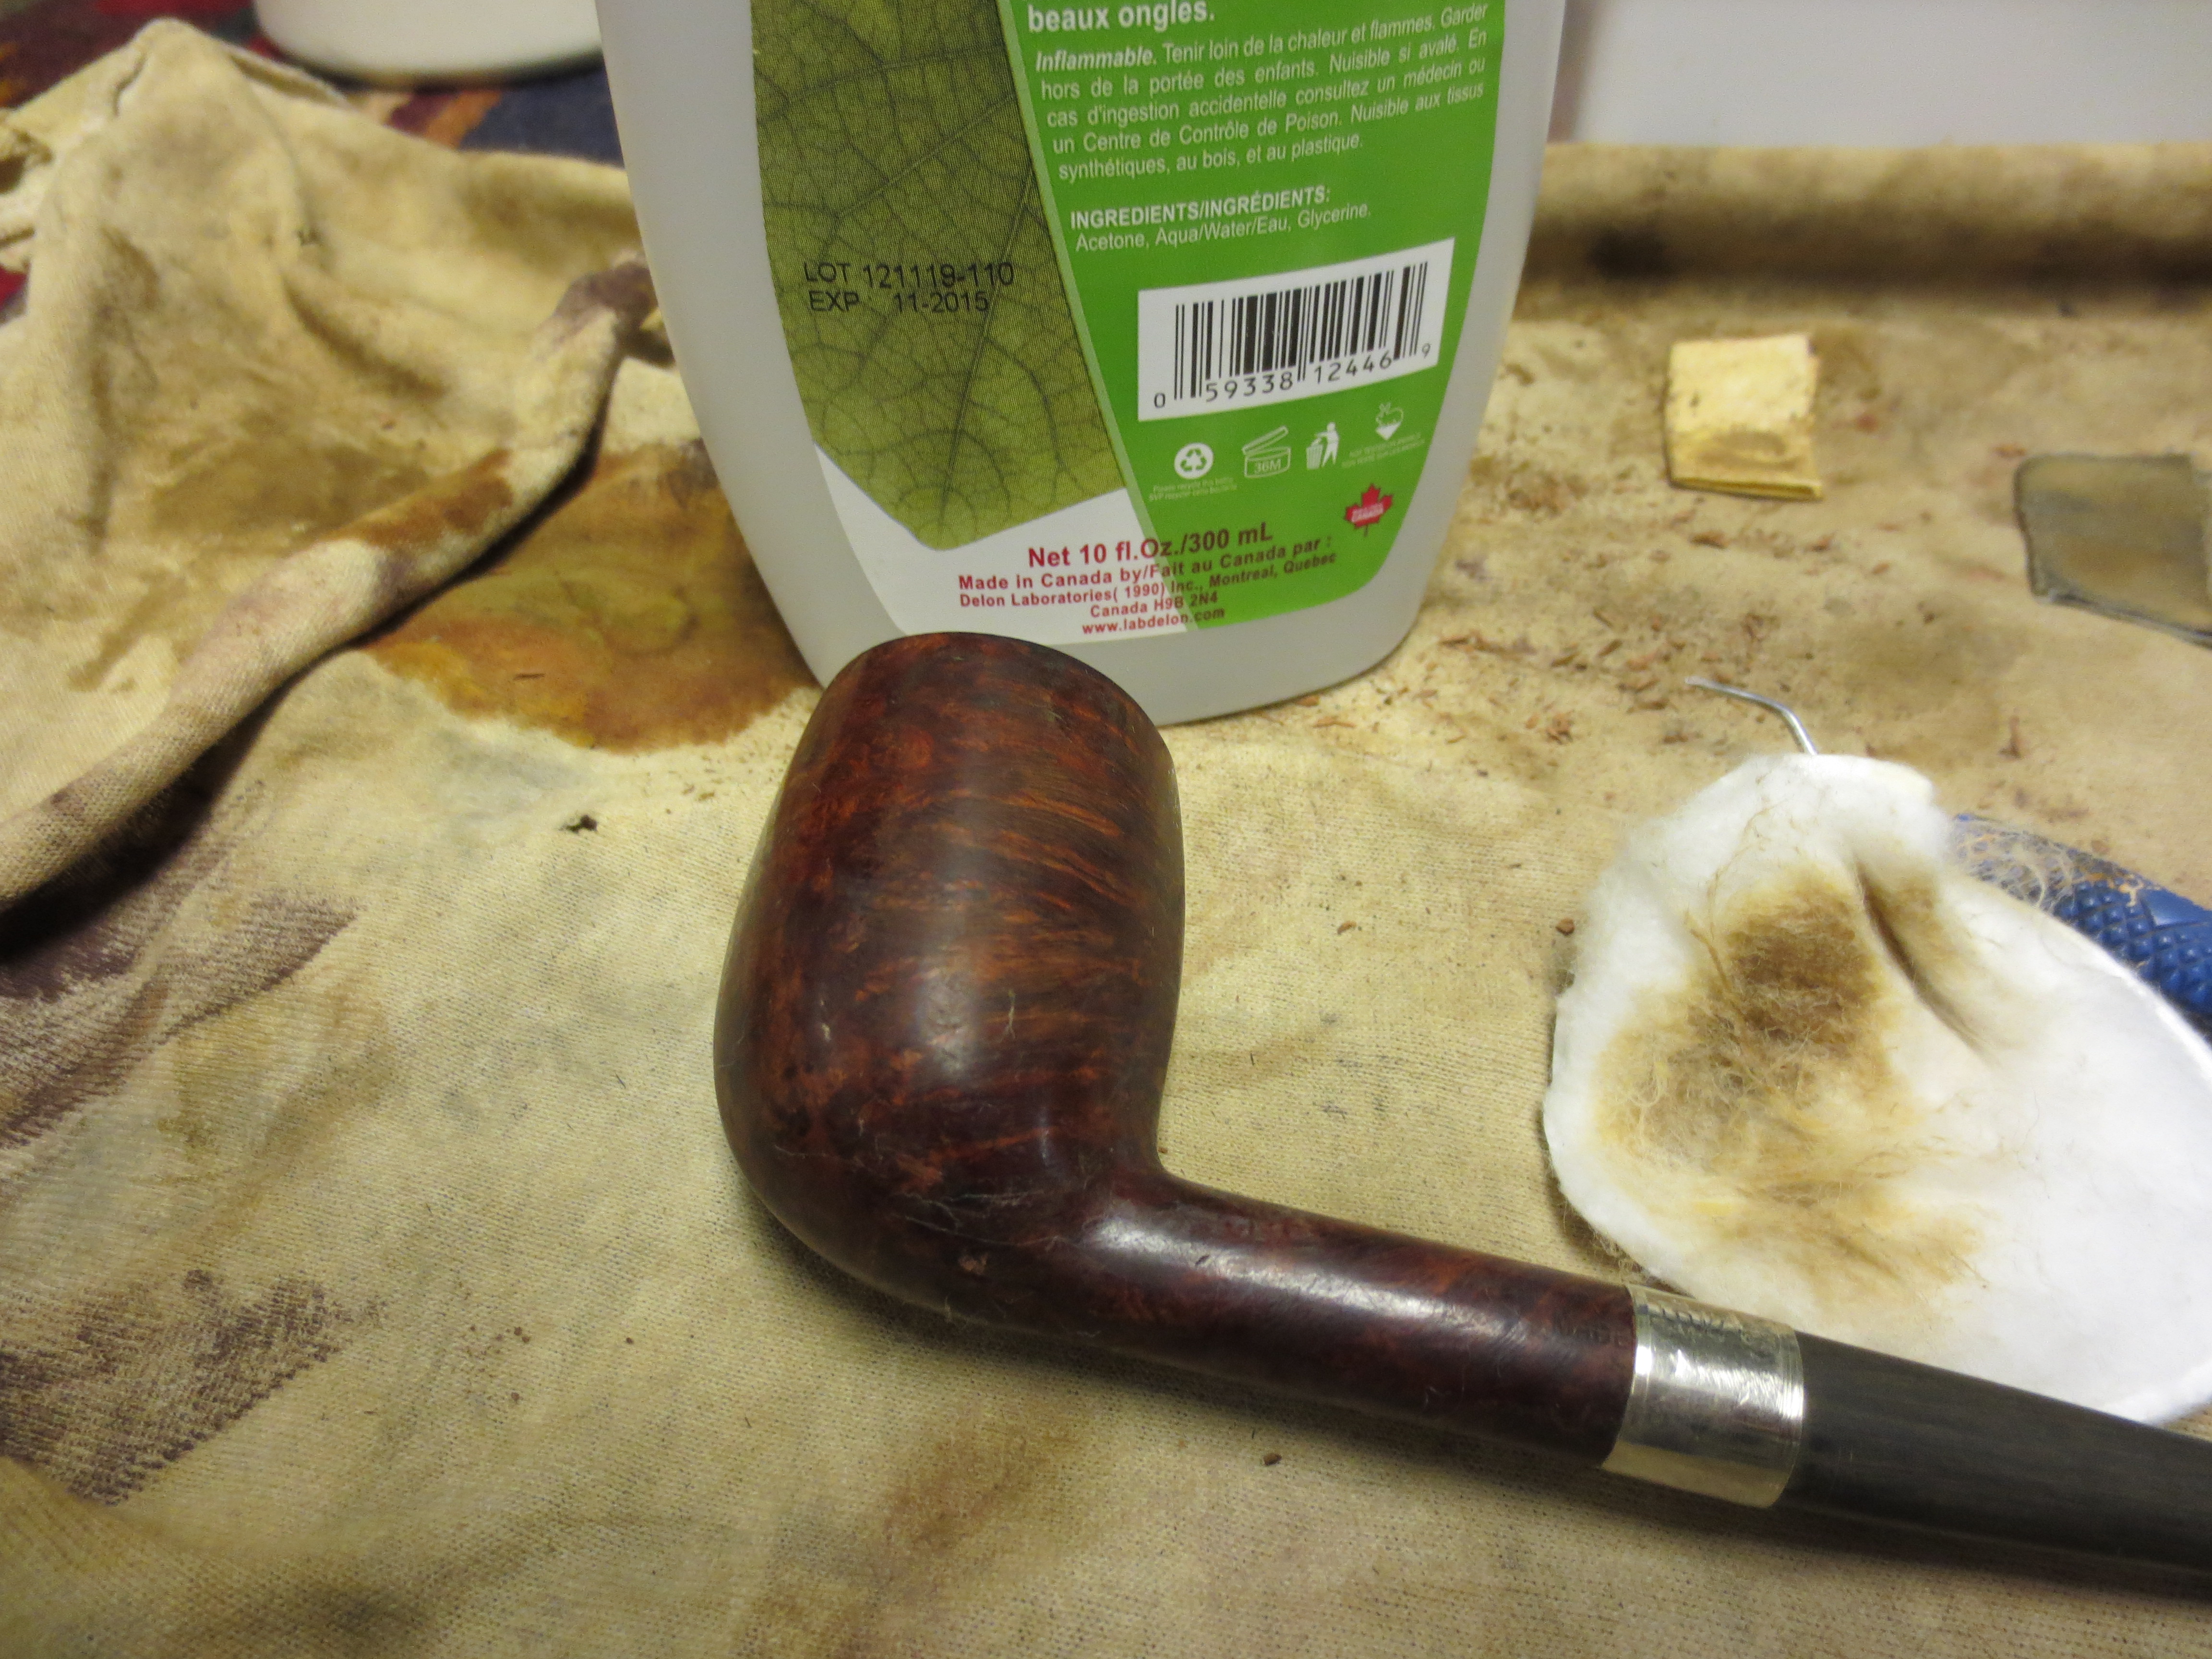
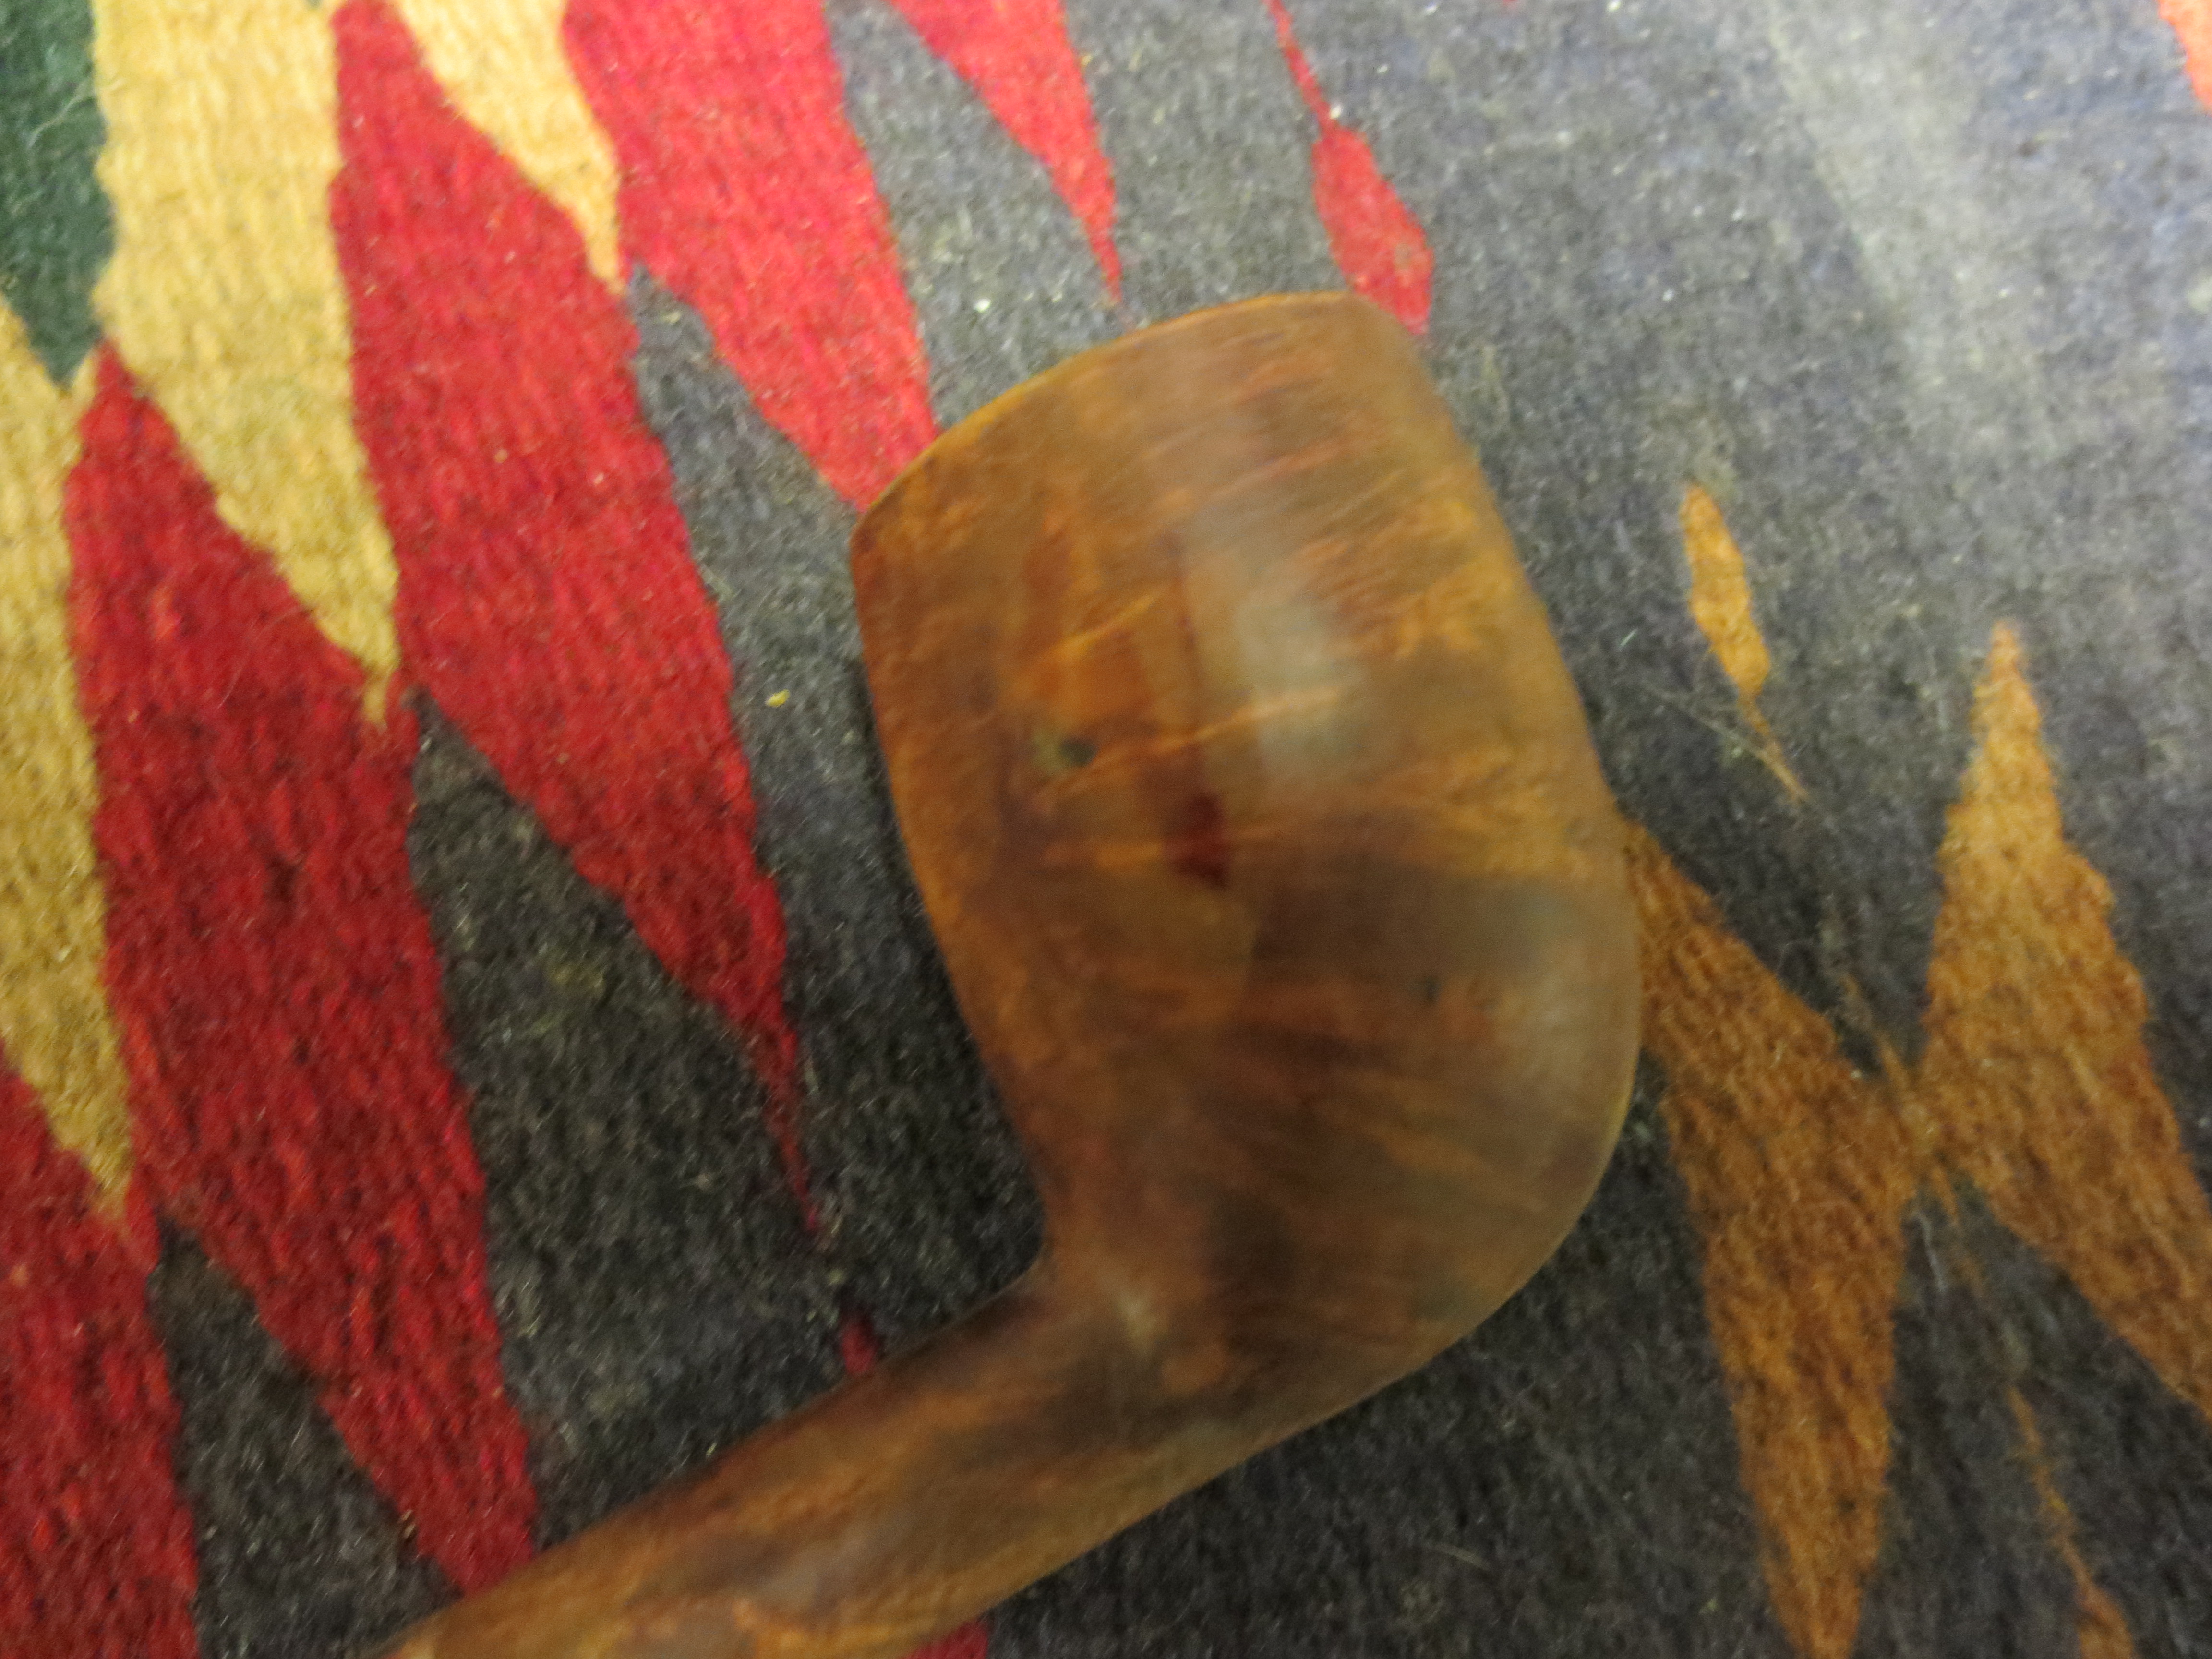
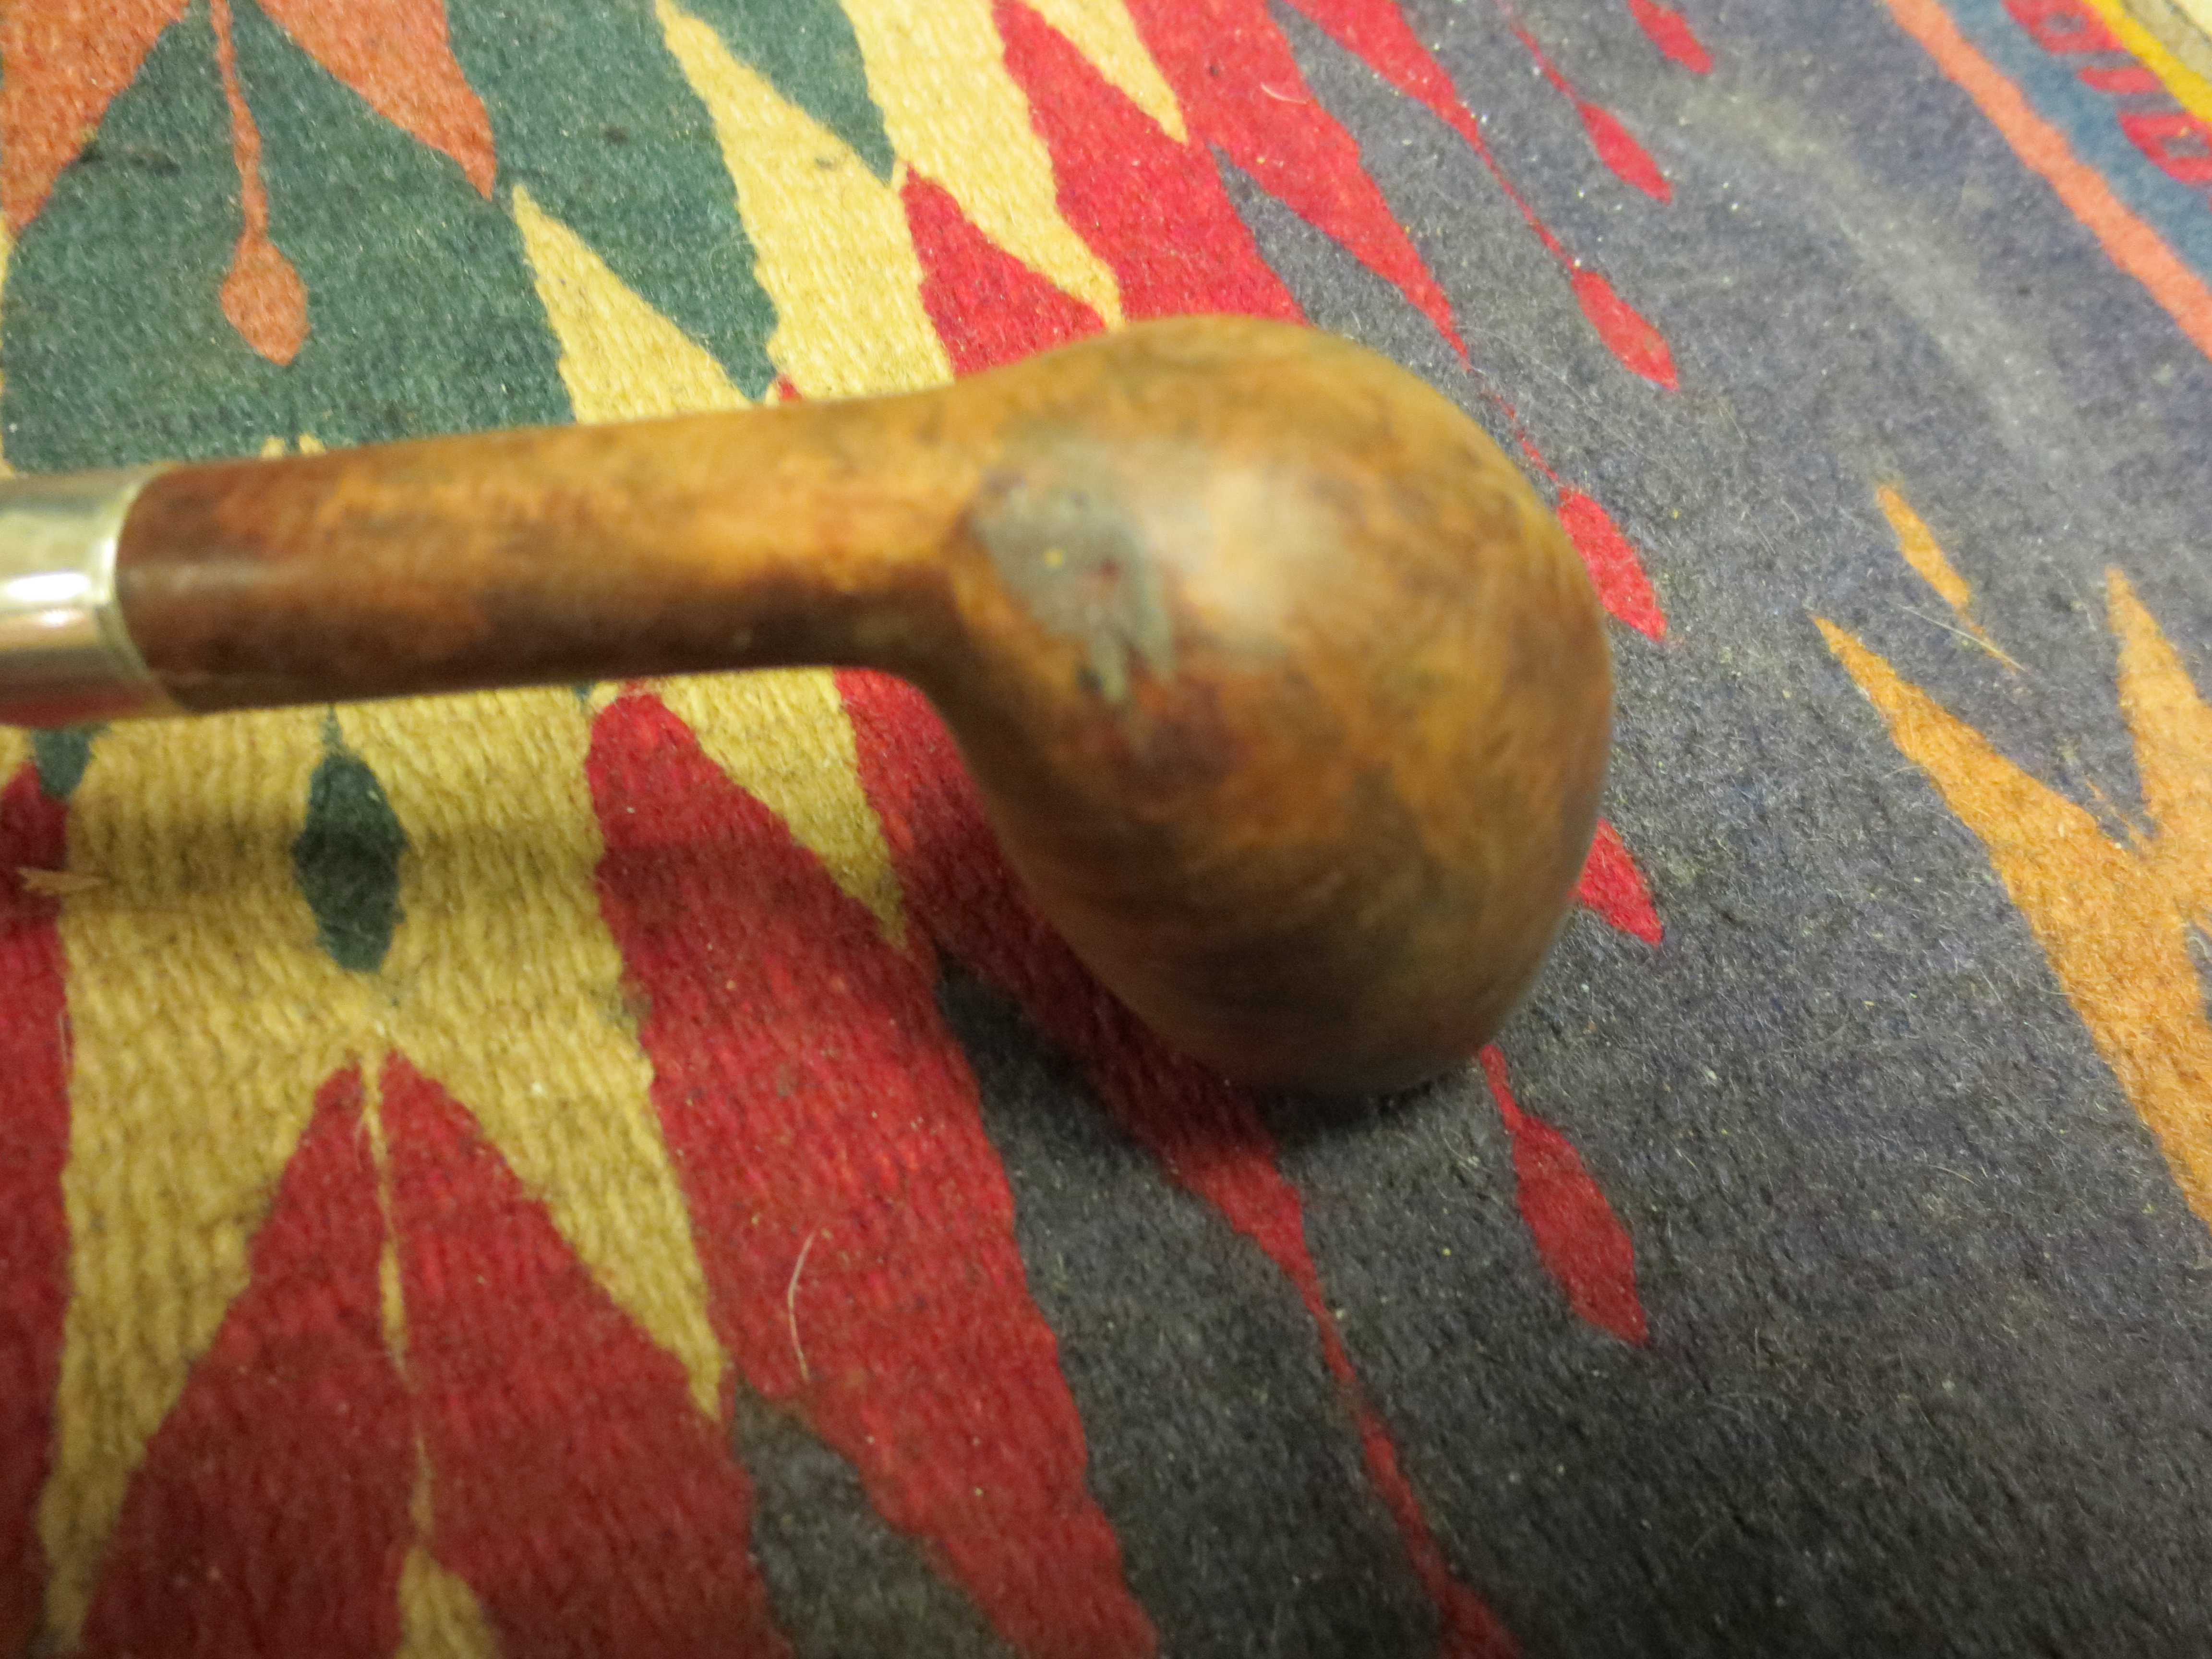
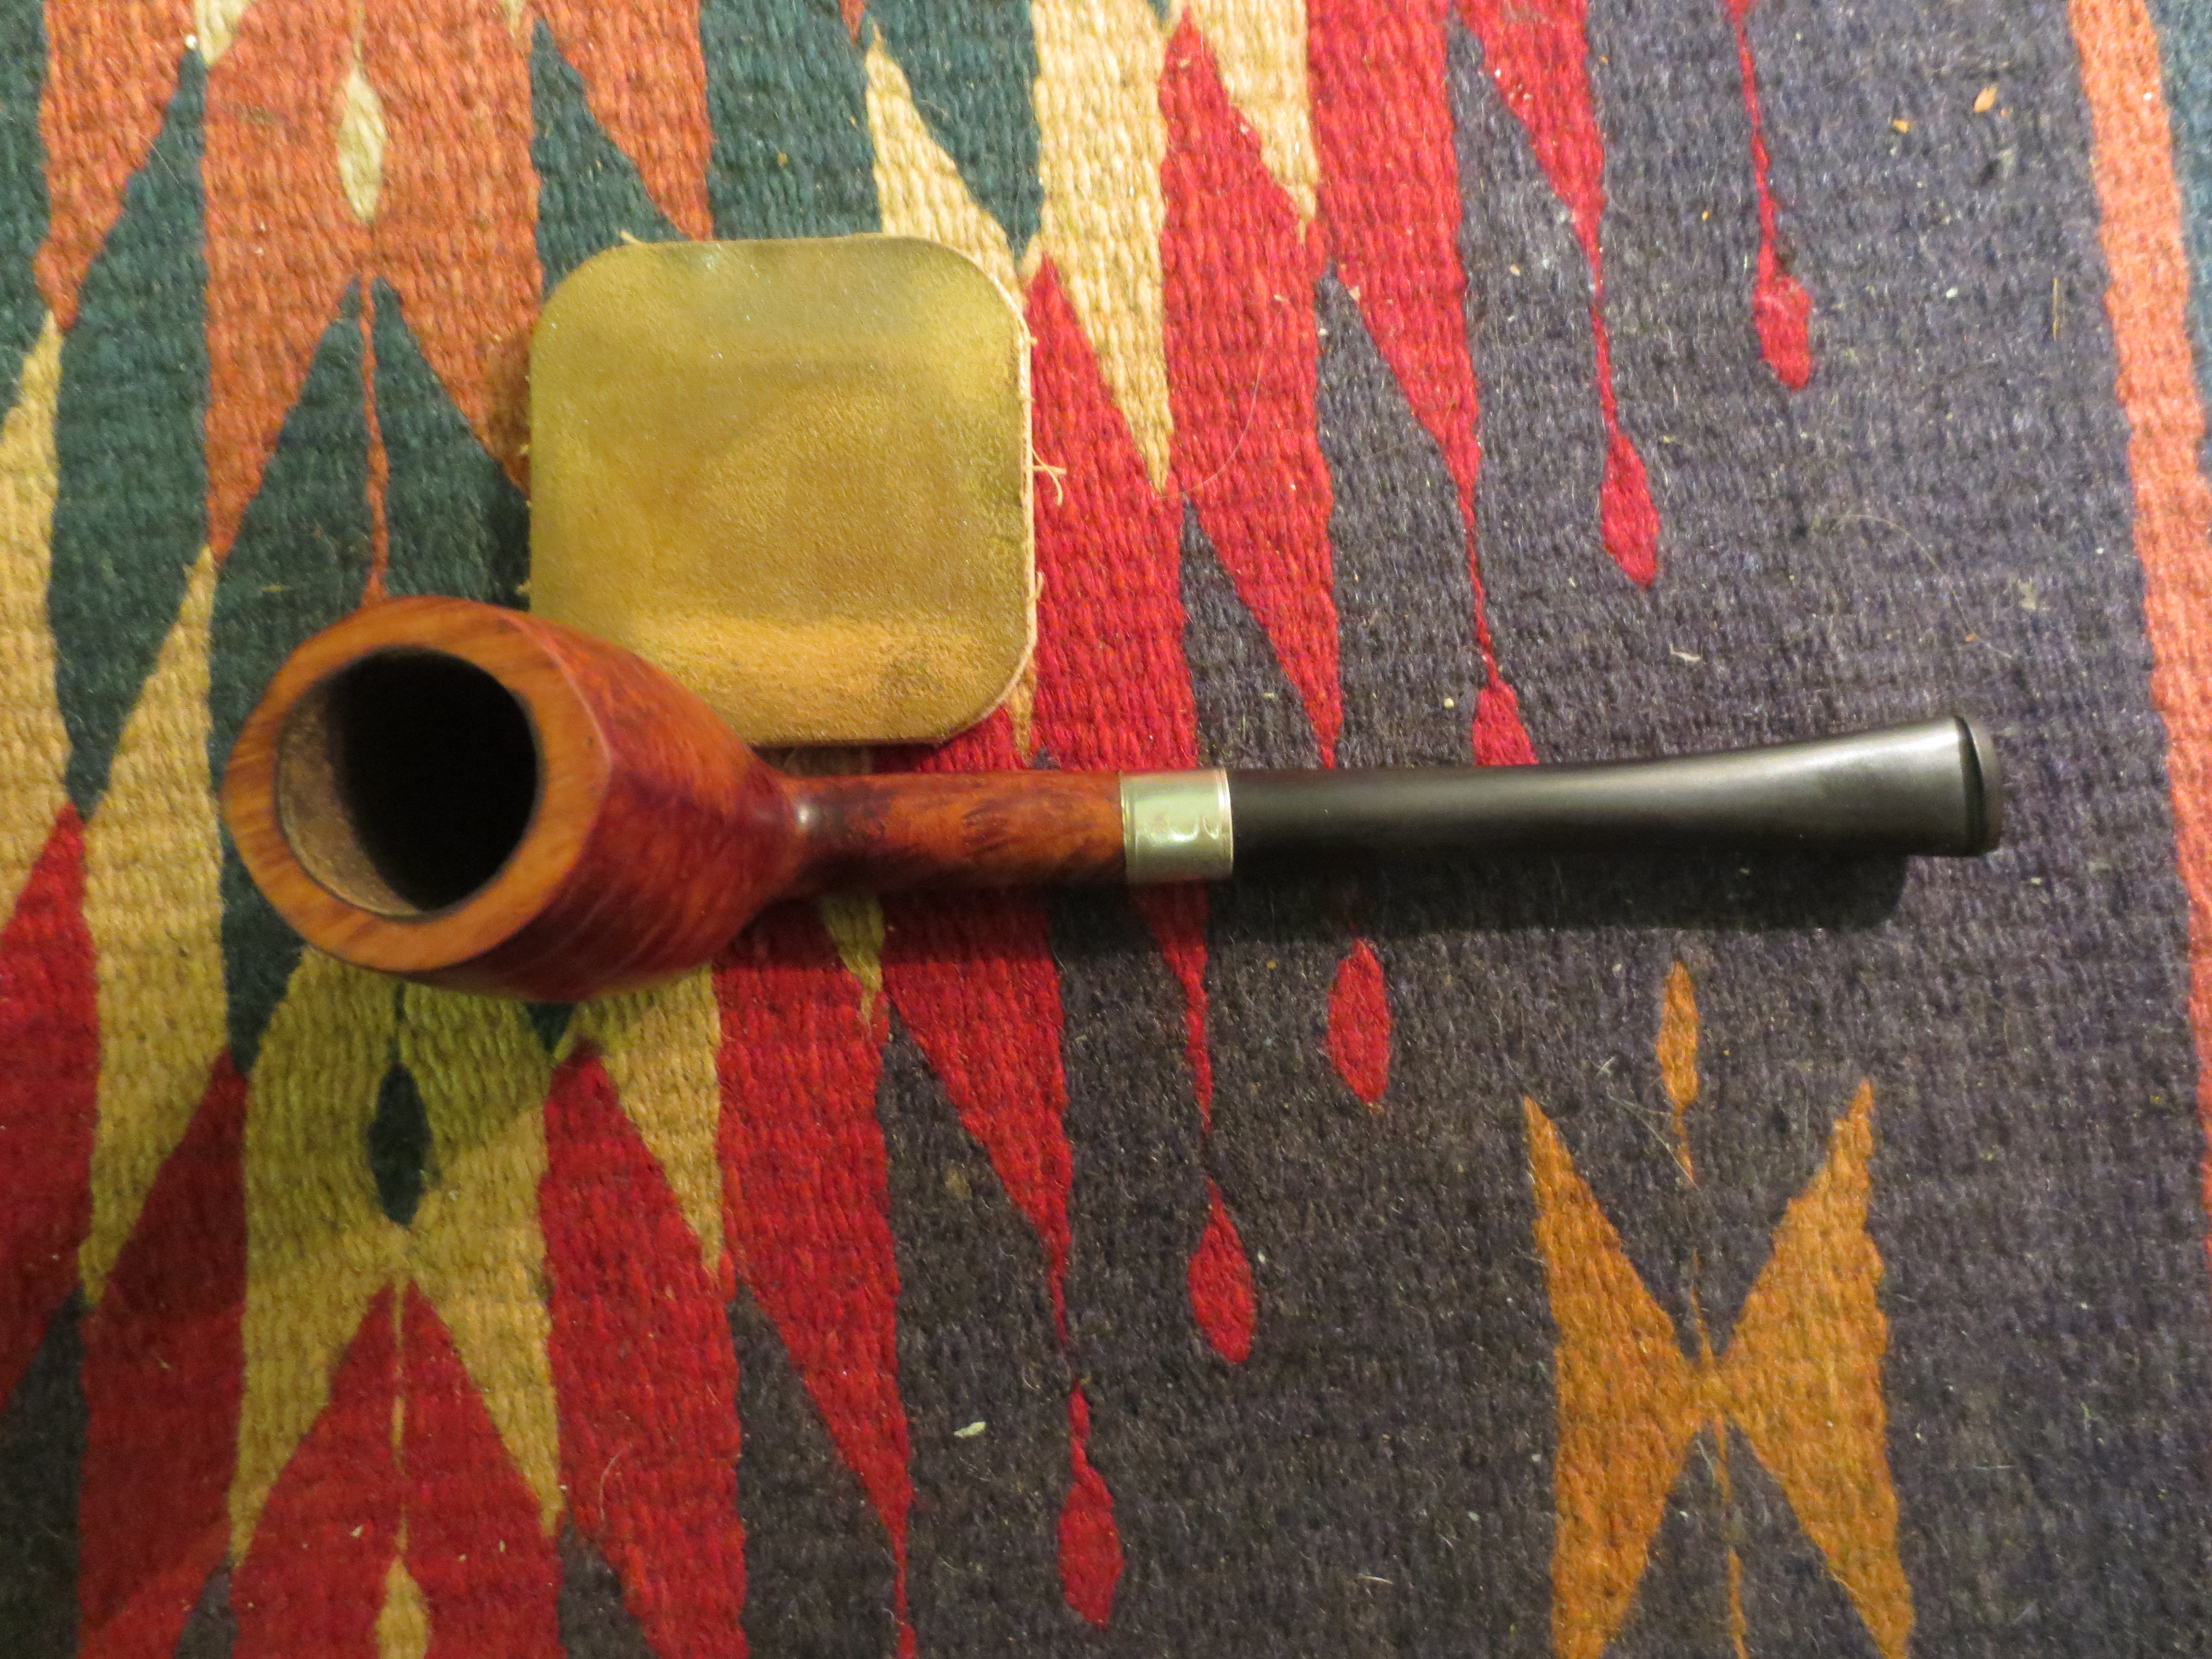
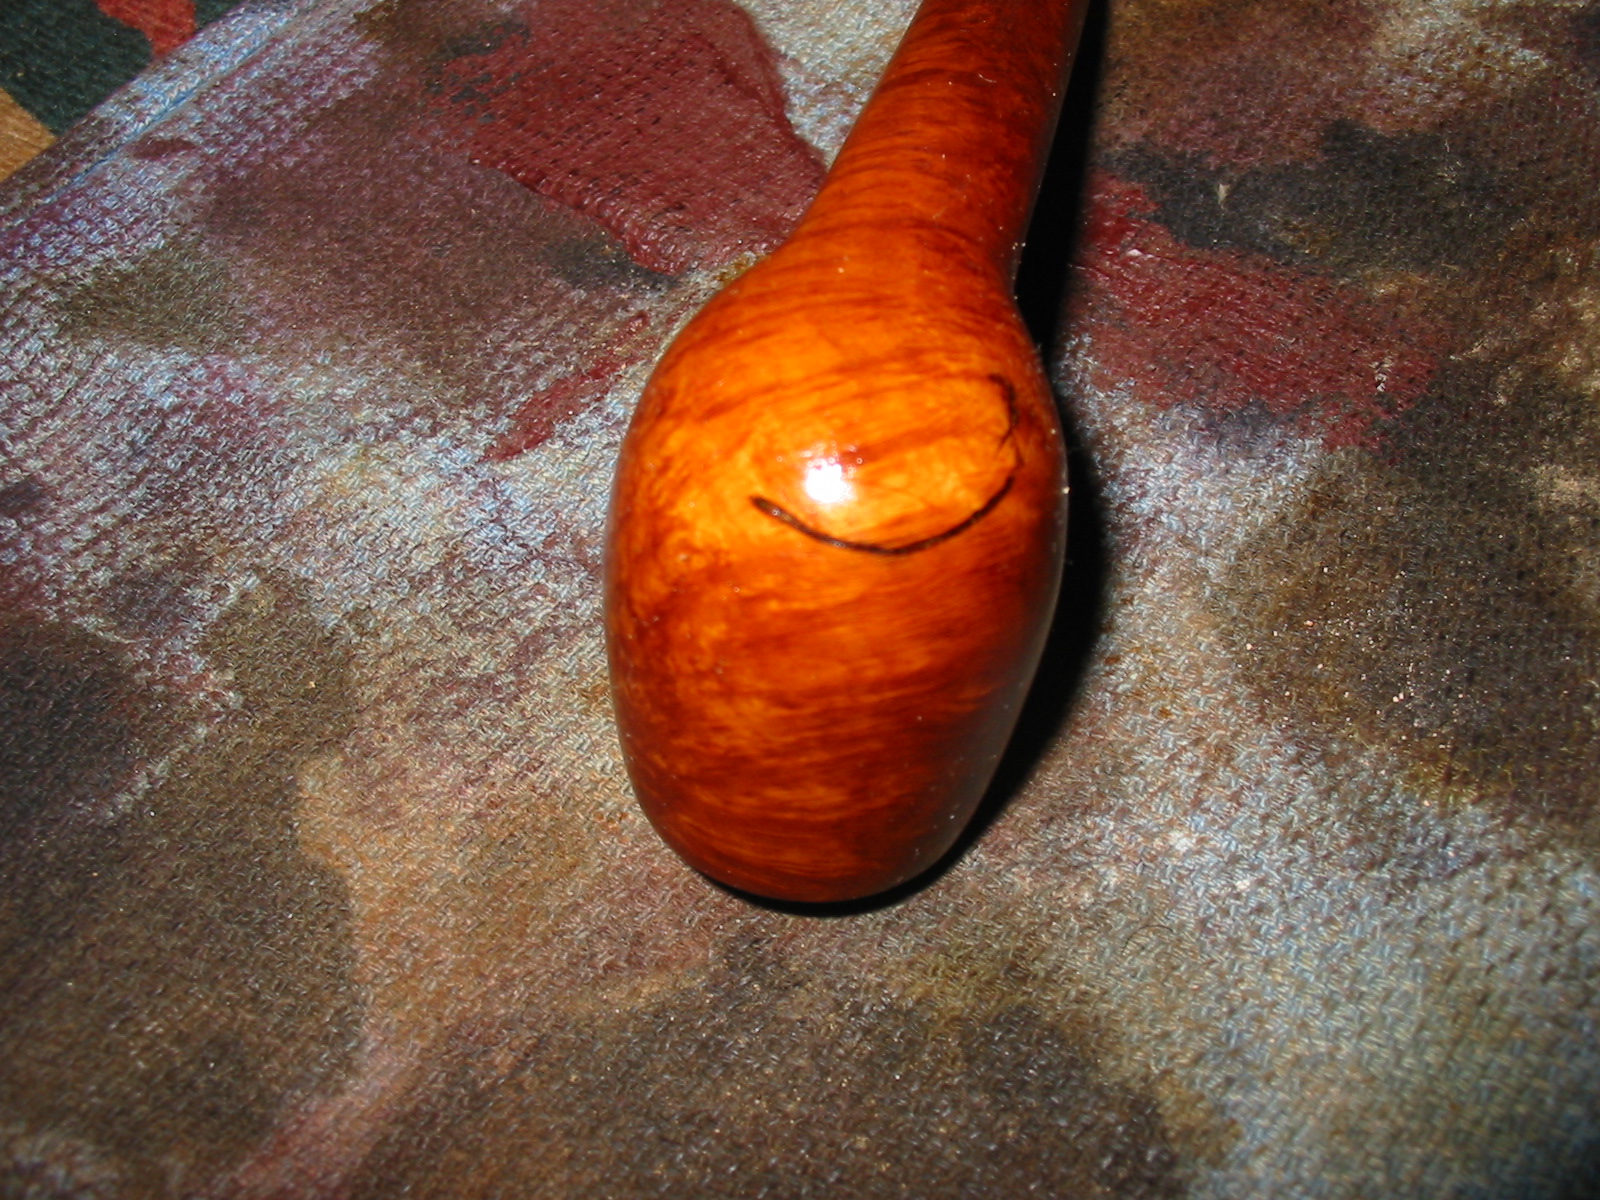
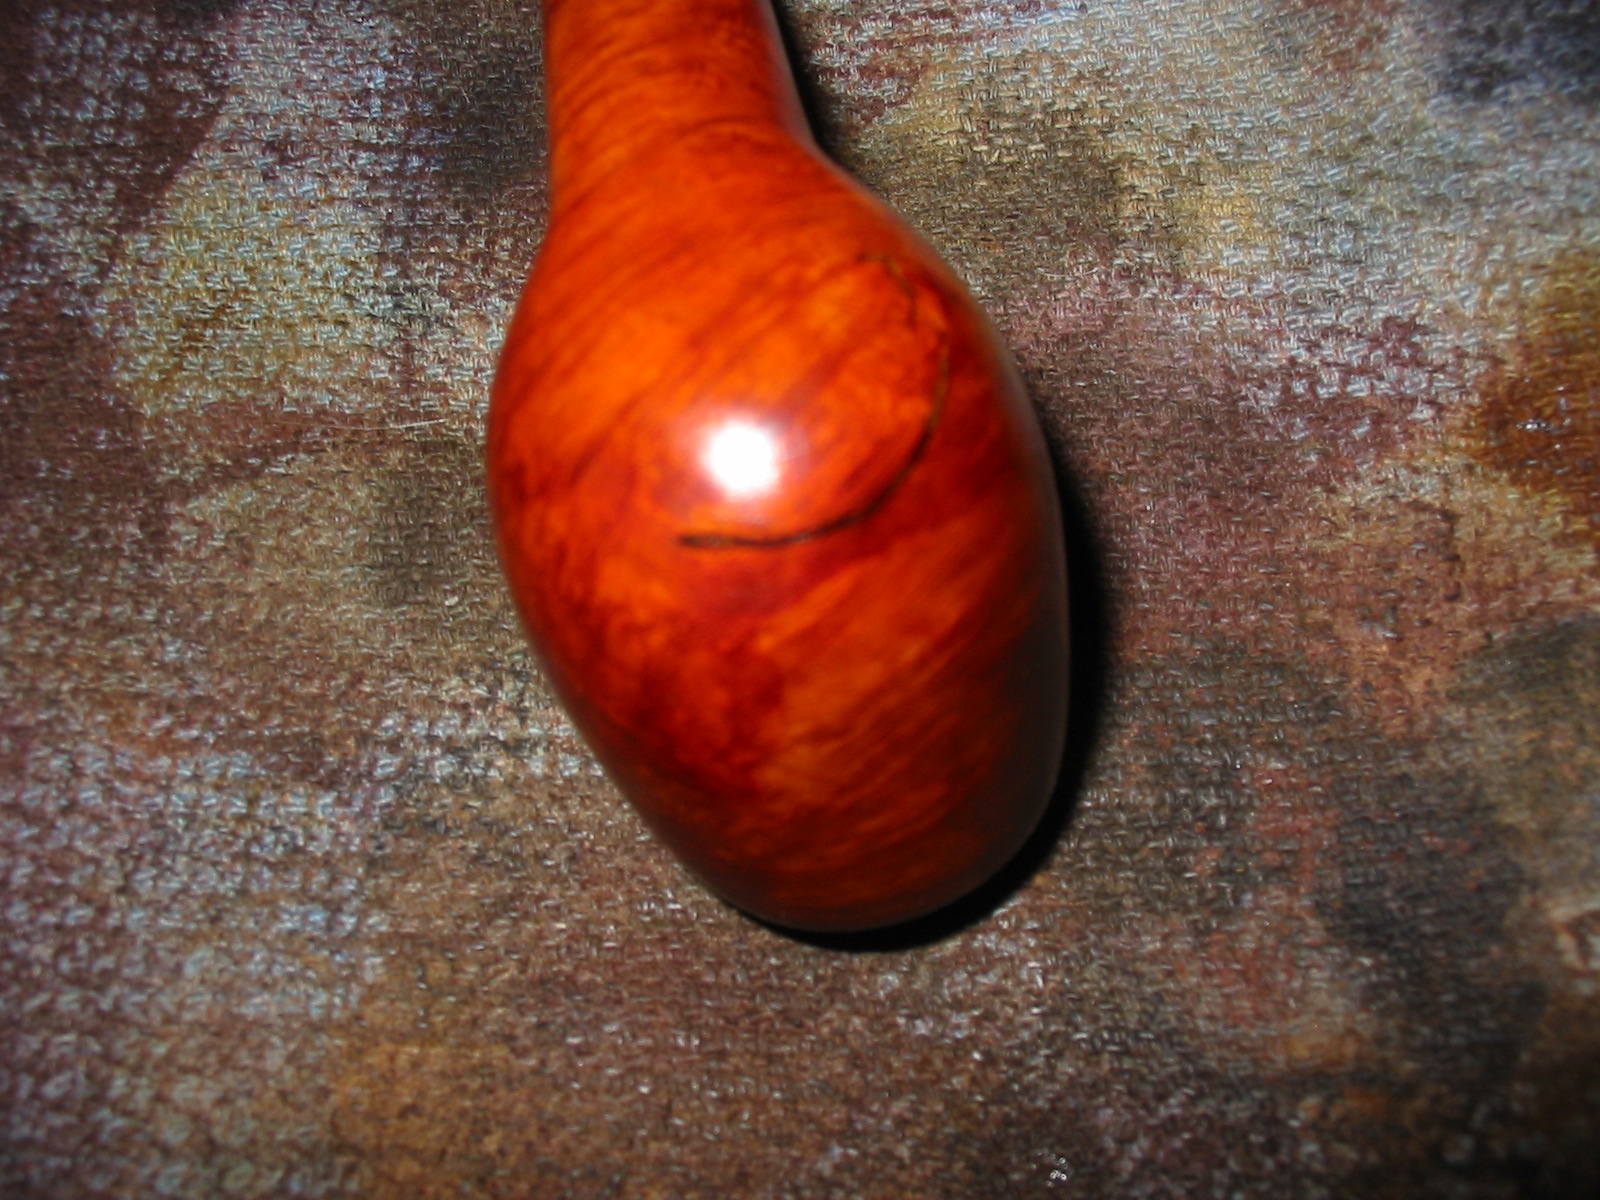
The next photo shows the extent of the flaw and the white fill material on the bottom front of the bowl. This is the only flaw on the bowl.
IMG_4712

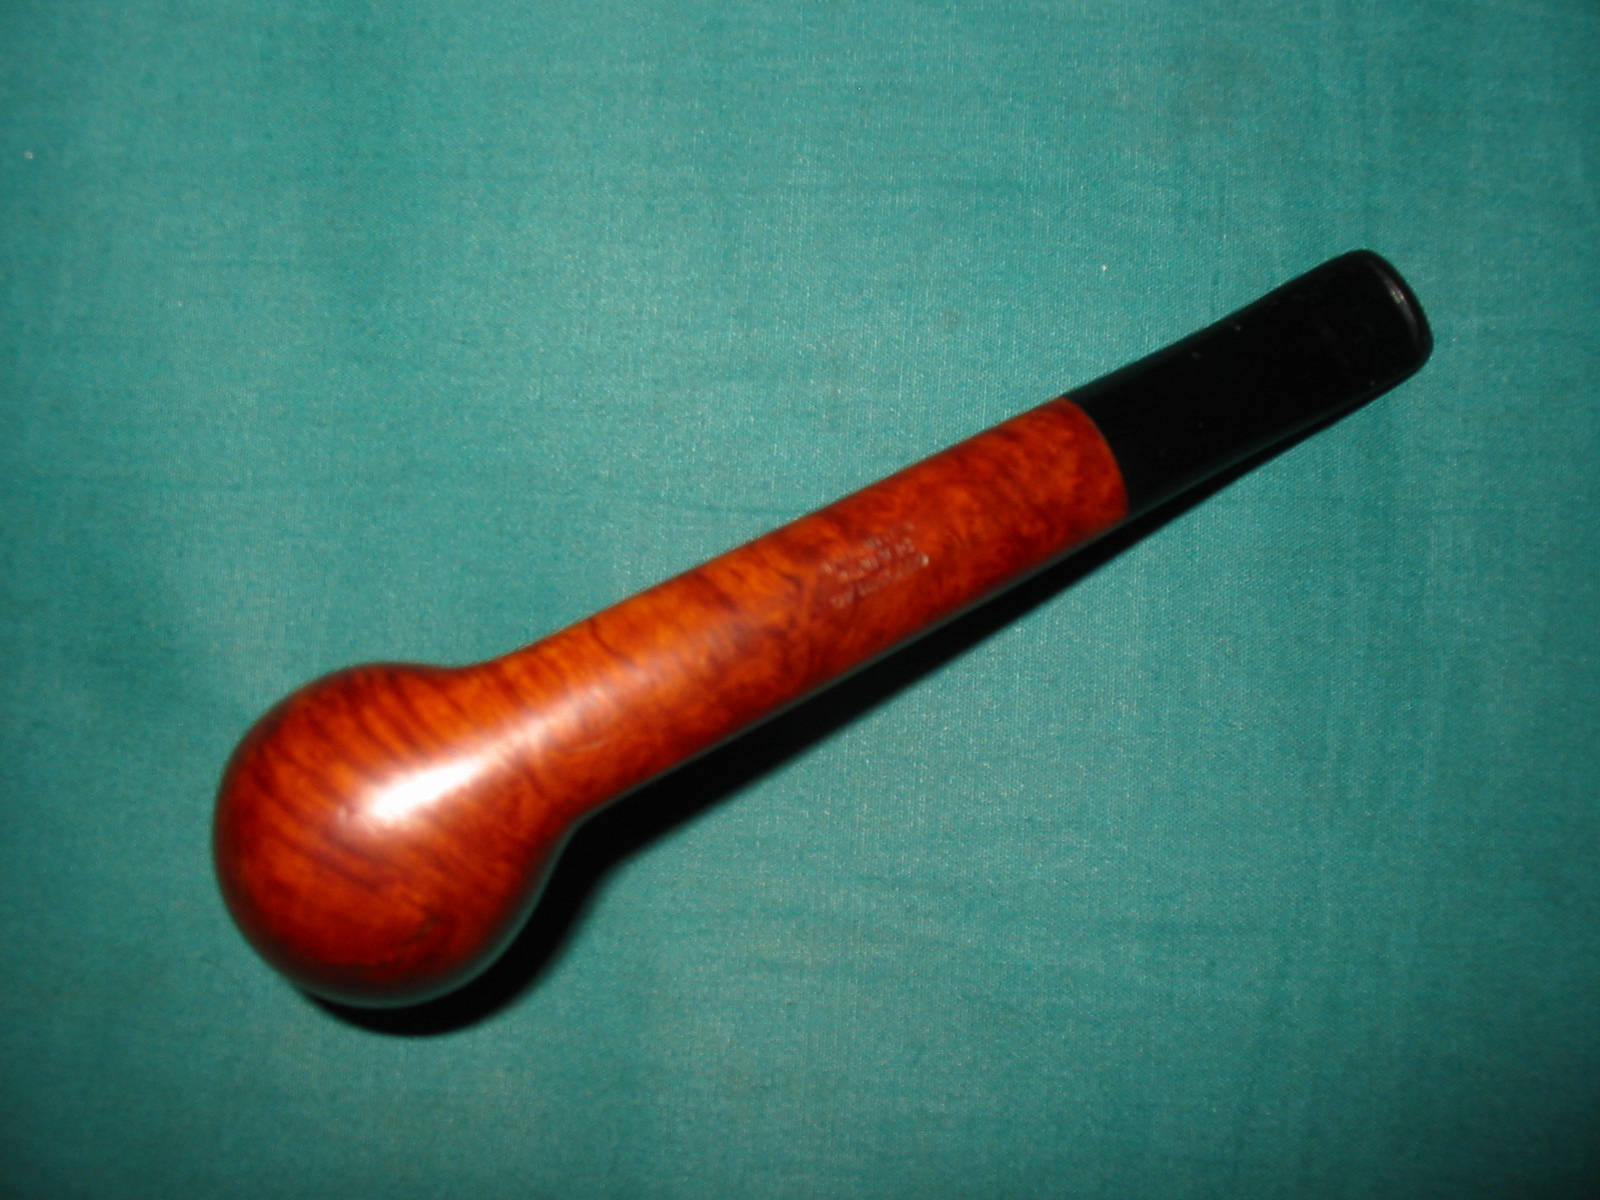
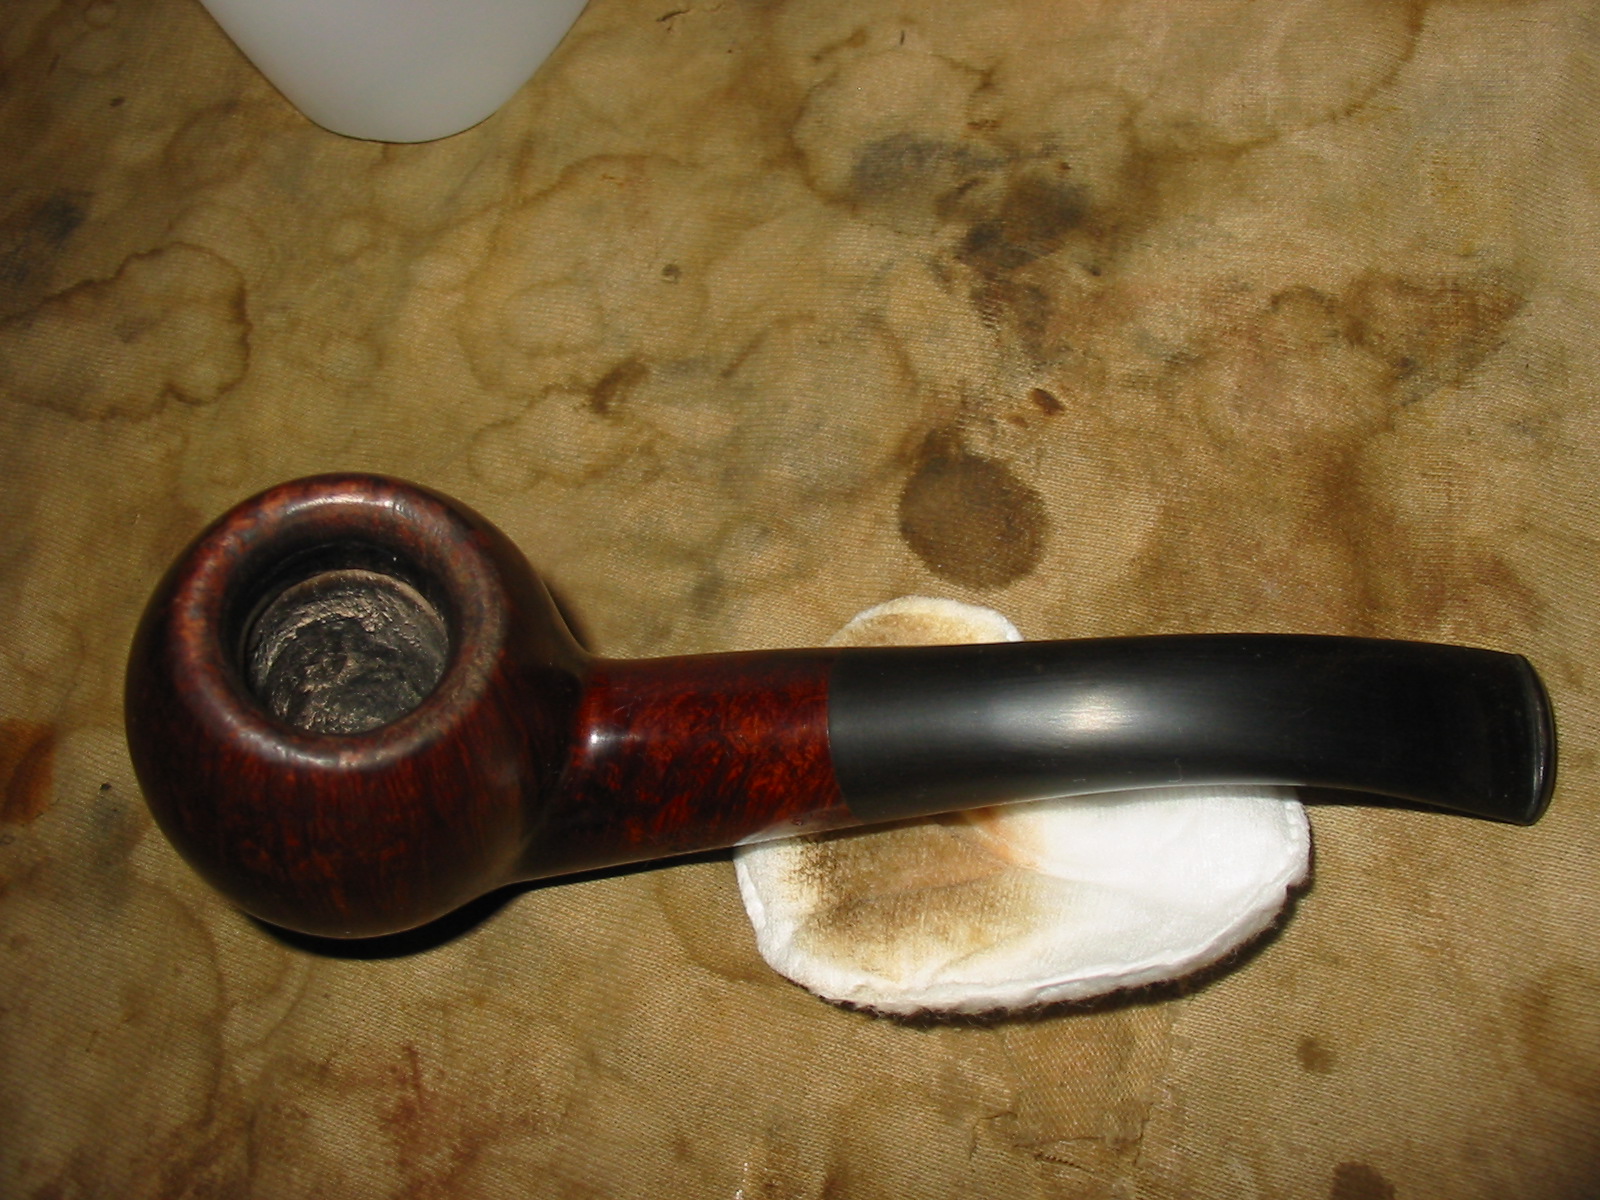
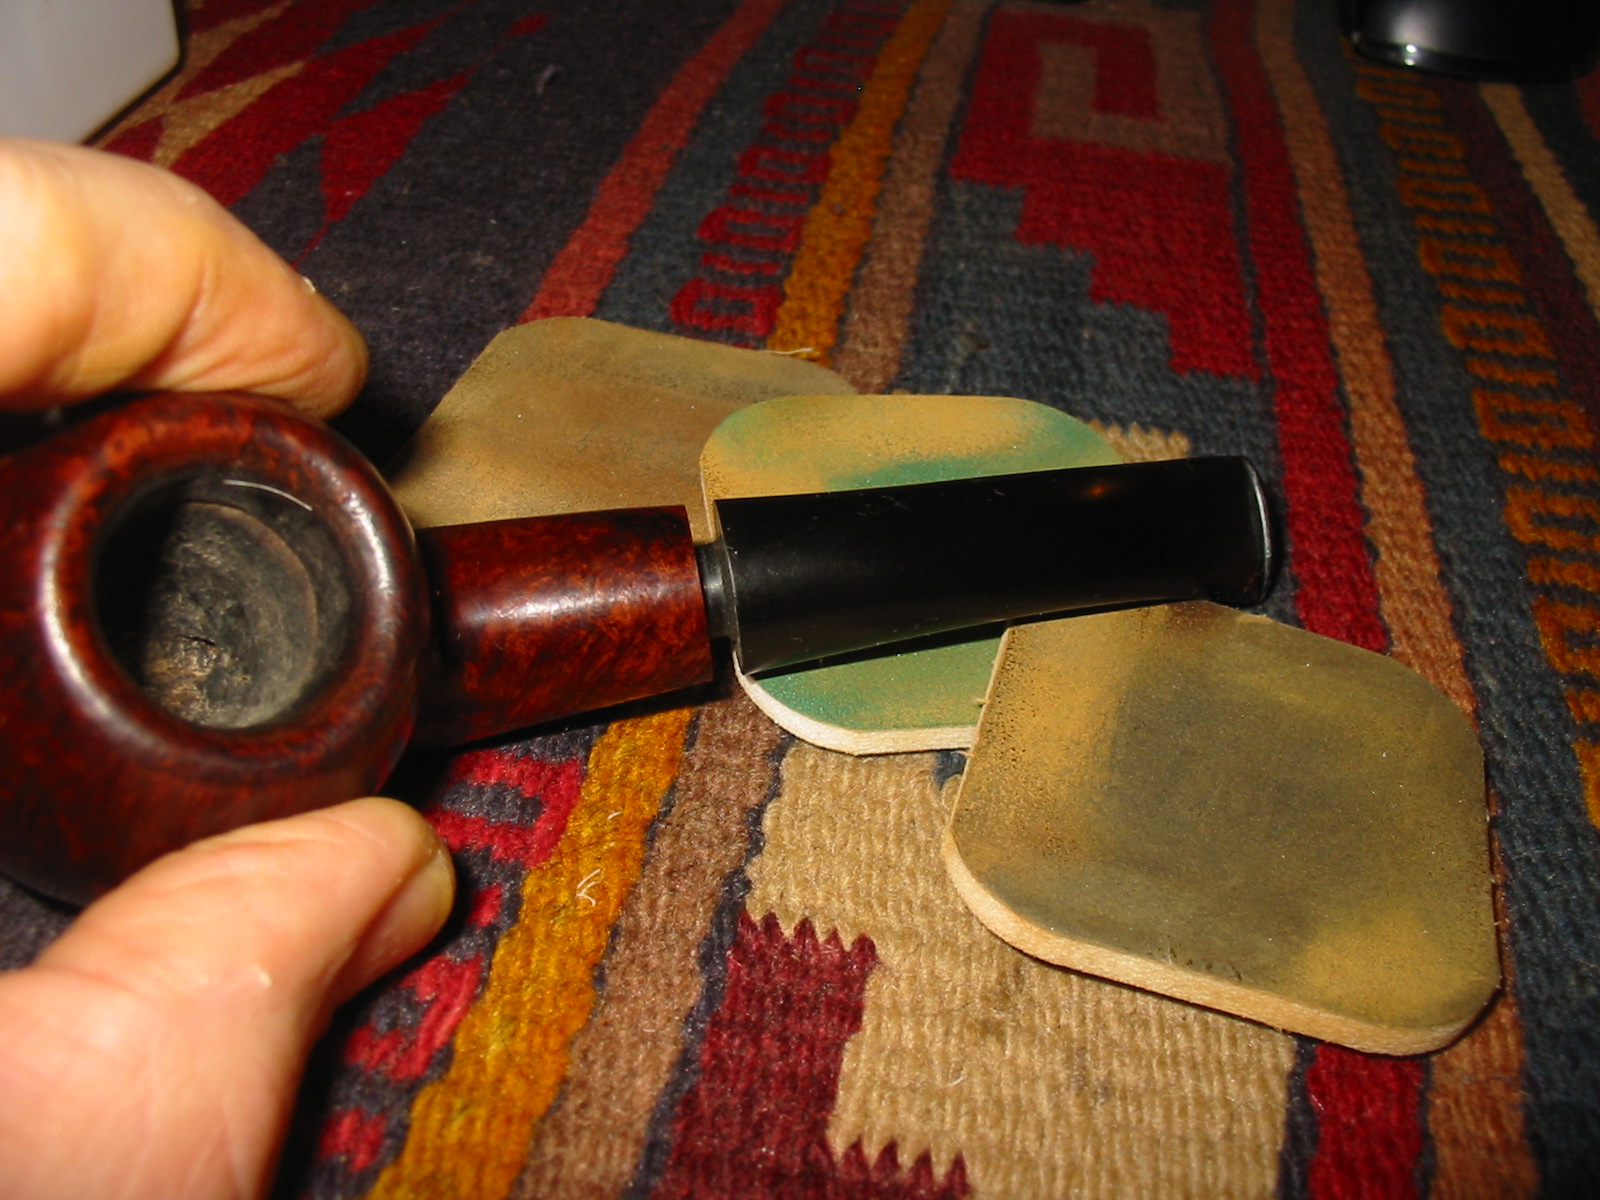
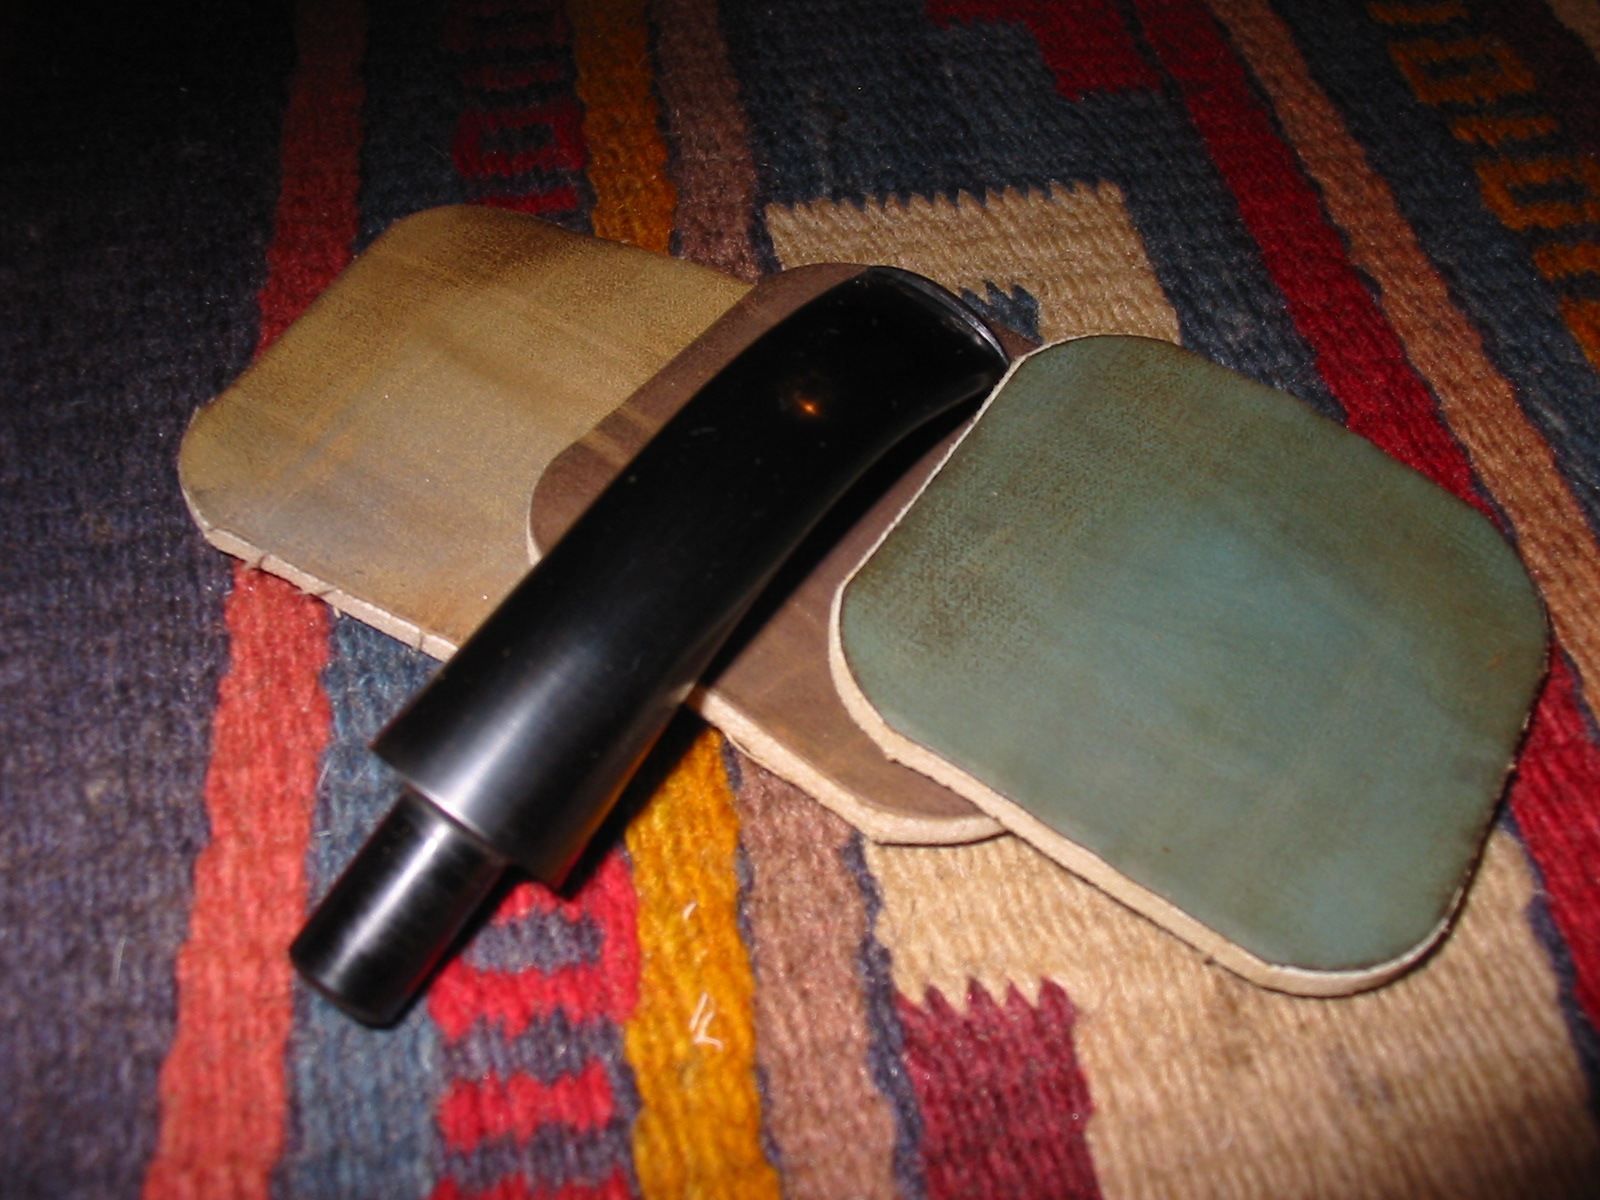
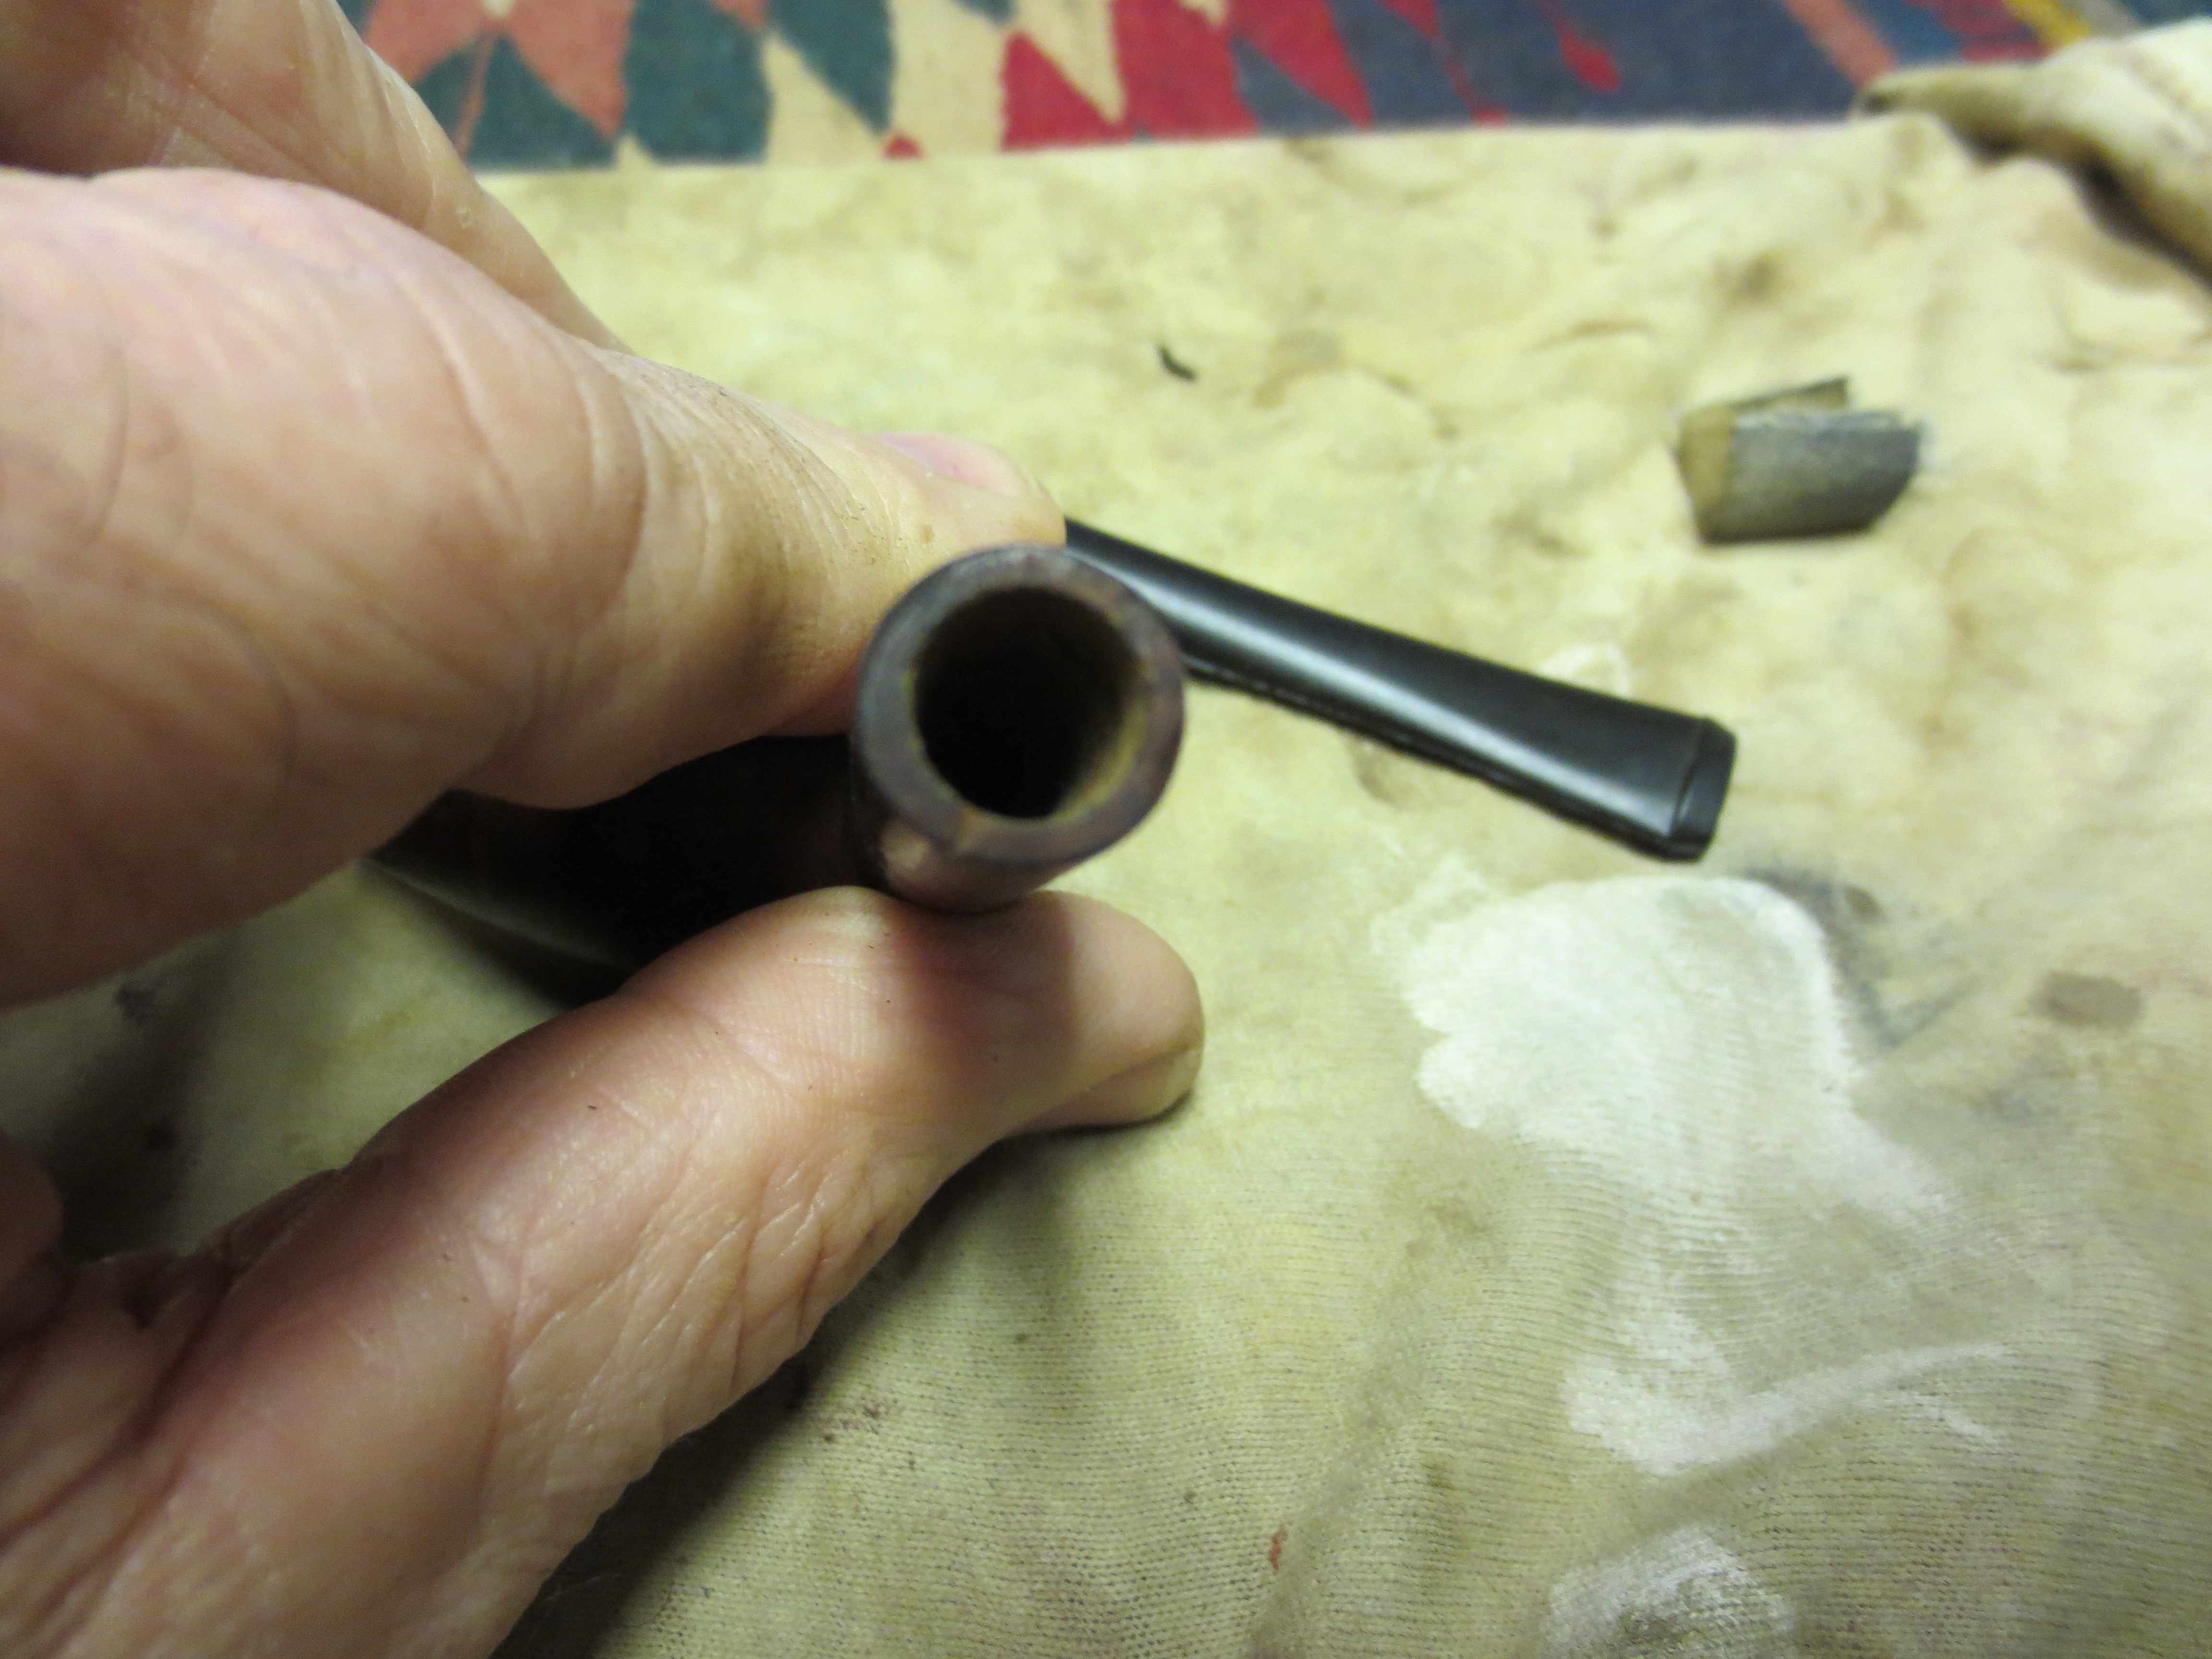
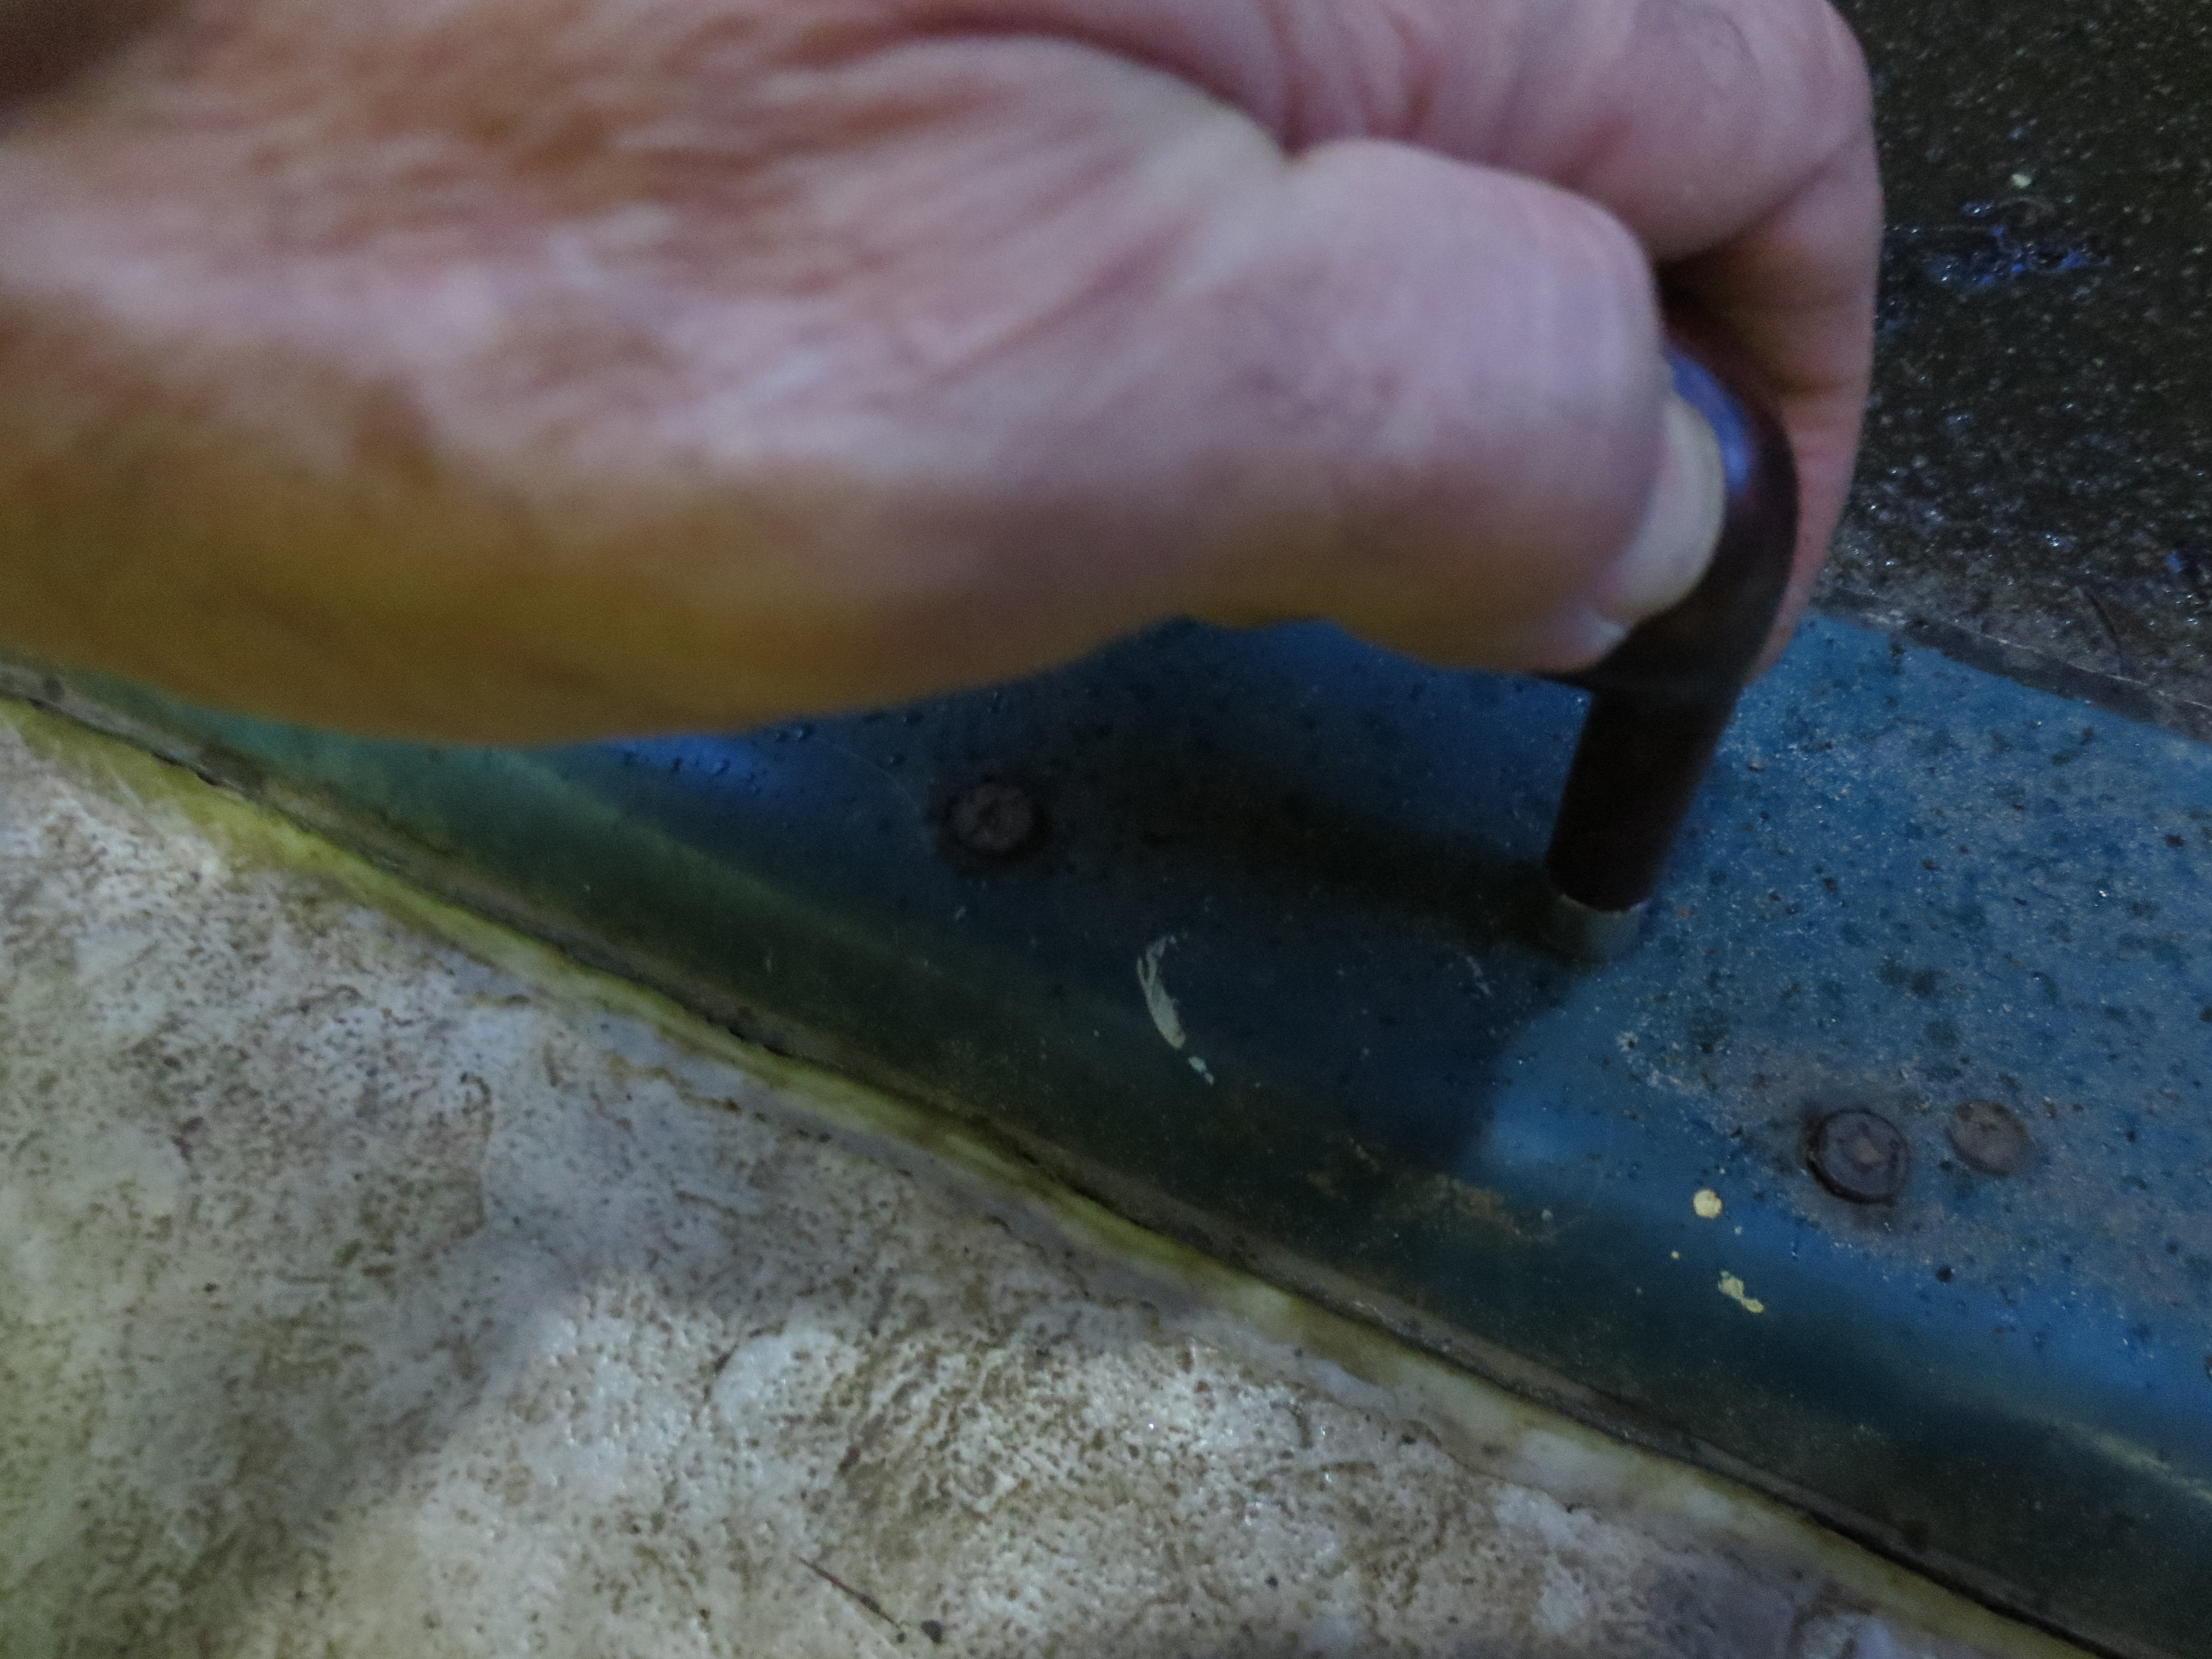
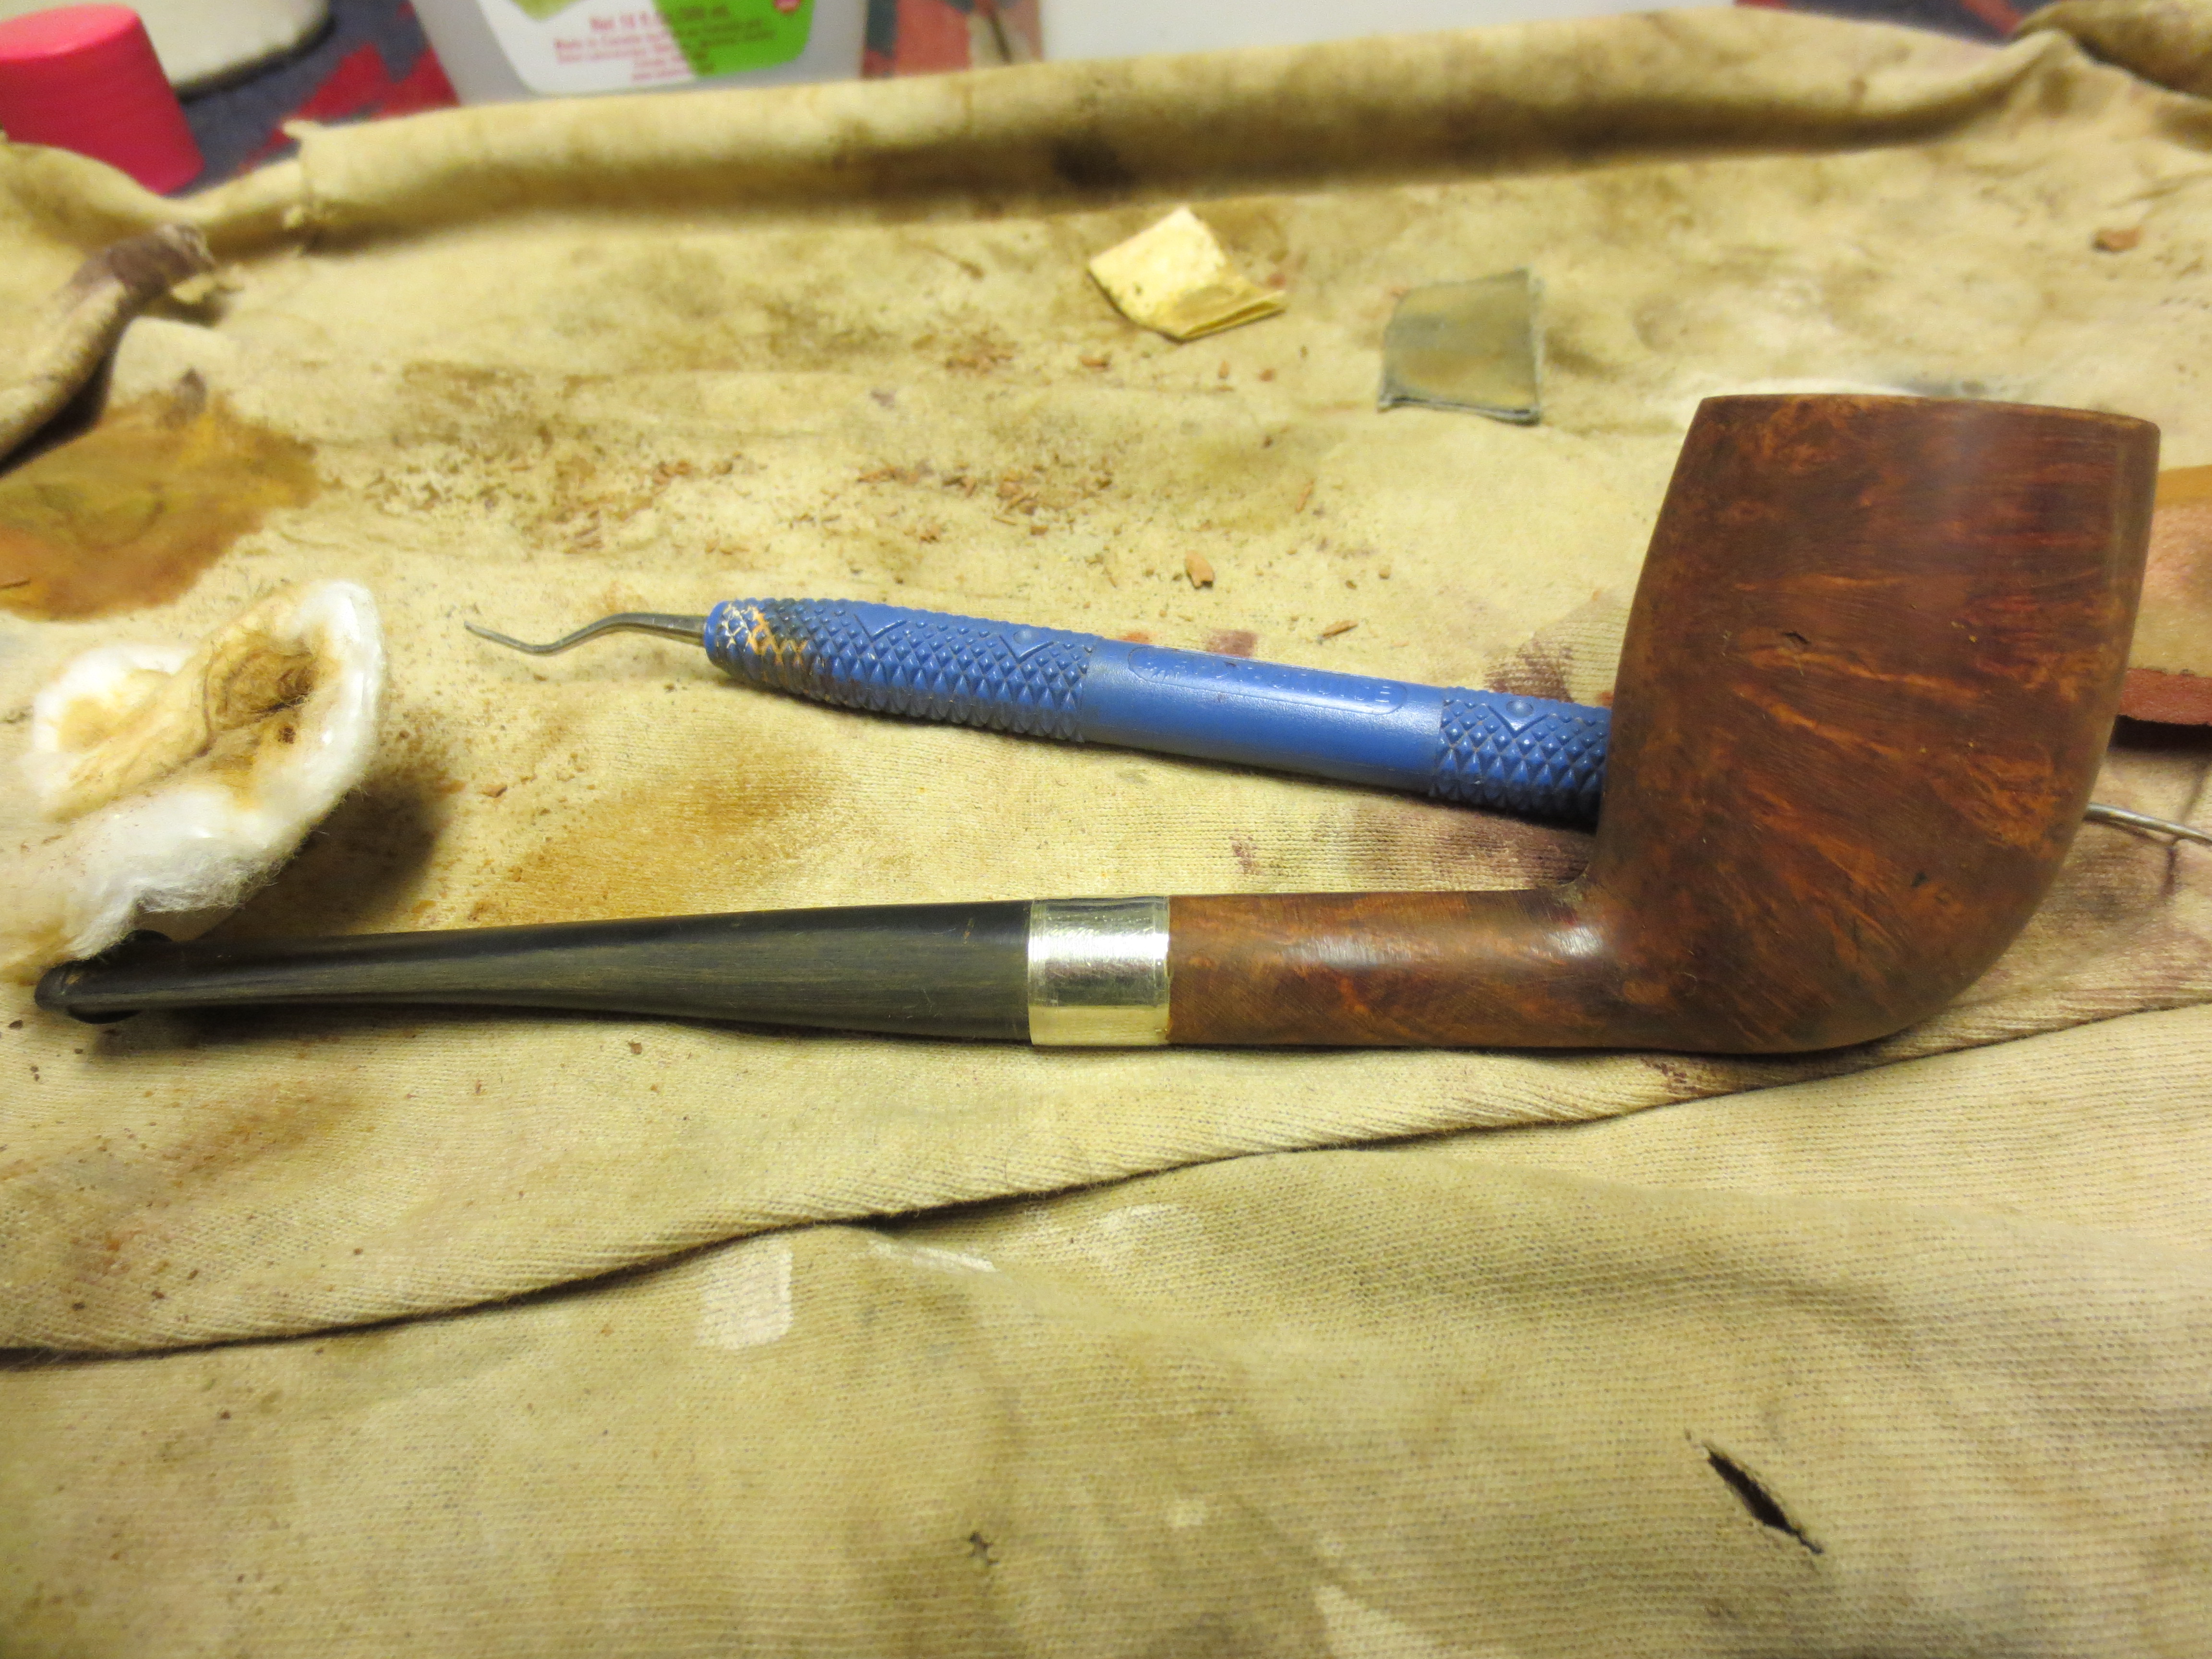
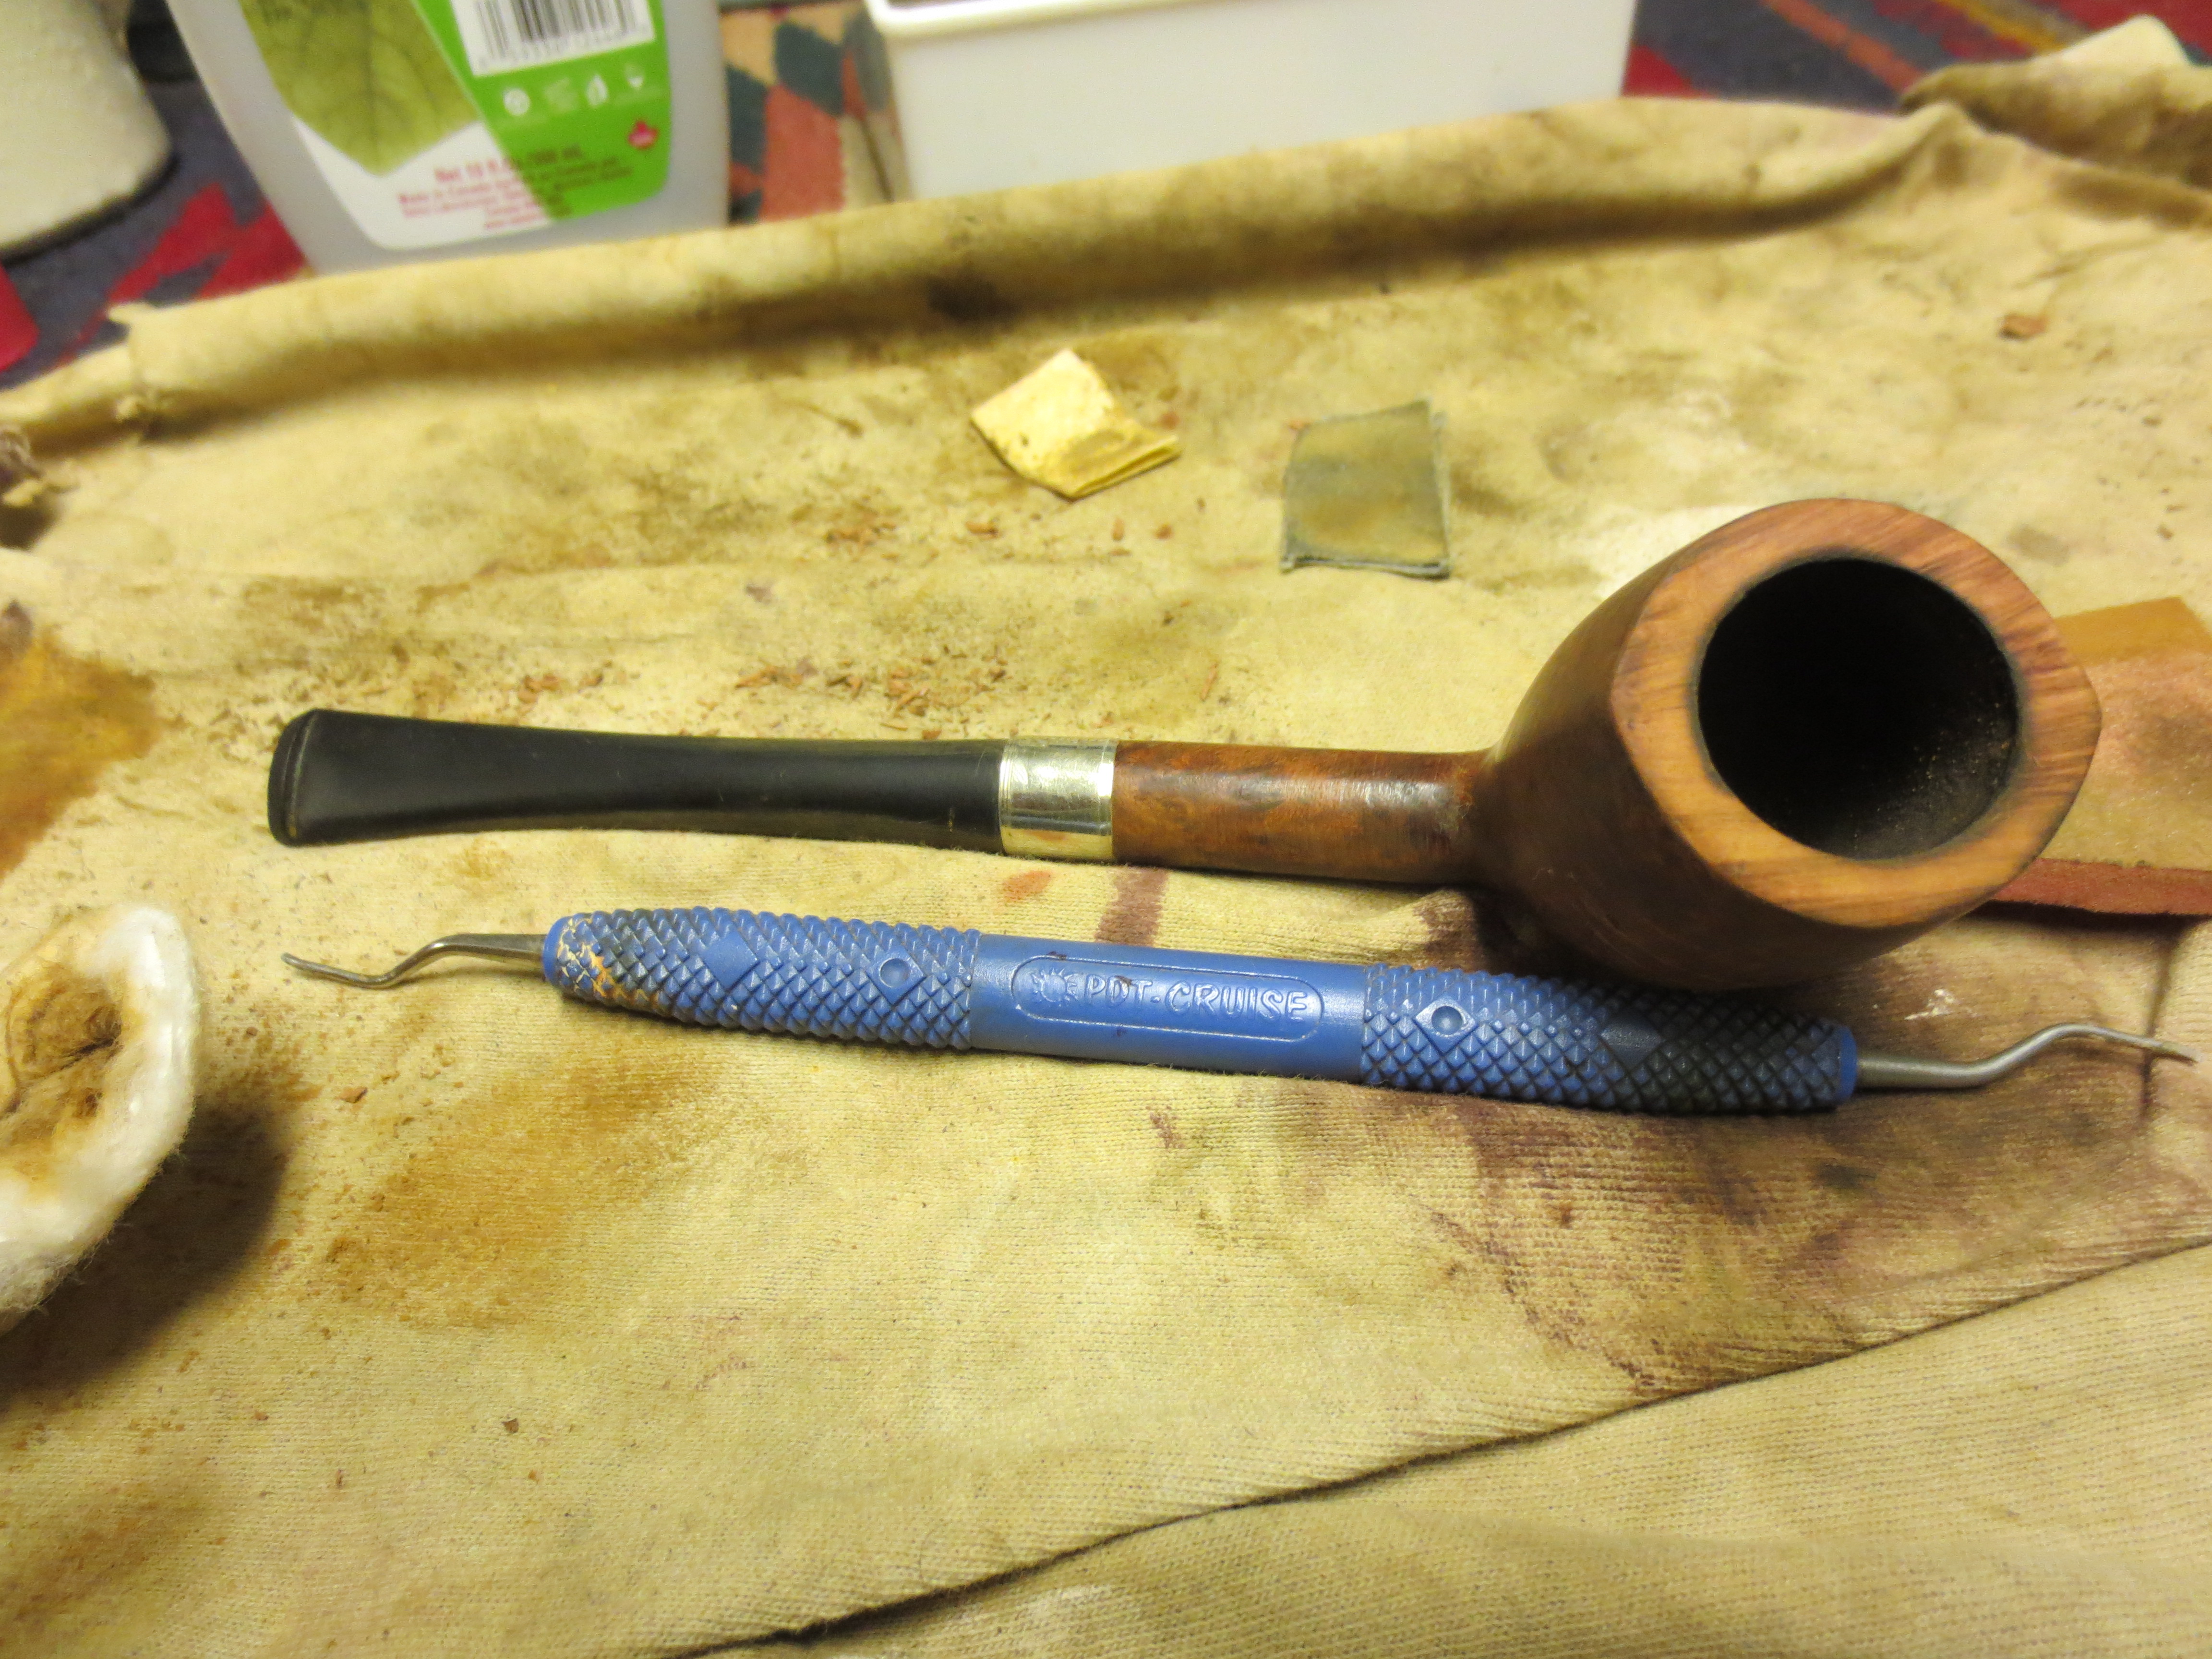
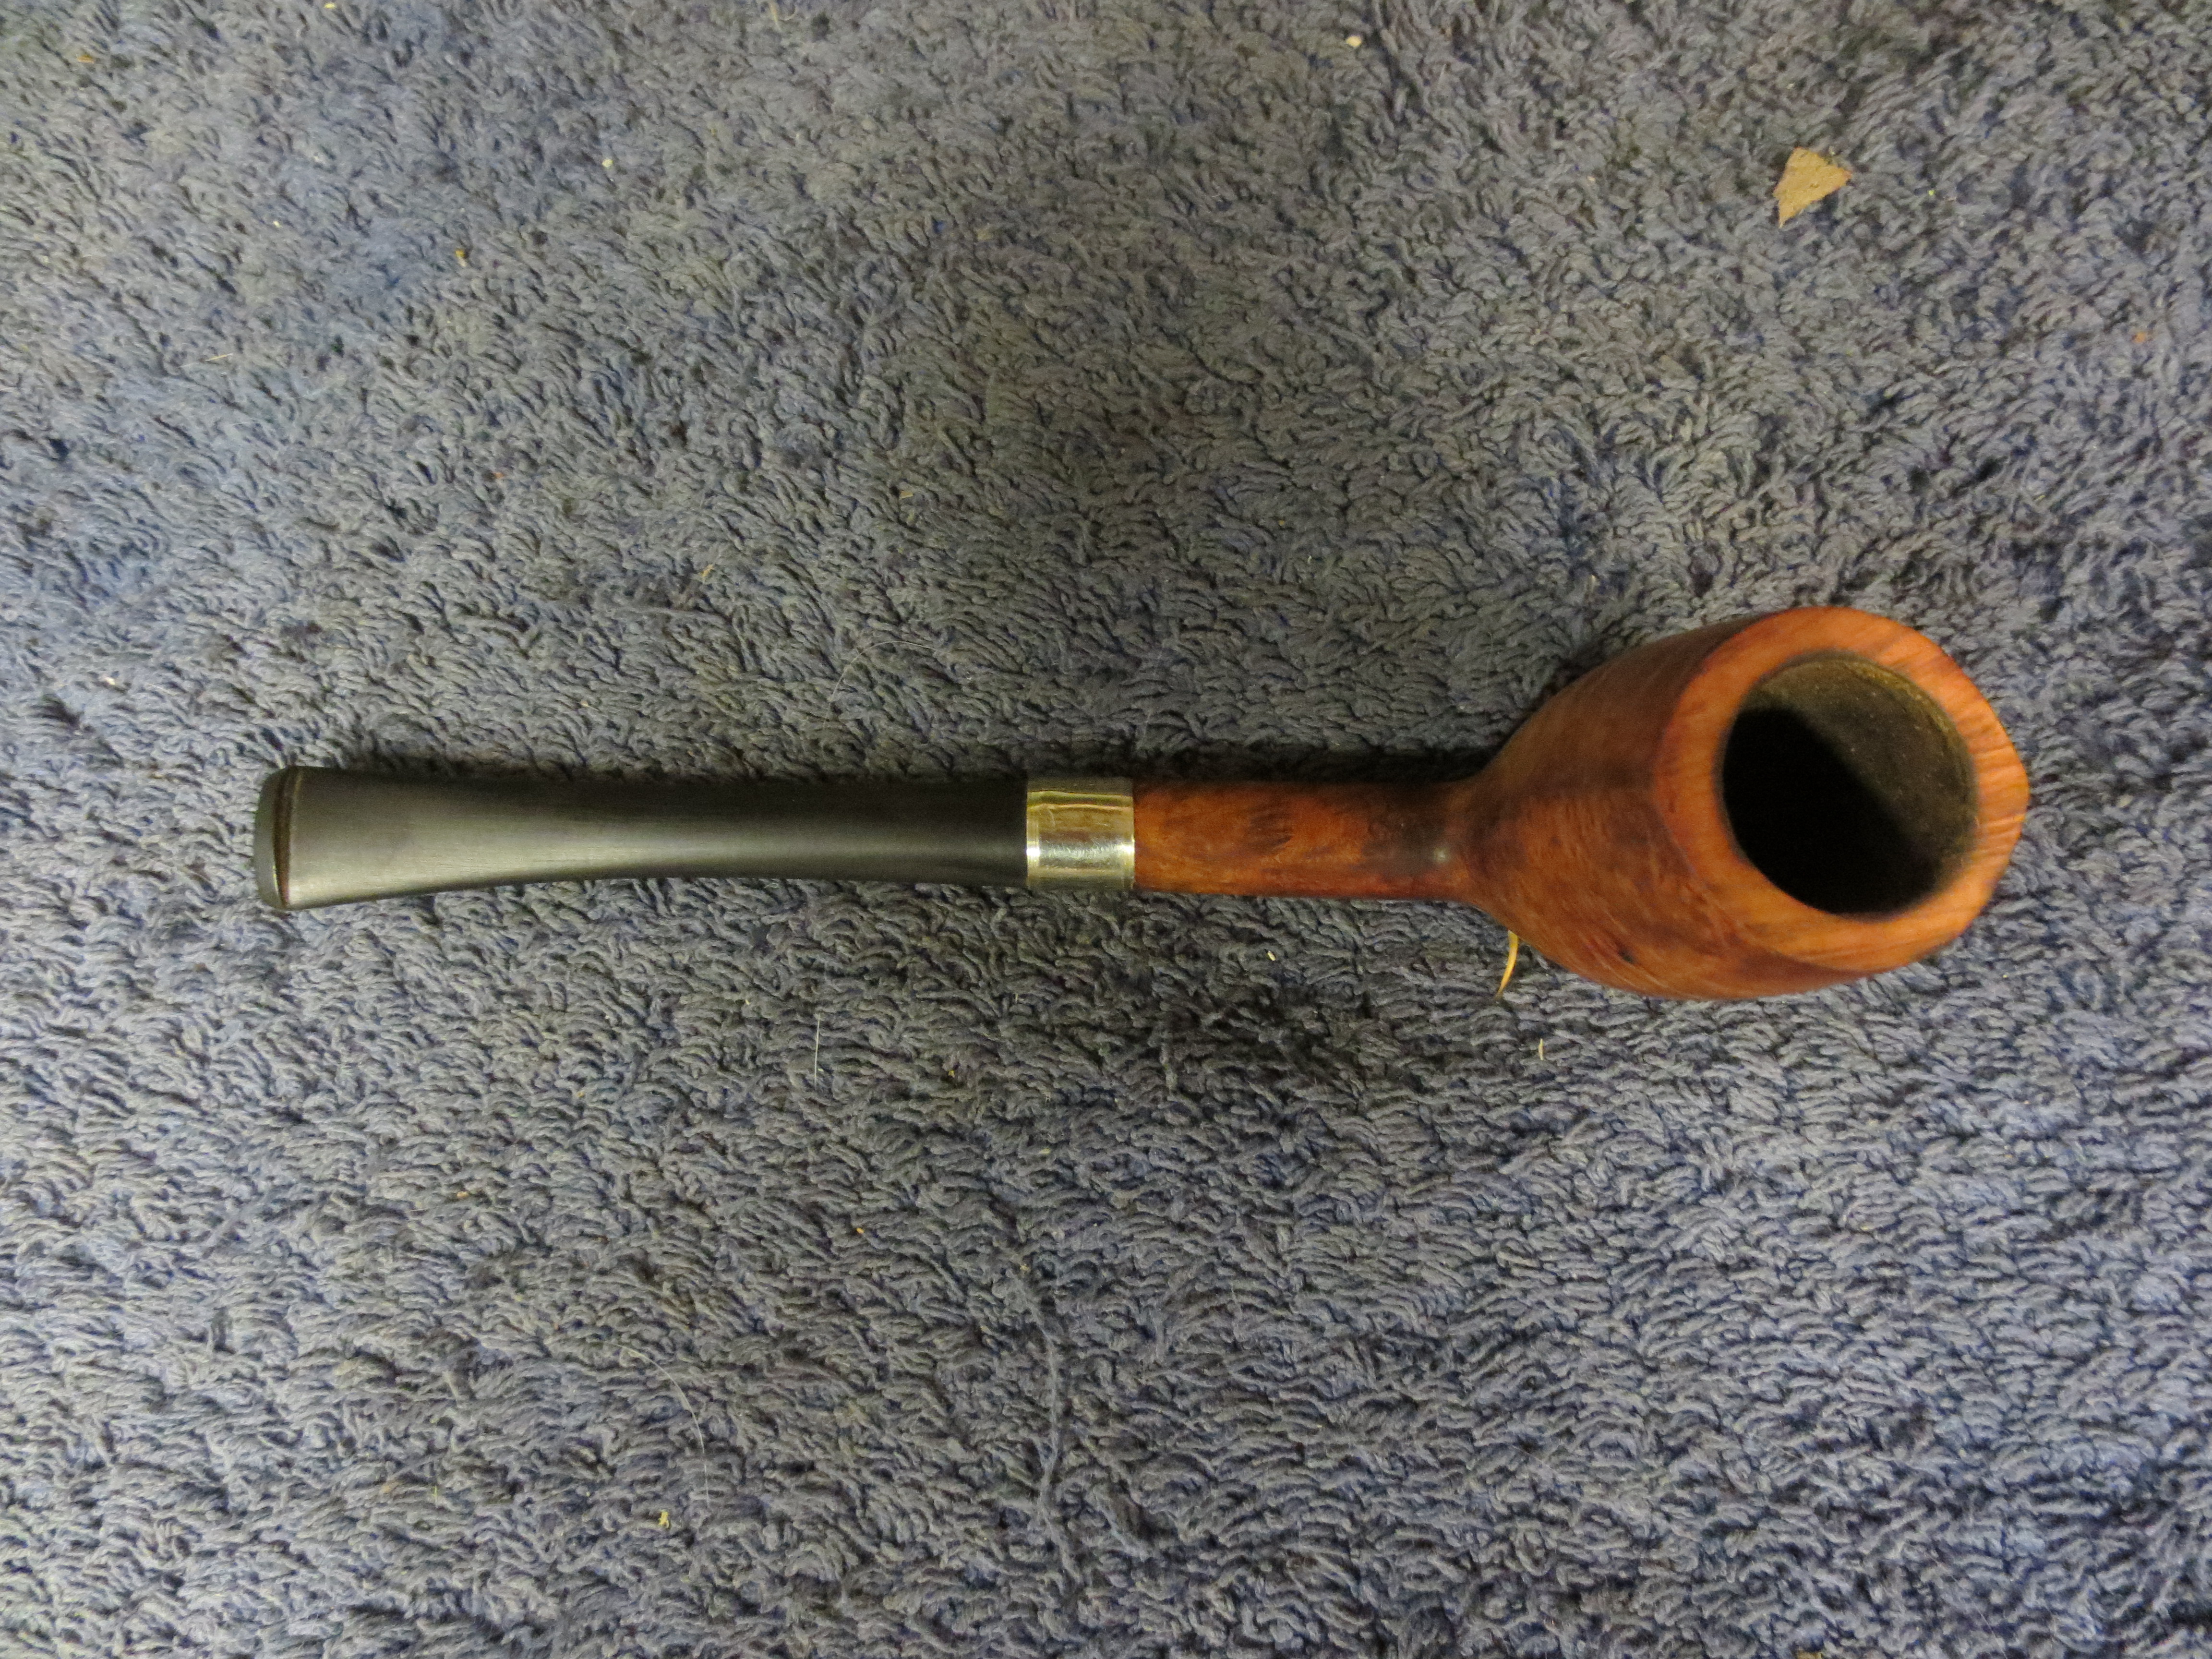
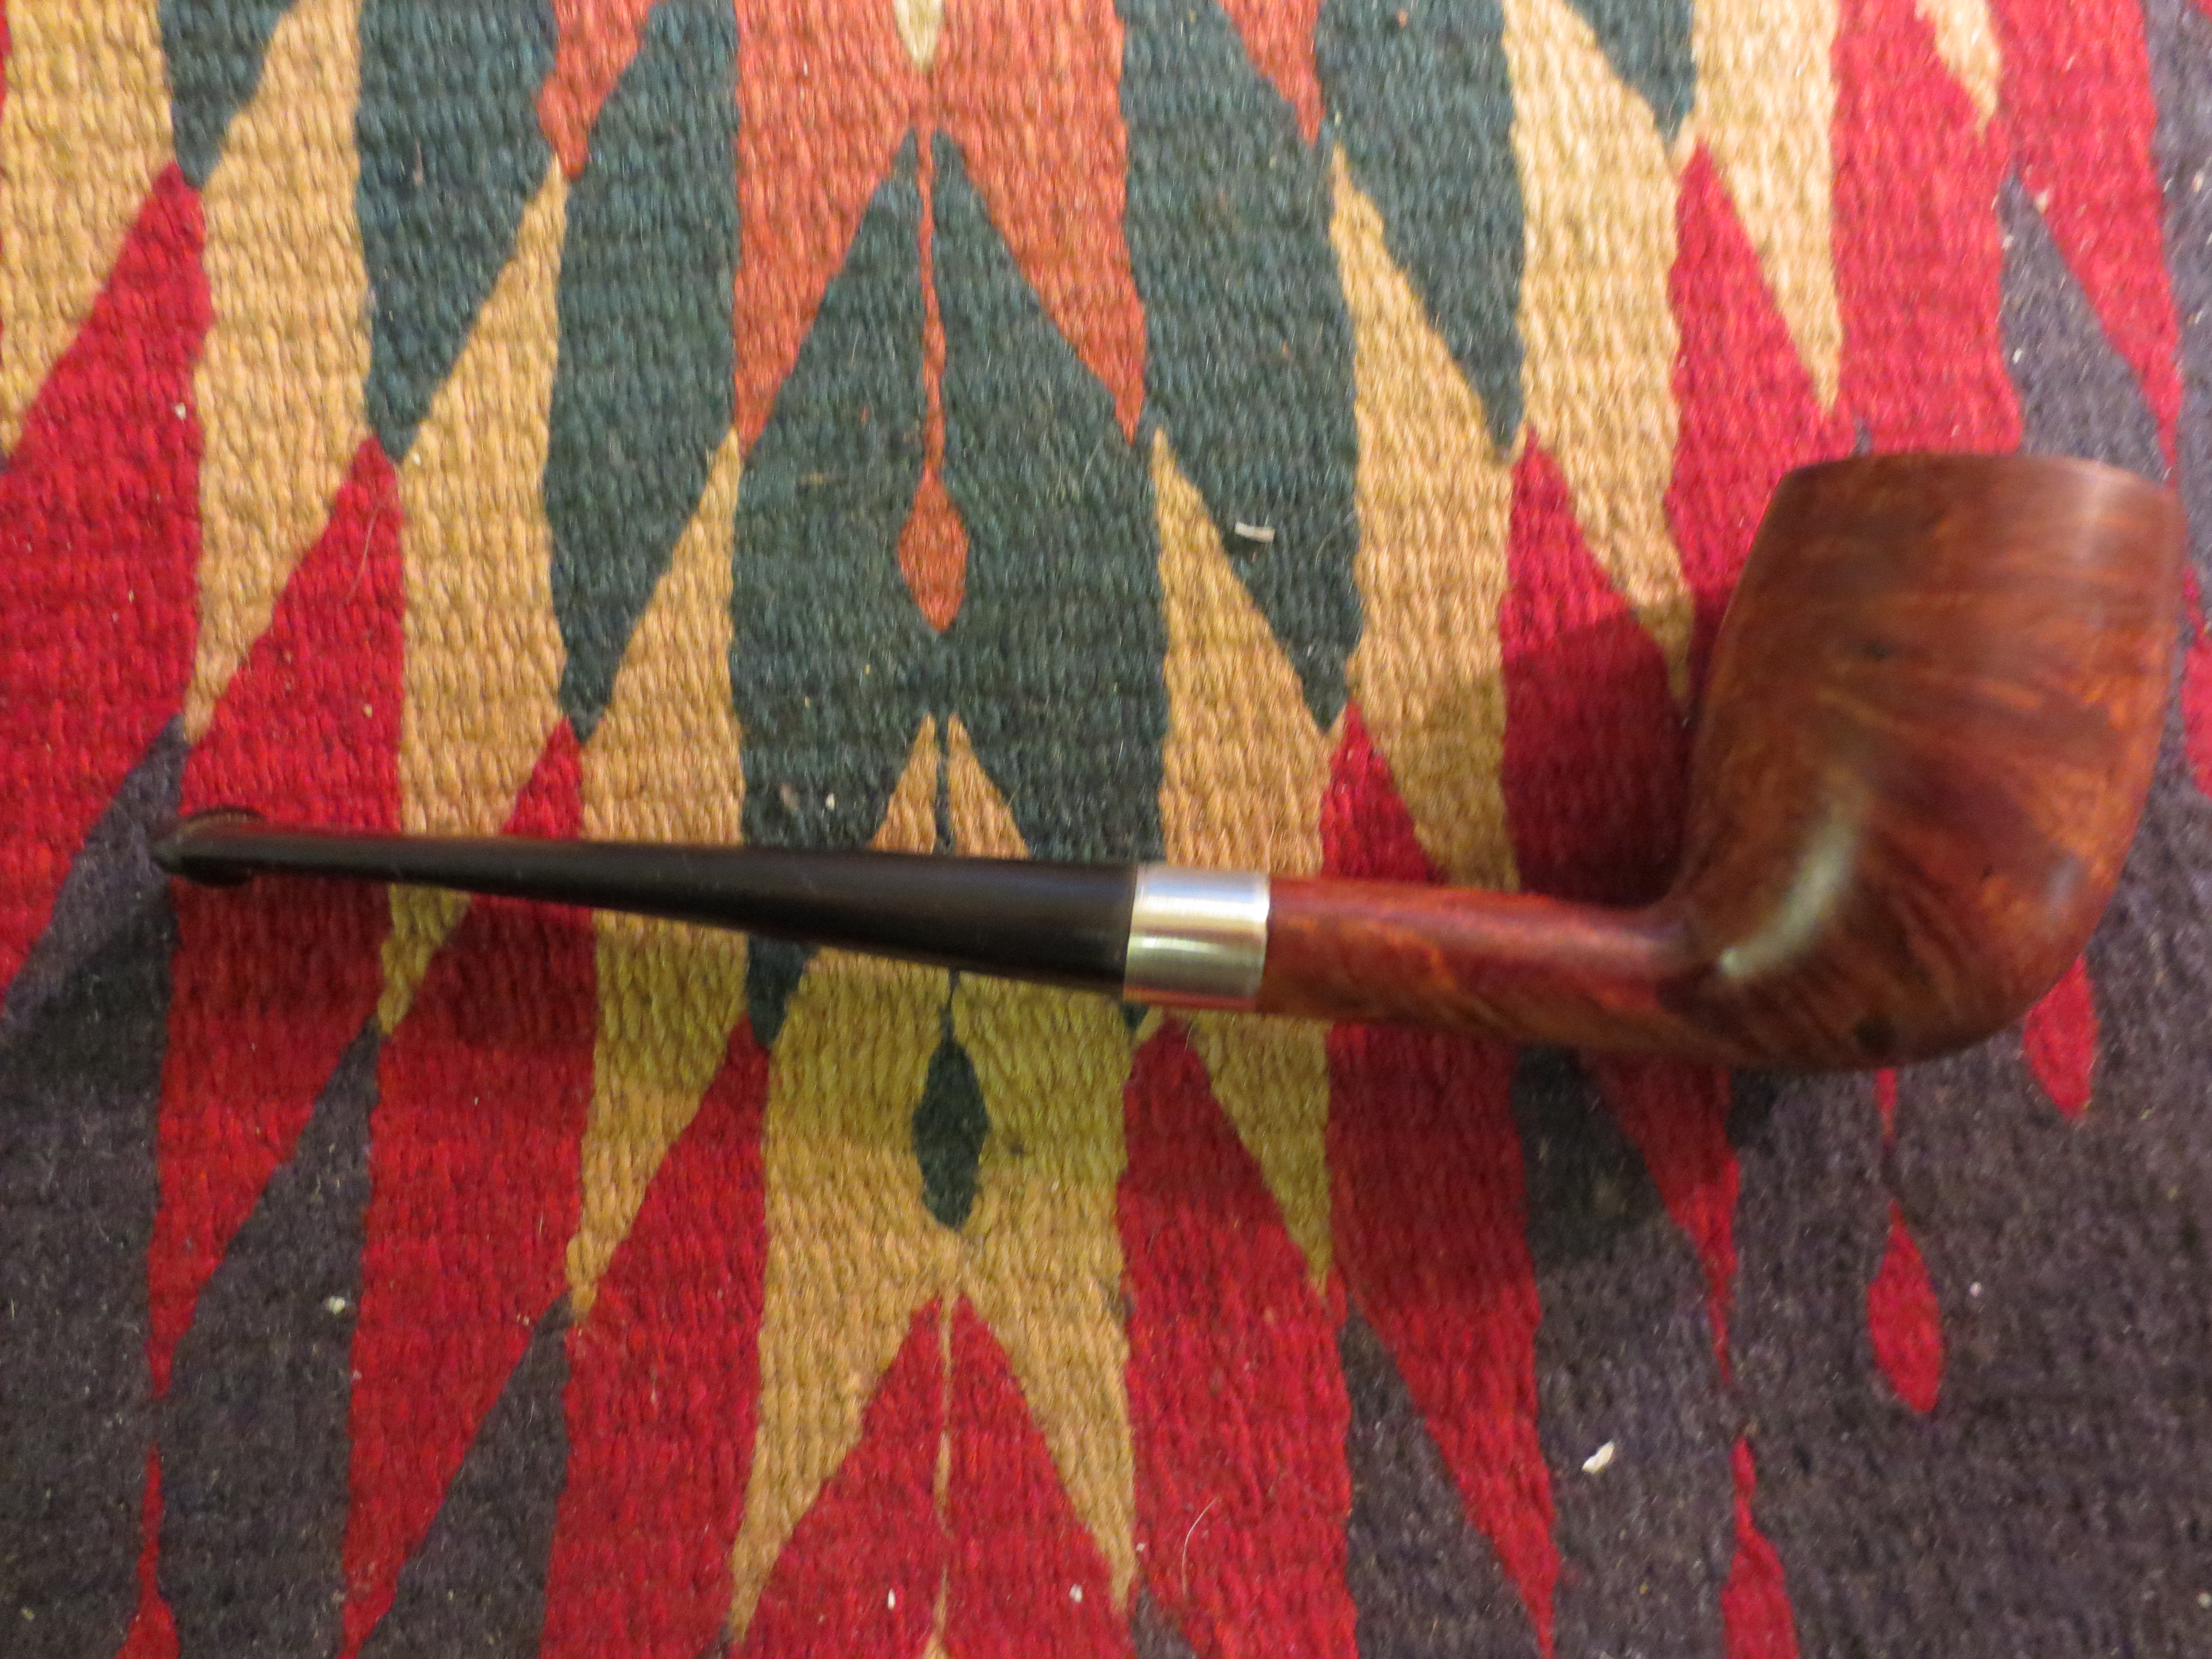
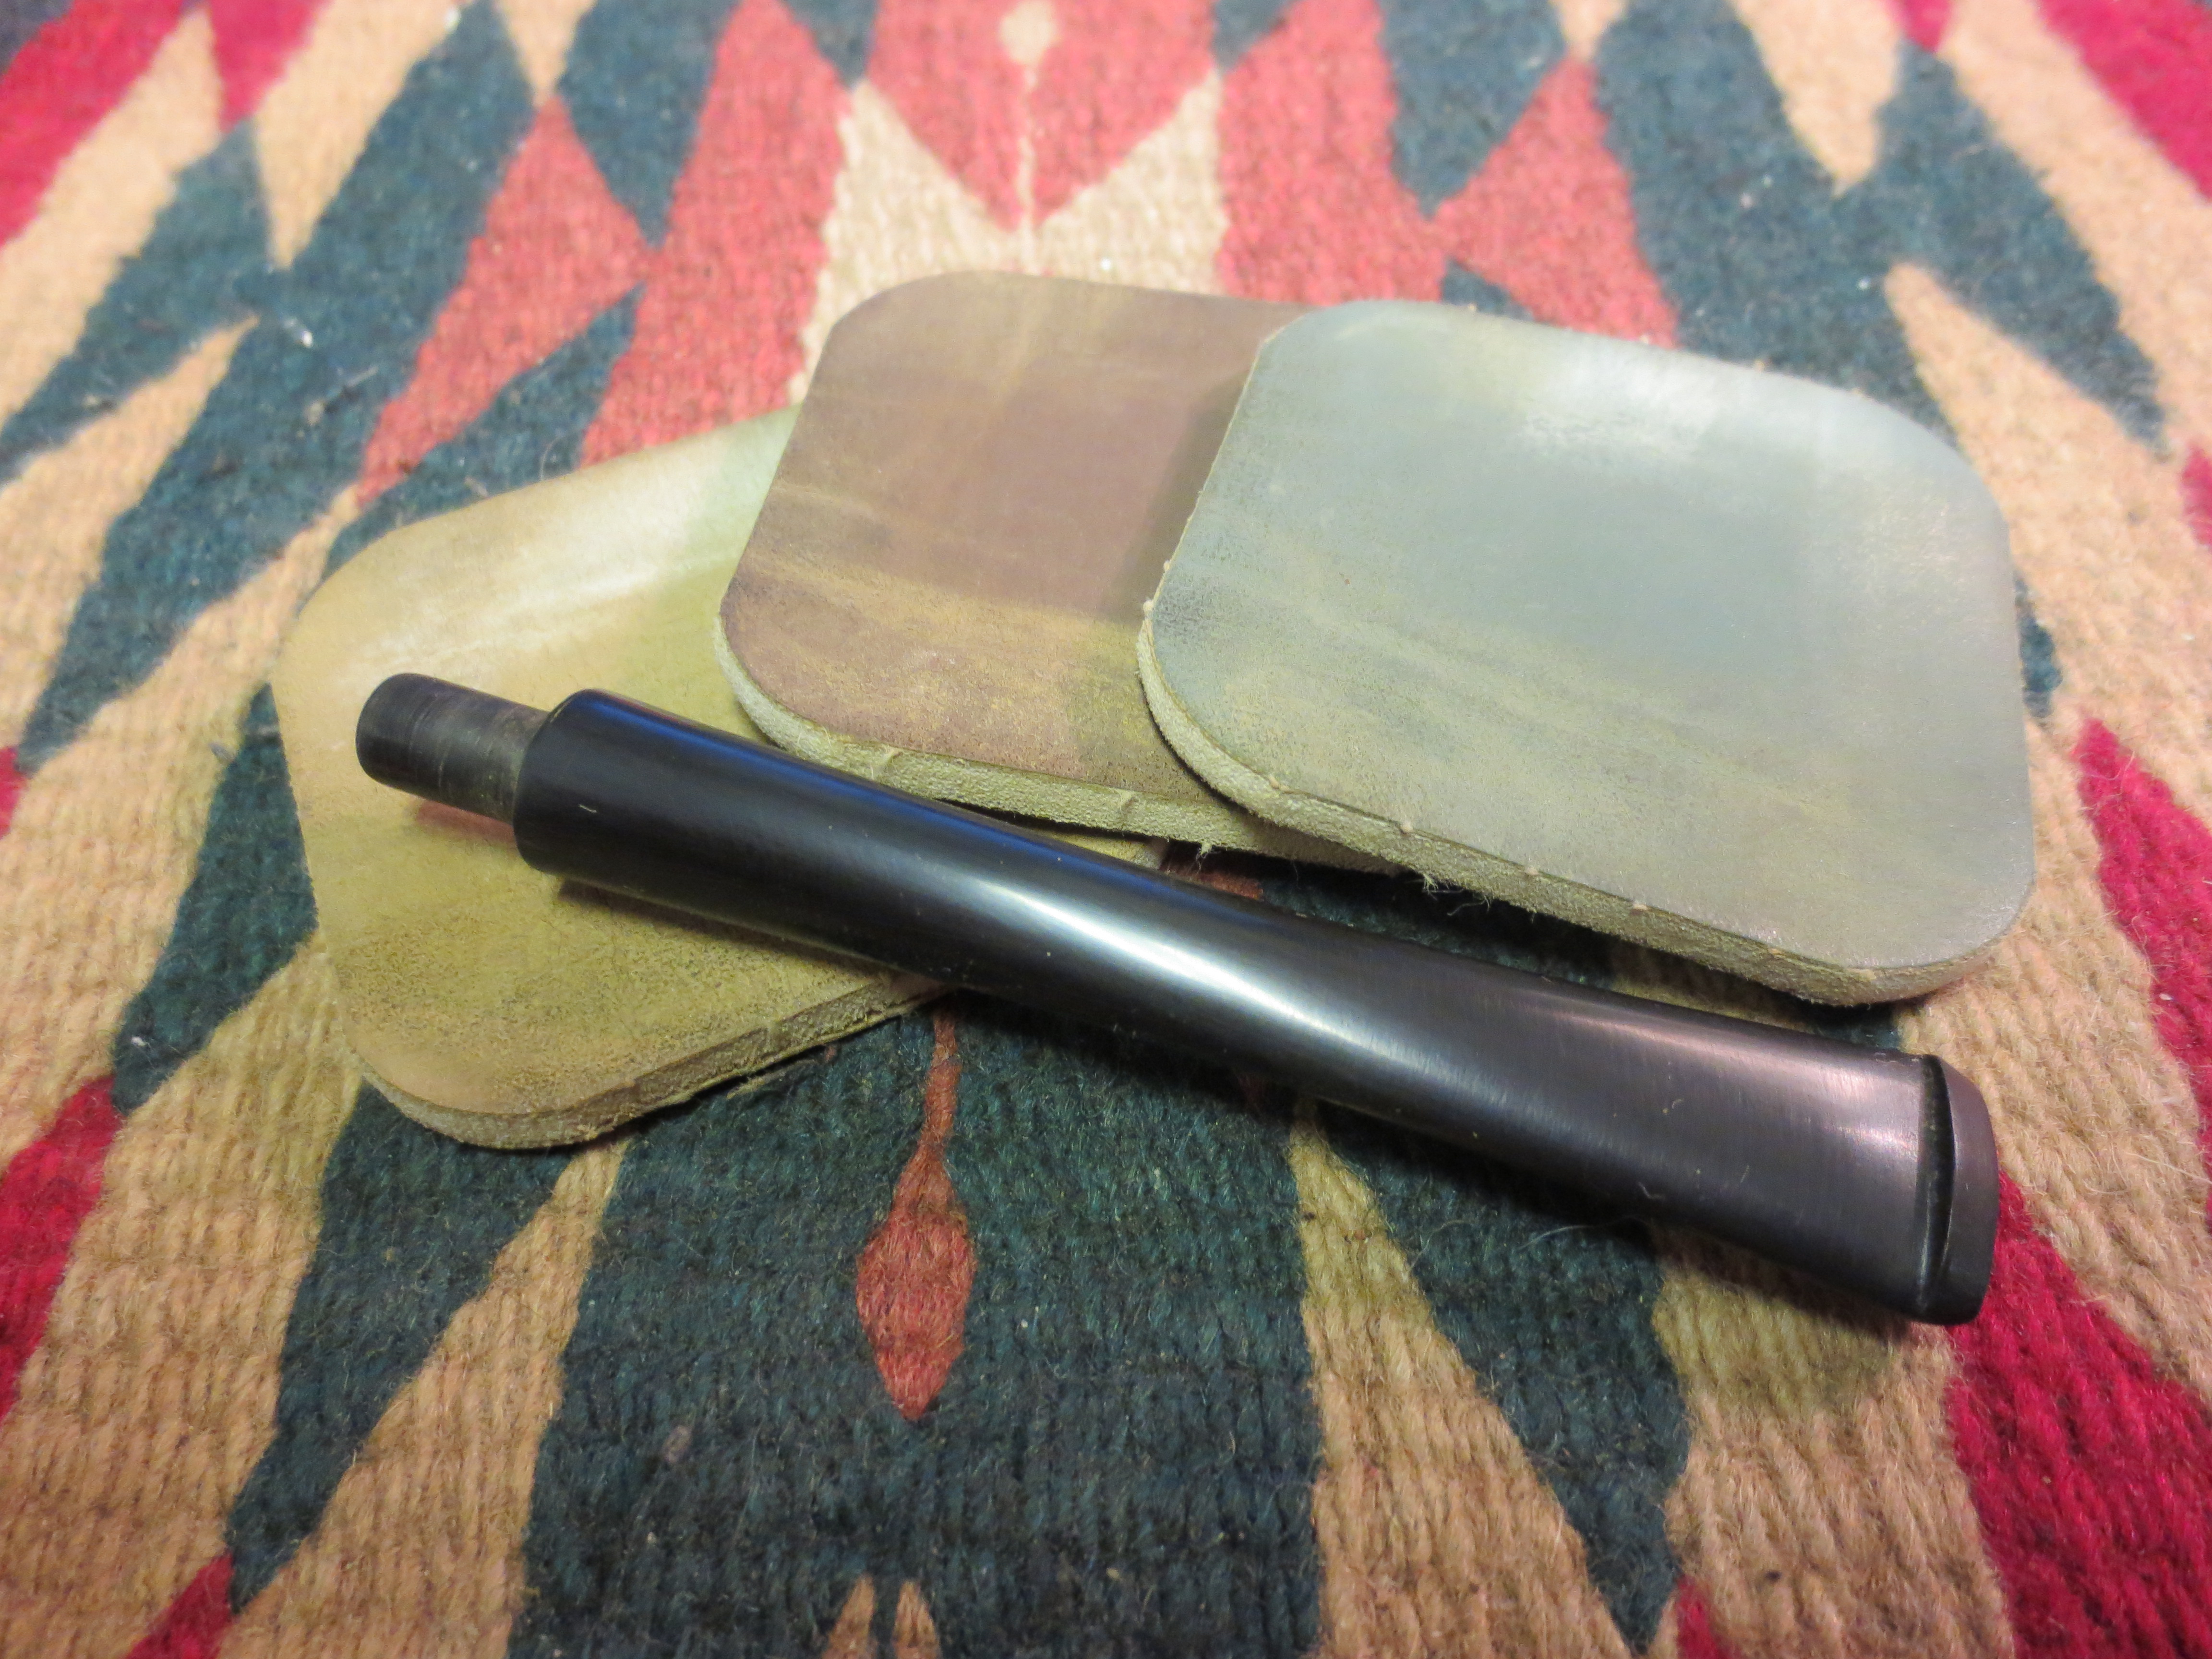
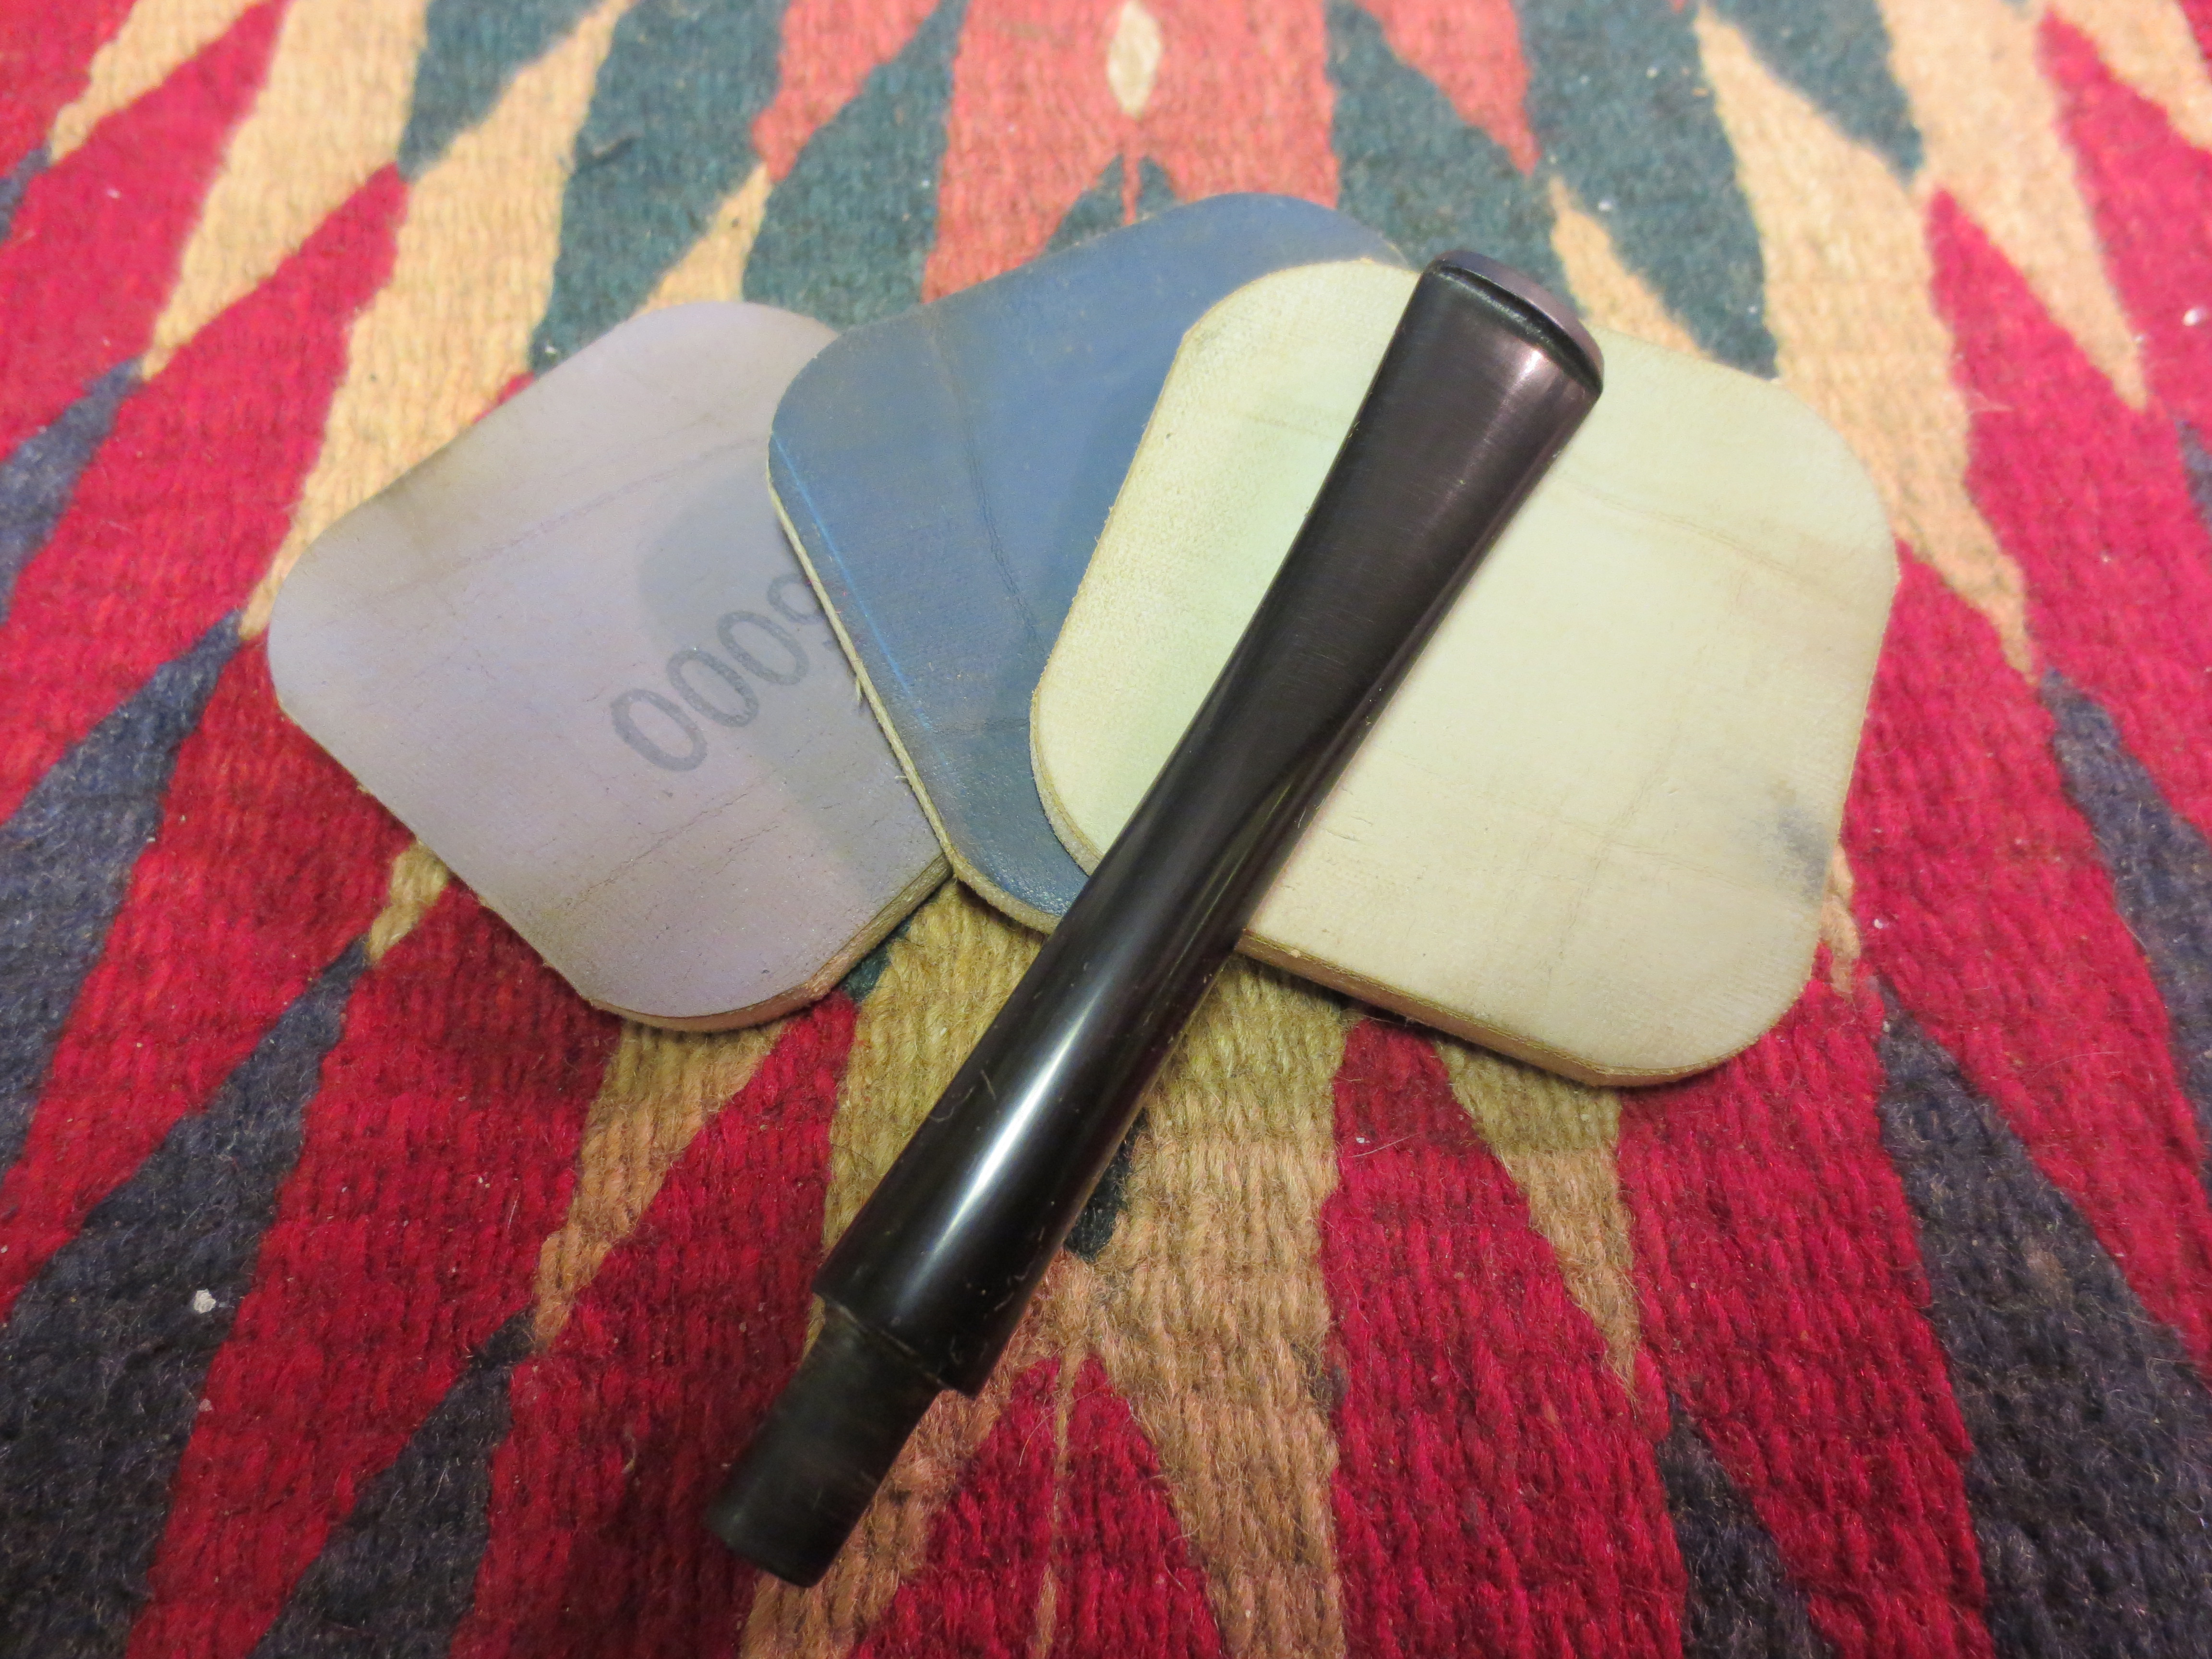
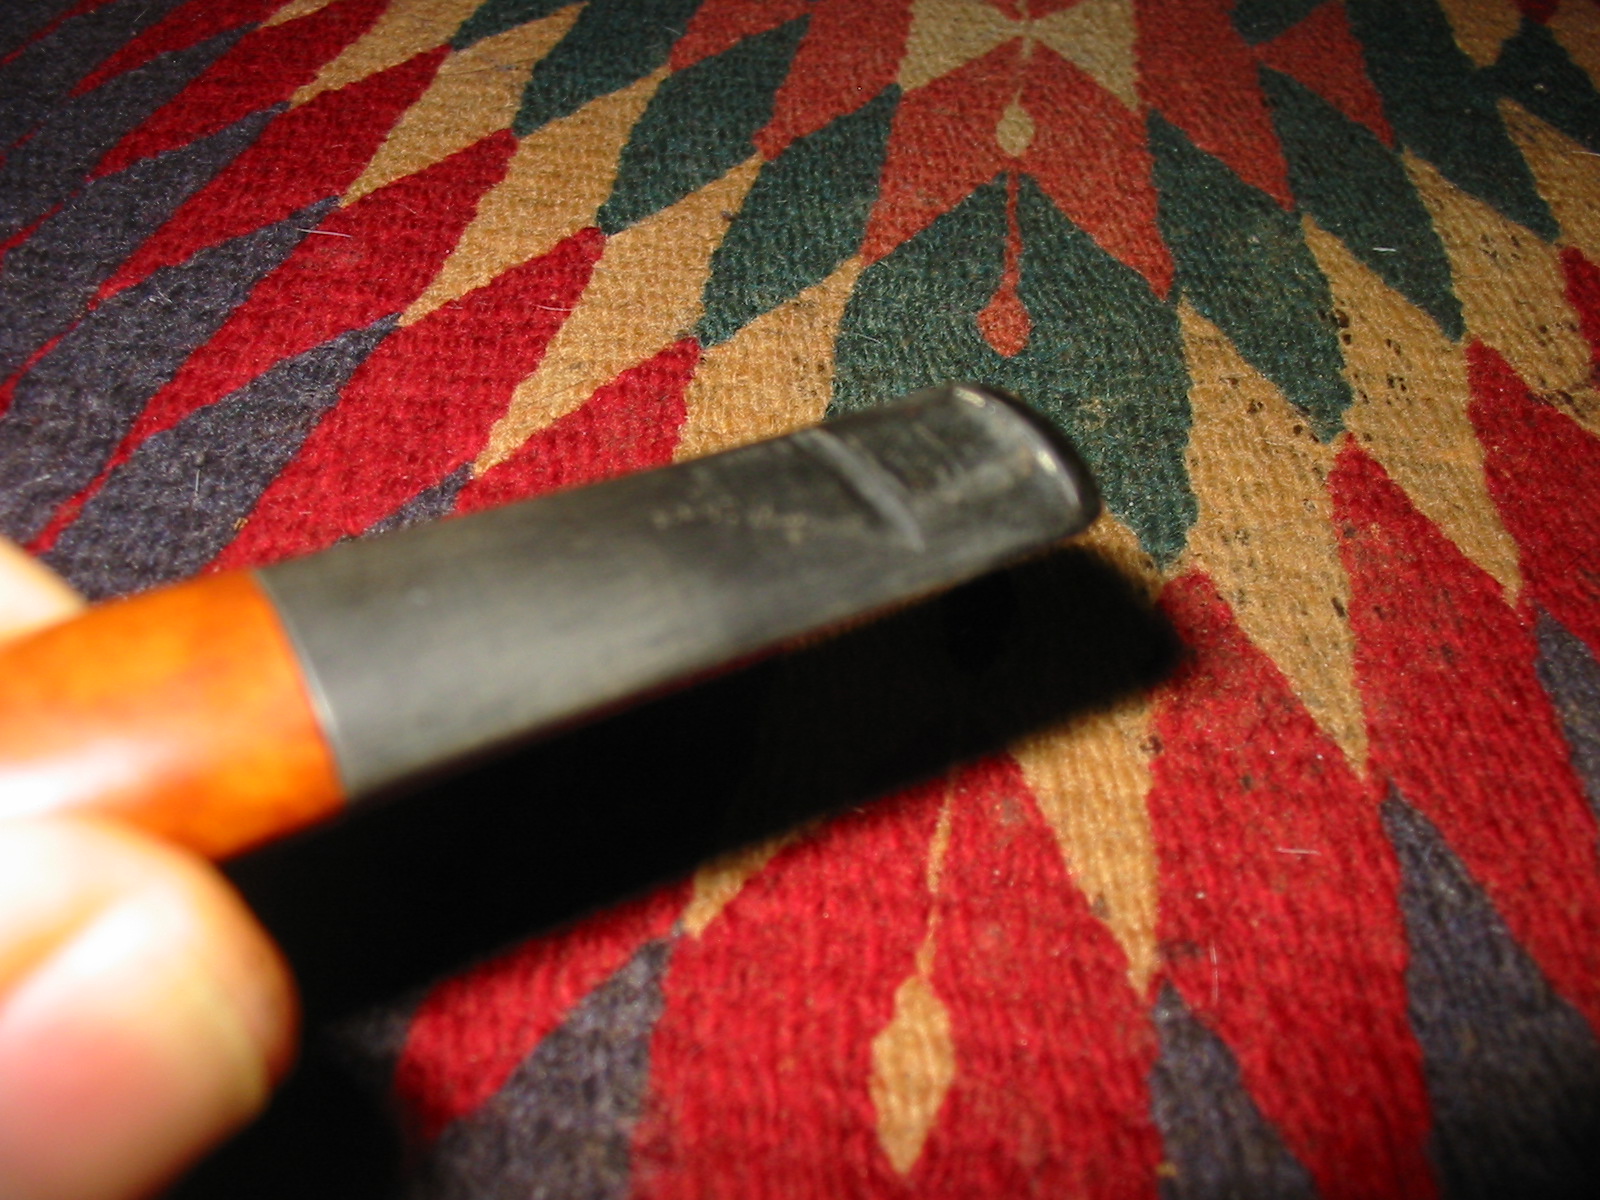
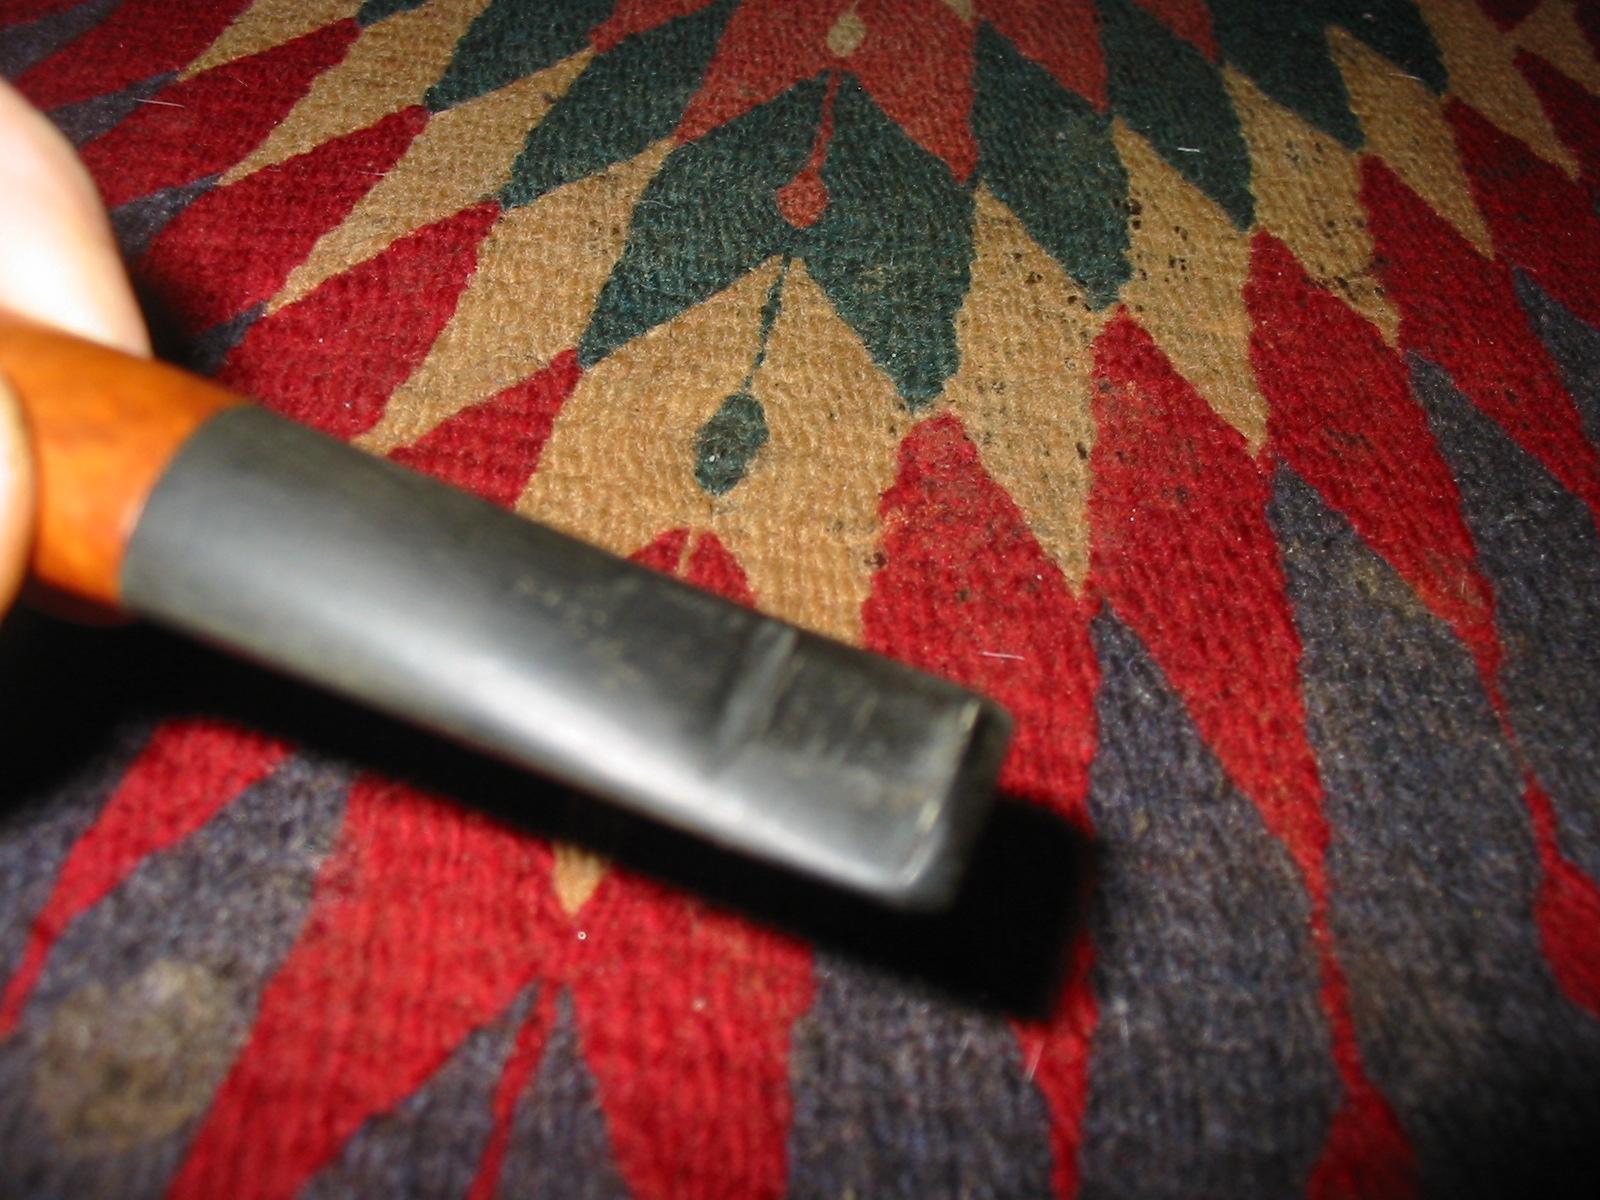
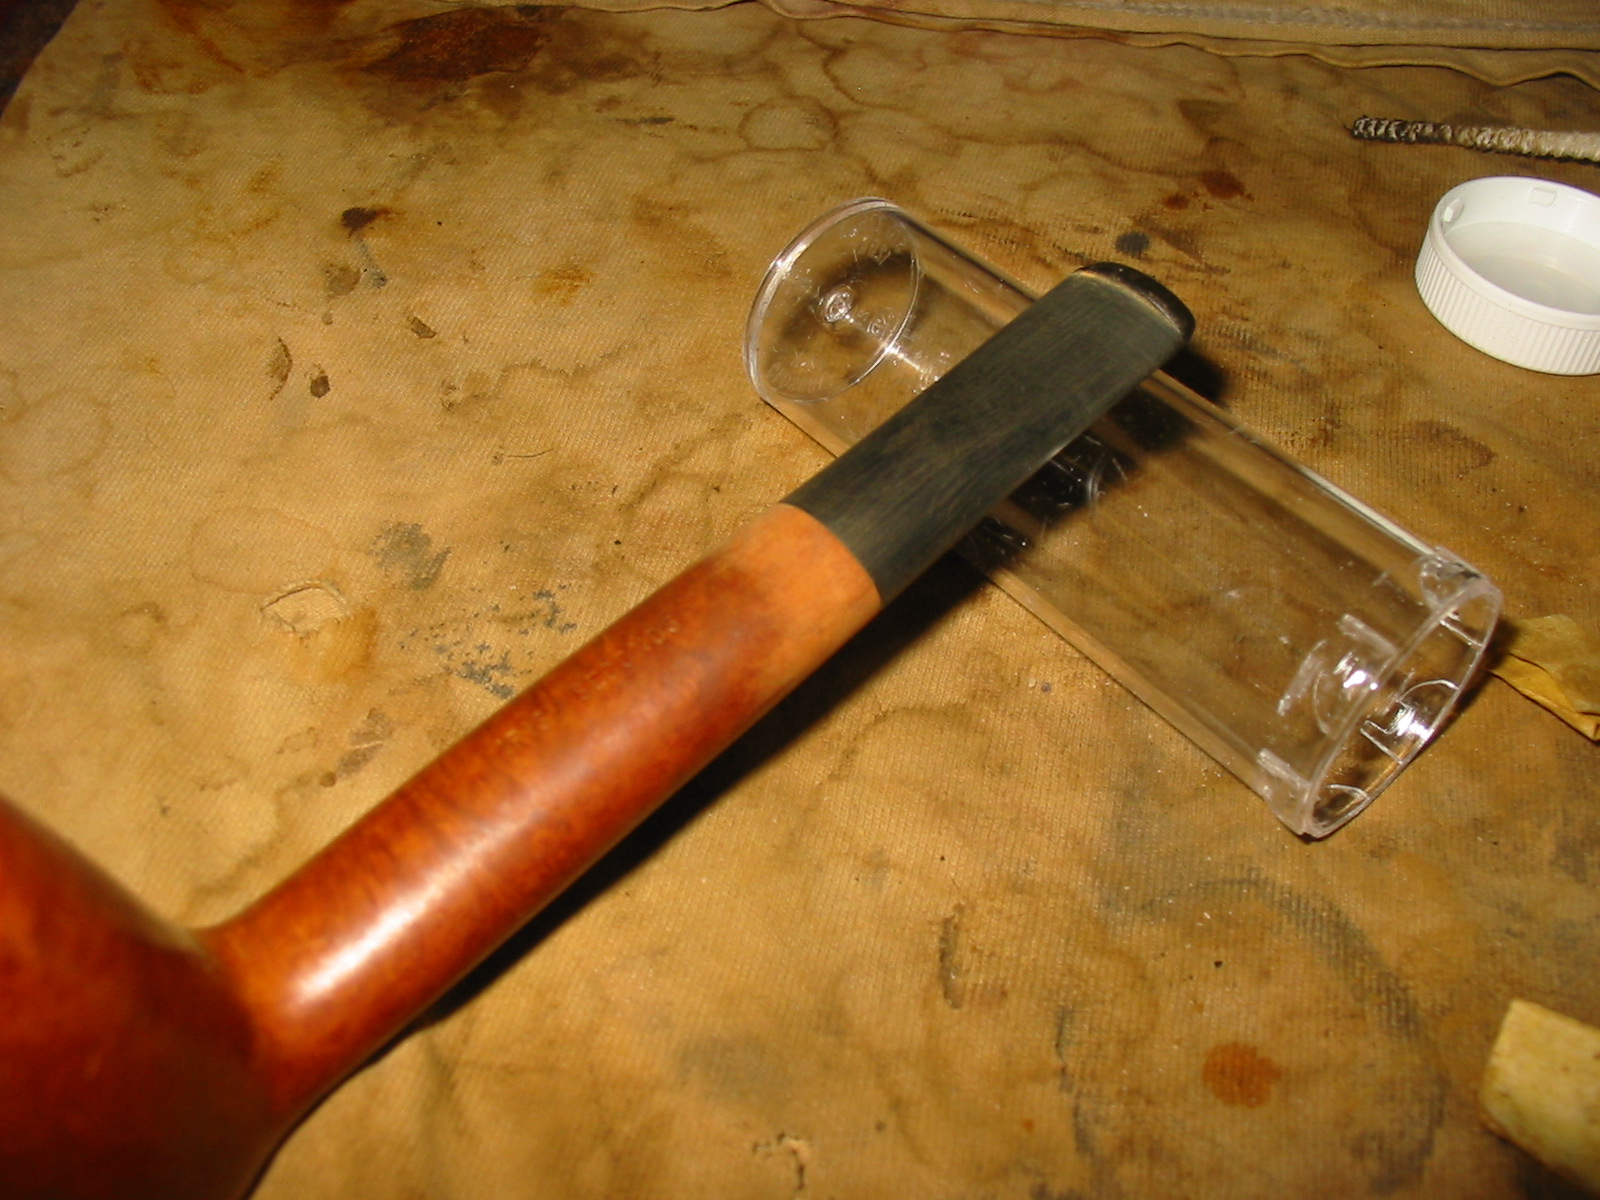
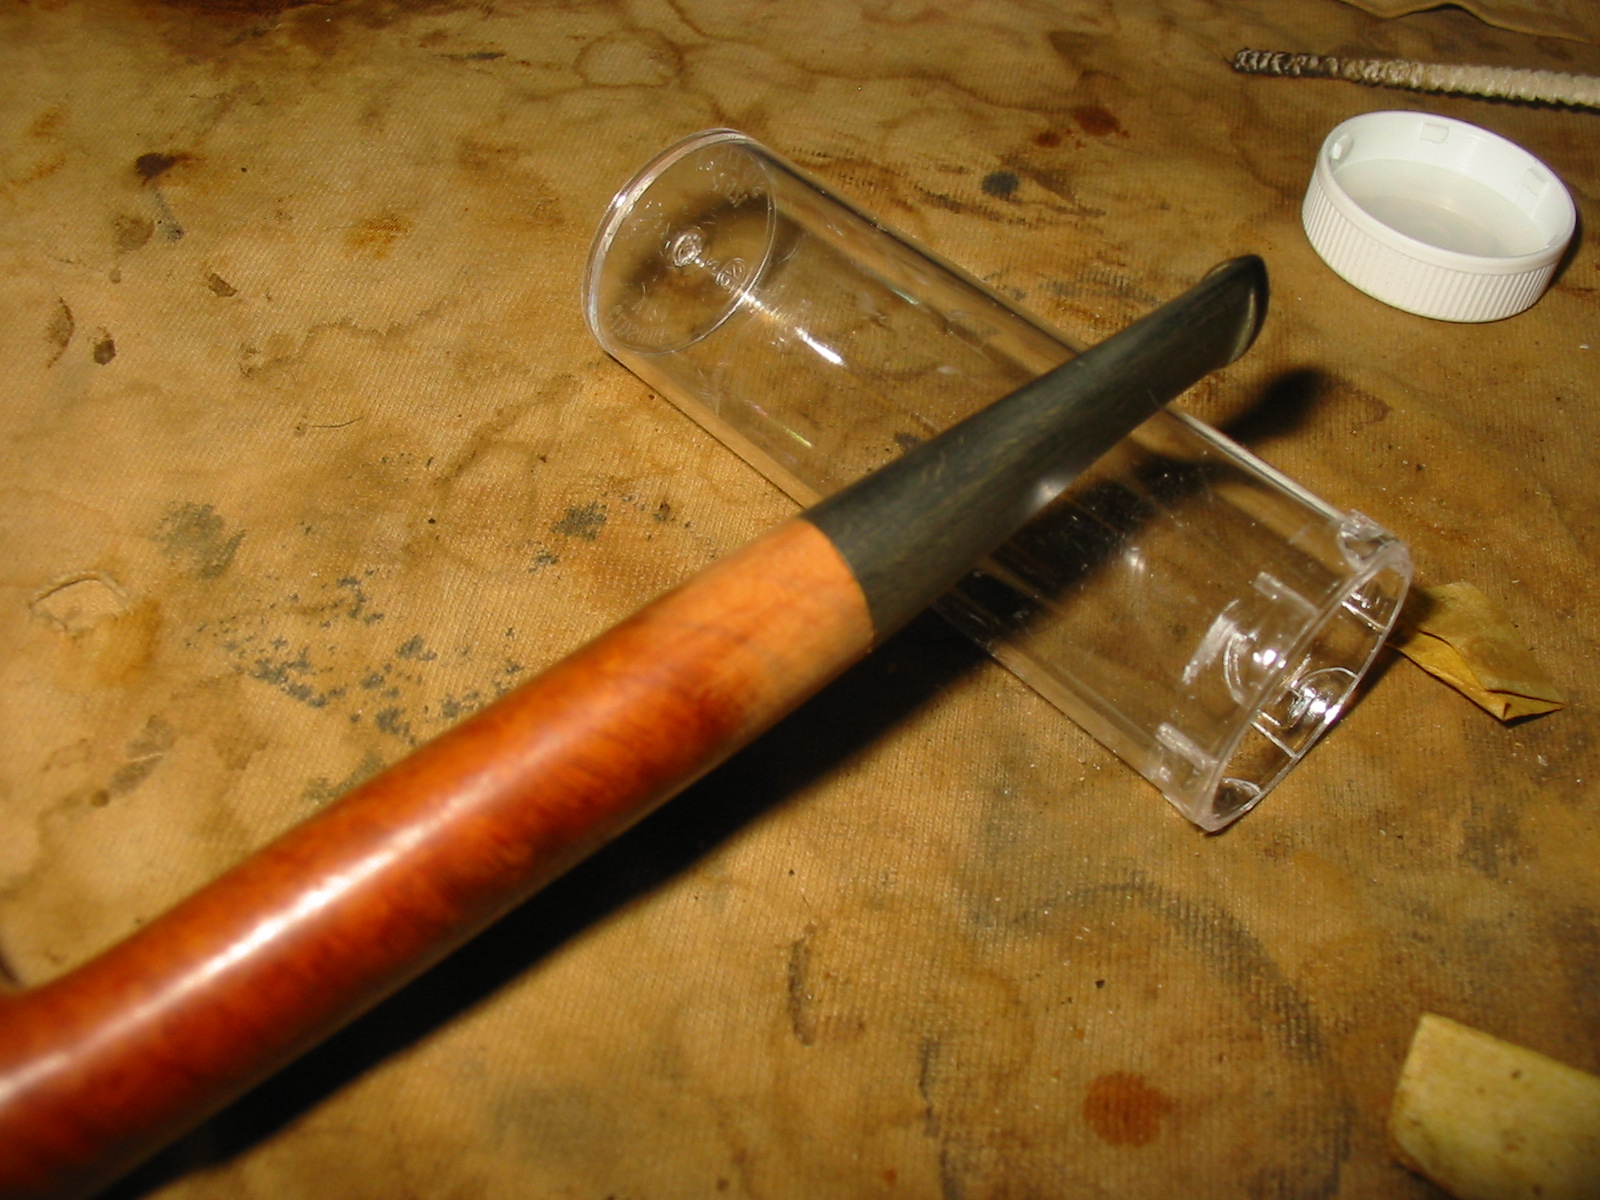
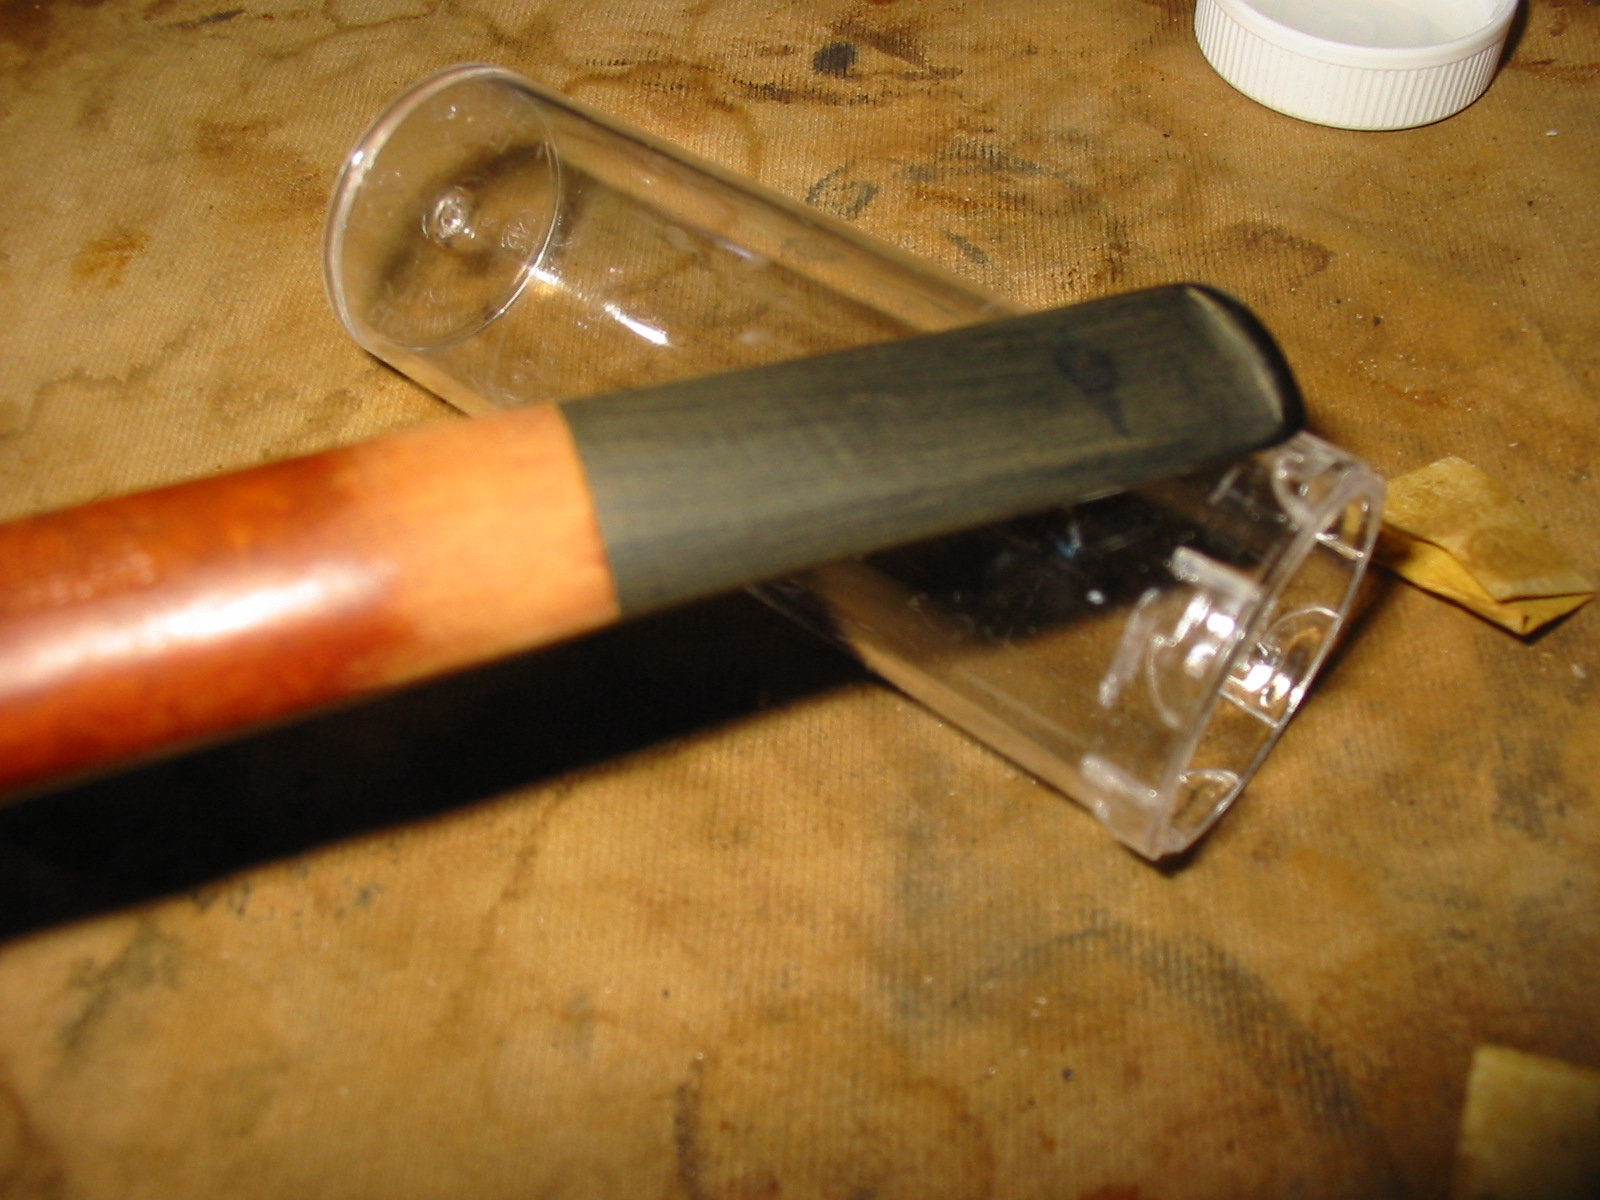
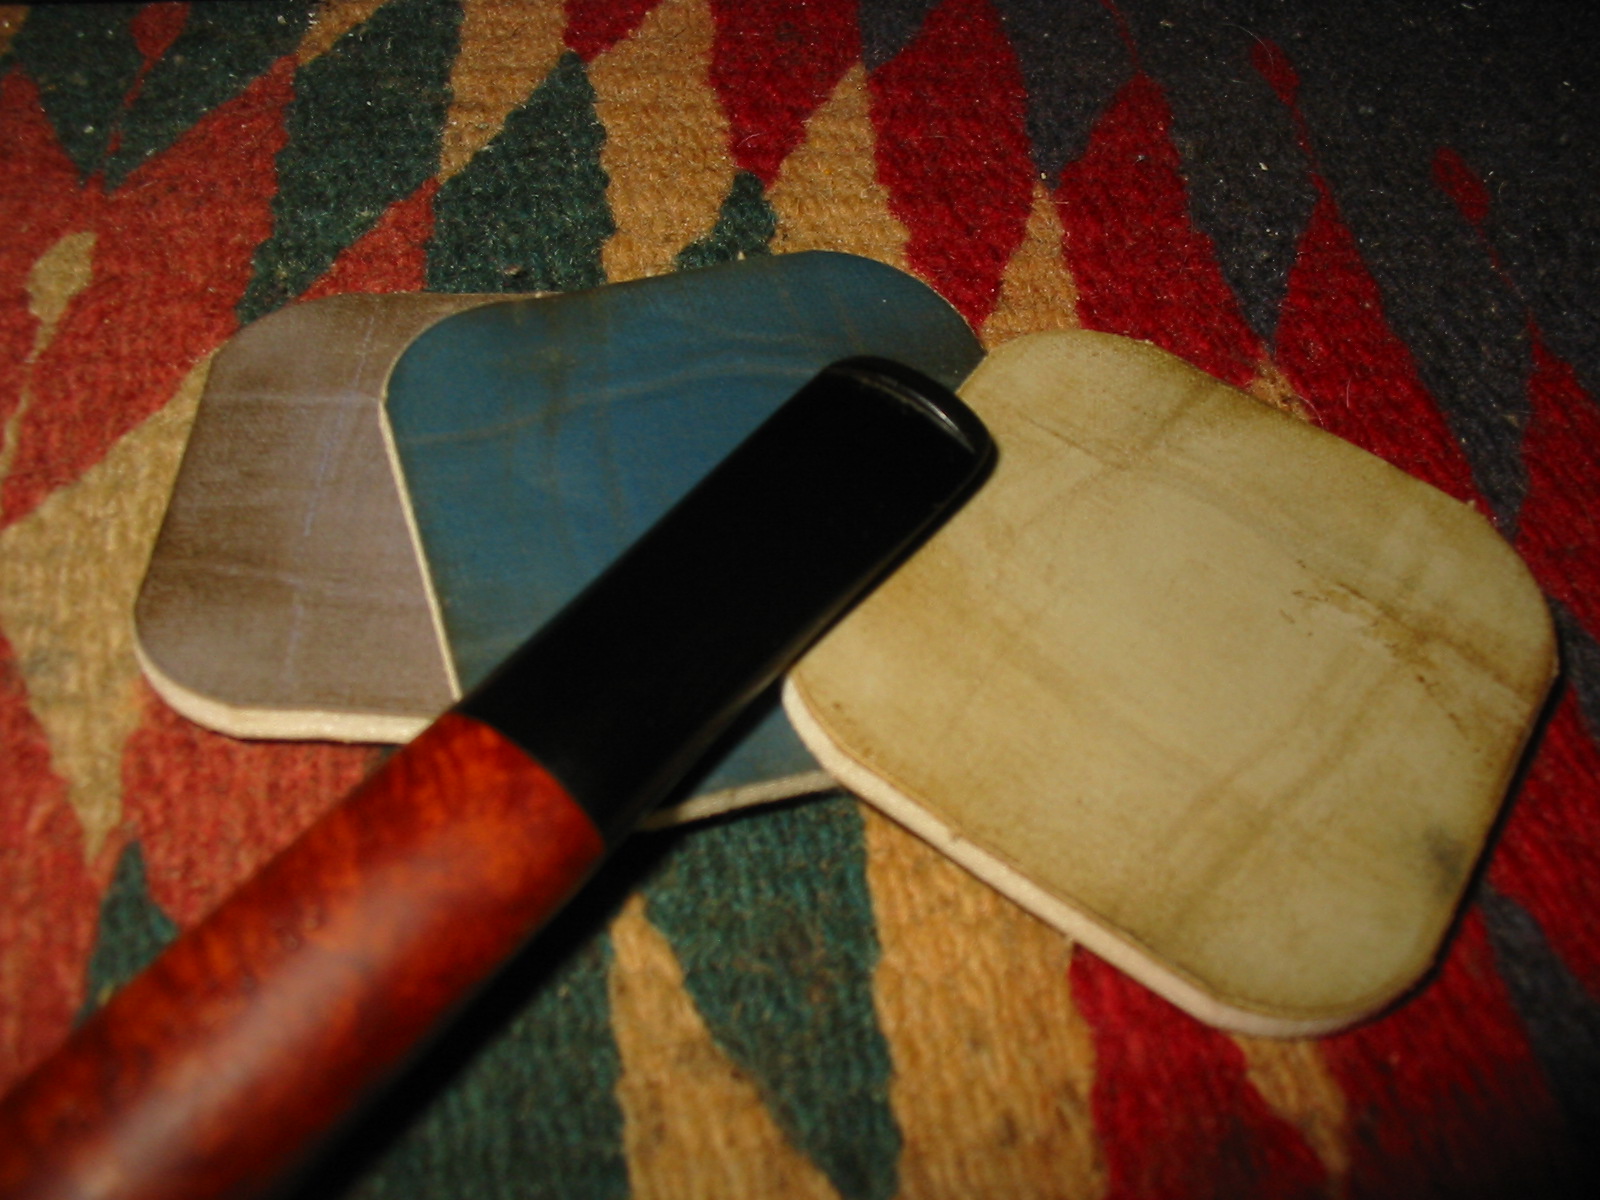
The next two photos below shows the groove that had been cut in the stem to make it function as a dental bit.
IMG_4713

IMG_4714

I used a dental pick to remove the white fill material in the flaw and then wiped it clean with acetone. The groove was not deep but it was long and quite wide. I used a combination of briar dust and superglue to replace the fill. I packed the area with briar dust using a dental pick and then dripped superglue into place. While the glue was still wet I quickly put more briar dust on top of the glue and packed it in place as well.
IMG_4715

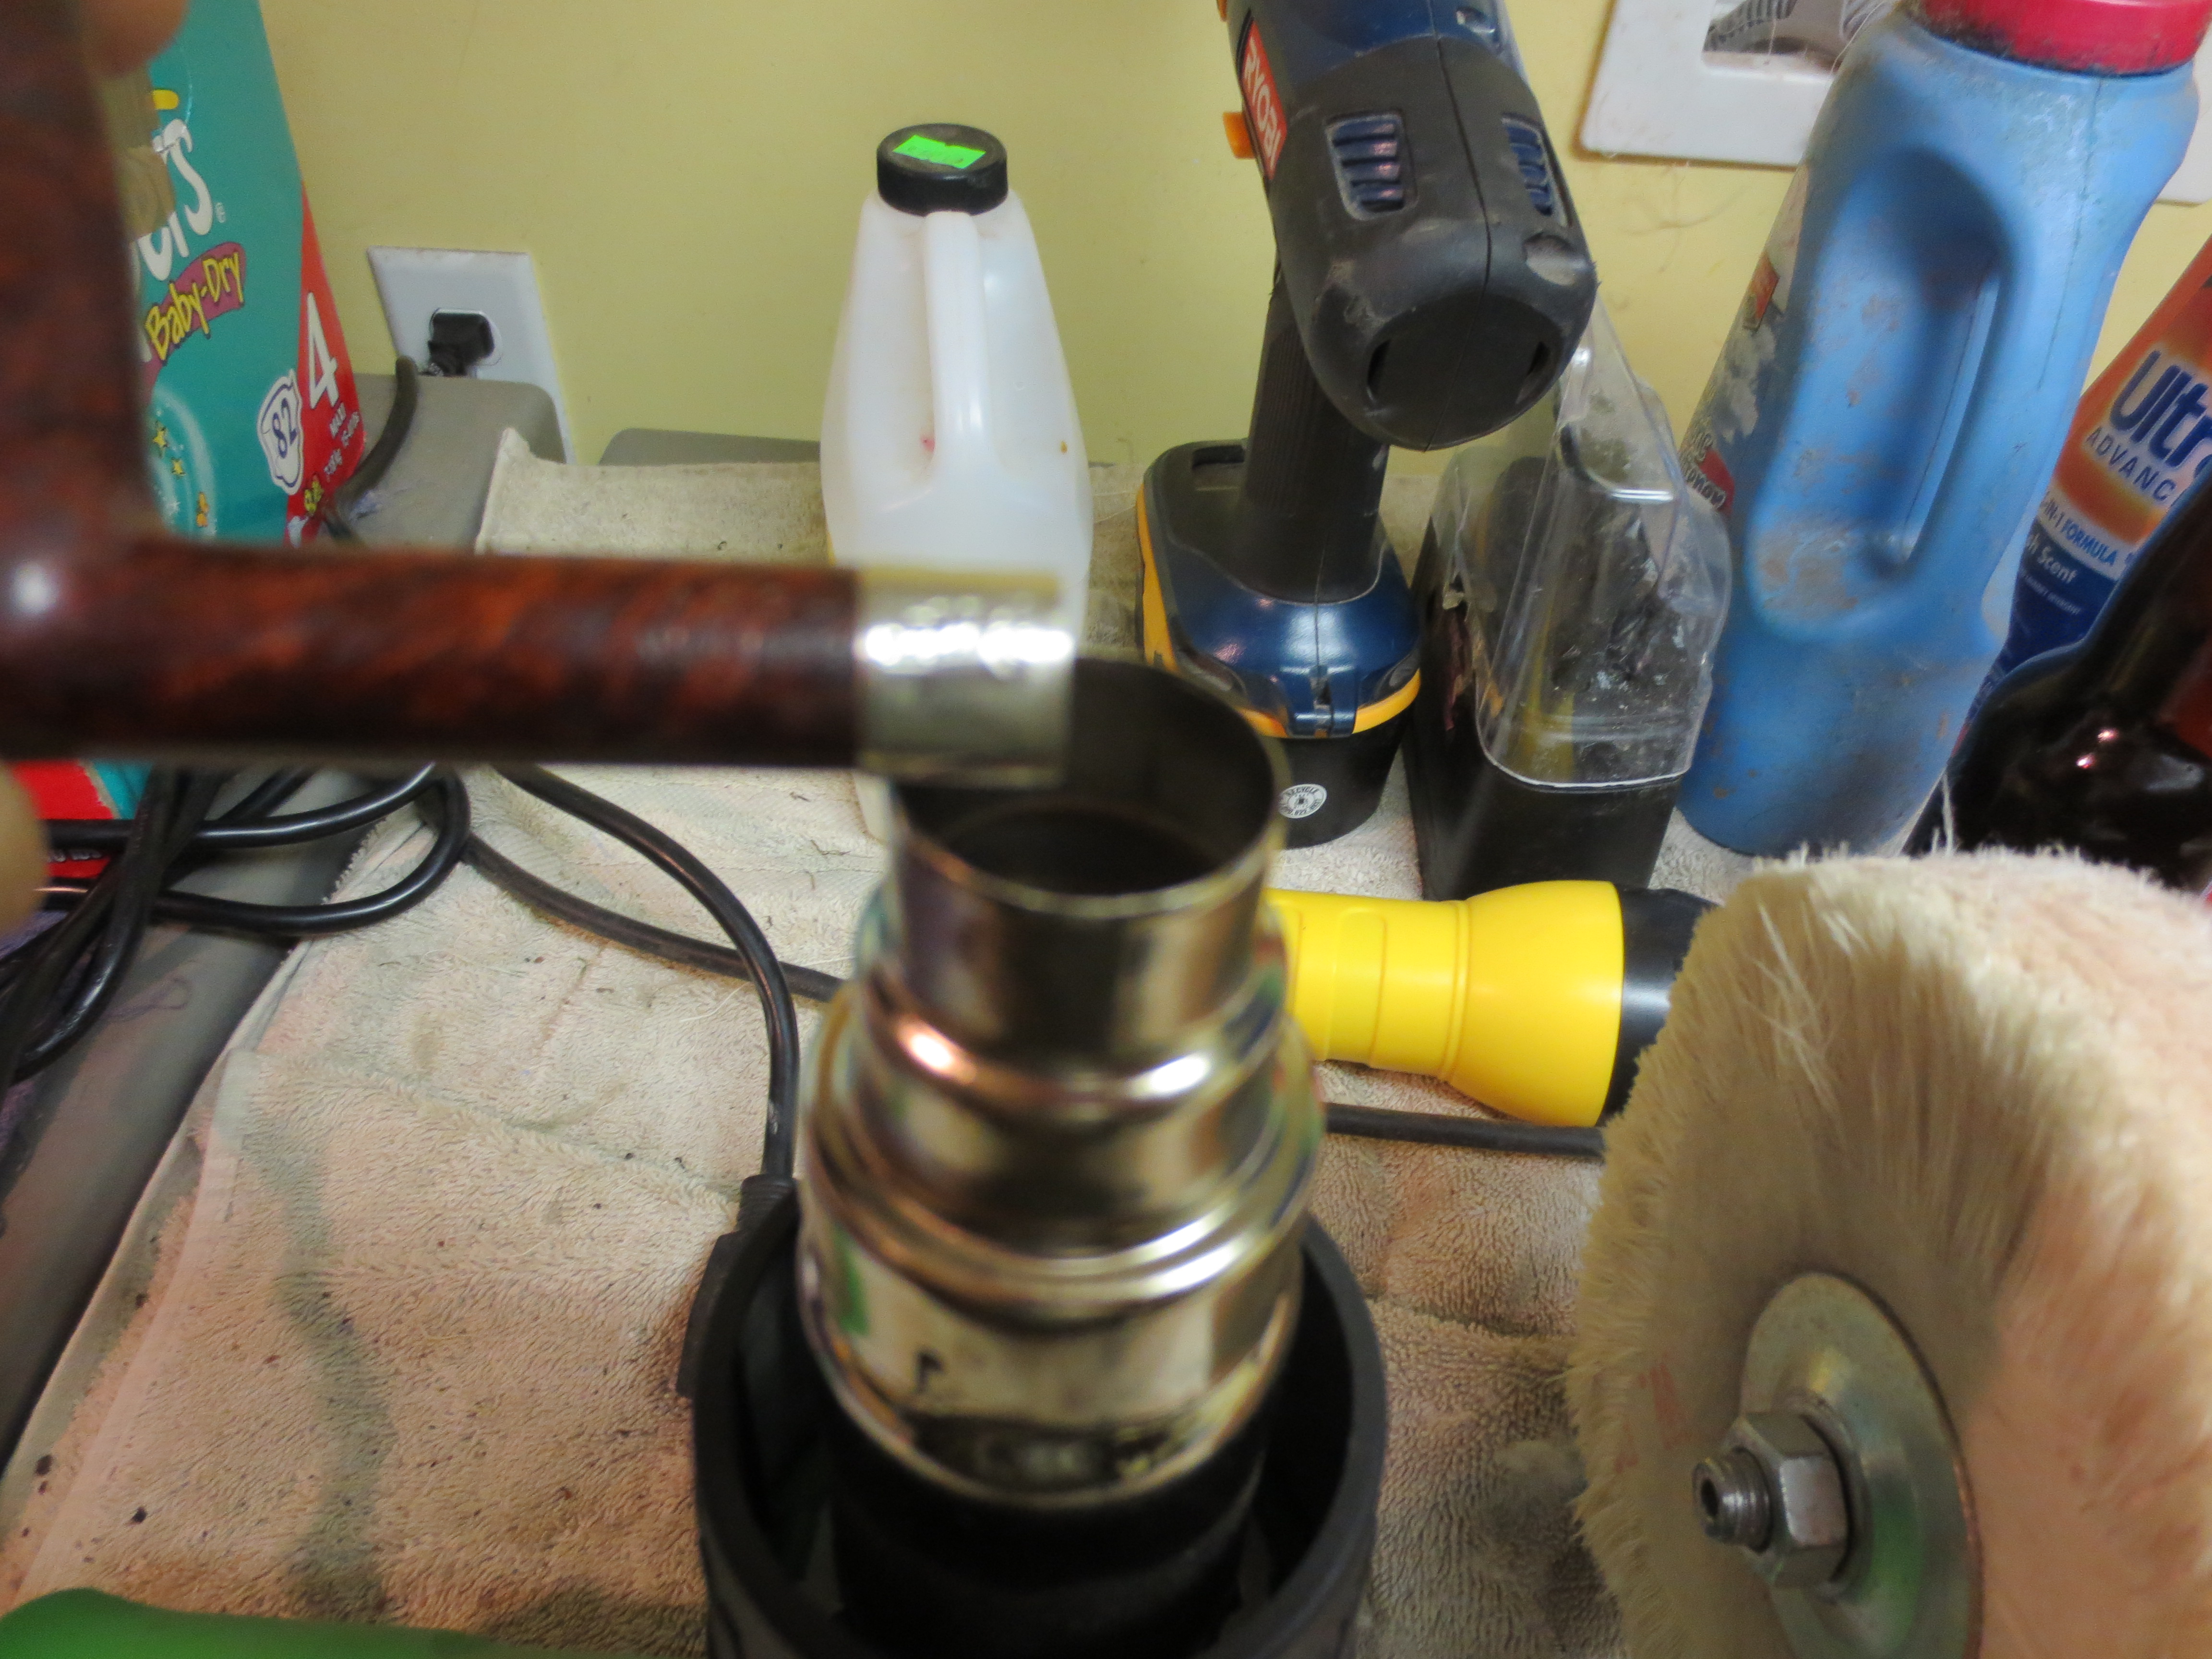
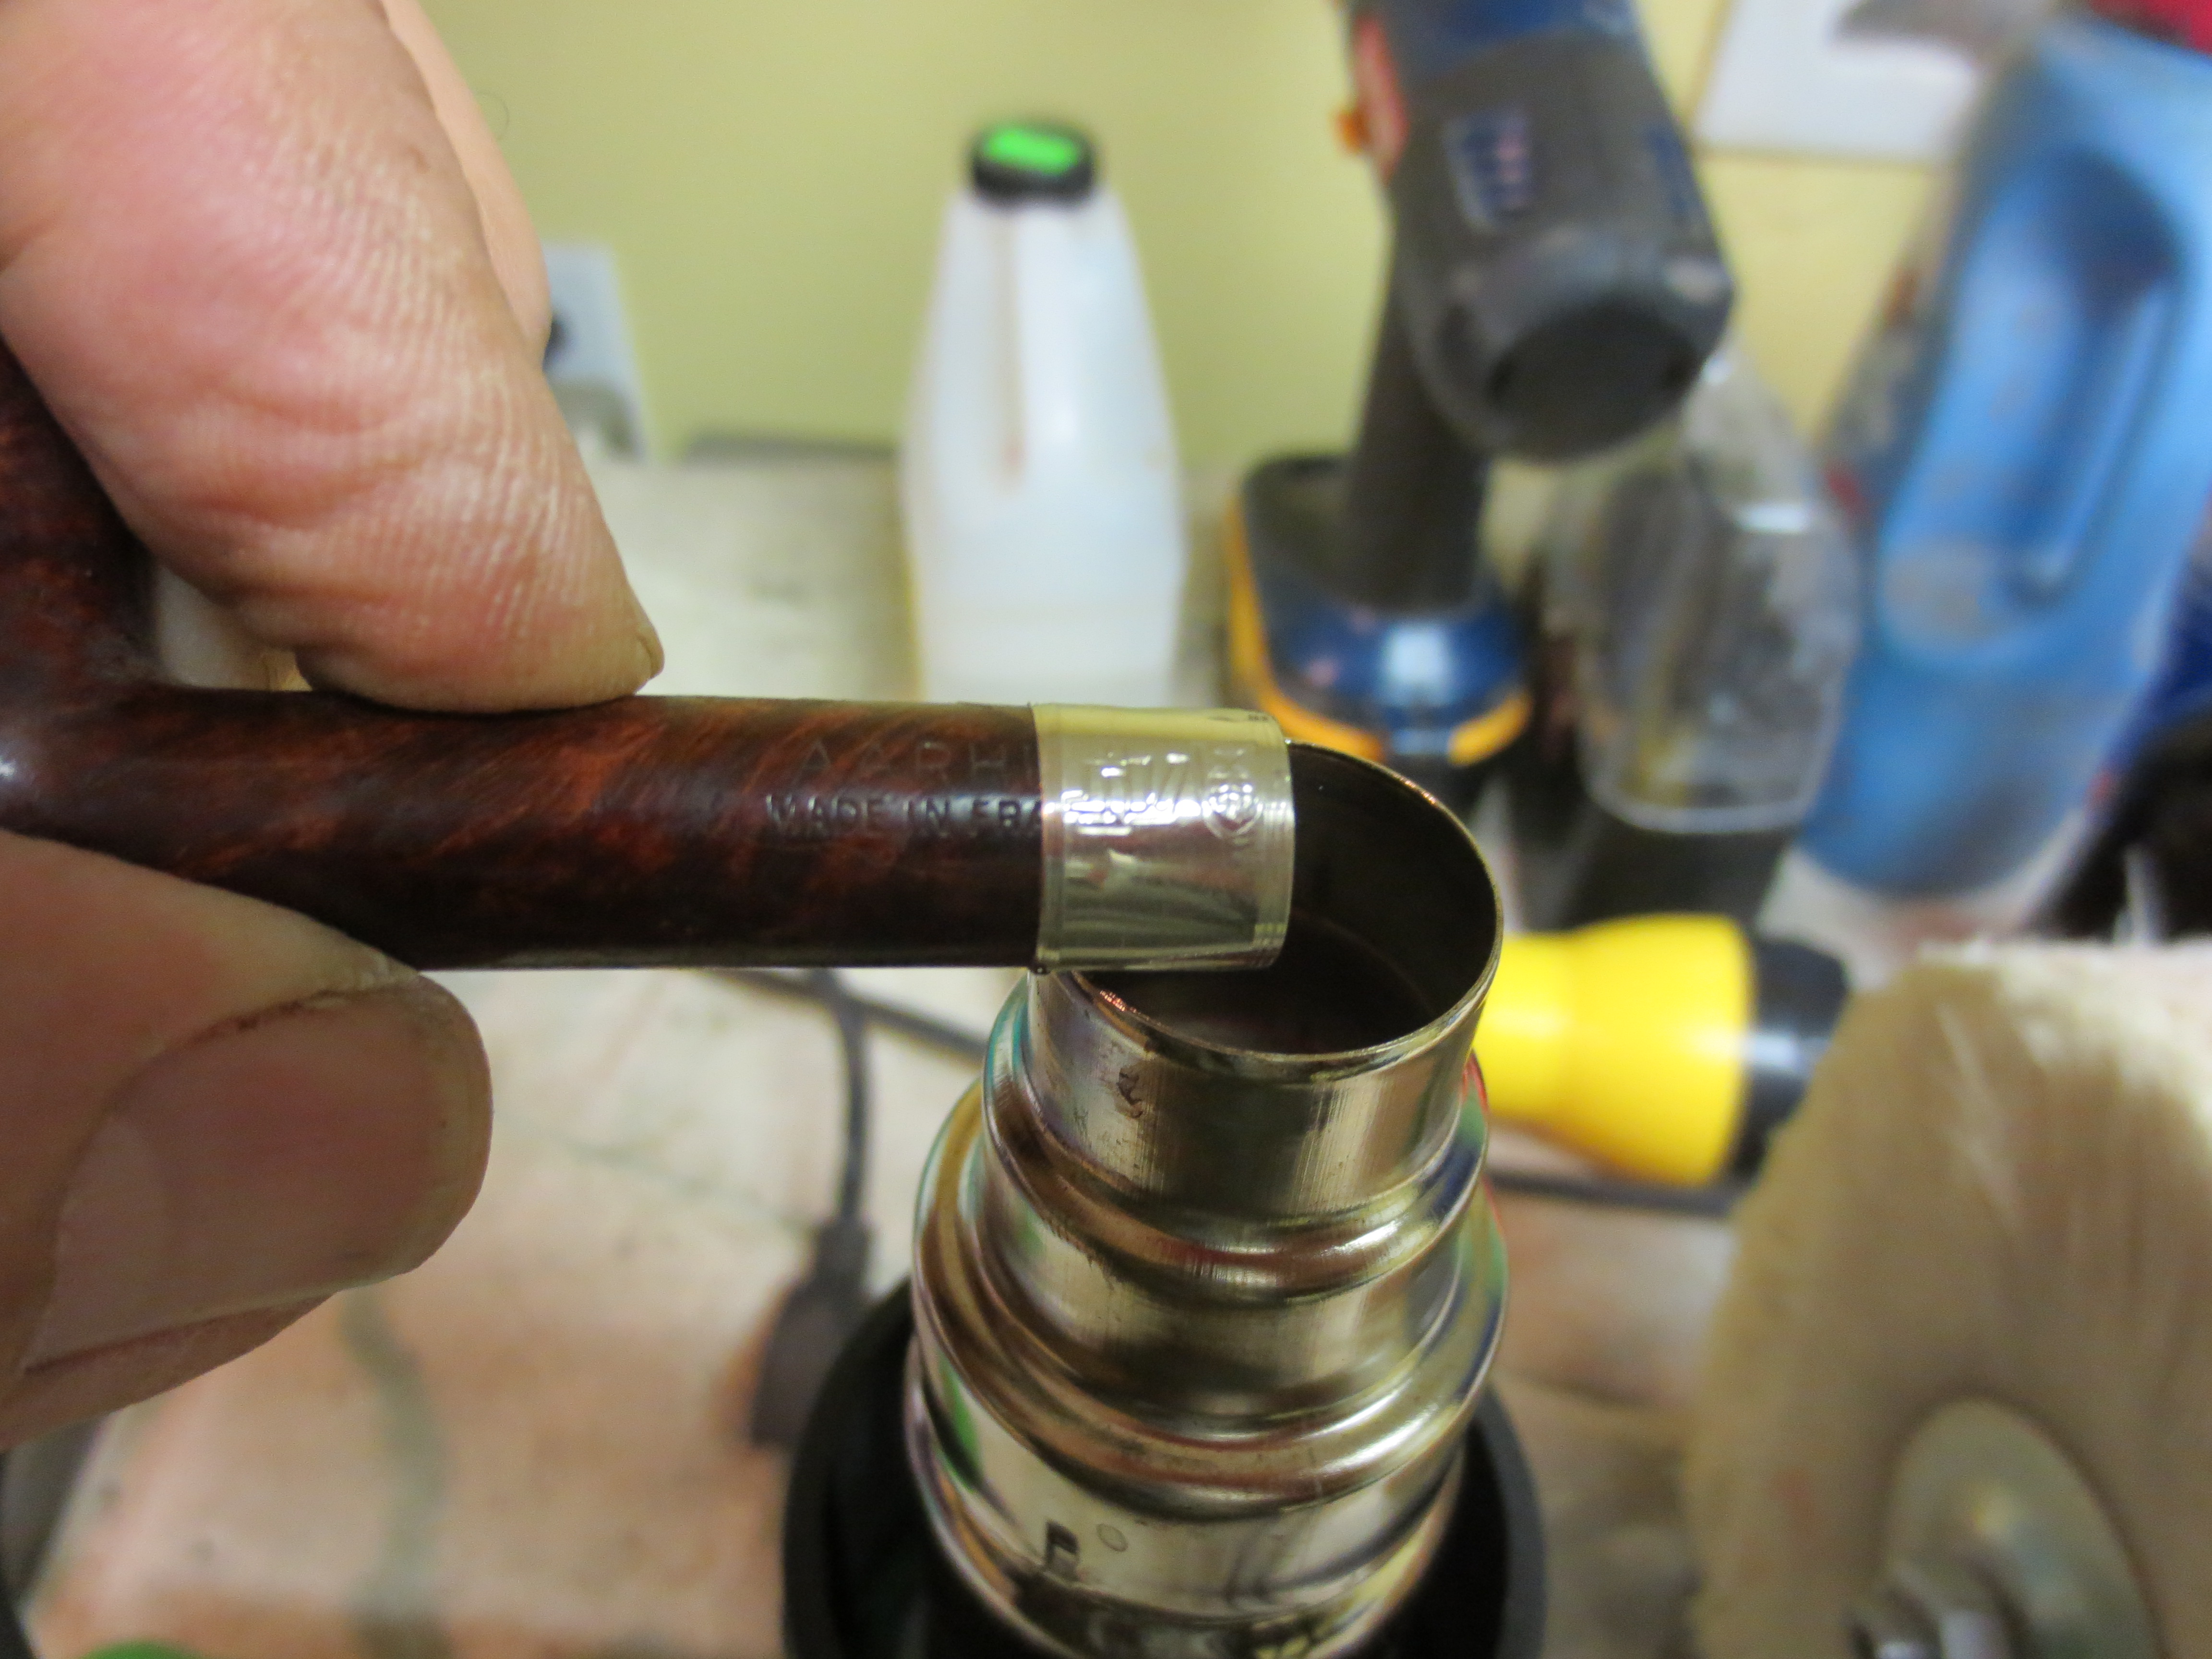
I sanded the stem with 220 grit sandpaper and then a medium grit sanding sponge. I wiped it down with Everclear and then filled the remaining groove with clear superglue until it was a bubble on the surface of the stem. I sanded it with 220 grit sandpaper once it was dry. I sanded the stem shank junction with 220 grit sandpaper to smooth out the transition and make the fit more seamless. I followed that by sanding with a medium and a fine grit sanding sponge to remove the scratches. I was careful in sanding the shank to make the flow of the shank into the stem a gradual incline rather than an abrupt change. I have found that in doing this the stem and shank flow look as close to original as possible.
IMG_4716

IMG_4717

IMG_4718

IMG_4719

IMG_4720

I sanded the front of the bowl with 220 grit and also with the medium and fine grit sanding sponges. The fill still had spots that needed more work.
IMG_4721

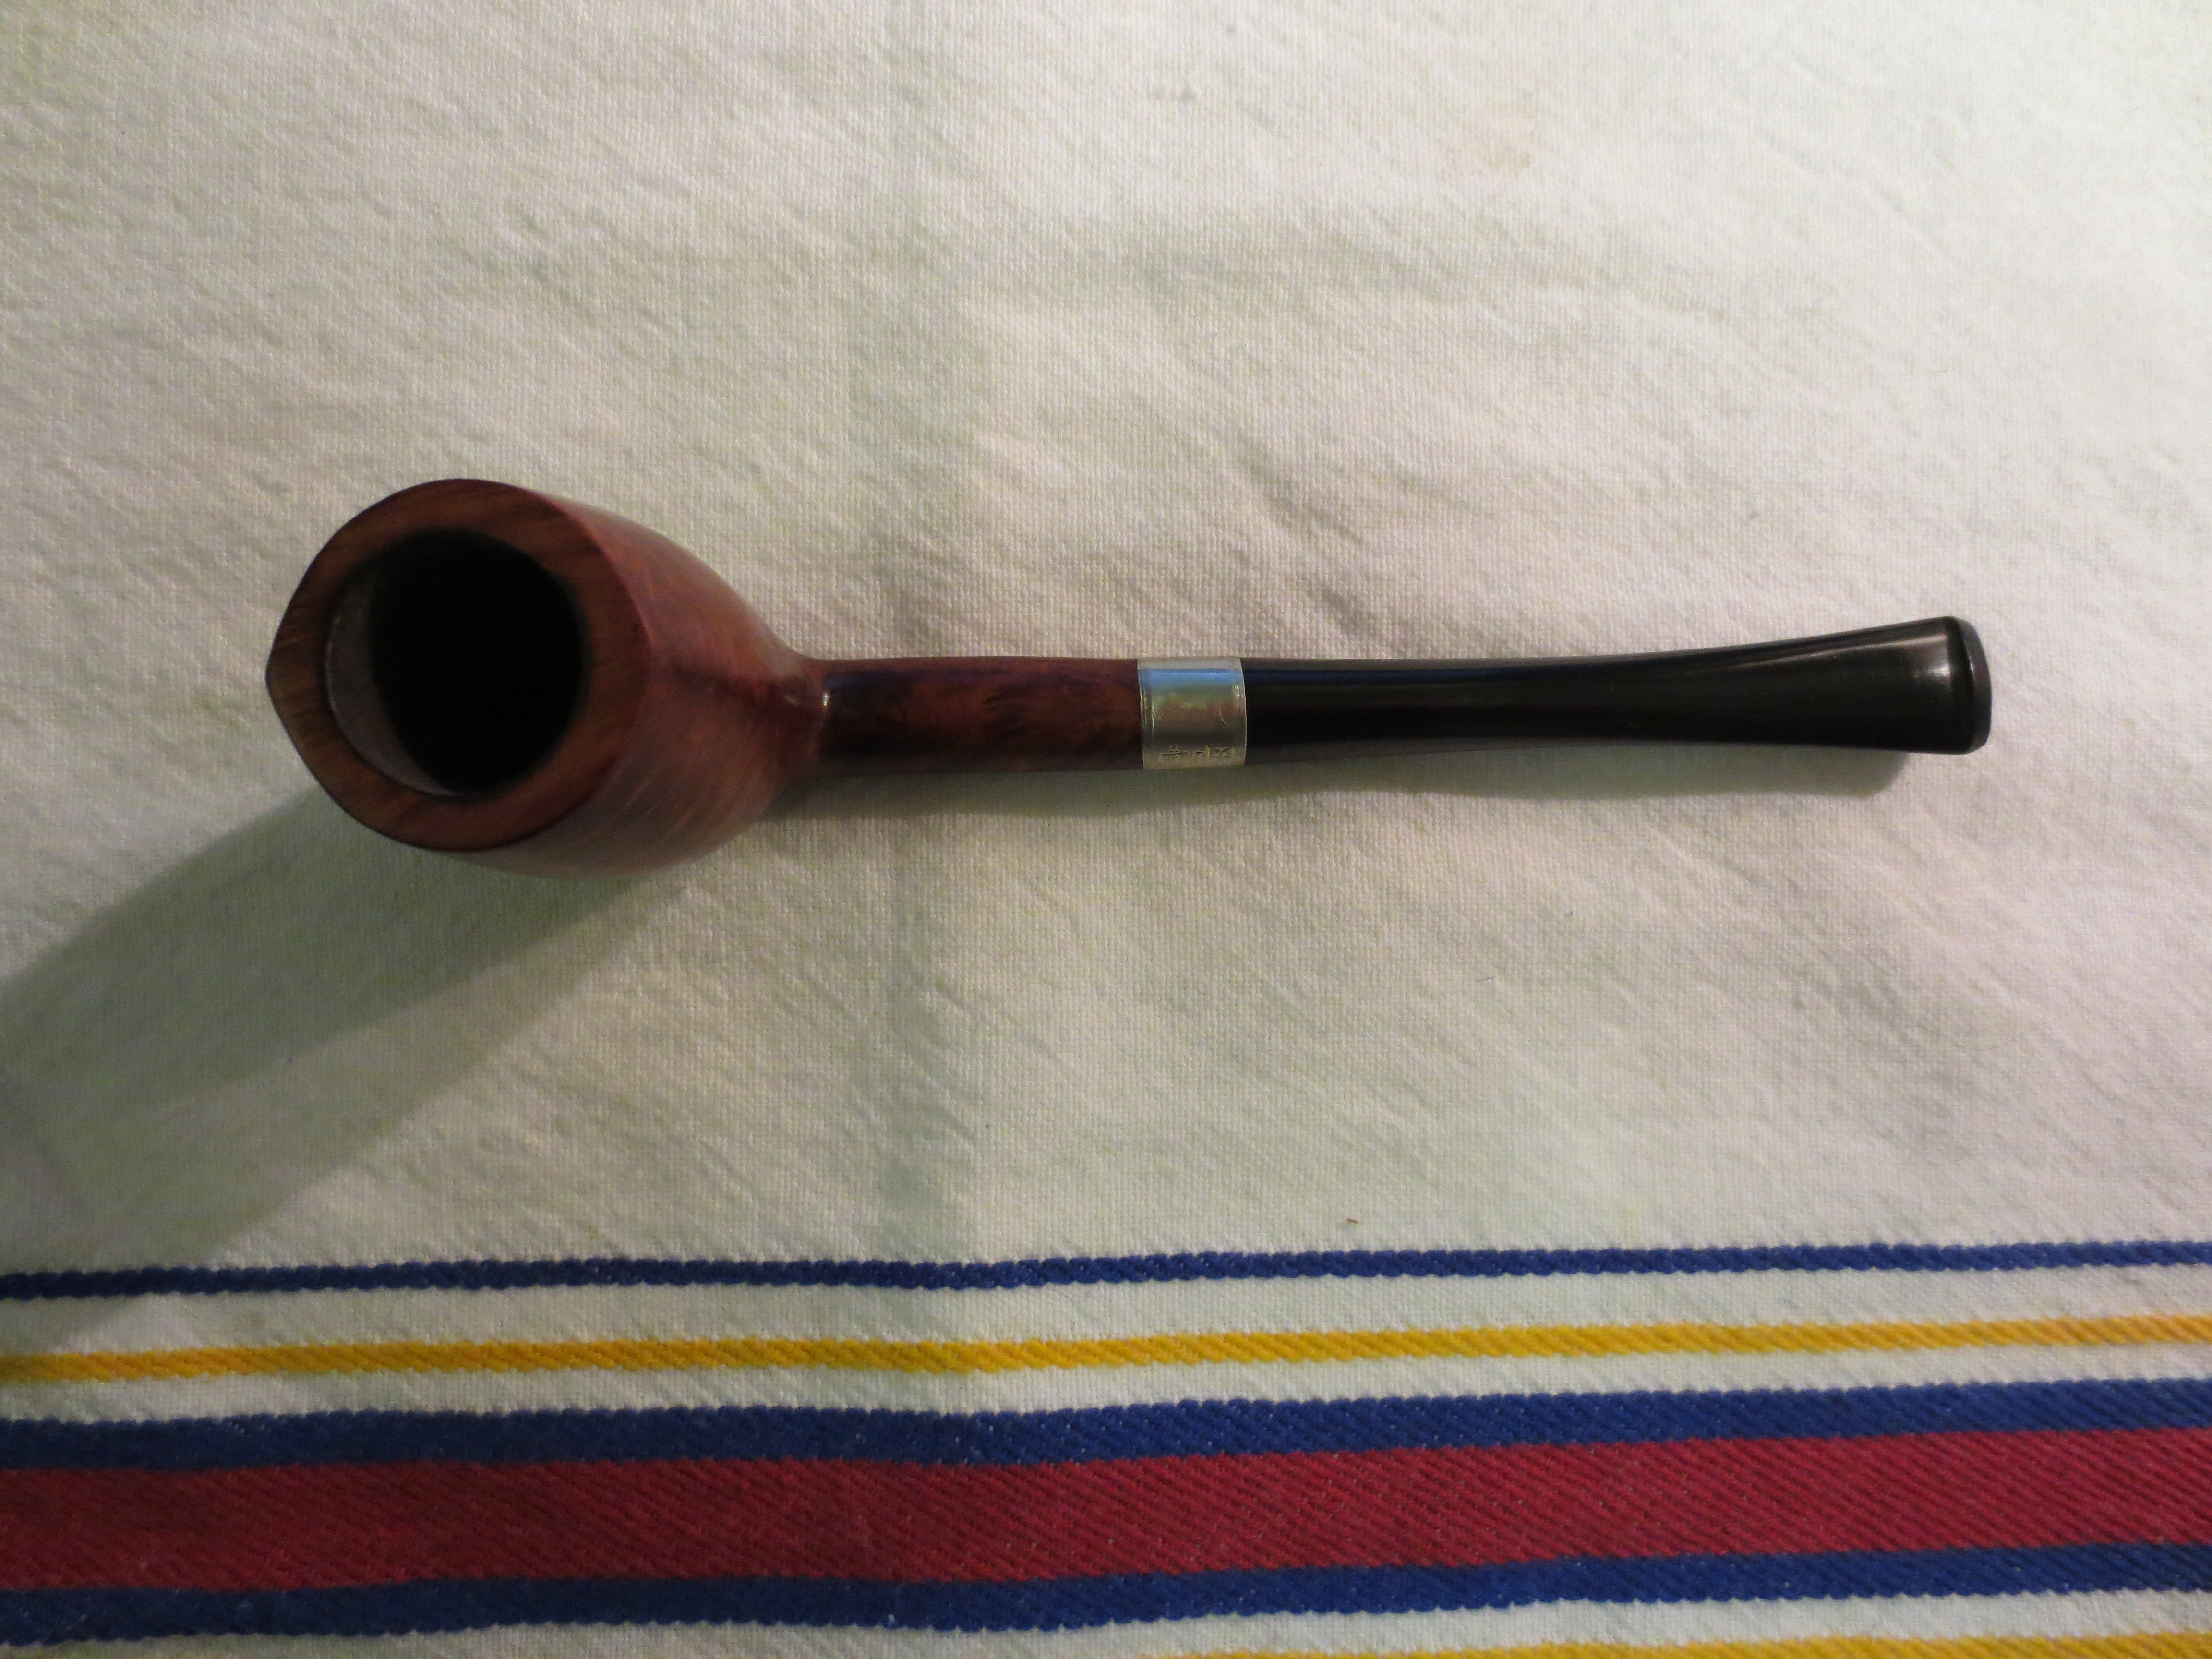
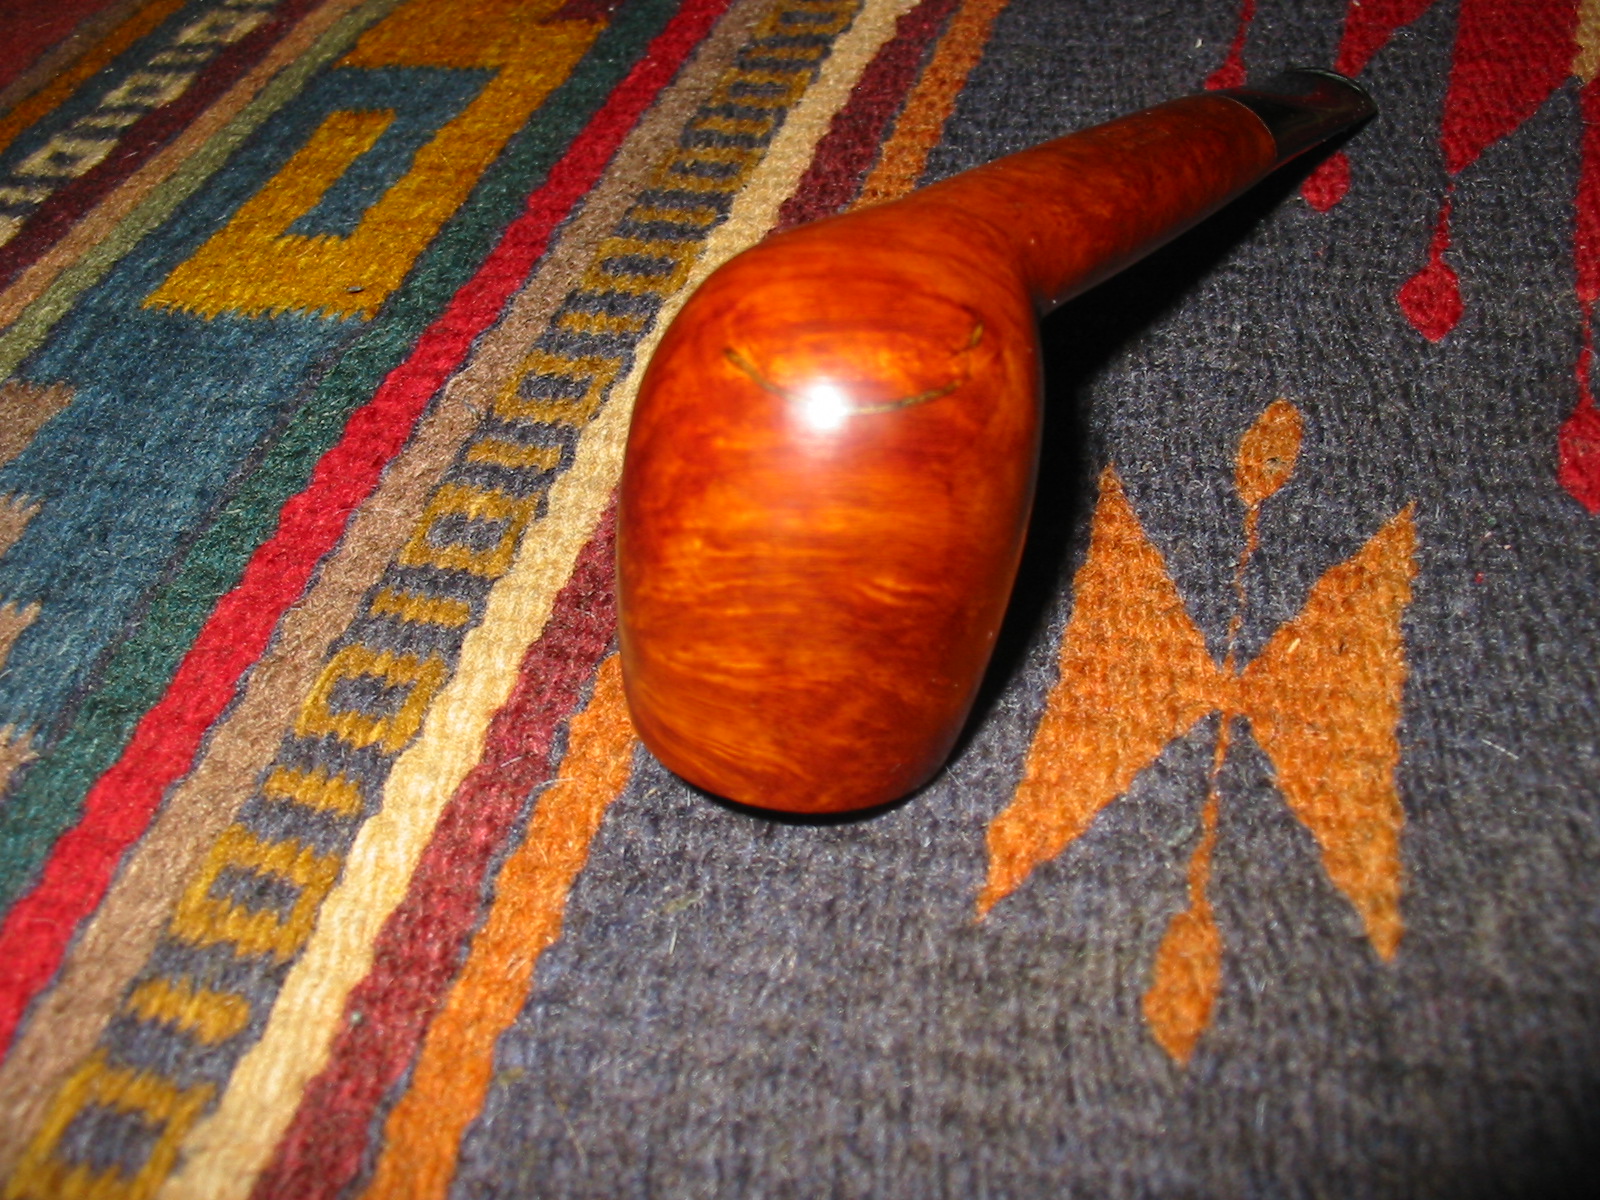
I wiped the bowl down with acetone on cotton pads to clean up the finish. I am very happy with the transition from the shank to the bowl.
IMG_4722

IMG_4723

IMG_4724

IMG_4725

IMG_4726

I did more sanding on the fill on the front of the bowl and refilled the spots that needed work. I stained the bowl with a dark brown aniline stain thinned 2:1 with isopropyl alcohol. I have been using this mixture since I opened the bottle of stain several months ago and now am at the bottom of the bottle so it may be slightly darker.
IMG_4727

IMG_4728

IMG_4729

IMG_4730

The stain went into the new fill material but it turned very dark. I continued to apply the stain to the area and flame it repeatedly until the blend was better.
IMG_4731

I buffed the pipe with red Tripoli and the White Diamond to see where I stood with the staining.
IMG_4732

IMG_4733

IMG_4734

IMG_4735

The fill still stood out as can be seen from the photo below. I decided to continue to apply stain to the surrounding area on the bowl to darken the bottom of the bowl a bit. My thinking was that if the entire bottom of the bowl was slightly darker the fill would blend in better with the briar.
IMG_4736

IMG_4747

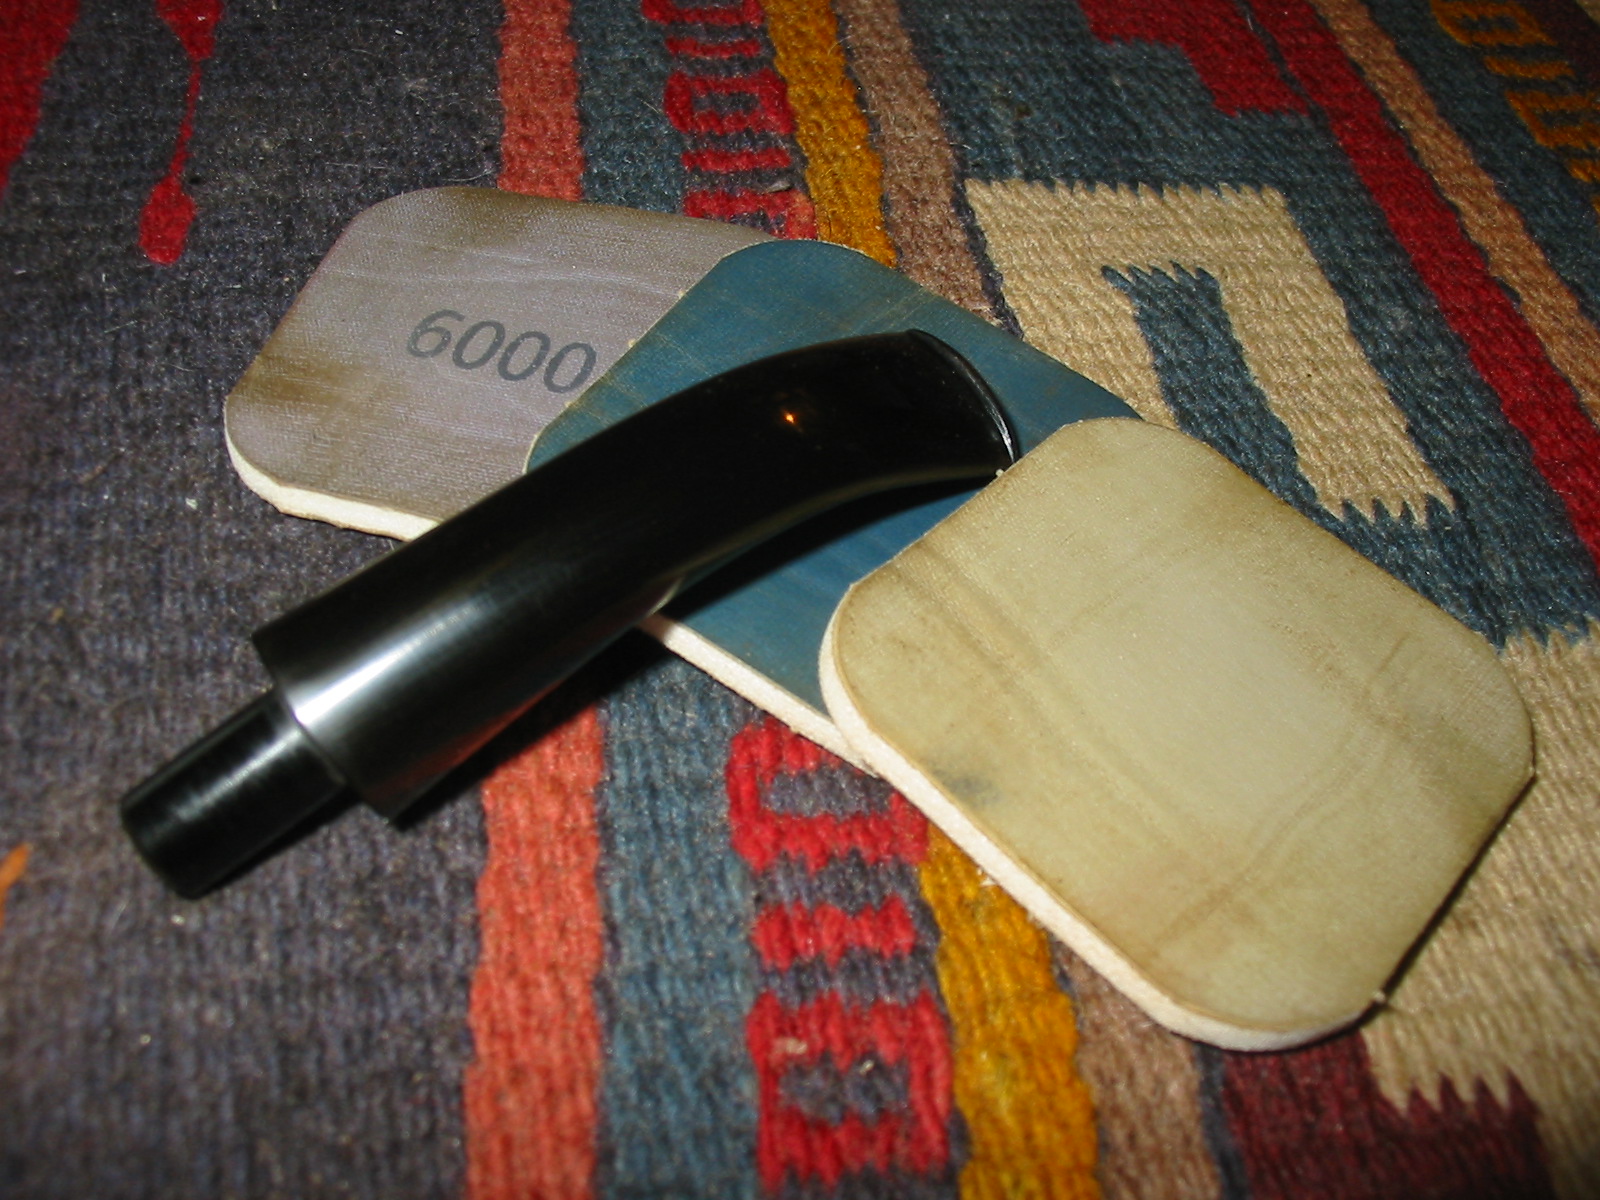
I sanded the stem with my usual array of micromesh pads – wet sanding with 1500-2400 grit sanding pads and dry sanding with 3200-12,000 grit sanding pads. I rubbed the stem down with Obsidian Oil to protect the vulcanite and set is aside to dry.
IMG_4737

IMG_4738

IMG_4739

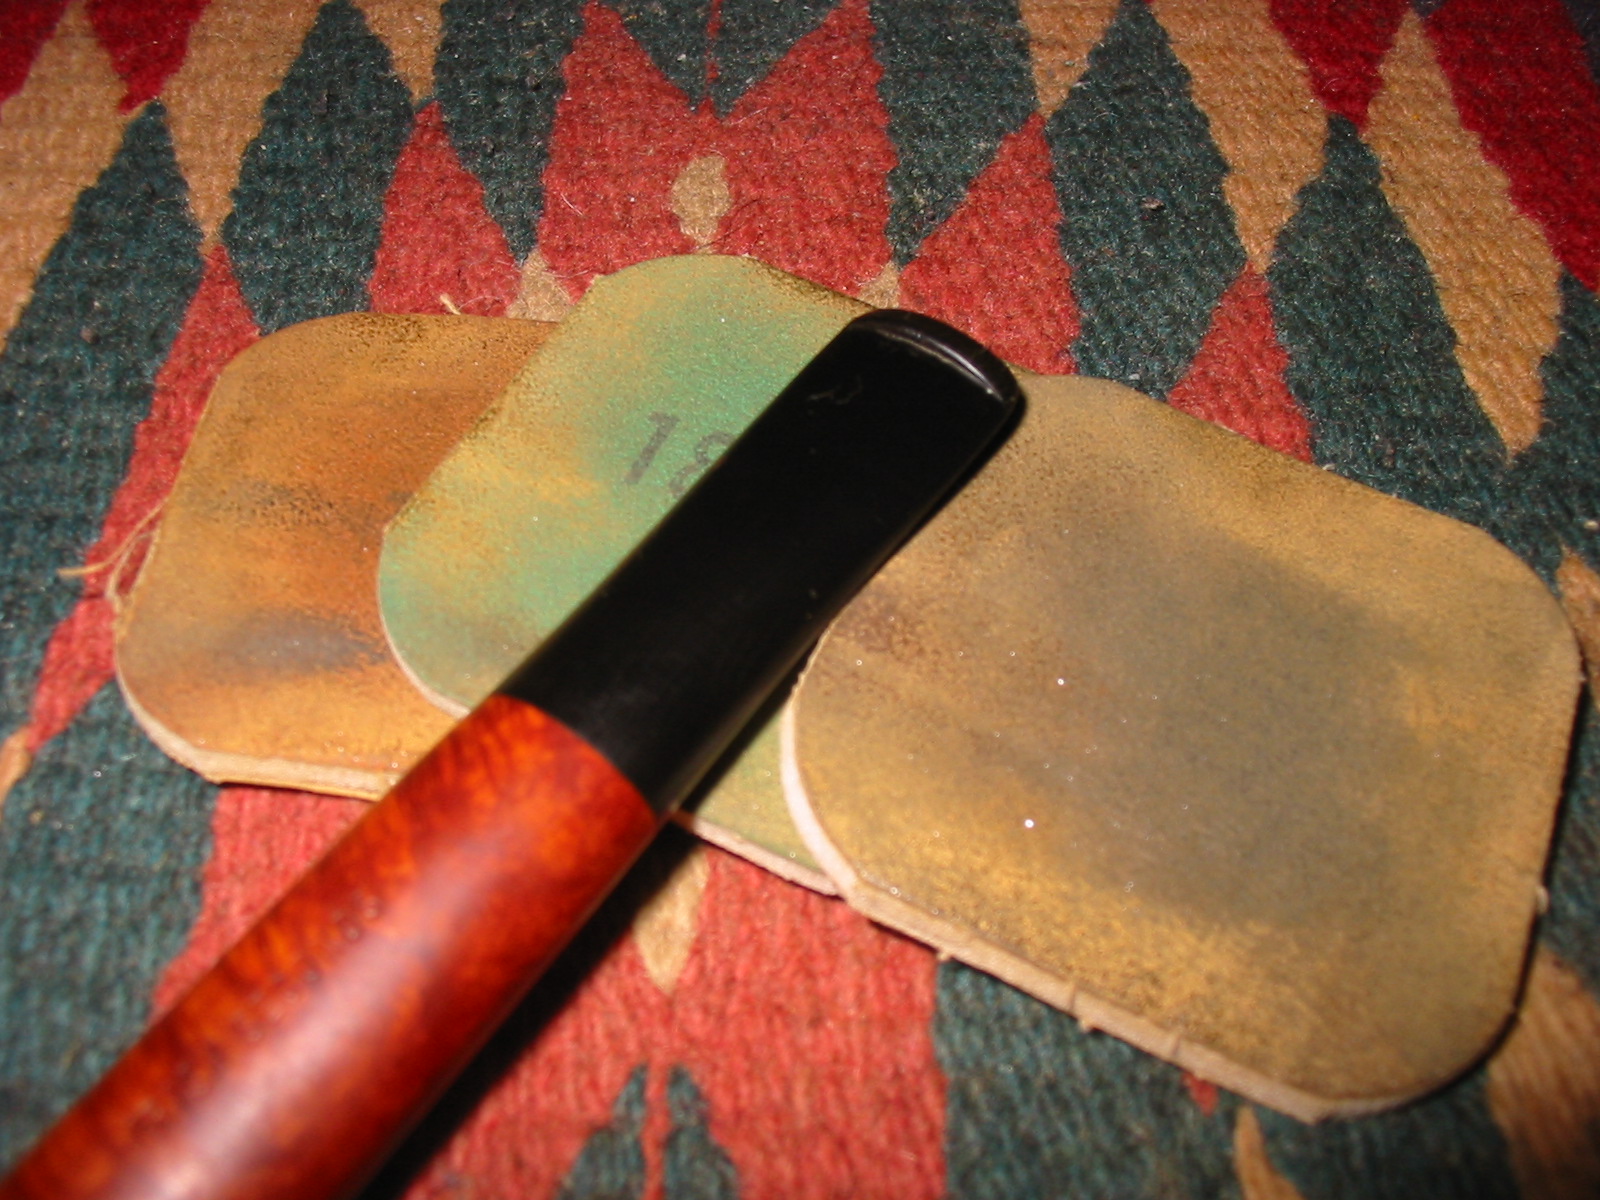
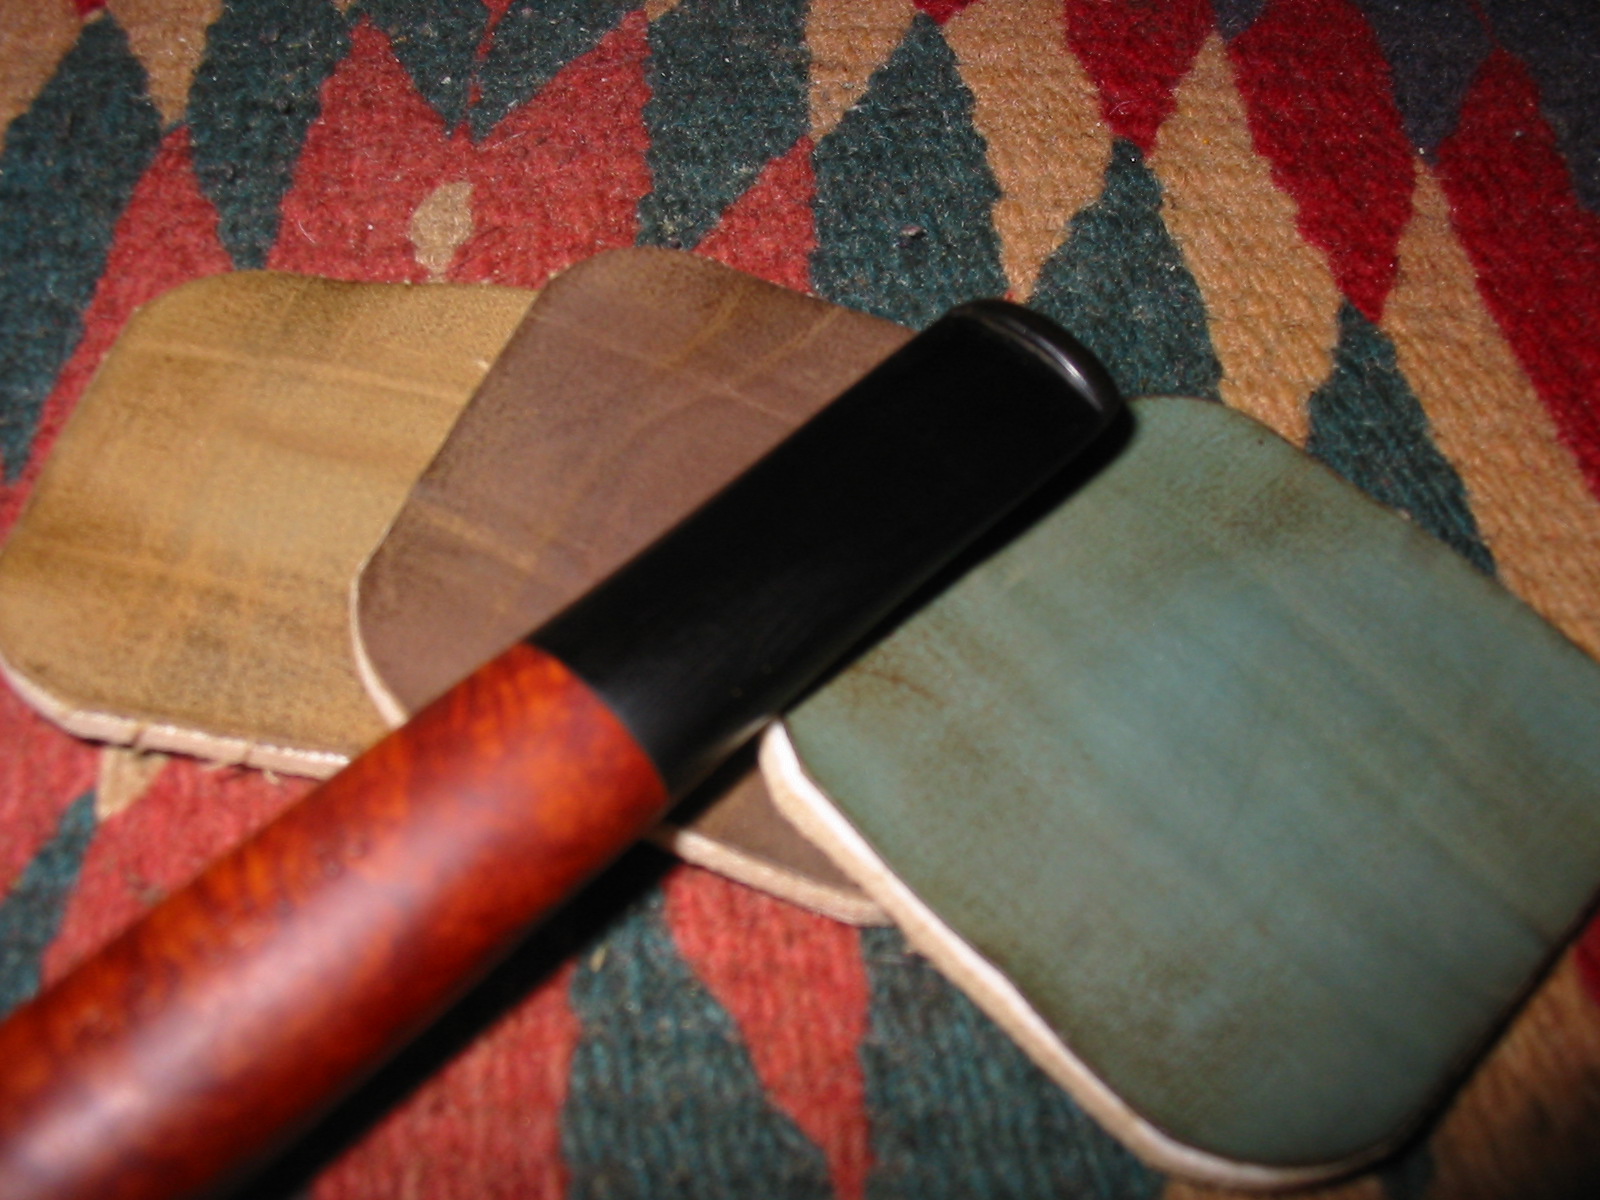
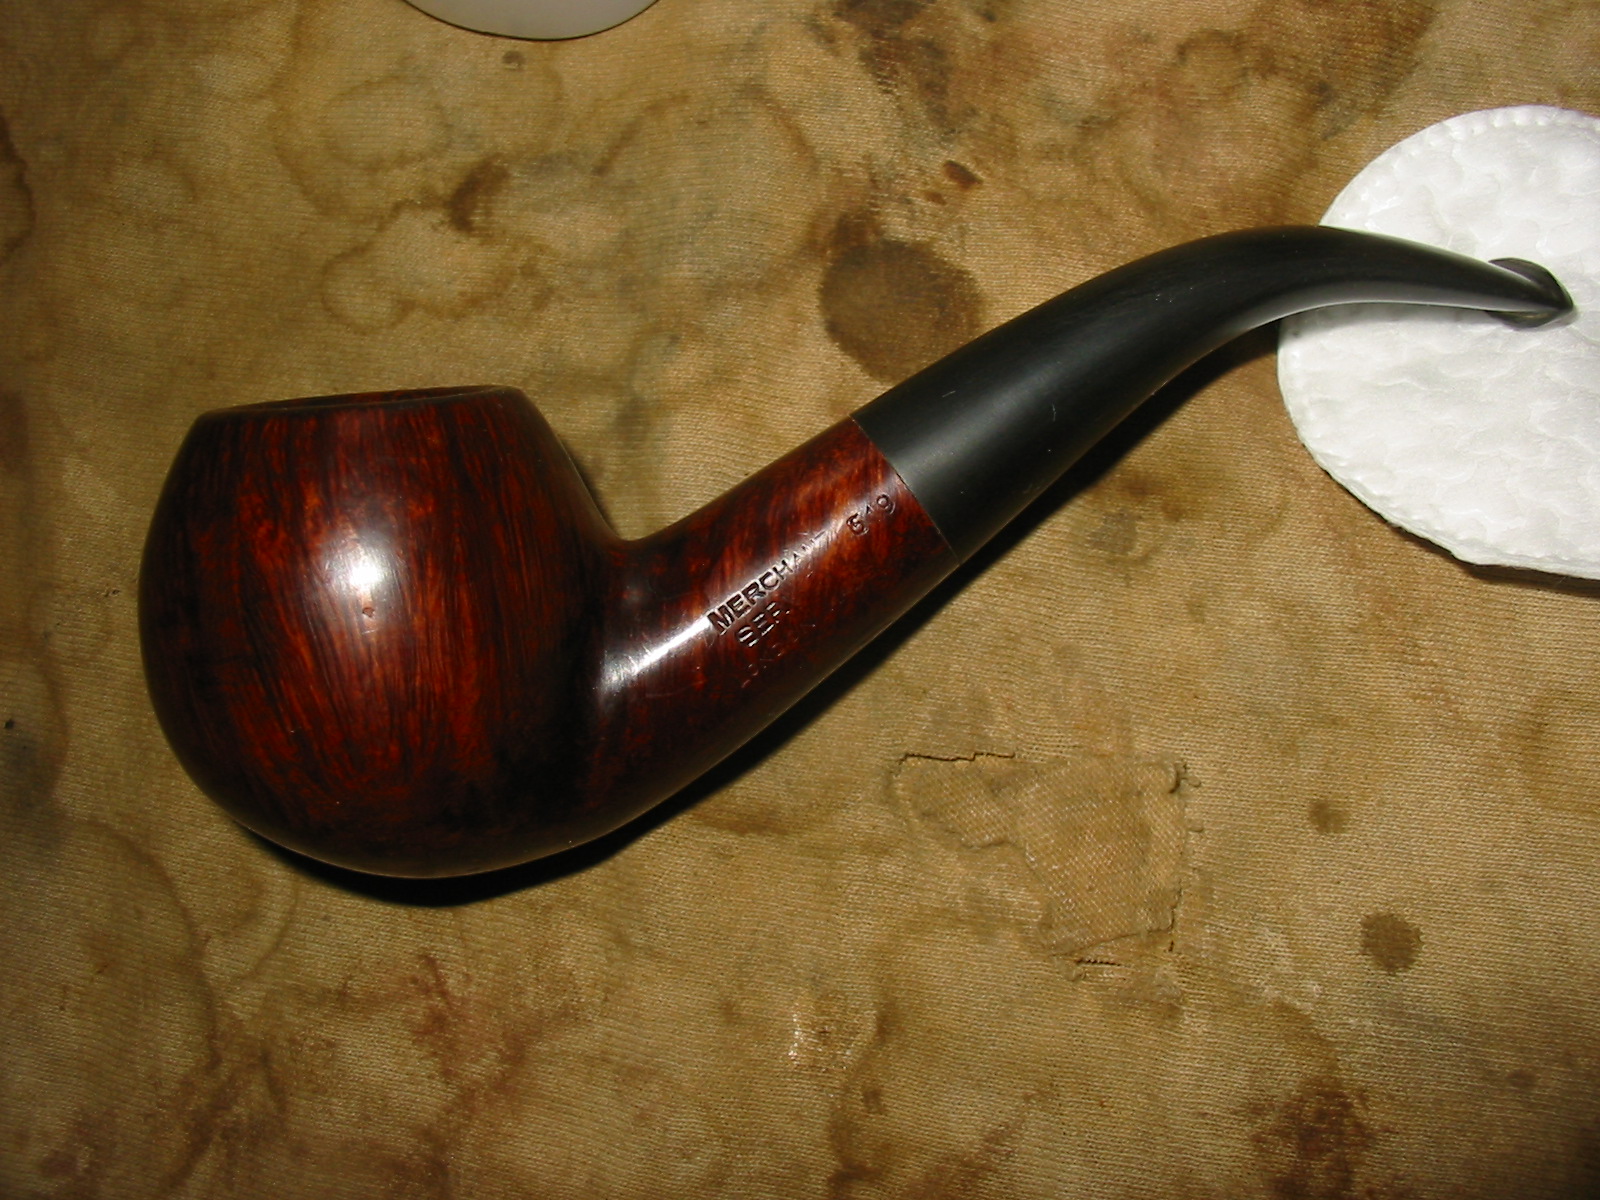
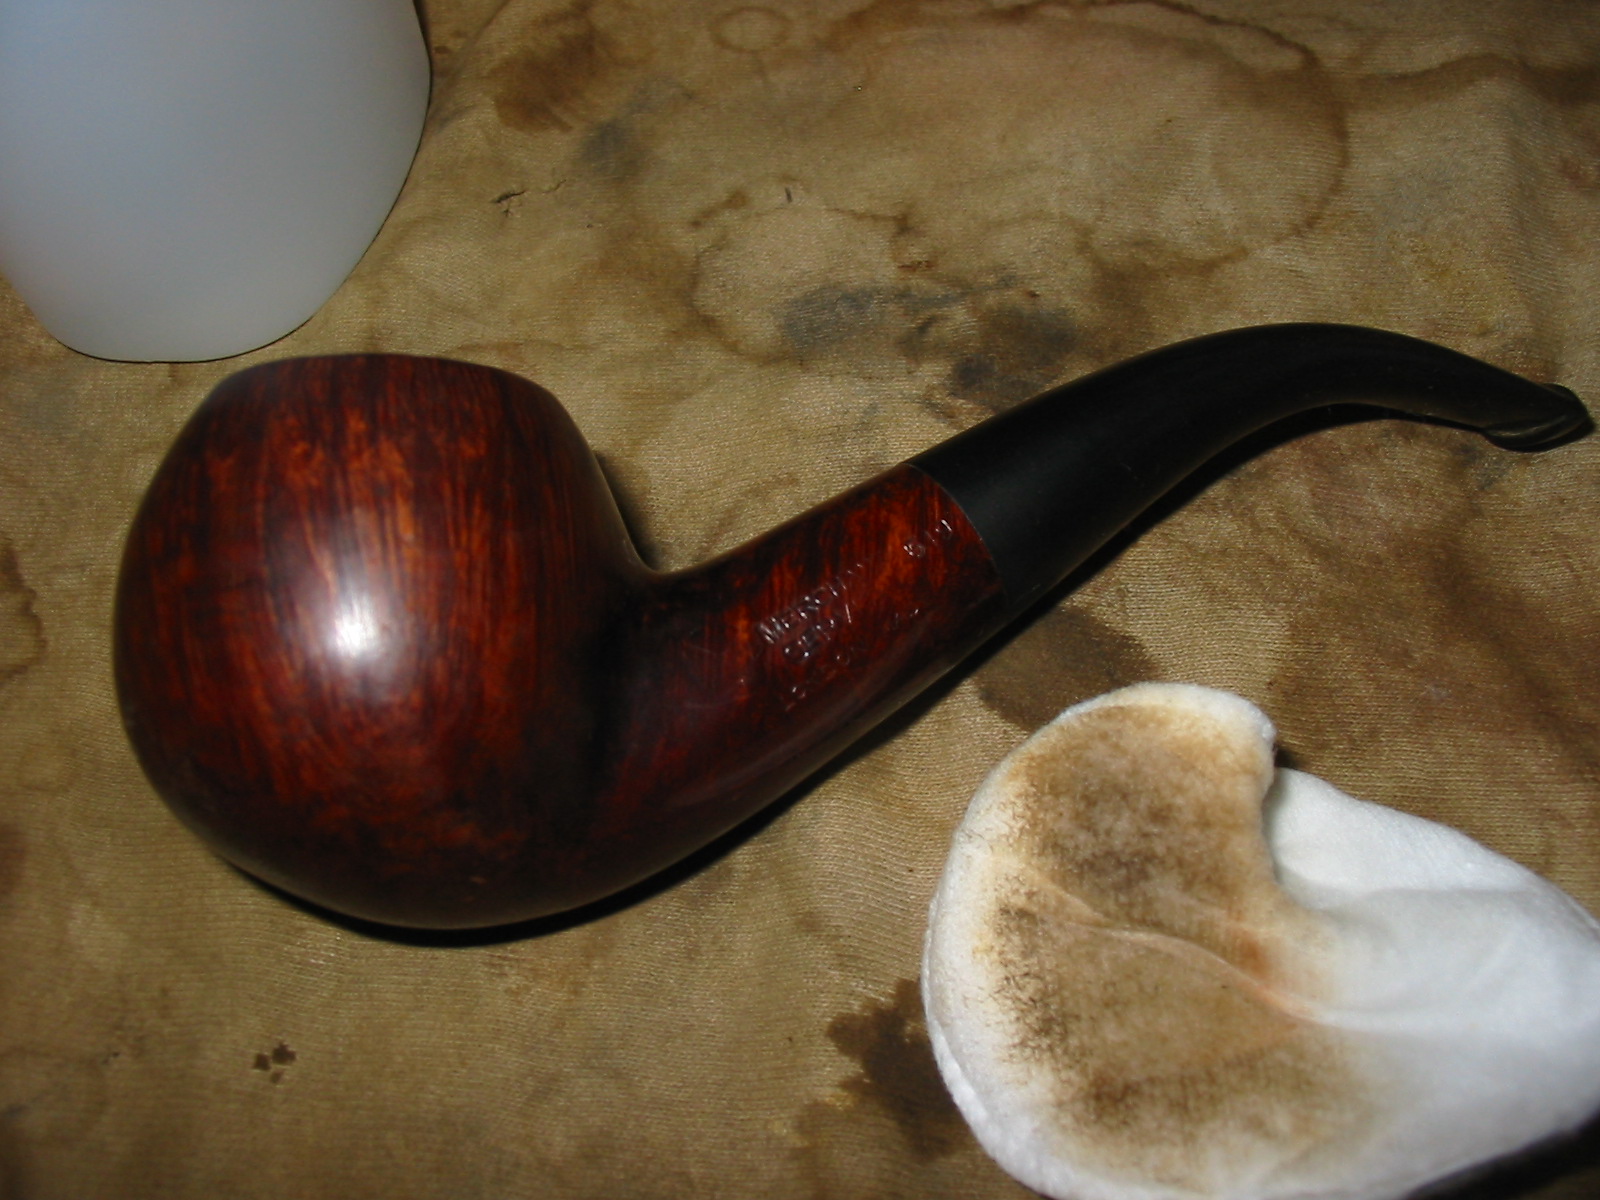
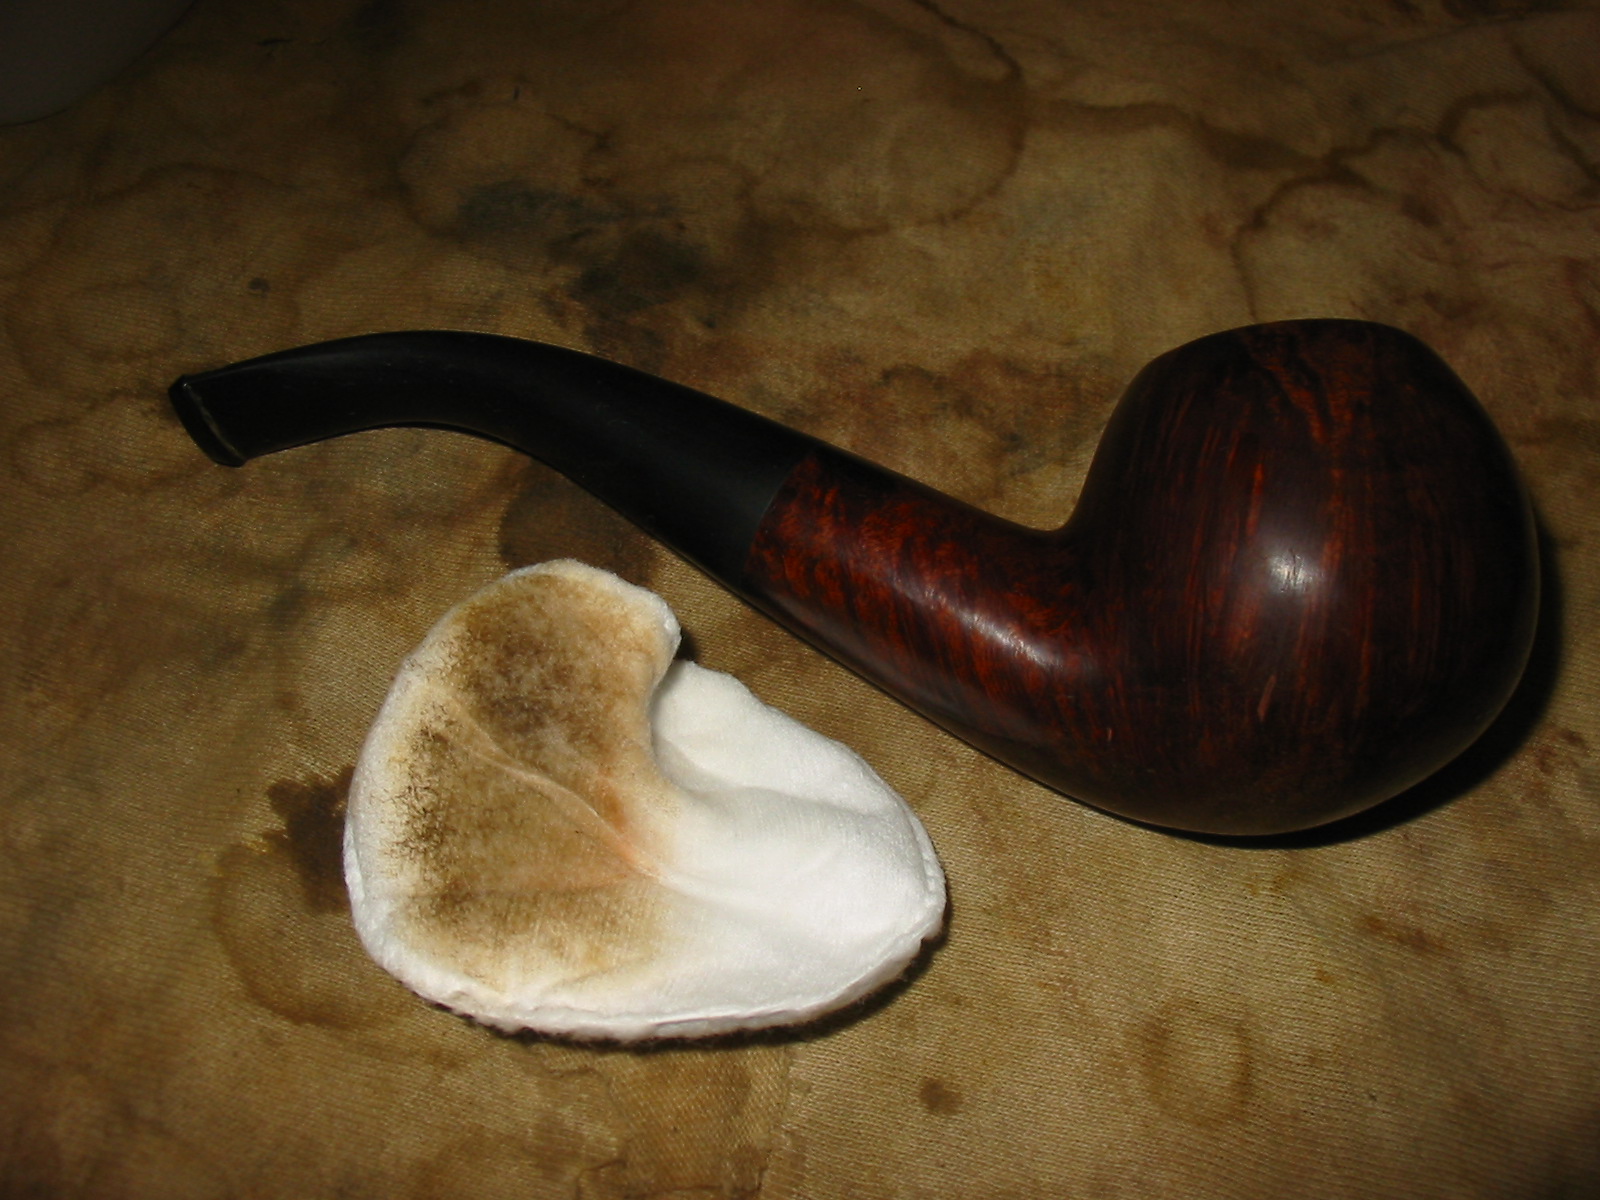
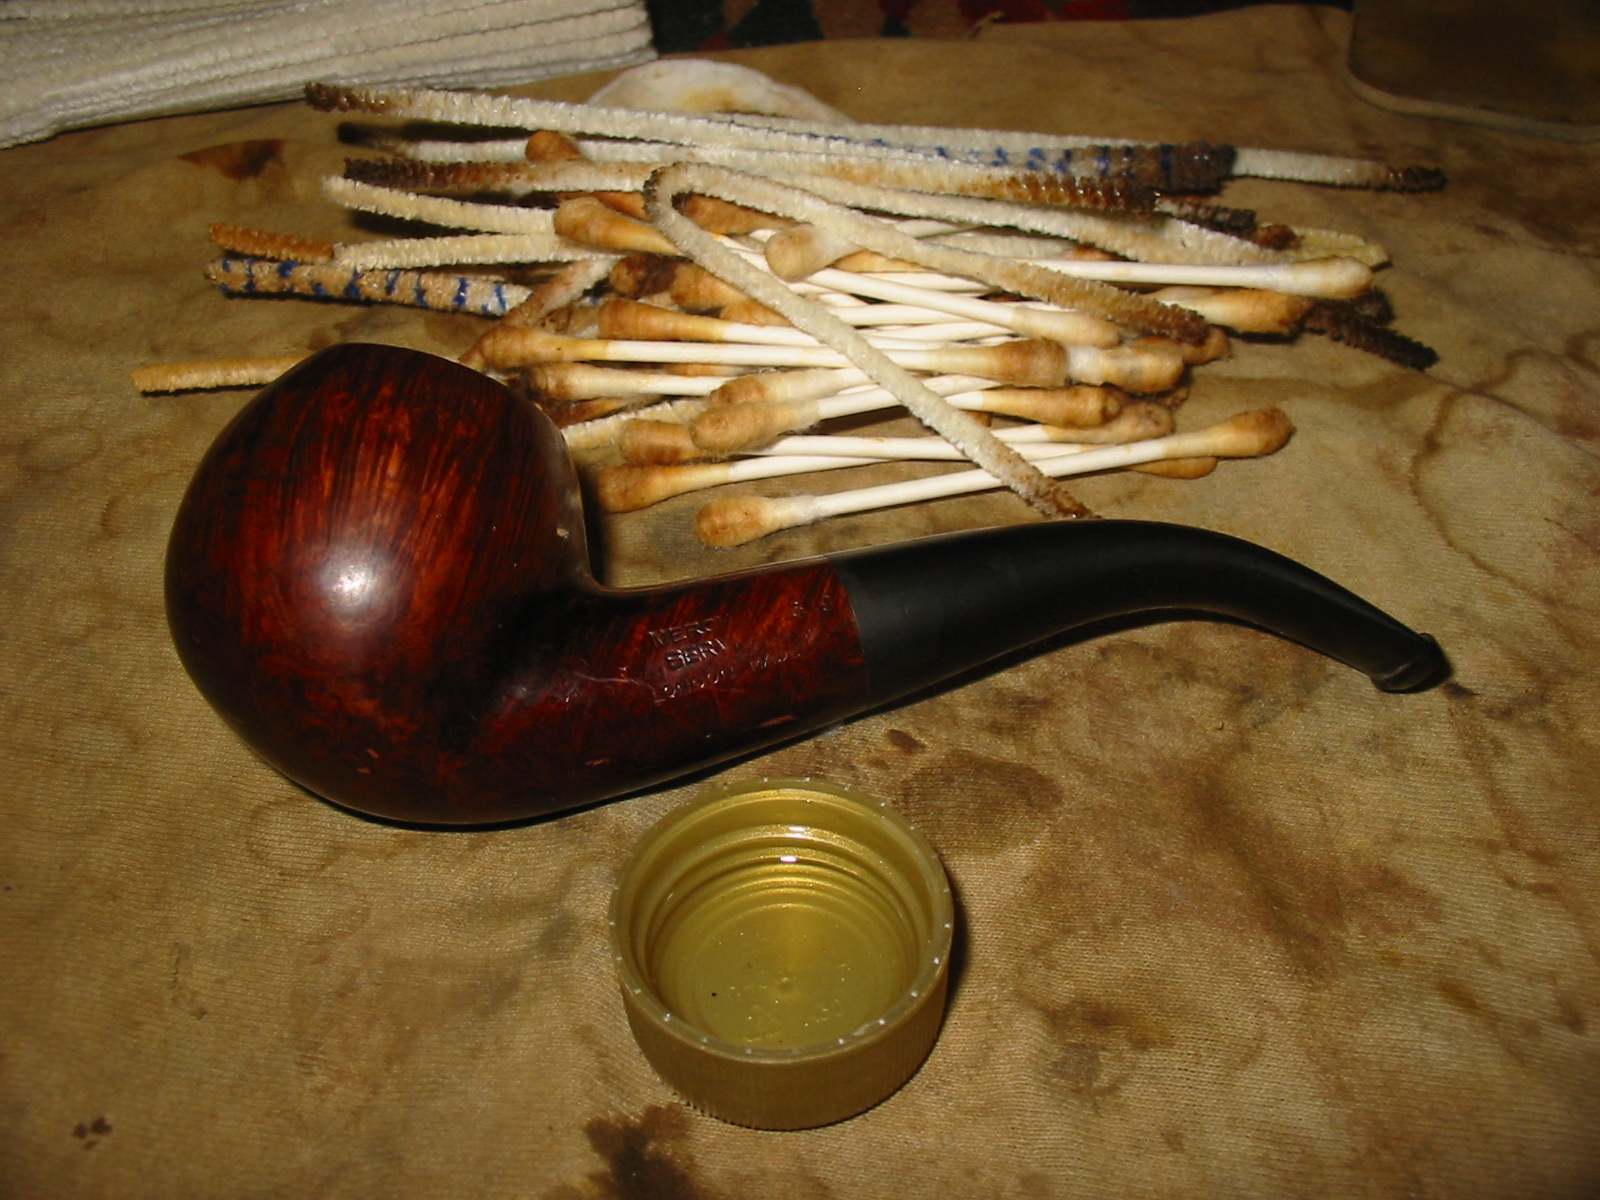
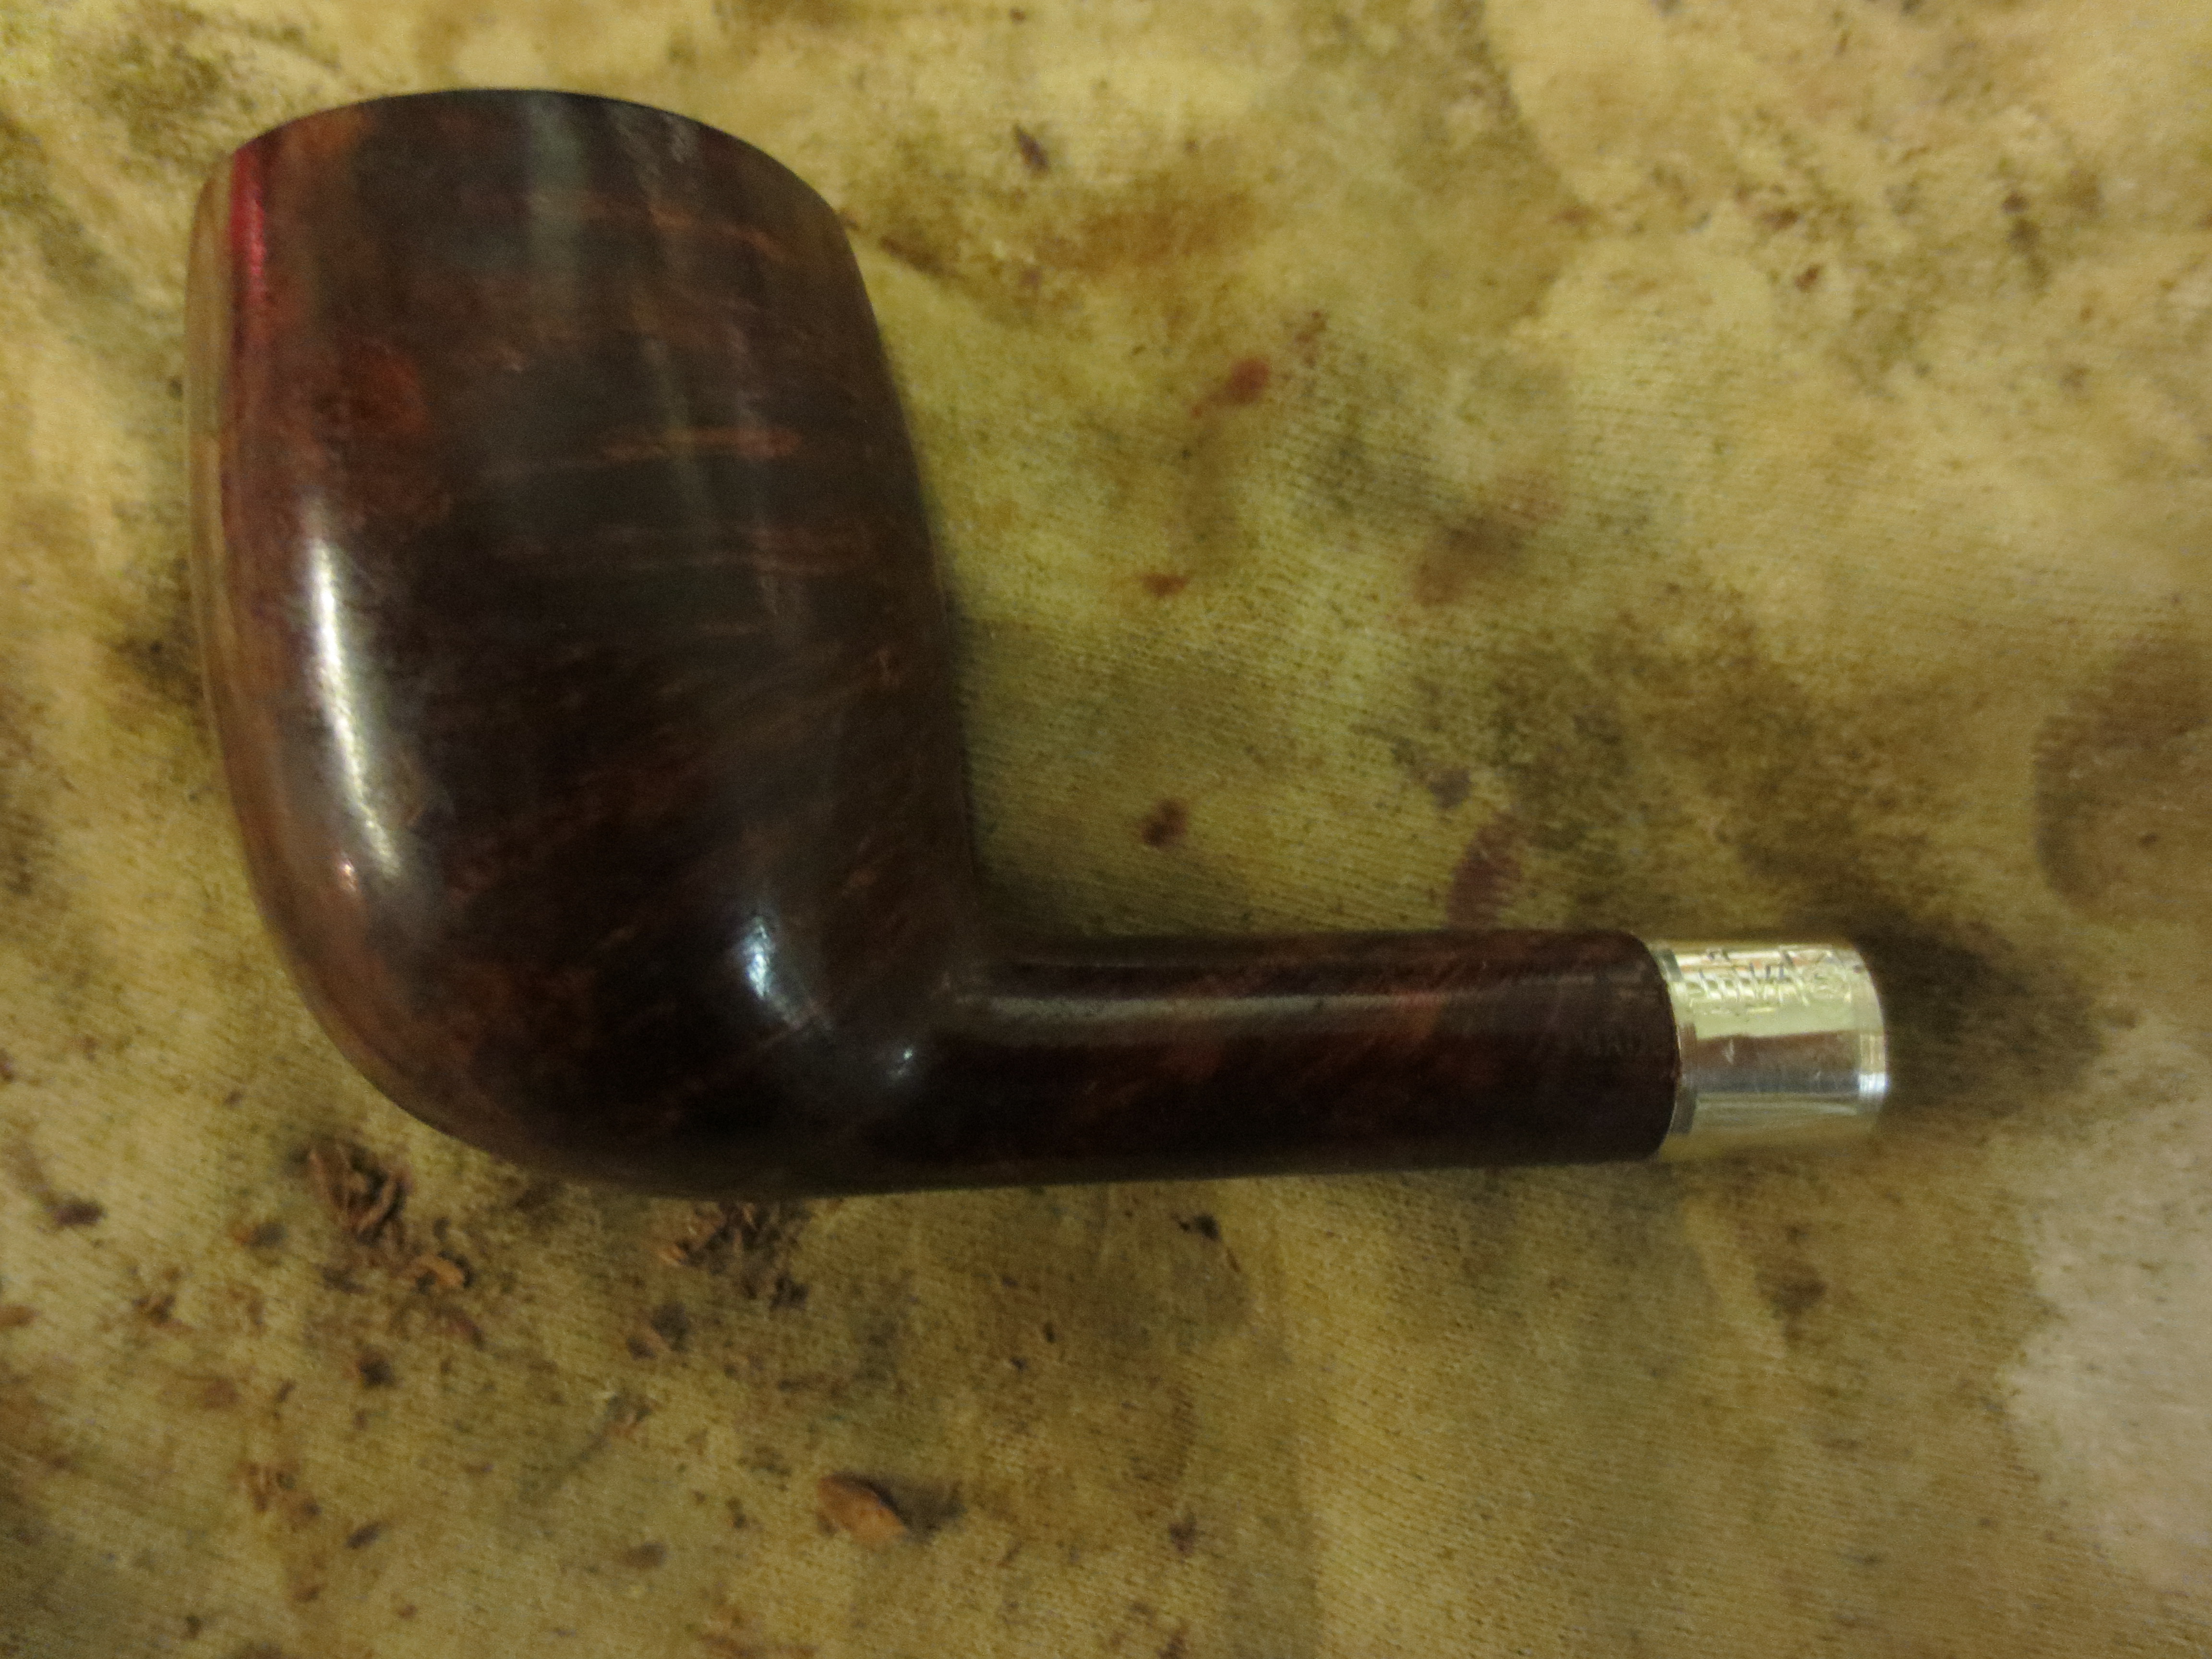
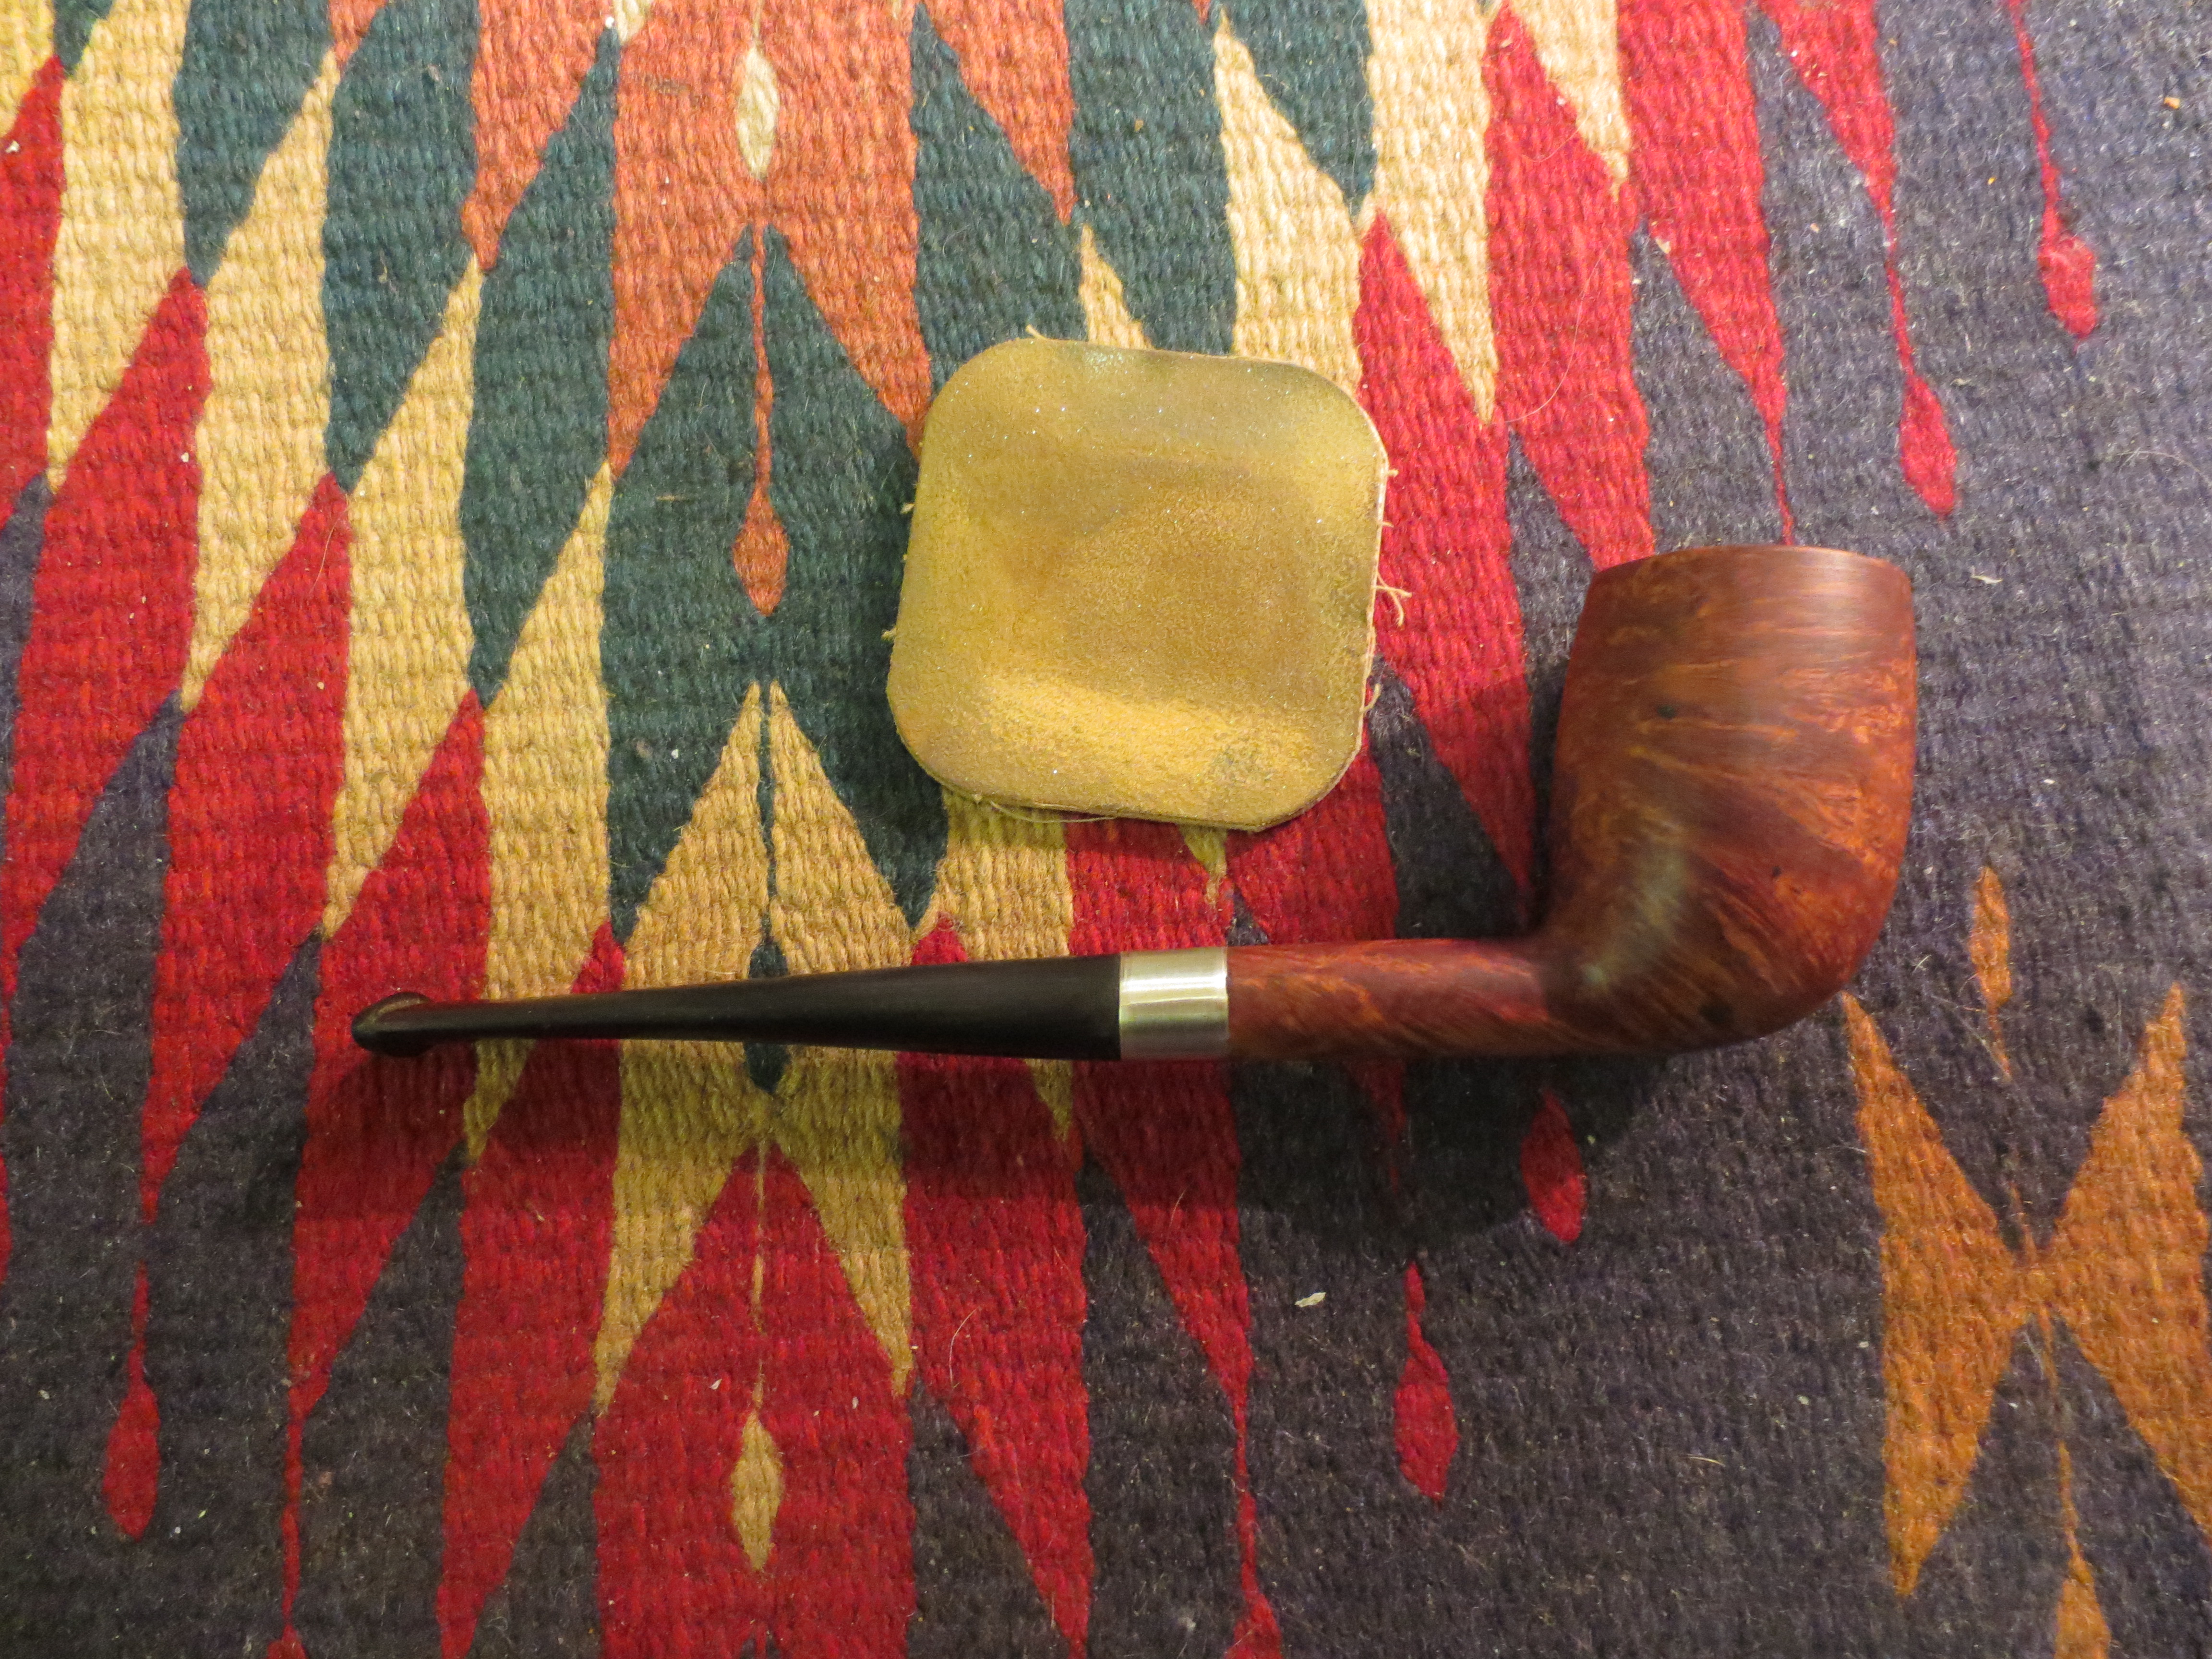
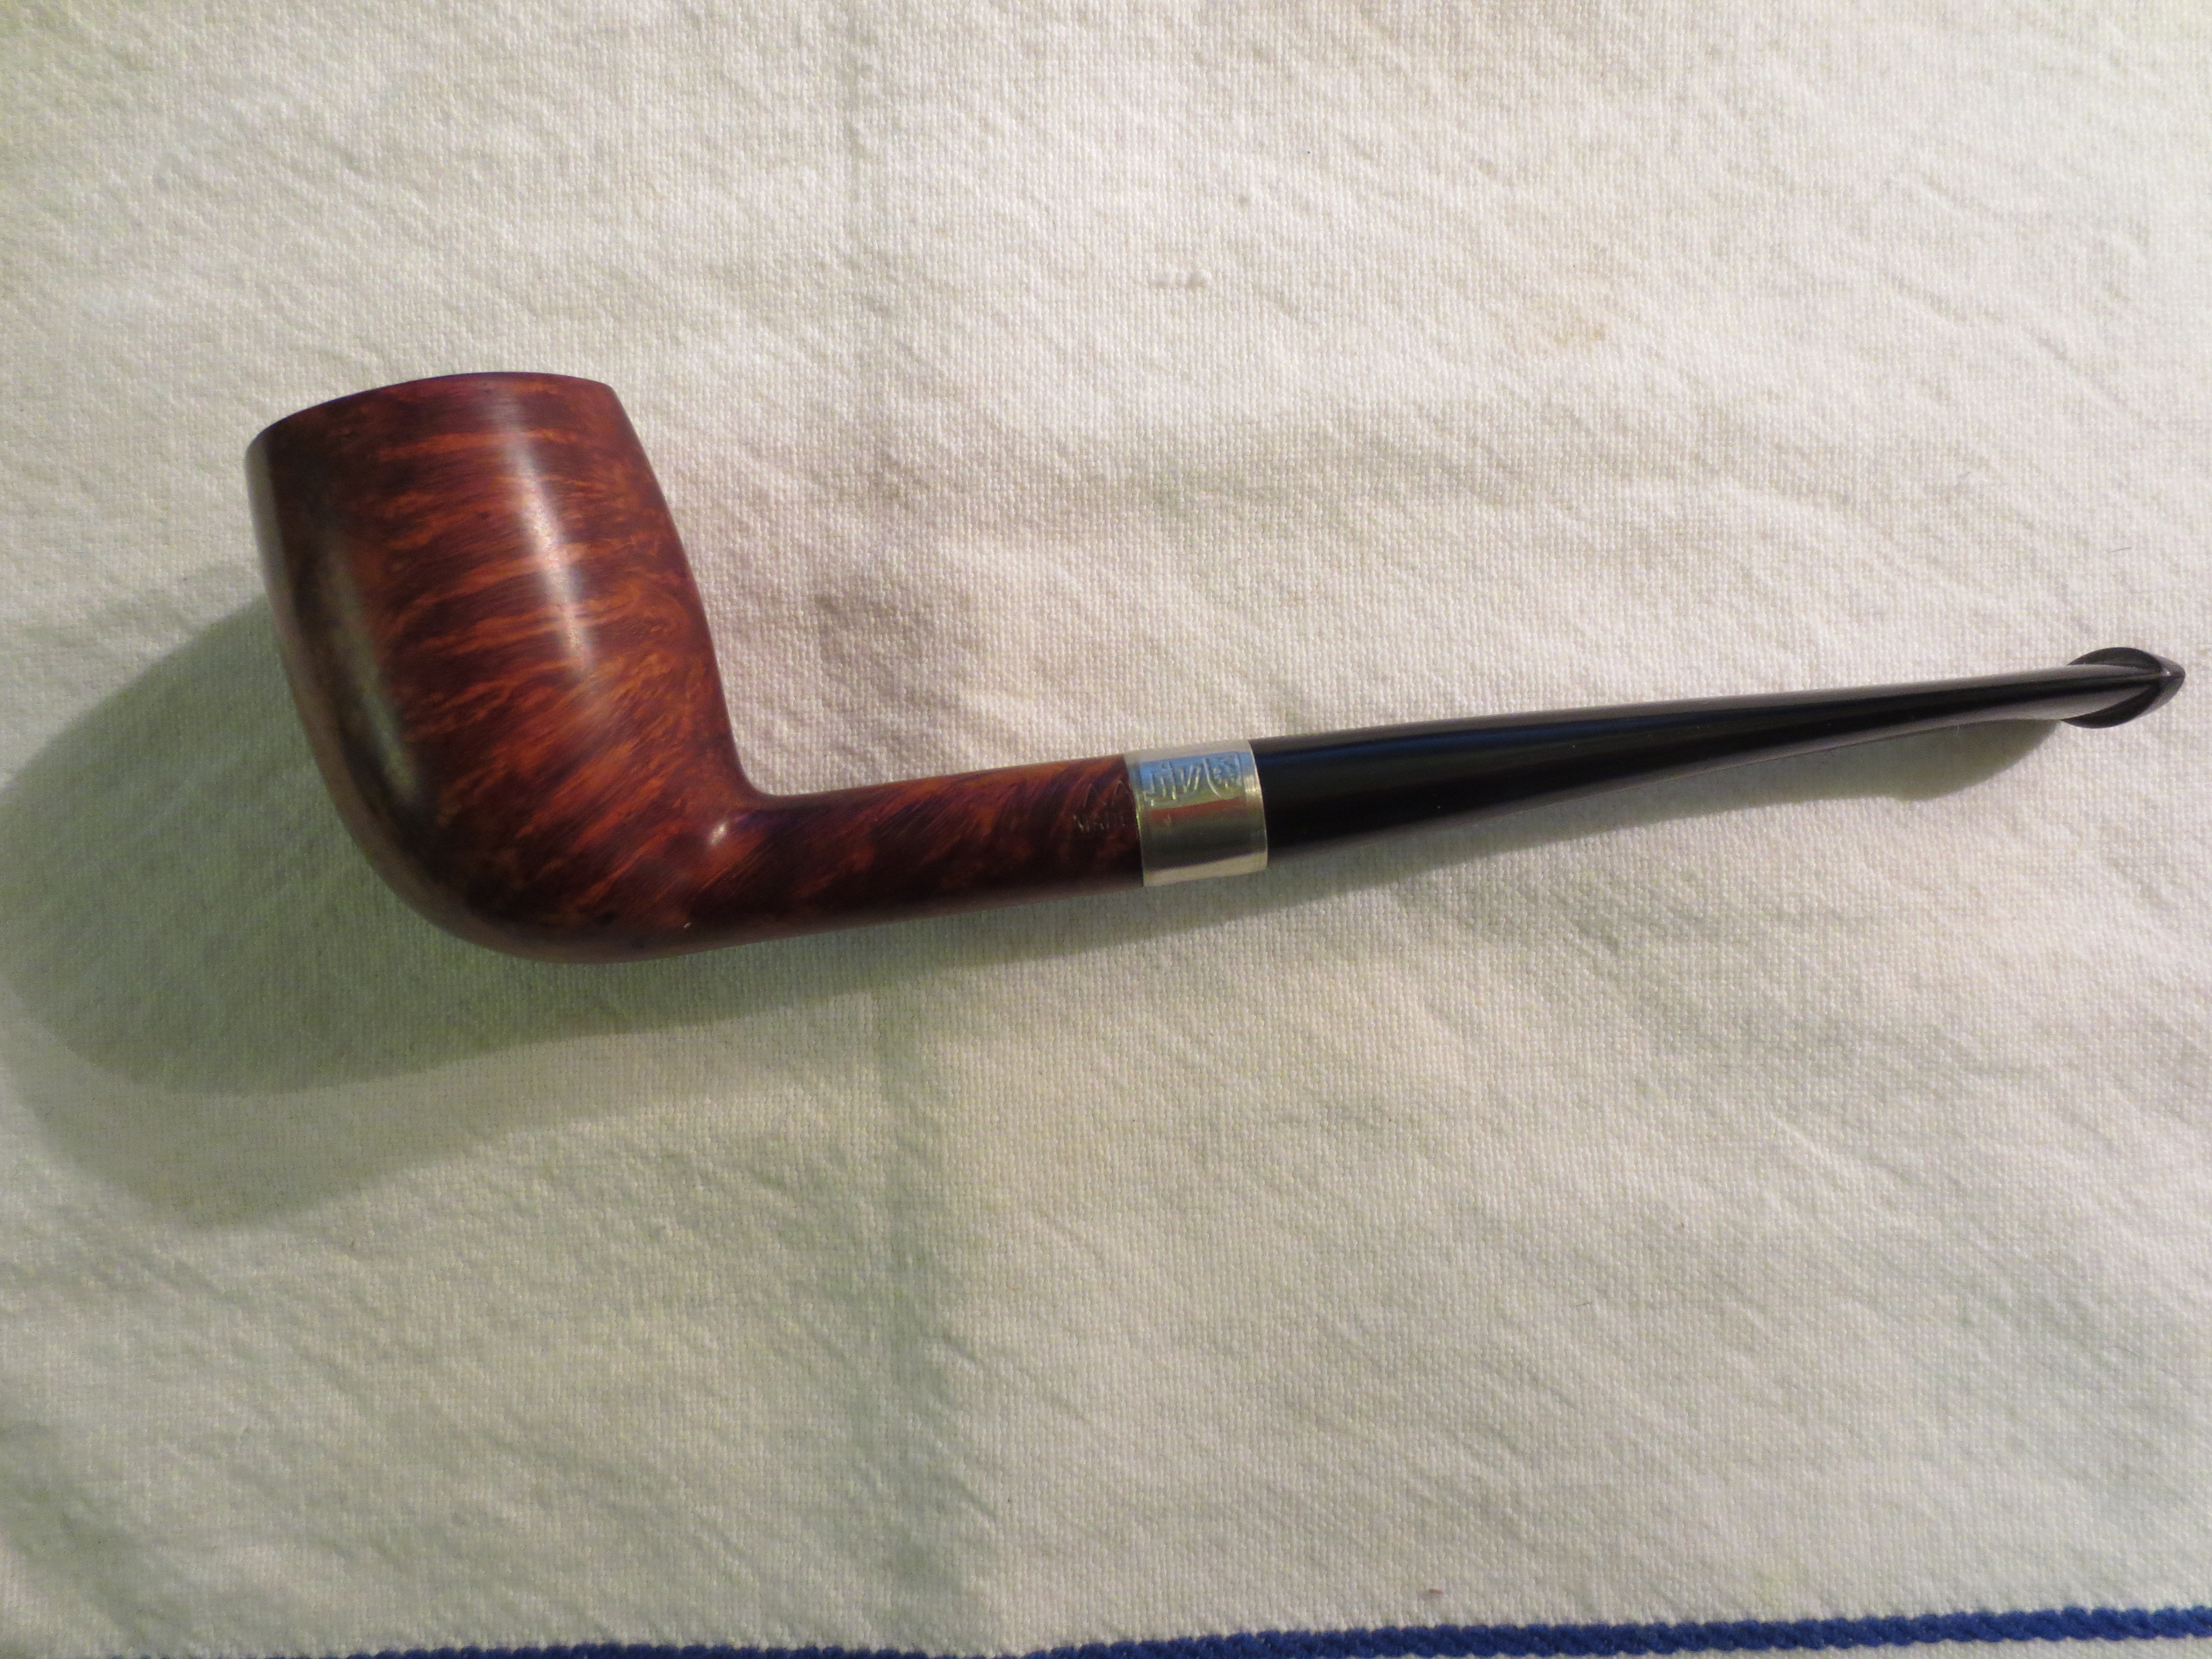
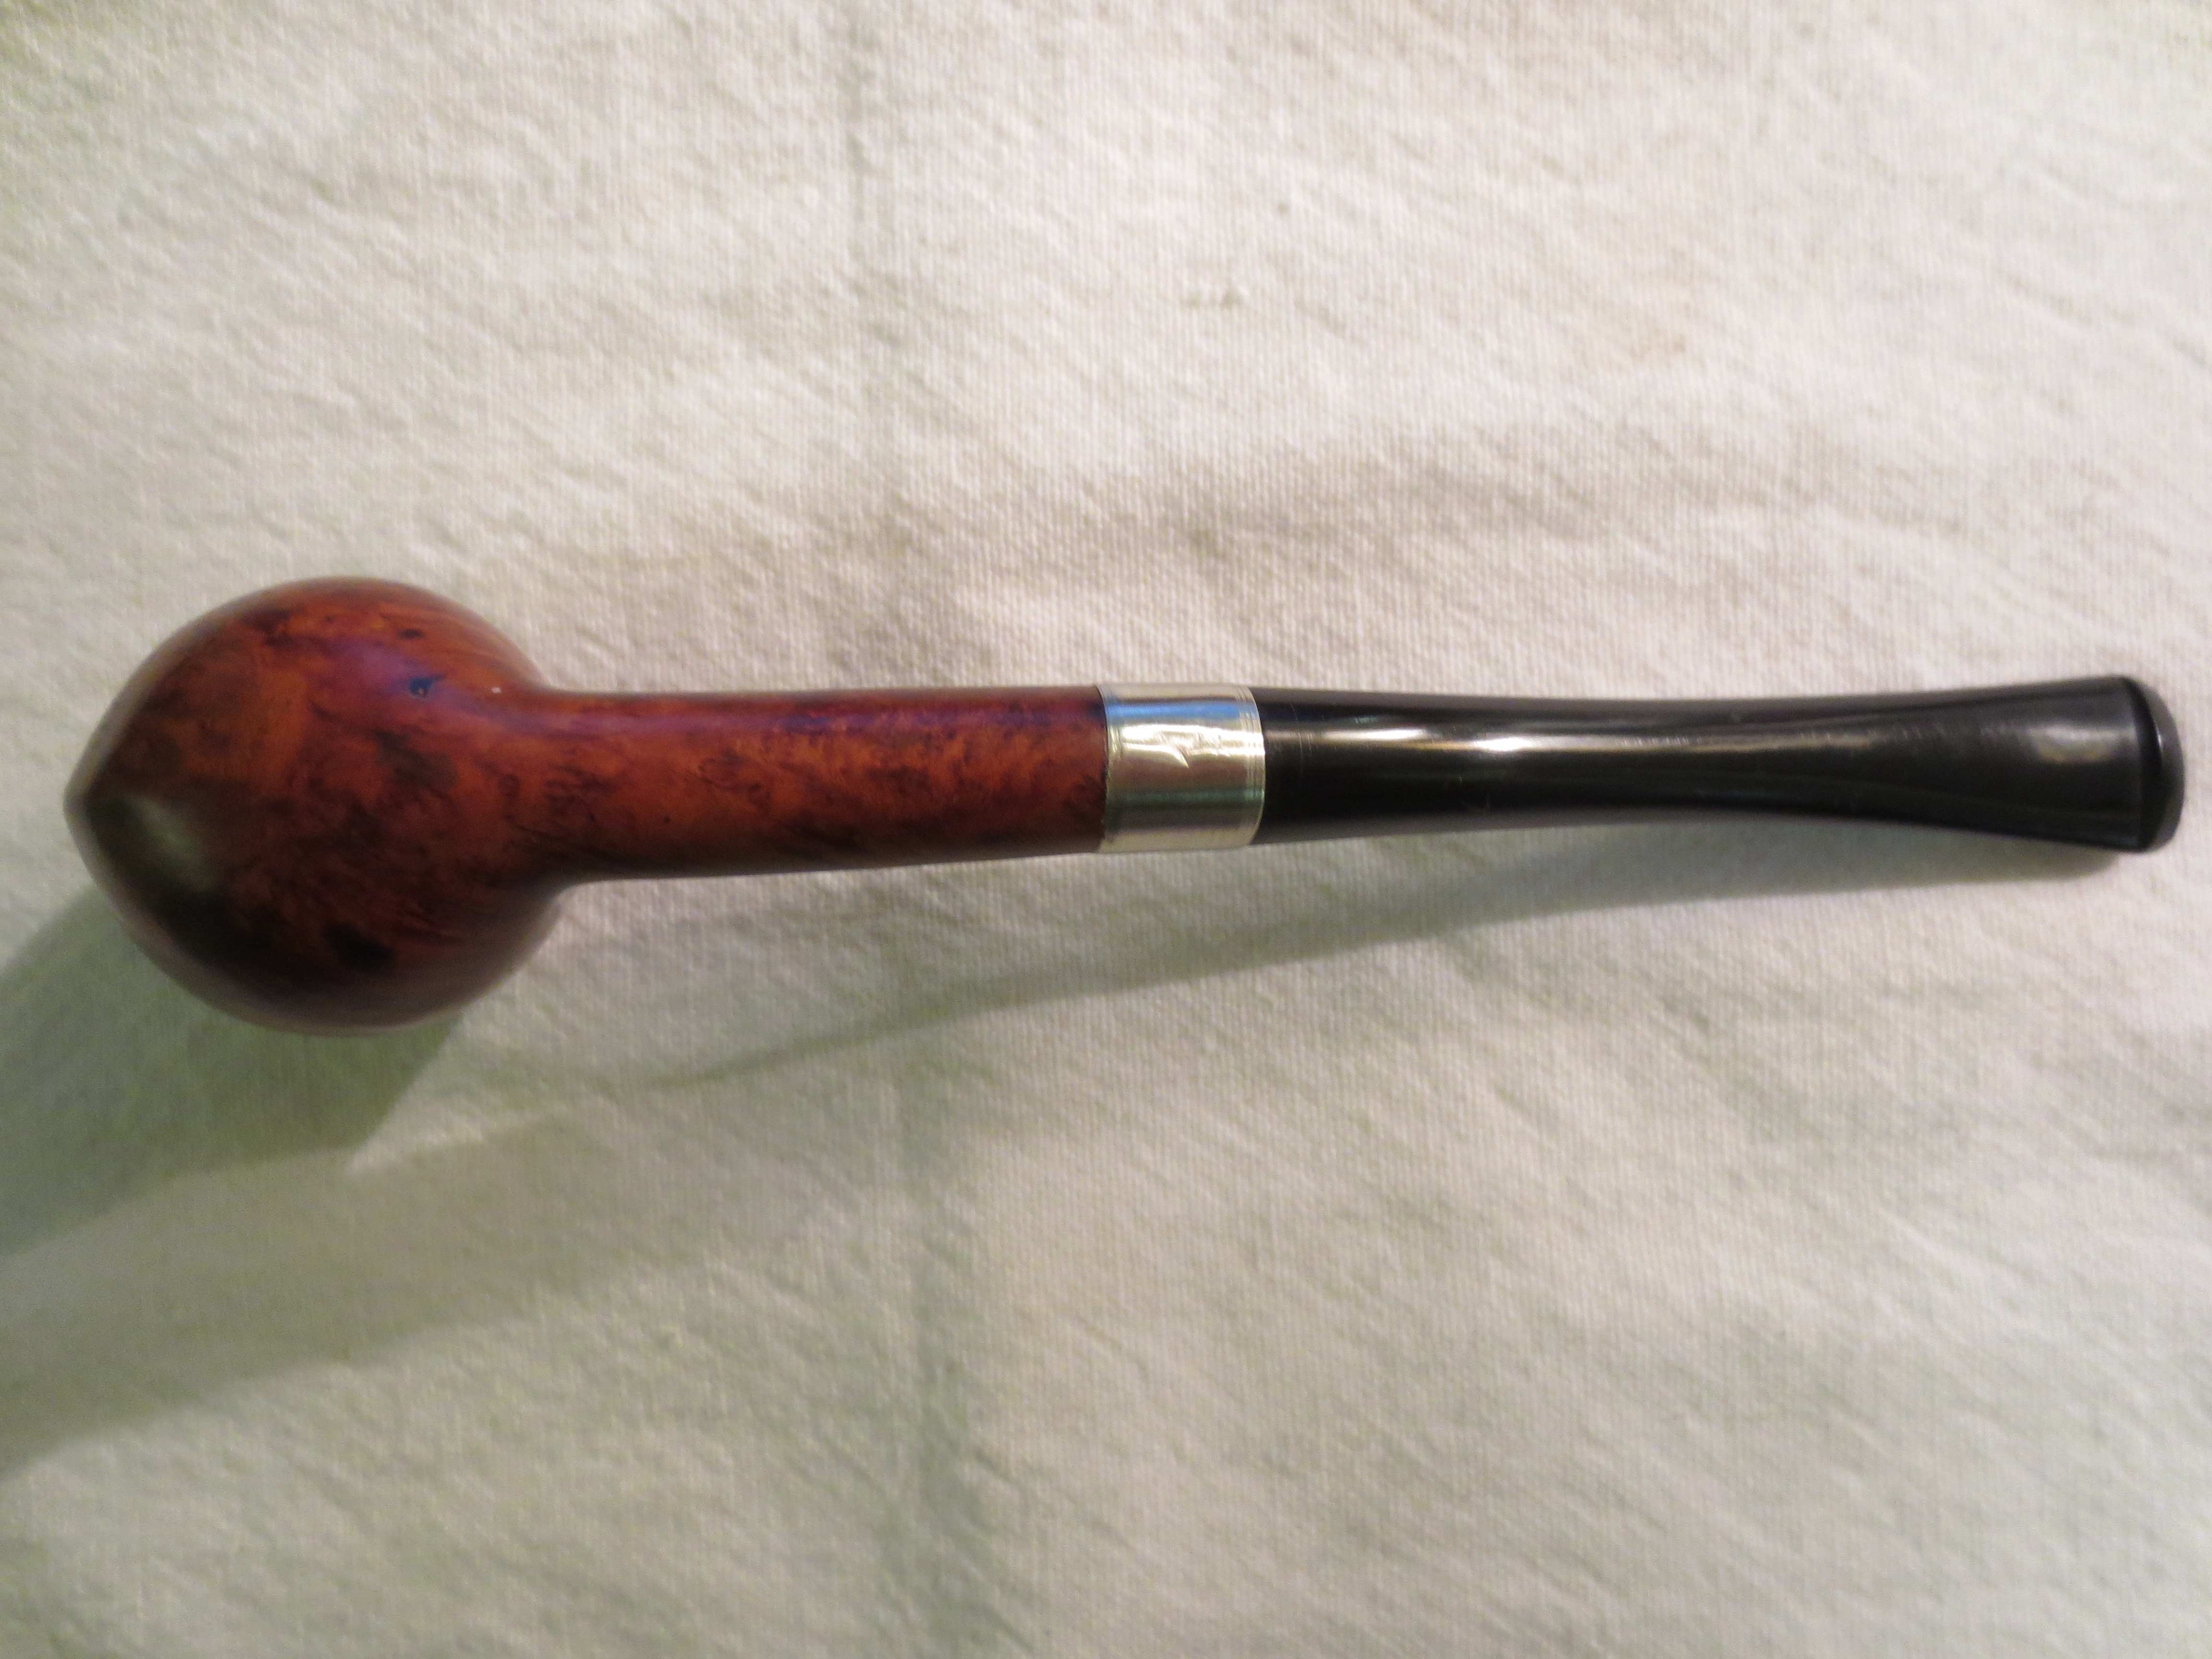
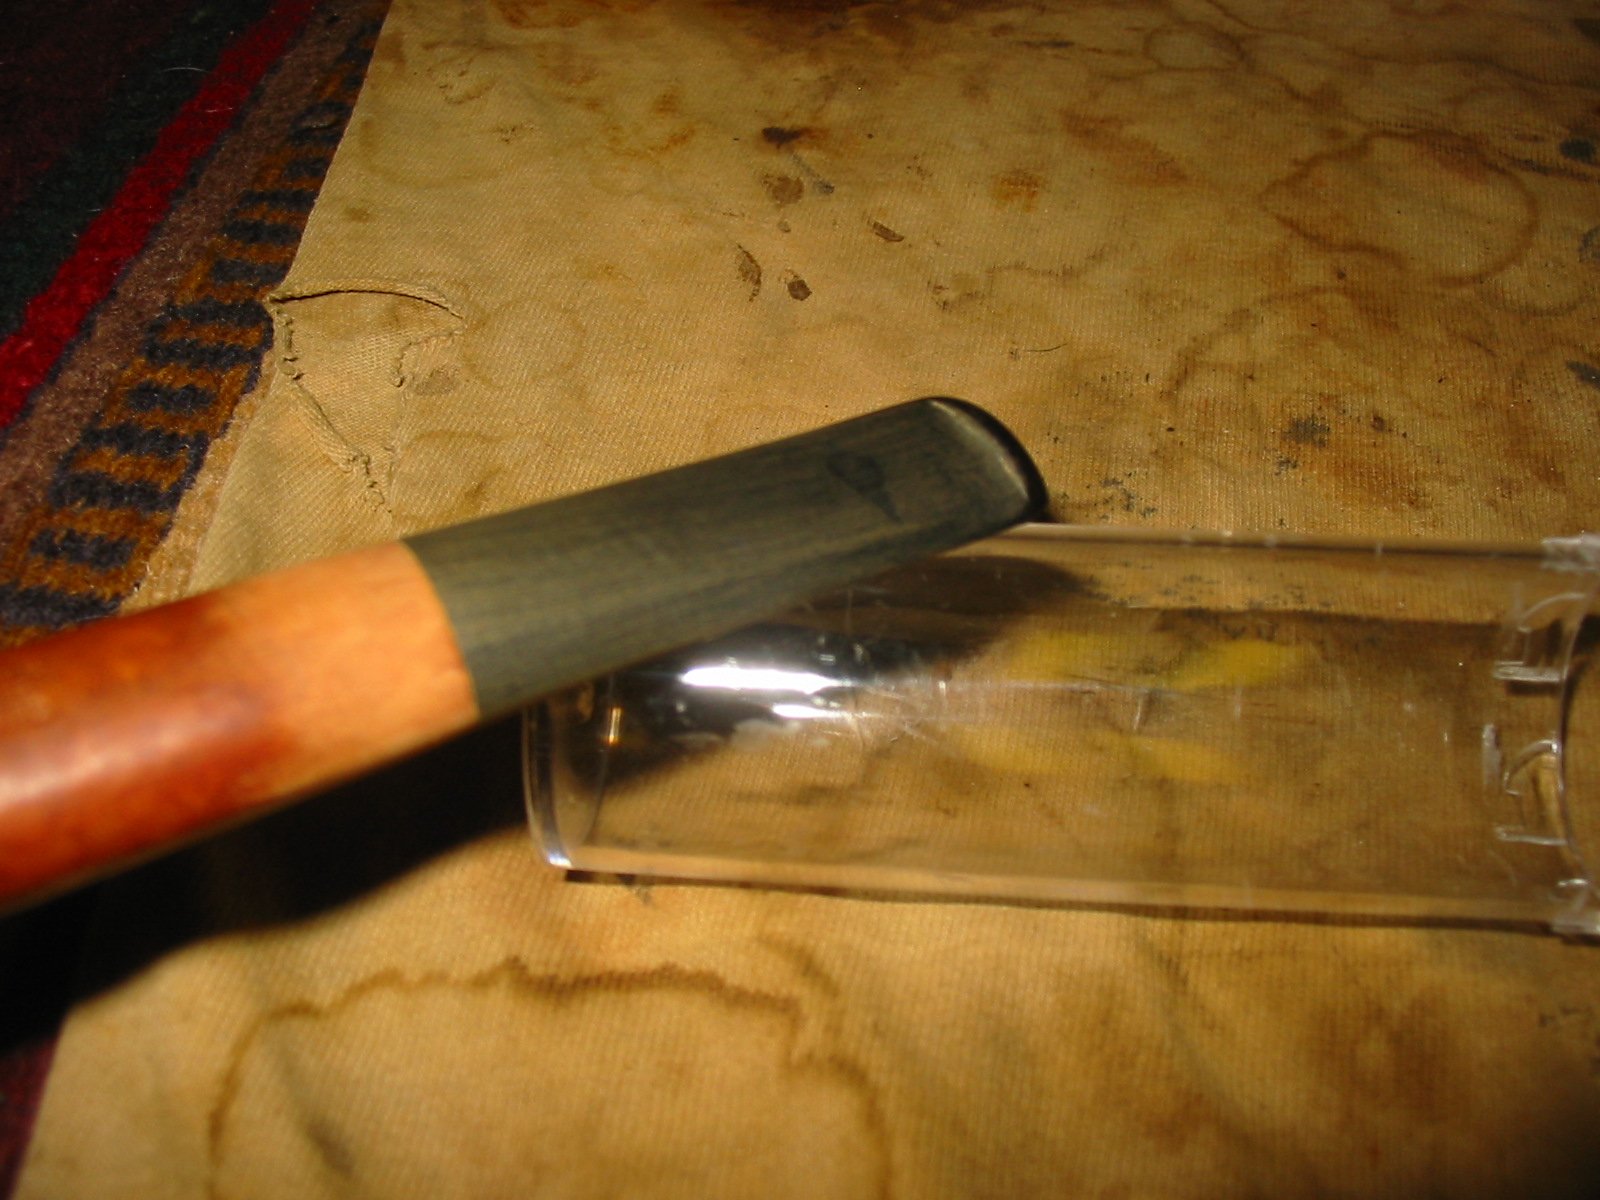
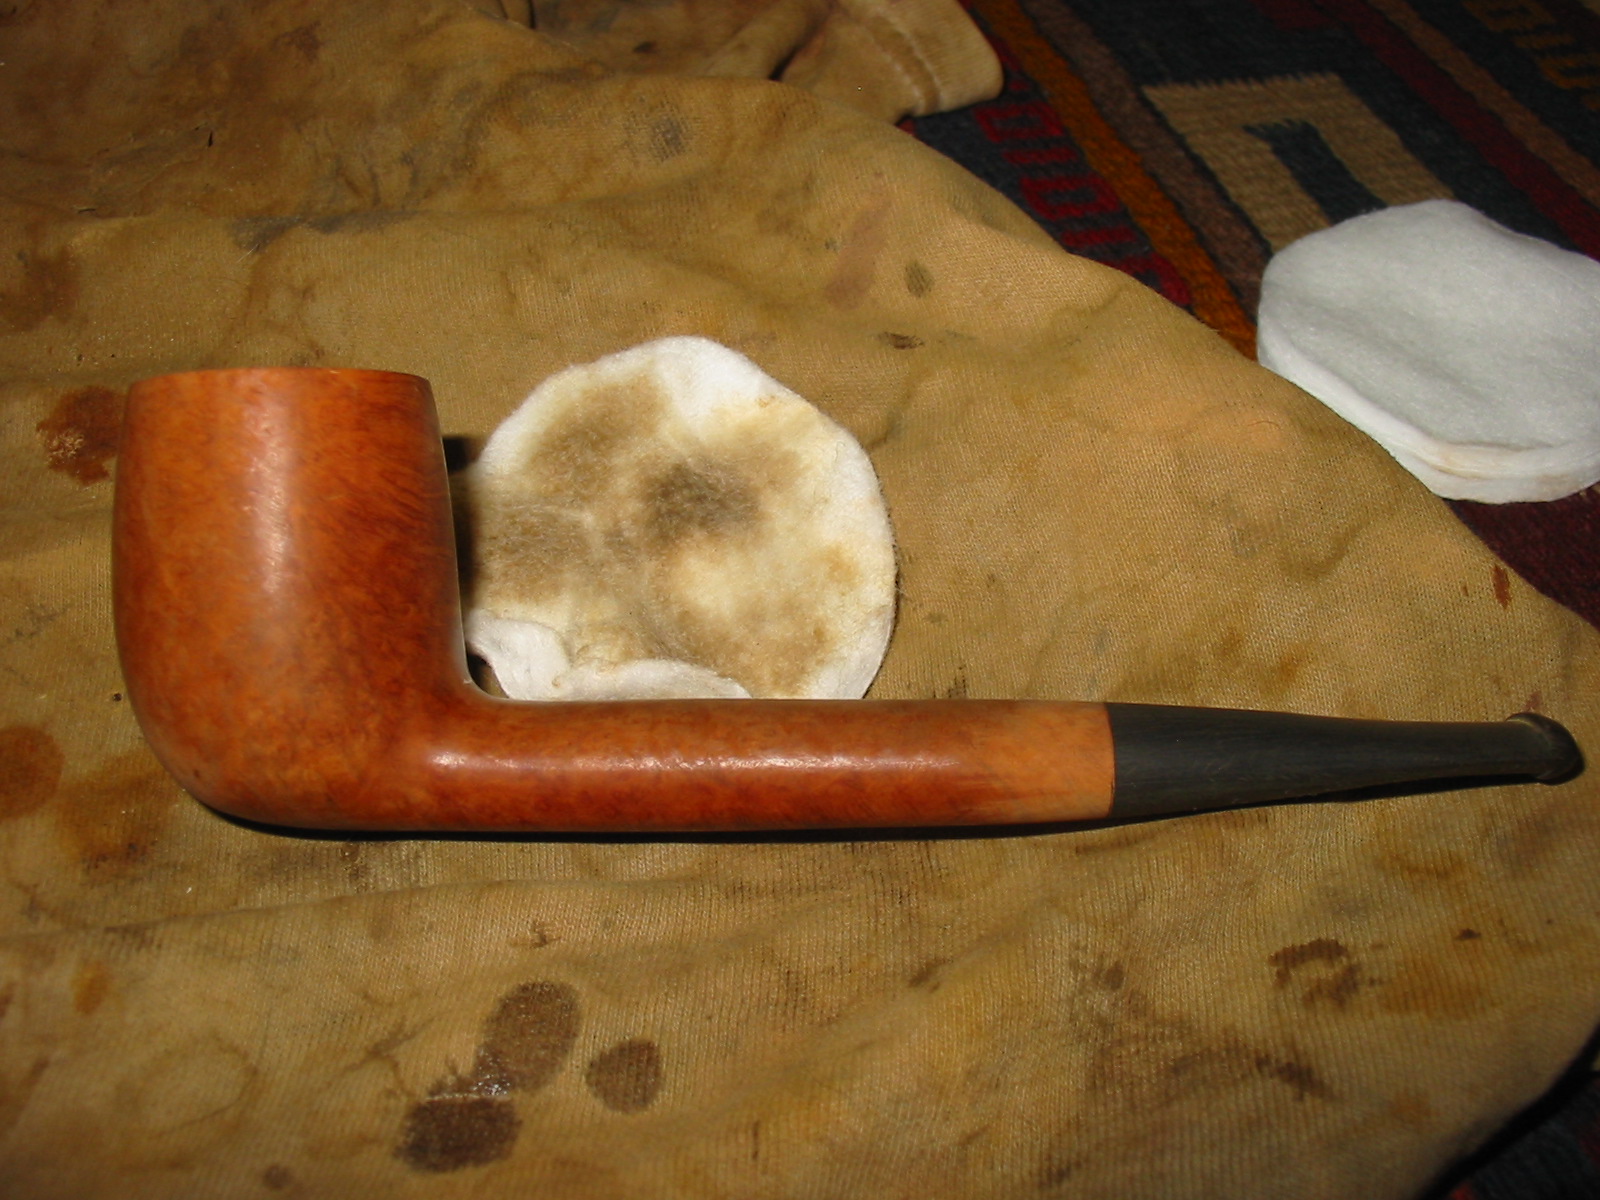
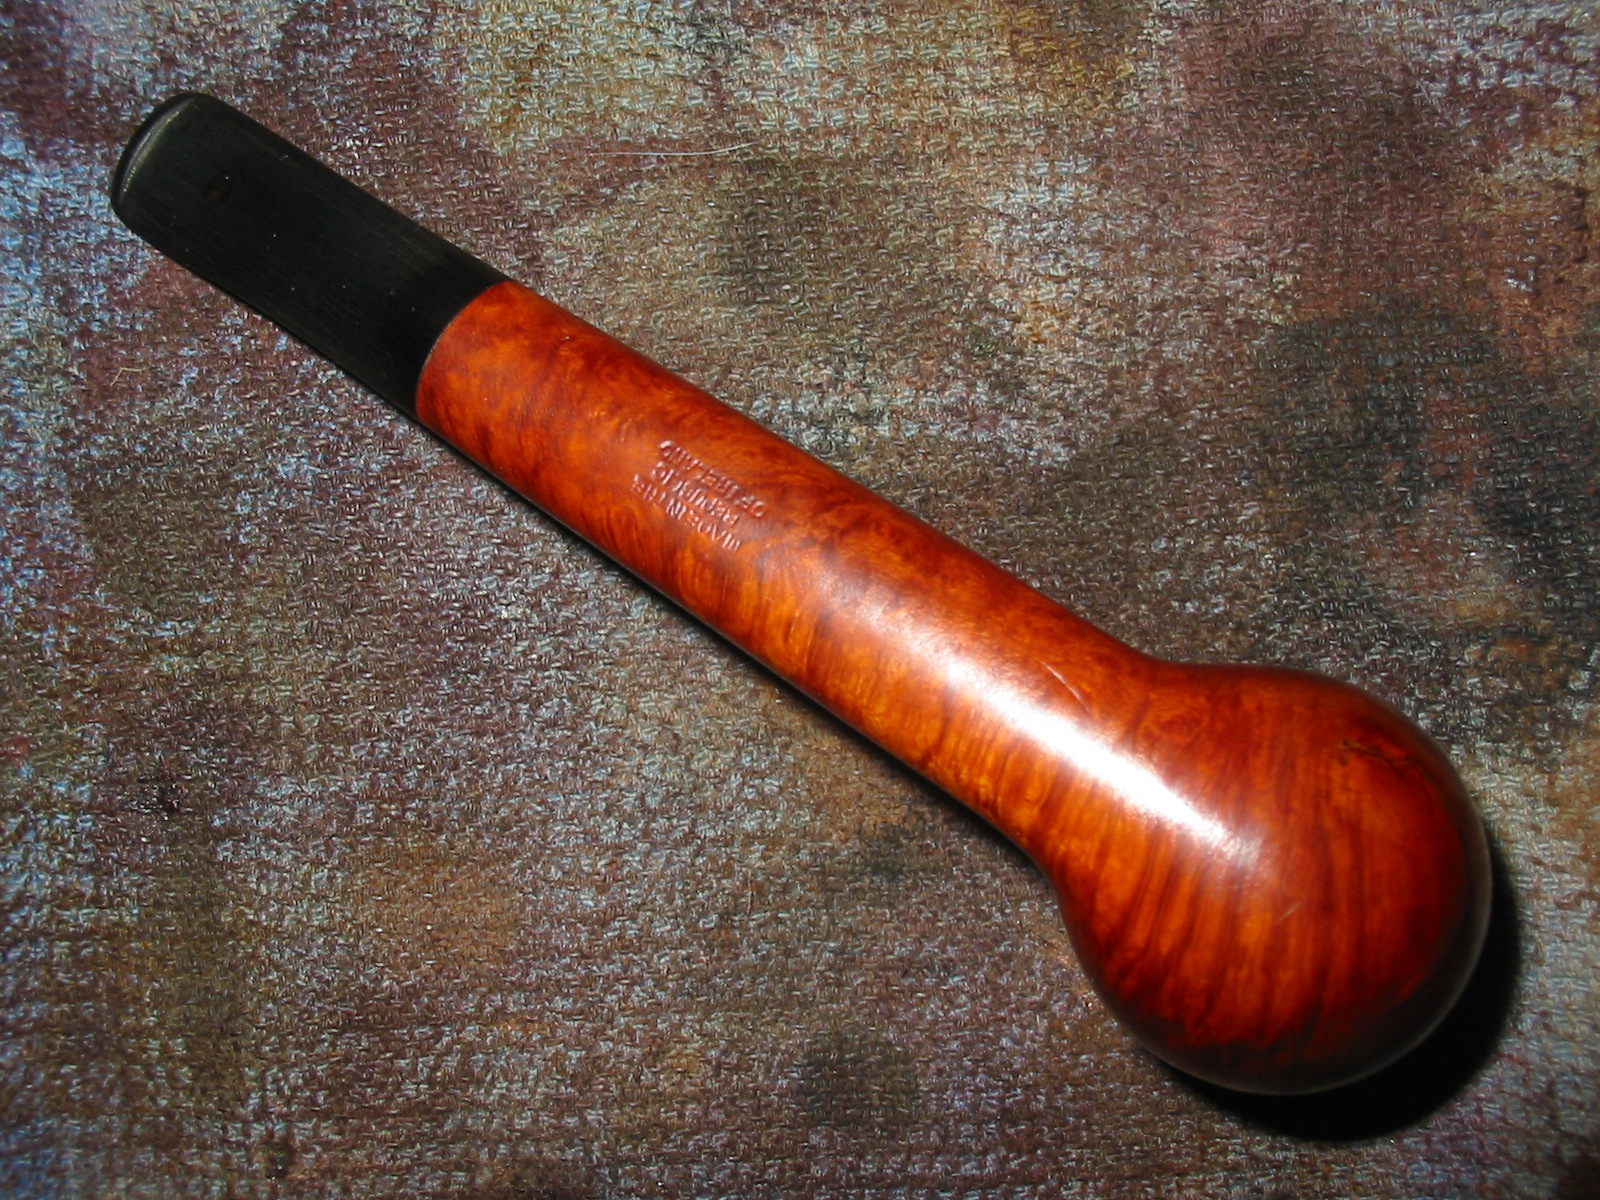
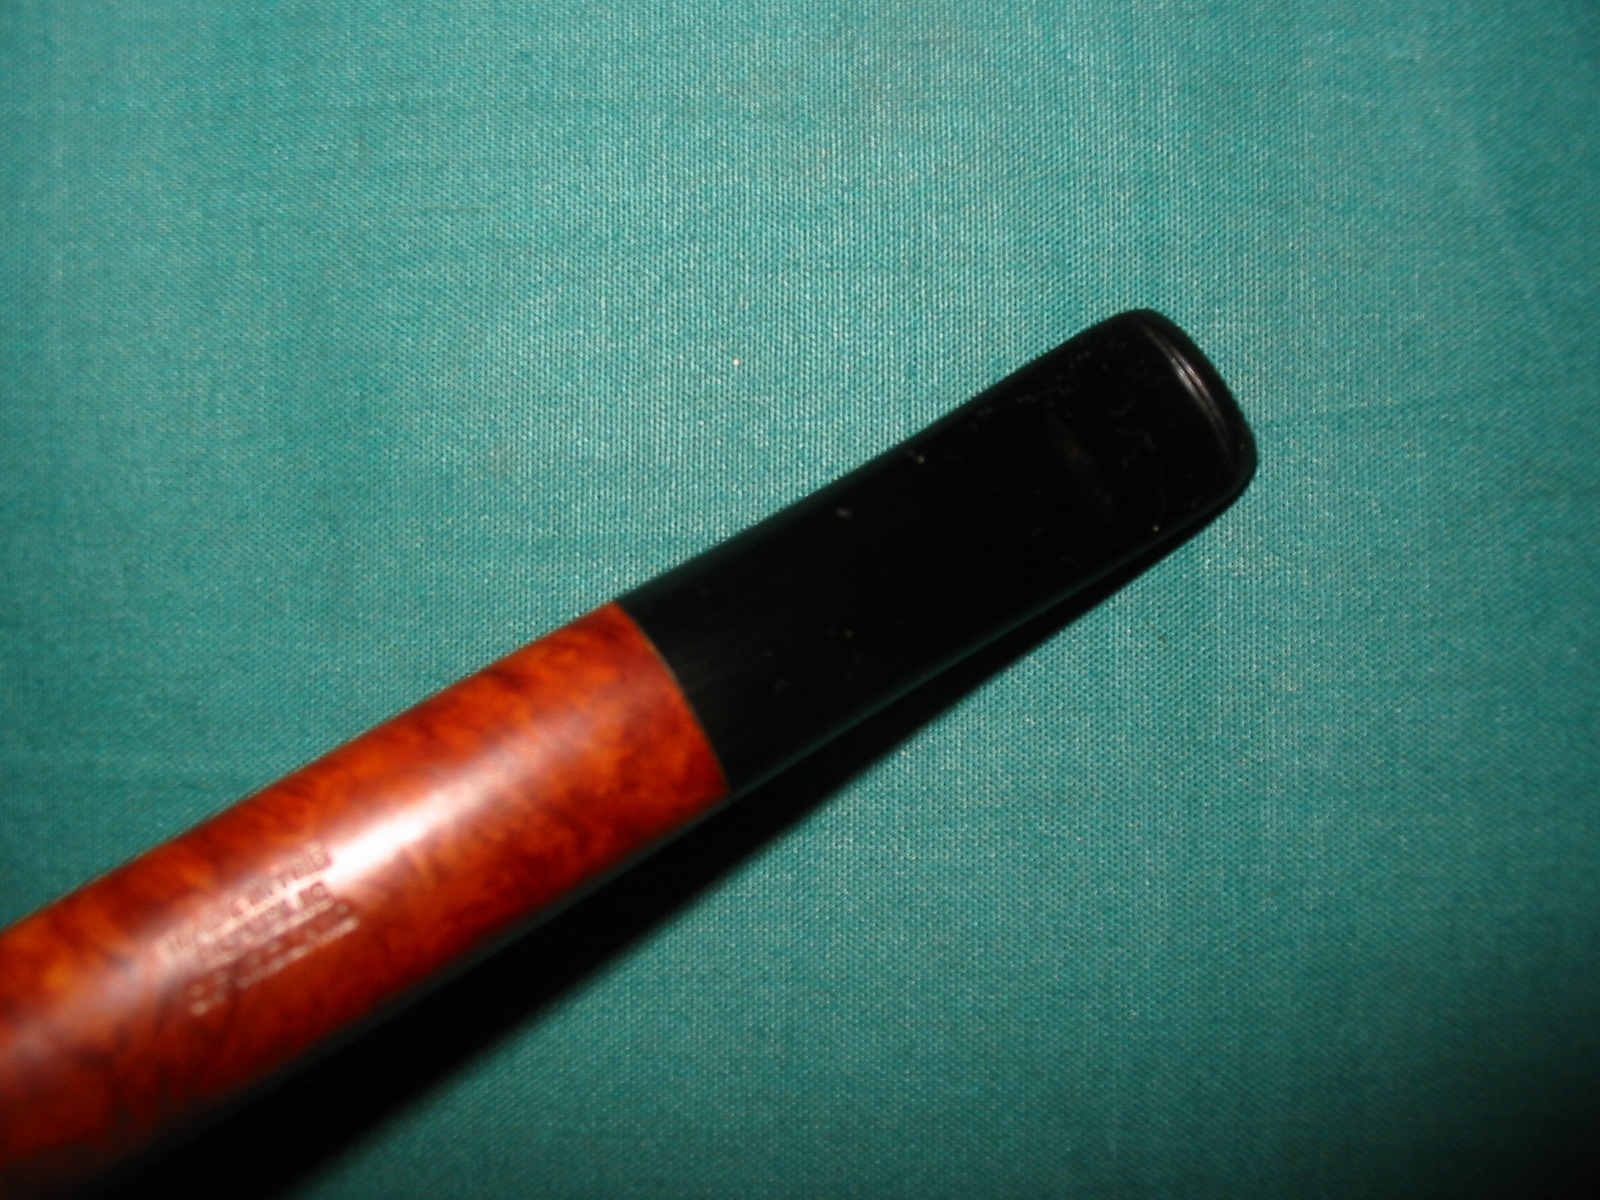
I buffed the pipe and stem with White Diamond. The photo below shows the finished stem after buffing. The repair of the trough is not visible in the photo and is barely visible when held in the light. I am happy with the repair.
IMG_4745

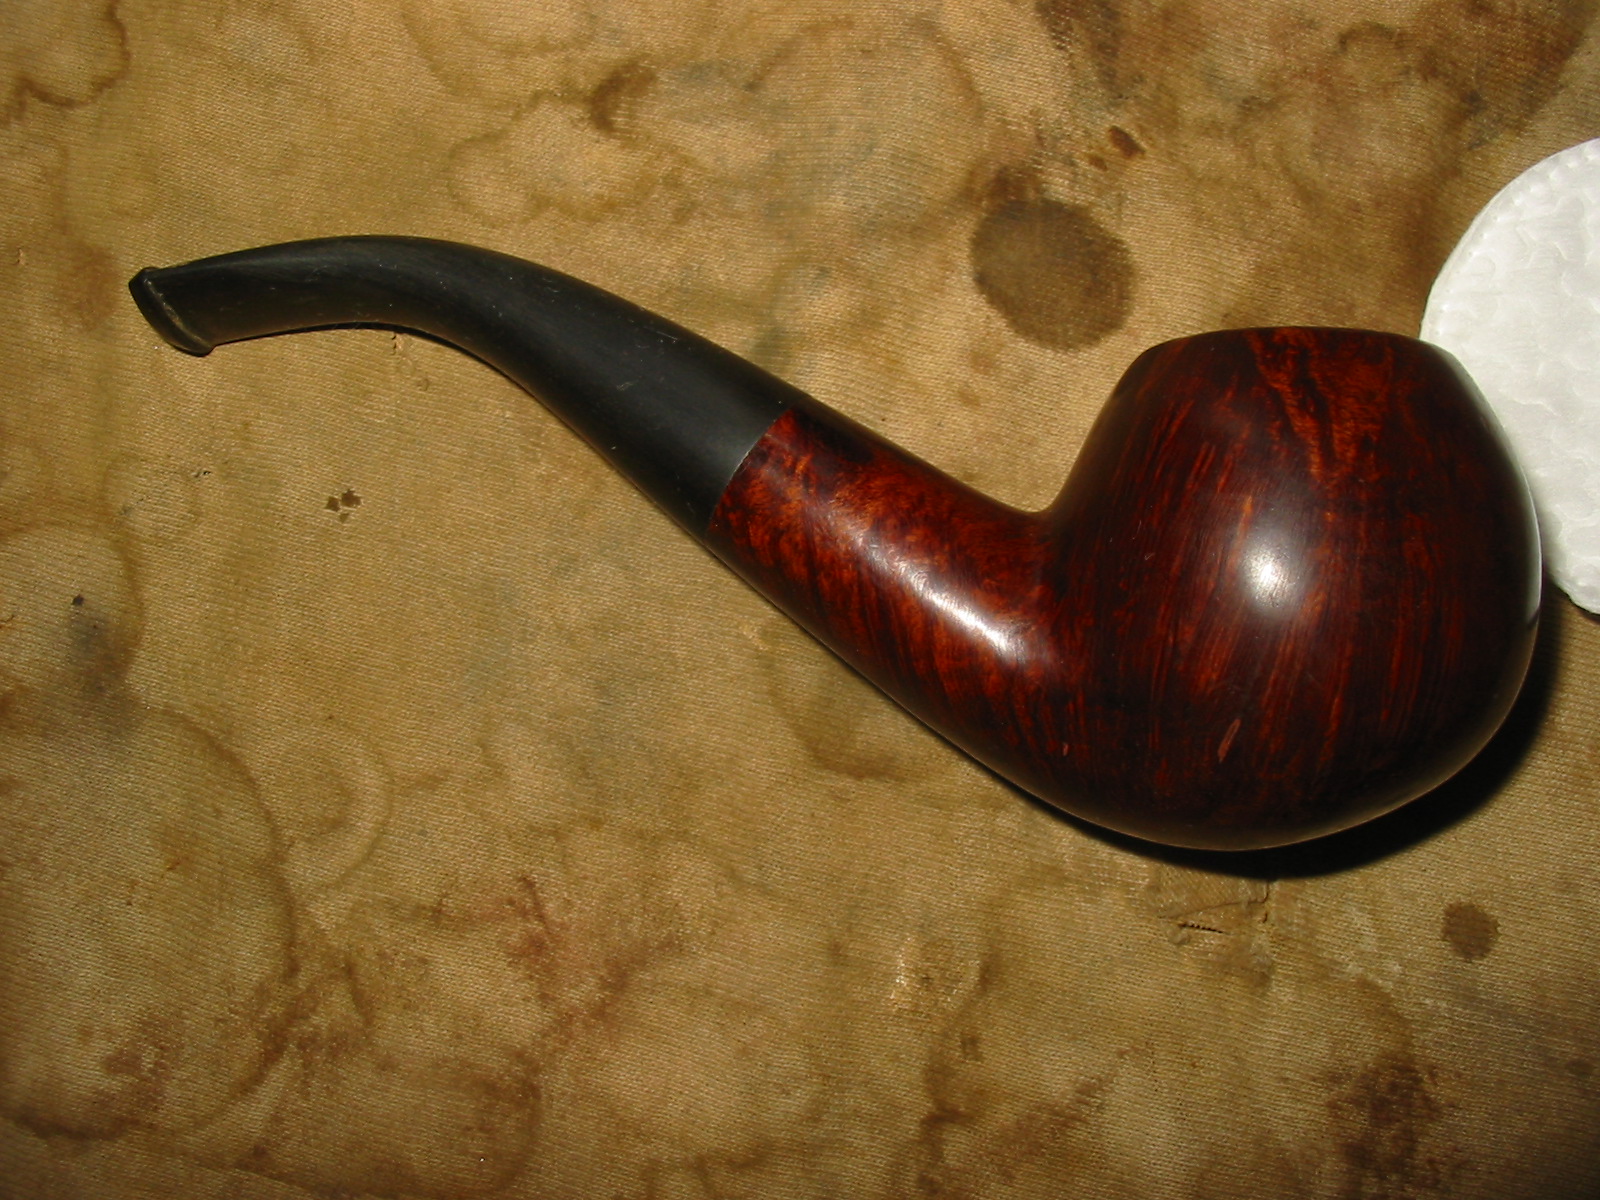
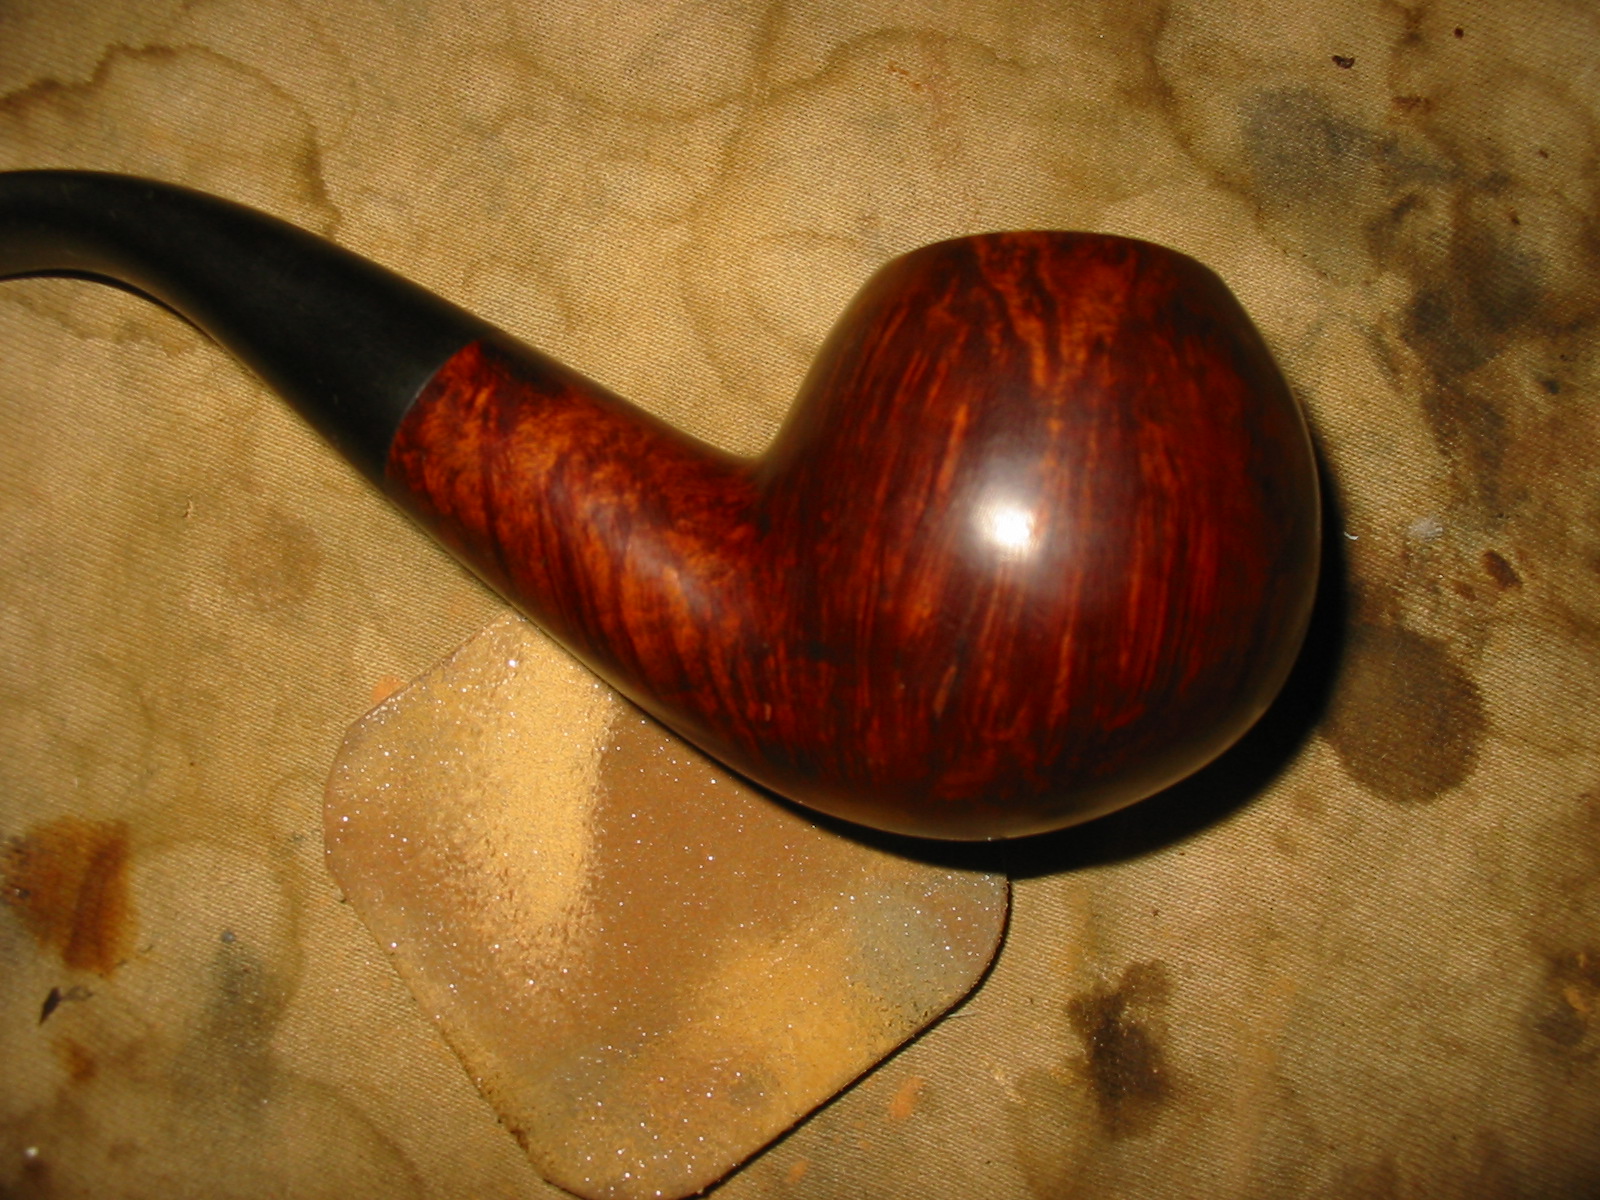
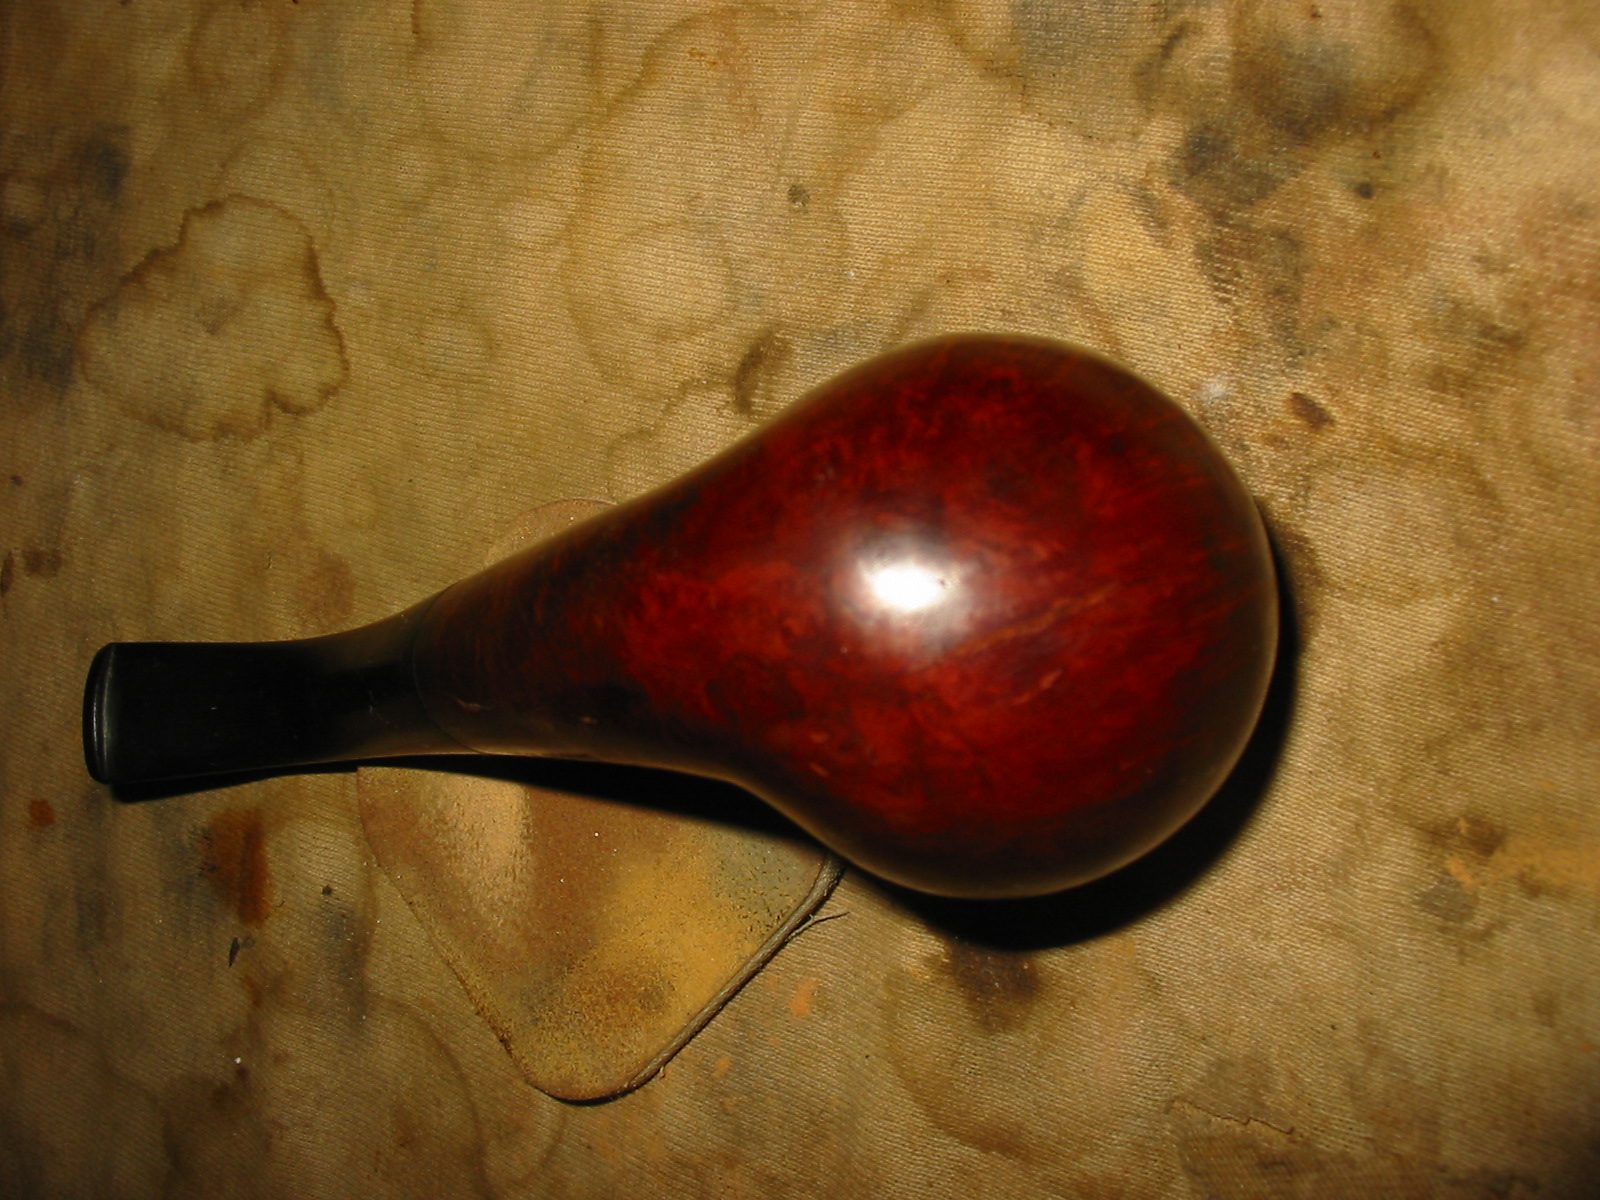
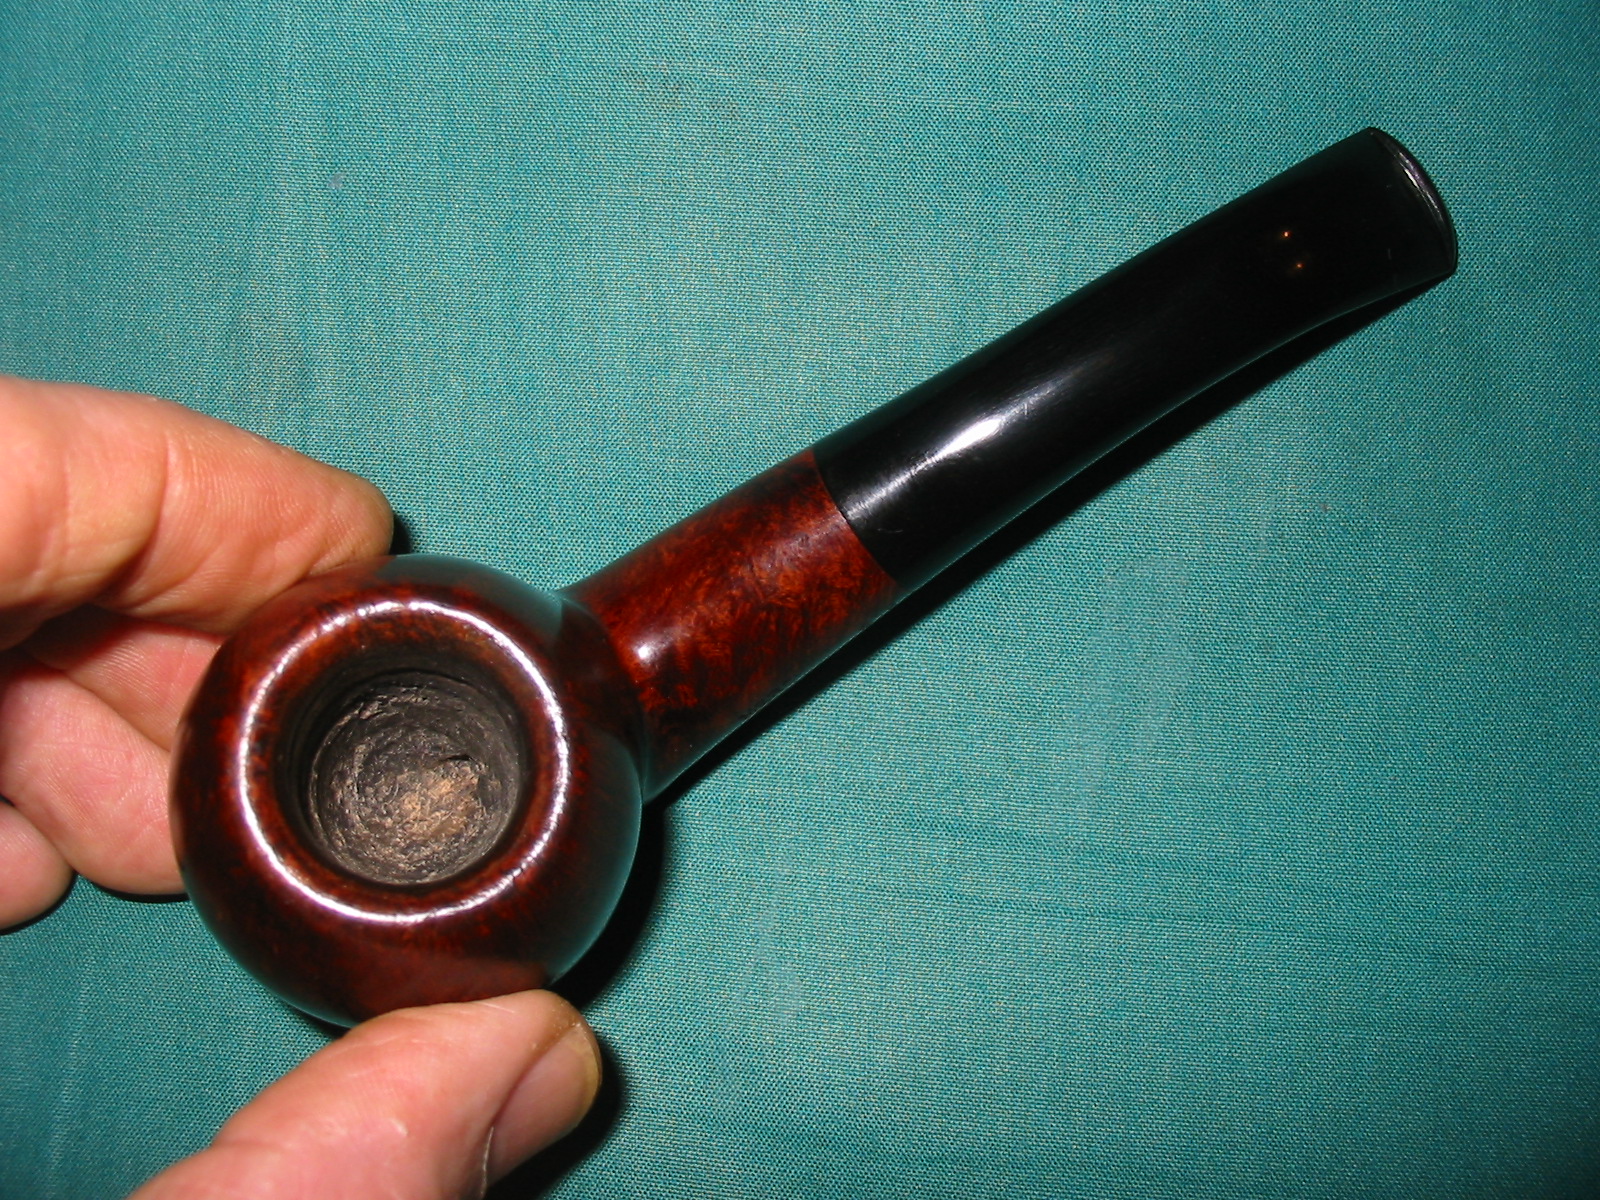
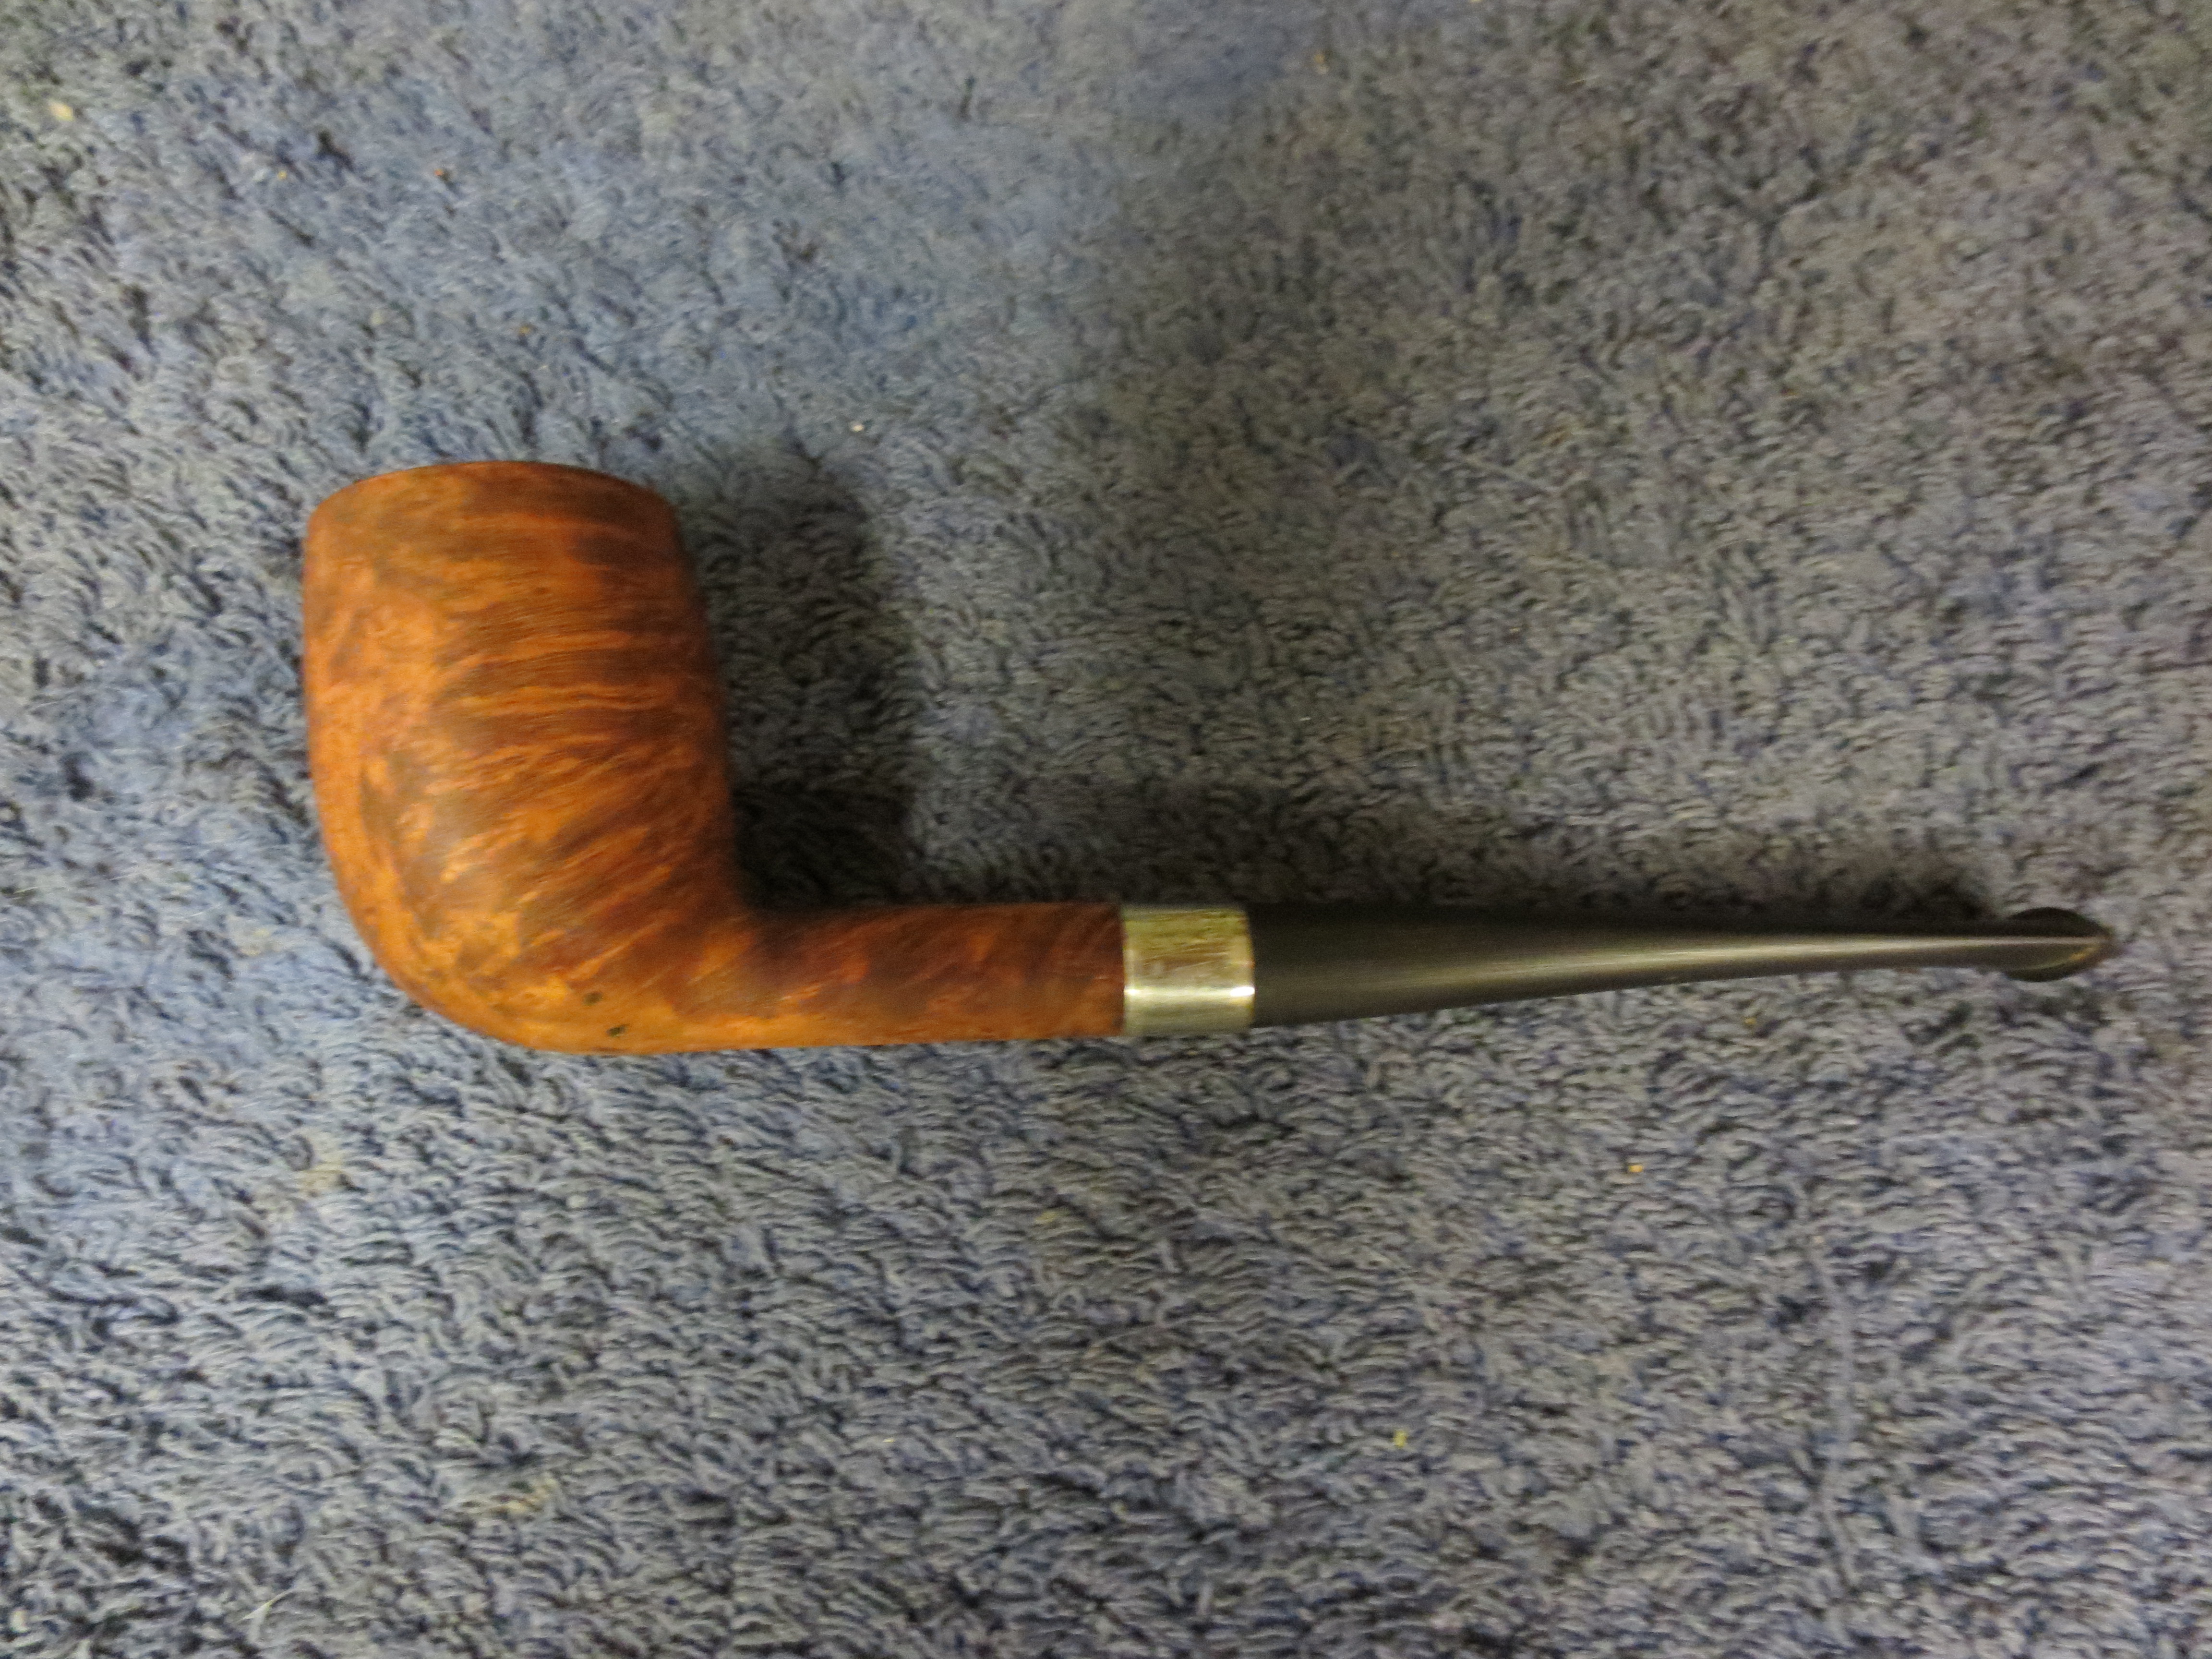
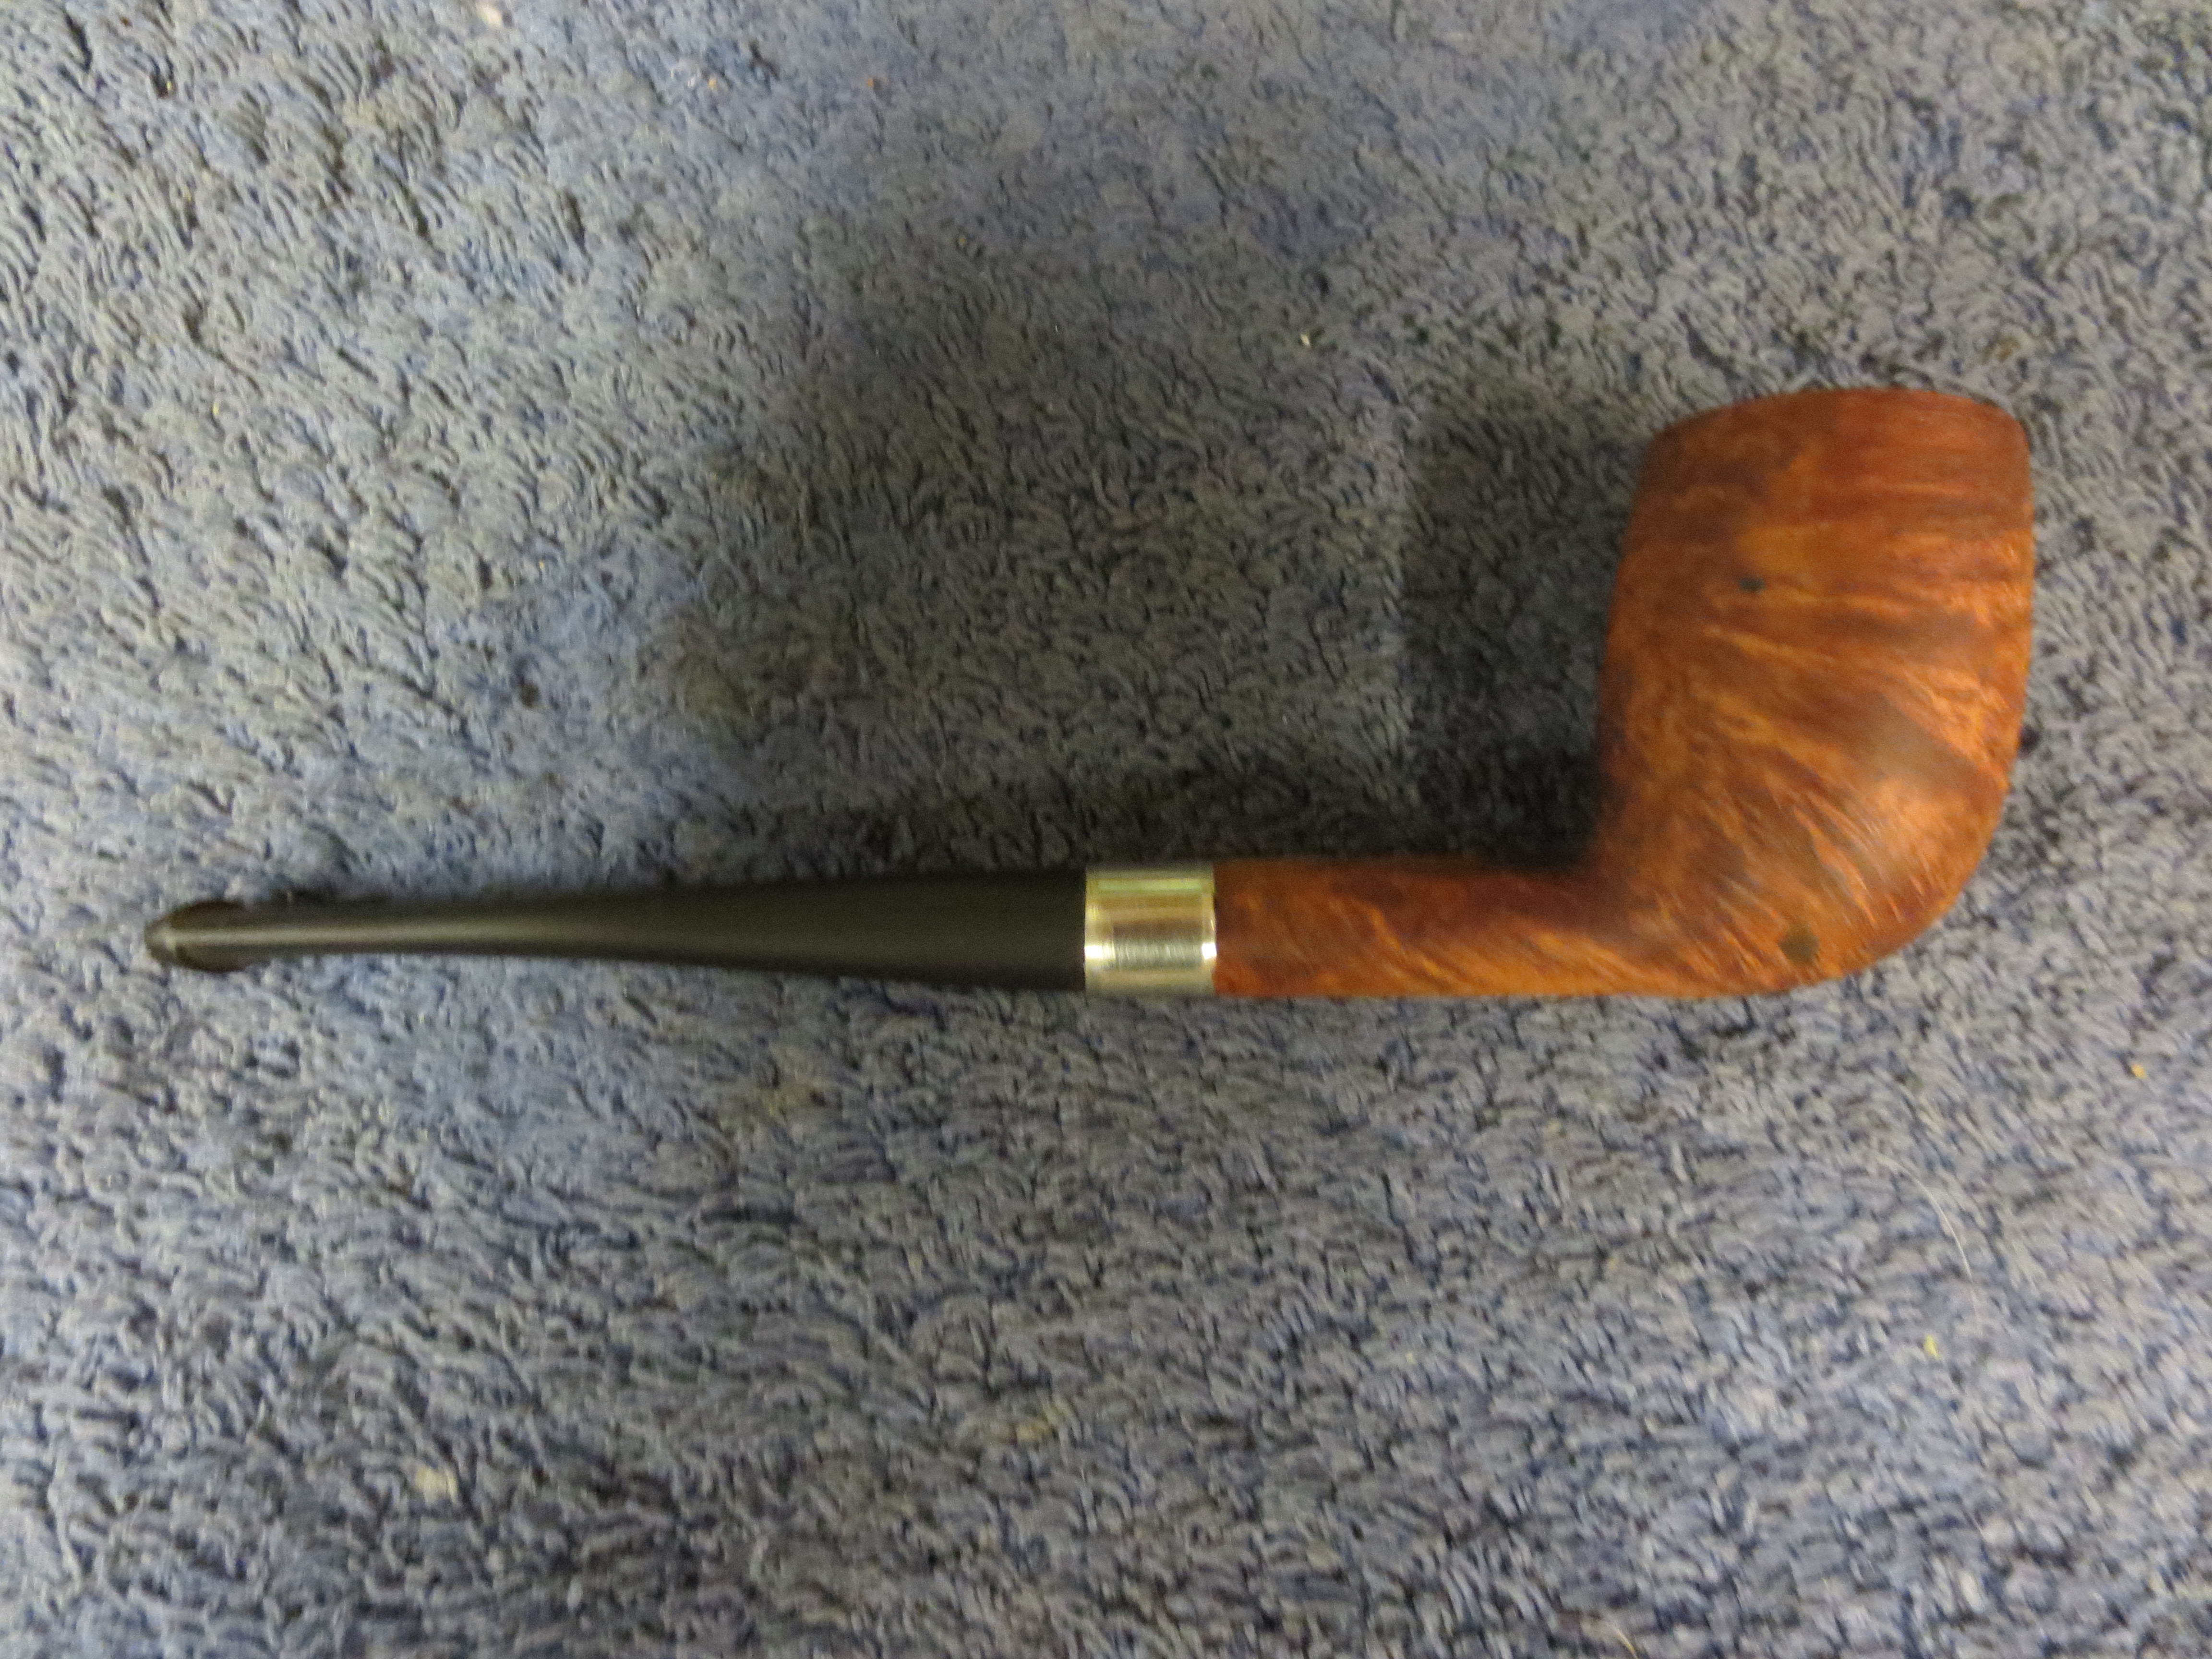
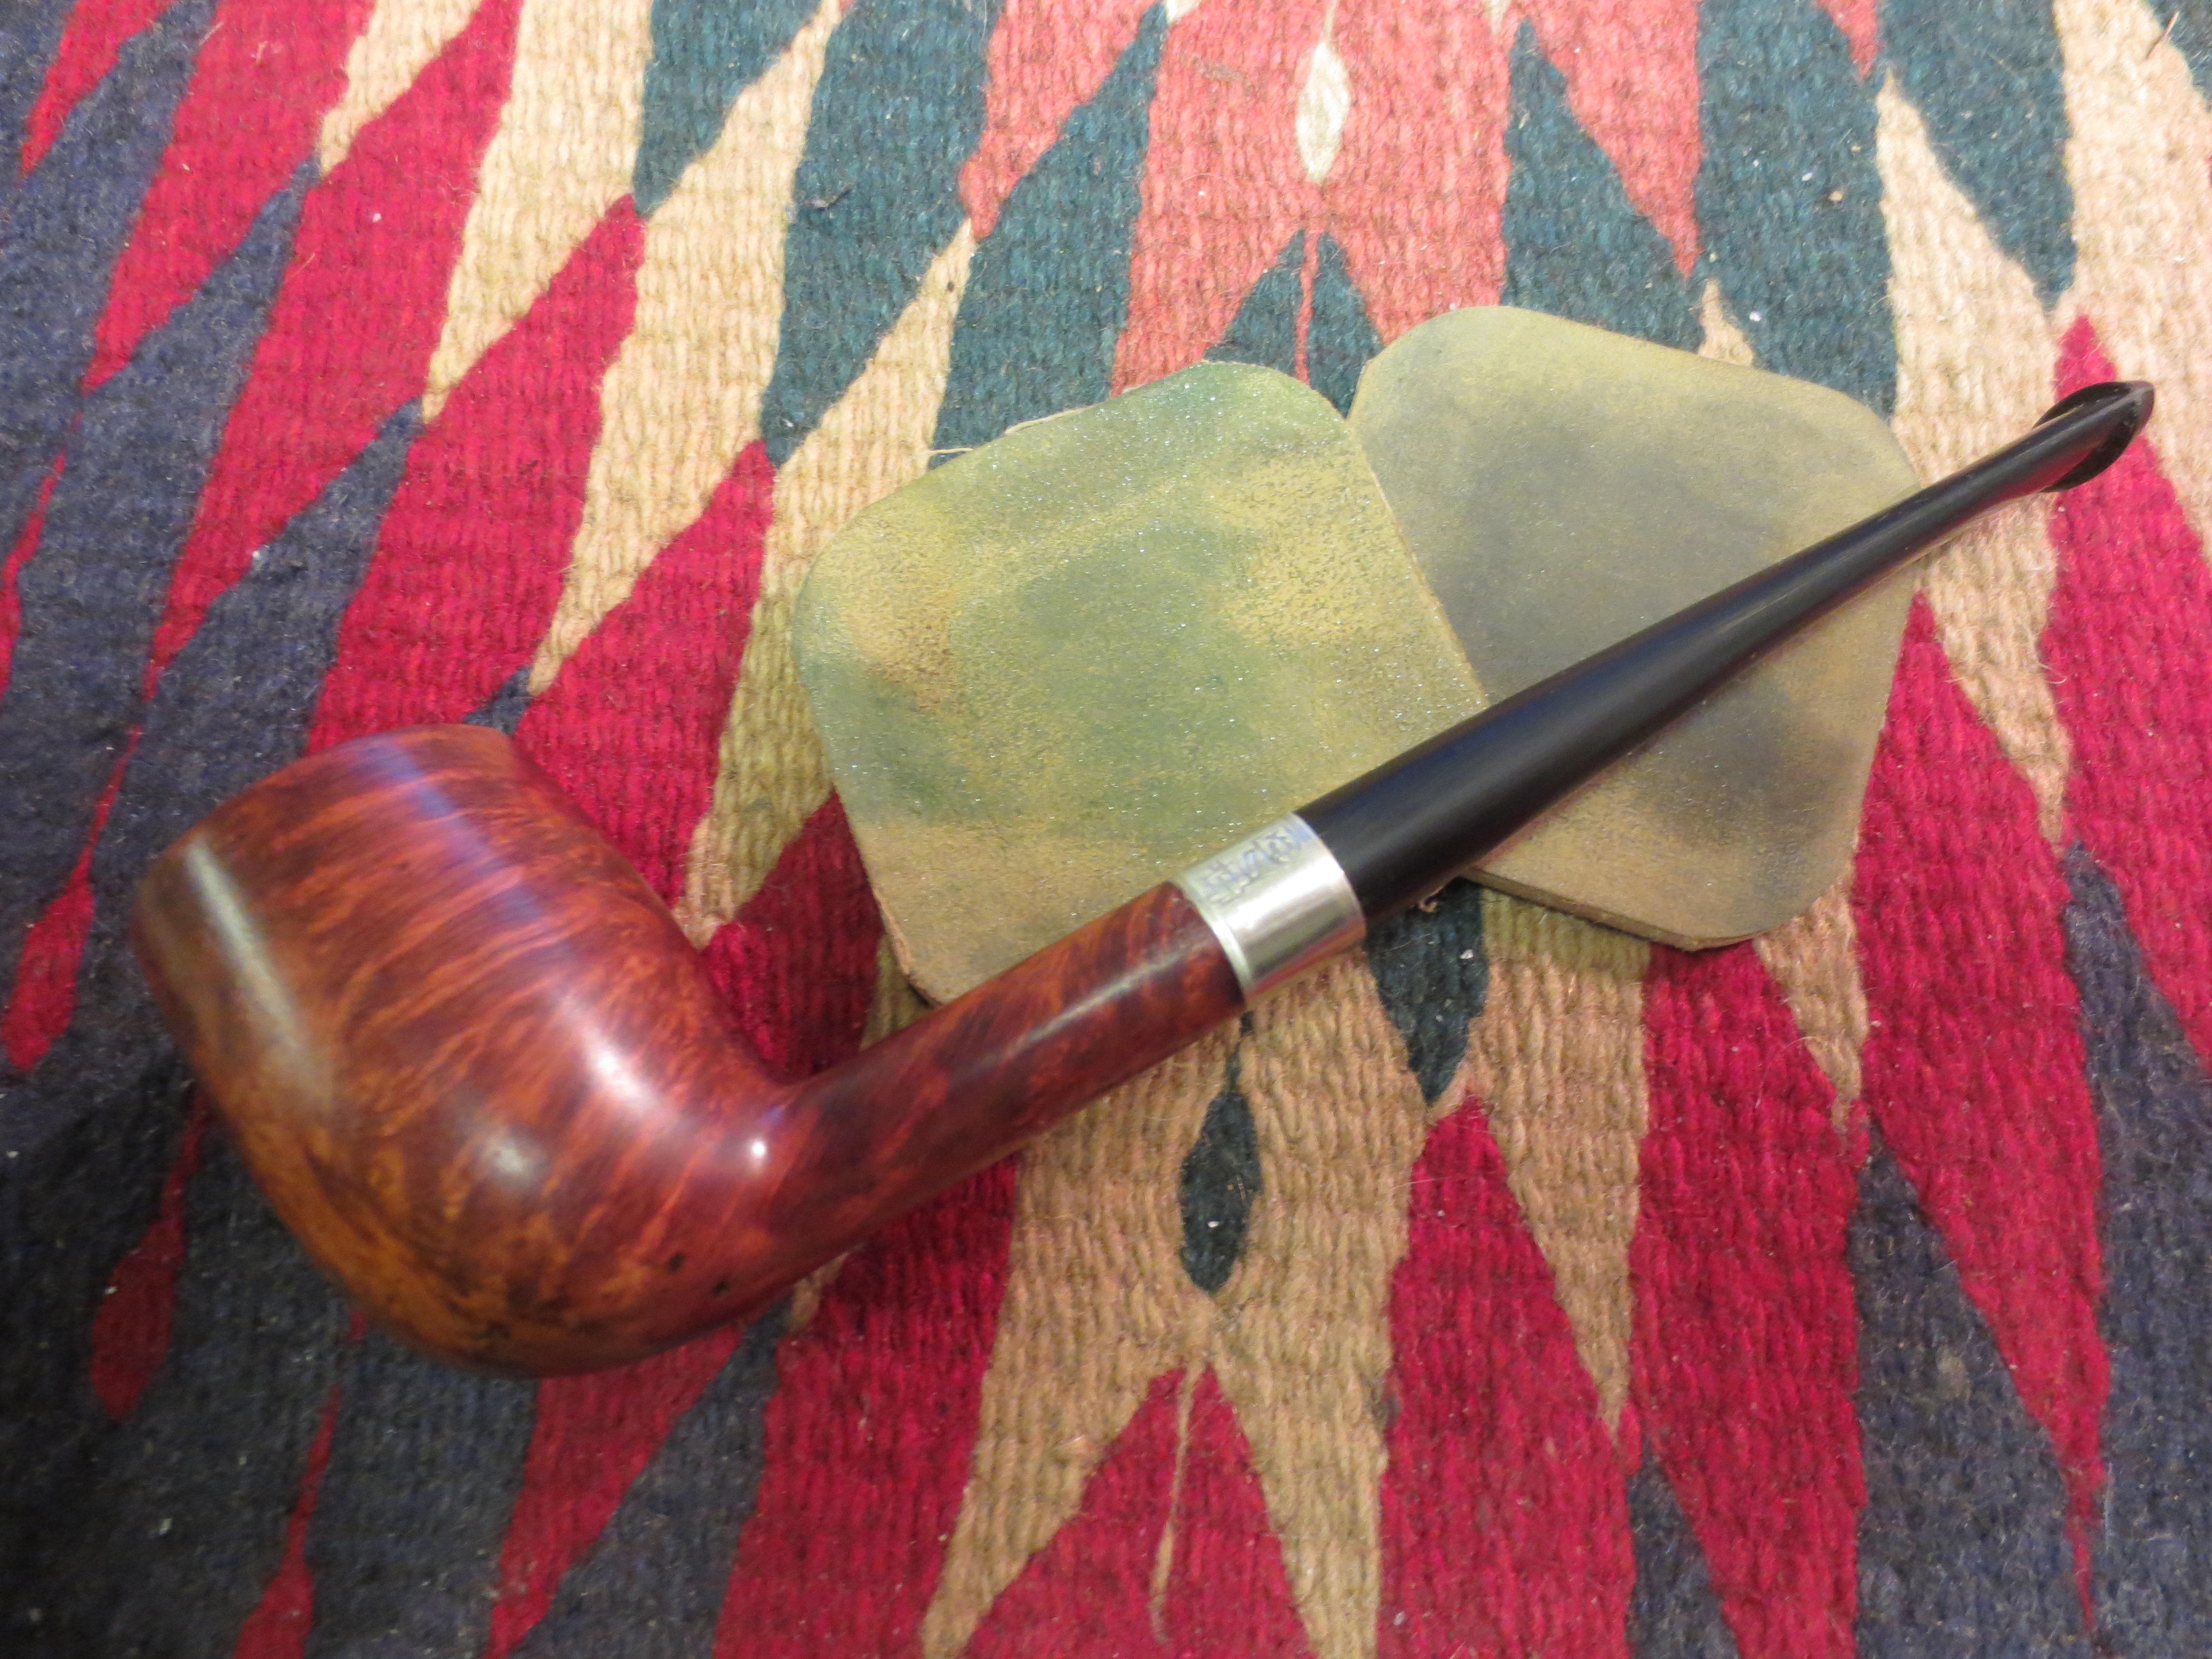
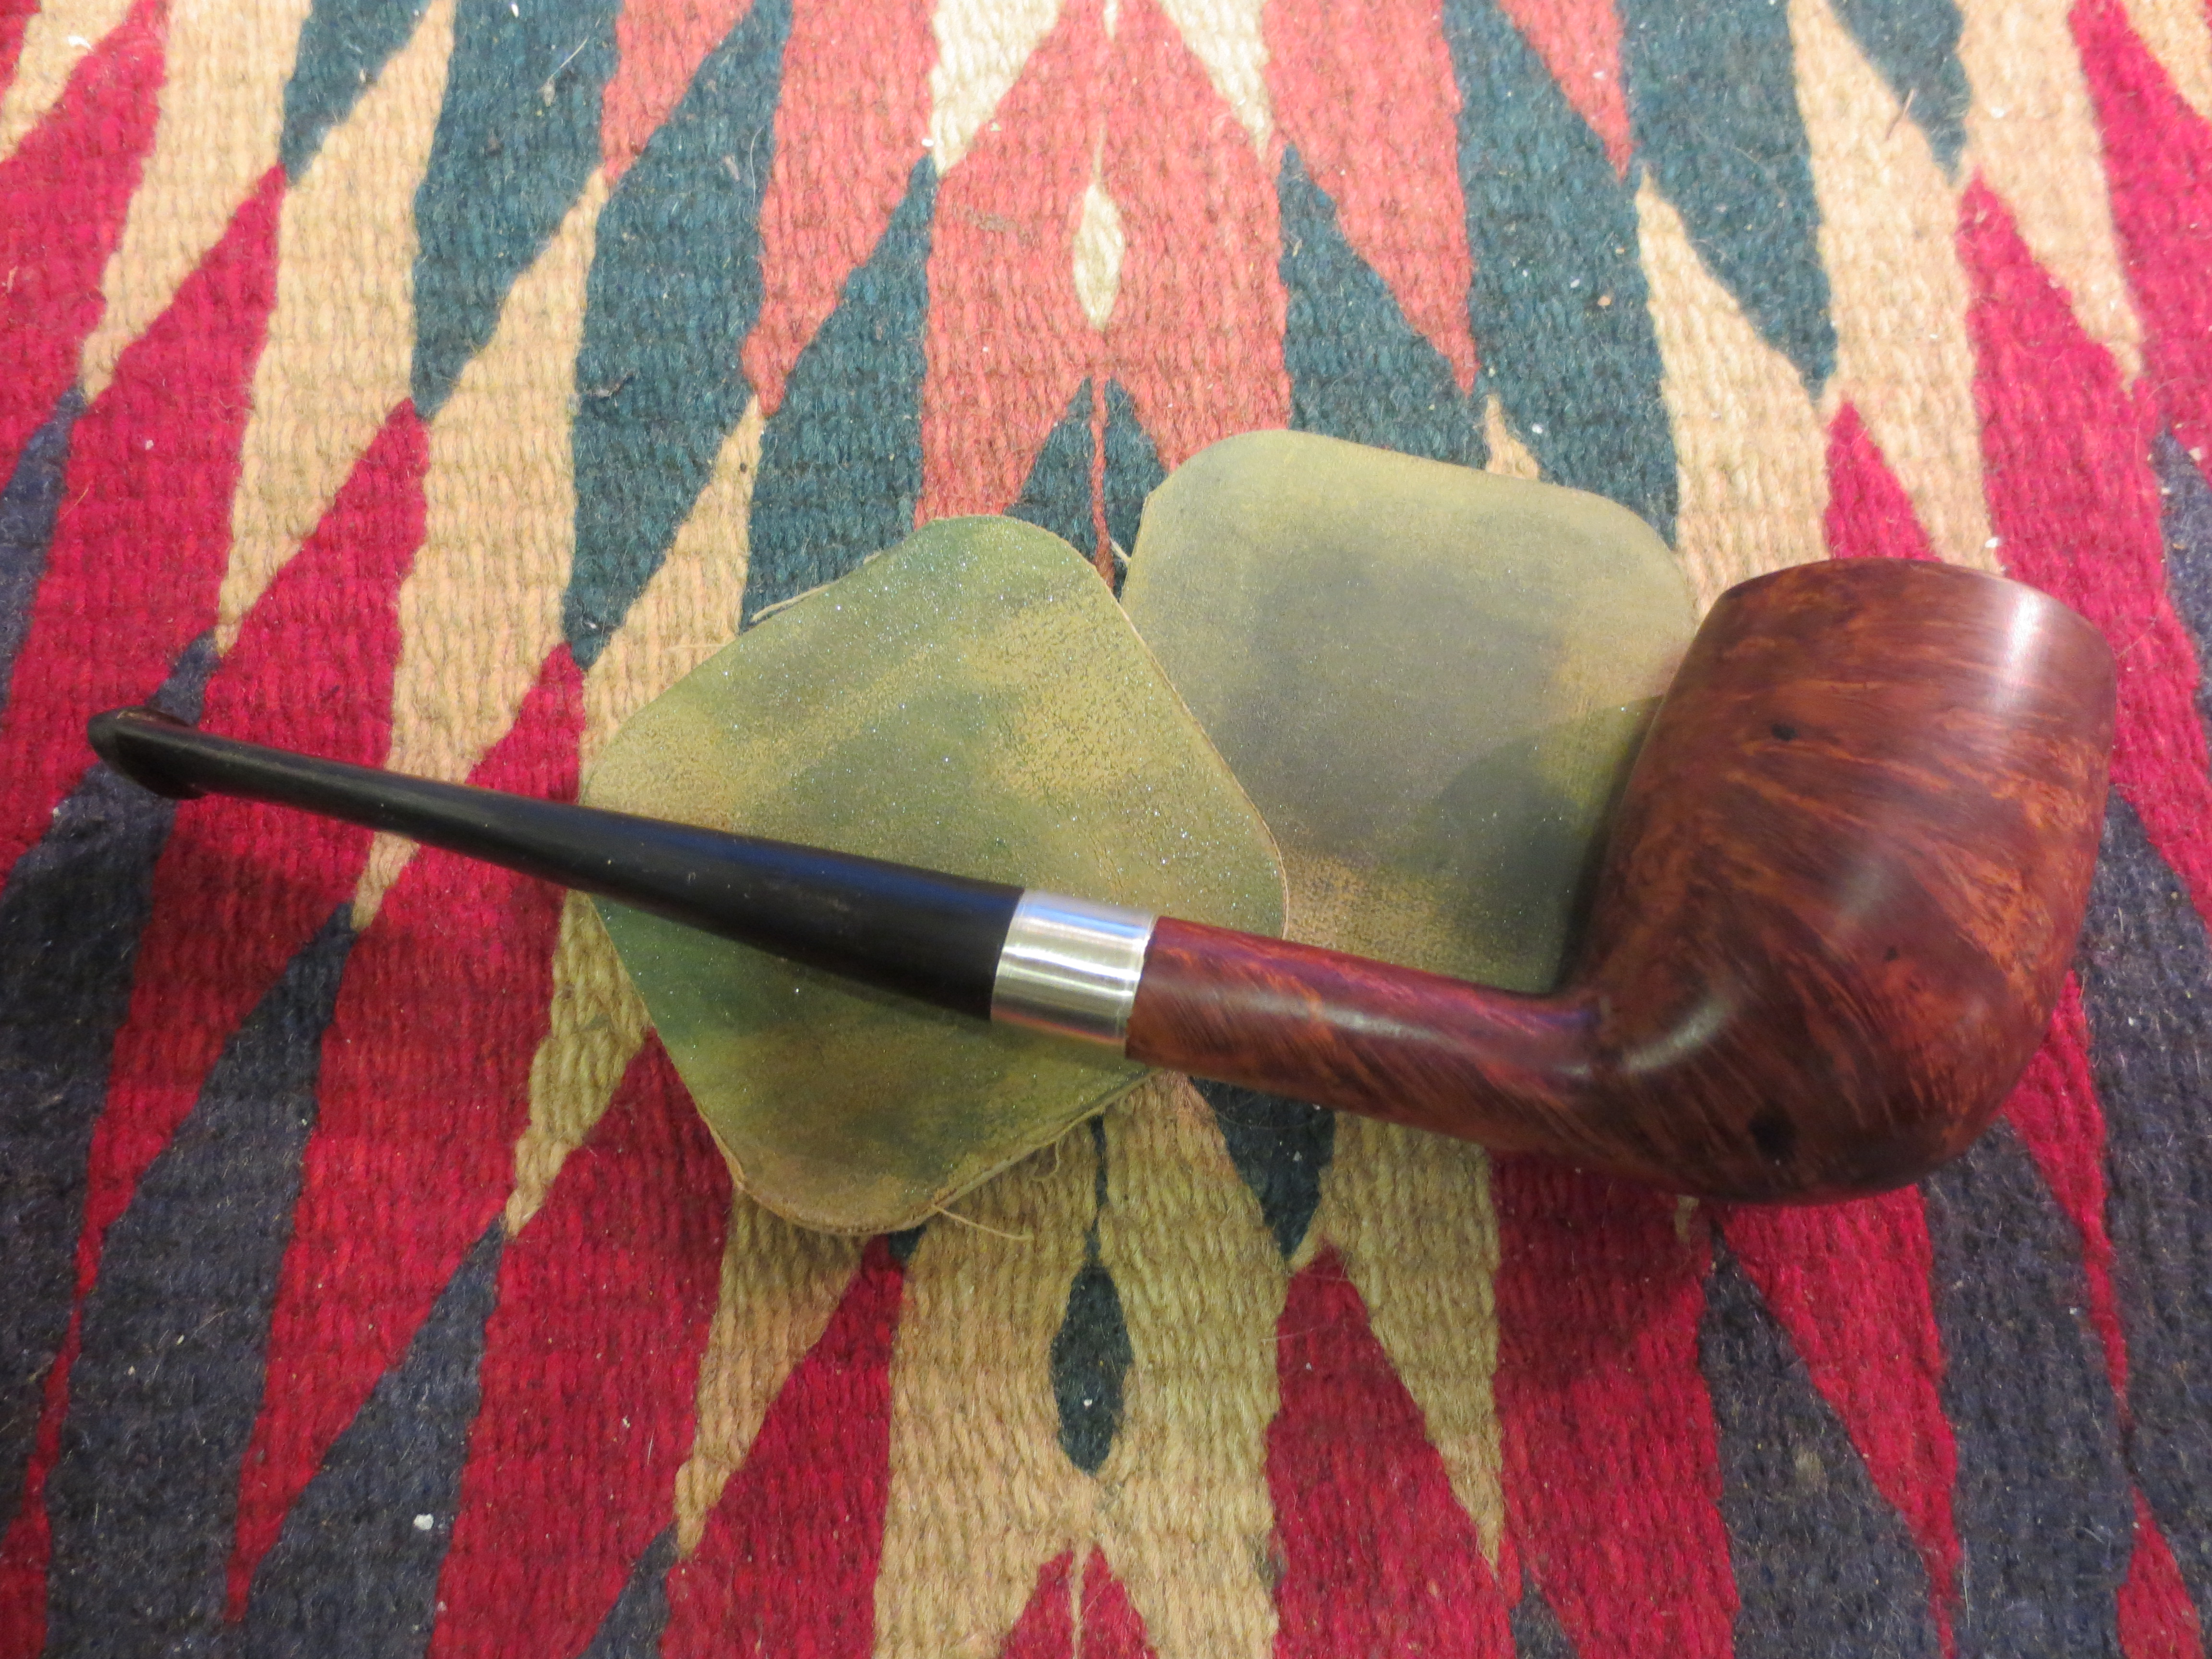
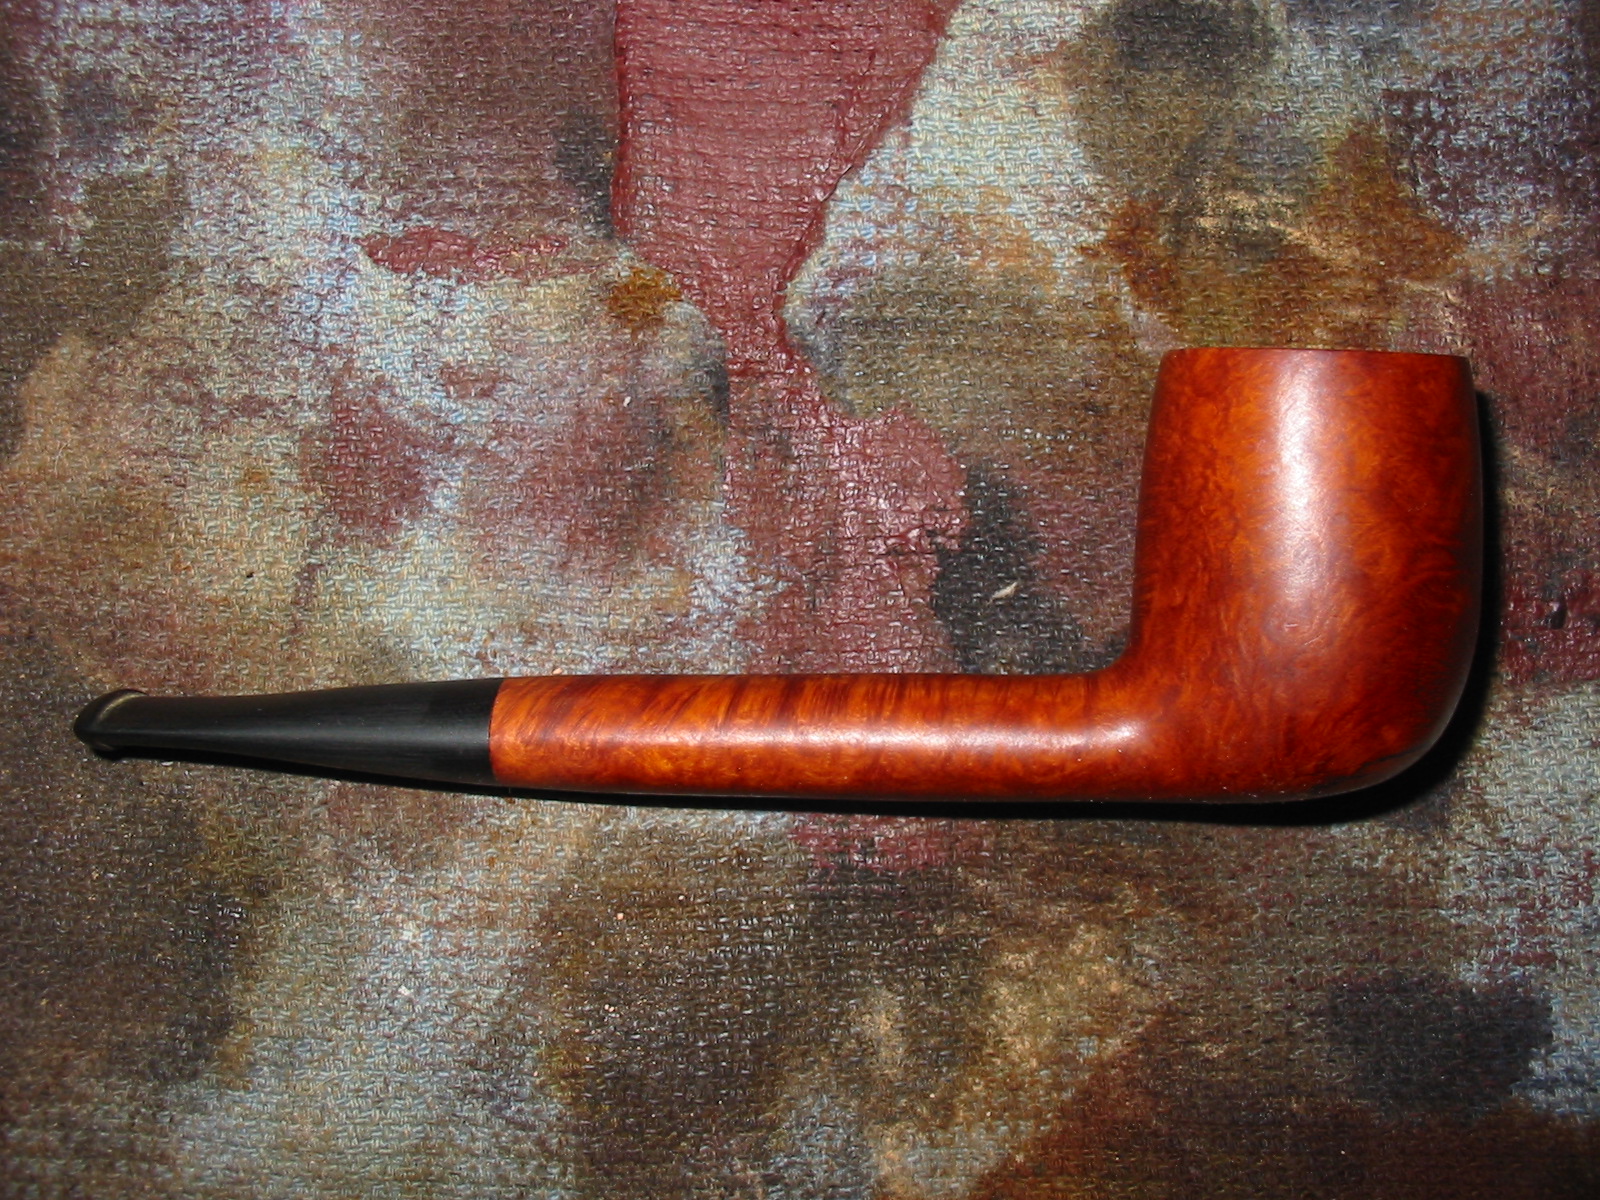
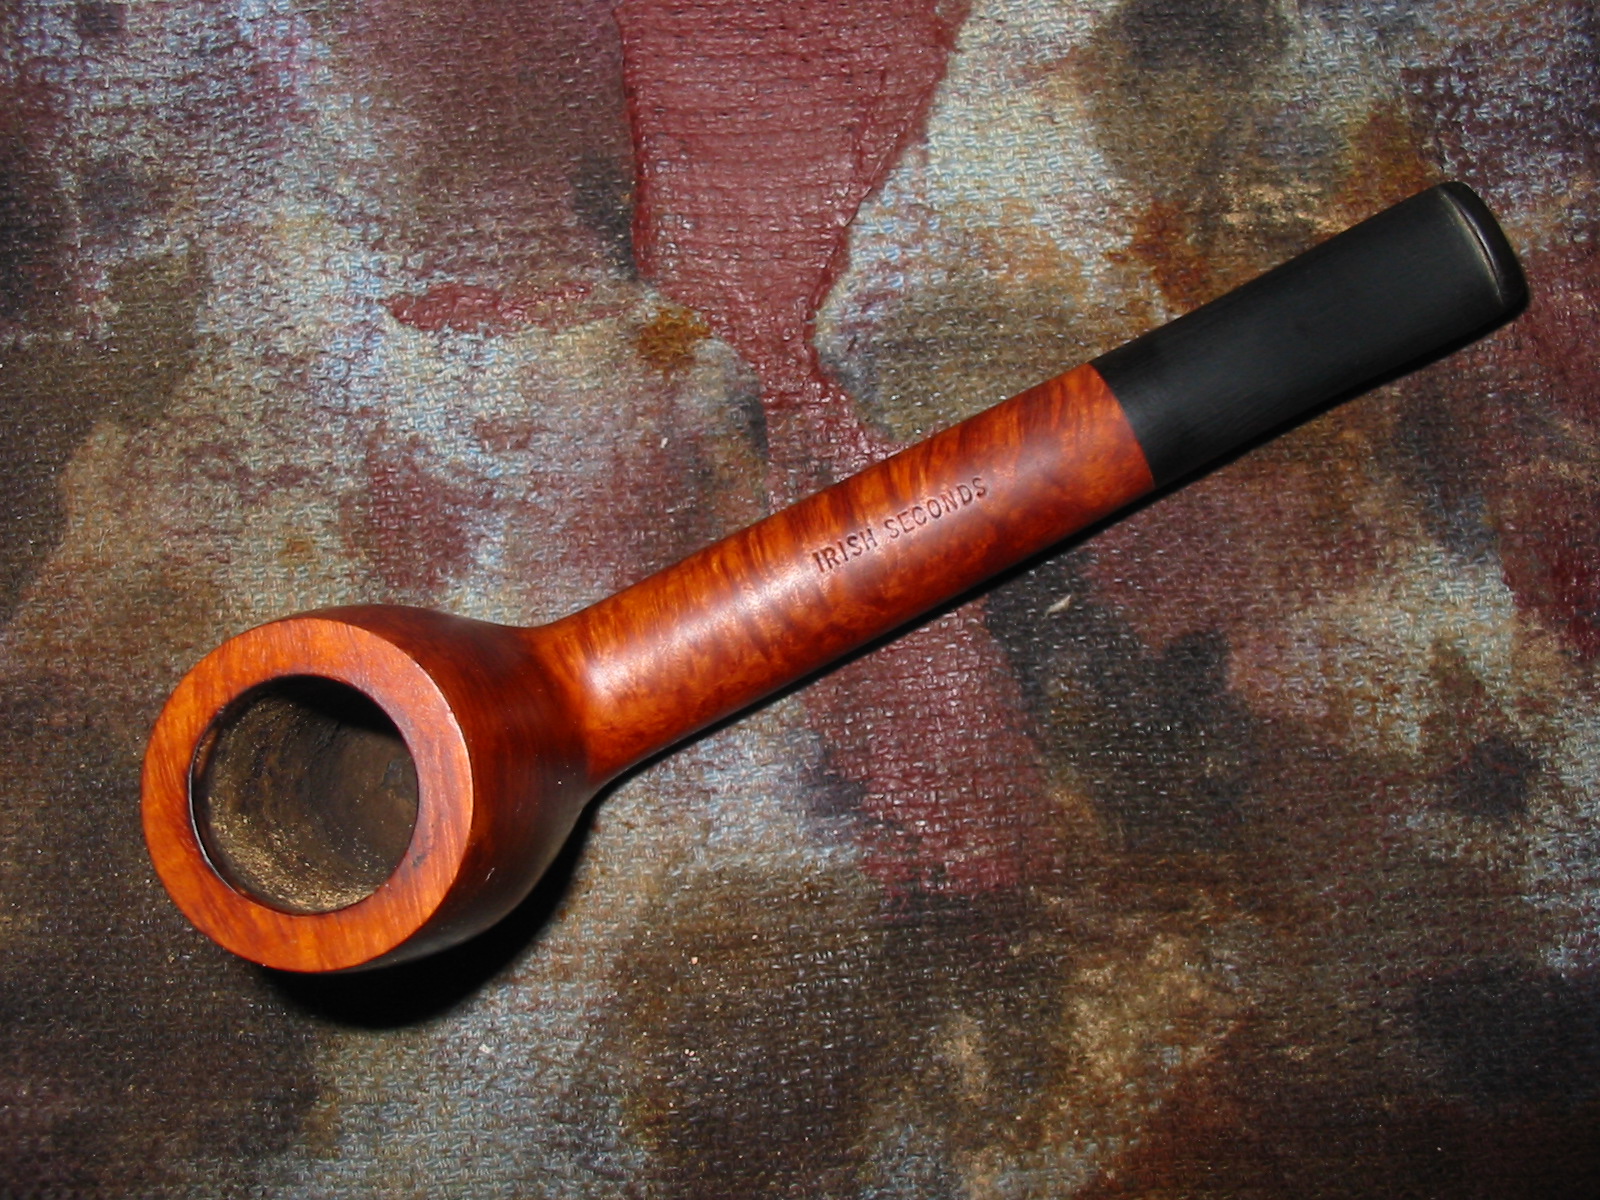
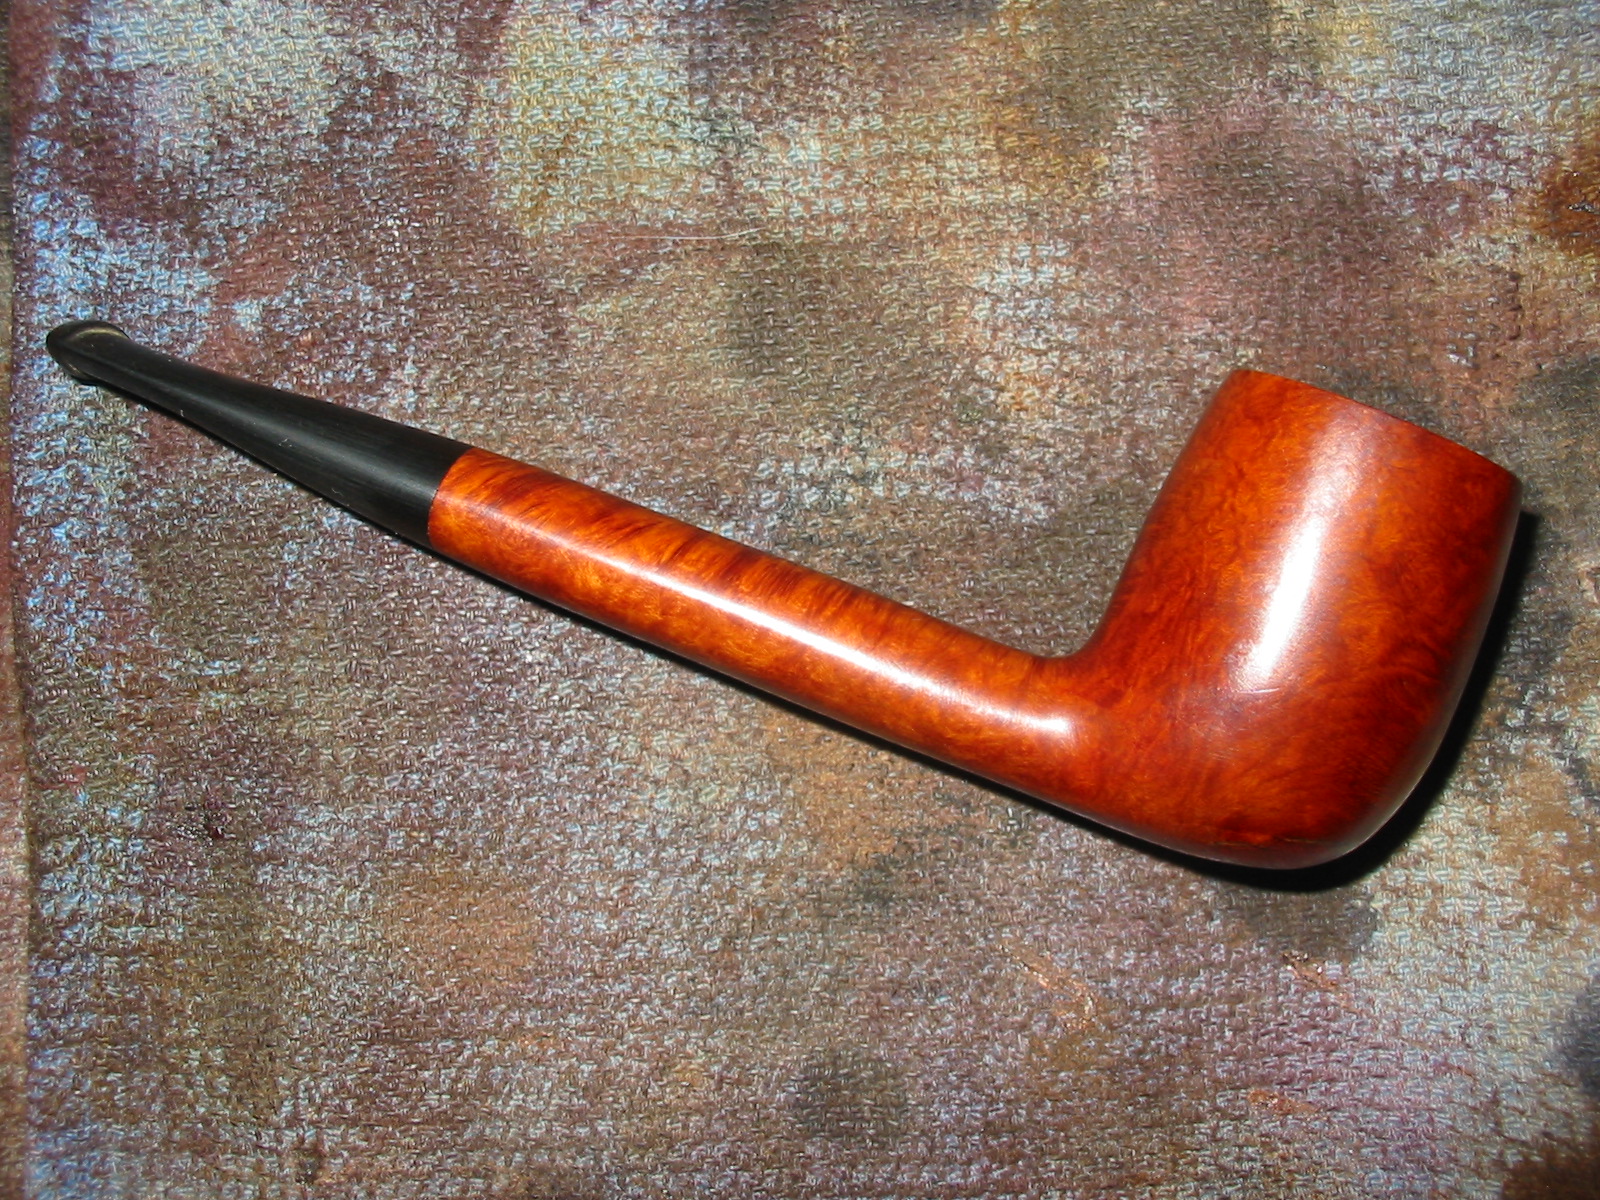
I buffed the entire pipe with White Diamond a final time and then gave it multiple coats of carnauba wax to protect it. I did not want a high gloss on the pipe but rather a slight matte finish. The photos below show the finished pipe. It is ready for many more years of service.
IMG_4740

IMG_4741

IMG_4742

IMG_4744

Rejuvenating A Nicely Grained Merchants Service Apple


I bought a pair of older pipes on EBay for a good price. I have written about the refurbishment of the first – the ¾ bent Royal Falcon in an earlier blog post. This particular post is about the second pipe. It is pictured at the top of the first two photos below and on the left in the third photo. It is stamped on the left side of the shank with the words, Merchants over Service in block capital letters over London Made also in block caps though smaller stamp. There is a shape number stamped next to the above stamping and just prior to the stem – 519. The photos below were supplied by the seller in the EBay sale. The seller said that the finish on the pipe looked very good in the photos and the stem was in good shape without cracks, dents or tooth chatter. They also said that the bowl was clean but previously smoked.
MS pipe

While I waited for its arrival I did a bit of hunting on the web to find out what I could about the brand. There was not much information available and what was there was attached to Bing Crosby. What I found out about the brand on the internet turns out to have originally come from Jose Manuel Lopes great work called Pipes, Artisans and Trademarks. The Merchant Service Pipe was a former English brand of pipe made by Merchant Service Ltd. It was a firm created by Herbert Merchant (d.1944) and which later belonged to Holland Penny Limited. It turns out that the company was a favourite of the North American Entertainer Bing Crosby. That is not a lot of information and I would love to find some more. If anyone who reads this has more information please do not hesitate to post it in the response boxes below.

I took the pipe to my worktable this morning and worked on the stem. It was pretty clean though it had some oxidation on the left side next to the shank and some tooth chatter on the top and bottom of the stem next to the button. I sanded the stem with 1500 grit micromesh to remove the oxidation and to sand away the tooth chatter next to the button. I wet sanded with the micromesh pad until the finish was a matte black and free of oxidation and marks. The next four photos show the stem after this initial sanding.
IMG_2535

IMG_2536

IMG_2537
The underside of the bowl was covered with many fills of a pinkish coloured putty that showed through the finish.
IMG_2538

I decided to remove the largest of the putty fills and rework them with briar dust and superglue. To prepare the surface of the briar for reworking the fills I wiped down the surface of the bowl with acetone on a cotton pad. As I removed the grime and some of the dark buildup on the bowl a beautiful grain began to pop out on the briar. This one was going to be a beauty when I finished refurbishing it.
IMG_2539

IMG_2540

IMG_2541

IMG_2542

I cleaned out the inside of the pipe and stem before working on the fills. It took many pipe cleaners and cotton swabs to remove the buildup inside the stem and shank. The shank had a reservoir area below the airway and it had collected a lot of tars and build up. The stem was also dirty on the inside.
IMG_2543

When I had finished cleaning it I removed the stem and turned the bowl over on the worktable to begin to pick out the putty in the fills. Once I had the putty picked out I wiped the surface down with acetone once again to remove the debris that might be left behind in the flaws. I packed briar dust into the cleaned areas and tamped it down into the grooves. Once it was tightly packed I dripped clear superglue into the repaired area and pushed some more briar dust into the superglue surface. When it was dry, which takes very little time, I would sand down the surface to make it match the bowl surface.
IMG_2544

I sanded the superglue/briar dust fill with 220 grit sandpaper and a medium grit sanding sponge to remove the excess of the patch (I always overfill them as they tend to shrink as the glue dries). The third photo below shows the patch after the sanding has blended it into the surface of the bowl. I sanded it with micromesh sanding pads 1500-3200 grit to prepare the surface for the restaining. I wiped it down a final time with acetone on a cotton pad to remove all grit from the sanding. It was ready for a restaining.
IMG_2546

IMG_2547

IMG_2548

I applied a dark brown aniline stain mixed with two parts isopropyl alcohol to one part dark brown stain. I used a cotton swab to apply it to the newly sanded area of the repair and flamed it and restained until it matched the rest of the bowl. When that was finished I gave a light coat of stain and flamed it to the entire bowl to blend in the restain on the bottom even more. The next five photos show the restained bowl bottom and then the retouched remainder of the bowl.
IMG_2549

IMG_2550

IMG_2551

IMG_2552

IMG_2553

With the bowl finished and ready to go it was time to tackle the stem. I sanded it with micromesh sanding pads from 1500-12,000 grit. I wet sanded with 1500-2400 grit and dry sanded with the remaining grits. The next three photos below show the progressive shine building on the stem. Once it was finished I buffed it with White Diamond and then rubbed it down with Obsidian Oil to protect it. When it had dried I put it back on the pipe and took it to the buffer.
IMG_2554

IMG_2555

IMG_2556

I buffed the entirety (carefully around the stamping) with White Diamond a final time and then gave it multiple coats of carnauba wax and buffed it with a clean flannel buffing pad. Once it was finished I loaded up a bowl of Balkan Sobranie Virginian No. 10 and went for a long walk on a cool and dry fall day in Vancouver. It is a great smoking pipe and one that is one of my favourite shapes.
IMG_2557

IMG_2558

IMG_2559

IMG_2560

New Life to an Aarhus?? Unique


I have no idea what the final letters of the name on this pipe are supposed to be. The shank had been poorly cut off and there were two cracks, one on each side. It is stamped Aarhus over Made in France on the left side of the shank and the number 6 on the right side. The walls of the shank were quite thin. The bowl top was caked and dirt. The bowl was caked and needing cleaning. There was no stem on the bowl. The finish on the pipe was worn and dirty. There were two small sandpits that had been patched with white putty that had fallen out and left two white spots on the bowl. The shape of the pipe is what interested me. It has a pencil shank and the bowl tapers to a ridge on the front and the back. The bowl is also canted toward the front similar to a cutty and from the top is almond shaped. It is a uniquely interesting shape. The grain on this one is quite nice – birdseye front and back and cross grain on the sides. It does not quite align with the cut of the bowl but is very close. The pipe was a part of the lot that I have been working on lately – a purchase from EBay of 12+ pipe bowls that needed to be stemmed. The first series of four photos below show the state of the bowl when I began. The final photo of the four gives a closer look at the mortise and the thinness of the walls of the shank. Note the notches out of the end that give evidence of the shortening of the shank. In the photo I also included the stem that I took out of my can of stems and turned the tenon on.
IMG_0733

IMG_0734

IMG_0735

IMG_0736
The next three photos show the stamping on the shank and the angle of the cut of portion. It actually cut off the last letter or letters of Aarhus (pipe brand) and the E of France. The third photo shows the crack on the left side of the shank. There was a matching crack on the right side as well.
IMG_0737

IMG_0738

IMG_0739
I reamed the pipe and then topped the bowl to remove the damage to the rim and smooth out the surface. I was intending to refinish the pipe anyway so I started with fine grit emery paper to clean off the thick tars on the surface (Photos 1 &2). I then used a medium grit sanding sponge to clean up the surface from the scratches of the emery paper (Photo 3).
IMG_0740

IMG_0741

IMG_0742
I worked on the tenon in order to get a good smooth fit in the mortise. In Photo 1 below you can see how I used the stem to open the crack so I could repair it. I dripped in some superglue and squeezed it back together. You can see in Photos 1 and 2 the fit of the stem against the shank. The gap between stem and shank shows the angular cut that had been done on the shank. There were also small pieces of briar missing on the bottom edge of the shank. The end was rough and with the cracks left no choice but to band it. (In the photos there are some chunks of briar. These were inside of a band that I was cleaning up to reuse on the tenon of this pipe.)
IMG_0743

IMG_0744
I set up my heat gun and placed the band on the end of the shank. It was a tight band and I was able to just insert the edge in the band so that I could heat the band for pressure fitting it on the shank. The next four photos show the heating of the band and the metal plate that I use to press it into place on the shank. I heated it and pressed it on in three different increments as the band cooled before it would go all the way into place.
IMG_0745

IMG_0746

IMG_0747

IMG_0748
The next two photos show the newly banded shank. In the second photo you can also see the white putty fill about half way down the side of the bowl.
IMG_0749

IMG_0750
I finished fitting the stem on the pipe and sanded down the slag from the edges and end of the stem. I also wiped down the bowl with acetone. It had a coating of varnish on it that was crackling and also did not allow me to rework the fills properly. Once I had it wiped down I picked out the white putty in the two fills that were present with a dental pick and wiped down the bowl again with the acetone. The fills were on the right side mid bowl and on the left side at the bottom of the shank bowl junction.
IMG_0751

IMG_0752
I sanded the bowl and shank with 320 grit sandpaper and then a fine grit sanding sponge to remove the finish completely. The next three photos show the sanded bowl and shank. The grain was quite nice on the pipe. The dark stain had hidden it pretty well. I was beginning to think about not restaining the bowl but leaving it with the remaining colour and polishing and buffing it. Time would tell.
IMG_0753

IMG_0754

IMG_0755
I packed briar dust into the clean sandpit areas on the pipe and then dripped superglue on top of the briar dust. The next two close up photos of the bowl show the patches before I sanded away the excess and cleaned them up to match the surface of the briar.
IMG_0757

IMG_0758
I used 320 grit sandpaper to remove the excess that was shown in the above photos and smooth out the surface. I followed that by sanding with a fine grit sanding sponge. The next four photos show the replaced fills. There were also some dark stains on the bowl that I wanted to work on. I continued to sand the bowl as a whole with the sanding sponge to minimize the dark stain marks on the briar. The colour of the briar is really starting to look great.
IMG_0759

IMG_0760

IMG_0761

IMG_0762
I then sanded the bowl and the stem with micromesh sanding pads. I wanted to remove the scratches and begin to develop a shine. I wet sanded with the 1500-2400 grit micromesh sanding pads and then went on to dry sand with the 3200-12,000 grit sanding pads. The next 9 photos show the developing shine on the bowl and the stem. I also sanded the nickel band with the micromesh pads.
IMG_0763

IMG_0764

IMG_0765

IMG_0766

IMG_0767

IMG_0768

IMG_0769

IMG_0770

IMG_0771
By the time I finished sanding with the 12,000 grit micromesh sanding pad the bowl looked really good. I decided against restaining it and instead reinserted the stem and took the pipe to the buffer. I buffed the entirety lightly with White Diamond to remove any remaining light scratches and to brighten up the shine on both bowl and stem. I then wiped down the stem with Obsidian Oil, and buffed the pipe with carnauba and a soft flannel buff. The final five photos show the finished pipe. It is ready to use. The only remaining question is, “What is the brand? What letters follow Aarhus???” Can any of you help me with that information? It is an unfamiliar brand to me and I can find nothing on the Pipephil Logos and Stampings website or in Who Made that Pipe. Thanks ahead of time for your help.
IMG_0772

IMG_0773

IMG_0774

IMG_0775

IMG_0776