Blog by Steve Laug
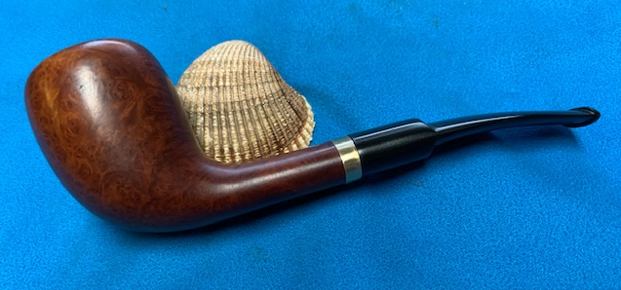
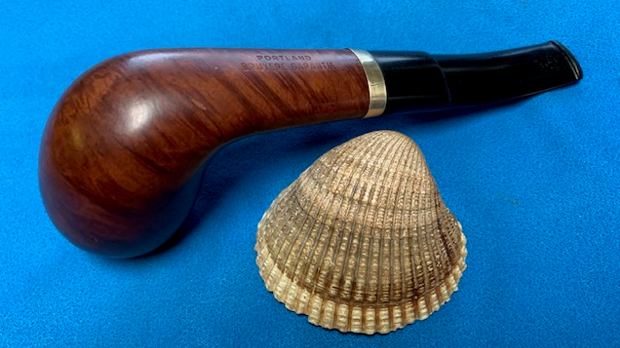
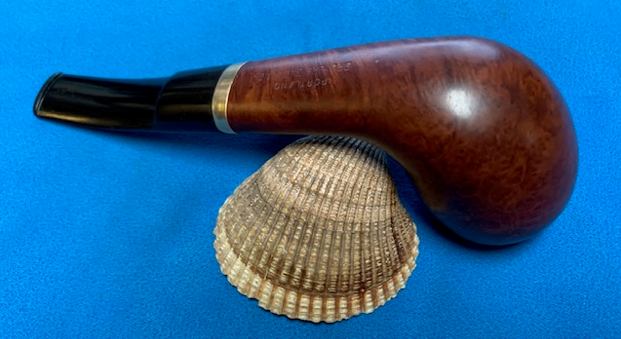
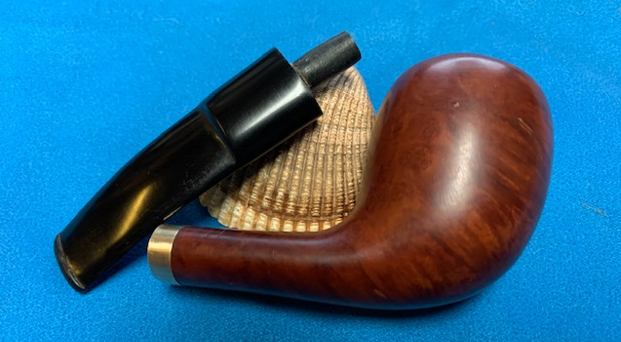
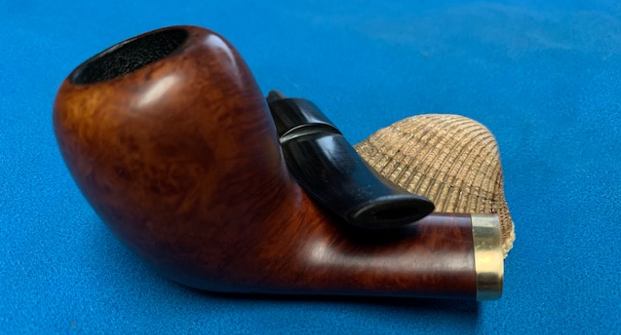
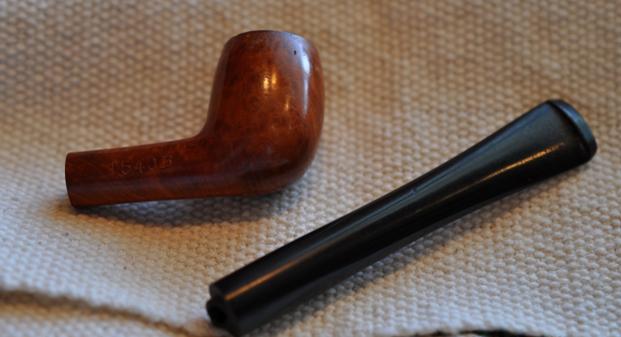
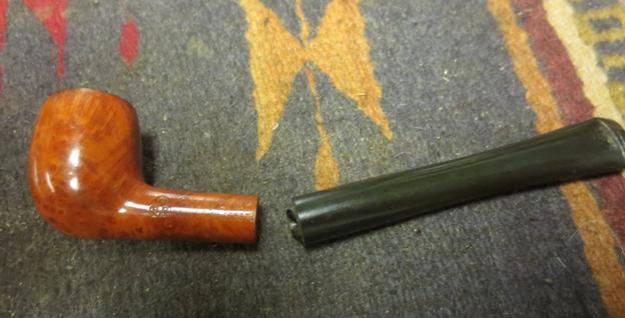
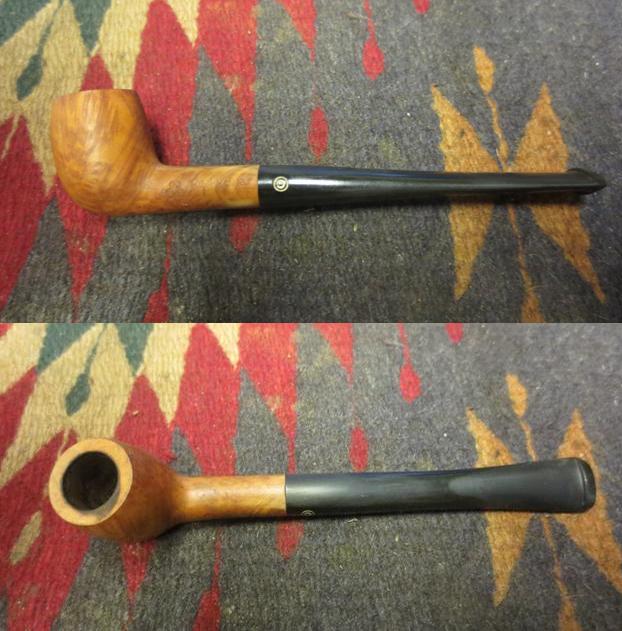
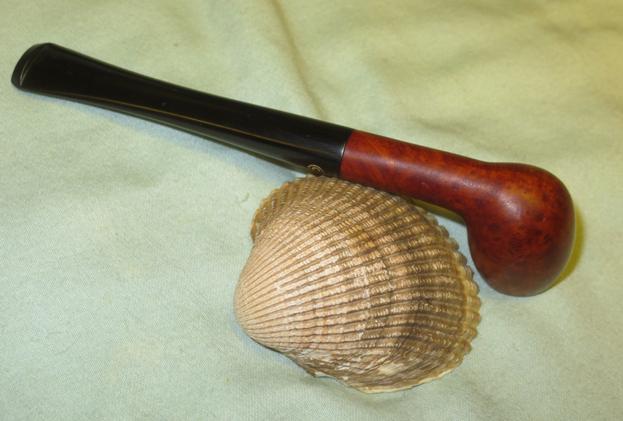
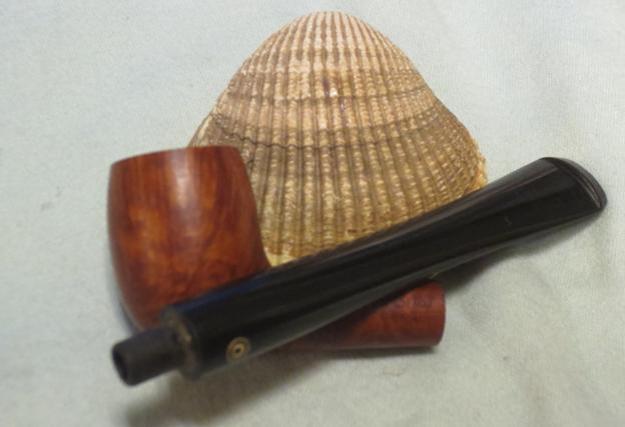
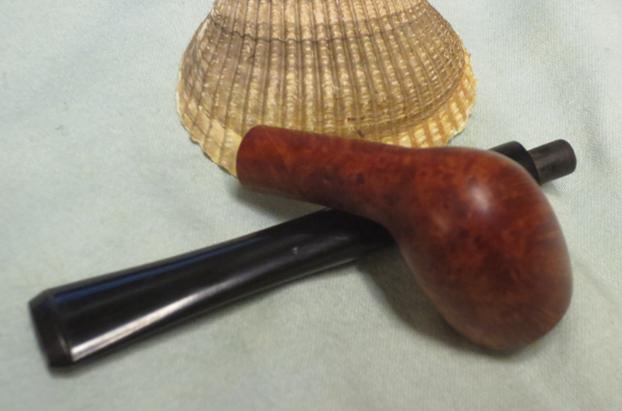
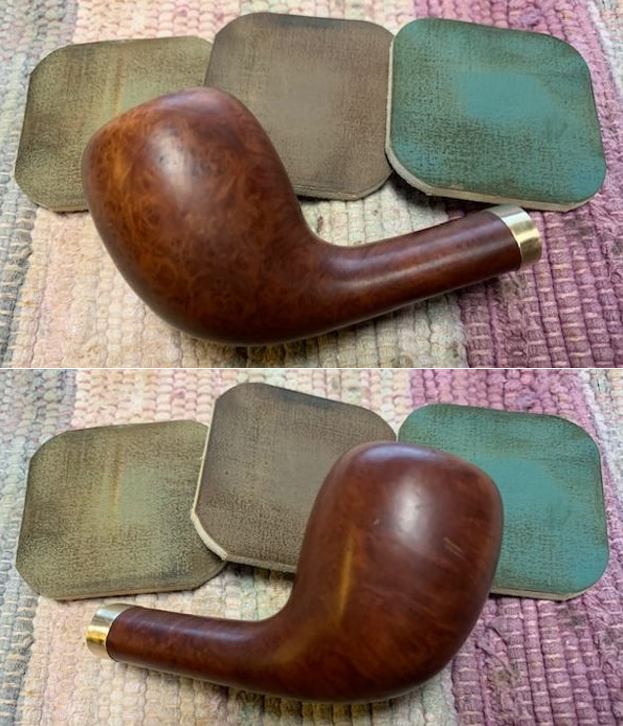
I am still doing some repairs for a local pipe shop and this one came from a referral from them. I have fixed several pipes for this particular pipeman in Vancouver including banding, restoring and fitting a new stem. He stopped by last weekend and dropped off a pipe to be reamed and cleaned and also this relatively new pipe that he had dropped. It is an interesting looking pipe with mix of nice grain around the bowl sides. It was stamped on the underside of the shank and read Portland [over] Bruyere Garantie followed by the shape number 60 near the shank/stem junction. He had only smoked it a couple of times before he dropped it. The stem snapped off leaving the tenon in the shank. When I looked it over there were also cracks on the top of the shank that happened at the same time. The stem was dirtier than the bowl but overall it was in good condition. I took some photos of the pipe before I started working on it.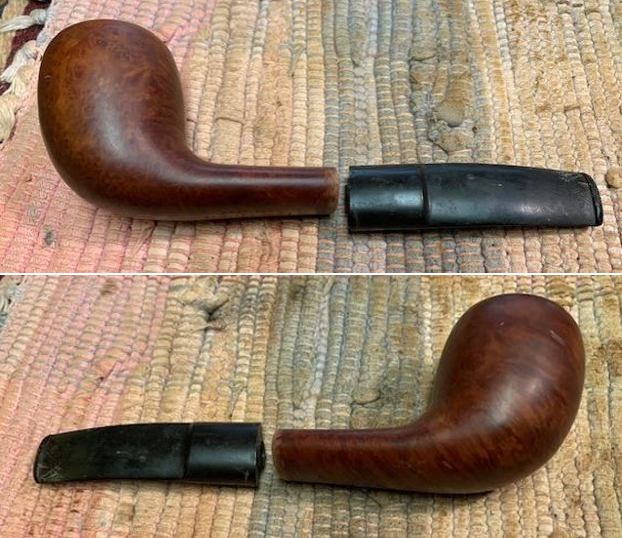
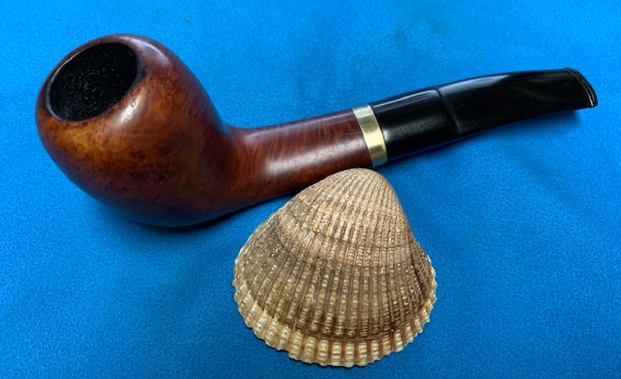
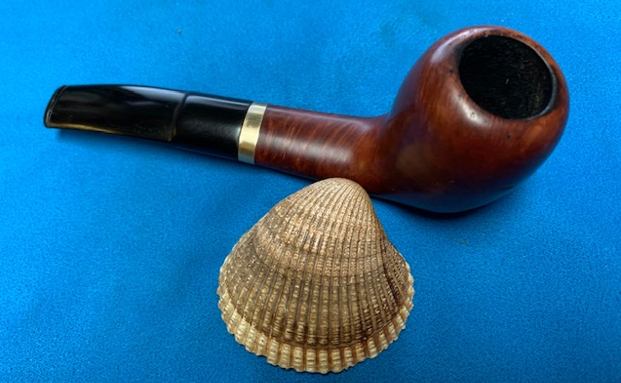
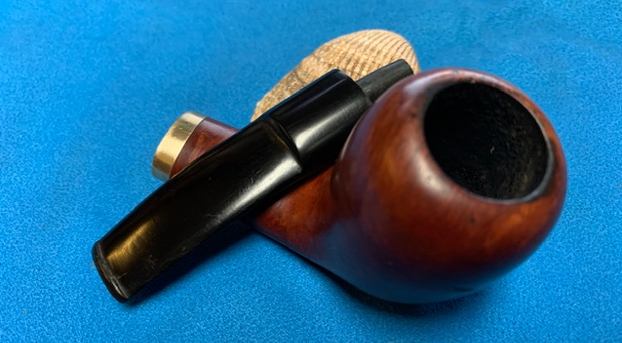
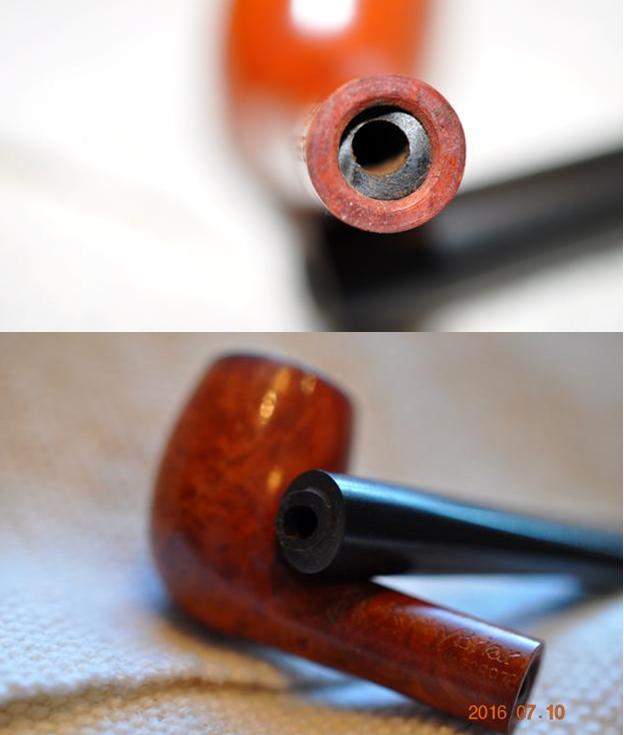
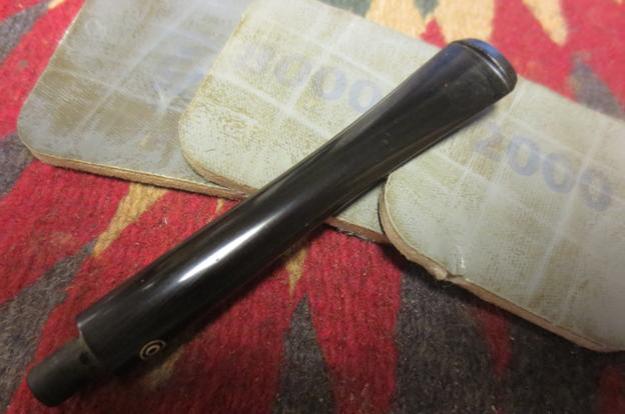
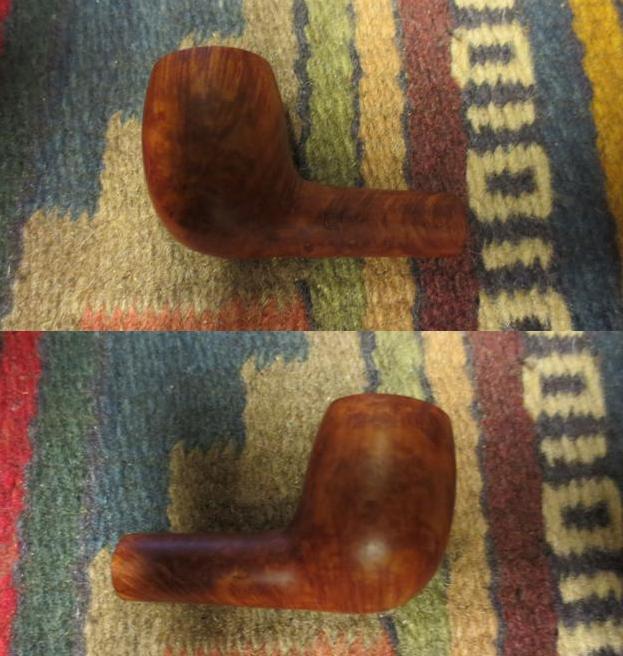
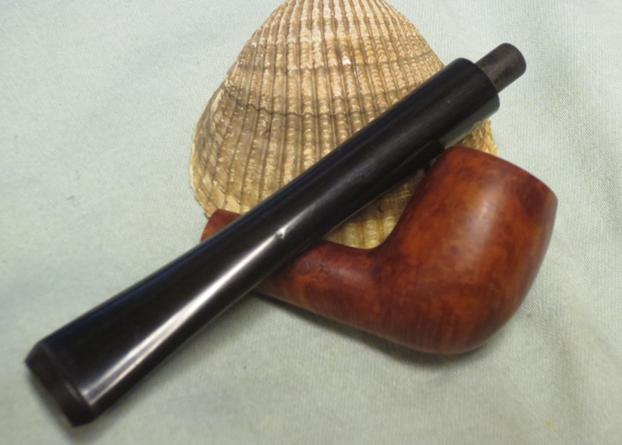
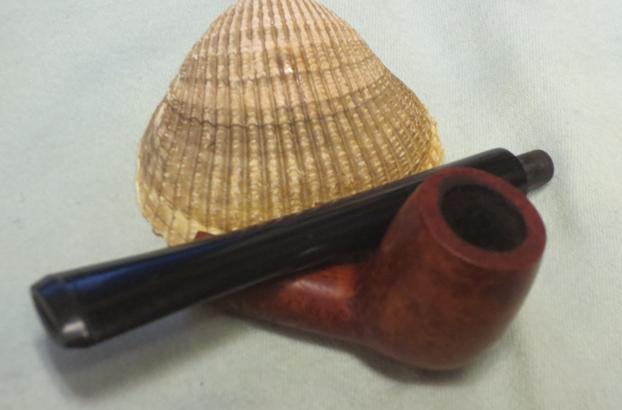
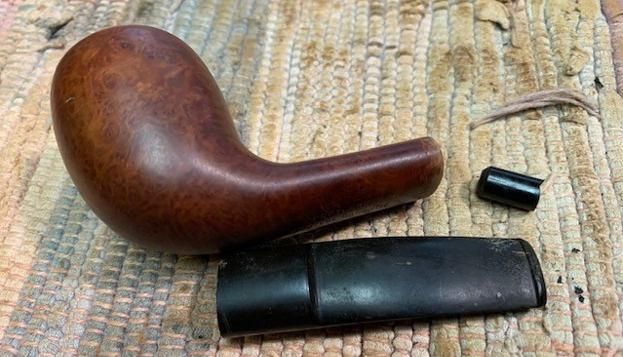
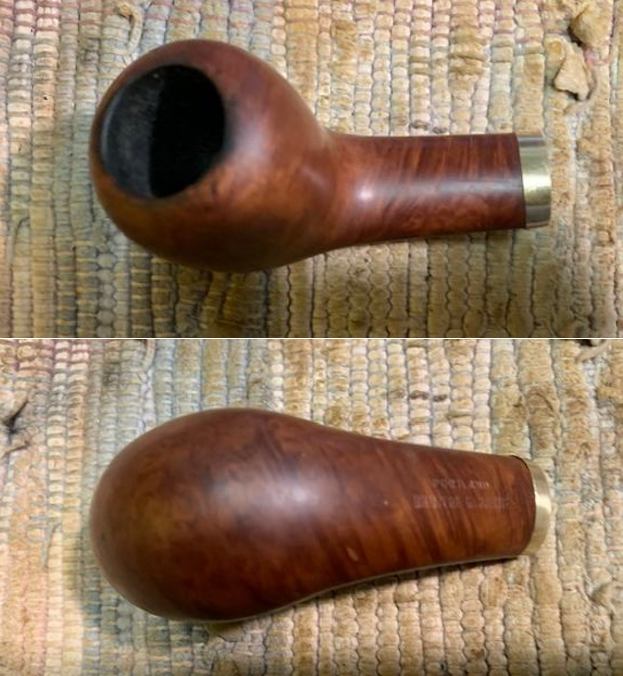
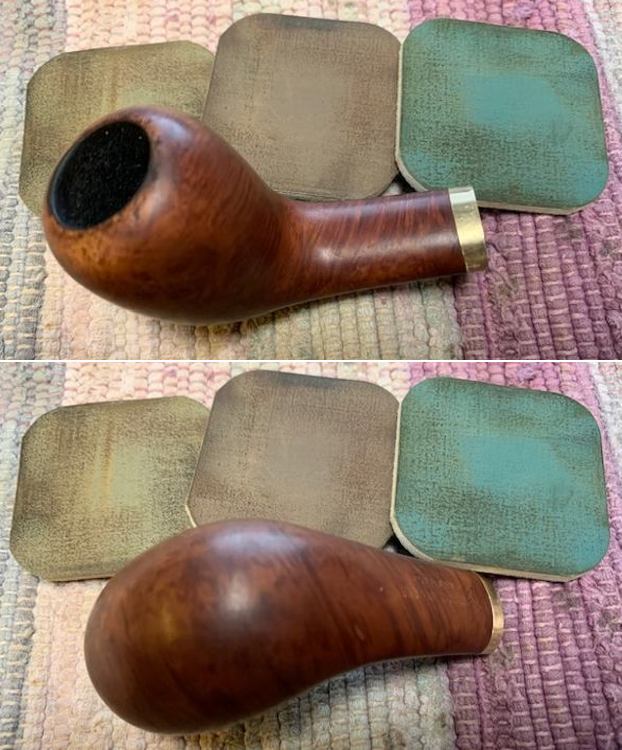
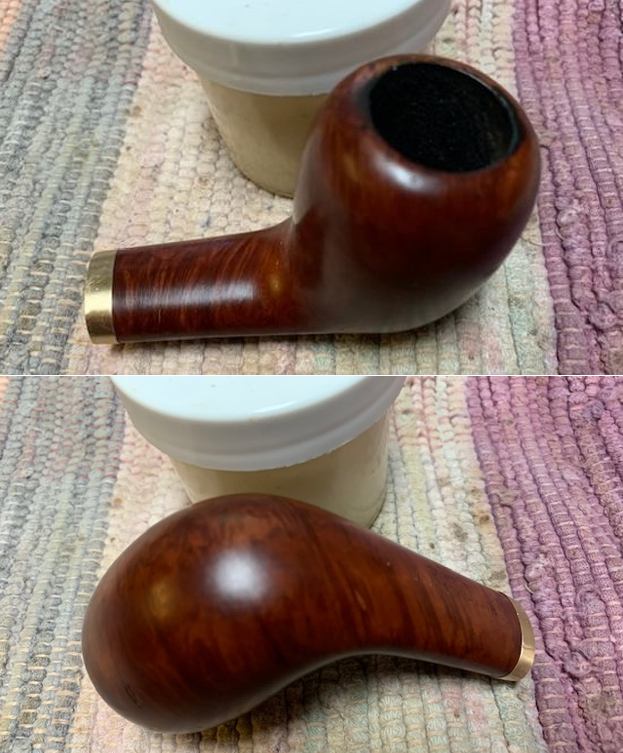
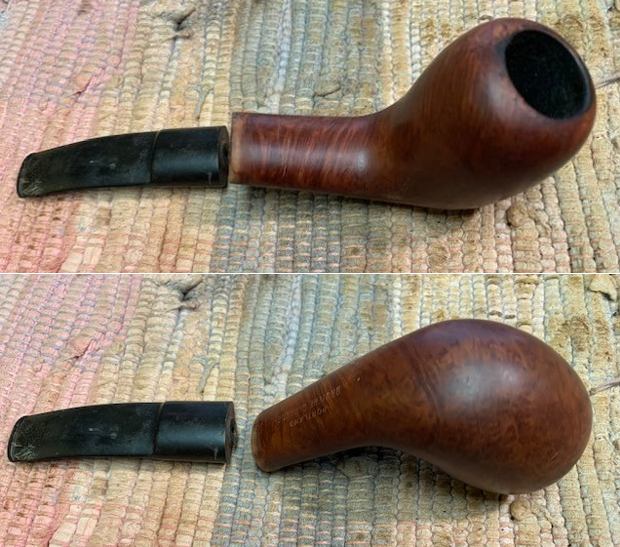 I took photos of the rim top and the stem surfaces to chronicle the condition. The rim had some darkening from his lighter toward the right front of the bowl and on the back side. There was not any cake in the bowl as it was still quite new. The stem was just dirty with light tooth marks on both sides near the button. The tenon had snapped off very close to the stem so it would be a simple process to add a new tenon.
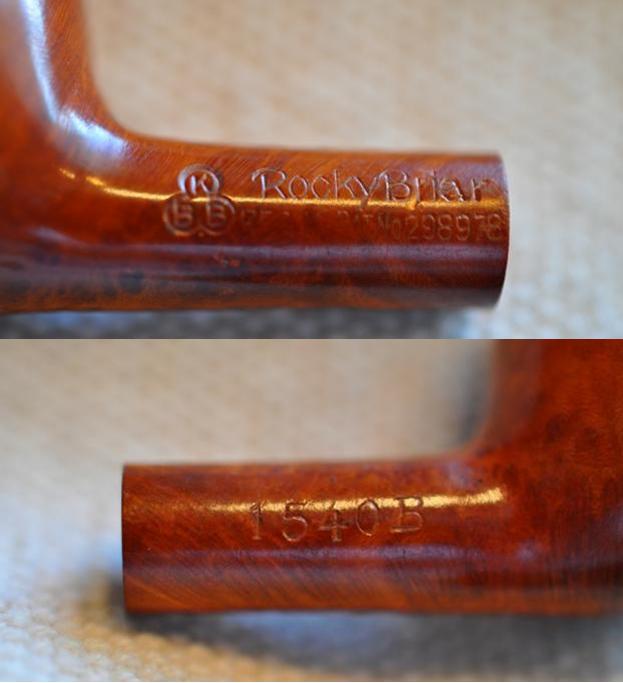
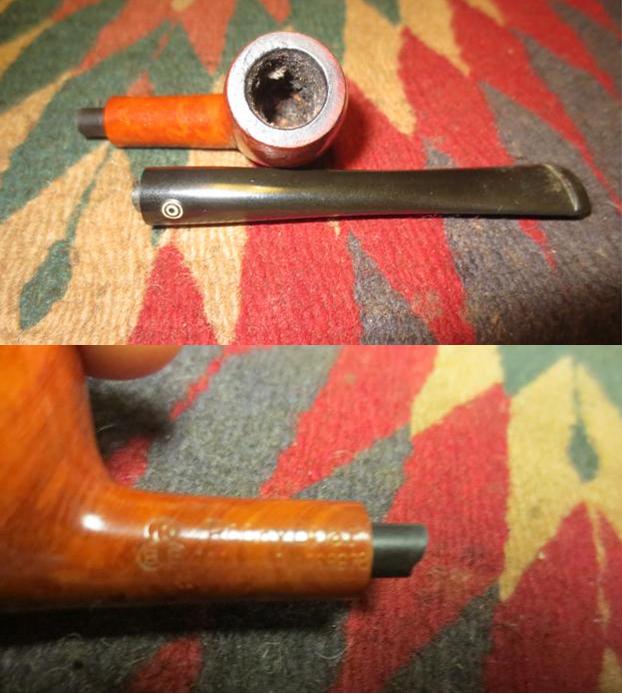
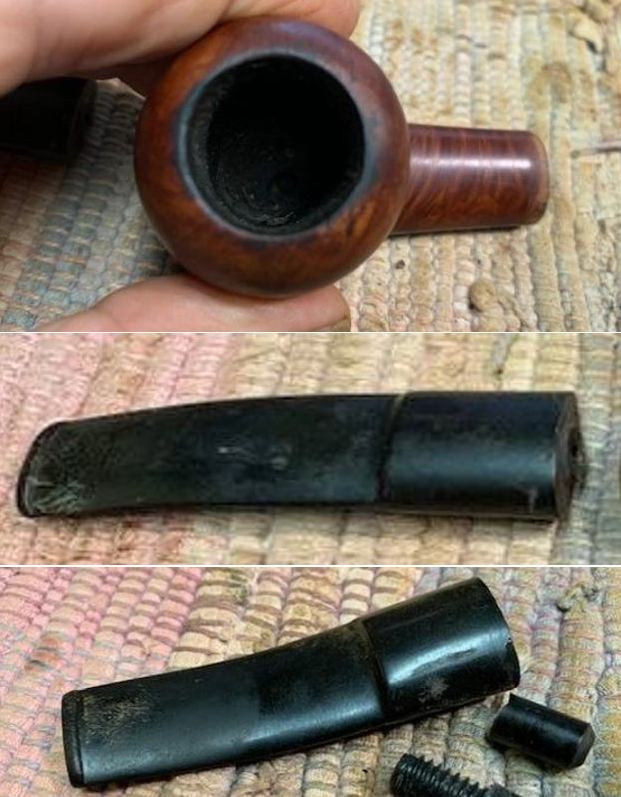 I took a photo of the stamping on the shank underside. It is clear and readable.
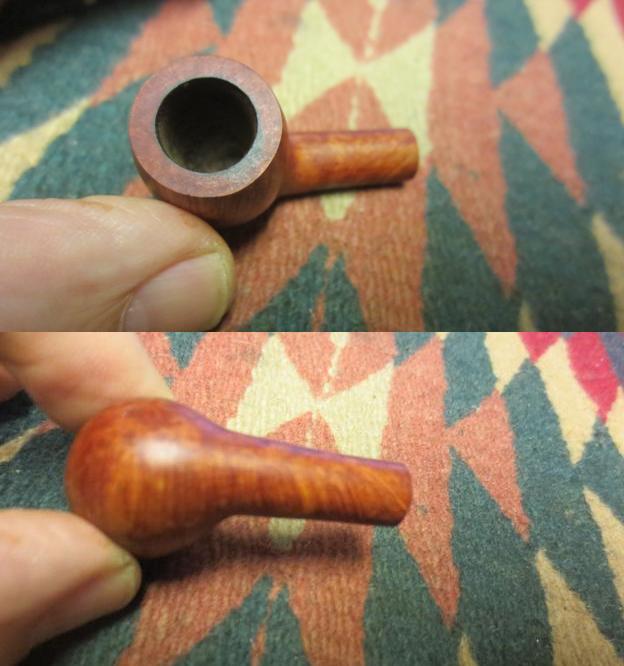
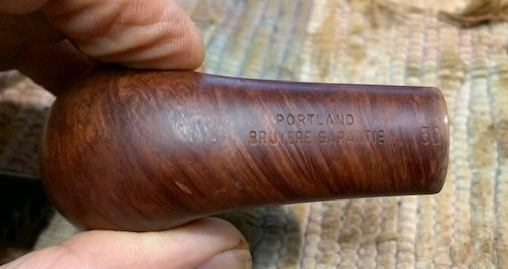 I took a photo of the parallel cracks on the top of the shank. These were hairline but they were present and though you cannot see it they go to the end of the shank.
 I began my work on this pipe by pulling the broken tenon. I always use a coarse threaded screw and gently turn it into the airway in the broken tenon. I carefully wiggle it free. If it is tight a short 10 minutes in the freezer takes care of that.
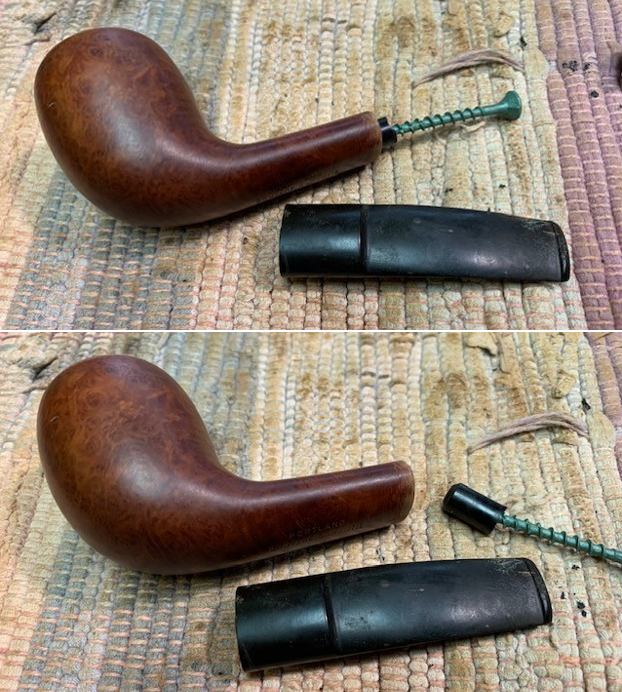
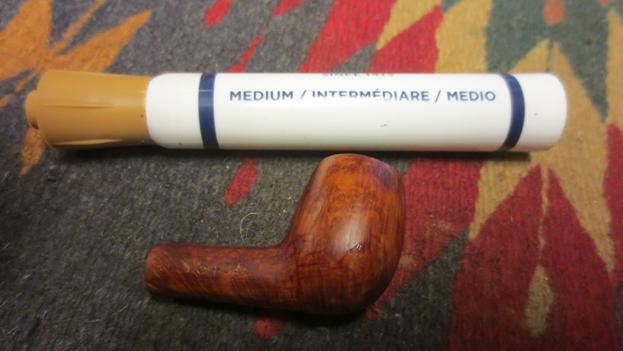
 I went through my box of tenons and found a threaded one that was close to the diameter of the older broken tenon. It would need to be shaped but it would work.
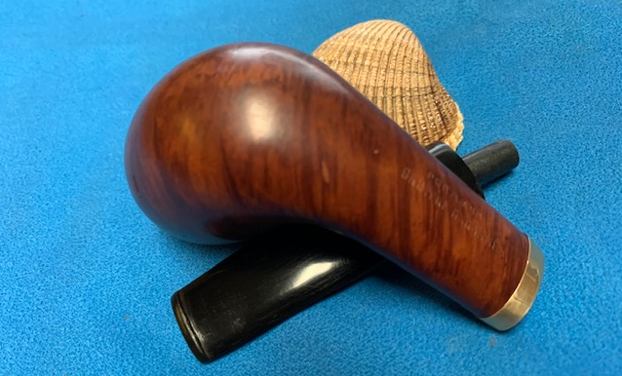
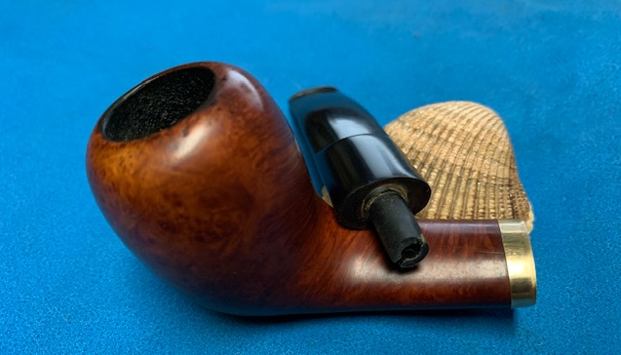
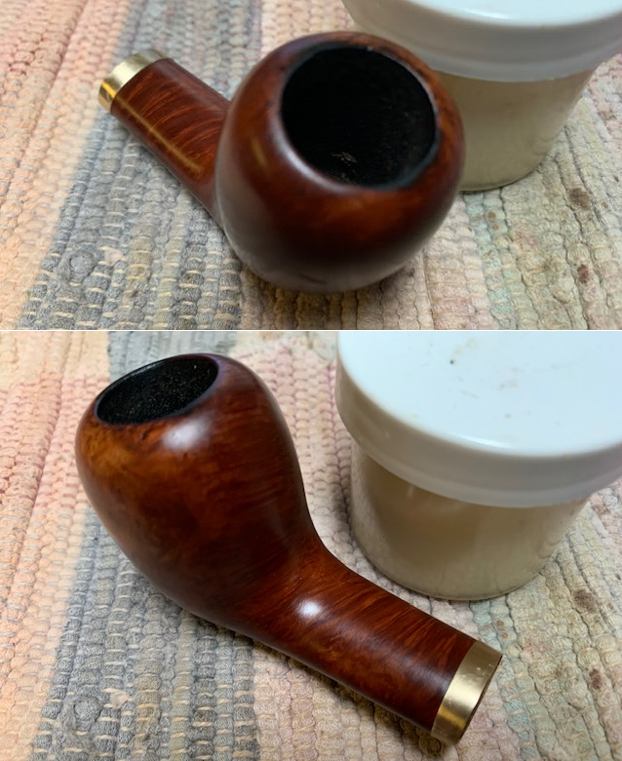
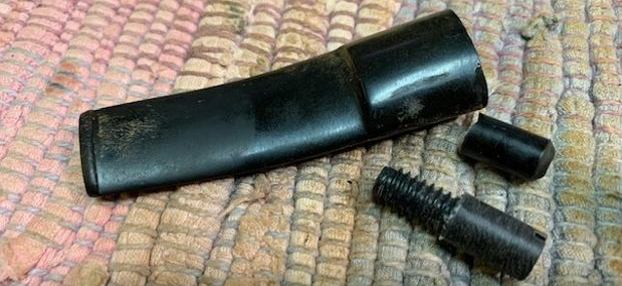 Before working on the stem I decided to put the band on the shank and repair the crack and protect it from going further. They are very fine cracks and I decided not to drill it as the hole would be bigger than the cracks. A tight fitting band would pull it together. I reduced the depth of the band with a topping board to make it thin and give a daintier look than the big clunky band. It is a thin brass band and it is pressure fit in place on the shank. I heated the band with a lighter and pressed it onto the shank. I like the look of the banded shank in the photos below.
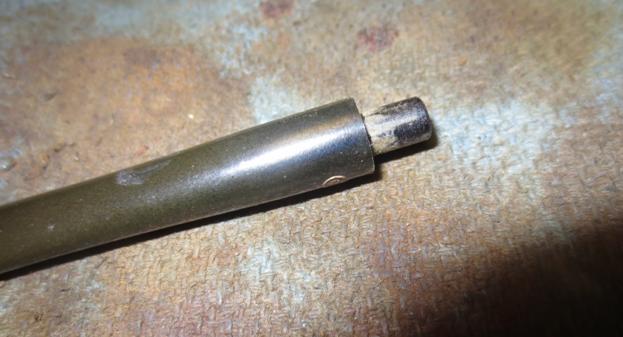
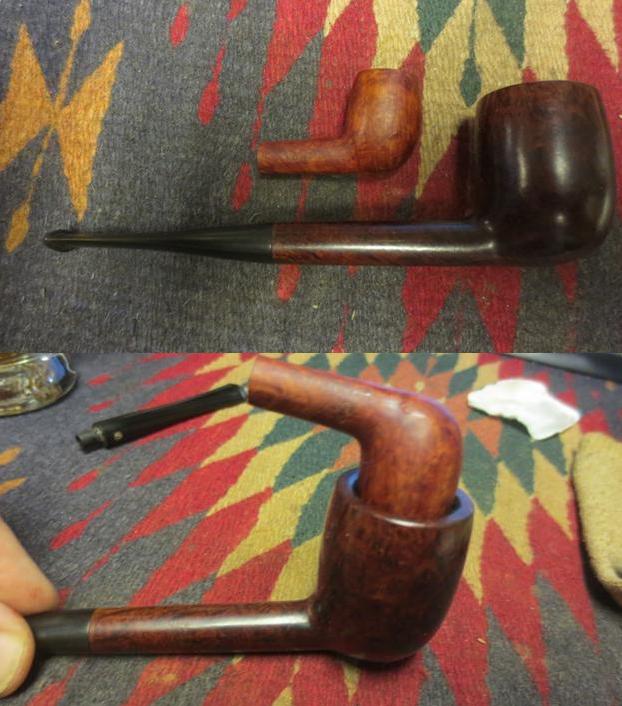
 With the band fitted it was time to work on the tenon and the stem. I used my Dremel and sanding drum to make the tenon smaller in diameter to match the shank. I worked on it until the fit in the shank was snug but not tight.
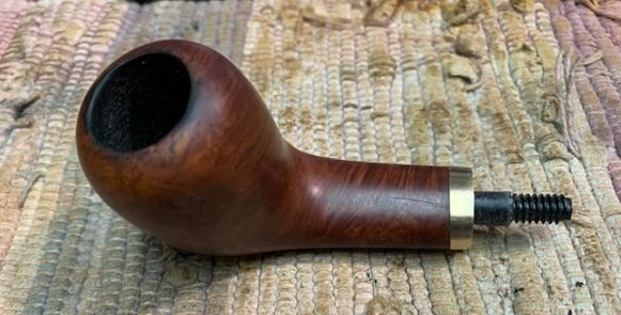 With that finished it was time to drill out the stem. I used the Dremel and sanding drum to flatten out the broken tenon end on the face of the stem. I started drilling with a bit slightly larger than the airway and finished with a bit that would allow the threaded tenon to fit the stem.
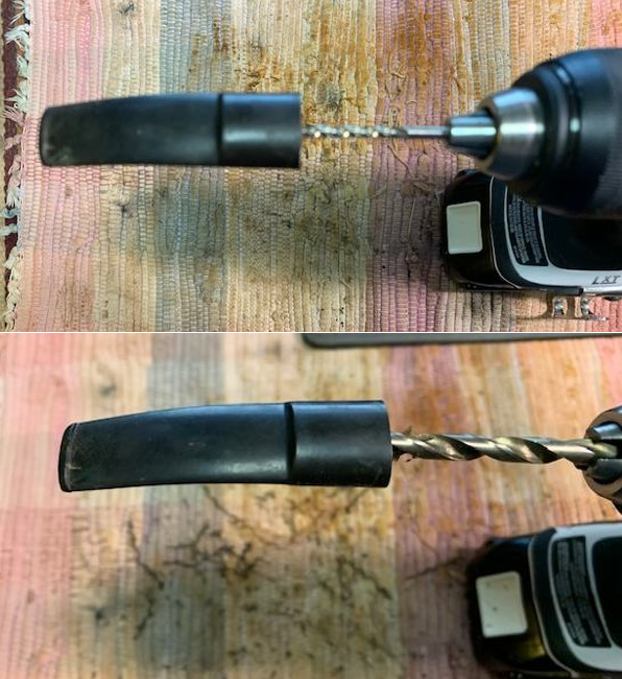 I do not tap the drilled hole in the stem. Rather I flatten out the threads slightly as they provided the grip for the glue when I insert the tenon in the stem. I coated the threaded tenon end with black superglue which dries more slowly than the regular glue and allows me to make adjustments in the fit. I checked the fit in the shank and was pleased with it. I set the stem aside so the glue could cure.
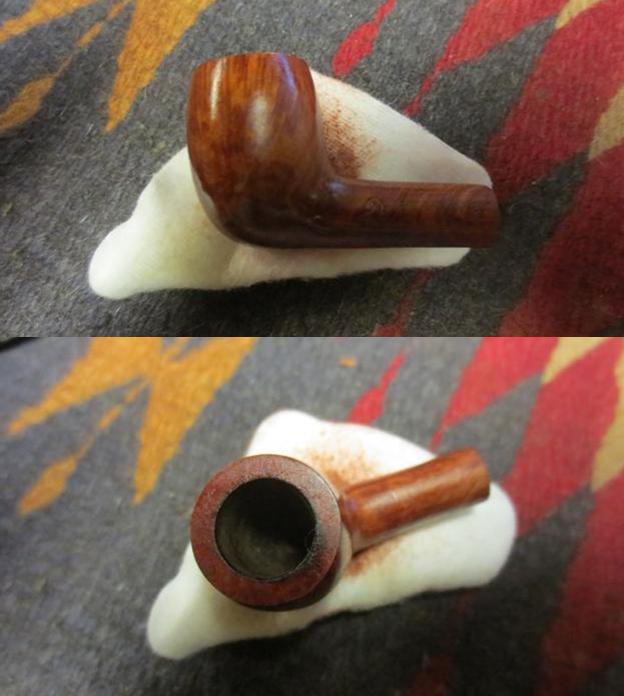
 I turned my attention to polishing the bowl. I polished it with micromesh sanding pads – dry sanding it with 1500-12000 grit pads. I wiped the briar down with a damp cloth after each sanding pad. The pipe really began to take on a shine as I worked through the pads.
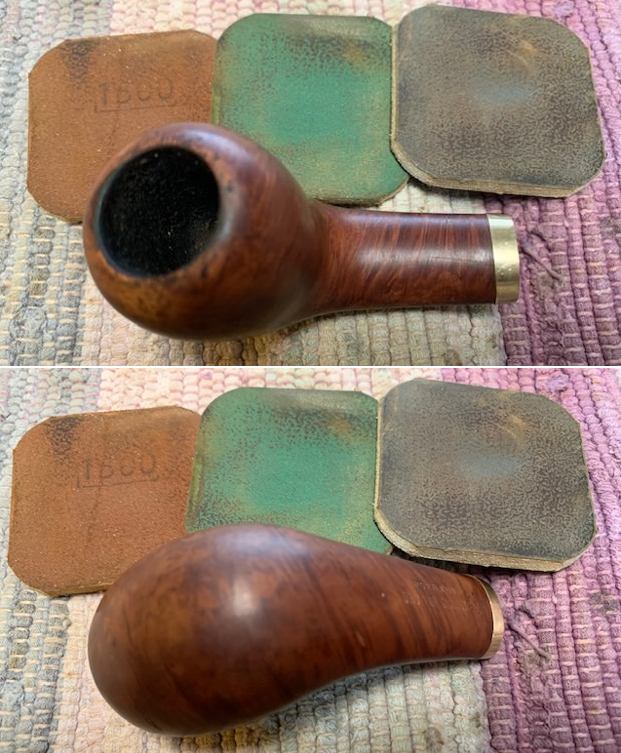
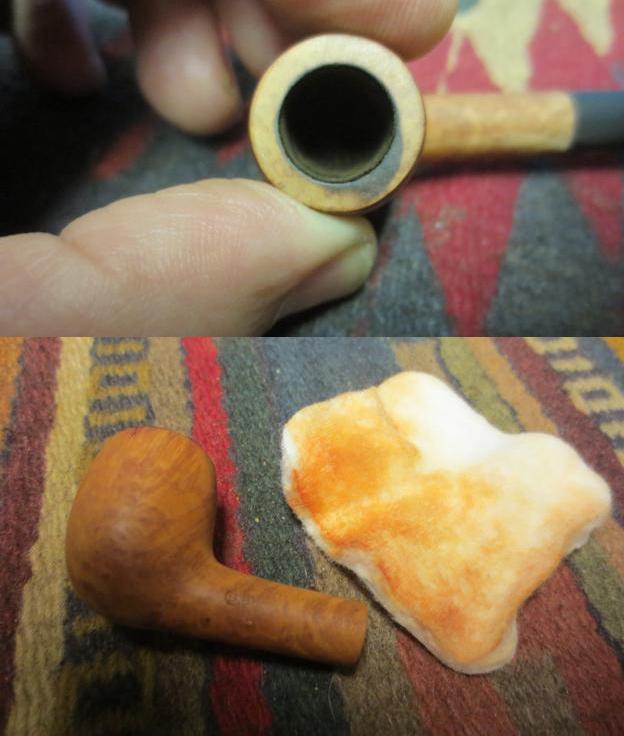
 I rubbed the briar down with some Before & After Restoration Balm. It works to protect, clean and enliven the briar. I rub it in with my finger tips and let it sit for 10 minutes. I buff it off with a cotton cloth to remove the excess and give the bowl a shine.
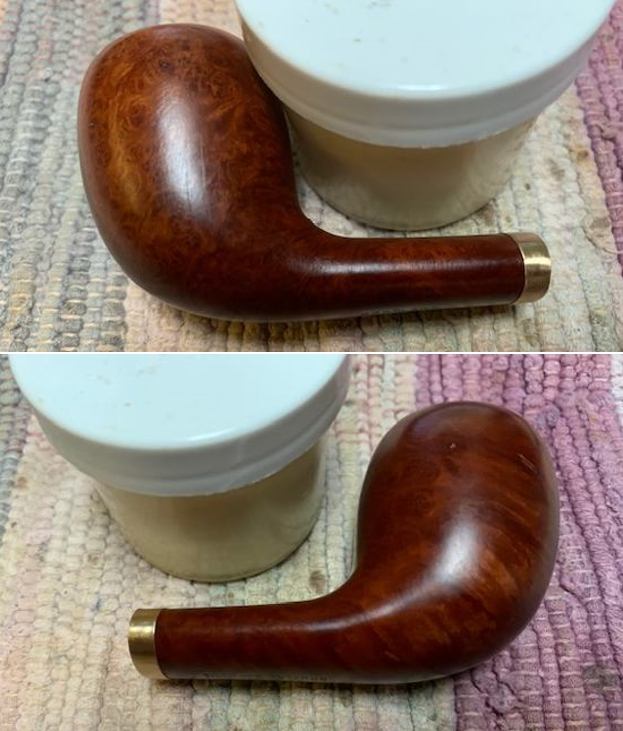
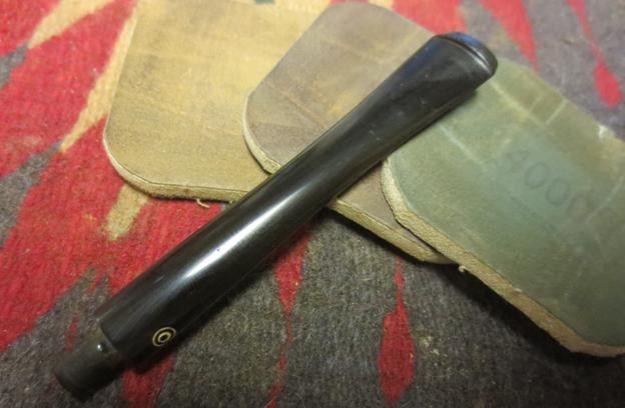
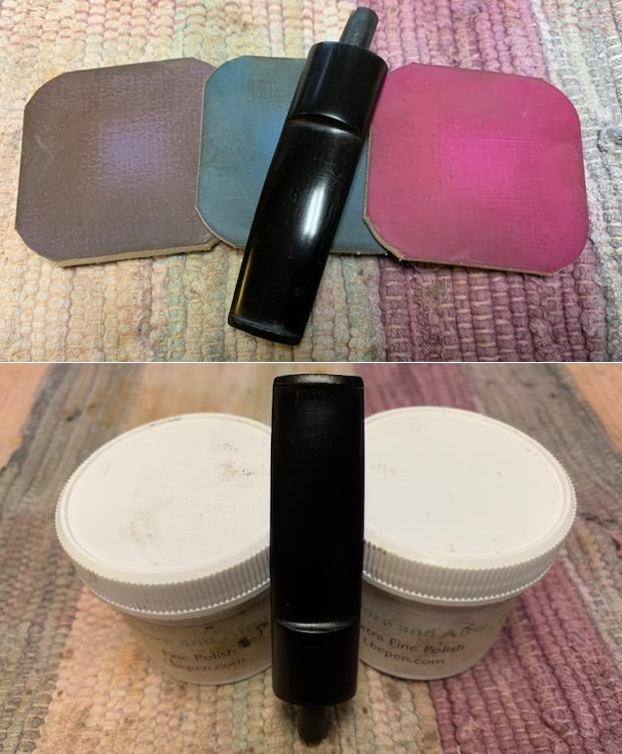
 I polished the stem and new tenon with micromesh sanding pads – 1500-12000 grit pads. I dry sanded with the pads and wiped the stem down with Obsidian Oil after each sanding pad. I finished the polishing with Before & After Pipe Stem Polish – both Fine and Extra Fine. I gave it a final rubdown with Obsidian Oil.
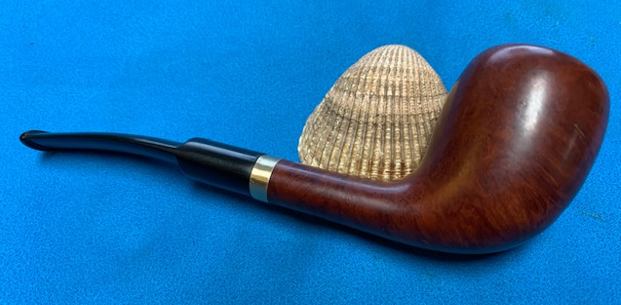
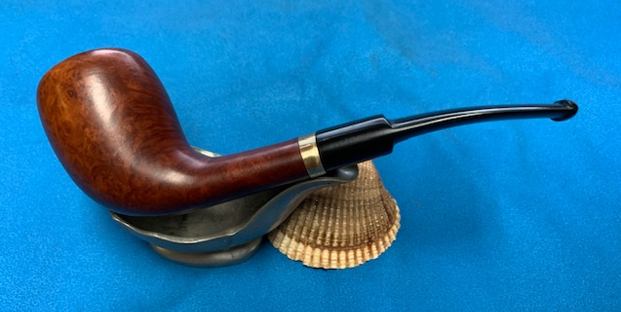
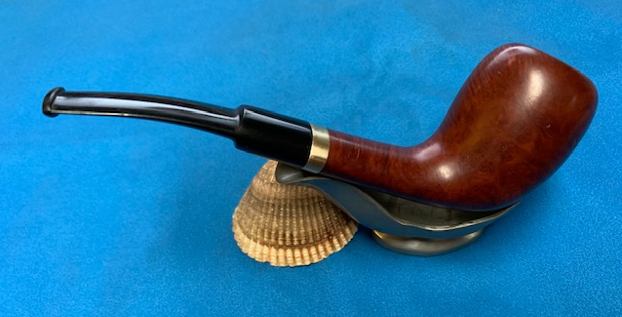
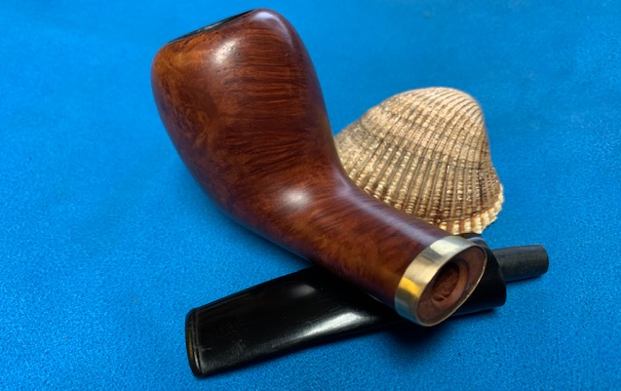
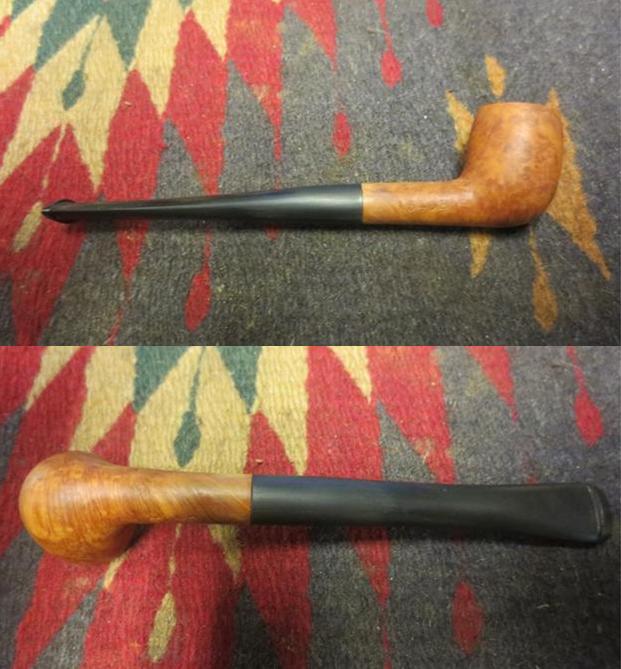
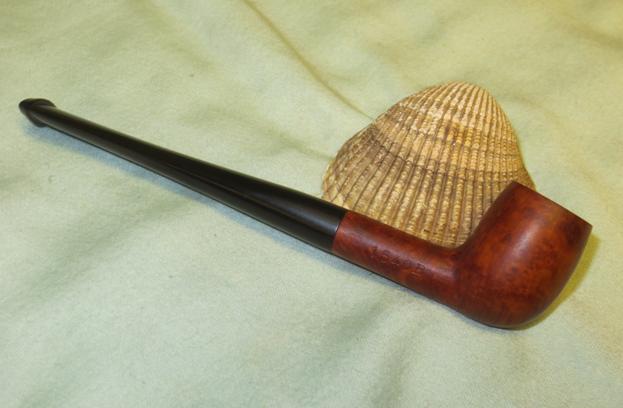
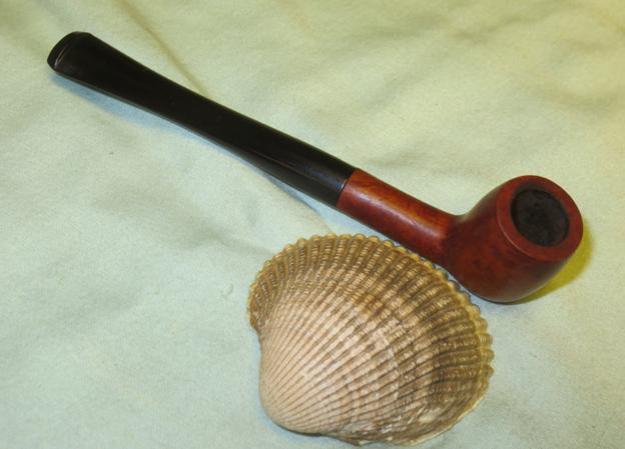
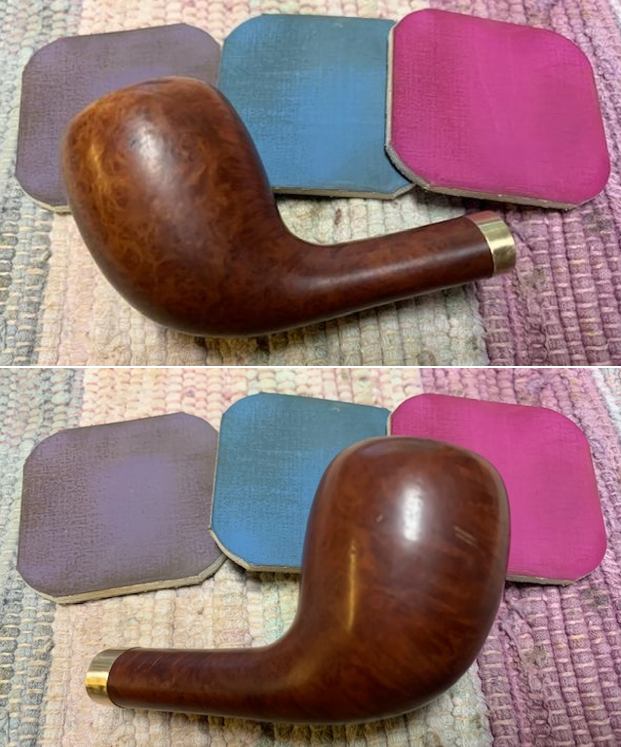
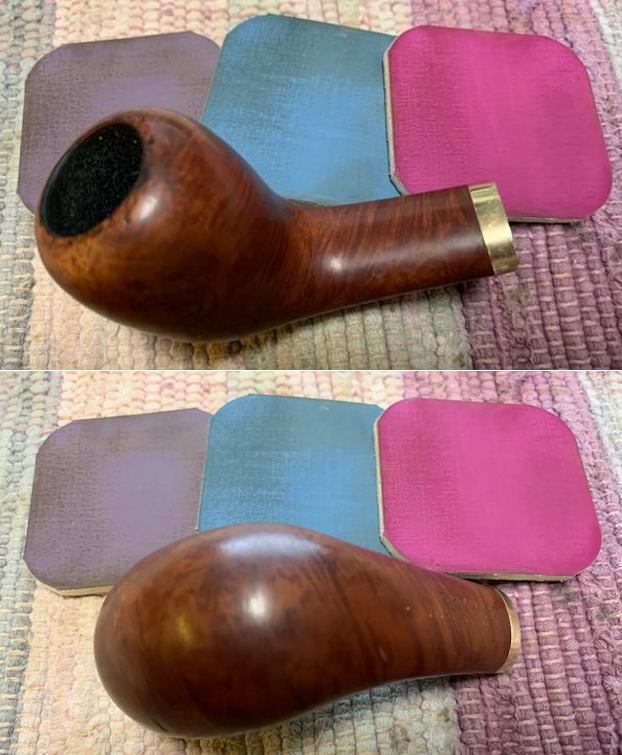
 I put the stem back on the bowl and polished the pipe with Blue Diamond on the buffing wheel to give it a shine. I gave it multiple coats of carnauba wax and buffed it with a clean buffing pad. I hand buffed it with a microfiber cloth to deepen the shine. I took some photos of the pipe before calling the pipeman to pick up his pipe. I am pleased with the look of the Portland Bruyere Garantie 60 Egg and the fit of the repair band and the stem to the shank. I think it will meet his expectations when he picks it up later today. Thanks for walking through the repair with me in this blog. Cheers.