by Steve Laug
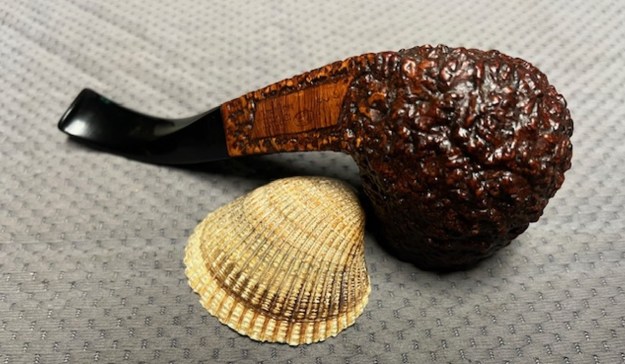
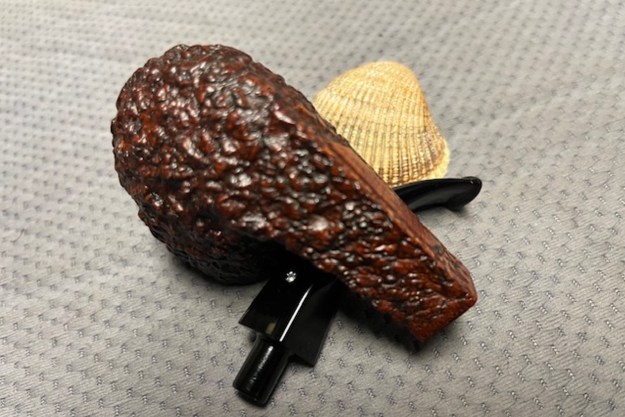
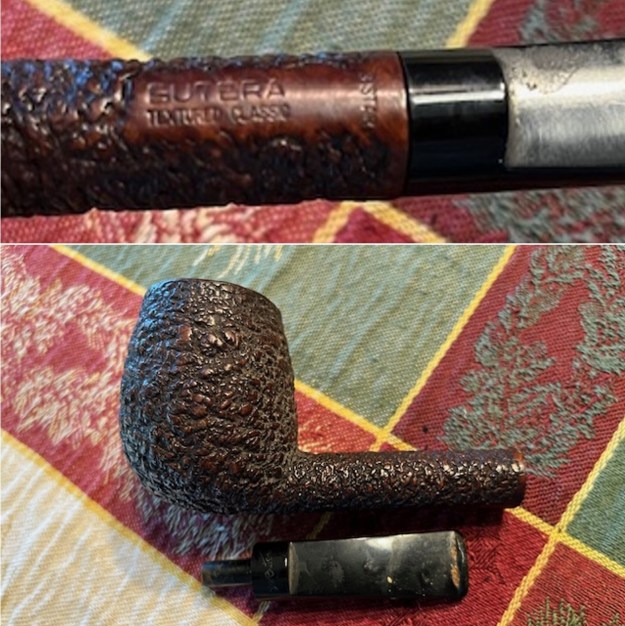
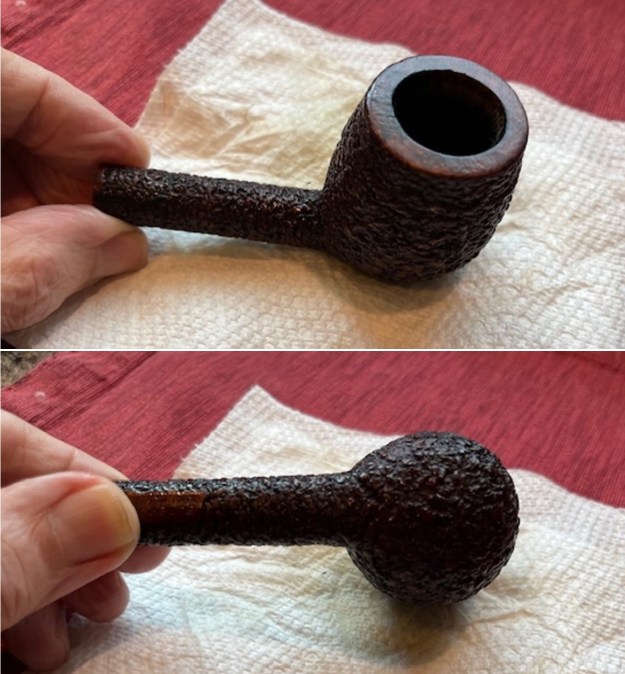
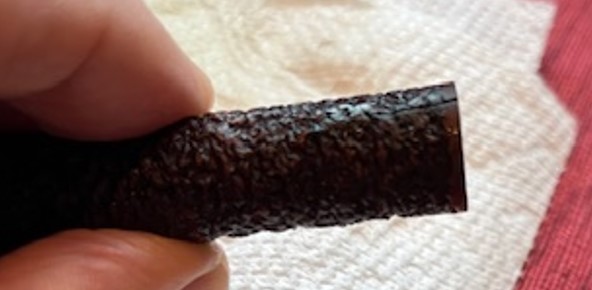
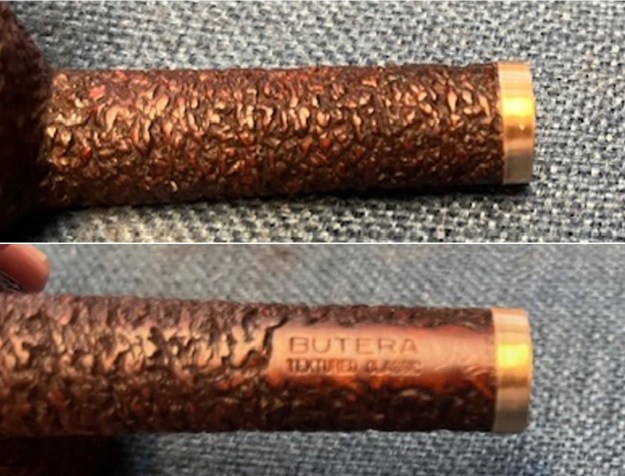
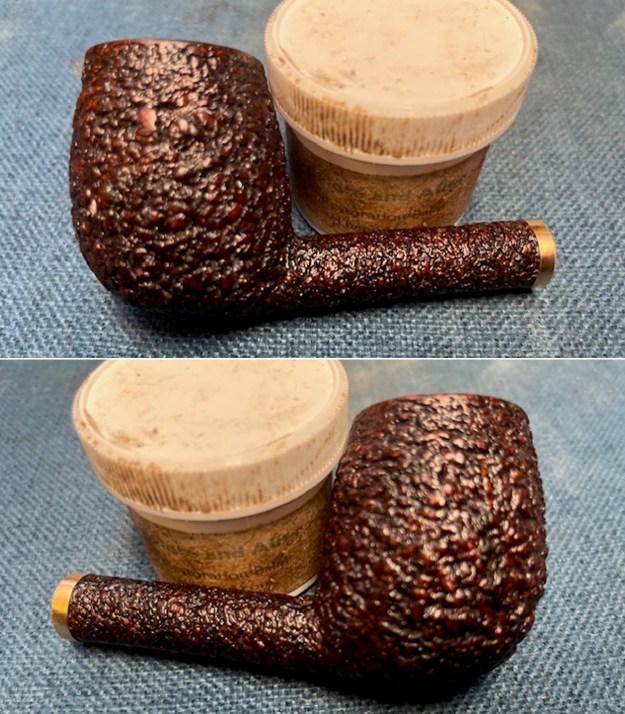
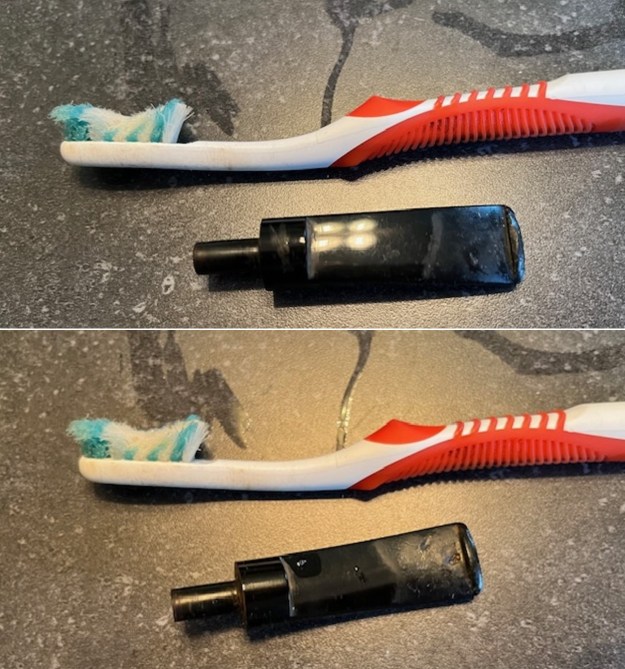
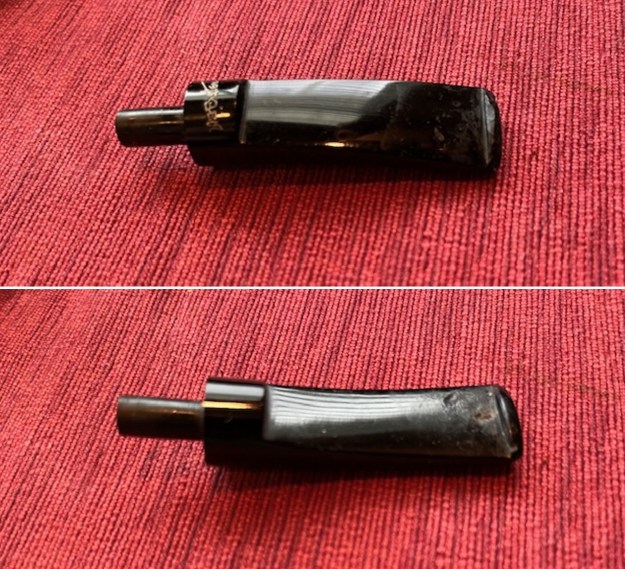
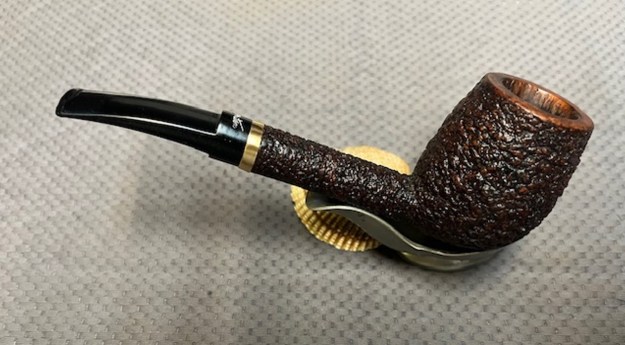
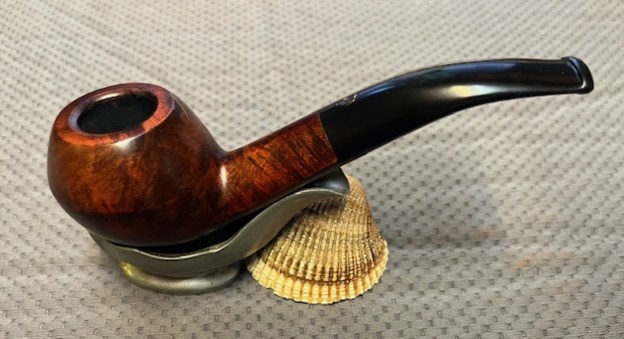
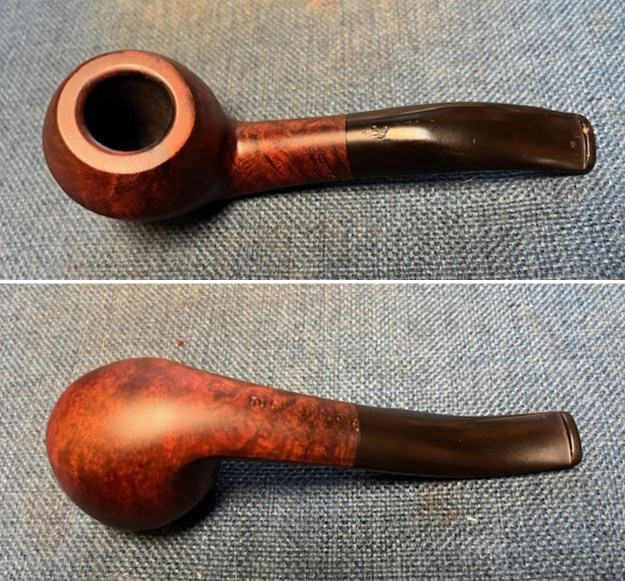
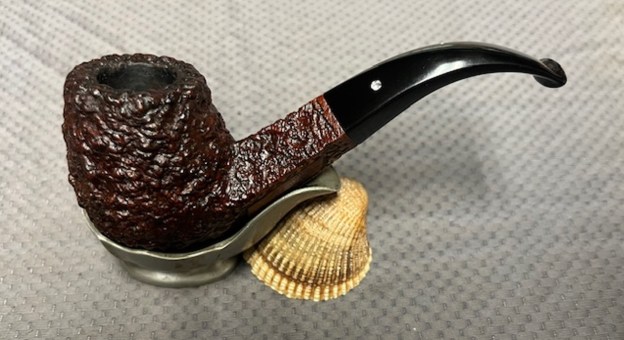
It is another rainy day in Vancouver and a day off so I decided to go to the basement and work on another pipe that was purchased on 12/27/2025 in a lot of pipes that came to us from an estate of a pipeman in Durham, North Carolina, USA. It included a group of Danish Made Stanwell pipes that are quite beautiful. The bowl and shank of this large Dublin has rich and heavily rusticated finish. The pipe is stamped on the left underside of the diamond shank on a smooth panel. It reads G66 [followed by] Carlo Scotti in and oval [followed by] Castello [over] Sea Rock Briar [over] Made in Cantu [over] Italy. The pipe was dirty when Jeff received it. There was dust and grime ground into the finish. It is finished in the warm stain that highlights some nice grain around the bowl and shank. The bowl was heavily caked and there was some thick lava on the rusticated rim top. The inner edge is not visible under the lava so it may well be protected and undamaged. The acrylic diamond taper stem was dirty with deep tooth marks and chatter on both sides ahead of the button and on the button itself. There was a diamond logo on the top left side of the stem. On the left underside it is stamped Hand Made [over] Castello. Jeff took photos of the pipe before he started his clean up work on it.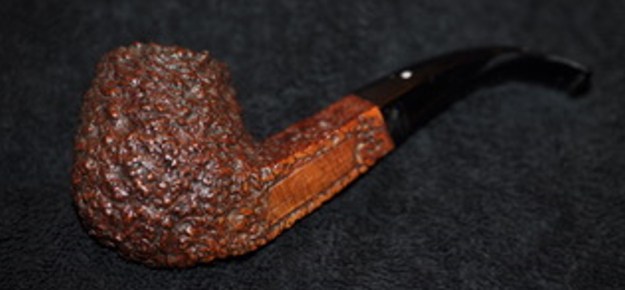
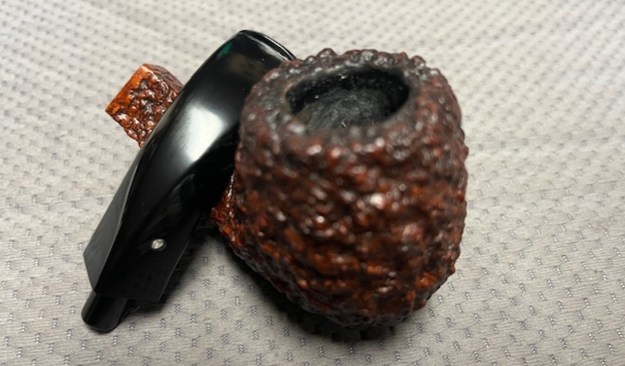
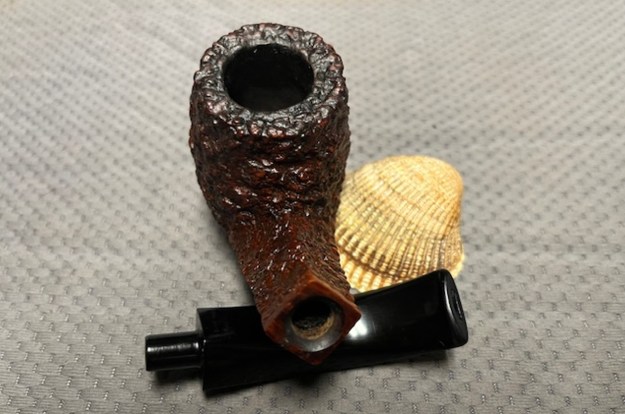
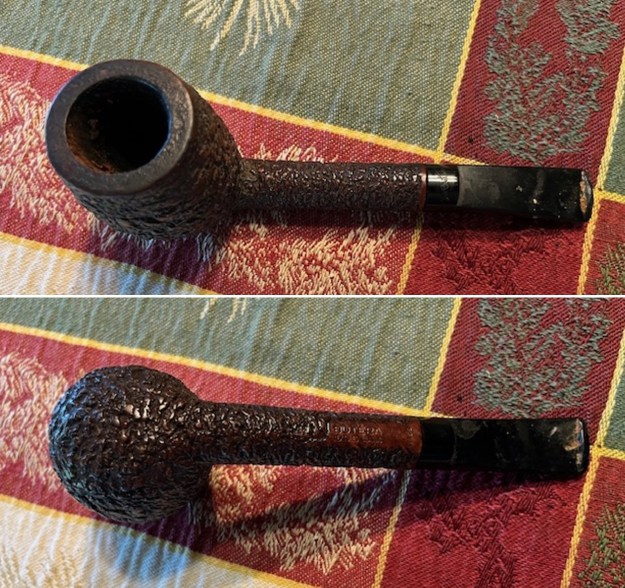
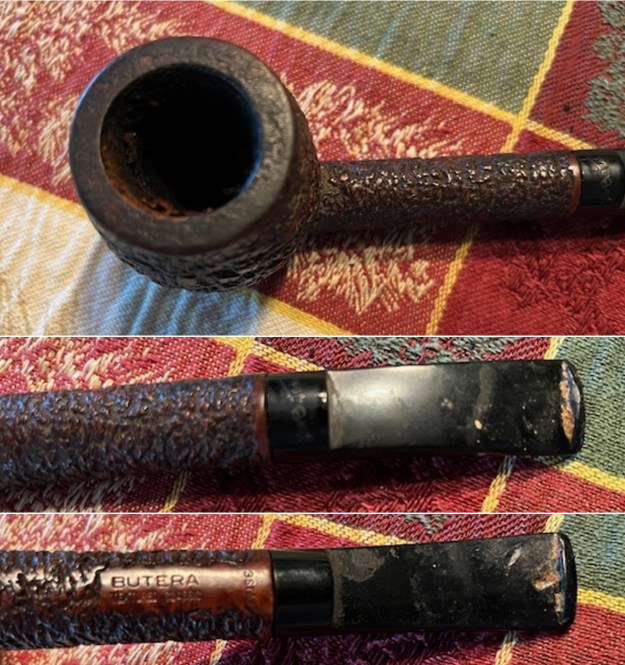
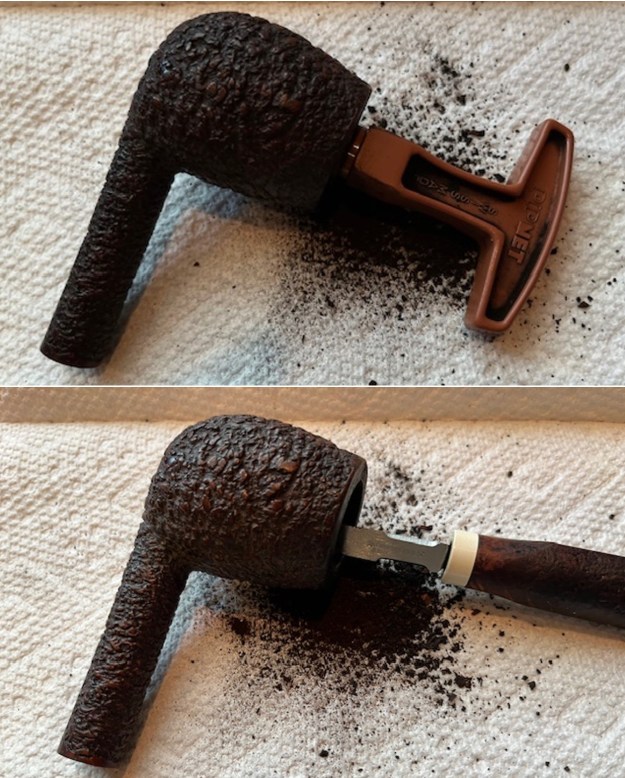
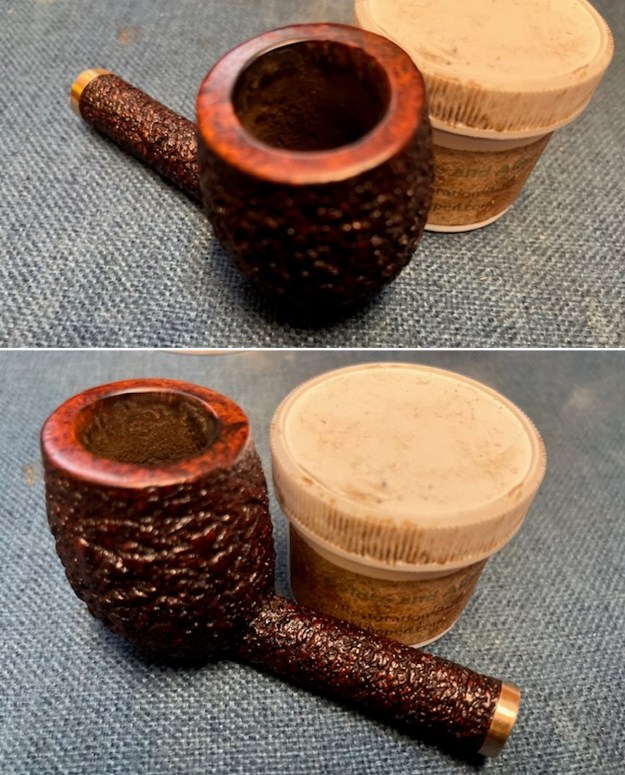
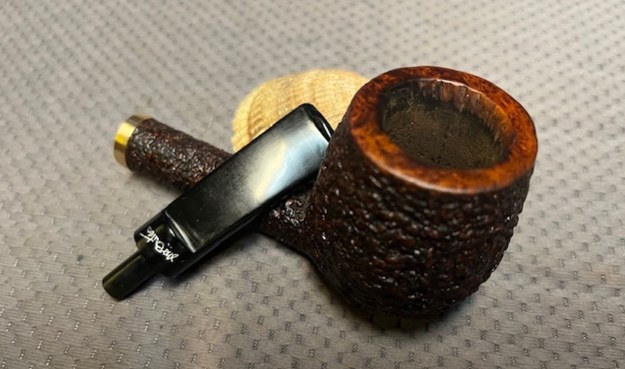
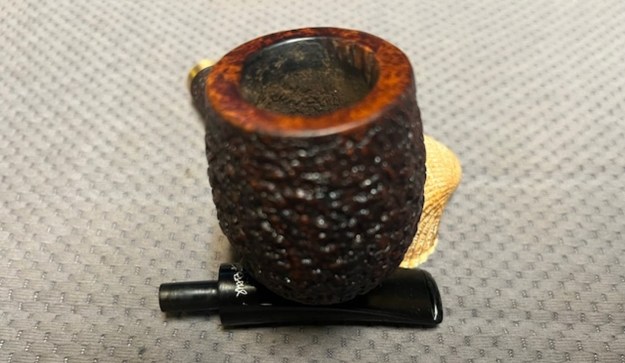
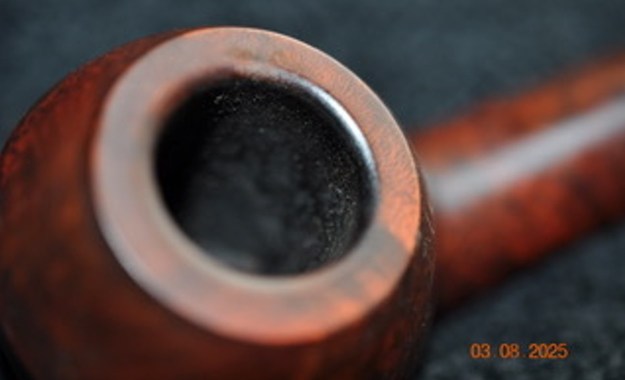
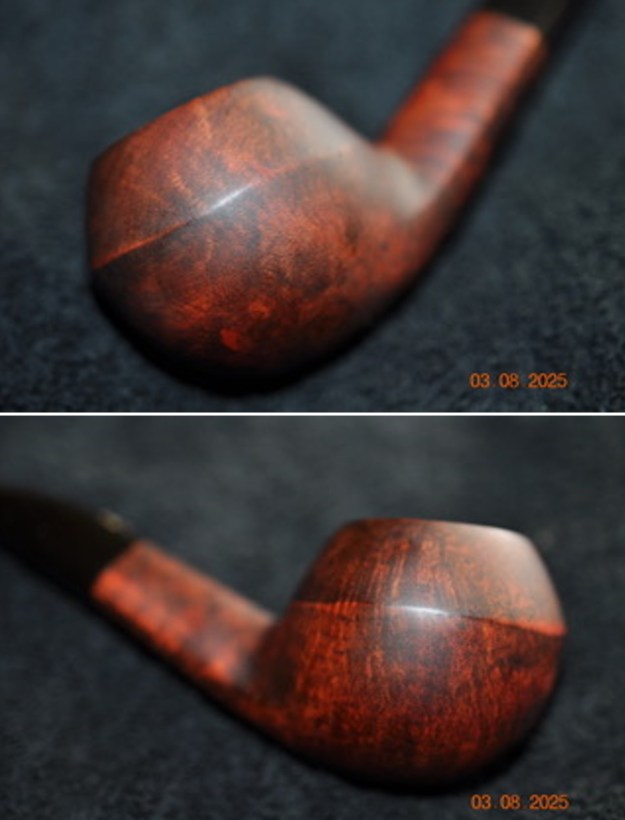
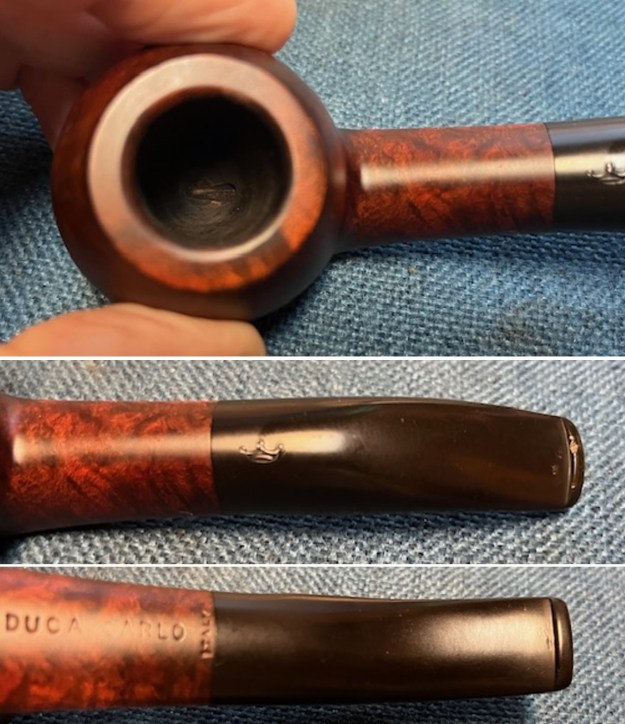
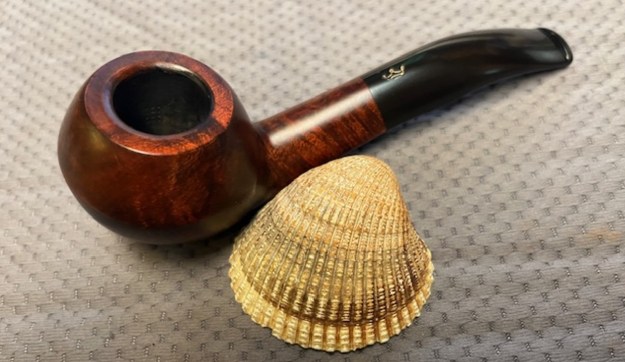
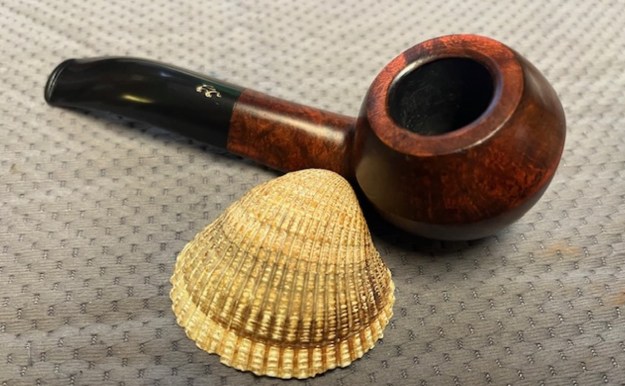
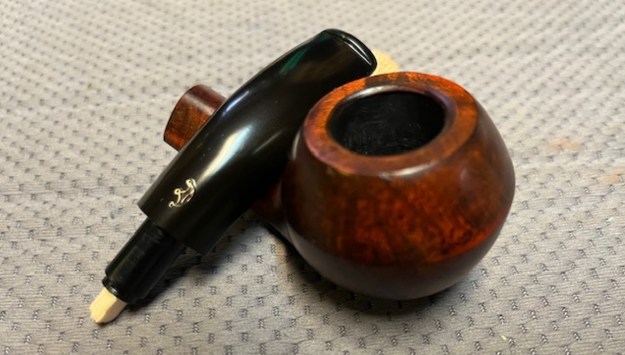
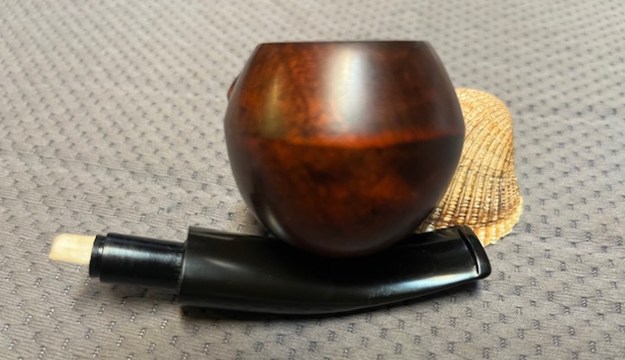
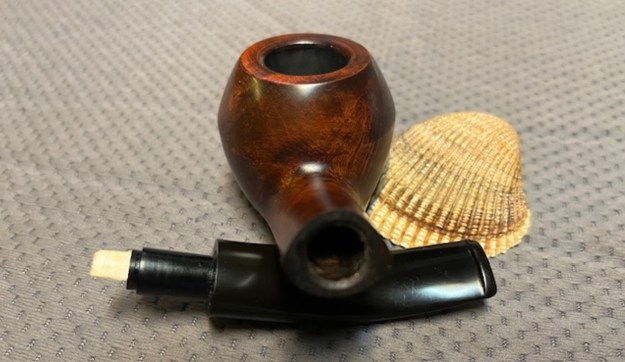
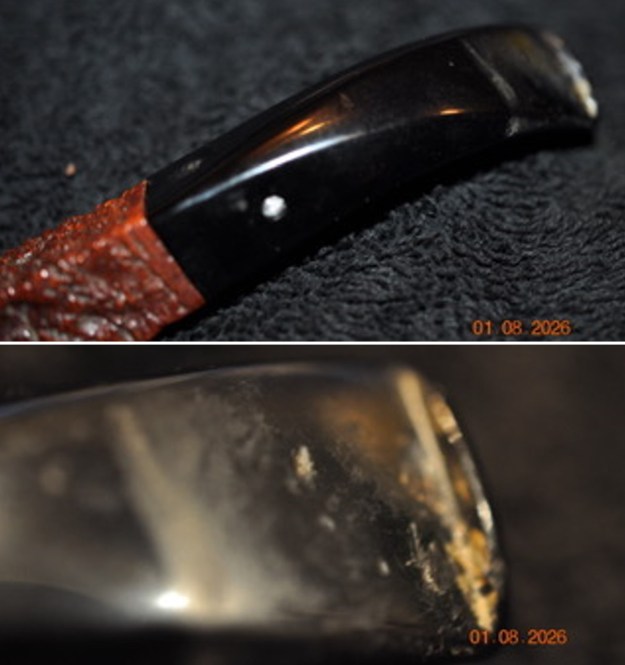
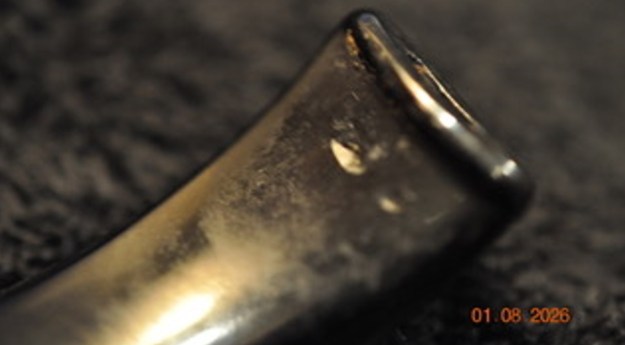
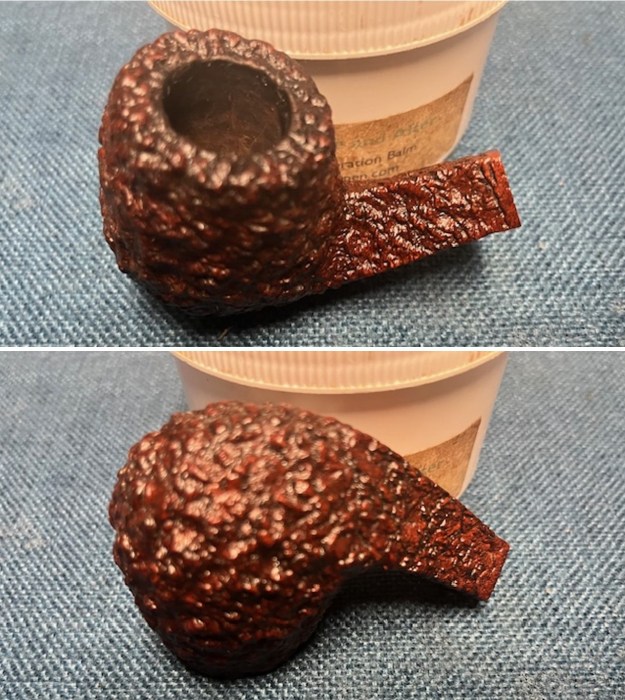
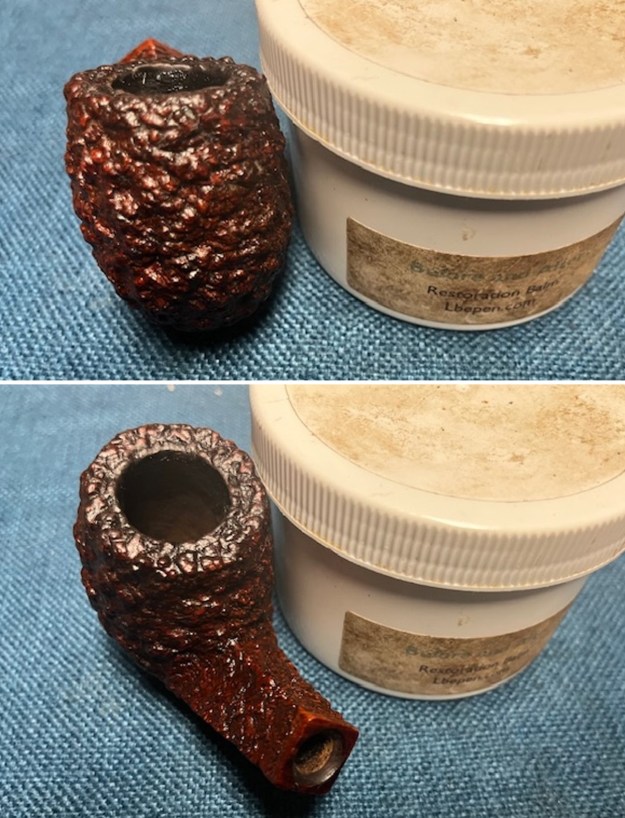
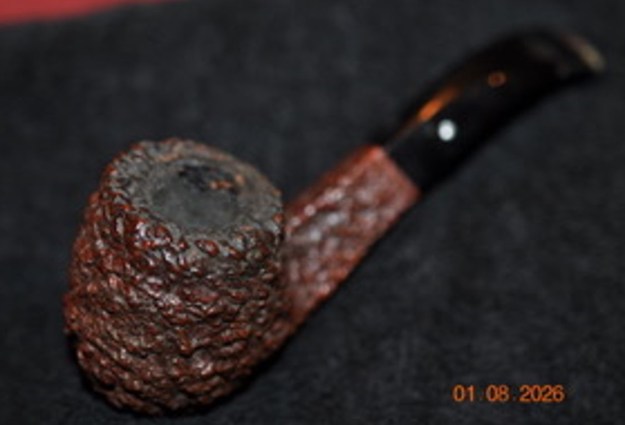 He took some photos of the rim top and bowl from various angles to give me a clear picture of the condition of the rim top and bowl. The inside of the bowl is heavily caked with lava on the inner edge and in the sandblast on the rim top. He included photos that show the top and underside of the stem. It is as described above.
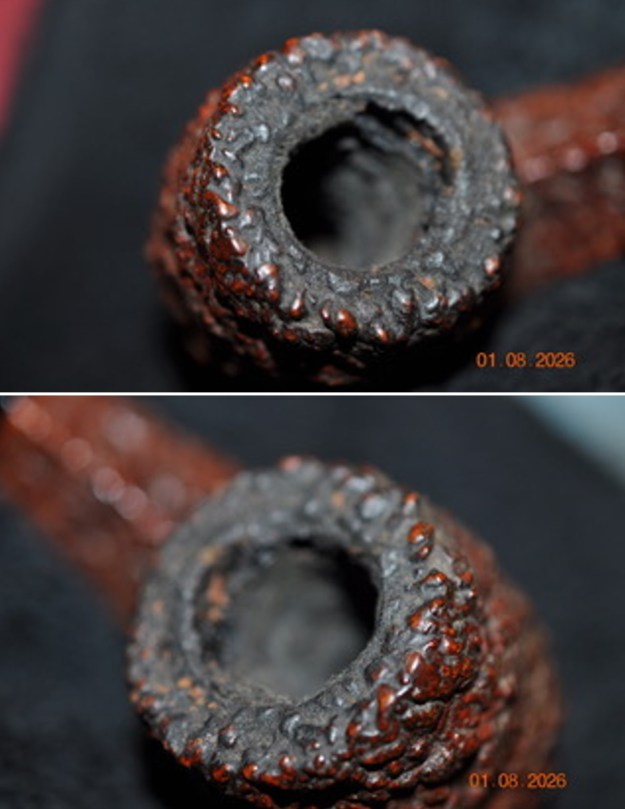
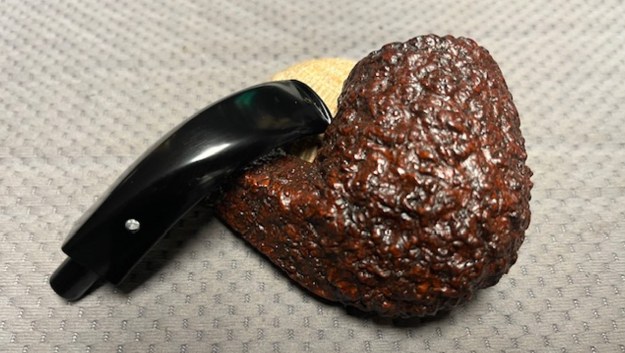
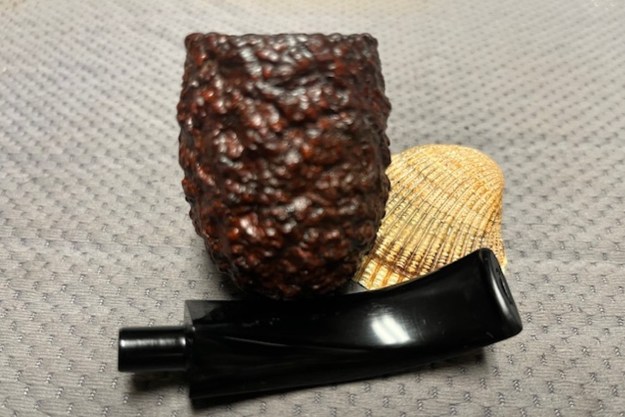
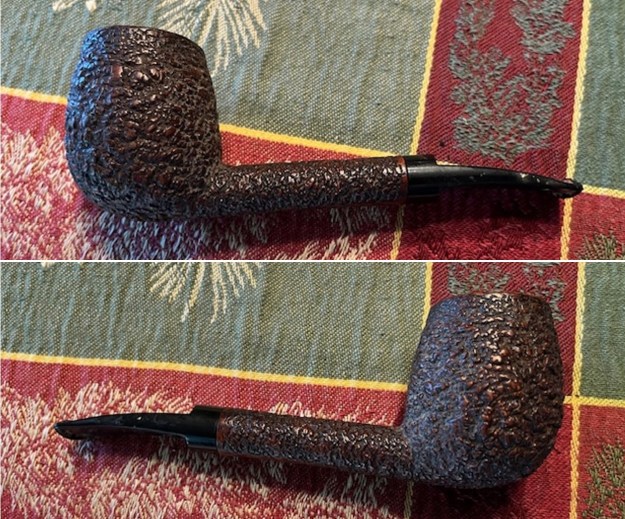
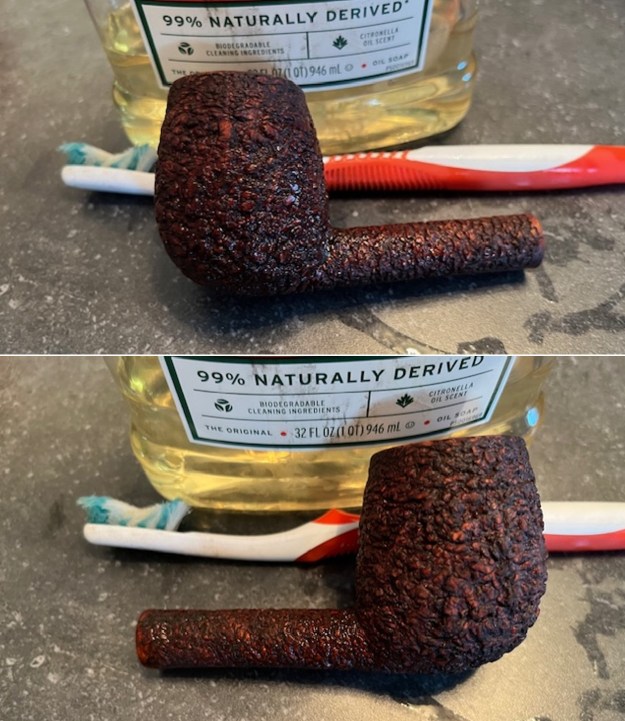
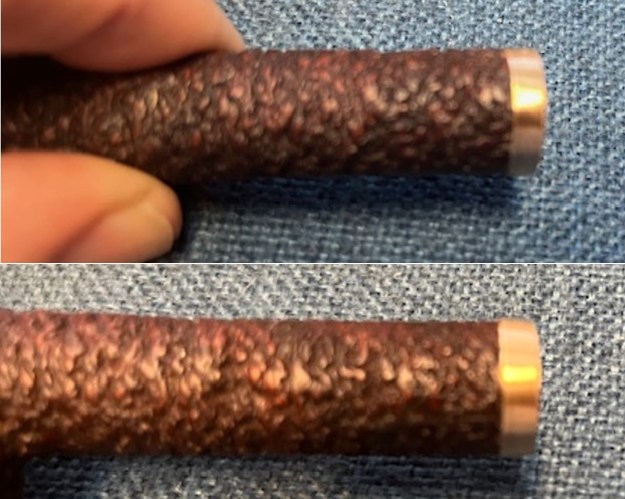
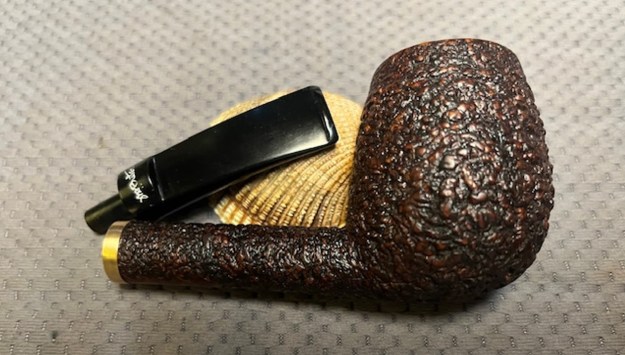
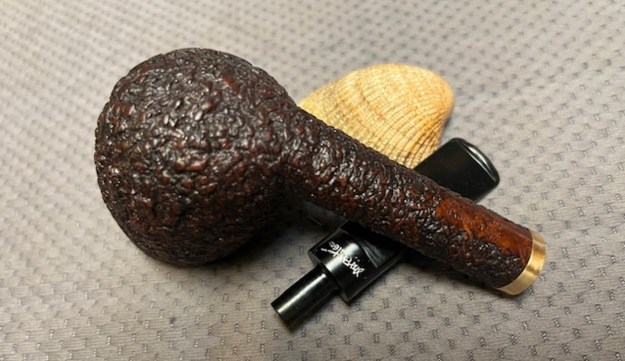
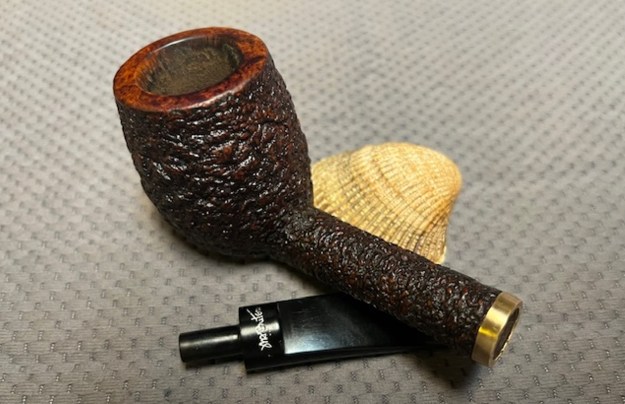
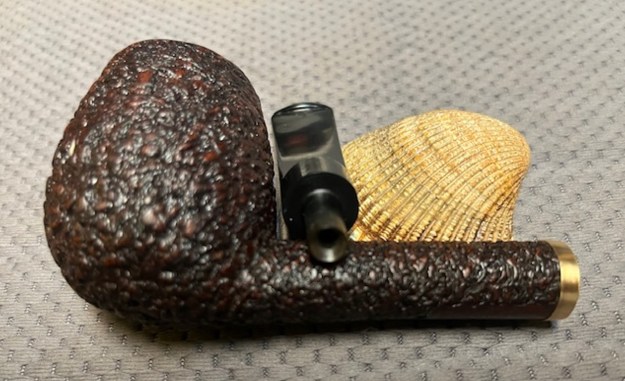
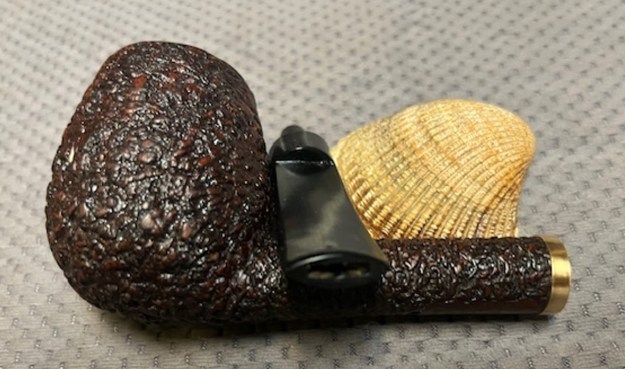
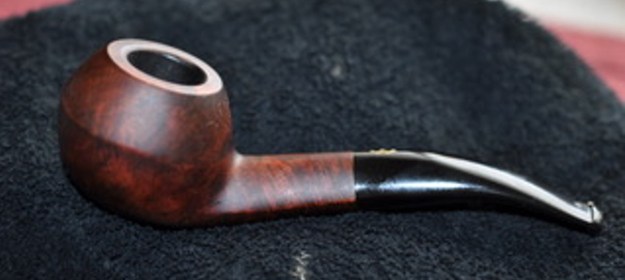
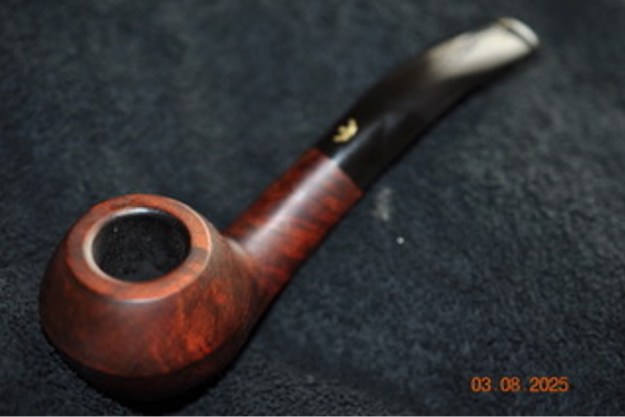
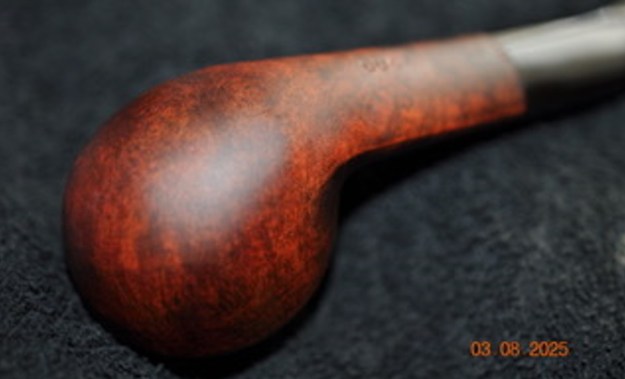
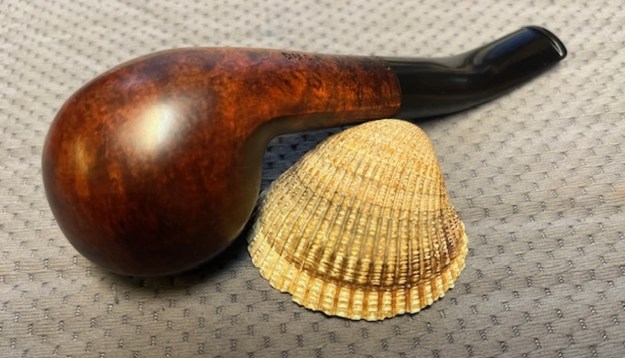
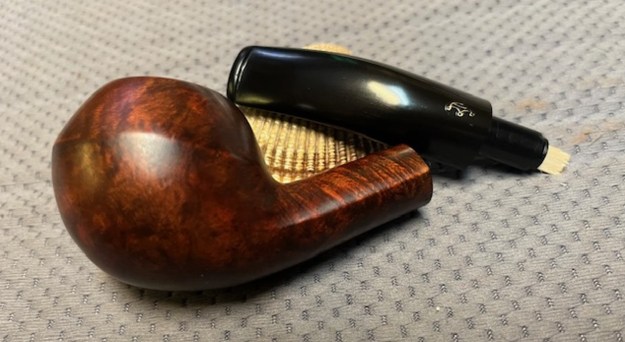
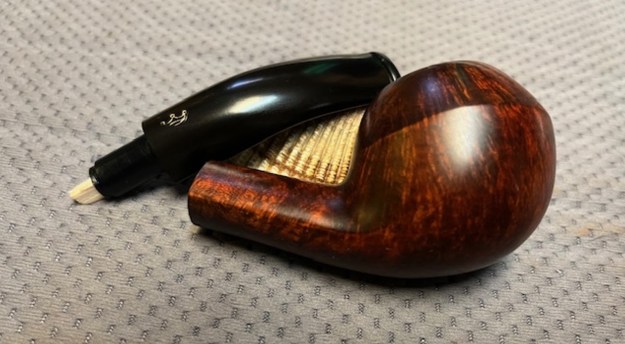
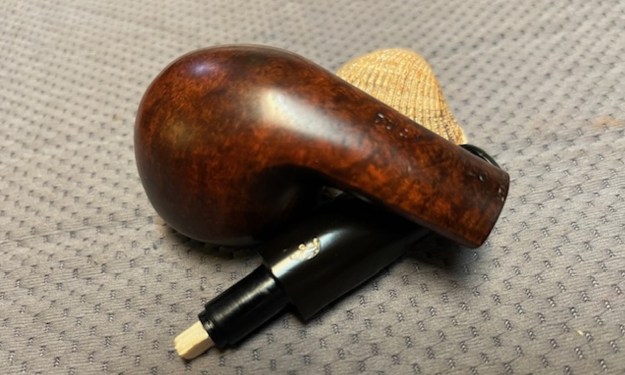
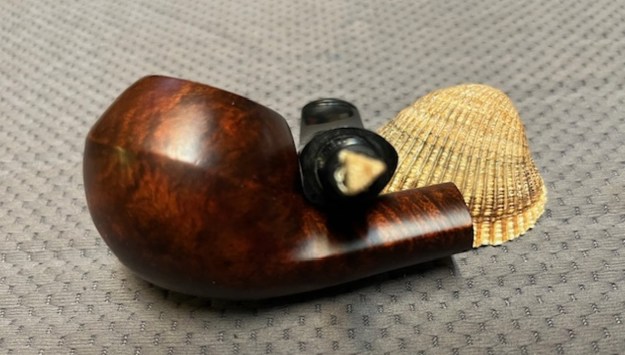
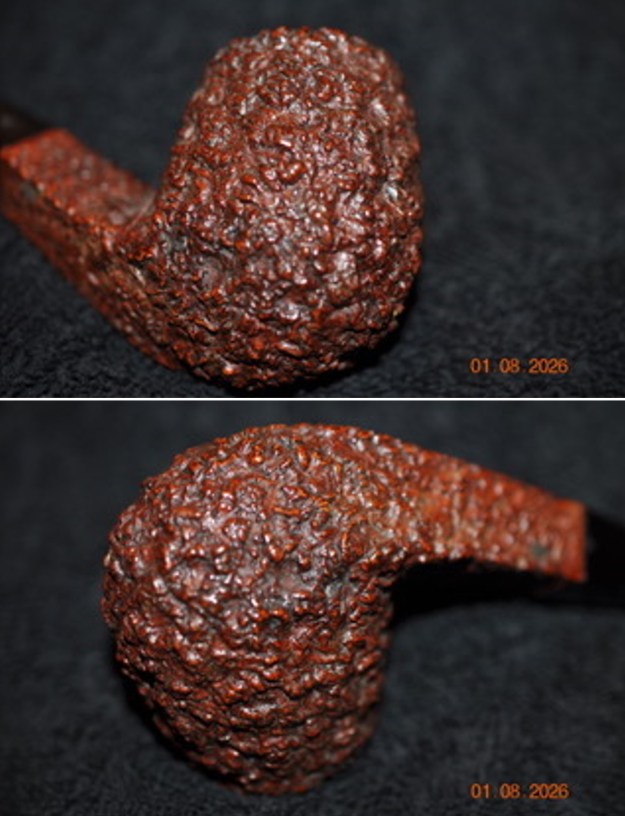
 Jeff took some photos of the sides and heel of the bowl to show the condition of the rusticated finish on the pipe. The photos showed some rugged rustication around the bowl and shank even with the grime in the finish. It is a great looking piece of briar.
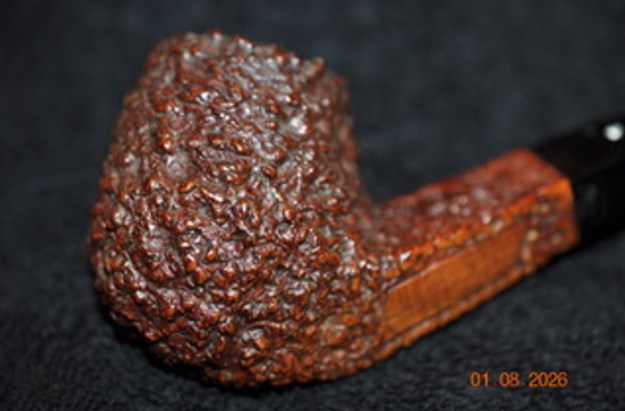
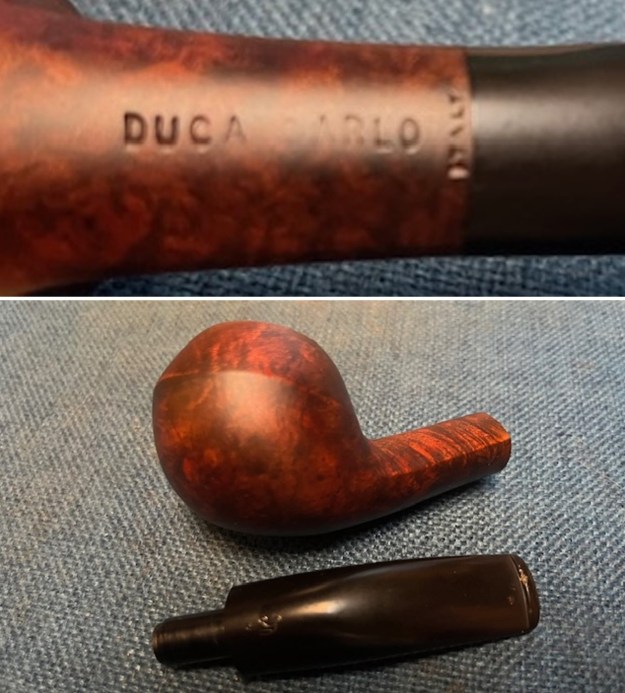
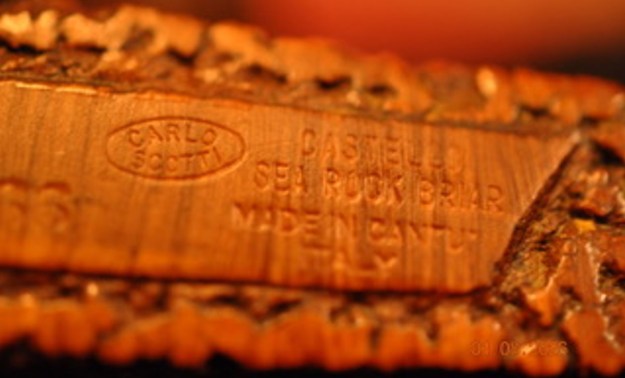
 He took photos of the stamping on a smooth panel on the lower left side of the shank. It was clear and readable as noted above.
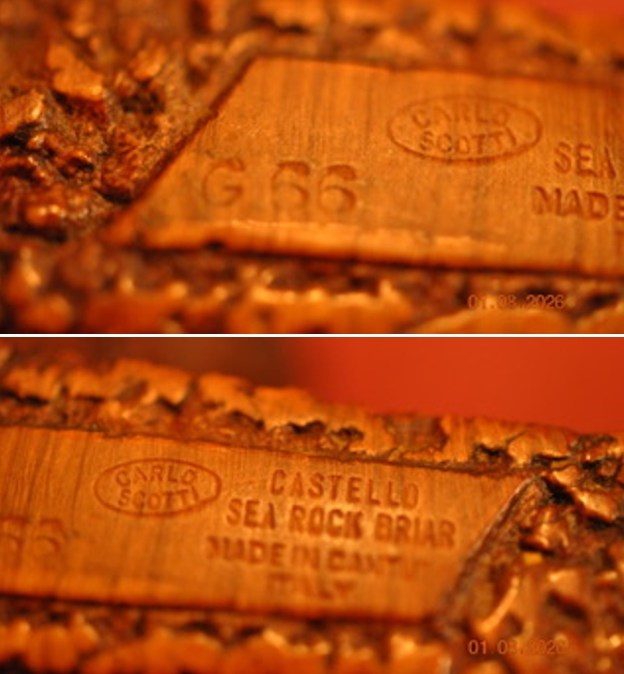
 As usual I cannot seem to retain the magnitude of details on Castello pipes in my head for long for some reason. The stamping on this one – Castello and the Carlo Scotti stamp left me with some questions that I need to answer before I began to work on the pipe. I turned first to the Pipephil site (http://www.pipephil.eu/logos/en/logo-castello.html) because of the general quick summary of information I get there. I quote:
Castello PIPA CASTELLO di Carlo Scotti & C. was founded in 1947 by Carlo Scotti († 1988). Franco Coppo (AKA “Kino”) who married Carlo Scotti’s daughter Savina, manages (2012) the corporate since 1985.
The site also gave a good summary of the grading and sizes of the pipes. I quote that in full.
Sizes (ascending):
1K to 4K, G (Giant) and GG (Extra large)
Rusticated grading: SEA ROCK, OLD SEA ROCK, NATURAL VERGIN,
Sandblasted grading: ANTIQUARI, OLD ANTIQUARI
Smooth grading (ascending): TRADEMARK, CASTELLO, COLLECTION
Other stampings: Great Line (Non-standard or freestyle) Fiammata (Straight grain)
Production (2012): ~4000 pipes / year
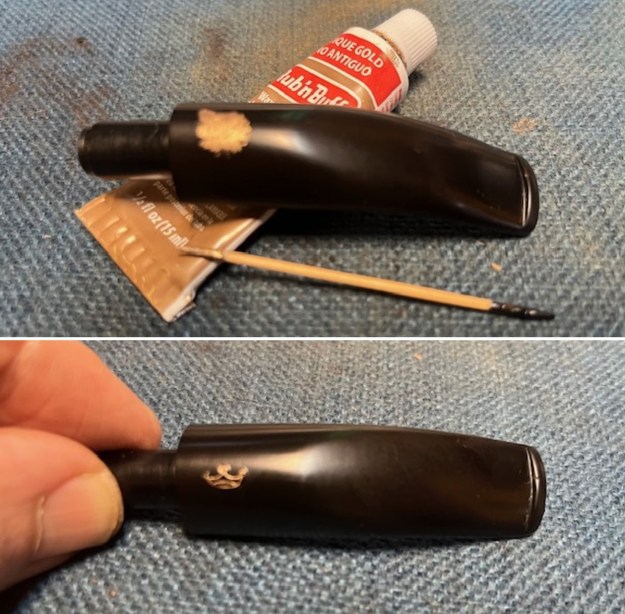
I also found a note on the page that the Rhinestone logo was originally on pipes for the US market. It is occasionally used now.
I turned to Pipedia for more information on the brand (https://pipedia.org/wiki/Castello). The majority of the information was what was already quoted above in abbreviated form. However, there was a link to an article by Bob Hamlin that gave some interesting bits of information that I found helpful (http://www.pipes.org/BURST/FORMATTED/196.016.html). I quote in part from that article.
SEA ROCK [Carved Black or dark brown]: This is the lowest grade of the Castello line and is the most common in the USA. Sea Rocks are produced by taking a smooth bowl that has not been “final finished” and surface carving the finish with tools. This “carved” finish is then evened out using a steel wire brush, stained and then waxed. The Natural Vergin carved finish is left unstained and unwaxed as a rule, although we have seen waxed and partially waxed “Vergins”.
All carved Castello pipes are graded by the number of K’s that are stamped on each piece and are K-graded by SIZE. 1K is the smallest and fairly rare, 2K is small to medium, with 3K or 4K being the most common and ranges from medium to medium large. Large pieces are stamped “G” for giant and extra-large pieces are stamped “GG” for double giant. In addition to the number of K’s on a carved Sea Rock piece the shape number is almost always added. As a rule a Sea Rock Castello is stained Black, although recently there have been quite a few coming in stained deep brown and still stamped “Sea Rock”. American Logo’d Sea Rocks are all priced the same to the consumer, although most are 2 or 3 K’ed models. G/GG models are charged at a higher price on American pieces and are basically the same as their European counterparts.
The Castello Sea Rock Briar G66 I was working on was definitely one made for the American Market with the Rhinestone in the stem. It had the dark brown finish.
Pipedia also gave a link to Mike’s Briar Blues site for help in dating and determining shapes (http://www.briarblues.com/castello.htm). [Mikes site is no longer working.]
Shape numbers. Shape numbers are all 2 digits. A 2 in front indicates a “fancy” interpretation, a 3 in front means that the carving is somehow unique. I don’t know when the change was made, but currently, a π symbol is used instead of the 3xx. I’ve only seen this on Sea Rocks, but that doesn’t mean anything…
Now I had more information to work with. The Castello Sea Rock Briar in my hands was G graded or a GIANT. That told me that it is a Giant pipe. The number 66 makes it a diamond shank Bent Billiard.
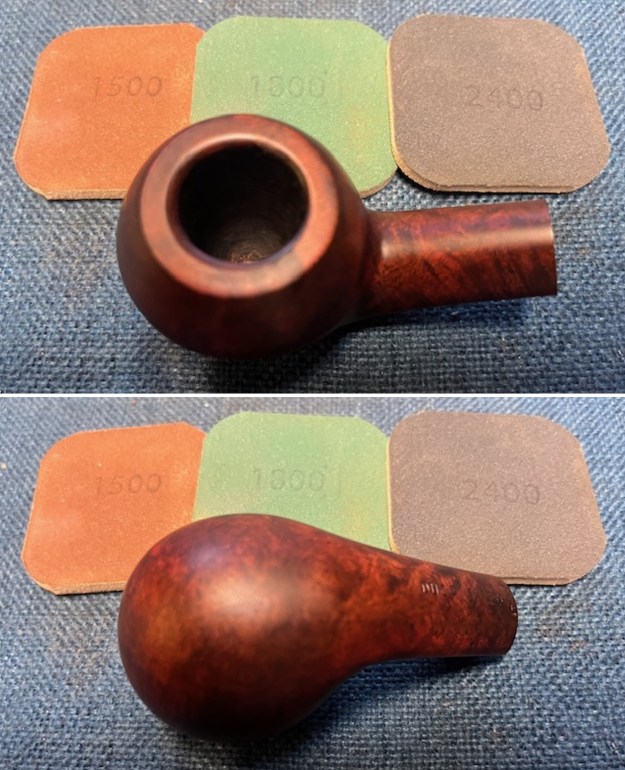
The exterior of the bowl was beautiful. I worked some Before & After Restoration Balm into the briar with my finger tips and a shoe brush. I let it sit on the bowl for 10 minutes and then buffed it off with a paper towel and soft cloth. The product is a great addition to the restoration work. It enlivens, enriches and protects the briar while giving it a deep glow. It is a product I use on every pipe I restore.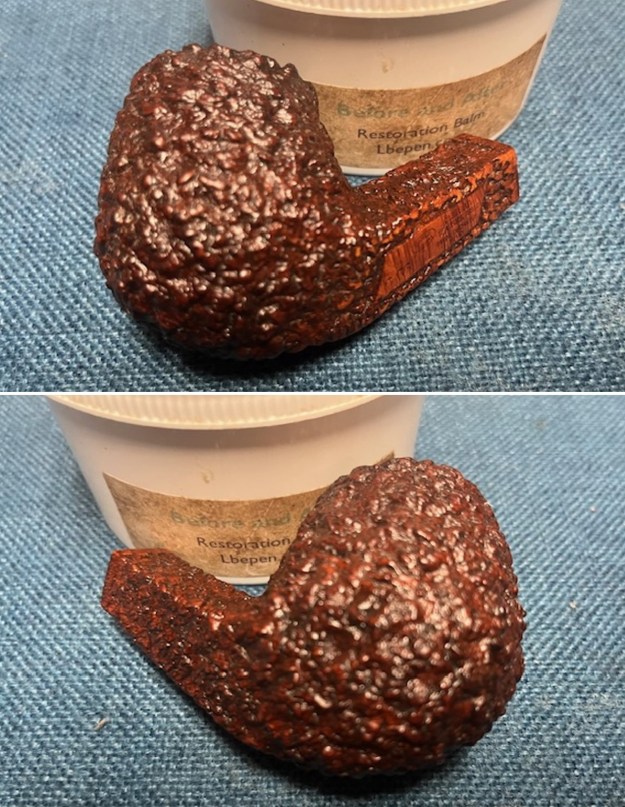
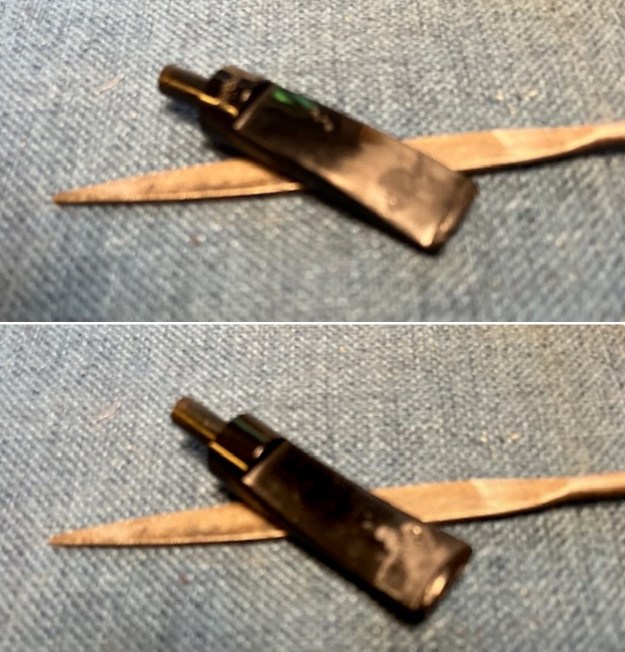
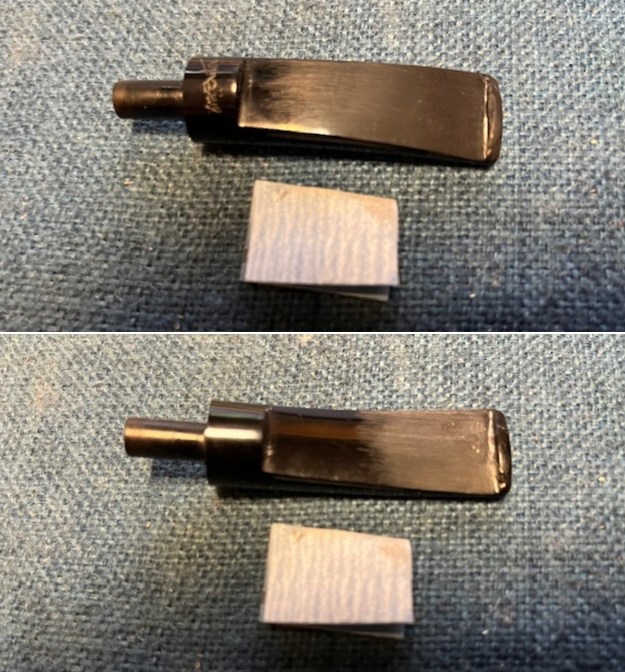
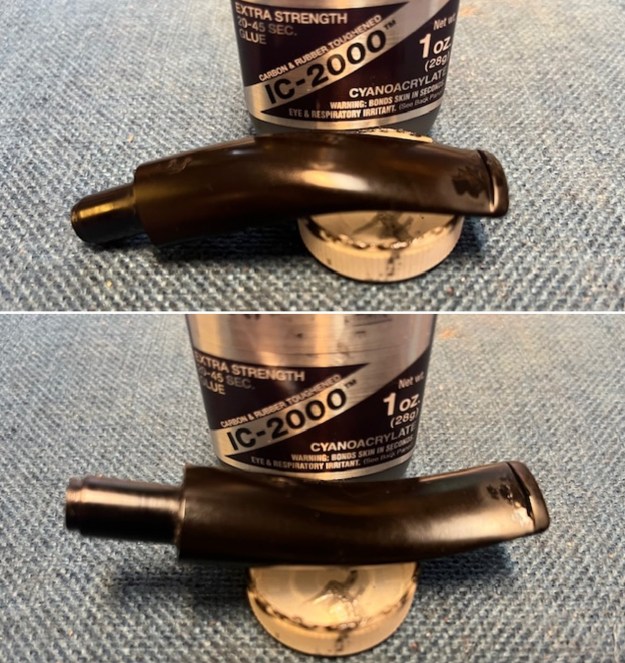
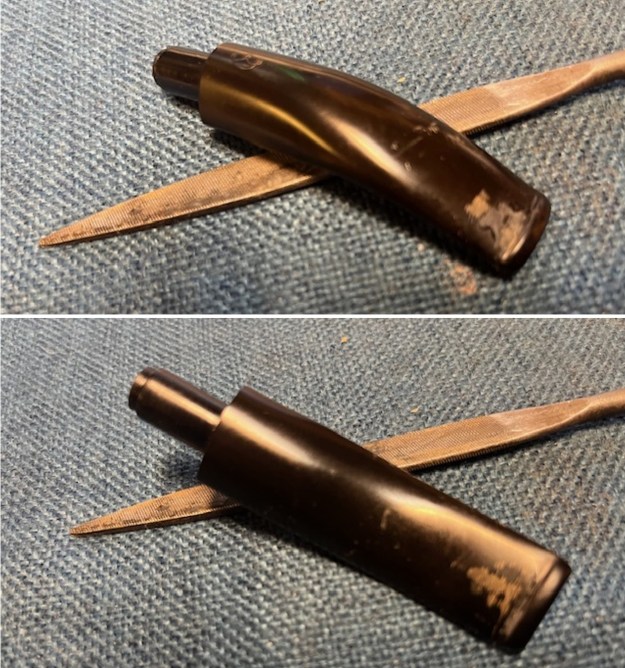
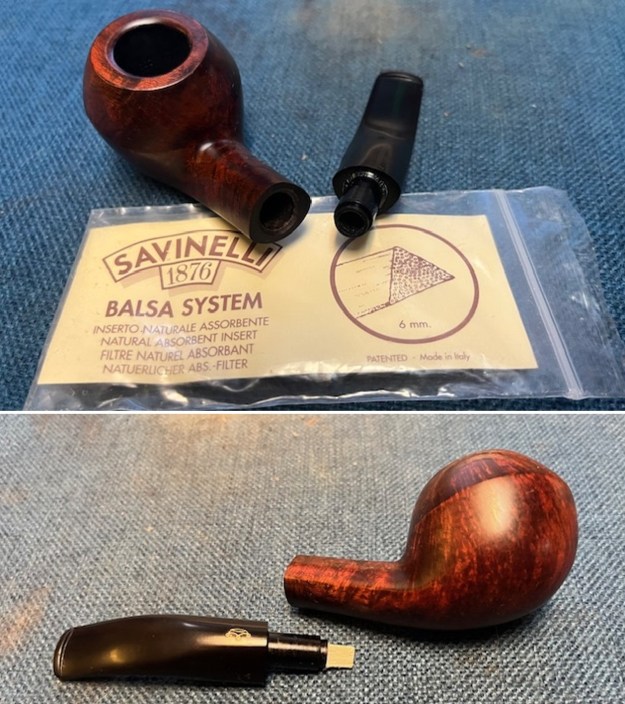
 I set the bowl aside and turned to the stem. I wiped the tooth marks down with isopropyl alcohol and a cotton swab and then filled in the tooth marks with black CA glue. Once the repairs cured I used a small flat needle file to smooth out the repaired areas on both sides of the stem. I sanded them with a folded piece of 220 grit sandpaper to blend them into the surface of the vulcanite.
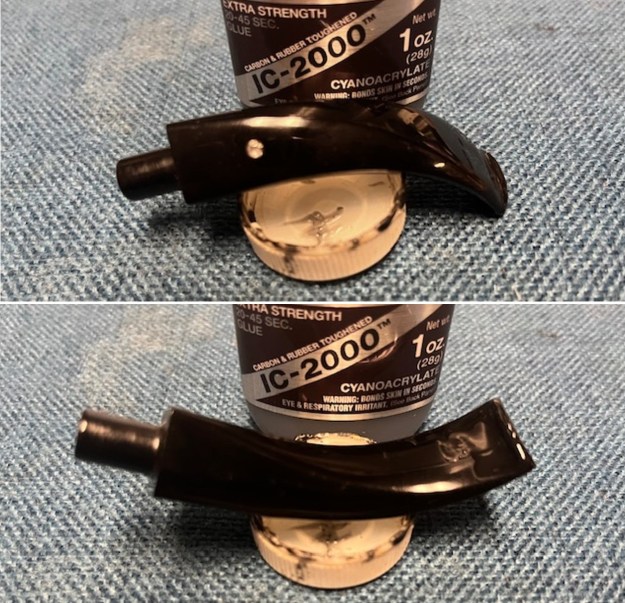
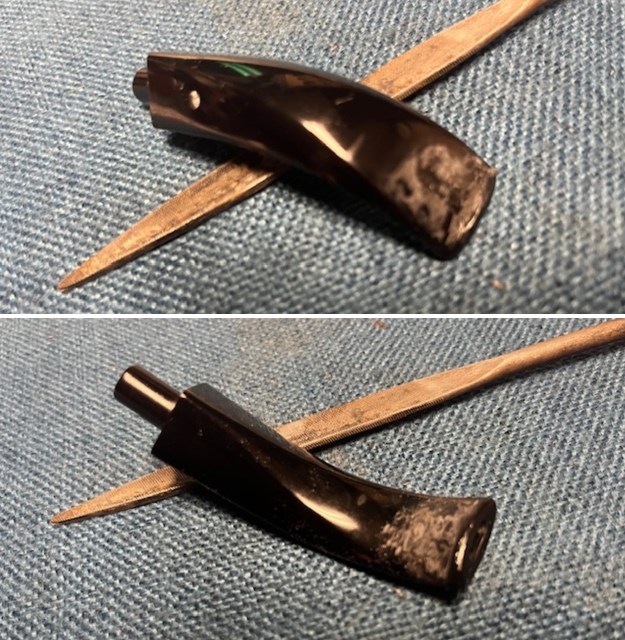
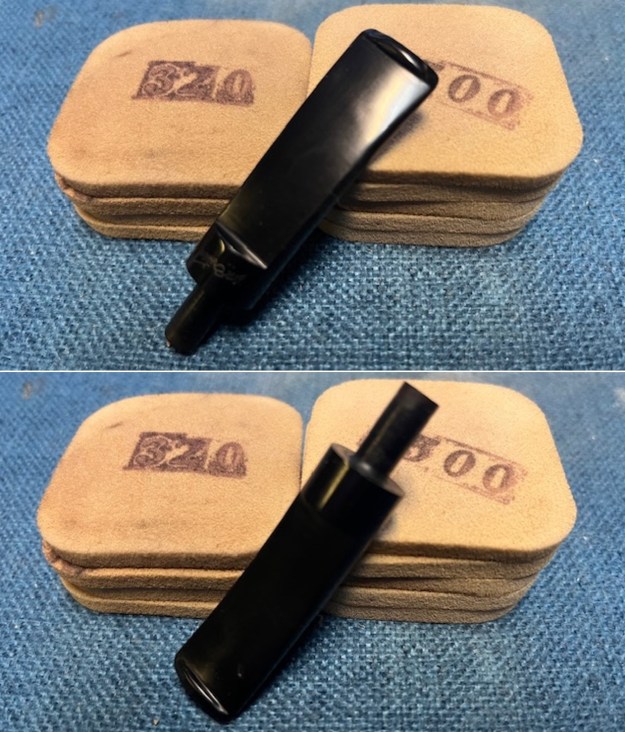
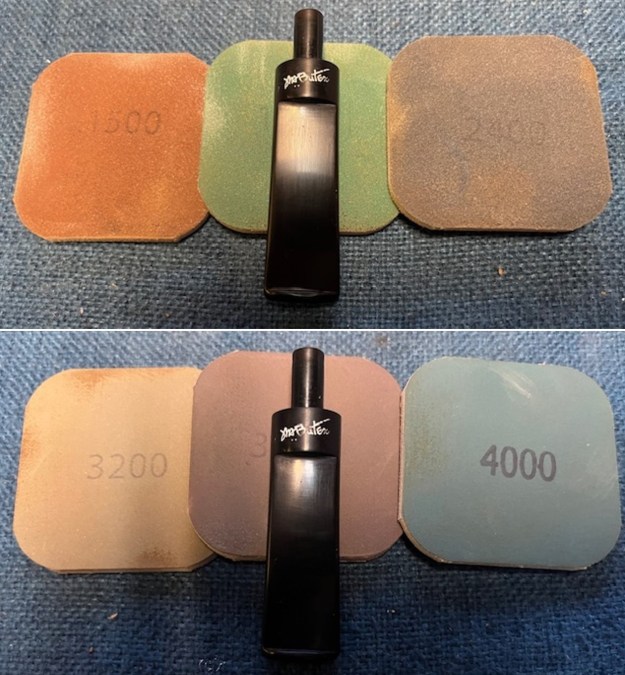
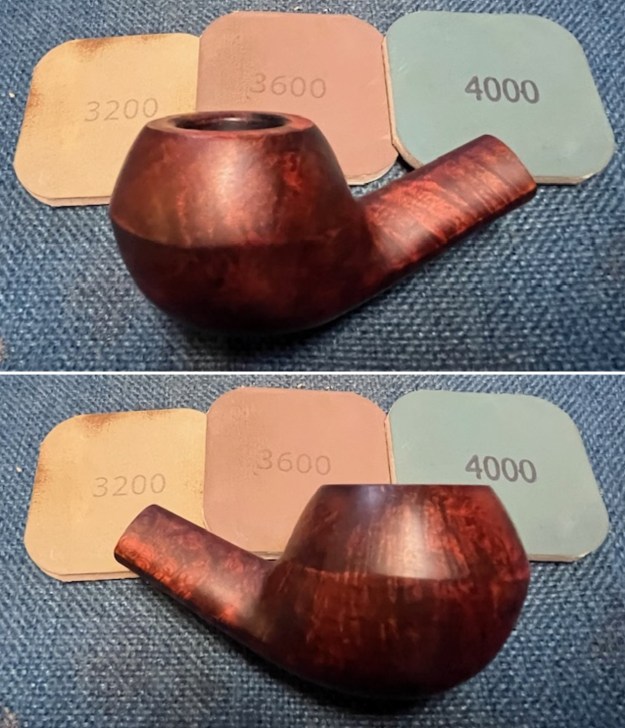
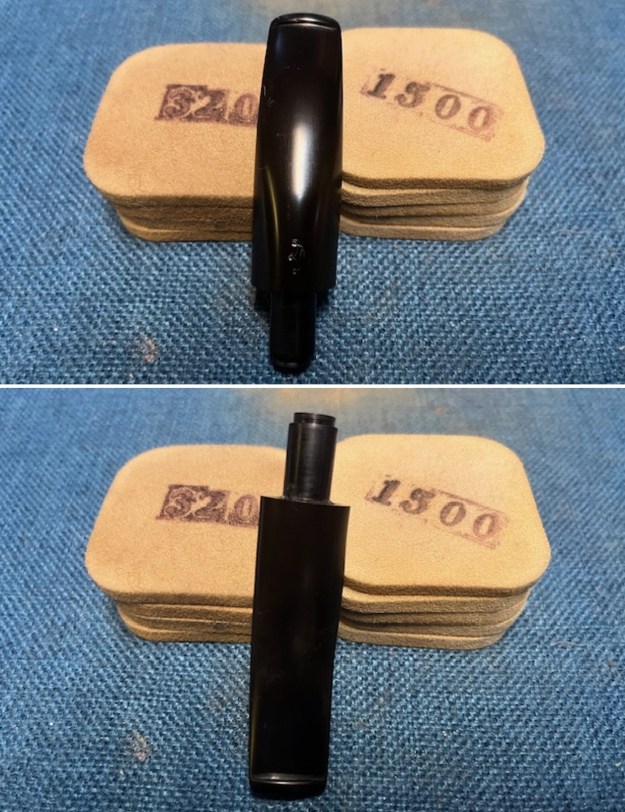
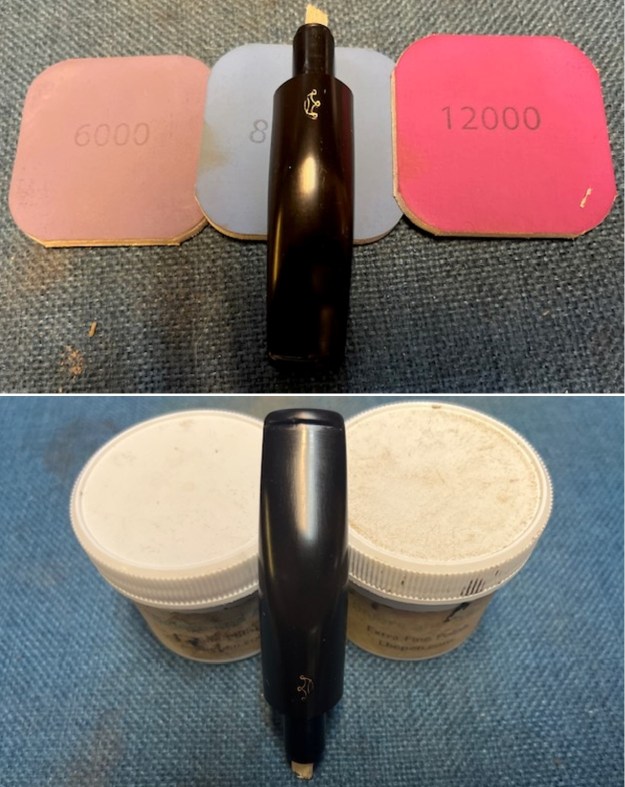
 I sanded the it with 320-3500 grit sanding pads and wiped the stem down after each pad with some Obsidian Oil on a cloth. The shine is coming back beautifully.
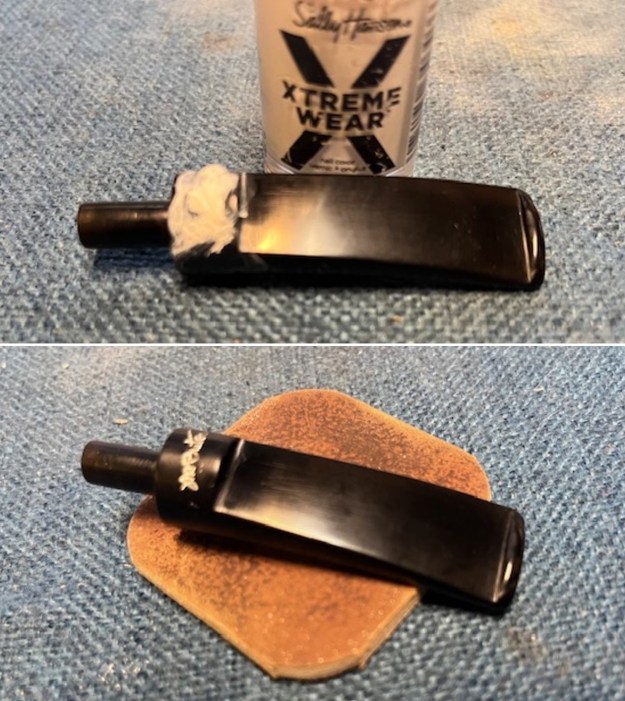
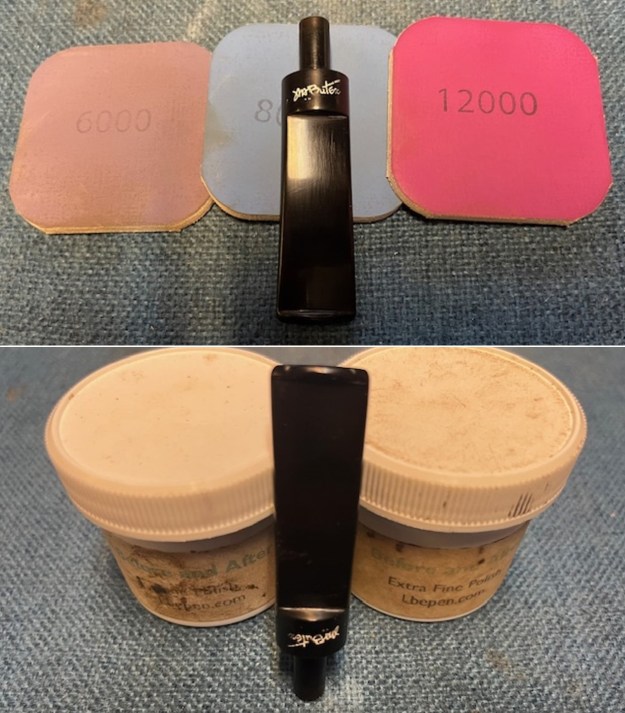
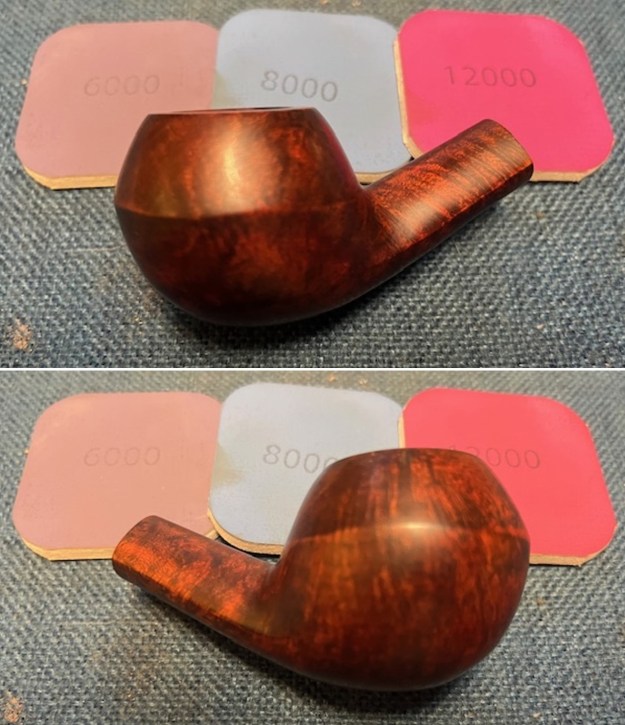
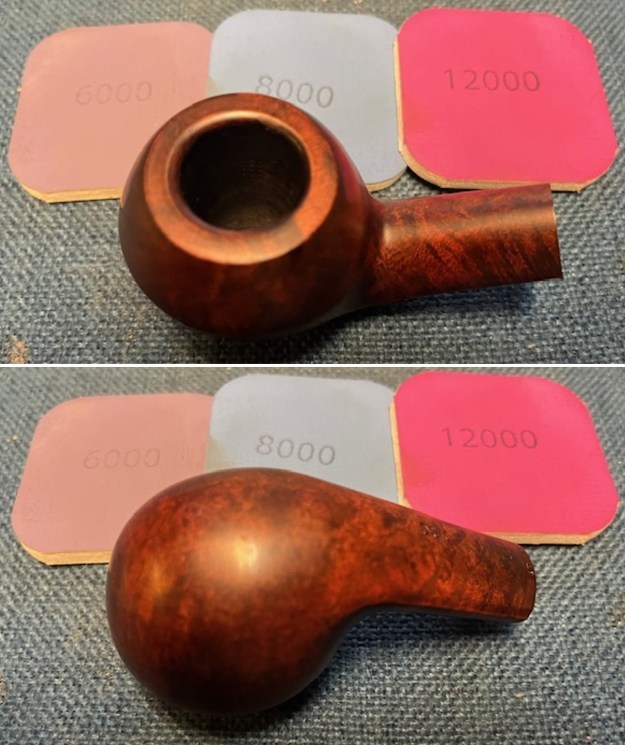
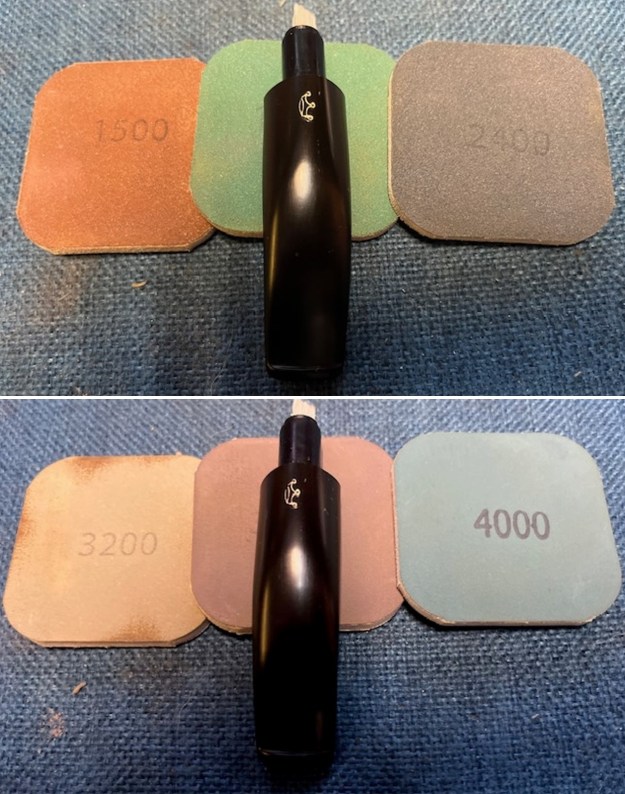
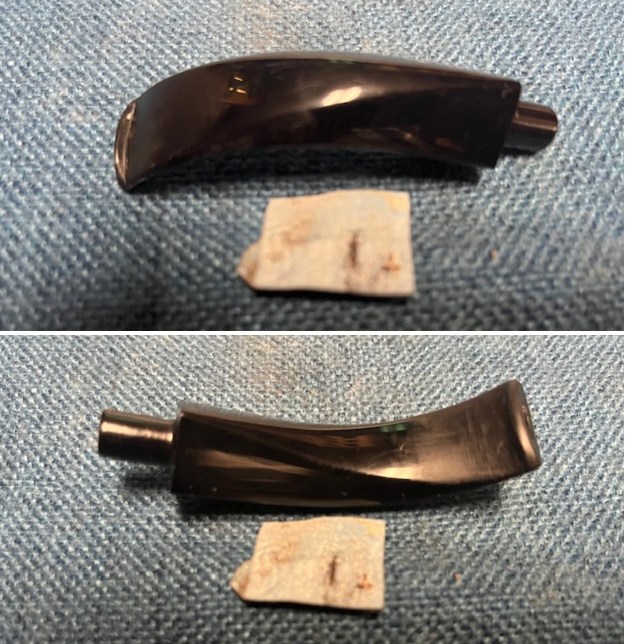
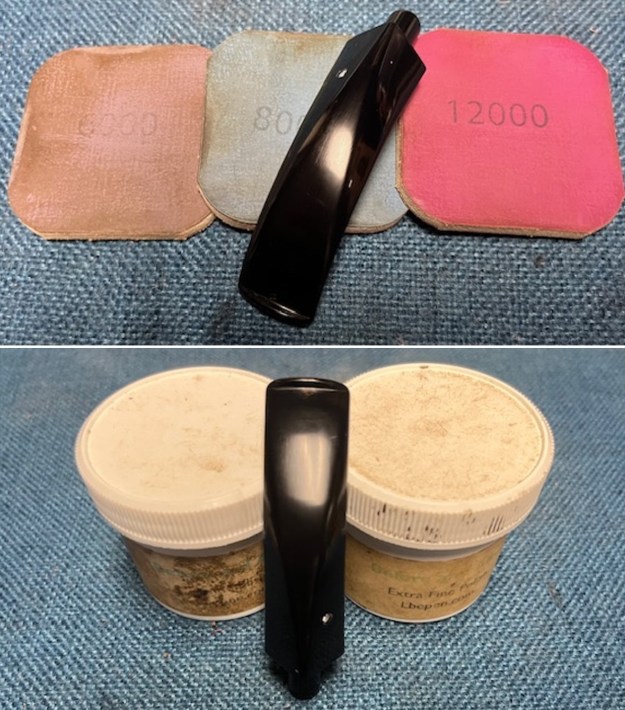
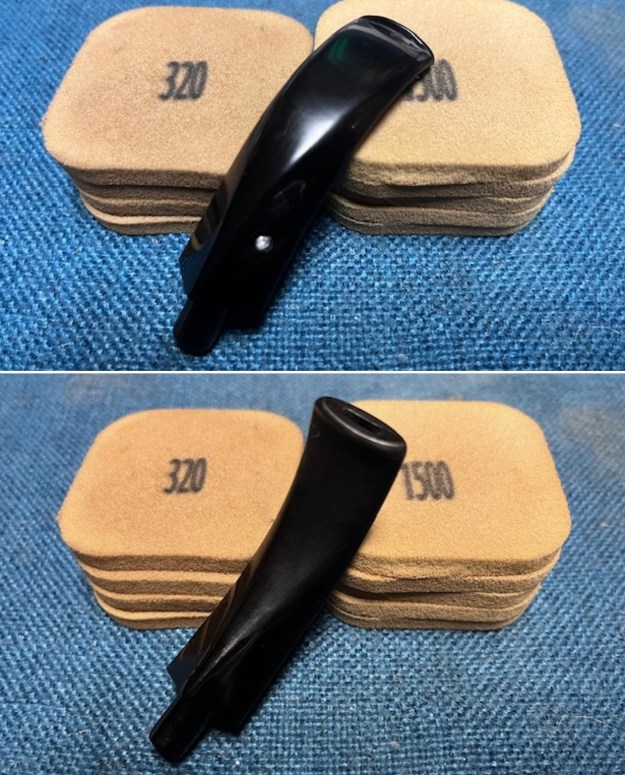 I polished it with micromesh sanding pads – dry sanding with 1500-12000 grit pads and wiping the surface down with Obsidian Oil after each sanding pad. It is really shining. I polished it further with Before & After Stem Polish – both Fine and Extra Fine. I gave it another coat of Obsidian Oil to finish this step.
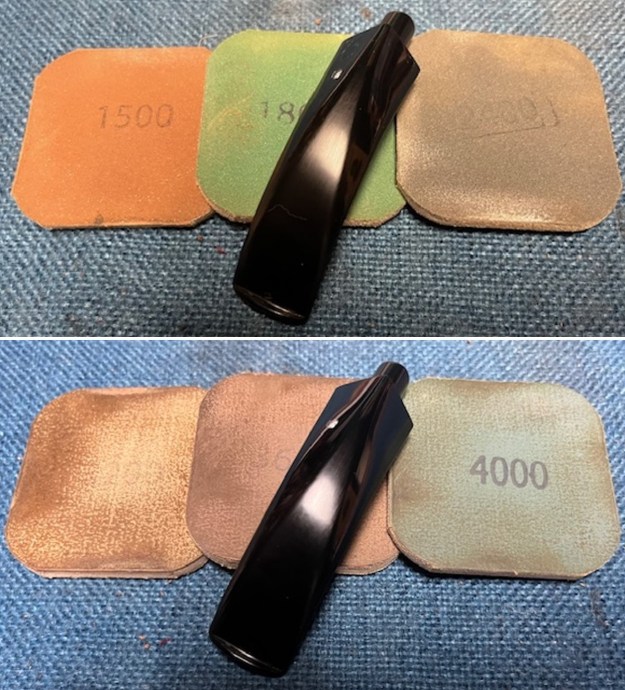
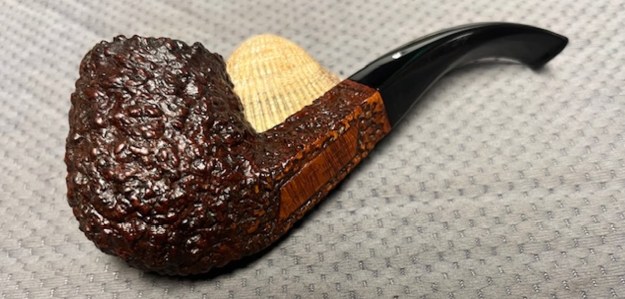
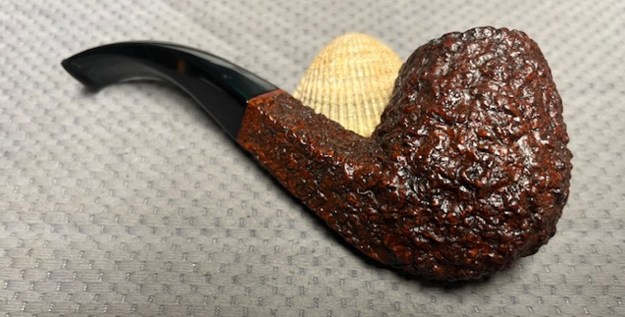
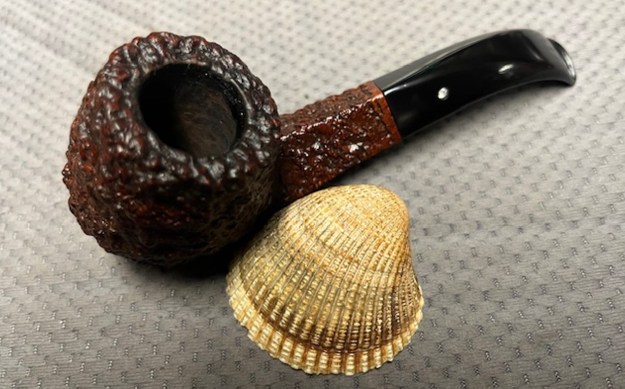
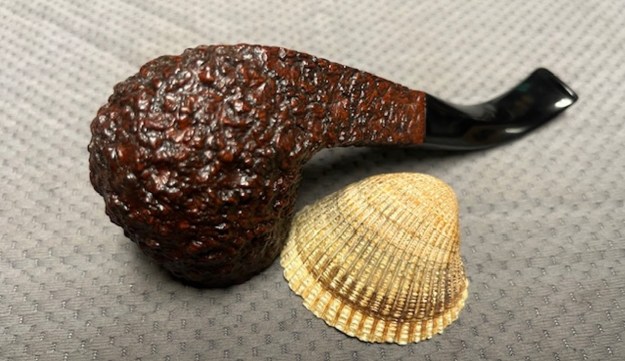
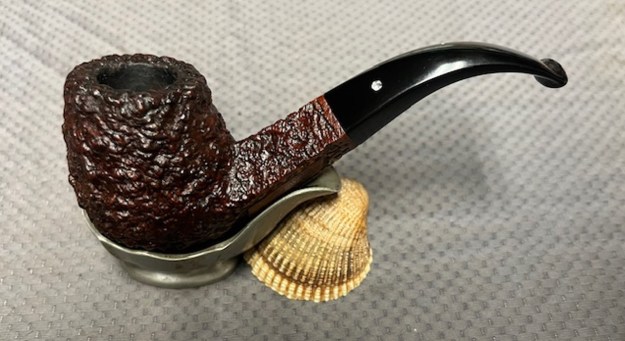
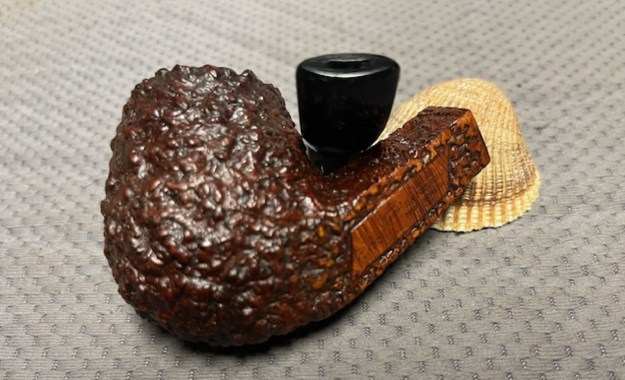
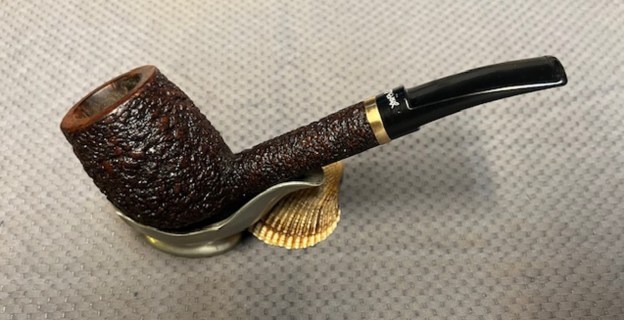
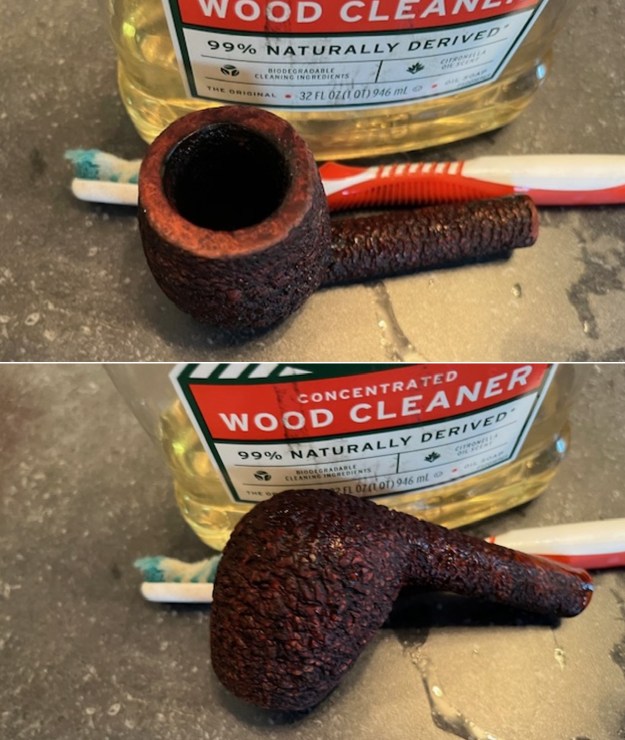
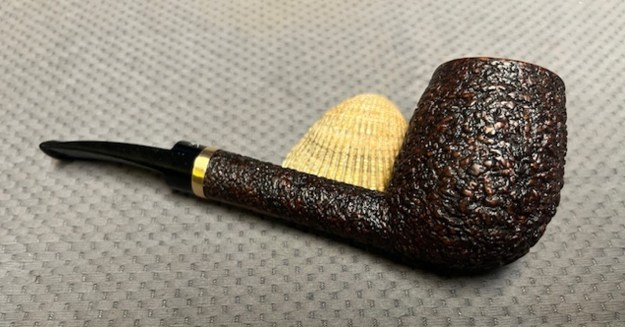
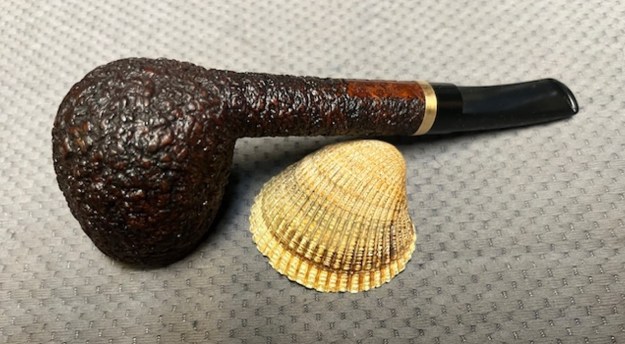
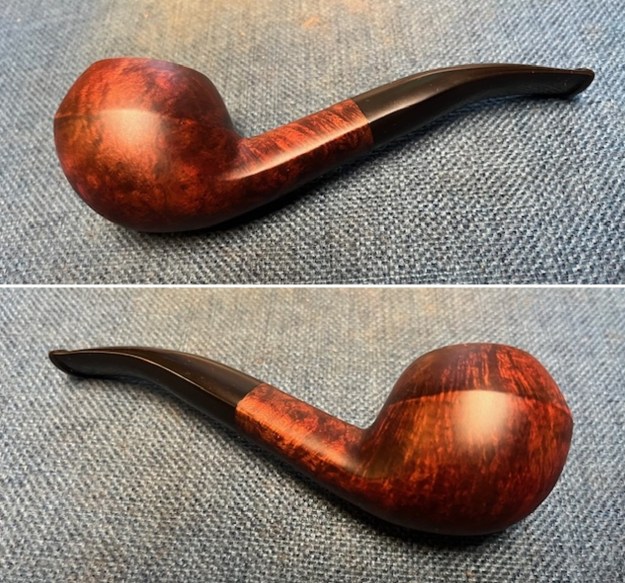
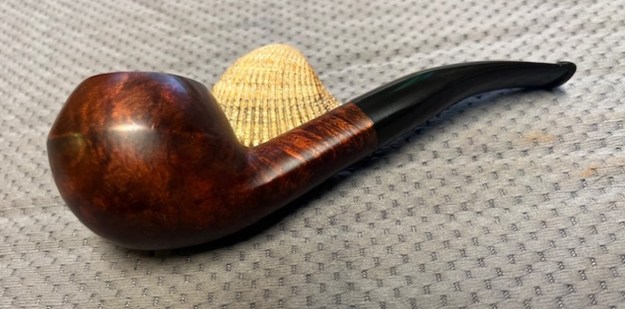
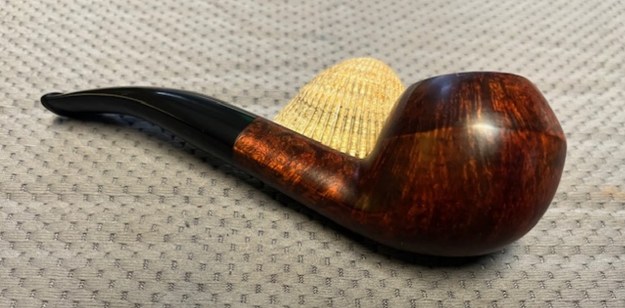
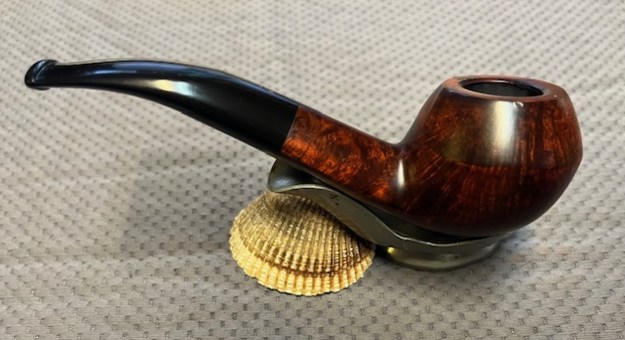
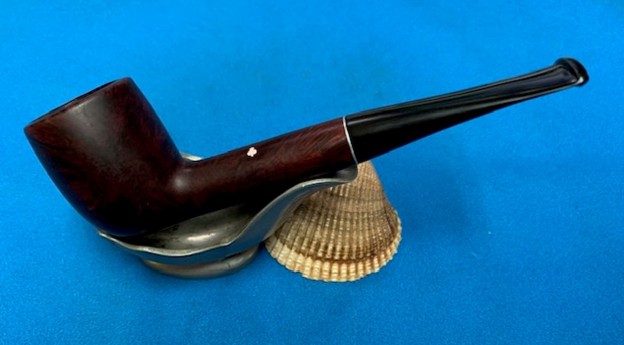
 This Castello Sea Rock Briar G66 Diamond Shank Bent Billiard with an acrylic diamond taper stem is a great looking pipe now that it has been restored. The beautifully deep rusticated finish really works well with the shape and the polished finish is stunning. I put the stem back on the bowl and carefully buffed the bowl and the stem with Blue Diamond on the buffing wheel. I gave the bowl multiple coats of Conservator’s Wax and the stem multiple coats of carnauba wax on the buffing wheel and followed that by buffing the entire pipe with a clean buffing pad. I hand buffed the pipe with a microfiber cloth to deepen the shine. The finished Castello Sea Rock Briar G66 Diamond Shank Bent Billiard fits nicely in the hand and feels great. Give the finished pipe a look in the photos below. The dimensions of the pipe are Length: 5 ½ inches, Height: 2 inches, Outside diameter of the bowl: 1 ¼ inches, Chamber diameter: ¾ of an inch. The weight of the pipe is 66 grams /2.22 ounces. I will be putting it on the rebornpipes store in the Italian Pipe Makers Section shortly. Let me know via email or a message if you are interested in adding this pipe to your collection.
As always, I encourage your questions and comments as you read the blog. Thanks to each of you who are reading this blog. Remember we are not pipe owners; we are pipe men and women who hold our pipes in trust until they pass on into the trust of those who follow us.