Blog by Steve Laug
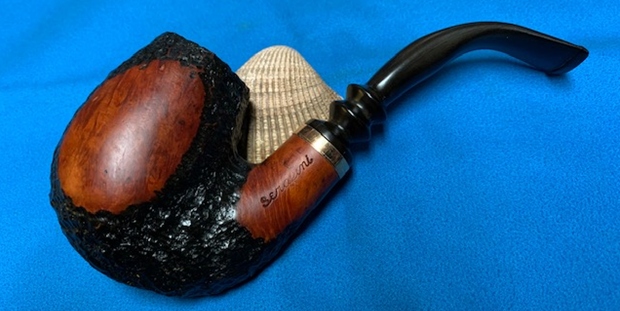
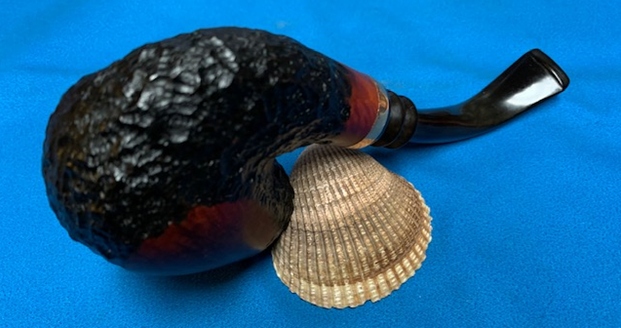
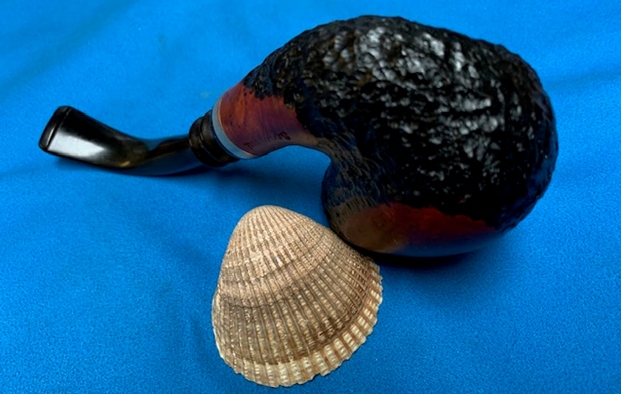
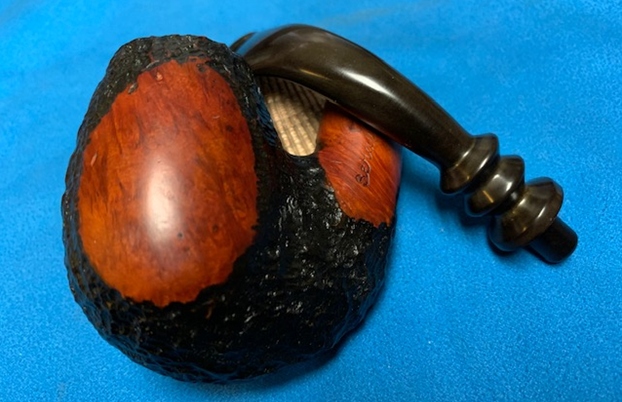
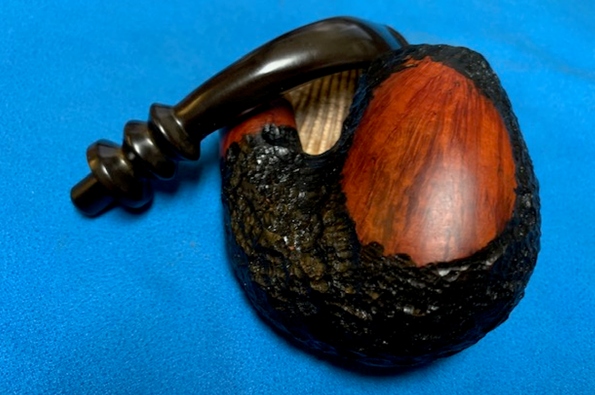
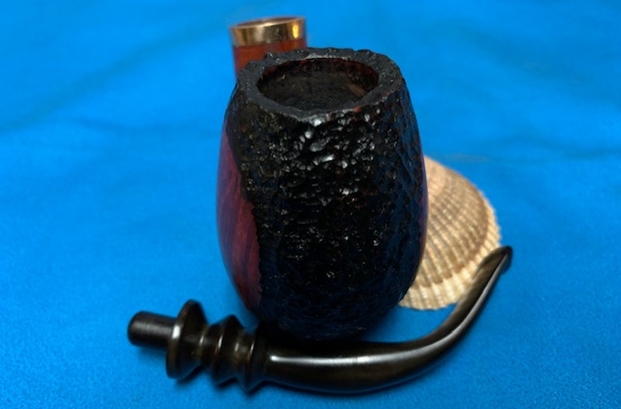
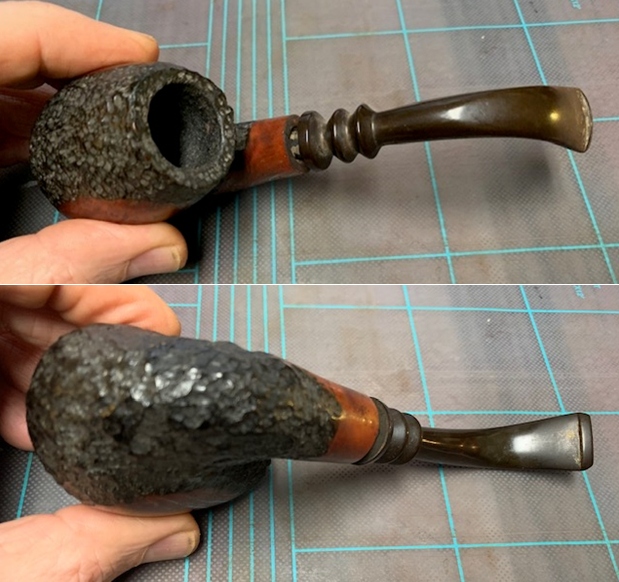
The next pipe on the work table came to me from Jeff’s pipe hunts or auction purchases. Between us we pick up quite a few pipes from our hunts. I try work them into the restoration queue so that I can keep them moving. This next on is an interesting looking piece – a mixed finish Oom Paul shape (smooth panels and shank with a rusticated body to the pipe). The pipe is stamped on the left side of the shank and reads Serafini. The finish had a lot of grime ground into rustication and the smooth finish on the briar. The bowl was heavily caked with a lava coat on the top of the rusticated rim. It was hard to tell how the inner edge of the rim actually looked until the bowl was reamed. The stem was in oxidized and had tooth chatter and marks on the top and underside near the button. There were not markings or logo on the fancy turned stem. It had promise but it was very dirty. I took some photos of the pipe before I started my cleanup work. 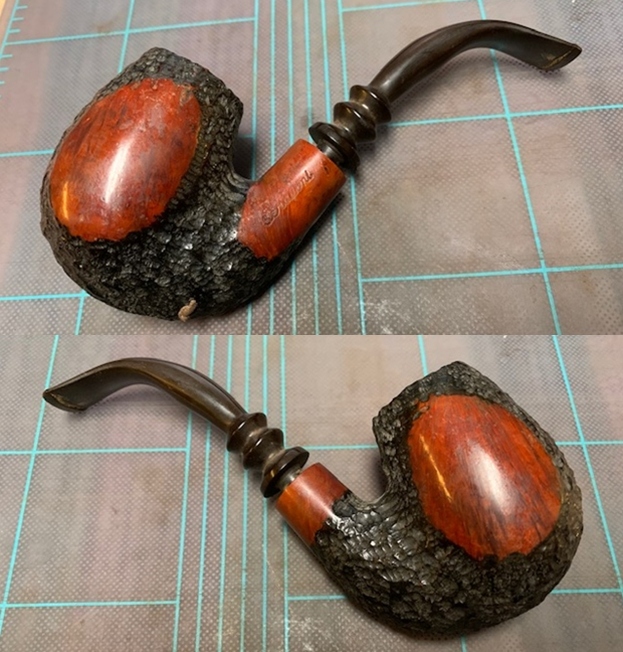
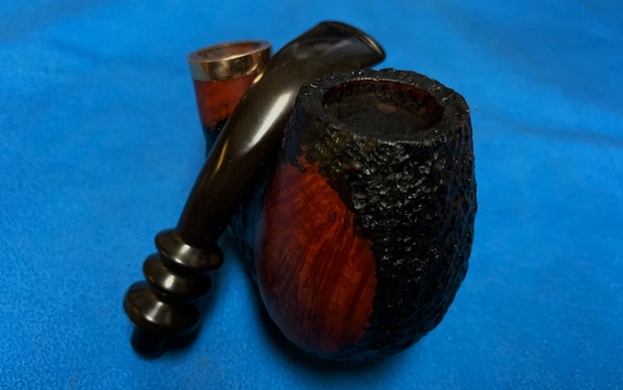
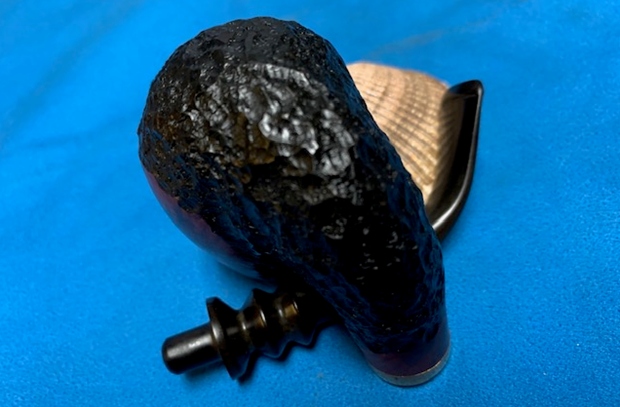
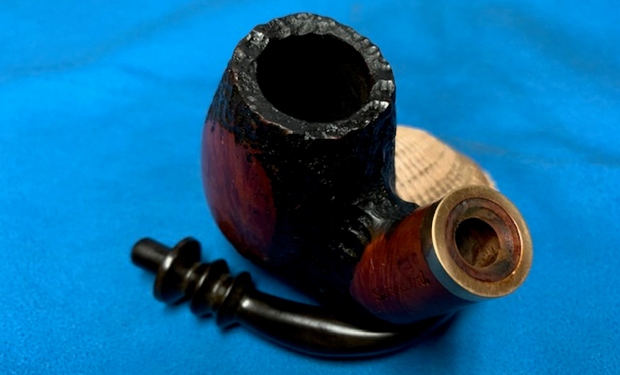
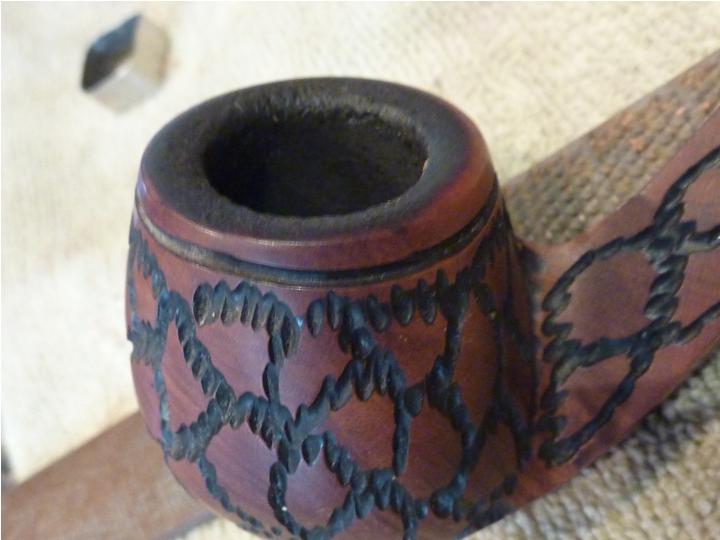
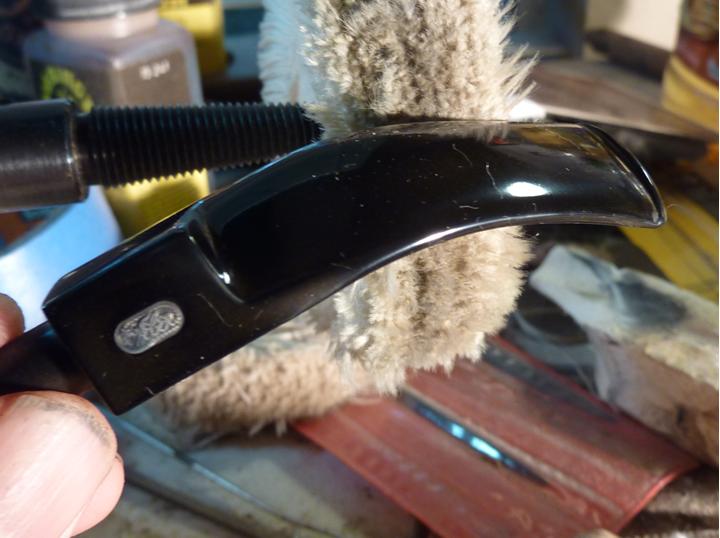
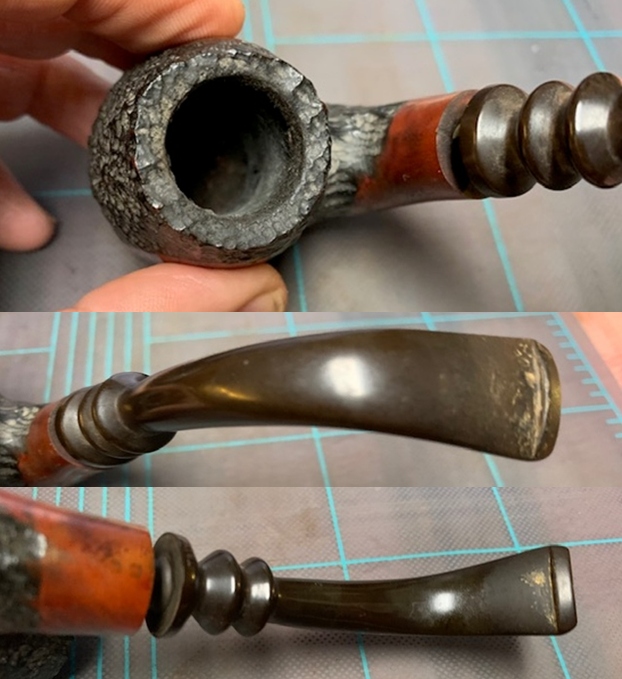
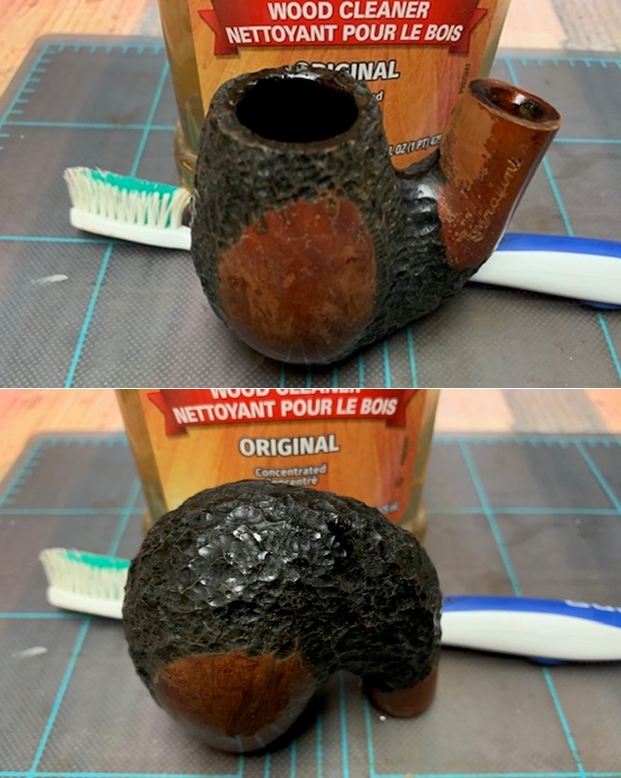
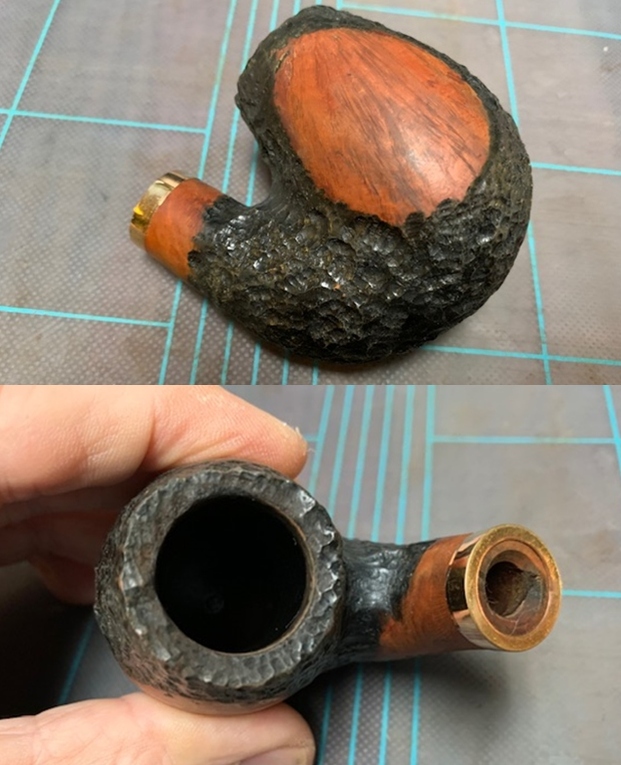
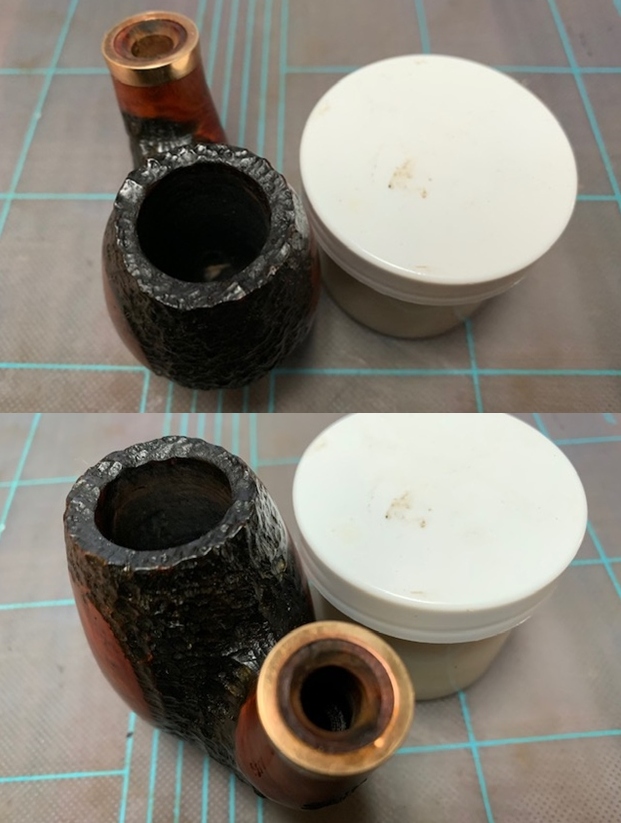
 I took a photo of the rim top and bowl to give a clear picture of the thickness of the cake and the overflow of lava on the rim top. He also took photos of the top and underside of the stem to show the chatter and tooth marks. Otherwise the stem is quite clean.
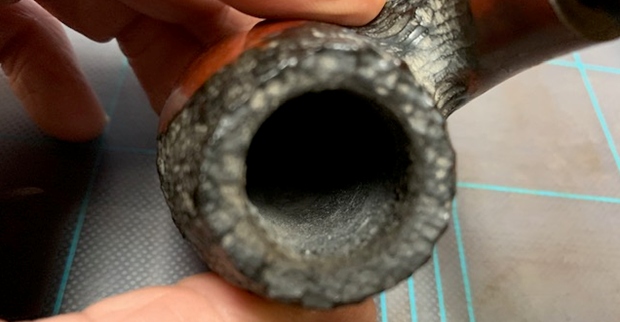
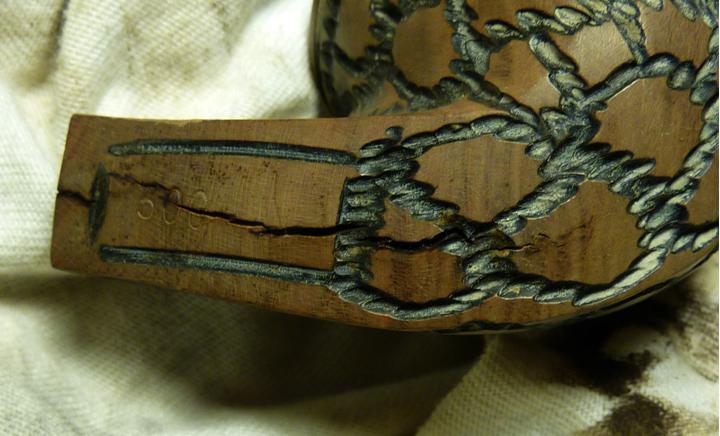
 The stamping on the left side of the shank is clear and readable and reads as noted above.
 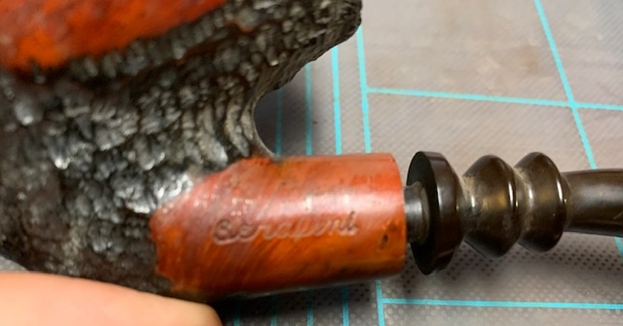 The stem does not seat properly in the shank. You can see that in both the photos above and the one below.
 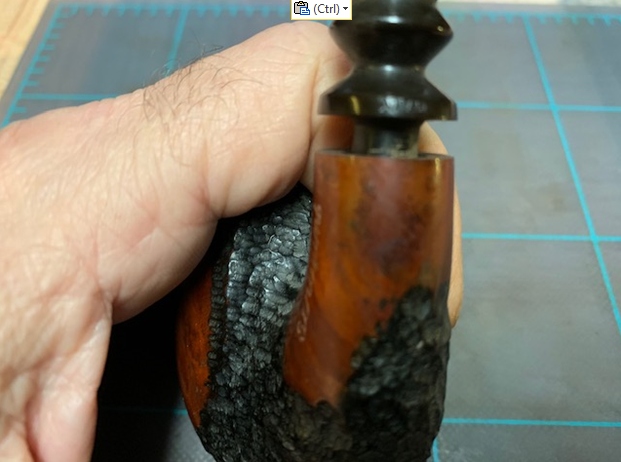 I did some searching on the internet in my other sources Pipedia and Pipephil to see if I could find any information on the brand. Unfortunately there was nothing on either site regarding the brand. I did some hunting on the word Serafini and found that it means the burning ones and refers to a type of celestial or heavenly being in the Abrahamic Religions. It is also a common Italian family name. Other than that the make of the pipe was not clear. Can any of you who are reading this shed some light on the brand??
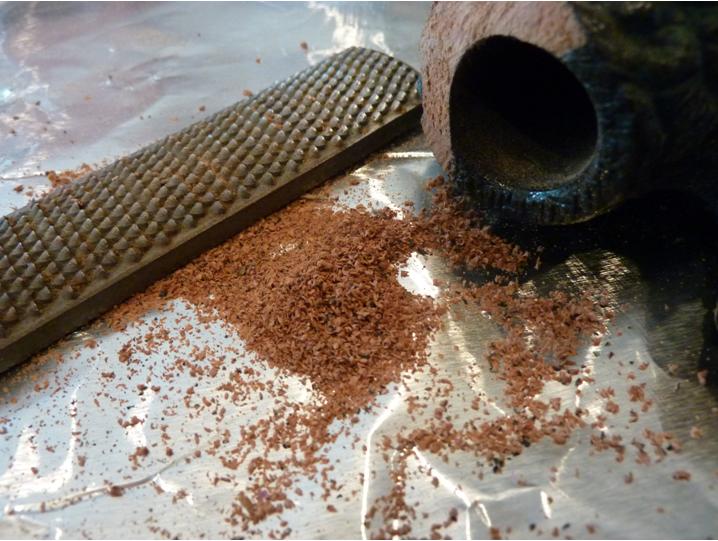
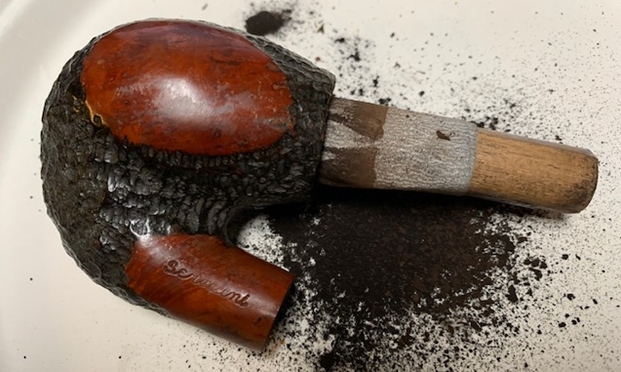
I reamed the pipe with a PipNet pipe reamer with the third cutting head. I took the cake back to bare briar and removed the rest of it with a Savinelli Fitsall Pipe Knife. I sanded the walls of the bowl with 220 grit sandpaper wrapped around piece of dowel. 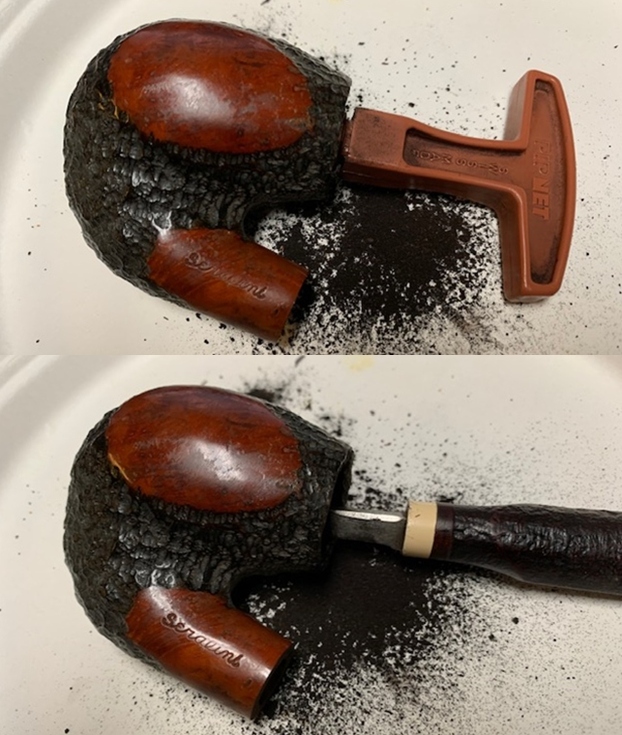
 I scrubbed the bowl with undiluted Murphy’s Oil Soap with a tooth brush. I worked the soap into the rustication of the briar with the tooth brush. I rinsed it under running warm water to remove the soap and grime. The soap also removed a lot of the shellac finish on the smooth portions of the bowl and shank.
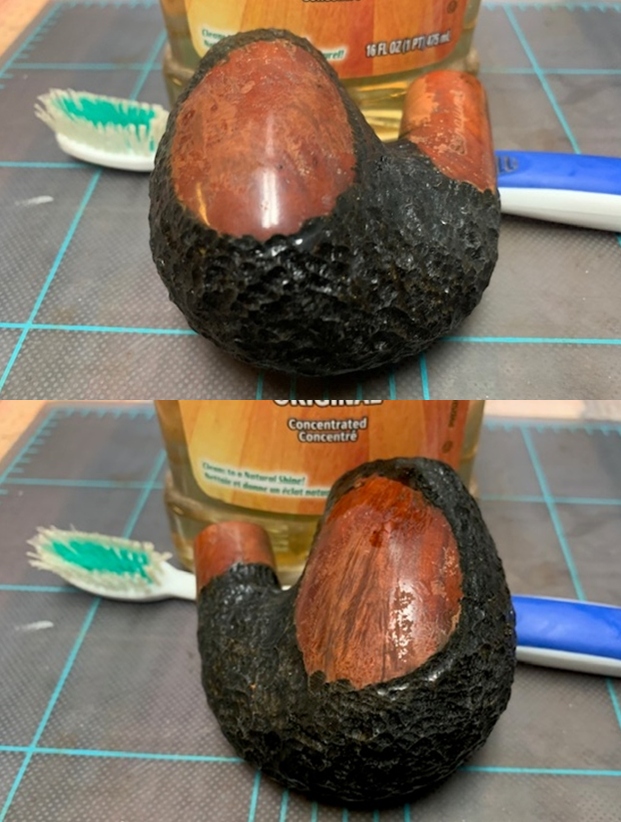
 The varnish or shellac coat was pealing. I wiped the smooth portions of the bowl and shank down with acetone on a cotton pad. I was able to remove remnants of the shiny coat with the acetone.
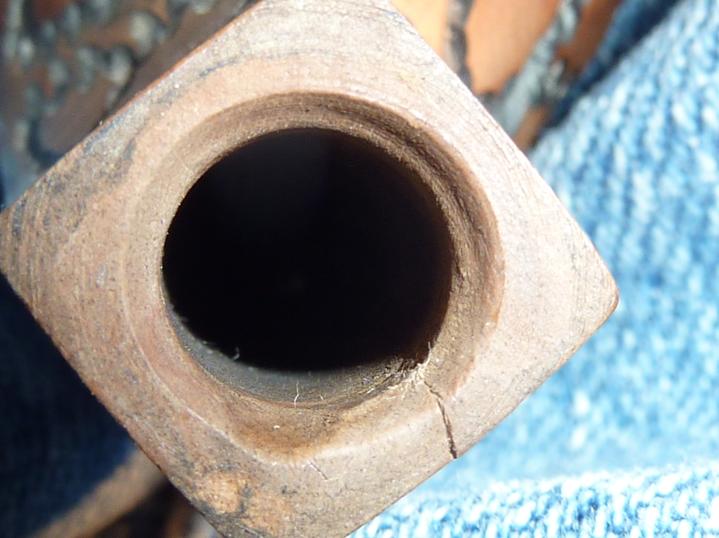
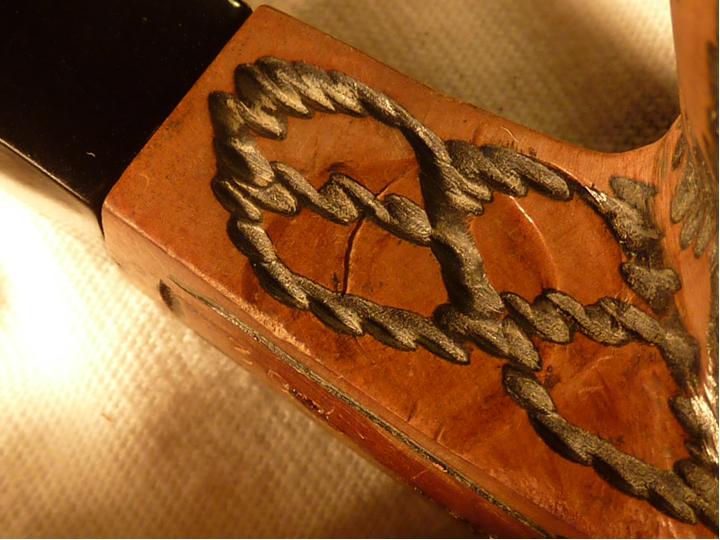
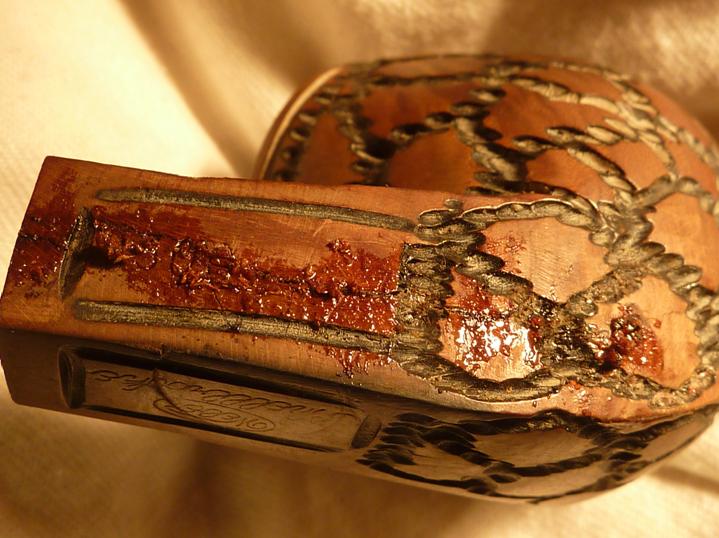
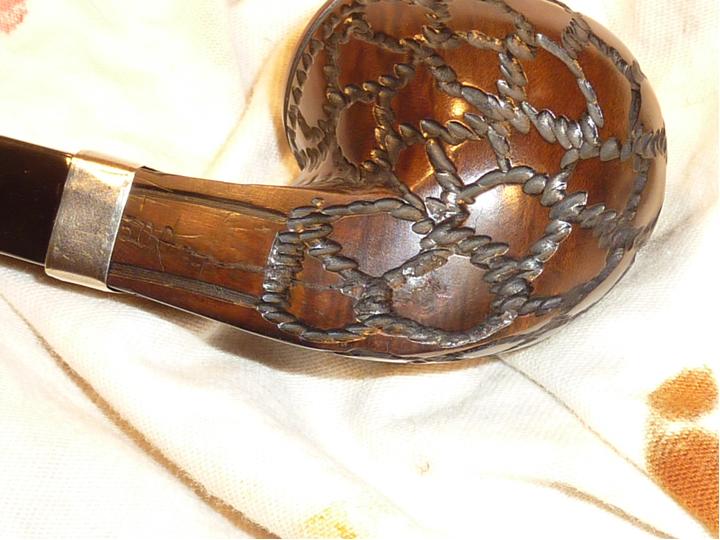
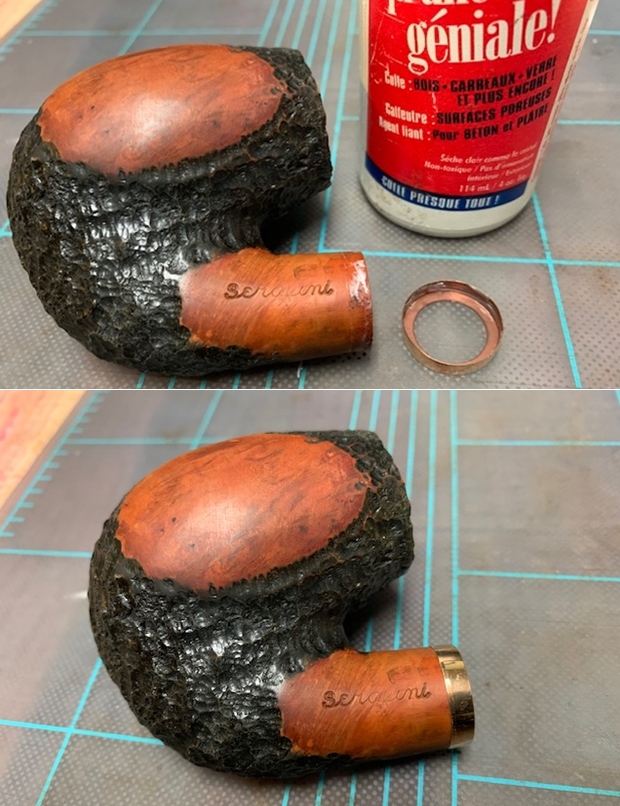
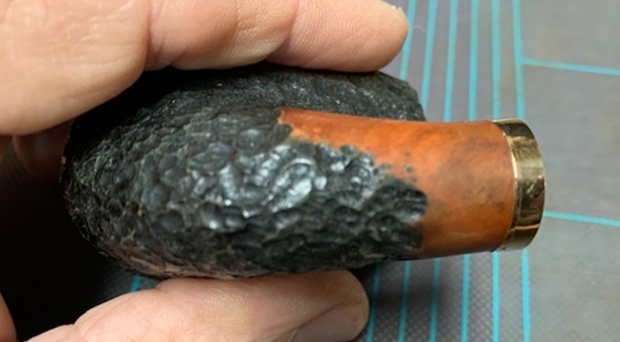
 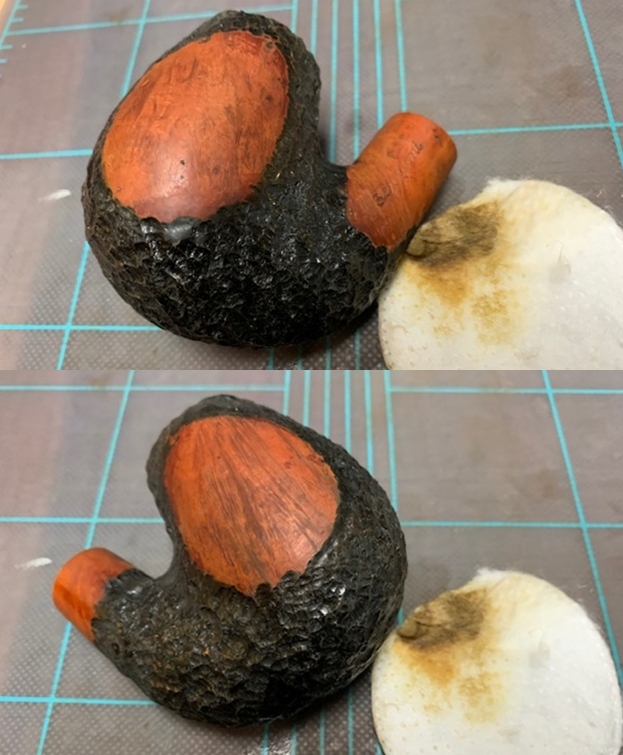 I took a photo of the shank end to show the crack at the top of the shank. It was tight but nonetheless very present. I went through my bag of bands and found a copper/brass band that would bind the crack and not cover any of the stamping on the shank. I used a tooth pick to coat the shank end with all-purpose white glue. I pressed the band in place on the shank and took photos of the newly banded shank.
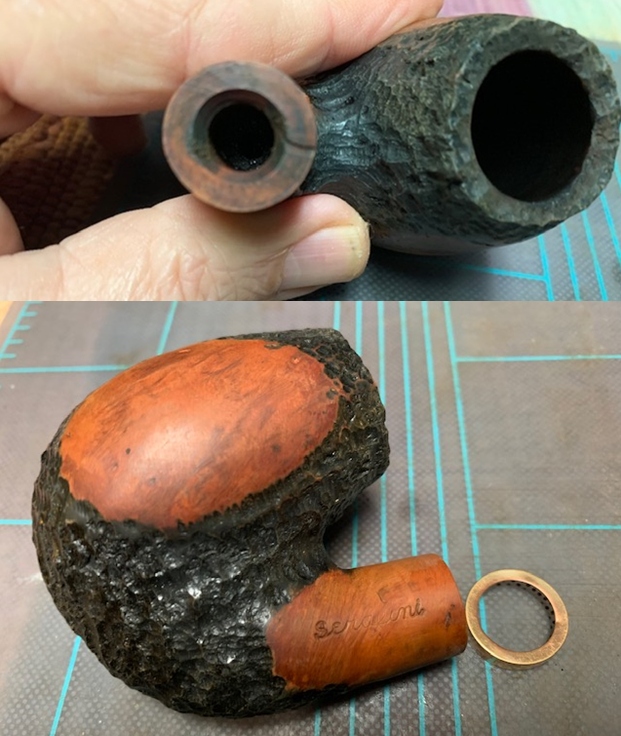
 I cleaned out the inside of the shank and the airway in the stem with alcohol, cotton swabs and pipe cleaners.
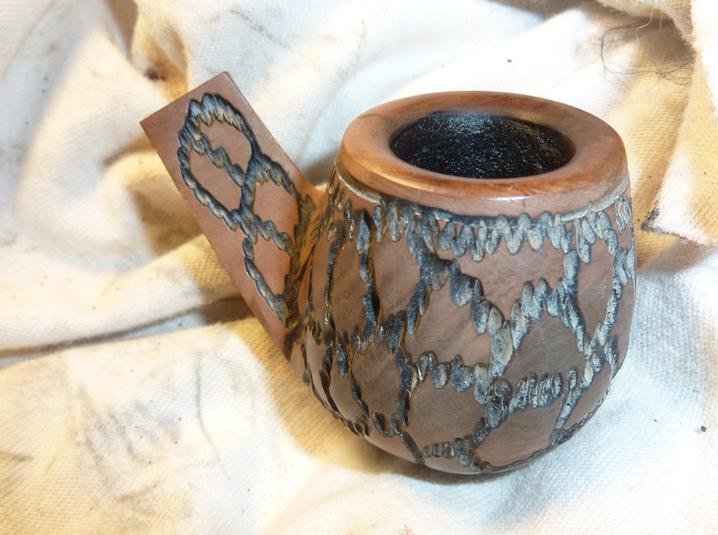
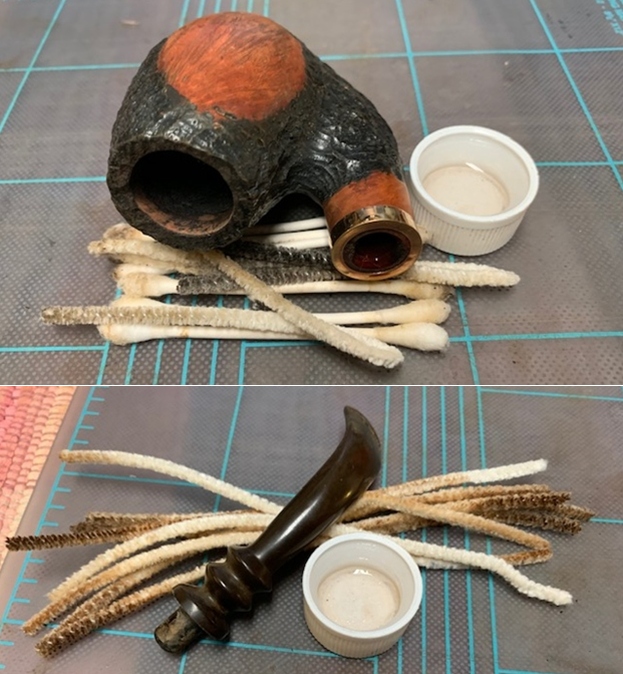 I rubbed the bowl and shank down with Before & After Restoration Balm. I worked it into the surface of the bowl sides and shank with my fingertips and a horsehair shoe brush to clean, enliven and protect the briar. I let the balm sit for a little while and then buffed with a cotton cloth to raise the shine. You can see the sparkle in the rustication surfaces as the light hits them.
 I sanded out the tooth marks and chatter on both sides of the stem at the button. I also sanded the oxidation on the stem surface with both 220 grit sandpaper and started the polishing with 400 grit wet dry sandpaper.
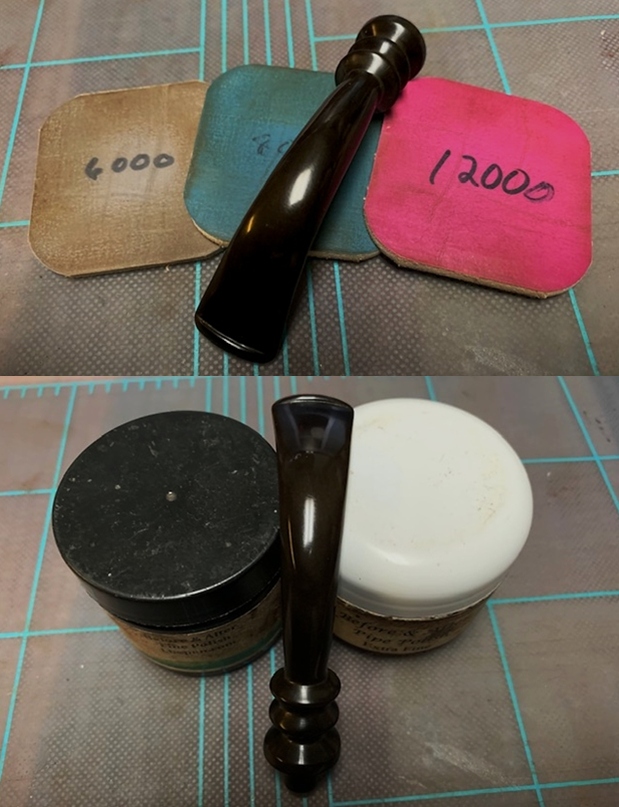
 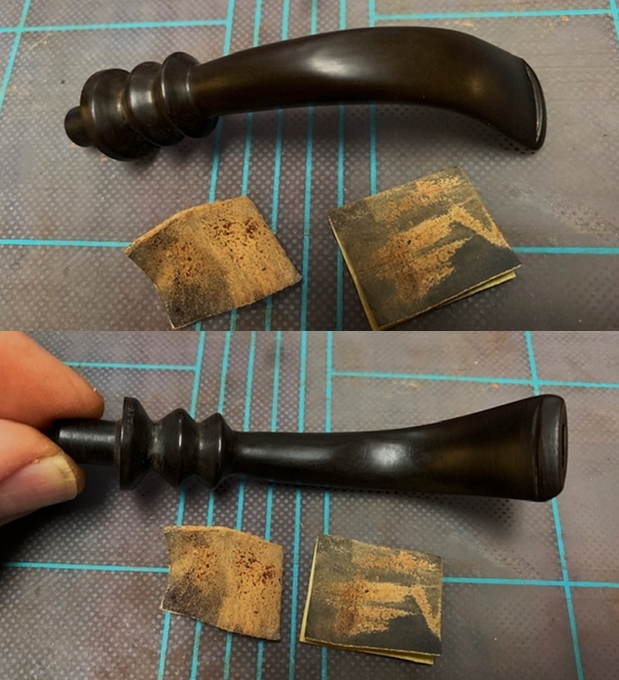 I polished the vulcanite stem with micromesh sanding pads – 1500-12000 grit pads. I wiped it down with a damp cloth after each sanding pad. I used Before & After Pipe Polish – both Fine and Extra Fine to further polish the stem.
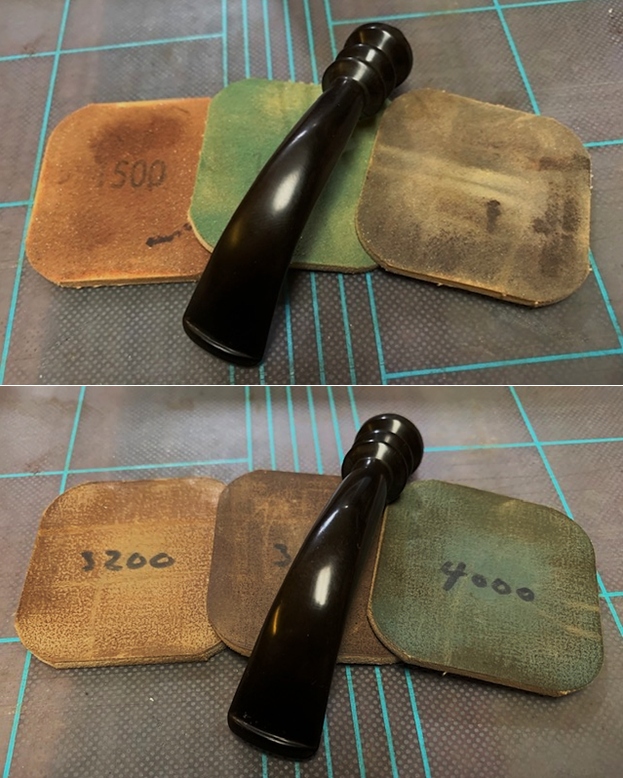
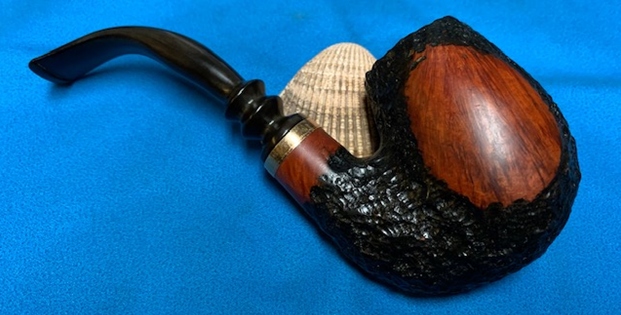
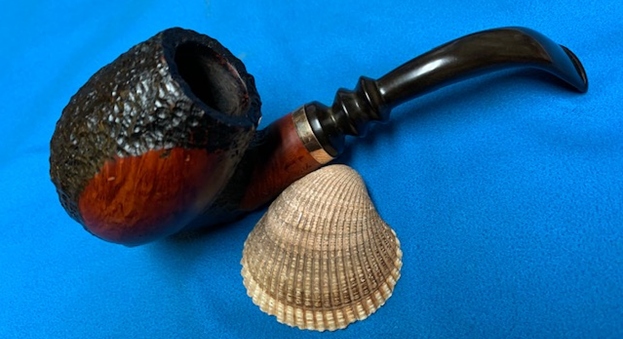
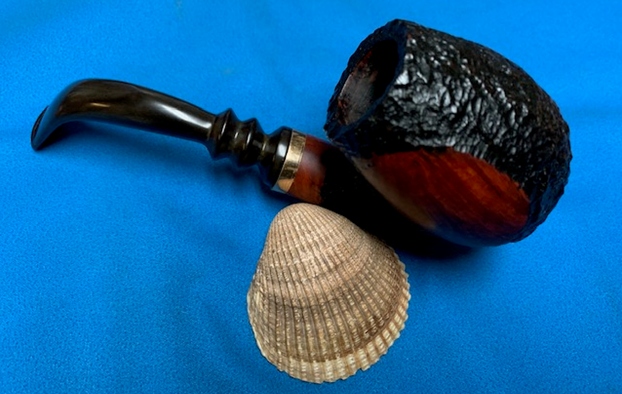
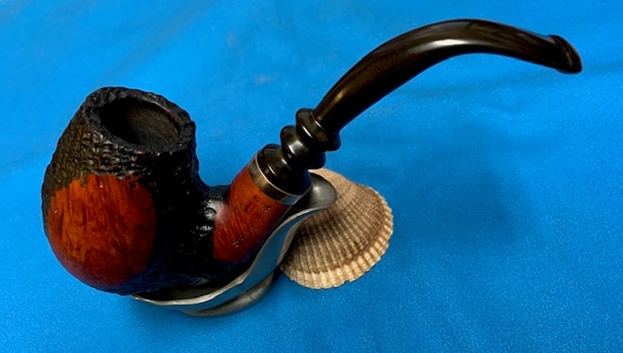
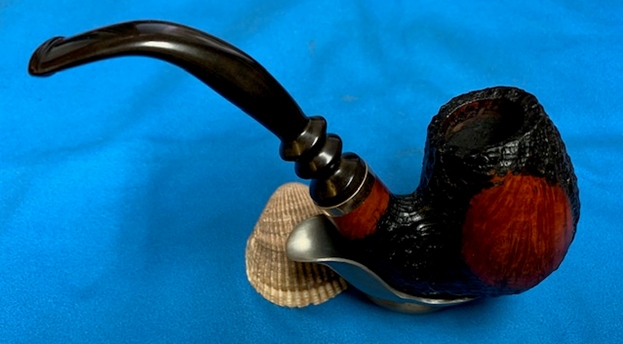
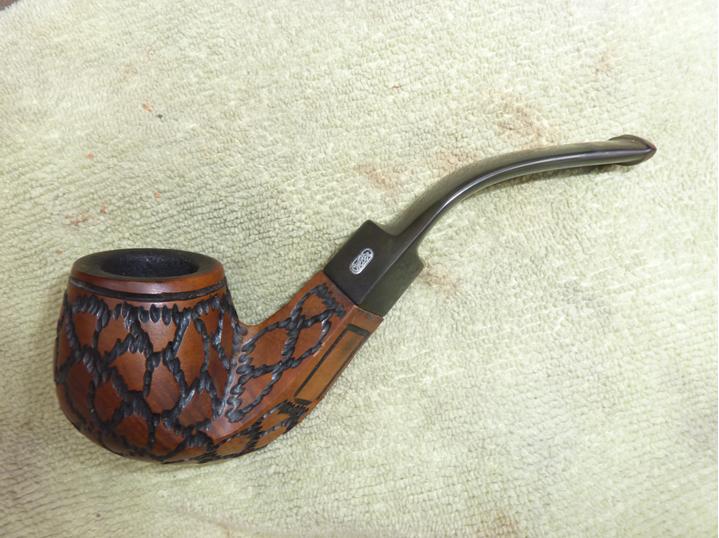
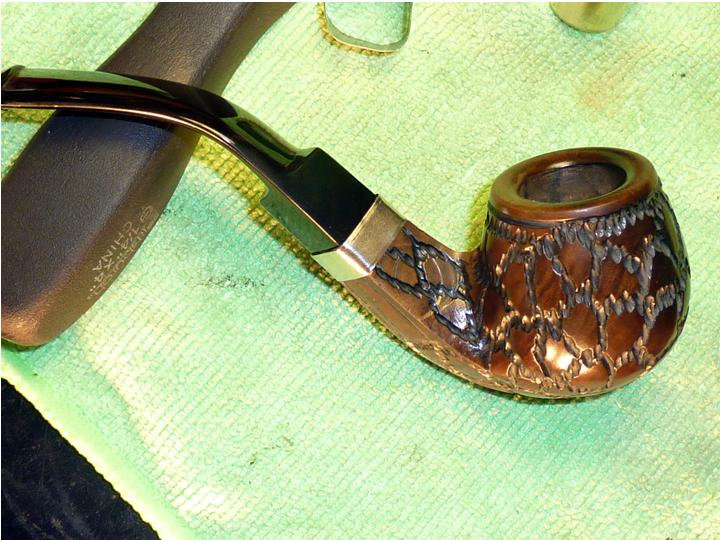
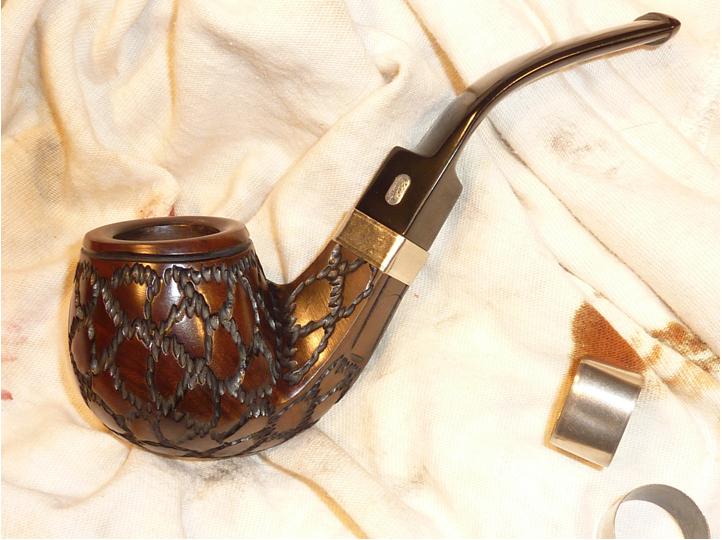
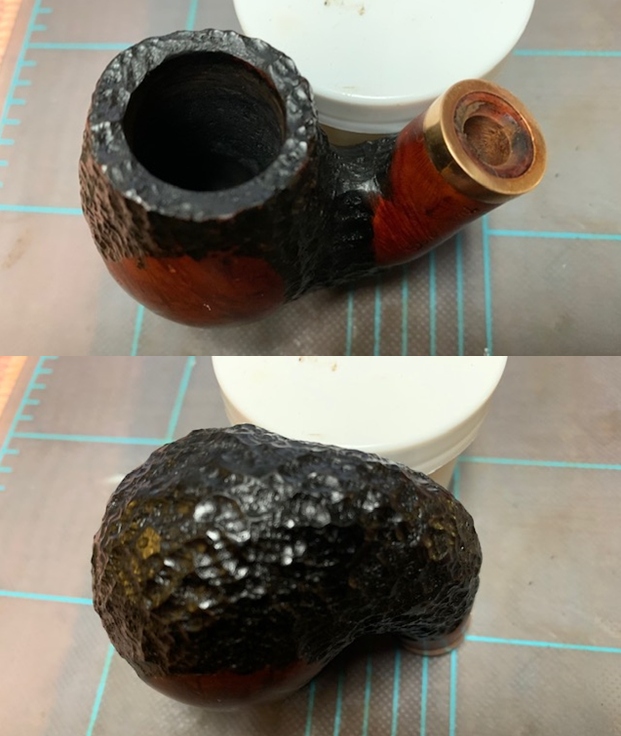
 This Serafini Oom Paul is a great looking pipe now that it has been restored. The mix of finishes – smooth portions and and rusticated finish around the panels. The combination of brown stains makes the smooth panesl and rustication almost sparkle and works well with the polished vulcanite taper stem. The polished brass band/end cap looked great with the briar and the vulcanite. I put the stem back on the bowl and carefully buffed the pipe with Blue Diamond on the buffing wheel using a light touch on the briar. I gave the bowl and the stem multiple coats of carnauba wax on the buffing wheel and followed that by buffing the entire pipe with a clean buffing pad. I hand buffed the pipe with a microfiber cloth to deepen the shine. The finished Serafini Oom Paul fits nicely in the hand and feels great. Give the finished pipe a look in the photos below. The dimensions of the pipe are Length: 6 ½ inches, Height: 2 ½ inches, Outside diameter of the bowl: 1 ¼ inches, Chamber diameter: ¾ of an inch. If you are interested in adding this pipe to your collection send me a message or an email. Thanks for reading this blog and my reflections on the pipe while I worked on it. There are many more to come!