Blog by Steve Laug
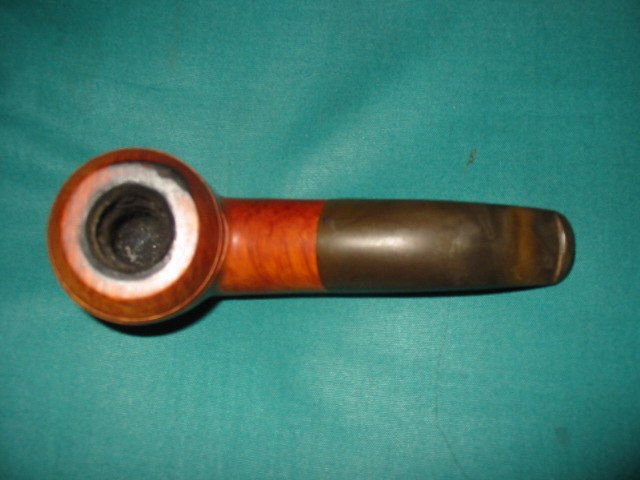
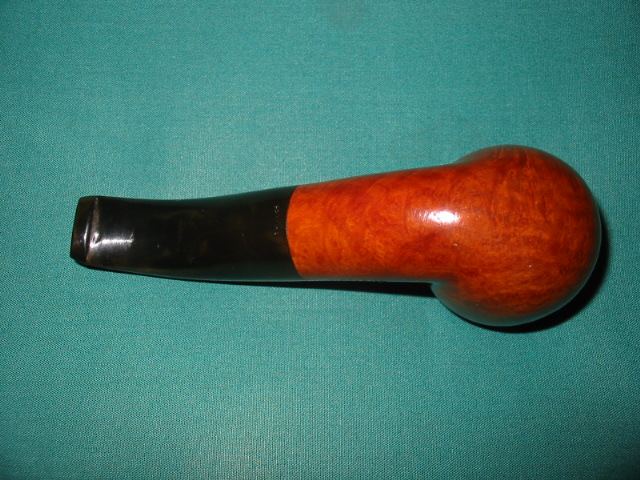
When dealing with a burned or charred rim there are several issues that need to be addressed. First is how deep the burn goes into the briar and the extent of the damage. Second is how to remove or minimize the damage and bring the rim back to new without changing the profile of the pipe. In this case the bowl was clean on the inside. The burn was on the front outer edge of the rim and on the back inner edge of the rim. There was also a nick in the outer edge at 12 o’clock in the photo below. The back edge had buildup of tars and oils that masked the state of the rim at that point. I needed to remove those to see the damage to the back edge of the rim. Since I was intending to refinish the bowl and rim anyway I sanded the rim with a folded piece of 220 grit sandpaper to remove the tars and oils and clean up the edges. I followed that by sanding with a medium and fine grit sanding sponge to further clean up the surface. In the photo below it is clear that the back inner edge of the rim is actually undamaged by char – it is merely darkened. The front edge damage is actually charred and the burn mark is both on top of the outer edge of the rim and on the front side of the bowl.
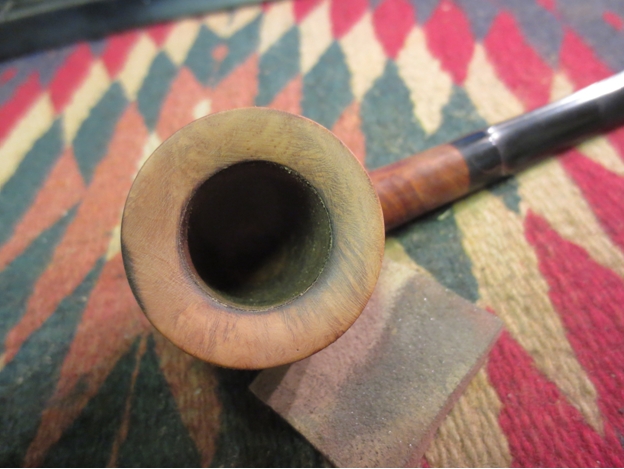 I sanded the top of the rim, being careful to maintain the bevel on the top and also the outer edge of the bowl around the circumference. I was hoping to remove the damage as much as possible without having to top the bowl and rebevel the inner edge. As can be seen in the photo below I was able to remove some of the burn mark but not all of it. Looking at the bowl from the front I could also see a slight dip in the outer edge at the burn point. Continued sanding would have accentuated that dip and compromised the clean lines of the outer edge of the rim.
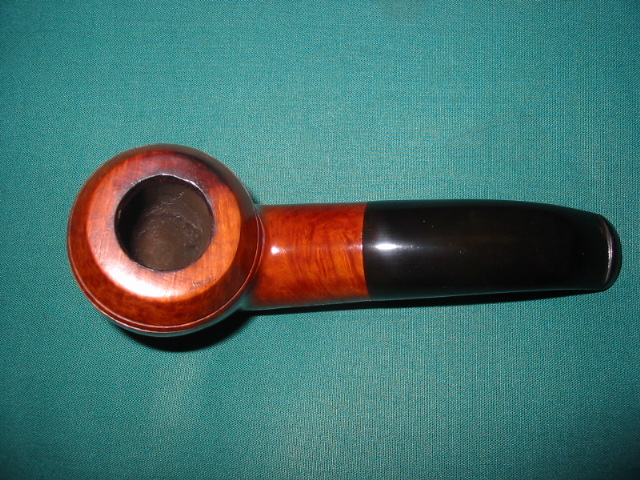
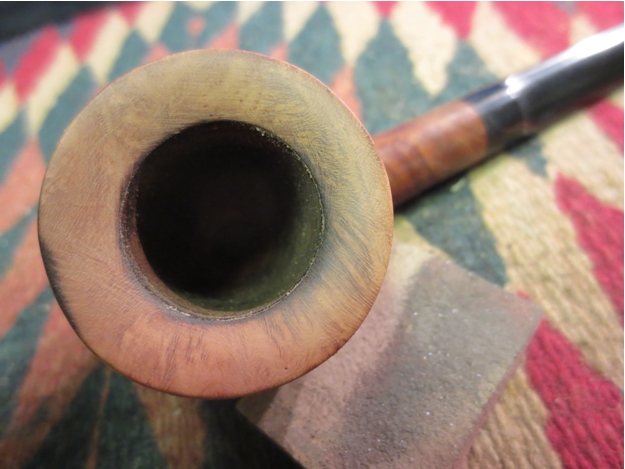 At this point I decided that the only way of dealing with the dip in the front outer edge was to top the bowl. I set up a topping board – a flat piece of finished oak – that I use with a piece of 220 grit sandpaper to top pipes. I placed the rim flat against the surface of the sandpaper and worked the bowl across the sandpaper in a clockwise motion. I find that the circular pattern of sanding leaves less sanding marks on the briar that I need to work on afterwards.
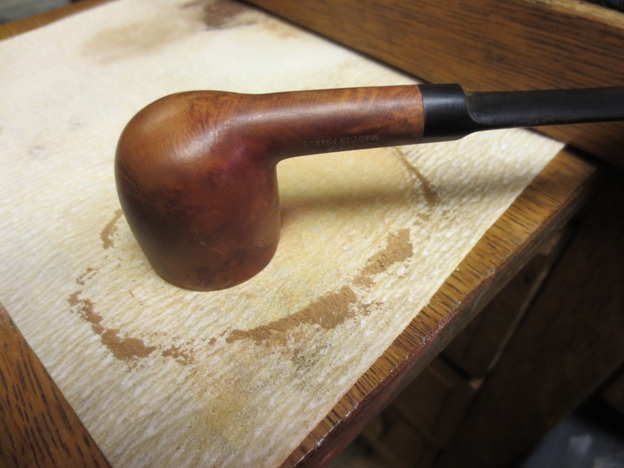 I continued to top the rim until I had smoothed out the front edge and restored the clean lines of the outer rim. I also worked until the burn mark was minimized on the outer and top edges of the rim. When finished the rim surface had the inner bevel going from the middle of the newly topped rim inward. The bevel would need to be restored by hand with sandpaper.
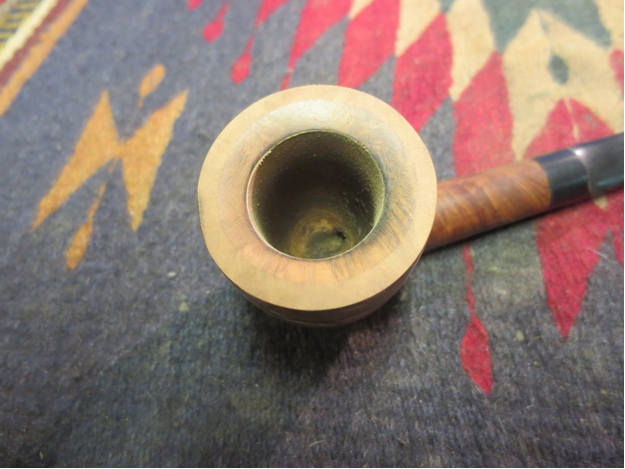 I reworked the bevel with a folded piece of 220 grit sandpaper until the flow was restored. It took quite a bit of sanding to restore the angles while maintaining the straight outer edges of the rim. I sanded it until the curve of the bevel was restored and the rim looked as it had before the topping.
 I sanded the rim with a medium and a fine grit sanding sponge to remove the sanding marks left behind by the 220 grit sandpaper. The medium grit removed the majority of them and the fine grit sponge polished the briar.
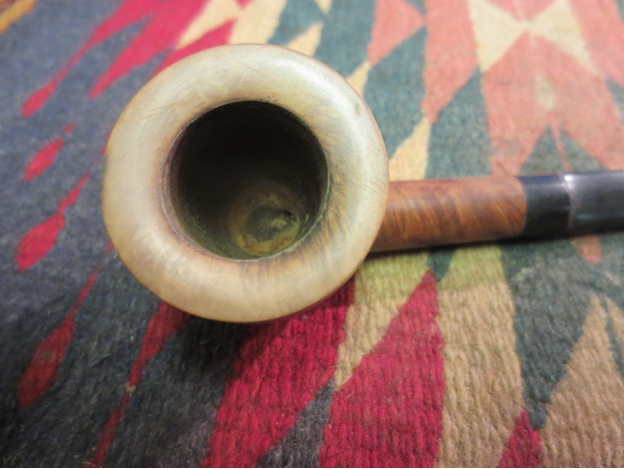 The pipe was unstained so I oiled the rim with olive oil to match the colour of the rest of the bowl. I applied the olive oil with a folded paper towel and rubbed it into the briar and then wiped it off. I repeated the process until the surface of the bowl and rim were non-oily to touch.
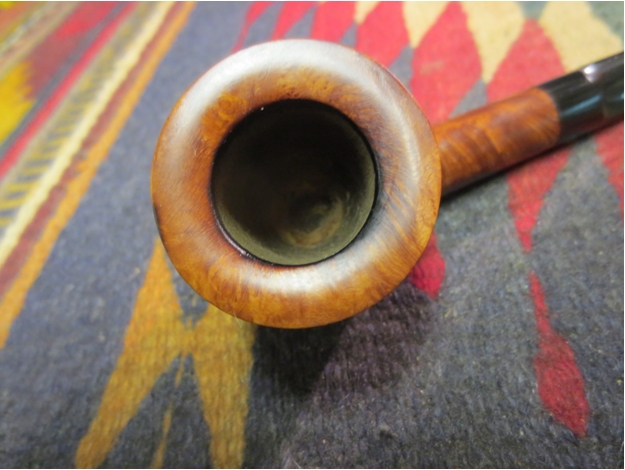 I buffed the bowl and rim with White Diamond and a soft flannel buff to polish it.
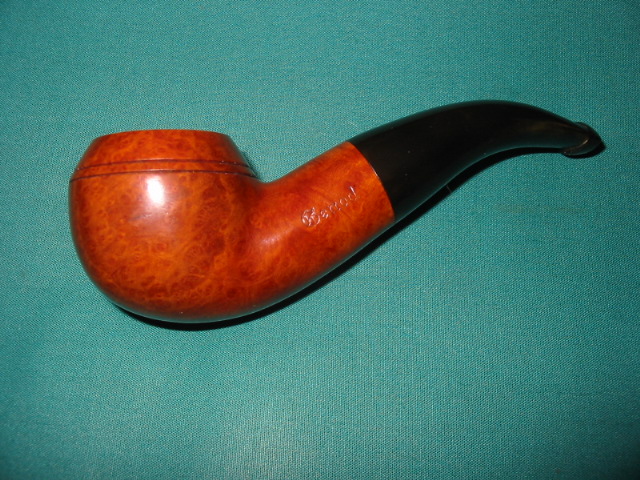
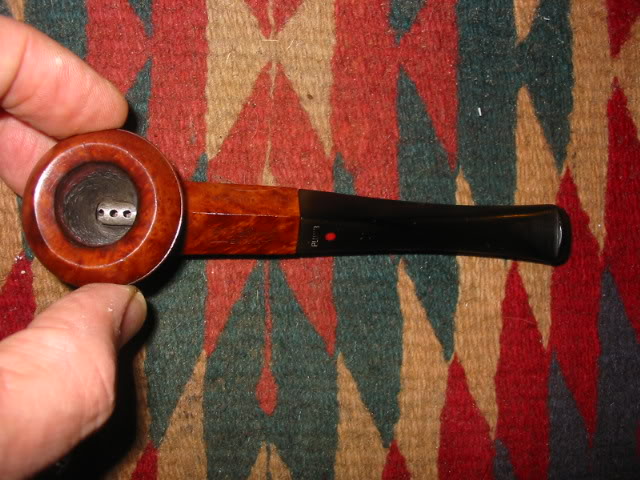
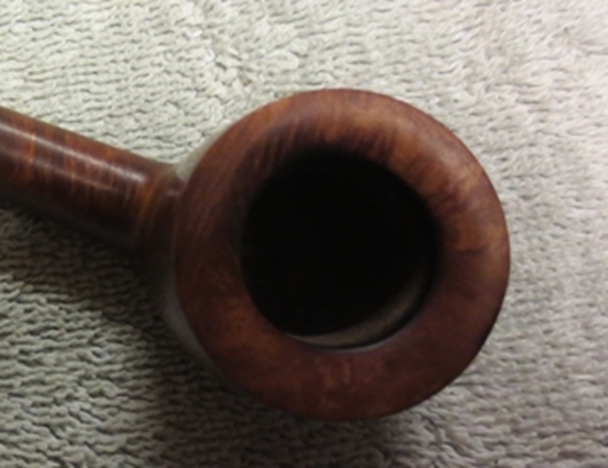
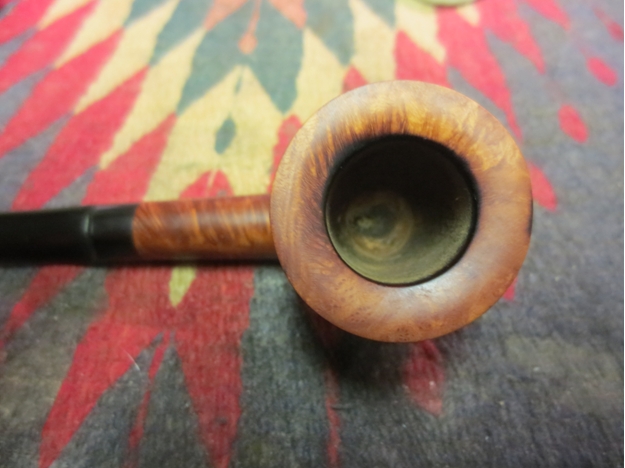 After the buffing I could still see some marks left behind by the sandpaper and sanding sponges so I sanded the rim with micromesh sanding pads. I wet sanded the rim with 1500-2400 grit pads and dry sanded with 3200-12,000 grit pads. When finished I gave the bowl and rim several coats of carnauba wax and buffed with a soft flannel wheel to raise the shine. The finished rim is shown below. The burn marks are minimized and the bevel on the rim shines and highlights the natural grain of the briar.
NB. The complete restoration of this pipe is covered in a separate blog. https://rebornpipes.com/2015/01/04/restoring-a-burned-beveled-rim-on-an-algerian-briar-pot/