Tag Archives: refurbishing

What to refurbish next?


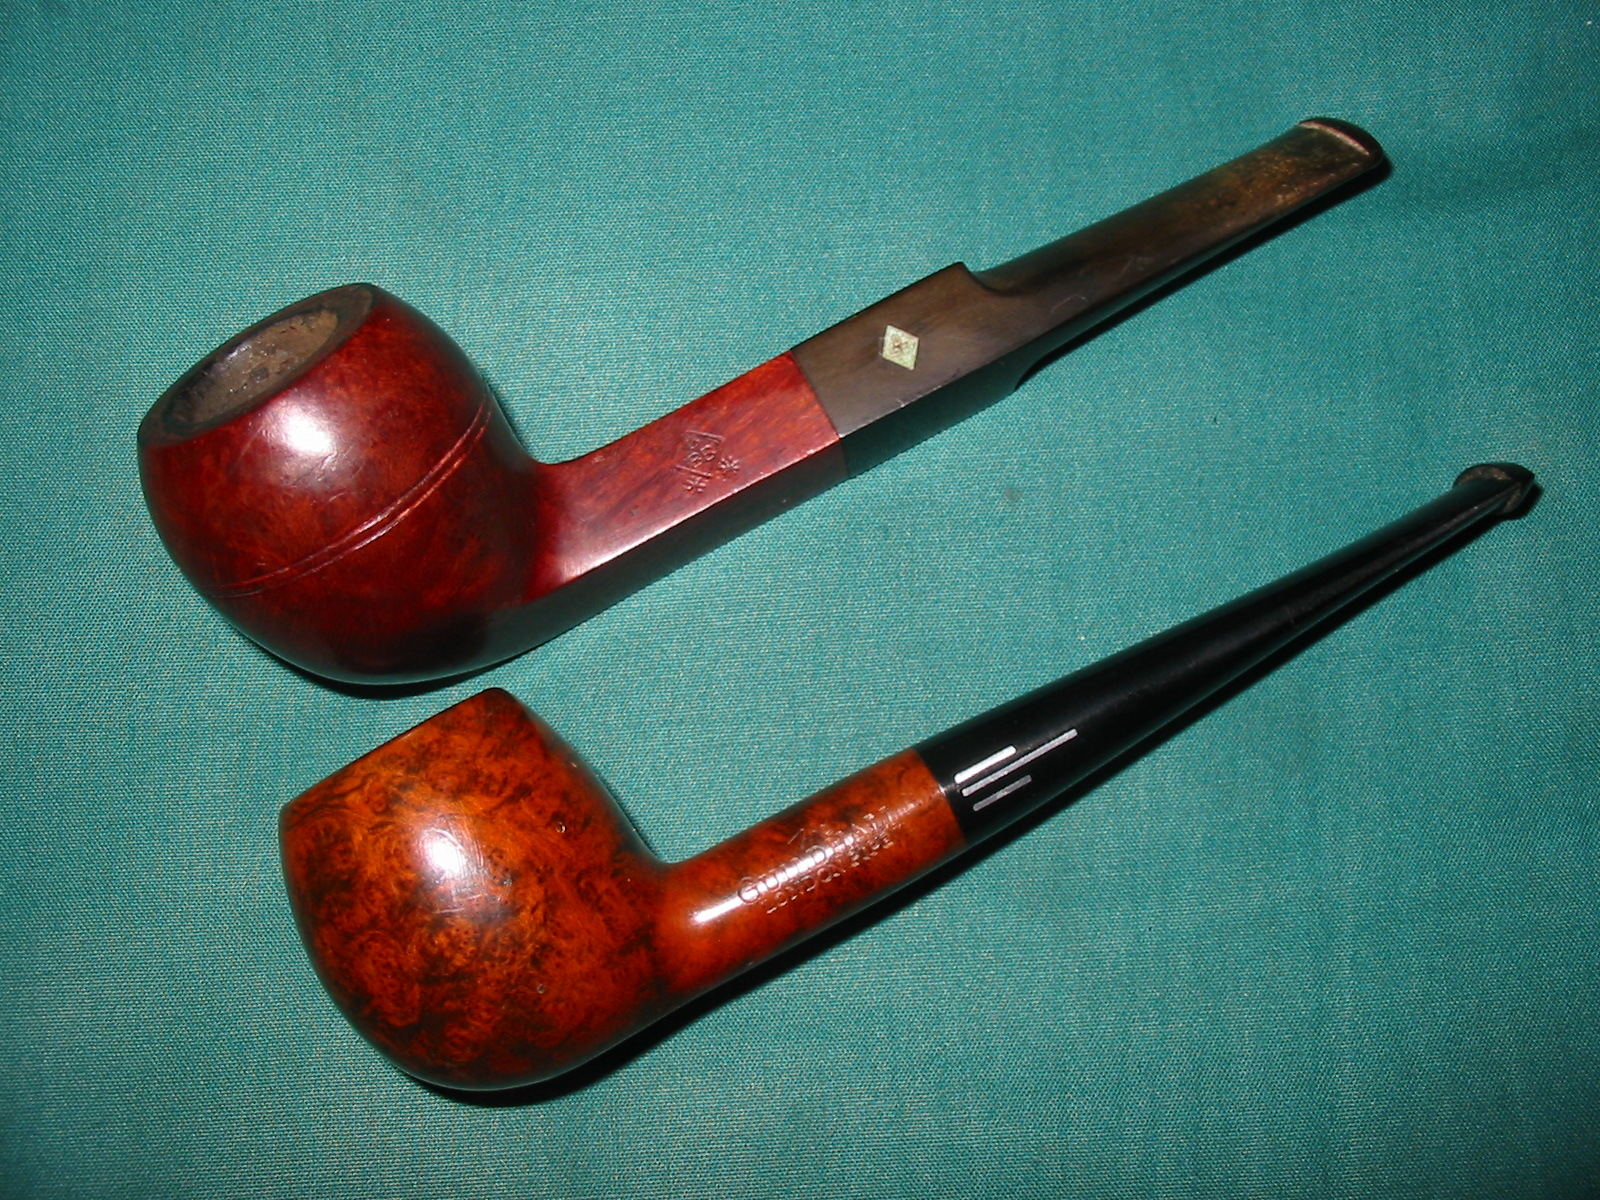
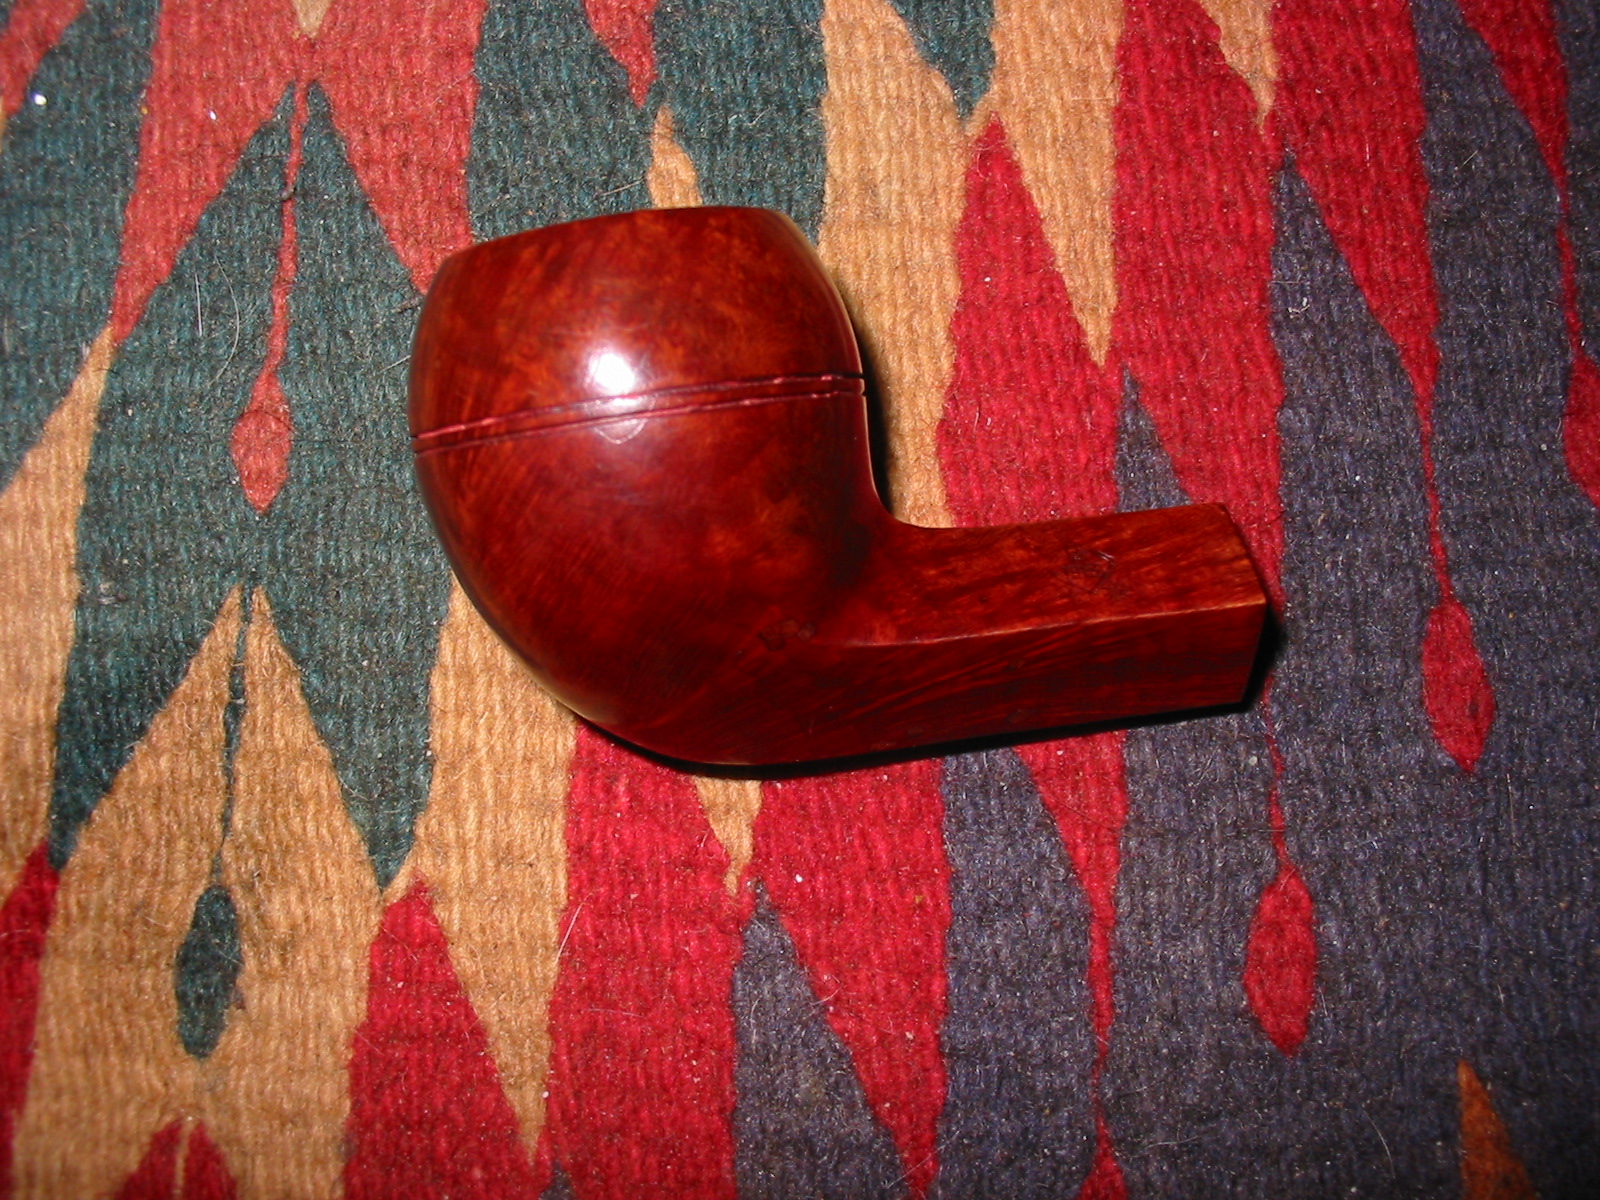
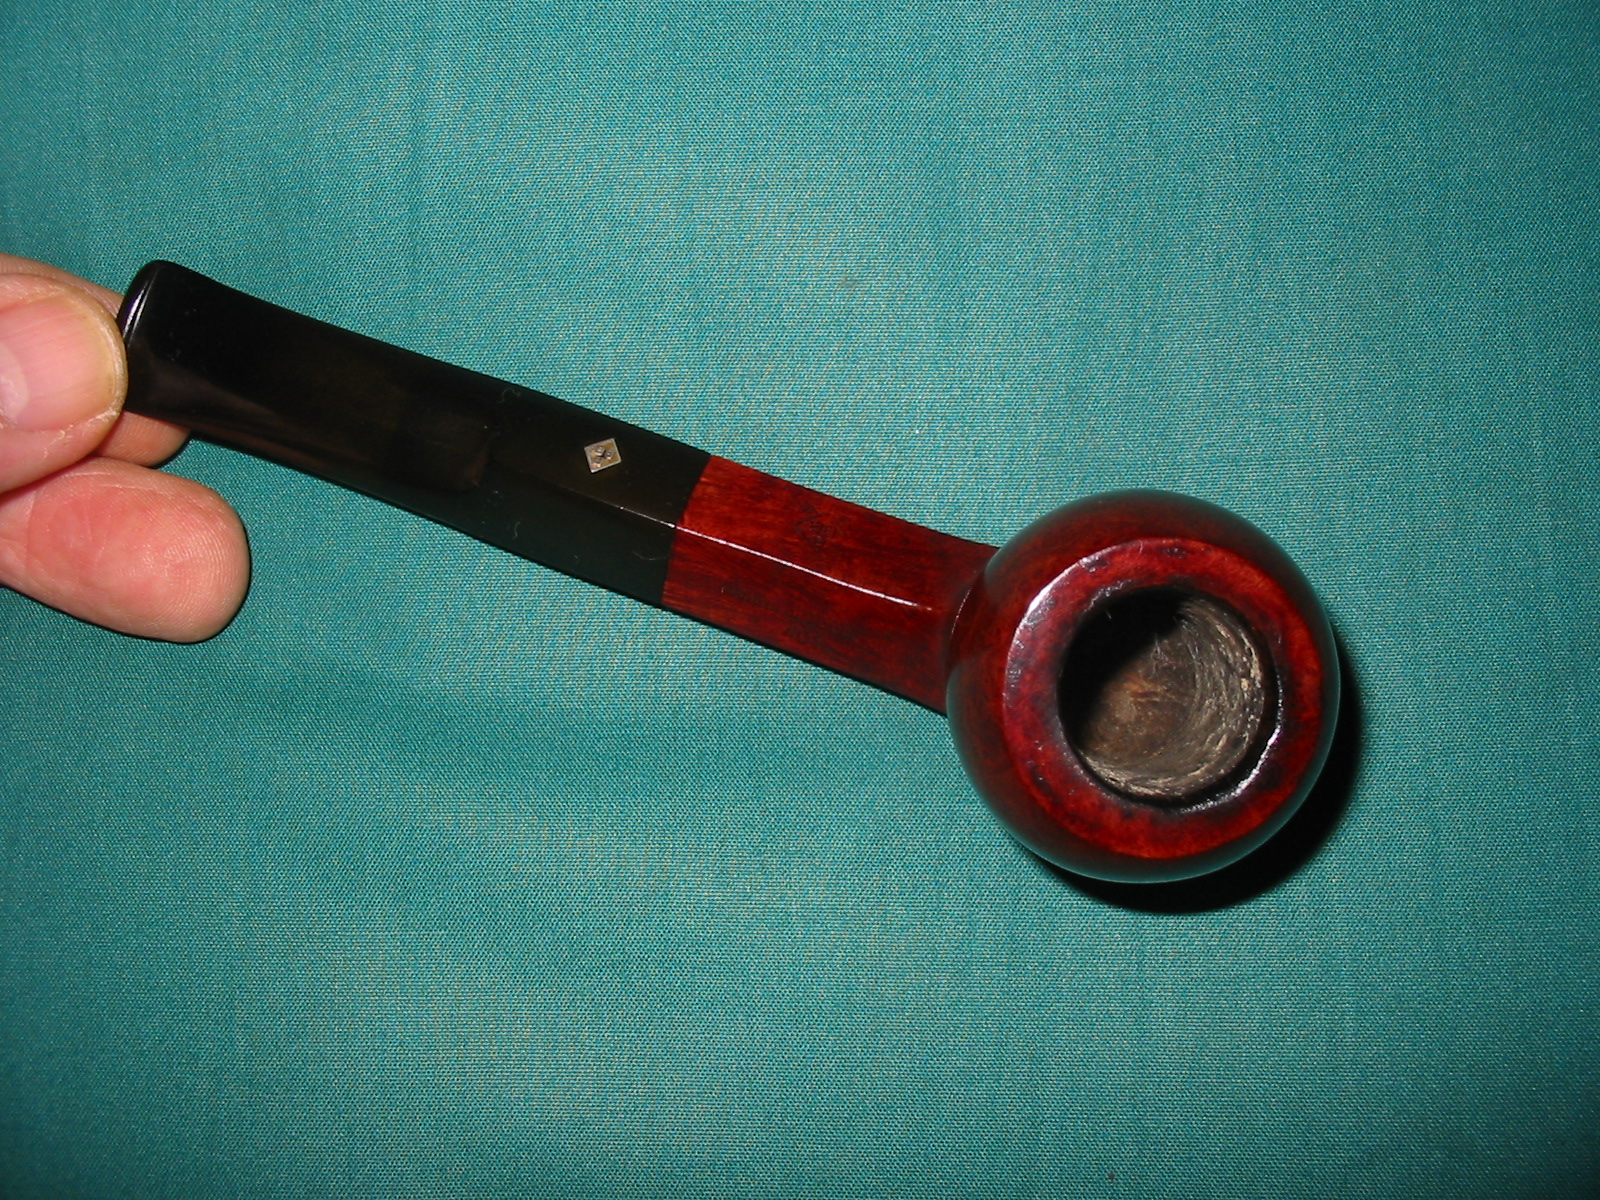
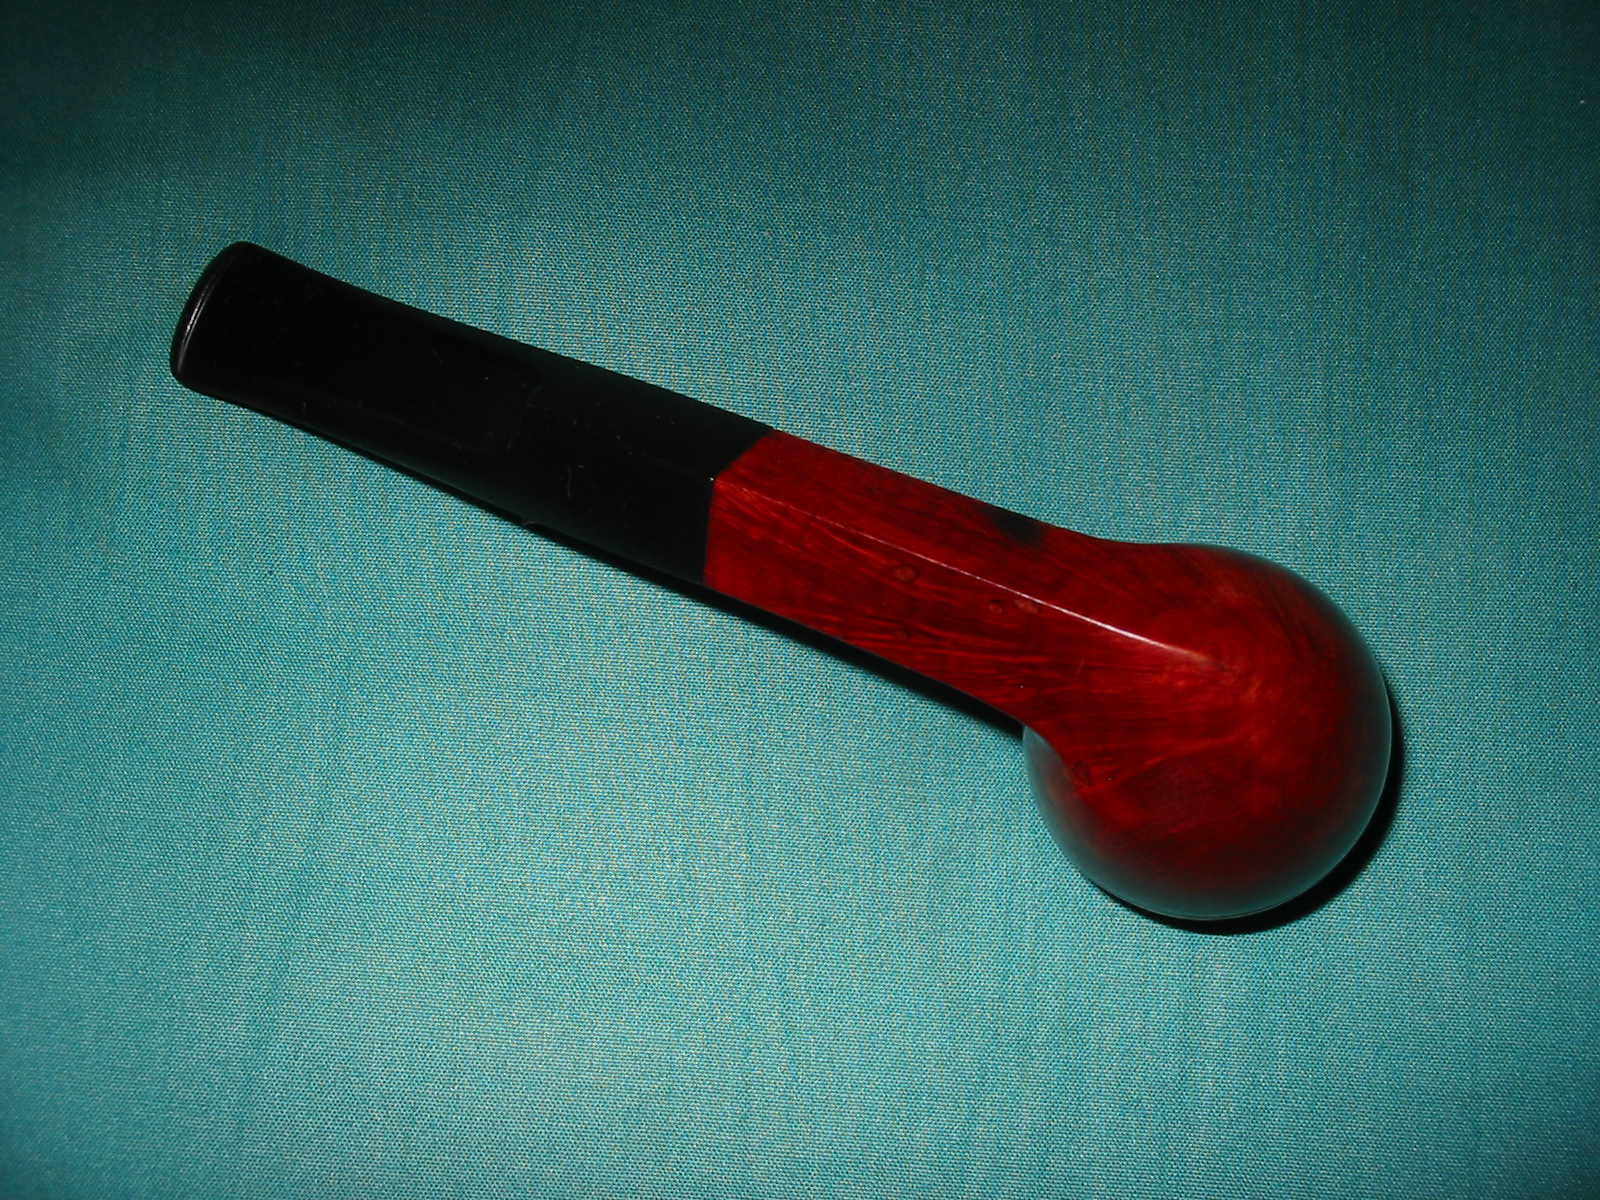
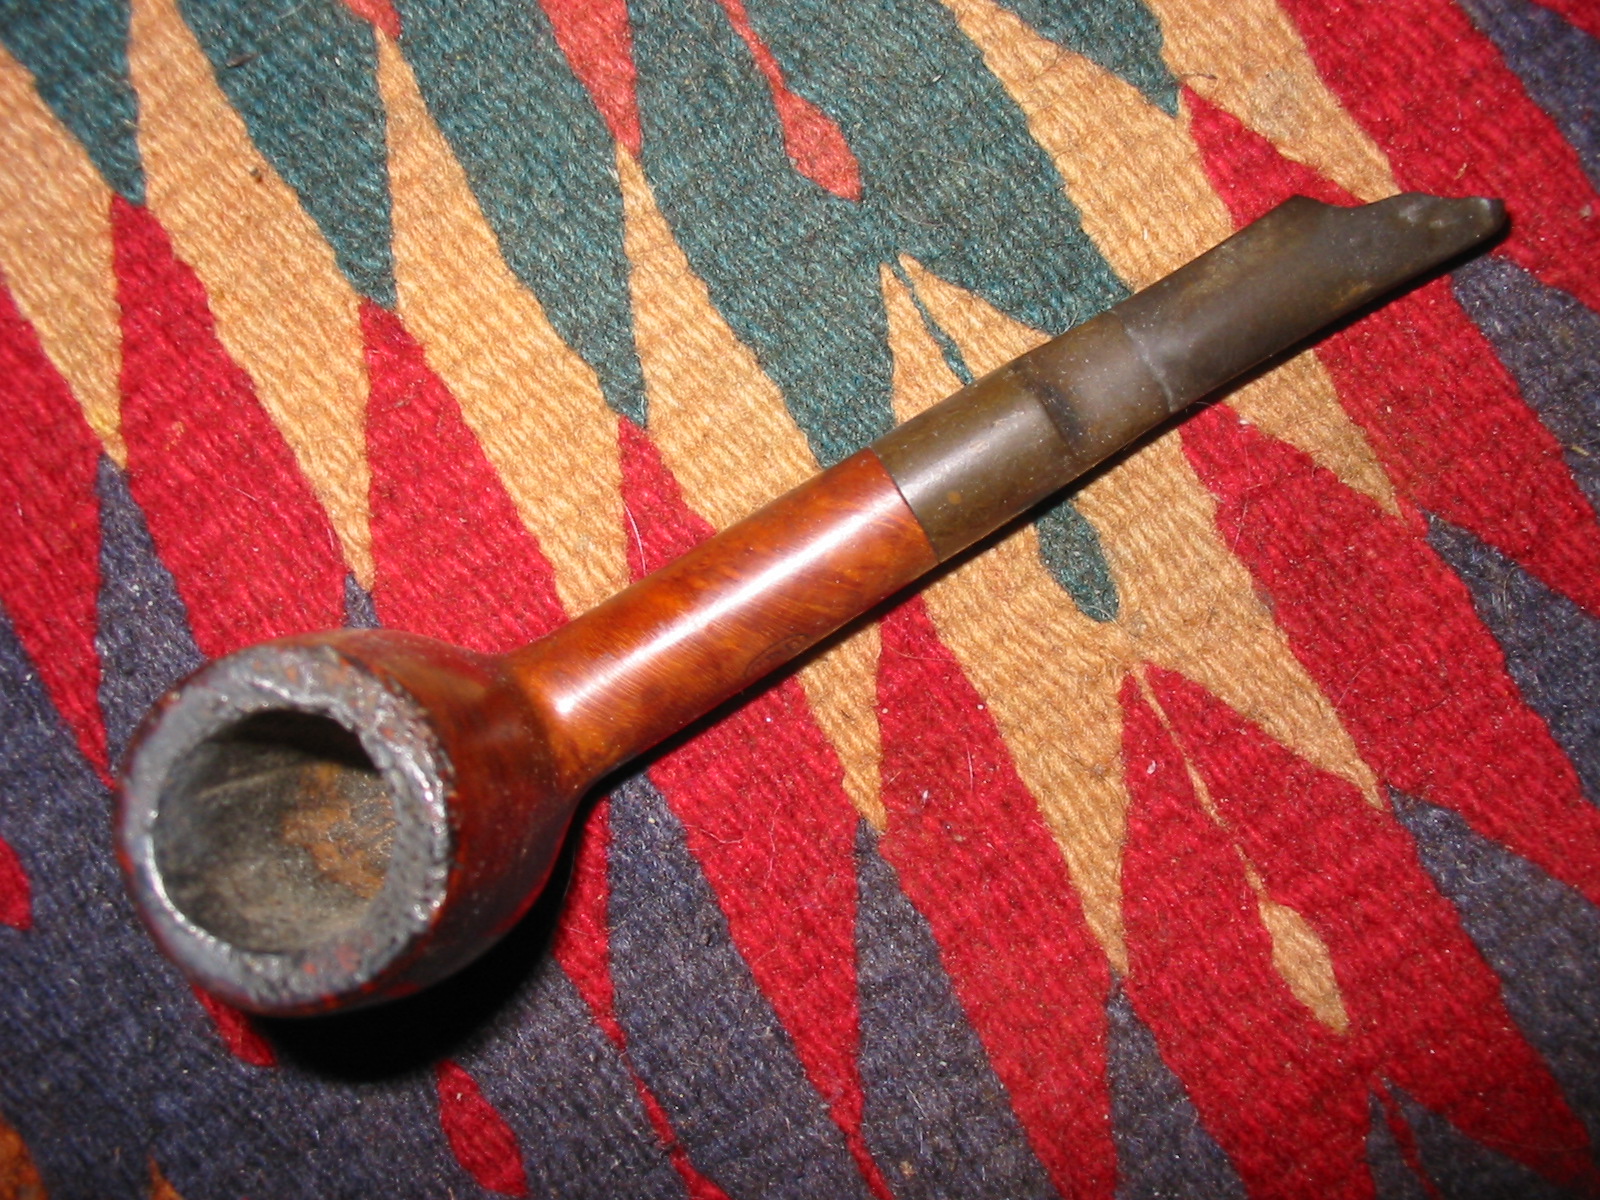
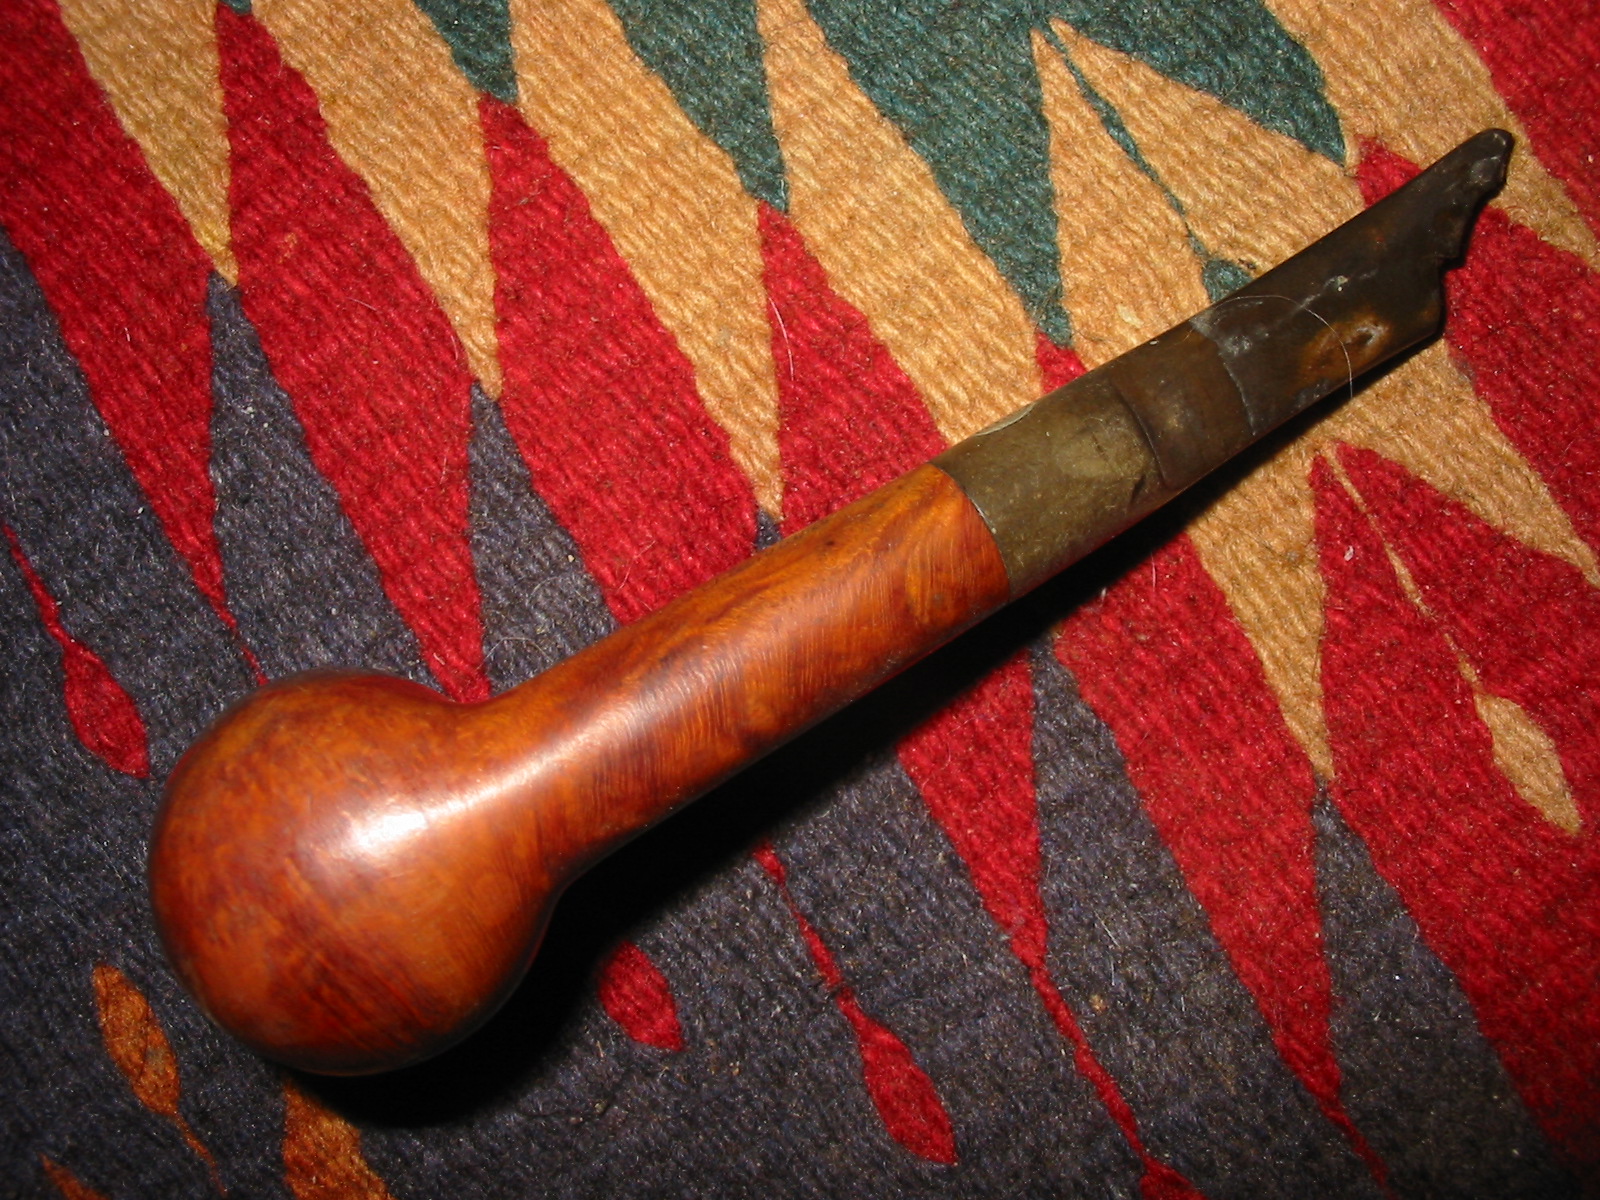
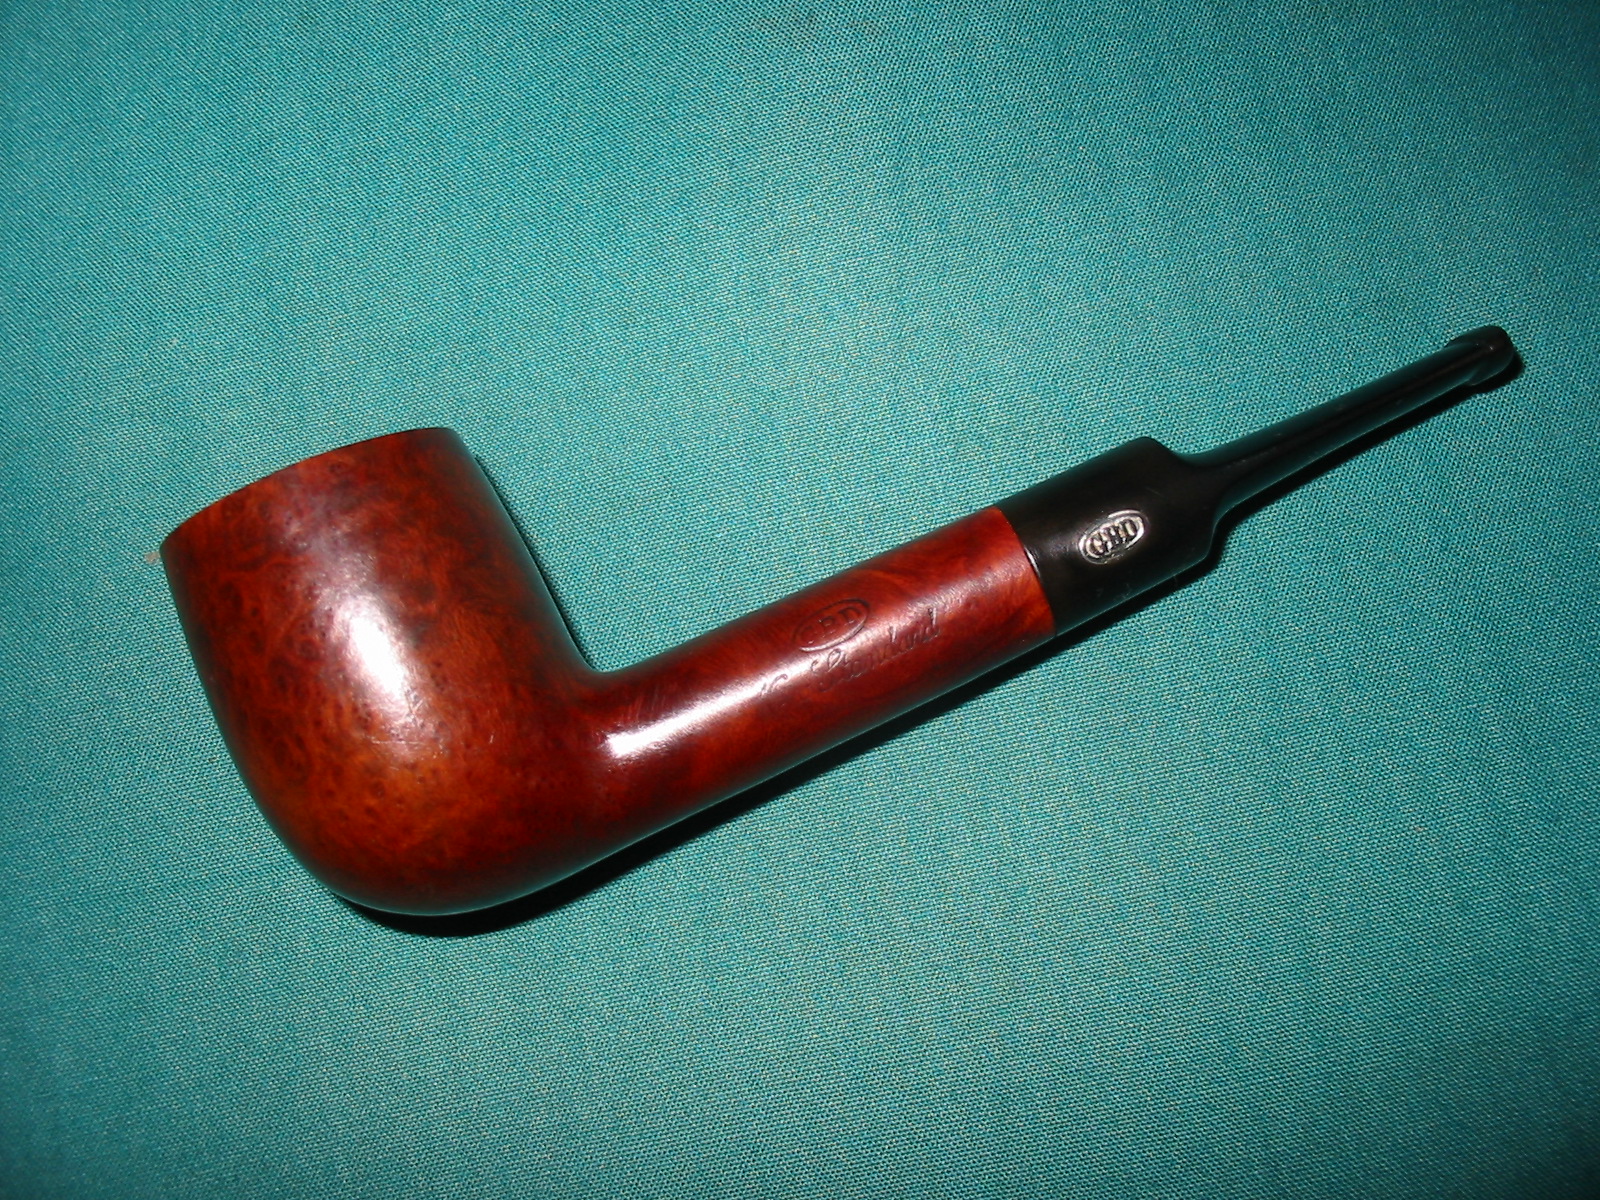
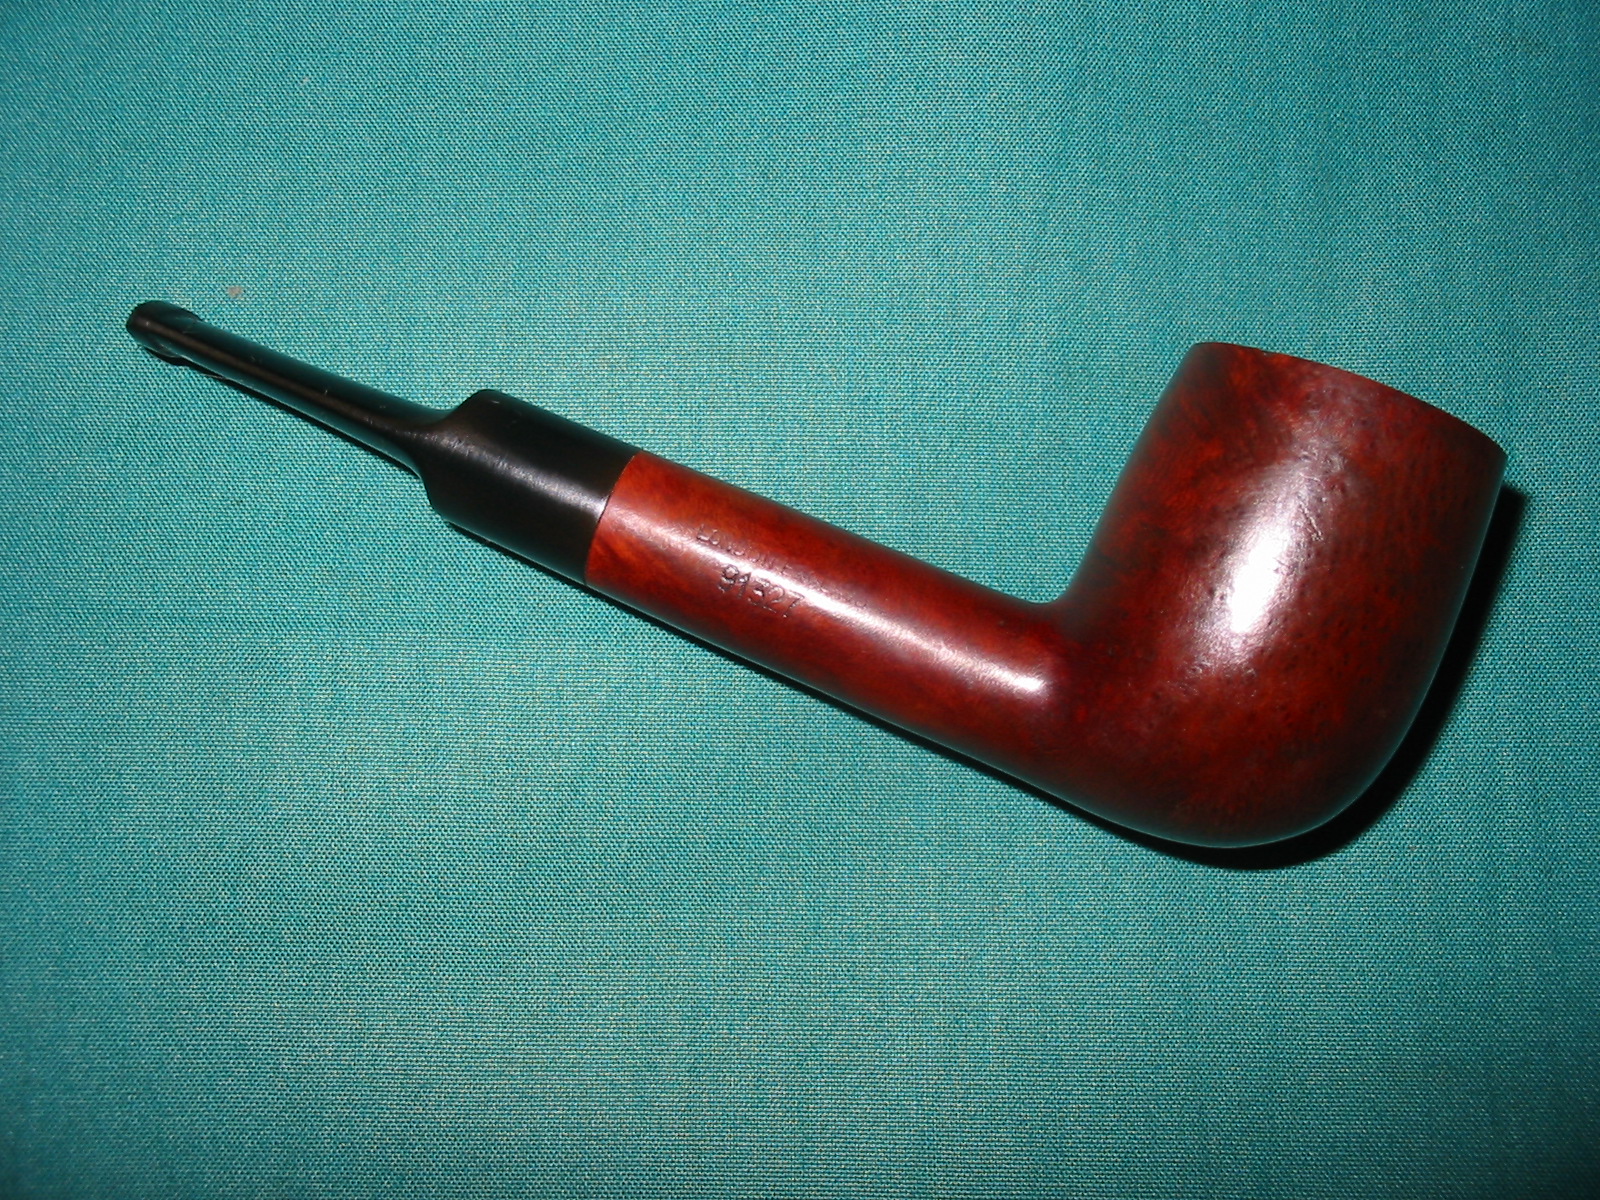
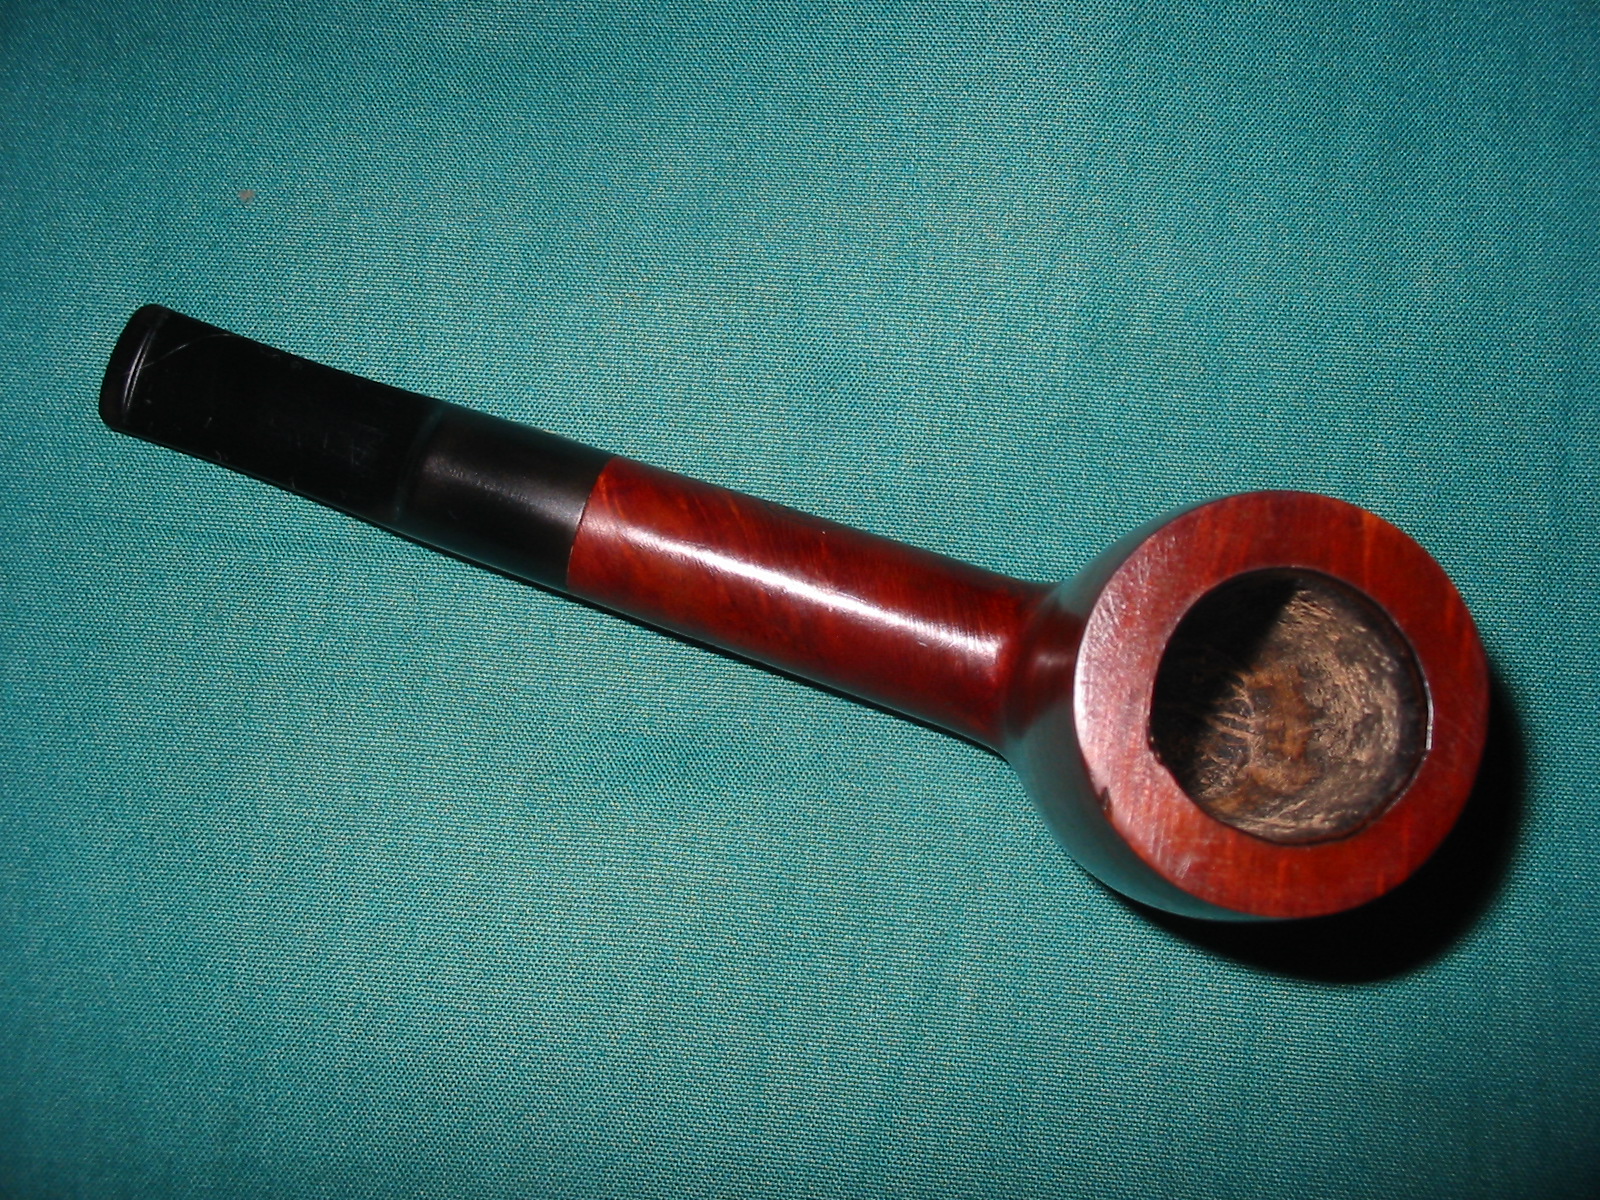
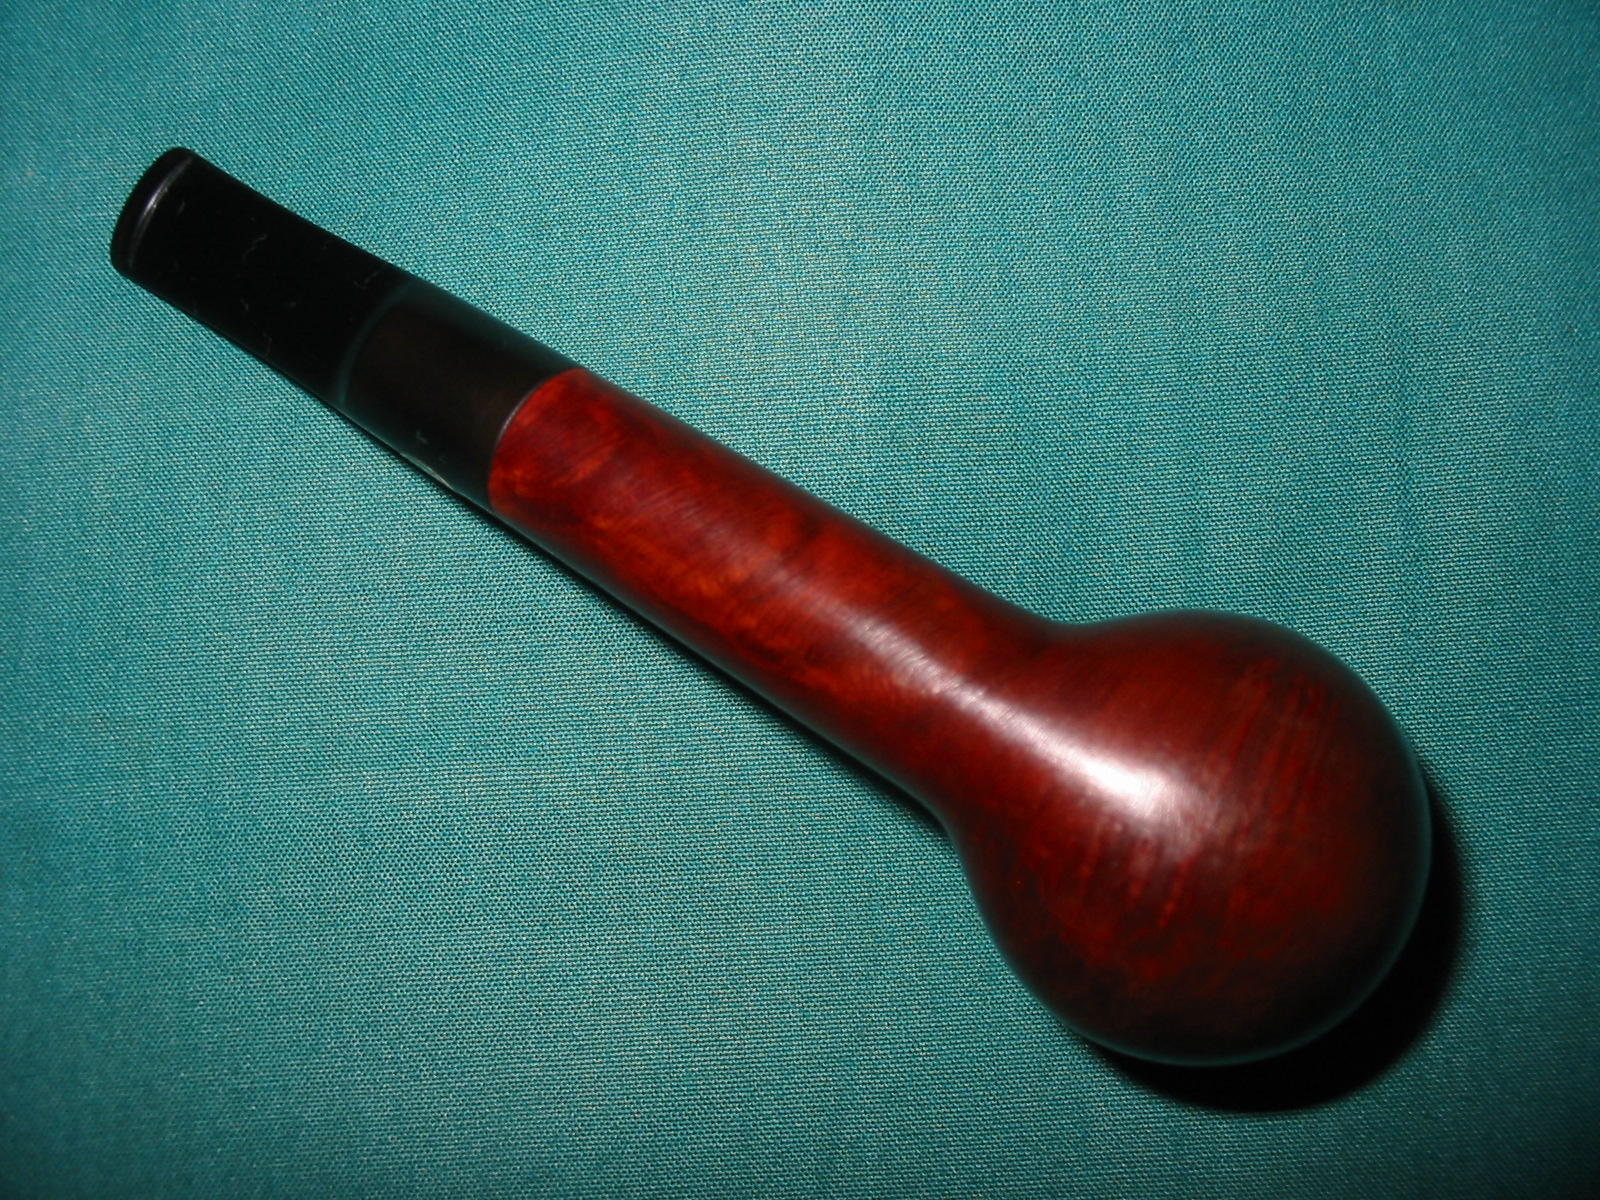
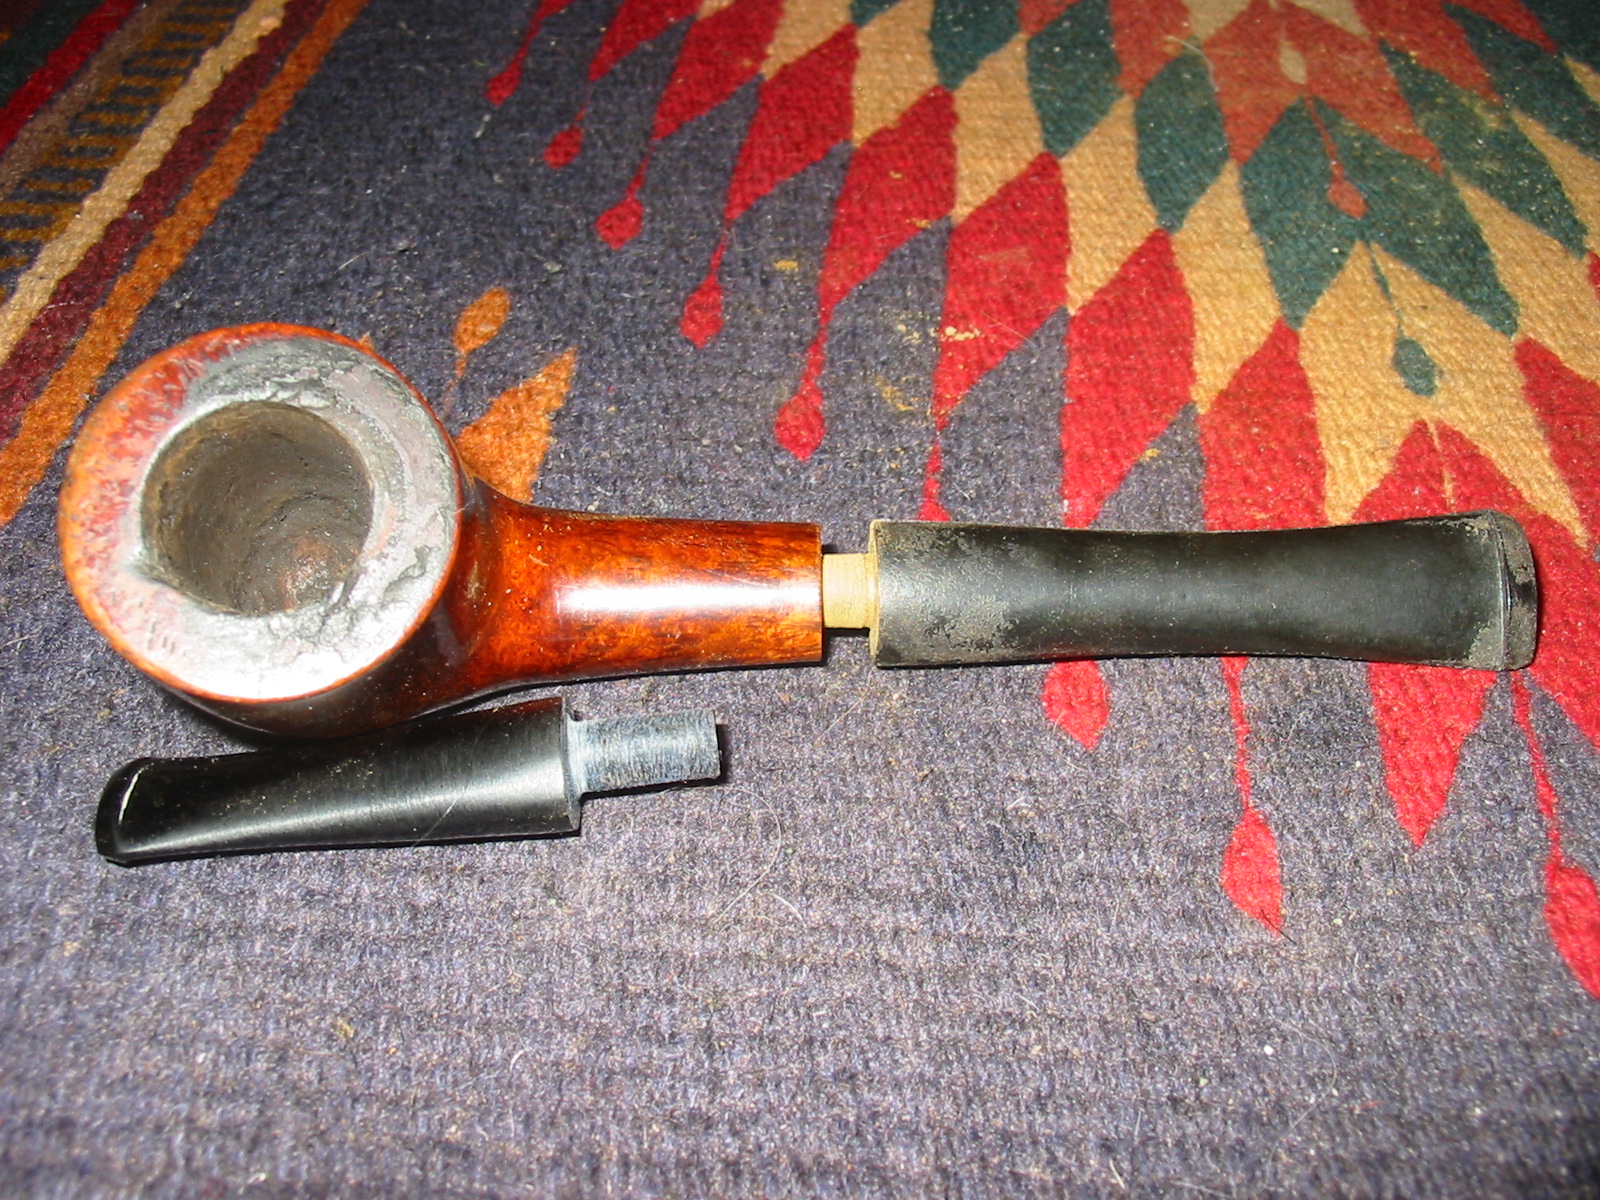
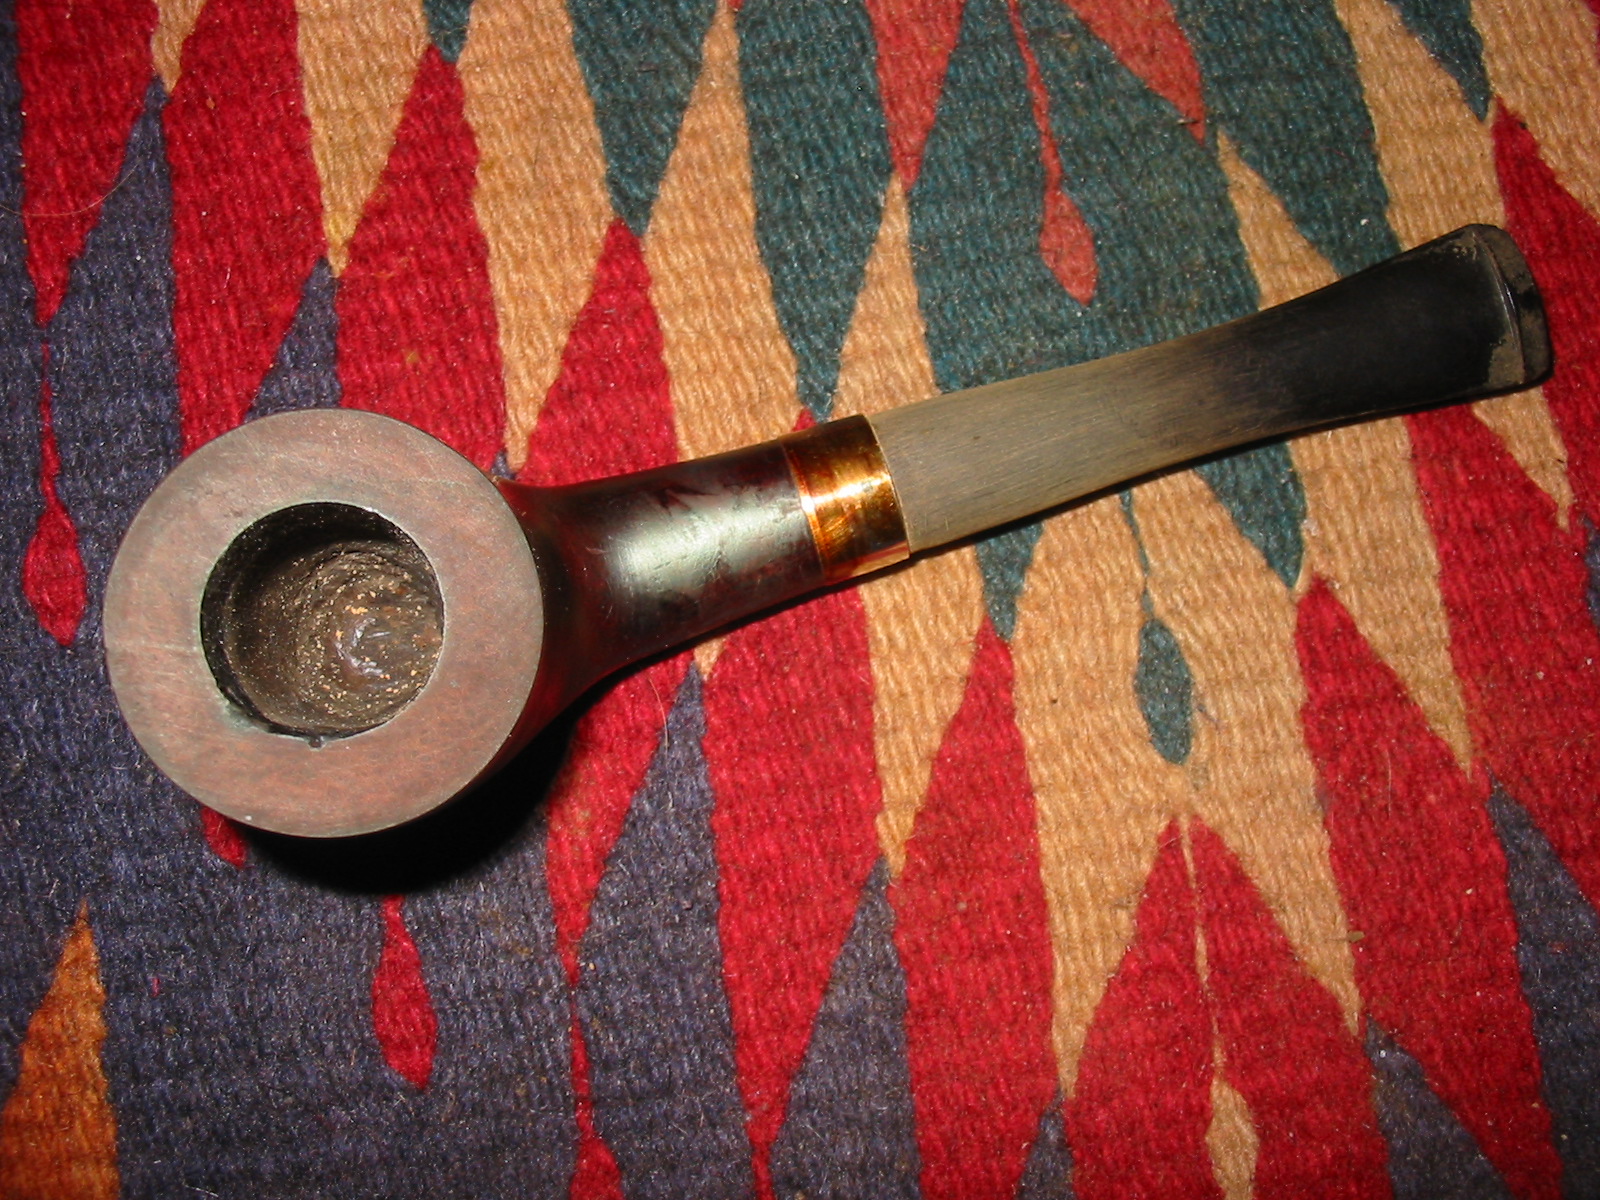
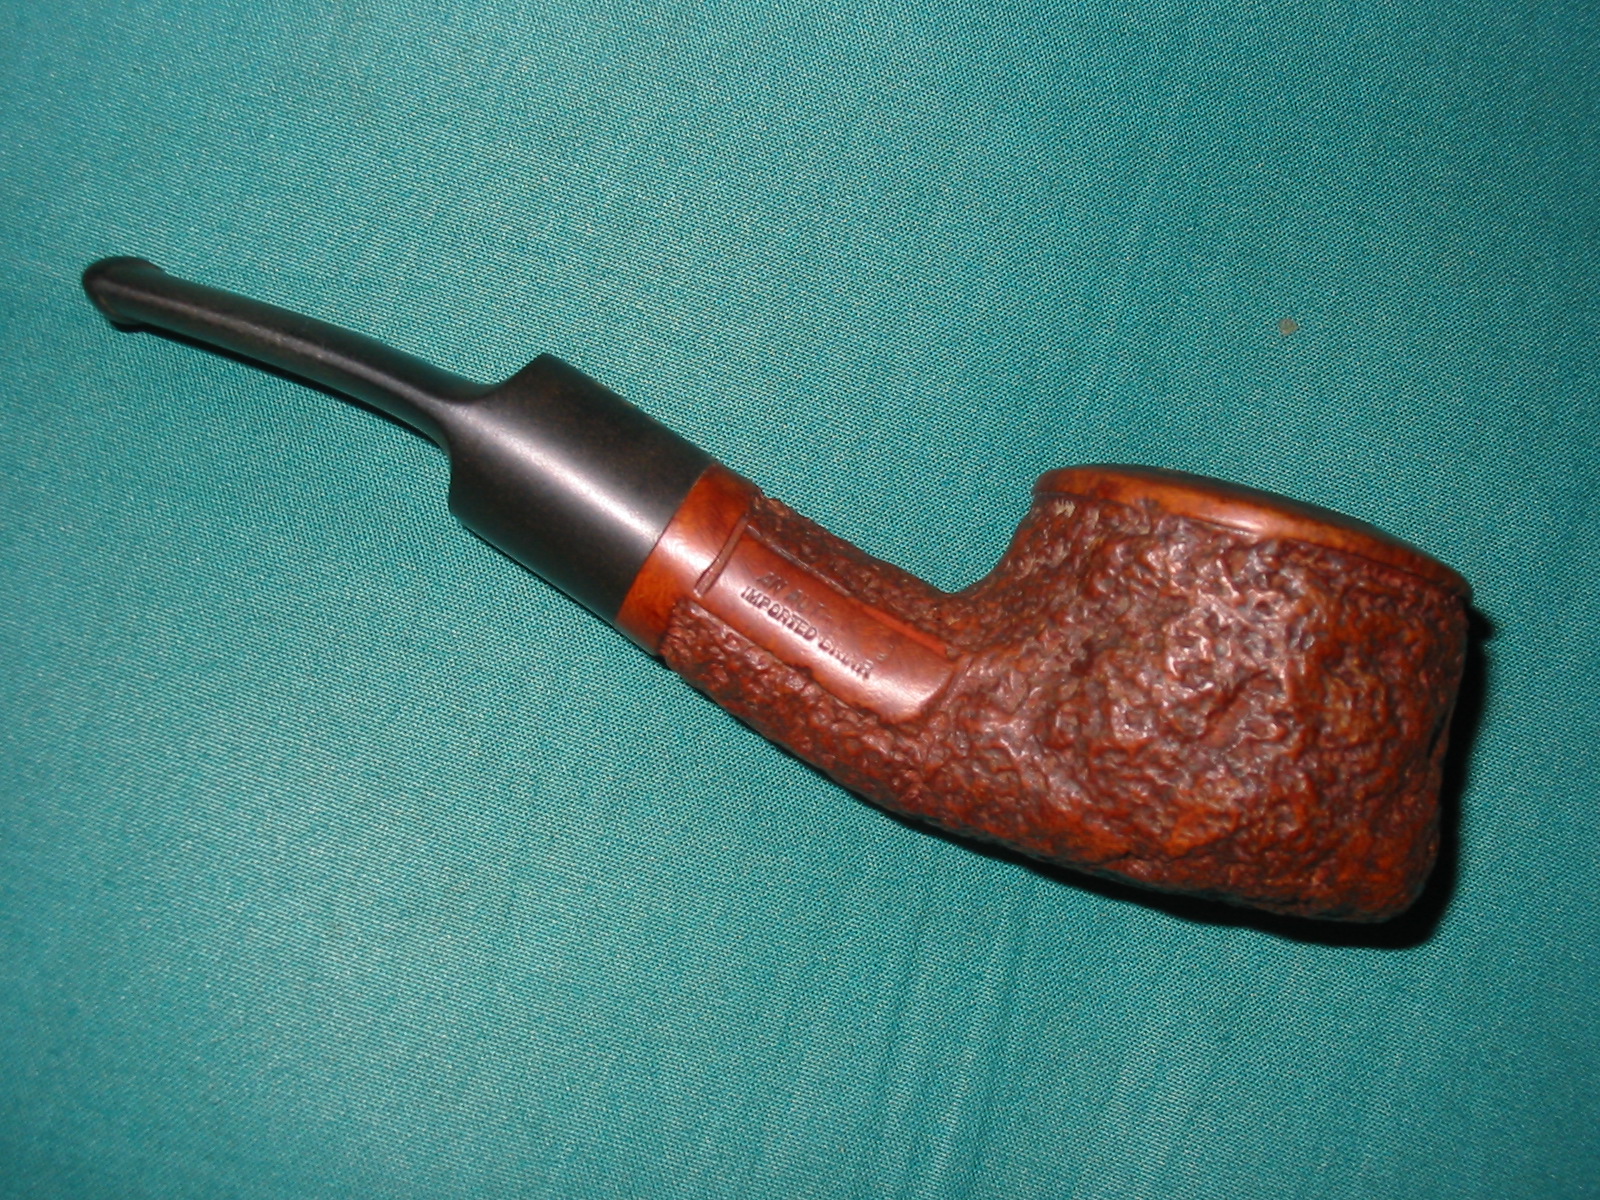
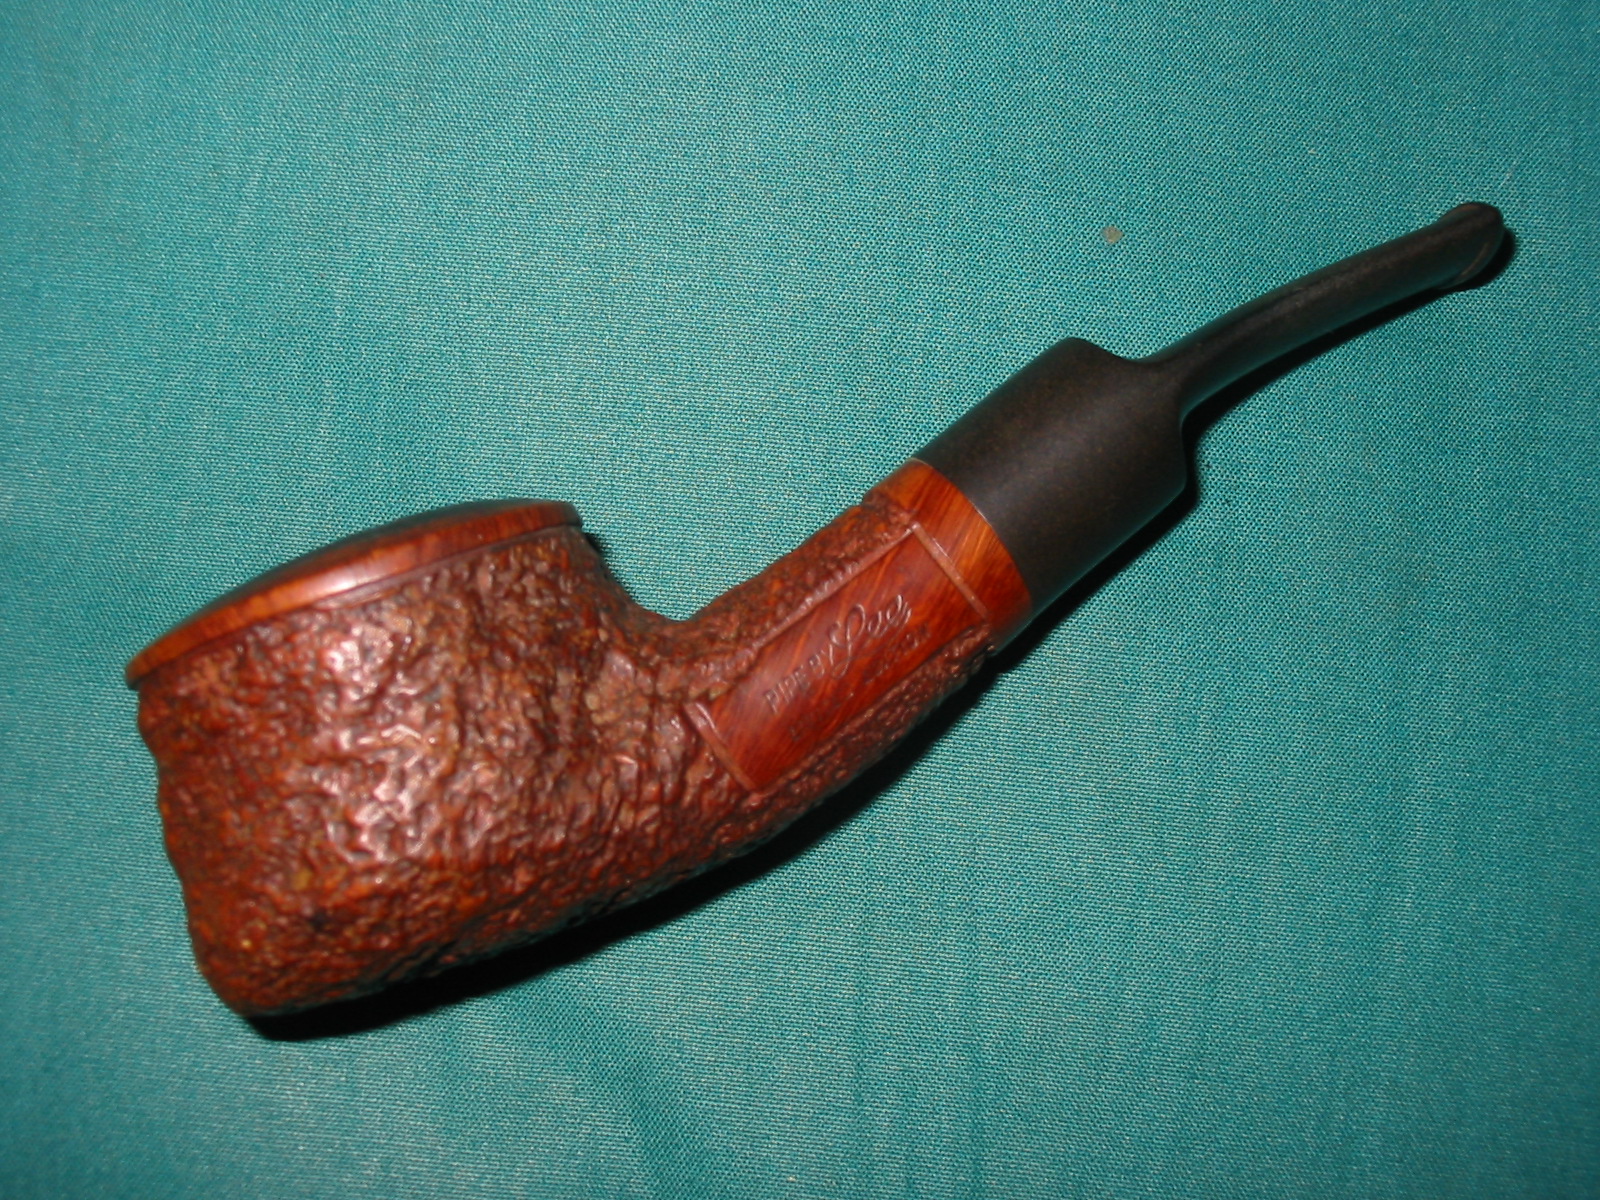
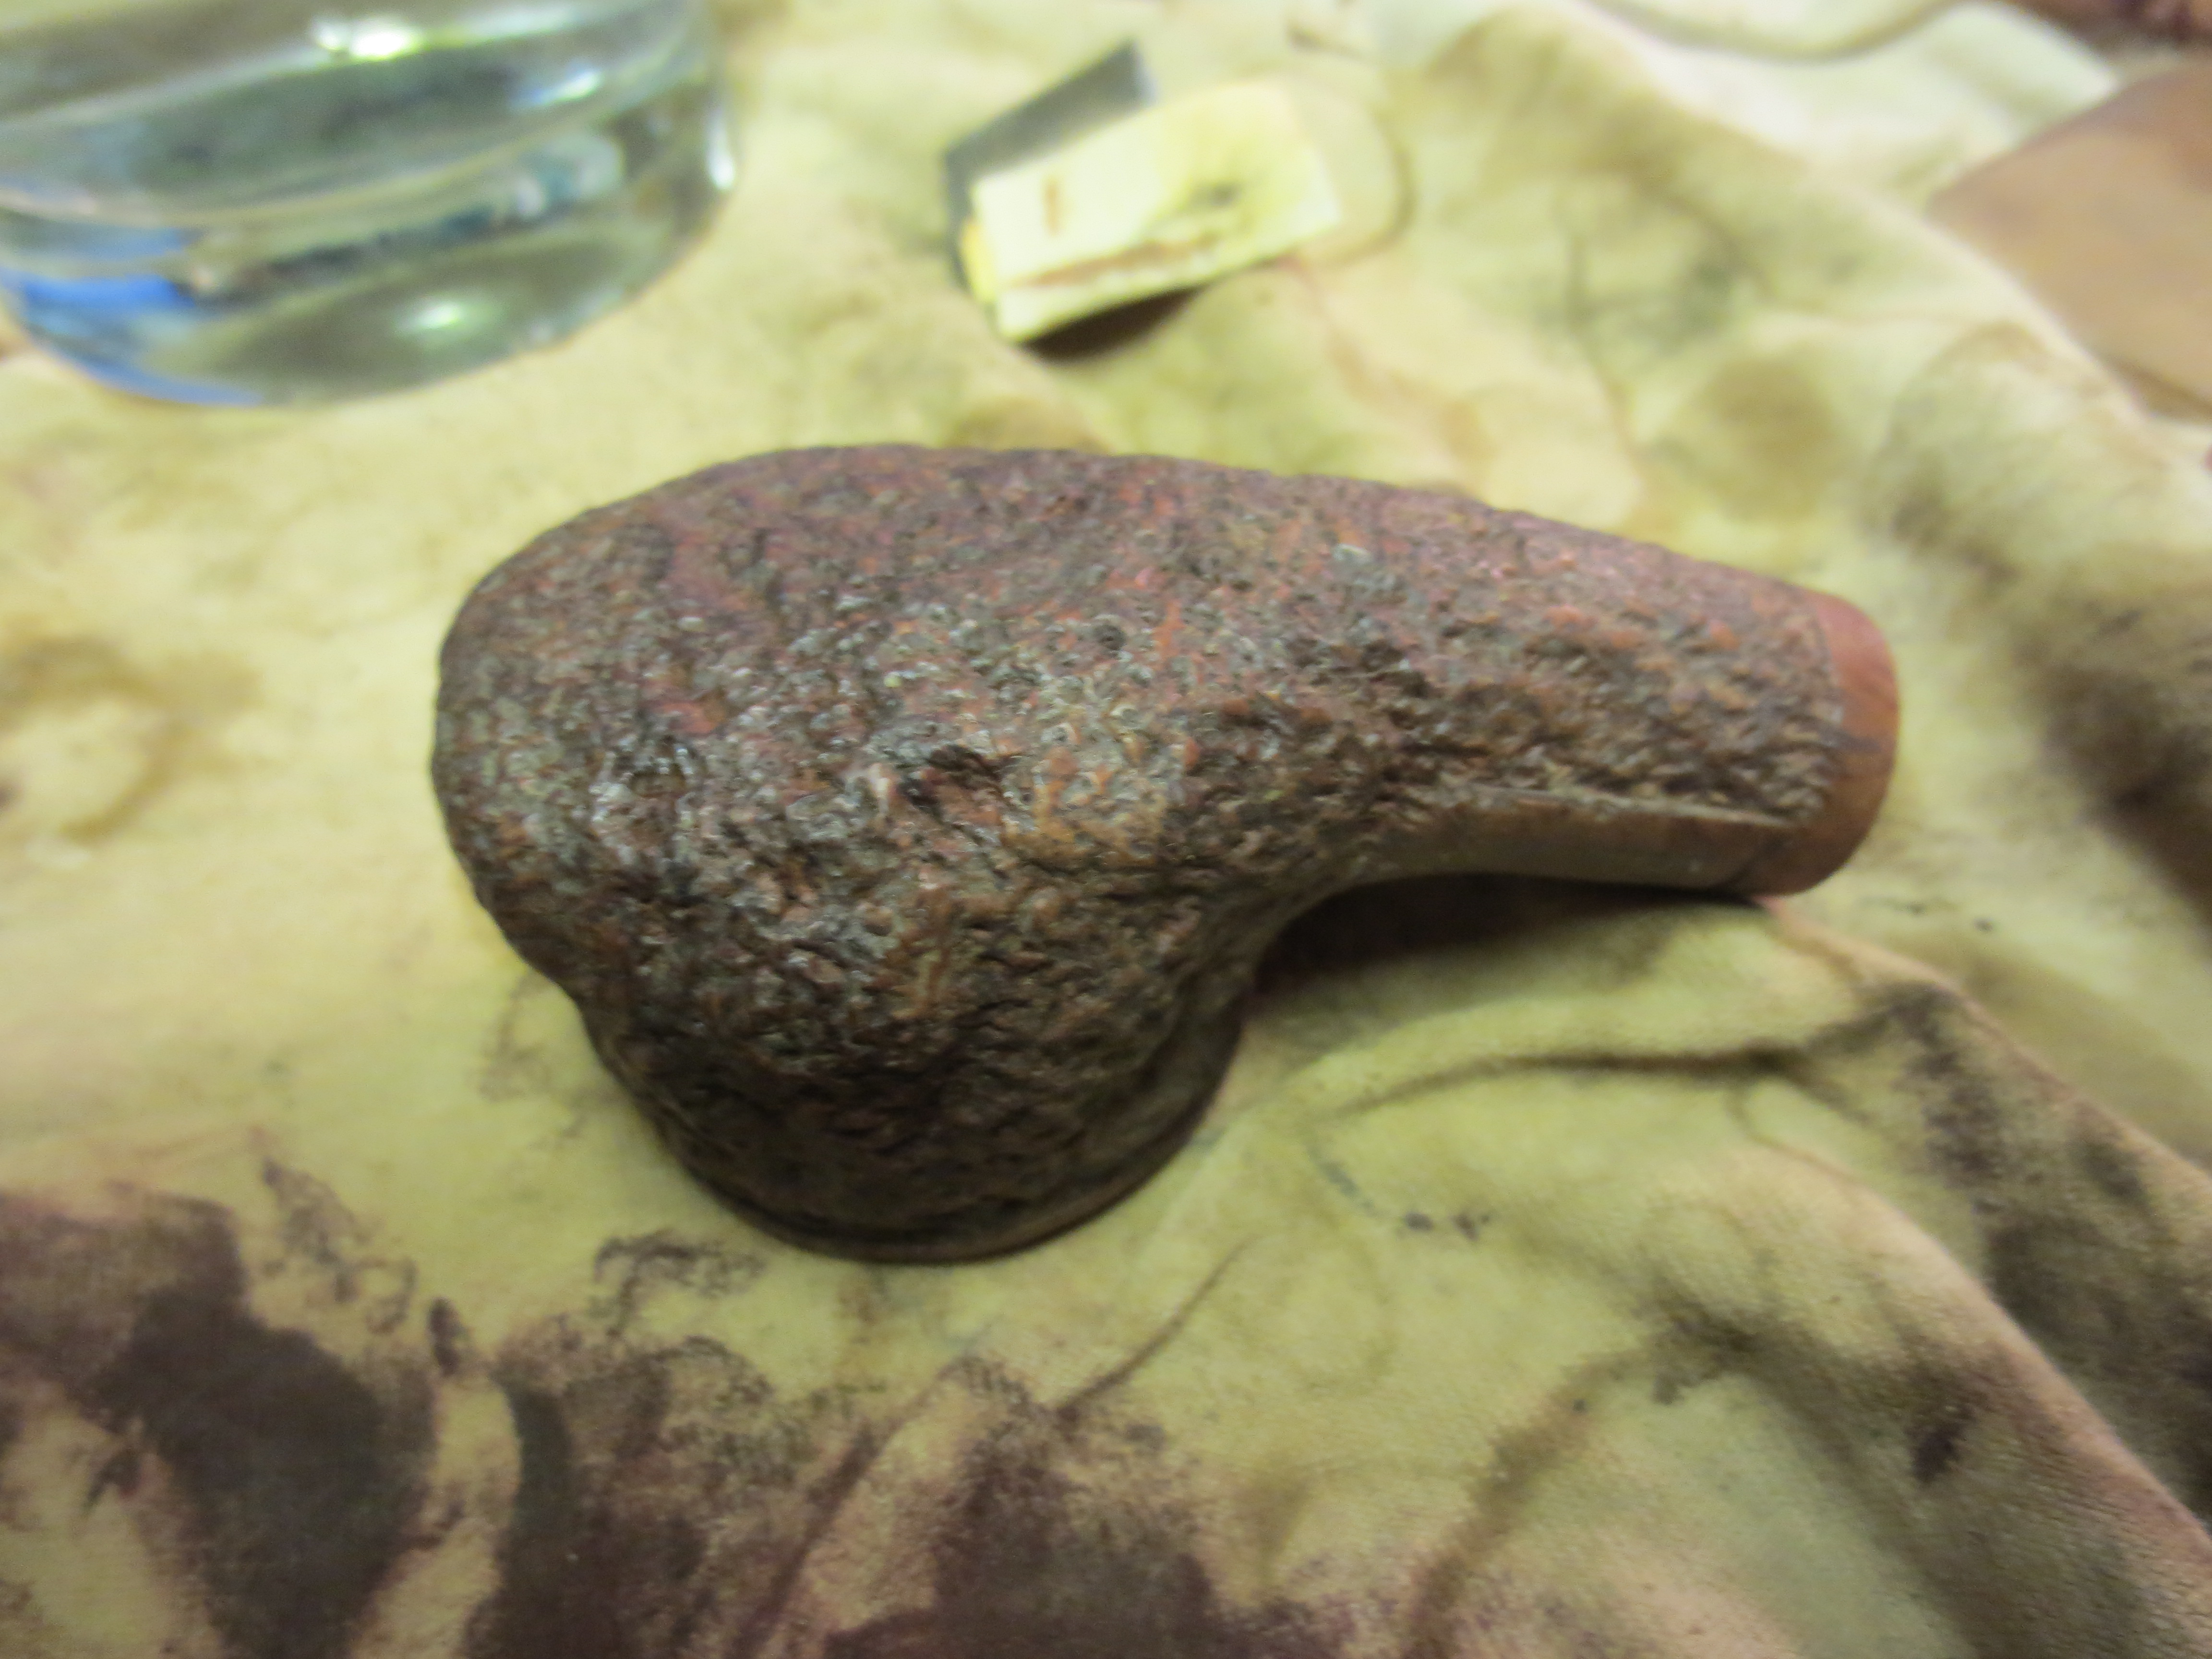
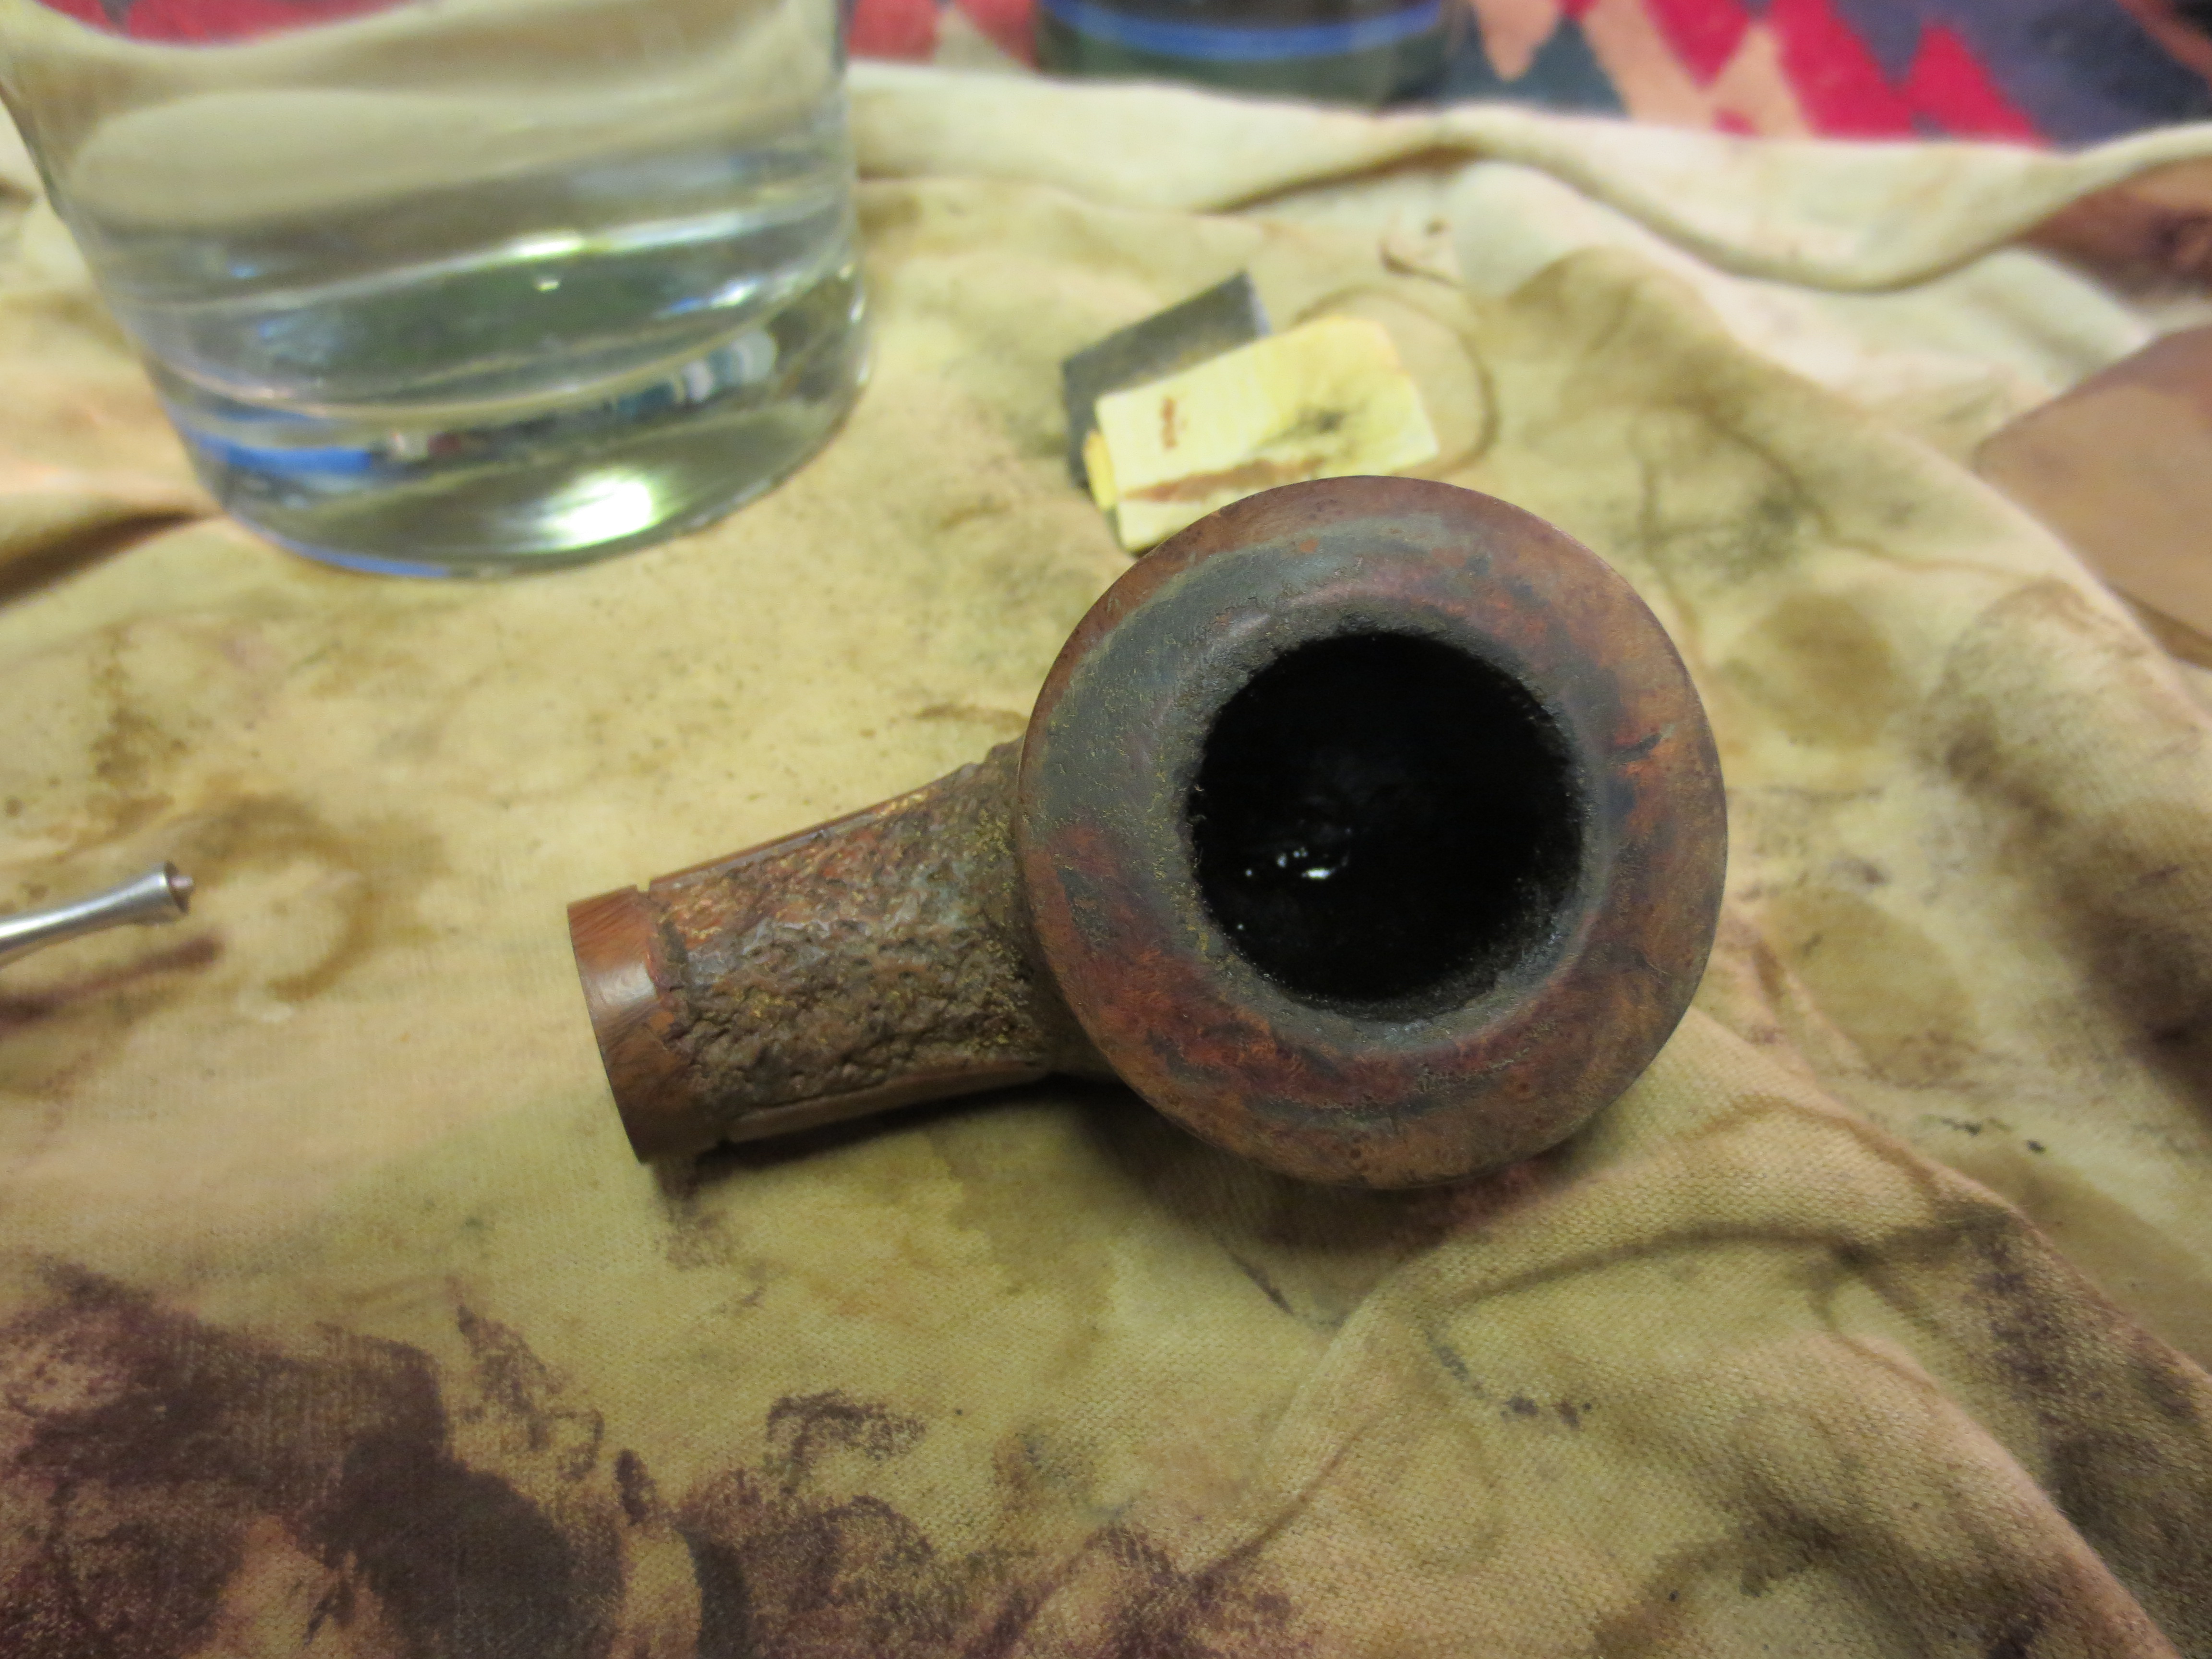
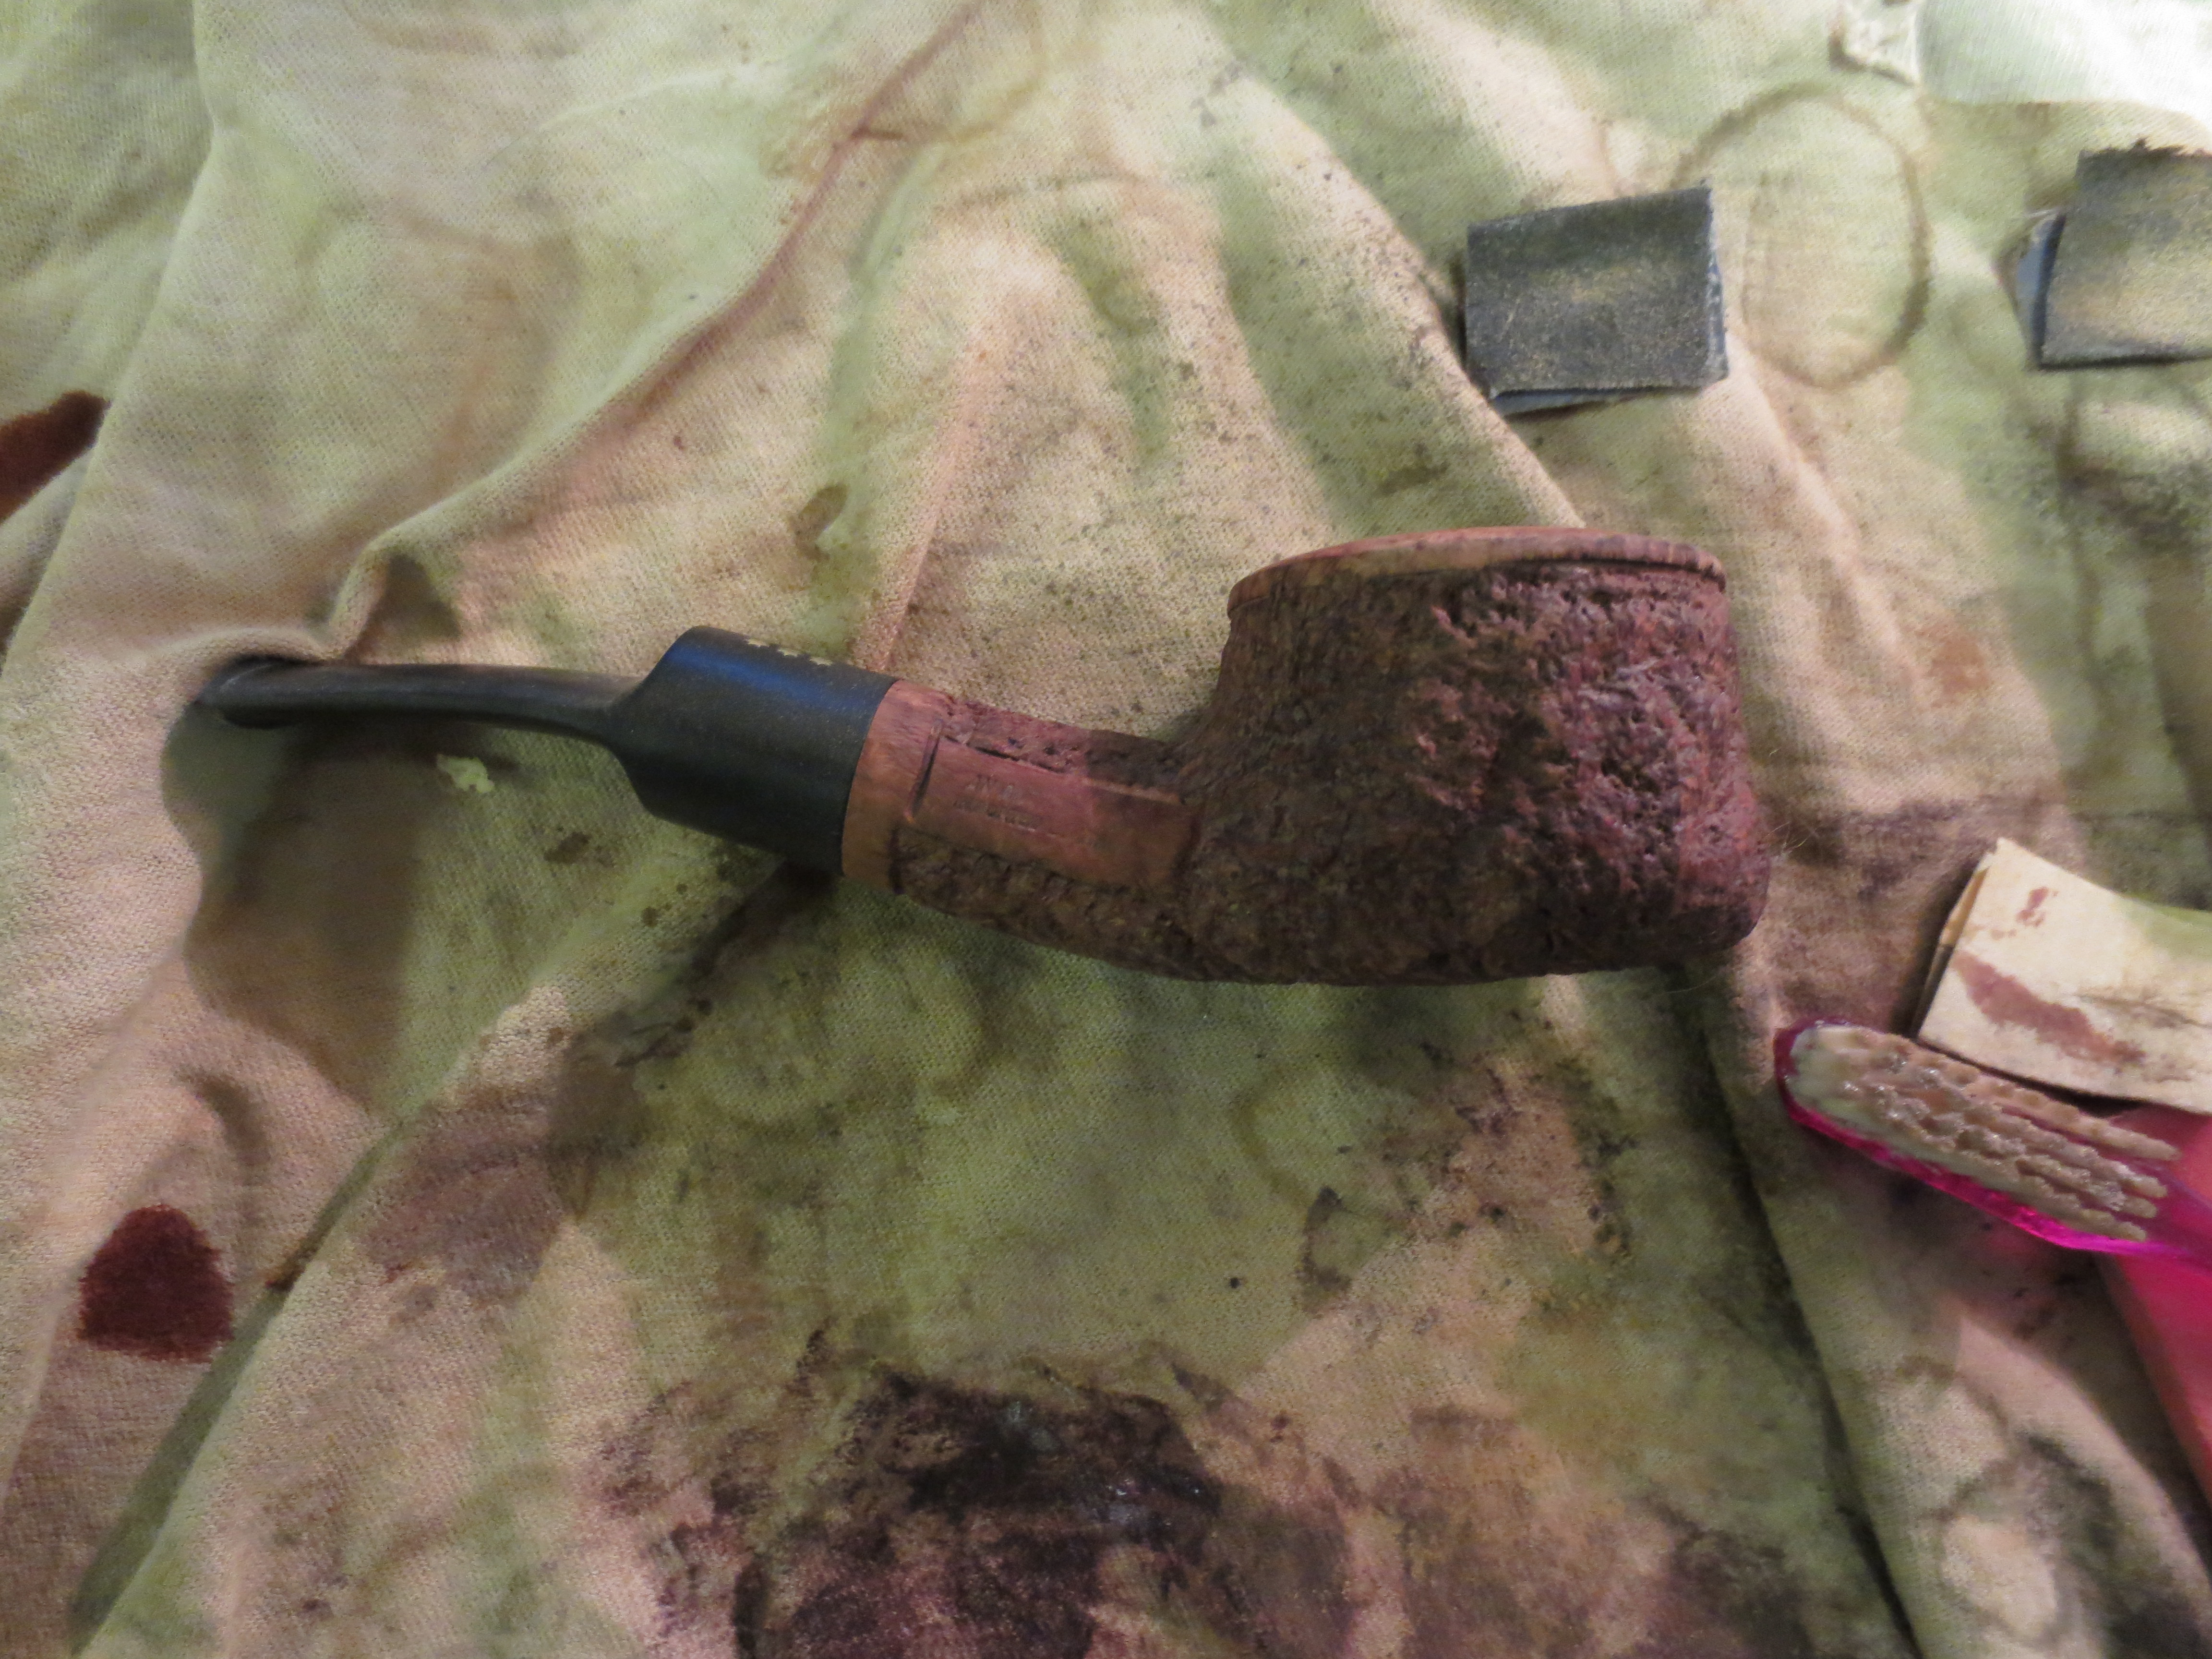
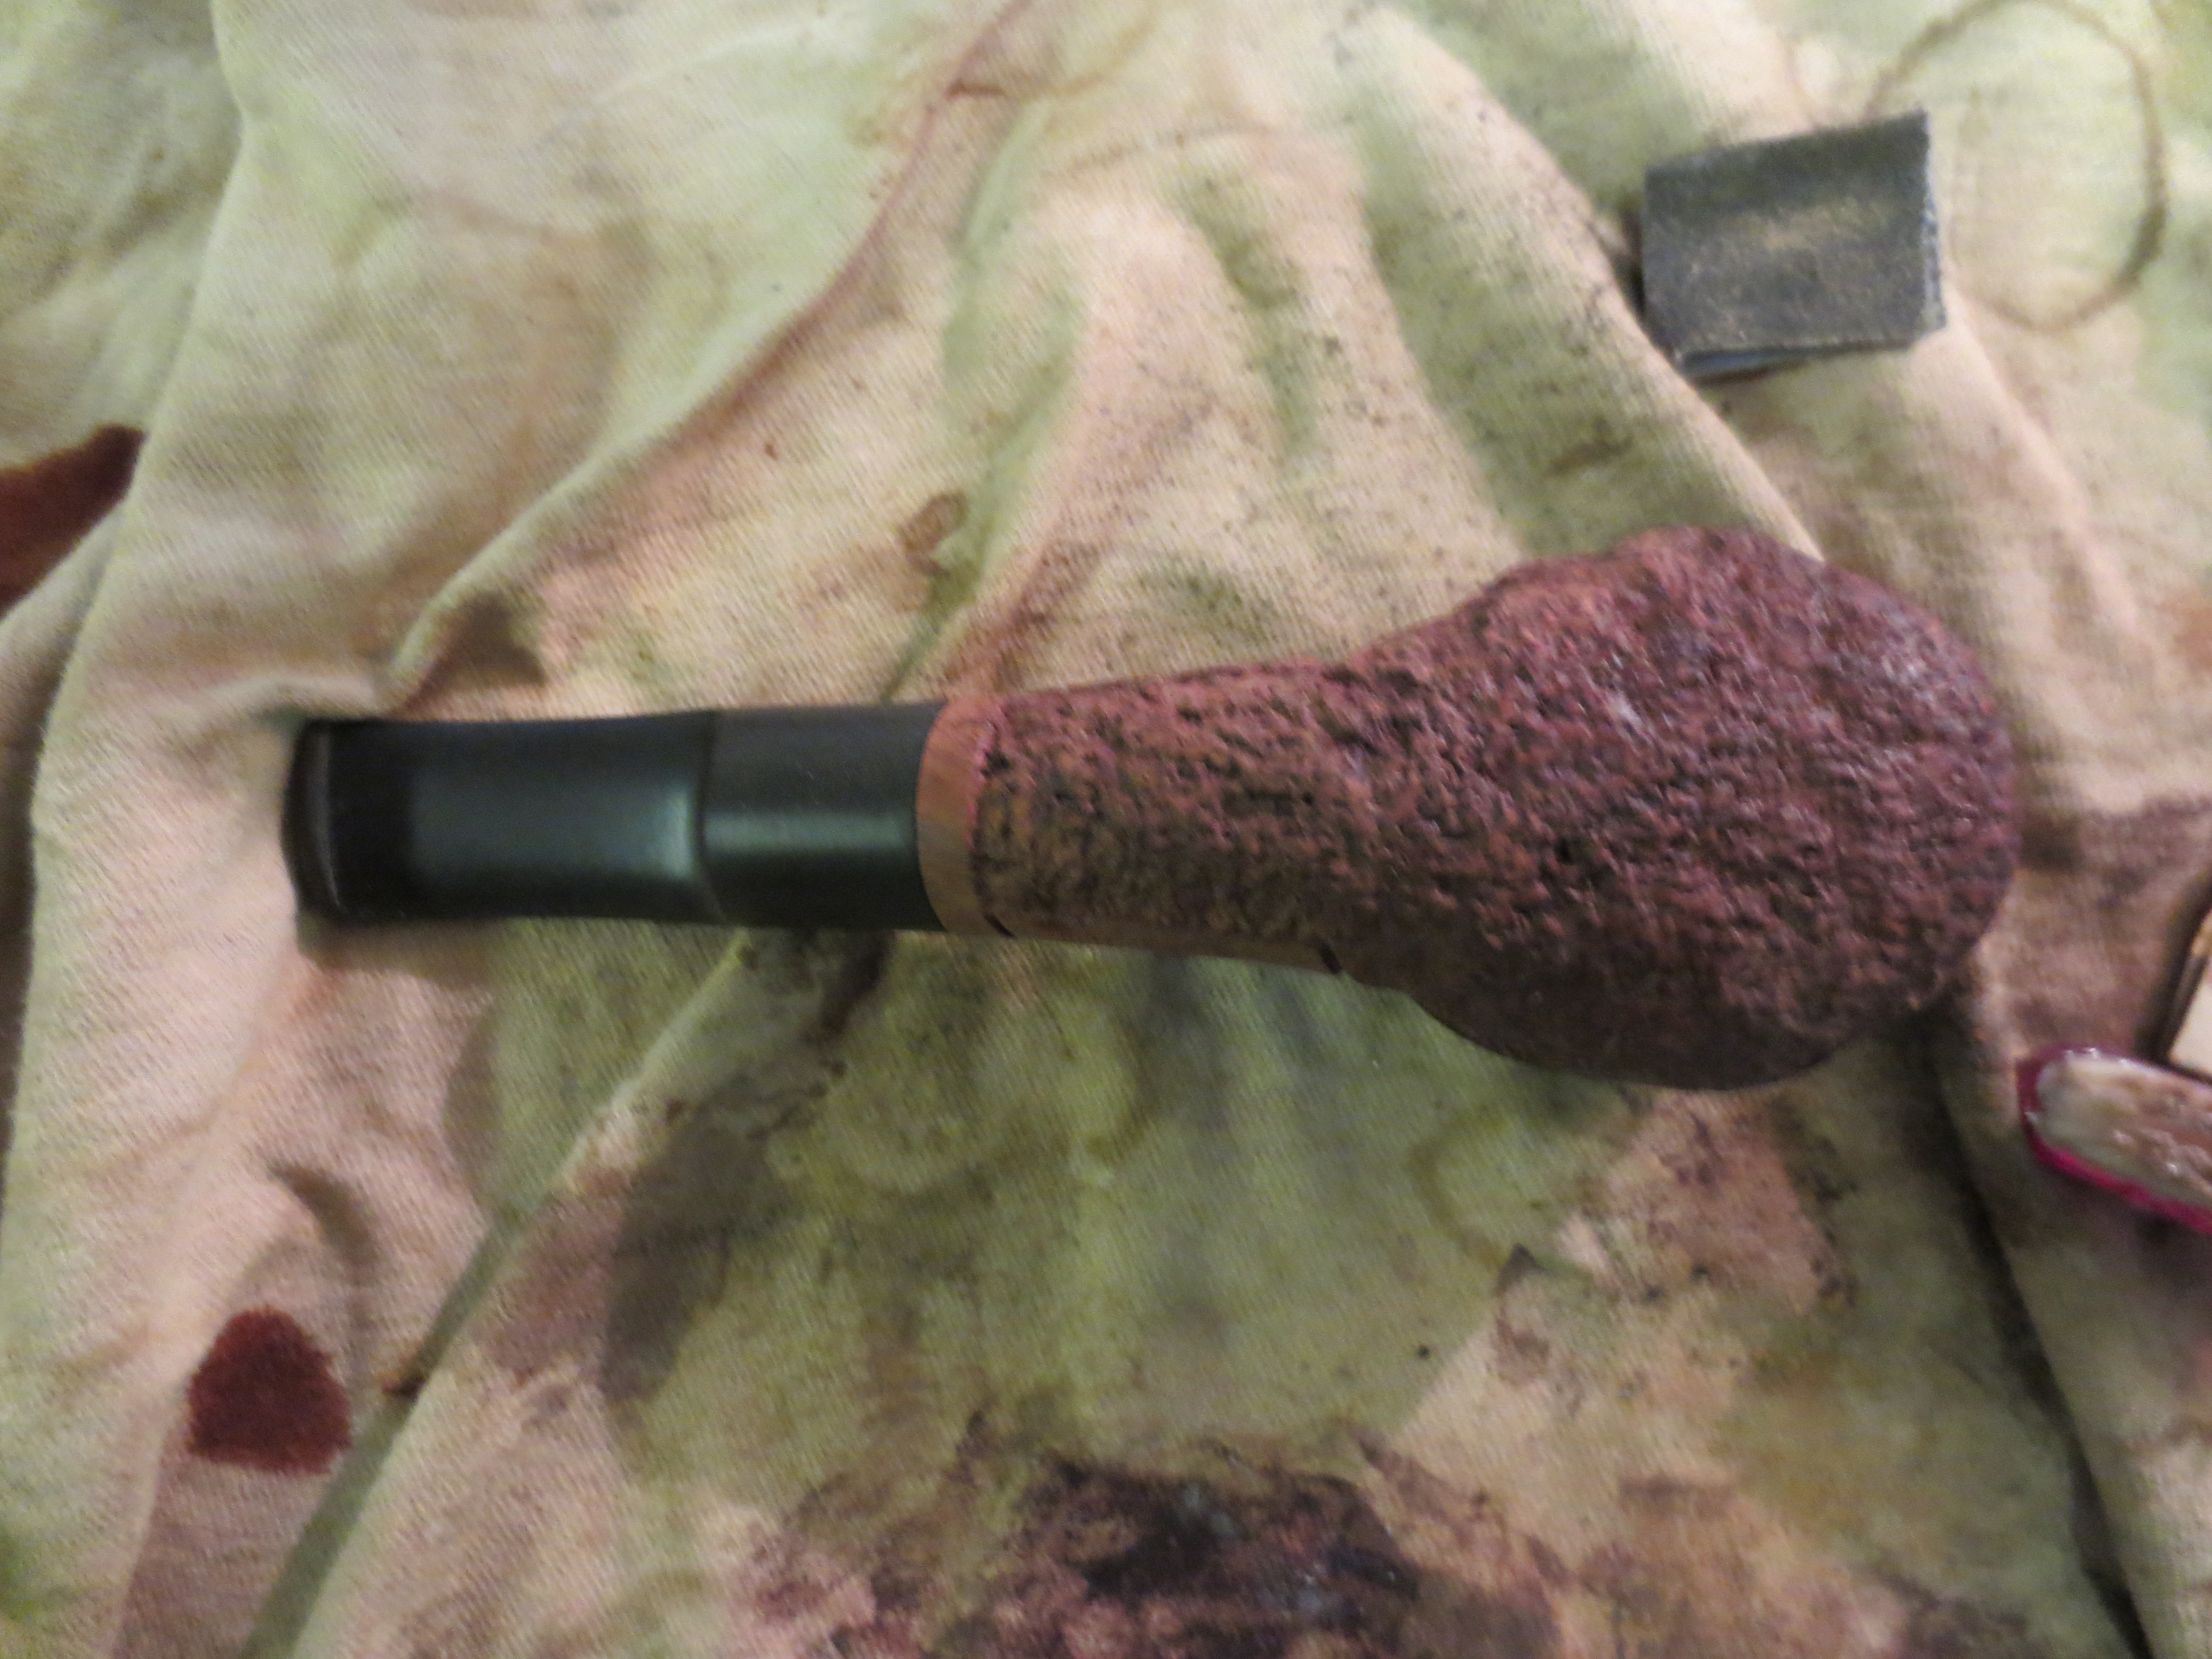
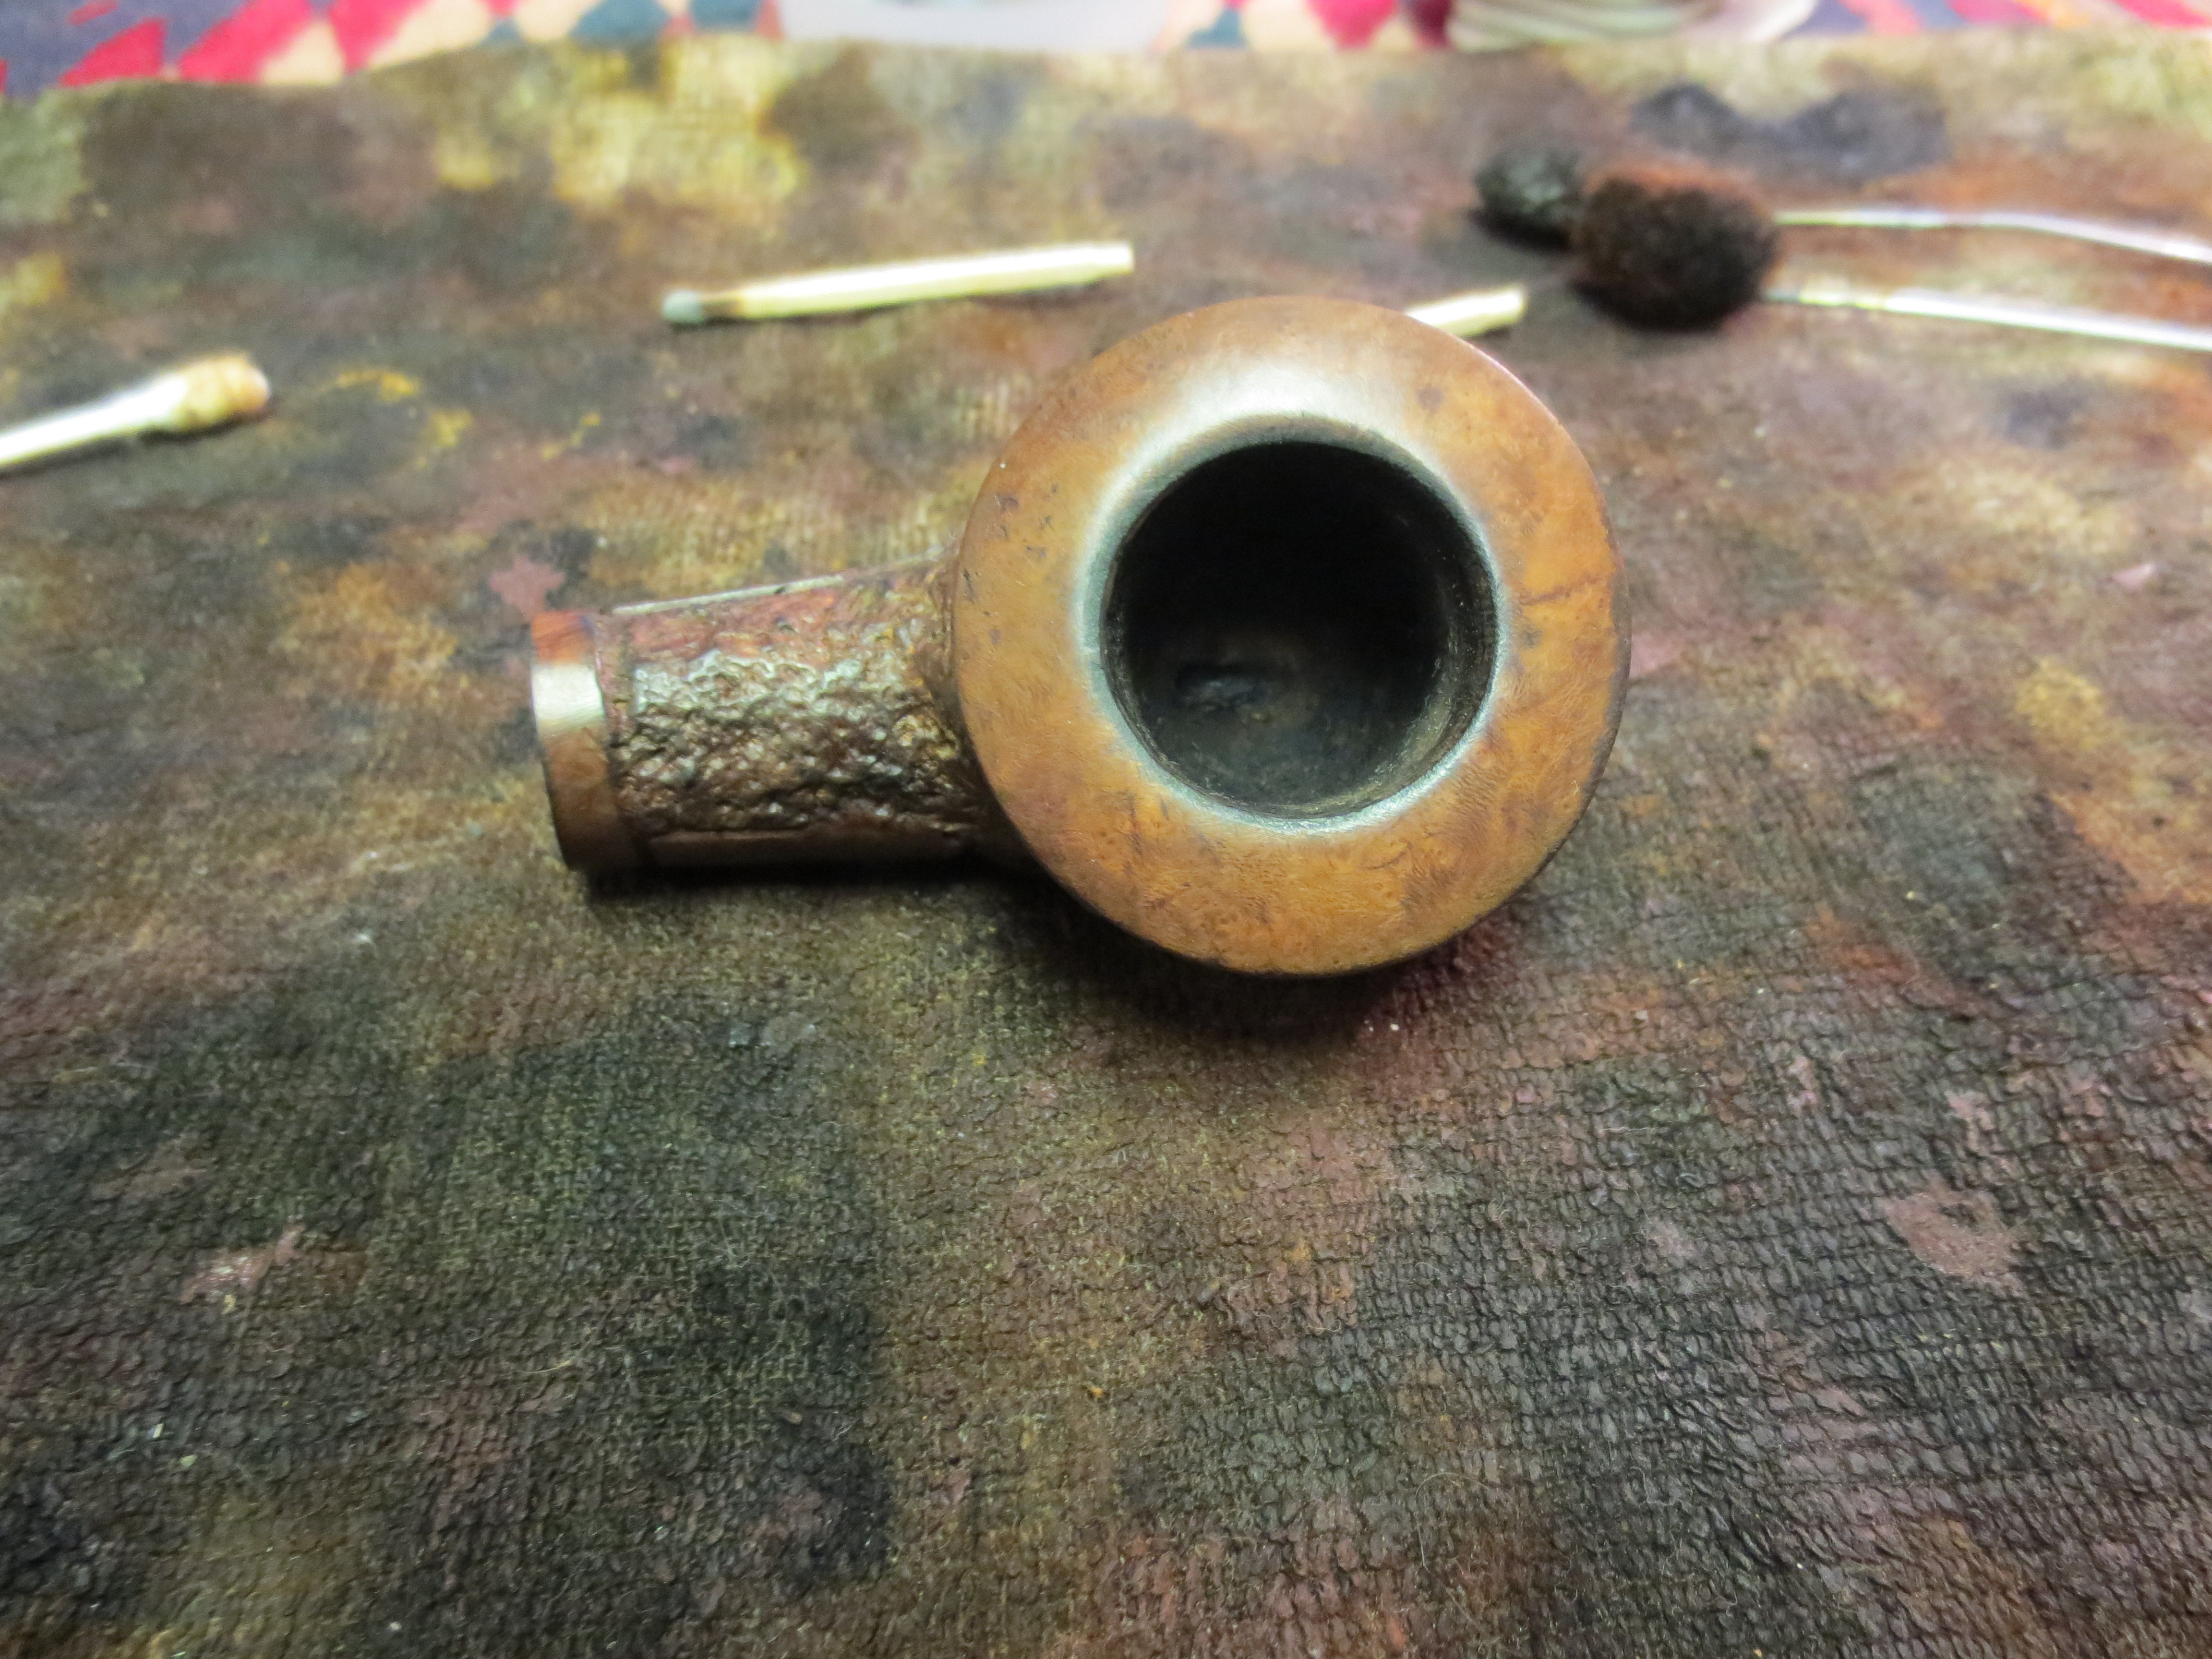
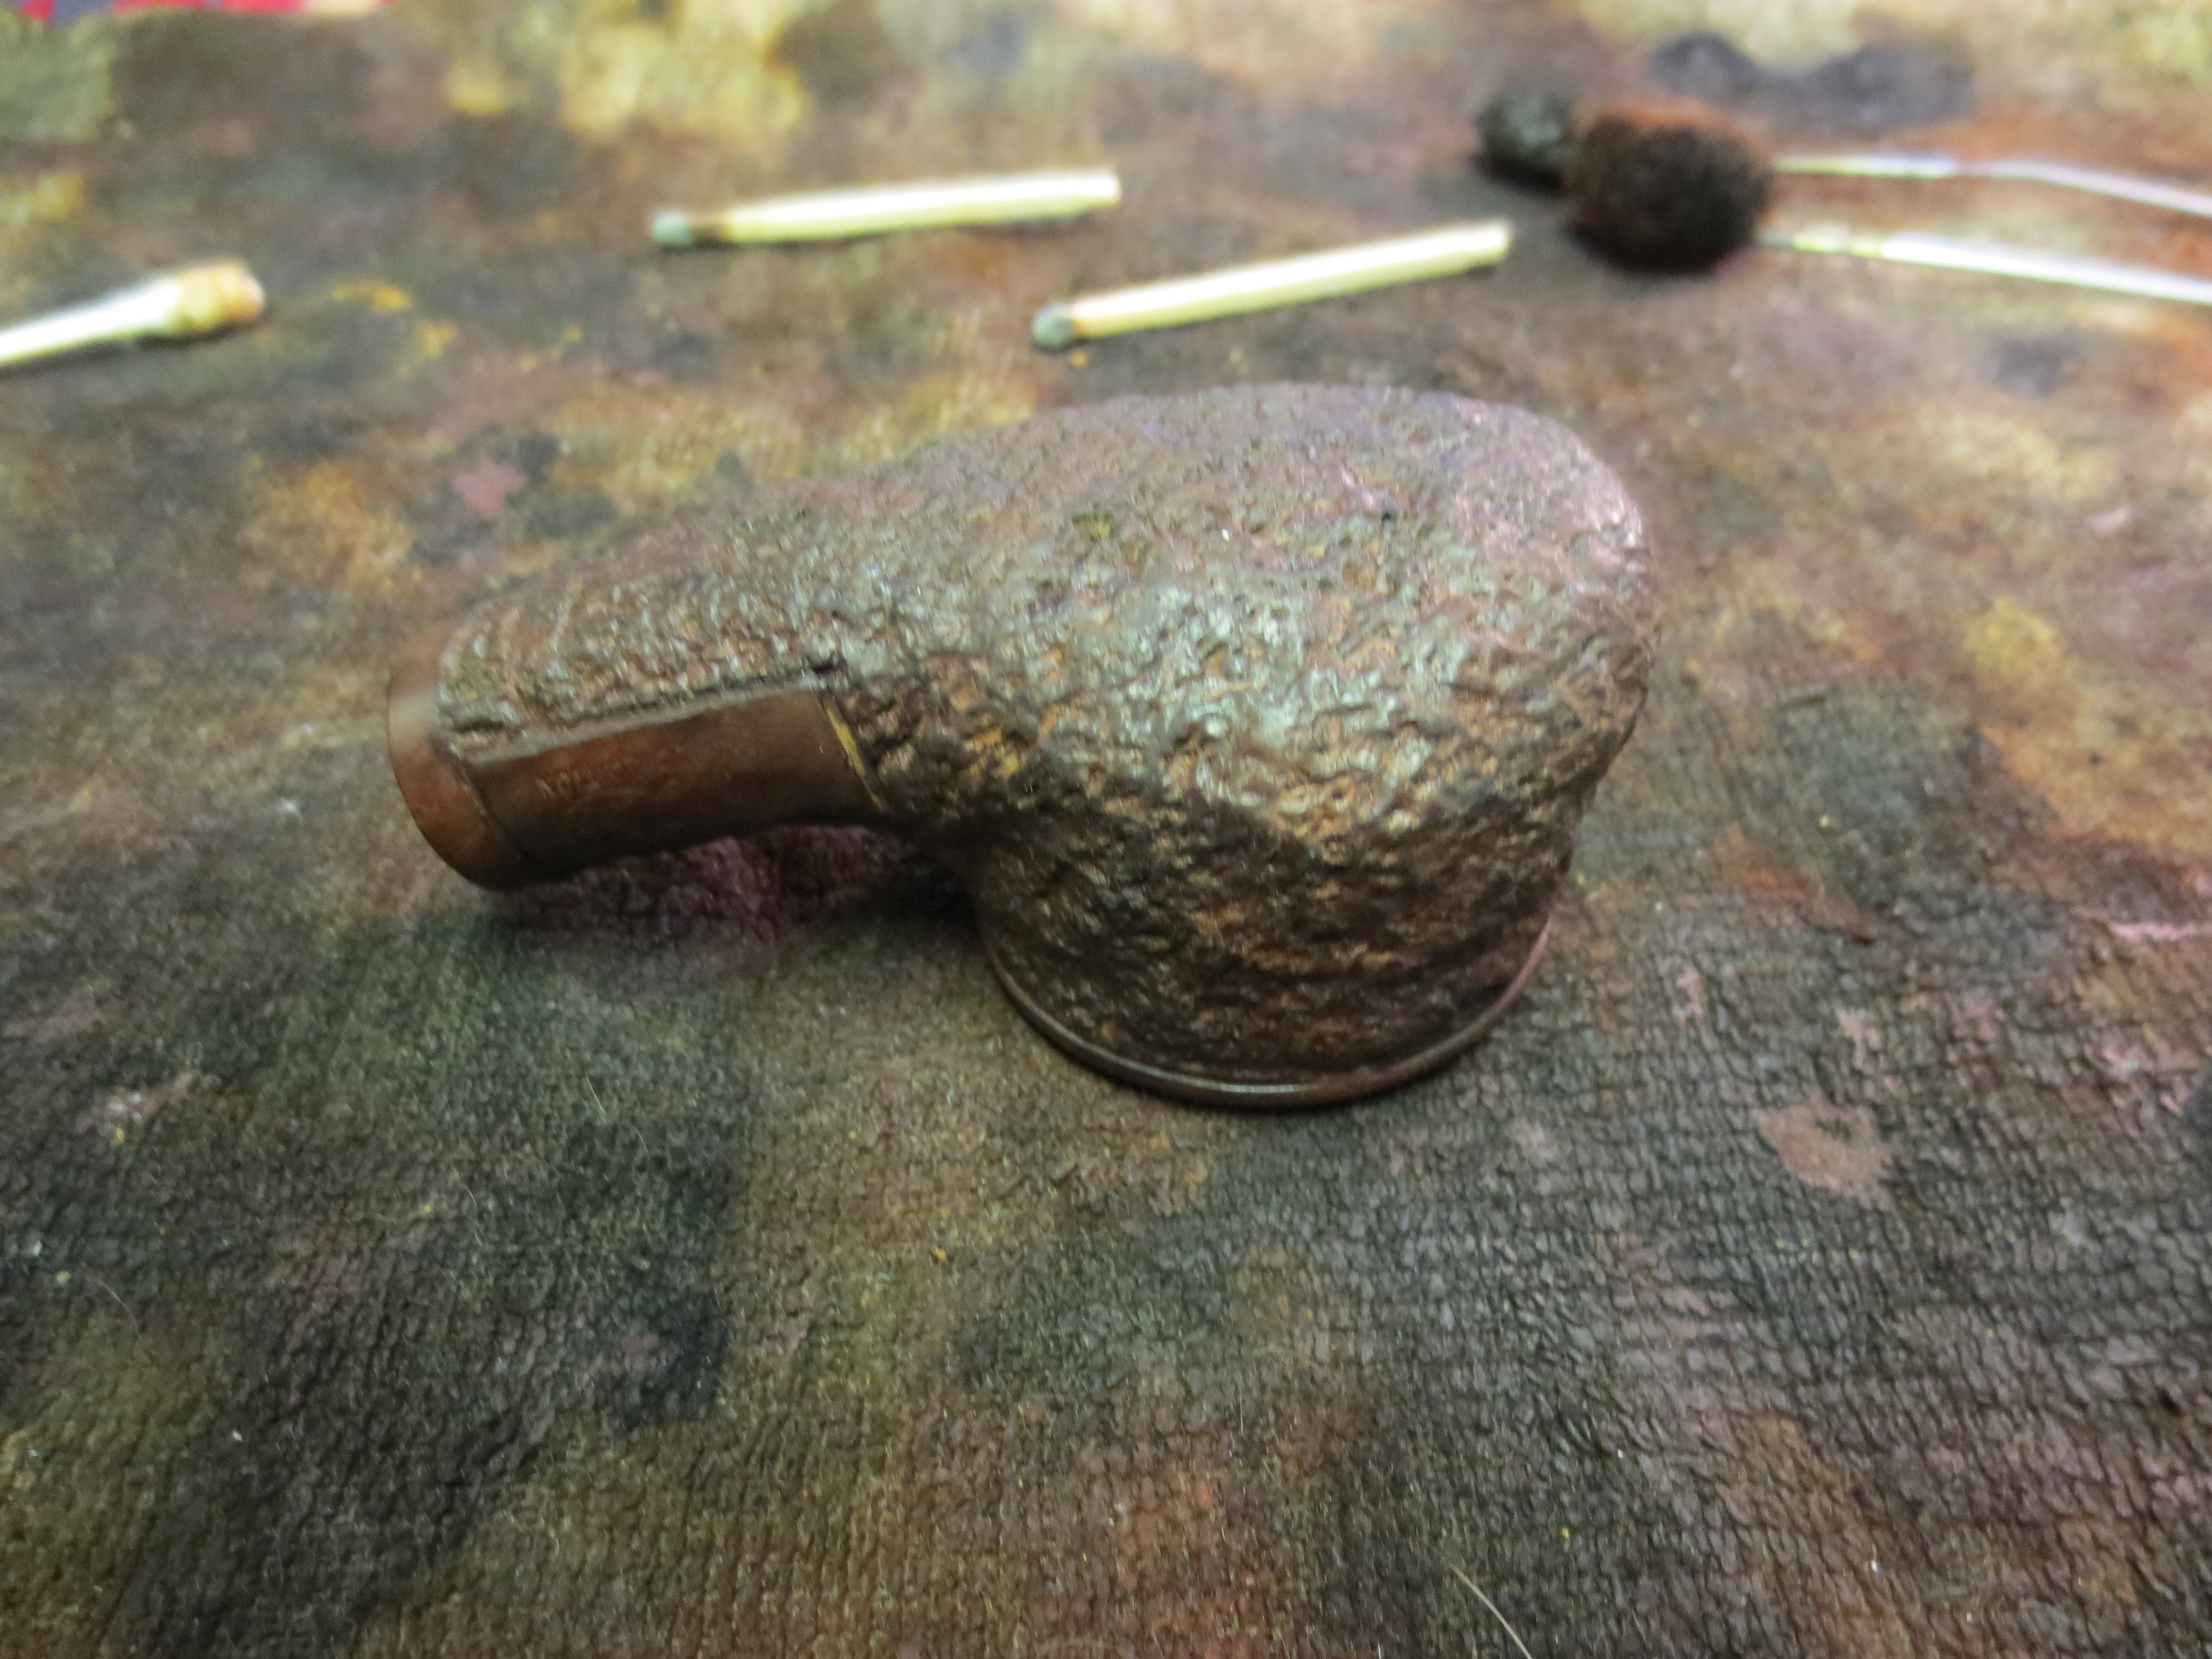
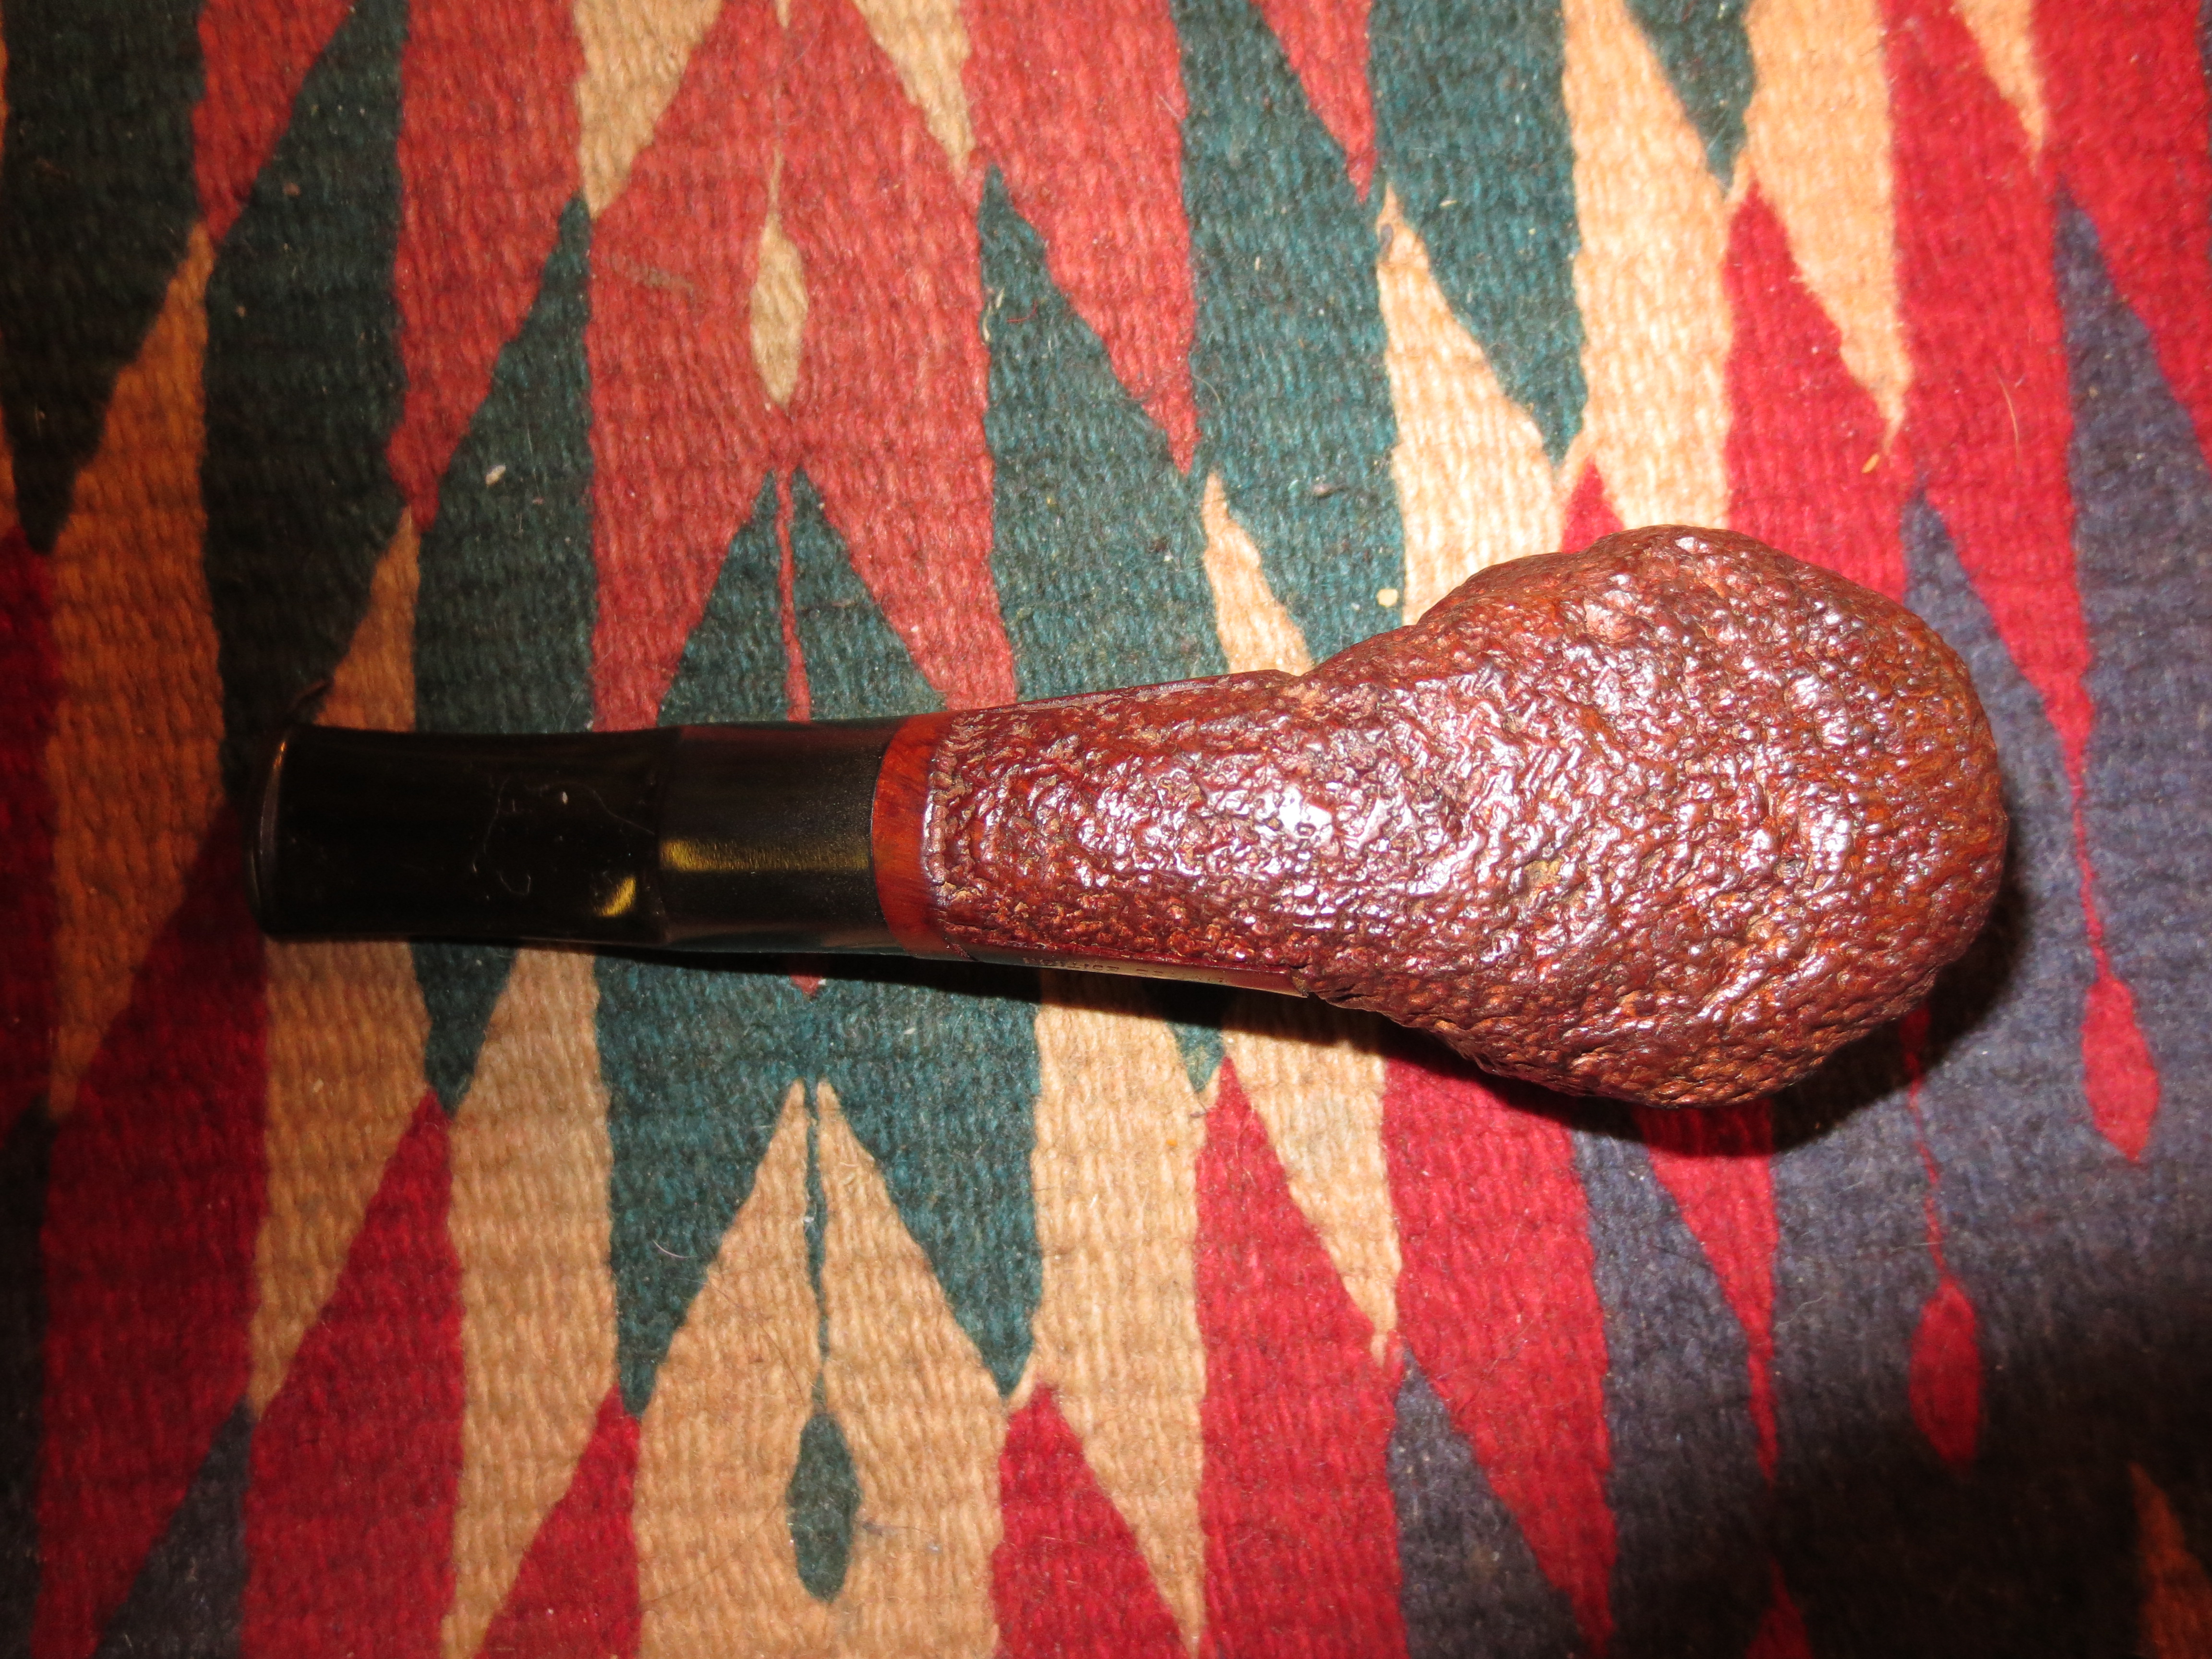
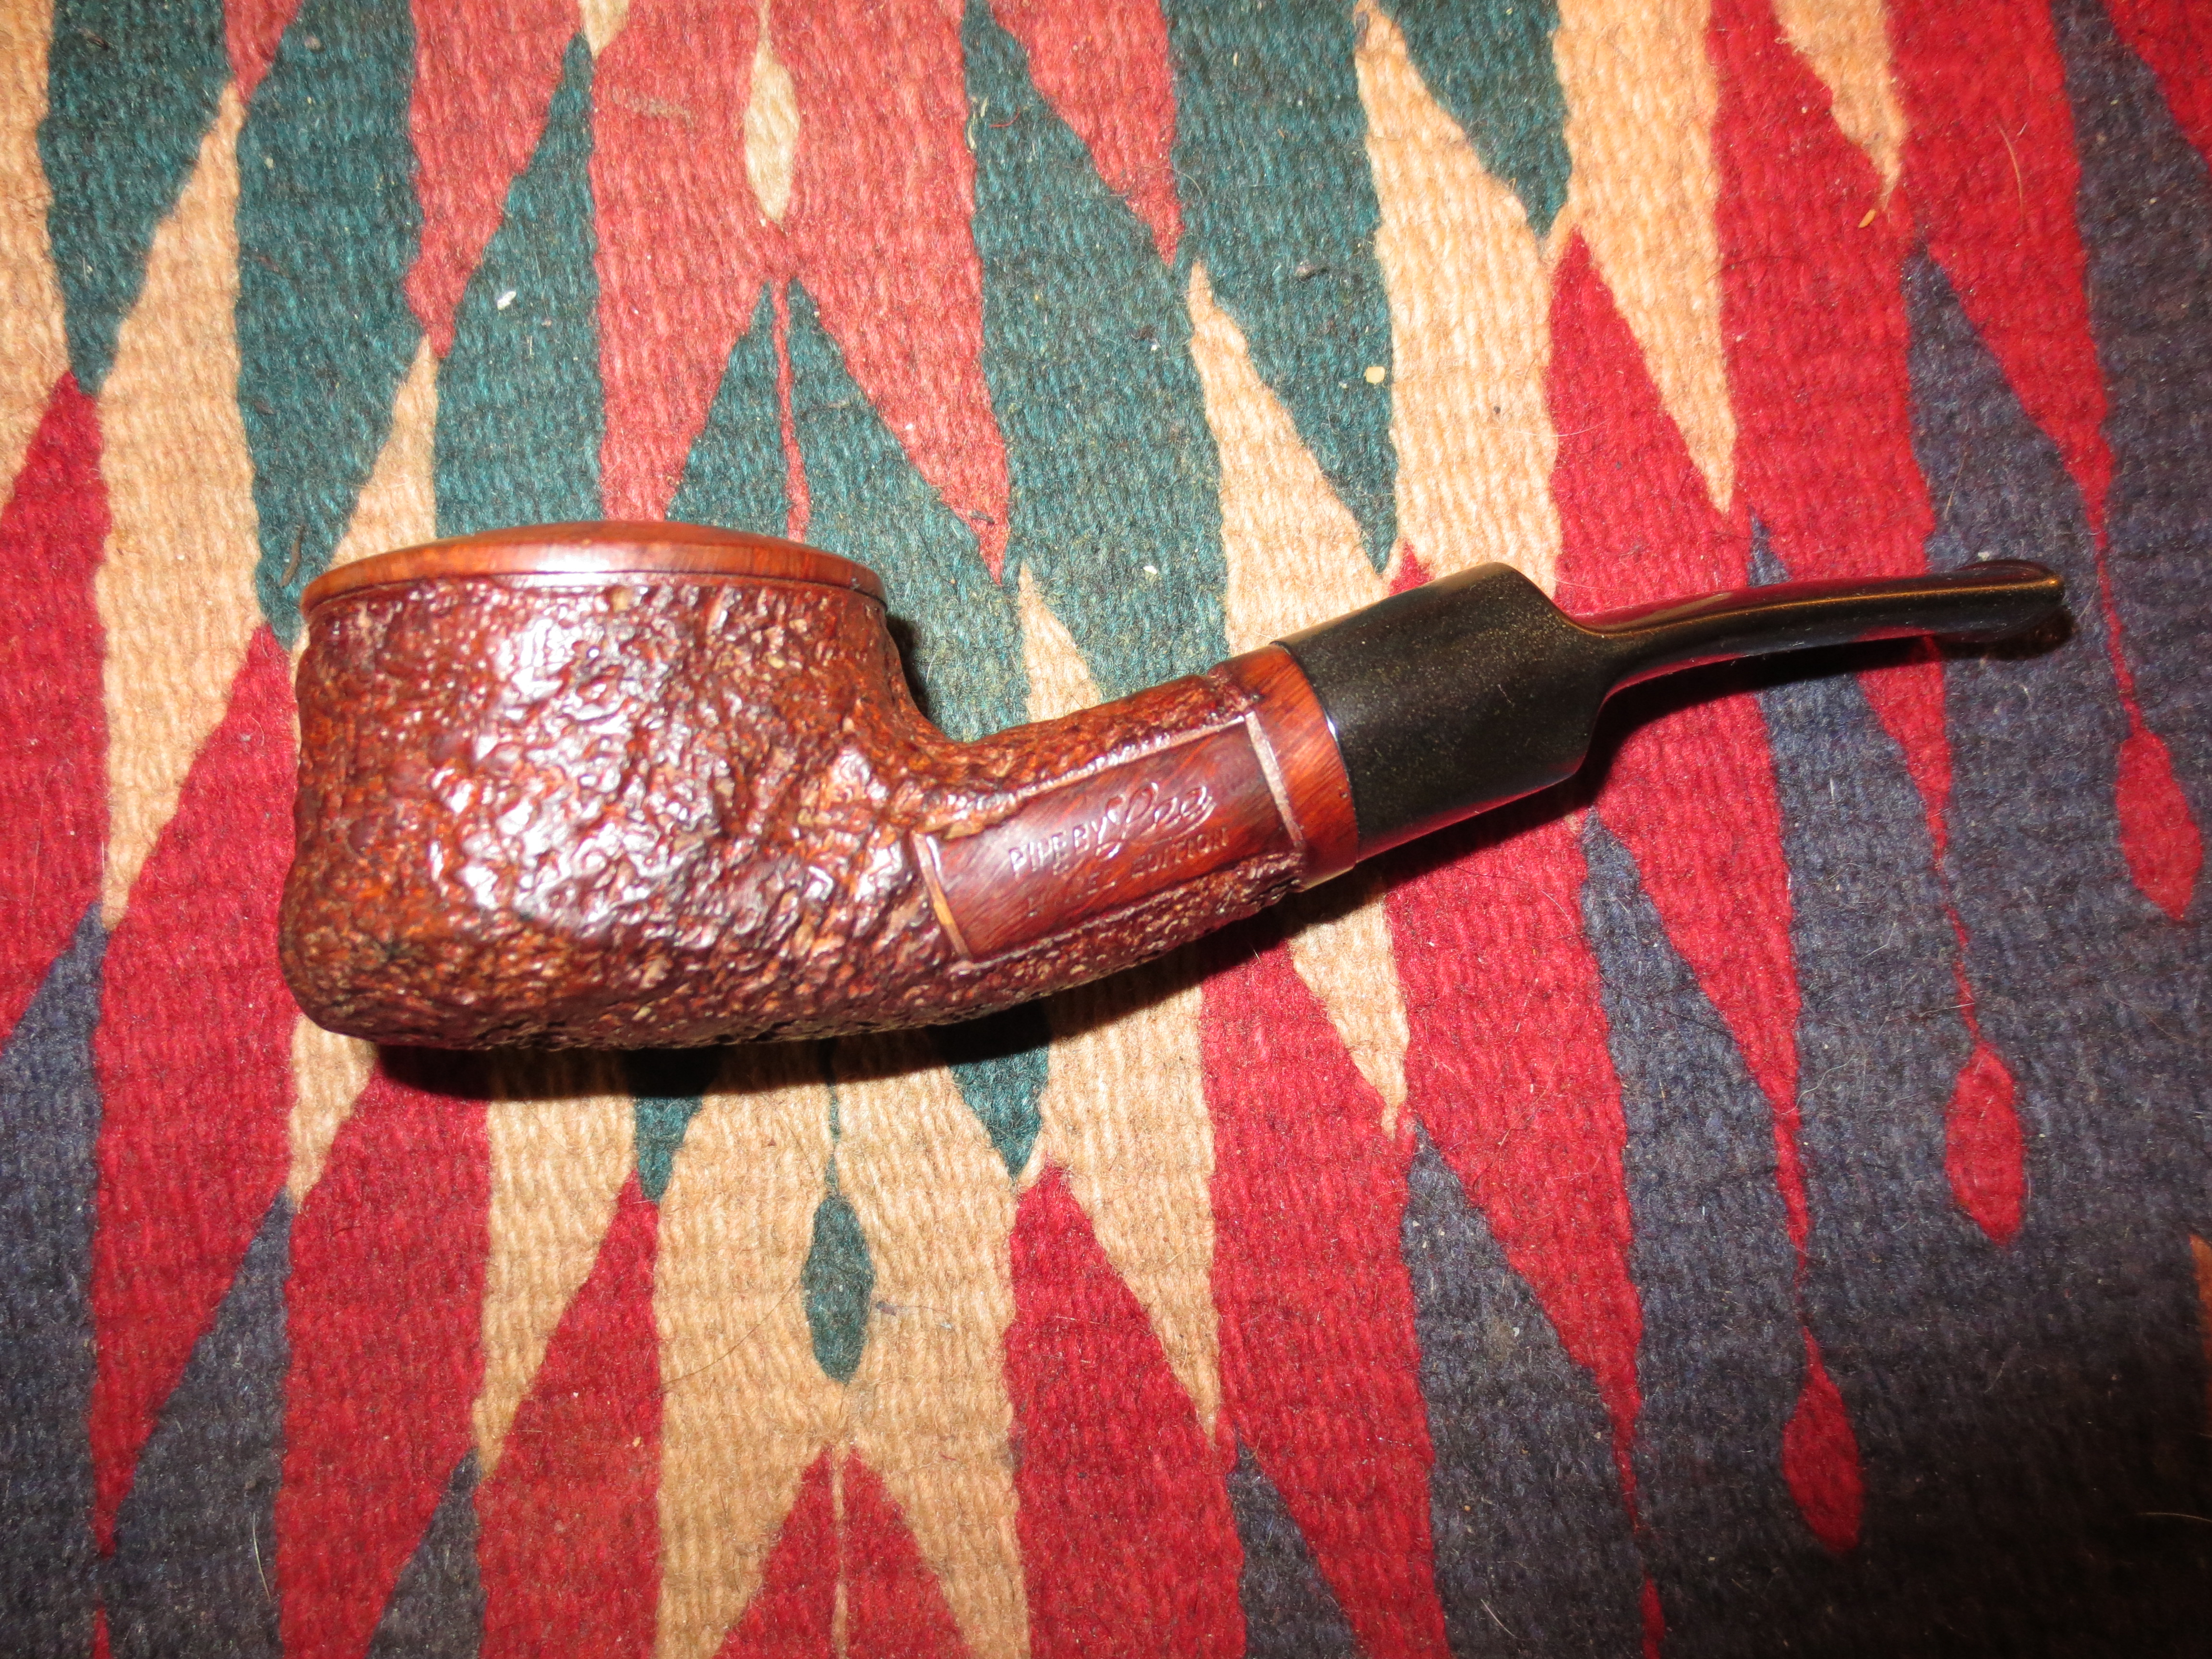
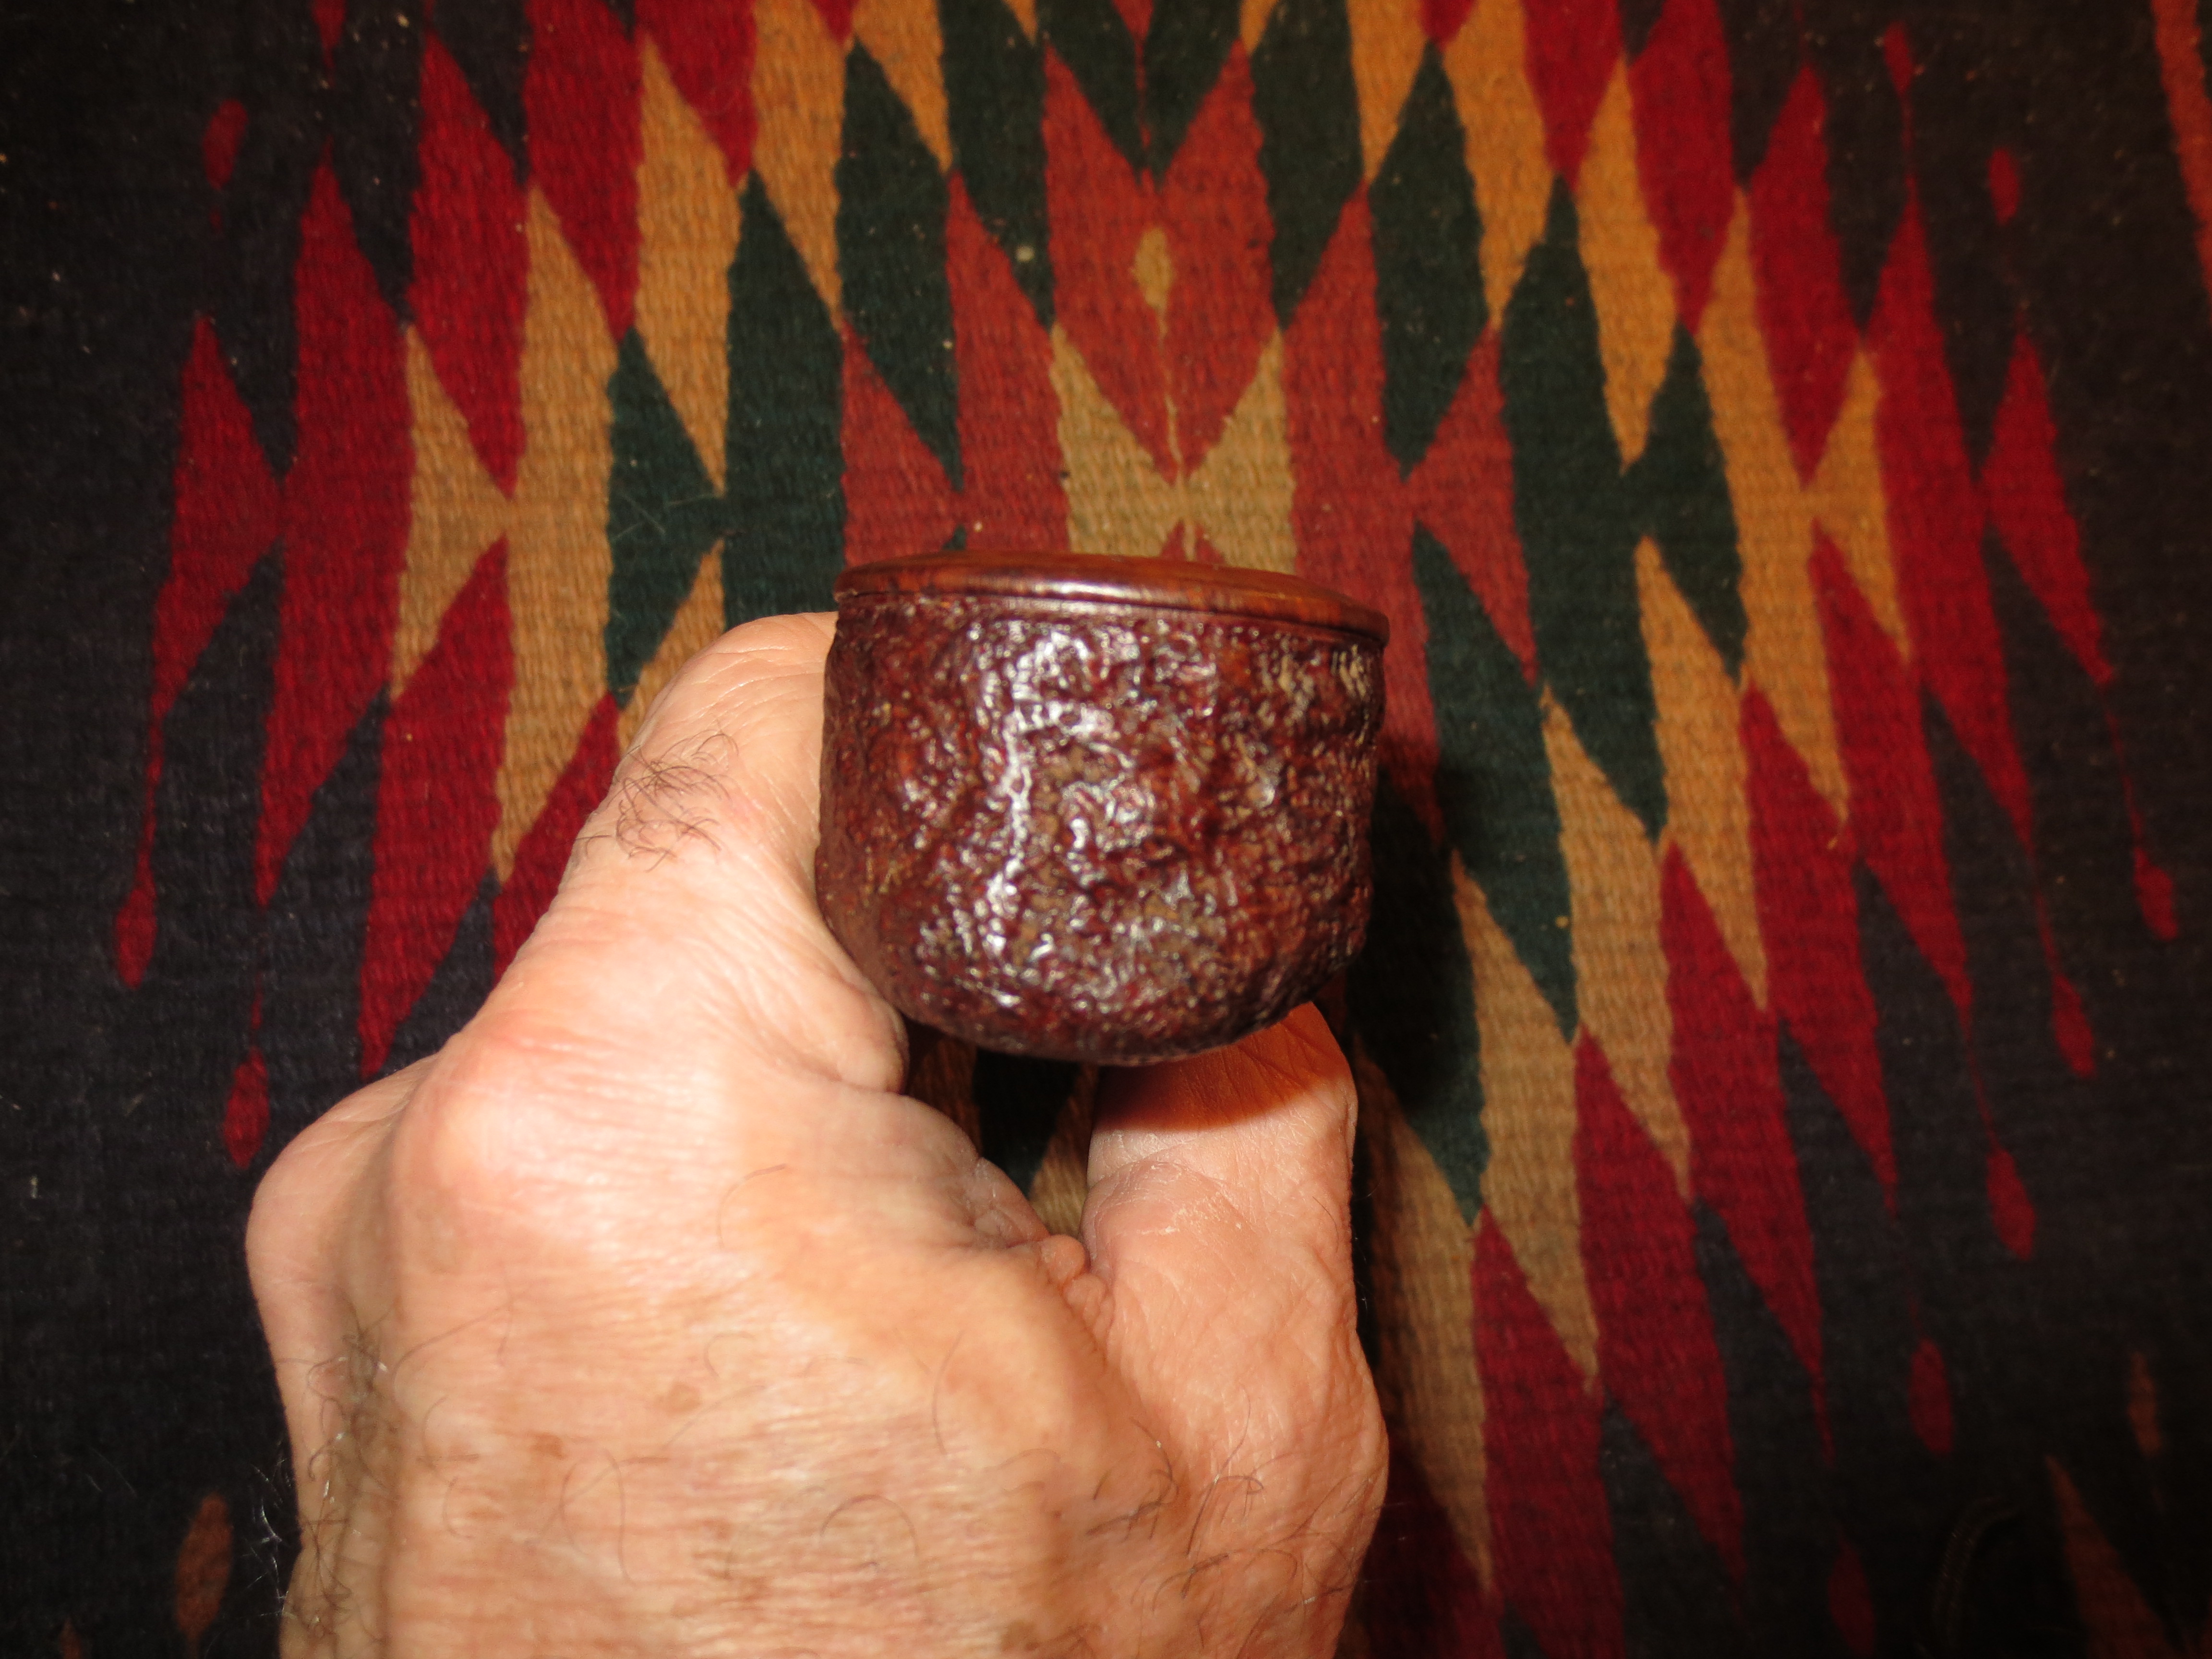
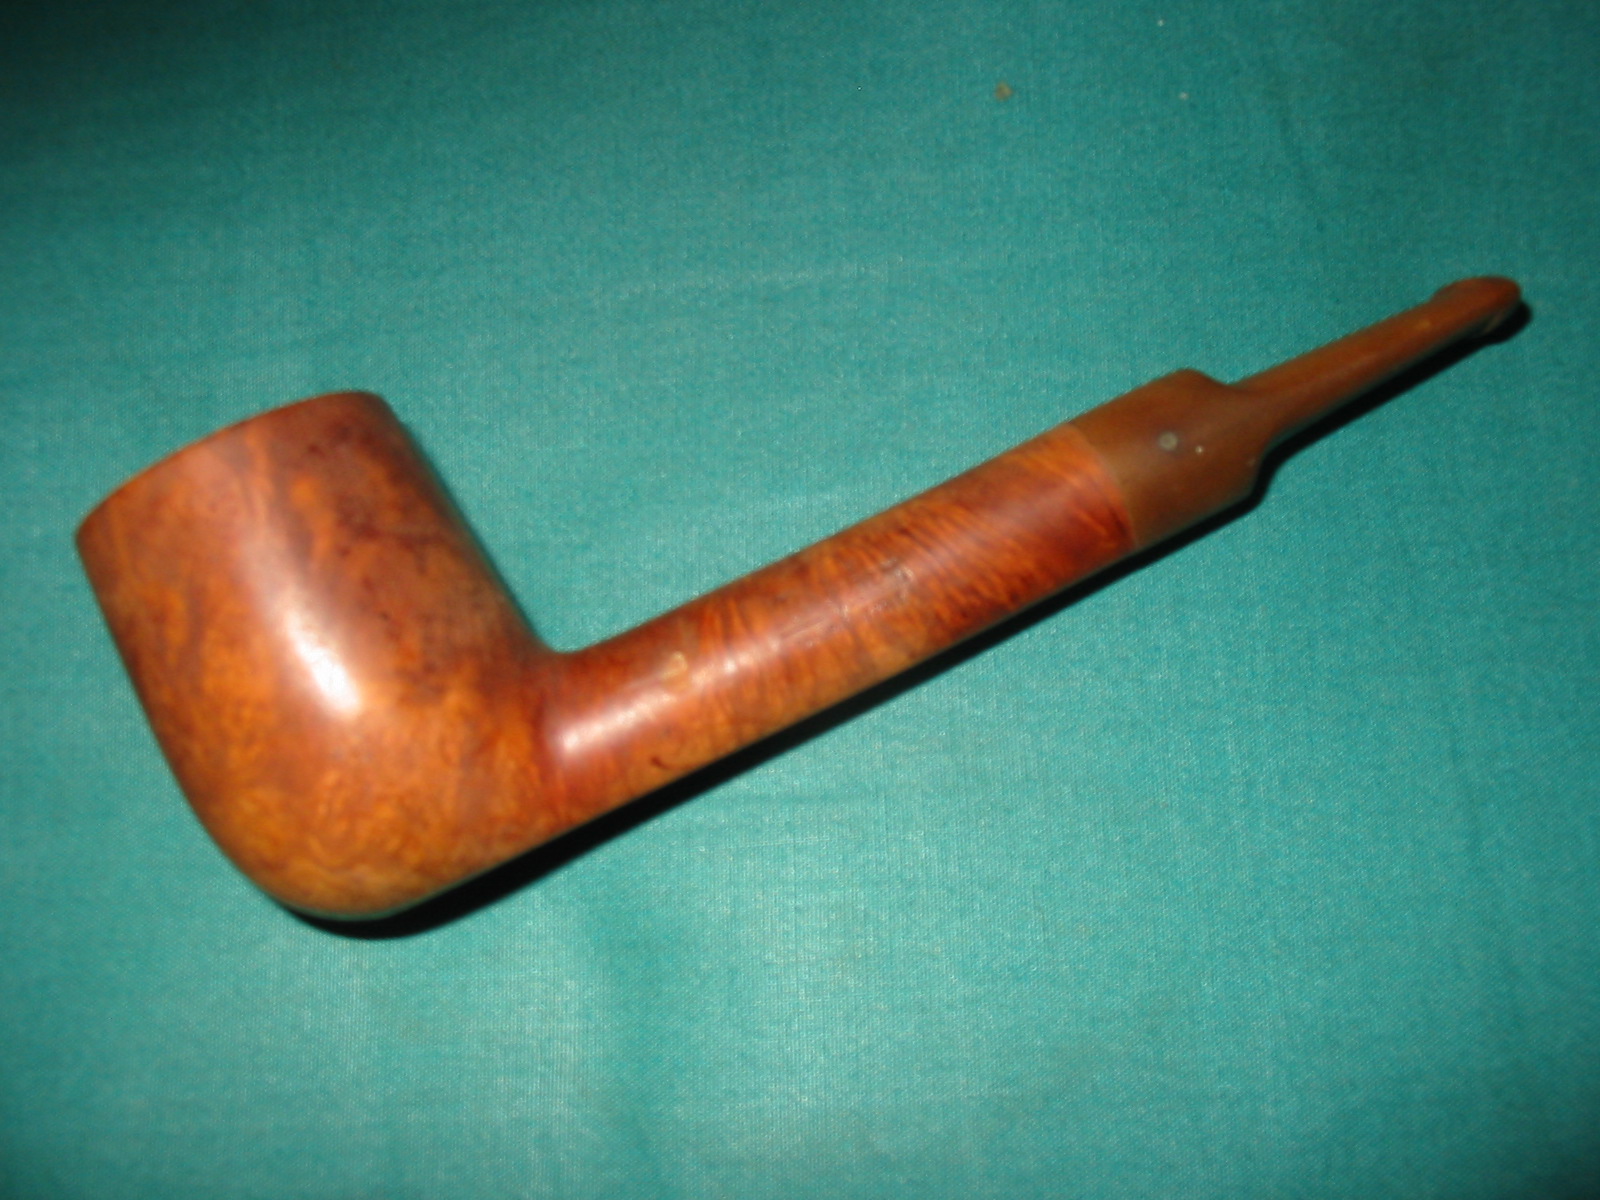
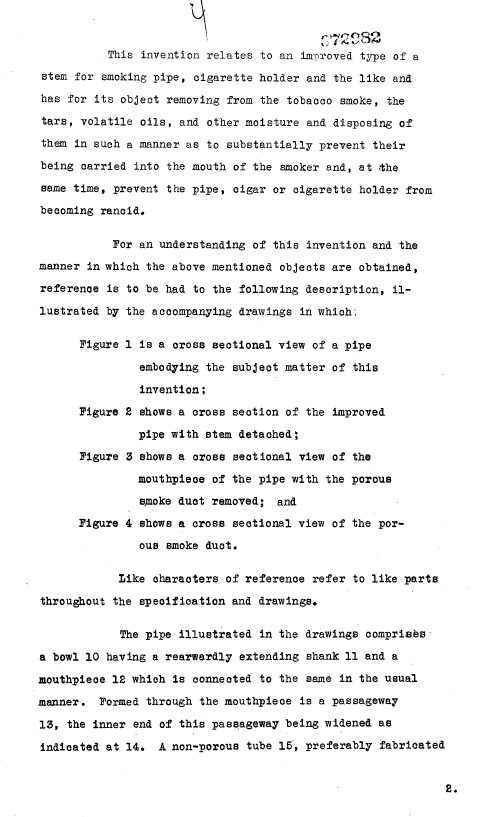
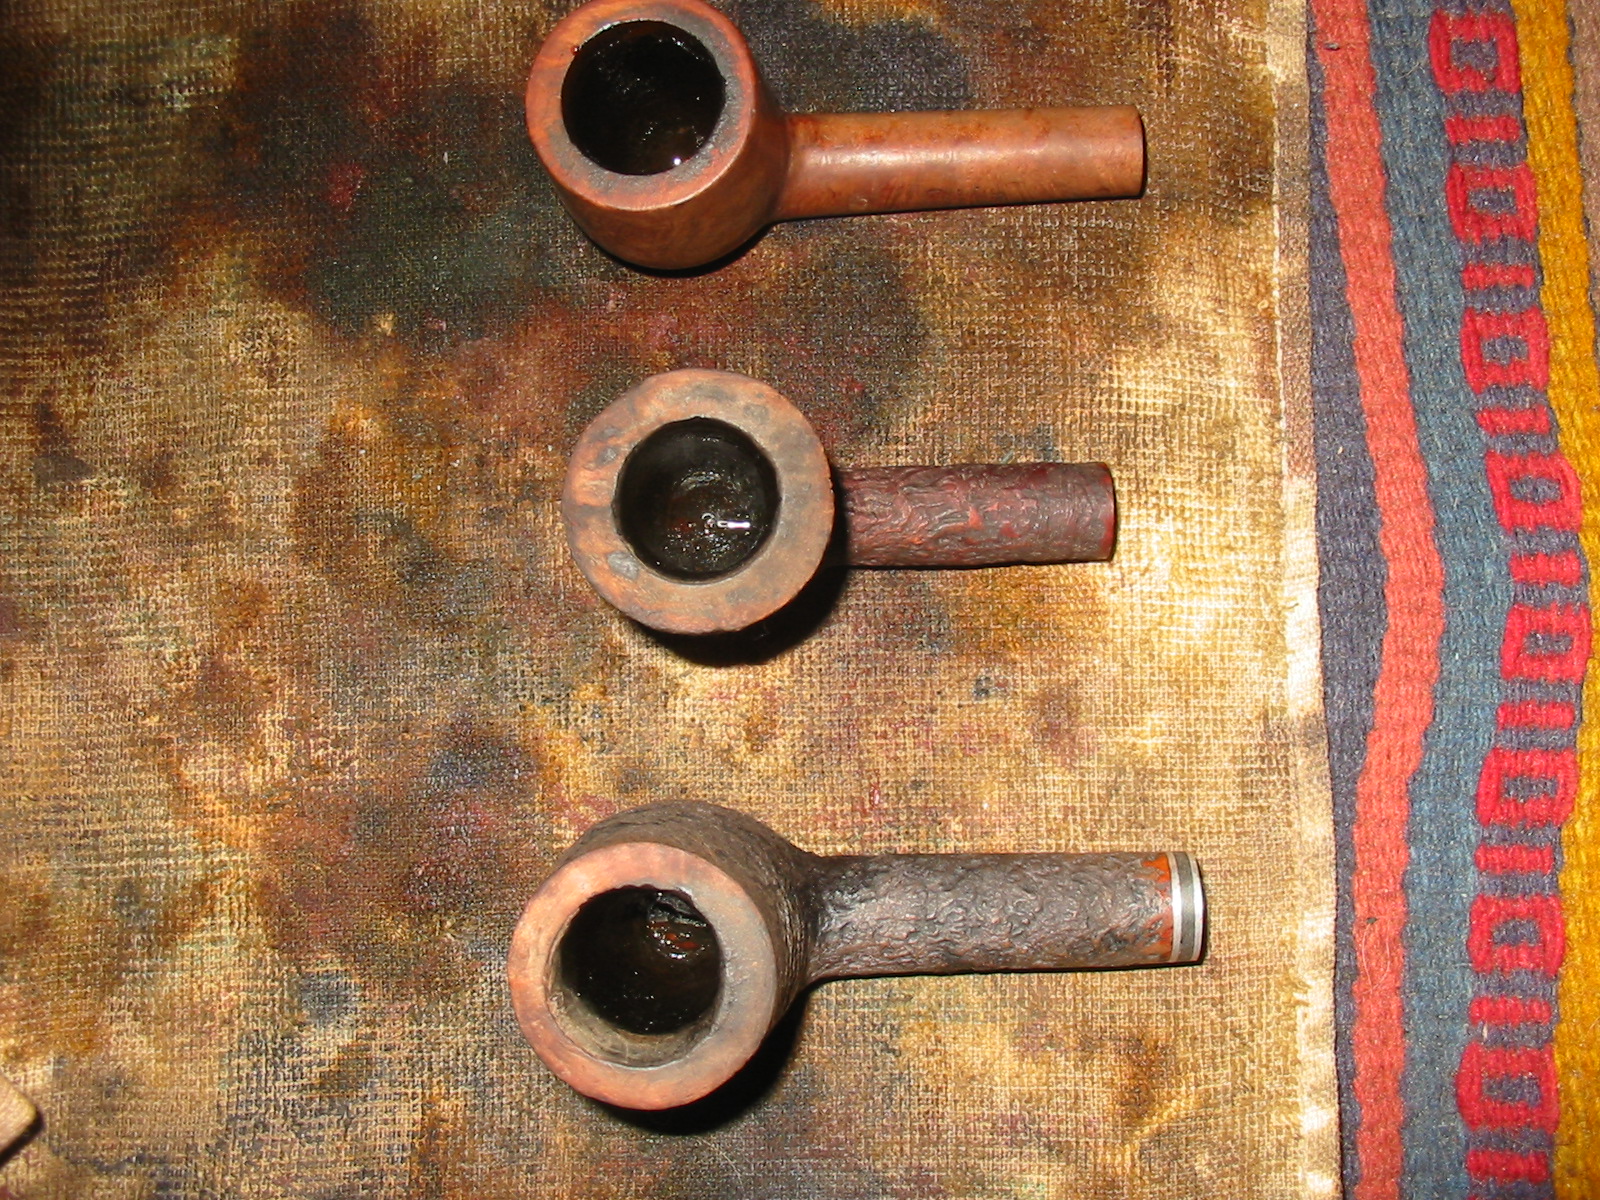
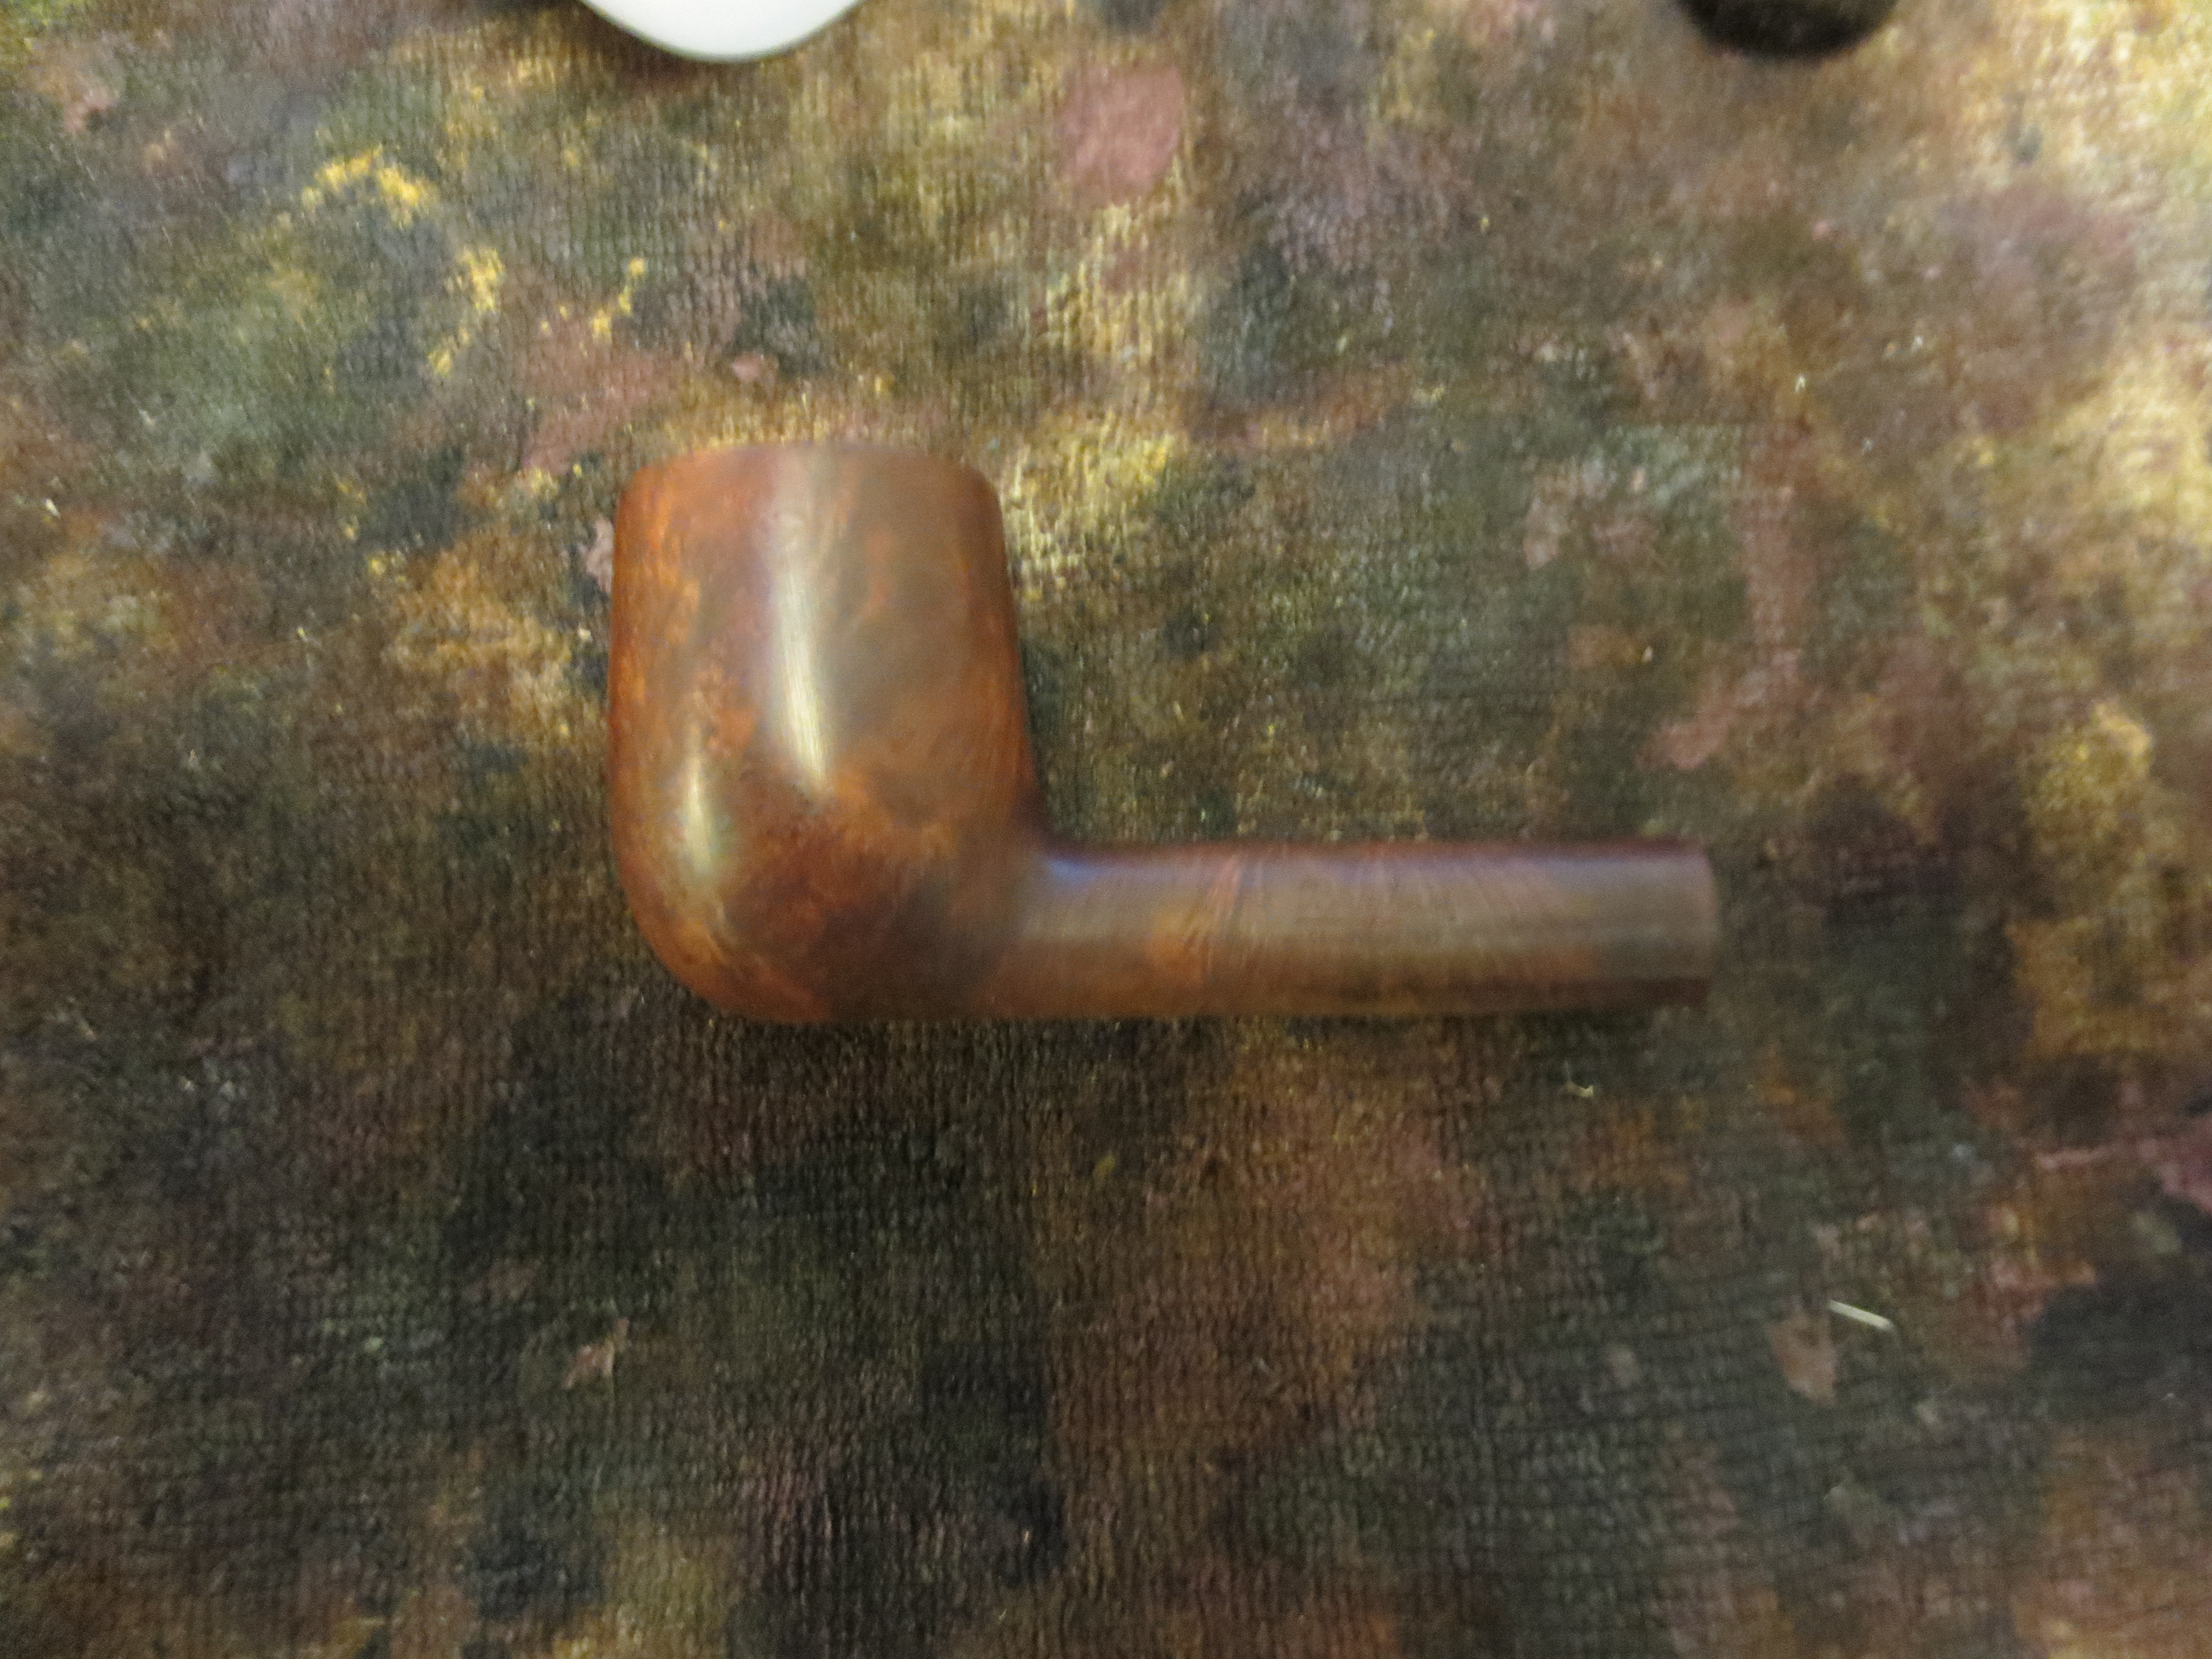
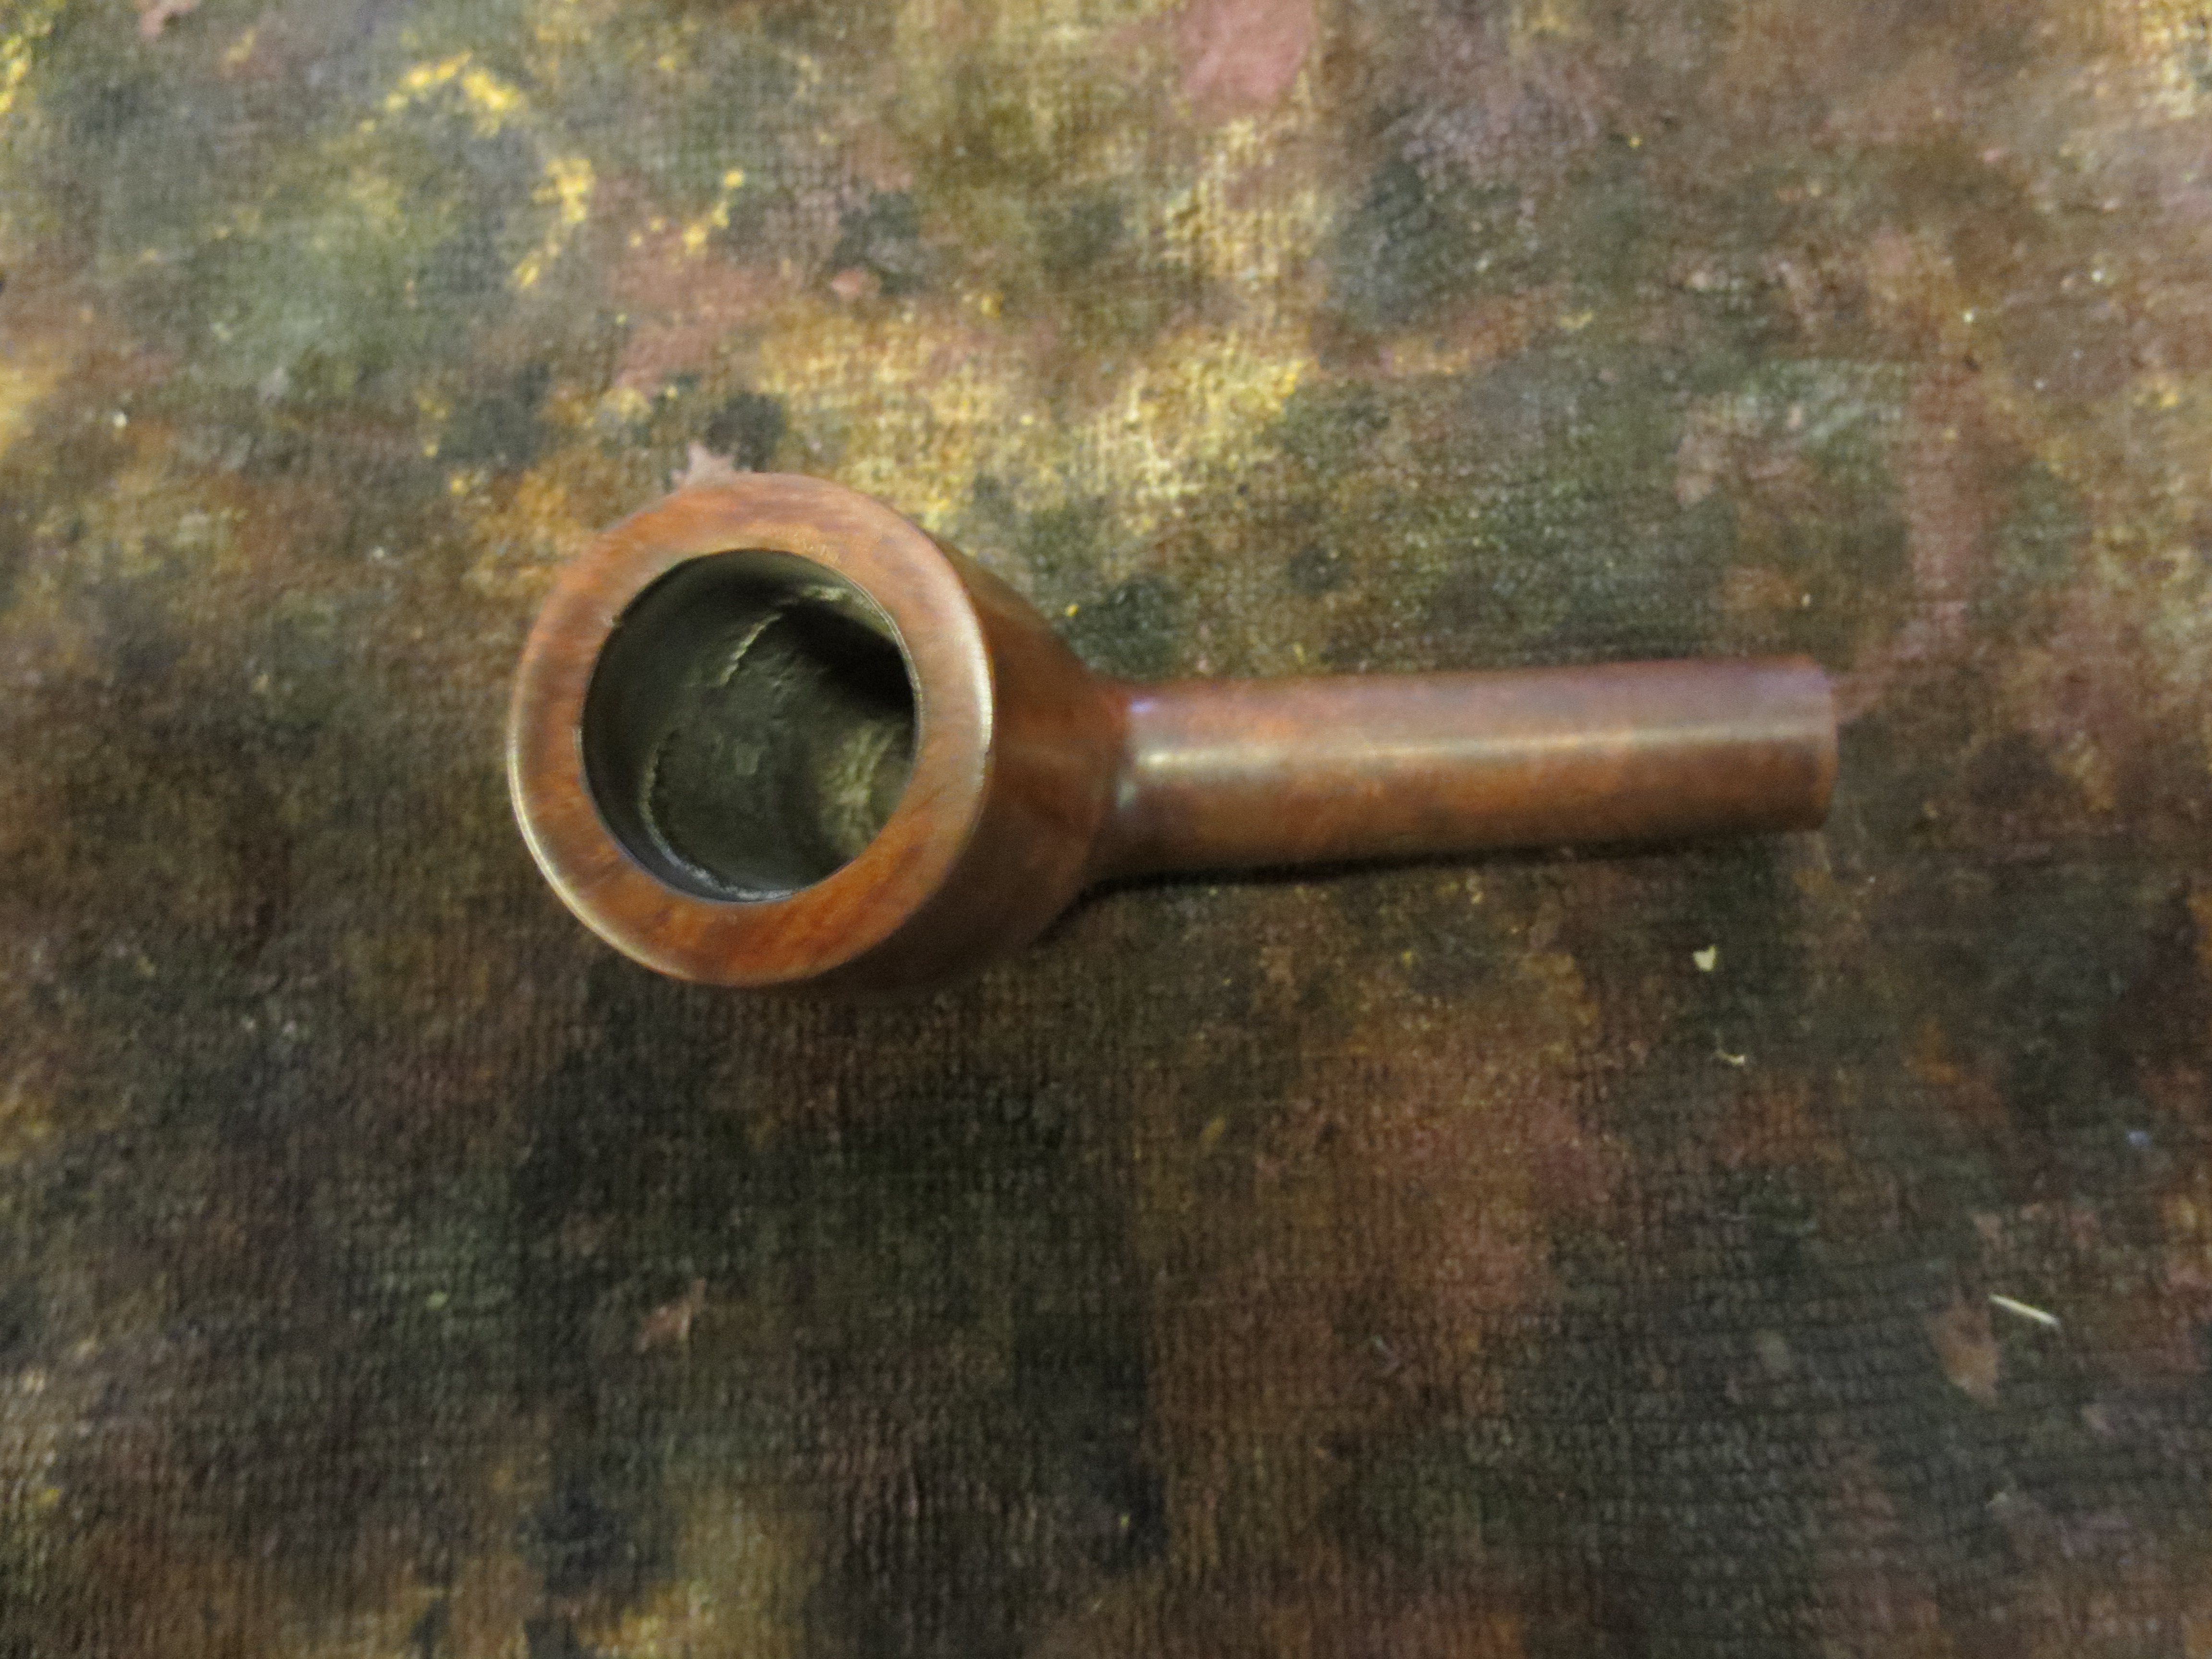
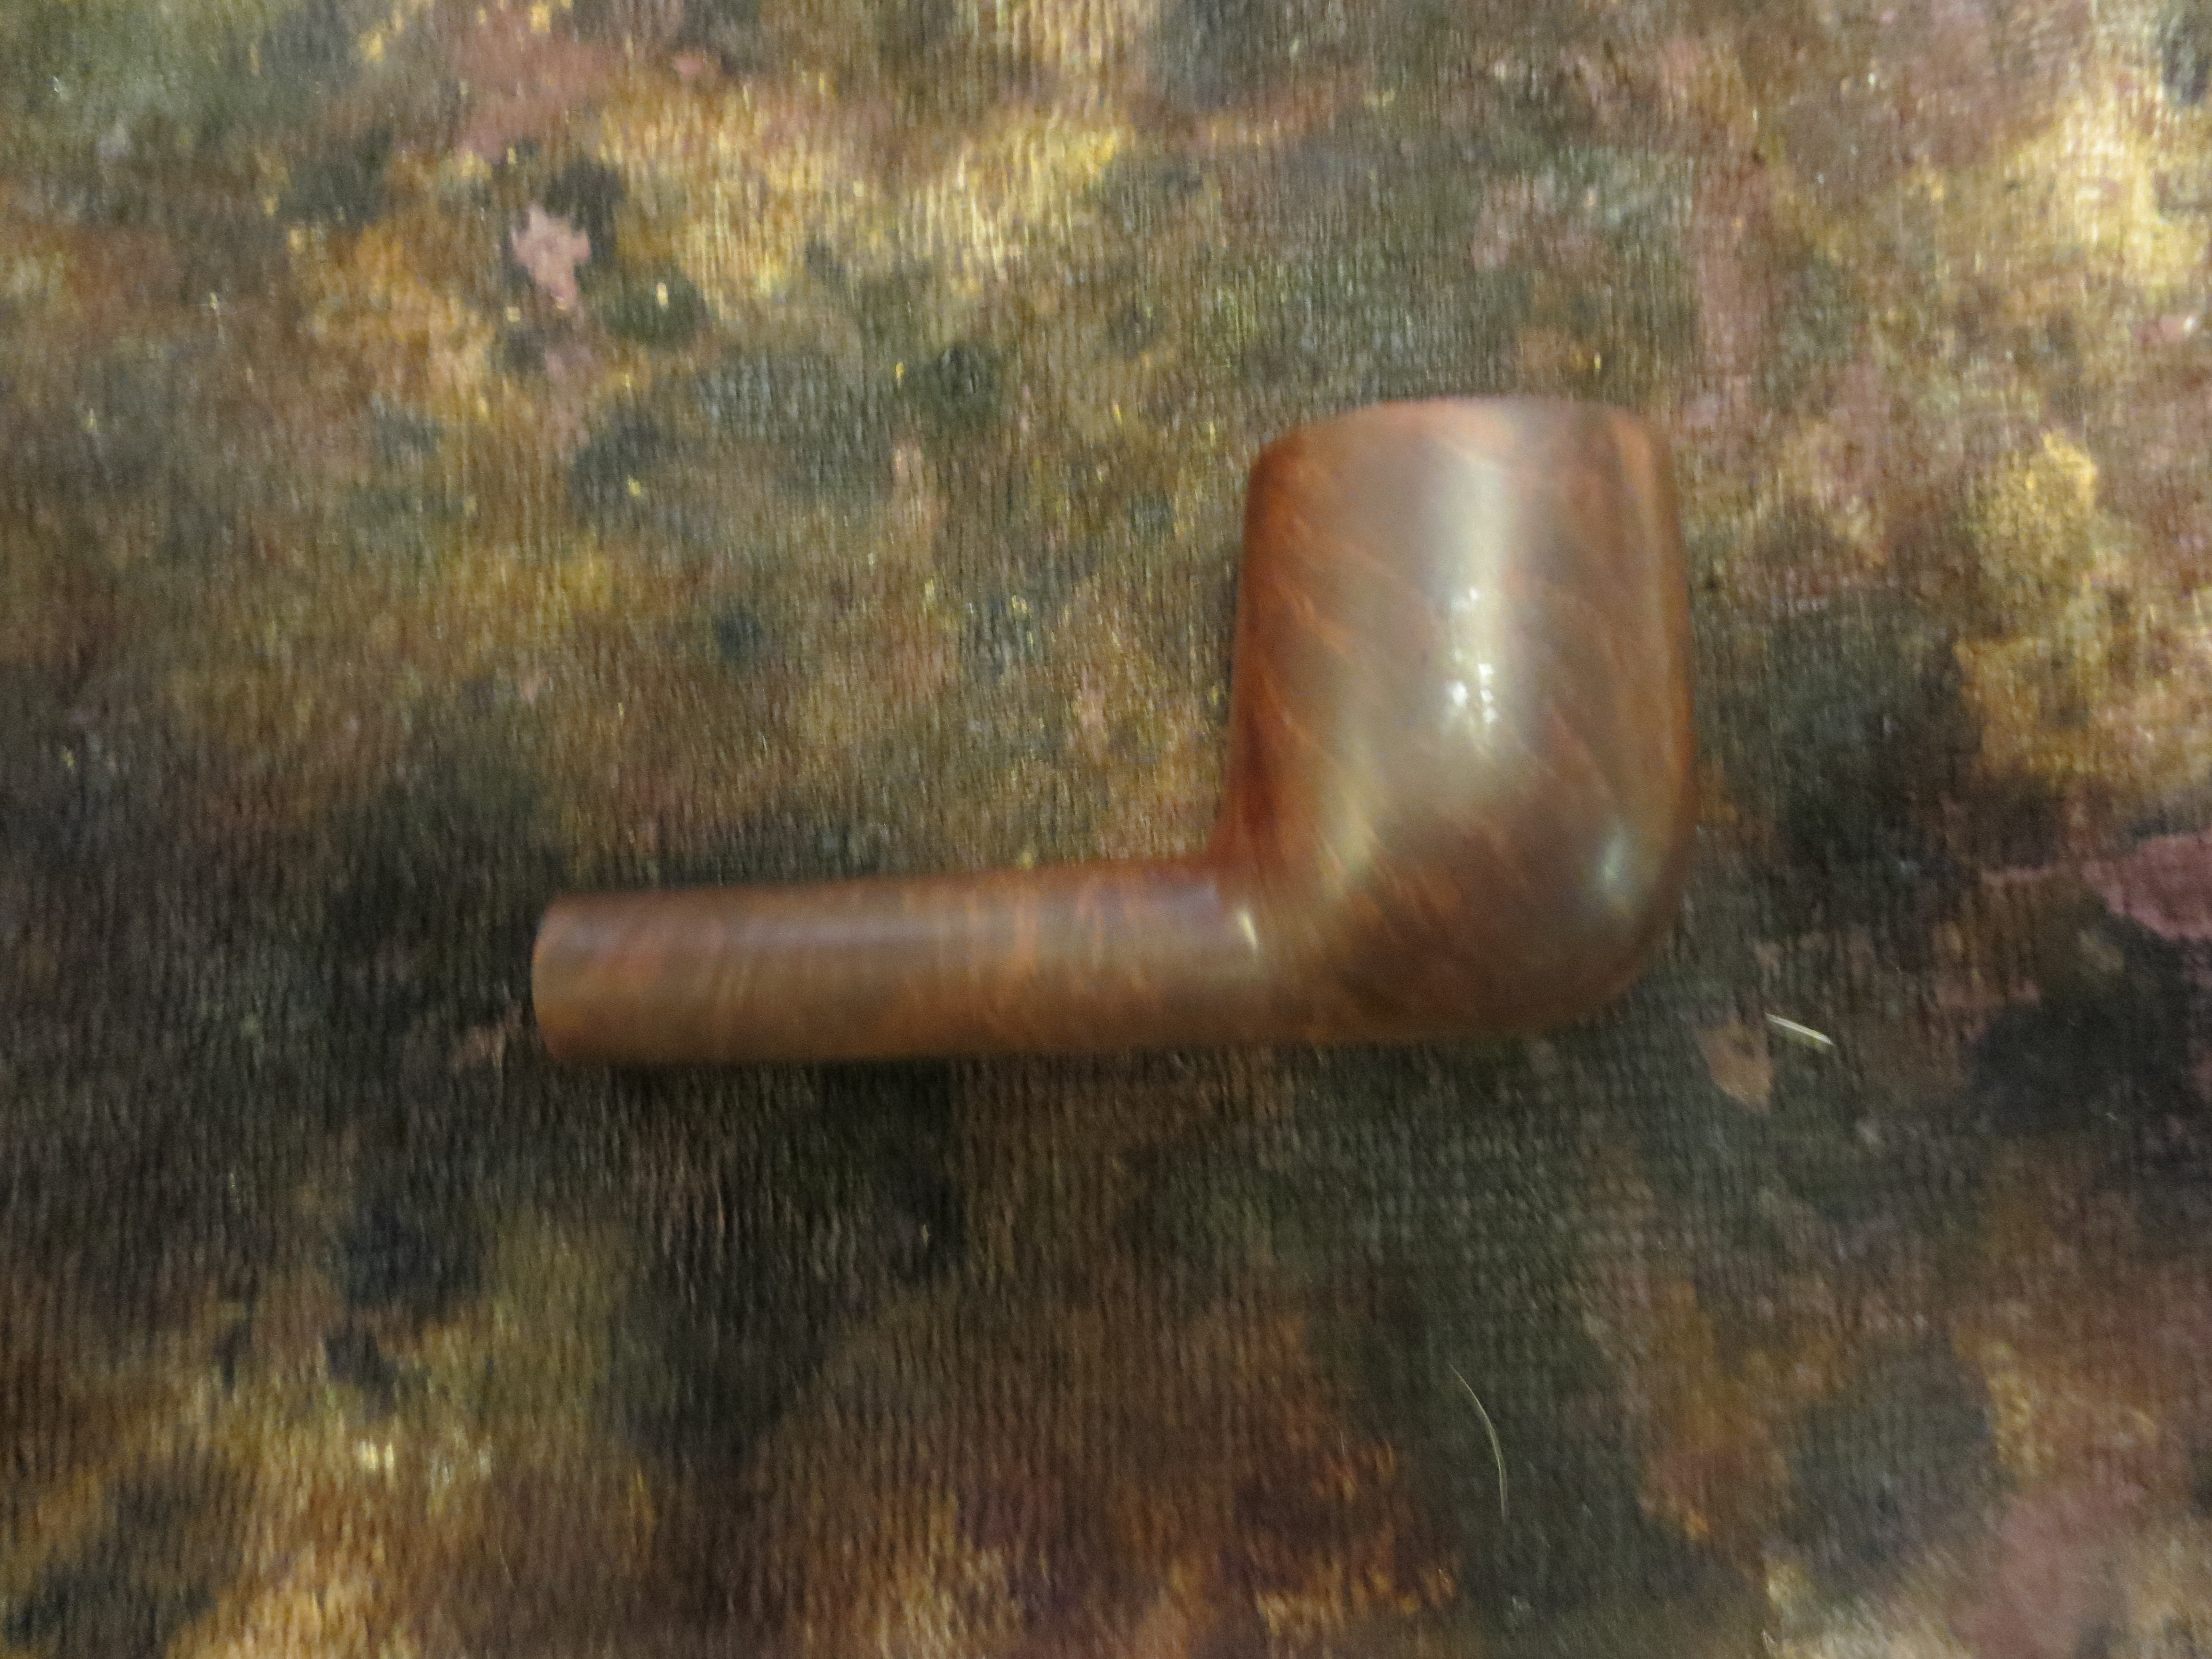
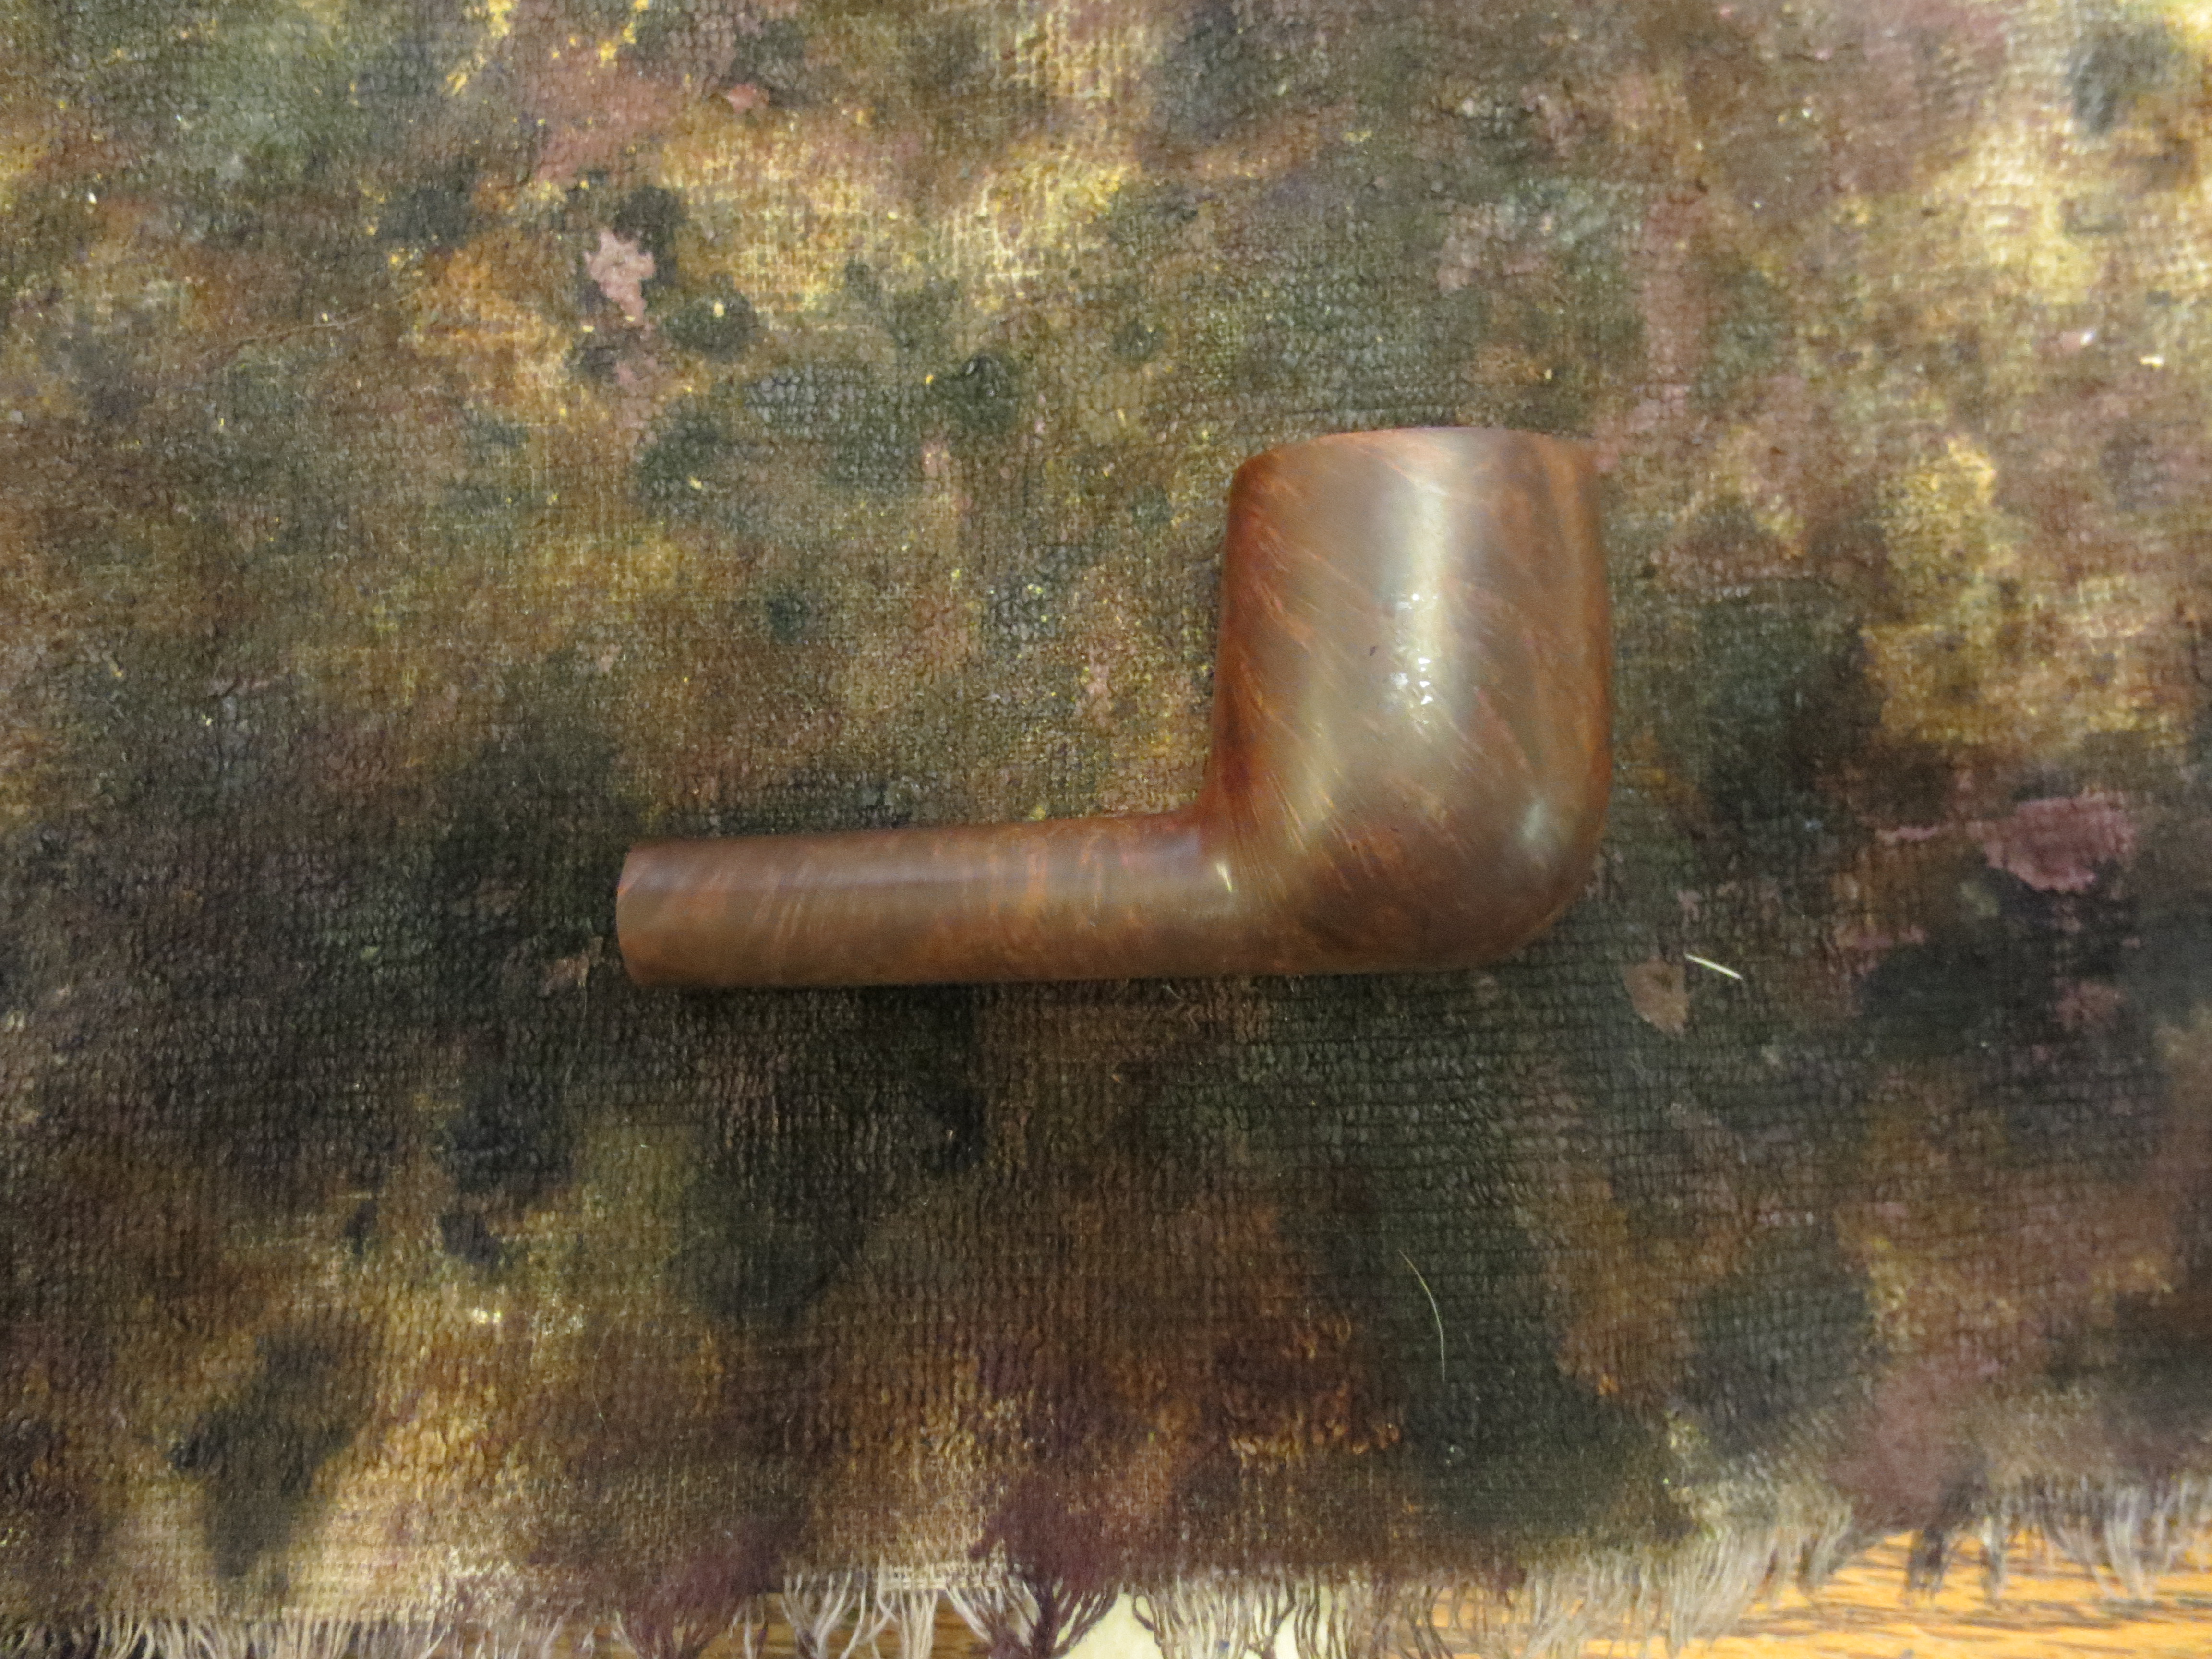
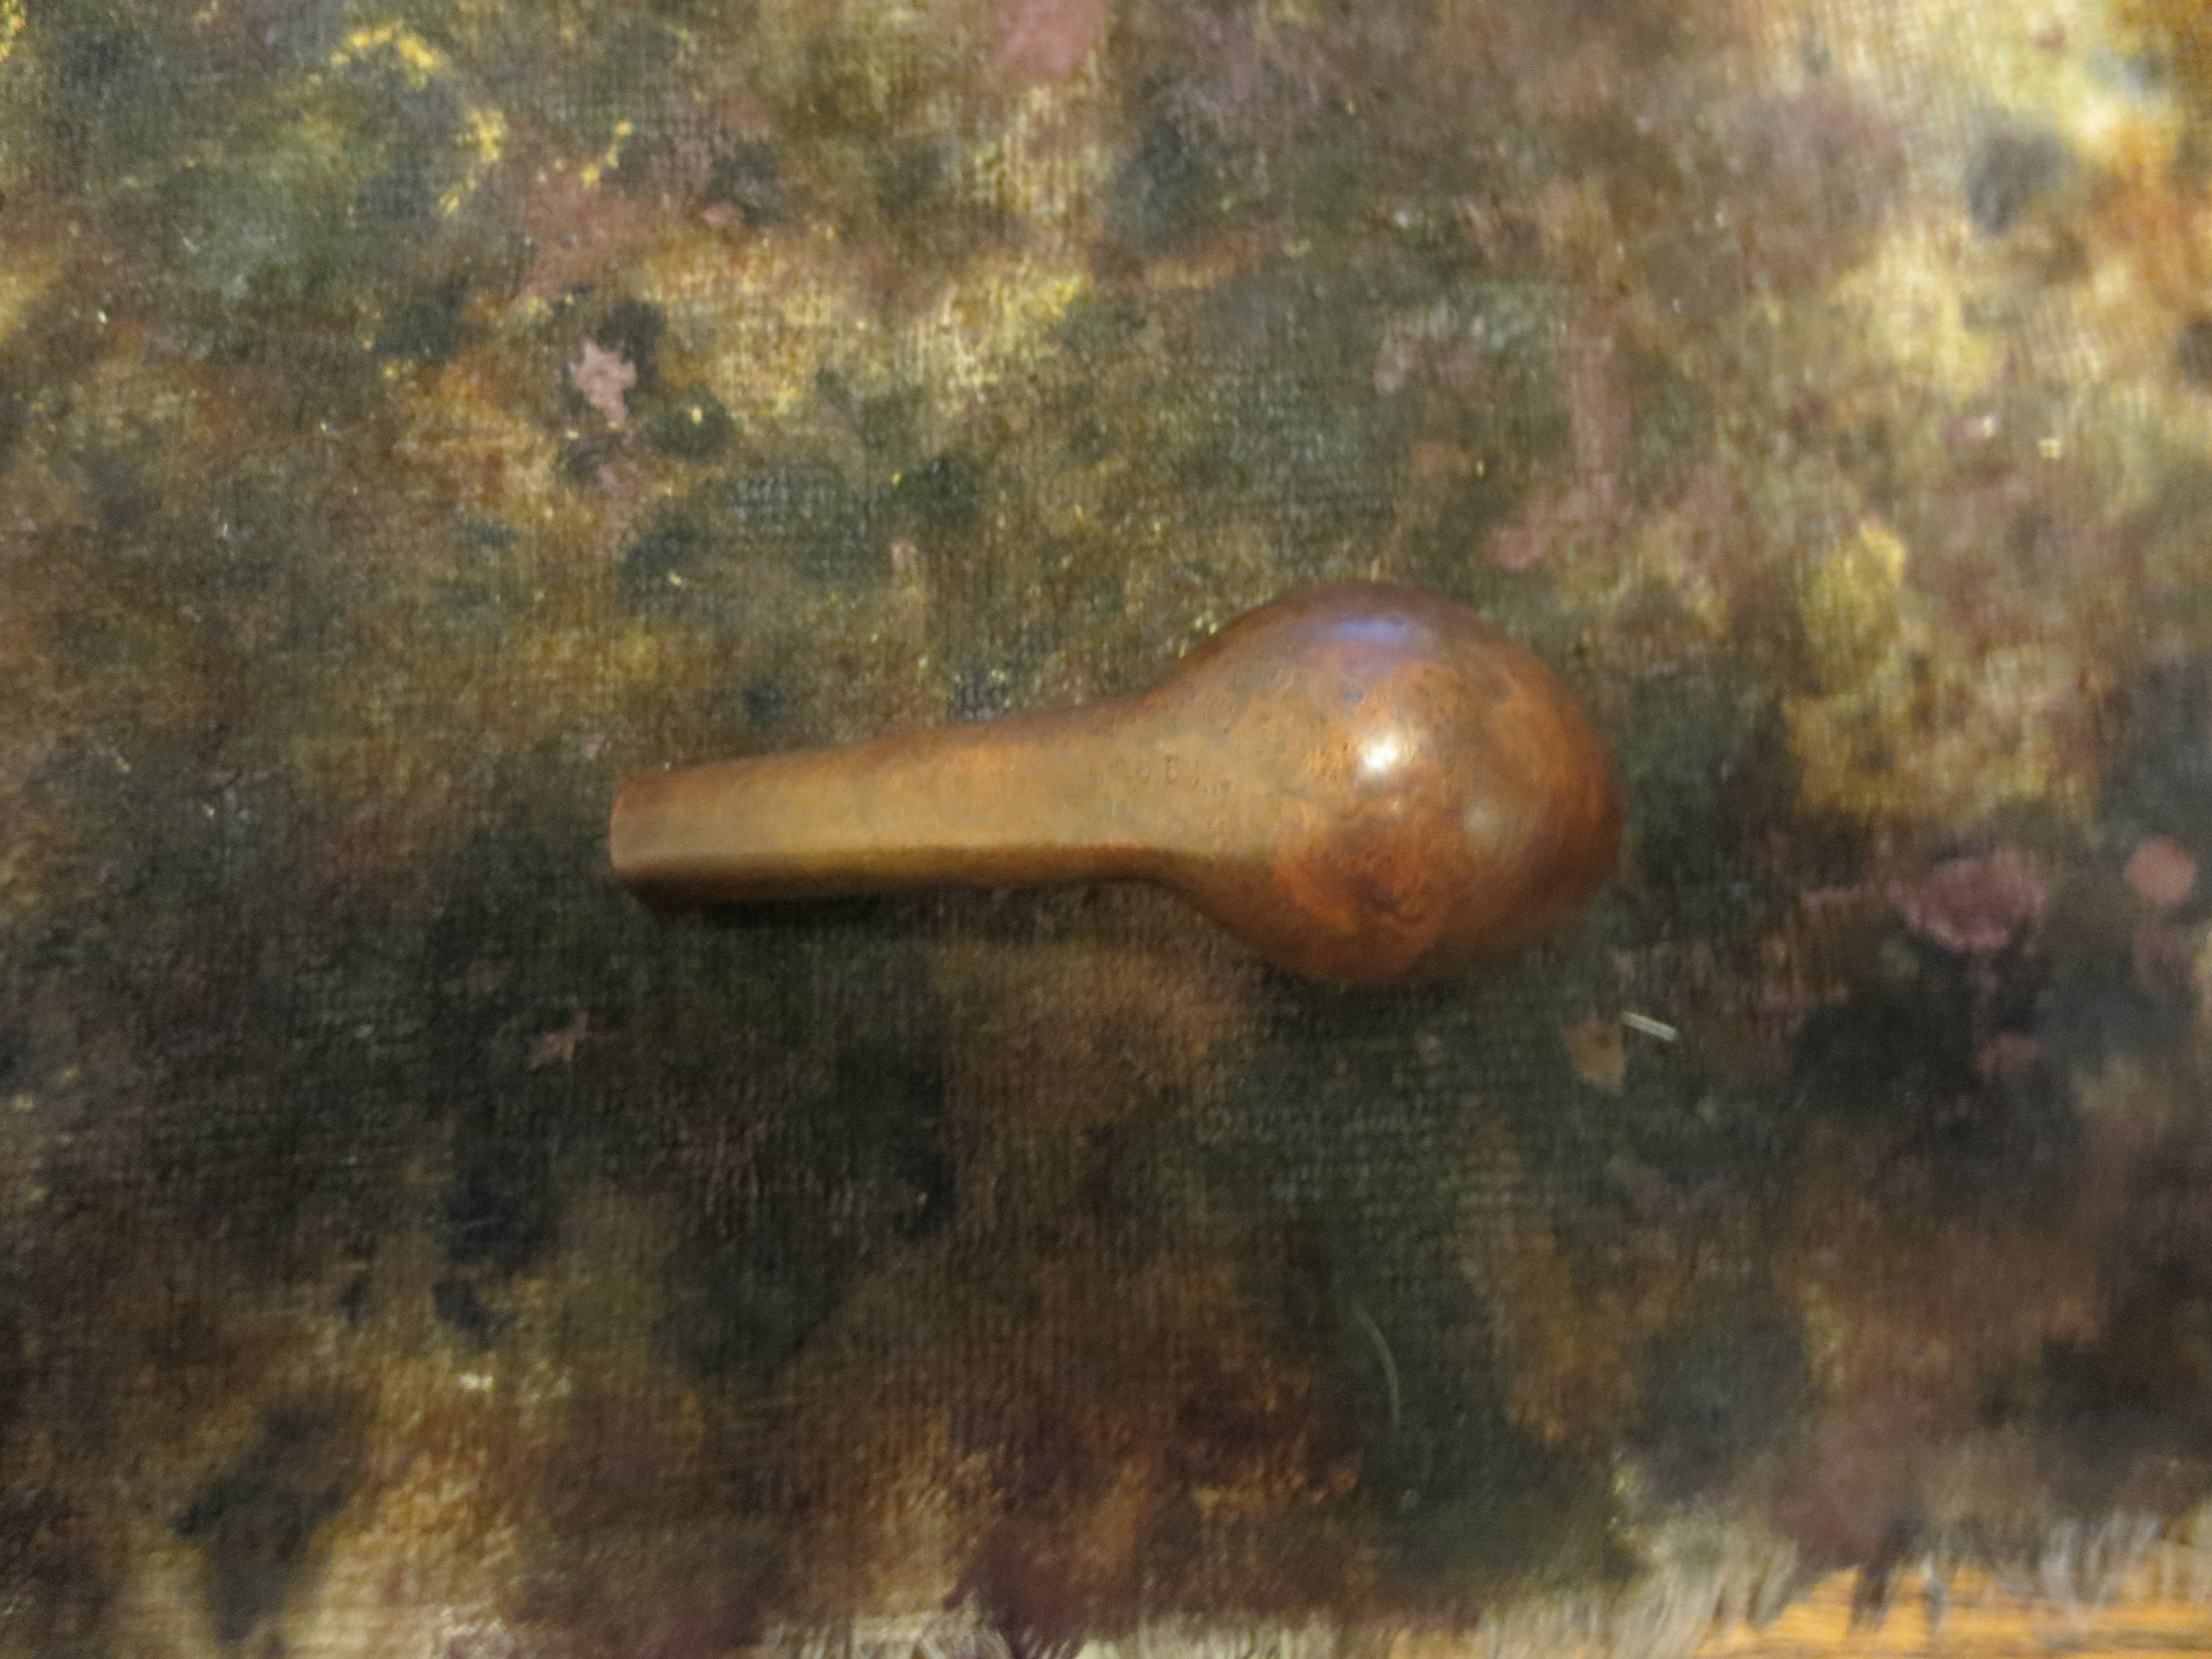
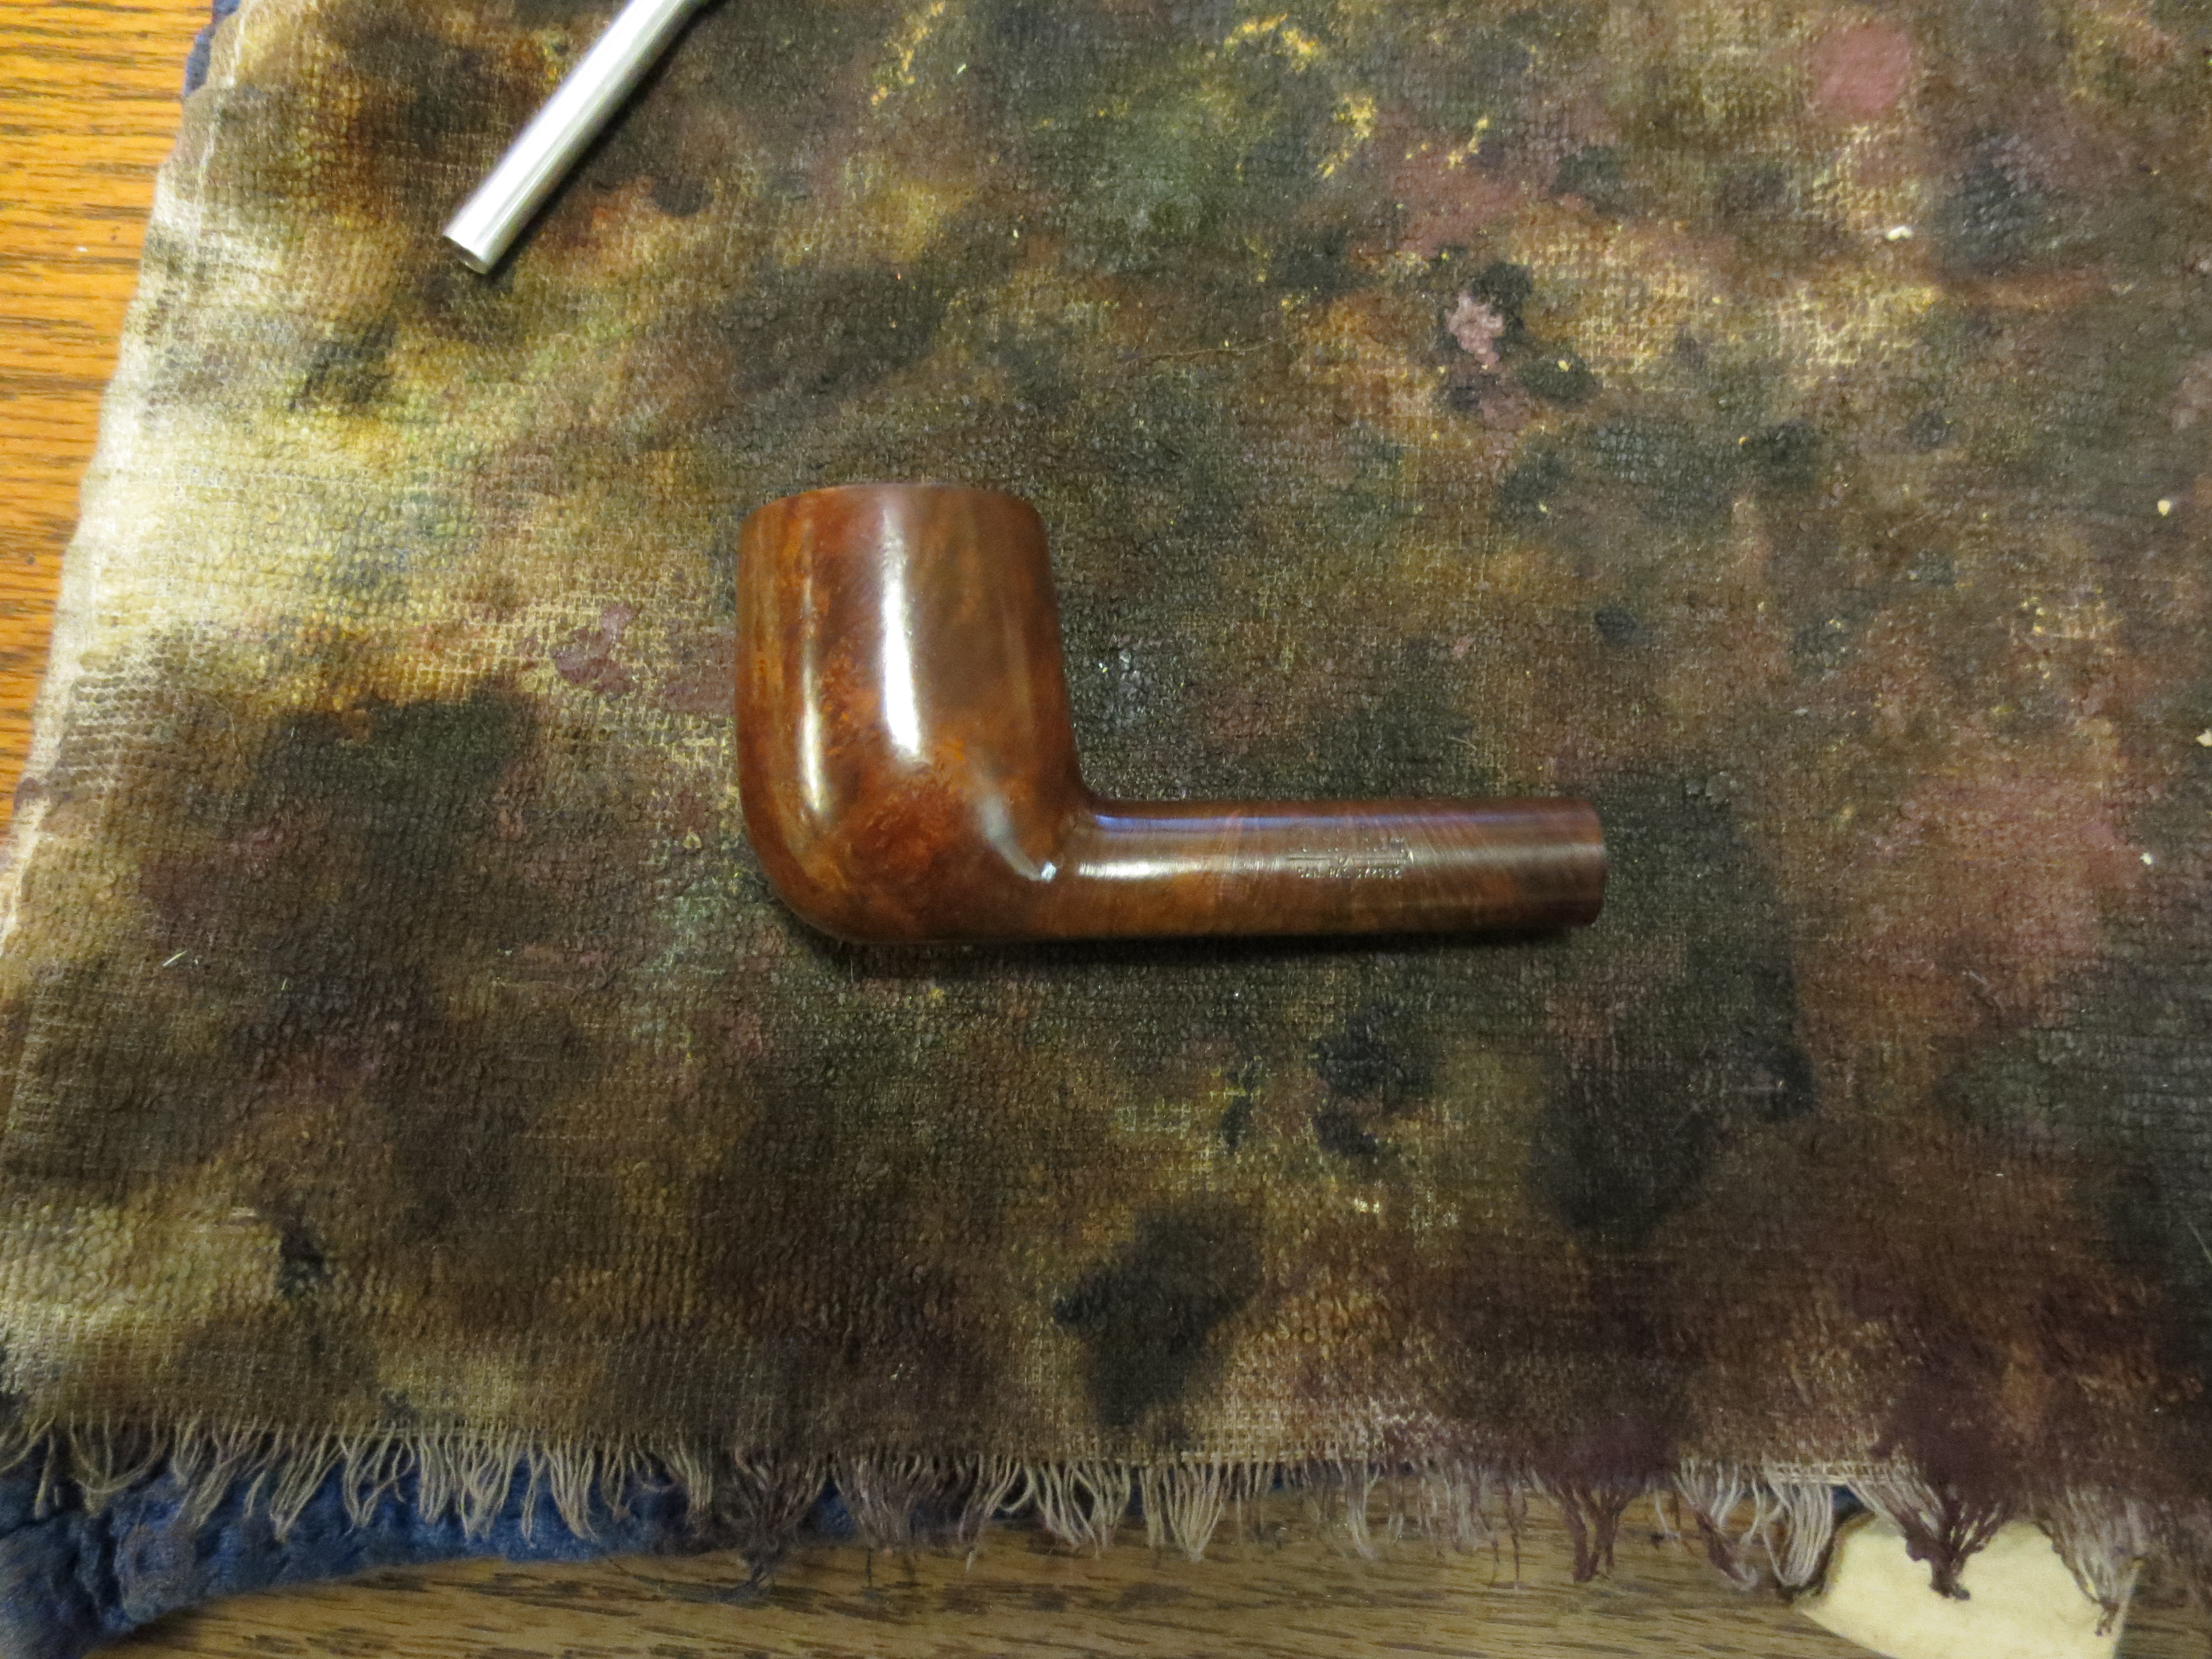
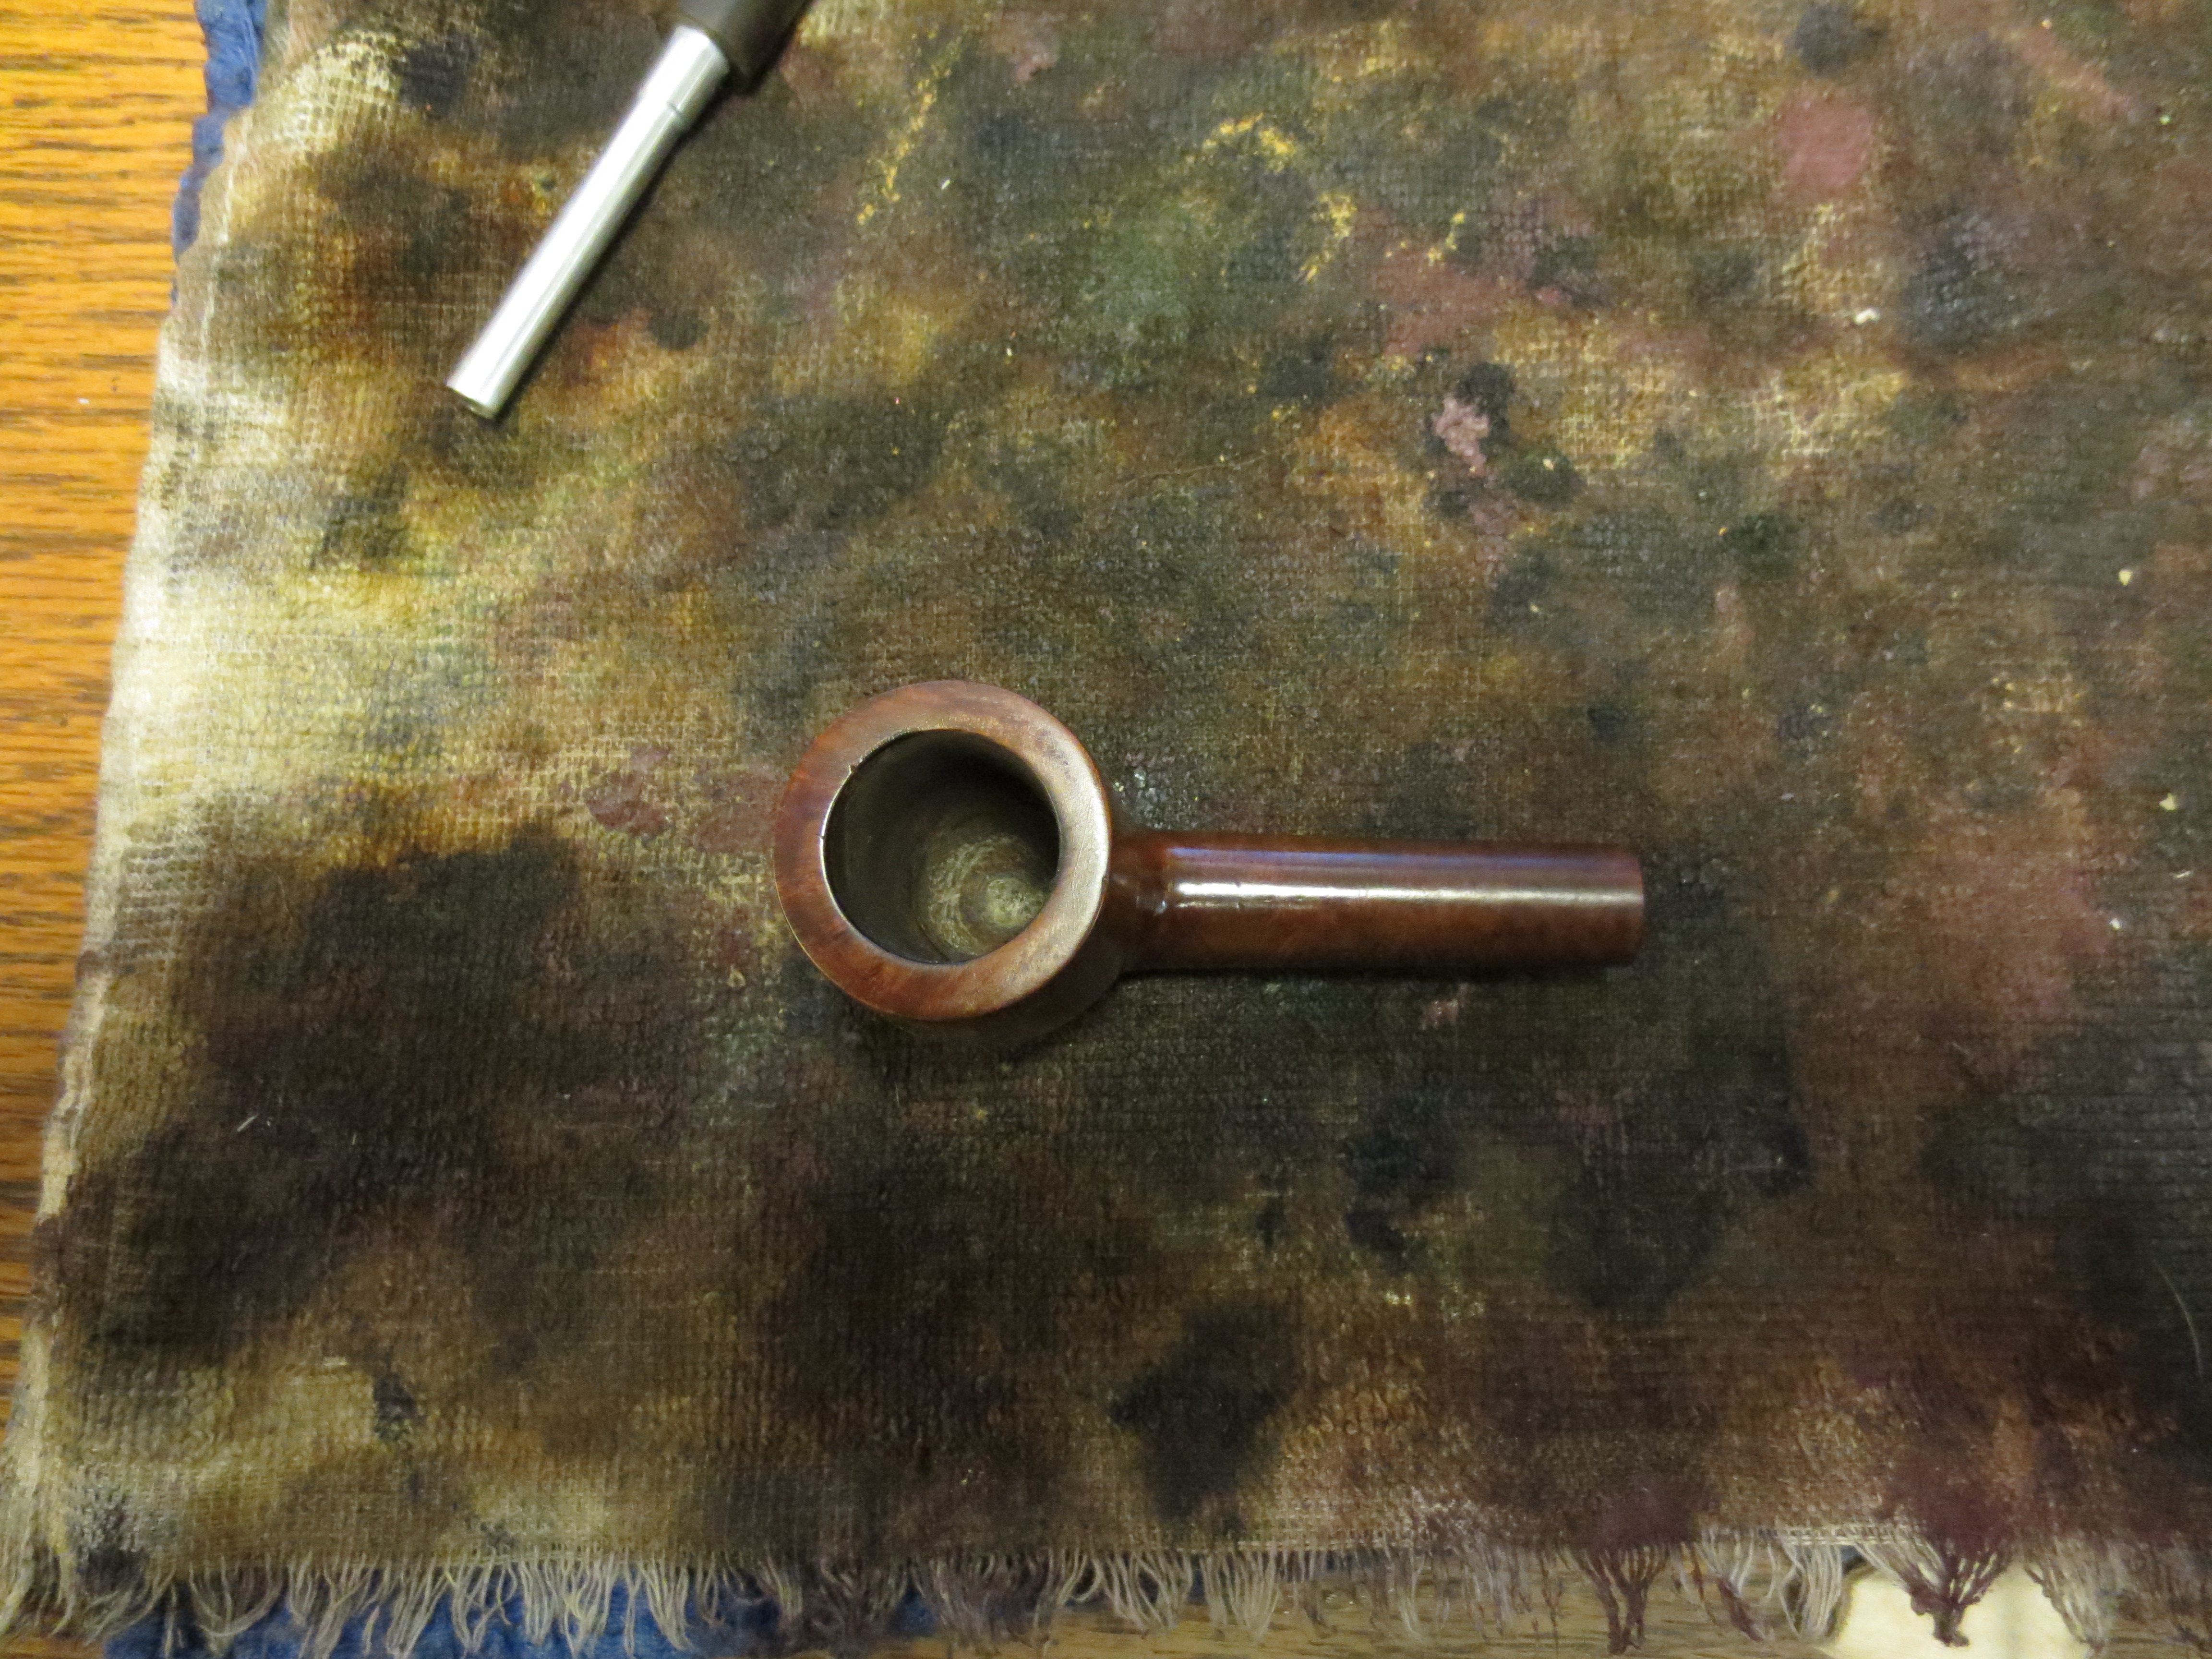
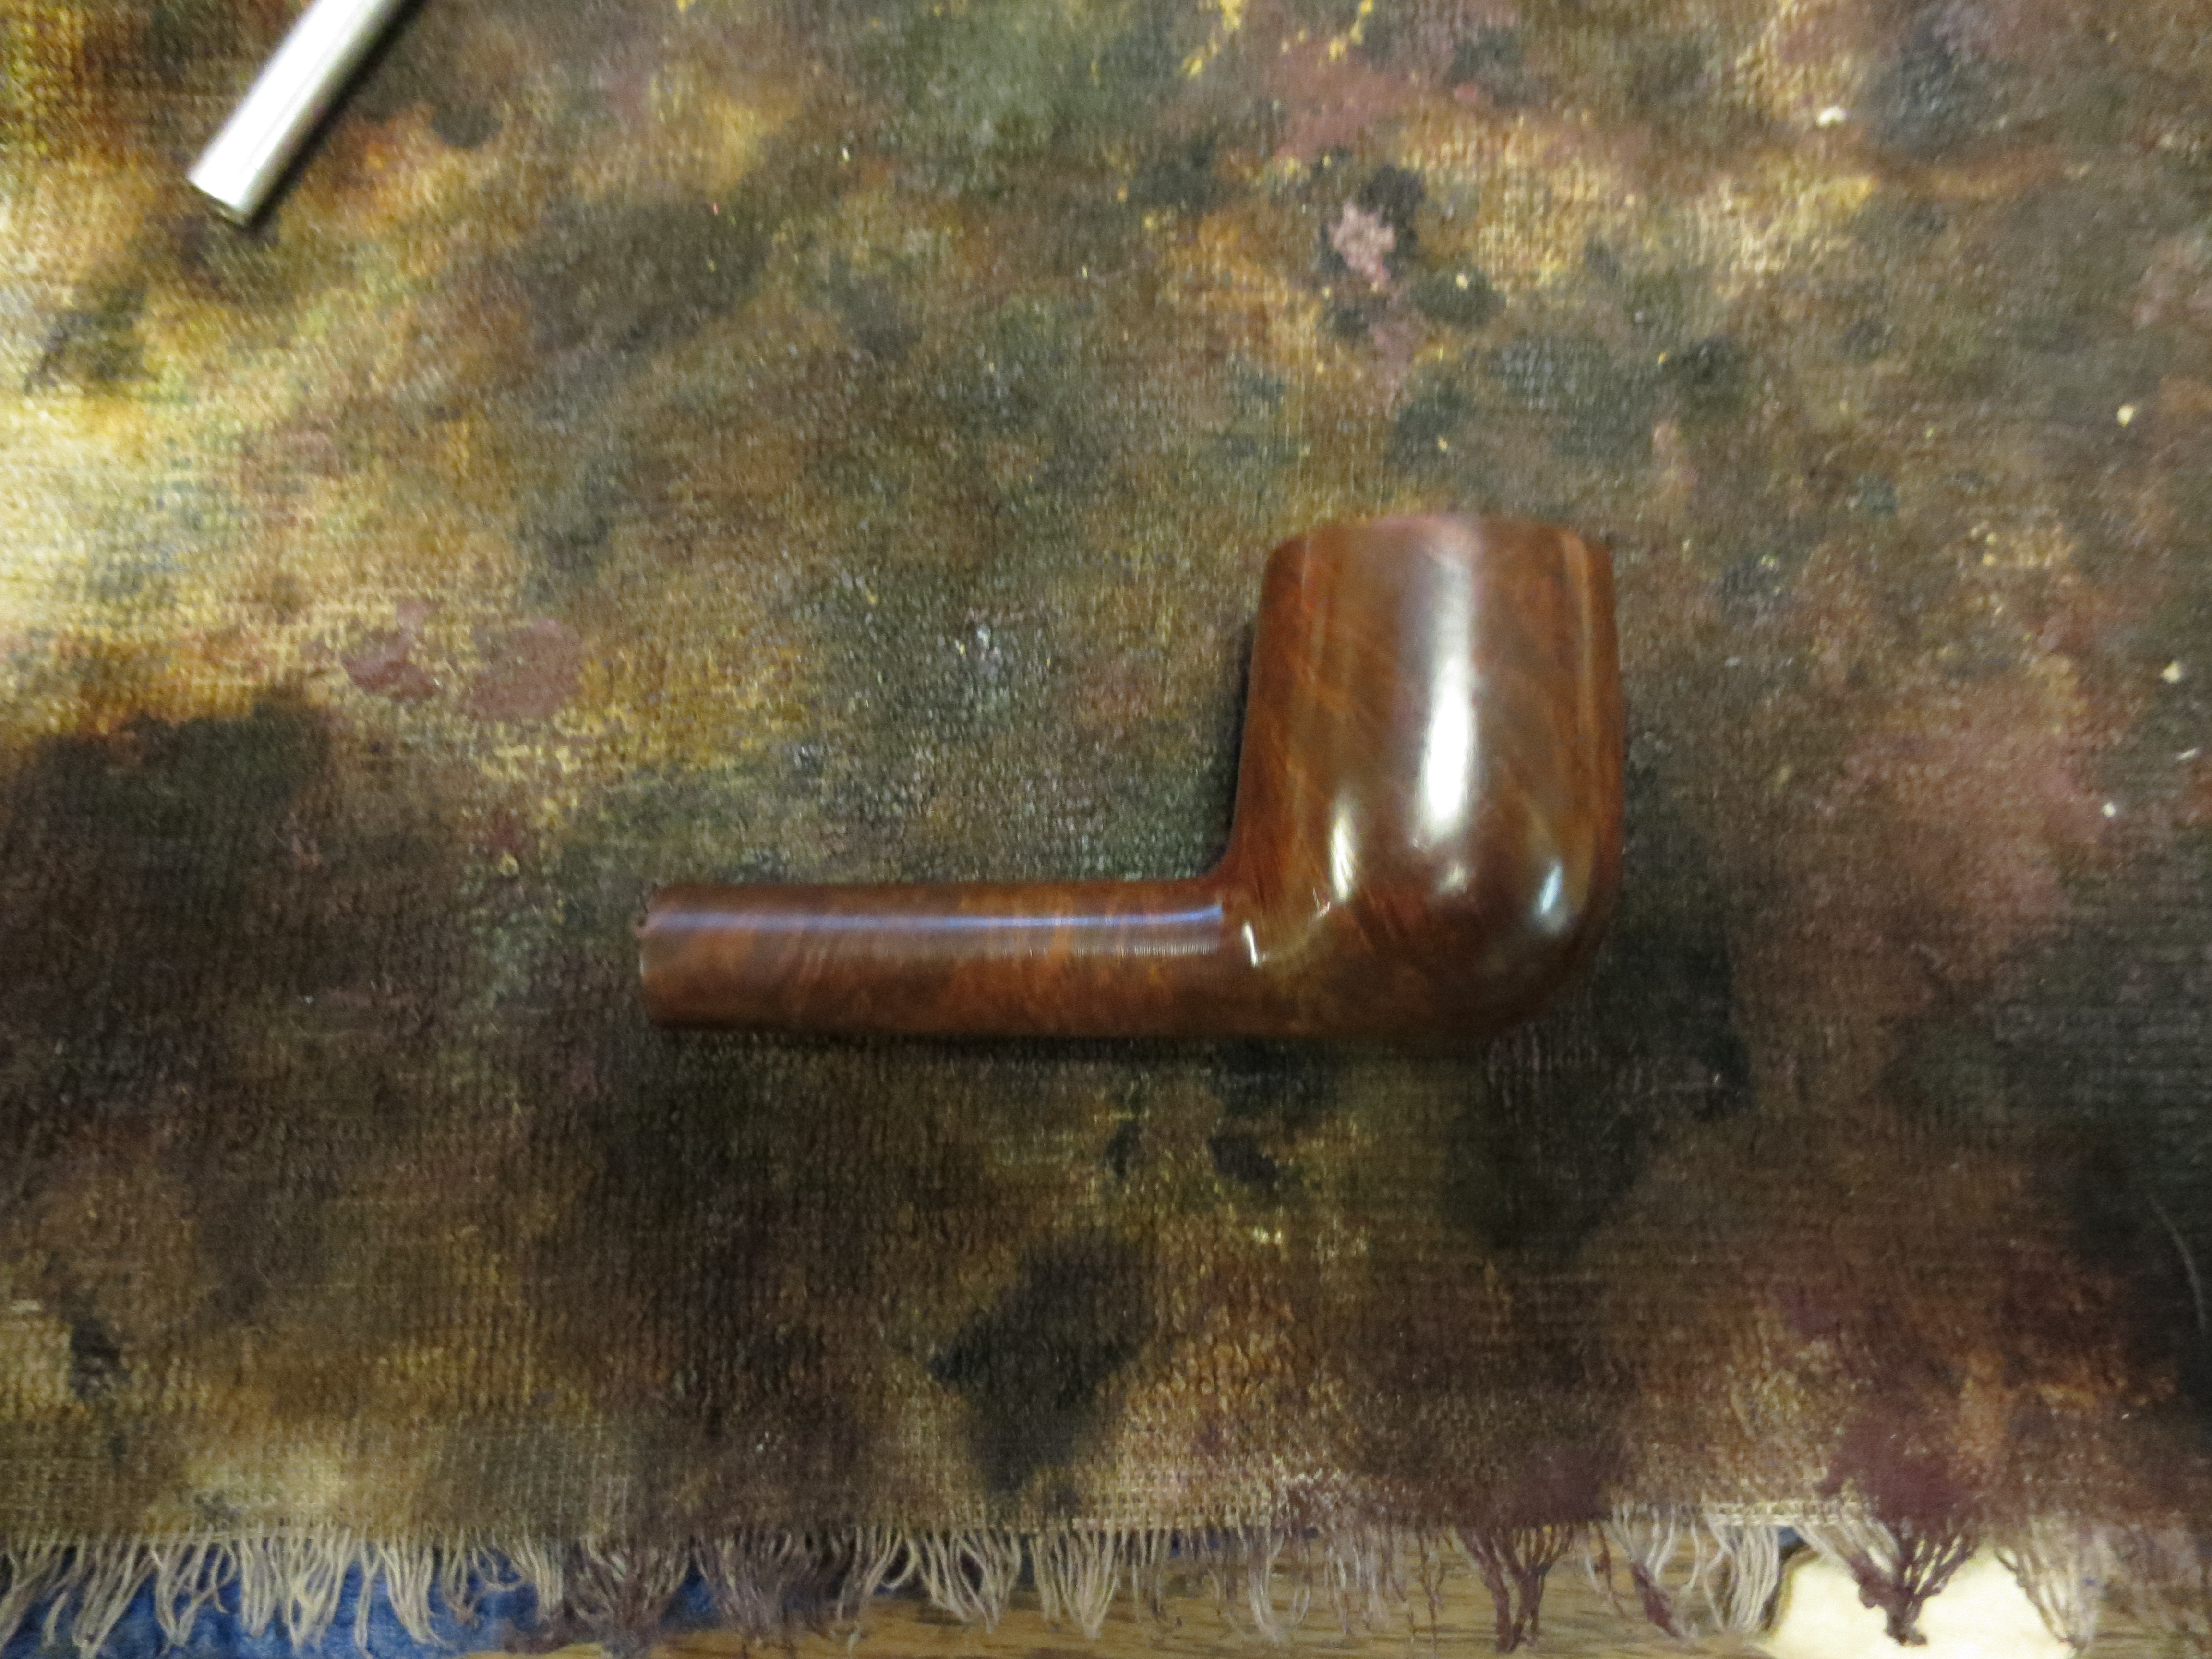
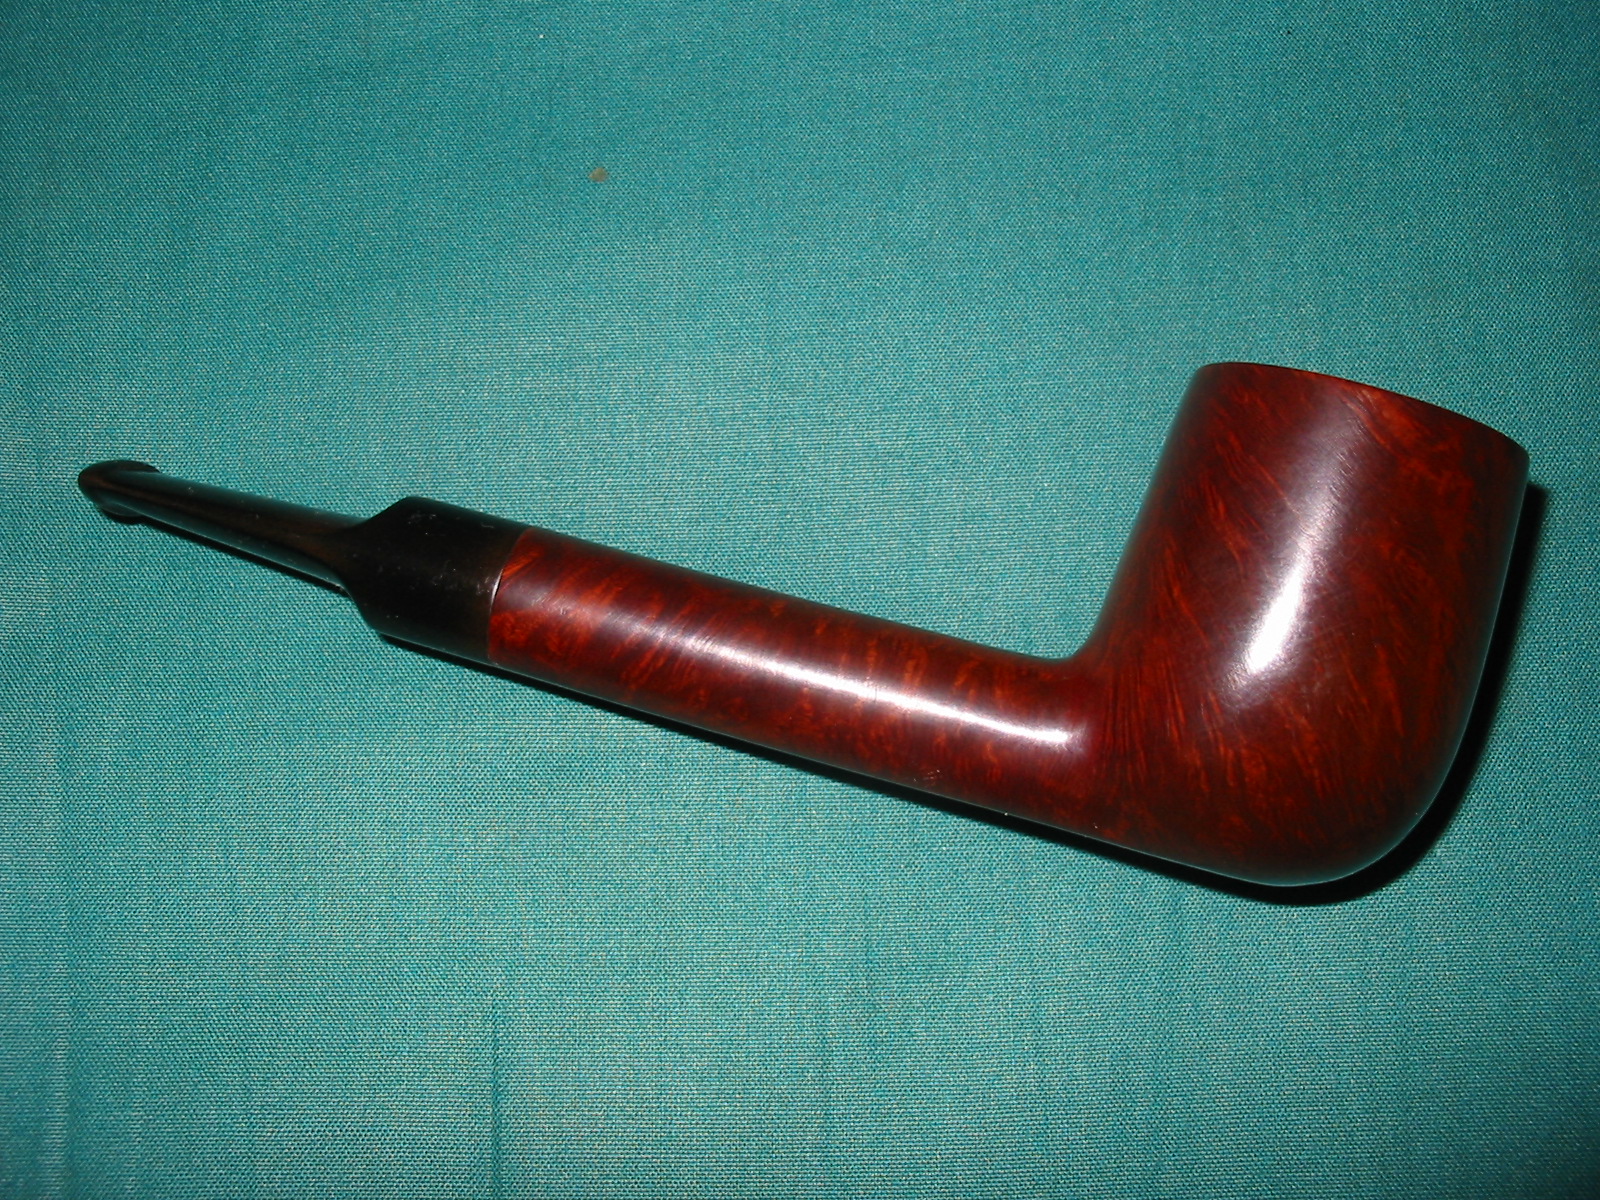
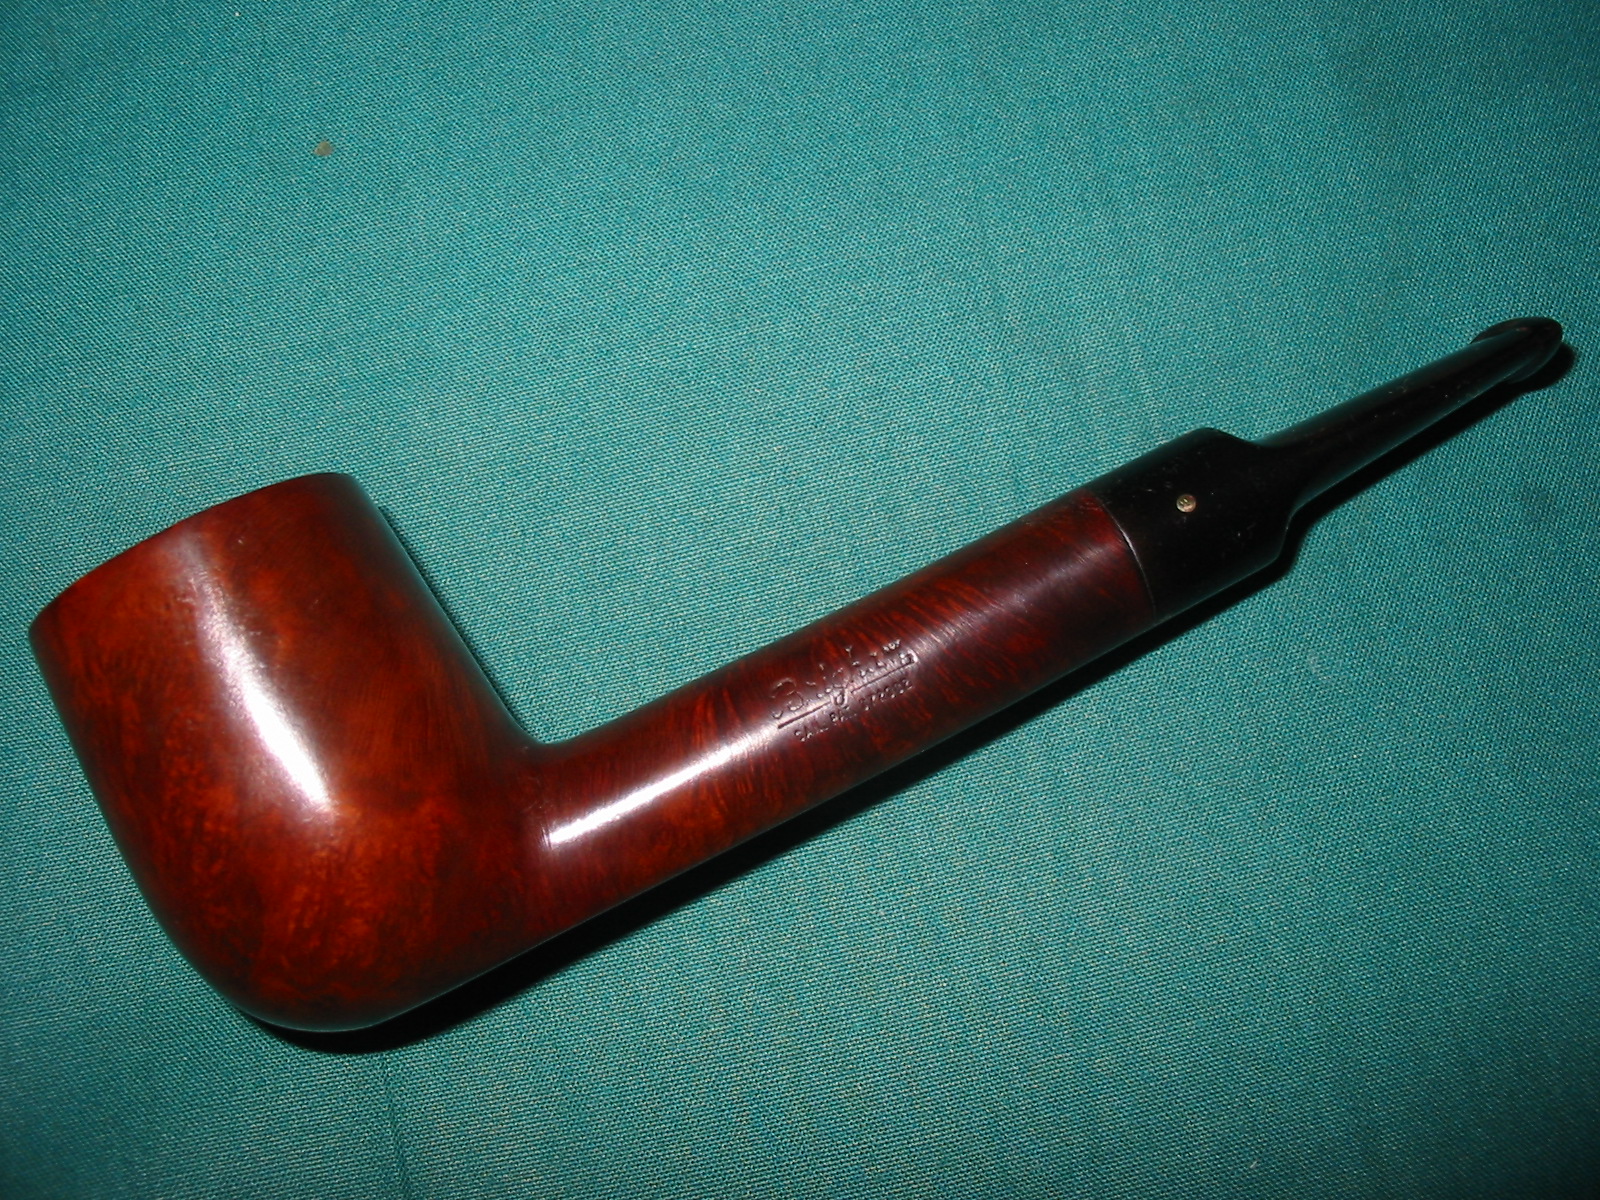
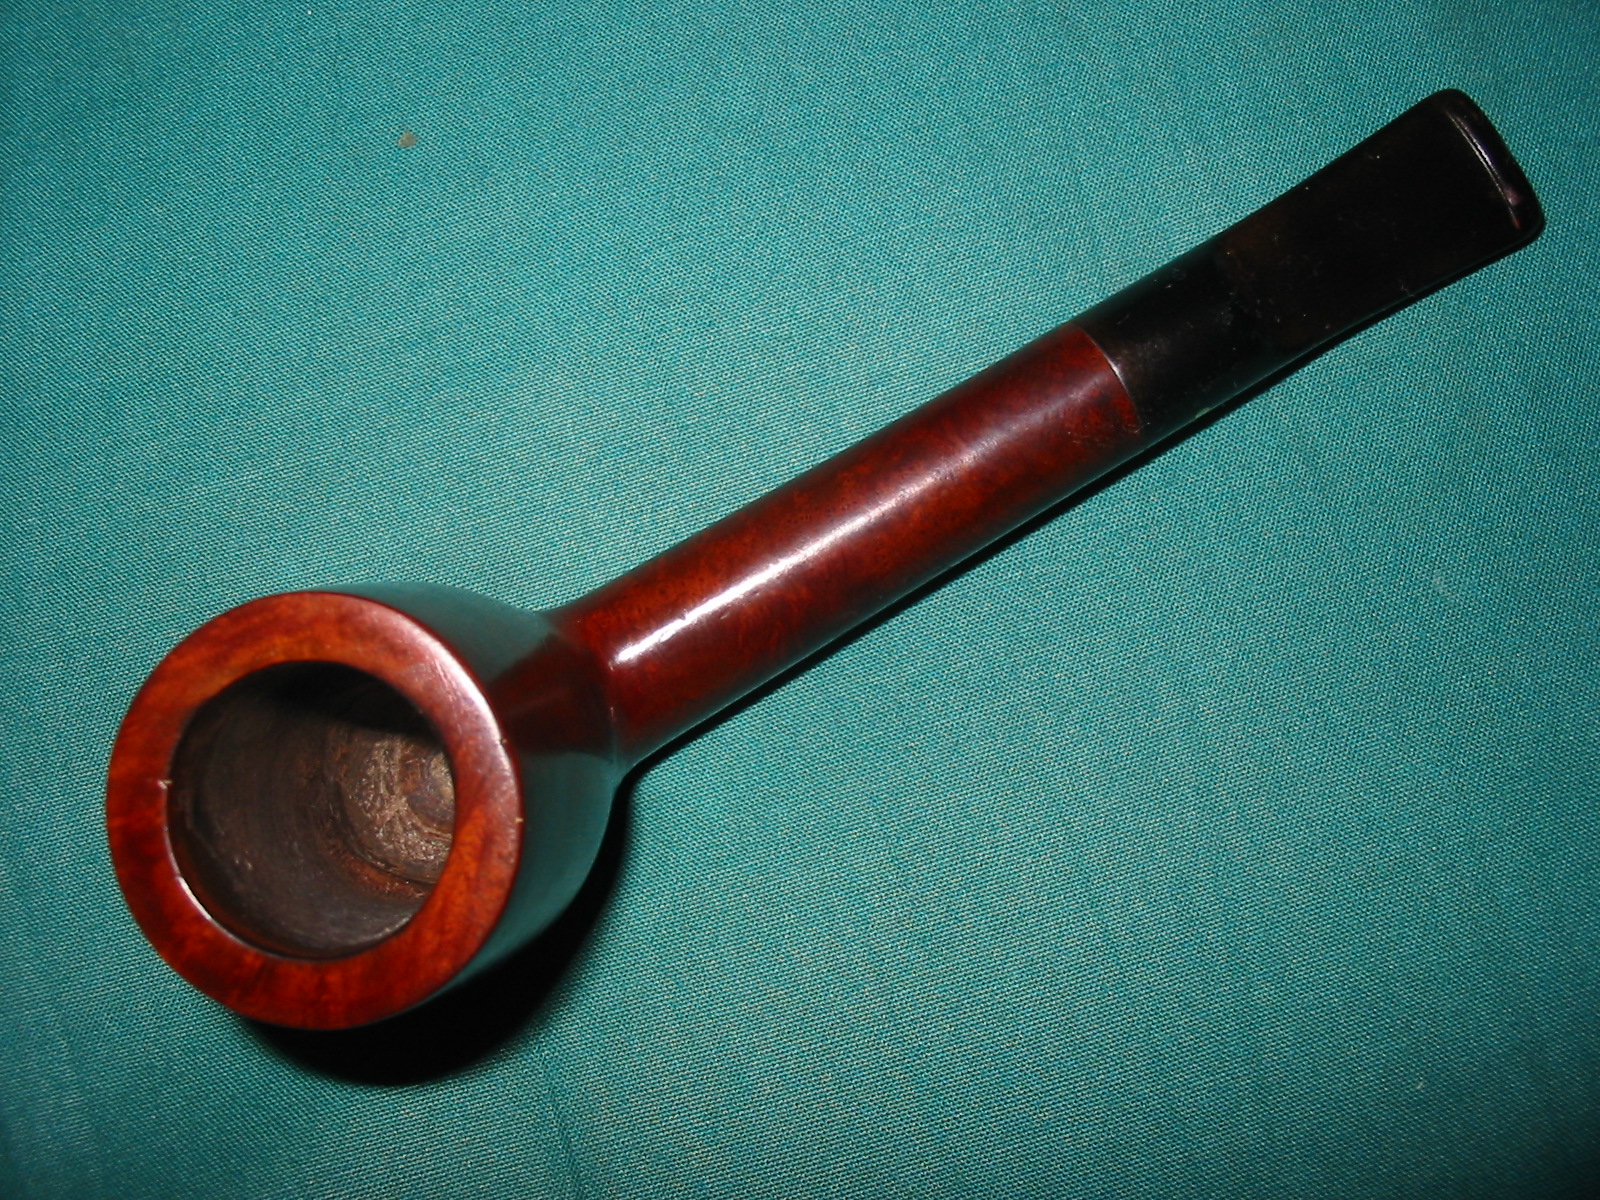
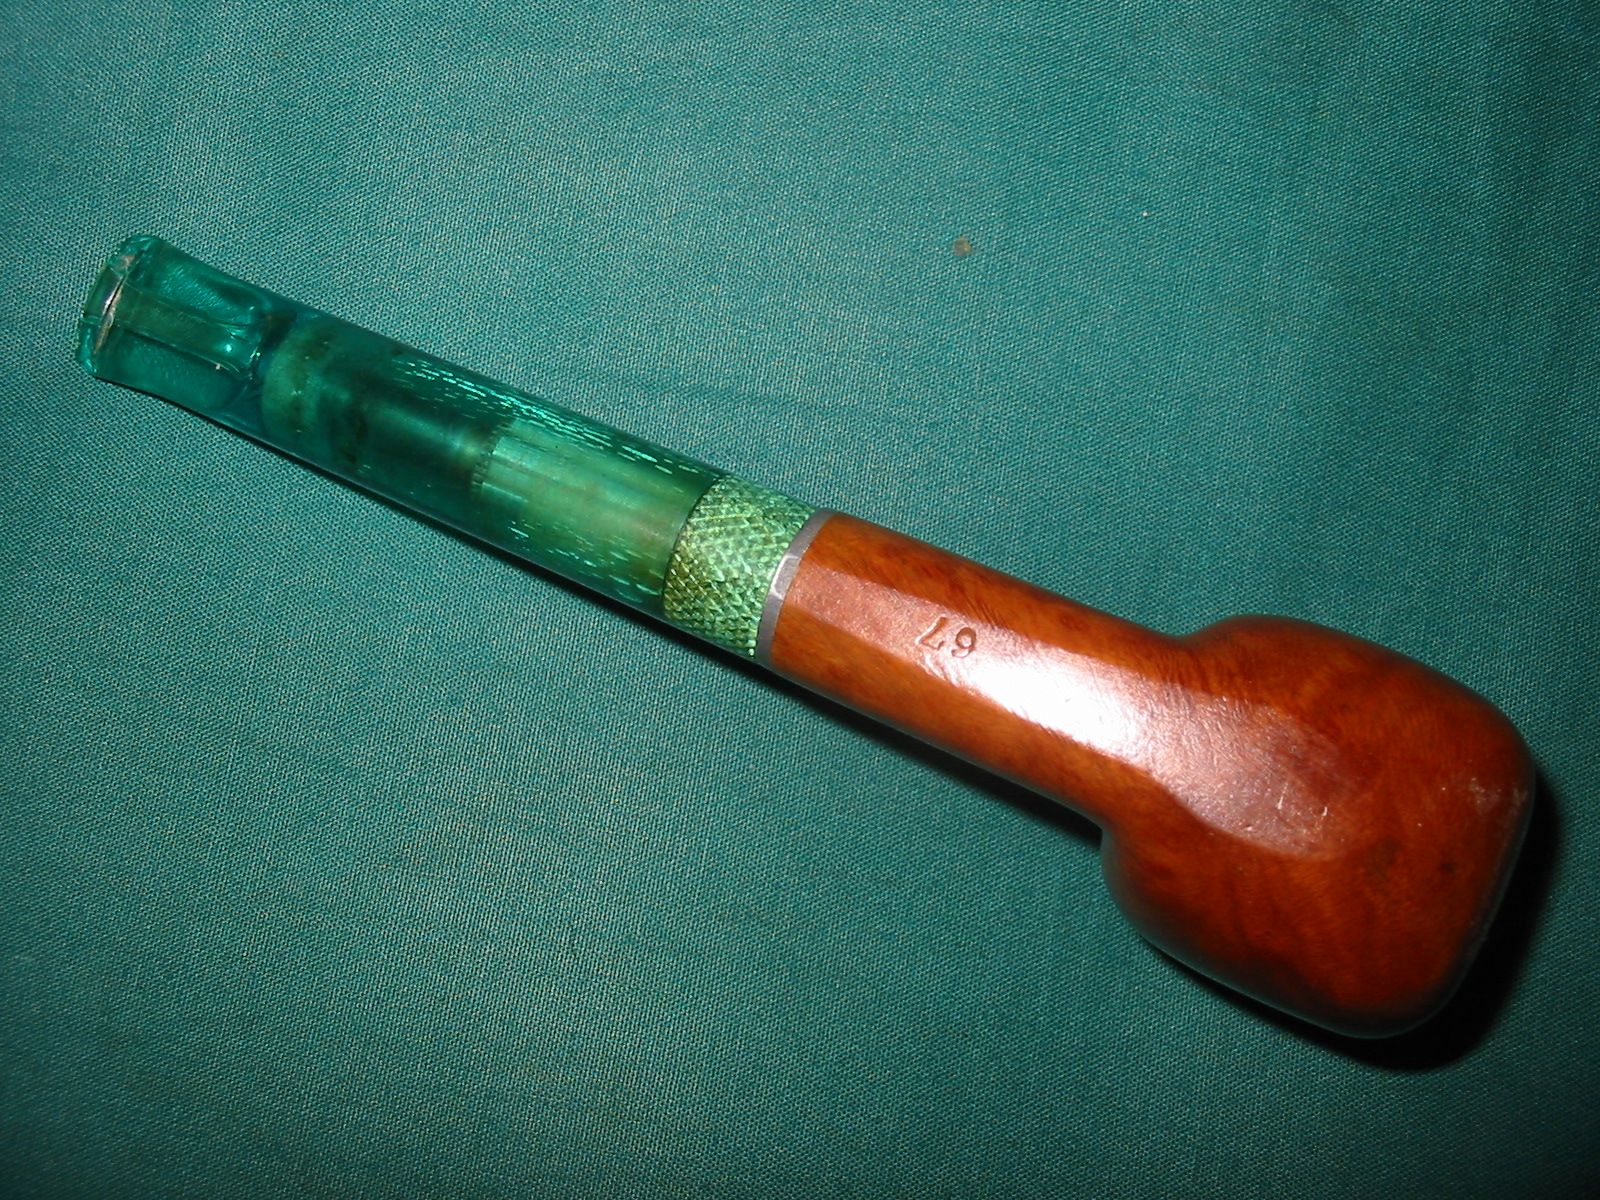
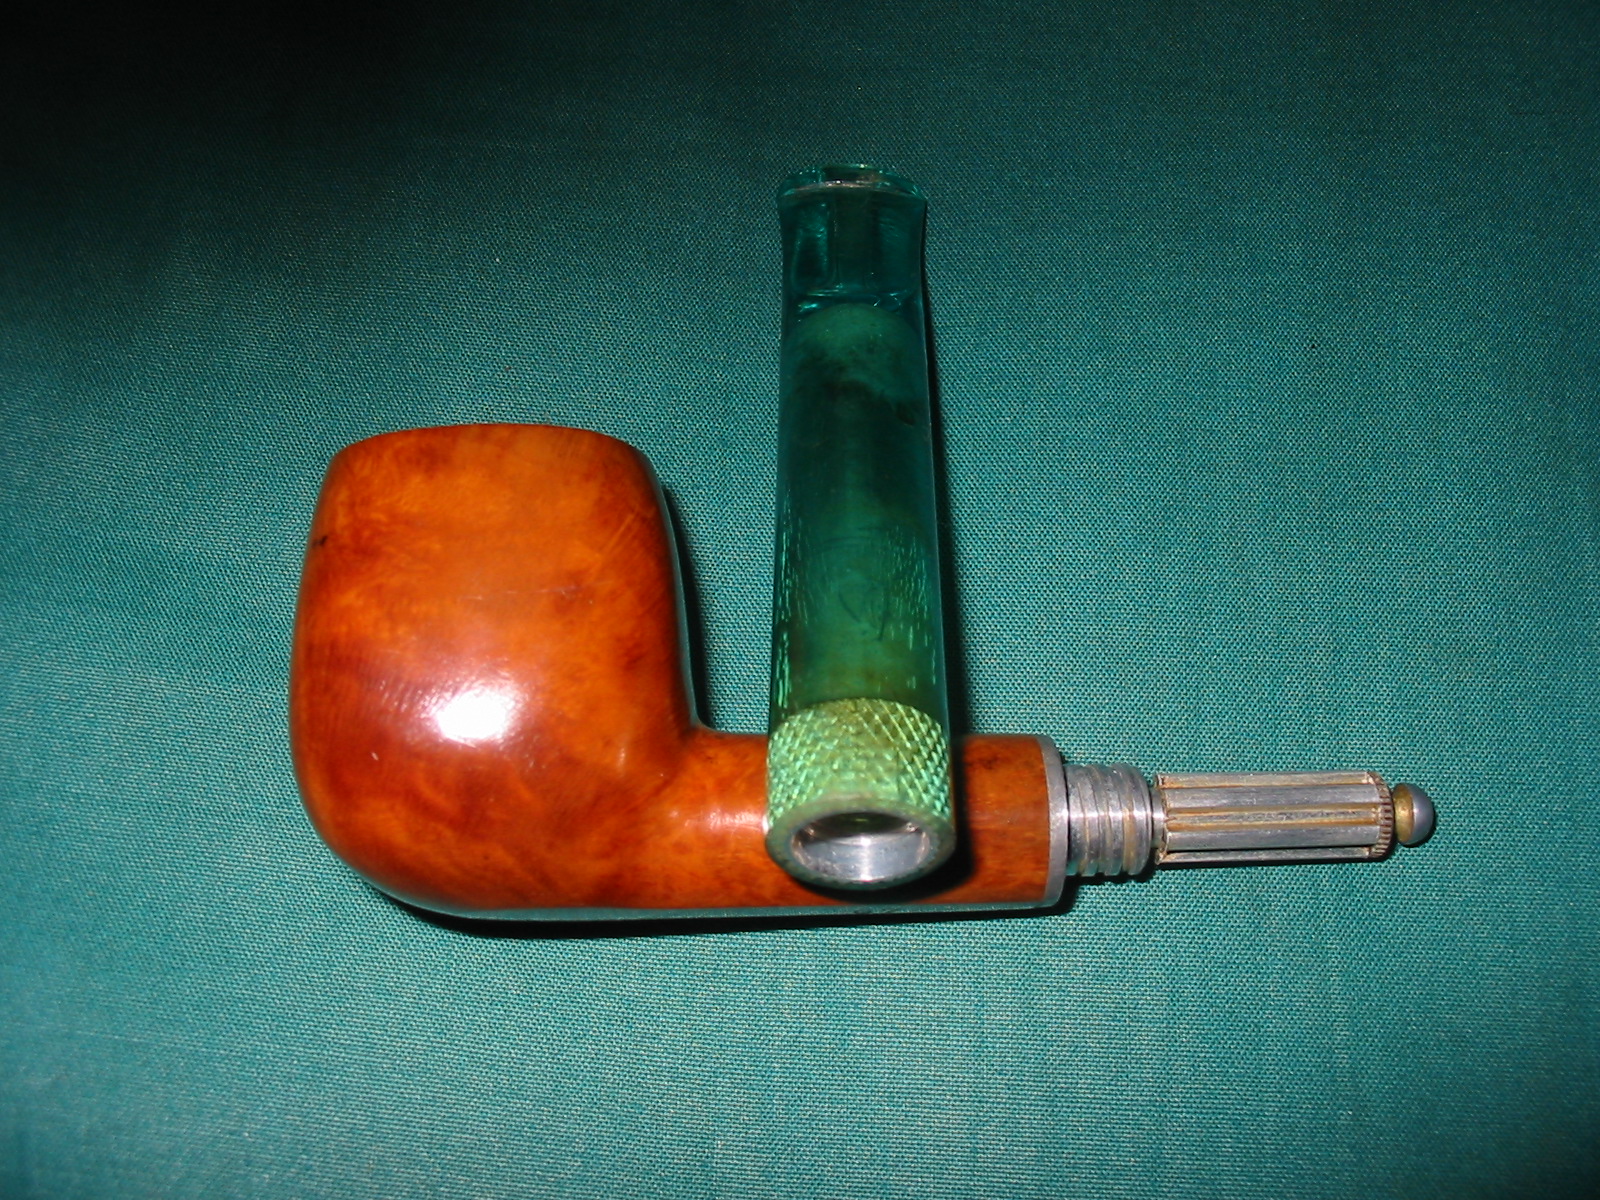
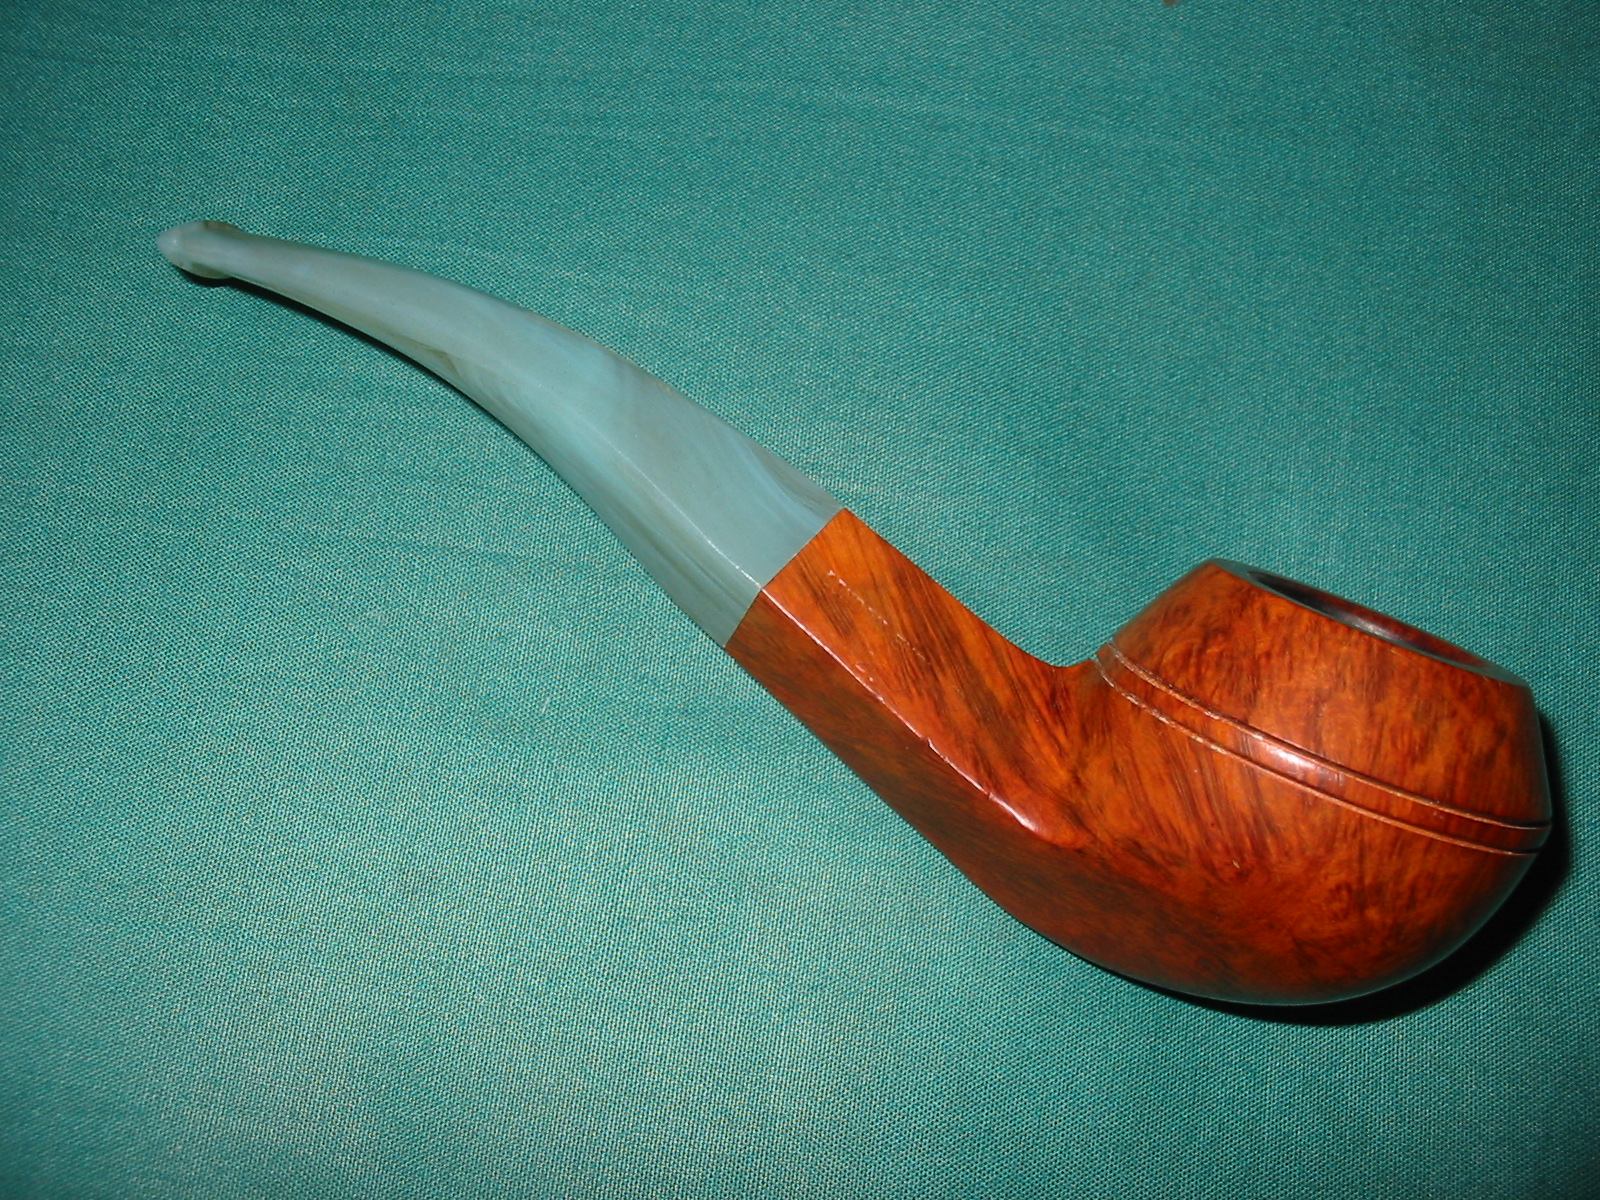
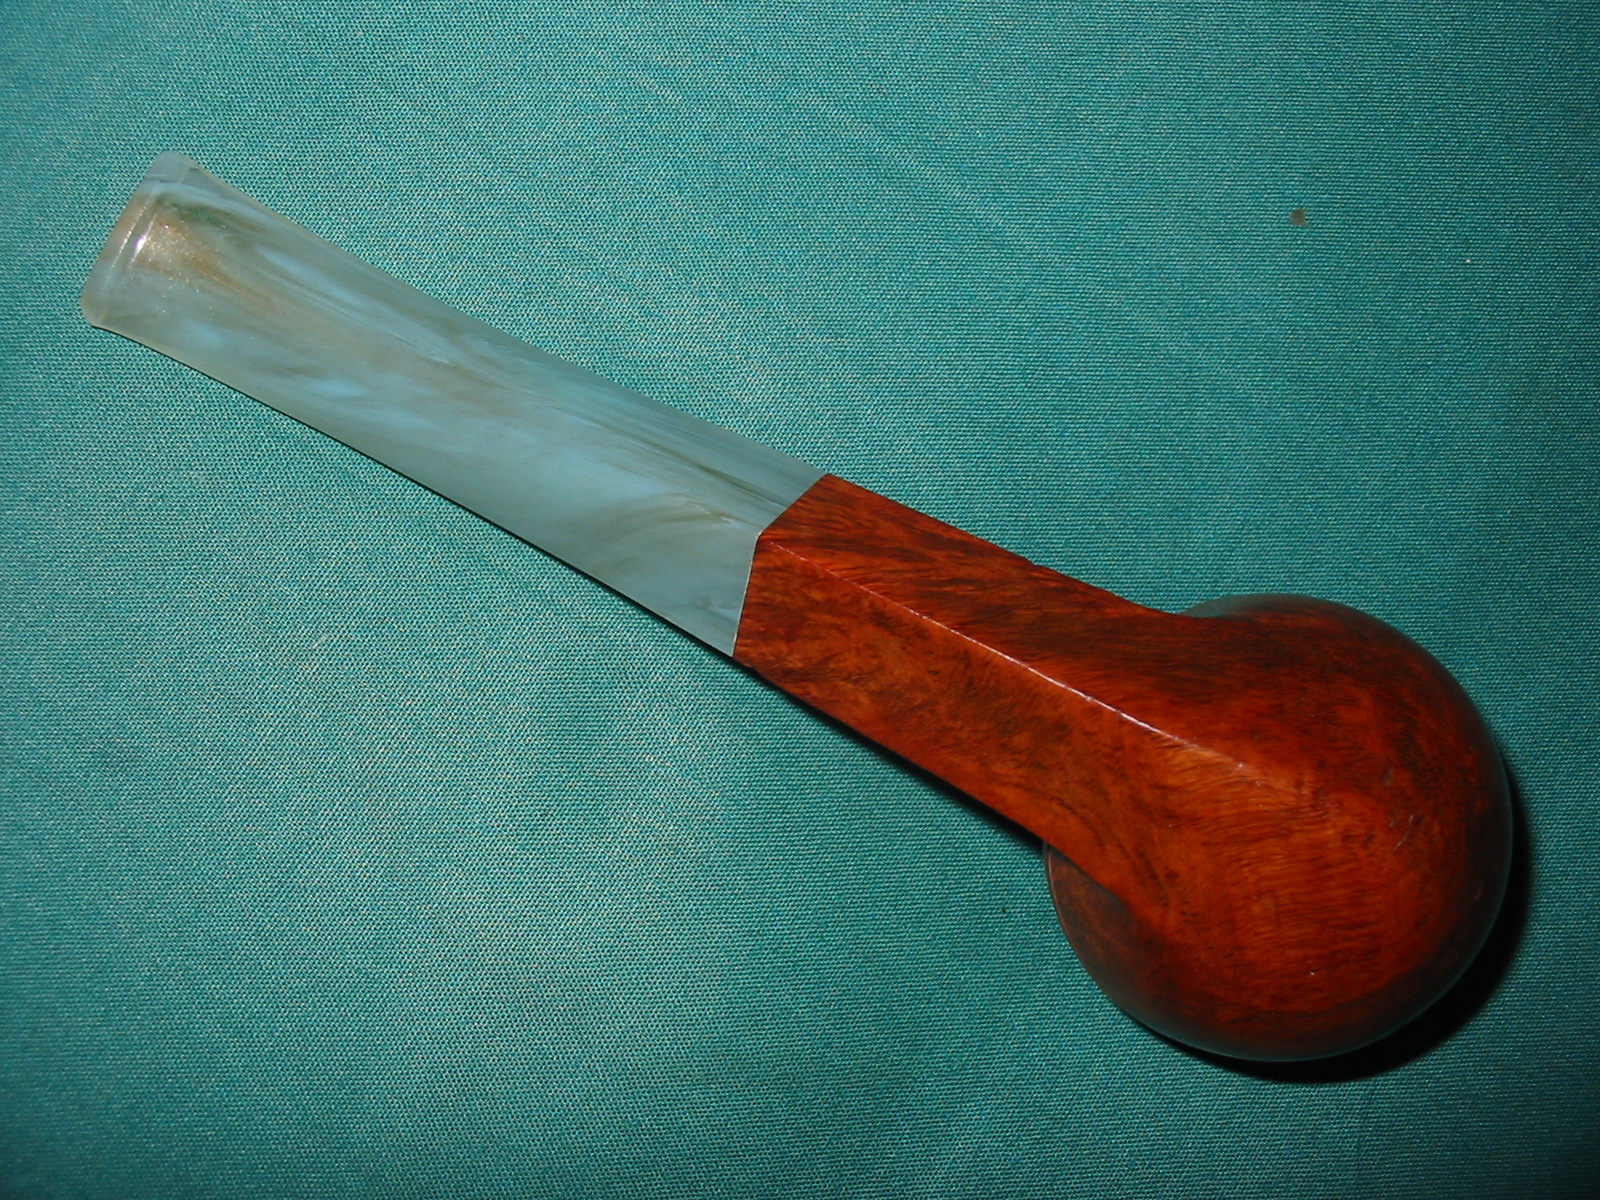
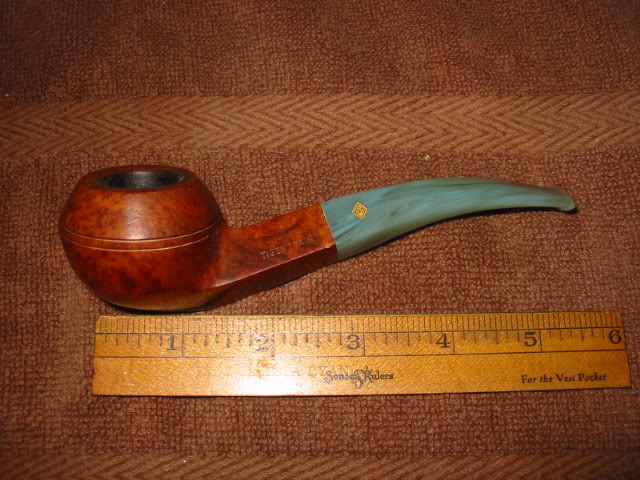
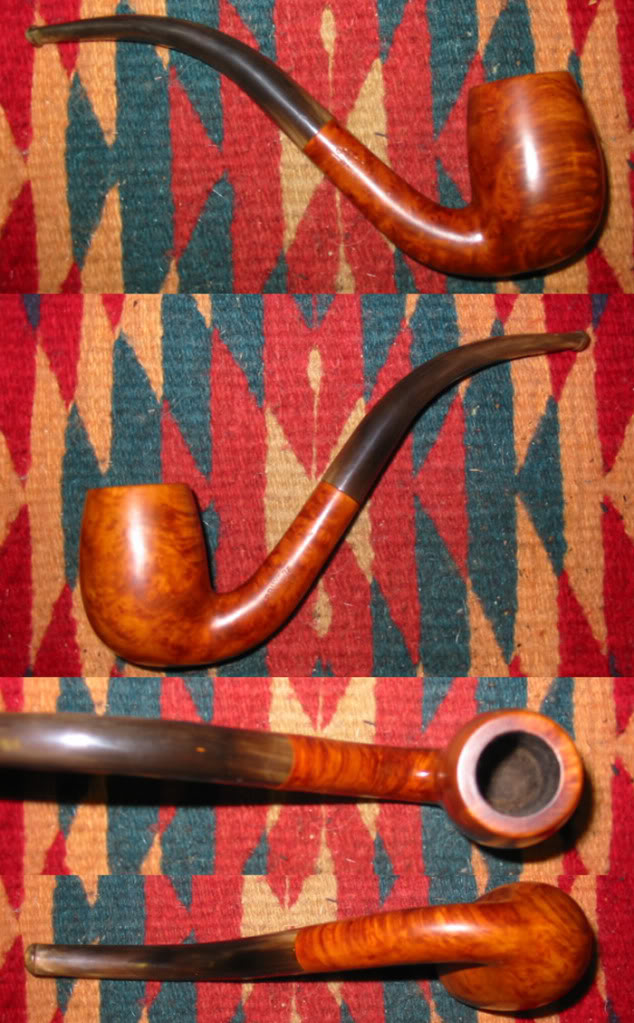
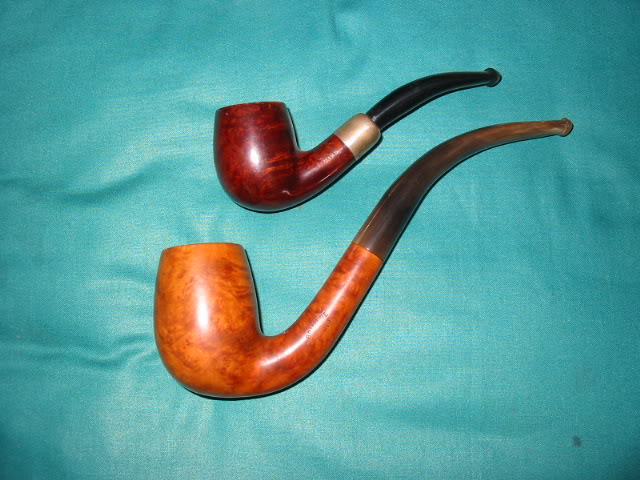
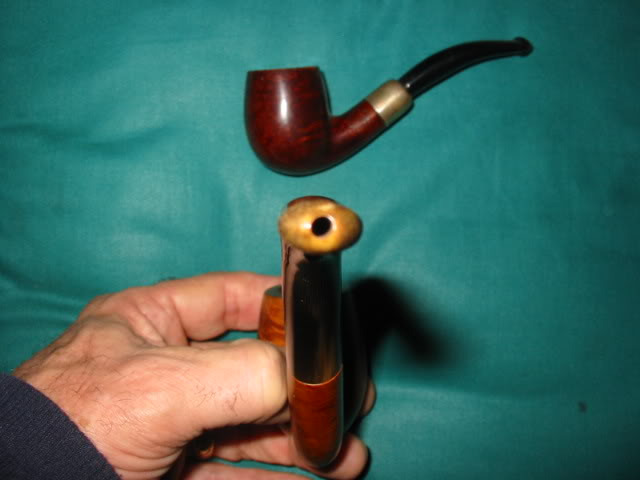
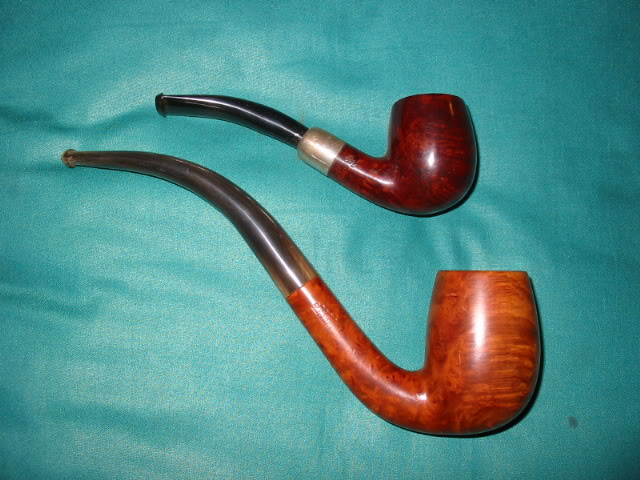
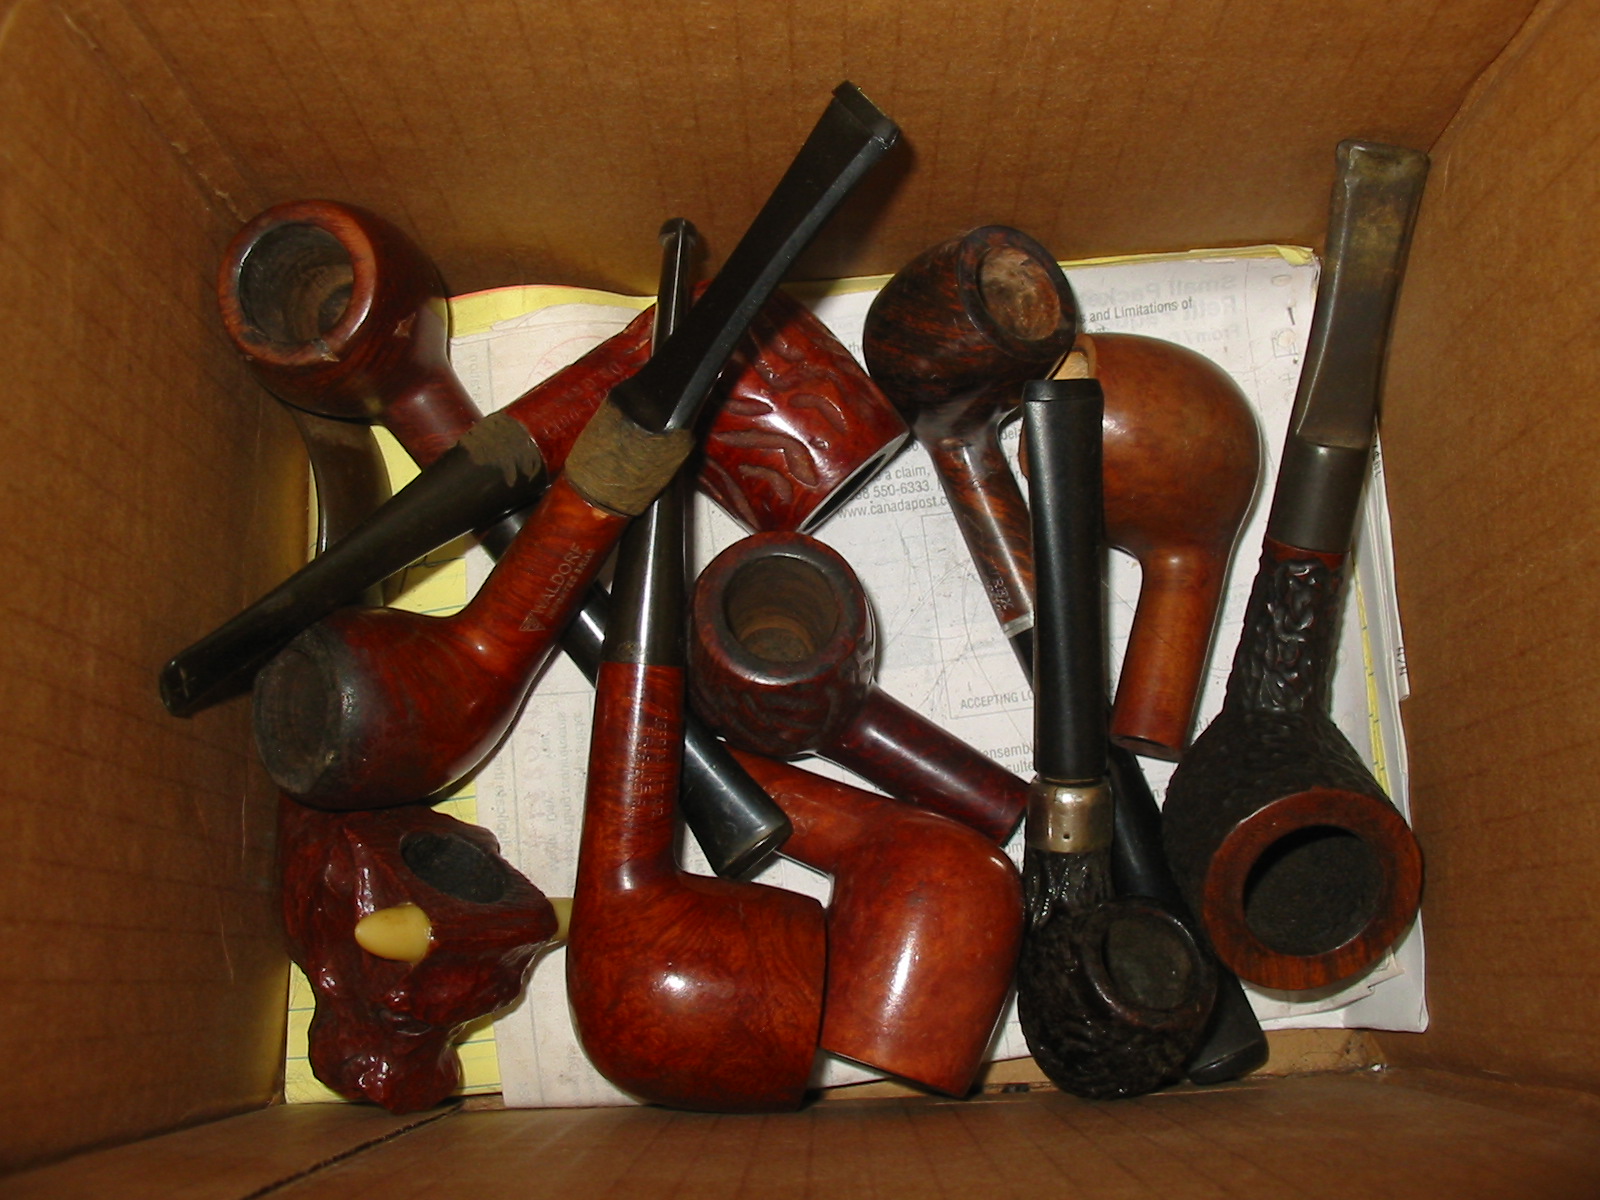
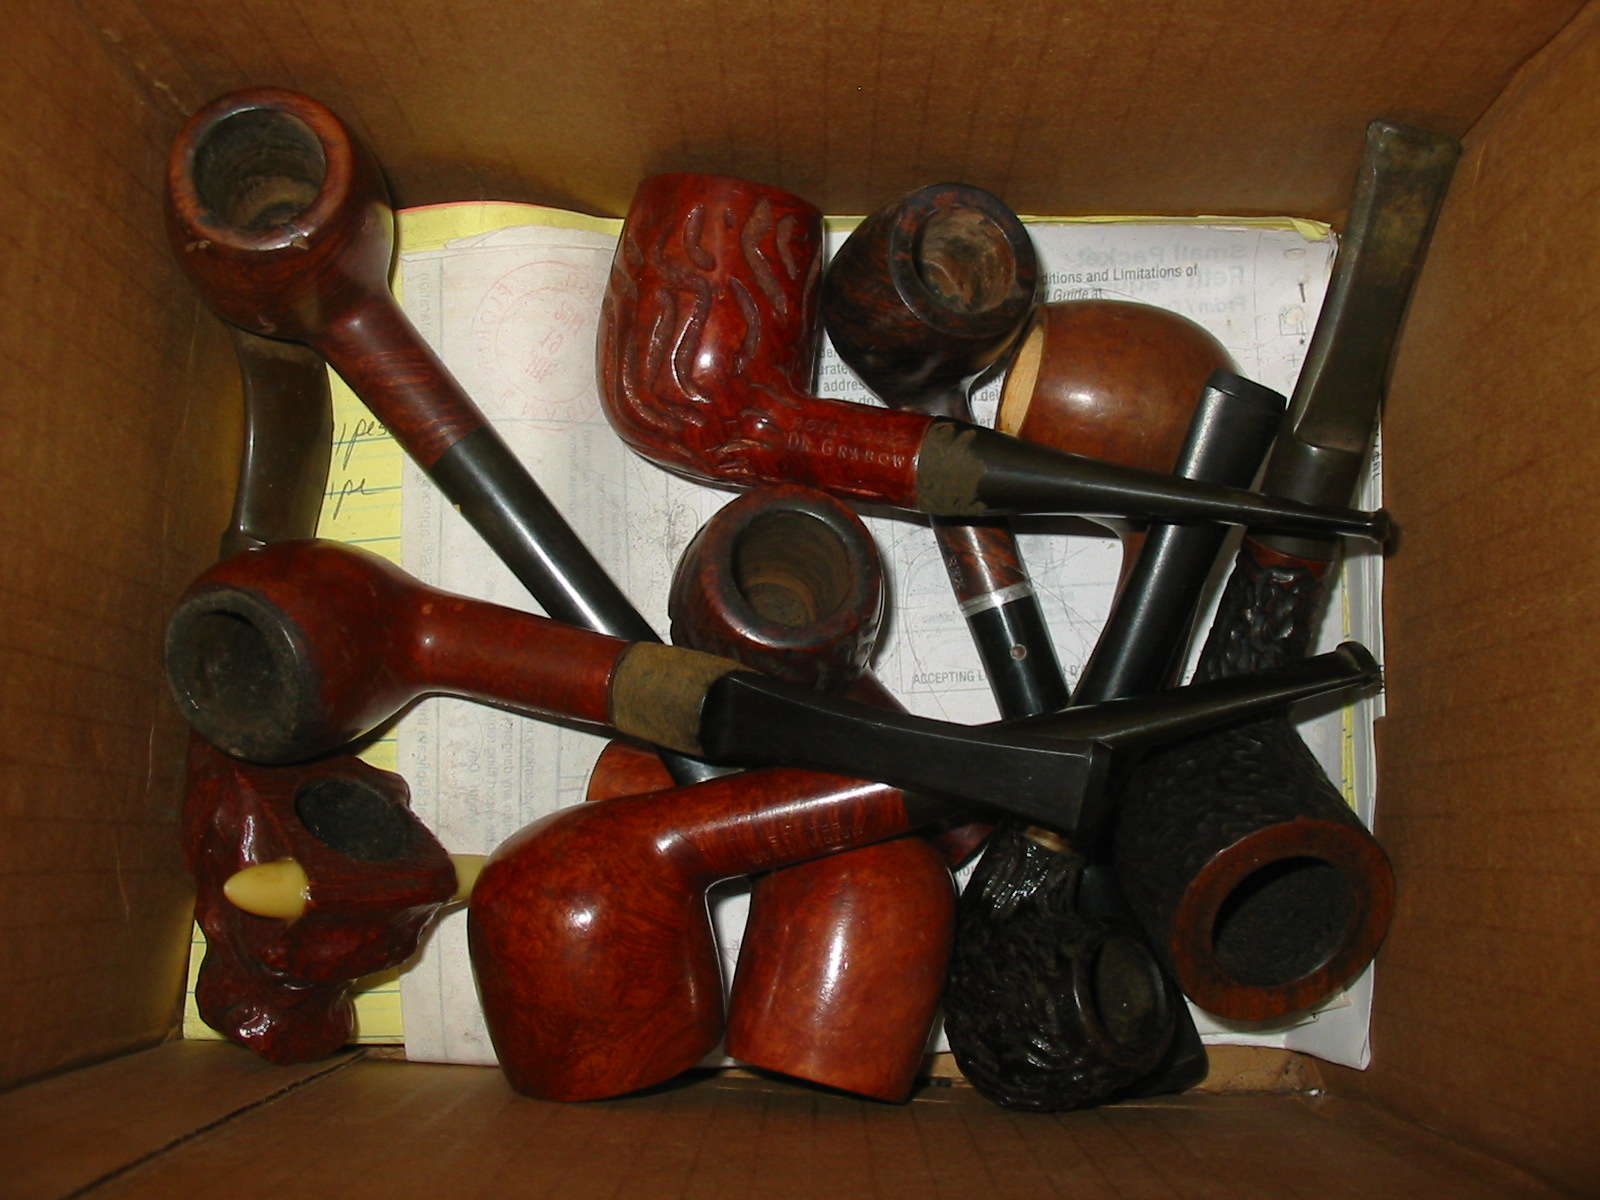
Generally, I never have to give much thought to which pipe I will refurbish next as I pick up only pipes that I like. I have an old box in my laundry room where I keep pipes that need to be refurbished. At times this box has had over three hundred pipes in it but has recently diminished to eleven. These are the tag end of a lot of pipes that I have had over the past years. Sometimes I buy a batch of pipes on eBay that will have many I don’t want for one or two that I am hunting for. Sometimes these unchosen ones end up in the bottom of the box. Other times friends will give me garage sale finds or flea market or auction finds – sometimes nice and sometimes junk to be honest with you. When I go to refurbish a pipe I pick through the box and select the ones that strike my interest and leave behind for later all the ones that for one reason or another just did not catch my attention. They can accumulate and I gradually chip away at them. I have now worked through even that leftover lot – the ones that did not catch my eye and am left with 11 more pipes that just don’t do anything for me. All of them need to be restemmed and refinished. All of them are in rough shape. They no name pipes stamped with such markings as Bruyere Garantie, Imported Briar, Real Briar and Genuine Briar. Not even their names are interesting because I can ferret out no history or brand to link them to. So you see these pipes are not worth much. They will probably end up being give away pipes for me but I am guessing that with a little work they can be made into great smoking pipes. I am sure they will be great pipes for someone just starting out or someone who needs a yard pipe. The interesting thing is that the drilling/mechanics on all of them are well done. The finish on all of them is pretty rough – either flaking, peeling, or chipped and there are huge fills in some of them and many little fills in others. They are truly utility pipes but they are the ones I am left with. So I am left to decide which one I will work on next. The photos below show the lot. Maybe one interests you.

Image

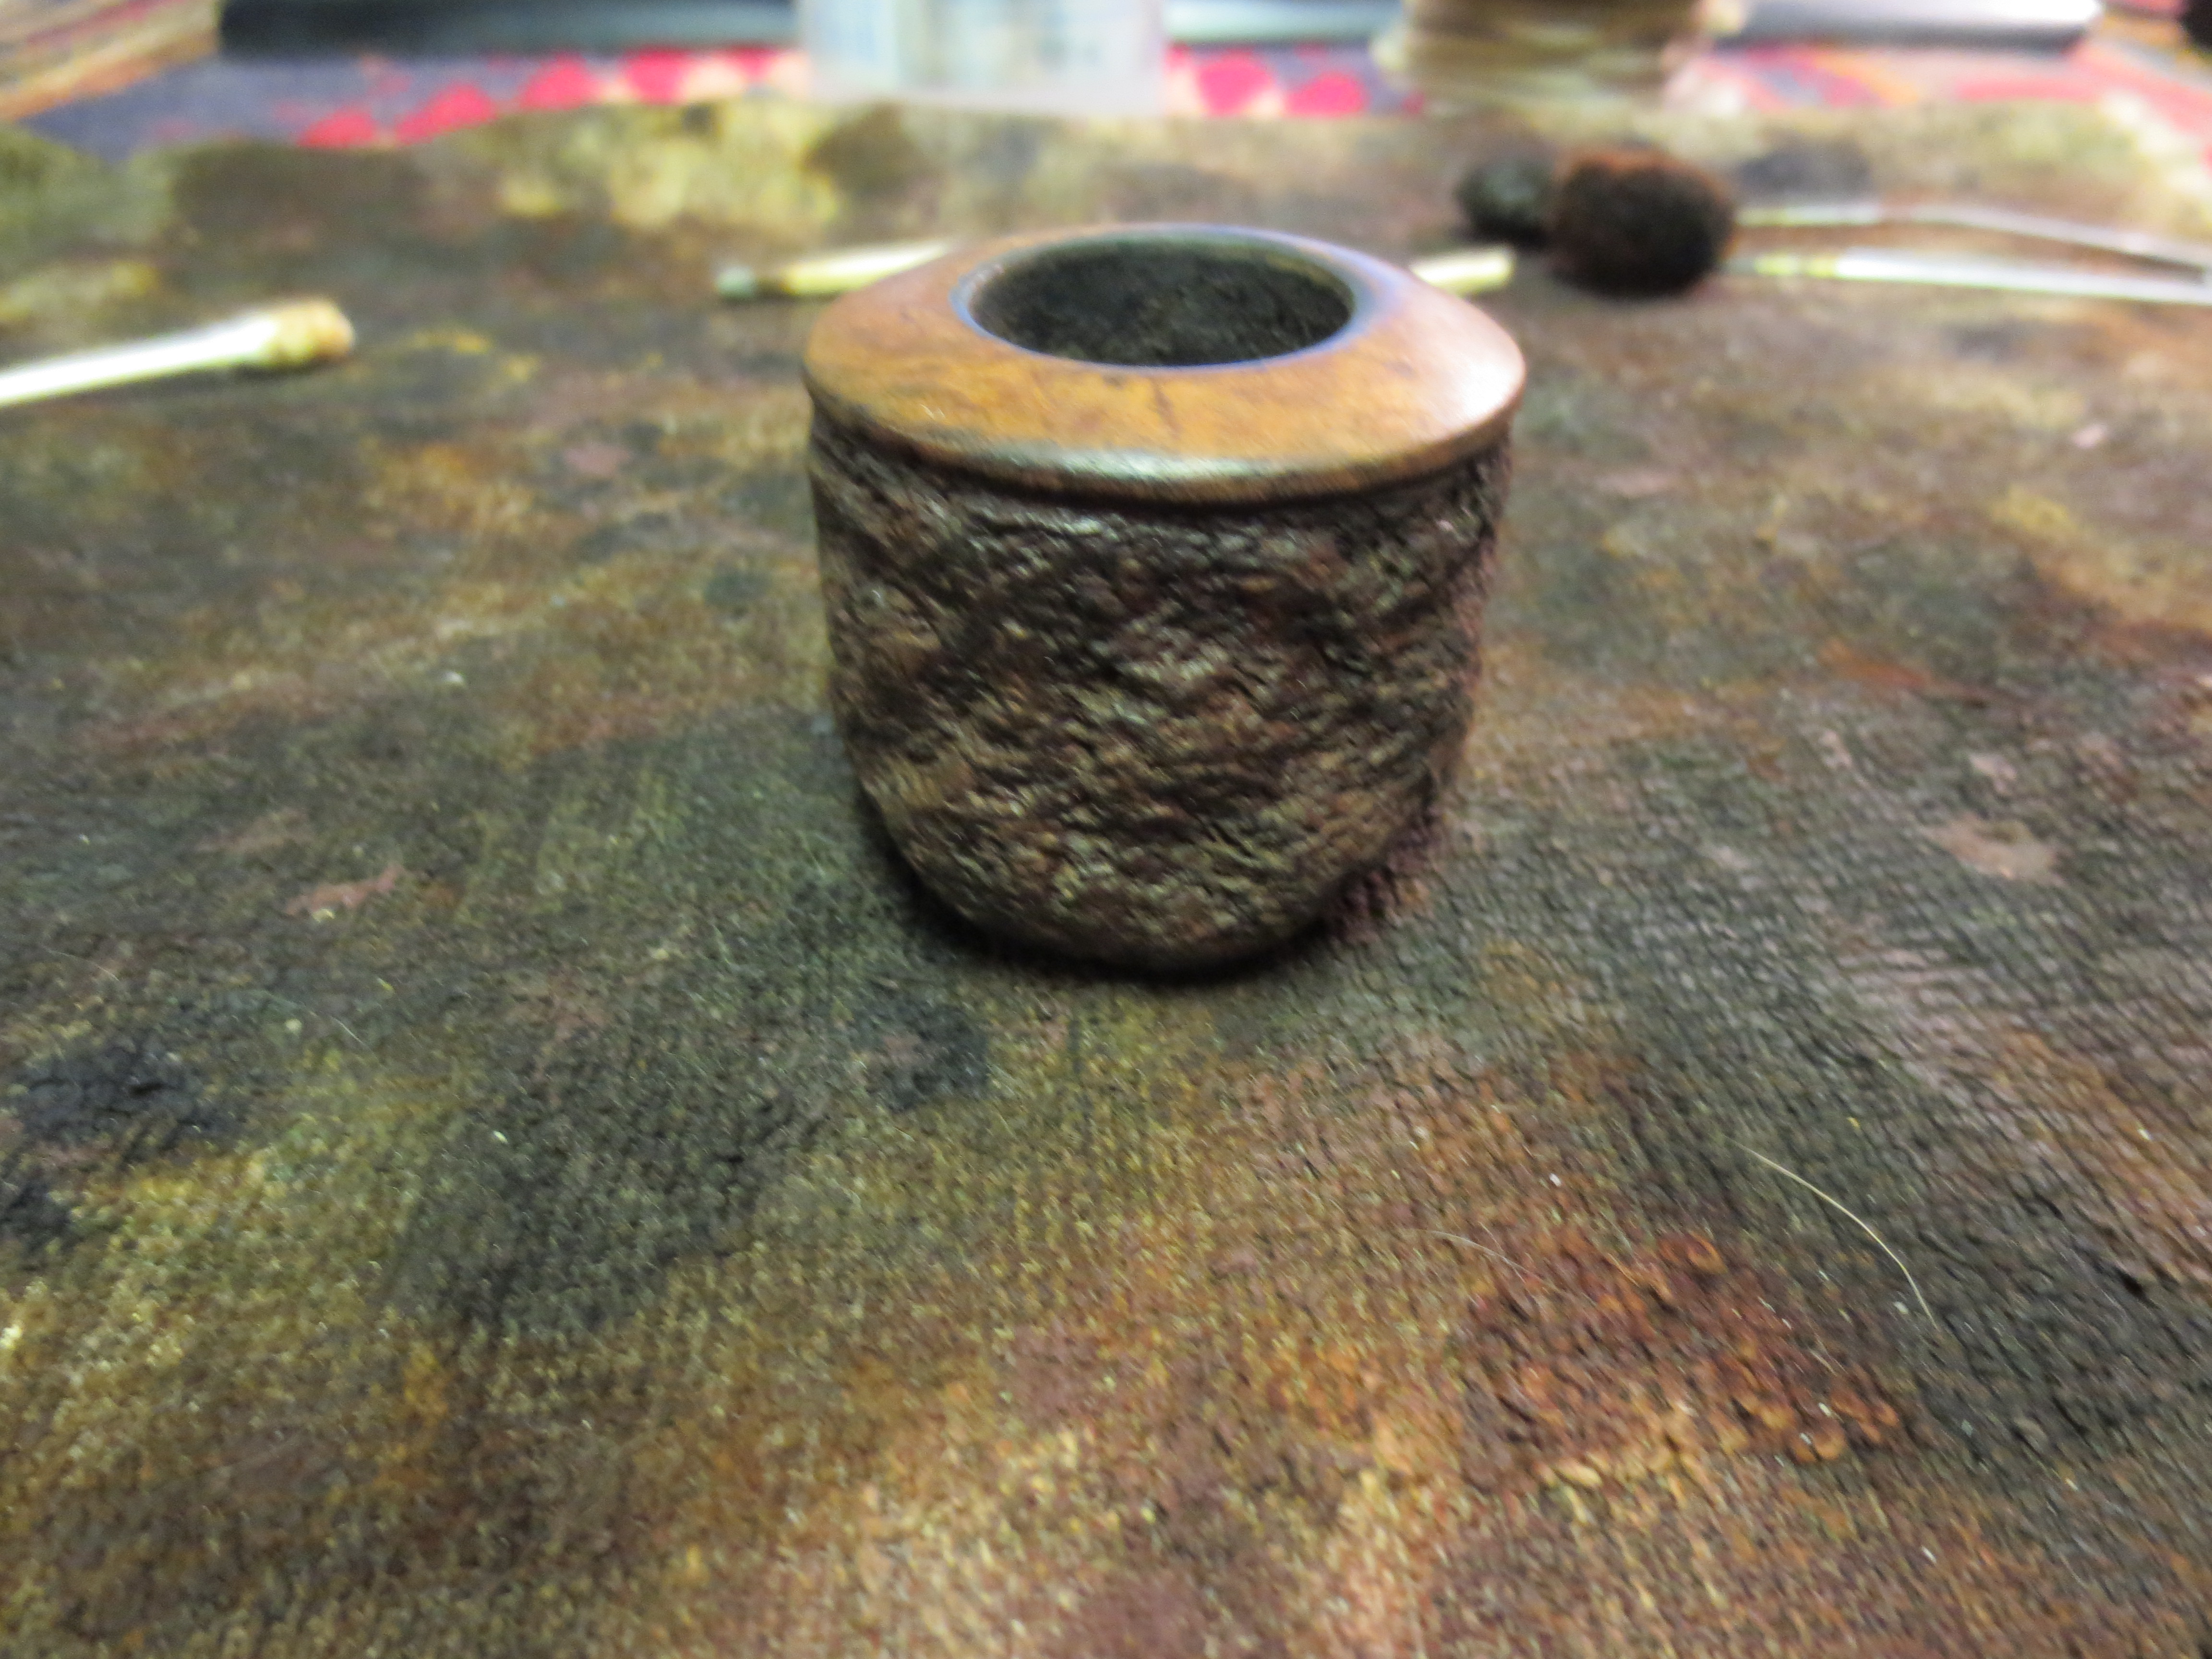
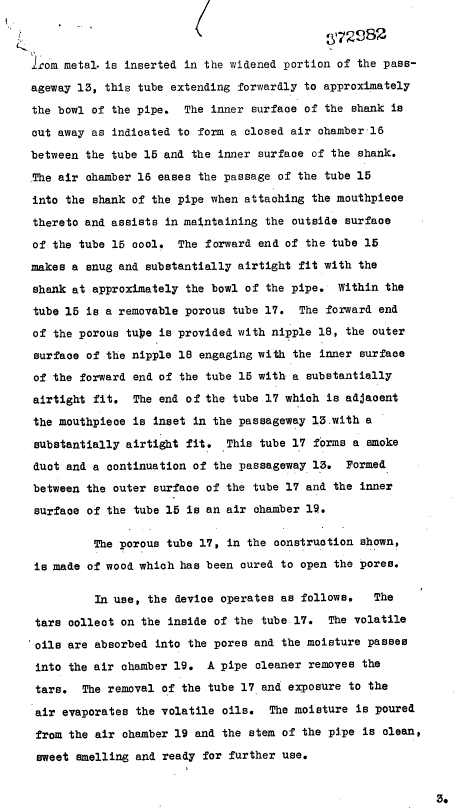
So which one do I pick up first to work on? Should I cut the tenons for the three bowls that don’t have stems so that all have stems? Do I pick one and work the stem to a fit and sheen? Do I refinish a bowl? Do I really want to do anything with the lot at all? Inevitably I will pick up each on and fix it. Each of the 11 pipes will be a teacher of method and practice for me. Each one will give me the opportunity to hone a skill – staining, finishing, stem shaping, button opening, airway opening, topping, rusticating and the list can go on and on. I used to just give away the stummels to folks who wanted to learn to fit stems. I even sold a few by the dozen to thin down the lot but these remain – for better or worse. It is for the training value, the practise of the art of refurbishing alone, that I continue to tackle these pipes sitting at the bottom of the box. Each one gives me a valuable chance to learn something new or hone a skill to better use. It is from working on pipes like these that I have developed several rustication patterns, the patience and persistence in shaping stems and turning tenons. I have learned to apply contrast stains and practiced bending and straightening stems. I know that I can afford to mess things up on these without feeling any loss or disappointment. If I had not picked them up to work on they were destined for the firebox. So with that in my mind I will reach for another pipe from the box.

Image

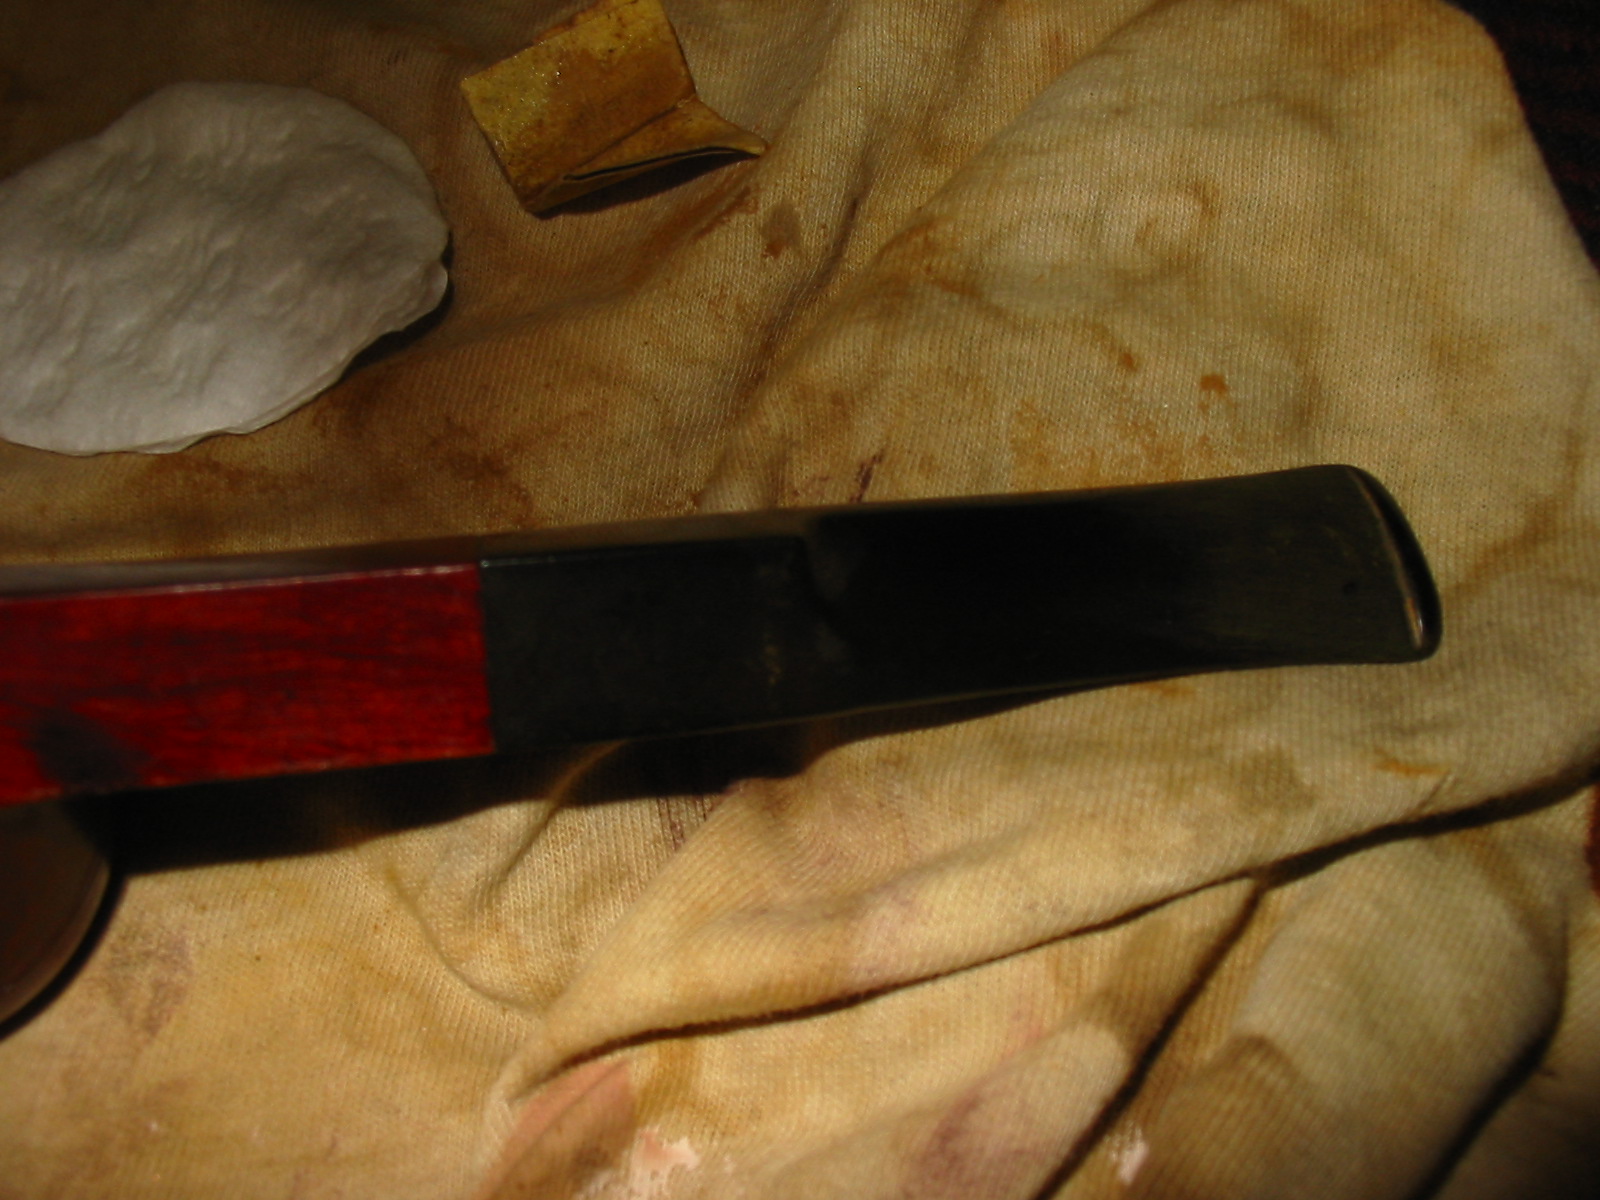
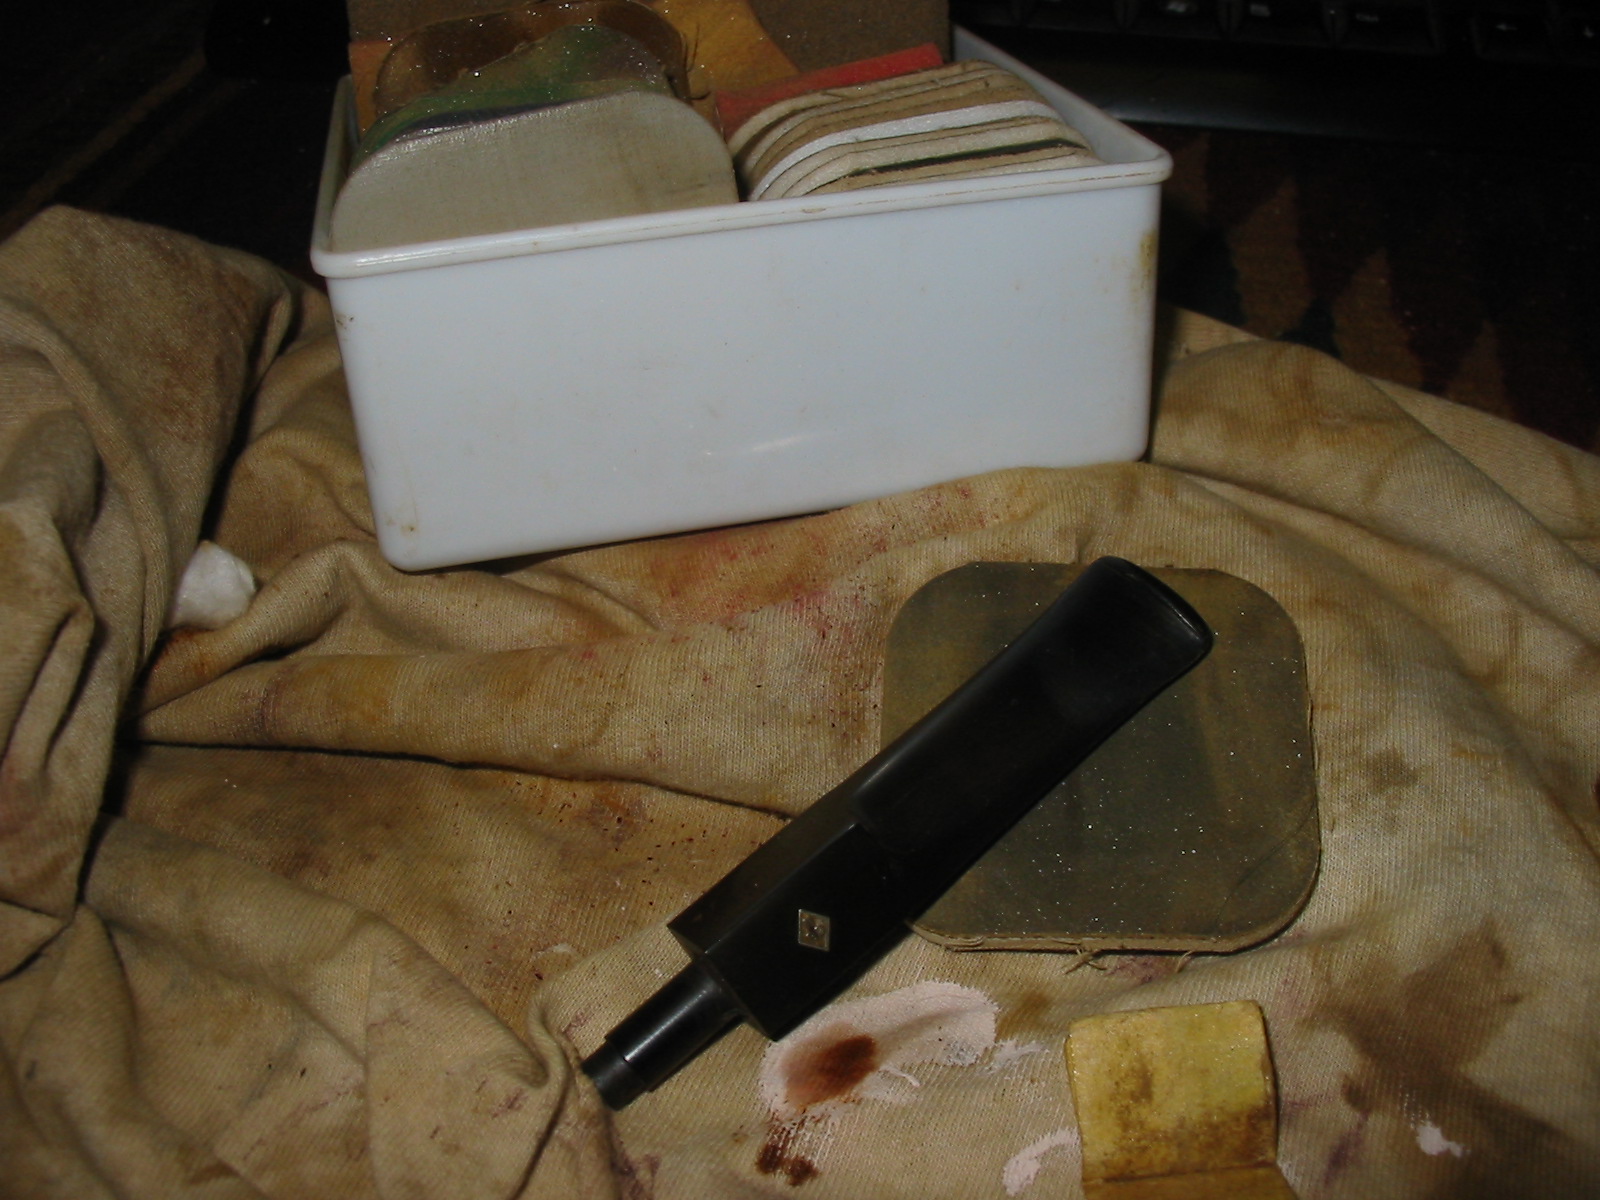
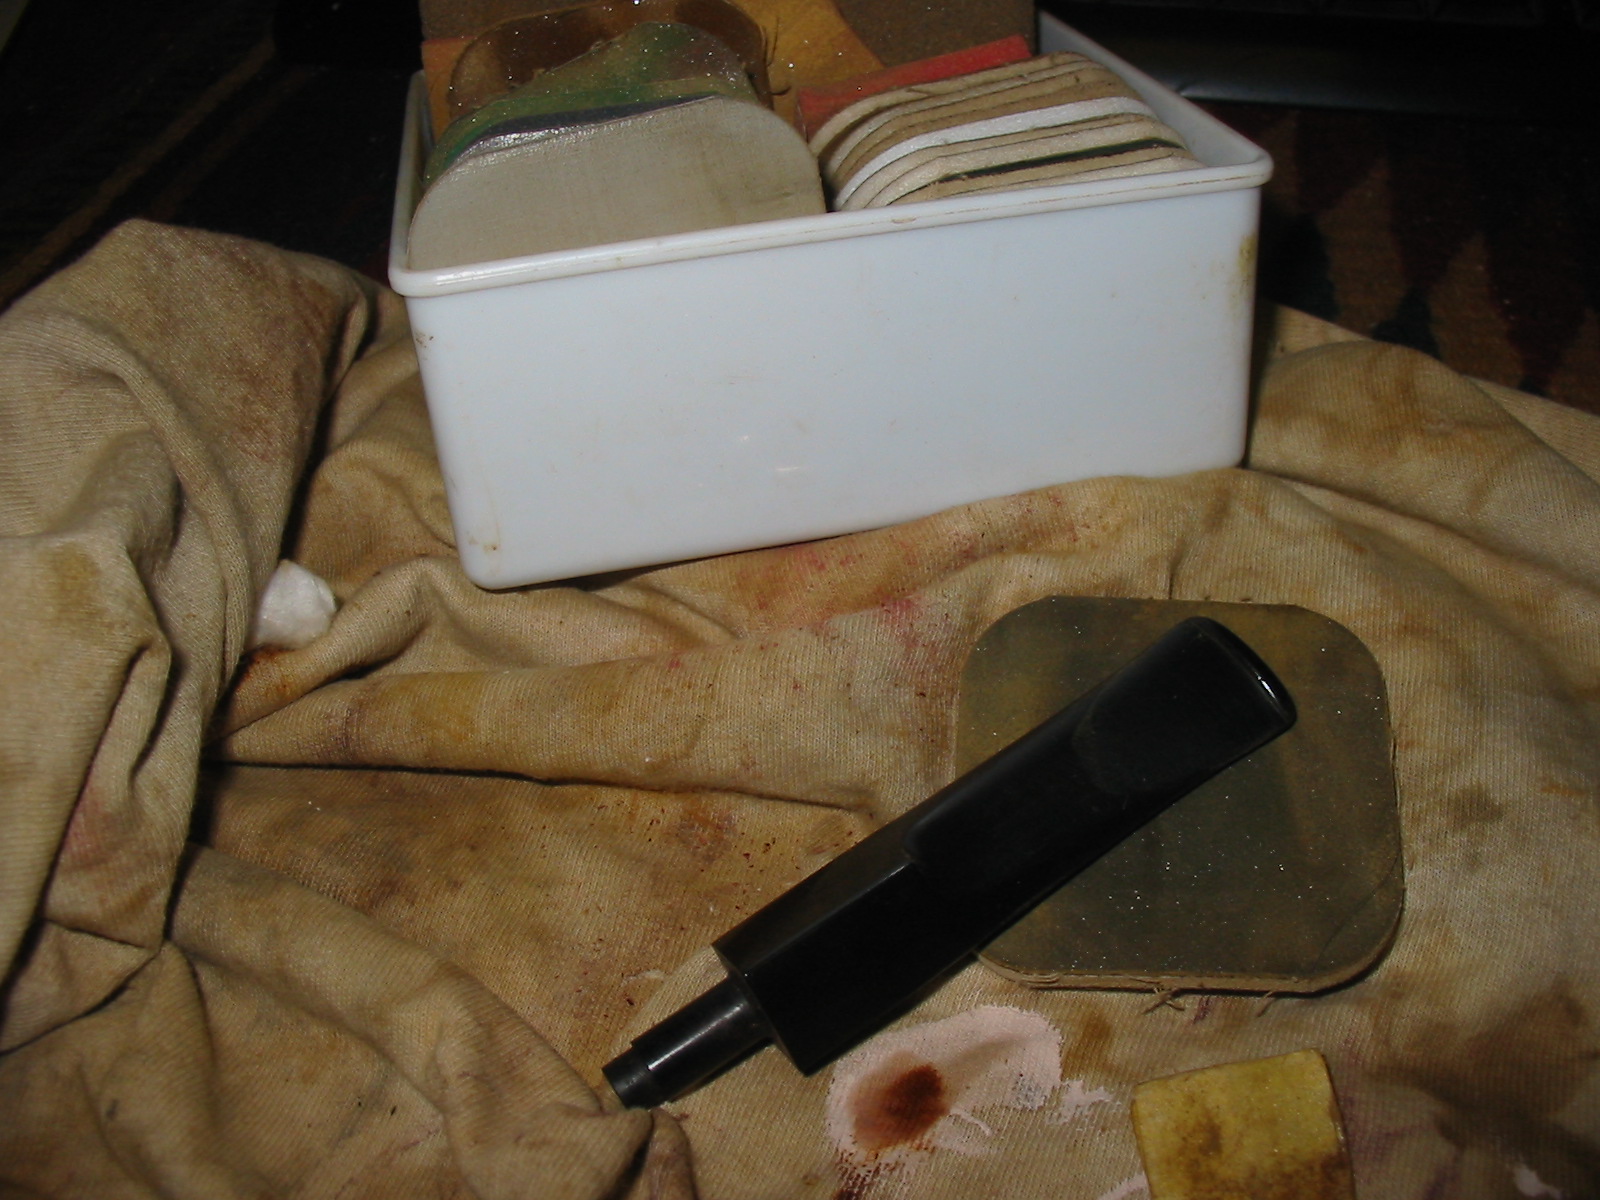
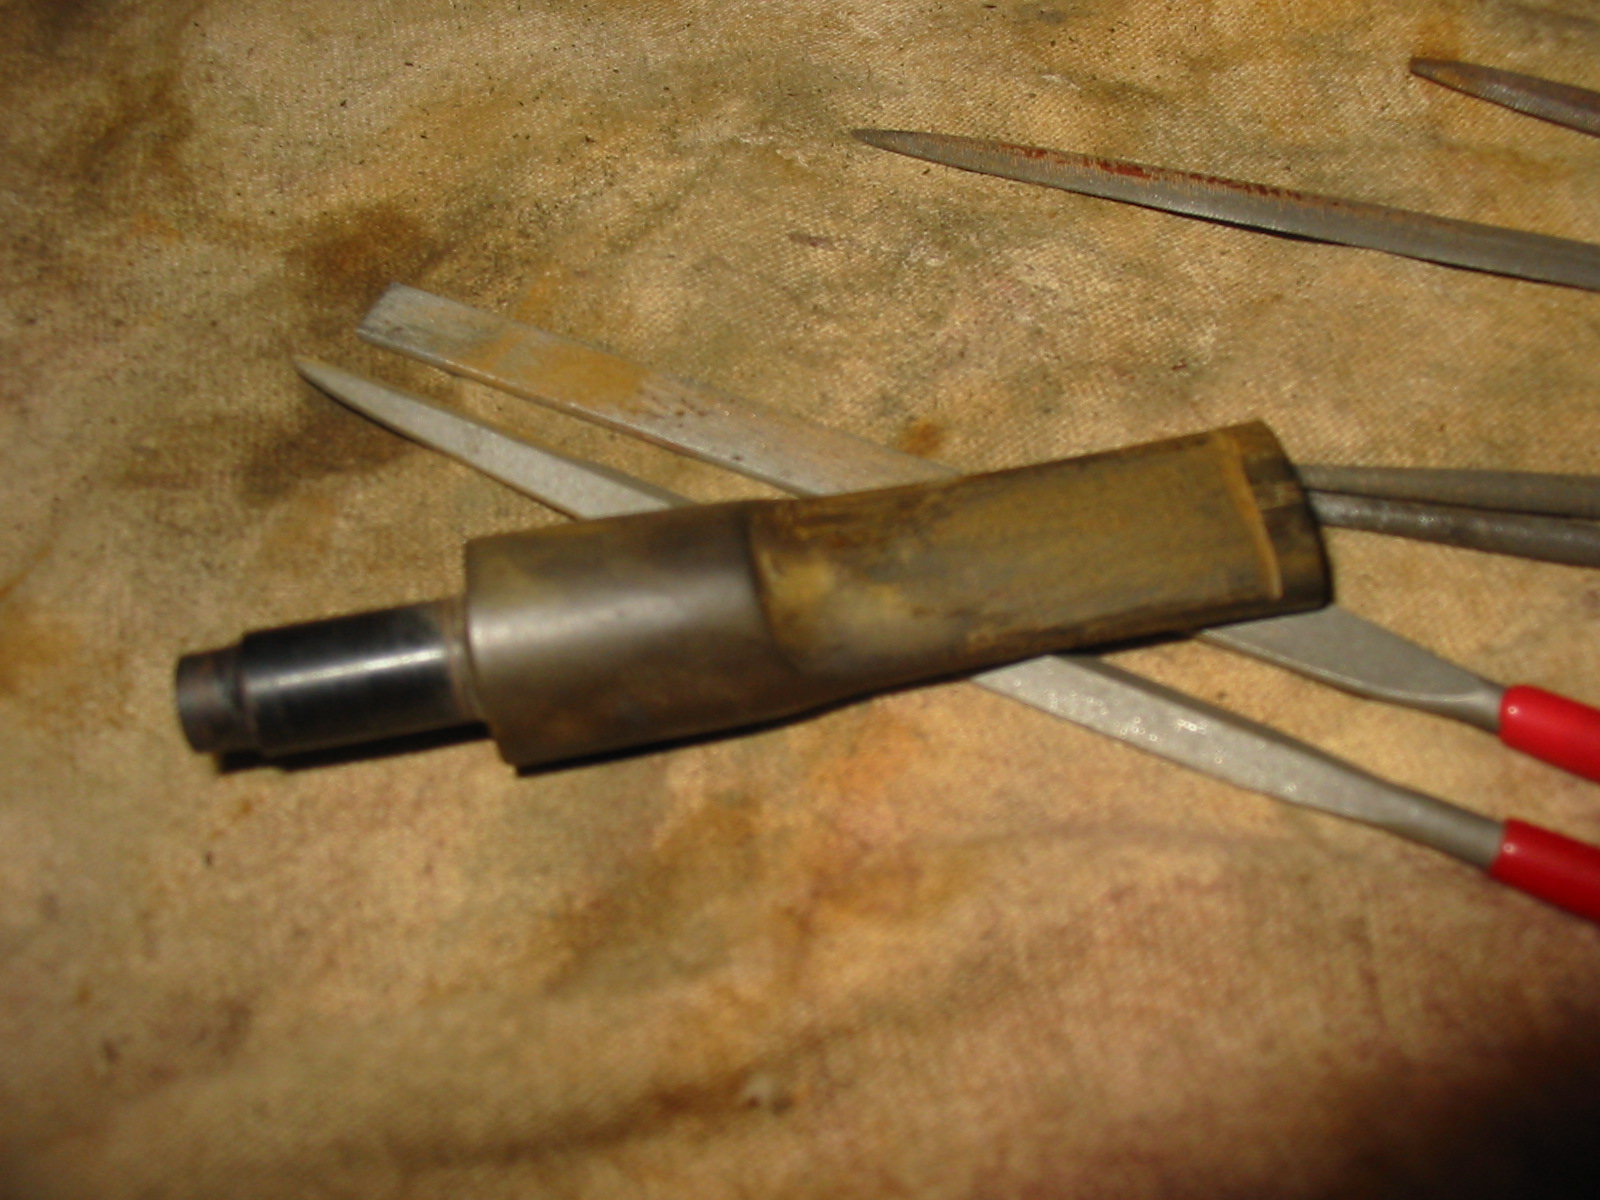
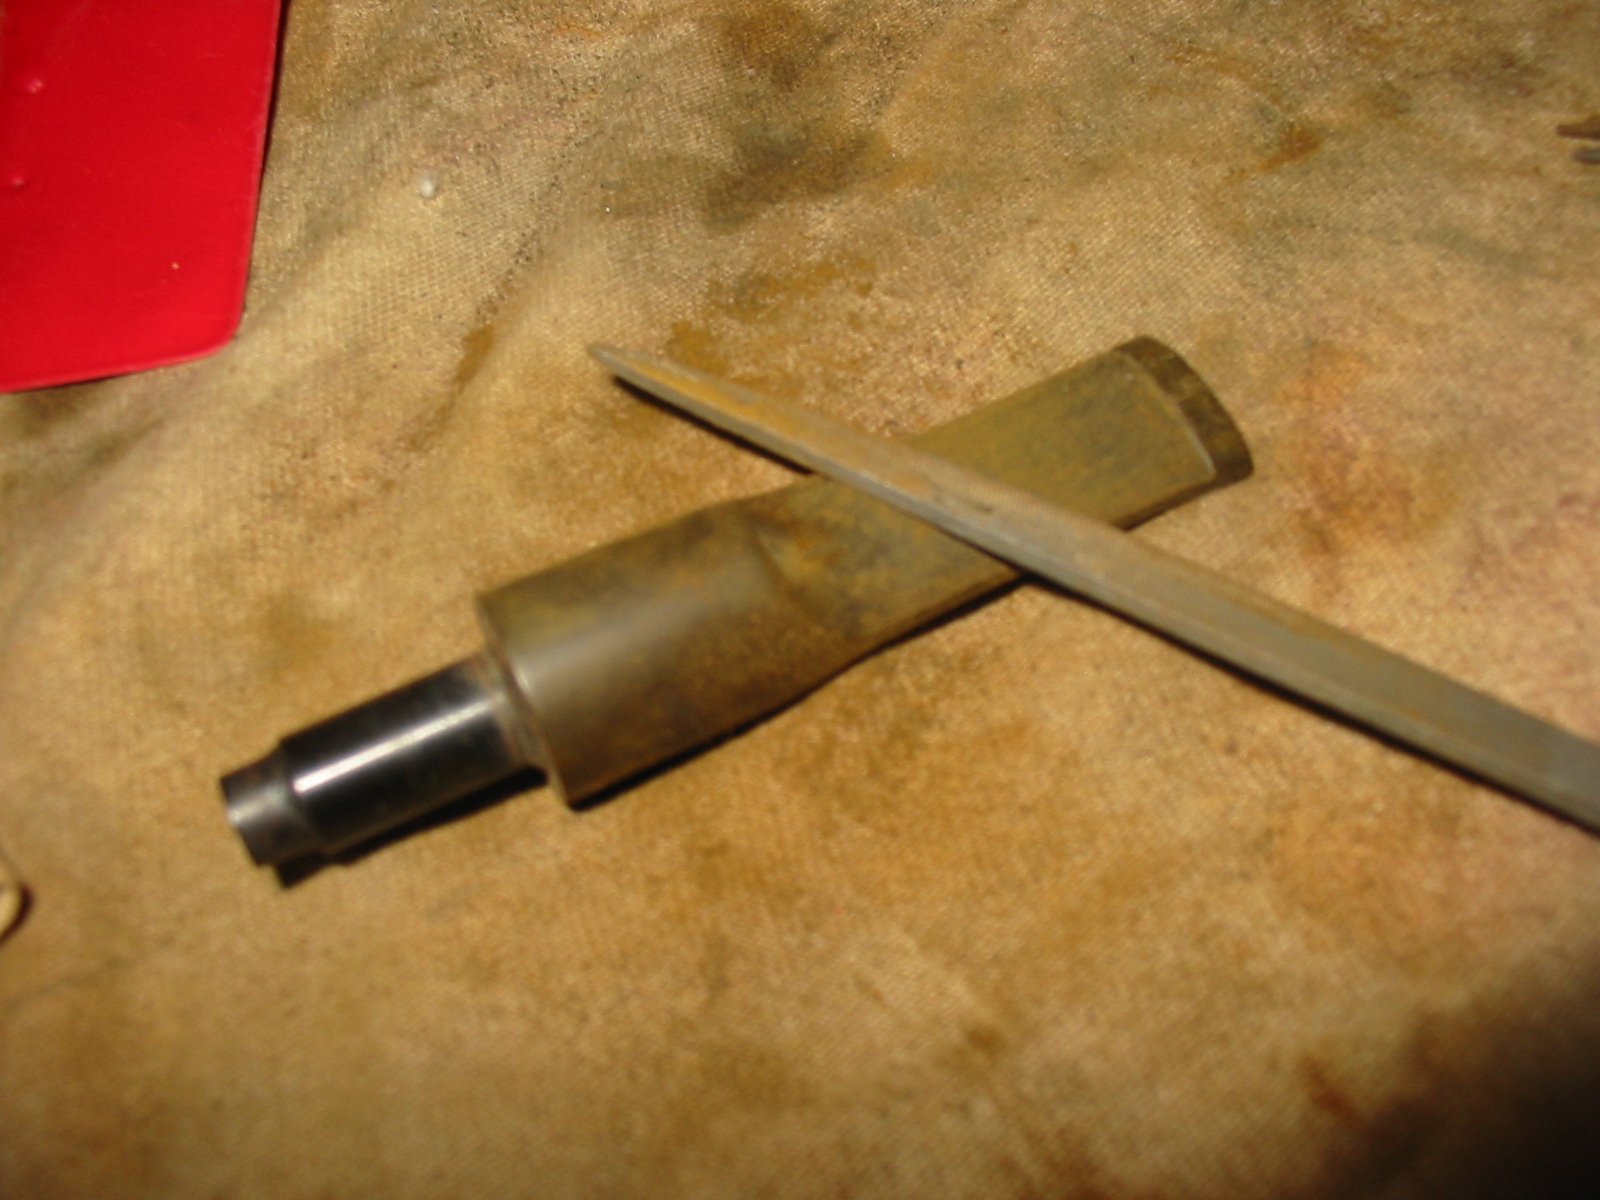
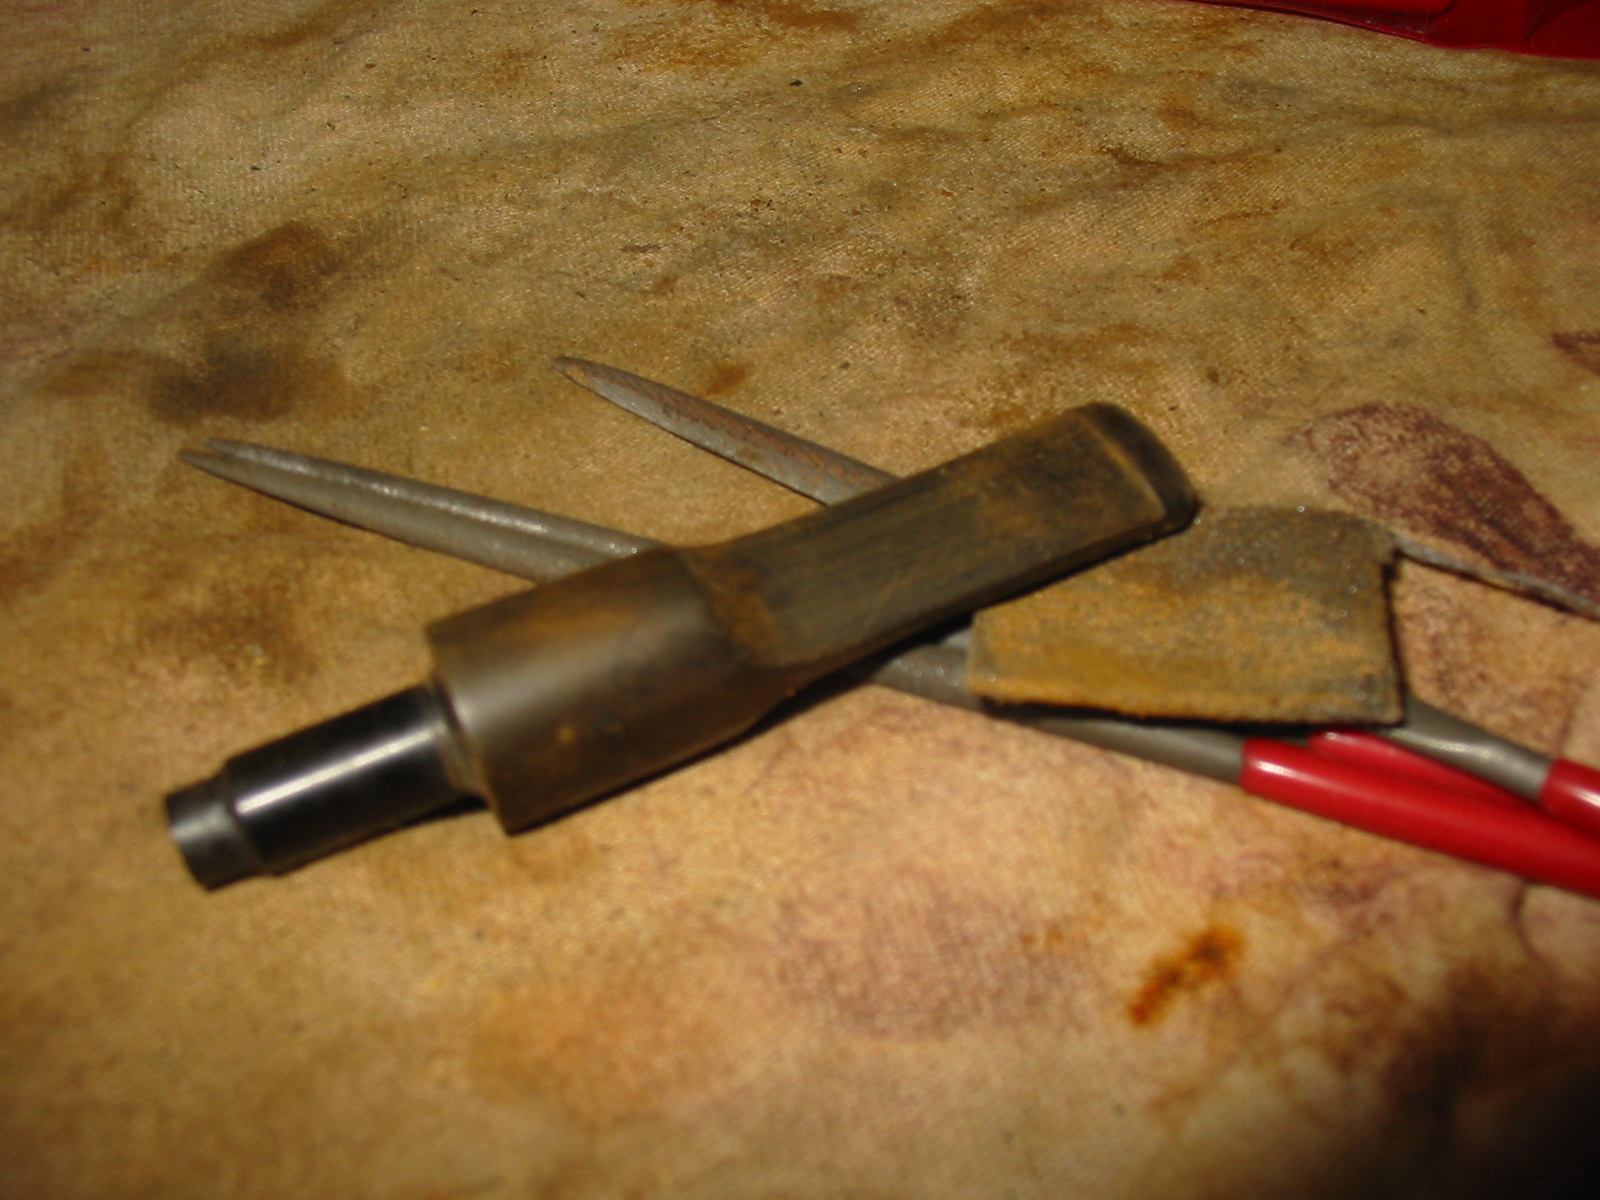
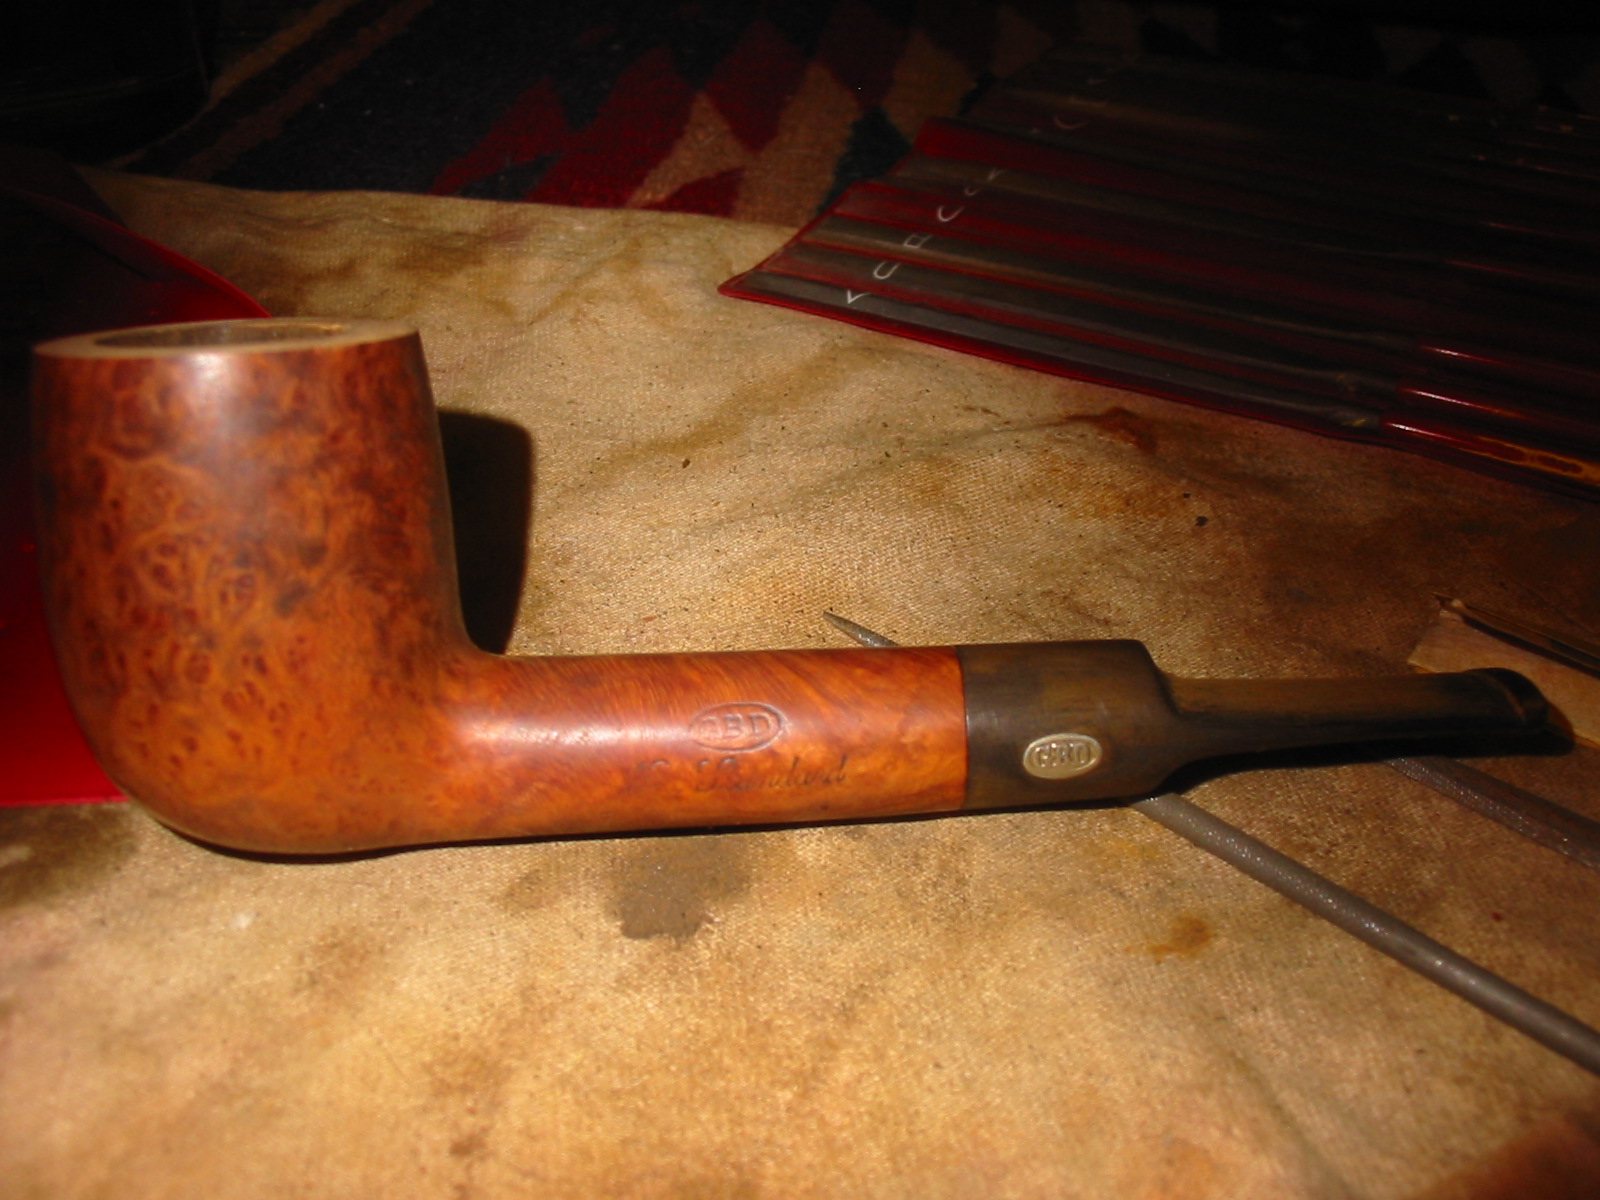
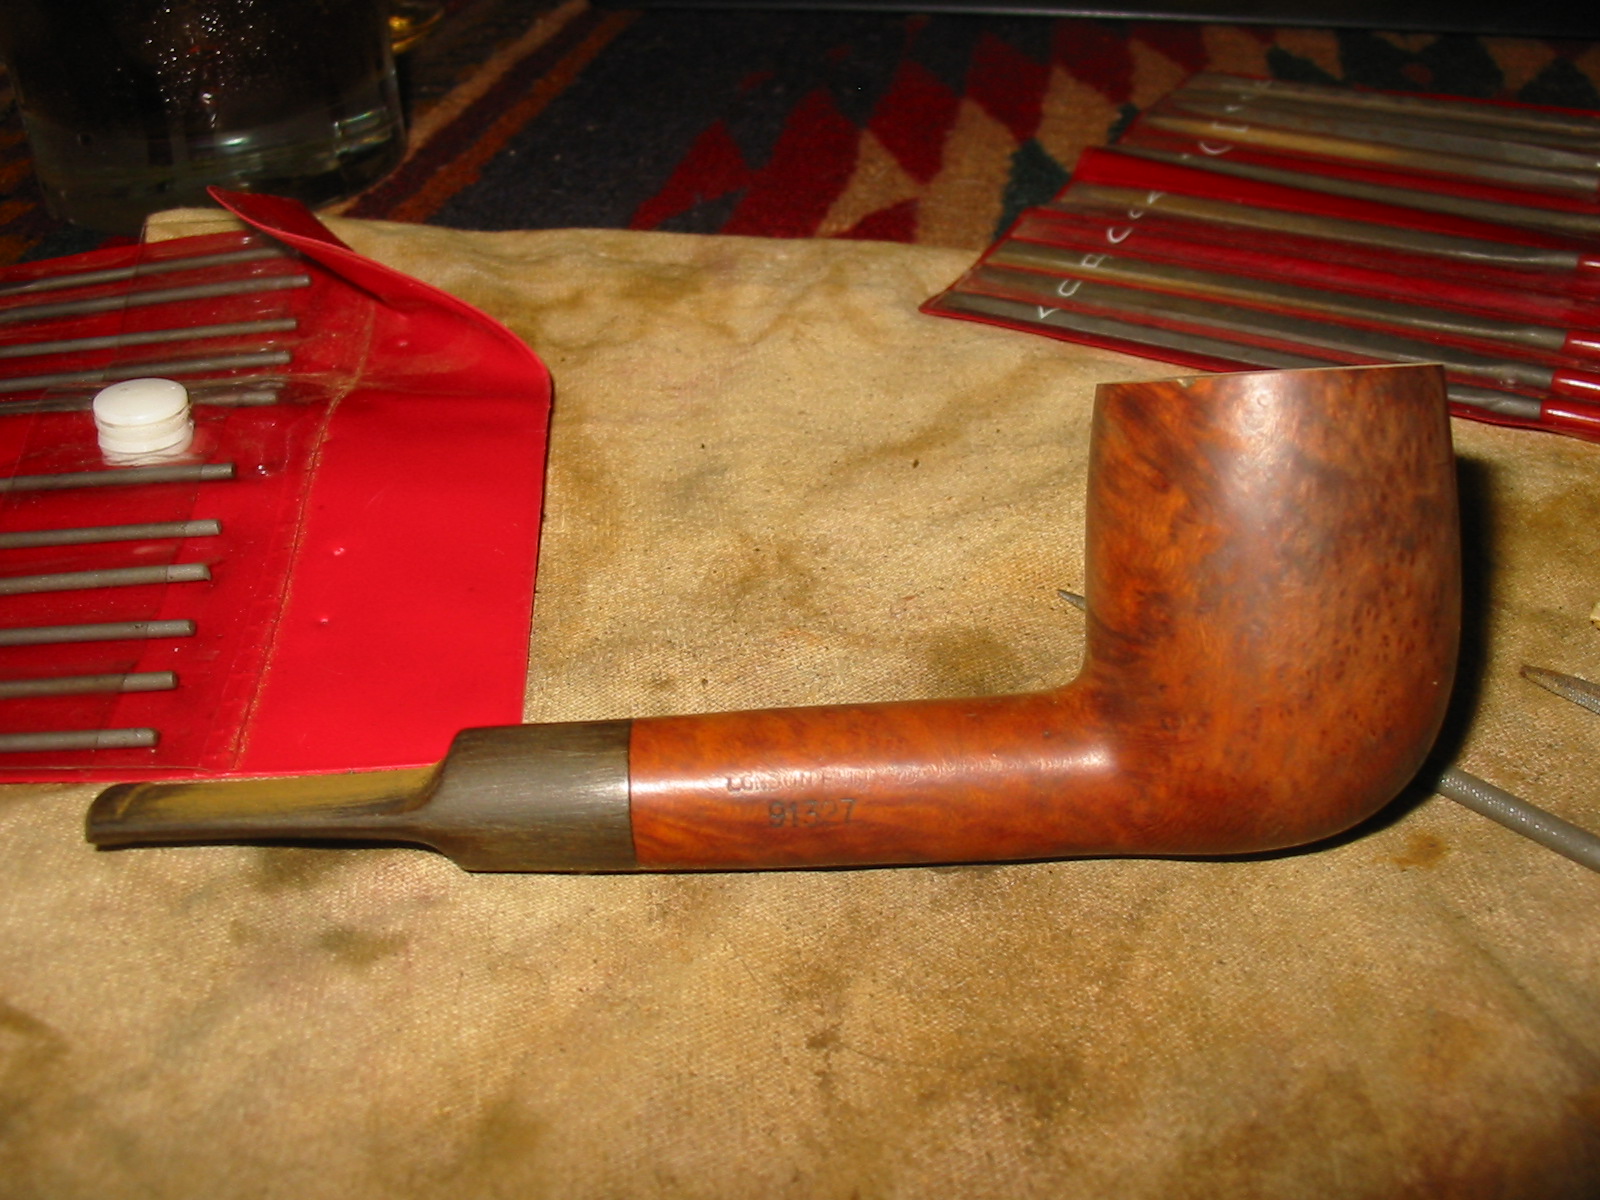
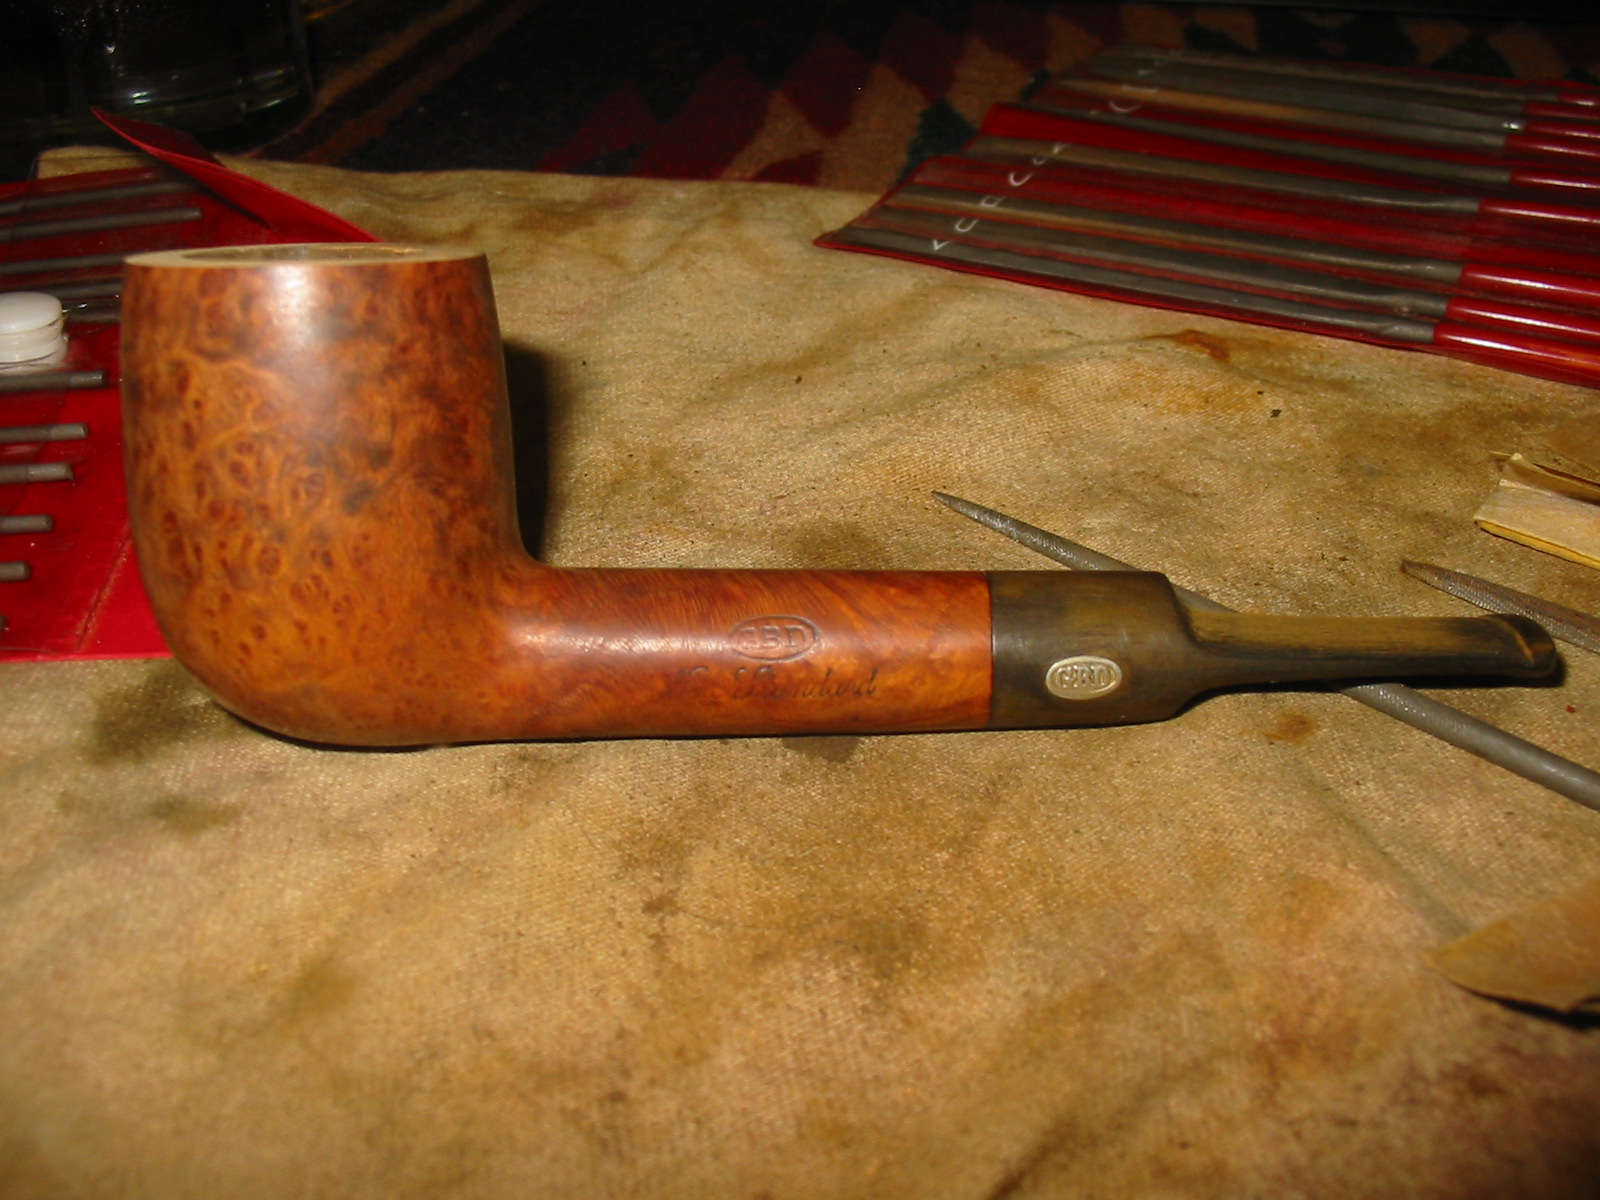
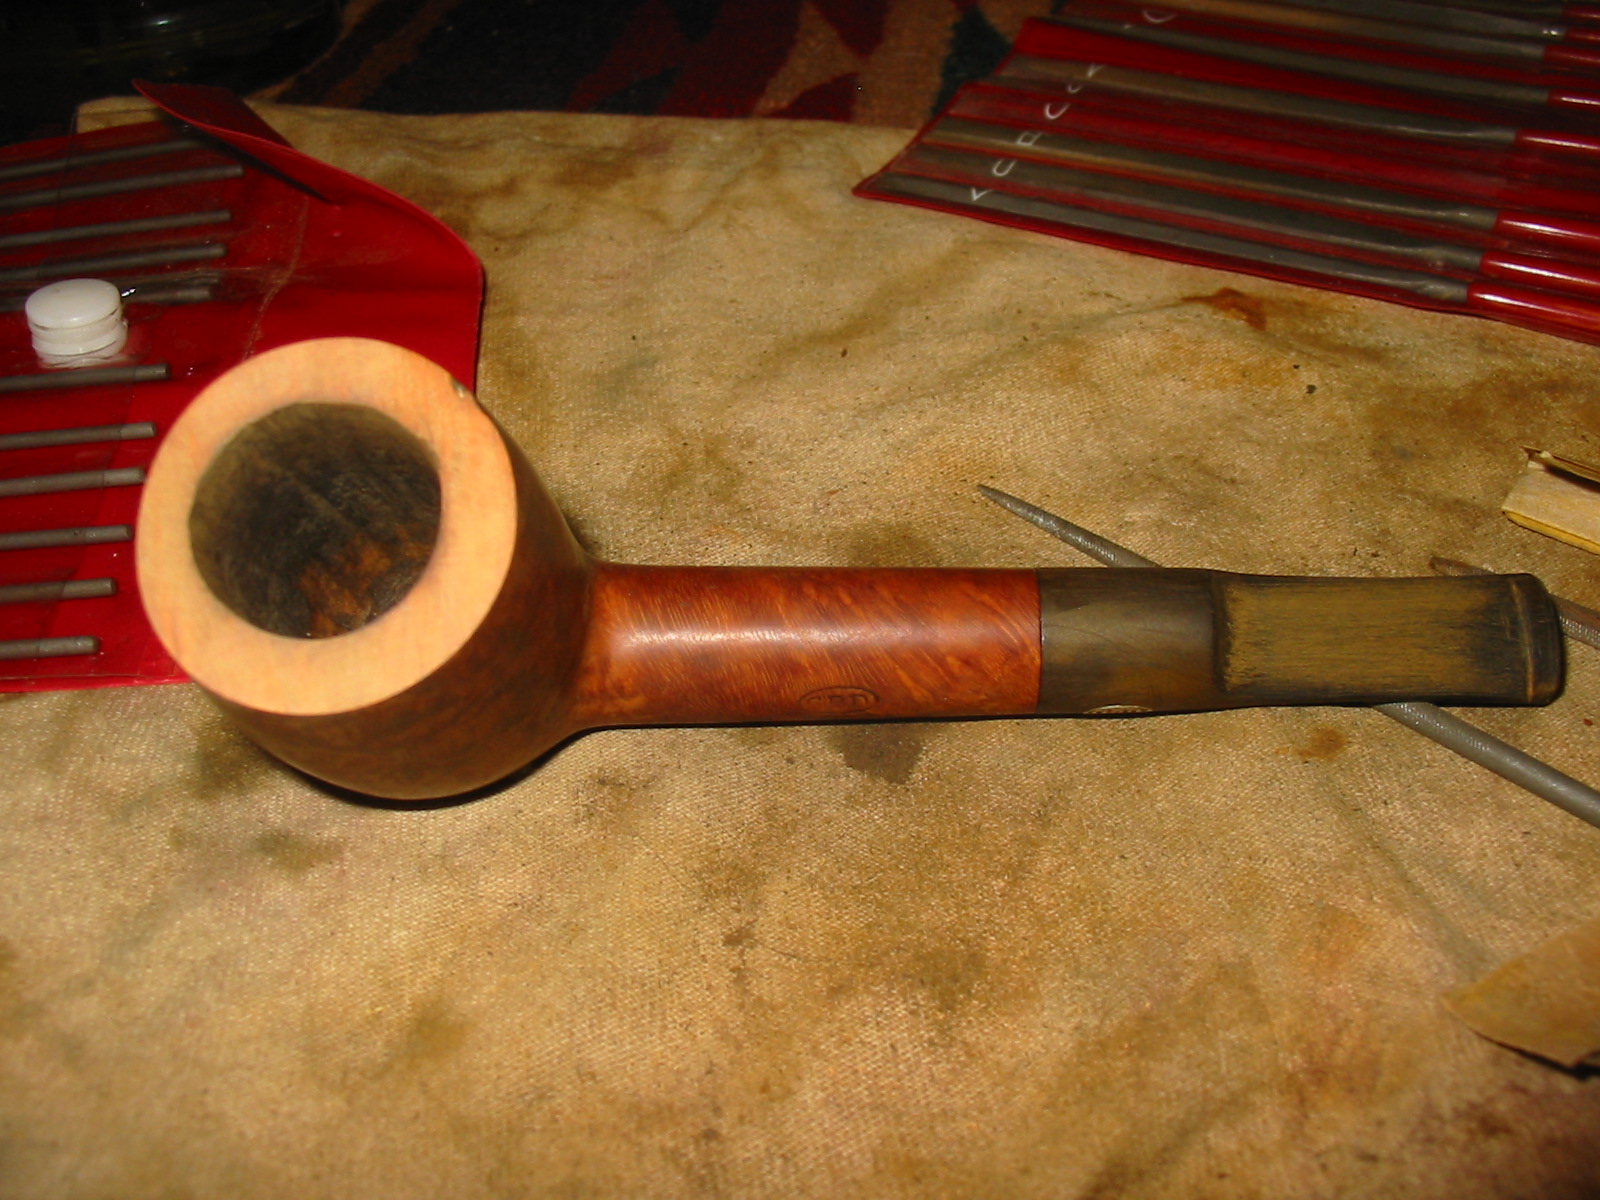
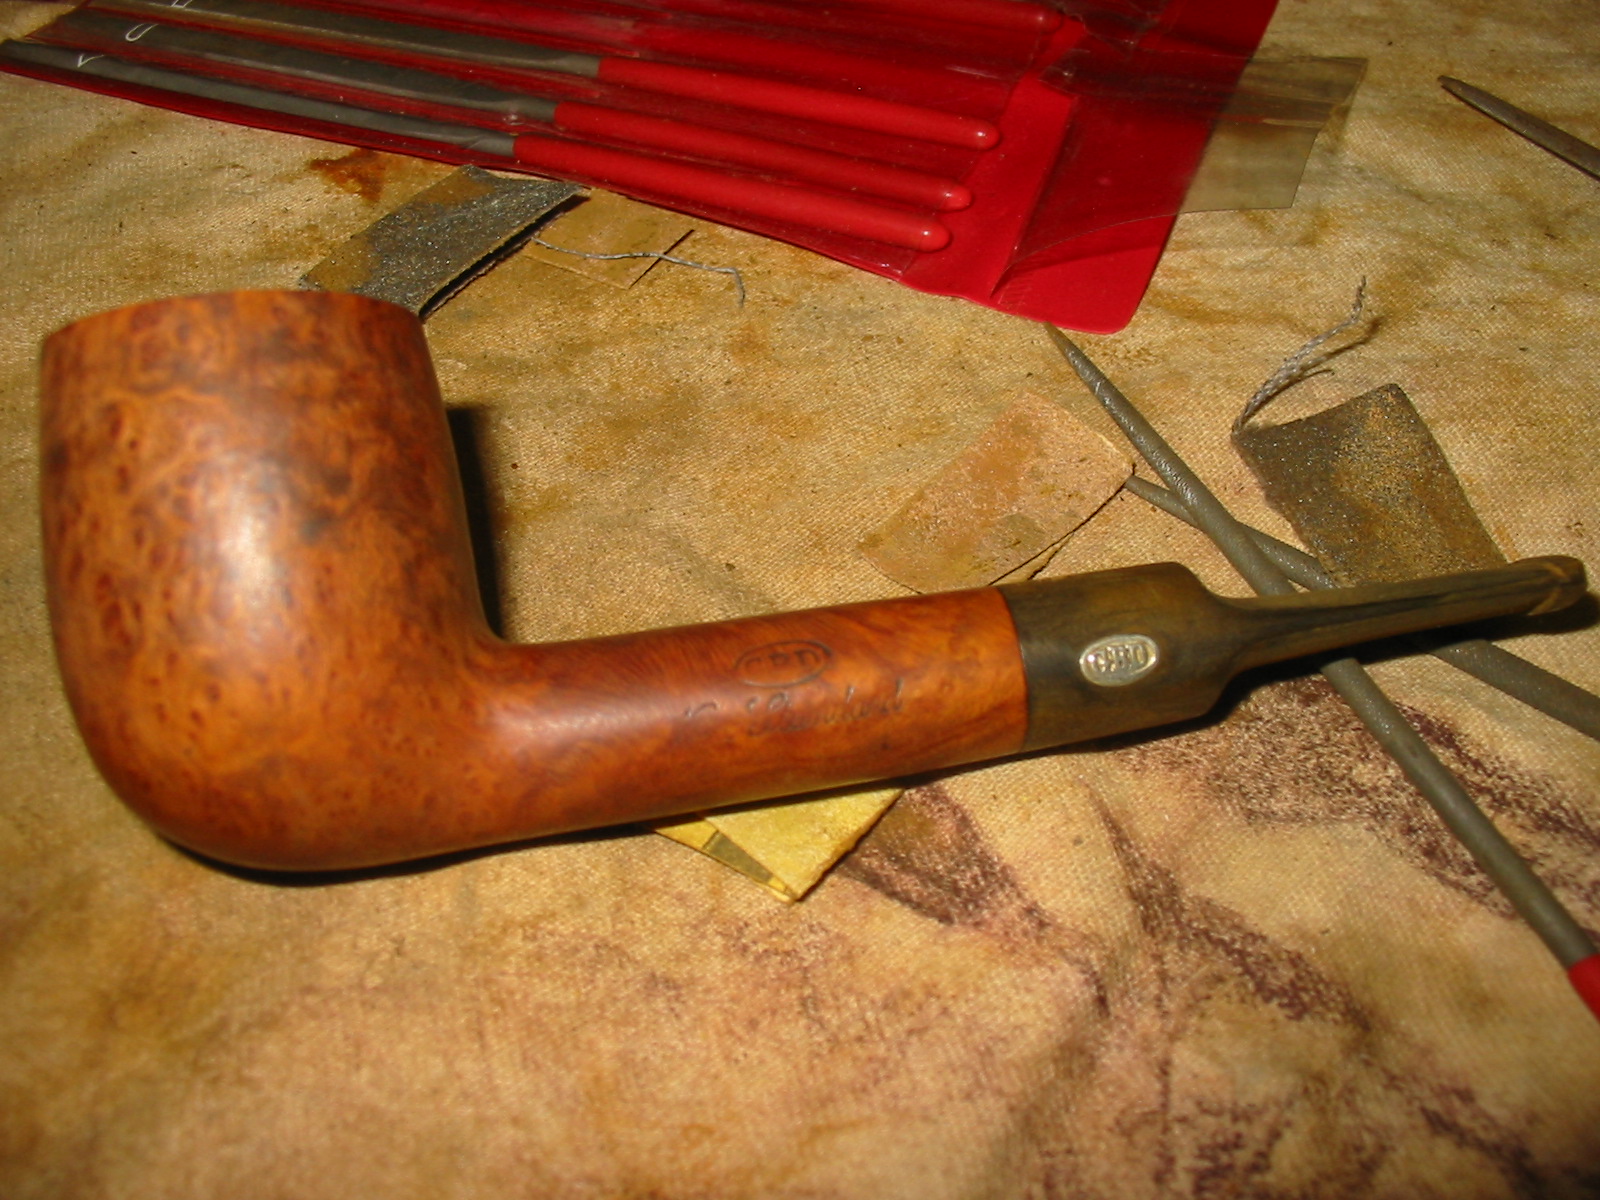
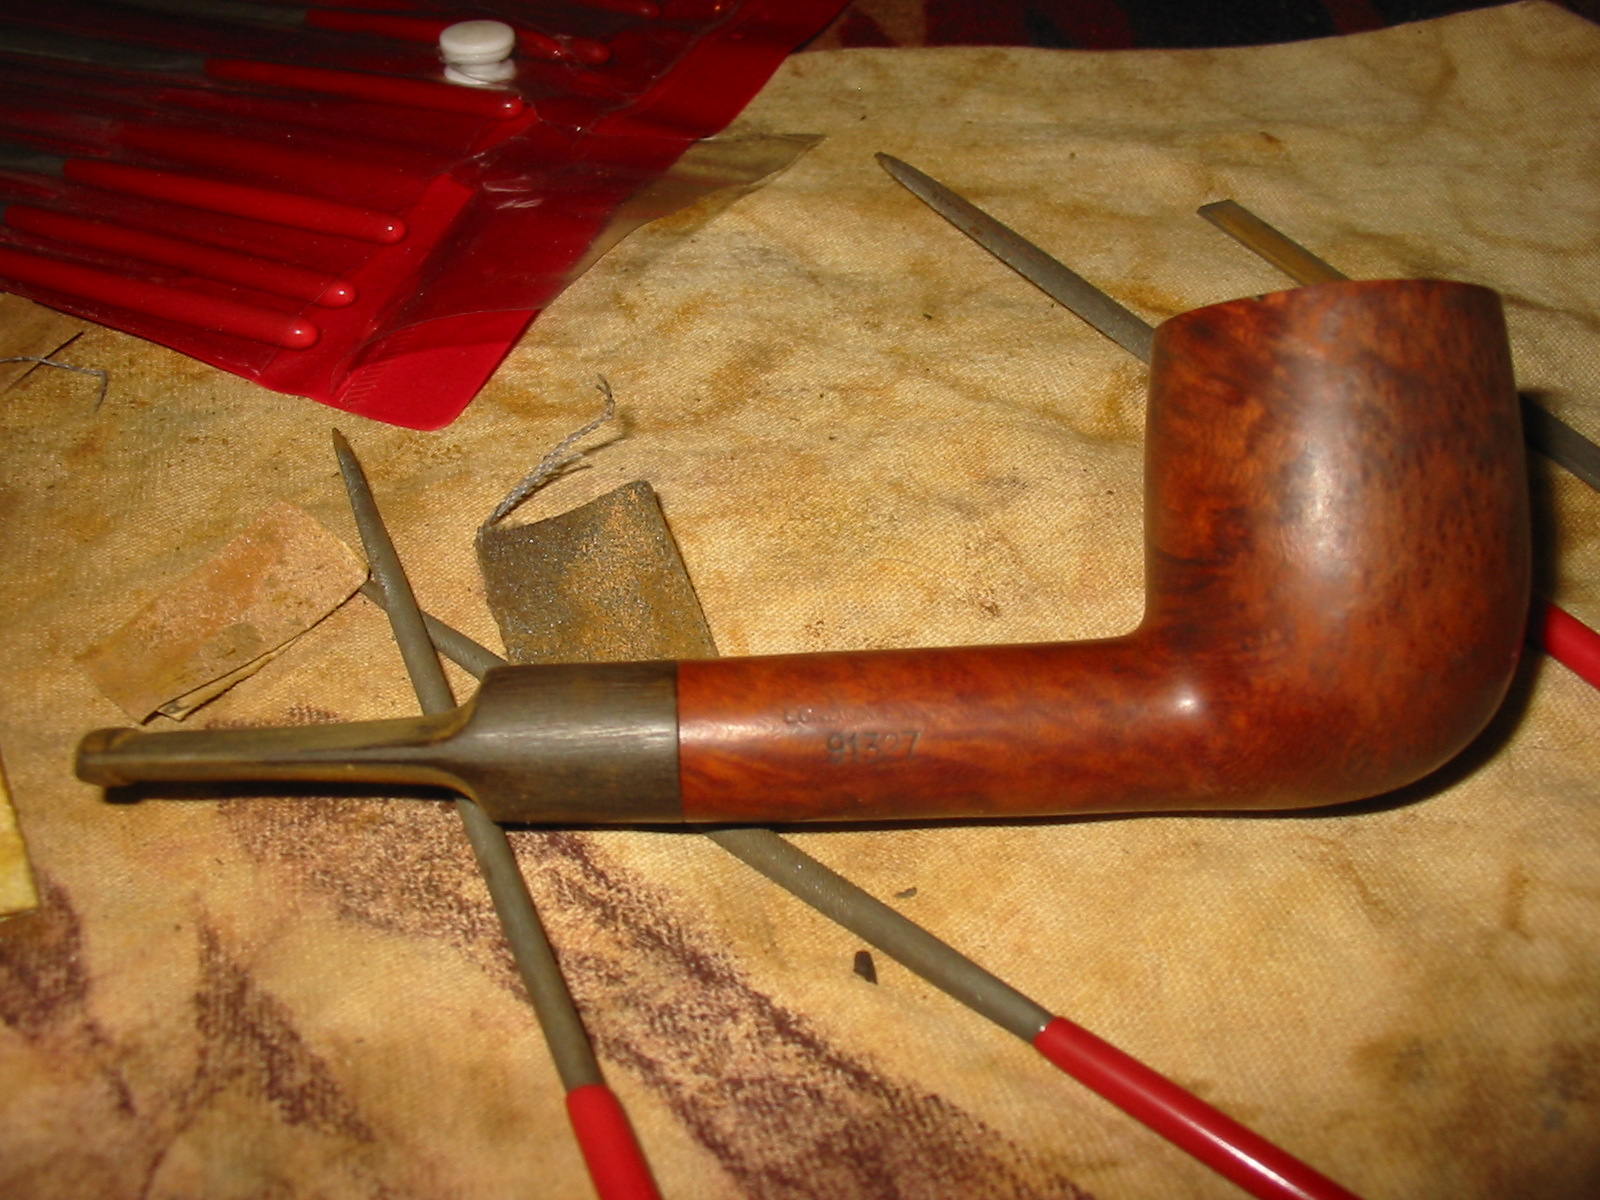
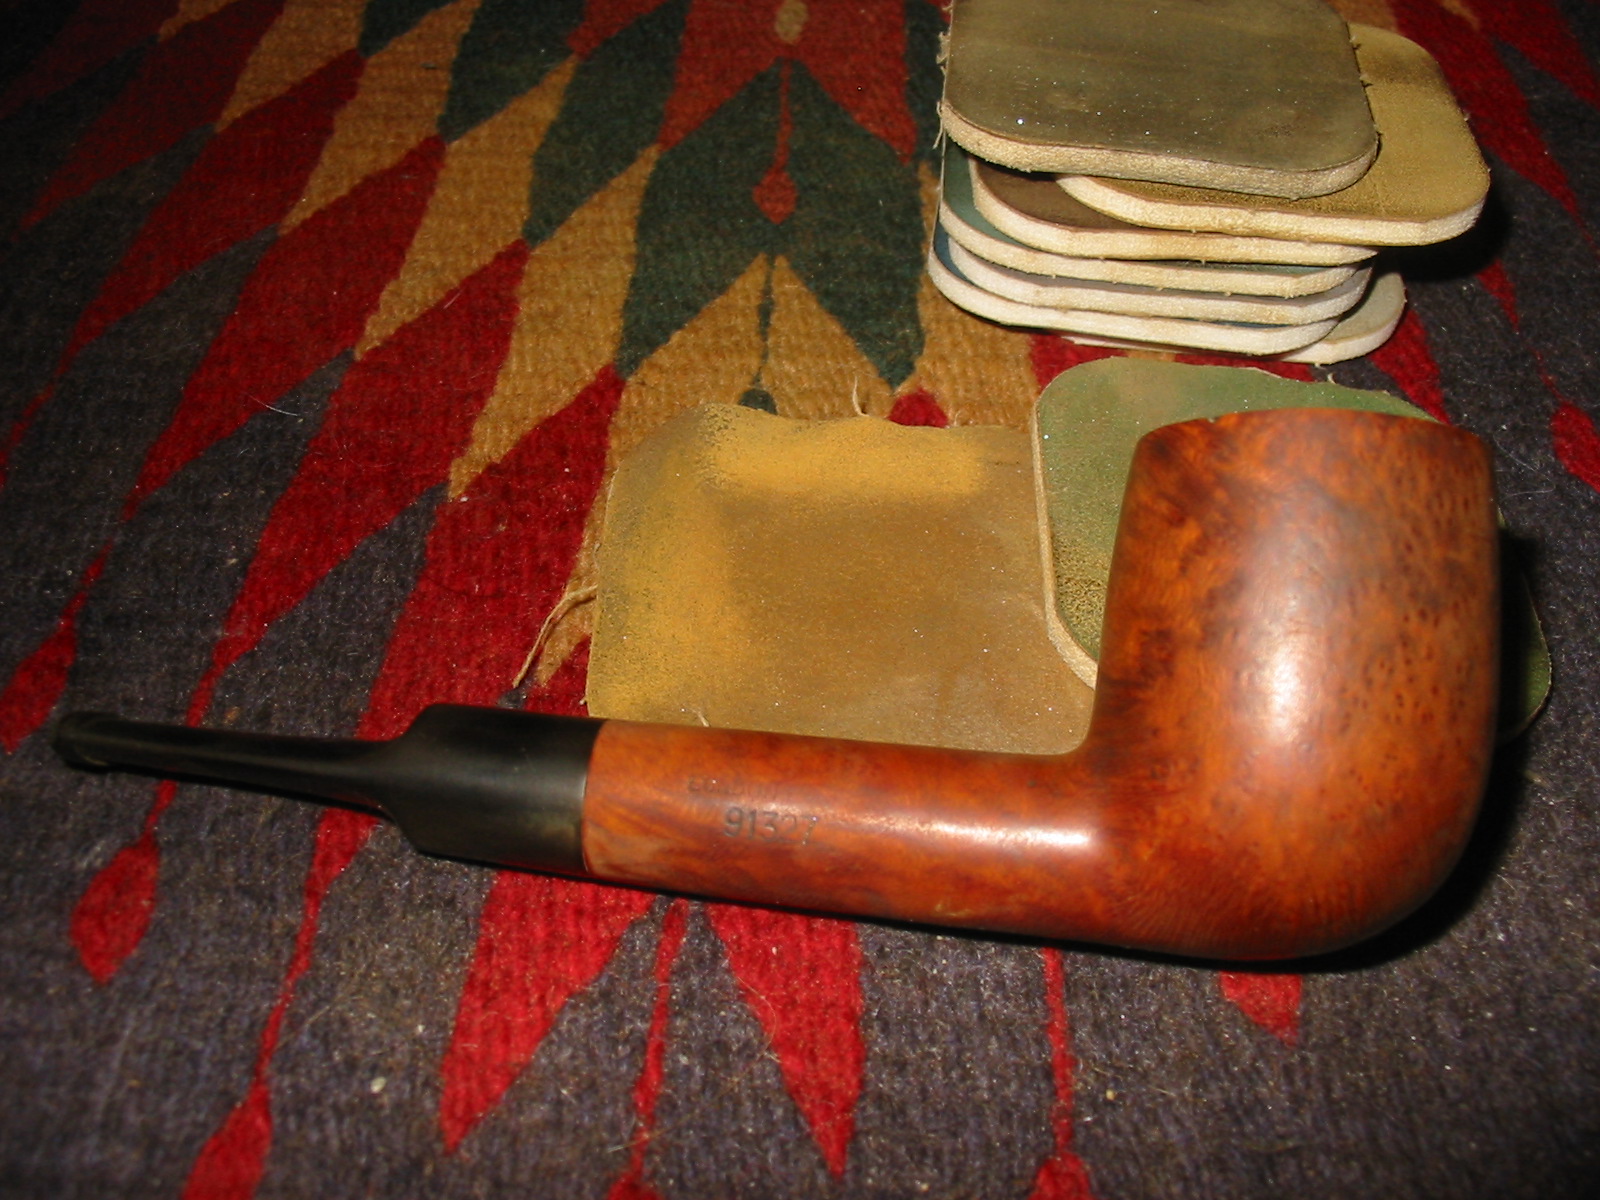
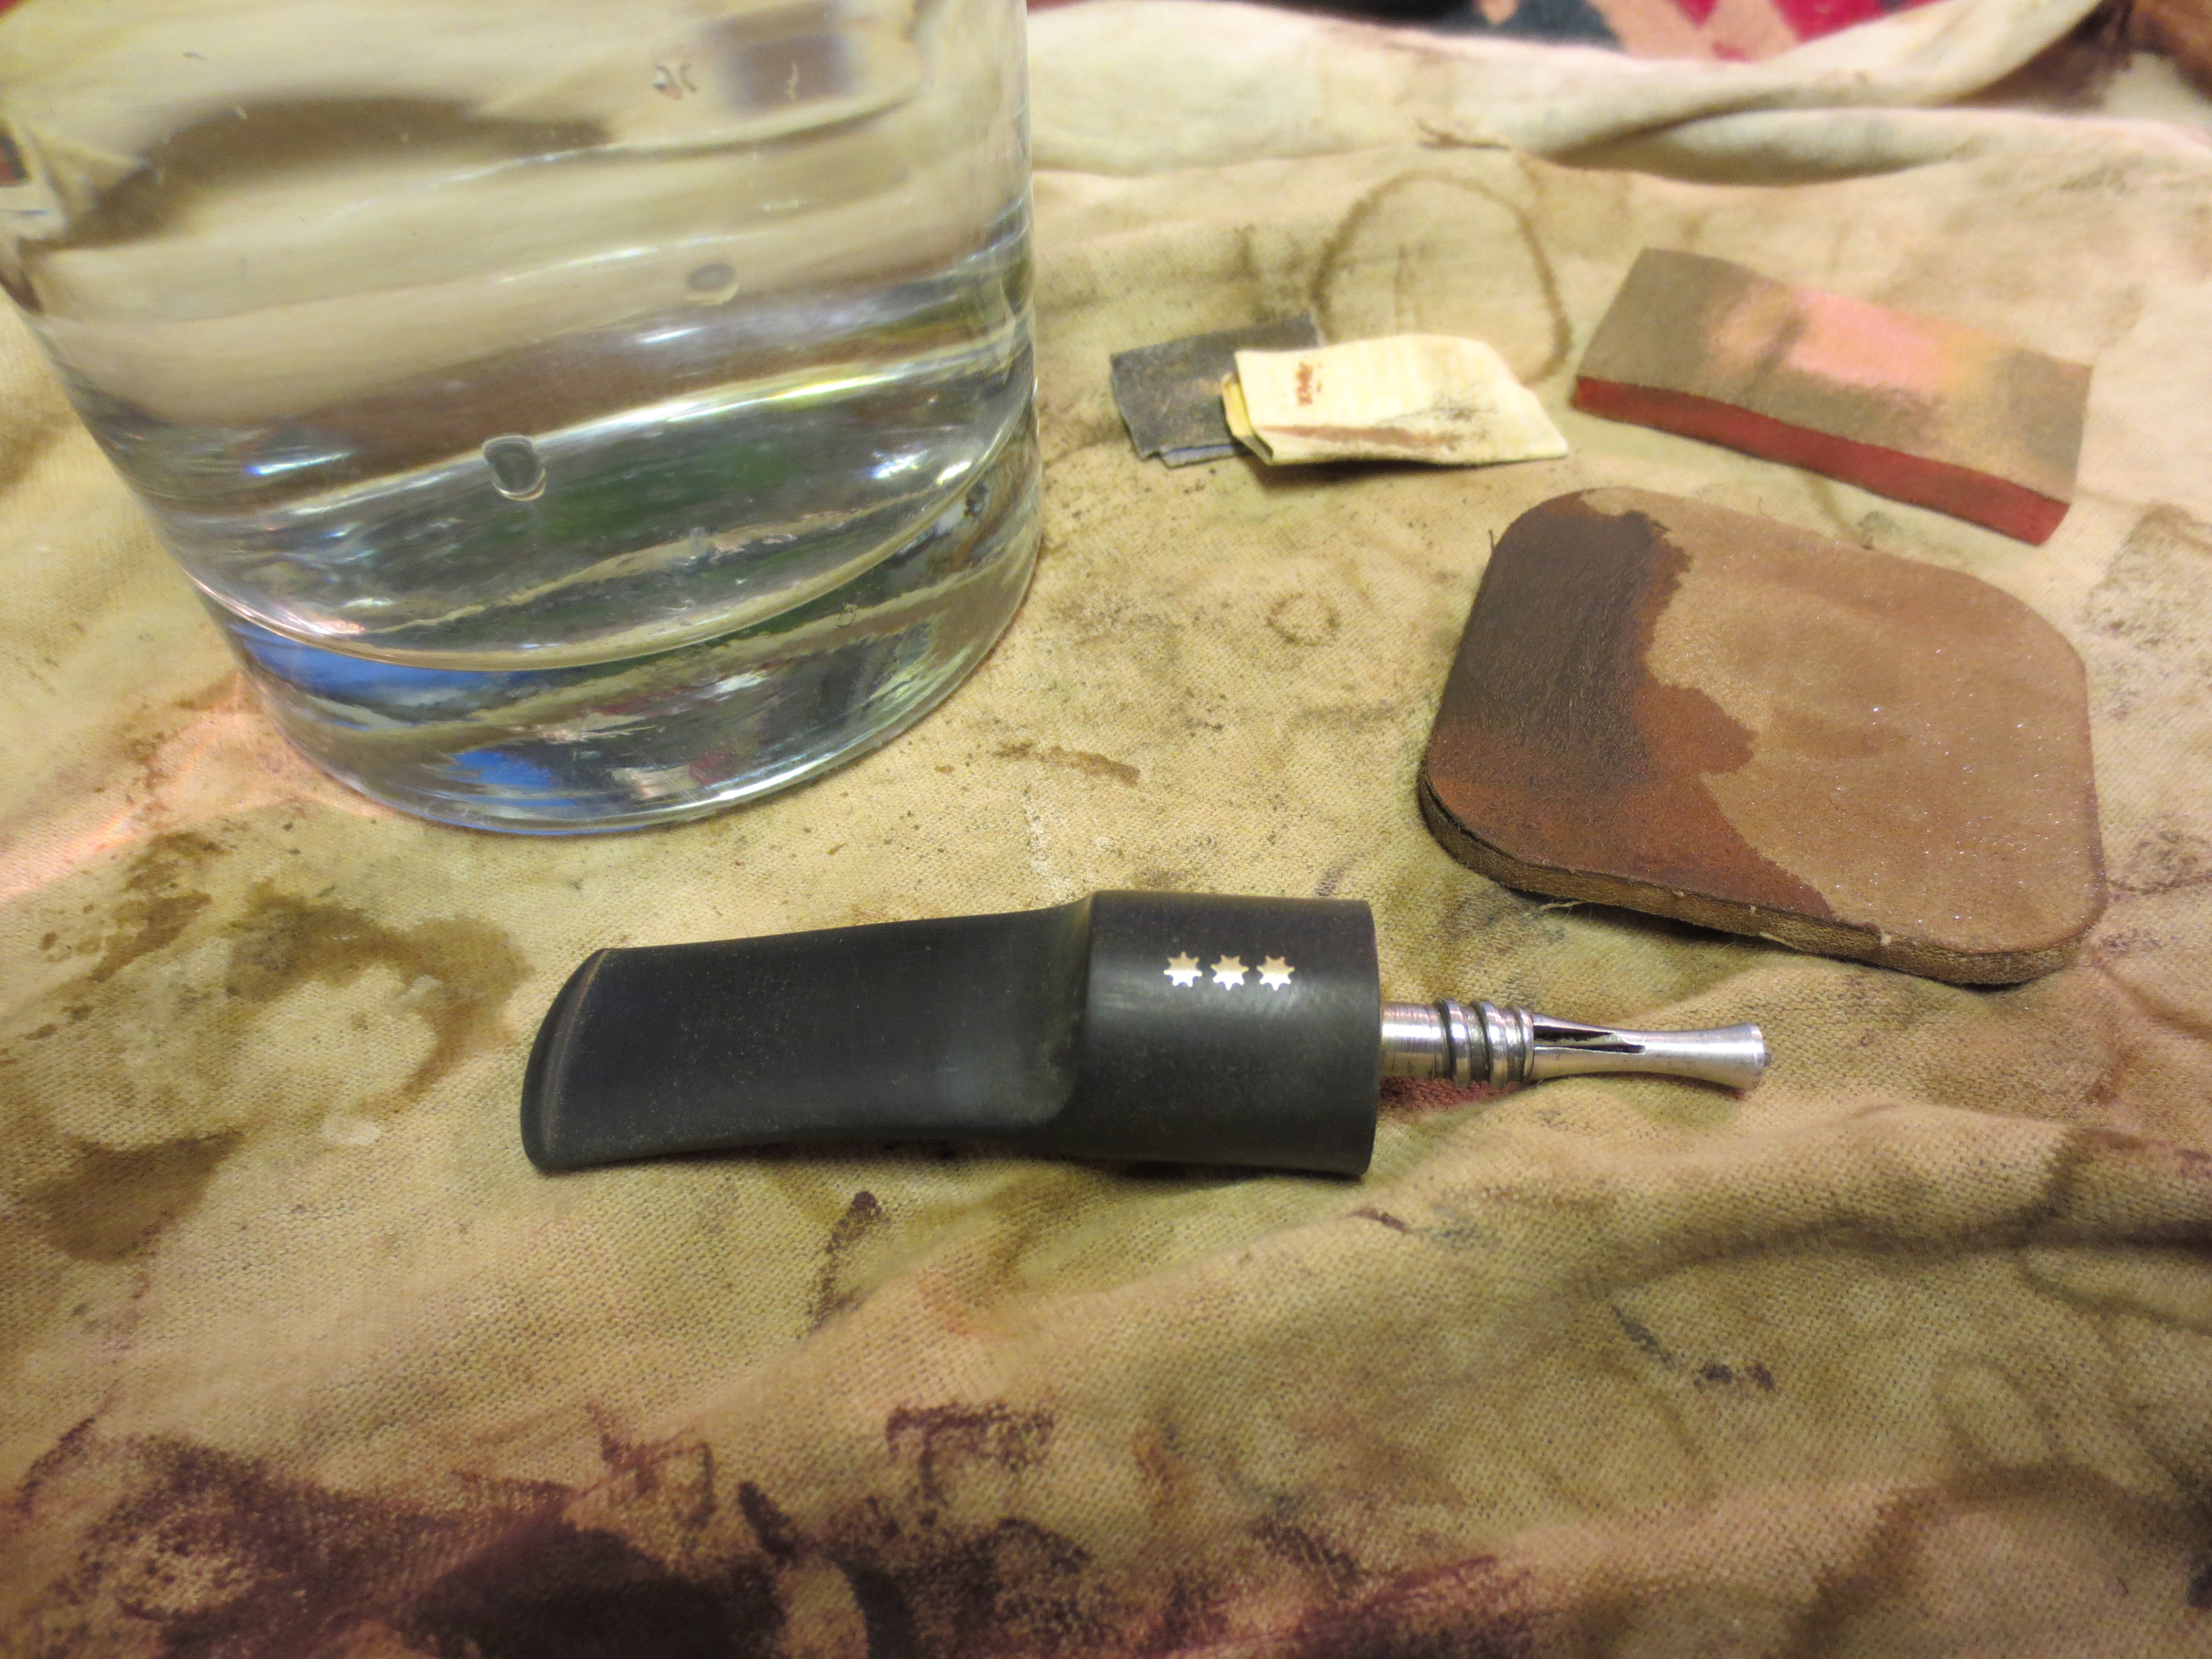
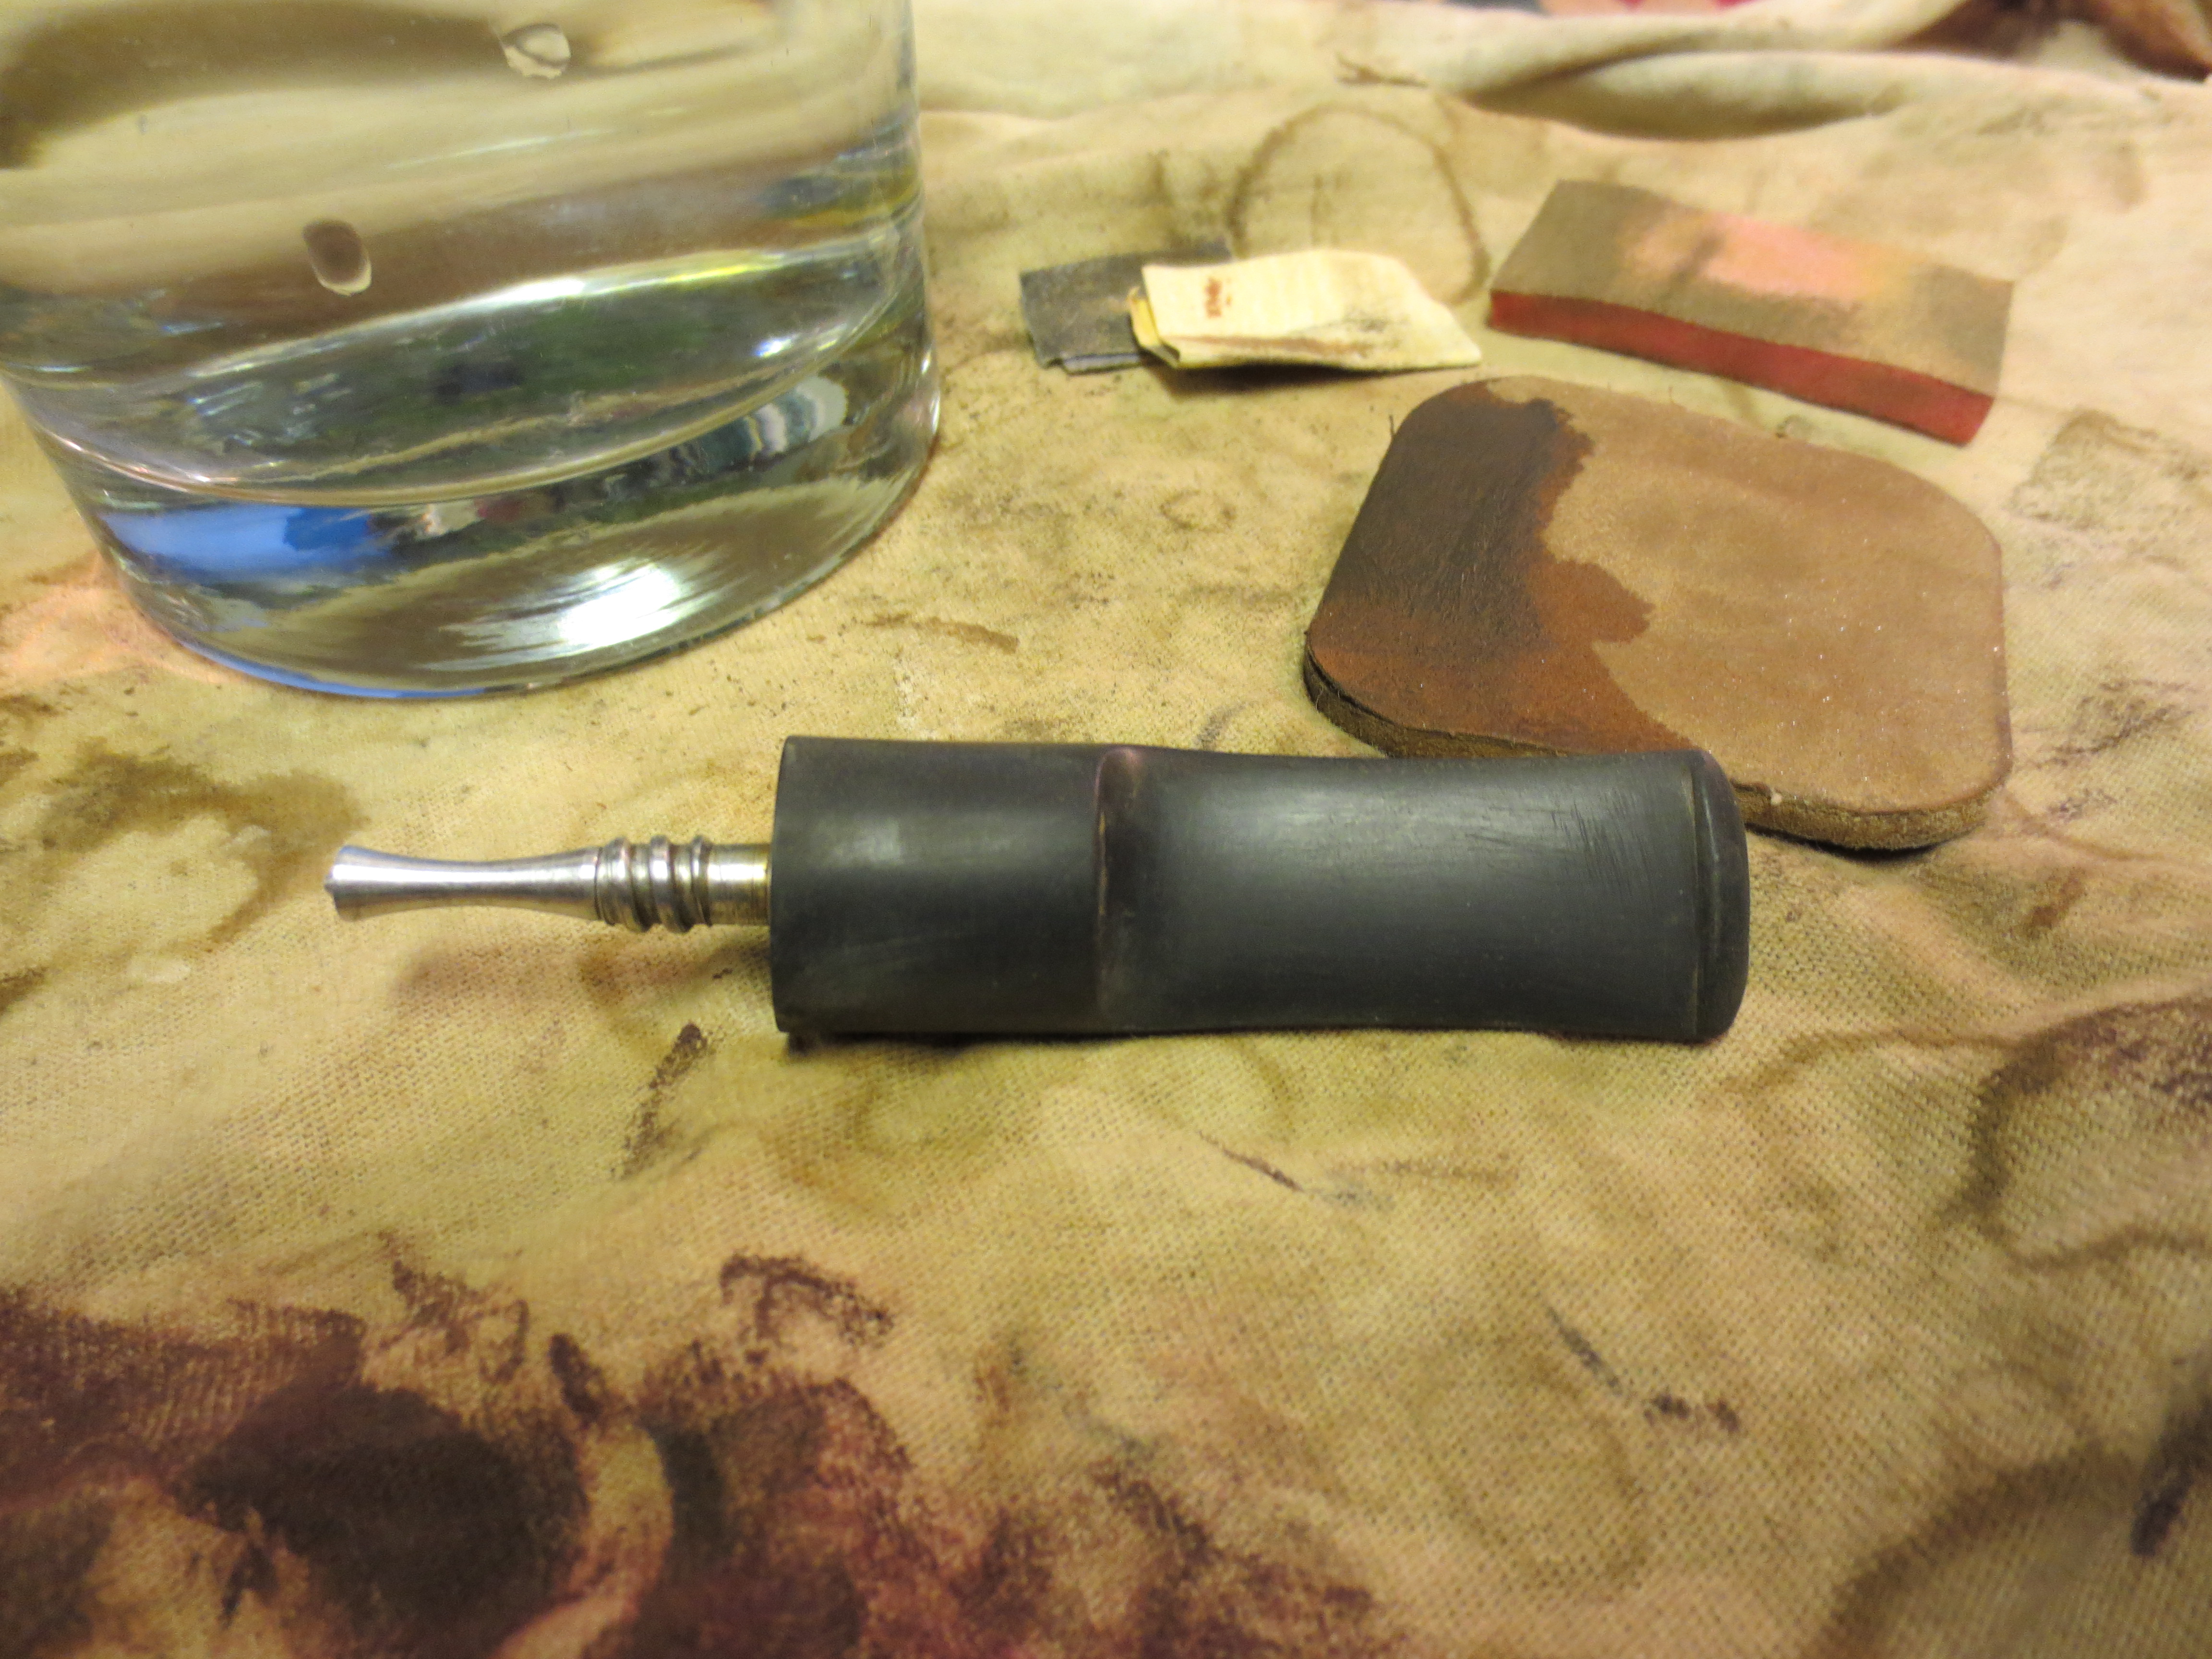
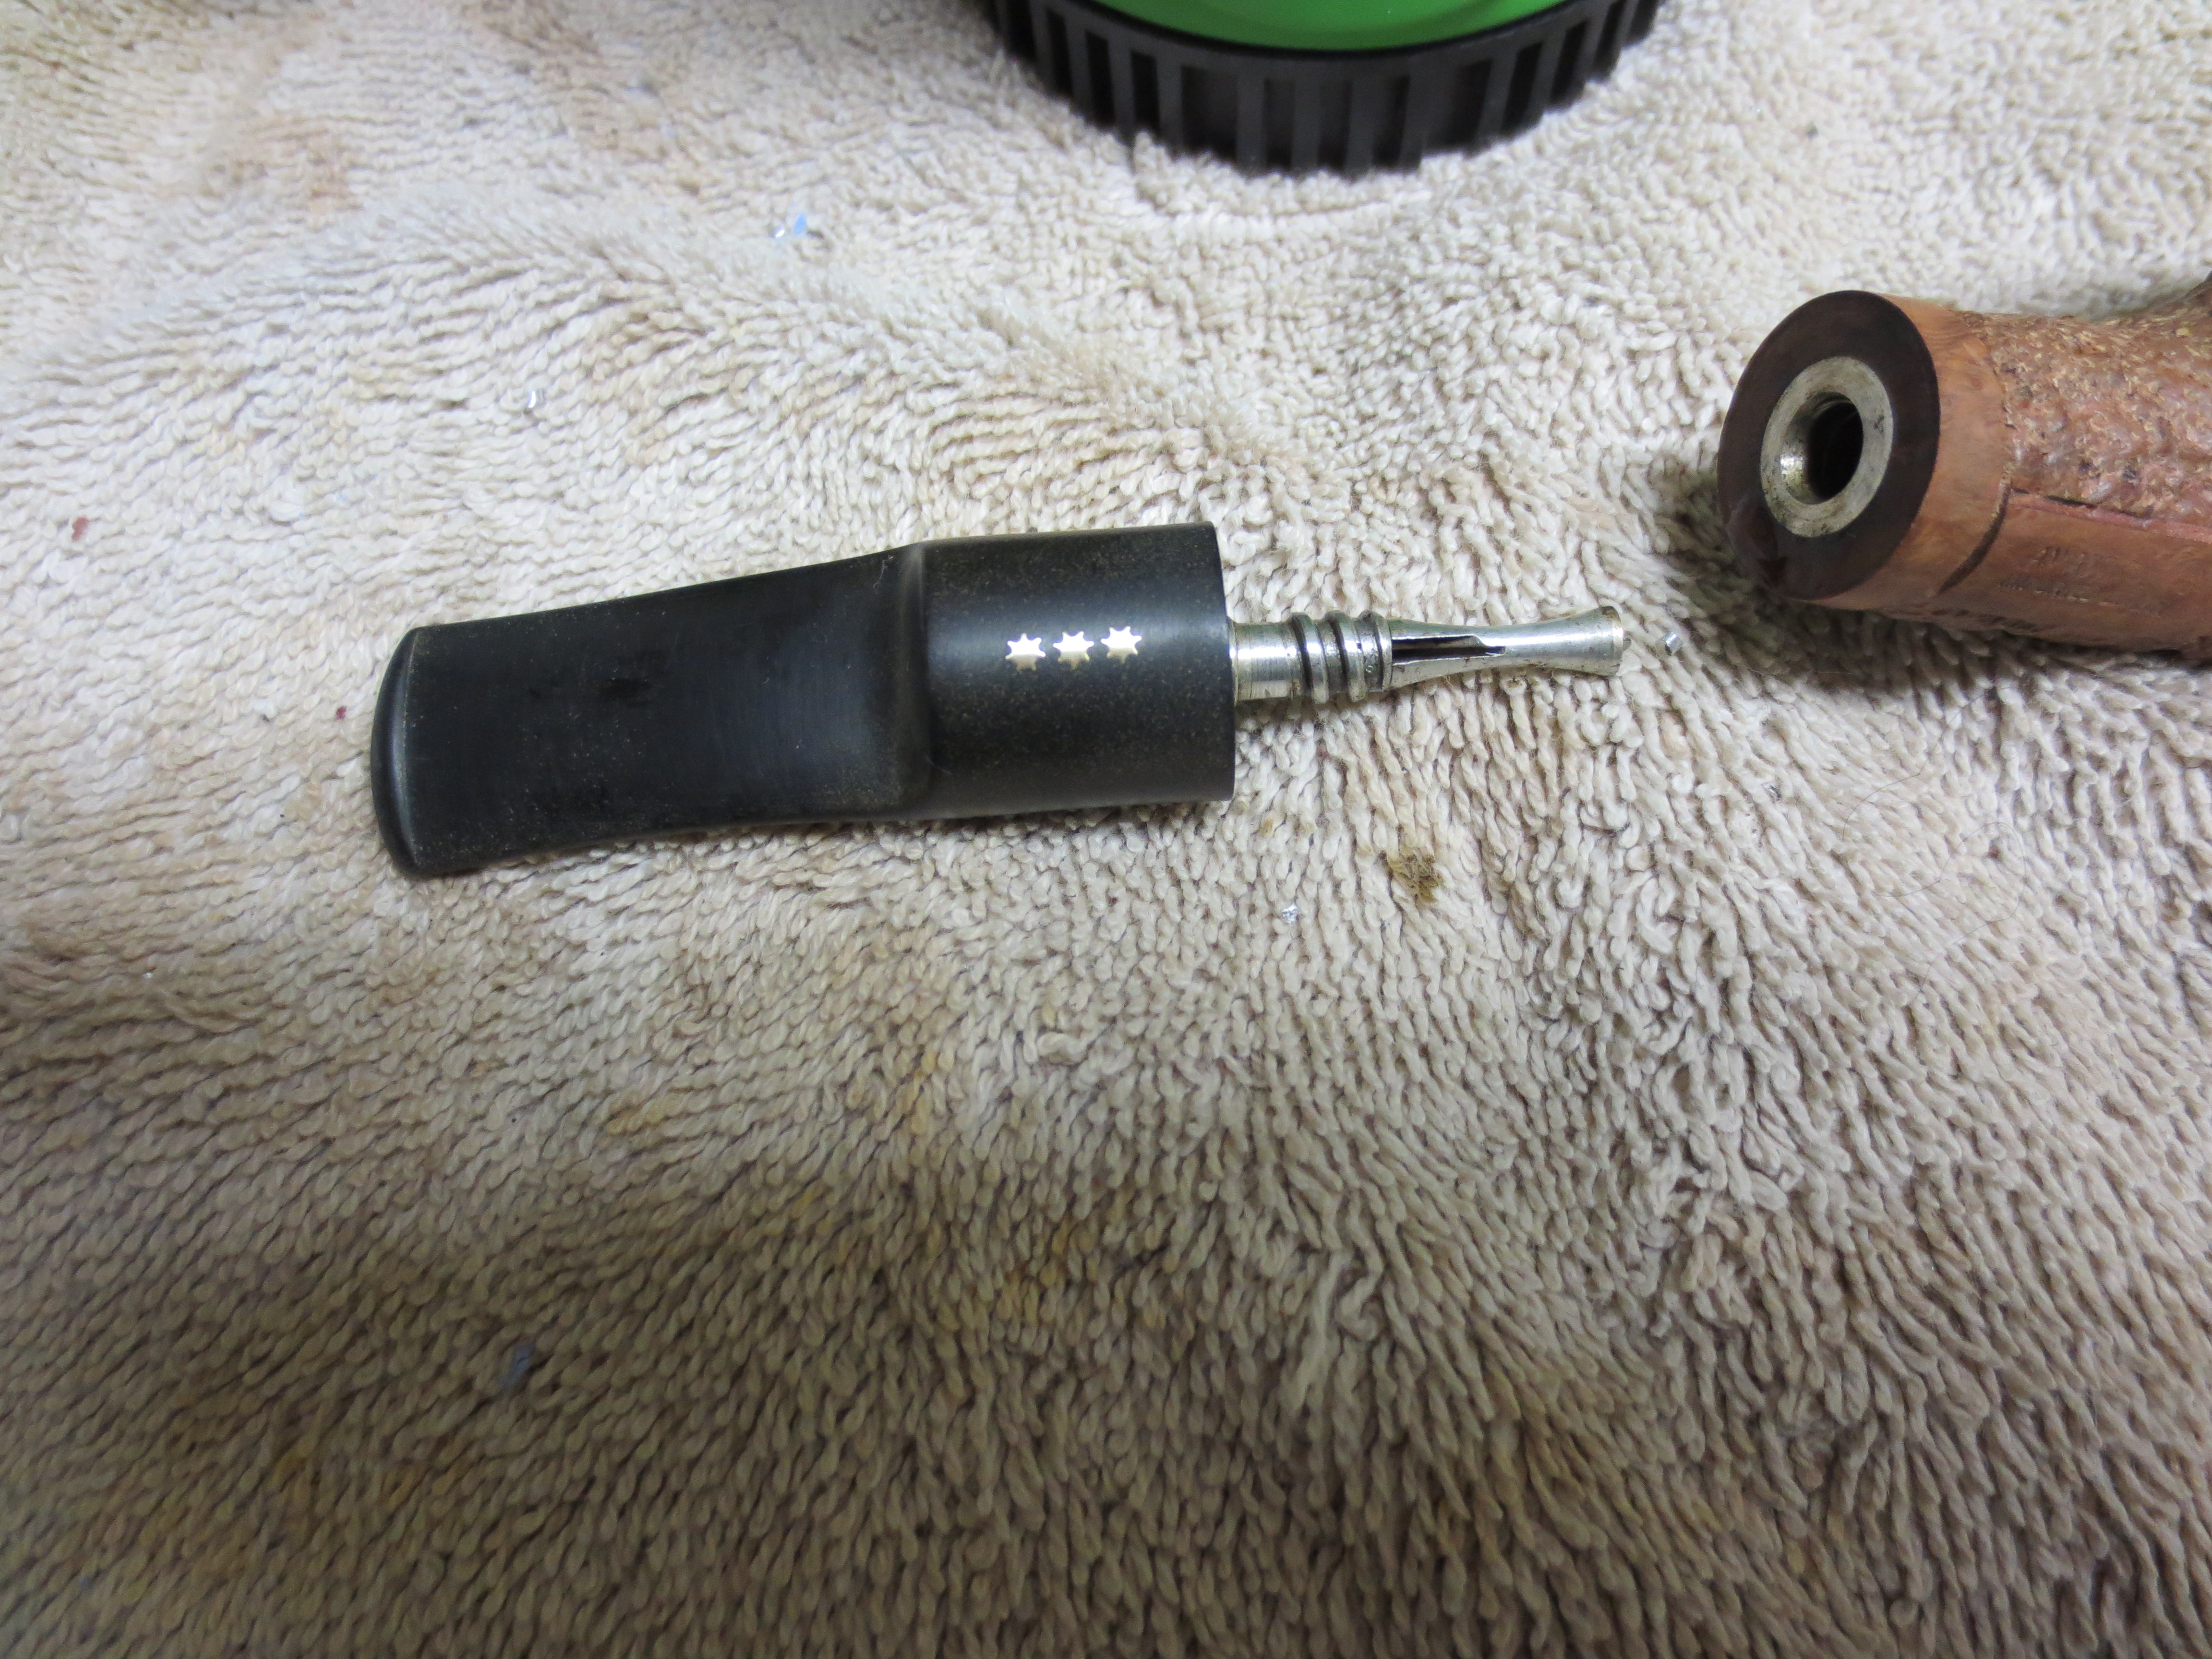
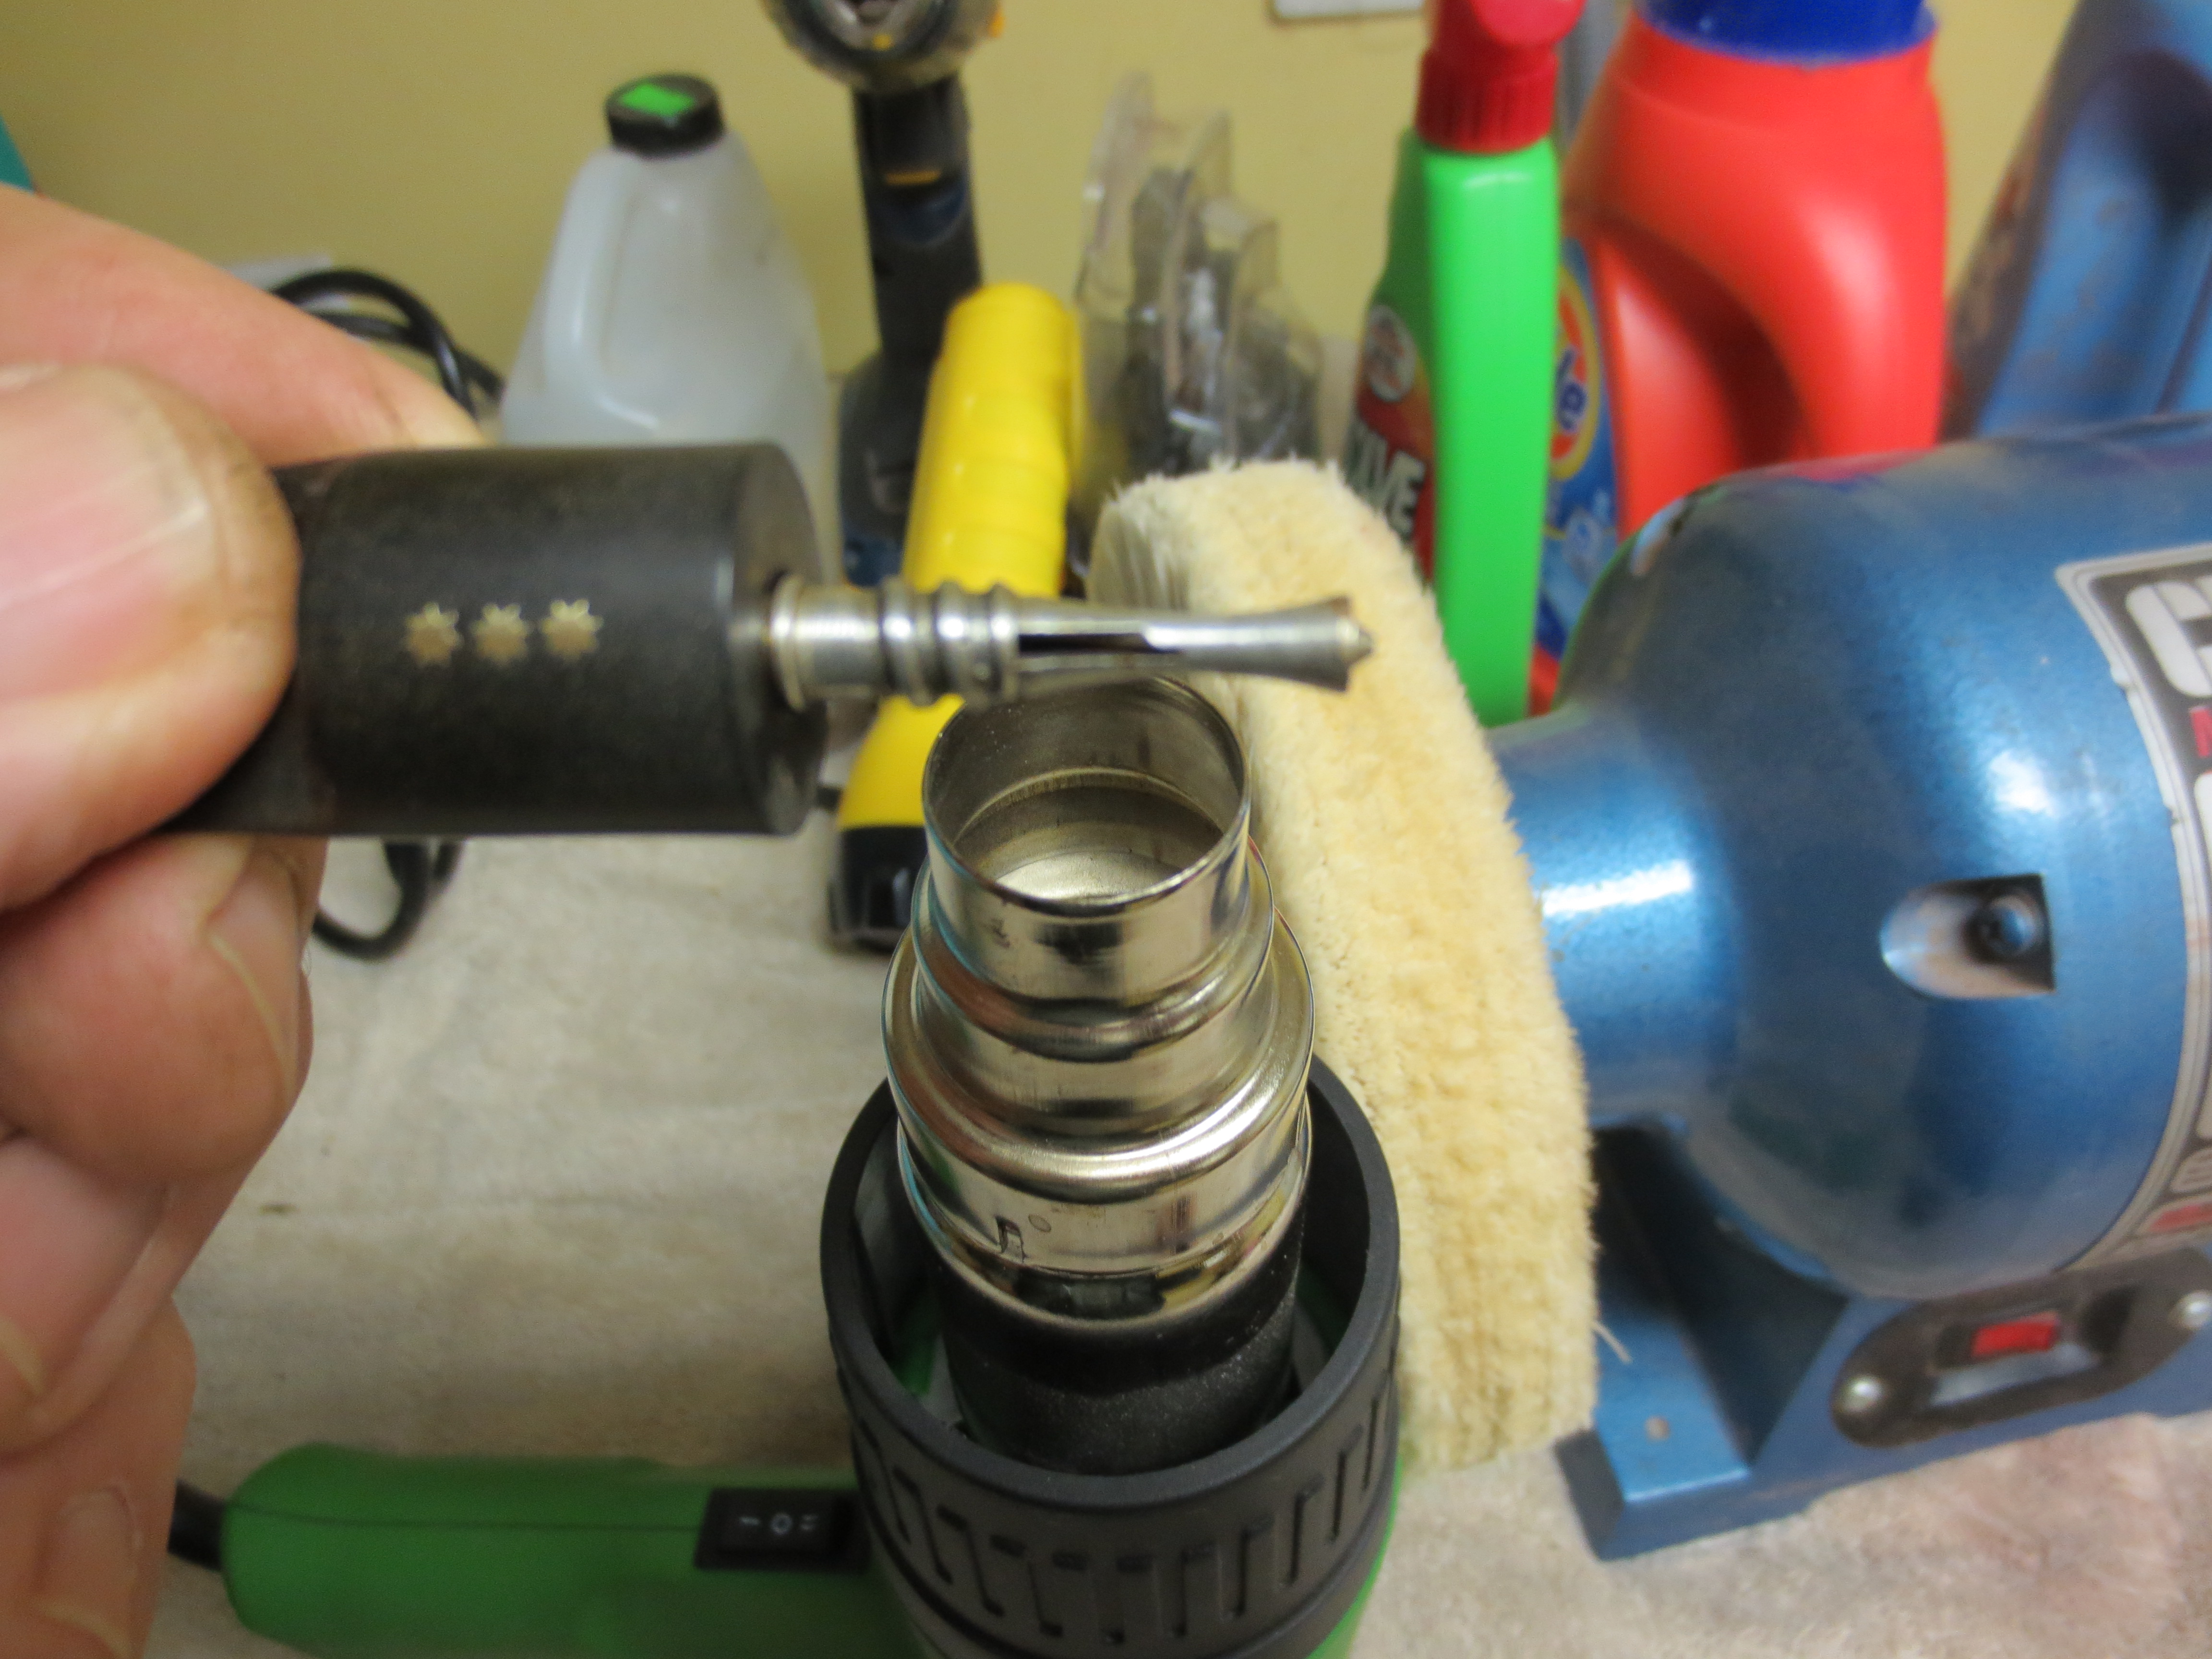
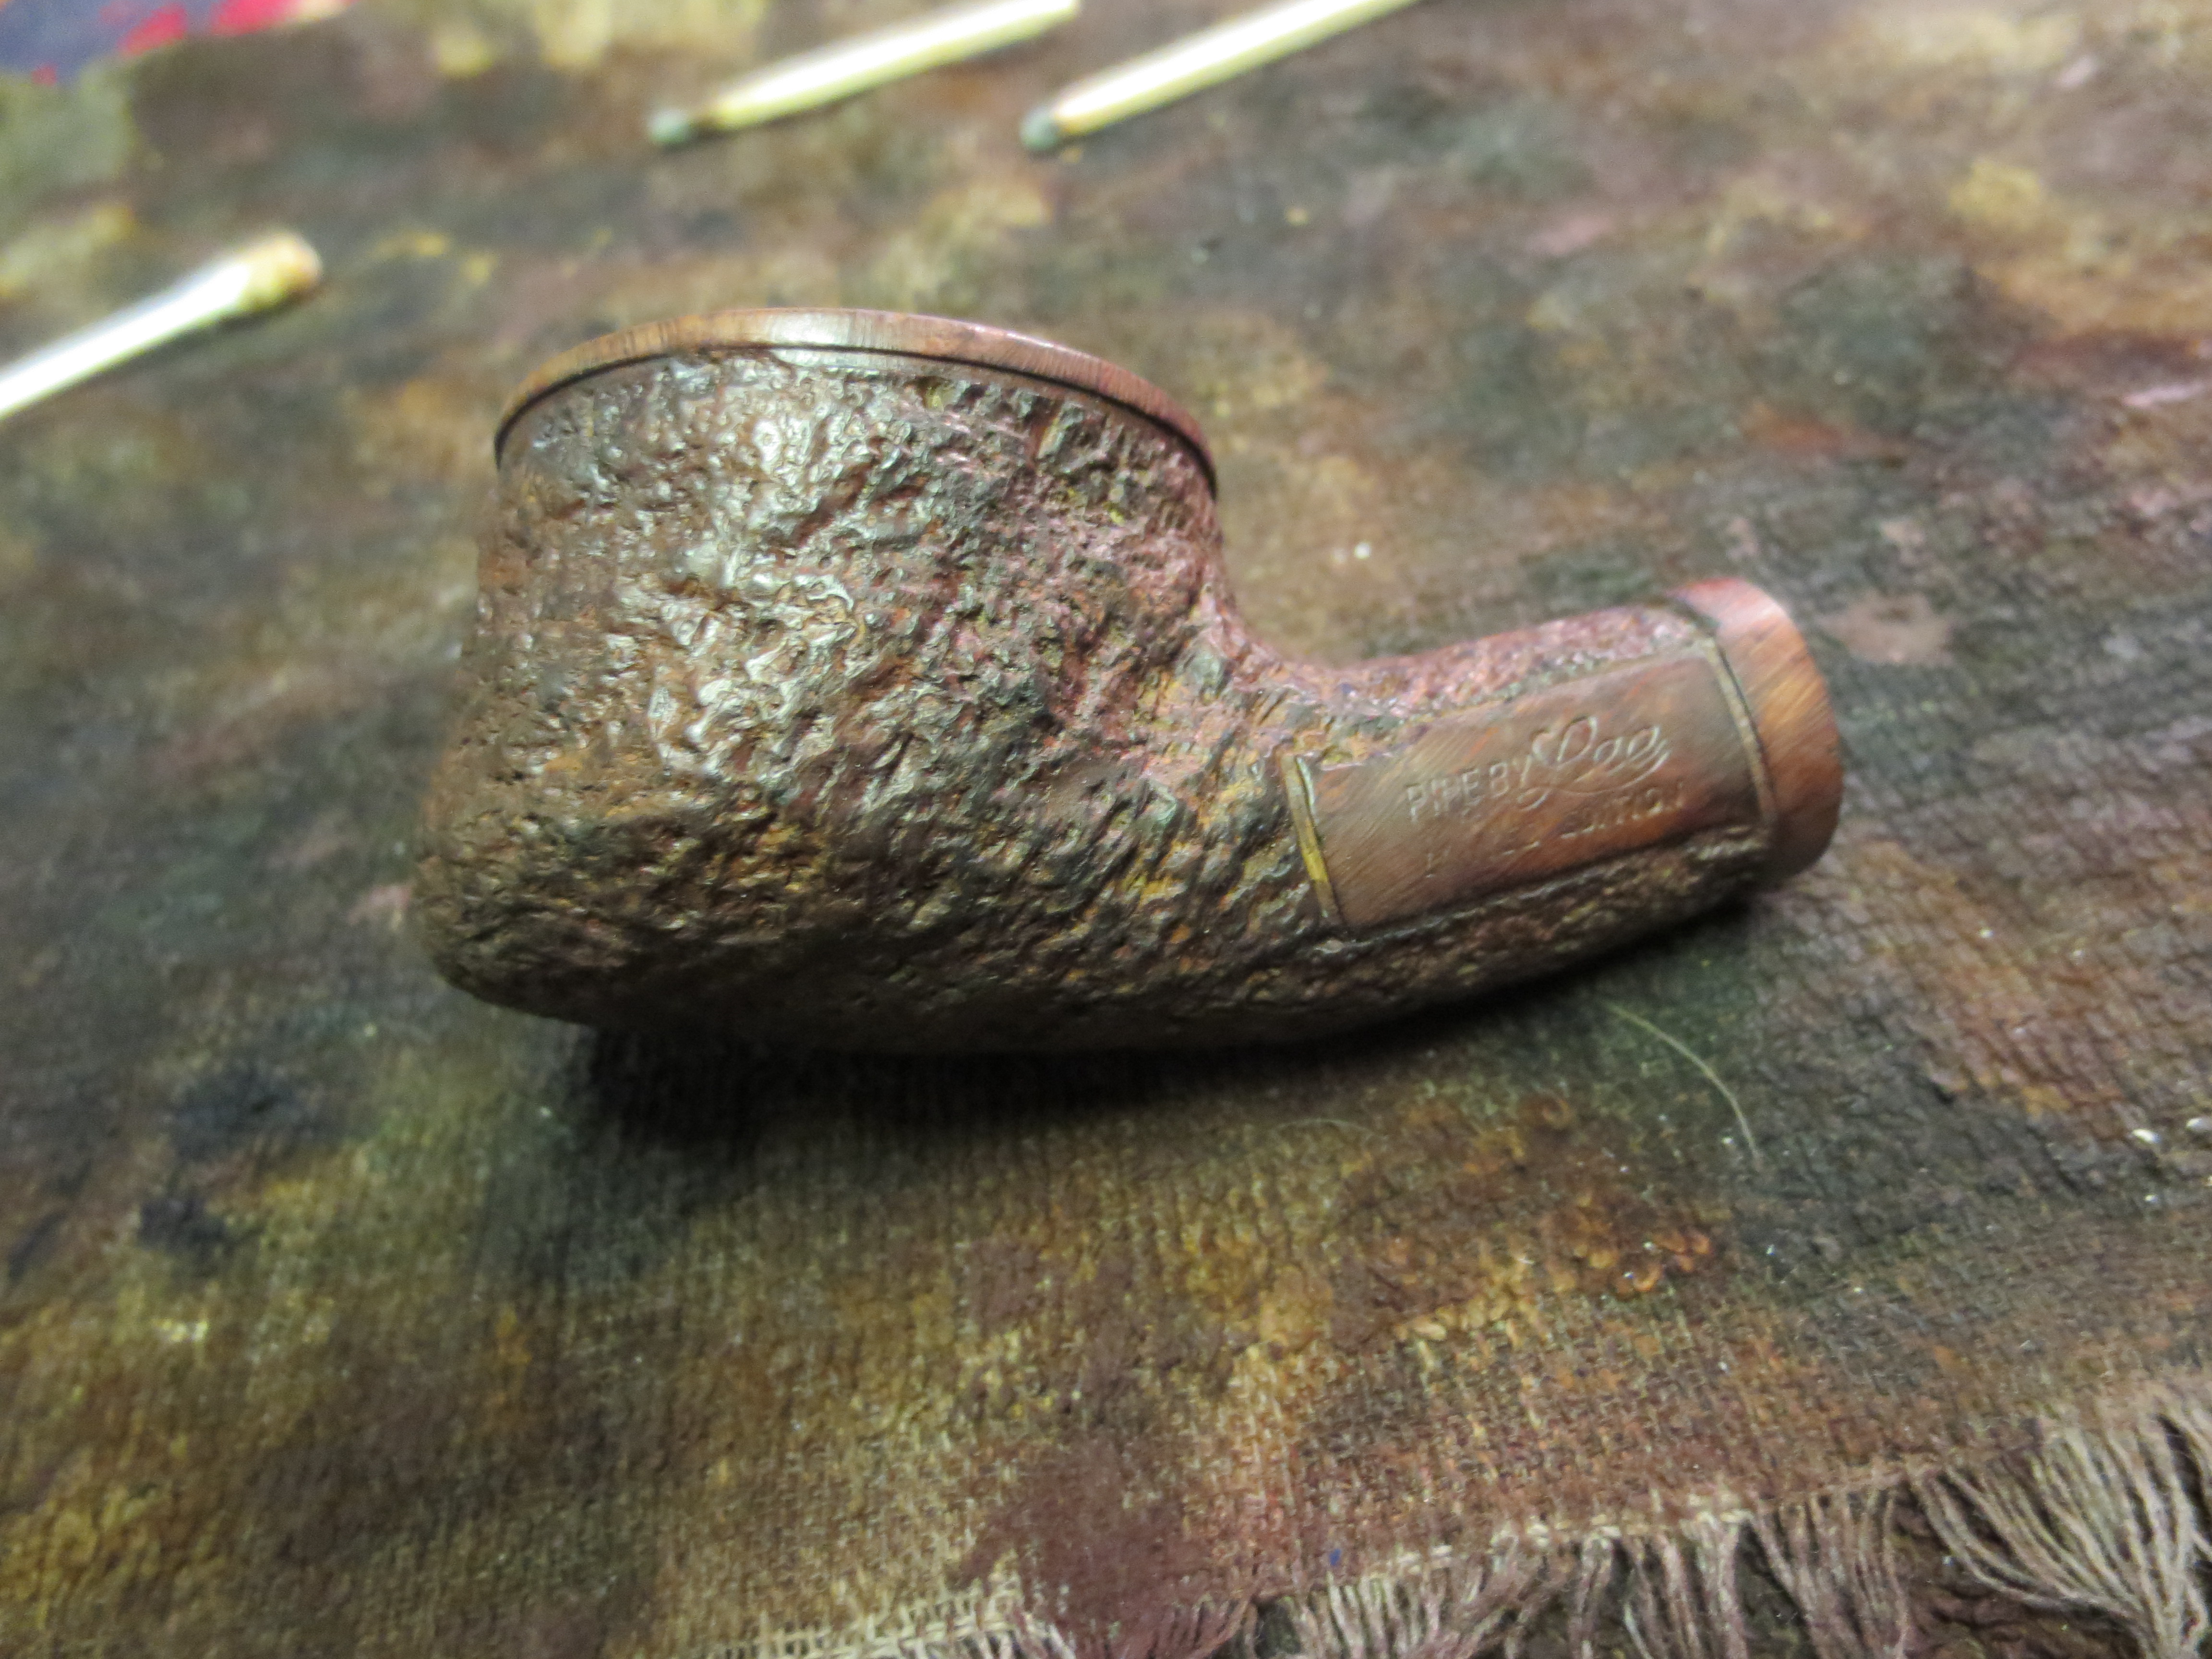
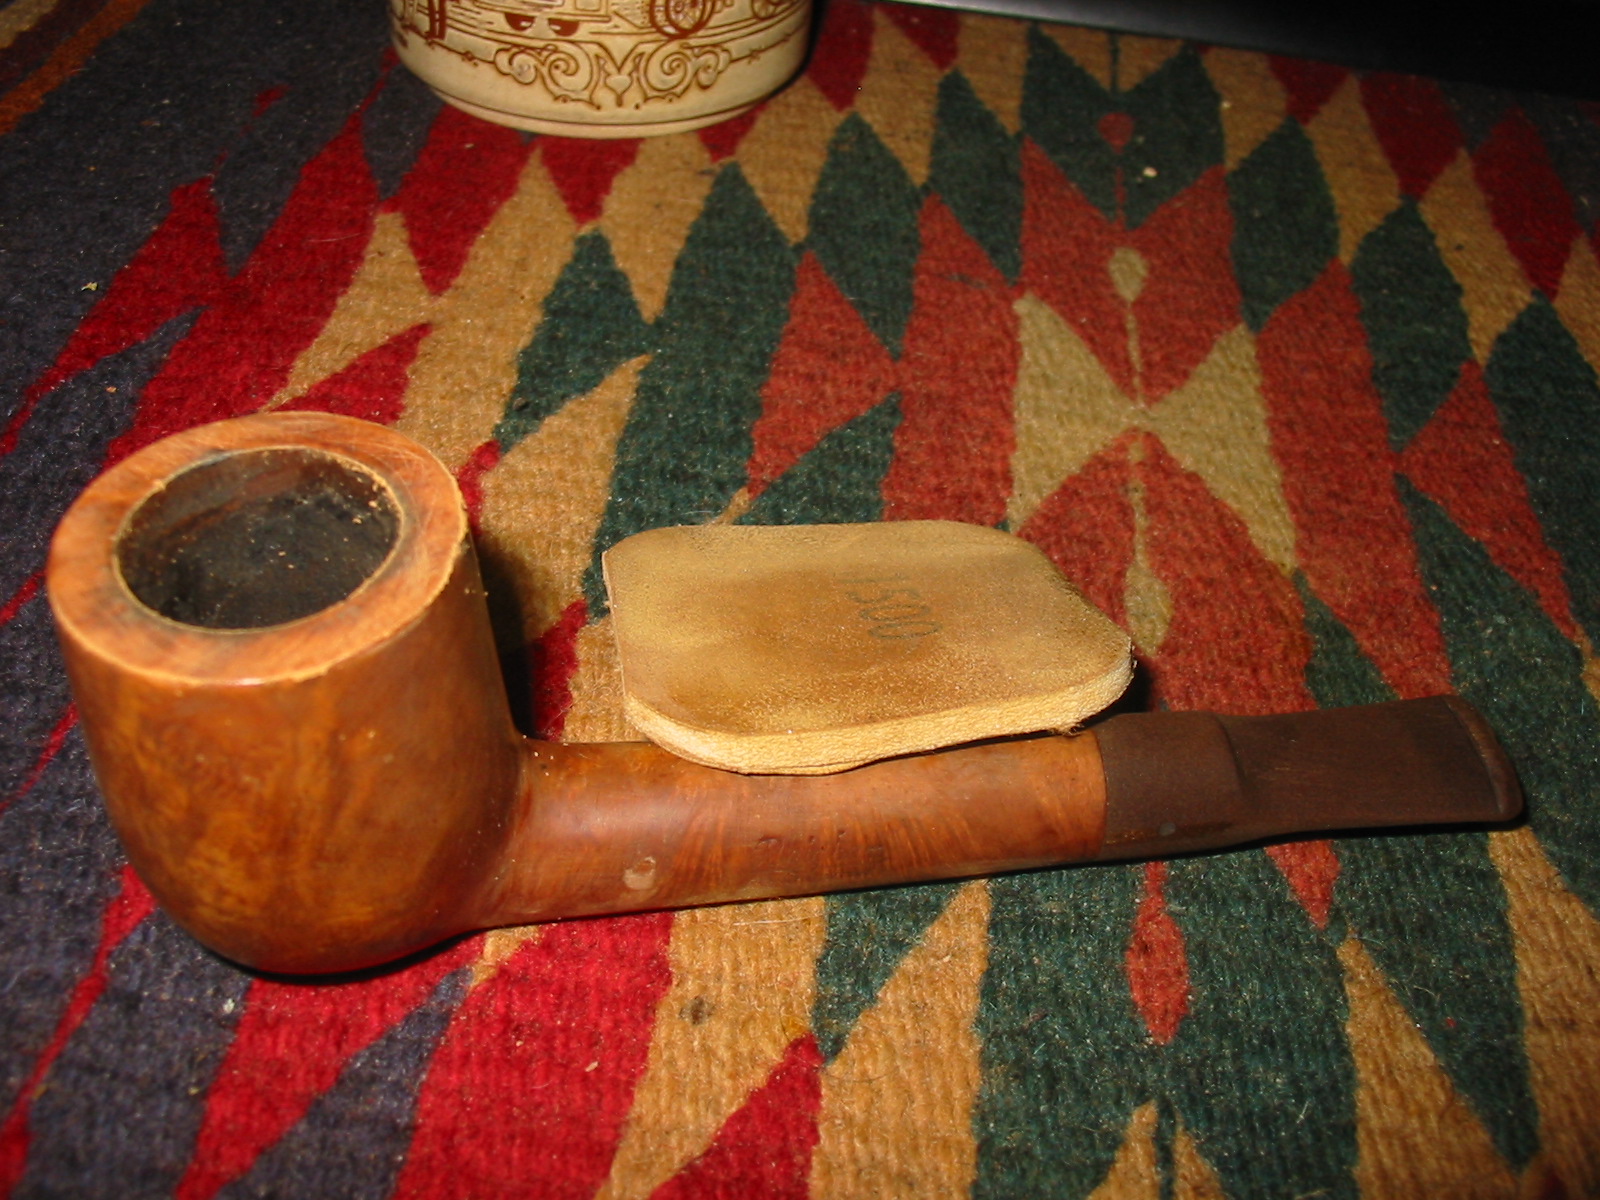
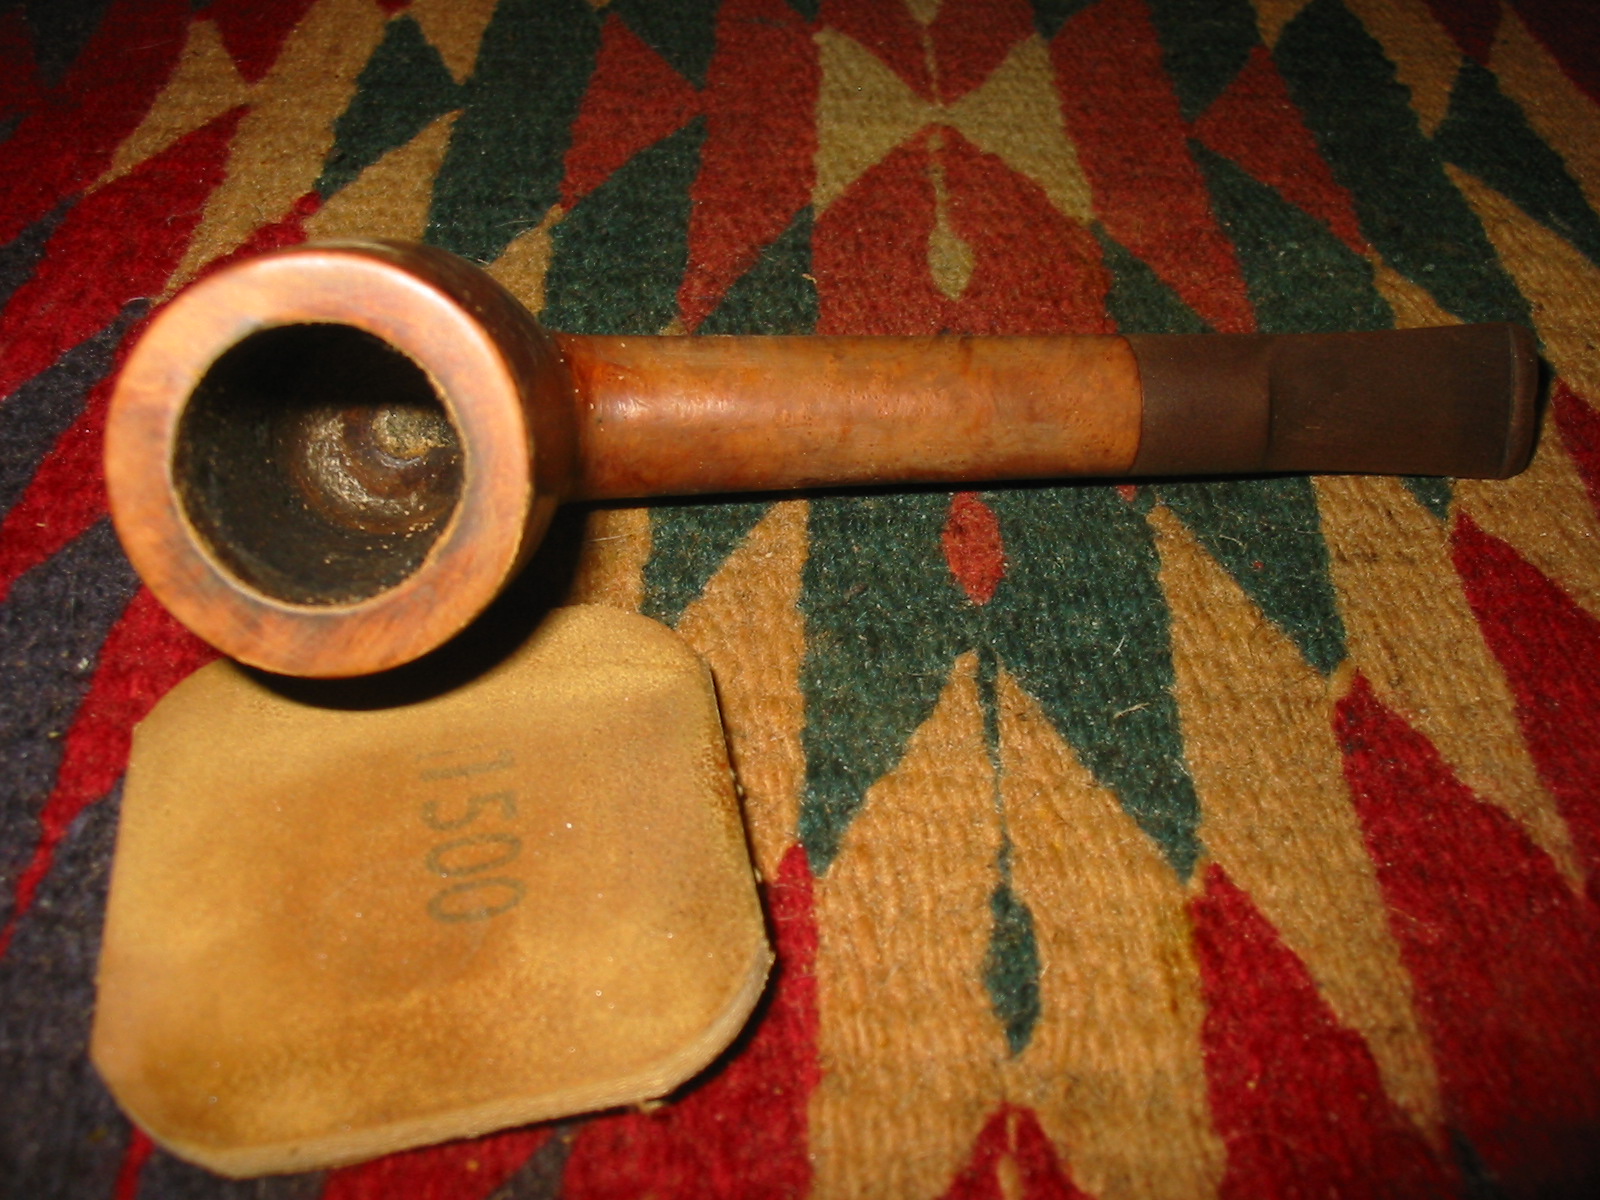
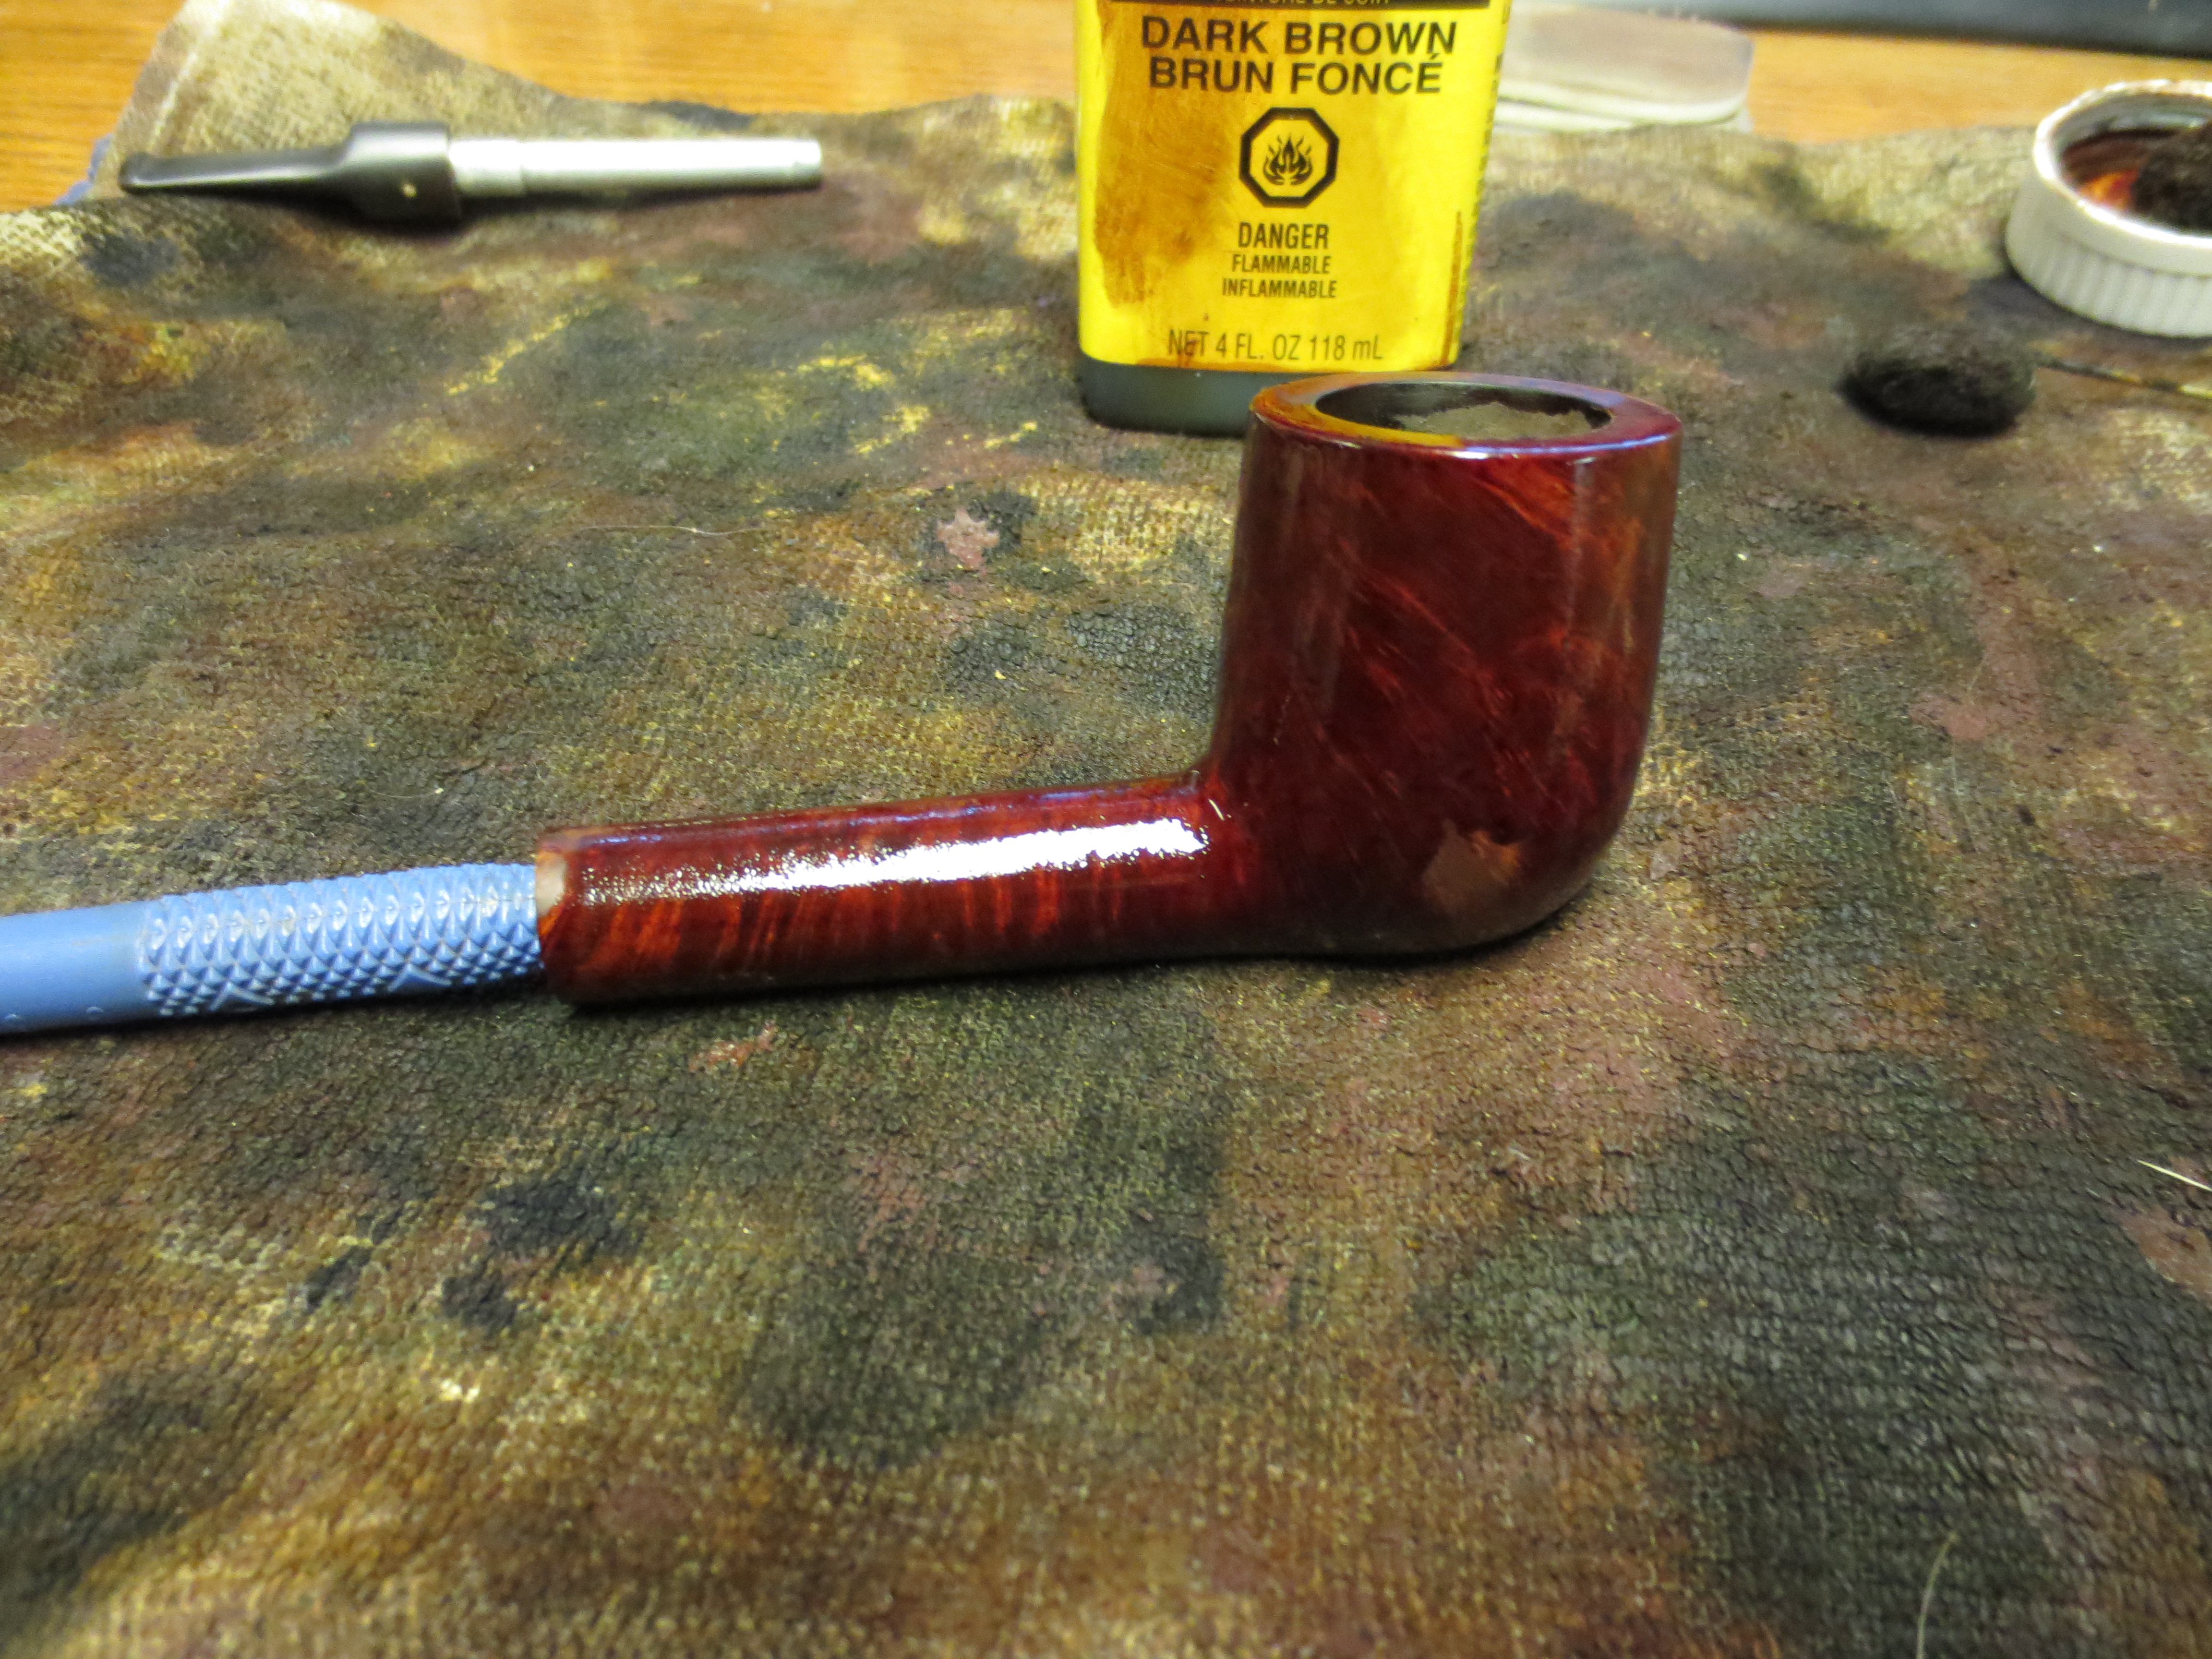
I tend to work on things systematically and so about a month ago I had an afternoon free so I restemmed 9 of them. I turned the tenons and stuck the new stems on the pipes. Some of them are reclaimed stems from my stem box and some of them are stem blanks that will take some work to finish. I have not worked on any of the stem fittings or squared them up to the shank at all. I have not worked on the diameter or taper of the stem as it meets the shank. I have not smoothed out the casting ridges or shaped the buttons or slots. I just turned the tenons and put the stems on the pipes and put them back in the box. That leaves three more to fit stems on and then the 12 of them to be customized and polished.

I heard footsteps on the front porch by the mail box. I figured one of my daughters was home from work or my wife so I just kept looking at the pipes to make a choice. What was that? Oh, the doorbell rang… The door opened and closed. My daughter just opened the door to the basement workshop and called     down to tell me that I have a package. Maybe it is some of my EBay wins that have arrived. Ah, I can still postpone picking up one of the restems or turning the remaining three tenons. Good, they can wait for a little longer while I work on the new arrivals. After all they are ones that I chose to restore… so I close up my box and head upstairs to retrieve my package. I think I may as well have a bowl while I am upstairs…

A Quick Refurb on a BBB Straight Bulldog


Blog by Steve Laug

I picked this little BBB ** Bulldog up yesterday at a flea market for $16. It is stamped BBB in a diamond over ** on the left side of the shank. The other side is stamped 401 (shape number) over Made in England. The first four pictures below show what it looked like when I found it. It was hidden under a group of worn old pipes and this one and a little Comoy’s Guildhall became mine. The bowl was in pretty clean shape. The finish is clean with only a small dark spot on the shank where it must have touch a coal in an ashtray. The wood is not burned only darkened. The rim was clean but for a little tar. The bowl did not need to be reamed though it was a little out of round. The inner edge of the rim on the front right is a bit damaged from lighting the pipe repeatedly in the same spot. The double rings around the bowl were filled with wax in many spots and would need to be cleaned out for them to really show well. The stem had tooth marks on the underside and topside near the button and the tooth chatter on the oxidized stem would need some work. The BBB diamond was full of gunk and was oxidized with a greenish hue. Inside the shank and stem were dirty but would not take much to clean it up.

ImageImageImageImage

I put the next picture in to show the little Comoy’s Guildhall that I picked up at the same time and give a feel for the size of the pair. Both will not need a lot of work to bring them up to being ready for a smoke.

Image

I used silver polish to begin with and cleaned the brass BBB logo. I wanted to see what kind of shape it was in before I began work on the stem. It turned out to be in great shape under the grime and oxidation. The BBB stamp is clean and sharp and the lines in the background are still visible. Once I had the logo cleaned I worked on the tooth chatter and tooth marks in the stem. I used 320 grit sandpaper to work out the tooth chatter and a lighter to heat up the bite marks and lift them out. I then sanded them with 320 grit sandpaper to remove the remnants of them. The next series of three photos show the stem after sanding tooth chatter and bite marks out of the stem.

ImageImageImage

I cleaned the rim by lightly sanding it with 320 grit sandpaper and then wiping it down with saliva until the tars were removed. The photo below shows the rim after the sanding and cleaning.

Image

I sanded the stem with a medium grit sanding sponge to remove the scratches left by the sandpaper and then polished it with Maguiar’s Scratch X2.0. The next series of three photos show the stem as I worked on it with the micromesh sanding pads 1500-12,000 grit. In this case I wet sanded with the 1500, 1800 and 2400 grit micromesh and then dry sanded with the remaining grits of micromesh.

ImageImageImage

I gave the bowl a quick buff with White Diamond and then gave it several coats of carnauba wax. The next four photos show the polished bowl.

ImageImageImageImage

The next three photos show the stem after it has been polished with the micromesh pads up through 12,000 grit. I then used the Maguiar’s polish to finish off the polishing. The oxidation around the stem medallion and on the top sides of the saddle came off with some serious scrubbing with the polish. I also used a dental pick to clean out the two rings around the bowl cap of the bulldog.

ImageImageImage

The next series of four photos show the finished pipe, cleaned and ready to smoke. I rubbed the stem with Obsidian Oil and then once dry gave the whole pipe several coats of carnauba wax. The dark burn mark on the shank is only surface but still shows clearly in the finished pipe  – won’t affect the way it smokes though.

ImageImageImageImage

A Transformation from a GBD Billiard to a GBD Lovat


Blog by Steve Laug

I picked up this little GBD New Era Billiard while traveling awhile back. It had a cracked and broken stem. The GBD roundel was still intact and in good shape. The bowl was a mess in that the rim was hammered. The top of the rim was chipped and rough. It was also out of round from over reaming. Since I had found it I had been looking for a new stem for a replacement. I had searched EBay and some of my other usual spots to see if I could pick up a GBD stem or even broken pipe that would work for me. This evening I gave up on the hunt and decided to see what I could do with the existing stem. I set out to transform the pipe from a billiard to a lovat by shortening the stem.

ImageImageImageImage

The first step in that process was the shortening of the stem – the removal of the damaged portion of the stem would have to go. I used my Dremel with the sanding drum to remove the broken part of the stem and cut a straight line across it. The next three photos show the stem before the cutting and after. The fourth photo in the series shows the airway in the stem. There was plenty of vulcanite for me to cut a new button on the stem and to open a slot in the button.

ImageImageImageImage

The next series of six photos show the process and results of topping the bowl. I used emery cloth on a solid board to sand away the damage to the rim. I chose the emery cloth because the damage was quite deep and extensive and I wanted to be able to remove the rough briar before sanding the rim with higher grit sandpaper. I hold the pipe with the rim flat against the sandpaper and work the pipe over the surface of the sandpaper in a clockwise motion. I find that this works better than using a horizontal or vertical motion and minimizes the scratches on the surface of the briar. I sanded the top until all of the damage was removed on the rim. There was one spot at about 5 o’clock on the rim where there was a large chunk taken out of the briar. I minimized that as best as I could but could not remove it all without damaging the profile of the pipe.

ImageImageImageImageImageImage

Once the rim was finished I decided to clean the pipe inside and out. I used Everclear and pipe cleaners and cotton swabs to clean out the interior of the pipe and stem and then some acetone on a cotton pad to wipe down the bowl surface. I also sanded the rim with 320 grit sandpaper and went on to use 400 and 600 grit wet dry sandpaper to wet sand the rim. In the four photos below you can see the little lovat being born.

ImageImageImageImage

Once the pipe was clean I decided to work on the slot in the end of the stem before cutting the button. There is no logical order to what I worked on next; it was more a matter of whatever I wanted to look at first. I opened the slot with needle files and started to shape the slot into the oval opening I was aiming for. Once it was roughed in I cut the button on the surface of the stem with needle files. The first two photos show the slot taking shape. The next seven photos show the progress of the button and the adjustments to the slope of the stem. I carved the stem with my files removing vulcanite on the top to flatten the profile of the rounded stem. It took quite a bit of sanding to the top and bottom of the stem to achieve the right angles. I also used folded emery cloth to smooth out the flow and remove the file marks from the surface of the stem. By the seventh photo you can see the progress of the button and the slope quite clearly.

ImageImageImageImageImageImageImageImageImage

The next series of six photos show my next steps in shaping the stem. I put it back on the pipe and continued to work on the slope of the stem surface and the definition of the button. By the sixth photo the stem is virtually done in terms of shaping. I finished cutting the slot and smoothing it out by a folded piece of sandpaper. I also sanded the remaining parts of the stem on the saddle to remove the oxidation that was prevalent on that stem as a whole.

ImageImageImageImageImageImage

Once the shaping was finished and the rough sanding done to the surface of the stem I progressed through 320 grit sandpaper and 400 and 600 wet dry sandpaper used wet to remove the scratches left behind by the emery paper. It took quite a bit of fine sanding to work around the roundel and not damage the stamping of the brass. When I finished with the sandpapers I worked with micromesh sanding pads. I used the first three grits – 1500, 1800 and 2400 and wet sanded the stem. I find that the rounded corners of the sanding pads allow me to work closely around the roundel and clean up the oxidation and scratches.

ImageImage

I then polished the stem with Maguiar’s Scratch X 2.0 to remove the surface scratches and to see what remained to work on in terms scratches and marks. I rub the polishing compound on with my finger and work it over the surface of the stem and into the angles of the button. Once it is applied that way I scrub it with a cotton pad to polish and remove the compound. I then sanded it with the next three grits of micromesh – 3200, 3600 and 4000. I dry sanded with these grits and began to see a deep shine emerging. Once finished with the 4000 grit I rubbed the stem down with Obsidian Oil and set it aside. I then stained the pipe with medium brown aniline stain that I thinned down 2:1 with isopropyl. I flamed the stain to set it and then reapplied the stain, flamed it again and then reapplied it to the rim a third time and flamed it. I took it to the buffer and used Tripoli and White Diamond to buff it. I wiped the bowl down with isopropyl on a soft cotton pad to lighten the stain and make the grain variations more visible. I put the stem back on the pipe and finished sanding it with the final three grits of micromesh – 6000, 8000, 12,000. After dry sanding with these pads I took the pipe to the buffer and buffed it with White Diamond. I finished by giving pipe and stem several coatings of carnauba wax and buffing with a soft flannel buff. The new little lovat is pictured in the four photos below.

ImageImageImageImage

Restemming and Refurbishing an Italian No Name Dublin


This is the fourth pipe of the six I picked up recently on a visit to some antique malls in the US. The stamping was not present on the top or bottom of the shank. The bowl had an interesting shape to me when I saw it on the shelf of pipes in the shop. It did not have a stem. The grain on it was very nice looking. The stain was spotty and the finish damaged – it had a coat of varnish or something over the finish that was broken and spotty. Where the varnish remained the colour was rich and where the varnish was gone the finish was lighter and soiled. The rim had been damaged on the outer edge of the bowl to the point that it was round on the front. There was a lighter burn on the inside edge of the bowl toward the front of the bowl. Once I got it home and cleaned it up a bit I found that the shank had a long ½ inch crack that followed the grain on the bottom of the shank. The first two photos below show the bowl before I worked on it. I used my PIMO tenon turner to fit a stem to the pipe before I did any work on the bowl. The new stem is visible in the first two pictures as well. The stem needed to be worked on for a good fit but I did not want to push it into the mortise as I had to deal with the crack before working on the tenon for a snug fit.

ImageImage

The next photo shows the crack in the shank. I used a dental pick to open it up so that I could drip super glue into the crack. I dripped the glue in and then clamped it until it was set and dry. There was some minimal excess of the glue that I removed by sanding the shank with 320 grit sandpaper to remove the drops. Once that was done I fit the stem to the shank by hand sanding the tenon until it was a snug fit. I knew from previous experience that once I banded the shank I would need to remove a bit more material from the tenon in order to make it fit snugly. The second photo below shows the fit of the stem. I used my Dremel with a sanding drum to remove the excess vulcanite from the stem so that the flow would be smooth between the shank and the stem. I also sanded the seams on the stem and the button and faced the surface of the button to remove the excess vulcanite.

ImageImage

I heated a nickel band with my heat gun and then pressure fitted it on the shank at this point. I wanted the fit to be tight and to draw in the crack further. Once the pipe was banded I needed to remove more vulcanite from the stem to make it fit against the band. The photos below show the band after it has been pressure fitted and the stem after I used the Dremel to remove more of the excess vulcanite to make it fit. The main feature of the photos though is the process I used in topping the bowl. The first photo shows the bowl with the rim flat against some 220 grit sandpaper on a flat board that I use as a sanding surface for topping bowls. The second photo shows the bowl after I have been topping it in a circular motion on the sandpaper for quite a while. You can clearly see the burn mark and the damage to the back and the front of the bowl. The third photo shows the bowl when I am finished topping it. I finished the sanding with a fine grit sanding block (the yellow sanding sponge in the final photo). The damage to the back and front edges of the rim is gone. The burn has been minimized and the briar under the darkened spot is solid and smooth. The staining will minimize the damage even more once it is done.

ImageImageImage

The next two photos show the bowl after I wiped it down with acetone to break up the remaining varnish on the outside of the bowl. It took quite a bit of scrubbing with acetone on cotton pads to remove the remnants of that coating. I also sanded the bowl with 340 grit sandpaper to further remove the coating and wiped it down a final time with acetone. I also sanded the stem with medium grit Emery paper to remove the deep scratches from the sanding drum and followed that up with 240 and 320 grit sandpaper. The fit of the stem can be seen in the two photos as well.

ImageImage

At this point in the process I stained the bowl with a dark brown aniline stain that I had diluted with isopropyl alcohol in a 3:1 ratio. I wanted the stain to be slightly opaque to hide the remaining darkening of the burn but I still wanted to highlight the grain in the briar. The four photos below show the stain after it has been applied, flamed, reapplied and stained a second time. I applied it with the dauber that comes with the stains and as soon as the bowl was covered I lit it on fire to set the stain and burn off the alcohol.

ImageImageImageImage

The next three photos, though out of focus, give an idea of what the pipe looked like after I buffed it with Tripoli and White Diamond. The colour is strong throughout, the rim has an opacity that is what I was aiming for and the bowl still shows the grain patterns very clearly. I am pleased with the overall look of the pipe at this point. I also buffed the stem with Tripoli and White Diamond as well as I wanted to get a clear idea of the status of the scratching. After buffing the stem I set up my heat gun and heated the stem in order to give it a quarter bend. Once it was heated I used a round dowel to bend it evenly and then held it in place until it was cool. I ran cool water over the stem to set the bend and then took it back to my desk work on it further.

ImageImageImage

I took the pipe back to the work table and worked on the stem. I used micromesh sanding disks and wet sanded the stem with 1500, 1800 and 2400 grits. When that was finished I polished the stem with Maguiar’s Scratch X 2.0 rubbed on by hand and polished off with a cotton pad.  I then dry sanded with micromesh sanding pads using 3200, 3600, 4000 grit. I gave the stem a coat of Obsidian Oil and rubbed it into the stem. Once dry I finished sanding with 6000, 8000 and 12,000 grit micromesh pads. I took the pipe to the buffer for a final buff with White Diamond and then gave the entirety several coats of carnauba wax and buffed it with a soft, clean flannel buffing pad. The next series of photos show the finished pipe.

ImageImageImageImage

Refurbishing a Pipe by Lee Bull Moose Scoop


Blog by Steve Laug

This weekend I took my wife down for a visit to Bellingham, Washington – just about 40 minutes or so from Vancouver, BC. One of our past times when we are visiting another city is to check out the antique shops and antique malls. We have a circuit of them that we visit whenever we go to Bellingham. She looks for things for the house and I look for pipe and tobacciana. This weekend was great in that I found 6 pipes and three old pouches of tobacco. The first pipe on the work table is one that intrigued me and grabbed my attention. It has a nice rustication (??) that looks almost like a sand blast. The carver left a smooth rim and a small ring around the top edge of the pipe. There is also a smooth band at the end of the shank and also two patches that are smooth that bear the stamping on the pipe. The shape is a Bull Moose, I believer. It is also very similar to a Weber Scoop that I have except for the prominent prow on the front of the bowl. It is stamped on the left side of the shank PIPE BY Lee (Lee is in Script) over LIMITED EDITION. On the other side of the shank it is stamped AN AUTHENTIC over IMPORTED BRIAR. The stem bears the brass stars that grace the stems of Lee pipes. This one has three stars.

When I found it in the shop the stem had some oxidation and some minor tooth marks on the underside of the stem near the button. The stem had a metal stinger that was black with tars and oils and was also overturned slightly. The bowl was dirty with dirt and grime wedged into the finish of the rustication. The rim had a thick coat of tars and buildup and the bowl was heavily caked and wreaked of aromatics. When I found it there was also a threesome of tobaccos in their original packages tied in a sealed plastic bag – Skandinavic Mildly Aromatic, Sir Walter Raleigh Aromatic and a leather pouch of something that smells aromatic as well. The pipe smelled just like these tobaccos. The first series of four photos show the pipe as I found it.

ImageImageImageImage

I unscrewed the stem from the shank and dropped the bowl into my alcohol bath. It is a jar of isopropyl alcohol that I have reused and filtered repeatedly to remove the grit from the bath. The remaining alcohol has a dark brown colour and actually does a great job in not only removing the grime and old finish but gives the old bowls a light patina as well.

ImageImage

While the bowl soaked I worked on the stem. I cleaned it with pipe cleaners and isopropyl alcohol to get the tars and oils out of the stem. The style of stinger restricts the airway enough that I could not get the pipe cleaner all the way through. It took quite a few cleaners until they came out clean. The stinger I cleaned with alcohol and then 0000 steel wool until it was clean. I began sanding it with the medium grit sandpaper on the sponge back to remove the oxidation and the roughness of the stem. It was very rough and almost pitted. It is hard to capture that with the photos. The first three photos below show the sanding pad and the stem after that initial sanding.

ImageImageImage

From there I filled a glass with warm water and used a micromesh1500 grit sanding pad to wet sand the stem. This took the majority of the scratch marks out of the surface and took care of the roughness of the stem. It would take a lot of sanding to bring the surface to a glossy smooth finish.

ImageImage

At this point I took the bowl out of the bath. It had been sitting in the bath for about an hour and I figured it was time to pull it. I scrubbed it with a soft bristle tooth brush to remove the softened grit and grime in the rustication. The next two photos show the bowl after I removed it from the bath and dried it off with the cloth that it is resting on. The grit is pretty well gone and the rim tar is softened but still present. The third photo below shows the rim after I had used some fine grit sandpaper to begin removing the tars on the rim. I continued to sand it until they were all gone. Since I planned on restaining the pipe anyway it was not an issue.

ImageImageImage

I still was not happy with the grime in the crevices of the rustication. I had removed much of it but there was still quite a bit present and I decided to scrub it with Murphy’s Oil Soap and a tooth brush until the surface was clean. Again I was not worrying about removing any finish as I planned on redoing that anyway so I gave it a heavy scrub and then rinsed it with warm water and dried it off. I repeated the scrub until the bowl was clean and the rustication free of grime.

ImageImage

The next four photos show the pipe bowl after I had scrubbed it with the oil soap and rinsed it the final time. I dried it off with some microfiber rags that I have here for that purpose. It removed the water from the briar and left a good clean surface that was ready for a coat of stain. In the photos you can also see the stem after it has been sanded with micromesh sanding pads up to 2400 grit. All of the sanding on the stem to this point was done with water and wet sanded. The rim is clean and ready for the stain. The bowl is clean and you can actually see the rustication really well.

ImageImageImageImage

At this point in the refurbishing process I decided to correct the over turned stem. I set up my heat gun and then took the pipe apart. The second and third photos show the process of heating the stinger. The heat softens the glue in the stem and once it is soft I turn it back on the shank until I can turn it all the way around and align the stem properly. Once it was aligned I dipped it in cold water to set the glue again. The fourth and fifth pictures in the sequence below show the newly aligned stem.

ImageImageImageImageImage

The next series of photos show the staining process of the bowl. I decided to thin the Dark Brown aniline stain to a light brown wash. I use an old tobacco tin and fill it with 2/3 alcohol and 1/3 stain. I mix it well and then use a dauber to stain the pipe. I repeated the staining until it was the brown colour I was looking for. I flamed the stain between coats. The colour I was aiming for was a wash coat that allowed the grain to show through on the smooth portions of the pipe and also made a good contrast between those parts and the rustication.

ImageImageImageImage

Once I had the stain the colour I wanted I took it to the buffer and buffed it with White Diamond. The next two photos show the pipe bowl after the buffing. The contrast came out nicely and the grain is very visible on the smooth portions.

ImageImage

After buffing I took it back to the work table and gave the bowl a coat of Halcyon II wax. I rubbed it on by hand and then buffed it with a soft bristle shoe shine brush. For some reason the photos came out with some strange looking browns to the finish. The final colour is the reddish brown tone that is visible in the first photo below.

ImageImageImageImageImage

Once the bowl was stained, waxed and buffed I put it aside and went back to work on the stem. I finished wet sanding the stem with the micromesh sanding pads 1500, 1800 and 2400 and then gave the stem a coating of Maguiar’s Scratch X 2.0. I applied it with my finger and then rubbed it with a cotton pad. The first photo below shows the coating of the polish. The second and third photos show the stem after the polishing with Maguiar’s.

ImageImageImage

At that point I shifted to 3200, 3600 and 4000 grit micromesh sanding pads. The next two photos show the change in the stem polish after this next set of three sanding pads.

ImageImage

I then coated the stem with Obsidian Oil as pictured in the next two photos. When it was dry I wiped the stem down and finished sanding with the last three micromesh sanding pads – 6000, 8000 and 12,000 grit. The difference in the finish after the last three pads is quite remarkable.

ImageImage

Once the stem was polished I gave it a coat of carnauba wax and then buffed it with a soft flannel buffing pad. Here is the finished pipe. The pipe in person has a glossy stem. I got a new camera so I am still learning all the tricks of it. The thing really picks up the dust particles on the pics. Ah well. I will get it down eventually!

ImageImageImageImageImageImage

1937 Patent Era Brigham Lovat


Blog by Steve Laug

I picked this little Lovat up in a trio of pipes from EBay. I refurbished the first two – the no name Sandblasted Poker and the Dr. Plumb Statesman already. I have written about them earlier on the blog. Today I worked on the Brigham Lovat. It is stamped Brigham over Can. Pat. 372982. The shape stamp in on the flattened bowl bottom and is stamped 199. The finish was pretty well worn off but there was some nice looking grain on the bowl and shank. The briar actually is flawless with no fills or sandpits. The rim was black and covered with what appeared to be a thin coat of hard tar. The stem was badly oxidized and the brass one dot logo was obscured. Once the stem was removed the Brigham patented filter system was a little hard to remove. The hard rock maple filter was clean but there was a white cobweb like substance in the bowl and in the shank and filter.

ImageImageImageImage

I did a patent search on the Canadian Patent site and found documentation filed with the number stamped on the pipe. I have copied that documentation in the following three pictures. The first picture is a drawing of the Brigham filter system signed by the designer Roy Brigham when it was filed. The next two pictures are the descriptive text of the patent. It is always fascinating to me to discover these pieces of history when I am working on a pipe. This old timer had a story to tell that is for sure. I am not sure when Brigham stopped stamping their pipes with the patent number but in the many that have crossed my desk I have not seen one with the numbers.

ImageImageImage

I put the bowl to soak in the Isopropyl alcohol bath with the other bowls while the stem soaked in an Oxyclean bath. Once I took the bowls out I wiped them down and went to work on them. The Brigham is the bowl at the top of the photo below. You can see the grain on it is actually quite beautiful.

Image

The bowl when dried off is pictured below is quite clean. It has no fills or sand flaws in the briar. It is going to stain nicely and be a great looking pipe when finished.ImageImage

In the picture above you can see the tars on the rim of the pipe. I dried it off and sanded the rim with a 1500 grit micromesh sanding pad to remove the tar build up on the rim. The next two photos below show the rim with the tars removed and the surface smooth. The beauty of this old pipe was that the rim was flawless. There were no dings or dents in it. The outer and inner rim edges were still quite sharp.

ImageImage

After sanding the rim I sanded the entire bowl of the pipe and also the first sanding on the stem. The picture below shows the sanded bowl. I used 1500-2400 grit micromesh sanding pads, carefully sanding around the Brigham Patent Stamping.

Image

When I finished sanding I wiped the bowl down with acetone on a cotton pad. I use nail polish remover which is a solution of acetone and that is readily available at our local dollar store. It works well to lift any remaining stain in the briar and clean the surface of any leftover debris from the sanding process. The grain is really standing out nicely in the three photos below and will make a great looking finished pipe. I also continued to sand the stem with a medium and a fine grit sanding pad to cut through the heavy oxidation.

ImageImageImage

After sanding with the sanding pads I moved on to wet sanding with 1500-2400 grit micromesh sanding pads. I have a cup of water at hand to dip the sanding pad into and then sand the stem to remove the oxidation. These first three grits of micromesh do a great job in removing the remaining oxidation on the stem. The water begins to turn a brownish yellow as I dip the sanding pad and squeeze out the grit from the sanding. The stem begins to come back to black by the 2400 grit pad.

ImageImage

At this point in the process I have started to use Meguiar’s Scratch X2.0 before going onto the higher grits of micromesh. I rub on the Mequiar’s with my finger and scrub it into the finish of the stem. Once it is applied I let it dry for a few moments and then scrub the stem with a cotton pad. The next three photos below show the stem after the rub down with the Mequiar’s and a hand buff with the cotton pad.

ImageImageImage

After polishing the stem I rub it down with Obsidian Pipe Stem Oil. I find that it penetrates the vulcanite and the remaining oxidation seems to lift to the surface. Once it is dry I continue to sand the stem with the micromesh sanding pads from 3200-12,000 grit.

ImageImage

After the stem really begins to shine I remove it from the shank and place a dental pick into the mortise to provide a handle for me when I am staining the pipe. This allows me control as I turn it over in my hands. I stained this pipe with Dark Brown aniline stain (Feibing’s Leather Dye). The first photo below shows the pipe ready to be stained and the second is with its first coat of stain. While it is still wet I flame it by lighting it with a match and setting the stain.The flame sets the alcohol in the stain on fire and burns it off.

ImageImage

Once it is flamed I rub down the bowl with a piece of cotton terry cloth. It removes the surface stain and leaves the stain set in the softer grain. The next series of photos show the pipe after it has been wiped down but not buffed.

ImageImageImageImageImage

Once I have wiped it down I take it to the buffer to remove any more of the stain and to give it a shine. With this particular pipe the stain obscured the grain a bit so I decided to wipe it down with the acetone to lighten the stain. I wiped it until I got the effect that I desired. I then buffed it repeatedly to get a shine.

ImageImageImage

The stain was still a little dark to me and I wanted a bit more contrast in the stain. I wiped the bowl a final time with Isopropyl and then buffed it a final time. I also buffed the stem. I scrubbed the metal tenon with 0000 steel wool to polish the oxidation on the aluminum. It shined as well. I inserted a new Brigham Hard Rock Maple filter and put the pipe back together. I gave the stem a final coat of Obsidian Oil and then when it had dried I gave the bowl and stem multiple coats of carnauba wax on my buffing wheel. I finished with a quick buff with a soft flannel buffing wheel. The finished pipe can be seen in the pictures below.

ImageImageImageImage

A Unique Attempt at a Cooler Smoker – An LHS System Pipe


I picked this old pipe up in a lot of pipes that was given to me. The pipe is stamped LHS in a Diamond and next to that SEC on the left side of the shank. The right side of the shank is stamped US Patent 1908630 over Other Patent Applied For. I have hunted through the patent information site and could find the original LHS patent under the number above but the descriptions and diagram do not match the system in this pipe. The stem is Perspex I believe, and has the cross hatched metal end on it. That is threaded and connects to a threaded tenon that is connected to the bowl. When I got the pipe out of the box of pipes it was dirty and the rim had a lot of tar. The bowl was not badly caked but had remnants of tobacco left in it. The stem was dirty and opaque. The internal filtering system was black with tars. The stem also had some crazing in it – this happens when alcohol is used on Perspex stems.

I reamed and cleaned the bowl of the pipe and the rim and then scrubbed the exterior of the bowl with Murphy’s Oil Soap undiluted. I wanted to leave the original light finish without removing any of the stain so I carefully rubbed on the soap and wiped it off. The rim actually came clean very easily and the bowl was ready to go. I took apart the internal contraption and cleaned that with Isopropyl alcohol and also cleaned the shank with pipe cleaners, shank brush and Isopropyl. One the internals were clean I worked on the stem and cleaned it out with soapy water, pipe cleaners and cotton swabs. The finished pipe was then waxed with multiple coats of carnauba wax on my buffer and then polished with a soft flannel buff.

Anyone have any information on this pipe? It is an unusual piece of pipe history and I continue to hunt down information. Thanks for your help and thanks for looking.

ImageImageImageImage

ImageImage

A Unique BBB Tigergrain Bulldog


Blog by Steve Laug

This unique pipe has become a favourite of mine. I have not seen one like it since I picked this one up. It is stamped on the left side with the BBB logo (three B’s in a Diamond) and under that TIGERGRAIN. There is a small nick in the shank just below the stamping. On the right side it is stamped London England over the shape number 420. The stem is a translucent blue green almost like some of the glass pieces that my grandmother had in her sideboard. It has the brass BBB logo in a diamond inserted. When it came to me it was dirty. The bowl had a thick cake and needed to be reamed. The stem was darkened with brown stains in the airway. The rim was tarred and had some dents that were quite deep. The finish was in pretty good shape other than the deep set grit and grime. The bands around the bowl were filled in with grit as well. Underneath it all I knew there was a uniquely beautiful pipe.

I reamed the bowl back to the briar. I like to start with a clean pipe, as I find I can exorcise previous ghosts more easily that way. I wiped down the surface with Murphy’s Oil Soap, undiluted, and scrubbed the rim with a soft bristle tooth brush. Once I had the grime and grit removed I buffed it with White Diamond on the buffing wheel and then steamed out the dents on the bowl and rim. I do this with a damp cloth and a hot table knife. I heat the knife over the gas flame on my cook stove and then put the damp cloth on the dent and apply the hot knife. The hiss and the steam released seem to raise the dents in the briar. I then buffed the pipe yet again and polished it with carnauba. The grain has a striped look to it which is the reason for the tigergrain stamping I suppose. I love the look of the grain and the patina on the old pipe.

I then turned my attention to the stem. I used some goop hand cleaner on a pipe cleaner and scoured the airway on the stem. It took quite a few pipe cleaners and patience to get the brown stains and oils out of the translucent stem. Once that was done I also needed to deal with the tooth chatter on the stem. I used heat on the stem first – a quick pass over the heat gun did the trick. Care had to be exercised so as not to heat the stem too much and straighten the bend or melt it. I used micromesh pads 1500-6000 grits to polish the stem after that. Once I was satisfied that the marks were smooth I reinserted the stem on the bowl and gave the entirety a final buff with White Diamond and then several applications of carnauba wax. I finished by buffing the pipe with a clean flannel buff.

ImageImageImageImage

It is a comfortable pipe in hand and mouth. It measures just under 6 inches long. The bowl is ¾ inch in diameter. It smokes very well and has proved to be a great Virginia Flake pipe. I find the colour of the stem is a cool and relaxing bonus to the smoke.

Image

This Refurb Makes Me Question, what makes a pipe a REJECT


Blog by Steve Laug

I have no idea who the maker of this pipe is. When I bid on it I thought it might be a Peterson Reject but once it got here I am not so sure. It has no stamping on it other than REJECT in big block letters on the left side of the shank. The briar is not too bad, in fact I can find only one or possibly two fills that are virtually invisible as they are blended into the stain very well. The stem is a cross between a Peterson and a Wellington. There is no p-lip on it – just a straight orific button with the airway on the end of the button not on top. There is a sump in the shank so it is a system pipe of sorts. It is well drilled and has a great draft on it. The band seems to be a stainless steel rather than the cheap reject band put on by Peterson rejects of time past. Sooo, I am not sure who the maker is, nor am I sure why it is a REJECT.

I took it from the box, reamed and cleaned the bowl and shank. The sump is surprisingly new looking. There is no stain or darkening in it, just clean untouched briar. The bowl is darkened but there was not much cake and what was there was only around the top half of the bowl. The stem was minimally oxidized and there was some tooth chatter on the top and the underside of the stem. I did not do much to the bowl finish, merely buffed it with Tripoli and then gave it several coats of carnauba. The stem took a little work as I sanded out the tooth chatter and then went through the list of micromesh sanding pads from 1500-12,000 grit. I also polished the stem with the Maguiar’s Scratch X2.0. I finished by buffing it with White Diamond and then wiped it down with some Obsidian Oil before giving it multiple coats of carnauba and a buff with a soft flannel buffing wheel.

I forgot to take the pictures beforehand but here are some photos of the finished pipe.

Refurbishing a horn stemmed Bruyere Garantie Beautiful Swan Necked Pipe


I picked this old timer up in an antique shop near Vancouver, quite a few years ago now. When I got it the bowl was almost black and dirty. The rim had a good 1/8 inch of grime and tar built up so that it looked like a plateau top. The finish was so opaque that you could not see the grain through it. The stem was dirty and to be honest with you all, when I got it I had no idea it was a horn stem. I worked hard to get the oxidation off it and all I got was more of the brown tones coming through. There was tooth chatter on the top and bottom of the stem. The chatter was kind of white coloured. I asked several guys about the stem and they also did not even think about a horn stem. I had the pipe in my collection for about 5 years or more before it dawned on me that it was a horn stem.

This is a big pipe and it is elegant. It is 8 inches long and the bowl is a little over 2 inches tall. It is stamped on the left side of the shank Bruyere in an arch over Garantie. On the right side it is stamped St. Claude in script over Bruyere. Once I stripped it down there are a few visible fills in the briar but they blend in quite well surprisingly – no pink putty on this one. I cleaned the rim meticulously by hand with warm soapy water on a damp paper towel. I scrubbed it until it was clean. I then sanded the bowl to remove the varnish coat and grime. I had not learned many of the tricks I use now so it was one of the first old timers that I refurbished. I wiped the bowl down with Isopropyl alcohol once I had sanded the majority of the finish coat off the pipe. It took quite a bit of time to carefully wipe away the finish around the stamping without damaging that. The bowl was finally cleaned and smooth – I remember sanding it with 1200 wet dry sandpaper to finish. Then I stained it with a medium brown wood stain – I have no idea if it was an alcohol stain, it well could have been Watco Danish Oil for all I know!

The stem took quite a bit of work to sand it smooth. I cleaned it up twice. Once when I first got it and then again when I figured out it was a horn stem. It is a big piece of horn and quite pretty in terms of the sheen and depth of colouration in it. I used the method I spelled out in a previous post on polishing horn stems and it is like new. I sanded it with wet dry sandpaper up to 2400 grit and then buffed it with lots of carnauba wax. Later I used the micromesh sanding pads on it and really gave it a depth of shine. The pipe is a great smoking pipe and is definitely a sitting pipe. It is a handful. The first picture shows the finished pipe. I wish I had some before photos but this was found in the days I never thought of doing that. So all I have is finished photos. The next series of photos show the size of the pipe in comparison to a nice little bent billiard that is about a group three sized pipe. The grain is quite nice. Nothing striking in terms of straight grain but there are several spots with nice birds eye and then the rest is swirling grain that almost seems to have movement to it. The stem is multicoloured and has the old orific (round) airhole in the button.

ImageImageImageImage