Blog by Steve Laug
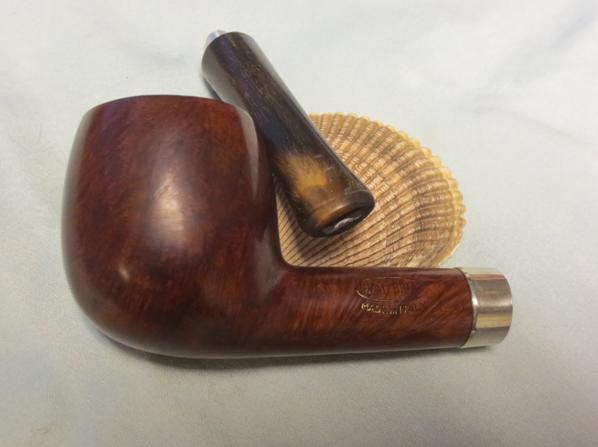
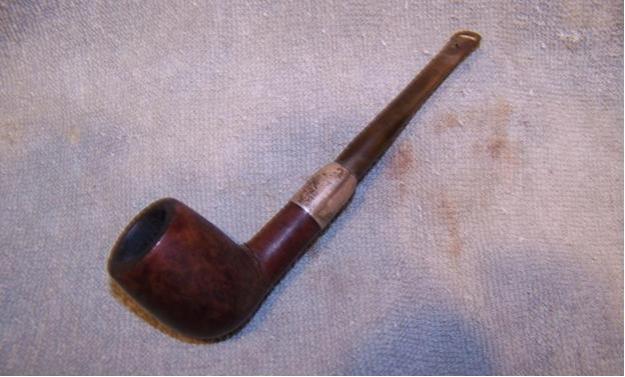
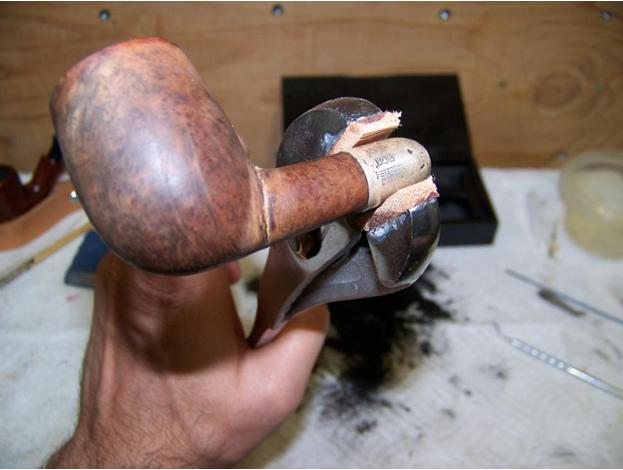
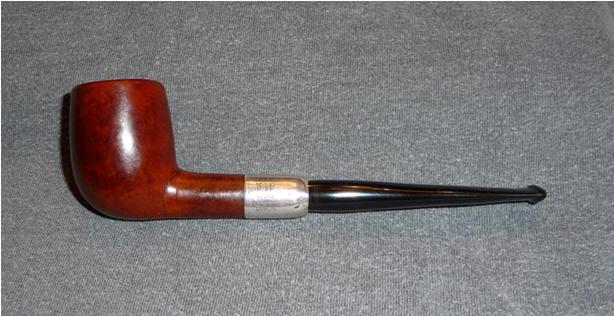
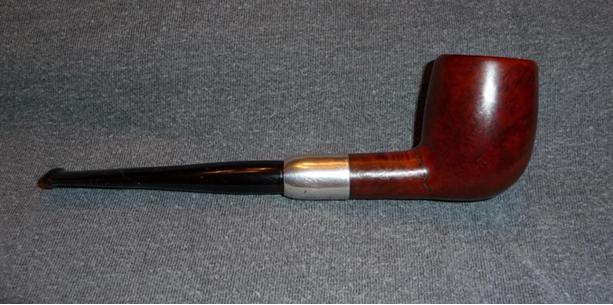
When I saw this pipe on eBay when my brother and I were searching for pipes in the estate pipe area I thought it would be a simple restoration. The briar appeared to be in decent shape and the finish looked very good. The rim was dirty but looked undamaged under the grime and tars. The horn stem did not look too damaged and should also be an easy repair. When the pipe arrived at my brother’s home he took the following photos and sent them to me to have a look at the pipe. It still looked pretty straight forward to me.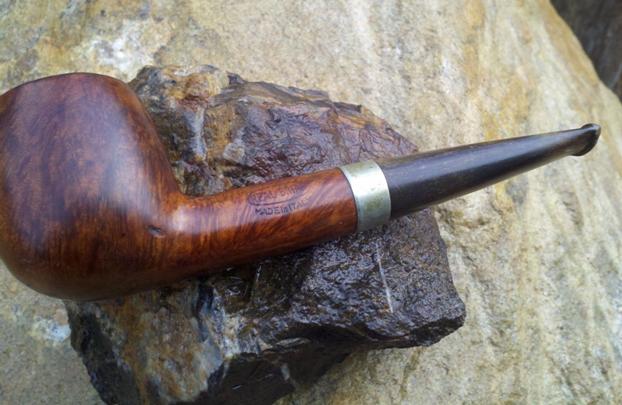

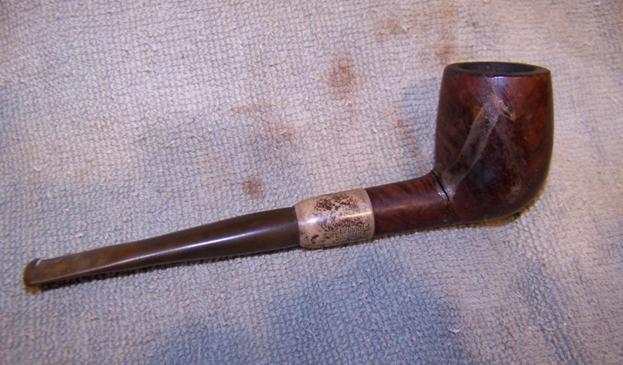
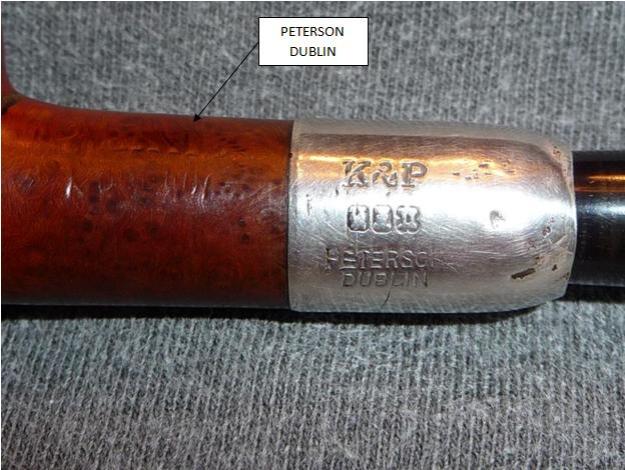
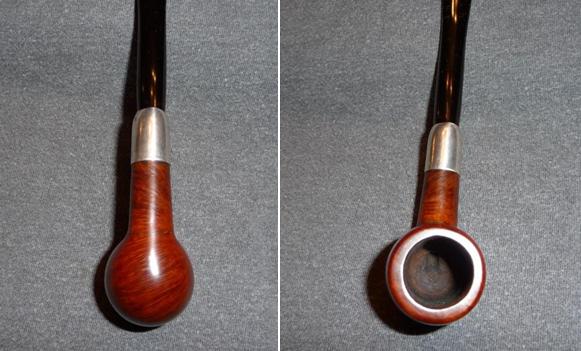
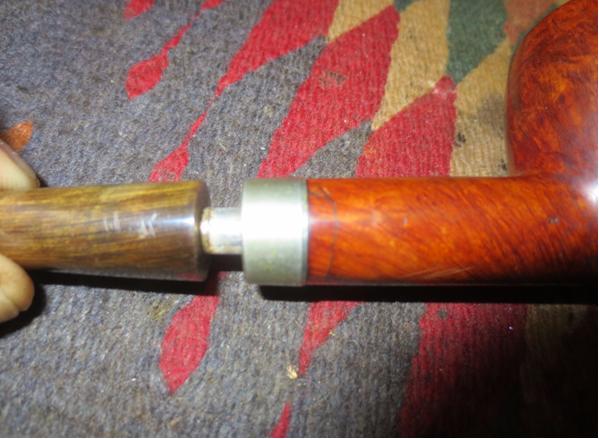
 When the pipe arrived here in Canada I was in for a surprise. It definitely looked good but the more I dug deeper the more issues that I found. The rim was tarred and covered with lava and underneath the outer edges were rounded over. The bowl had a light cake at the top and half way down and a deep groove had been cut in the bottom of the bowl by aggressive insertion of the pipe cleaner. The groove or pit was below the airhole entry to the bowl. The shank had been repaired and the crack that I noted in the pictures had been well repaired and the band put in place to strengthen the shank. It would not take much to clean it up. The finish which at first glance looked good had deep gouges in the bottom of the bowl and on the left side of the bowl near the shank union. These were sharp cuts and could not be steamed out. There was a large fill on top of the shank where it met the bowl. It appeared to be pink putty but it was solid and tight. The stem was also nicked quite a bit on the top mid stem and on the left side near the band. The top and bottom sides had some deep tooth marks on them that I could not see from the photos. The stem was very tight in the shank and took some persuasion to remove.
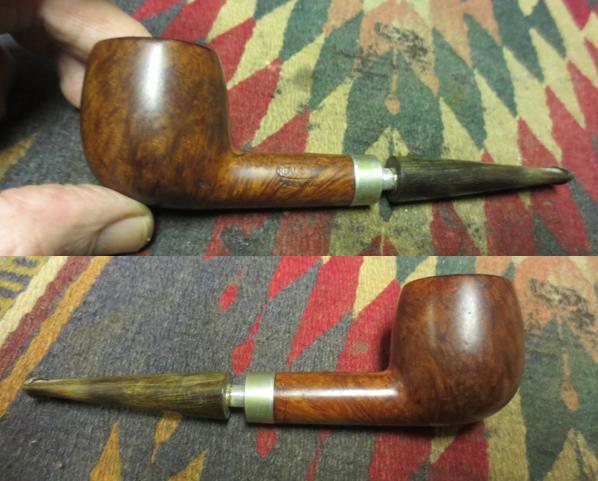
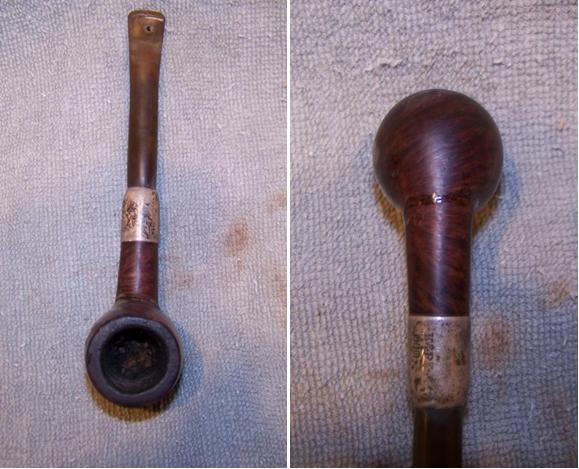
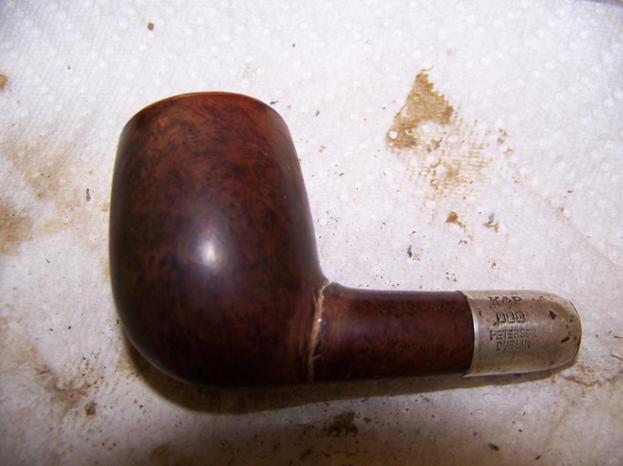
 The next two photos show the repair work on the underside of the shank. It was very well done and would not need to be further dealt with. The third photo shows the rim with the rounded outer edge.
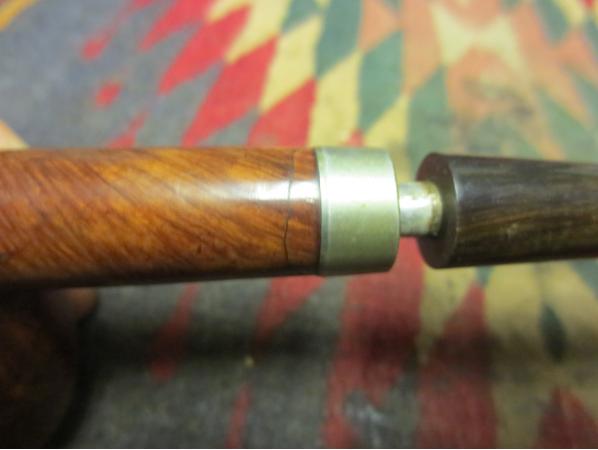
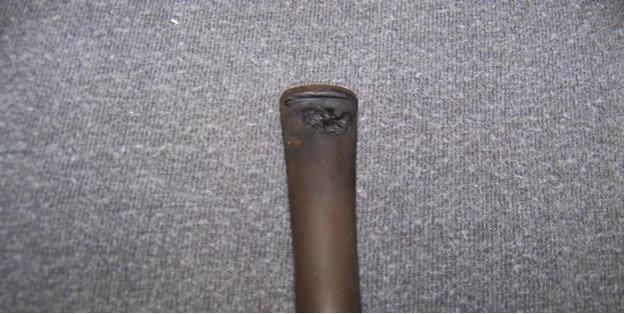
 I removed the stem from the shank with a bit of pulling and found that the metal tenon was covered with tar and had been stuck in the shank by the tars.
 I reamed the bowl back to bare wood to bring the rest of the bowl in line with the bottom half. I used a PipNet reamer with the second cutting head. In the second photo you can see the deep pit in the bottom of the bowl.
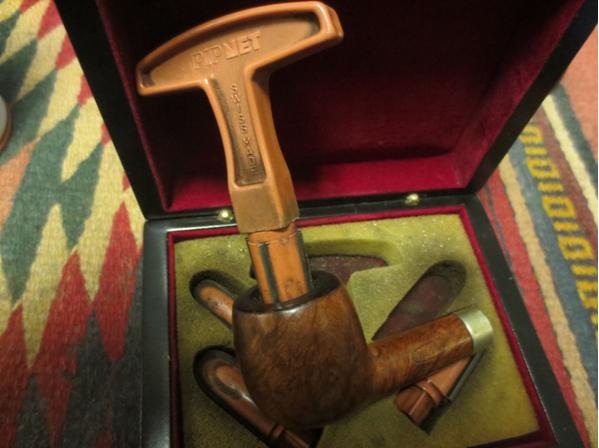
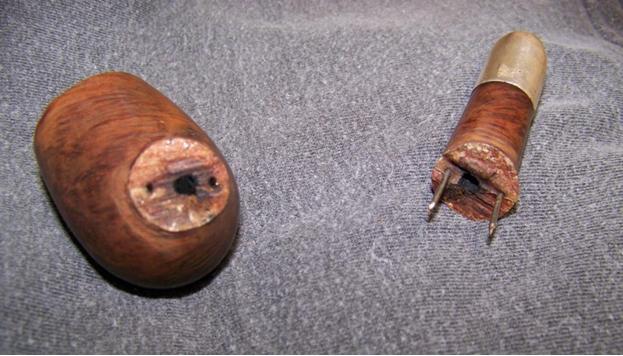
 I cleaned out the stem and the tenon with alcohol, cotton swabs and pipe cleaners.
 The next two photos show the tooth marks on both sides of the stem. They are quite deep and they will need to be repaired.
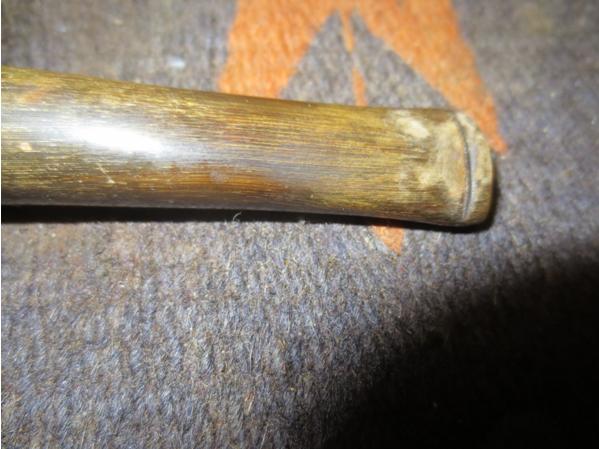
 I wiped down the stem with a cotton pad and alcohol and then put drops of super glue in the tooth marks. I sprayed them with accelerator.
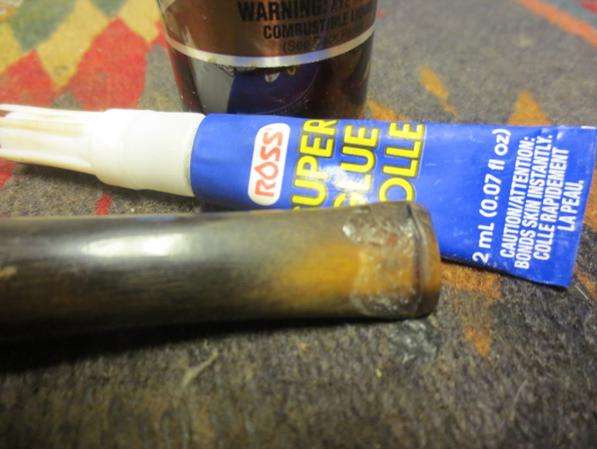
 I scrubbed out the mortise, shank and bowl with alcohol, pipe cleaners and cotton swabs. I scrubbed until the pipe cleaners and cotton swabs came out clean.
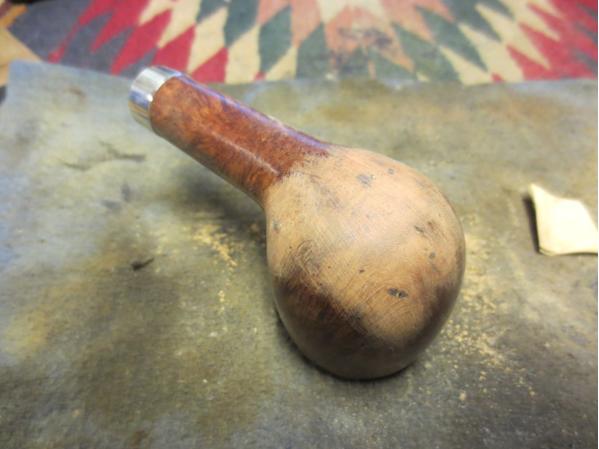
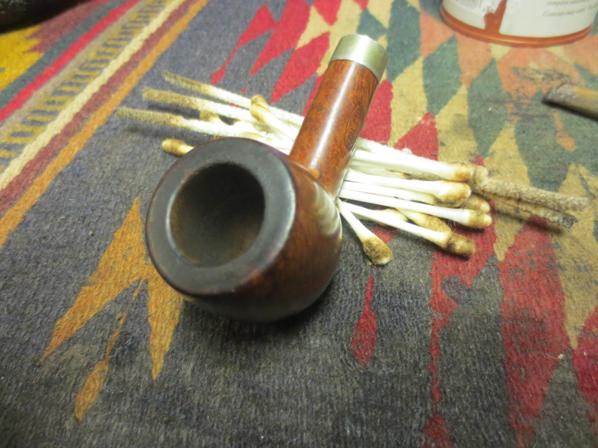 I topped the bowl to remove the damage to the bowl top and to clean up the round outer edge of the rim. Once again, note the deep pit in the bottom of the bowl that is visible in the second photo.
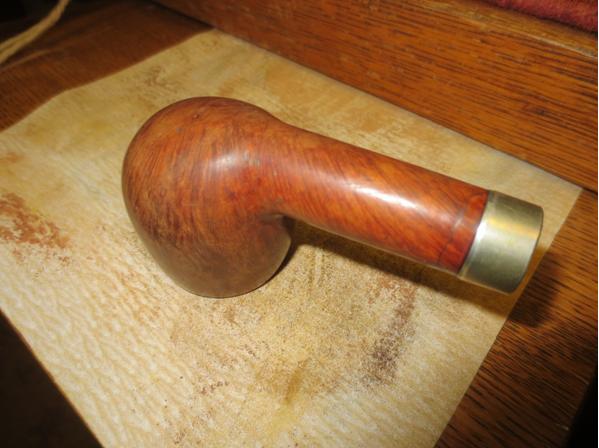
 I scrubbed the exterior of the bowl with cotton pads and acetone to remove the finish and the grime that was ground into the briar. I was going to need to do some work on the gouges on the bowl sides and bottom so I wanted it clean.
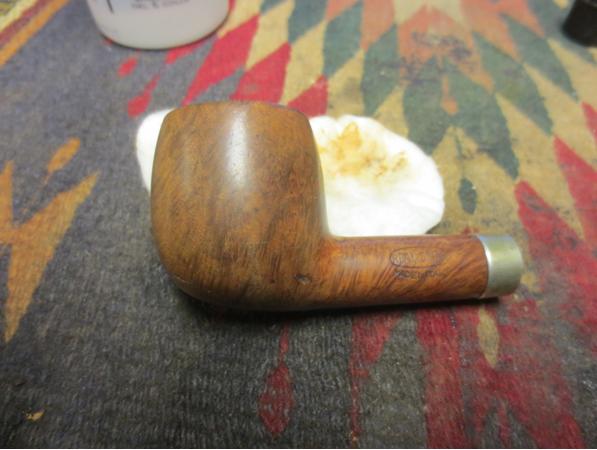
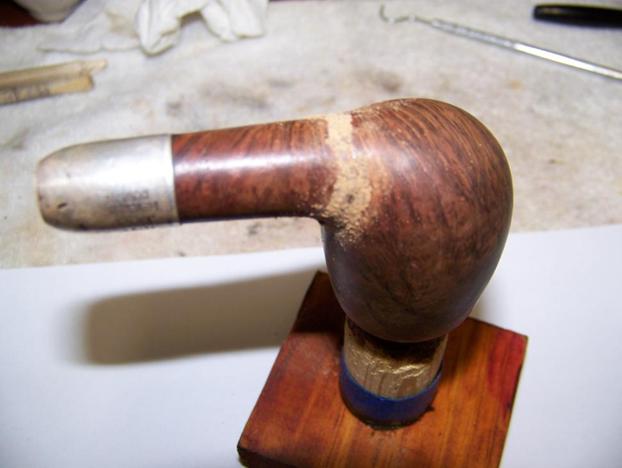
 The stem never sat completely tight against the shank so I beveled the inner edge of the mortise to accommodate the tenon/stem junction.
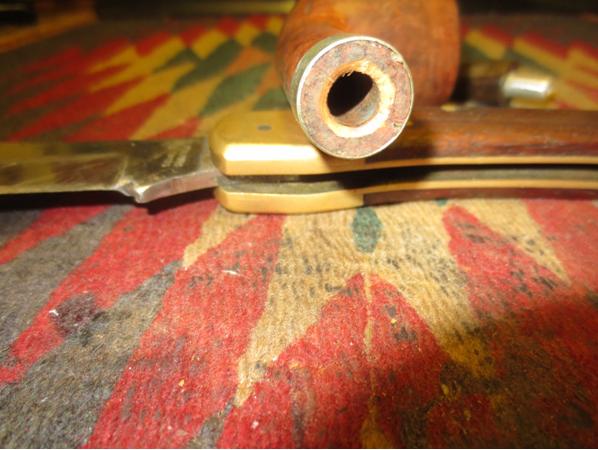 With the externals cleaned I decided to do the repairs on the gouges on the bowl side and bottom. I put a drop of clear super glue in the divot and then pressed briar dust into the hole with a dental spatula. I pressed the dust deep into the glue to get a good fill. The second photo below shows the bowl side and bottom with what looks like a pox. The briar dust and glue fills are dry at this point and ready to sand. I sanded them with 220 grit sandpaper and then with 1500-2400 grit micromesh sanding pads.
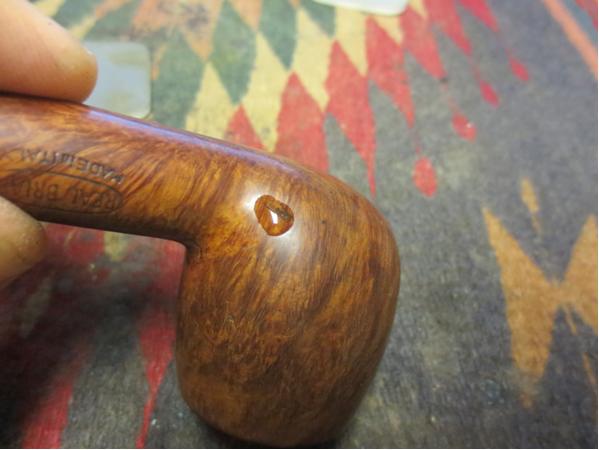

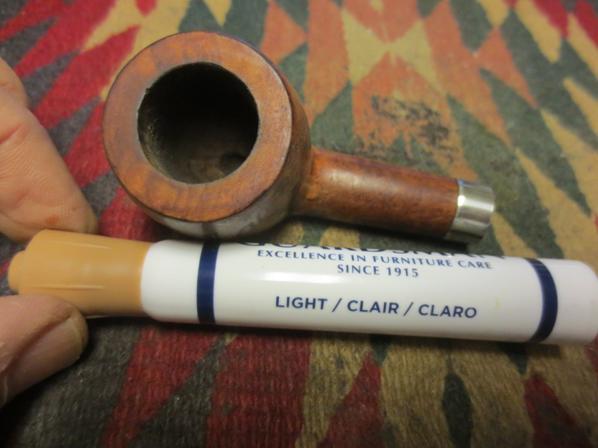
 I used a light brown stain pen to give the fresh sanded briar on the bowl bottom and the rim an initial coat. I then stained the entire bowl with a dark brown aniline stain, flamed it and repeated the process. I set it aside to dry for about 30 minutes before buffing with Blue Diamond on the wheel.
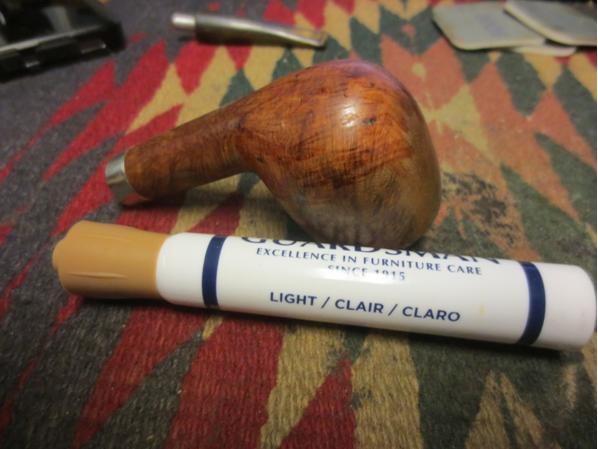
 I mixed a batch of pipe mud (cigar ash and water) to fill the pit in the bottom of the bowl. I put a pipe cleaner in the airway with just the tip extending into the bowl. I used the spatula to put the mud in the bottom of the bowl and pressed it into the pit with the hand of the spatula. I added the pipe mud until the bowl bottom was level.
 I set the bowl aside to so that the pipe mud would cure and worked on the stem. I sanded the stem with 220 grit sandpaper to smooth out all of the nicks and scratches as well as blend in the super glue fills. It took a lot of sanding to smooth out the stem surface and remove as many of the scratches and dents as I could and still keep the profile. The super glue dried hard and the clear glue looks shiny and raises colour in the horn so it is very visible at this point.
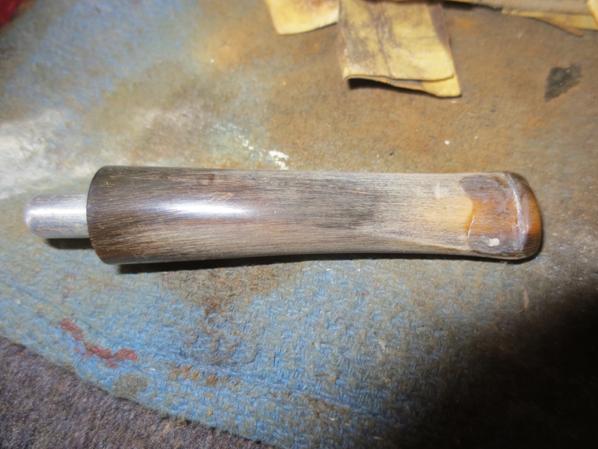
 When I had smoothed out the surface of as many flaws as possible I worked on it with micromesh sanding pads. I wet sanded it with 1500-2400 grit pads. The repairs are starting to blend in. They will never be invisible but they are smooth. I rubbed the stem down with Obsidian Oil before continuing.
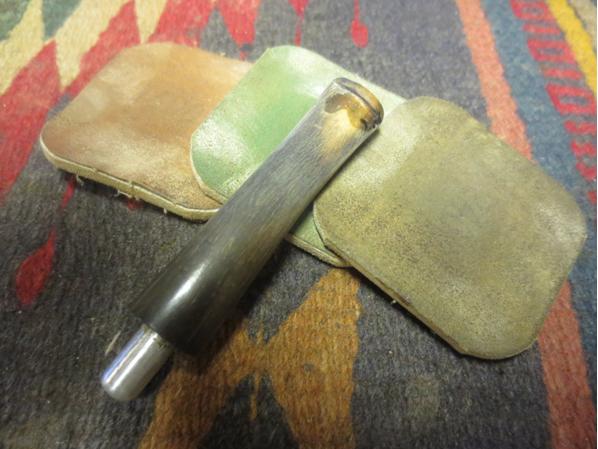
 I wet sanded the stem with 3200-4000 grit micromesh and then dry sanded with the same grit pads. I gave it another coat of the oil.
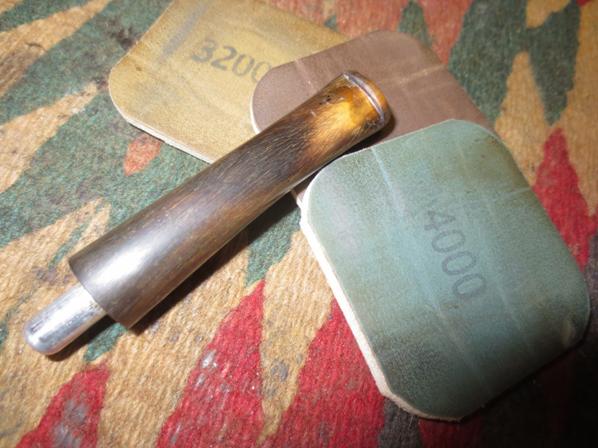
 I finished by dry sanding the stem with 6000-12000 grit micromesh sanding pads and then buffing the stem with Blue Diamond on the wheel. I gave it a final coat of Obsidian Oil and set it aside to dry.
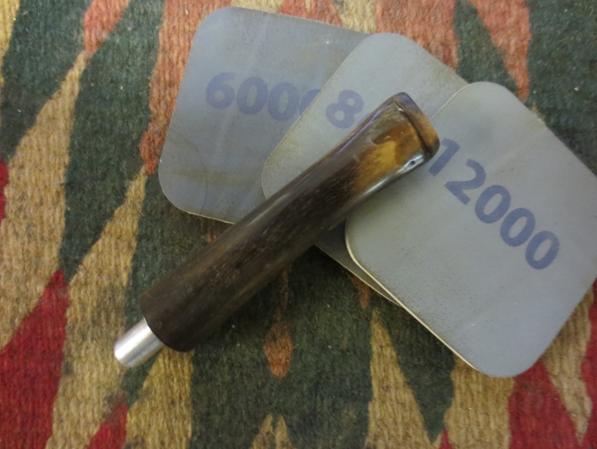
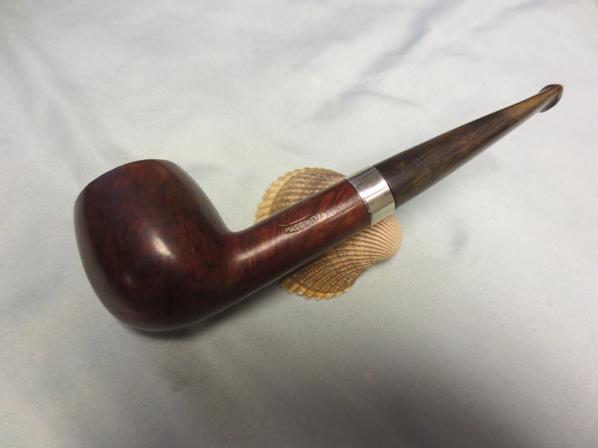
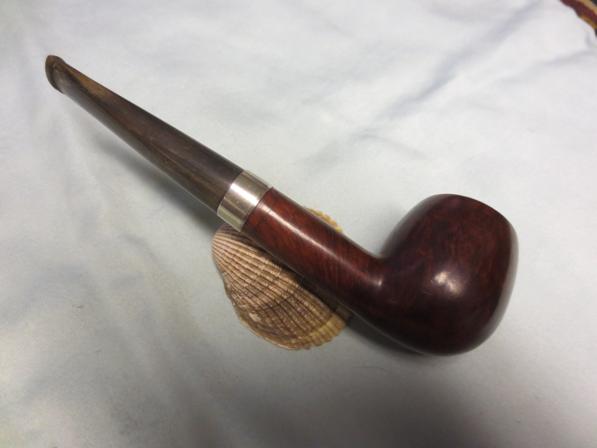
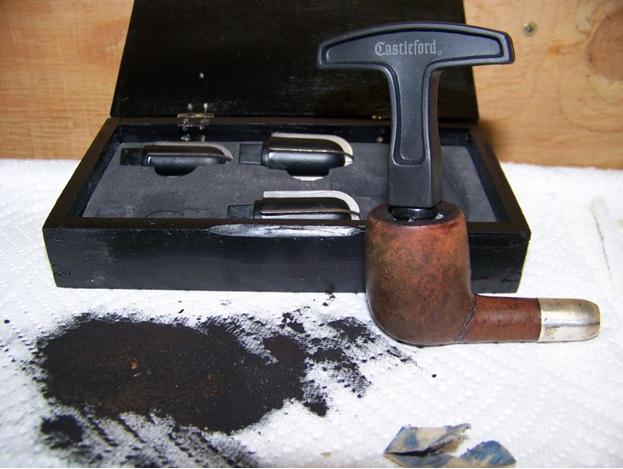
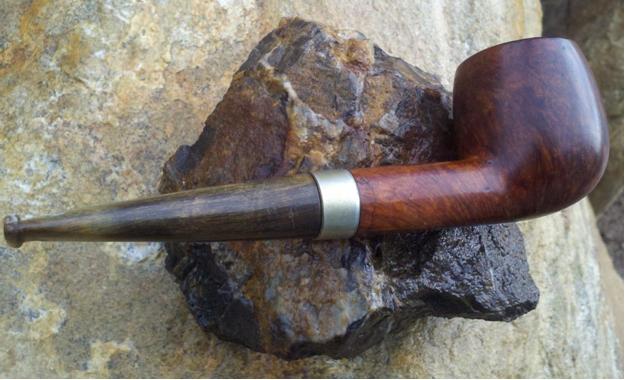
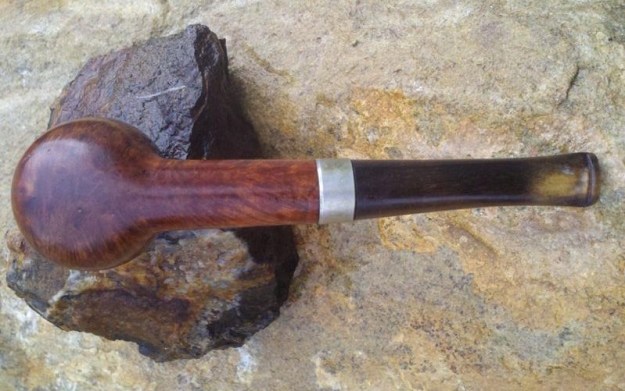
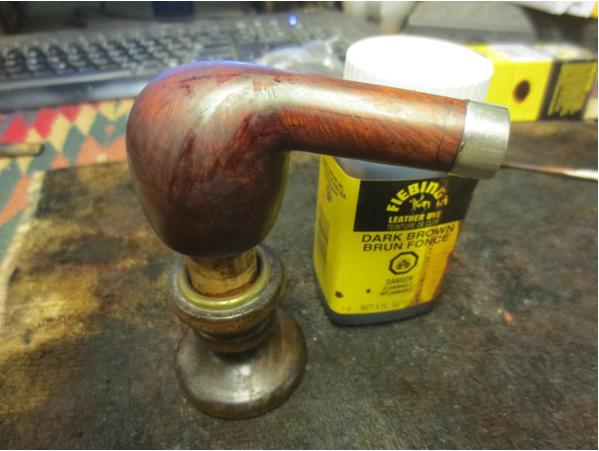
 I polished the silver band with silver polish and brought the parts together. I gave the pipe a final buff on the wheel and gave it multiple coats of carnauba wax. I buffed it with a clean buff and the with a microfibre cloth to raise the final shine. The finished pipe is shown in the photos below. While the patches in the stem still show they are shiny and smooth to the touch and will give protection to the stem. The repairs to the cuts and gouges in the bowl look really good and virtually disappear under the stain and the polish. The pipe should live through at least another life time before it needs this kind of attention again.