Blog by Steve Laug
While I was travelling in Nepal I was contacted by a fellow here in Vancouver about restoring a pipe that had originally belonged to his grandfather. We planned on getting together once I was home. I called and within a few hours he was at the door with the pipe. We are dog sitting my daughter’s dog Frank and he rang the alarm to let us know someone was at the door. I met him on the porch and looked over the pipe. He lovingly took it out of his pocket and showed me the hard case in his hands. It was a good looking black hard case that was in good condition with a few wear marks on the surface. Little did I know what I was getting into with this restoration. He handed it to me and I opened the case. This is what I saw. The case bore a Pioneer Genuine Block Meerschaum label on the inside of the cover. It had the classic Pioneer covered wagon logo below the words. The bowl had some colour/patina on the shank and bowl. The rim top was dirty with tars. There were some small cracks in the shank ahead of the Sterling Silver band on it. The band was oxidized and dirty with black tarnish. The stem was acrylic. The bone tenon was snapped off in the shank but the stem end was clean and open threads. The bowl was dirty as was the inside of the stem.
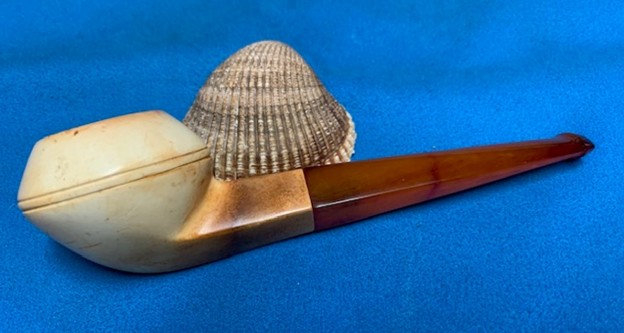
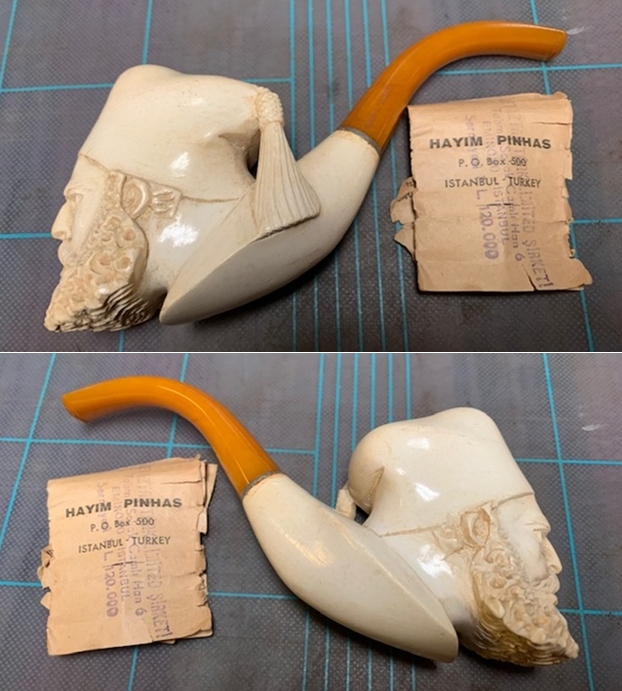
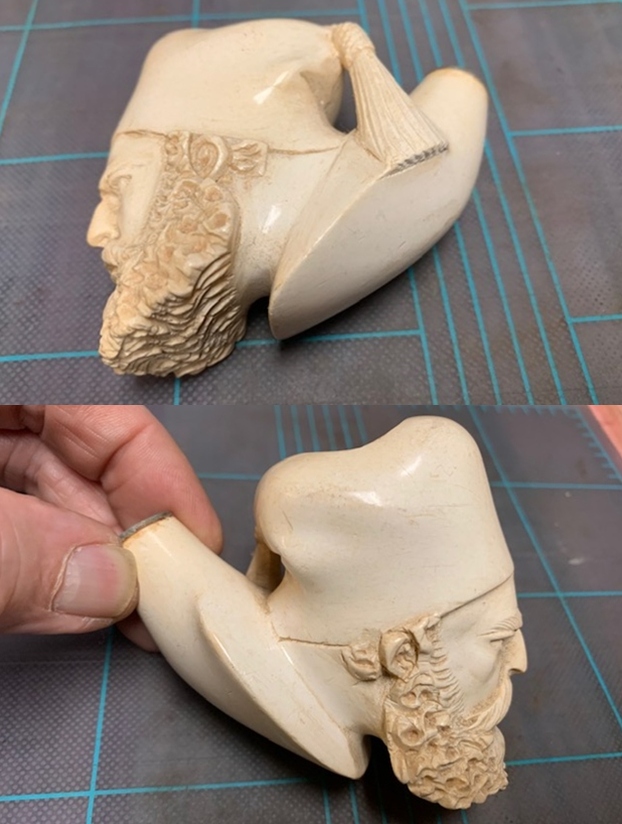
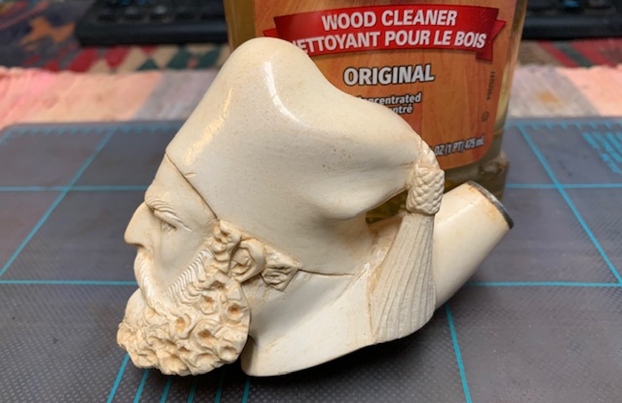
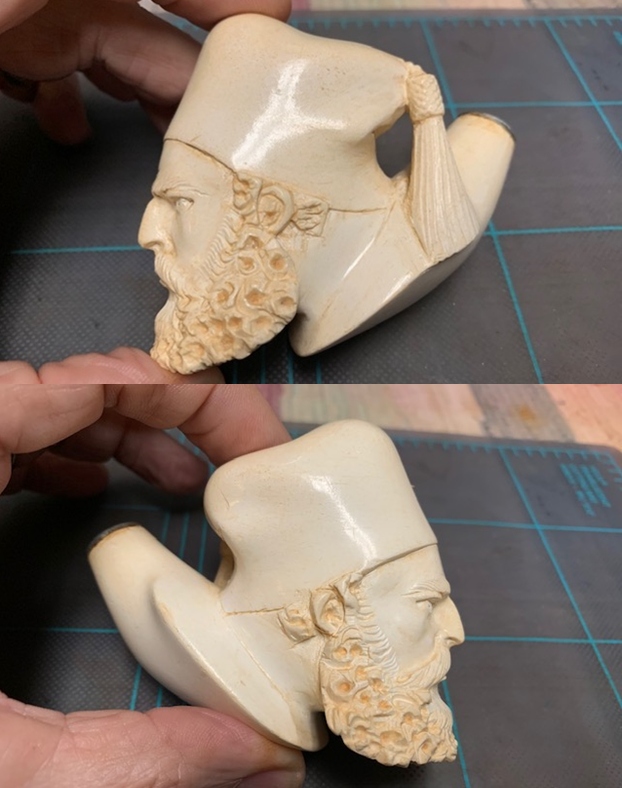
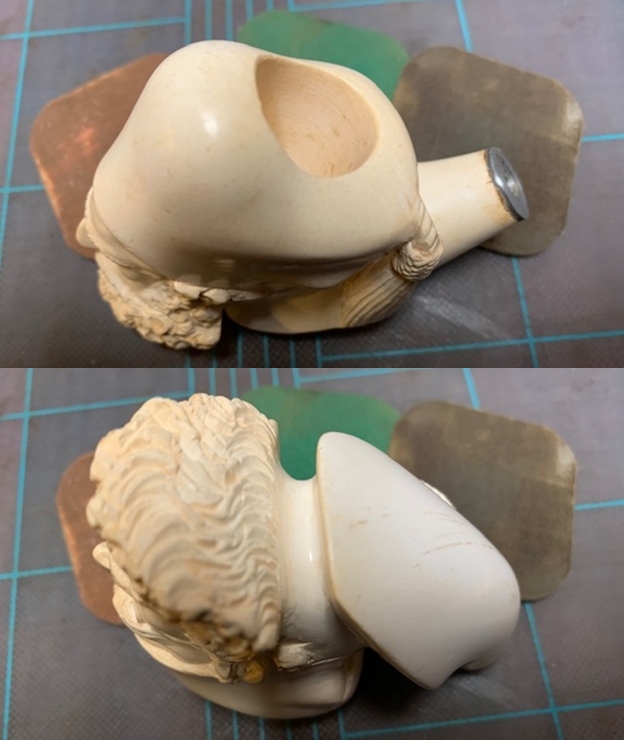
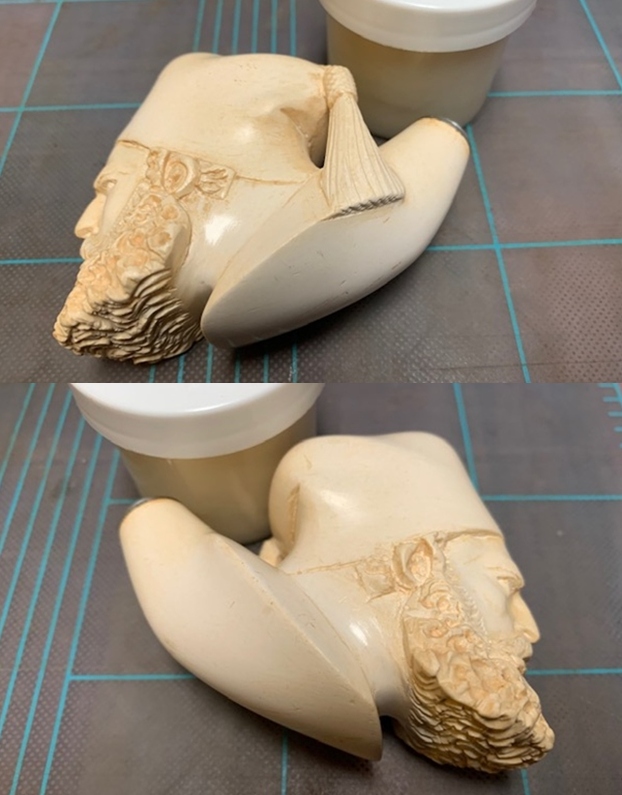
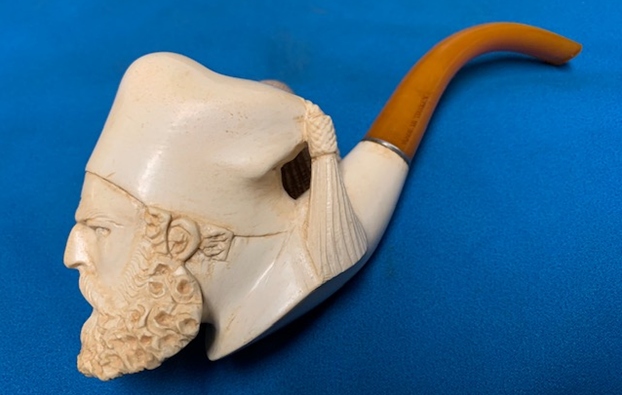
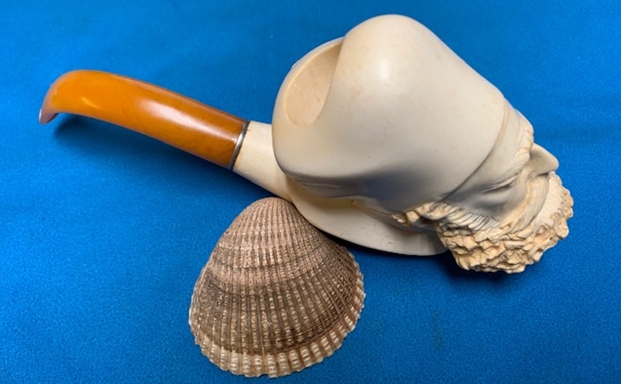
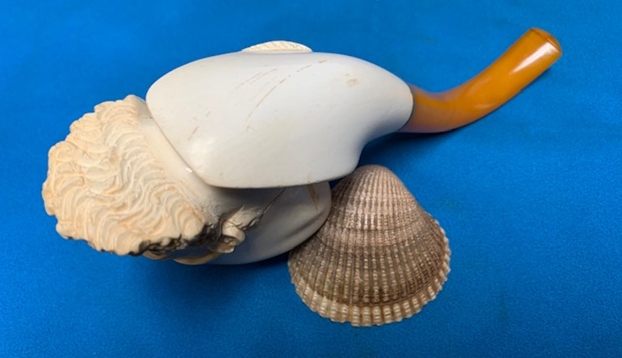
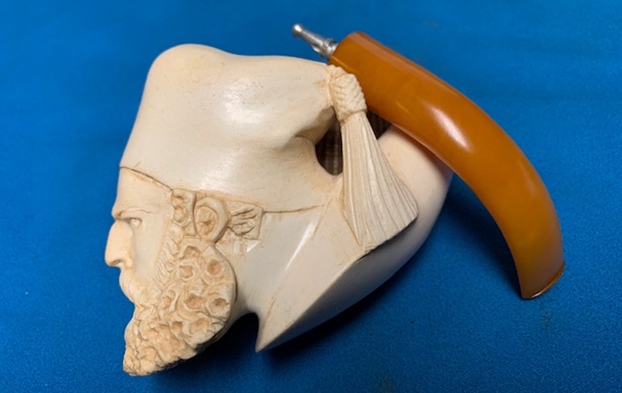
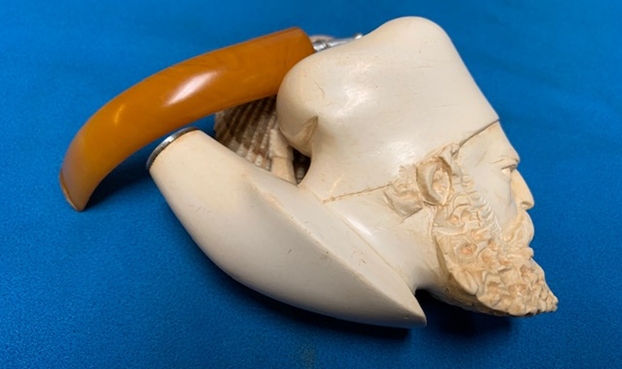
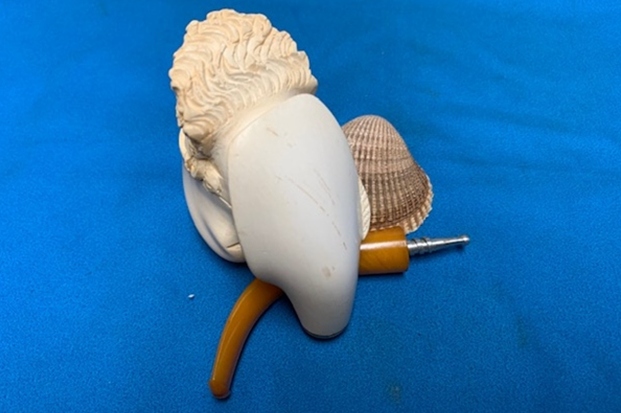
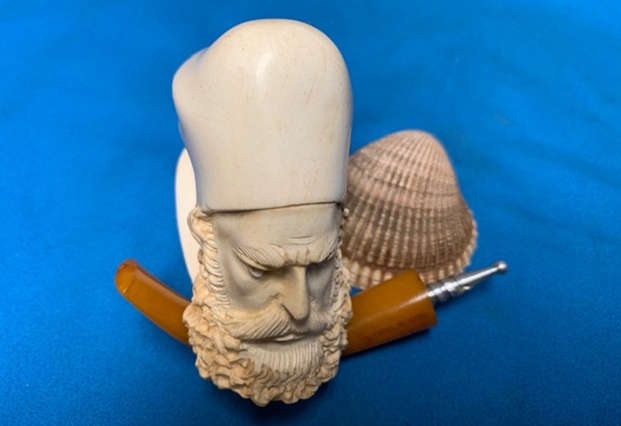
 I took the pipe in to work on. I would call the owner once I had finished it. I had a few pipes in the queue ahead of it so I was slow getting started. Between that and the shortened attention span due to the jet lag of many time changes on the journey home I did not start working on it until Friday, March 1. I took it out of the case and brought it to the table. I took photos of the pipe to show its condition at this point. You can see the grime and dirt ground into the bowls sides and heel. Looking carefully at the left side where the shank joins the bowl there appears to be some signs of small cracks. The bowl also had some carved flowers on the bowl side on the right side of the bowl.
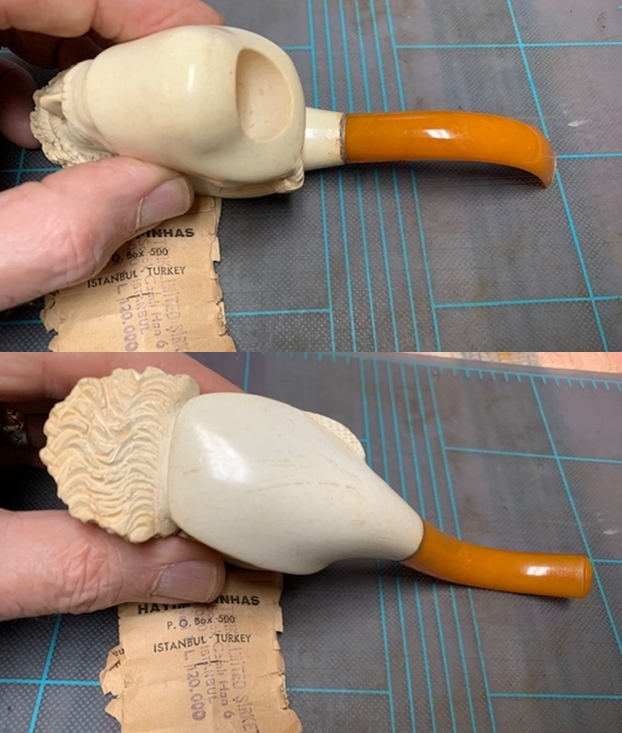
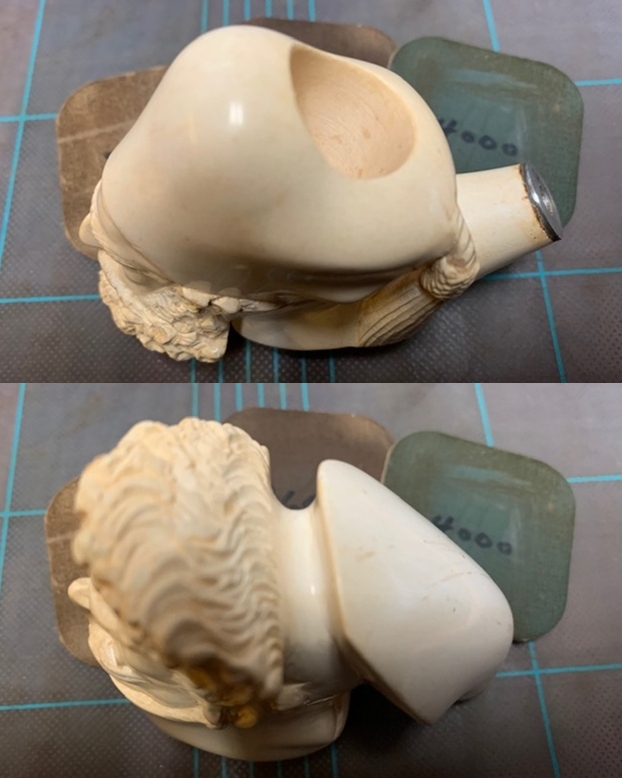
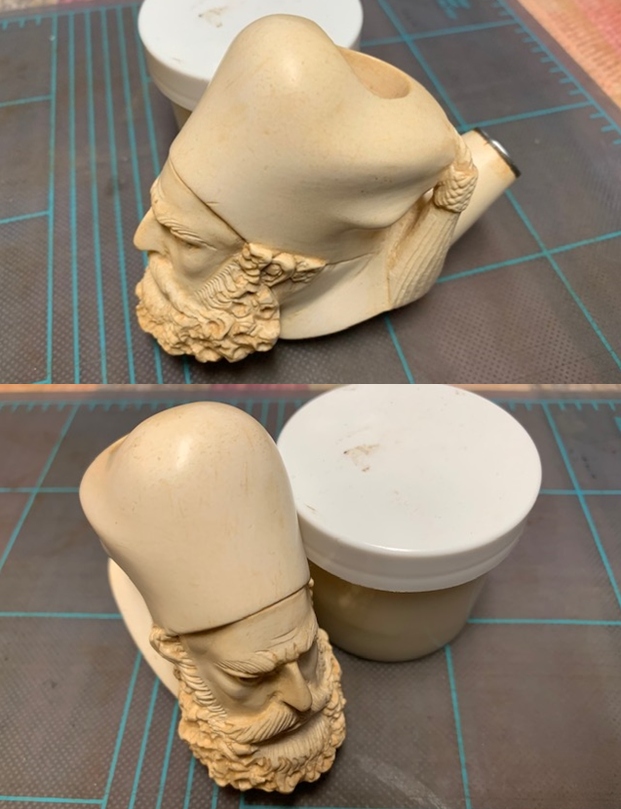
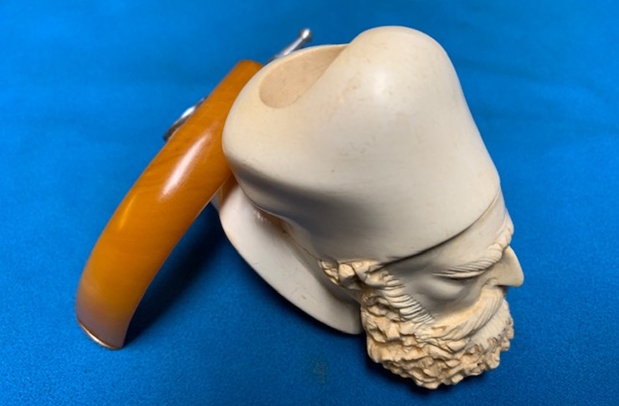
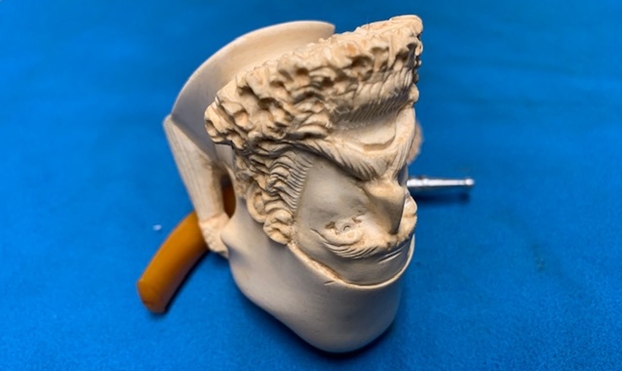
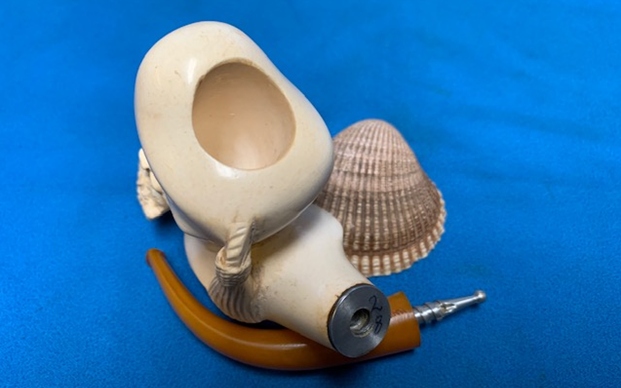
 I took photos of the rim top and bowl to show the build up of tars and oils on the top and edges. You can also see the snapped tenon in the photos below.
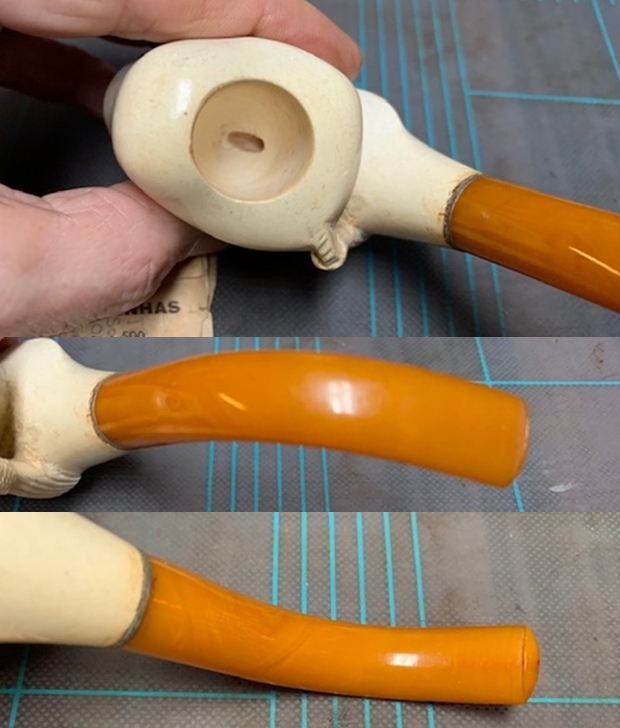
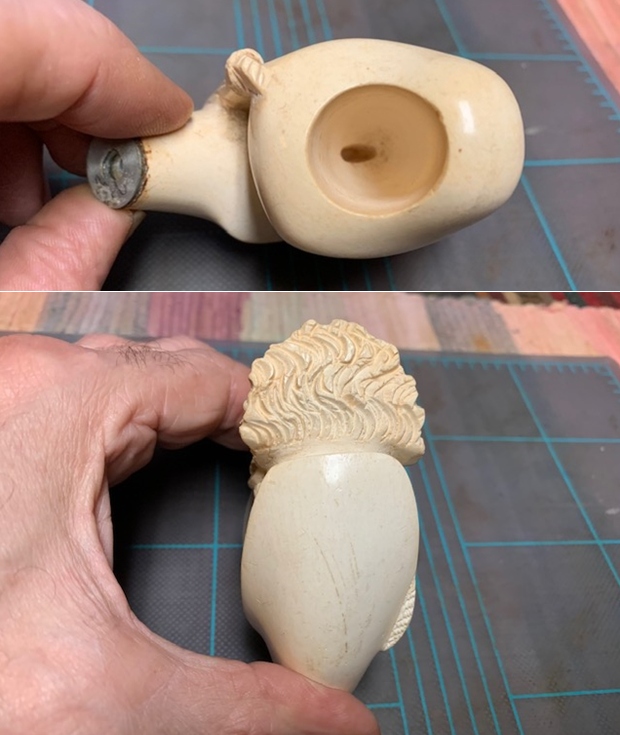
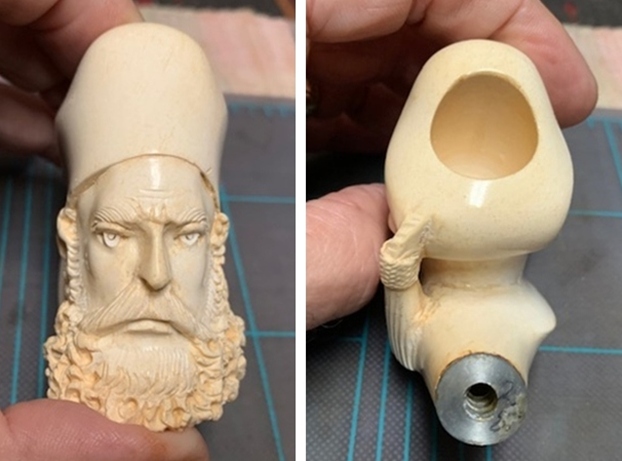
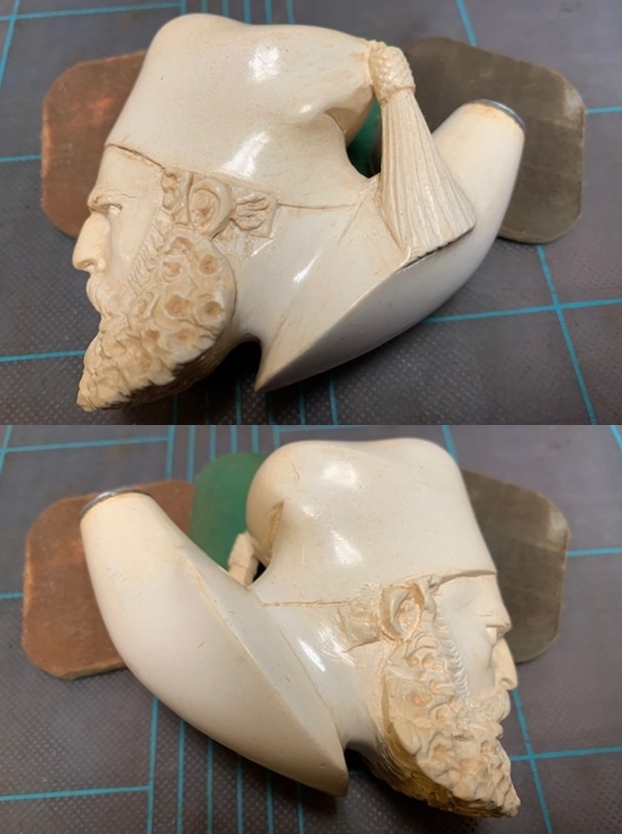
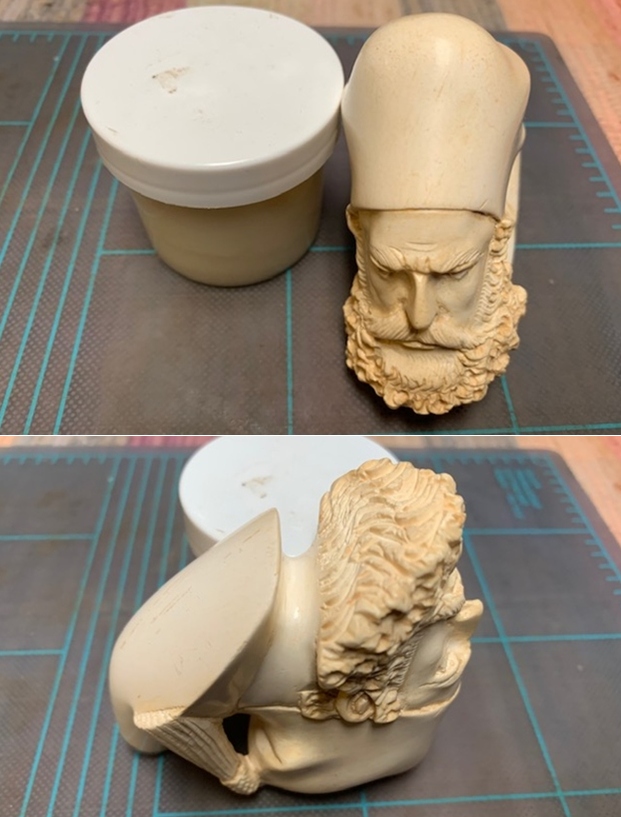
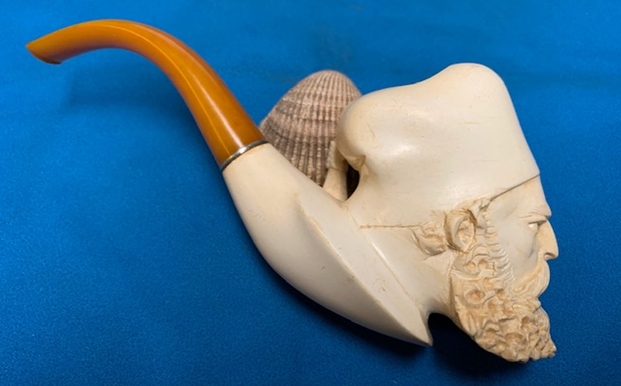
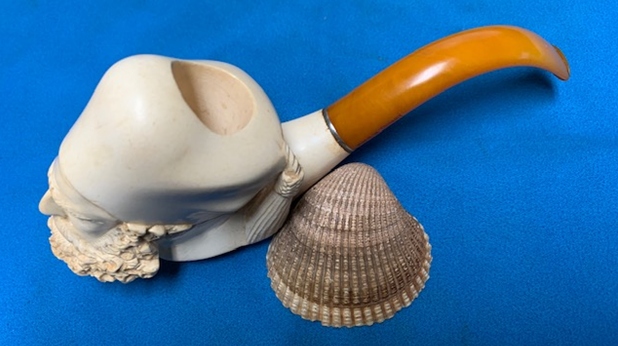
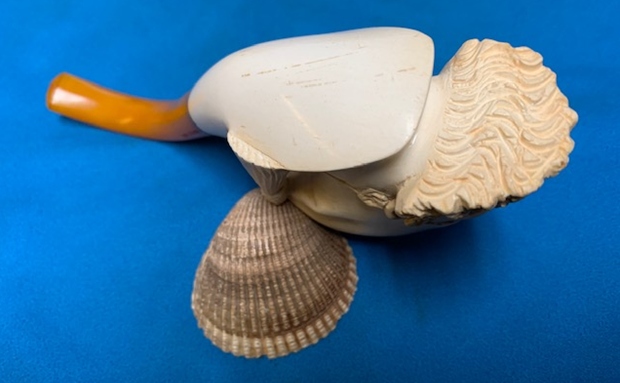
 I took a photo of the heel of the bowl to show the developing patina on the curves of the bowl bottom. It is a pretty pipe.
 I tried to loosen the broken bone tenon with a little alcohol around the edge of the tenon and the mortise. I put the alcohol in with an ear syringe. I examined it and found that the tenon had been glued in place. There was a thick coat of glue on the tenon and oozing out at the top of the mortise.
  I examined it and saw a lot of small hairline cracks in the shank coming from under the band. I think that when the shank cracked many years ago someone had glued the tenon in the shank to strengthen the shank. The fact that the tenon was glued made the next steps tricky. I was worried that if I drilled it out I might crack the shank worse. I put a bit in the drill and carefully turned the bowl onto several different drill bits by hand. I was able to remove some of the tenon but I stopped after the 11/64th drill bit. My concern was that if I went any further I would break the shank.
 I stopped the drilling and worked on the rest of the tenon with hand files. It was slow and tedious work to remove the glued remnants of the bit from the shank. I used round, oval and half circle files to open the mortise and thin down the tenon pieces. I spent over eight hours slowly and carefully filing out the broken tenon and opening the shank for the new tenon.
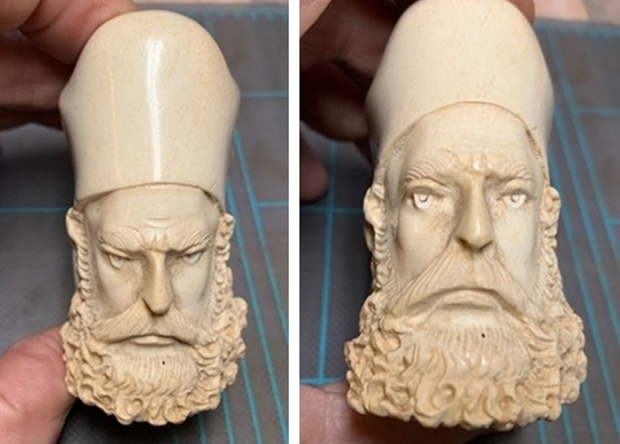
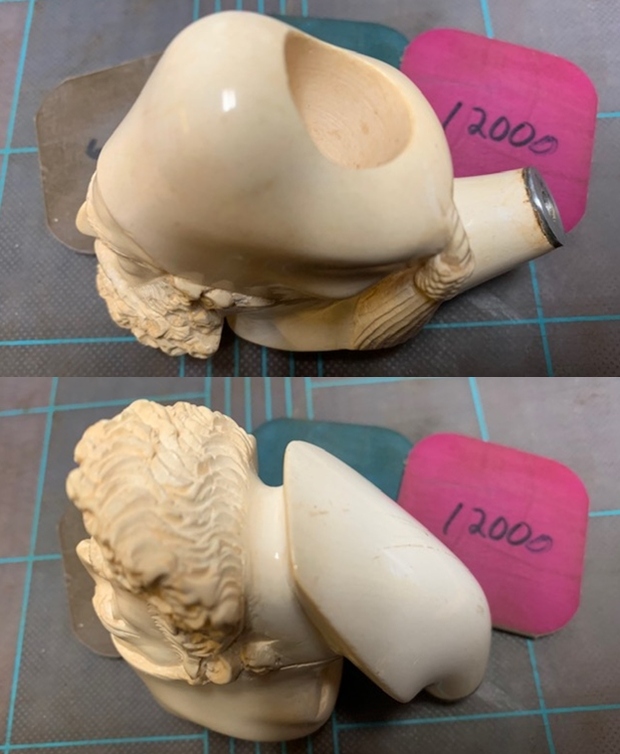
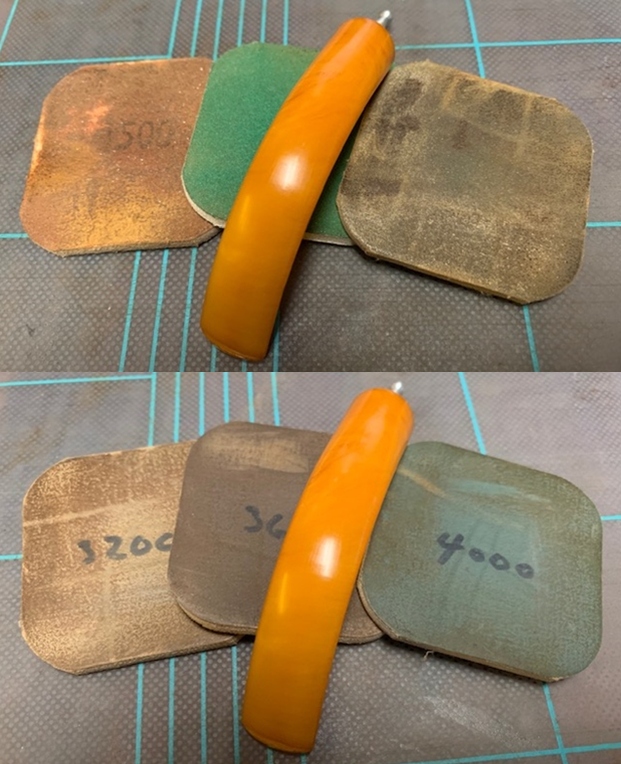
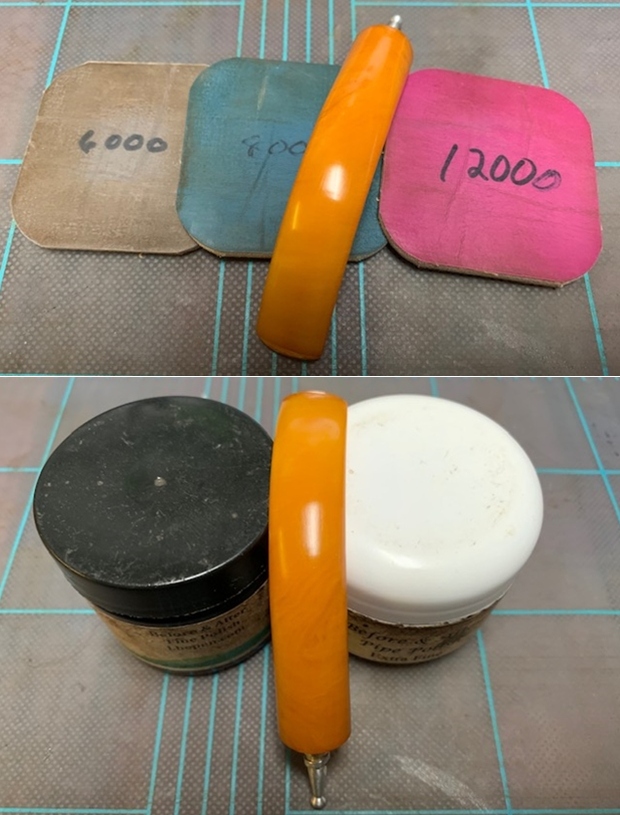
 I polished the meerschaum bowl and shank with micromesh sanding pads to minimize the scratches. I was able to polish out many of them. There was no way to remove all of them without damaging the shape of the bowl. I opted to leave them as they are a part of the pipe’s story. I used 1500-12000 grit sanding pads to smooth it out and polish the meerschaum and the silver band. Each sanding pad brought more shine to the surface of the bowl and shank.


 I waxed the bowl with Clapham’s Beeswax/Carnauba mix. I covered the bowl and the shank with the wax and once it dried I buffed it off with a soft cloth to raise a shine.

 I changed my original plan to use another bone tenon when I could not completely, safely remove the old tenon. I smooth out the mortise sides with the files so that I could use a different push tenon instead of a threaded one. I had a Delrin tenon that would work with some slight adjustments. I set the bowl aside and turned to work on the stem.
 I used a Dremel and sanding drum to reduce the diameter of the threaded portion slightly, knocking off the highspots on the threads. The fit was perfect in the stem. I put a drop of clear CA glue on the tenon and pressed it into place.
 I shortened the tenon on a topping board with 220 grit sandpaper to remove the excess length for a good fit in the shank. Once I finished shortening it I polished the tenon with micromesh pads to make a smooth fit in the shank.
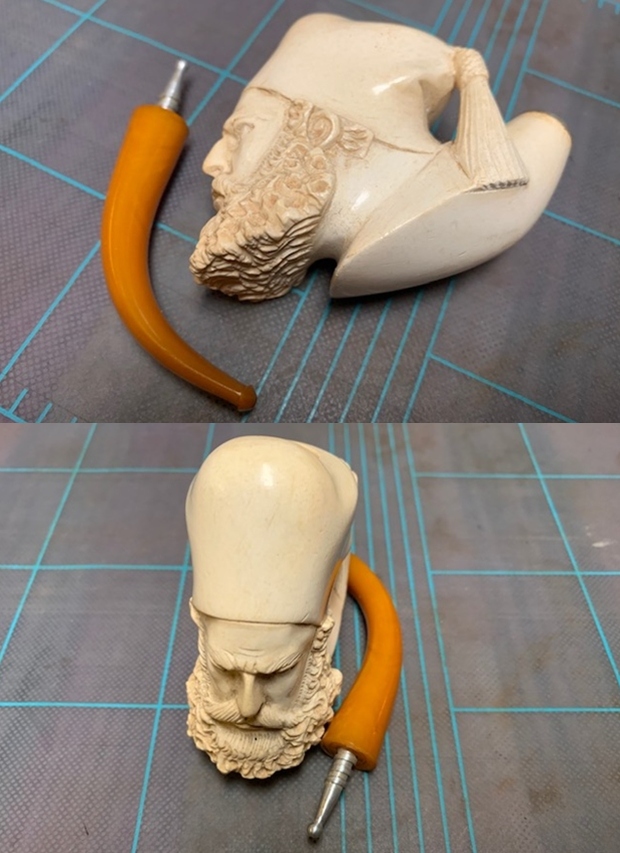
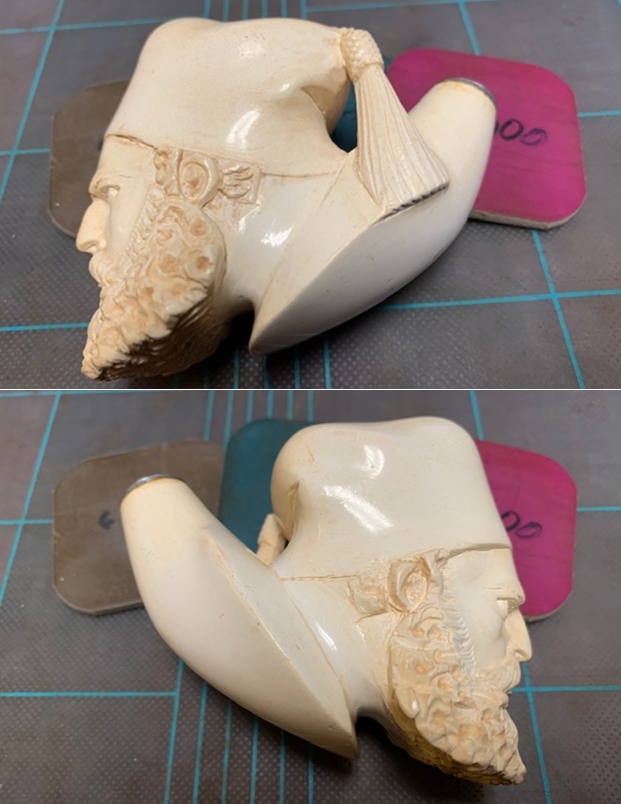
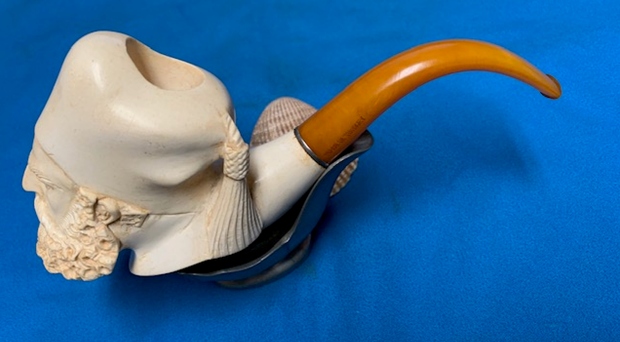
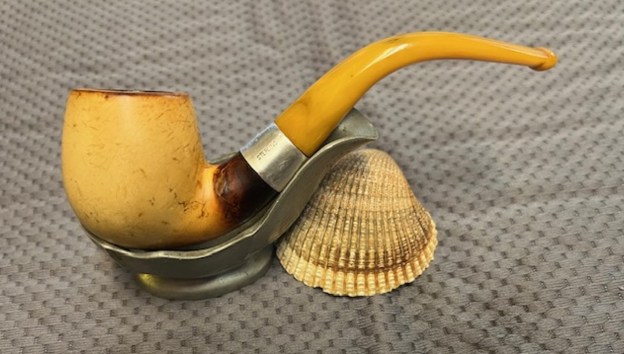
 This Pioneer Bent Billiard Meerschaum is finally finished. There were points in the process that I really wondered if I had bit off more than I could chew. It was a painful process to see the bone tenon that had been glued in slowly – and I mean very s l o w l y take shape and open the mortise to receive a the new tenon. The pipe has a rich patina on the shank and developing up the bowl sides. The polished acrylic taper stem adds to the mix. I put the stem back on the bowl and hand buffed the pipe with polish on a soft cloth. I did not want to chance damaging it on the wheel. I gave the bowl and the stem multiple coats of Clapham’s Beeswax and buffed it with a clean microfiber cloth to raise the shine. The finished Pioneer Meerschaum Bent Billiard is quite nice and feels great in the hand. Give the finished pipe a look in the photos below. The dimensions of the pipe are Length: 5 inches, Height: 1 ½ inches, Outside diameter of the bowl: 1 1/8 inches, Chamber diameter: ¾ of an inch. The weight of the pipe is .99 ounces/28 grams. Thanks for walking through the restoration with me as I worked over this challenging meerschaum pipe. I am going to call the pipeman who owns it later today as I know he is excited to see it. Thanks for your time.