by Steve Laug
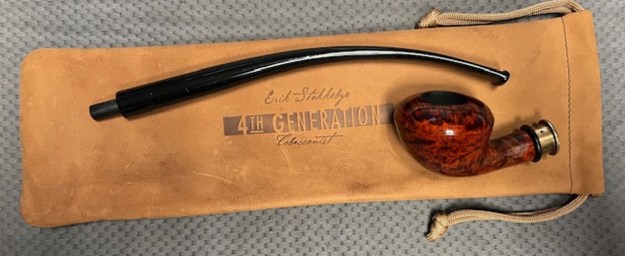
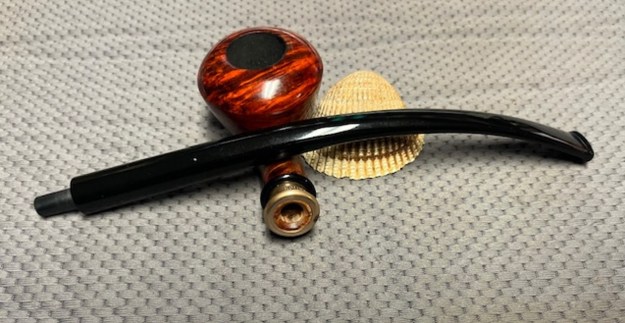
On Tuesday the local pipe shop dropped by 5 pipes for me to clean up and restore. I have finished and returned four of them. The last of them was a pipe they saw as pretty much a lost cause that they had sitting in their stock room. It was an Erik Stokkebye 4th Generation Churchwarden. It was new, unsmoked and other than being in pieces was in good condition. We spoke and figured it would be an interesting challenge to work on so they dropped it by. 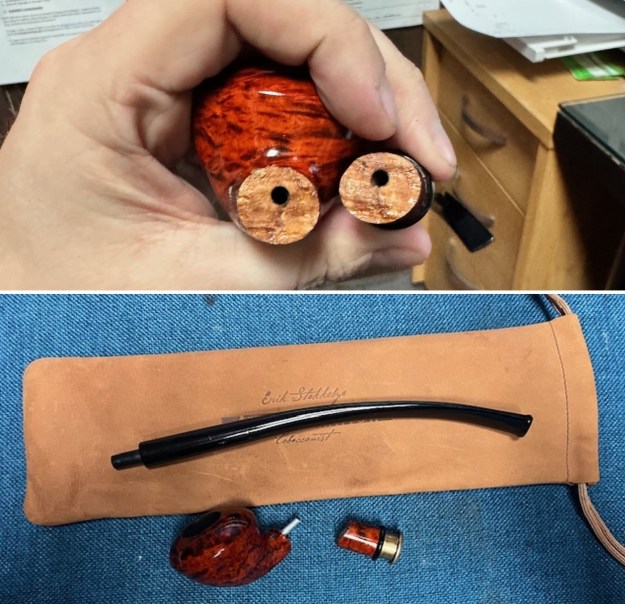 Yesterday I cut a piece of tubing and glued it into the airway in the bowl. I let it cure overnight before I began reconstructing the pipe.
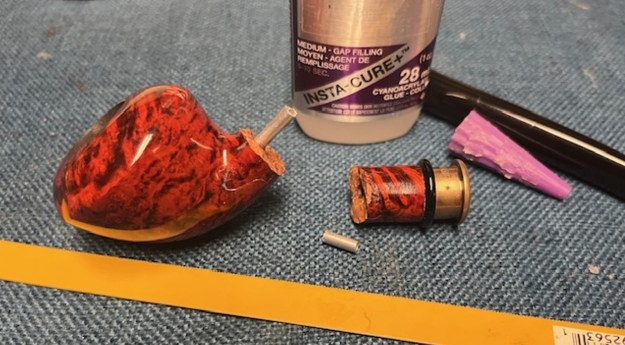 I cleaned up the end of the tube with a piece of sandpaper. I painted the extension of the tube with clear CA glue. I also used a tooth pick to coat the broken portion on the bowl and the shank with the CA glue. I slid the shank onto the tube and aligned the two parts until they were smooth and clamped the bowl until the glue cured.
 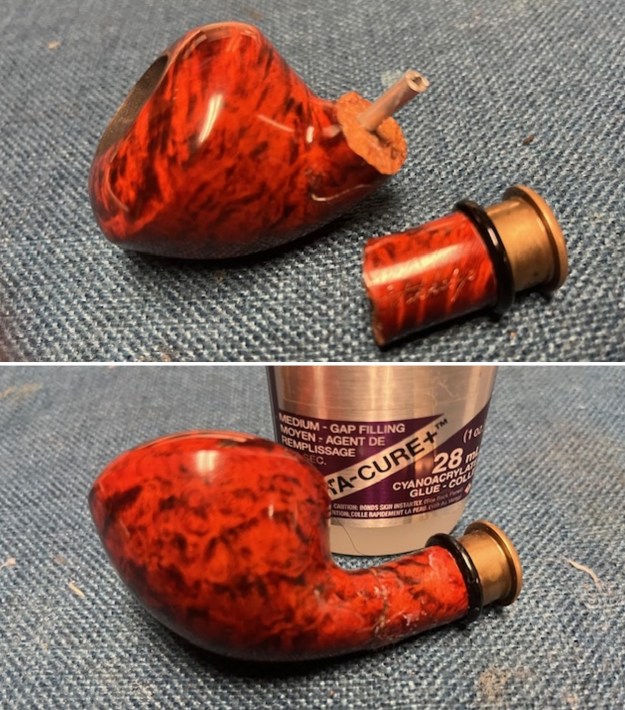 I took photos of the repair after it had cured. I let it sit for an hour while the repair hardened. It looked quite good.
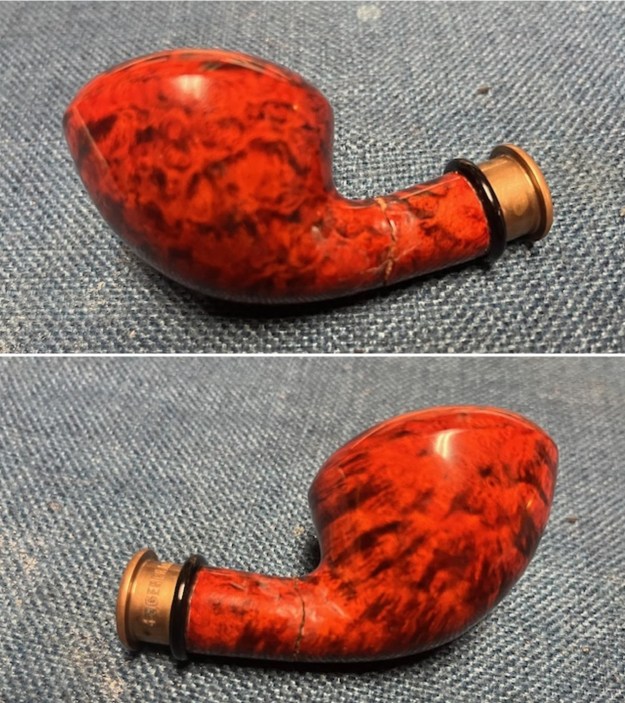
 I sanded the repaired areas on the shank with a folded piece of 220 grit sandpaper to smooth out the repairs. It took a bit of work but was able to smooth out the repairs and blend them into the surface of the briar. The pipe was beginning to look better.
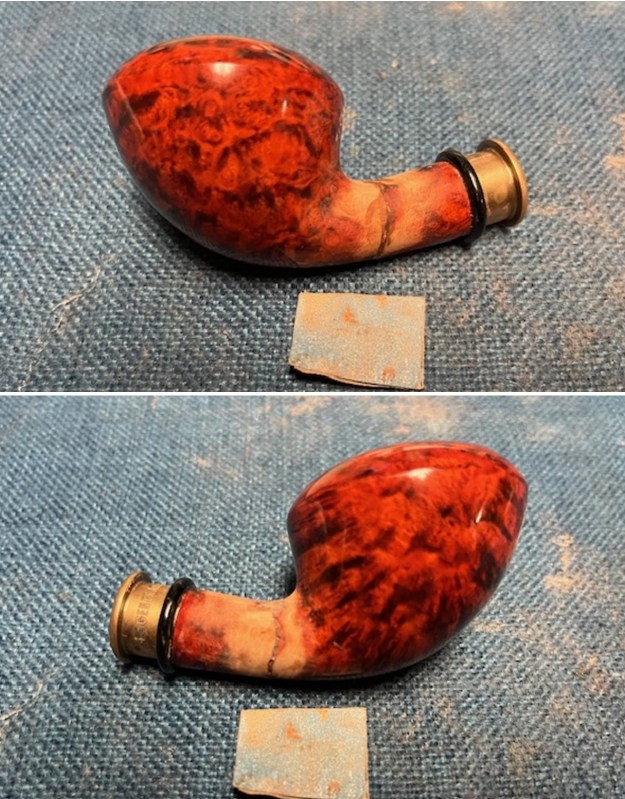
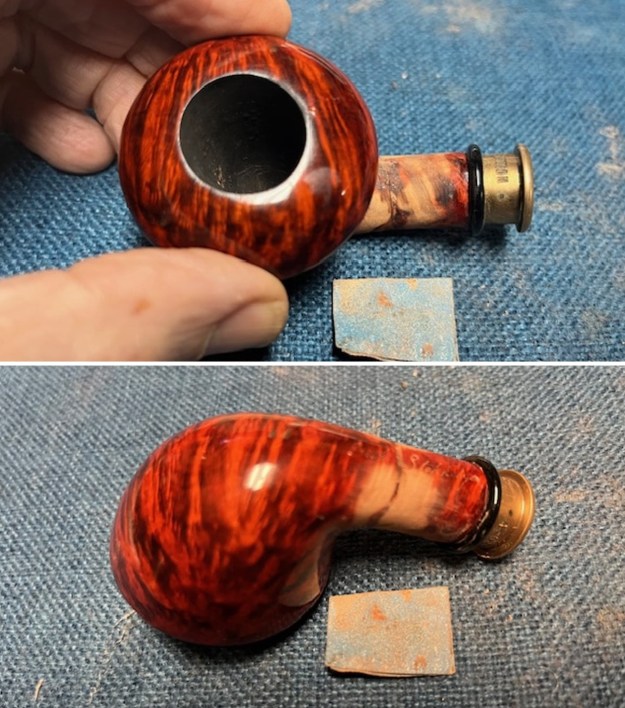 I put the stem in place on the shank and took photos of the pipe. It is going to look very good once I smooth it out and restain it.
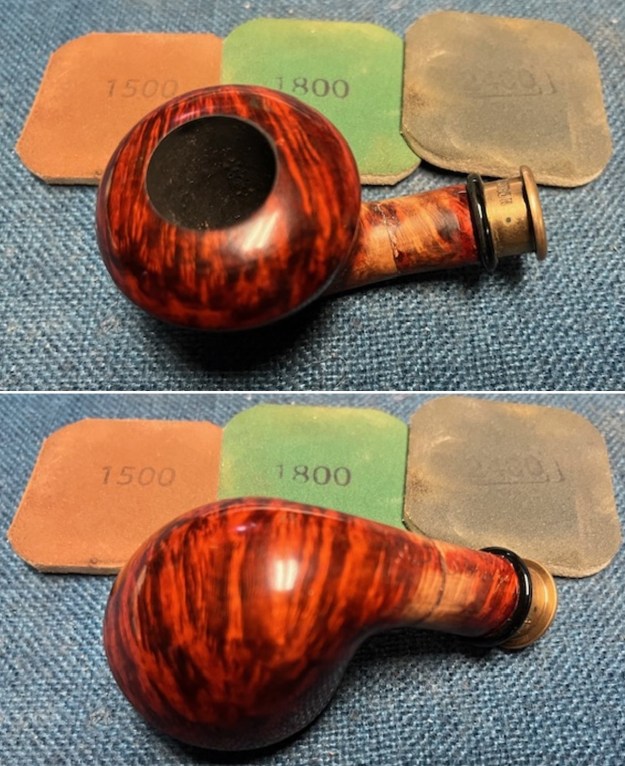
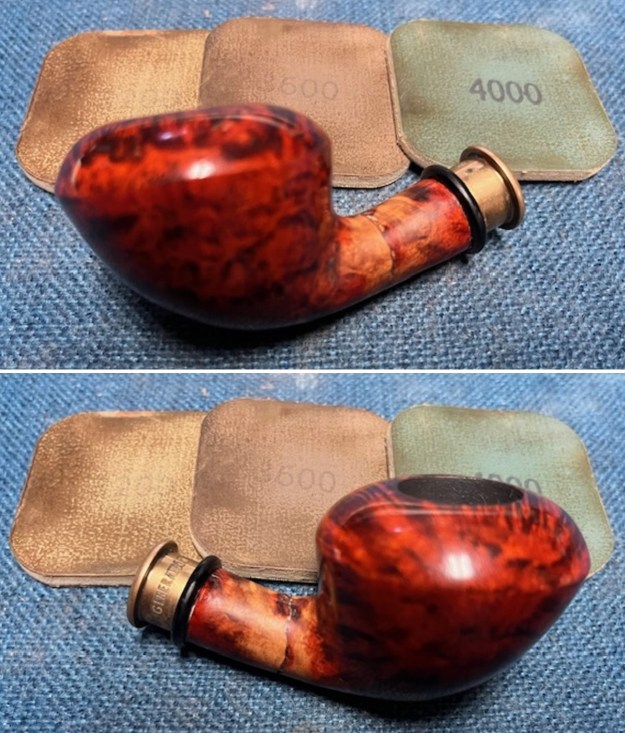
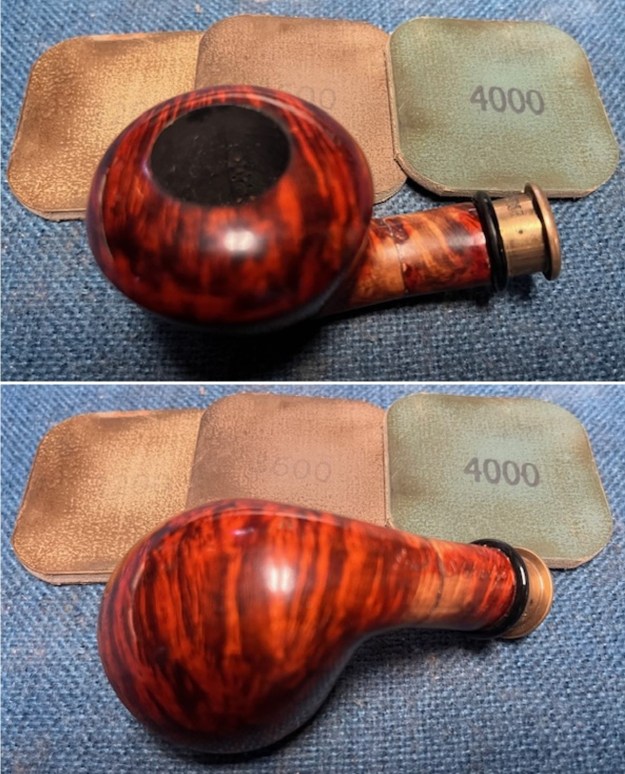
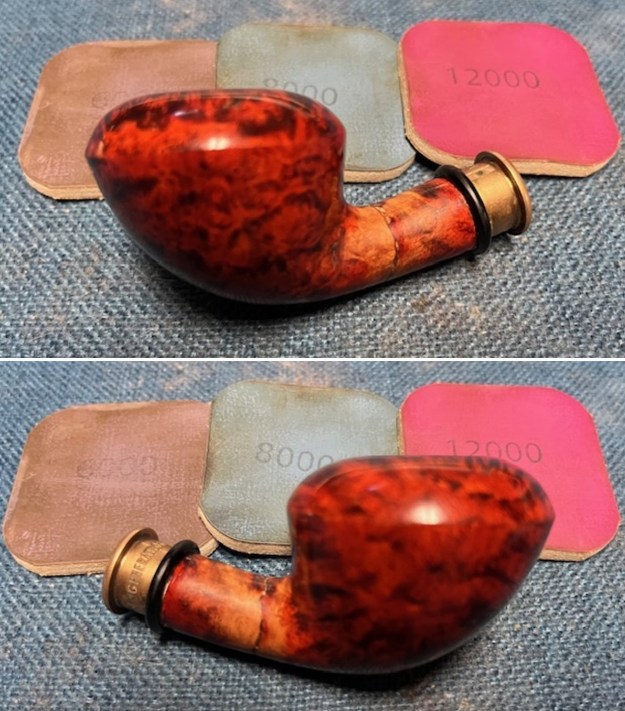
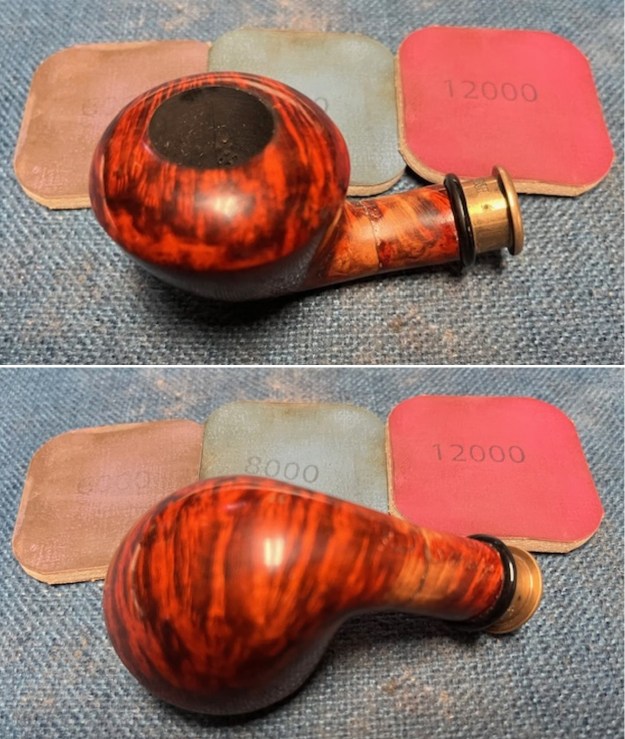
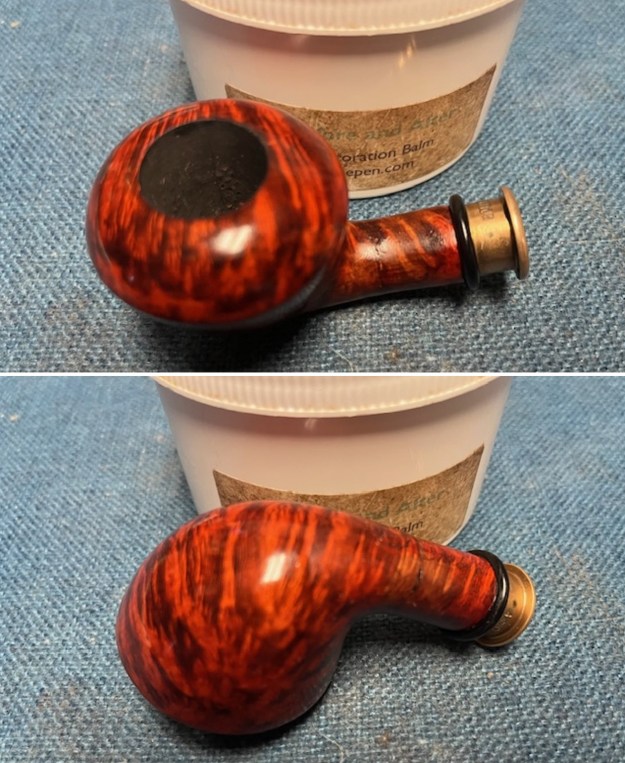
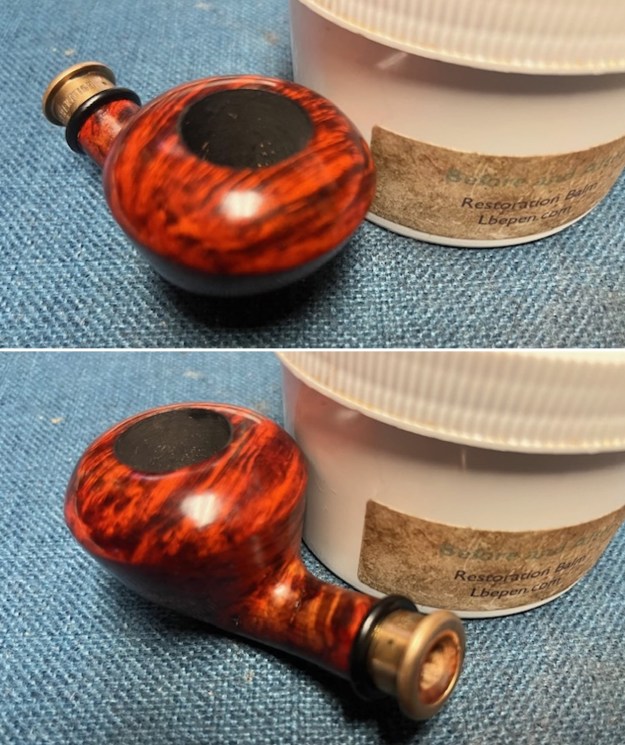
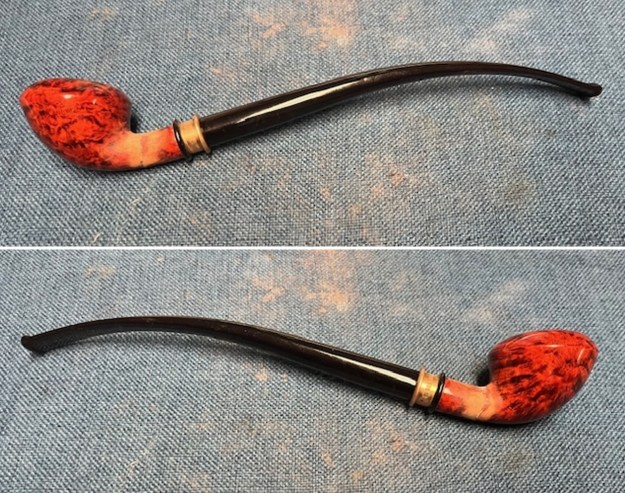 I polished the bowl with 1500-12000 grit micromesh sanding pads – dry sanding it with the pads and wiping it down with a damp cloth to remove the sanding debris. The repair began to take on a shine.
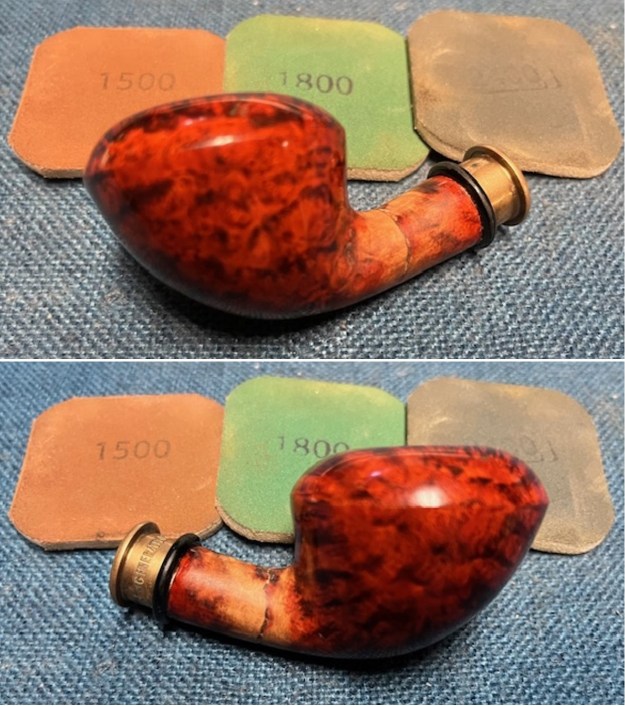
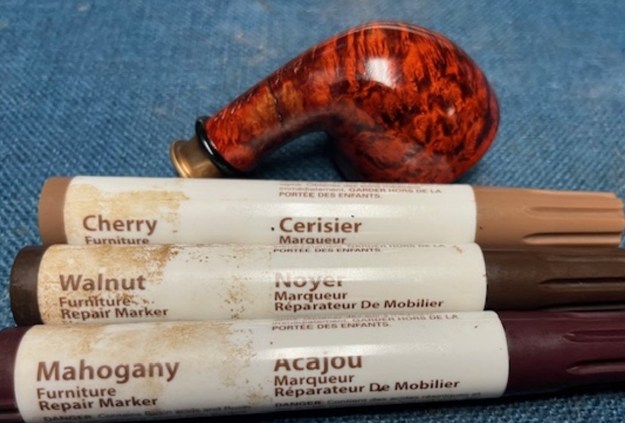
 I used a Cherry, Walnut and Mahogany stain pen to restain the repaired shank after sadning it. The combination of colours worked very well with the surrounding stain on the briar.
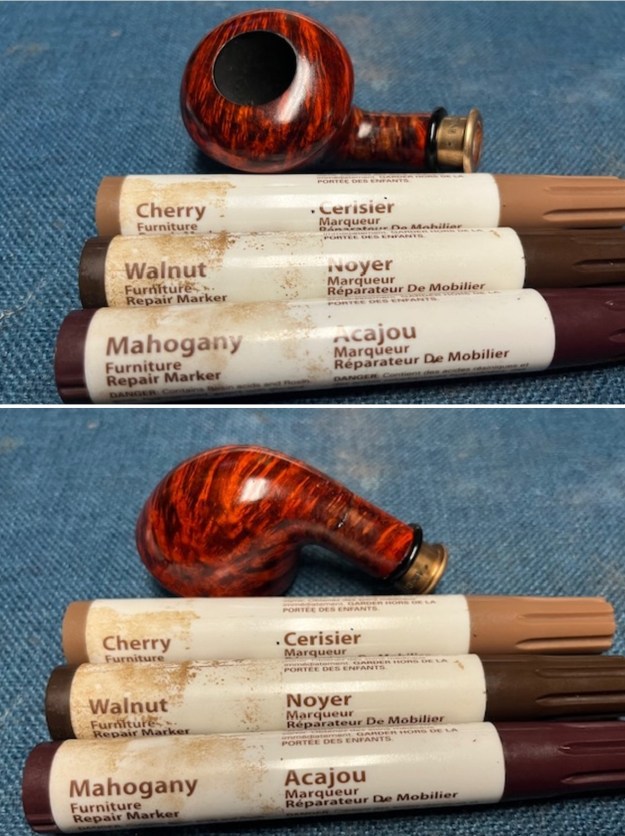
 I rubbed the bowl down Before & After Restoration Balm. I worked it into the surface of the briar with my finger tips. I let it sit on the bowl for 10-15 minutes. I wiped it down and buffed it down with a soft cloth. It looks quite good.
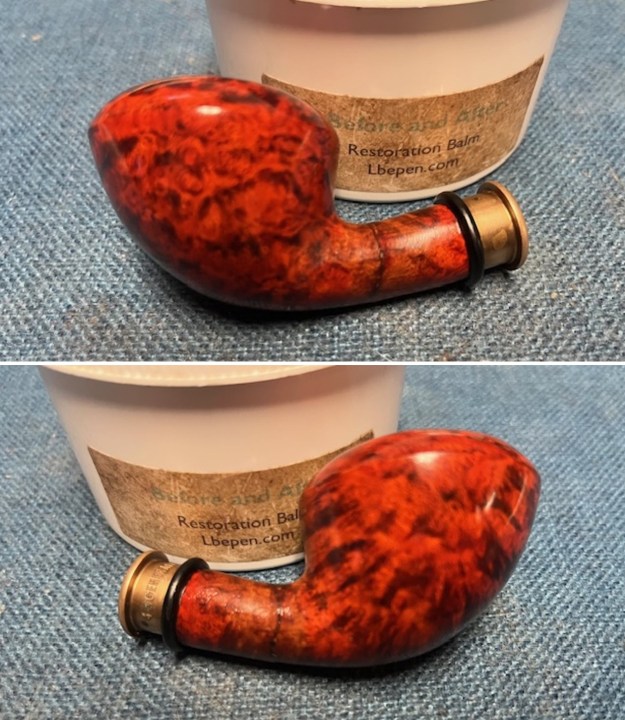
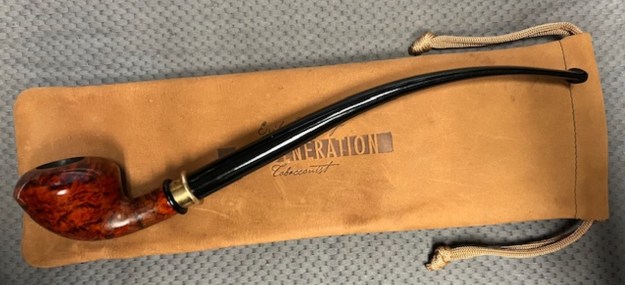
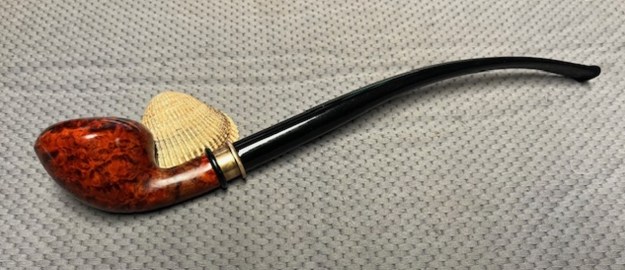
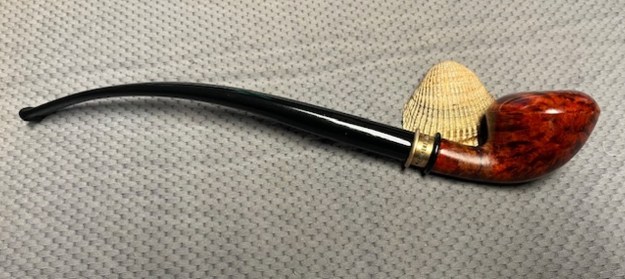
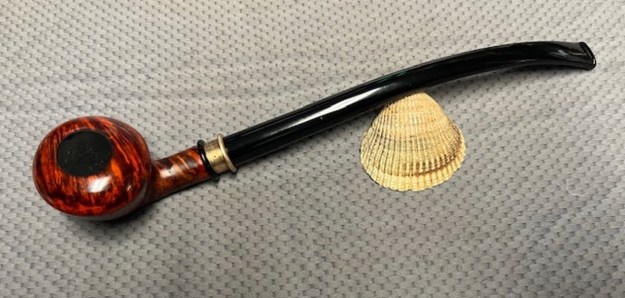
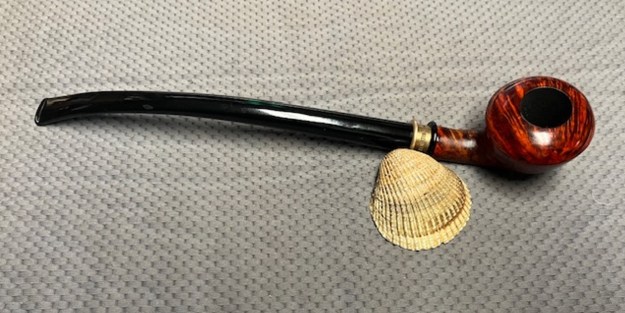
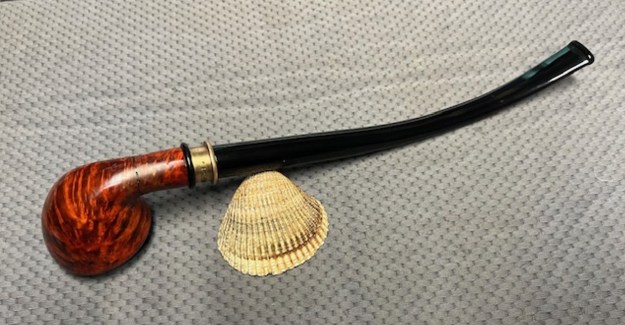
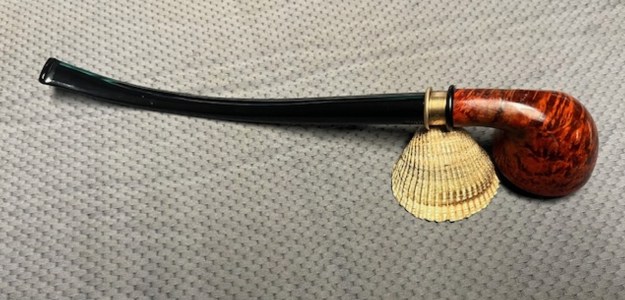
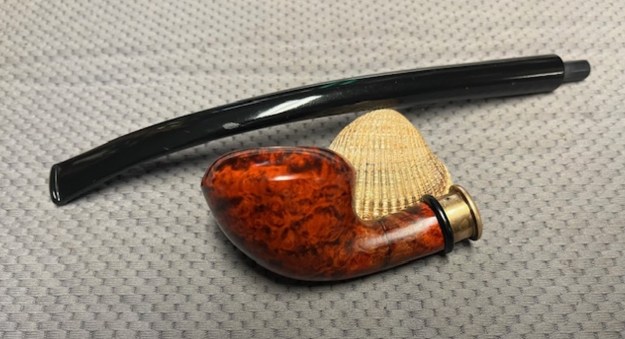
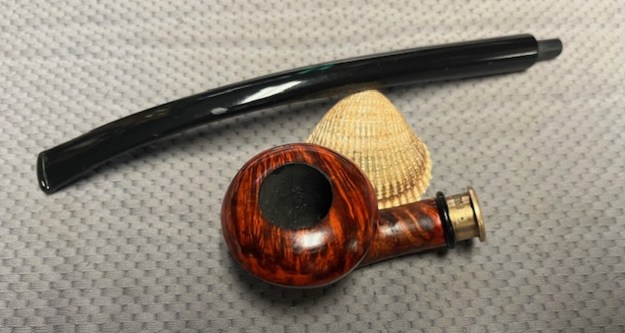
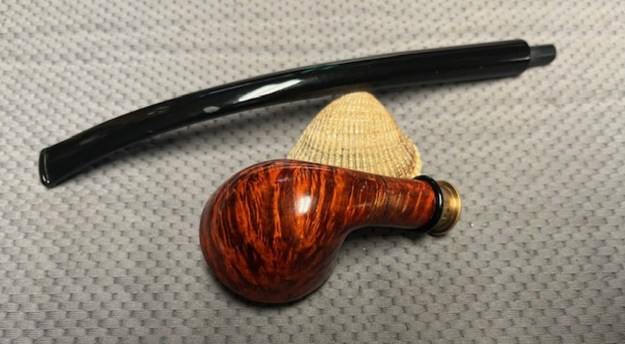
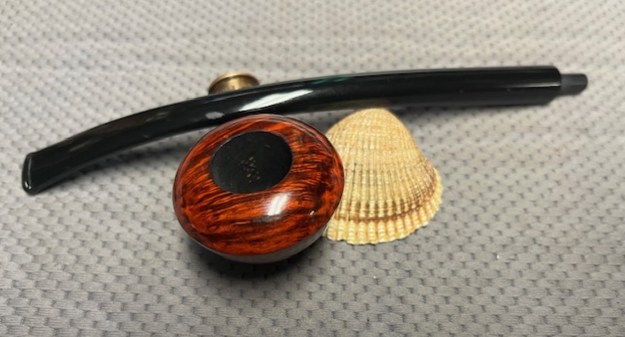
 I am excited to finish this Erik Stokkebye 4th Generation Churchwarden. I put the pipe back together and buffed it with Blue Diamond on the buffing wheel. I gave the bowl and stem multiple coats of carnauba wax and buffed the pipe with a clean buffing pad to raise the shine. I hand buffed it with a microfibre cloth to deepen the shine. It is fun to see what the polished bowl looks like with the grain just popping on all sides. This Eric Stokkebye 4th Generation Churchwarden is nice looking and the pipe feels great in my hand. It is light and well balanced. Have a look at it with the photos below. The dimensions are Length: 10.90 inches, Height: 1.68 inches, Outside diameter of the bowl: 1 ¼ inches, Chamber diameter: ¾ of an inch. The weight of the pipe is 70.75 grams/ 2.50 ounces. It is a beautiful pipe and one that will be going back to the local pipe shop that dropped it by for a repair. Thanks for walking through the restoration with me as I worked over this pipe. Thanks to each of you who are reading this blog.