Tag Archives: oxidation

New Life for a BBB Short Dog


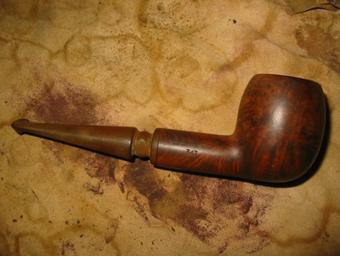
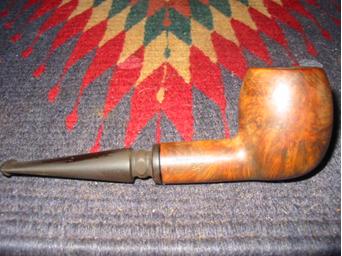
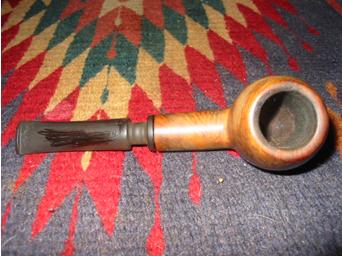
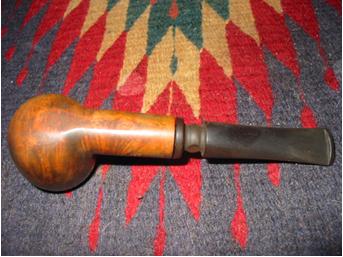
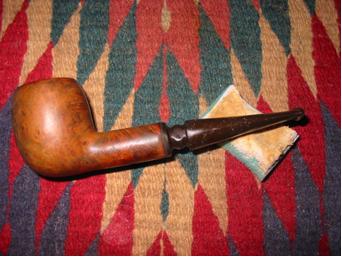
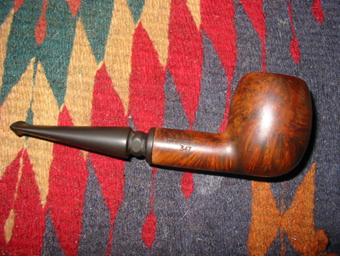
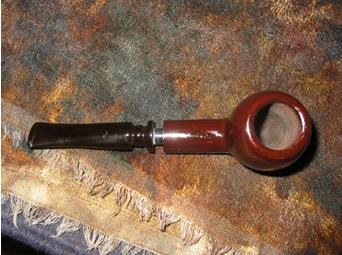
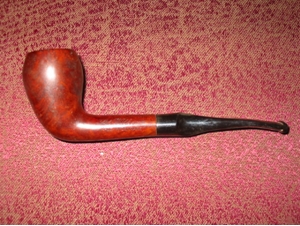
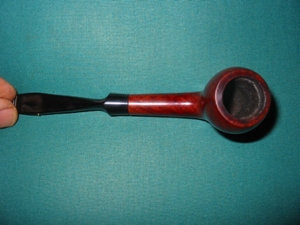
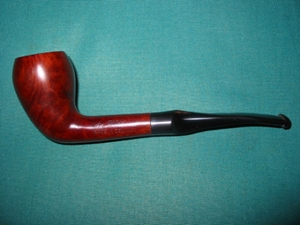
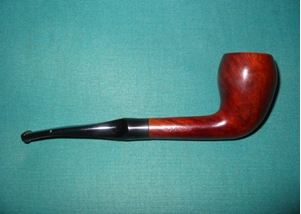
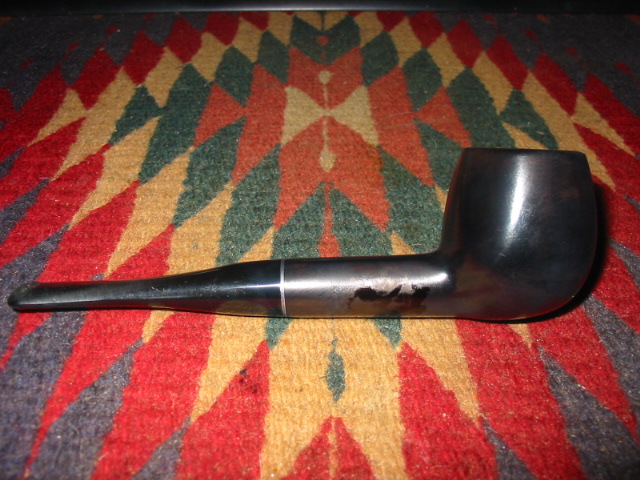
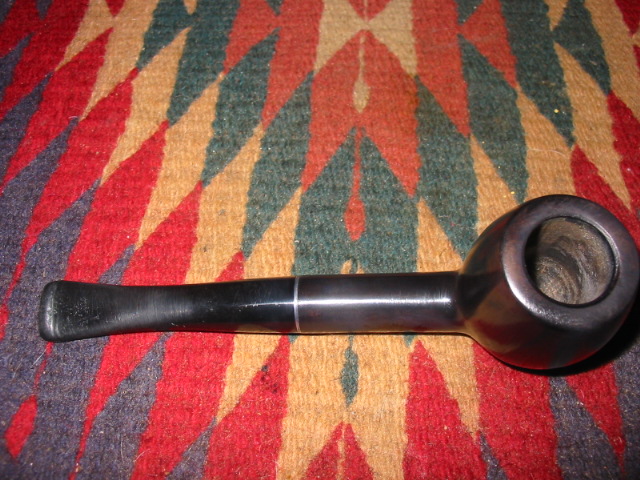
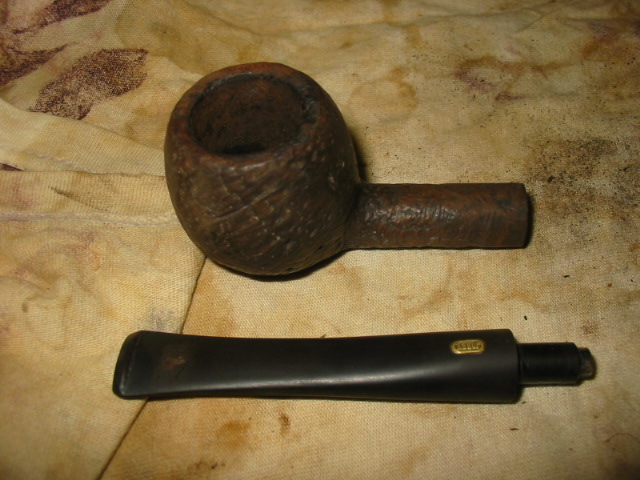
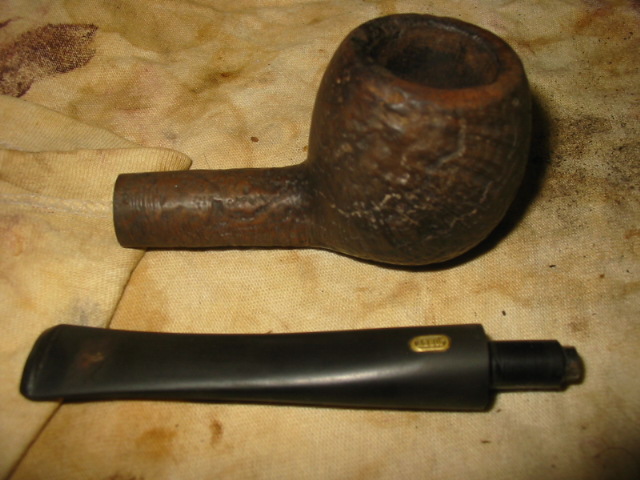
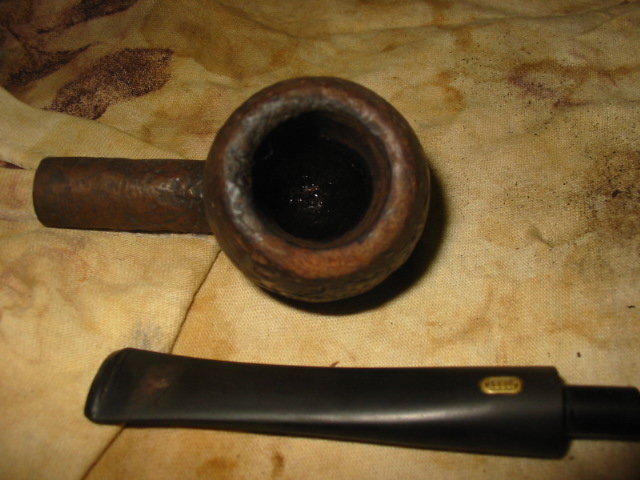
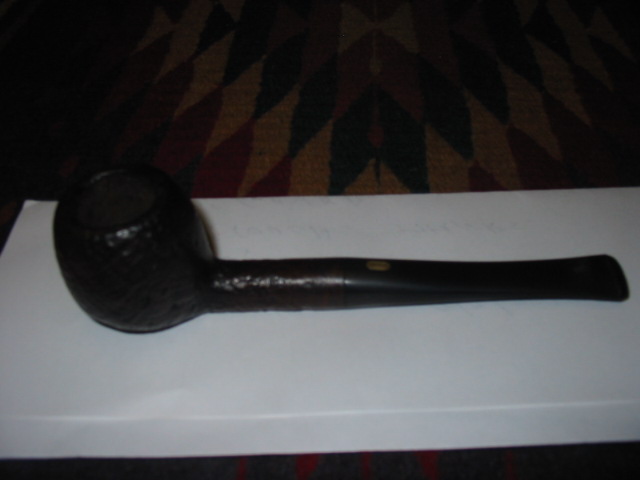
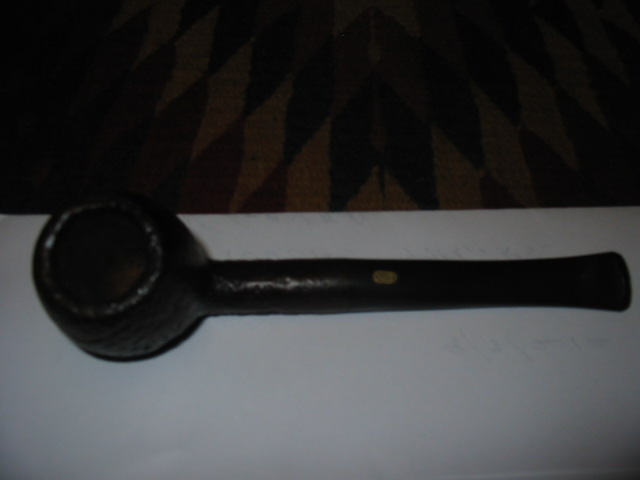
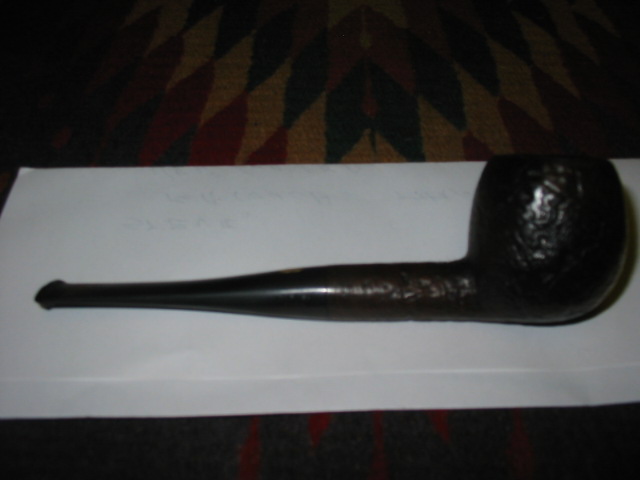
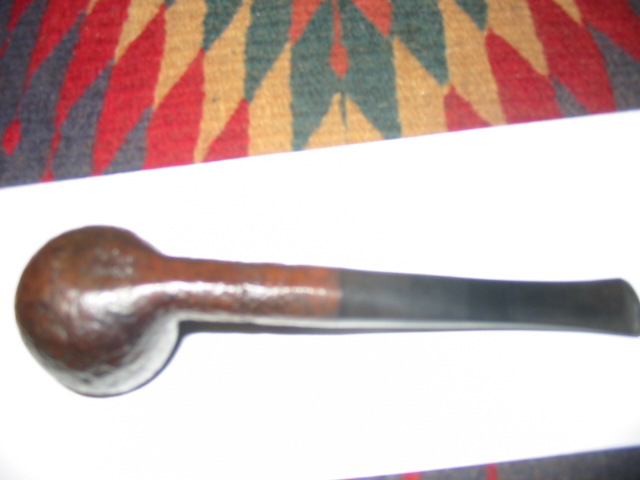
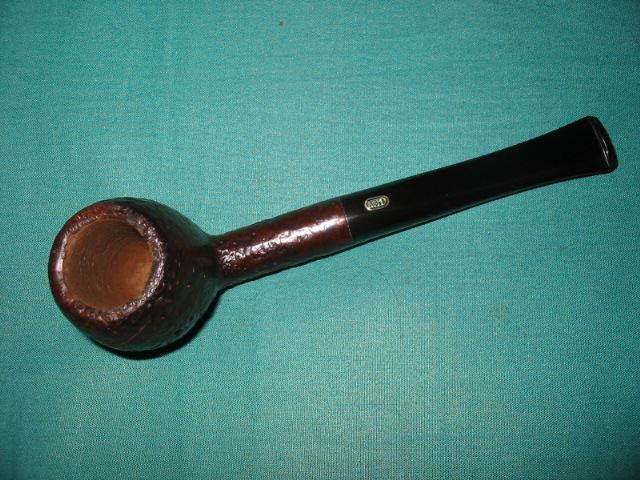
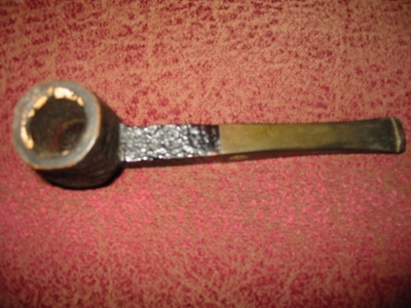
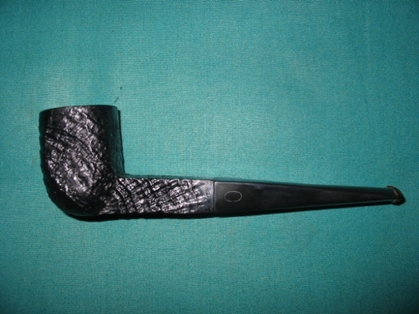
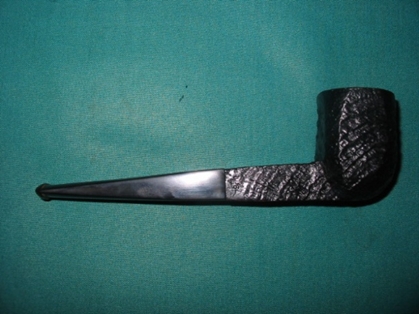
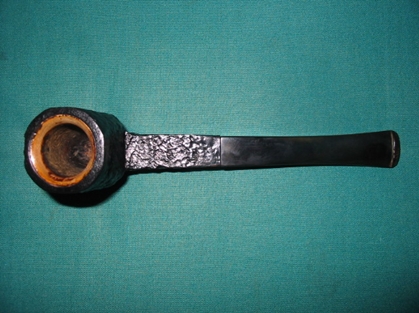
I picked up this little BBB Bulldog on EBay and knew it would take some work. In the photo below you can see the cut in the stem – a groove or channel that served as a dental grip for the pipe. It is just in front of the button. There was some minor oxidation on the stem as well. The button had an orific opening (round hole in the button) rather than a slot. The rim and sides of the bowl were dirty and there was some darkening around the edges. The bowl was caked with a thick cake that would need to be reamed. The photo below is the one that was on EBay.
BBB1

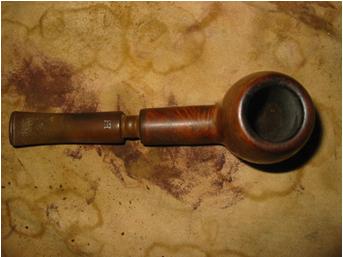
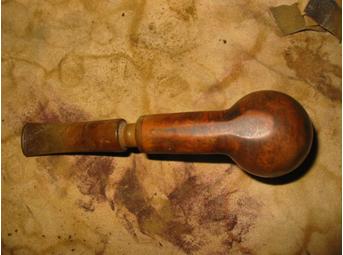
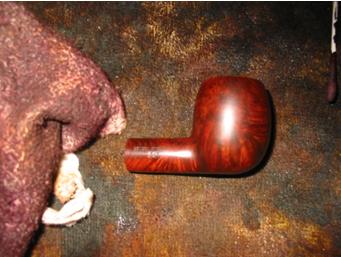
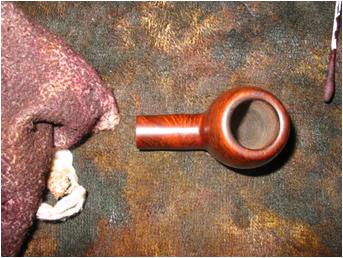
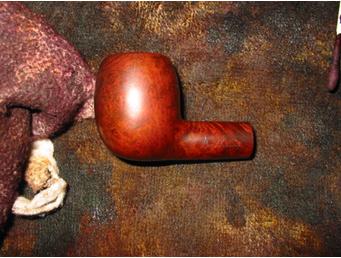
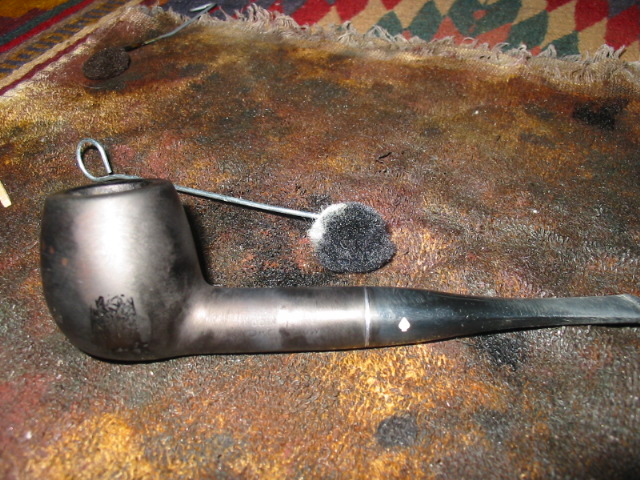
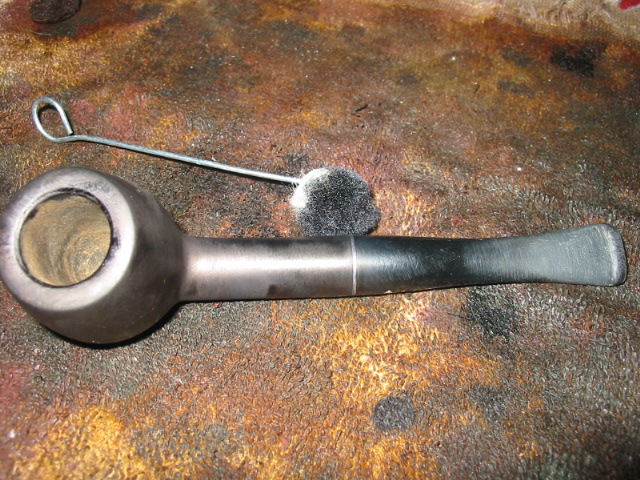
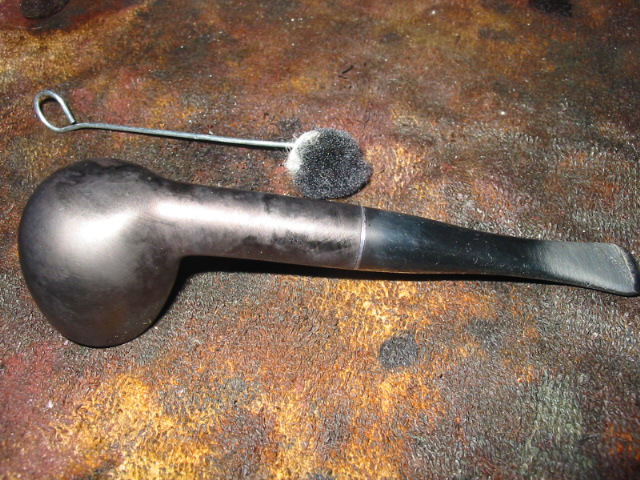
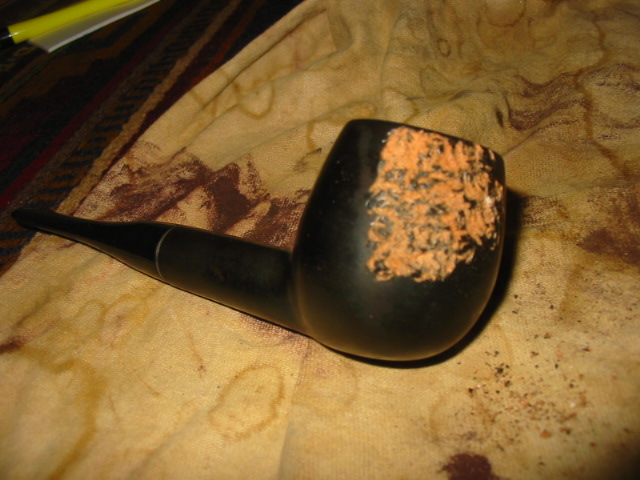
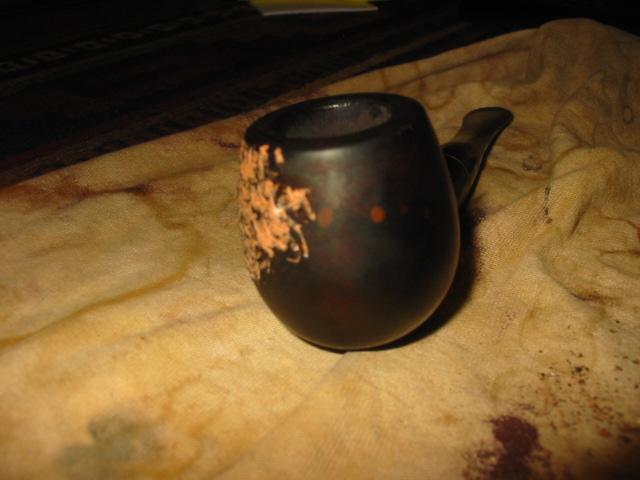
When the pipe arrived it was smaller than I had imagined. No problem there as I like these pocket sized pipes. The stamping on the shank only had the BBB logo in the diamond. No name or other identifying marks were on either side of the shank. The stem did not have the BBB stamp or roundel. The finish was not too bad. The majority of work would need to be done on the rim and the top edges of the bulldog bowl. The stem was going to take some work to get rid of the trough that had been cut in it by a previous owner as a kind of dental bit. The bowl was not as caked as it had appeared in the original picture but had been over reamed and was out of round. The walls at the top appeared to be thinner than normal on a pipe of this shape.
bbb2

bbb3

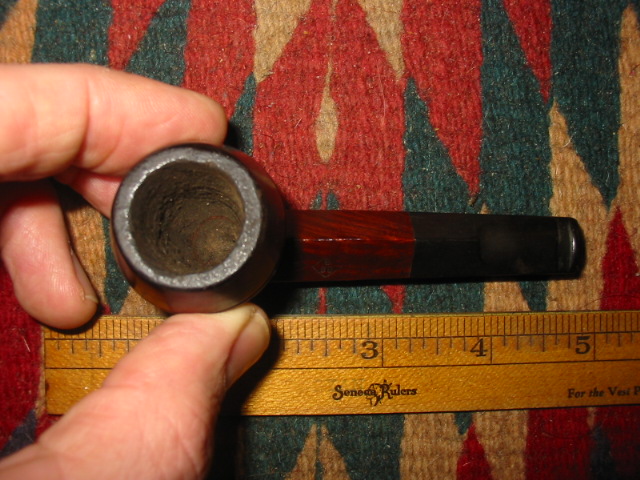
You can see the size of the pipe from the photos above with the ruler. It is four inches long and delicate in the hands. I went to work on the stem first with my needle files and sandpaper to remove the trough on the top of the stem and the underside of the stem. This took some work as it could have radically changed the slope of the stem. I worked to keep the angle looking right from the saddle to the button. It took quite a bit of time to remove the excess vulcanite and reshape the blade of the stem. I sanded the stem smooth and then progressed through the micromesh grits 1500 through 12000. I put it back on the pipe and took it to the buffer and buffed it with White Diamond until it shone. Then I removed the stem and set it aside while I worked on the bowl.

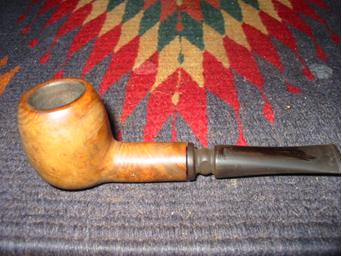
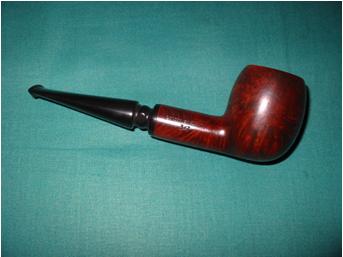
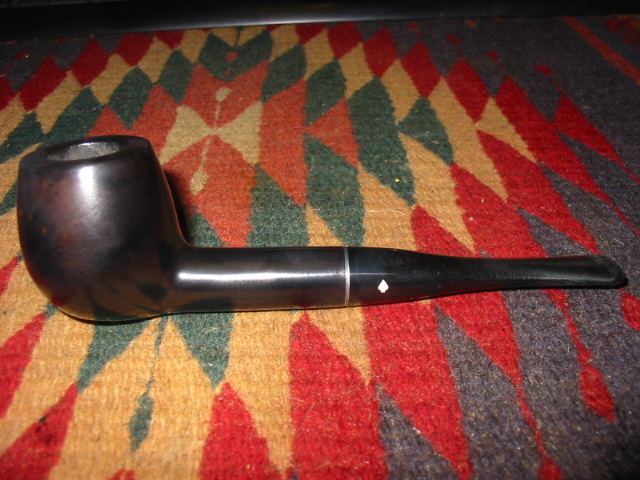
The bowl needed most of the work on the area of the rim and the edges following down the bowl. There was lava and also darkening. I worked on the rim and the darkening with acetone on a soft cloth. It removed the majority of the darkening and grime. I decided to top the bowl minimally to smooth out the surface. I chamferred the inner rim with a folded piece of sandpaper to minimize the chatter from the over reaming. The pipe was given a coat of medium brown aniline stain, flamed and then buffed gently with White Diamond. The entirety was given multiple coats of carnauba wax and buffed with a soft clean flannel buff. The final picture below has a Canadian penny included to give an idea of size. This will be helpful to those who are familiar with US and Canadian money. To others who are not you can refer to the photos above with a ruler. This is a nice little pipe that smokes very well. It also fits nicely into a coat pocket or shirt pocket!
bbb4

bbb5

bbb6

bbb7

Polishing Stems (PART 1) Piet Binsbergen


I have had some questions about polishing stems.

I must warn that I will not be held responsible for any damage you may cause to pipes following this method. The process is relatively fail safe but certain circumstances that may be beyond my control, I simply cannot be held accountable for. I do suggest that you do a couple of trial runs using old or broken stems before you attempt this process with your beloved birth year Dunhill.

I will share with you my process. Please bear in mind that there are many ways to skin this cat, this is my way of doing things but this does not mean that I reject any other processes that other pipe repairman use.

I use two approaches. Firstly it is important when doing up a pipe to try and save the stems at all costs. So process 1 involves cleaning and polishing stems that have tarnished.

Secondly, especially when it comes to hotrods, I use pre-moulded stems. I am able to hand cut stems from rod stock but I find the process way to involved and time consuming for what I am doing. Call me a cheat but I find this works really well for me. My preferred medium is vulcanite and ebonite but I do not turn down Lucite stems if they come my way. Lucite is problematic in the sense that it has little give and little room for error. On the up side of it Lucite does not tarnish.

Part 1

Saving Original stems

As most of you know vulcanite is compressed rubber, the same stuff your car tyres are made of to a point. This rubber is just compressed way more. I have found different qualities of the stuff over the years and have notice some being more superior to others.

I do not have much to add here due to the fact that Steve Laug is doing some ground breaking work with regards to original stem repair. He manages to remove teeth marks and patch holes in bits. I have studied his technique but will need to pick his brain a little more before I perfect this process. For me, as soon as a stem has a hole in the bit, I replace it with a pre-moulded stem. (This process of his is archived on this blog.) I love tapered stems. There seems to be more ‘meat’ to work with and more ‘meat’ means there is room to open up the draft holes, file out teeth marks and restore the stem as good as new. Saddle stems prove to be a bit of a challenge due to the fact that there is not much room to move.

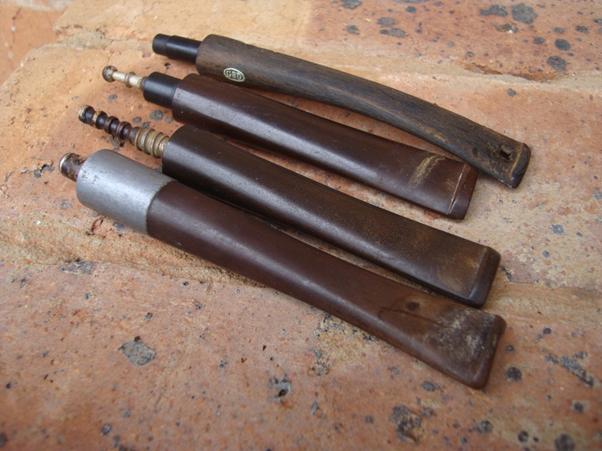
Most stems look like this, and believe me these are good ones!
Stems1

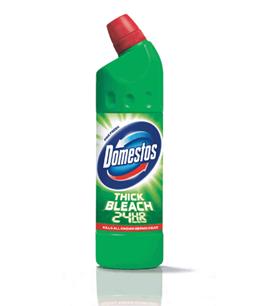
What I usually do is drop them into a bleach bath. Household bleach does the trick for me. Here in RSA I use a product called ‘Domestos ‘.
Stems2

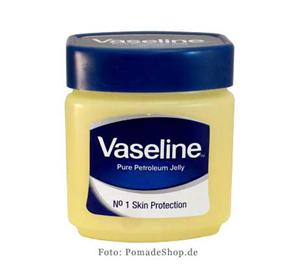
WARNING: Be sure to coat the tenon and nomenclature (If any, like say the GBD rondelle) with Vaseline (Petroleum Jelly).
Stems3

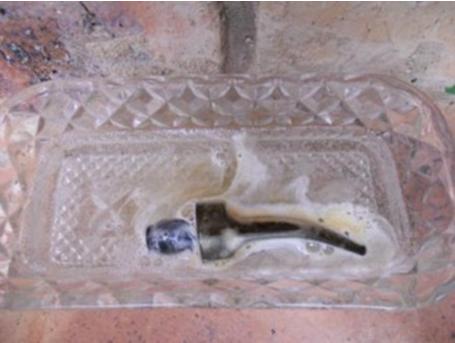
This protects the stem material from coming into contact with the bleach. If you do not do this you will end up needing to resize the tenon as the bleach may eat away at it. As soon as the needed parts are coated, I drop the stem into the bleach. It will bubble a little and you will immediately notice the liquid turning brown. Depending on the extent of tarnish and the quality of the vulcanite will depend how long I leave the stem in the bleach.  A good average for me is 20 min.

Below is a picture of the stem in the bleach for a minute or so. It looks scary I know, but it works.
Stems4

Remove the stem from the bleach and rinse in warm water. Wipe off the Vaseline from the tenon. This process has an added bonus as it tends to eat the muck out of the draft hole in the process.

PROBLEM: But fear not. If you draw on the stem you will taste 2 things. Firstly, you are going to get a strong taste of bleach, secondly, you may taste the left overs from the ghosting of the previous owners blend. If it were aro’s you will really taste it. This is easy to get rid of.

The next step involves scrubbing out the daft hole. I use bristle brushes and bristle pipe cleaners. If I choose to open the stem to my preferred 4mm, I do it at this stage.

Interesting Observation: I have had clients complain that a pipe ghosts flavours of tobacco even when the bowl has been well refinished. Did you know that vulcanite is porous and will hold the ghost in the same way the bowl does. If you do not believe me remove a stem from an old pipe and draw on it, you will taste the ghost! The bleach bath cures this problem to a point. Further manual scrubbing aids the removal of the ghost.

The picture below shows how much dirt and grime is loosened and scrubbed out of the draft hole during this process.
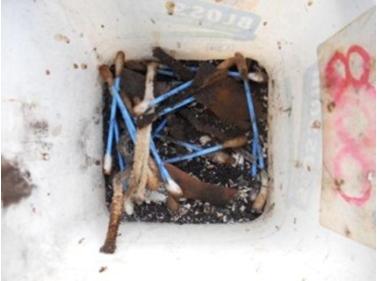
Stems5

In order to remove all ghosting of tobacco, bleach and in order to sanitize the stem, I soak the stem in alcohol for an hour. I use Isopropyl alcohol (96%). Now this stuff is poisonous in a big way if ingested but research has proven that as soon as it has evaporated it is harmless. This is the same stuff used by hospitals to clean and sanitize operating theatres and equipment so go figure. After an hour remove the stem from the alcohol bath and rinse with clean water.

Here is a picture of the colour of the alcohol once the stem has come out a soaking for an hour.
Stems6

Notice the stem may turn white, light green or matte black depending on the type of vulcanite used by the manufacturer. I have noticed that most Peterson stems for example turn white. If you draw on the stem at this stage will taste nothing. I will be as good as new.

Sanding and polishing: You may notice the following, the stem may be smooth with colouration or it may look matt black and be rough textured. Start sanding. I use 400 and work my way up to 800 grit sand paper. This is a time consuming process, do not take any short cuts here. The last thing you want is a stem with a high polish that is full of surface scratches.

By the time I reach 800 grit I move to the buffer. I use Tripoli (Brown wax) which is equivalent to 800 grit sand paper and move onto White Diamond which is the same as 1200 grit. If you do not own a buffer, you can still get the same finish but the process will just take longer as you will hand sand up to 1200 grit and beyond.

The pictures below show the buffing process. Note that the picture of the stem on the right is not the finished product but shows what the stem looks like after buffing.
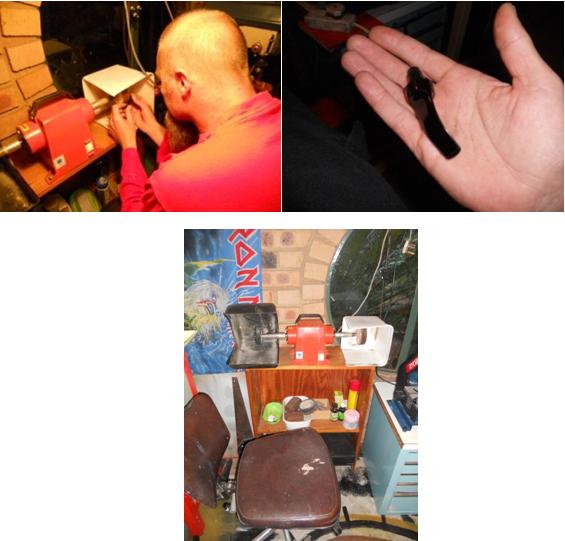
Stems7

By this stage the stem should shine and you should be able to see your reflection in the material. If not revert back to sanding, you have taken short cuts!

Depending on the type of material, as vulcanite differs in hardness, I continue hand sanding with 1500, 1800, and finally 2000 grit. Here you may notice the stem may start to dull a bit. The final polishing stages involves Brillo, or what we call Silvo here in RSA.  Silvo is a jewellery polish. Polishing is now done by hand using a soft duster cloth.
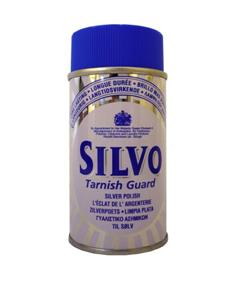
Stems8

Finally, and you may laugh, but, I use tooth paste as the final step. This is a trick I learnt from a flute maker who high polish silver. Think about it, it really is quite logical. Toothpaste is a fine, very fine, rubbing compound. This process is also done by hand using a soft duster cloth.
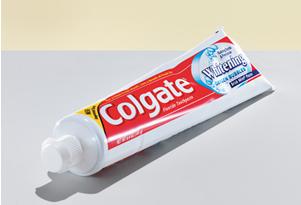
Stems9

A final word of advice: Vulcanite is light and air sensitive. The more light the faster the tarnishing process will start. To avoid further tarnishing I run the stem including the bowl over a slow spinning buffer using carnauba wax. This forms a protective layer on the vulcanite keeping the oxidation process at bay. When done smoking your pipe, wipe the bit clean with a soft cloth. Saliva (Ph levels) mixed with the smoke is what makes pipes so yukky around the bit area. My stems are always clean and oxidation free. Besides standard cleaning after smoking I run the stem over the buffer to seal them up again from time to time.

Here are a couple of pictures to wet your stem polishing appetite. These are a herd of refurbished GBD that belong to “Muddler”. Stems can look better than new if you take the time and put in the effort.
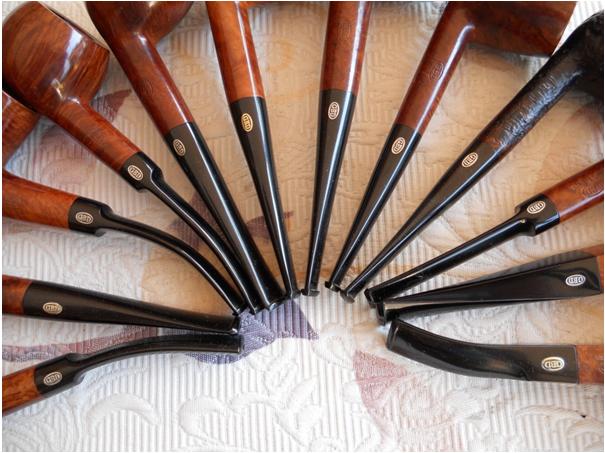
Stems10

A Peterson Kildare.

Before and after
Stems11

Stems12

Good Luck and enjoy!
Refurbished Peterson Sherlock Holmes 1994


I worked on this Peterson Sherlock Holmes pipe with hallmarks on the silver band that date it to 1994. It has since found a new home and is being smoked and enjoyed by the new owner. The stamping on it was very light but still visible. The finish is in decent shape but very dirty. All of the crevices on the pipe were filled with grime and grit. The stem had oxidation and a light brown undercoating of brown throughout. The band was in great shape and just needed polishing. The bowl was a real question mark for me. It appears to have been drilled significantly larger. The bowl sides are smooth and they are still straight and clean. There was some blackening at the bottom of the bowl. I am thinking that the previous owner decided to open the bowl up and make it larger in order to hold more tobacco. The new owner says that it still smokes well so the drilling did not ruin the pipe.
Pete1

I scrubbed the bowl surface with some undiluted Murphy’s Oil Soap and a soft bristle tooth brush to get the grime out of the crevices. I repeated it until it was clean the grime was gone. I know many people do not like oil soap as it removes some of the stain on a pipe. But in this case it worked wonders. Once I had finished scrubbing it I washed it off with warm water and dried it with a soft cotton cloth. When it was dry I polished it with Halcyon wax and buffed it on my buffer with a soft clean flannel buffing pad. The oxidation on the stem came off easily with my buffer and Tripoli and White Diamond. I finished the stem by buffing it with carnauba wax.
Pete2

Pete3

Refurbishing a GBD Penthouse with a Chairleg Stem


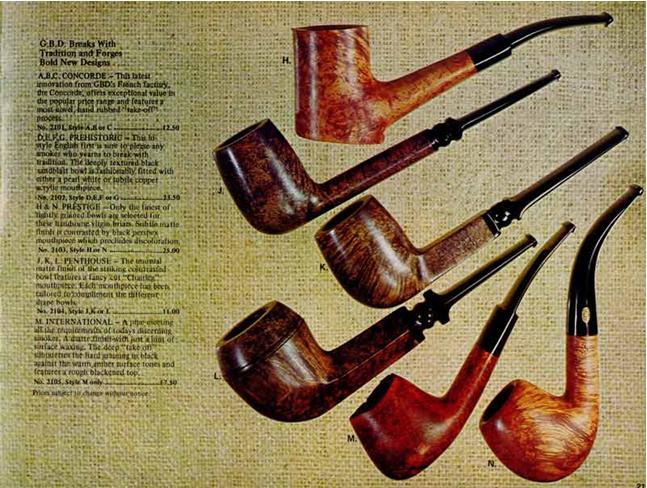
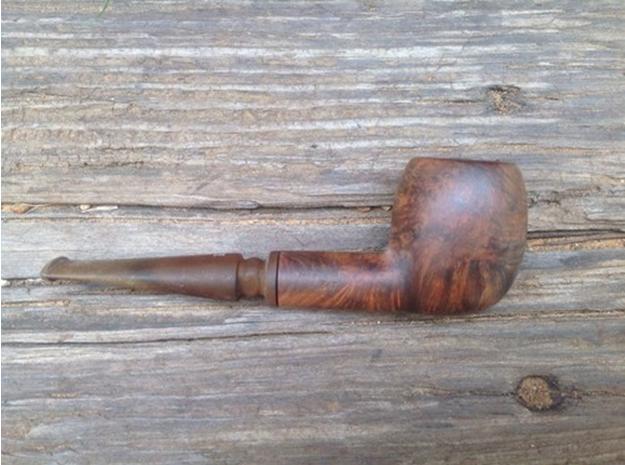
While scanning EBay for interesting old pipes to work on I came across a pipe for sale with the stamping Penthouse. There was little other information on the advert regarding the pipe but it looked interesting to me. The chairleg type stem made me think of the series of pipes that Al (upshalfan) has restored so I put a bid in for the pipe. I contacted Al and he sent me the following picture from a Tinderbox catalogue showing that indeed the pipe was a GBD line. (NOTE: The GBD catalog page came courtesy of Jerry Hannah. Jerry created the GBD Shapes/Model page that I frequently use for reference. I’m not sure if he reads this blog, but if so, thanks!) The headline on the page says that GBD breaks with tradition and forges bold new designs. Pipes marked J, K, and L in the picture below are all Penthouse pipes. I have no idea where they took the name but let imaginations rest, the pipes are stunning and the stems are uniquely beautiful.
Pent1

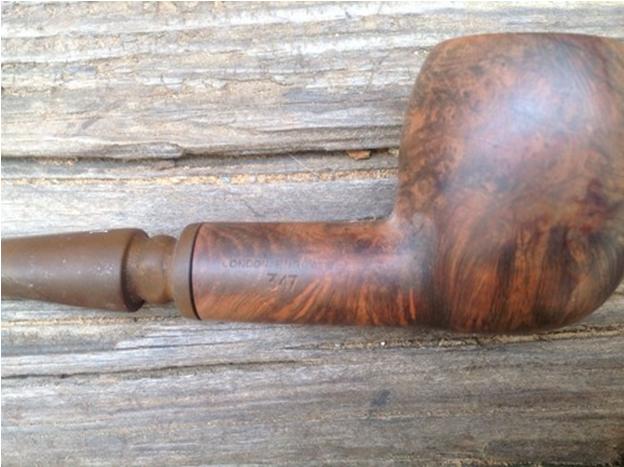
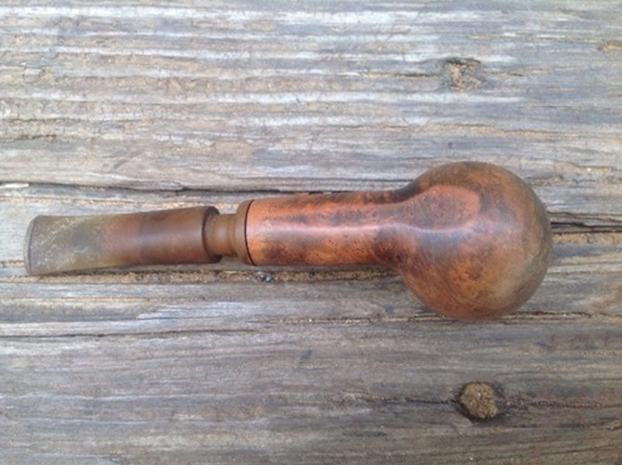
The Penthouse pipe that I bid on and subsequently won is an apple shape. The first six photos below are the seller’s pictures. It was these pictures that tempted me to place my initial bid on this pipe. As it turned out I was the sole bidder. The stem was badly oxidized and had some tooth chatter at the button. The stamping showed up but was not as deep as it appears in the photos. The rim appears to be darkened but not charred in the photos and the finish appeared to be dirty but not dented or scratched deeply. It was stamped on the left side- Penthouse in script over Made in England in block letters. On the right side it was stamped London England over 347. Now the wait began.
pent2

pent3

pent4

pent5

pent6

Pent7

When the pipe arrived it was much as the pictures had shown. I am never sure what to expect when I bid on these old pipes as I have been utterly surprised both ways – they have shown up in much worse shape than the photos showed or in much better shape. The next four photos show it as it appeared when I removed it from the box.
pent8

Pent9

Pent10

Pent11

The finish was actually quite dirty. Many of the dark areas of the finish were actually grime and grit and not the understain on the pipe. I wiped the pipe down with acetone to remove the grime. I also used a battery terminal brush to clean out the remaining cake remnants in the bowl. Then I dropped the bowl in the alcohol bath and the stem in a bath of Oxyclean. The bowl sat for about an hour in the alcohol bath and the stem sat in the bath overnight. When I removed them I cleaned out the shank and the inside of the stem until the pipe cleaners and cotton swabs came out clean. I wiped the entirety with a soft cotton pad and acetone to remove any remaining grime and the next series of four photos show the state of the pipe at this point in the process. The alcohol bath and acetone had successfully removed the remaining finish and the grime on the surface of the pipe. The Oxyclean had done a great job on the oxidation. You will notice the shiny areas on the top of the stem – I had run my fingernail across the surface to show how the oxidation had softened. It was ready for the next step in the process of cleaning the stem.
Pent12

Pent13

Pent14

Pent15

The next two photos show the stem after I had scrubbed it with a Magic Eraser. The stem was wet and shiny and you can see the oxidation on the Magic Eraser under the stem. I continued to scrub the stem with the Magic Eraser until it came out clean.
Pent16

Pent17

The oxidation was greatly decreased at this point but there was more work to be done on the stem. The hard points on the stem were obviously around the chairleg section. The grooves were difficult to get to with the Magic Eraser. I decided to use some Meguiar’s Scractch X 2.0 which is a scratch and blemish remover for auto paint finishes. I used soft cotton pads (makeup removal pads) with a spot of the Scratch X 2.0 on them to scrub the grooves and the area around the button as well. The next series of three photos show the stem after the scrubbing with X 2.0. The oxidation is further removed but still evident.
Pent18

Pent19

Pent20

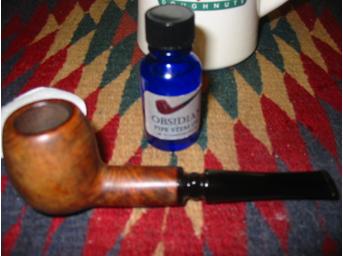
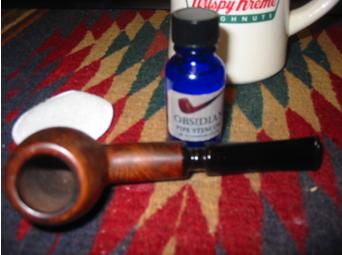
At this point I continued to scrub with the X 2.0 until the stem was once again black. I buffed the stems with White Diamond on my buffer once that was finished. The next two photos (please forgive the blurry focus) show the stem after the application of Obsidian Oil to the clean stem. I left the Obsidian Oil on the stem until it was absorbed and then coated the stem with an initial coating of carnauba wax to protect it while I went to work on the bowl.
Pent21

Pent22

I coated the bowl with an oxblood aniline stain. The next two photos show the coated bowl before I flamed the stain to set it in the grain. The stem appears to be brown again but I had coated it with wax and left it to dry while I worked on the bowl.
Pent23

Pent24

I buffed off the stain with a soft flannel cloth that is pictured below. I wanted to highlight the variety of grain in the pipe so that is why I chose the stain I did. It also shows that the black understain that appeared in the original photos still remained and makes the grain very visible in the pictures below.
Pent25

Pent26

Pent27

Once the stain was dry I put the pipe back together and took it to my buffer. I buffed the stem and bowl with White Diamond until is shone. Then I moved on to a soft flannel buff with carnauba wax and a final polishing buff with a clean soft flannel buff. The finished pipe is pictured below. All that remains is to fire it up and enjoy a bowl in the “new” Penthouse pipe. The stamping on the stem is still present and not harmed by the work but it is light and will not hold any whitening product.
Pent28

Pent29

Pent30

Pent31

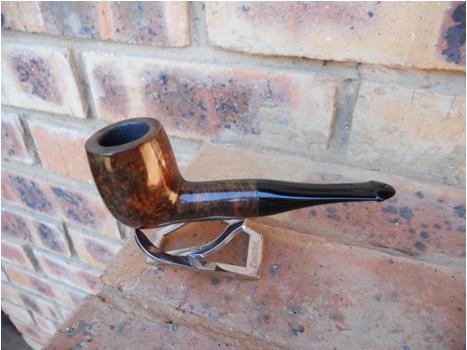
Refurbished Sir Wilkens Danish Made


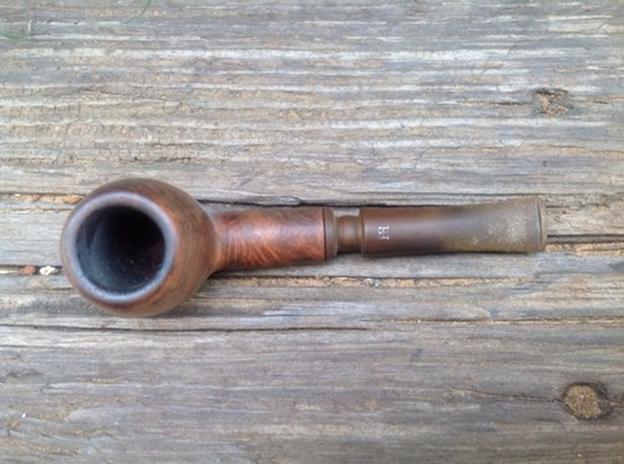
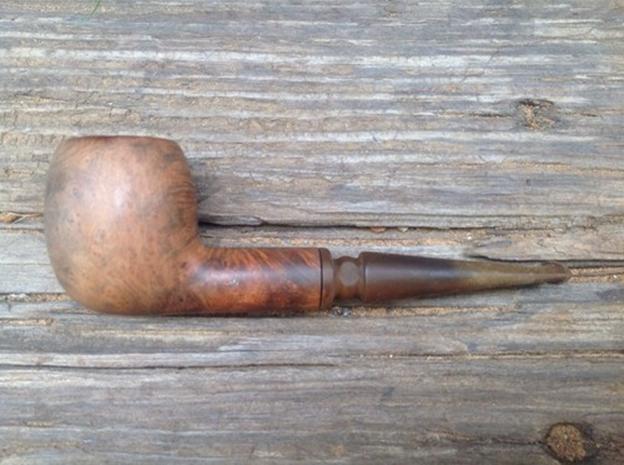
I had this old Danish shaped pipe in my box for refurbishing for some time. I had never heard of the brand but I liked the shape of this particular pipe. It is delicate looking and yet feels comfortable in the hand and mouth. The grain is not remarkable but it is good. It is stamped made in Denmark and I would call it an acorn shape. I always like to do a bit of detective work on the brands I come across and have done a fair bit of research on the web to find out any information. Nothing was found on the web. The stem is a modified saddle bit, pinched at the sides from the top and bottom views but generally tapered to the saddle. It is a slightly bent stem. The bowl was dirty and caked with what smelled like an aromatic tobacco – very vanilla smelling. The stem had a coating of some kind of sticky substance – like scotch tape that had been applied with a price tag. The finish was dirty and the grain appeared smudged beneath the finish. The rim was tarred but not scorched. This was going to be an easy clean up.

Image Image

I reamed and cleaned the bowl to remove the thick cake. I also filled the bowl with cotton bolls and isopropyl alcohol and let it sit over night to leach out the tars and oils. In the morning I wiped down the outside with alcohol to remove a bit of the darkened finish and grime. I then buffed it and polished it with White Diamond to bring back the shine. I cleaned the stem with isopropyl alcohol to remove the sticky residue on it and then cleaned the inside of the stem with pipe cleaners and alcohol. I buffed away the slight oxidation. I then took the pipe to my buffer and gave it a final buff with White Diamond and then multiple coats of carnauba wax.

Image ImageImage

Any help on identifying the maker of this pipe would be appreciated. You can post responses here. Thanks ahead of time for your help.

Refurb on the London Made


I finished up the refurb on a London Made billiard. It is a big pipe 7 1/2 inches long. This one was by far the worst one in the lot of three large pipes that I had in my box to refurbish. The rim was in very rough shape with burn marks on the right hand side and dents and scuffs from banging out the dottle. The bowl was heavily caked and the stem and shank were virtually plugged with tars.

I reamed the bowl and cleaned the shank with pipe cleaners, cotton swabs and a shank brush and isopropyl alcohol. Then I gave the bowl an alcohol bath over night. The next morning I took it out of the bath, dried it off with a soft cloth. Once it was dry I sanded the bowl with micromesh sanding pads (1500-6000 grit) until it was smooth. I wiped it down with a cotton pad and some isopropyl to clean off the sanding dust and any remaining oils from my hands. I restained it with an oxblood aniline stain thinned with isopropyl alcohol.

I went to work on the stem after that. The stem was in bad shape. There was a very deep cut mark on the top of the stem about a 1/4 inch from the button. There was also a bite through hole on the underside of the stem. I cleaned and sanded the stem until it was black once again. I left the area around the button, on top and bottom, a bit rough and then filled the cut on the top with krazy glue. I greased and inserted a pipe cleaner in the slot and then filled the hole with krazy glue. Once the glue was completely dry I sanded the two fills I made with sand paper – 400, 600 grit, and then micromesh sanding pads from 1800-6000 grit. (I have read of concern by different folks on how the super/krazy glue can melt or cause damage on vulcanite. I have now been using this process for several years and never had a problem. I have used it on both vulcanite and Lucite. In the past weeks I have also used it on a nylon stem without any probems.)

I took the pipe to my buffer and finished the refurbishing with a buff of White Diamond to polish the finish on the bowl and the stem. I gave the entirety several coats of carnauba wax and buffed it with a clean flannel buff to give it a shine.

Here are the pics of the finished pipe (once again I forgot to take pictures of the pipe before I worked on it). Thanks for looking. ImageImageImageImageImage

Dr. Grabow Colour – Damaged and Reborn


Blog by Steve Laug

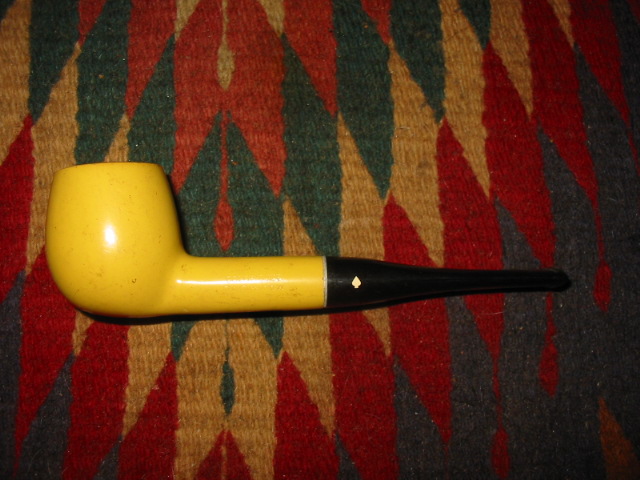
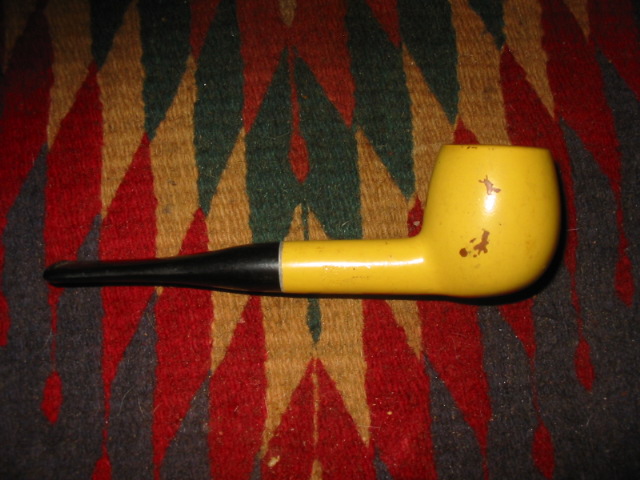
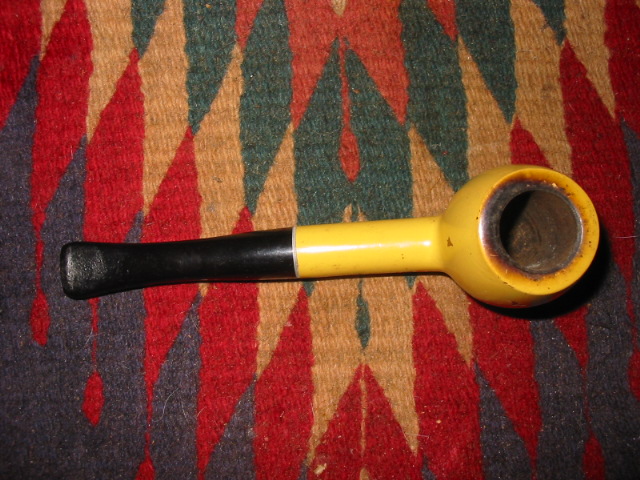
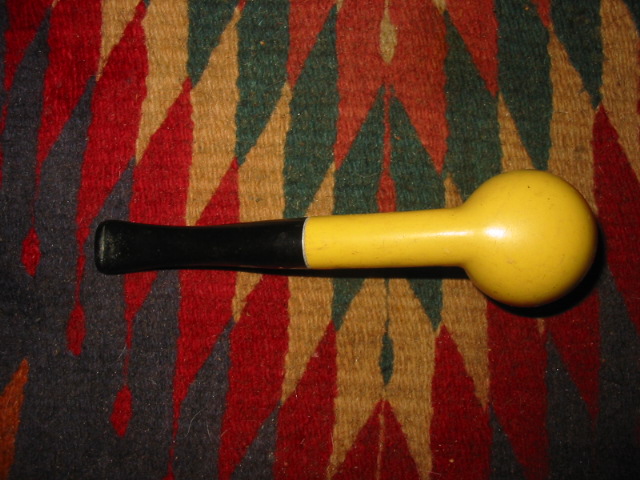
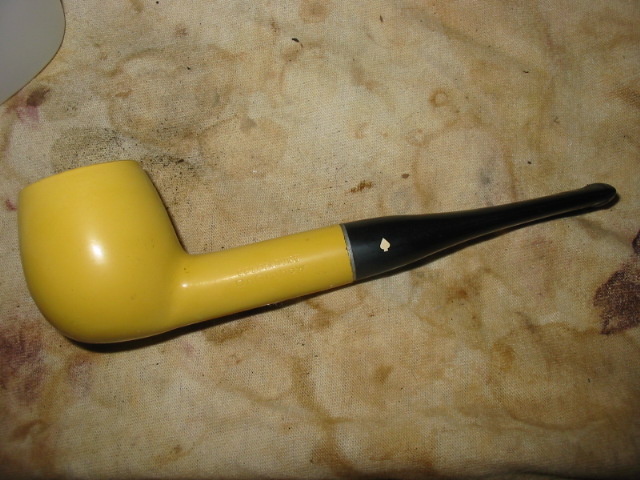
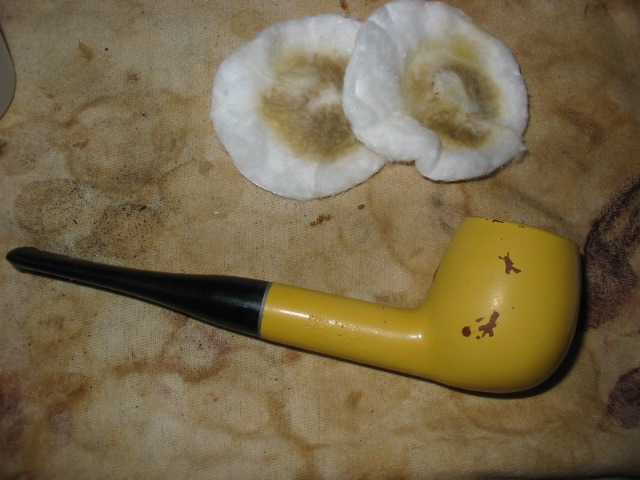
I have had this old Dr. Grabow Coloured pipe for a long time. It had damage to the colour coat and to the rim. I kept putting off doing anything with it as I could see no way of repairing the colour coat. It had the nylon stem as well with the Medico filter system. It was a screw mount tenon. The stem was covered with tooth marks and I just did not want to do anything with it… until yesterday.

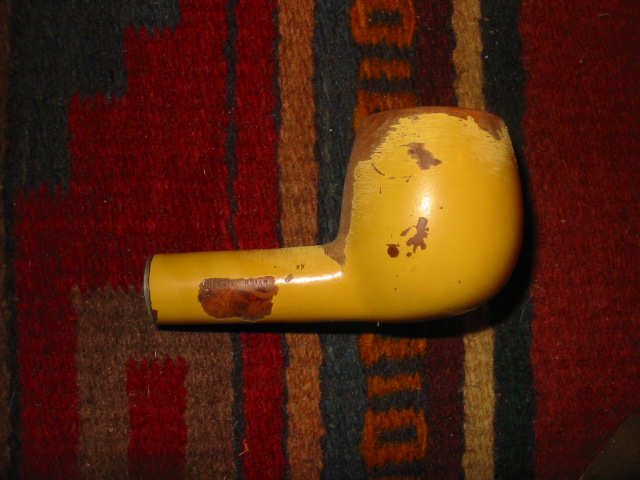
Yesterday morning I took the pipe out of the box of pipes for repair and wiped it down with some acetone to see if I could clean up the bowl. At this point it was my plan to find some of the same coloured paint and respray the paint on the bowl to fix the spots where it was scratched off. I put the pipe bowl in my pocket and took a trip to Walmart to see if I could match the yellow colour of the paint. I went through about 6 or 7 different yellow colours and none matched. I stuck it back in my pocket and headed home. By this point I had decided to strip the bowl back to the wood and see what was under the paint. I had always heard that the bowls used in these pipes were pretty devoid of grain and had many fills so I figured what did I have to lose on stripping the paint.

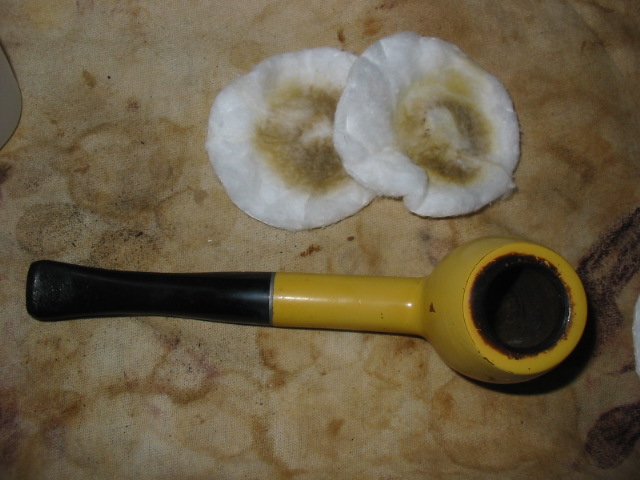
I dropped the bowl in the alcohol bath for several hours while I was working on other things around the house. My hope was to loosen the paint coat not dissolve it into the water. Isopropyl should not dissolve the paint but it would certainly soften the paint and penetrate under the paint coat through the scratch marks in the surface. After I removed the bowl from the bath I used a sanding pad with medium grit and rubbed it across the painted surface and the paint began to peel back very easily. The next series of three photos show the effect of the paint coming off with a very light sanding.

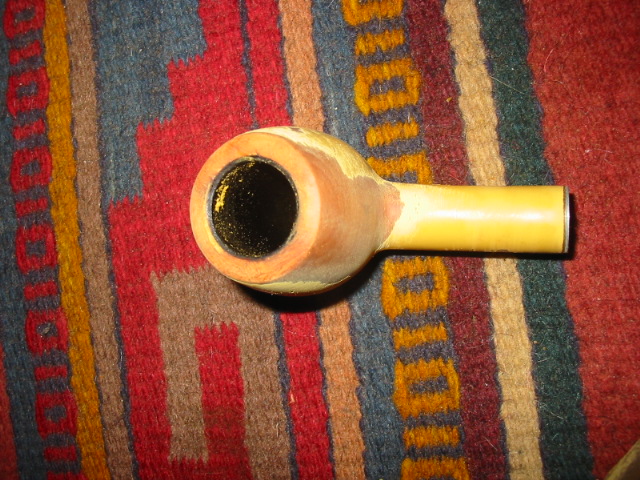
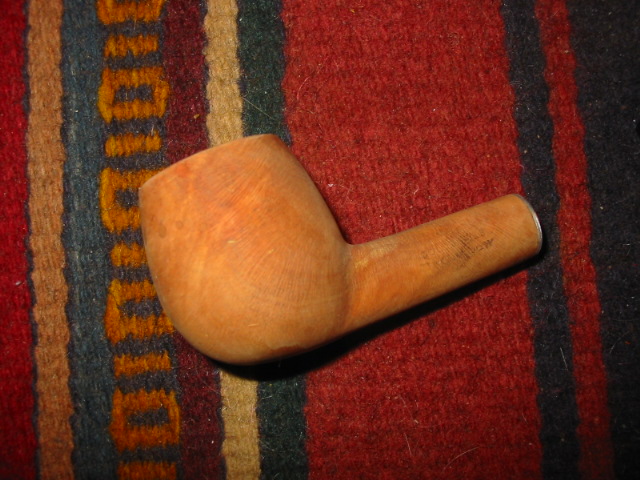
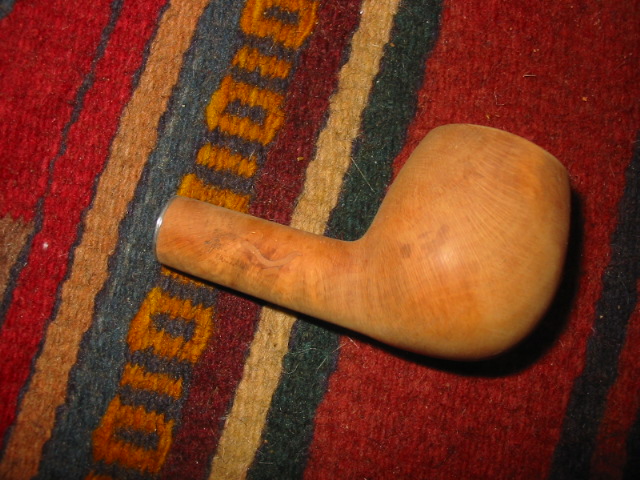
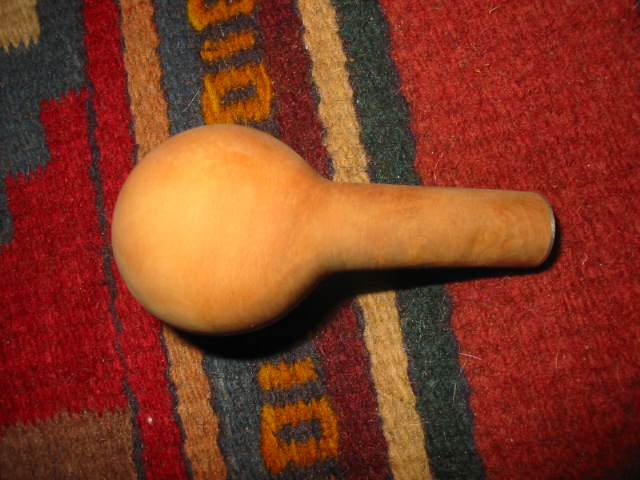
I continued to sand the paint coat until it was gone. The next series of four photos show the bowl after the sanding. The paint coat is gone; all that remains is the light coating of yellow haze that will come off with a quick acetone wash. Once the paint was gone I was left with a pretty bland block of briar. There were fills around the front of the bowl and the sides. The shank, right side had a large fill that extended most of the length of the shank. The rim was in great shape with no dents of burns. The inner bevel on the rim was in great shape. I reamed the bowl to clean up the inside and the softened cake. It came out smooth and fresh. I cleaned the shank to remove and of the remaining tars and oils.

Once I had the internals cleaned up I washed the bowl down with a cotton pad and acetone. This removed the remnants of the yellow paint. It is amazing to me to see the amount of yellow colouration that came off with the acetone. The wood had quite a bit of yellow pigment on the surface of the bowl. I washed it down until the pads remained white. I sanded the tooth chatter and marks on the nylon stem (did I ever tell you how much I hate these nylon stems?? No? Well they are truly a pain). I was able to get the majority of the tooth marks out with emery cloth and then 240 grit sandpaper. I attached the stem to the bowl to have a look at what I had to work with  and where I should go with the finish work.

The fills seemed pretty disguised in the light colour of the briar so I decided to do a bit of an experiment. With a pipe of this calibre what do you have to lose? I stained it with a black aniline stain, flamed it and stained it a second time. My hope was that the fills would be hidden well by the stain coat. At first glance they seemed to remain hidden under the stain. I took the pipe to the buffer once it was dry and buffed the bowl with Tripoli to give it a shine and polish. As I did that the fills really stood out. The matte finish of the black hid them but the shine made them stand out. In the second photo below you can see the round fills on the front of the bowl. The one on the shank also stood out a bit.

The next series of photos show the pipe after a buff with Tripoli and White Diamond. The fills on the front now appeared to be a pinkish/red colour under the black coat. The one on the shank also looked pinkish/red. In the second photo below you can see where I restained the fill area on the shank. It was a large fill shaped almost like a moustache. Once it was dry I buffed it again with a light touch. The fills were just too obvious and ugly in my opinion. I even tried giving the pipe a top coat of dark brown stain to see if that would hide them. It did not. So I set the pipe down and went to supper. While I was eating I thought about the possibility of rusticating the bowl and giving the pipe a whole new look.

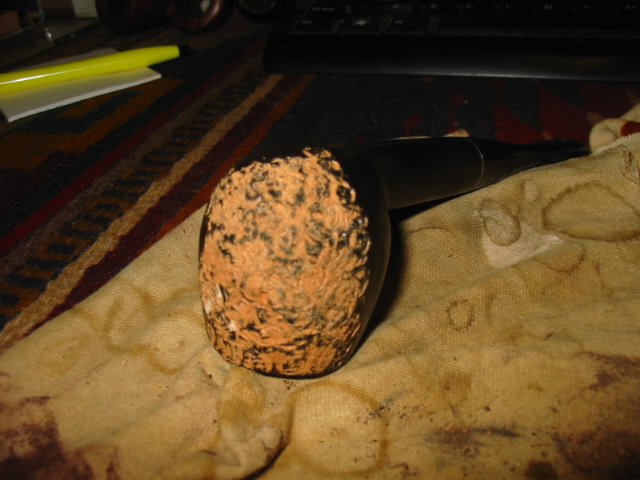
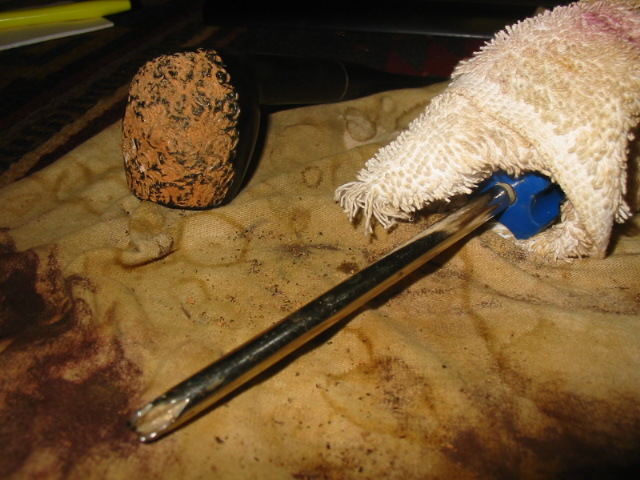
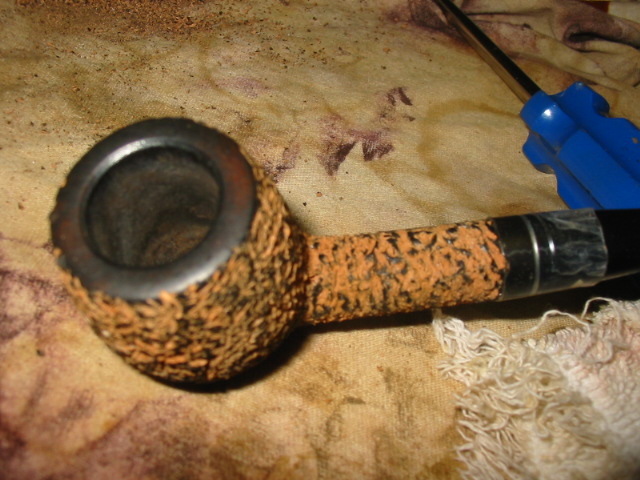
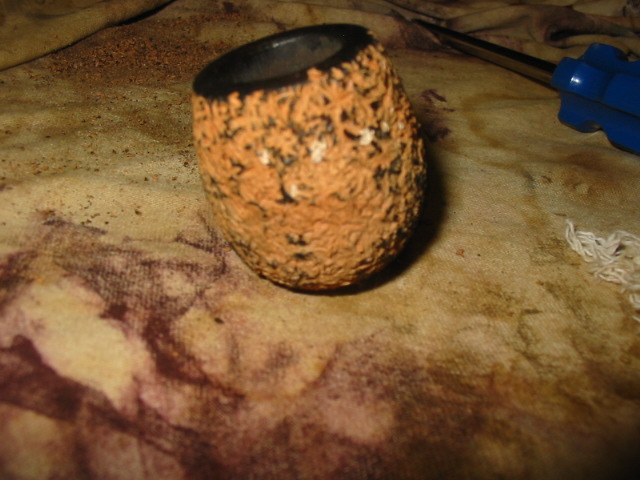
I took out my modified Philips screwdriver that I use for rustication and went to work on it. The screwdriver has the x pattern and a point. I used my Dremel to cut out the point and create four points with the remaining tip. It has a handle which I pad with a thick cotton cloth so that I can push it into the wood and minimize the discomfort on my palm from pressing. 

In the picture above you can see the work of rustication. The picture below shows the red coloured fills on the front of the bowl that made the decision to rusticate pretty easy for me.

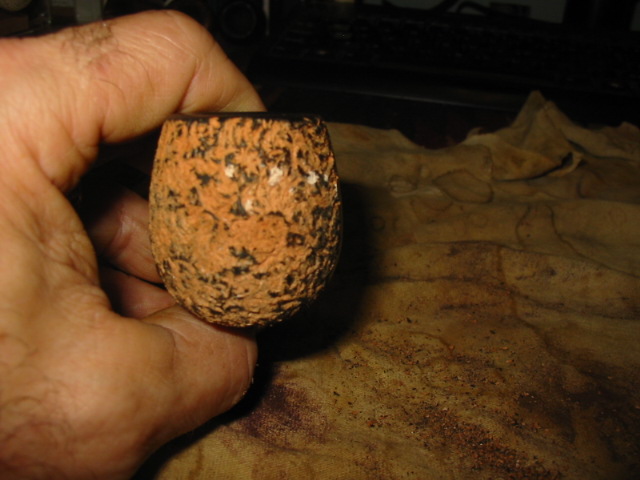
I worked my way around the bowl as is seen in the next series of photos. I worked the front and then the bottom of the bowl and worked my way up each side of the bowl. In this case I decided that I wanted to see what the pipe would look like with a rusticated bowl and a smooth shank so I left the shank untouched with the rustication until I had finished the bowl.

The next three photos show the rusticated bowl and smooth shank look of the pipe. It just did not work for me. I did not like the look. As an aside – one of the great things with the rustication tool I use is the ability to use it in tight spaces and leave the surrounding surface untouched. By the way you will also note the photos that I left the rim smooth as well. 

The next two photos show the putty fills that were used. They seemed to have been white putty that was chalky when I scratched into it during the rustication process. You can see the location and the size of the fills in these photos. I am glad that I decided to rusticate this bowl.

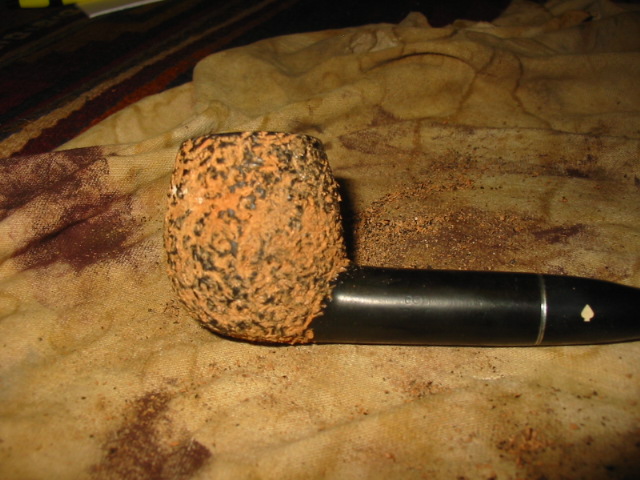
I wrapped the shank and stem junction with a cellophane tape in multiple layers and extended onto the shank a quarter inch. I wanted to make a smooth band that would not be rusticated and match the smooth rim that I was leaving. The tape gave me an edge so that I would feel that as I twisted the tool in rusticating the shank. I also would give an edge to put the teeth of the tool against when I twisted it into the wood of the shank. The next series of photos show the rusticated shank. On the first one you can see the size of the fill on the right side of the shank. It also was the same white putty. As I hit it with the rusticator it left a white chalky residue. You can also see the intent of the band on the shank and the rim of the bowl being left smooth and what that would look like in contrast with the rough finish.

When I had finished the rustication I removed the tape guard and then sanded the band to get it smooth and to bring out the grain with dark undercoat.

Once that was complete I stained the pipe with a black aniline stain. I applied it heavily and then flamed it. The flaming sets the stain deep in the grooves and recesses of the rustication. I gave the rim and the band a coat of black as well. Once it was on I rubbed it off with a soft cloth to get the effect that is visible in the pictures below.

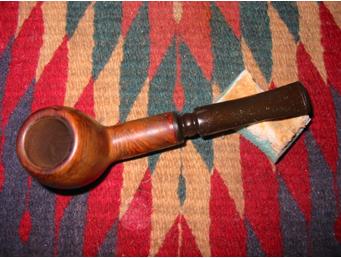
Once the stain was dry I worked on the smooth areas of the bowl – the rim and the band – with micromesh pads from 1500-6000 to polish them and smooth them out. I also worked on the nylon stem. It was a pain. The material scratches no matter what you do to it. And as I learned a long time ago it does not work to buff it as it has a very low melting point. So I sanded it with increasing grits of wet dry sandpaper – 400 to 600 grit and water and then sanded it with wet micromesh pads from 1500-12,000 to remove the scratching. I polished it on the buffer with blue polishing compound and a verrrrry light touch to give it a shine. I had waxed the smooth surfaces and the stem with carnauba and then wiped the pipe down with a cloth impregnated with Briar Wipe. Here is the finished pipe. I think the experiment worked!
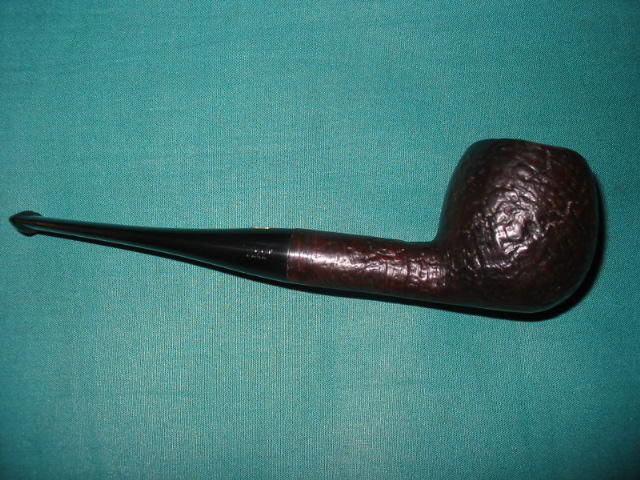
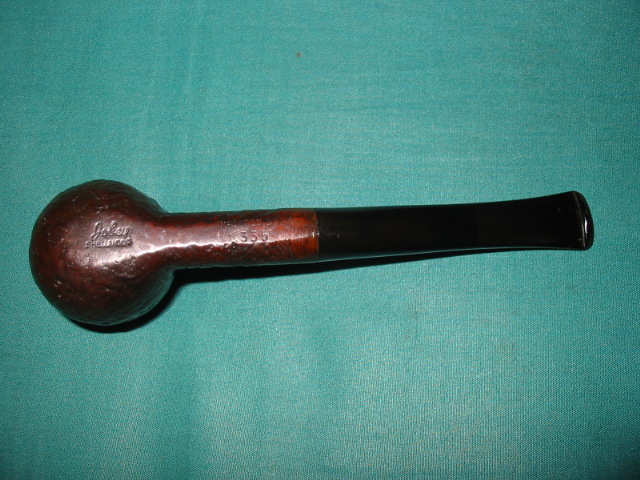
Reworked Jobey Shellmoor Apple


This is one I wish that I had remembered to take a picture of before I started working on. But I did not. Sometimes when I am in a hurry I forget to take the photos and this was one of those cases. I was on my way out the door so I took this pipe out of my box of pipes to refurbish, quickly reamed the bowl and threw the stummel in the alcohol bath and the stem in a bath of Oxyclean. You will have to take my word for it – it was a mess. Probably the worst looking mess I had in the box. The bowl was caked with a dark, tarry cake that smelled like roses. The blast was so clogged with grit and grime that you could not feel texture anymore. It was smooth and muddy black looking in colour. The rim was thick with tars and lava build up and the stem was a dark and deep brown from the heavy oxidation. I pretty much figured I would be working on this one for a while to clean it up. After I dropped it in the bath I went off to work and promptly forgot about the pipe altogether. In fact it was two days before I remembered I had left it there.

I went to my work table and took both jars that held the baths. I opened the lid not sure of what I would find when I removed the pipe parts. I took the bowl out first and dried it off with a cotton cloth I have here. Then I took the stem out of the Oxyclean bath. The water had grown cold and dark tea coloured and I wondered what I would find. I dried off the stem with a cotton cloth and put them both on the work table. I was amazed at the work the baths had done to both of them. I reamed the bowl back to bare wood so start over and then wiped the bowl down with acetone on cotton pads. The first four pictures below show the bowl and stem after the bath and the reaming. I then went to work on the inside of the shank and bowl and the inside of the stem. I used both cotton swabs as pictured below and also a series of shank brush, bristle pipe cleaners and regular pipe cleaners all dipped in isopropyl to clean out the shank and stem. I went through quite a pile of both to clean out all the dark tars and oils from inside the shank and stem. The aromatic that had been smoked in this one still survived the two + days in the alcohol and Oxyclean baths and the floral scent remained – not a Lakeland like floral more of a Mixture 79 floral smell. Once the swabs and cleaners were coming out white the smell was gone from the stem and shank.

I scrubbed the exterior of the bowl one last time with a soft bristled brass tire brush to clean out any remaining grit in the sandblast finish. Once it was clean I wiped it down one last time with acetone before I was ready to stain it. I used a dark brown aniline stain to cover the bowl. I flamed it to set the stain and gave it a second coat, flamed it again and then took it to the buffer and buffed it with a Tripoli buff. The stain was still too dark to my liking and also too opaque (though they are dark photos 1-3 below give a pretty accurate picture of the colour of the pipe after staining and buffing). I took it back to my work table and wipe the bowl down with acetone on a cotton pad to lighten the stain. The fourth photo below showing the underside of the bowl gives you an idea of what the stain looked like when I was finished with the wipe down.

I worked on the scratches and tooth marks on the stem with emery cloth (medium grit) first. I worked until they were gone and then used a medium grit sanding pad and a fine grit sanding pad to remove the scratches left behind. I switched to 240 grit sandpaper and took out the rest of the scratches and marks. I buffed the stem with Tripoli and White Diamond and then used micromesh pads on it. I started with the 1500 and 1800 grit sanding pads and then applied a coat of Obsidian Oil. I let it soak in and then rubbed it down with a soft cloth. I then used the rest of my micromesh pads from 2400-12,000 grit to finish sanding the stem. I rubbed in some plastic polish and wiped it off and then buffed the stem with some Blue polishing compound on my buffing wheel. The finished pipe was given multiple coats of Halcyon II wax on the bowl and carnauba on the stem. The colour of the bowl is precisely what I was aiming for and the stem just glows. I am not sure my photos capture the reflective quality of the buff but it is pretty amazing in person.

A Quick and Simple Refurb on a Bari Senior Mandarin


Blog by Steve Laug

This Danish pipe stamped Bari Senior Mandarin was in my pipe box for quite awhile before I got to it. You have to understand that at that point box of pipes awaiting refurb was full of about 300+ pipes. It is down to about 30 now. It was a busy winter and spring as I cleaned up the lot. It rains here in Vancouver for most of the winter, so refurbishing is a nice dry past time.

The Bari Senior Mandarin came out of the box looking like the pictures below. I grabbed my camera and took a couple of shots of the pipe before I worked on it. It is a large bowled pipe with nice grain. It was dirty and just needed reaming and cleaning. The rim had a build up of tars and what some lovingly call pipe lava. The finish looked to be okay under the dirt. There were a few small dents in the sides of the bowl that would need to be looked after. The stem had some oxidation but no tooth marks or dents. ImageImage

The stem was a relatively simple cleaning job. The oxidation was easily removed with a good buff of Tripoli and White Diamond. I scrubbed the inside and outside of the stem to get rid of the tars and tobacco juice in the airway. The bowl was reamed back to a thin coat of cake and the rim was cleaned of the tars and lava buildup with Murphy’s Oil Soap (undiluted) I wiped the bowl down with a soft cloth and some oil soap to clean away the grime and grit on the bowl and shank. I cleaned the inside of the bowl and shank with a shank brush, bristle pipe cleaners and regular pipe cleaners dipped in isopropyl alcohol until they came out clean. I steamed out the dents with a wet cloth and hot butter knife. Once they were repaired I then buffed the bowl and stem with multiple coats of carnauba wax.

ImageImageImage

Refurb on a BBK Panel Billiard – Swiss made


This BBK Panel was an interesting refurb for me. I had not heard of BBK pipes until I came upon this one. I think it came in a box of pipes that was gifted to me but I am no longer certain where it came from or when I received it. It is stamped BBK both on the bottom of the shank and on the logo on the stem. It had a beautiful blast finish. When I took it out of the box it was dirty and the bowl had a thick cake in it. The rim was blackened and tarred. The stem was a brownish green from oxidation. The beauty was that it was not chewed or dented by tooth marks. It would take a thorough cleaning to learn more about this pipe.

I did not know that I was dealing with a meerschaum lined pipe until I wiped it down to begin the cleaning process. I always wipe down the rim with some Murphy’s Oil Soap to get to the rim and clean away the build up and grime. I use it undiluted and scrub it on the pipe with a toothbrush. Once found that I was dealing with a meerlined pipe I carefully reamed the cake that had built up and then sanded it back. I sanded the rim back to get the grime off of it and expose the meer again. In the second photo below you can see what I found once I had wiped the pipe down with oil soap.


The blast is really nice on this panel so I cleaned it and then restained it with a black aniline stain (Feibings Shoe Dye) to match the original colour of the pipe. I flamed the stain to set it in the briar and buffed it lightly with White Diamond to remove the excess and to give it a polish. I finished by giving it several coats of Halcyon Wax to protect the finish. The stem was oxidized so I buffed it with Tripoli to remove the surface coating of oxidation. I soaked it in Oxyclean to soften the remaining oxidation and then sanded it with 240 grit and 400 and 600 grit wet dry sandpaper before using the micromesh sanding pads (1500 to 6000 grit) to finish the work. I rubbed the stem down with Obsidian Oil and then gave the entirety another coat of Halcyon on the bowl and carnauba on the stem.

I used some liquid White Out to try to recolour the logo on the stem but it did not stick… time to try again. Thanks for looking.