Blog by Steve Laug
For years now I have had a special spot in my heart for Medico pipes. I don’t like the paper filter system, or the cheap stems with the split aluminum tenon, or the heavy varnish on the briar, or the fills that are hidden below the thick varnish, or any endless number of complaints that come to the surface with these old US made briar pipes. But I can’t get past the fact that the first pipe I ever owned was a Medico – paper filter and all, and that the first pipe I picked up when my first daughter was born years later was a Medico as well. Because of that whenever I am given an old Medico bowl I restem it and restore it. I strip away the varnish and rework the fills, make a new stem and bring it back to life in even better condition that it was when it was first sent out.
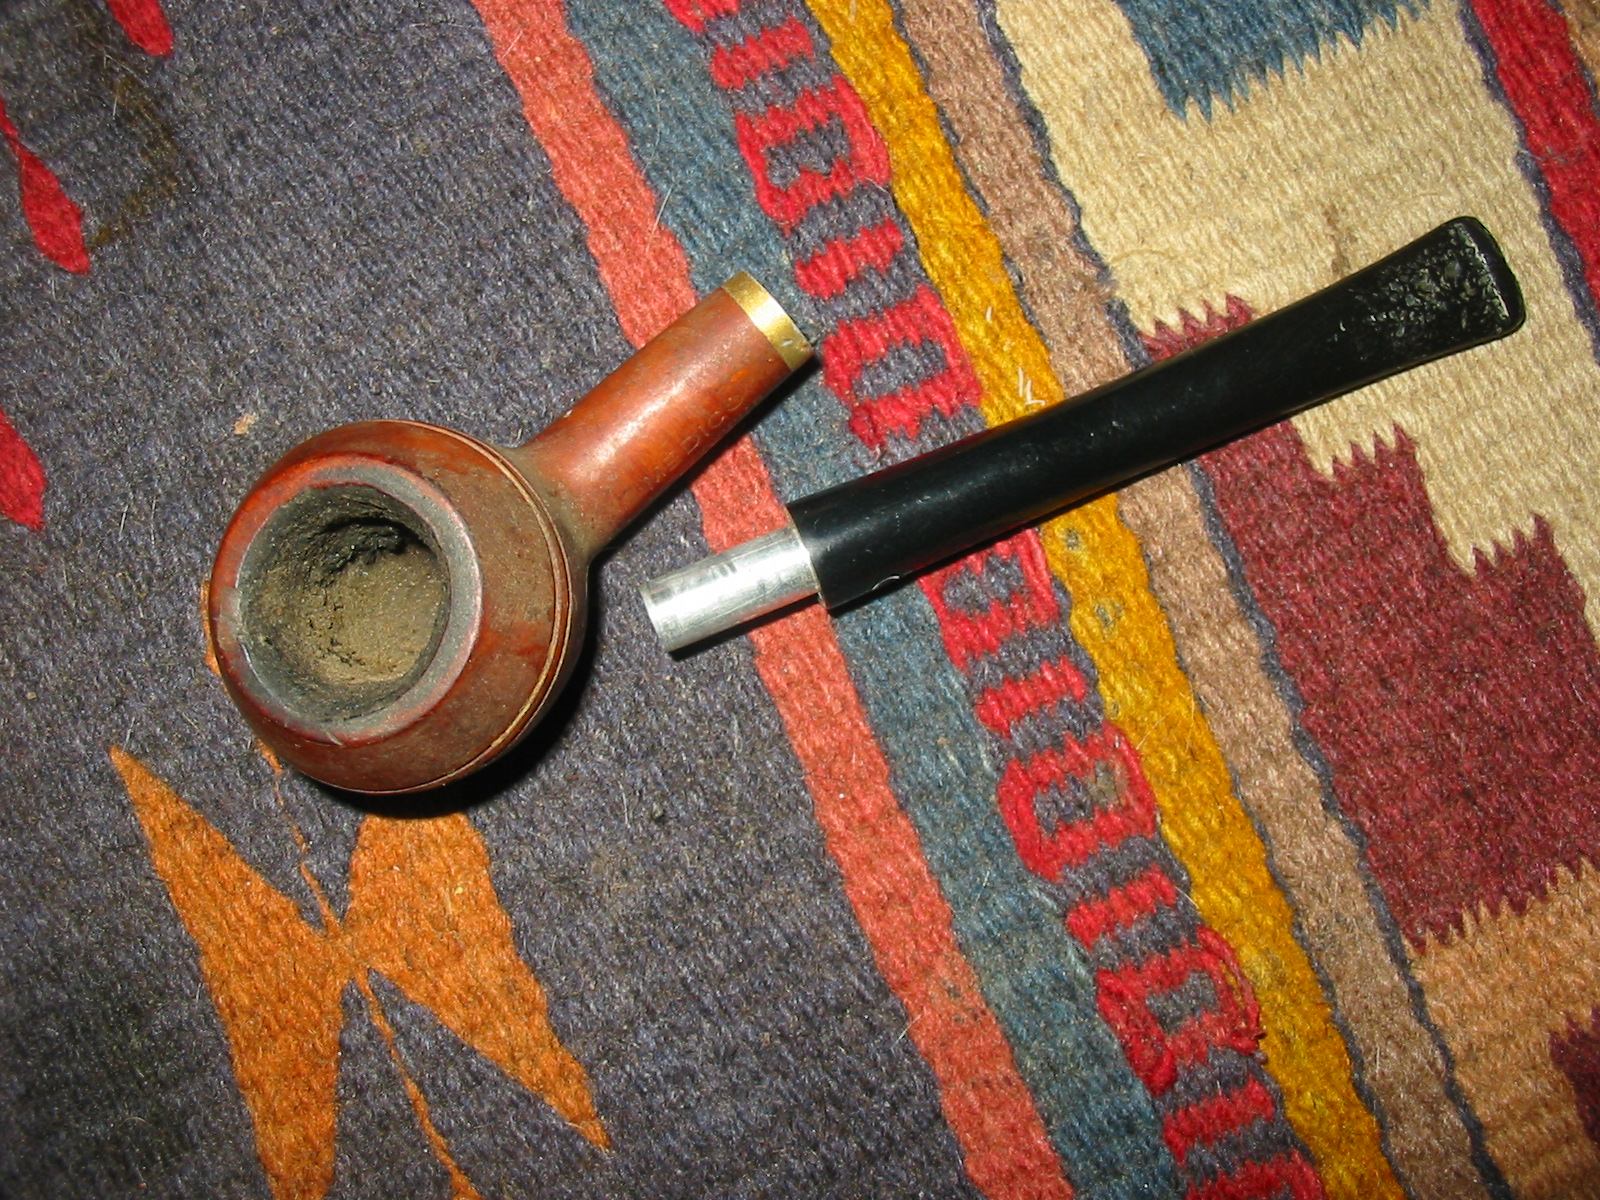
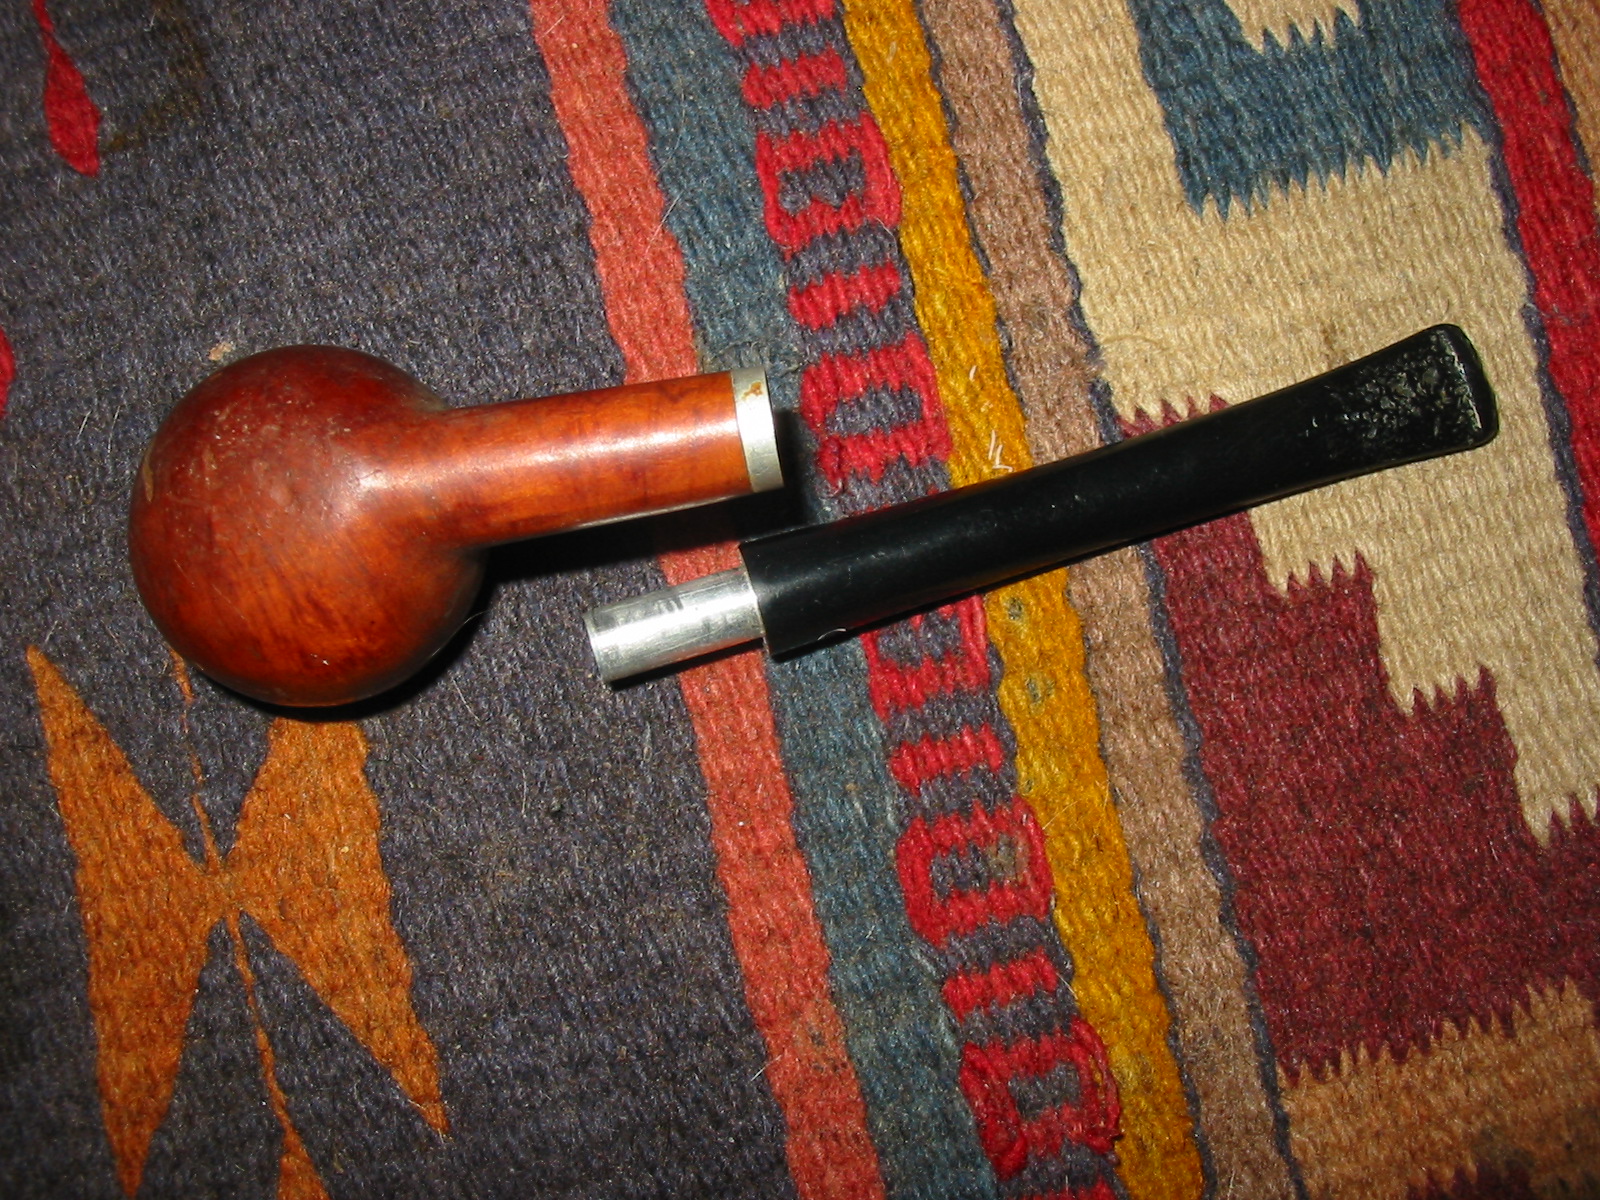
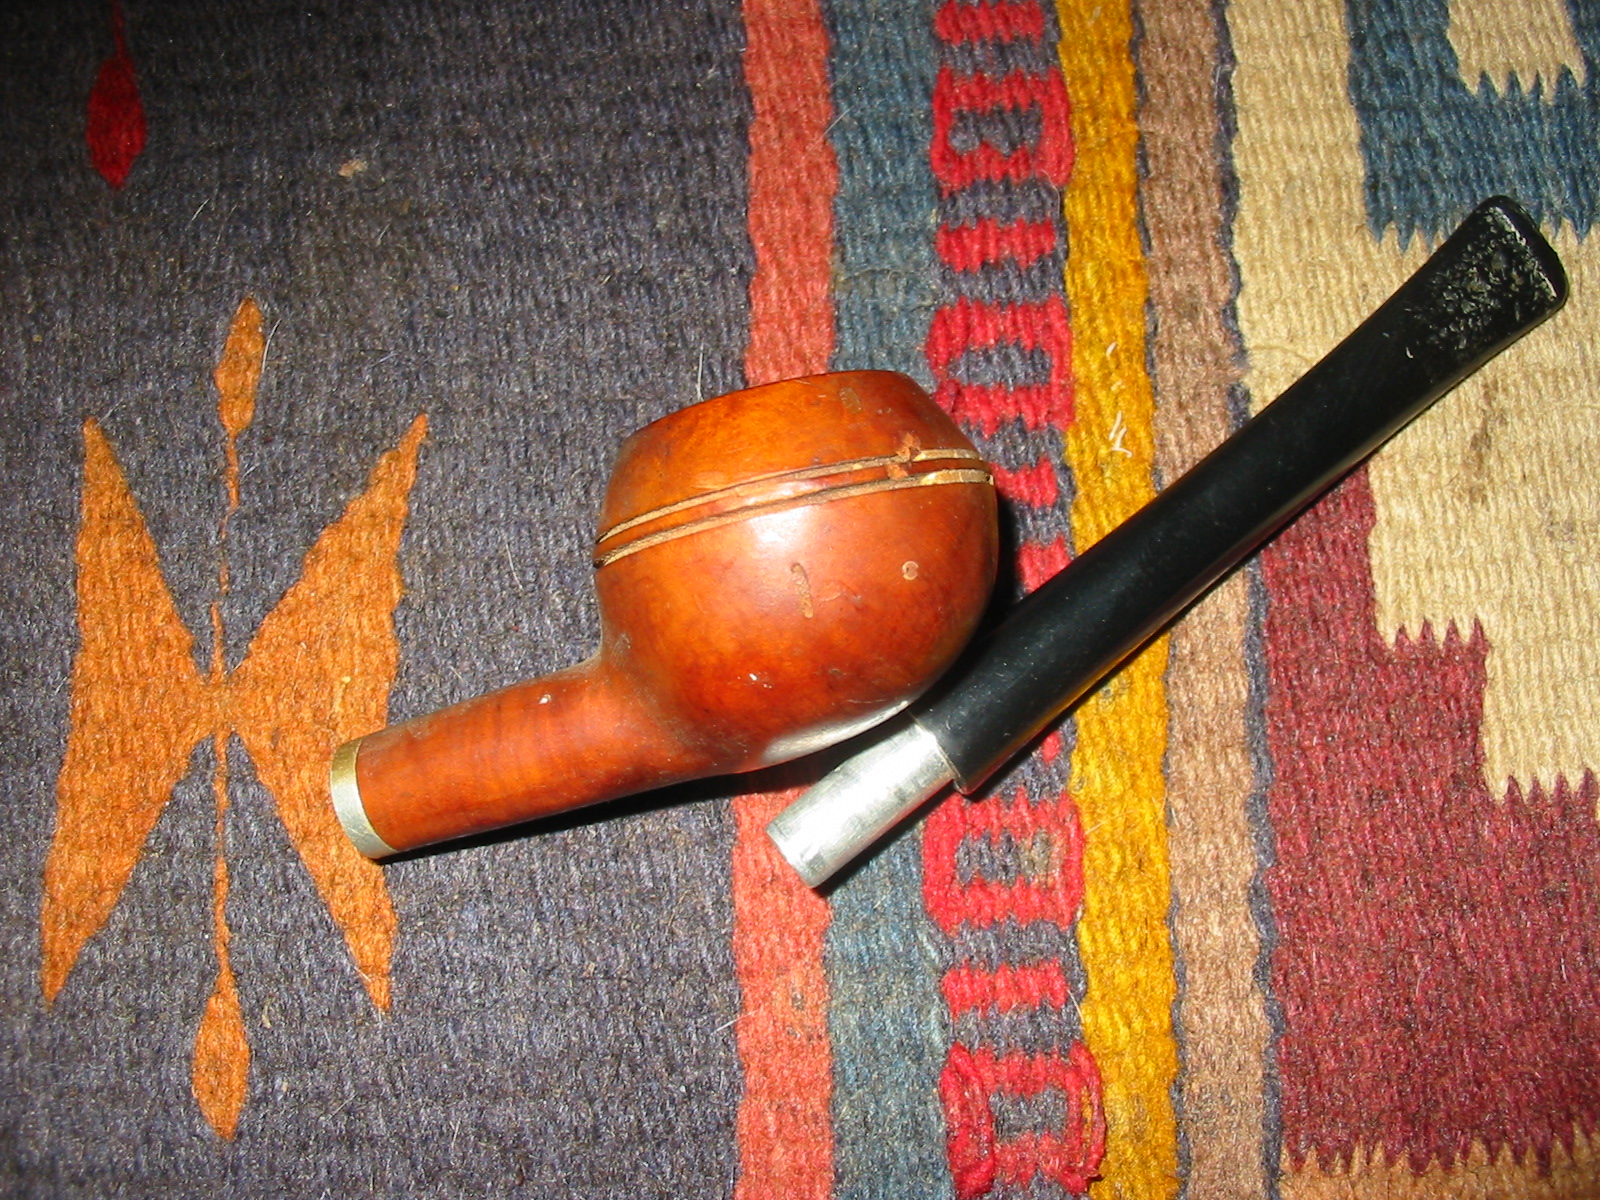
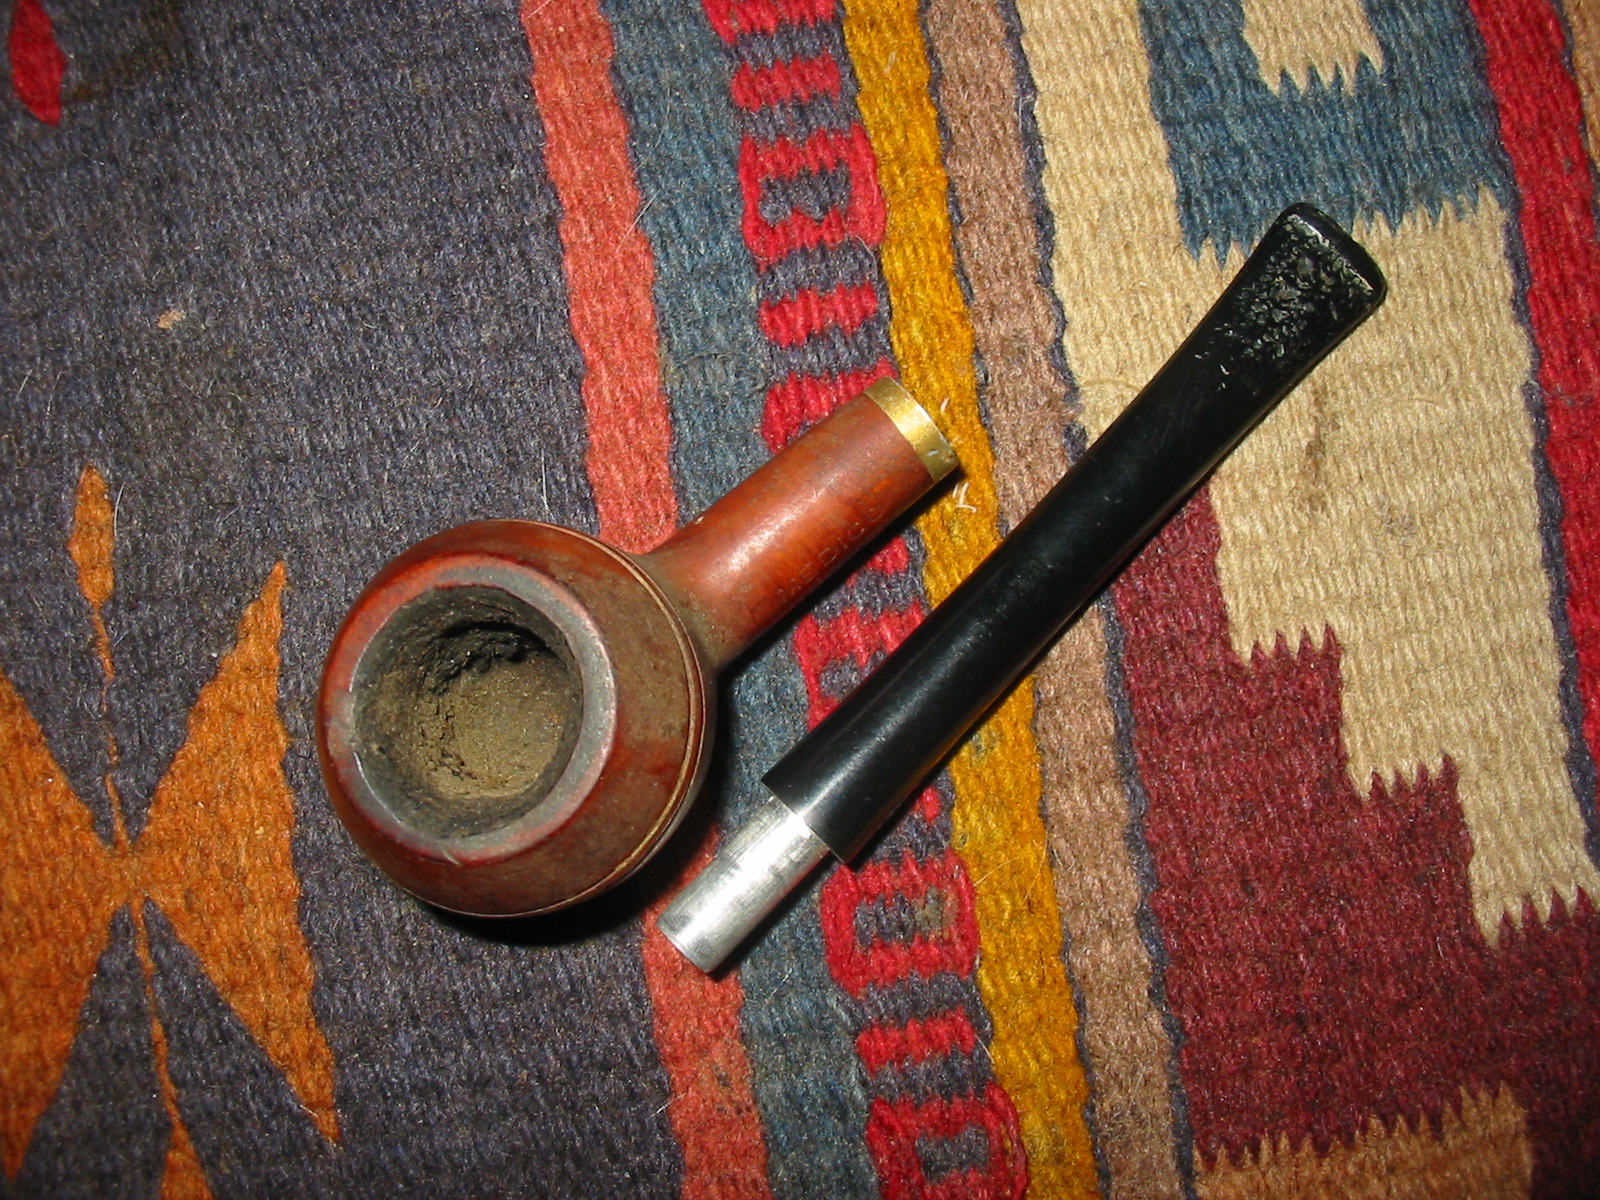
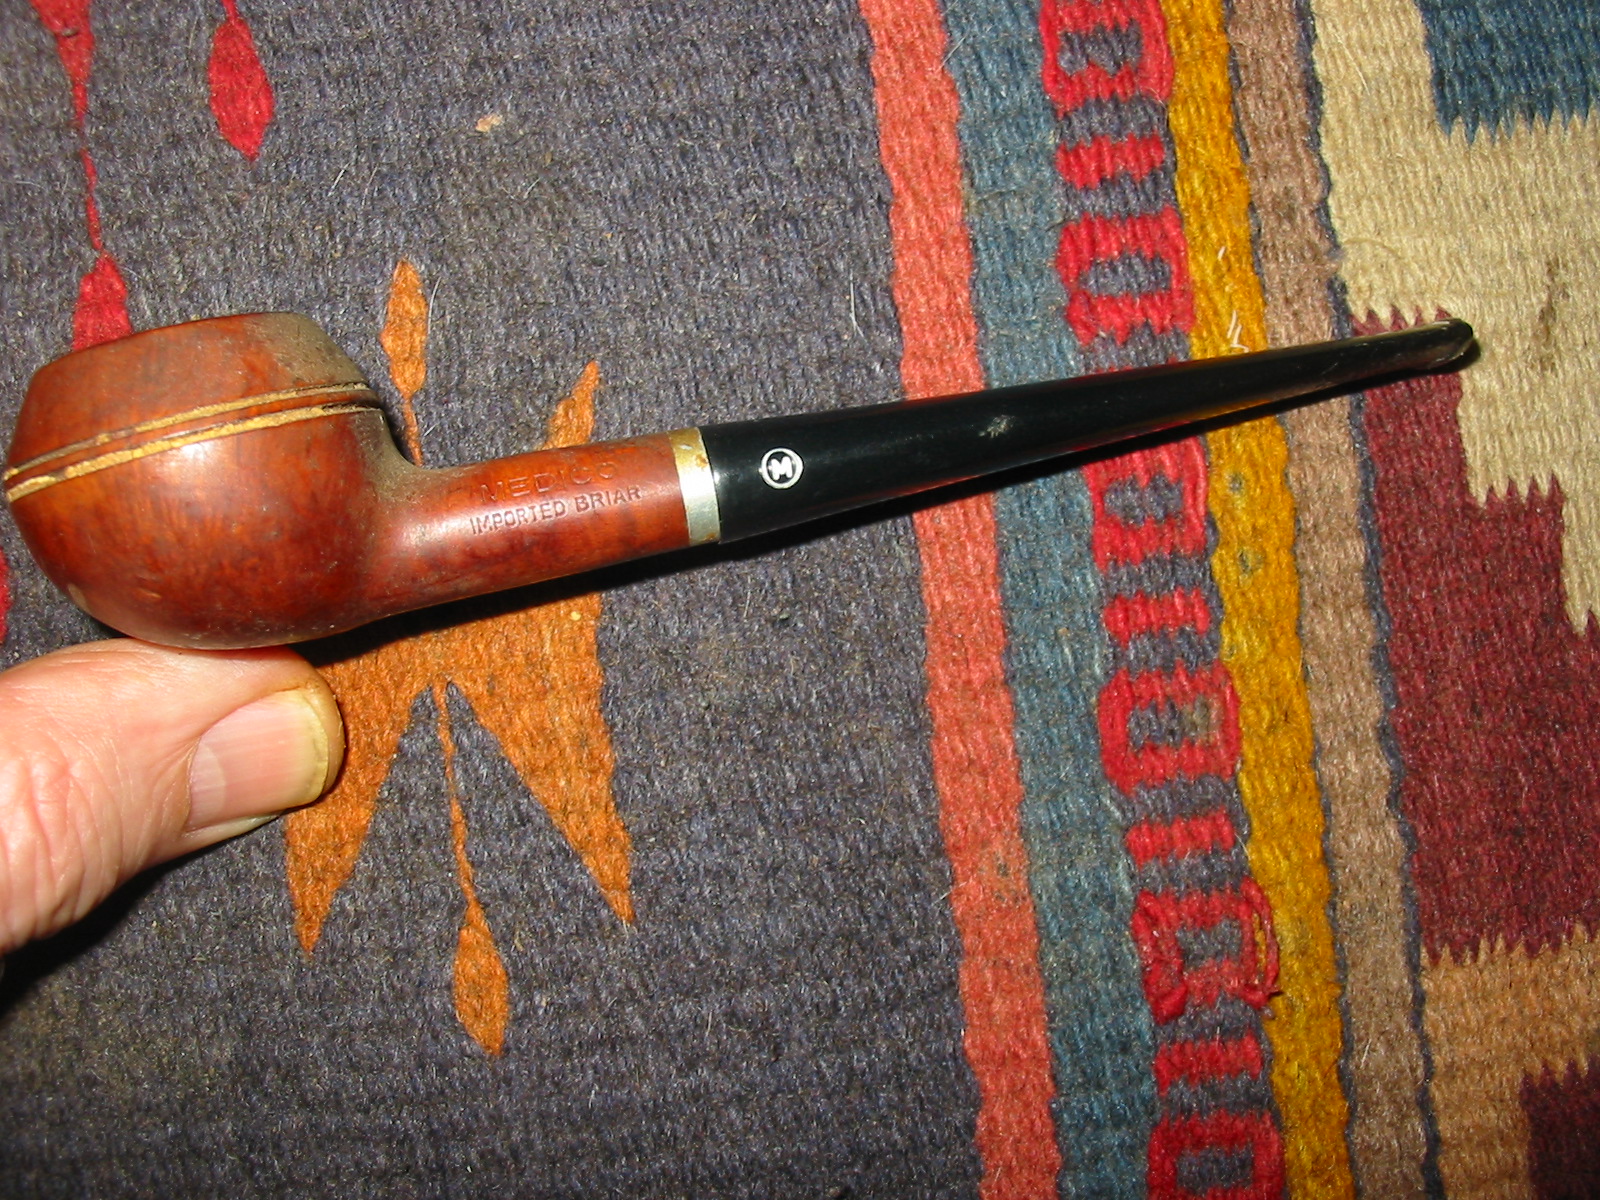
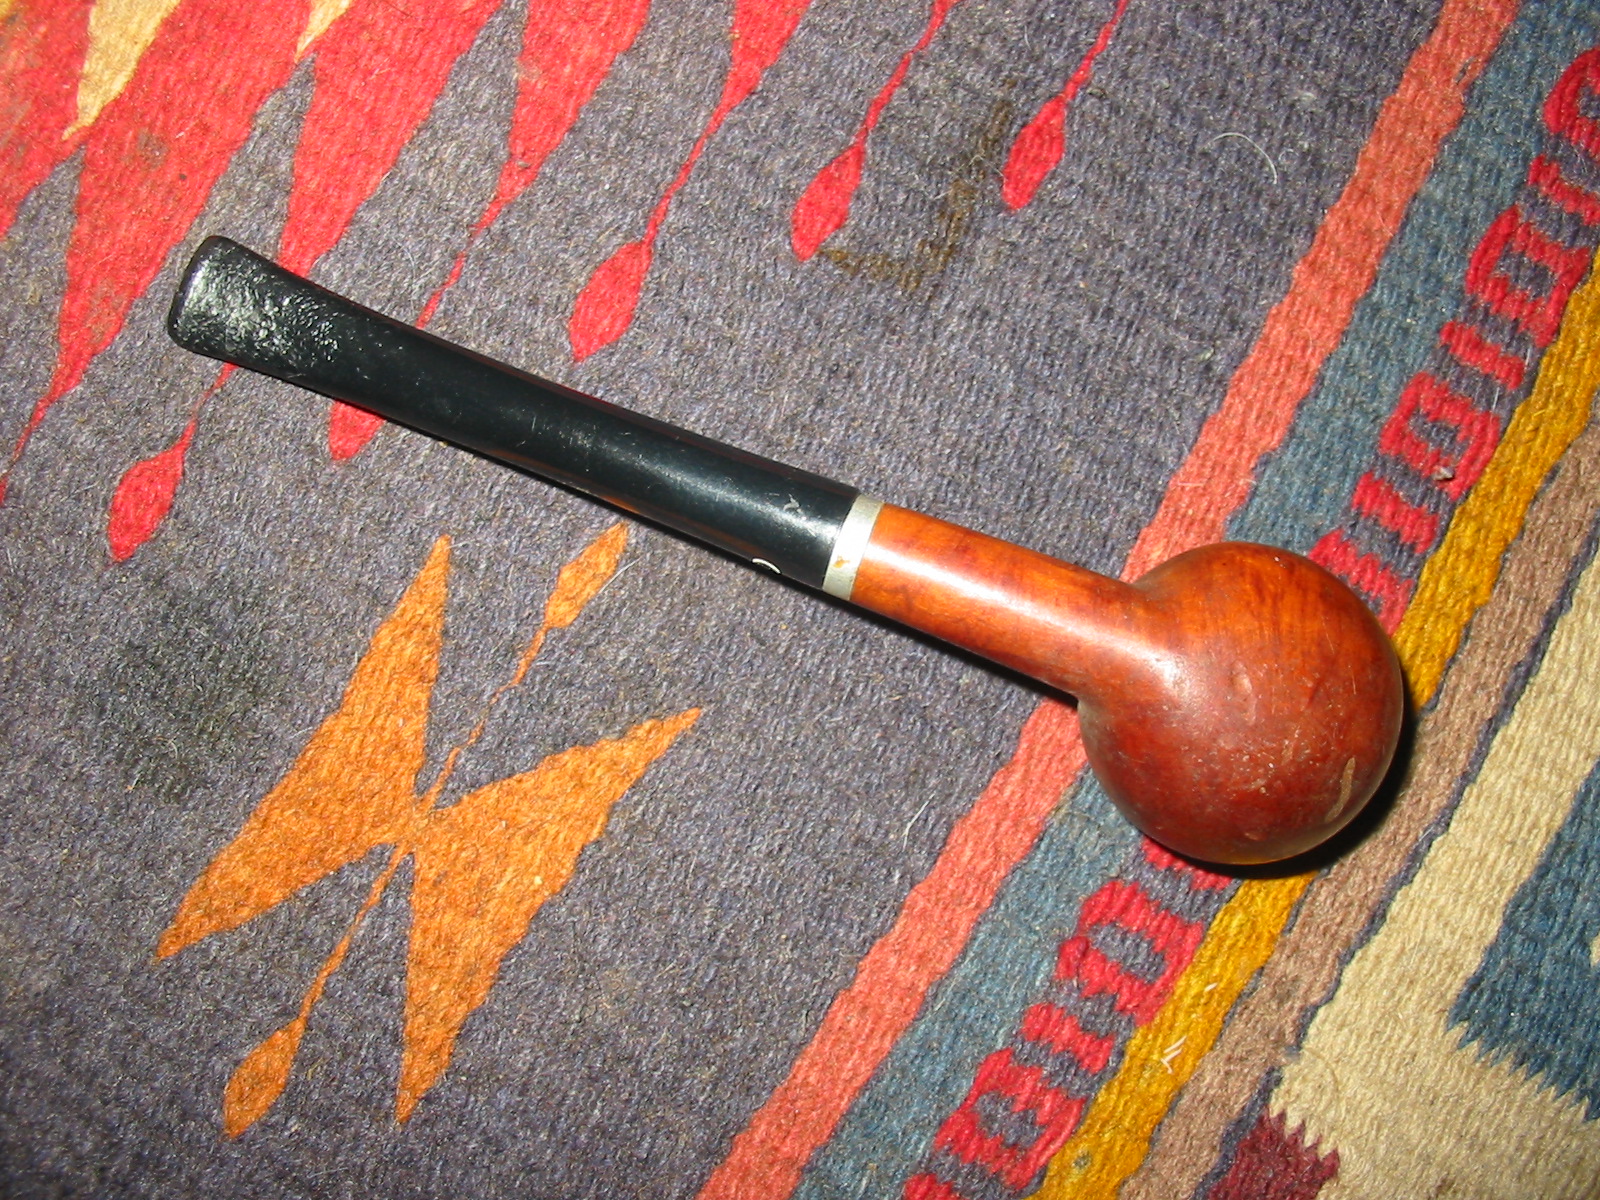
The Medico that I worked on in this restoration was a straight shank Rhodesian that came to me in a gift box of bowls. It was stemless and I had two potential stems that would work for it. There truly was nothing particularly redeemable that I saw in the bowl so the reason was as stated above solely sentimental. The bowl was dirty and worn with a thick cake. The rim had been battered and had deep nicks on the outer edge. There was a thick dark red varnish on the briar. It was stamped MEDICO on the left side of the shank and Imported Briar Italy on the right side. On the left side of the bowl was a large brown putty fill that stood out like a sore thumb. The first stem I tried was a split metal tenon Medico style stem. It was worn but usable.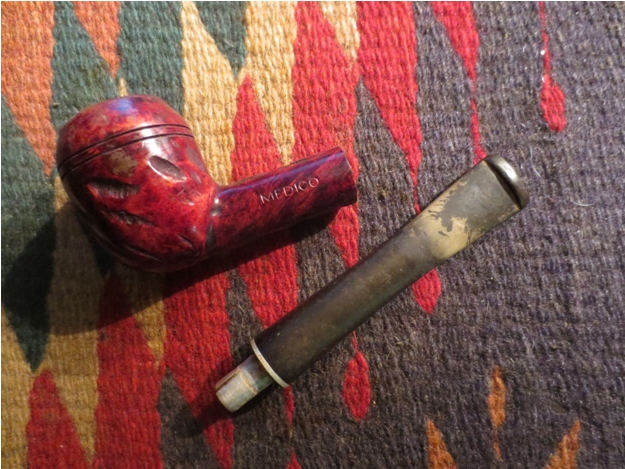
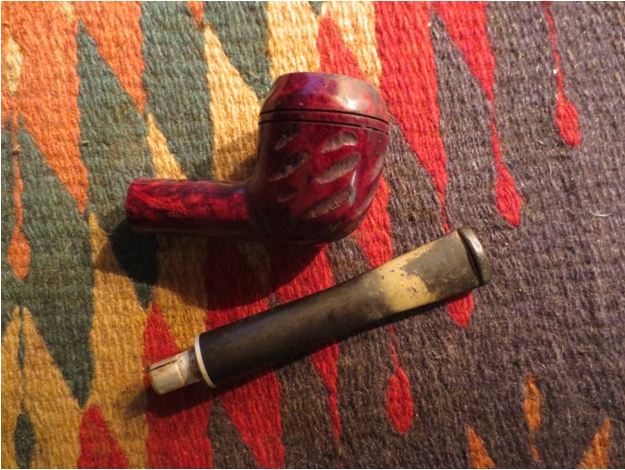
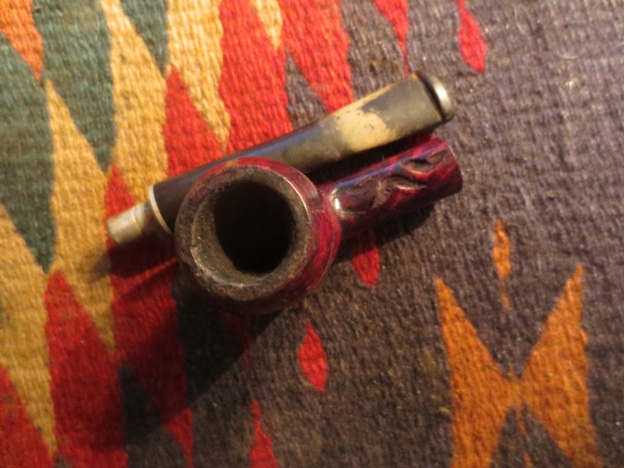
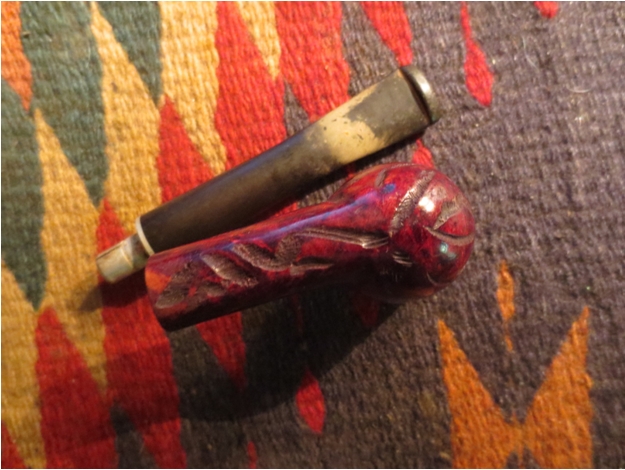 It fit the shank perfectly and looked good on the pipe. I thought for sure this would be a simple and quick restoration. I should have learned by now that whenever I think that problems would pop up on the way to the finish. I cleaned the shank with cotton swabs, pipe cleaners and isopropyl alcohol.
 The top of the bowl was badly damaged with large dents and missing chunks on the outer edge of the rim so I decided to top the bowl. I used the topping board with 220 grit sandpaper and worked on the rim until it was smooth and clean. There were still several places on the outer front edge that would need to be worked on but the finished look of the topped bowl was far better than when I had started.
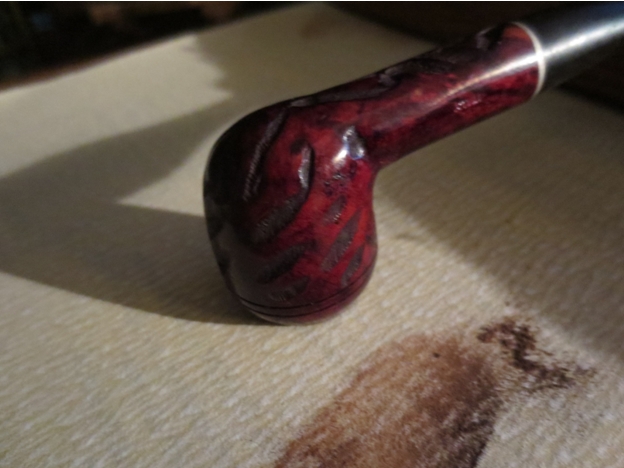
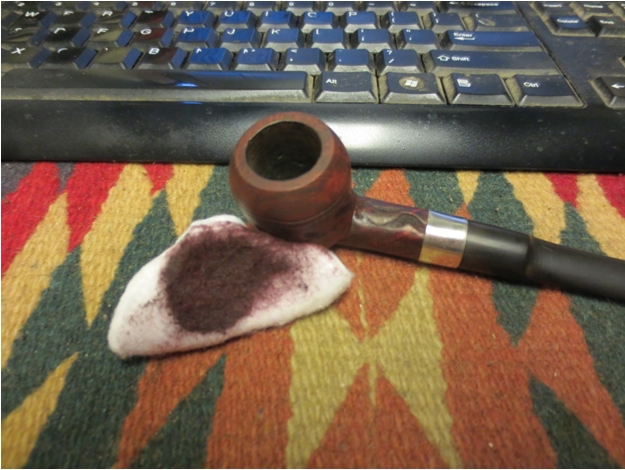
 I wiped down the bowl with acetone on cotton pads to remove the thick varnish coat and clean up the finish on the bowl. I wanted to remove it back to the briar. In the process the dark red stain coat also was removed from the bowl.
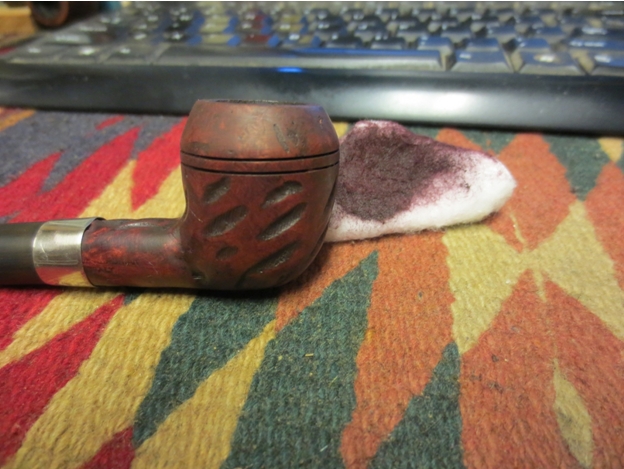
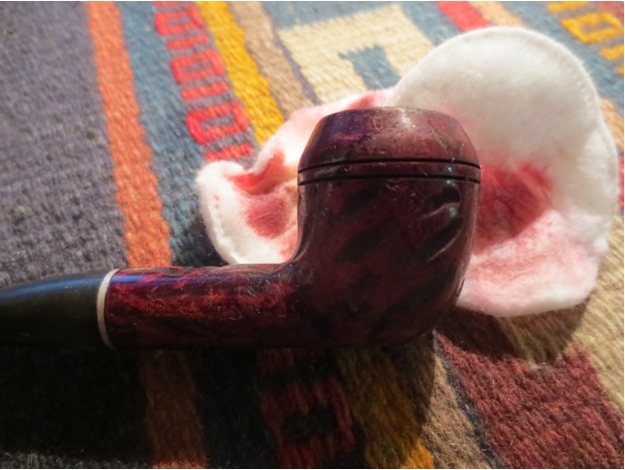 Once the stain coat and varnish were removed I could see several problems that I would need to address. The front edge of the bowl needed to be sanded and the slope on the cap would need to be modified by hand sanding to remove the damage on the front edge and face of the cap. There was also a fine crack that had seeped tobacco oils on the top right edge of the shank. It had been hidden by the dark stain. When I move the stem it was not visible and did not open or spread but it was definitely present. I would need to clean up the shank, band it and with the band a different stem would need to be fit to the shank. The stem I had previously chosen had a metal face that would not work against the band. I scrubbed the bowl and shank until all the red stain that I could remove was gone.
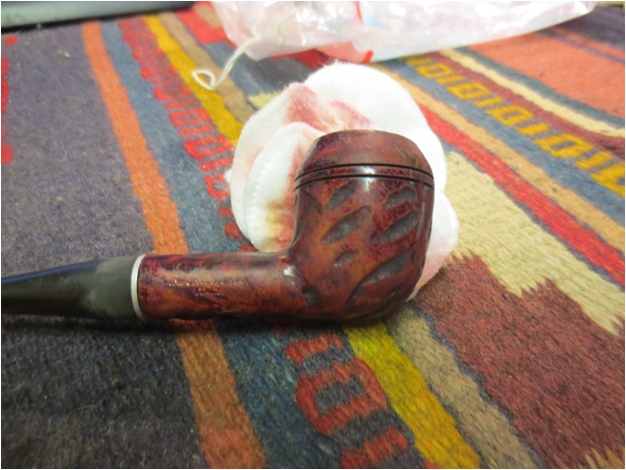
 I used a Dremel with a sanding drum to sand back the shank so that I could fit a band on the shank. I also wanted to smooth out the surface of the rustication pattern and clean up the crack so that I could glue and clamp it before banding.
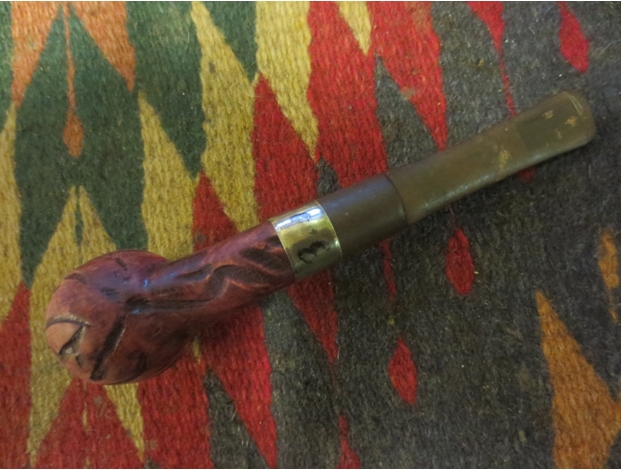
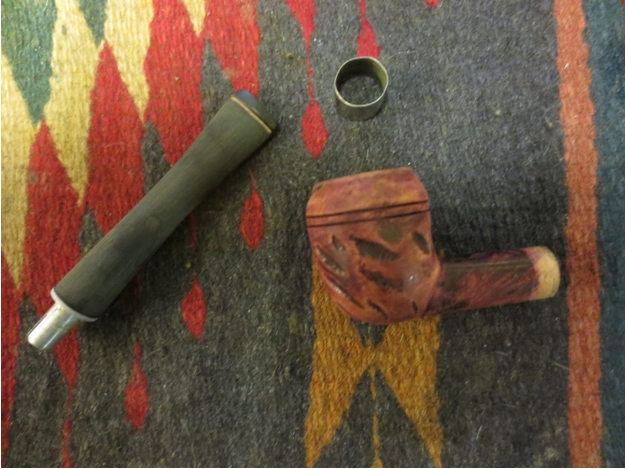 I put the band around the end of the shank and then heated the metal band with a Bic lighter until I could press it into place on the shank. It took several reheats with the lighter before I had a flush fit on the band. At that point I took the second stem I had chosen and lightly sanded the tenon to get a good tight fit in the shank and pushed it in place.
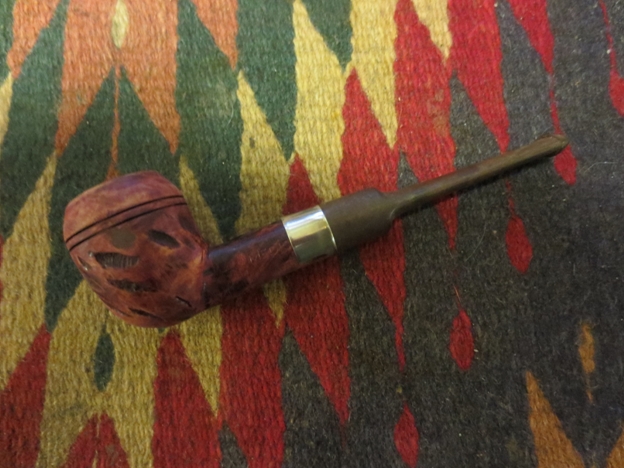


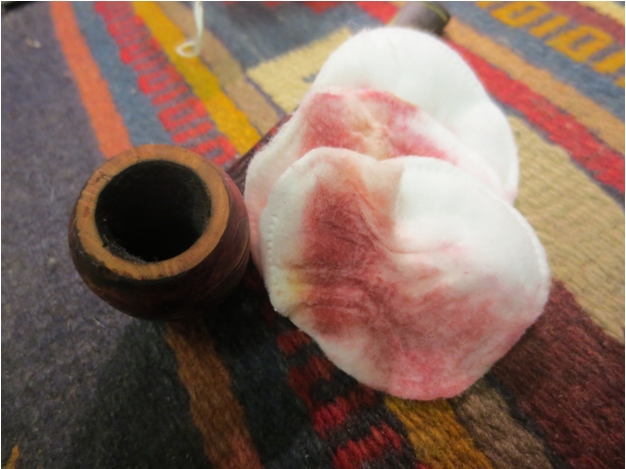
 I reamed the bowl with my PipNet reamer and the smallest cutting head until I had taken the cake back to bare wood. I wanted the bowl to be clean so that I could see if there was any damage to the interior of the bowl.
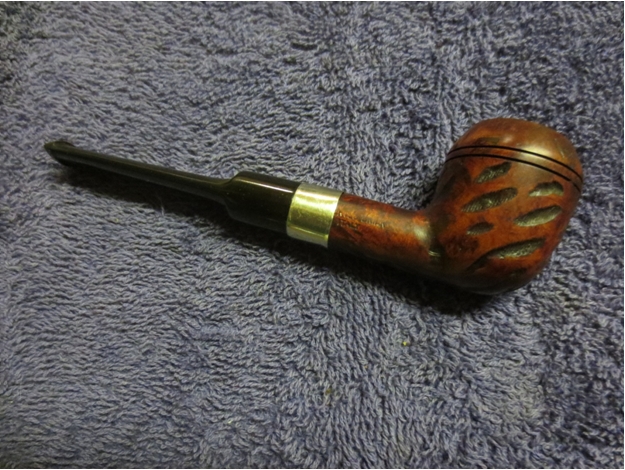
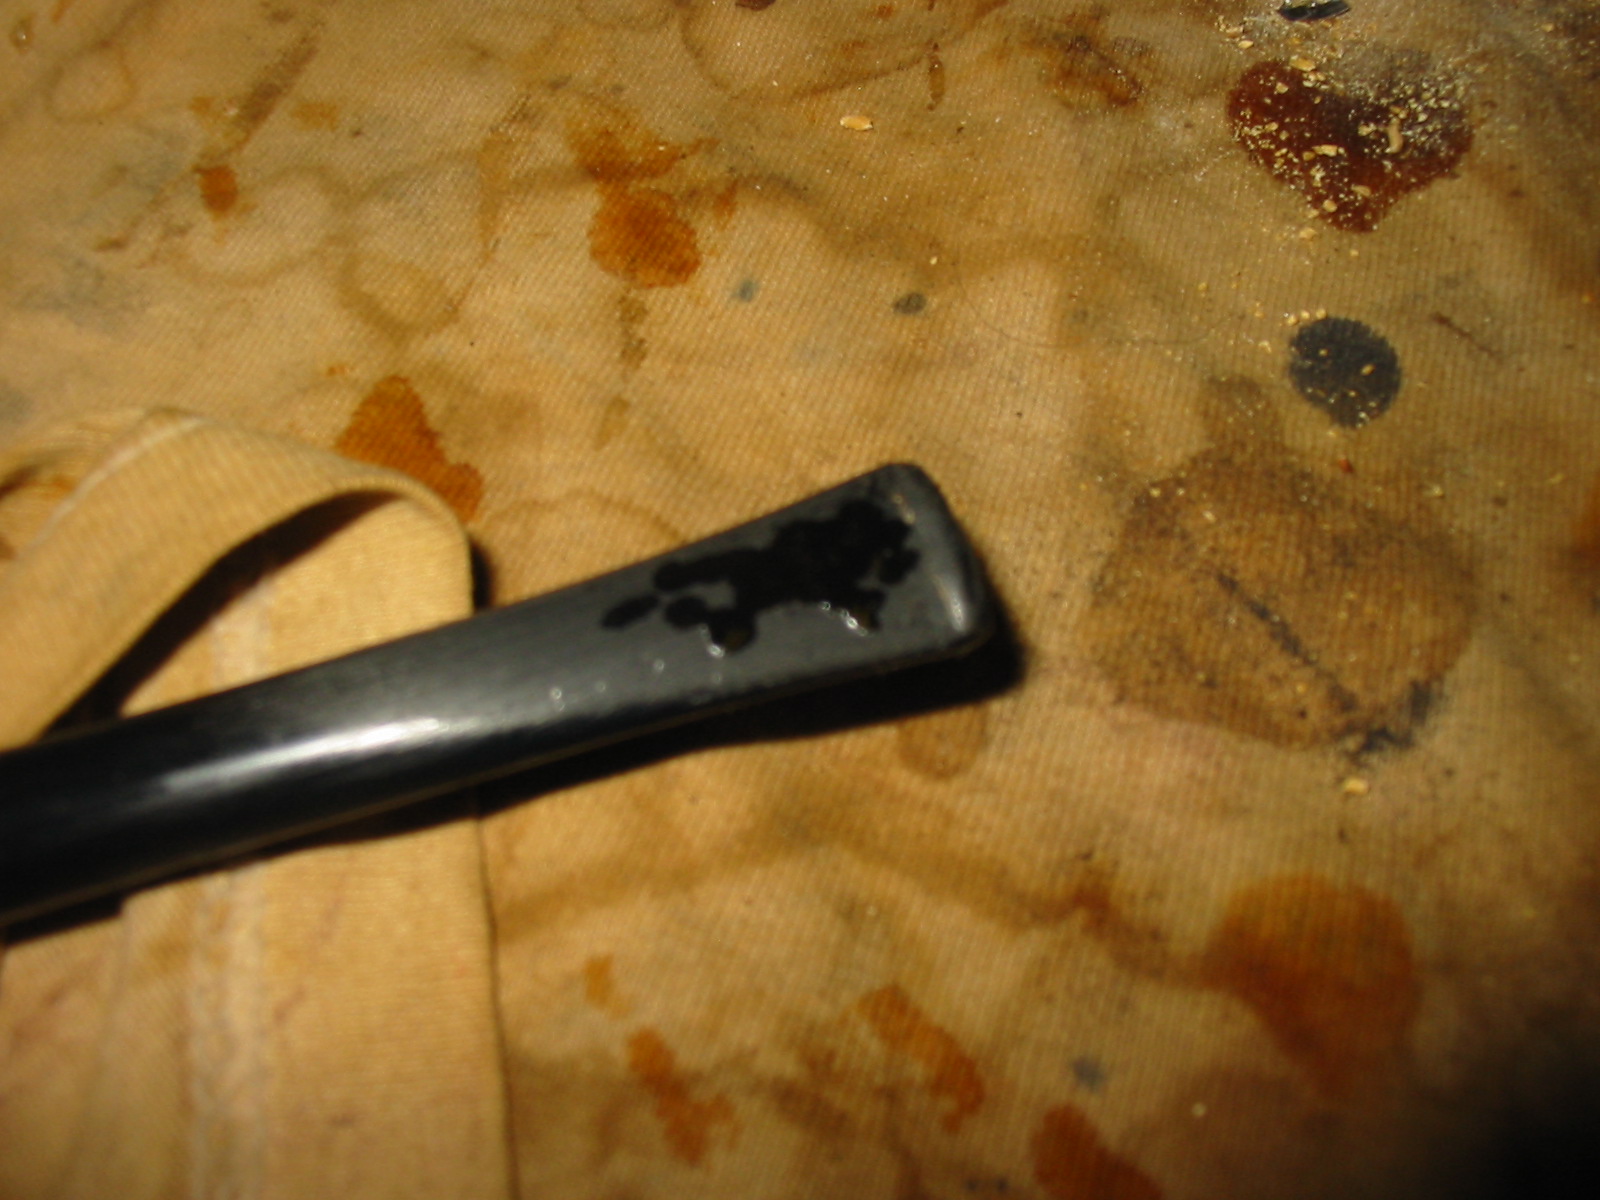
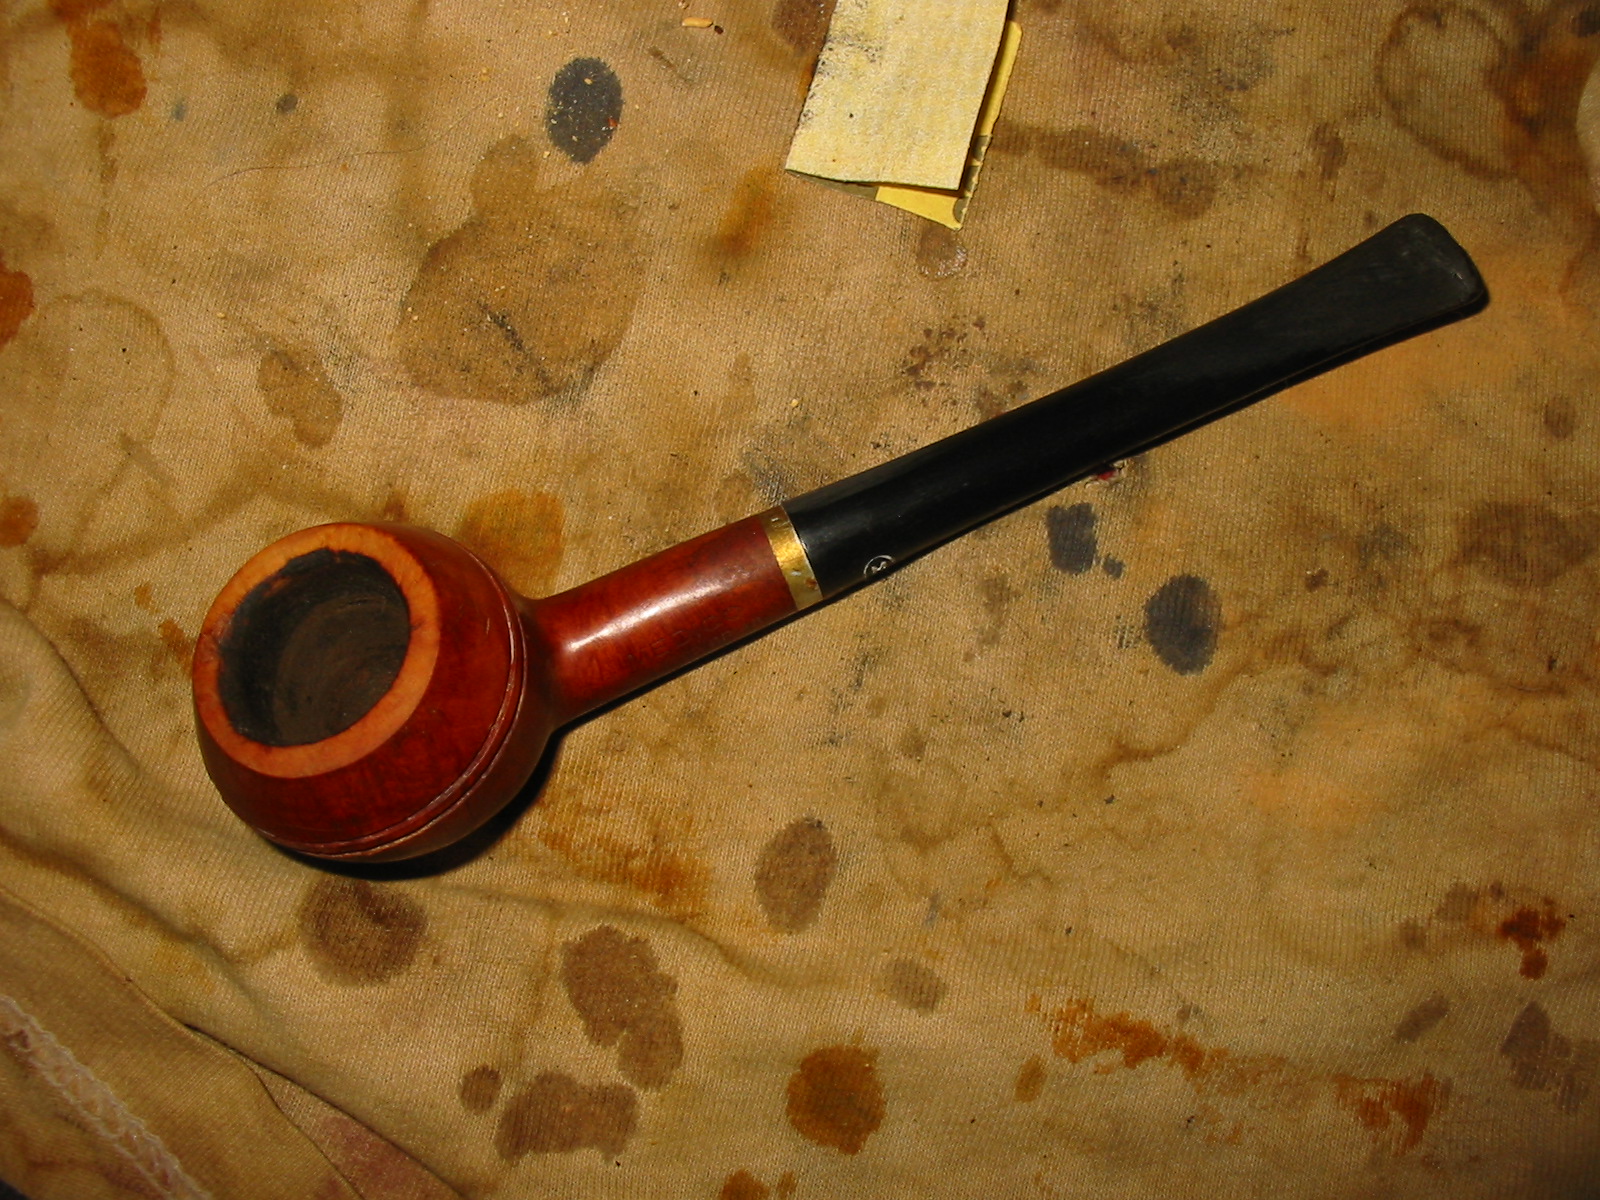
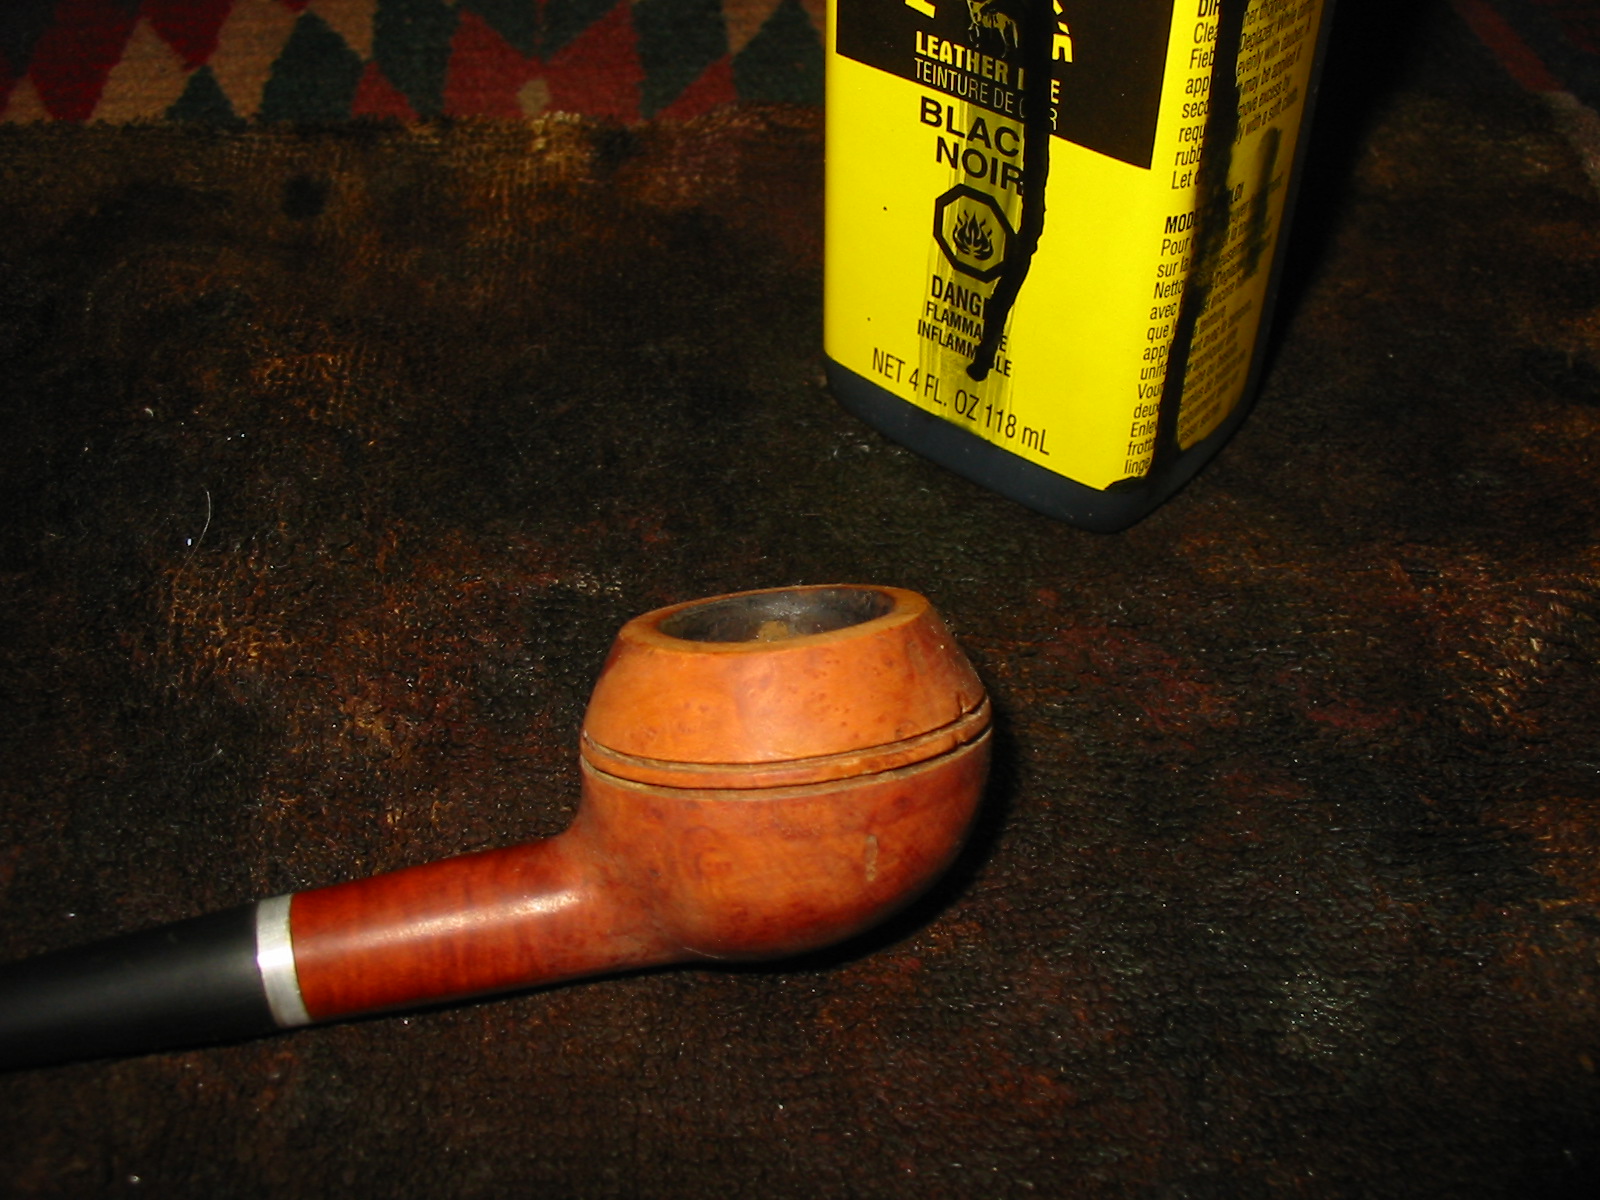
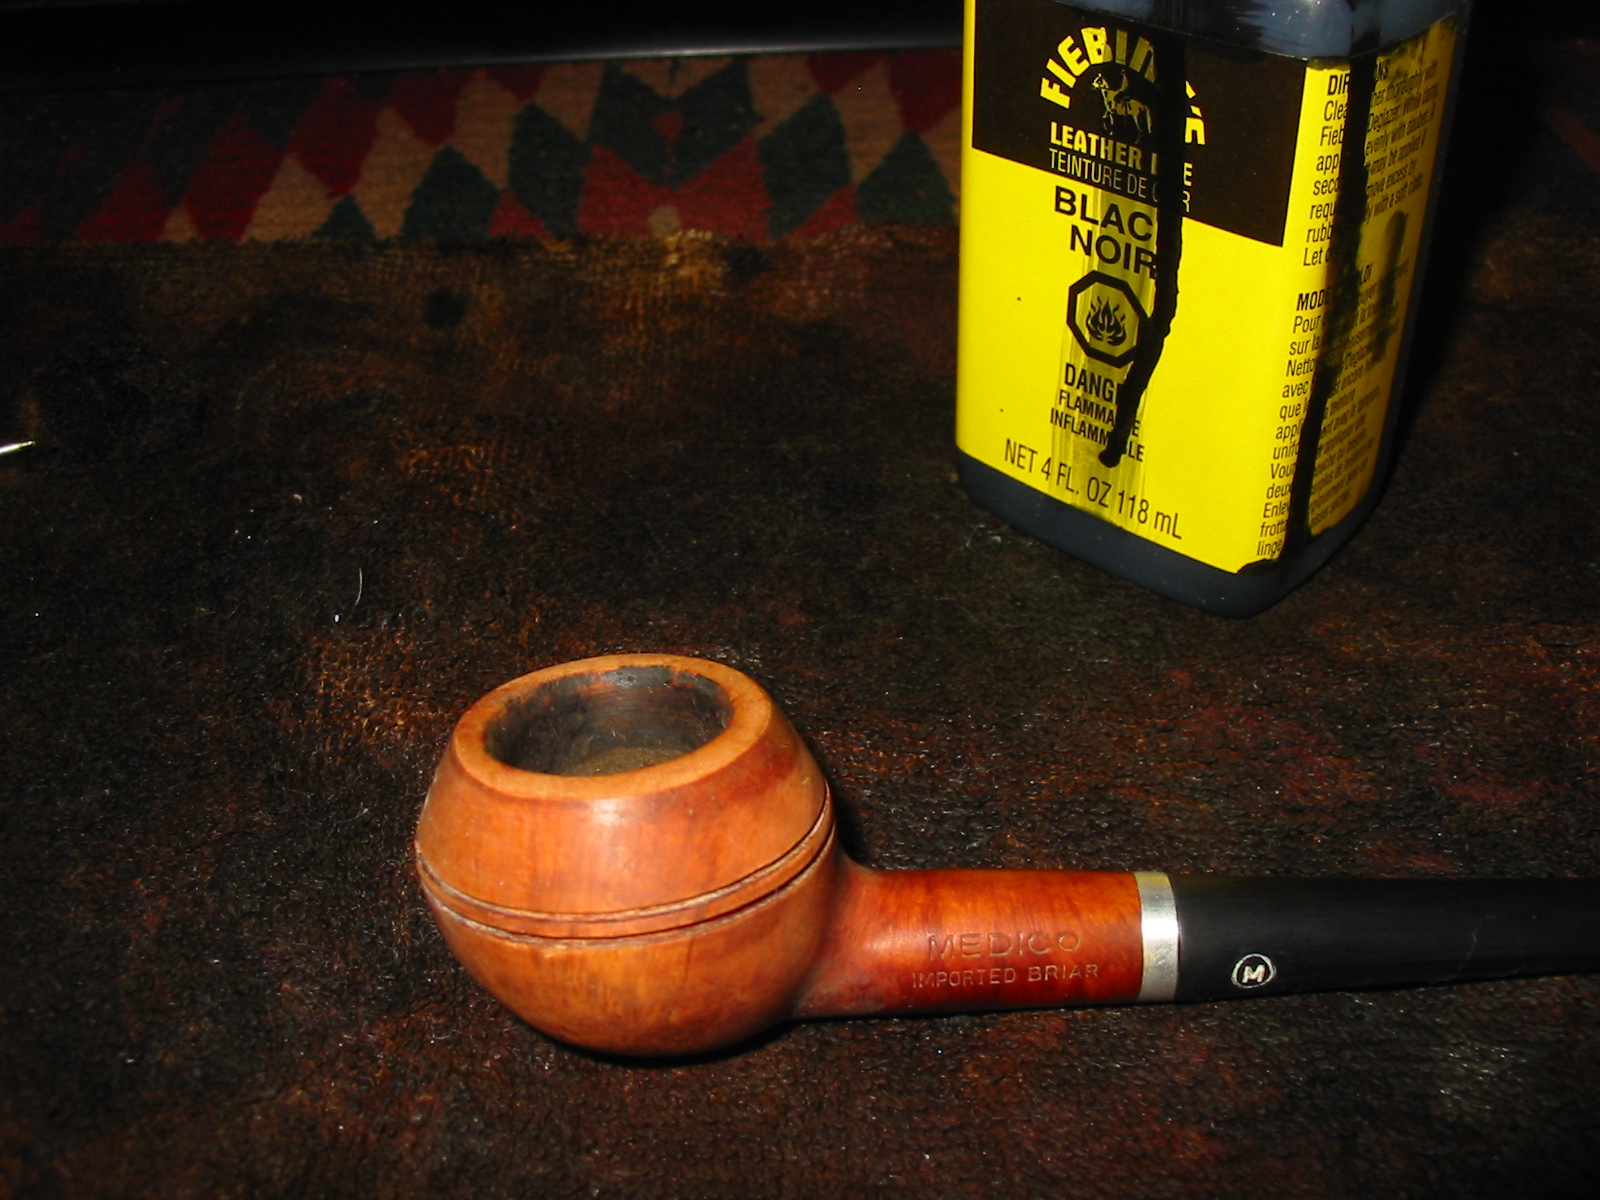
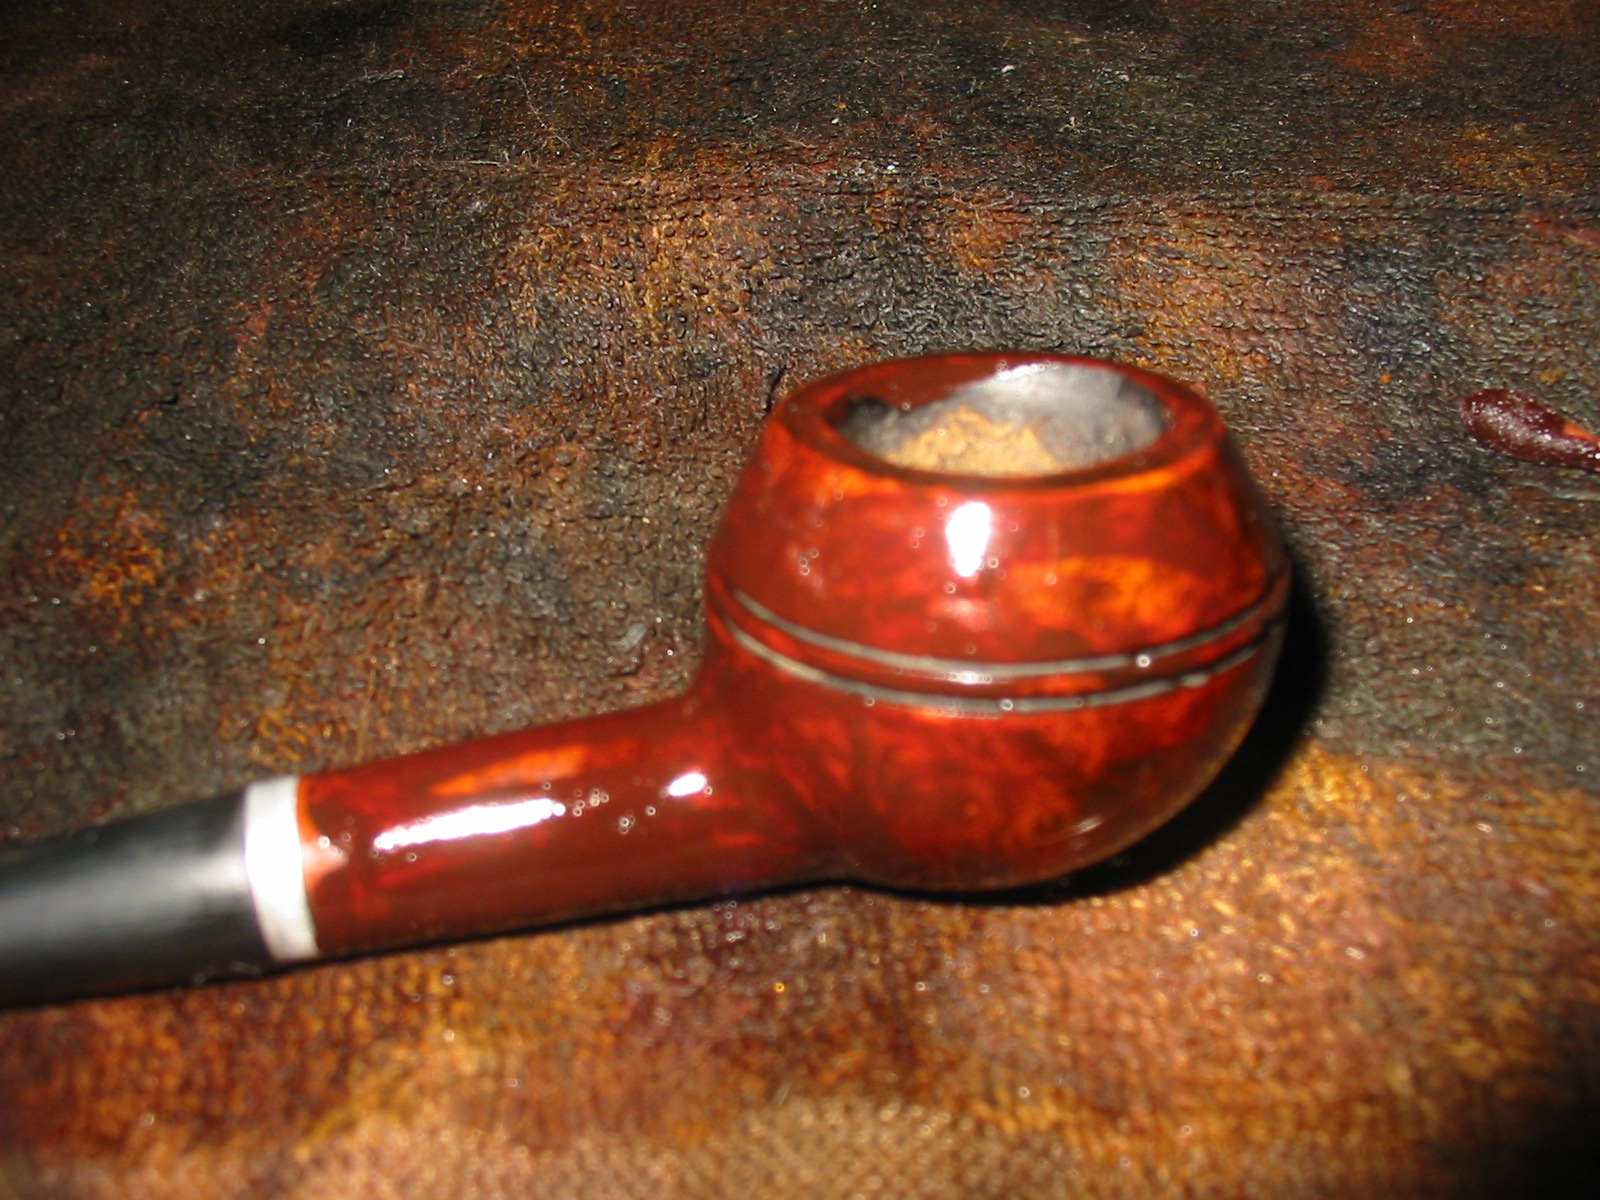
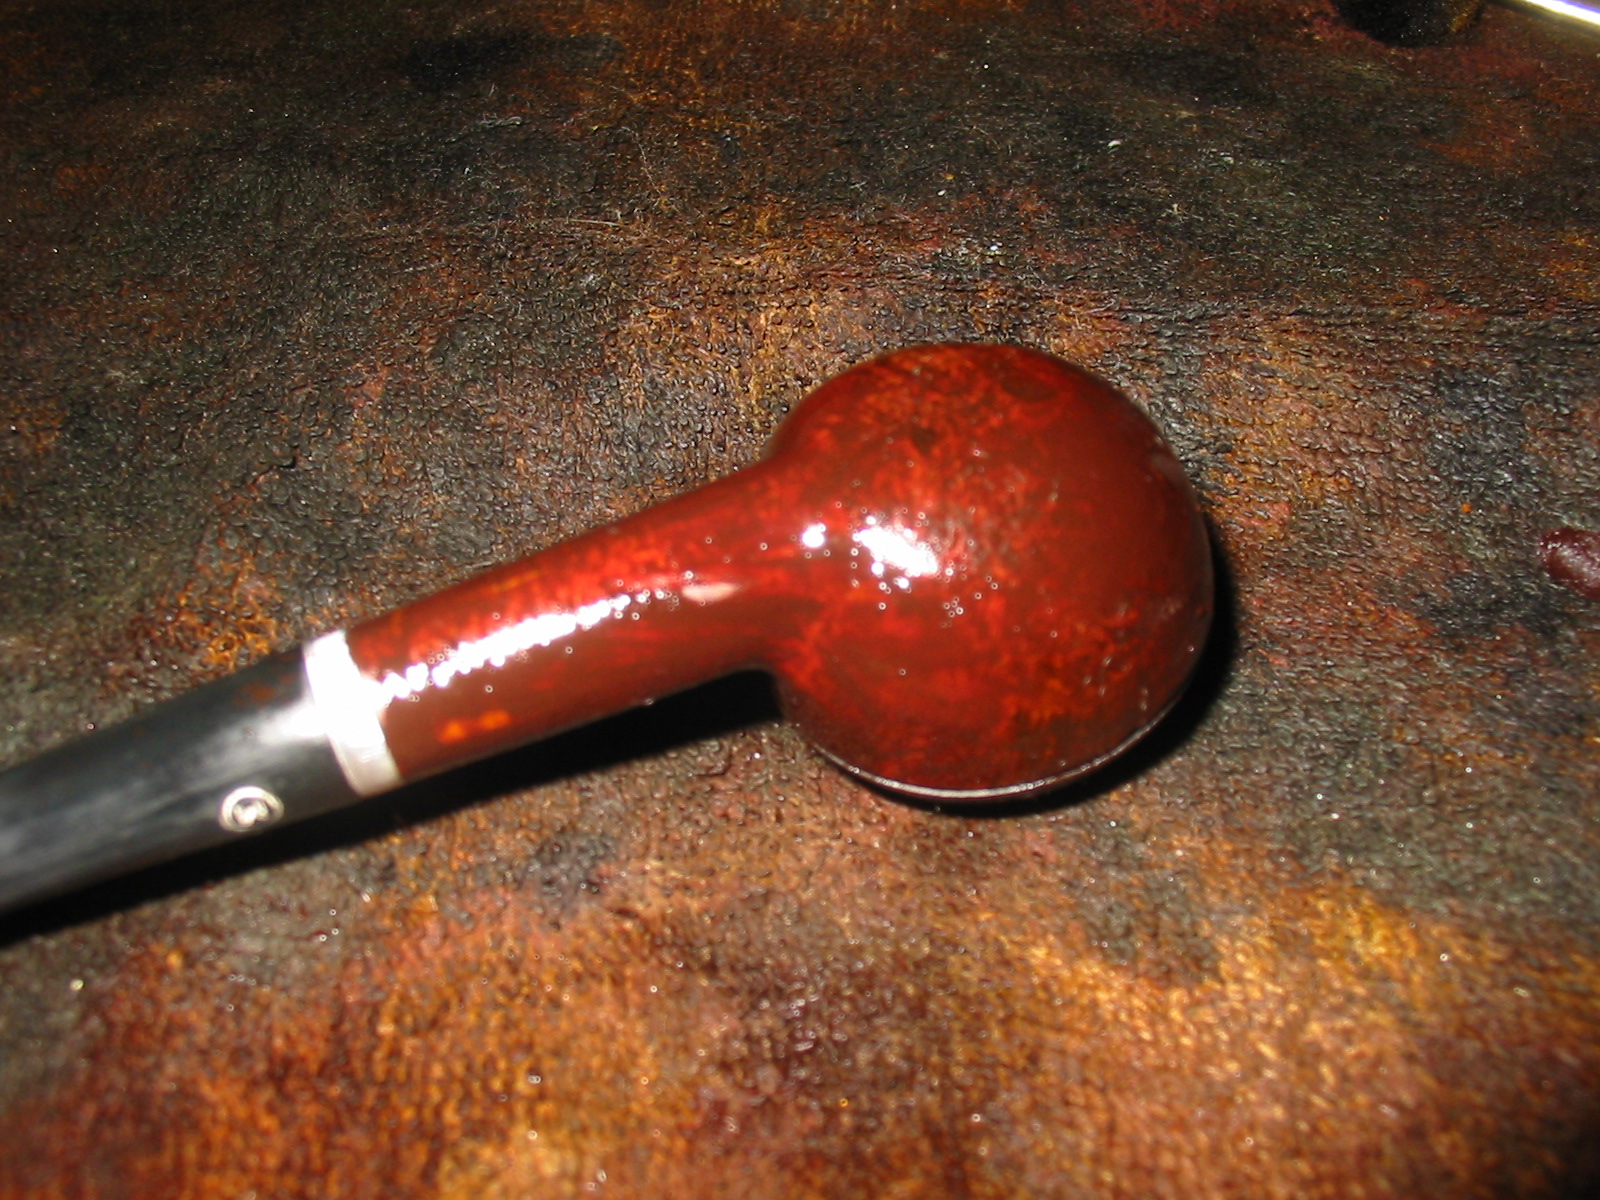
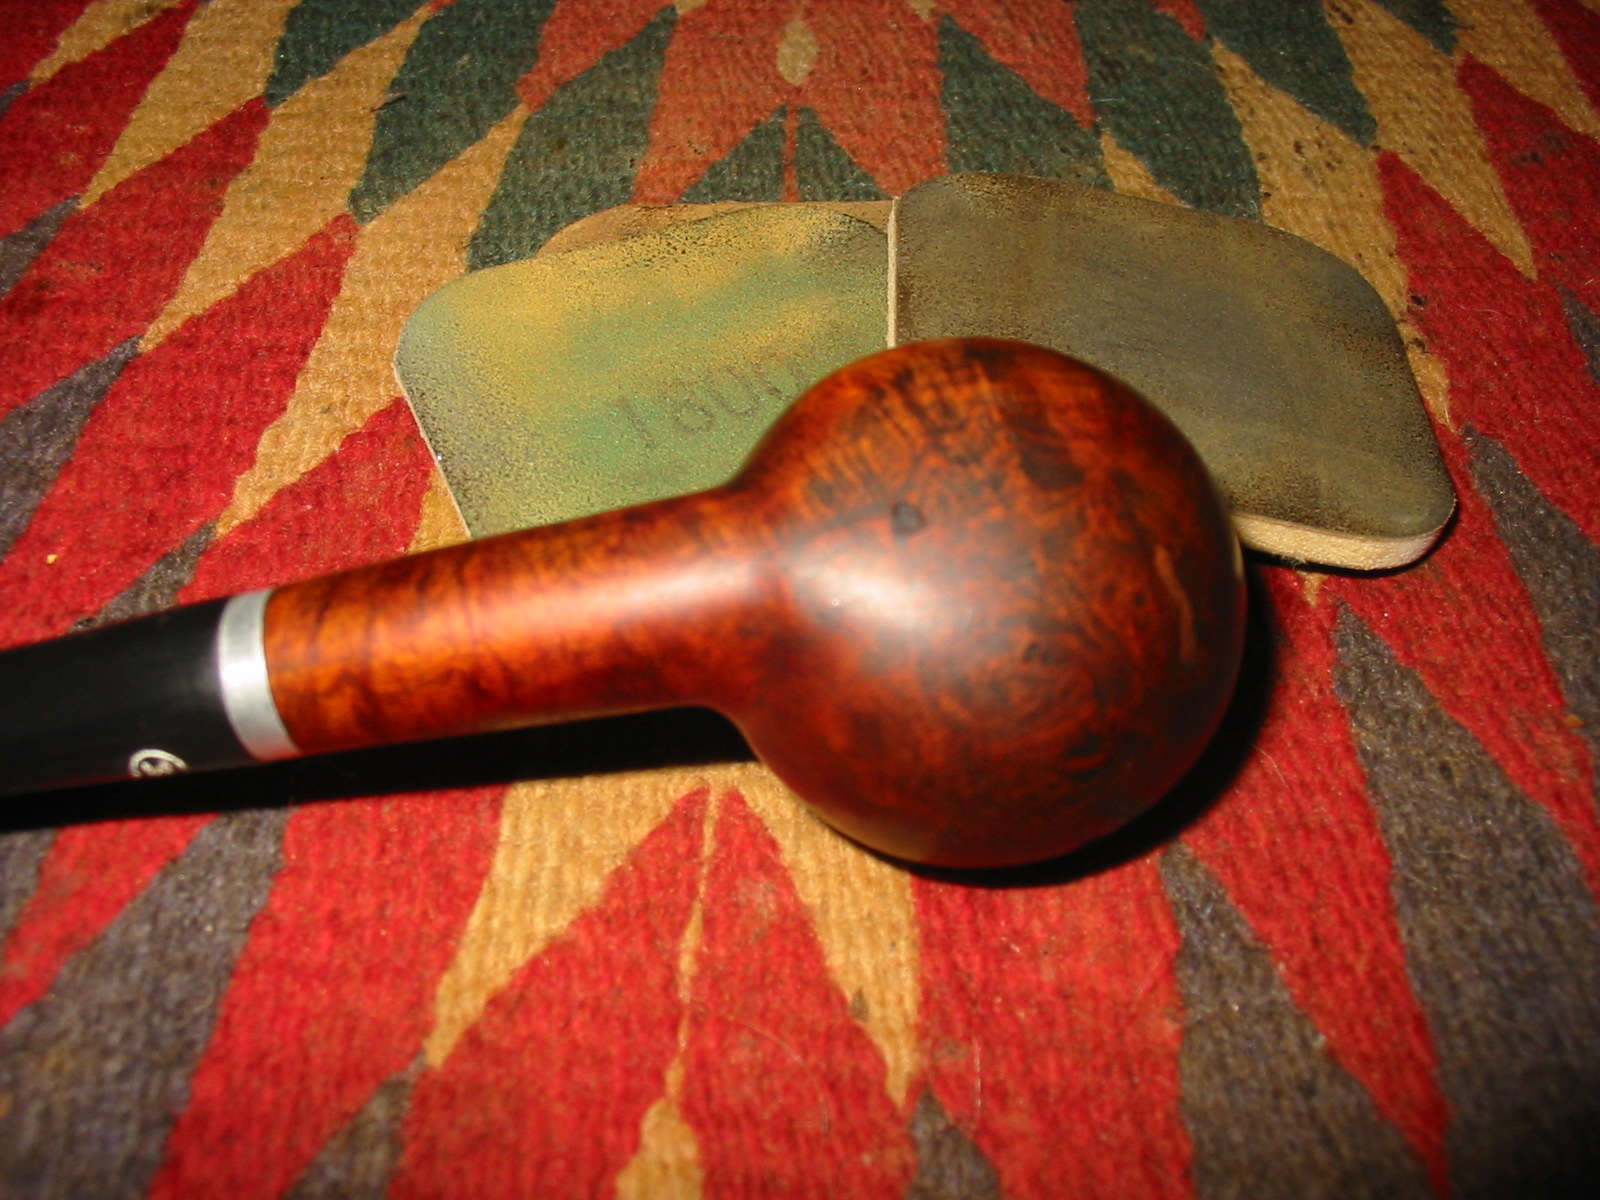
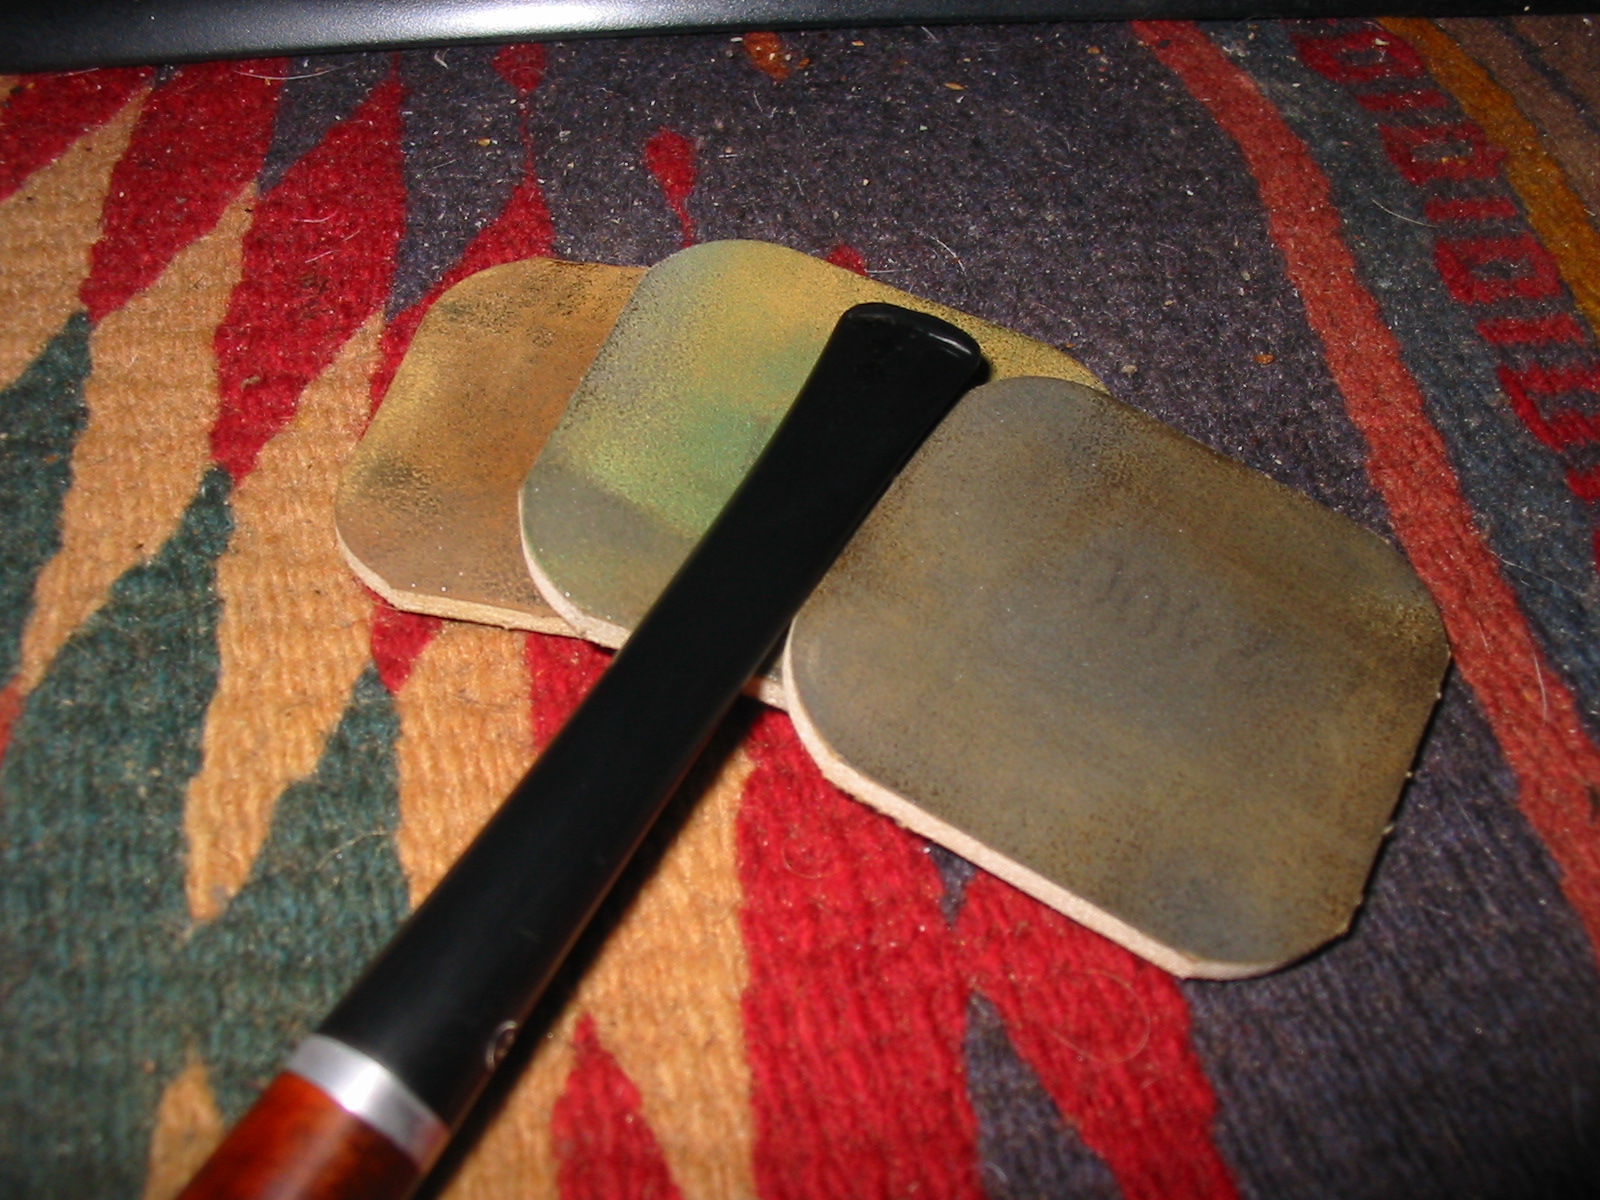
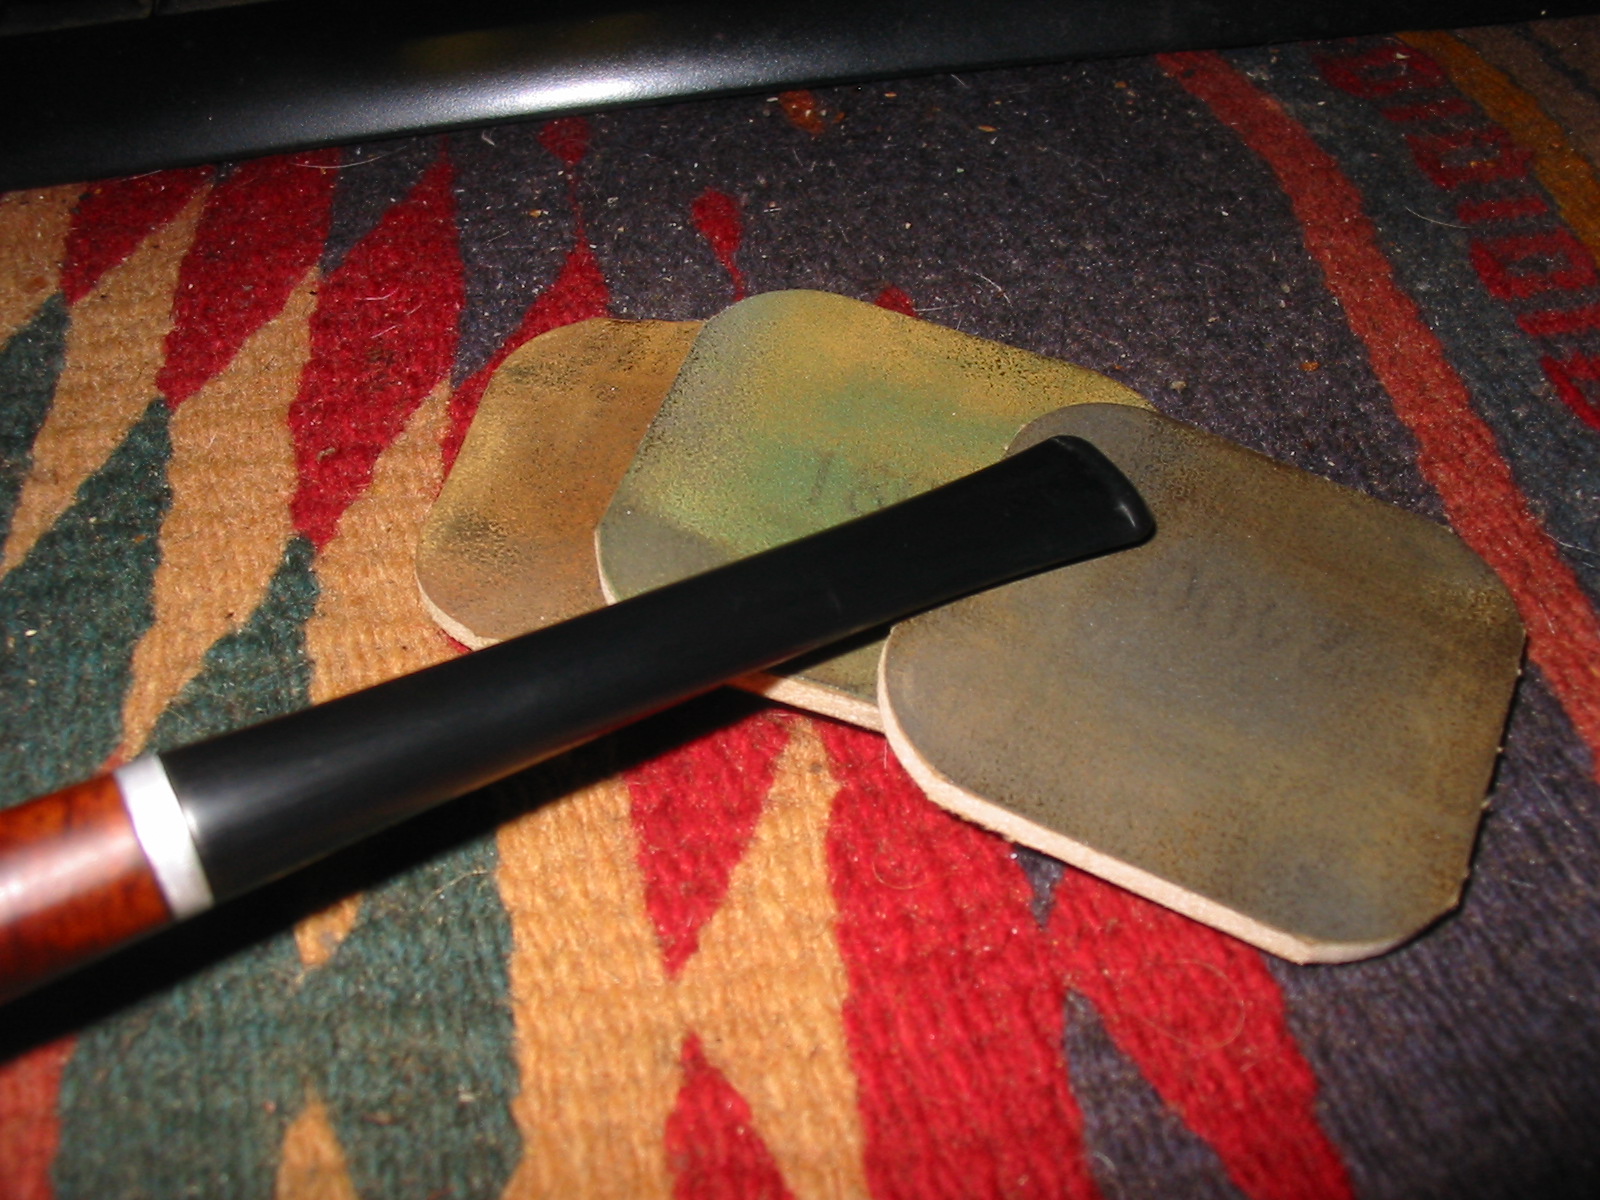
 Once I had reamed the bowl I reshaped the angle on the cap with 220 grit sandpaper and medium and fine grit sanding sponges. Once I had the angle correct around the entire rim and had removed the damage on the front of the cap I sanded the entire bowl with the sanding sponges. I also sanded the stem with the same sandpaper and sanding sponge combination to remove the oxidation and tooth chatter near the button. The newly shaped bowl and freshly sanded stem is shown in the next series of four photos below.
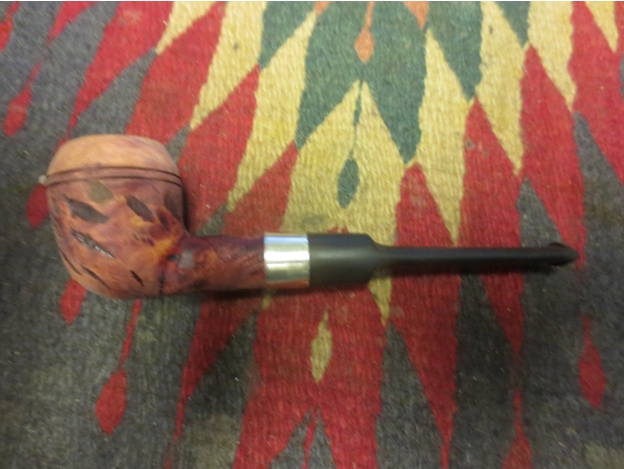

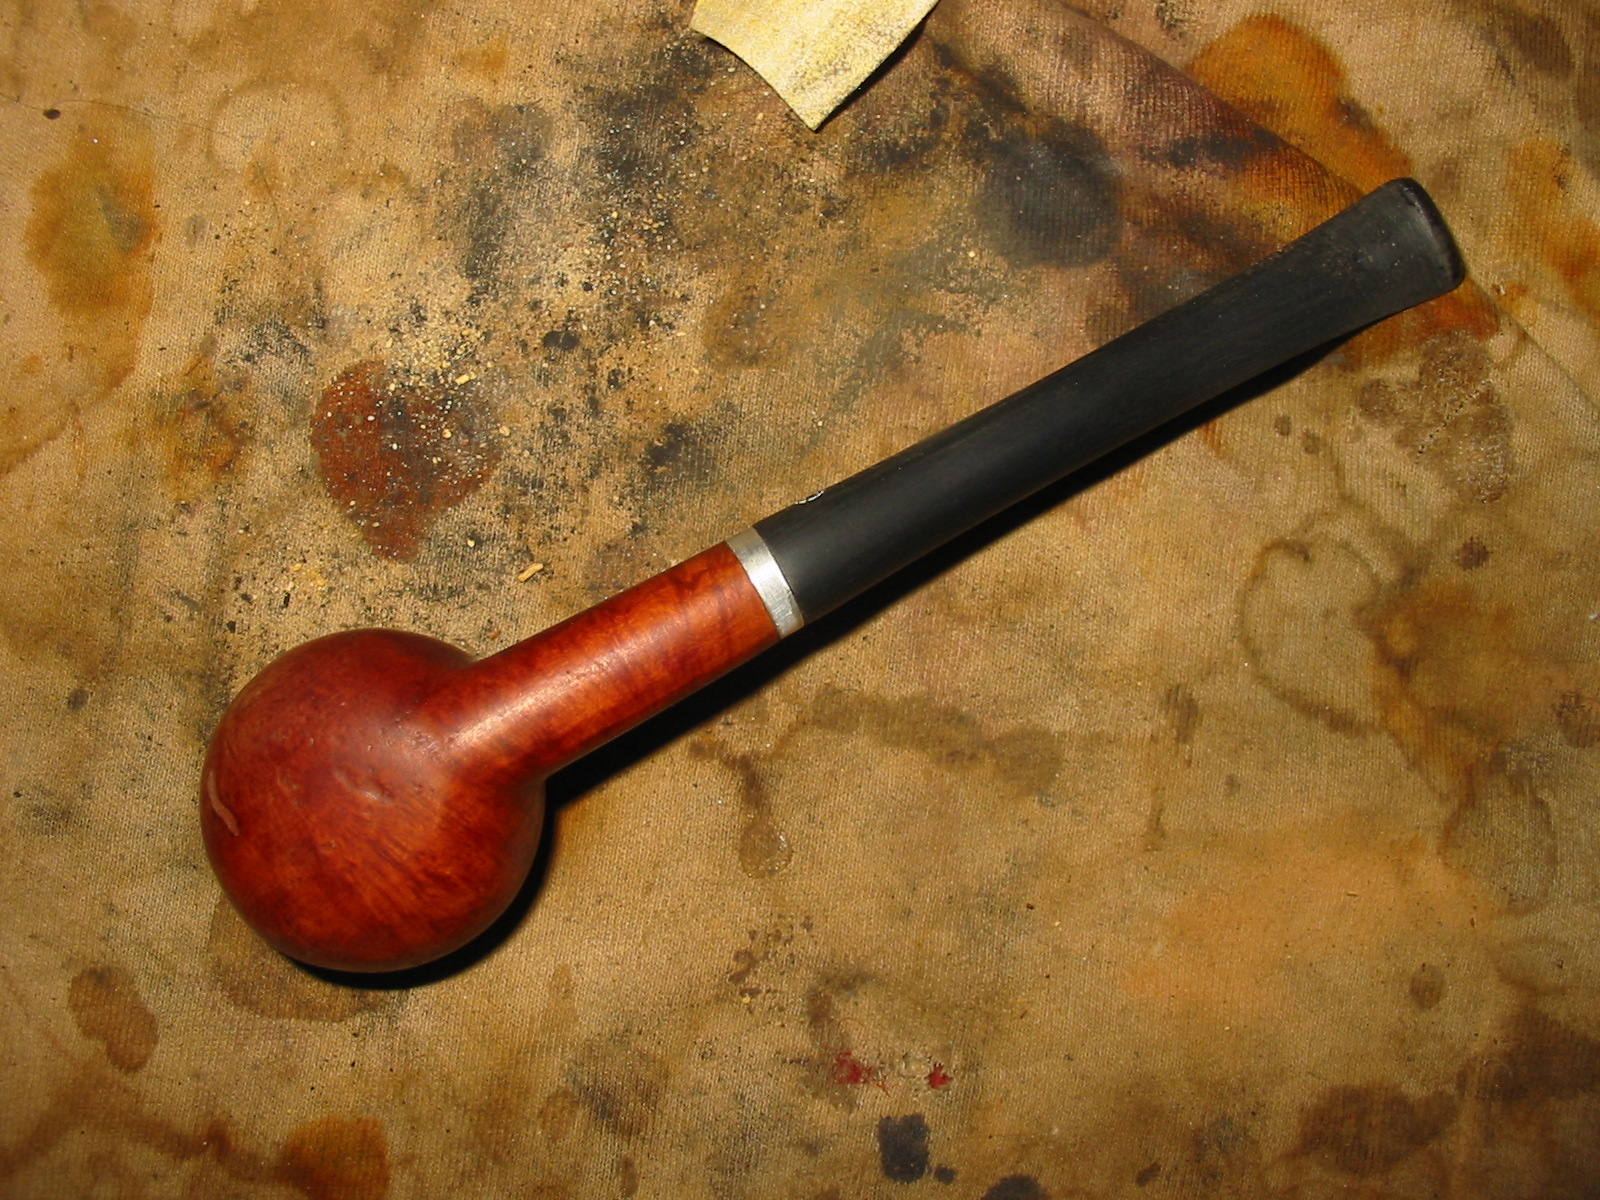
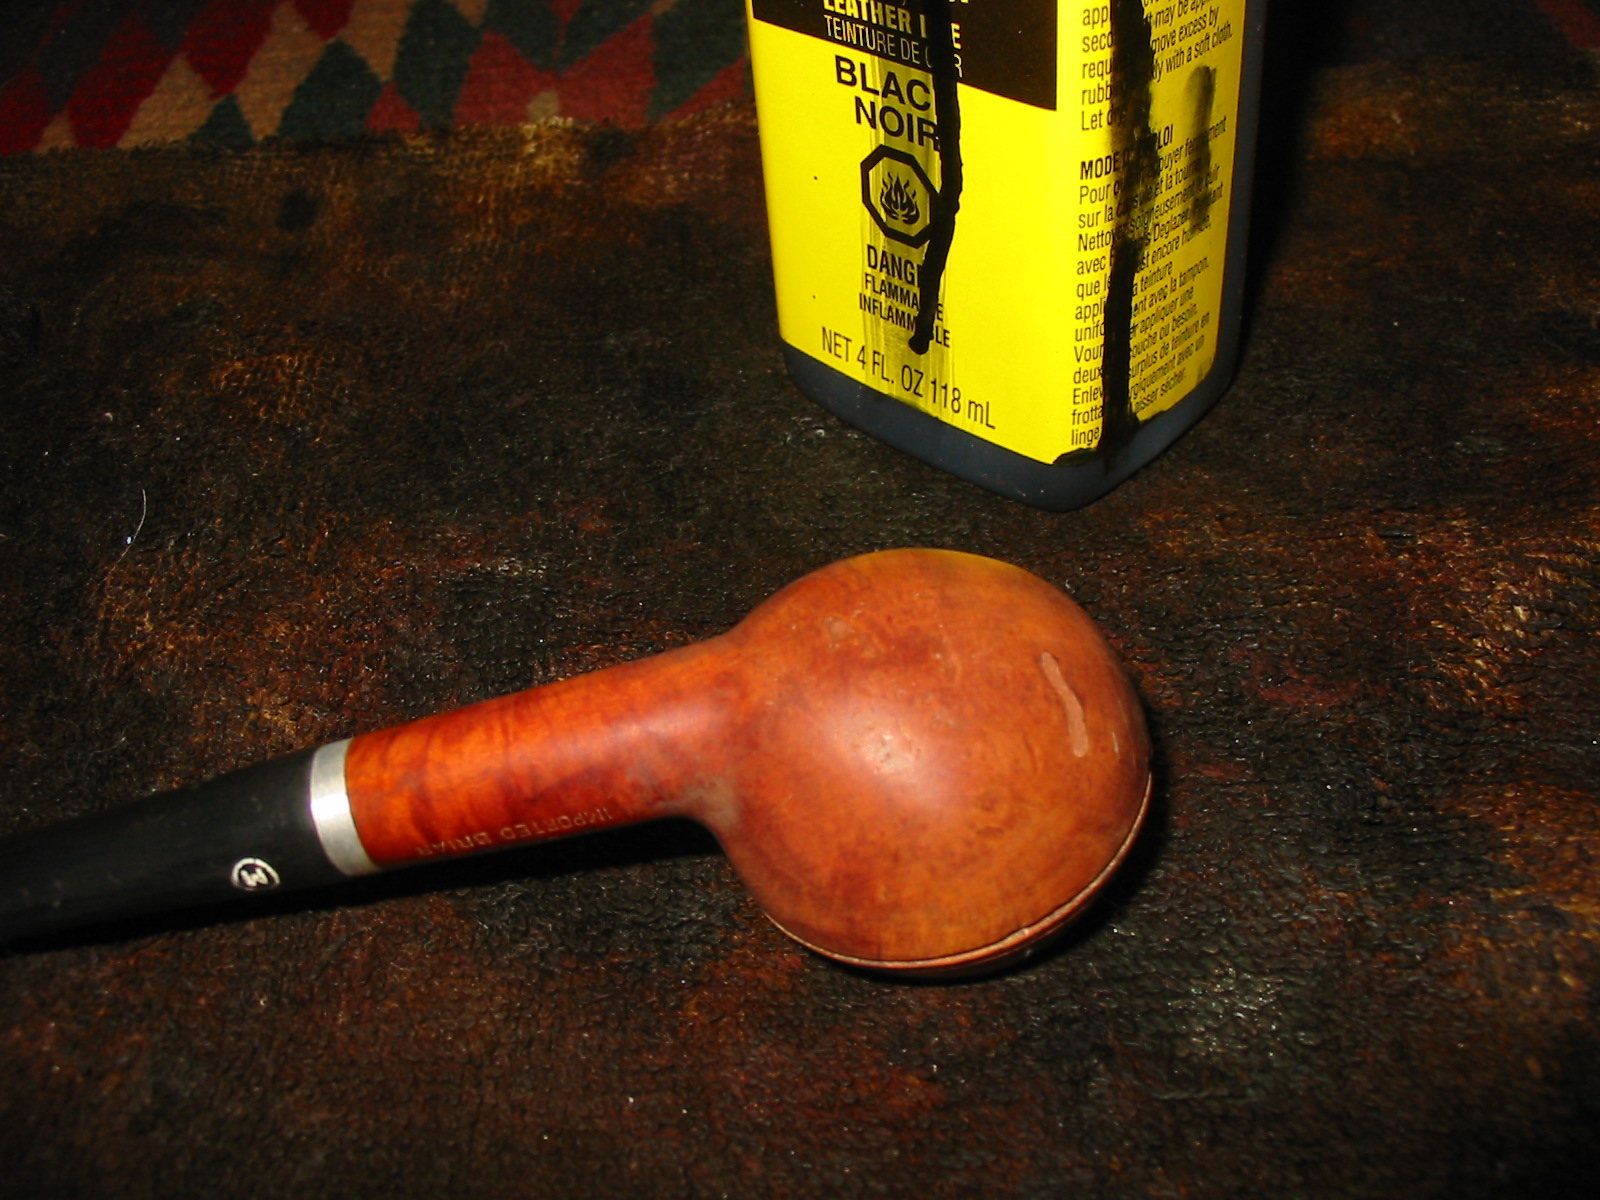
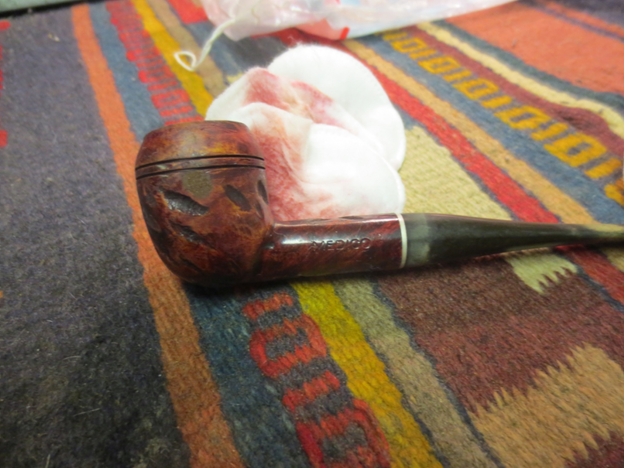
 I stained the bowl with some oxblood aniline stain and flamed it. I wanted the red colour of the stain but I did not want it to be as opaque as the original stain had been. The aniline stain seems to be more transparent. It did however, do a great job in hiding the big fill on the left side of the bowl.
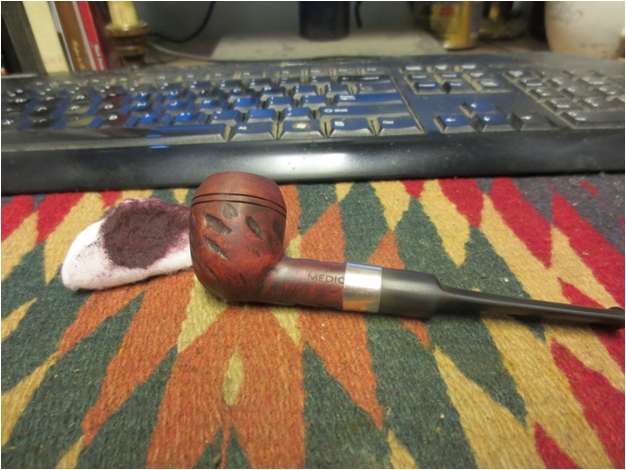
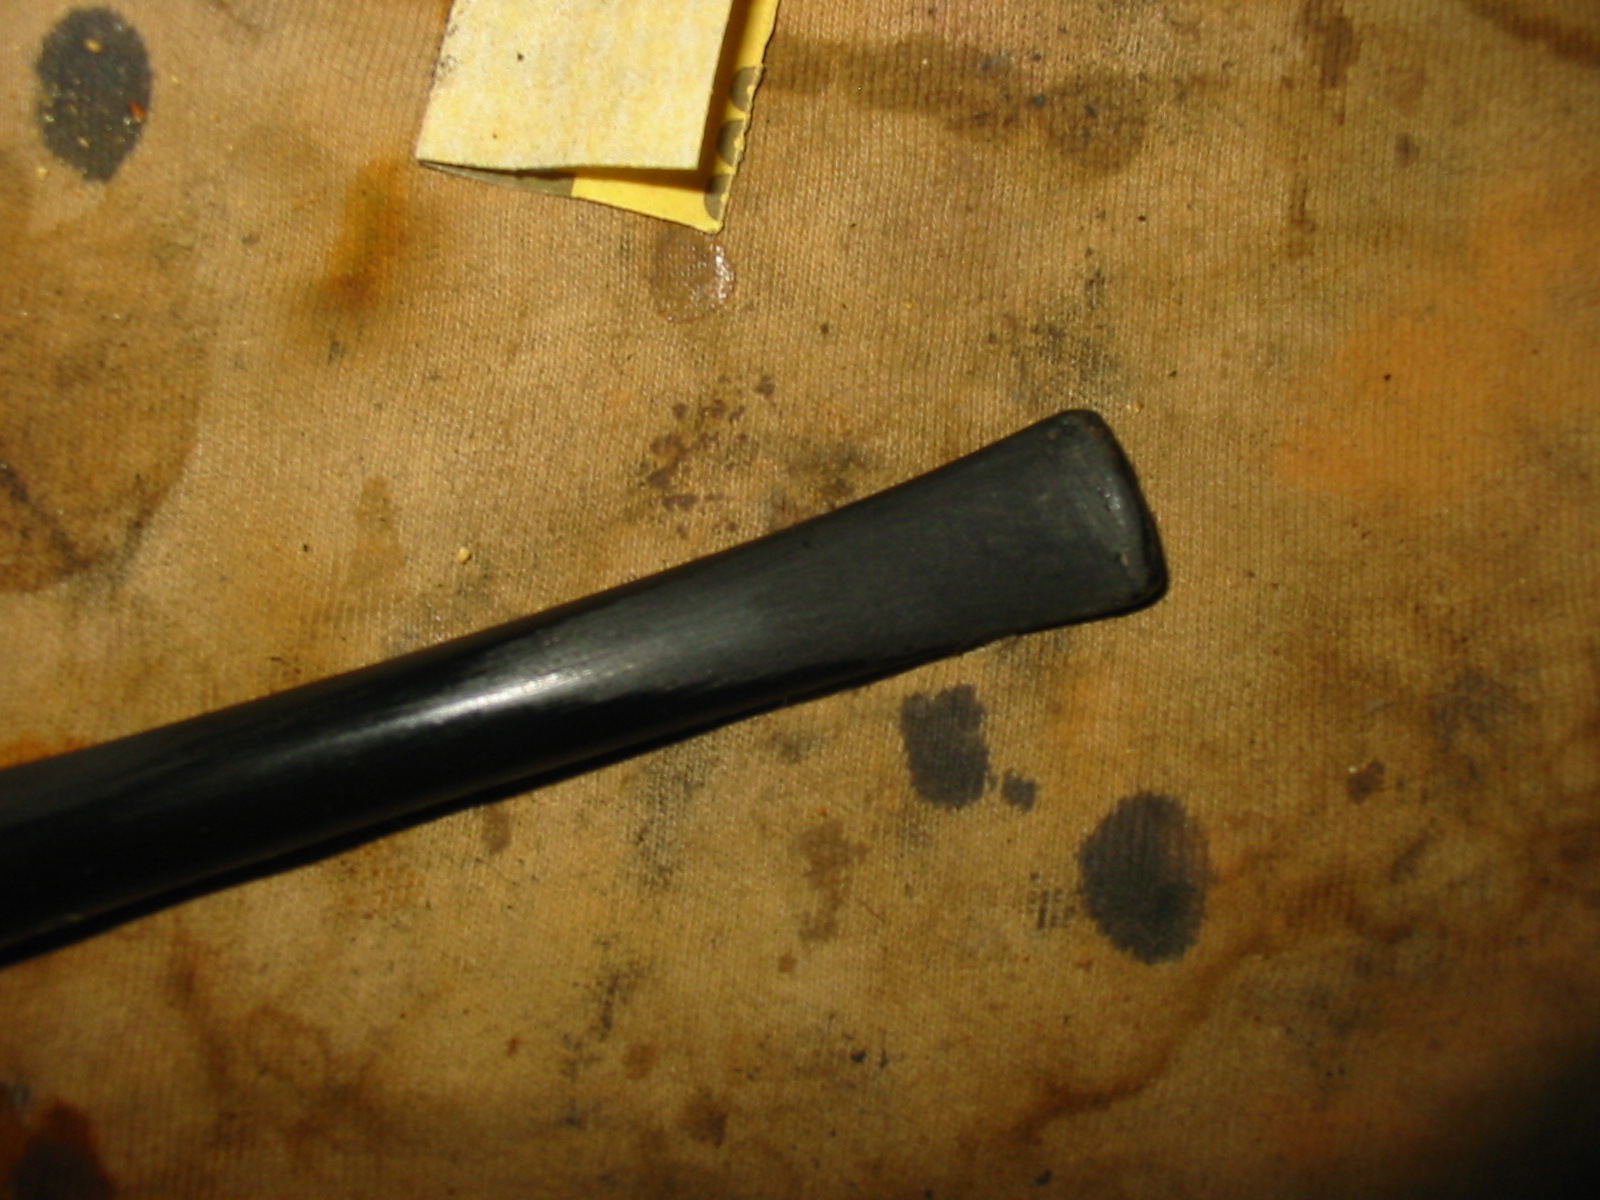
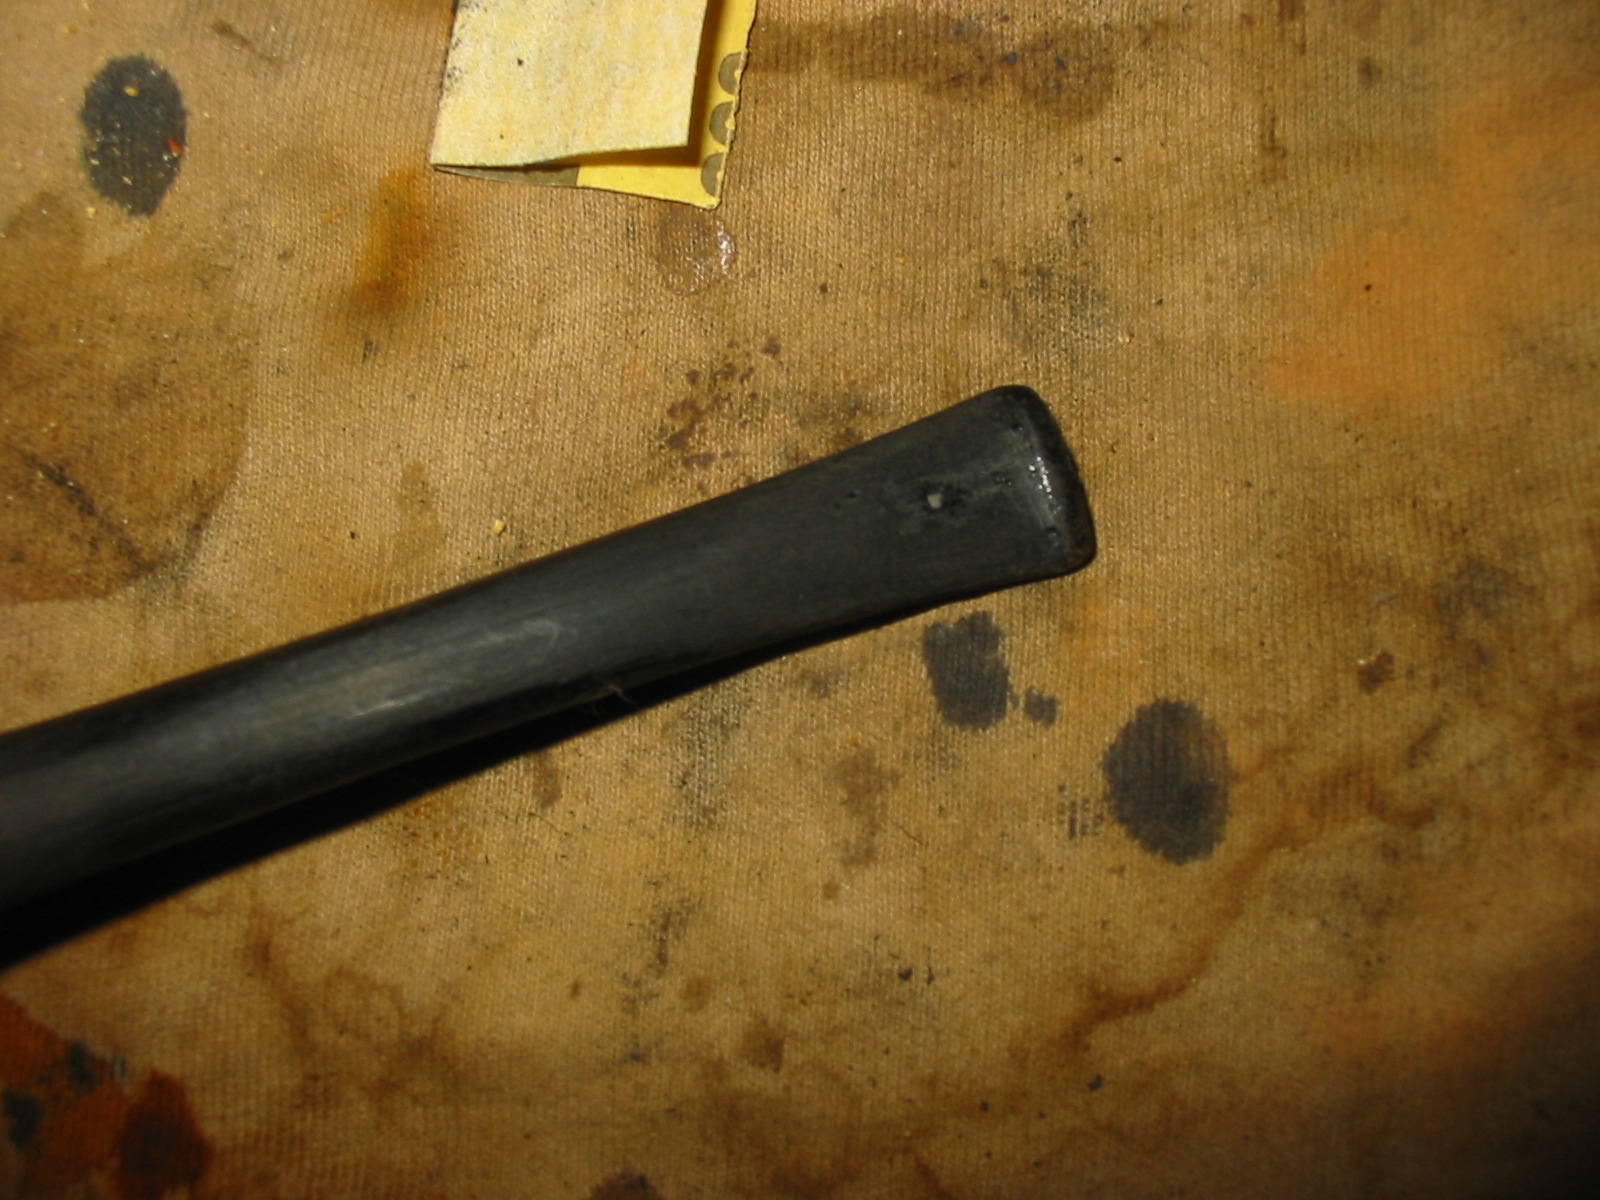
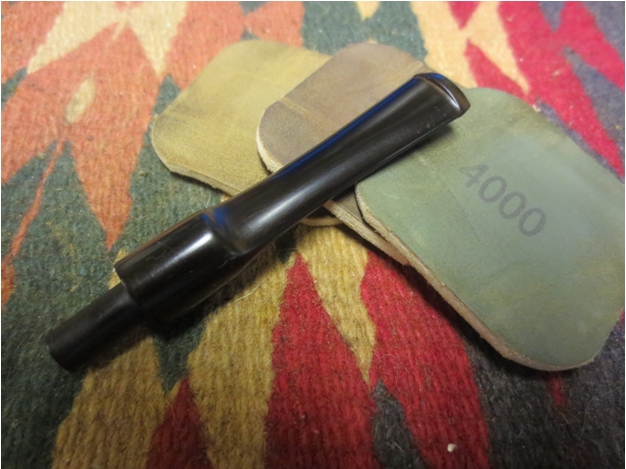
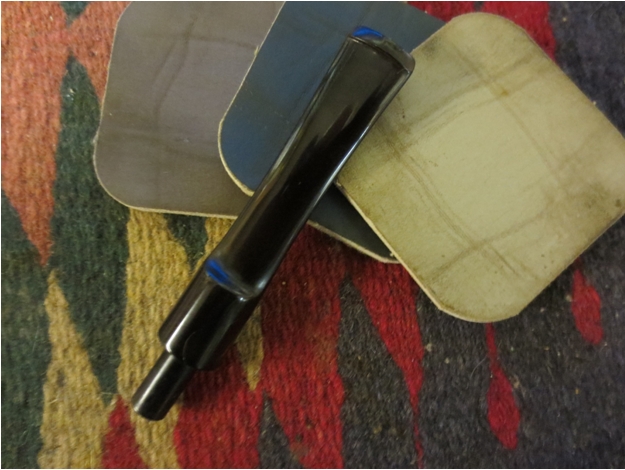
 I sanded the stem with 220 grit sandpaper, then a medium and fine grit 3M sanding sponge. I followed that with my usual array of micromesh sanding pads – wet sanding with 1500-2400 grit pads and dry sanding with 3200-12,000 grit pads. I rubbed the stem down between each set of three pads with Obsidian Oil before moving on to the next three pads. I finished by giving it a final rubdown with the oil before taking it to the buffer.
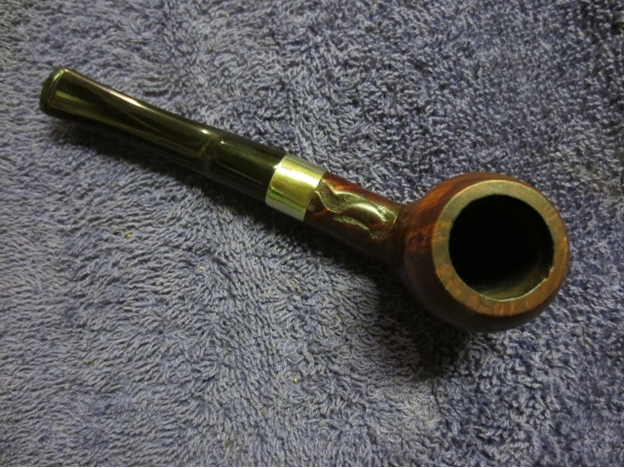
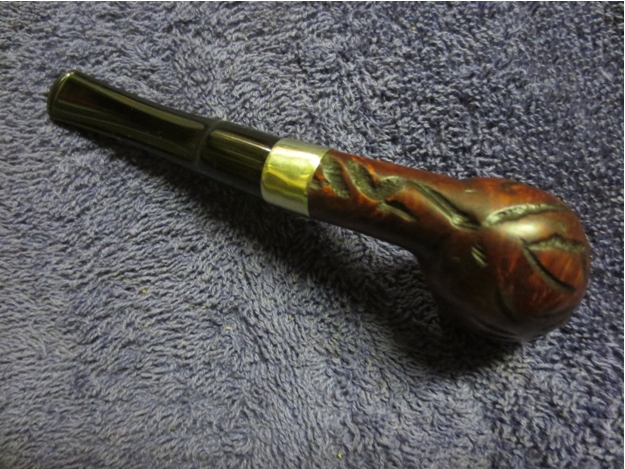
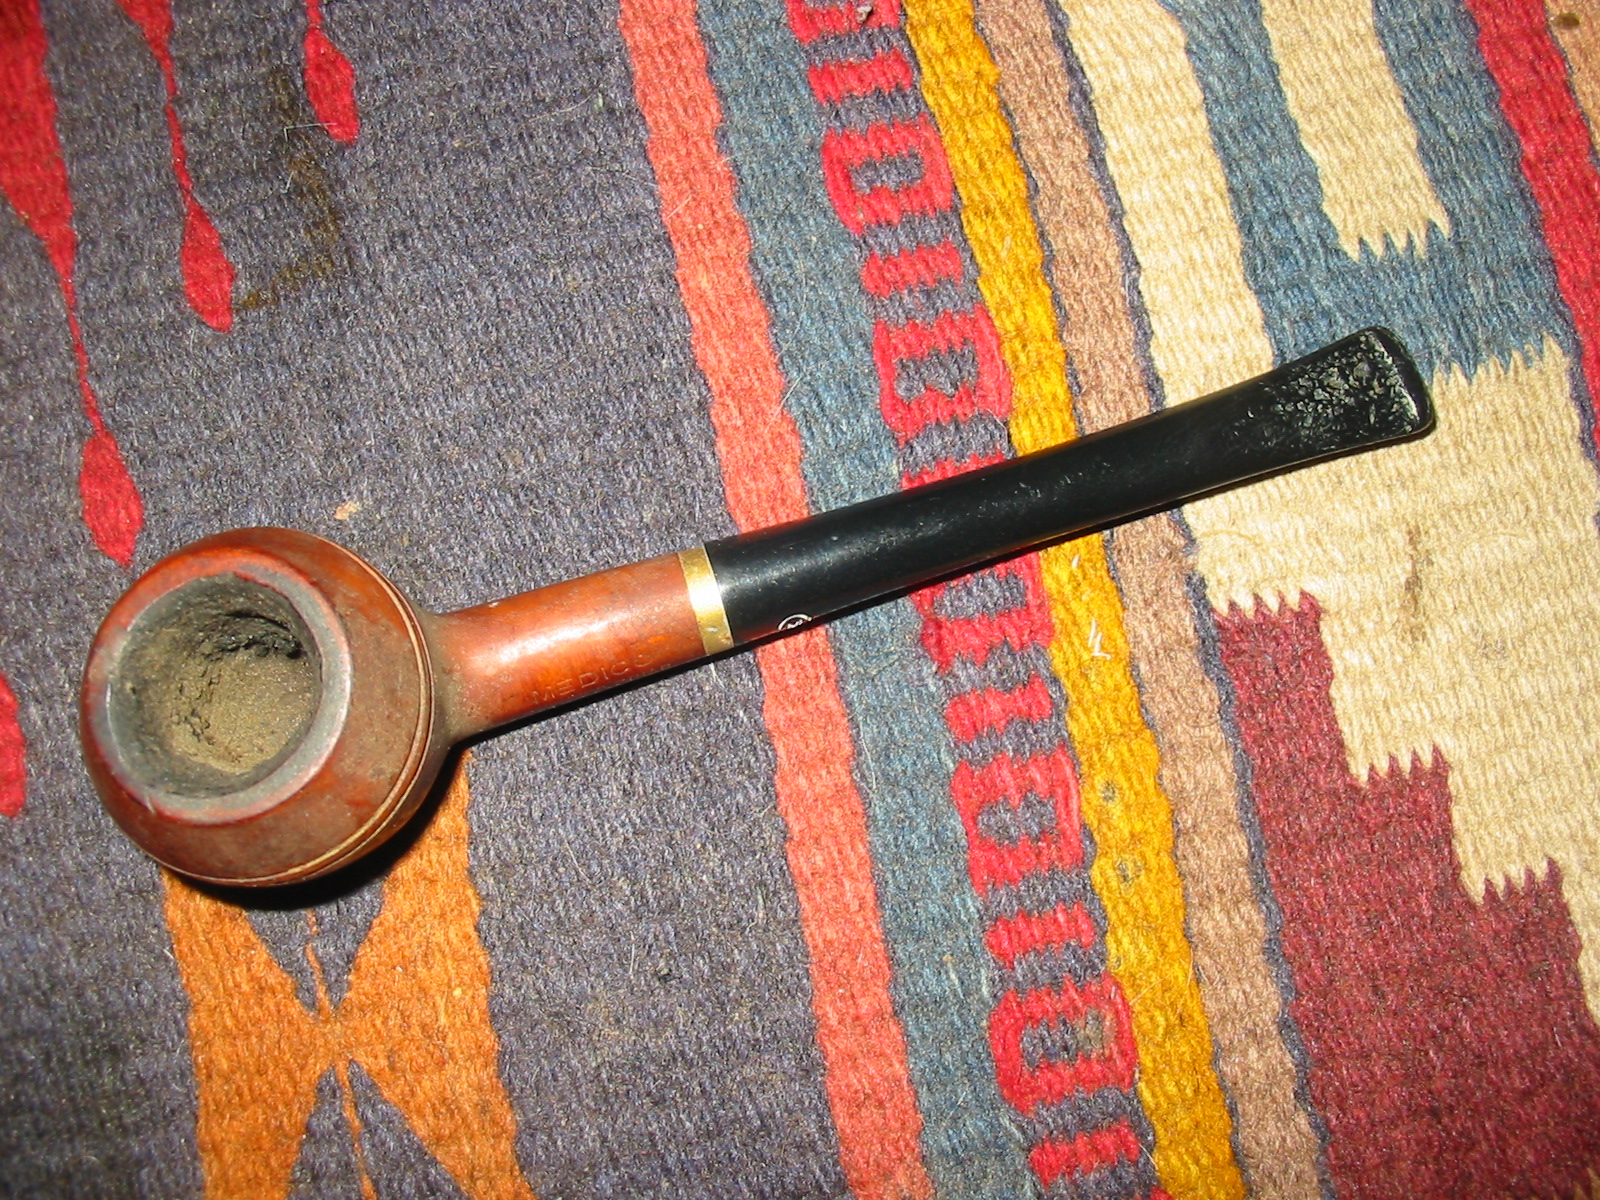
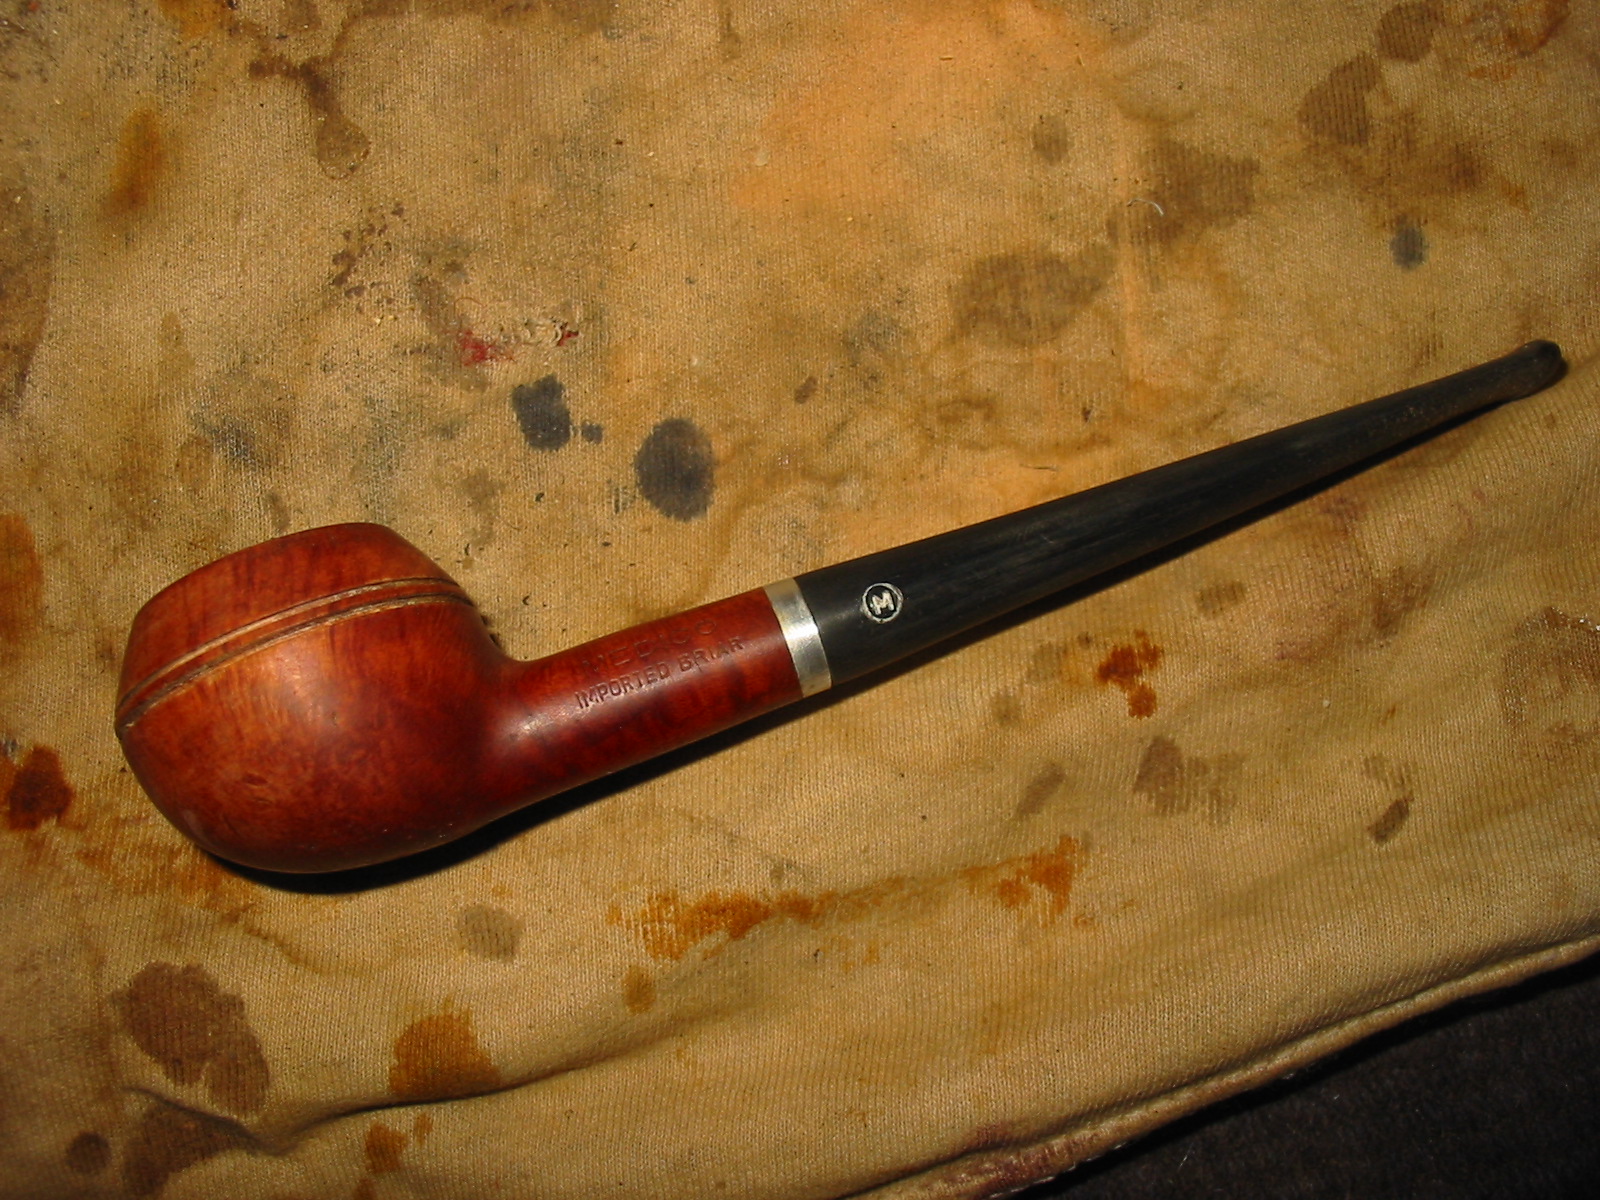
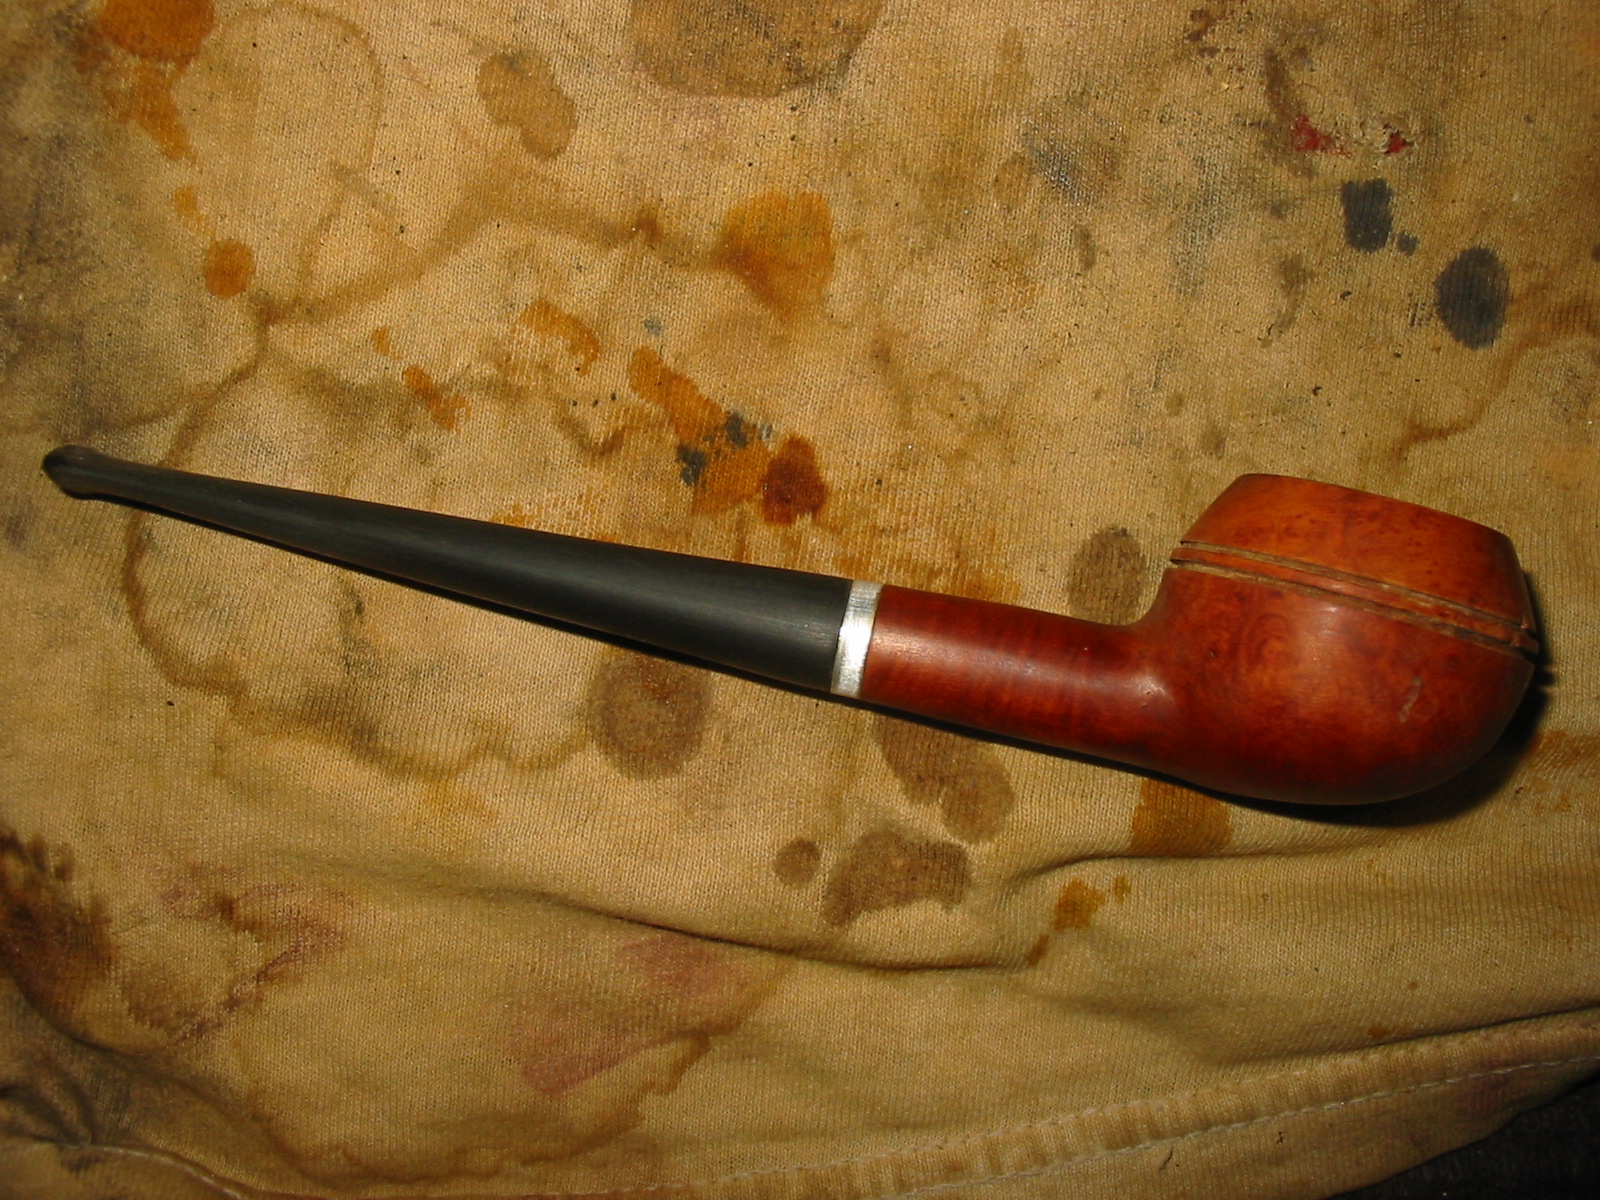
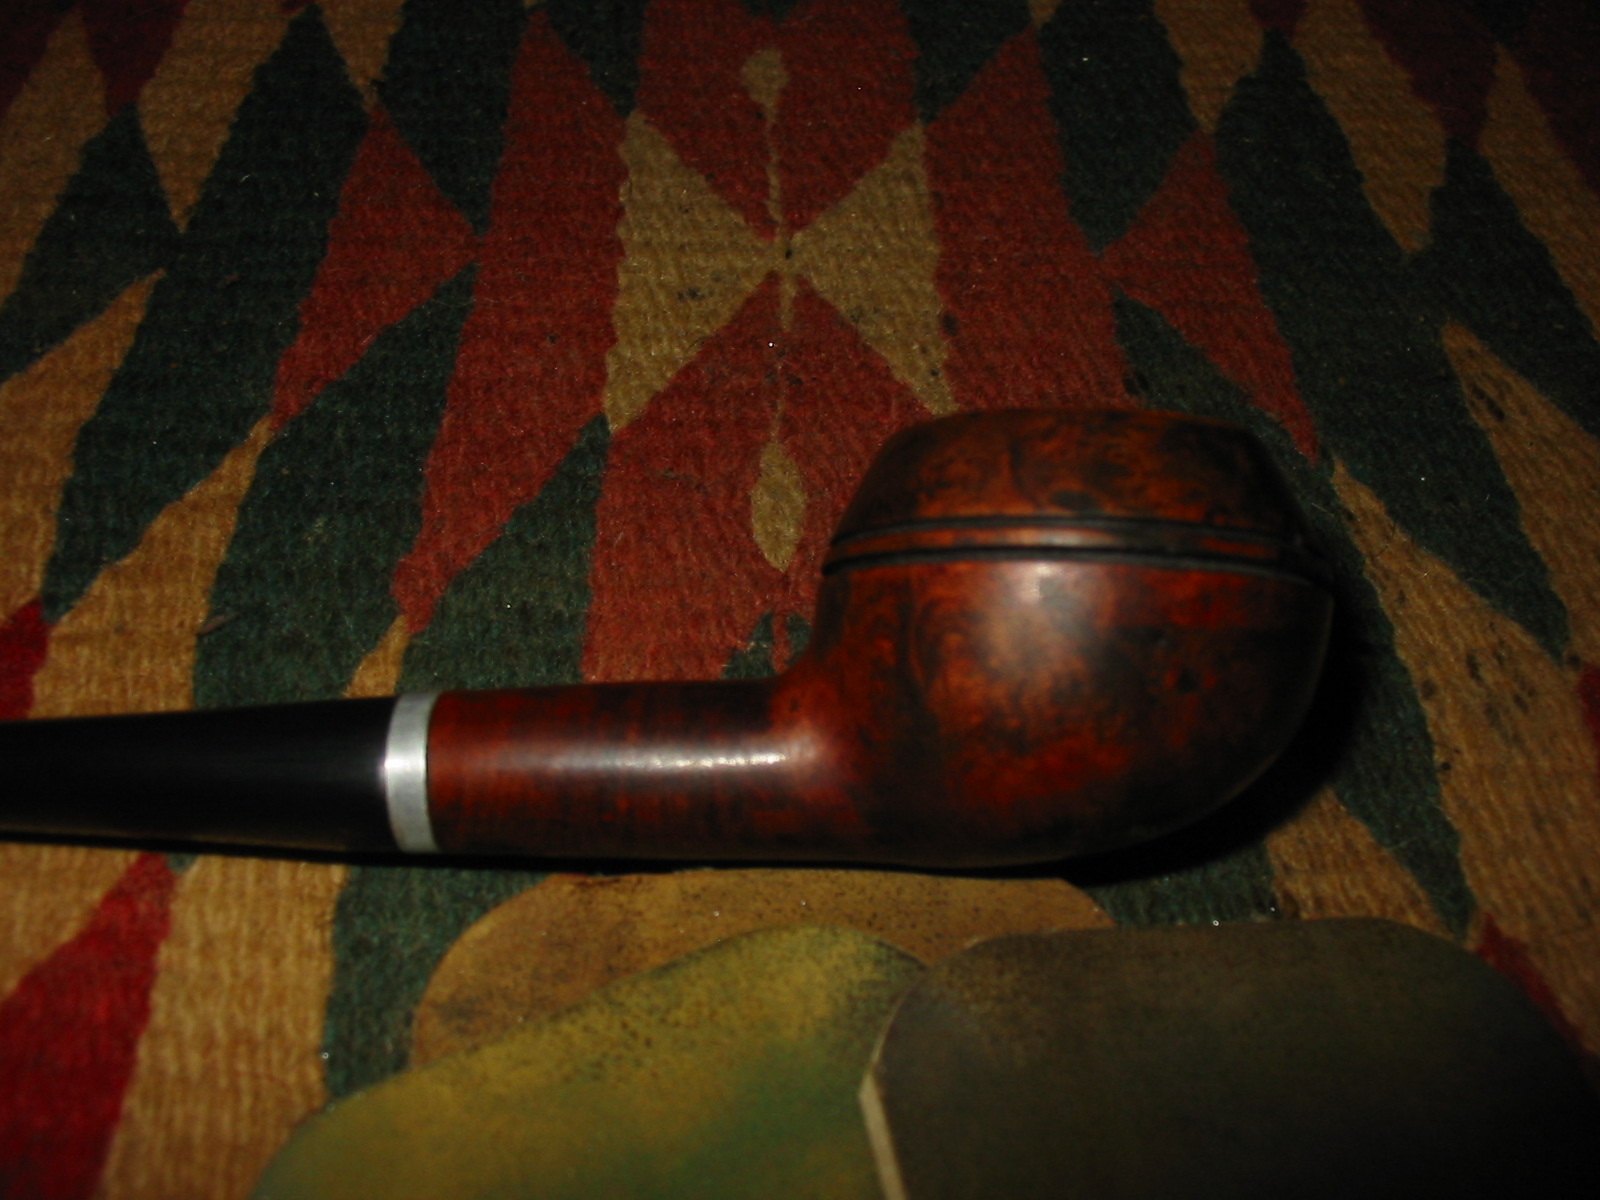
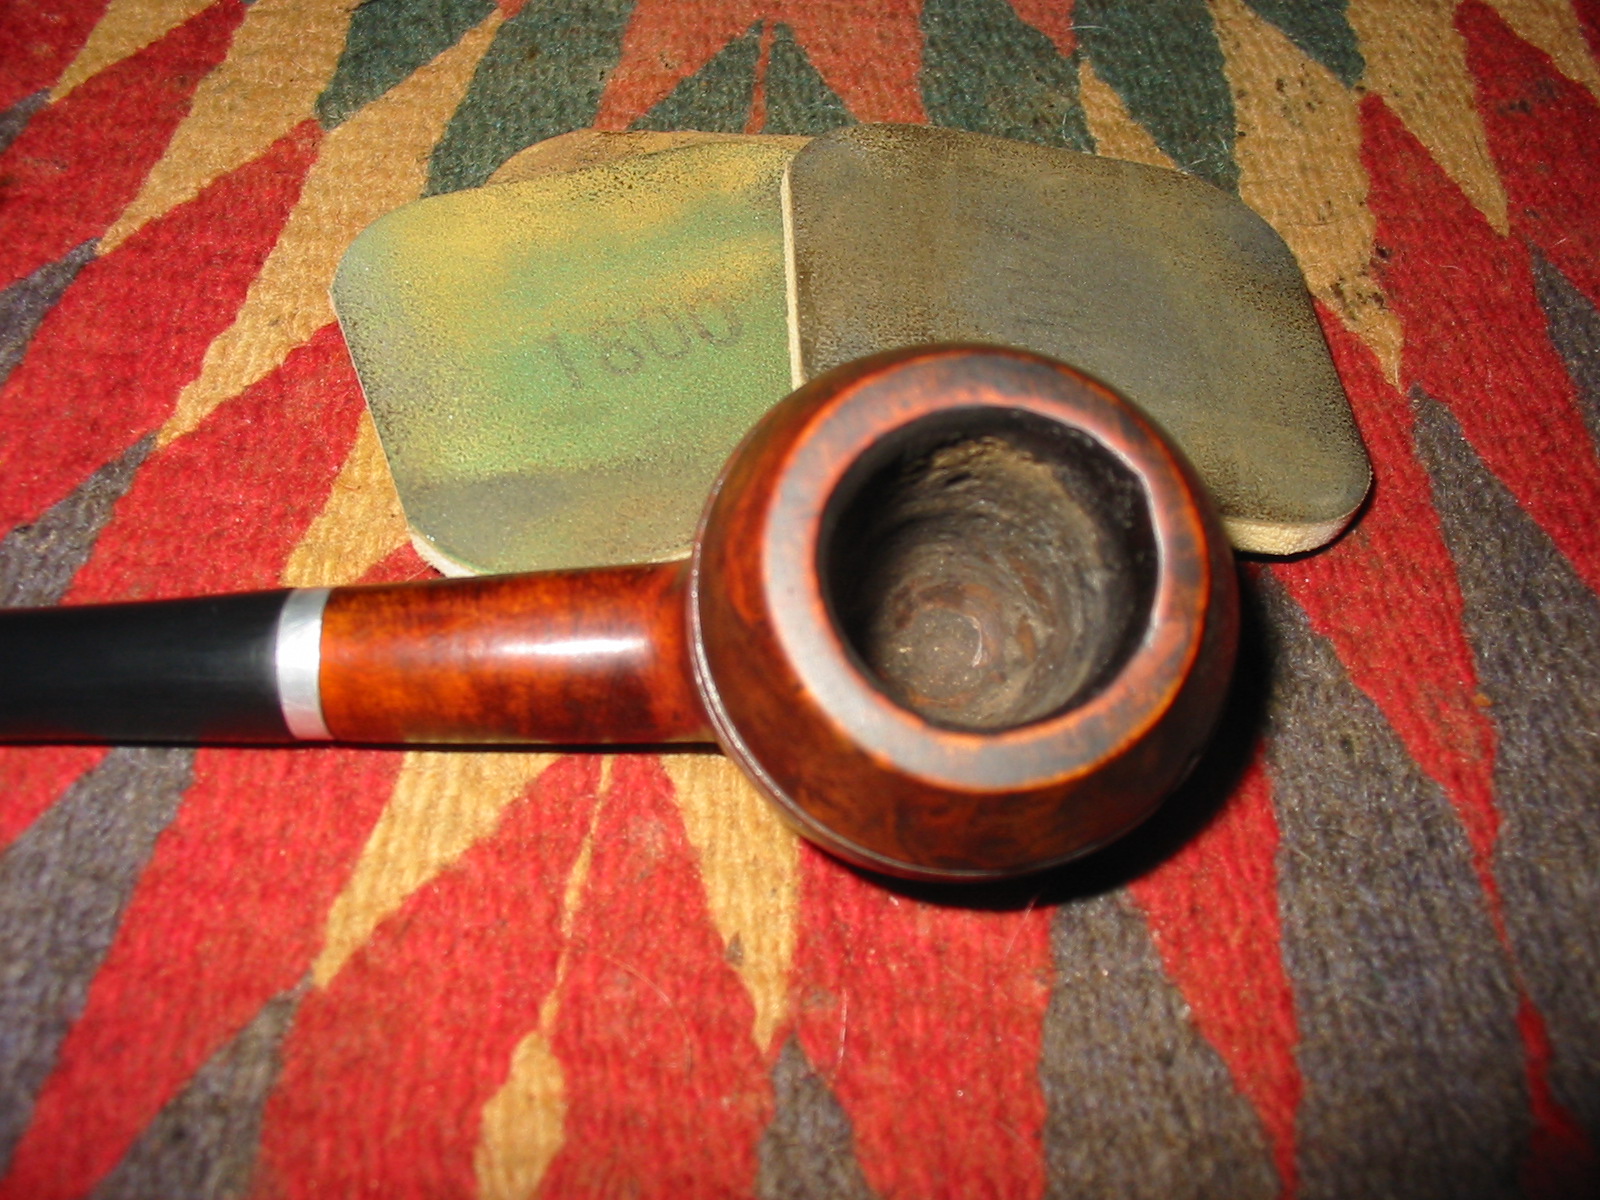
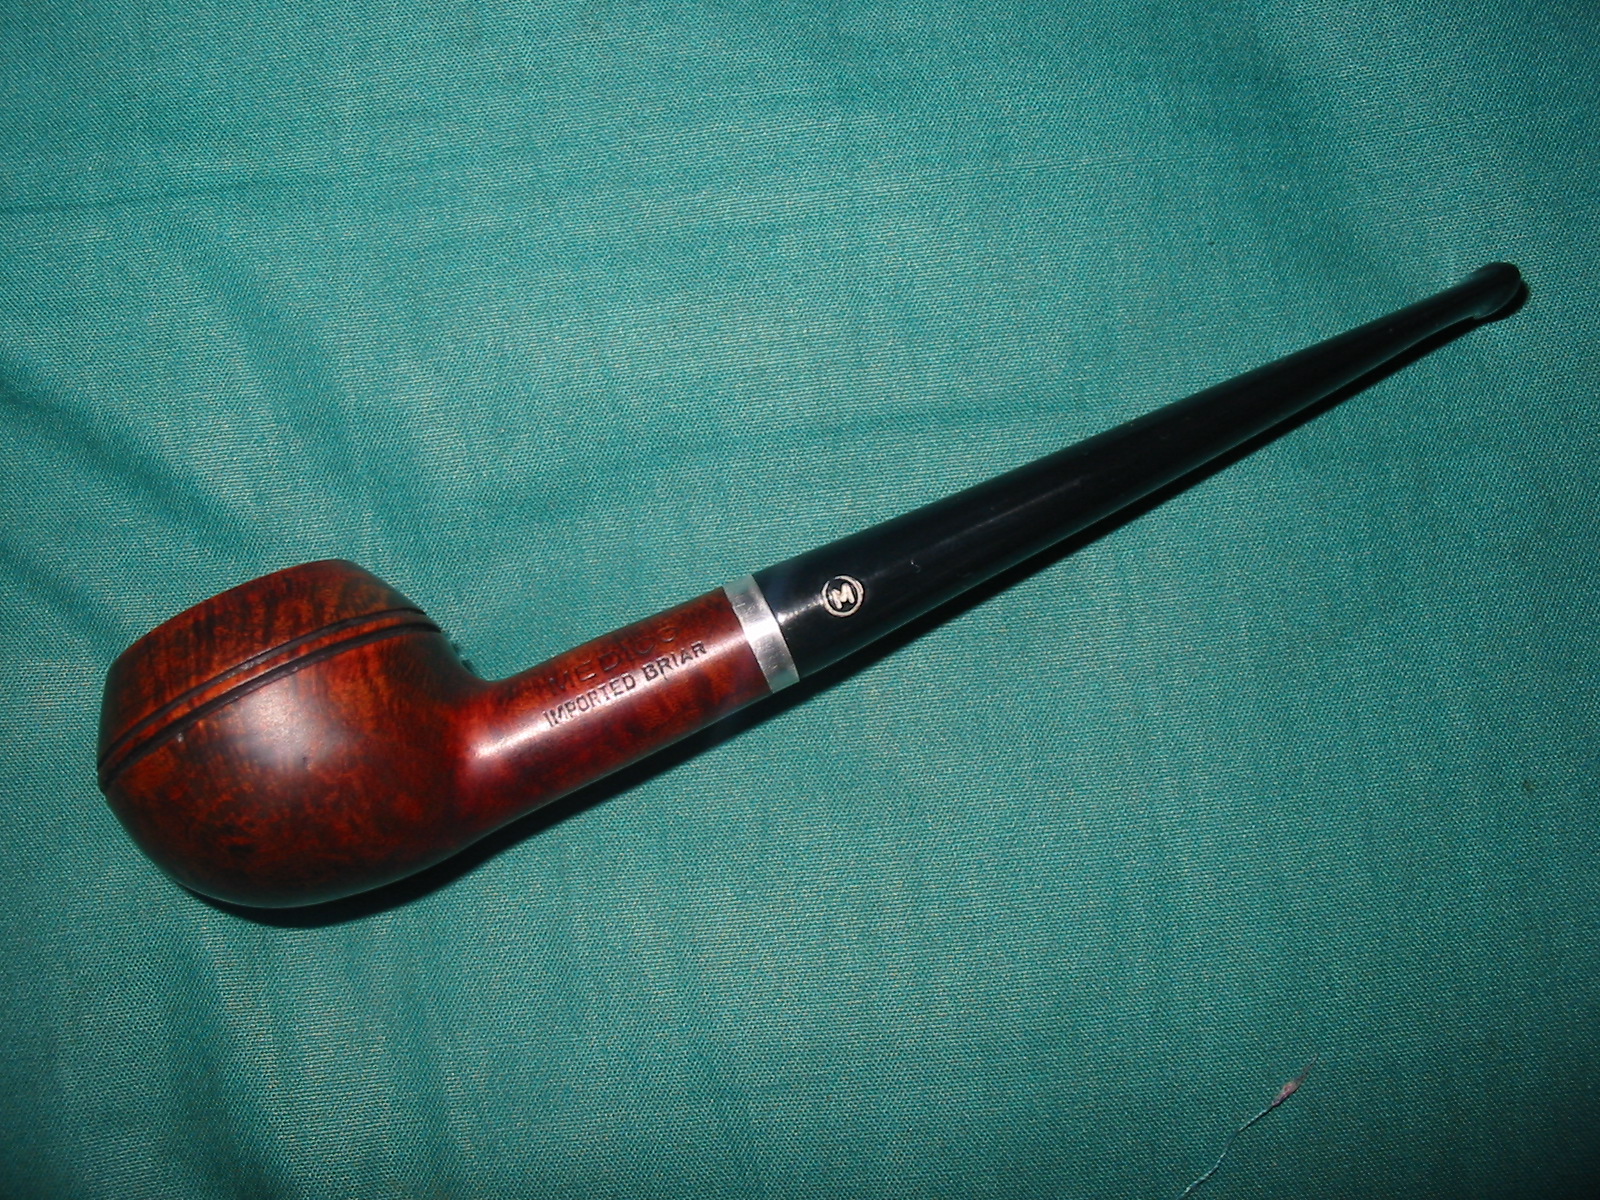
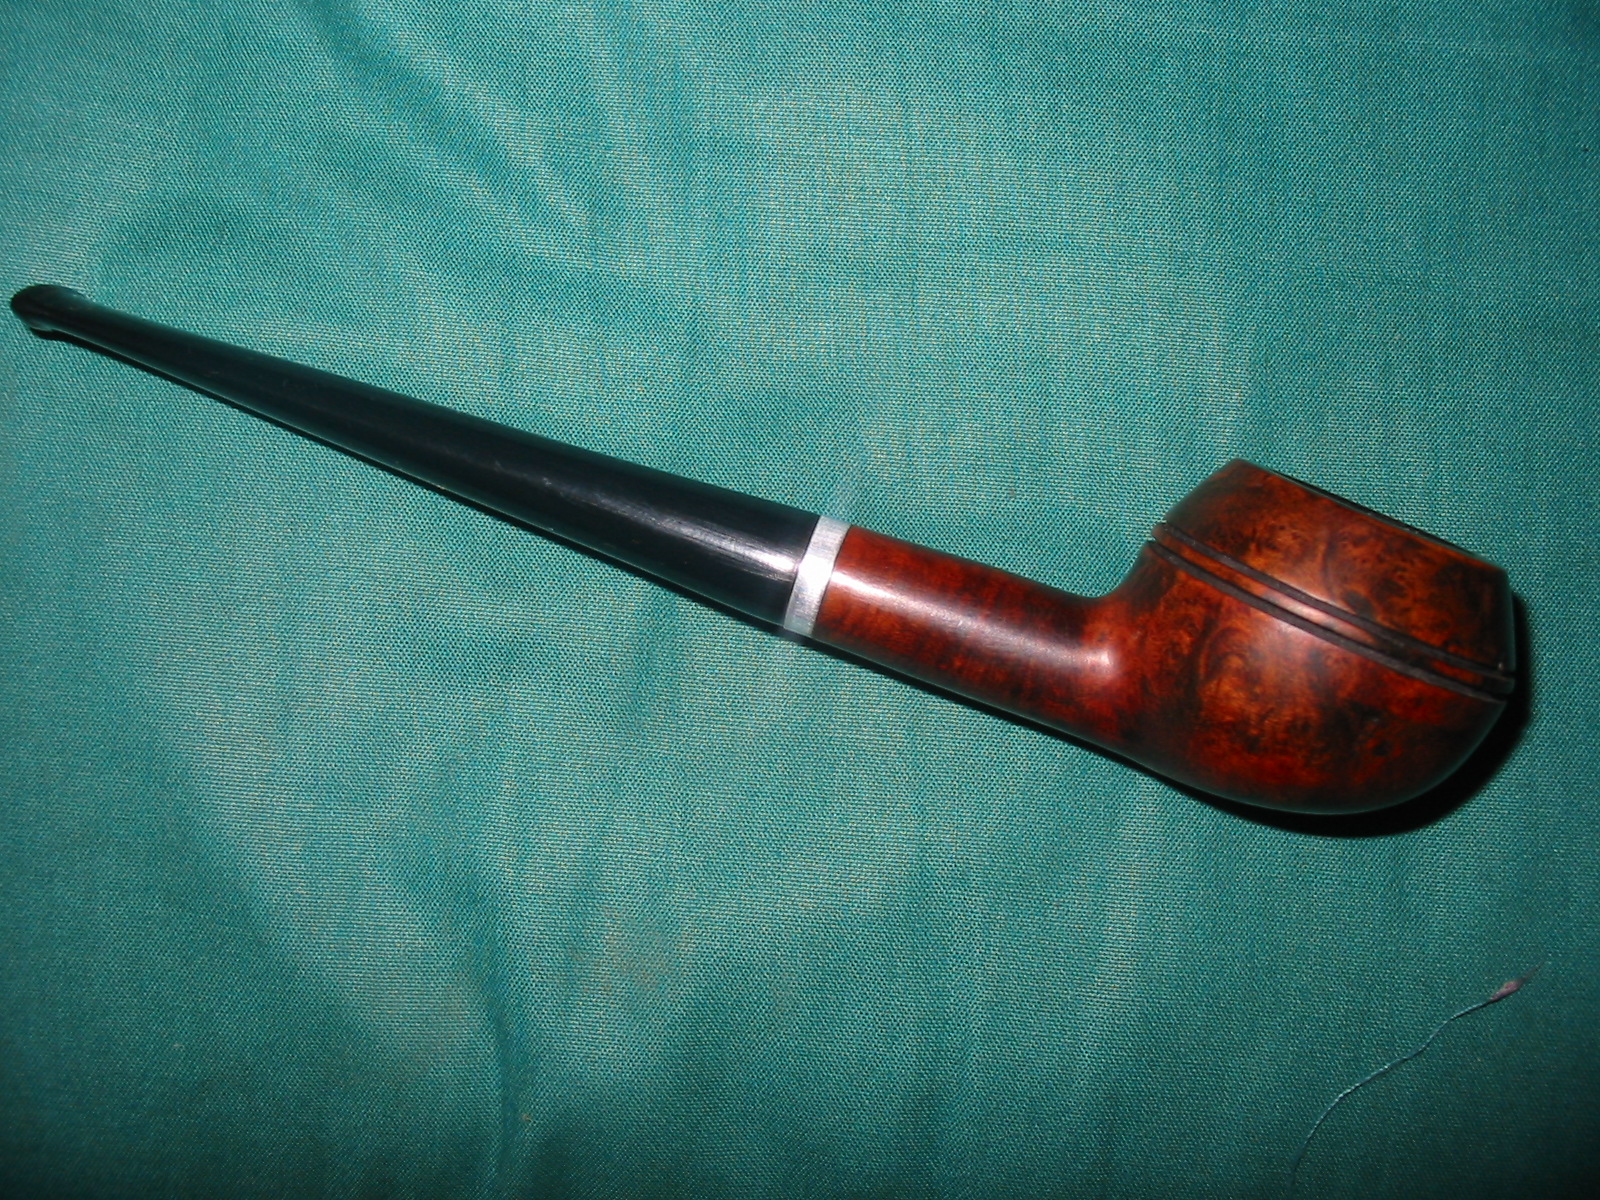
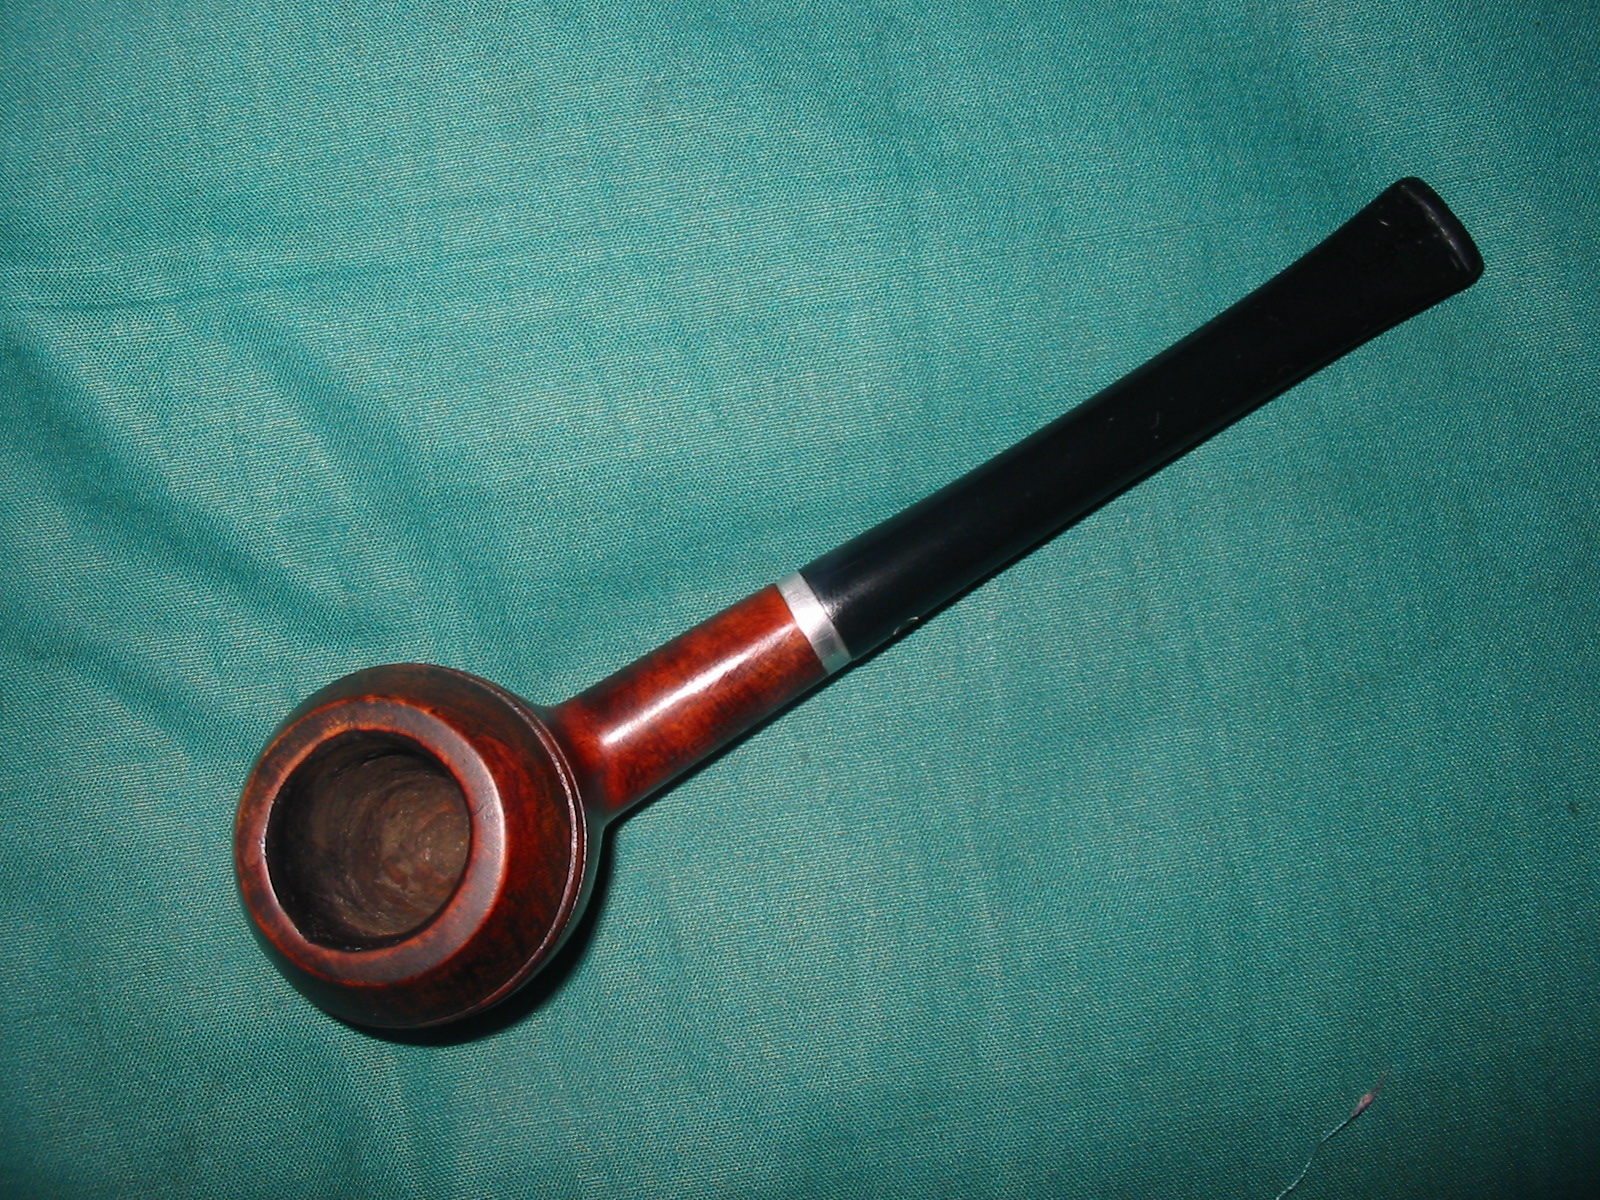
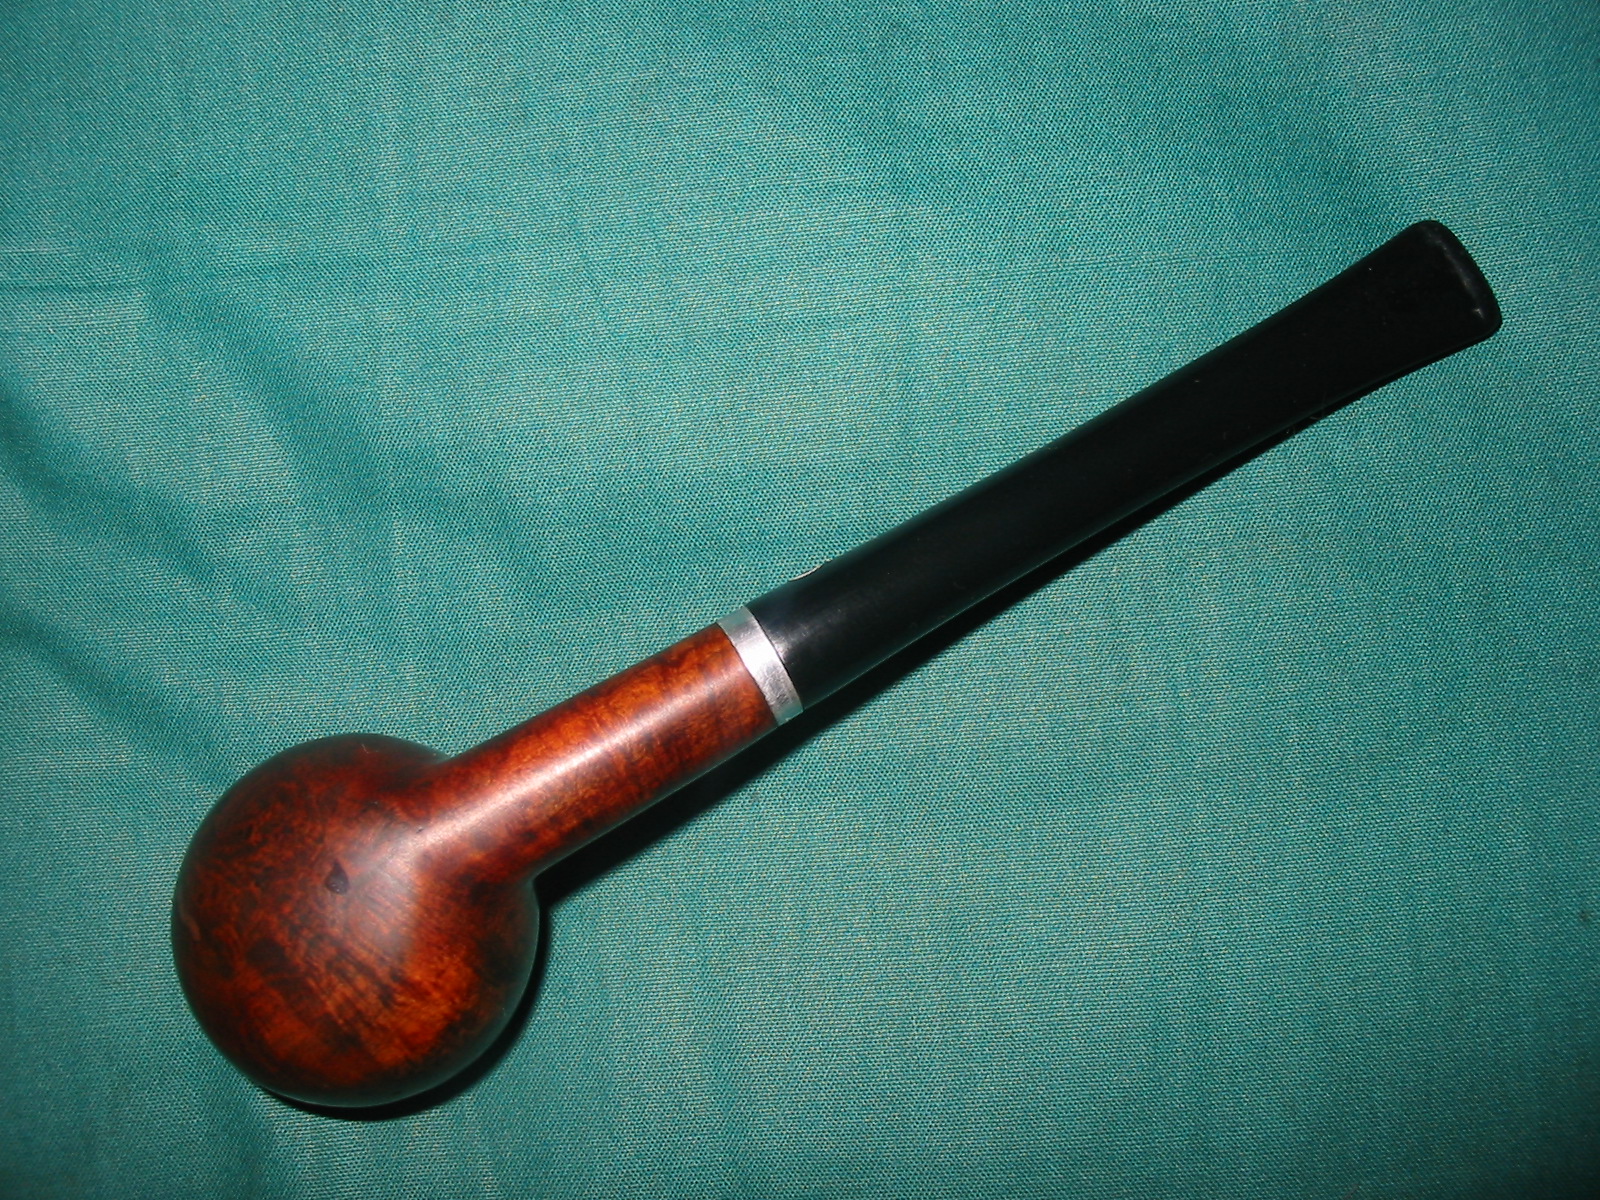
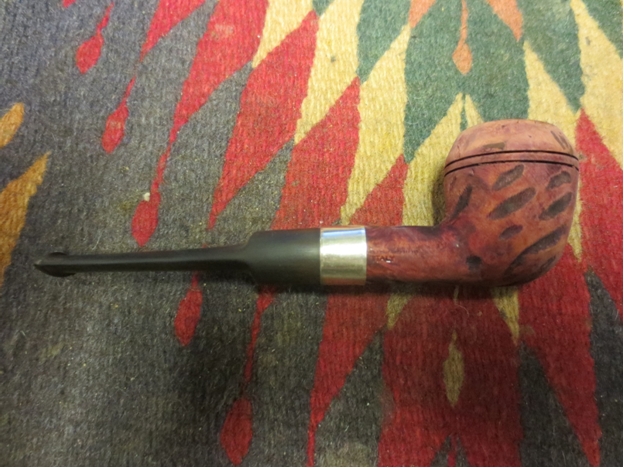
 I buffed the entire pipe with White Diamond and then gave it multiple coats of carnauba wax to protect and polish both bowl and stem. With that completed my sentimental journey with this old Medico was complete and it was ready to go back into service. I am sure I will gift this pipe to some new pipeman somewhere along the way as it should smoke very well and give many years of service. It is not a thing of beauty and never will be but it is a good serviceable pipe that will deliver a good smoke. The finished pipe is pictured in the photos below.