Blog by Steve Laug
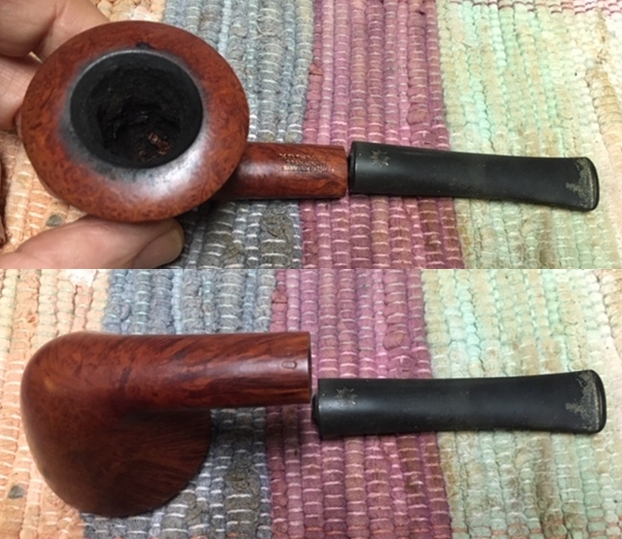
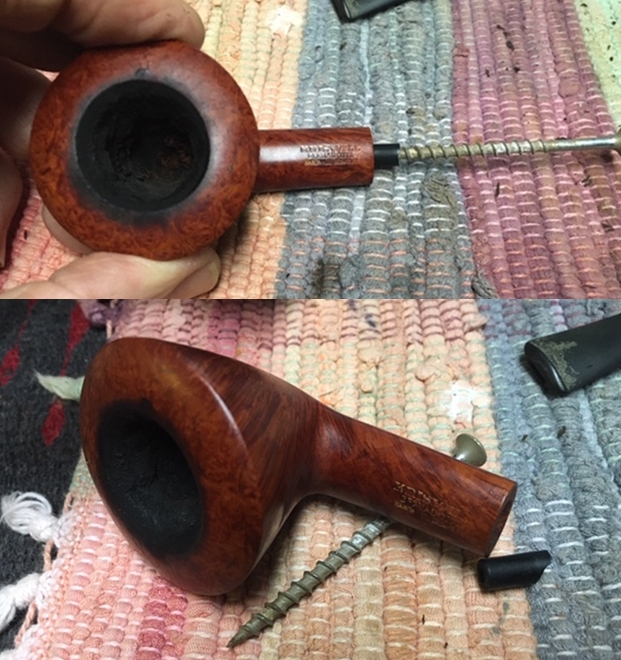
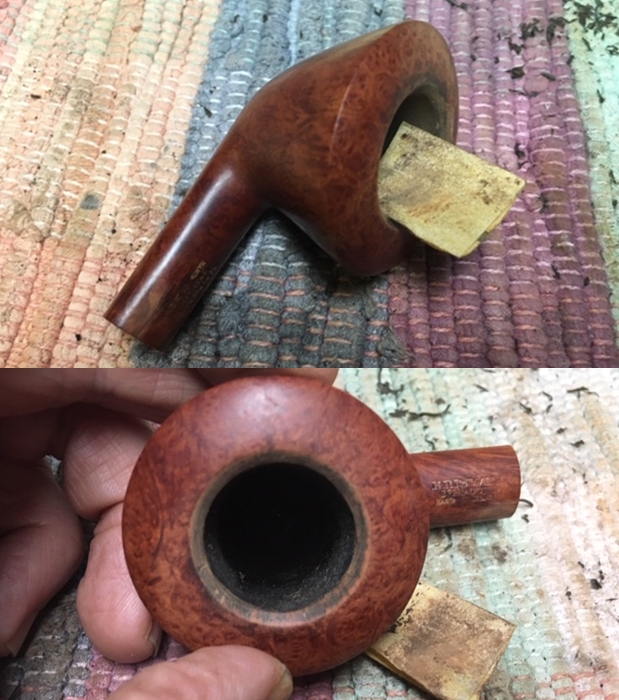
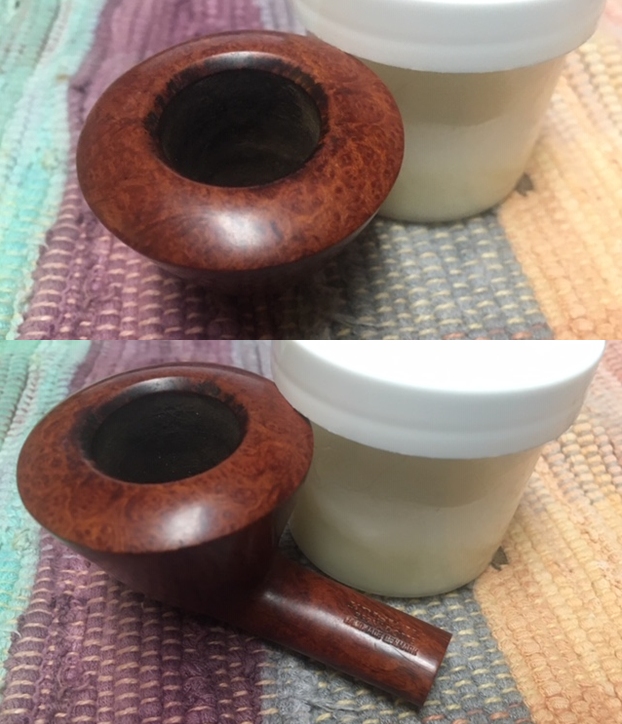
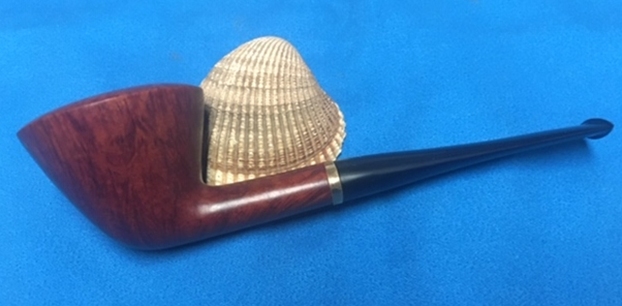
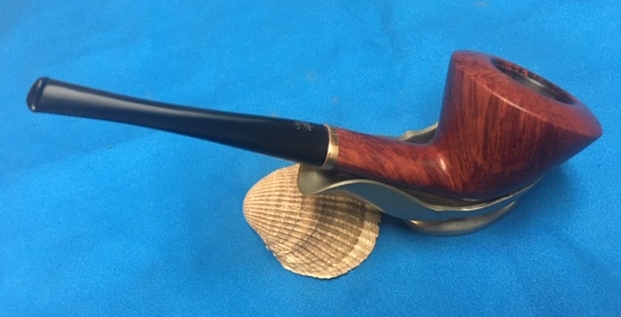
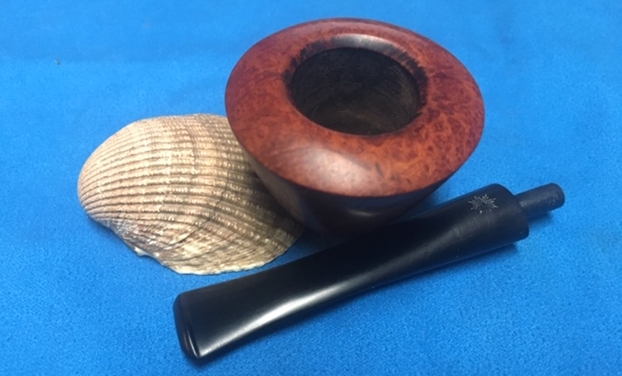
I decided to put my hand to something different this afternoon. I have been working on a lot of pipes that Jeff and I have purchased. The one on the table this after was a pipe that I received for repair from a fellow in Toronto. We had been chatting via email and phone about a nice Kriswill Handmade Bernadotte that he had purchased. When it arrived in Toronto the stem was stuck in the shank and in trying to remove it he had managed to snap the tenon in the shank. He wanted me to repair the tenon for him so I told him to ship it my way. He did a thorough cleaning of the bowl, shank and stem so it was in good condition. It arrived this week and I brought it to the work table and looked it over and put it back in the box. Today, Sunday afternoon I was ready to tackle the task. I took some photos of the bowl and the stem to give a sense my first impression as I looked at quickly.
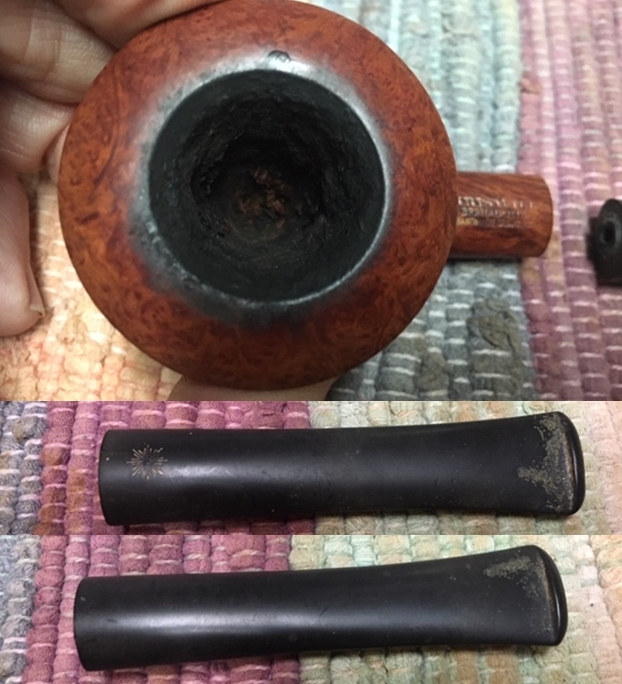
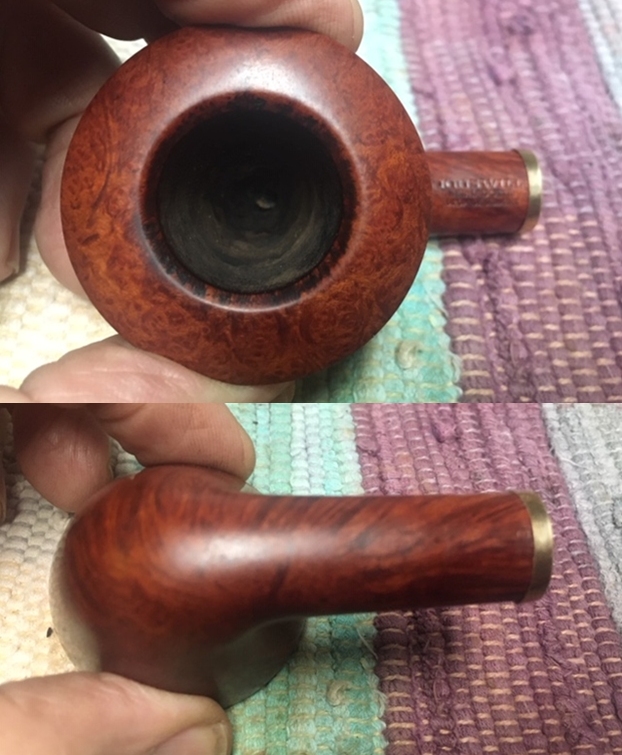
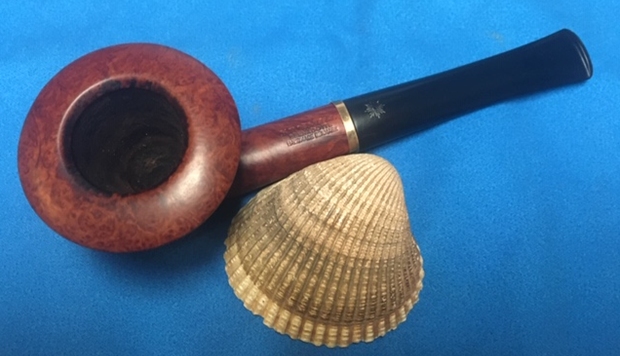
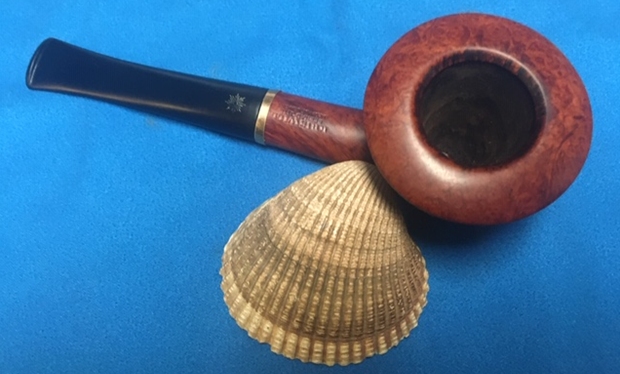
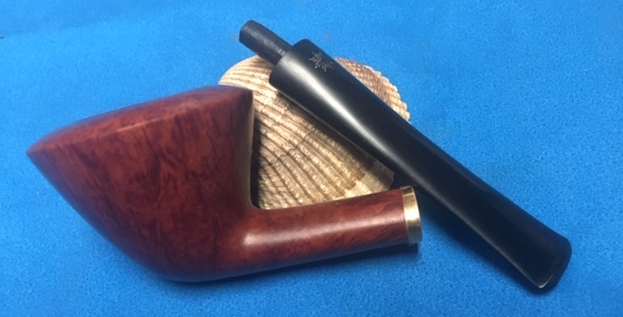
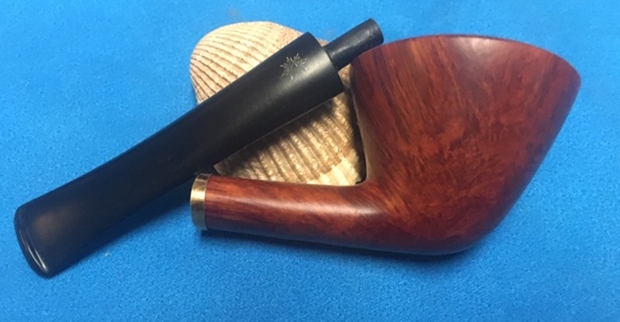
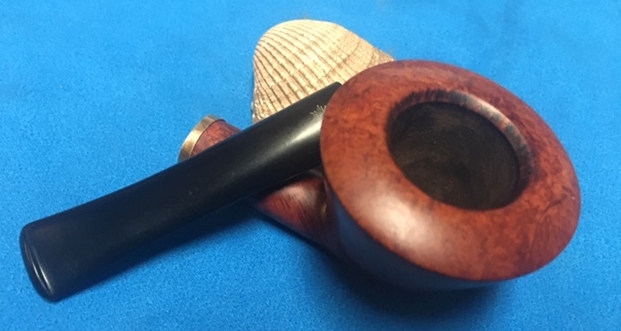
Here are my thoughts as I turned it over in my hands. The pipe has a conical shaped bowl that is pretty clean. There was little or no cake on the walls. The rim top was rusticated and quite clean. There was an inward bevel on the rim edge that was also clean and excellent condition. The shank was triangular with a smooth band on the shank end. There was a smooth panel on the underside of the shank that was stamped Kriswill [over] Handmade [over] in Denmark. That is followed by Bernadotte in script [over] Design in block letters. There is the shape number 1210 stamped on the end of the shank right along the edge. The tenon was snapped evenly in the shank leaving just a little bit of debris on the stem end. The tenon was stuck and I would need to do the freezer trick to remove it. The stem was lightly oxidized and there was debris and sticky marks from price tags on the stem surface. There were light tooth marks on both sides just ahead of the button. It really is a beautiful little pipe. 
 I took a photo of the stamping on the smooth panel on the underside of the shank. It is clear and really readable as noted above.
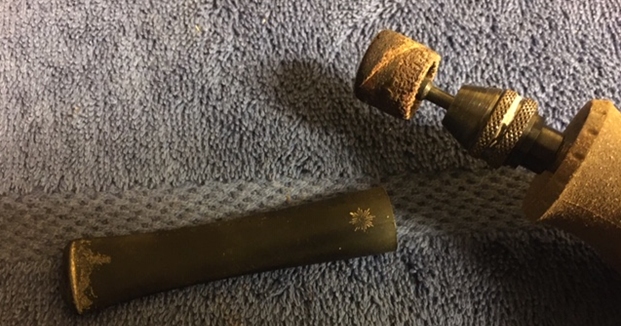
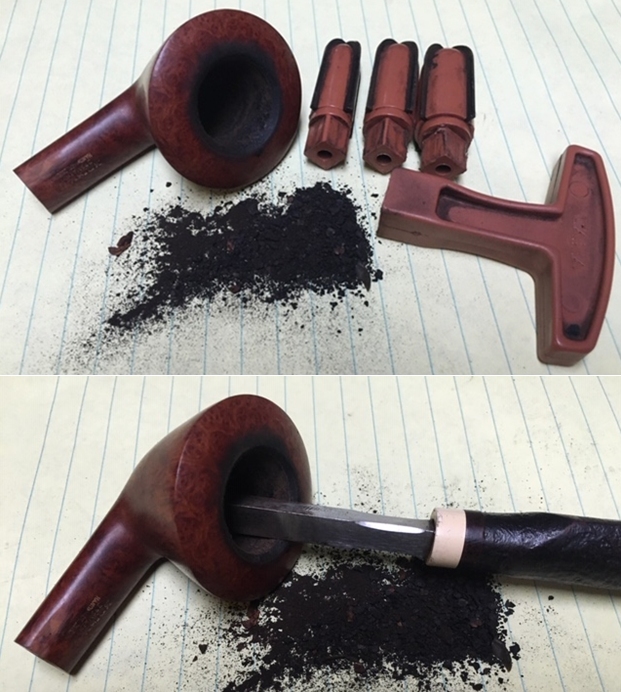
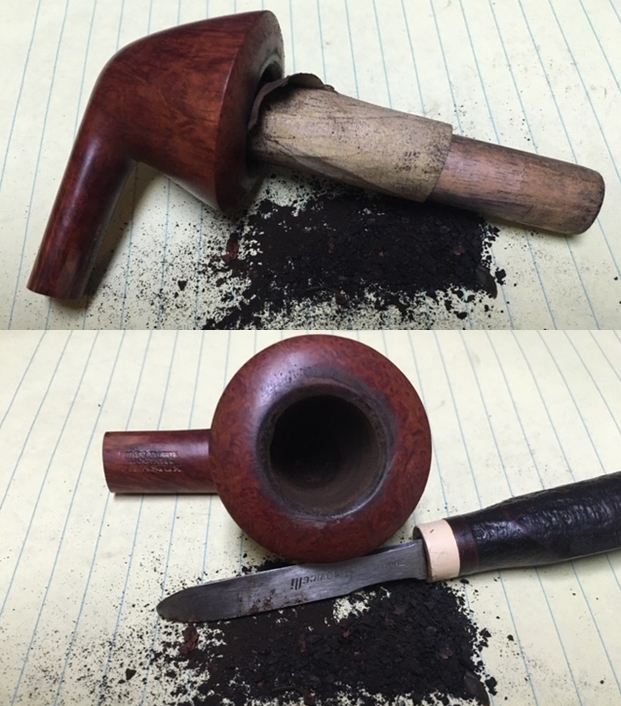
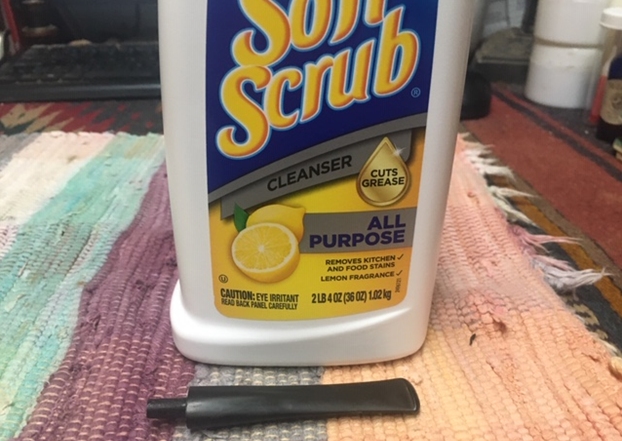
 To start my work on the pipe I decided to pull the broken tenon from the shank. I used a screw and tuned it into the airway and it was very tight. I put the bowl in the freezer for 30 minutes and when I took it out the screw easily removed the broken tenon from the shank. I took photos of the process.
  Before I went any further in the process I decided to do a bit of background work on the pipe. I turned to Pipephil’s site first (http://www.pipephil.eu/logos/en/logo-k3.html). I did a screen capture of the section on the Kriswill Bernadotte Handmade in Denmark pipe. I have included it below and the pertinent sidebar information below that.
 Kriswill is a brand of Kriswork Briar Trading, in Kolding (Denmark) established about 1955.
Some of Kriswill pipes were designed by Sigvard Bernadotte, Swedish prince and brother to the late Queen Ingrid of Denmark. He collaborated with his Danish partner Acton Bjørn.
At the end of the quote above there was a link to the photo below. It is a series of portraits of Sigvard Bernadotte the designer of the pipe that I am working on.
I turned to Pipedia (https://pipedia.org/wiki/Kriswill) for more detailed information. There is a great writeup there on the history of the brand that is fascinating. I have quoted the pertinent section below. I have also highlighted the connection to Sigvard Bernadotte in red in the last paragraph. He is one who designed his own series of pipes for Kriswill.
Kriswill began immediately after World War II. Karl Robert Kris, an engineer for the shipping company AP Møller at the time, was in port (undoubtedly in the Mediterranean) when he encountered a shipment of briar. The briar blocks awakened his curiosity and he took some home. About this time the the shipping trade become difficult due to the war, causing Kris to consider other business opportunities. In 1947, Kris (then 47 years old) established himself as a pipe maker in his hometown of Kolding.
Kriss started his pipe making operation in a house located at Haderslevvej 115 in Kolding, and was soon joined by 3-4 employees. The pipes were sold under the name Rocky and supplied the domestic market. Within 6 months the company had grown, more employees hired, and their sales expanded to markets abroad.
Due to increasing production and marketing, Karl Robert Kris decided in the mid-1950s to expand. An entirely new factory was built at Sdr. Ring road on the outskirts of Kolding. At that time the pipes were branded Kriswell. That name did not last long, however, as Stanwell believed that name was too close to theirs. The compromise was to change the name to Kriswill. Kriswill soon grew to become a serious competitor to Stanwell, especially in the export markets. The Kriswill factory logo, stamped on the stem, became the stylized compass rose – as a reference to the manufacturer’s maritime background.
Kriswill pipes excelled in design and craftsmanship. Karl Robert Kris was not afraid of new designs and had a good eye on the US market, where larger and more innovative designs were increasingly popular. Craftsmanship was given top priority throughout Kriswill’s production. A local designer / architect had designed the first models. Later, the famous architects Sigvard Bernadotte (Swedish prince and brother of Queen Ingrid) and Acton Bjørn designed their own series, which were known as Bernadotte designed.
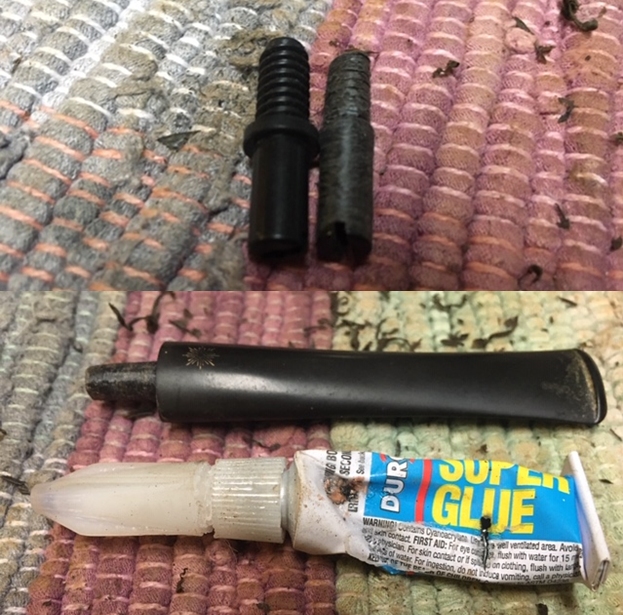
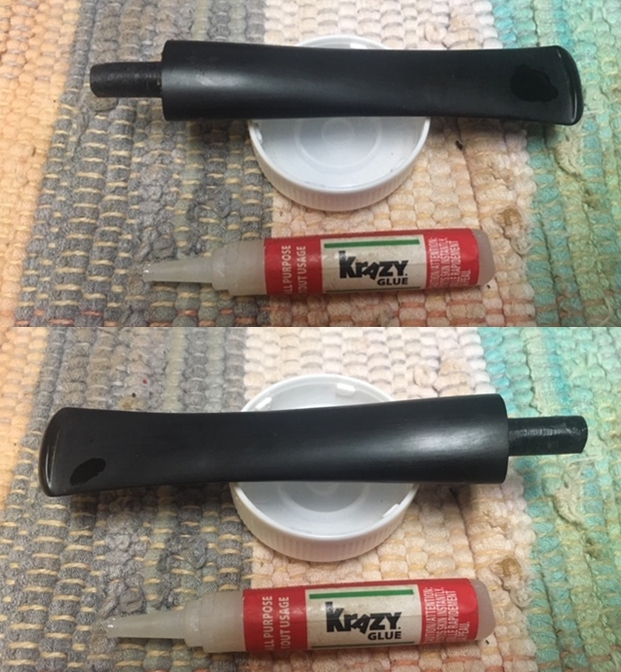
There was also a catalogue page on the Bernadotte Design line that shows the various pipes in the line. The second pipe down is the Hand carved 1210 which was made in black and in brown. I repaired chip and crack in the underside of the triangle shape stem with black CA glue. I wanted to do this prior to drilling the airway and opening it up for the new tenon end. I set the stem aside to let the repair cure.
 While I waited for the stem repair to cure I went through my tenons and found one that was very close in diameter to the shank. I reduced the diameter of the portion that would go into the stem with a Dremel and sanding drum. I repeated the process on the end of the tenon that would go in the shank. It was ready for the fit once the repair on the stem had cured and I was able to drill out the airway.
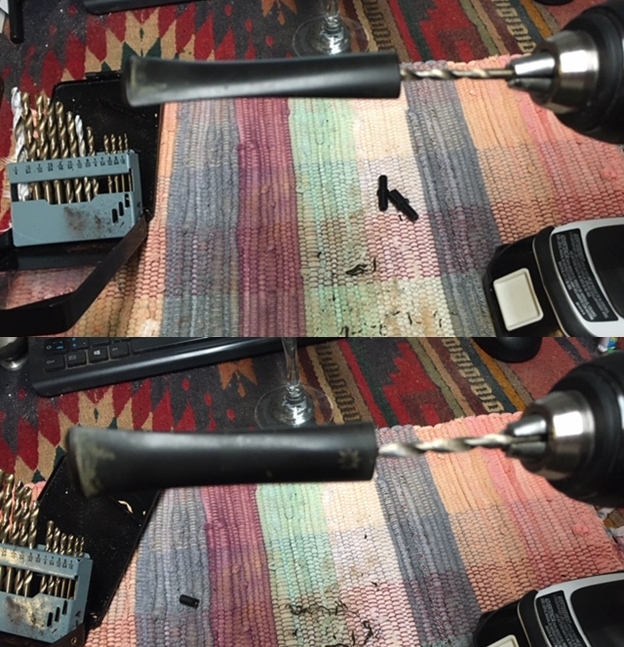
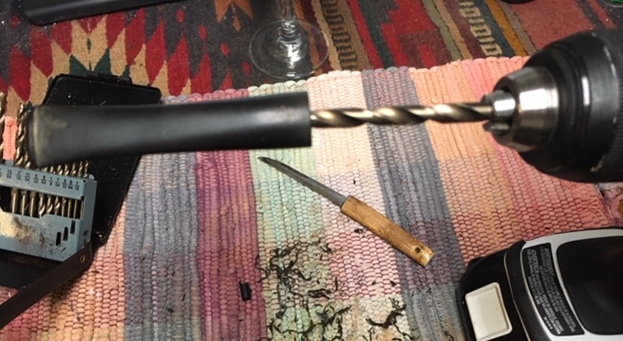
 I was a bit nervous drilling out the thin walled stem with the repair on the underside. I envisioned it splitting and ruining everything. I used a thin pen knife to begin the process of opening up the airway. I opened it to be large enough to take the first of the drill bits. I put the drill bit in my cordless drill and slowly turned it into the airway. I opened it up with several drill bit until the new tenon end fit in the stem. I cleaned up the airway with a set of needle files to make the airway the same diameter the depth of the drill.
 The fit in the stem was perfect. I painted the end of the tenon with black CA glue and pushed it in place in the airway. I set it aside to let the glue cure.
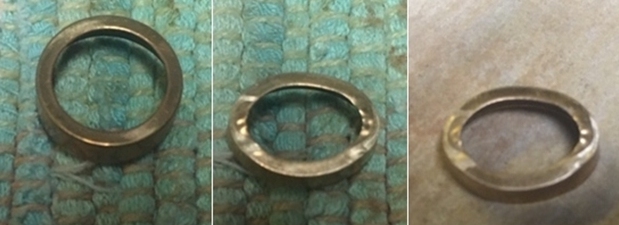
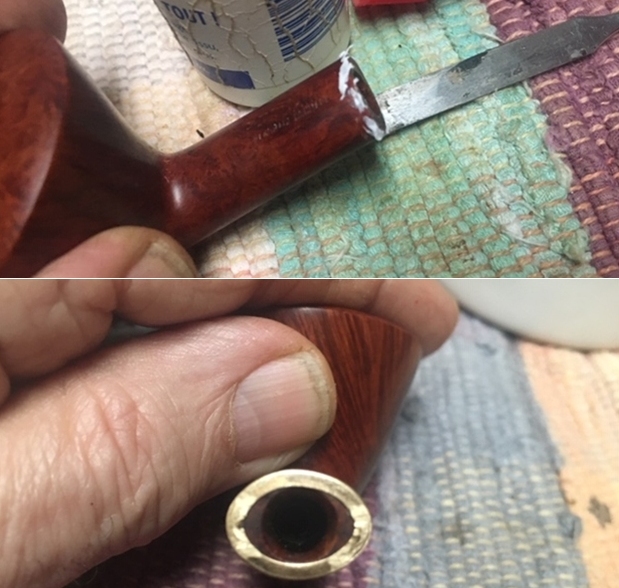
 I set the stem aside to allow the glue to cure. I wanted the tenon to be set in the stem so that once I put it in the shank it would not come out of the stem. I turned my attention to the bowl and shank. The shank had two small hairline cracks in in on the right side of the triangle. It would need to be glued and banded to accomplish a tight repair. I shaped a round brass band into a triangle and sanded it against a sanding board to thin the depth of the repair band. I fitted on the shank and put the stem in place to get a sense of what it would look like. I sent a few picks to the trustee in Toronto to show him what was going on. He approved of the repair.
 I glued the band on the shank with some all purpose white glue. I painted the surface of the shank with the glue making sure to get into the cracks. I pressed the band on the shank and wiped off the excess glue with a damp cloth.
 I rubbed the briar down with Before & After Restoration Balm. I worked it into the briar with my fingertips and a horsehair shoe brush to work it into the nooks and crannies of the rusticated finish. The product works to clean, enliven and preserve the briar. I let it sit for 10 minutes then I buffed it with a cotton cloth to deepen the shine. The briar really comes alive with the balm.

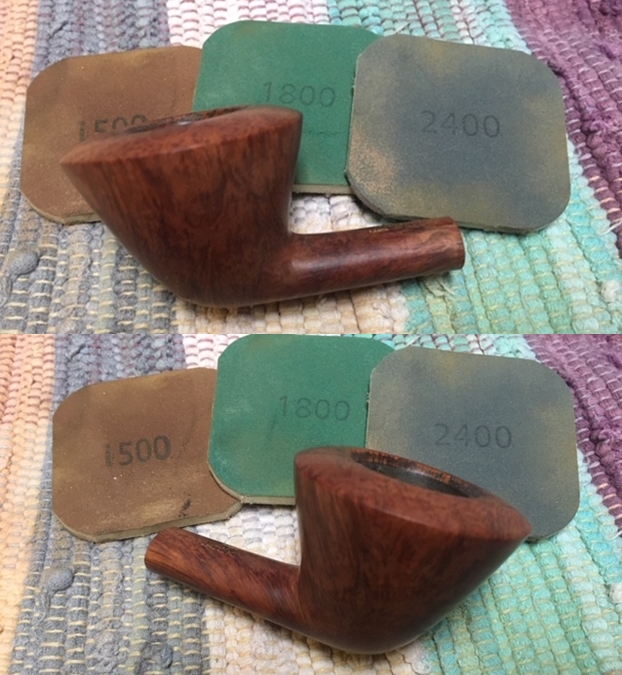
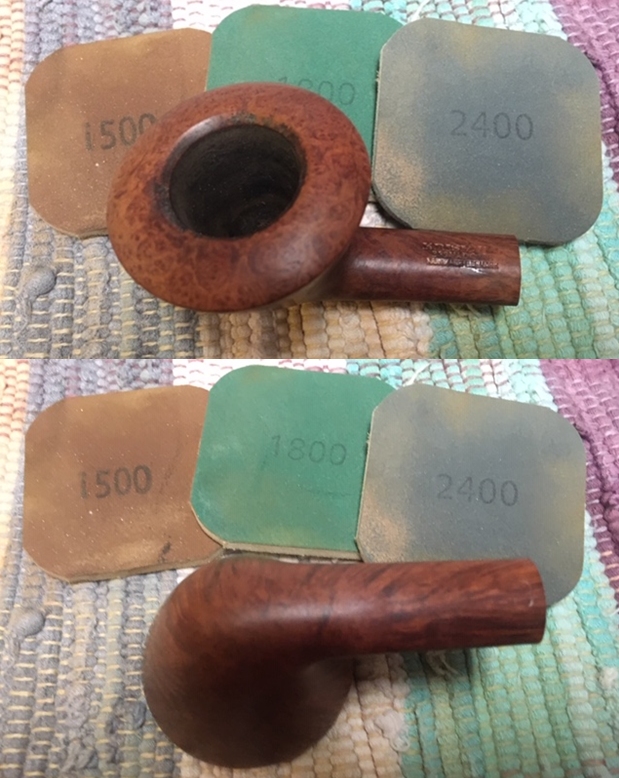
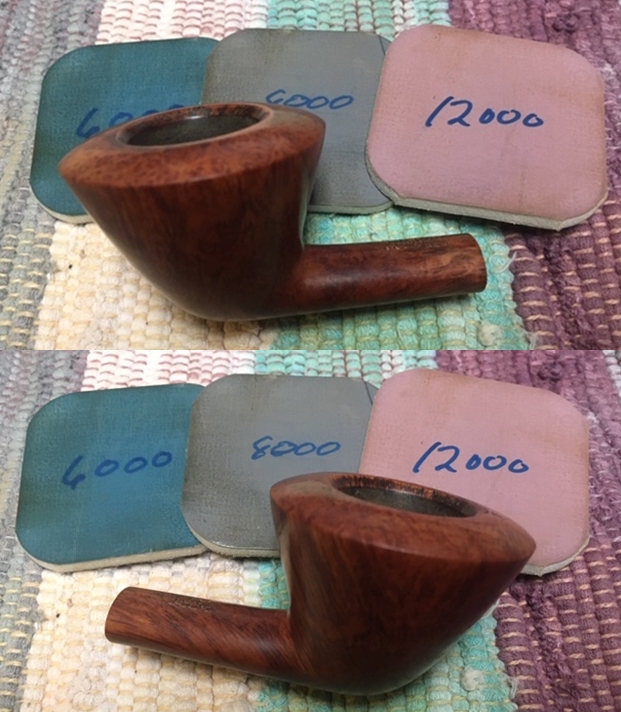
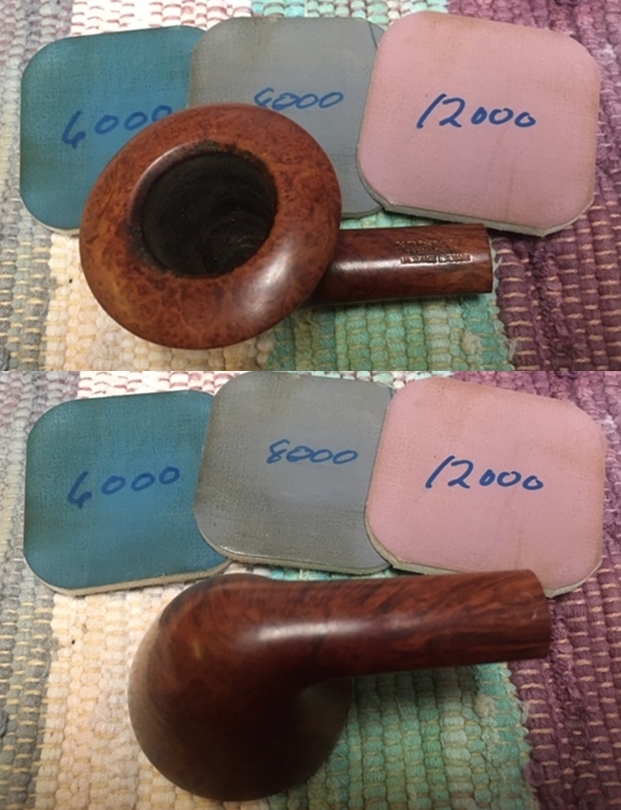
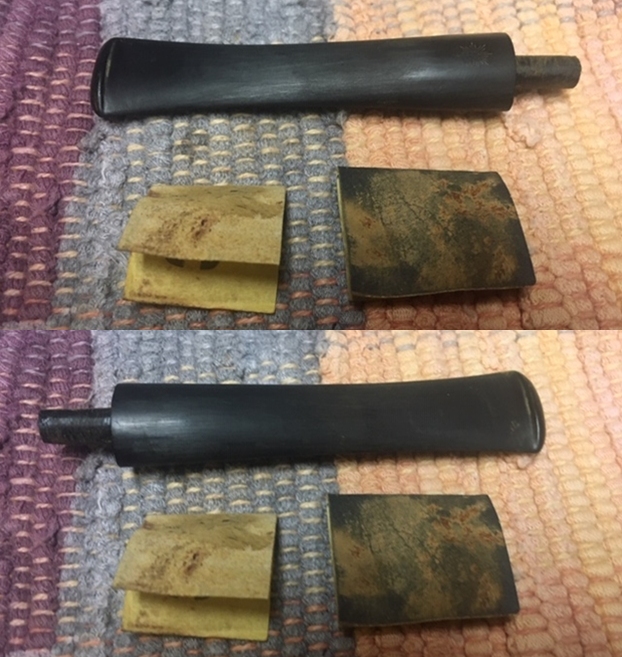
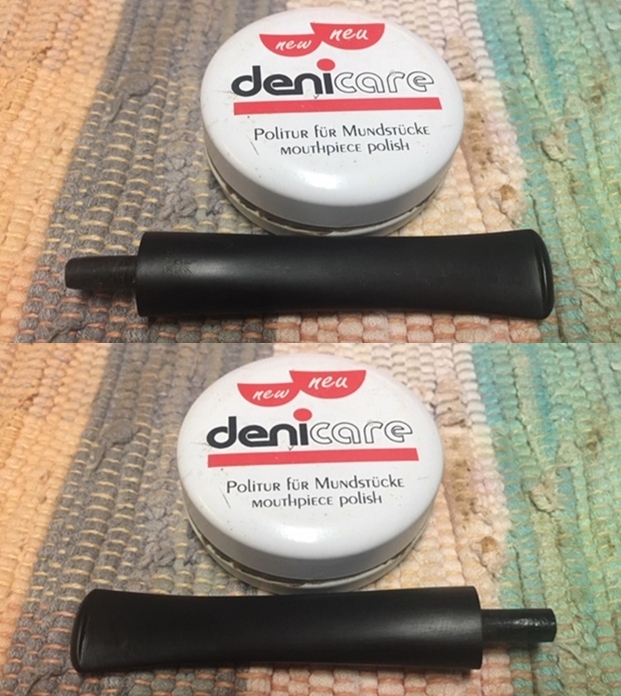
 I set the bowl aside and turned to finish the stem. To address the scratches and marks in the surface of the vulcanite I sanded it with 320-3500 grit sanding pads. I wiped it down after each sanding pad with a damp cloth. By the final 3500 grit sanding pad the rim top had a shine.
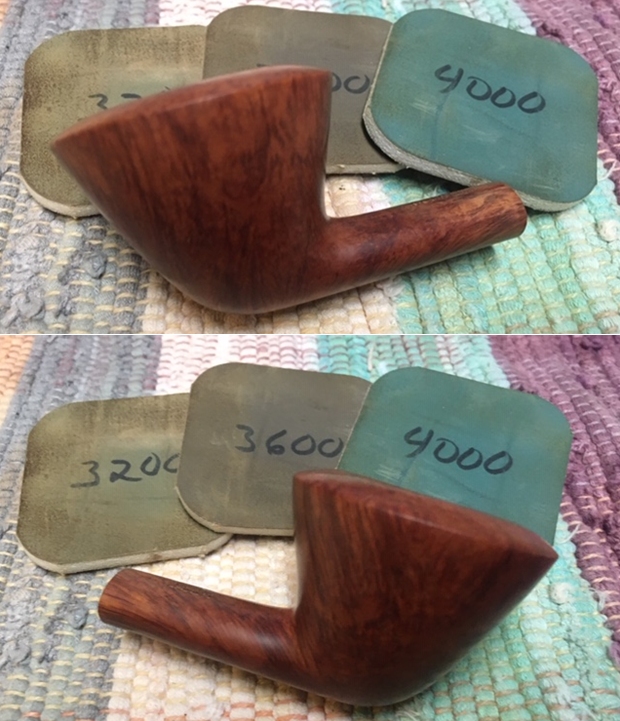
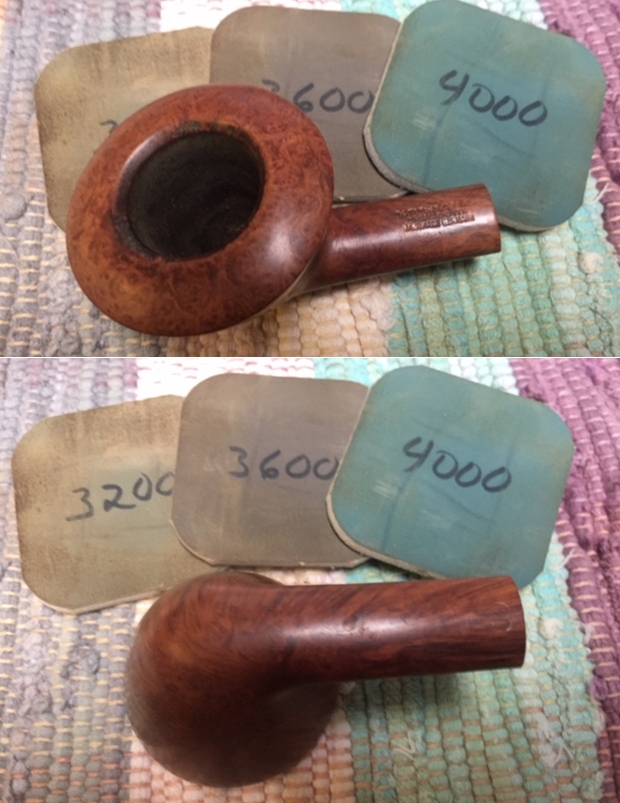
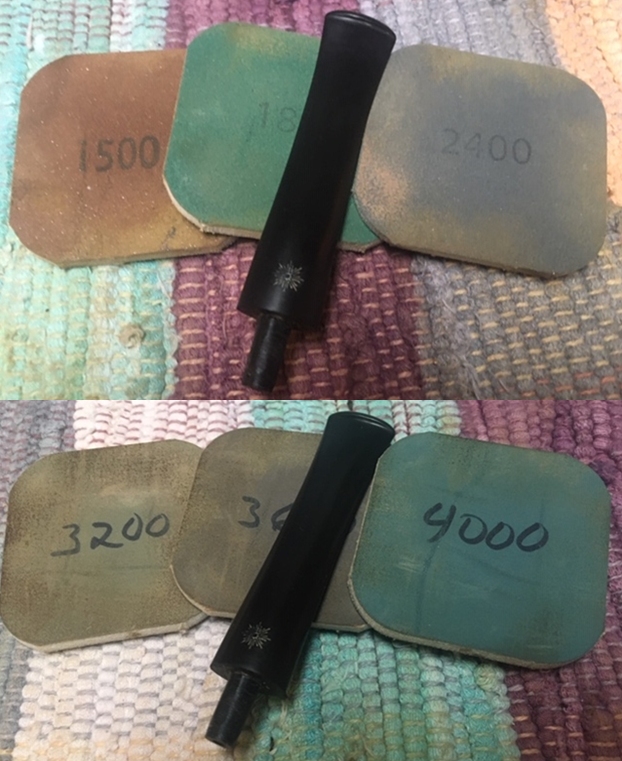
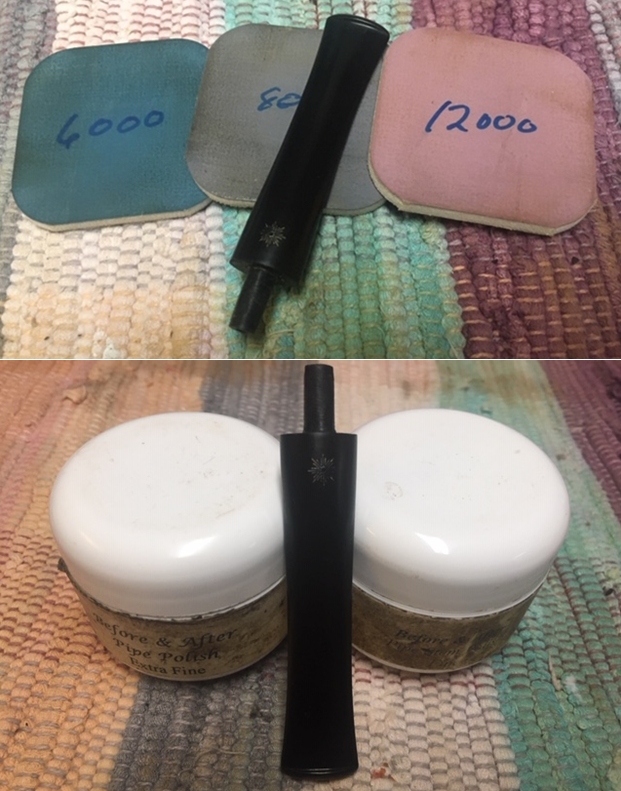
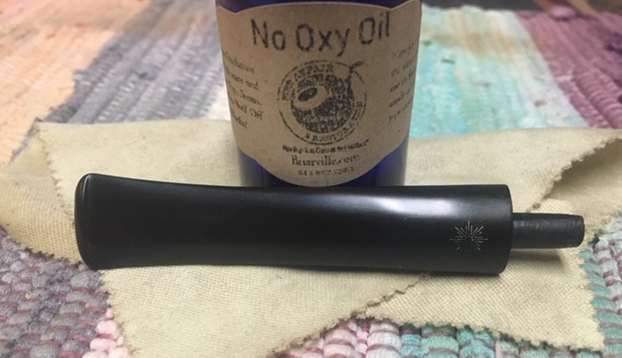
 I polished the vulcanite with micromesh sanding pads – 1500-12000 grit pads. I wiped it down with Obsidian Oil after each sanding pad. I used Before & After Pipe Polish – both Fine and Extra Fine to further polish the stem.
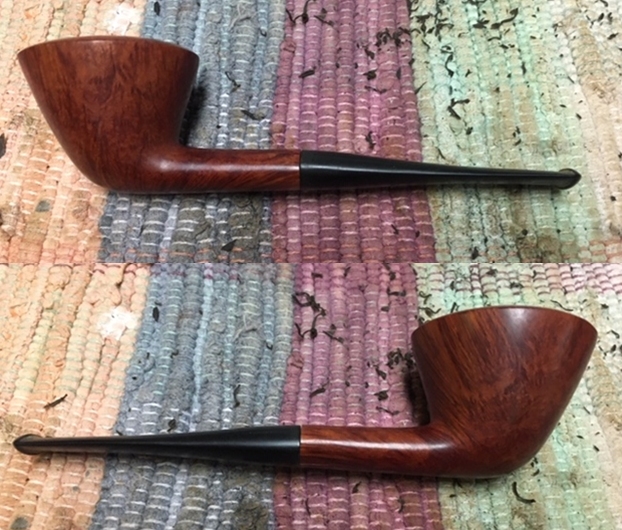
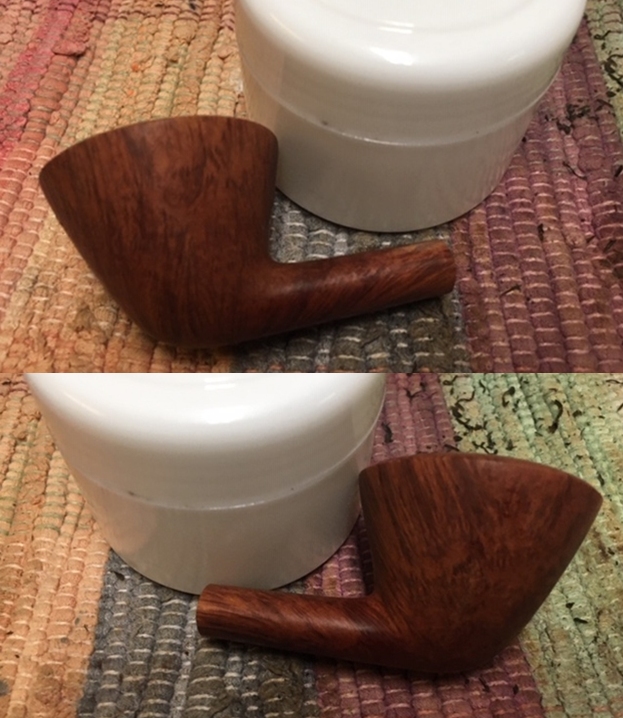
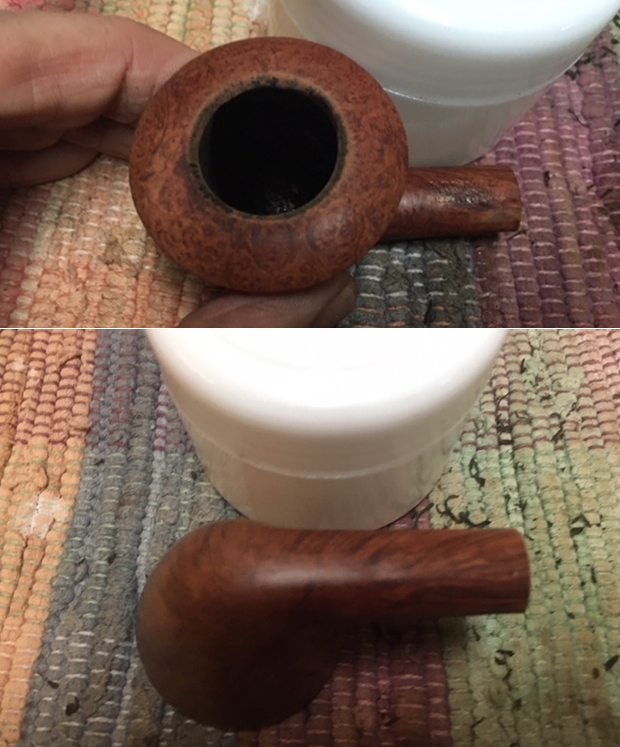
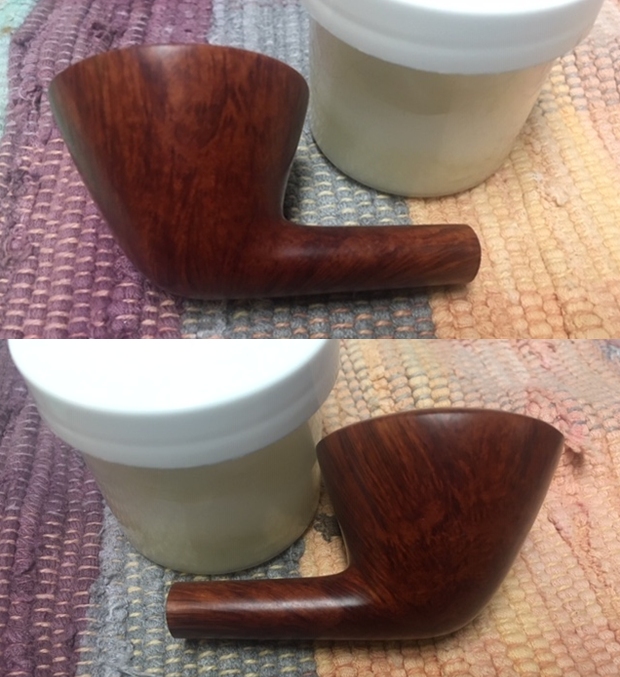
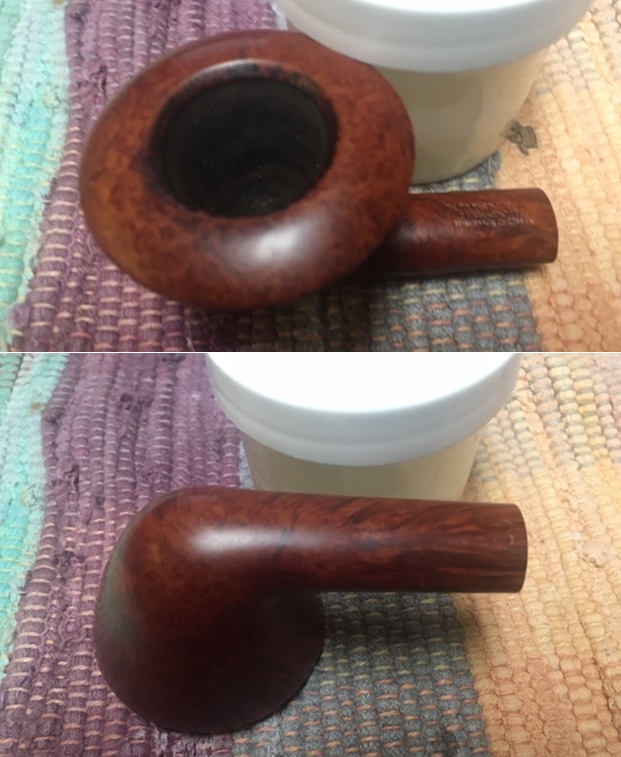
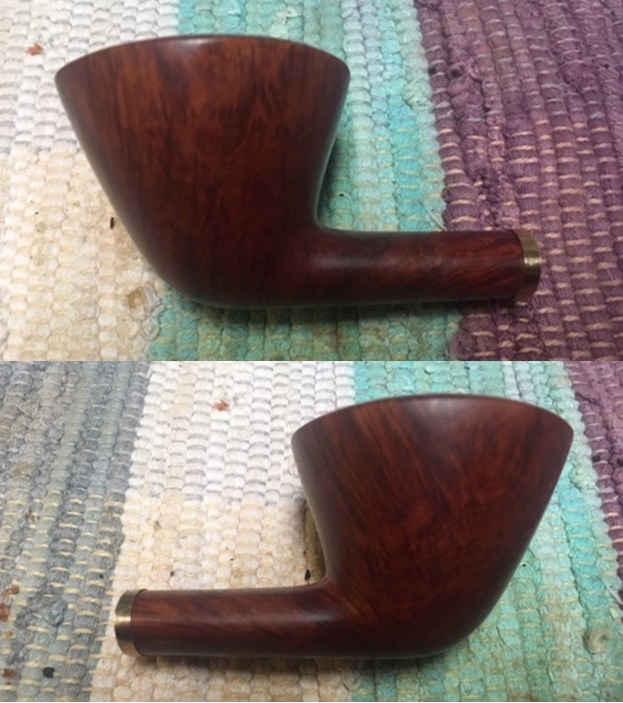
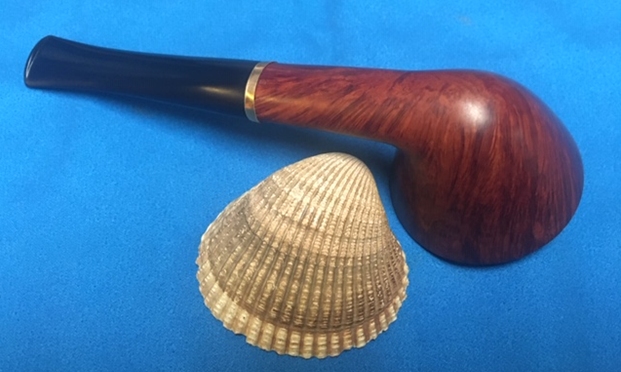
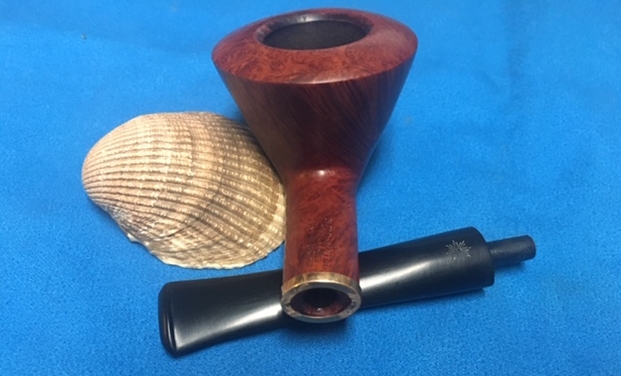
 I always look forward to this part of the restoration when all the pieces are put back together. I put the Kriswill Bernadotte 1210 pipe back together and buffed it with Blue Diamond on the buffing wheel. I gave the bowl multiple coats of Conservator’s Wax and the stem multiple coats of carnauba wax. I hand buffed the pipe with a clean buffing pad to raise the shine. It is fun to see what the polished bowl looks like with the new brass band on the shank end. The combination of grain and the thin band add some elegance to the pipe when combined with the polished black vulcanite stem. This royalty designed Kriswill Bernadotte 1210 Skater is nice looking and feels great in my hand. The pipe is another light weight that could be clenched and smoked while doing other things as it is very well balanced. Have a look at it with the photos below. The dimensions are Length: 5 ¾ inches, Height: 2 inches, Outside diameter of the bowl: 1 ¼ inches, Chamber diameter: ¾ of an inch. The weight of the pipe is 1.06 ounces/30 grams. This one will be heading back to Toronto soon. I am looking forward to what the pipeman who sent it thinks of this restoration. Lots more to do in this lot! Thanks to each of you who are reading this blog. Remember we are not pipe owners; we are pipemen and women who hold our pipes in trust until they pass on into the trust of the next pipeman or woman.