I was gifted a small KB&B Dublin from a friend on Smokers Forums. I always like to know what I am working on when restoring old pipes so I did a bit of digging into the stamping on the pipe and found the following information. I already knew that Kaufmann Brothers and Bondy was the oldest pipe company in the USA, established in 1851. The Club Logo predated Kaywoodie with the “KB&B” lettering stamped within the Club, and a multitude of KB&B lines were in production long before “Kaywoodie” first appeared in 1919. So I knew that the pipe I had was a pre-1919, pre-Kaywoodie KB&B Made BORLUM Dublin.
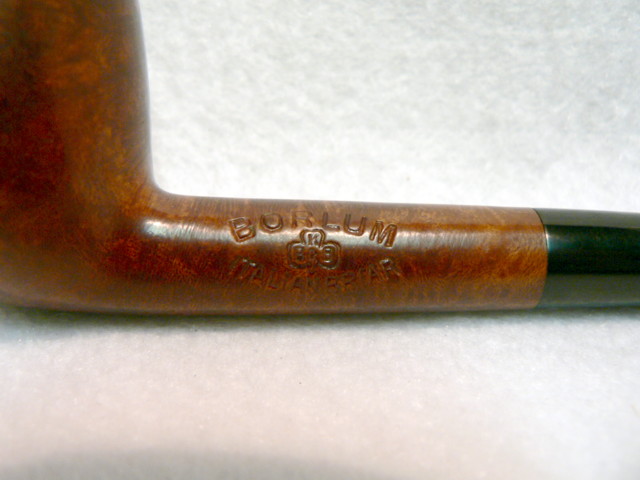
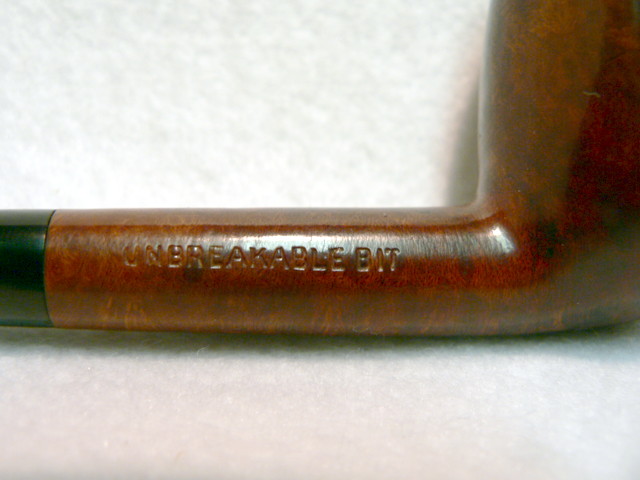
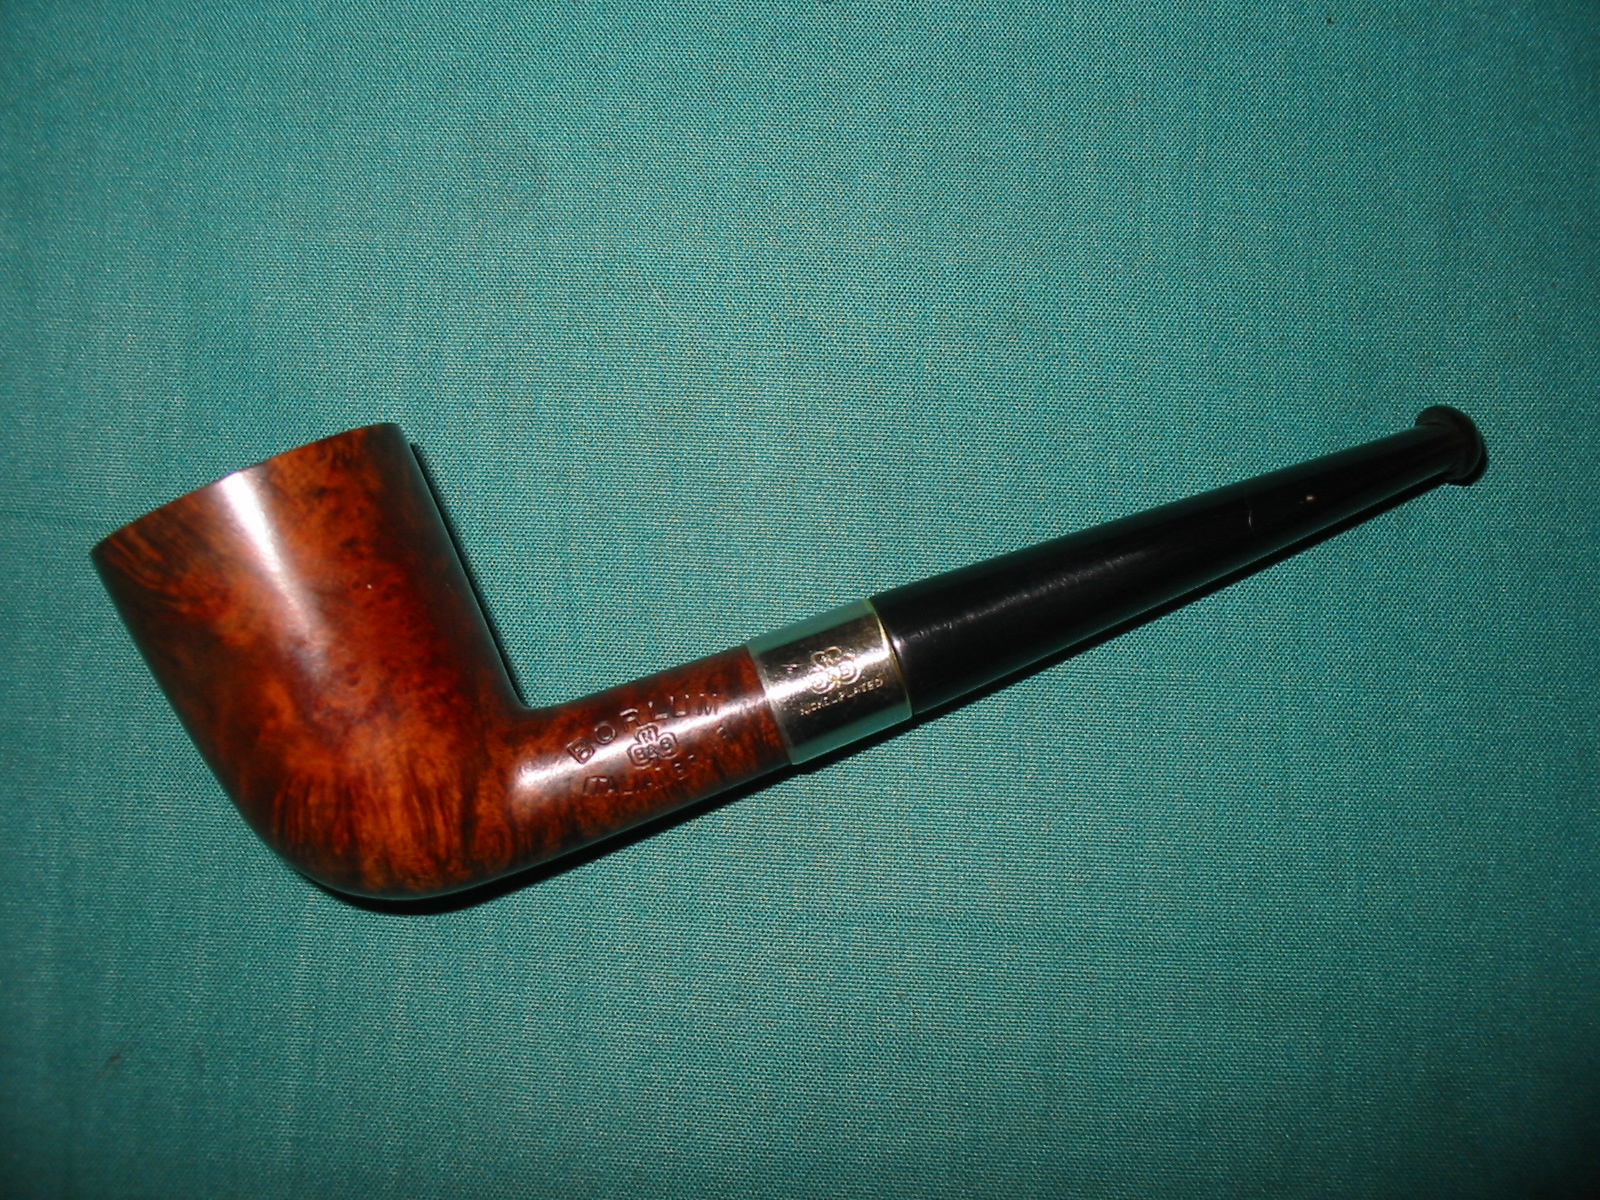
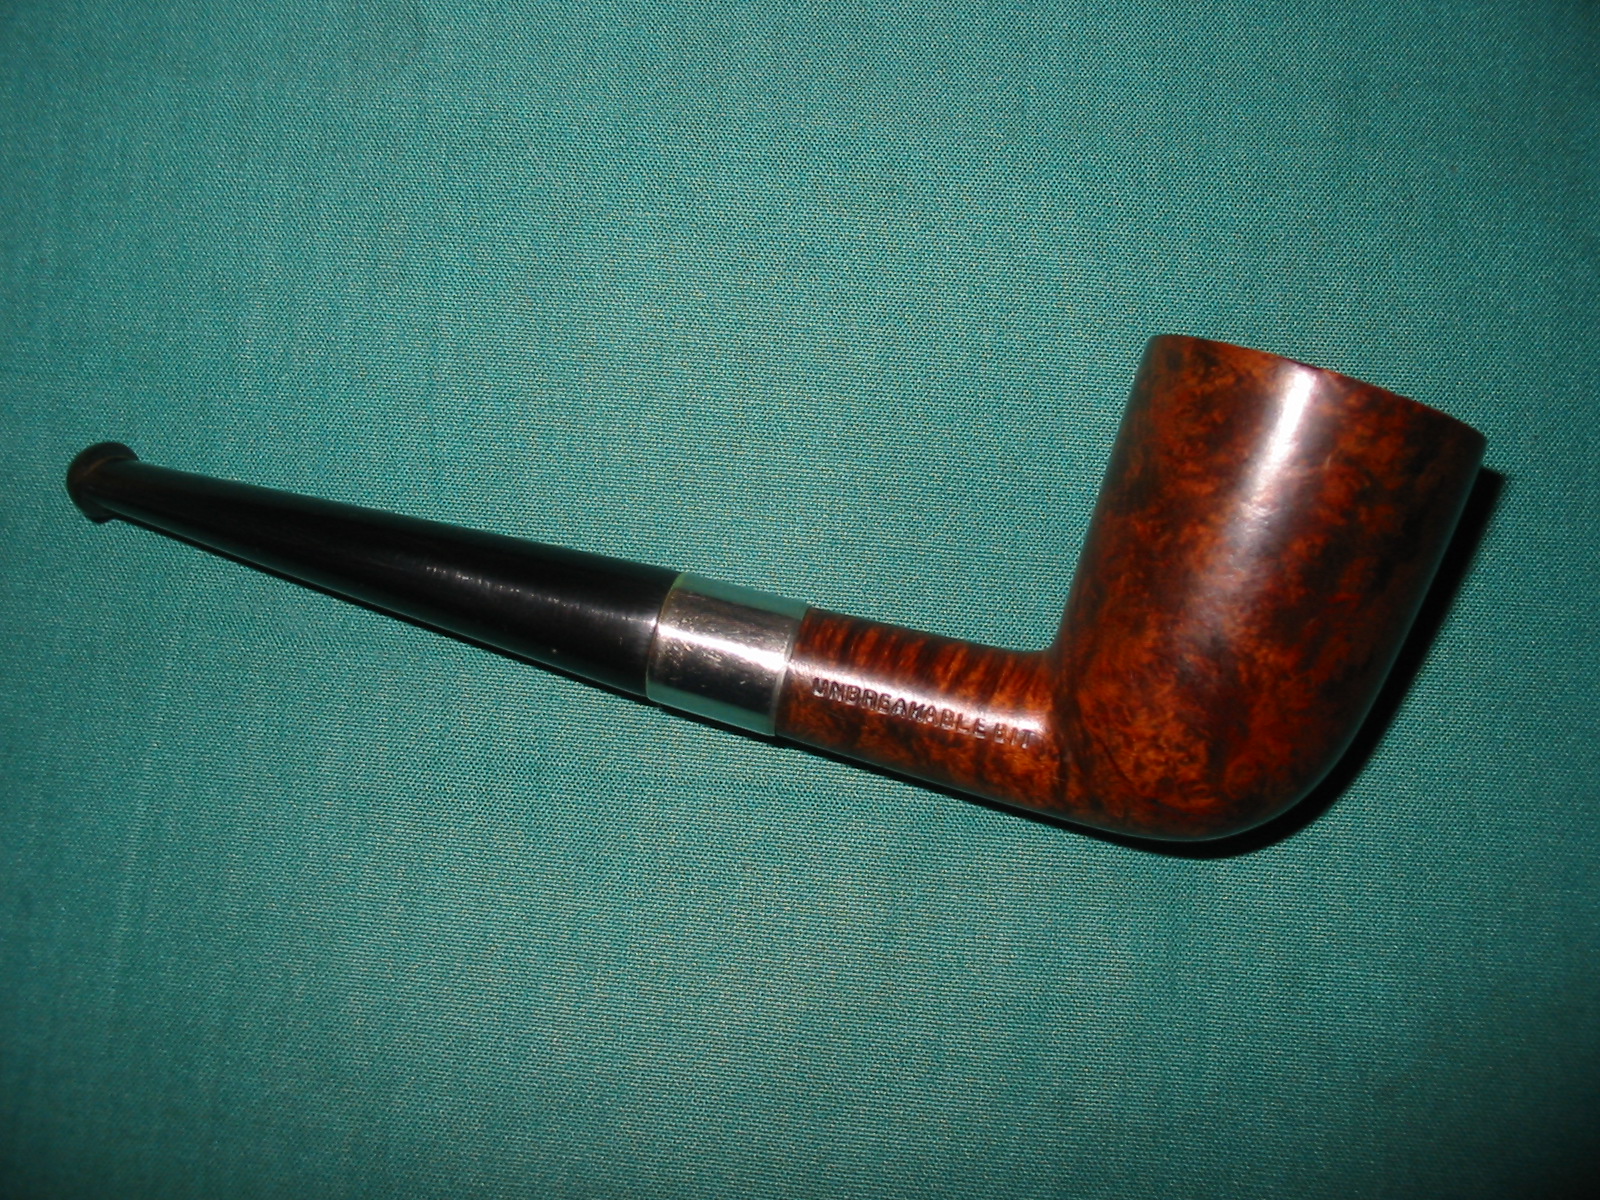
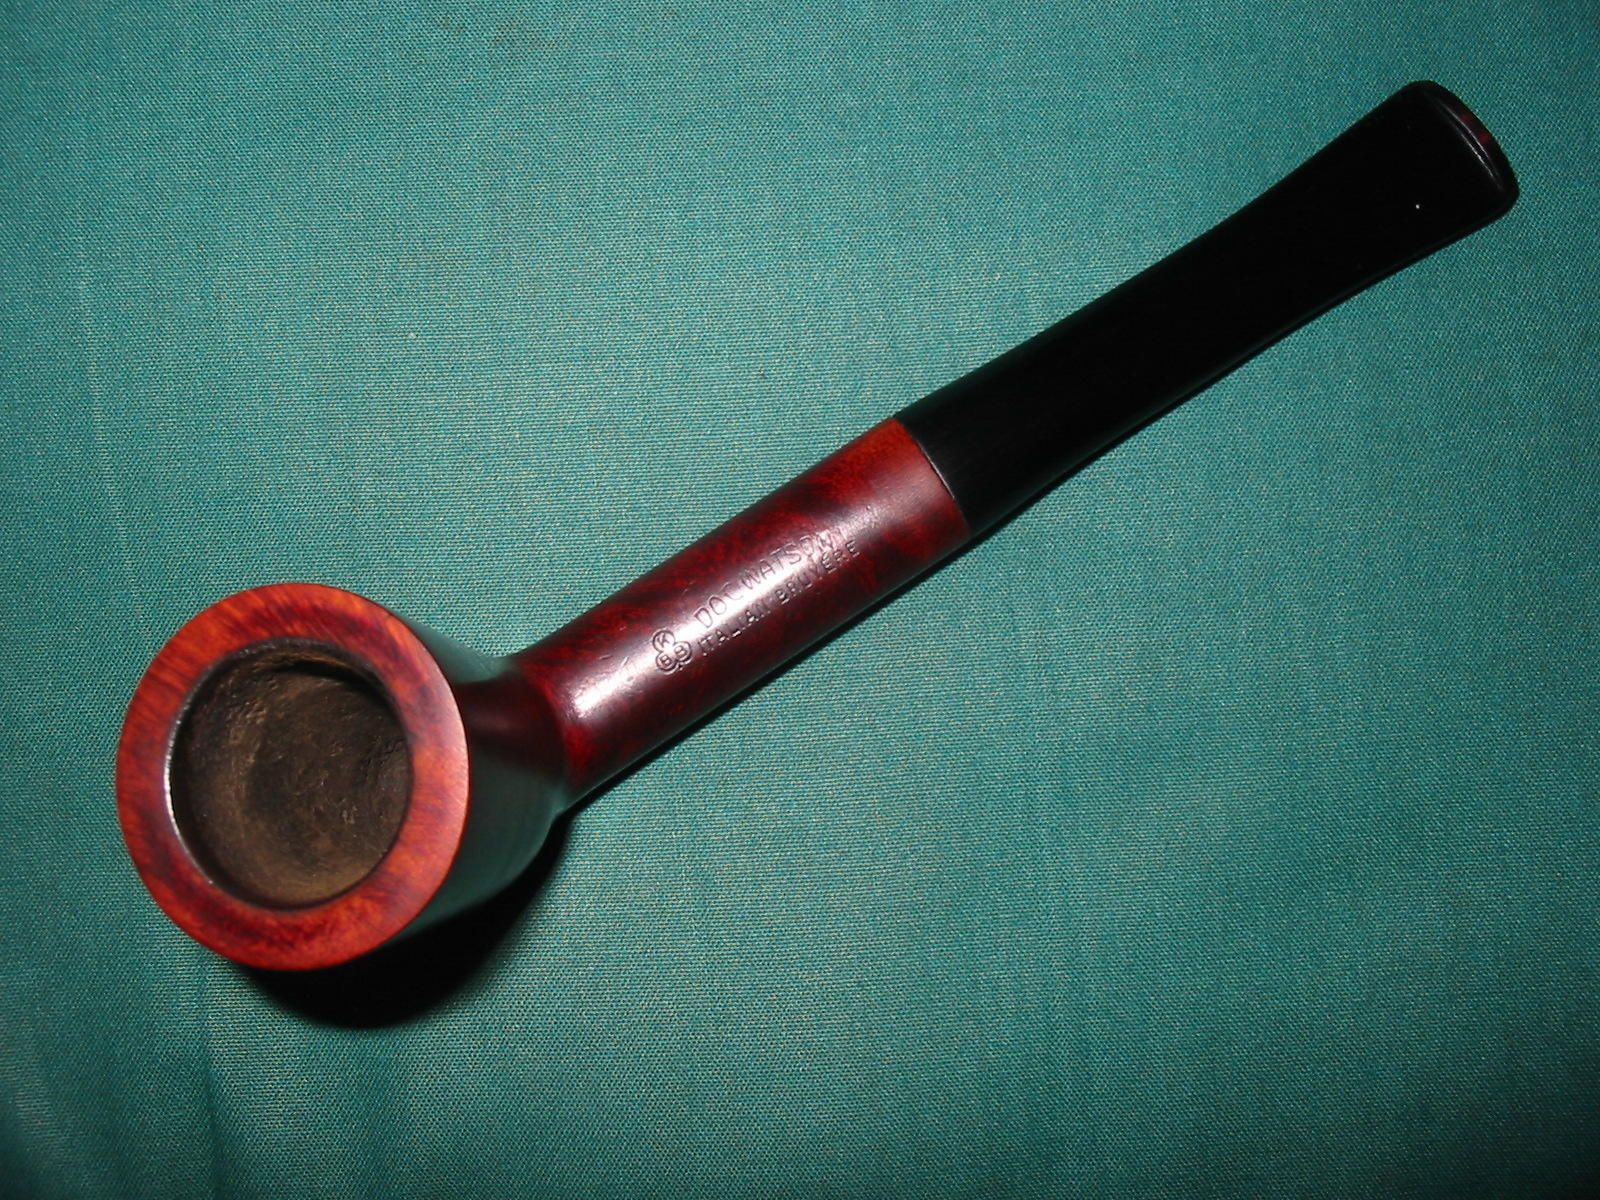
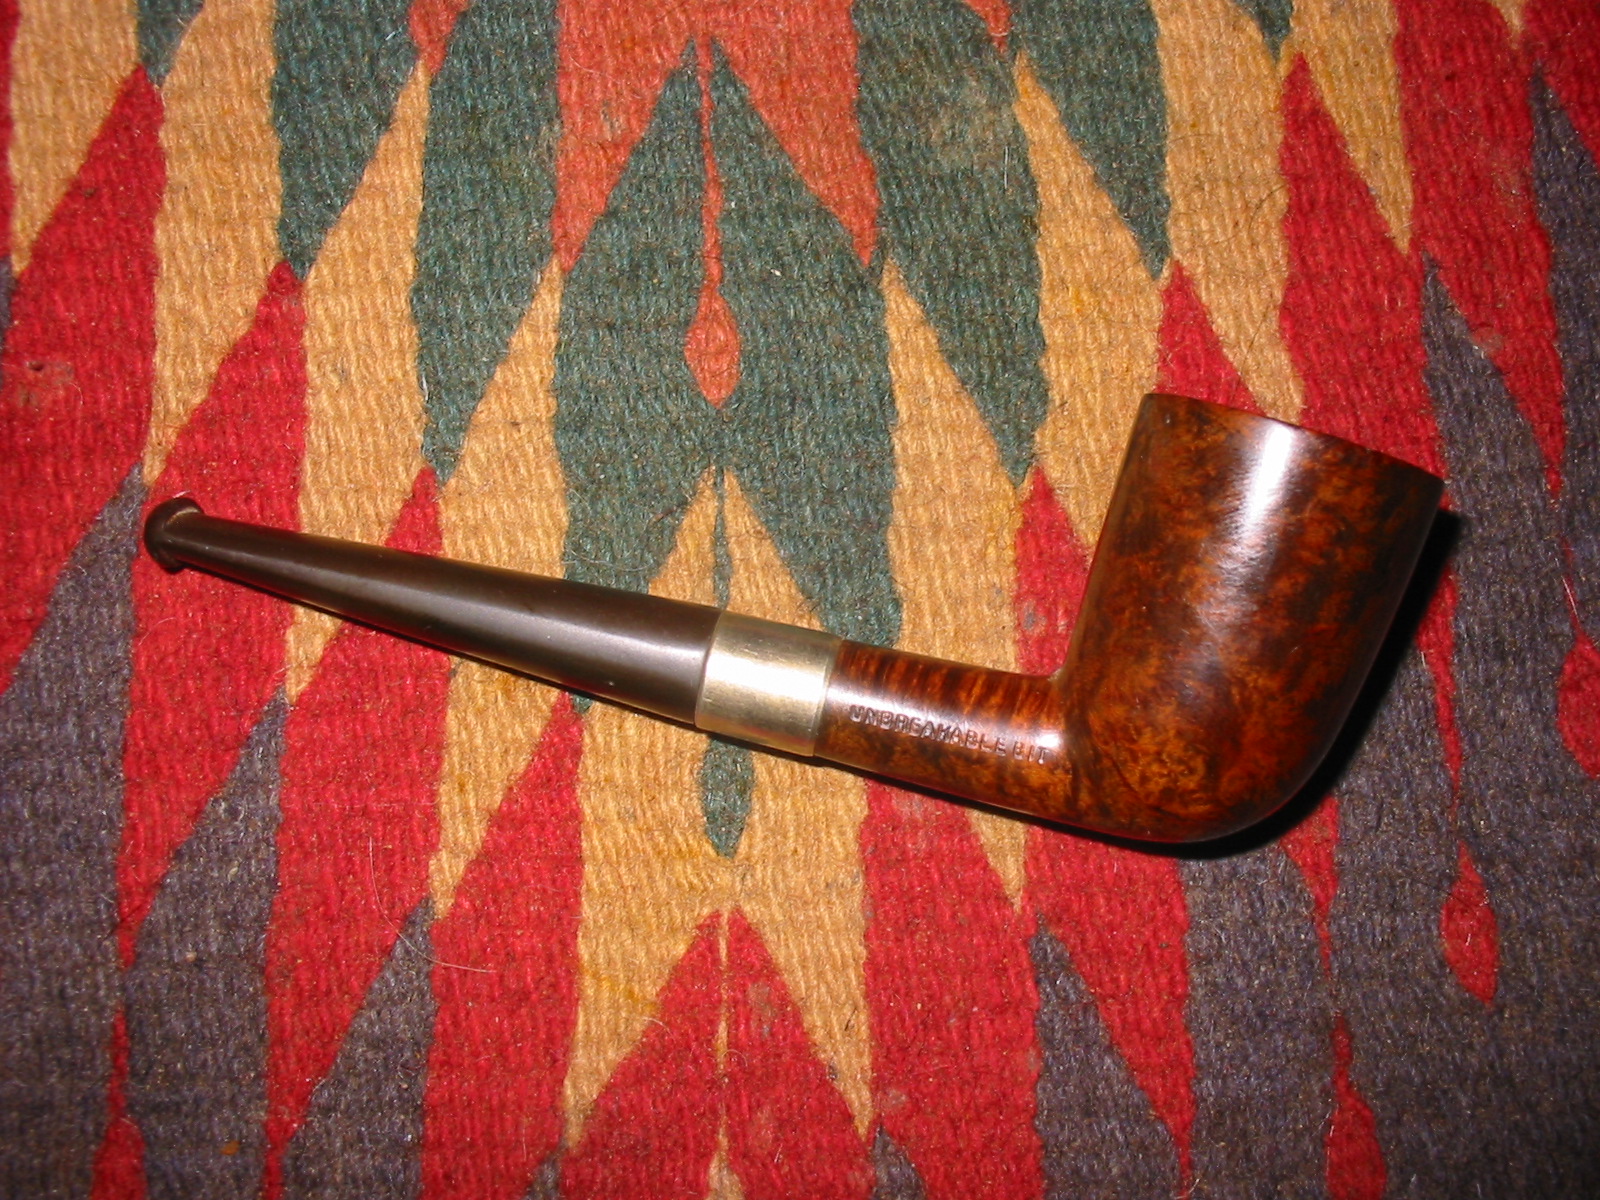
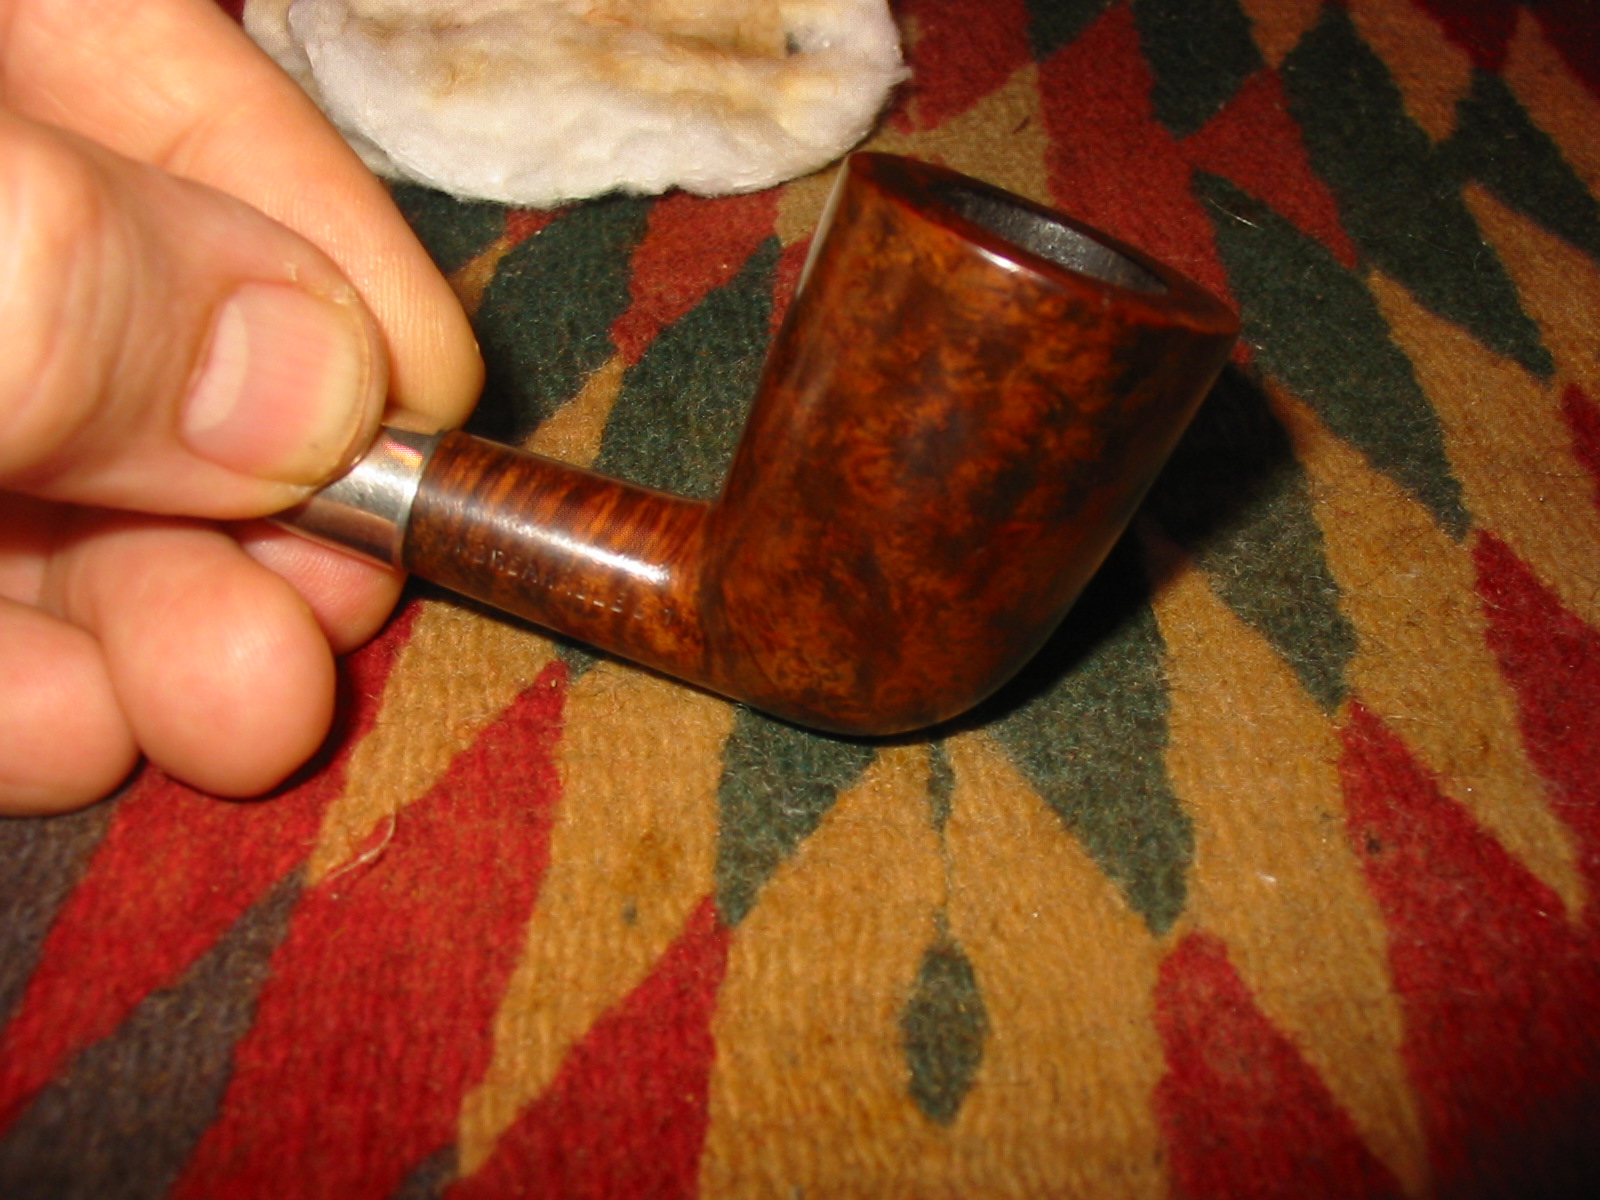
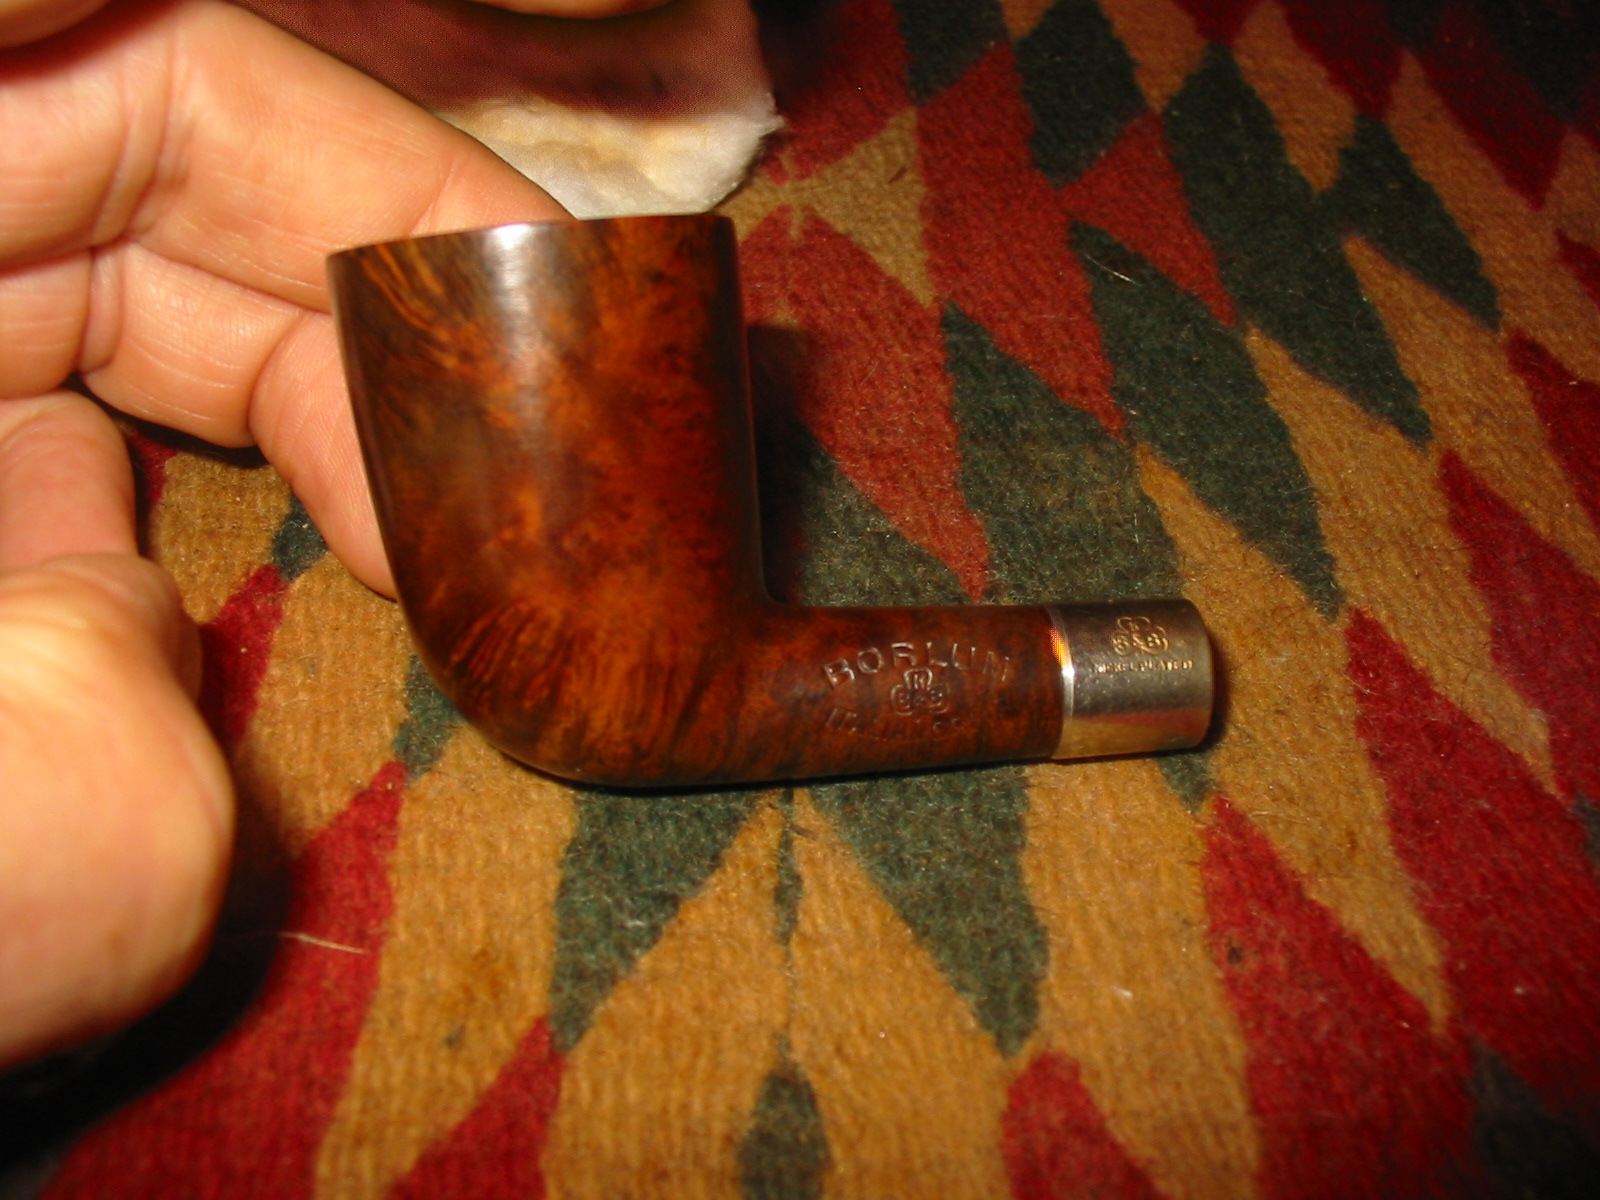
It is stamped BORLUM in an arc over KB&B in a cloverleaf. Underneath it is stamped ITALIAN BRIAR in a reverse arc. All of the above is stamped on the left side of the shank. On the right side of the shank it is stamped UNBREAKABLE BIT. It was made before Kaywoodie became the flagship name for pipes from Kaufman Brothers & Bondy (KB&B). It was made before the Kaywoodie invention of the “Stinger” was added, and even before shank logos, model stamps and other features invented by Kaywoodie came to be standards of the pipe making industry. It comes from the time when names like Ambassador, Heatherby, Melrose, Suez, Rivoli, Cadillac and Kamello dominated the pre-Kaywoodie scene. Borlum is one of those vintage names.
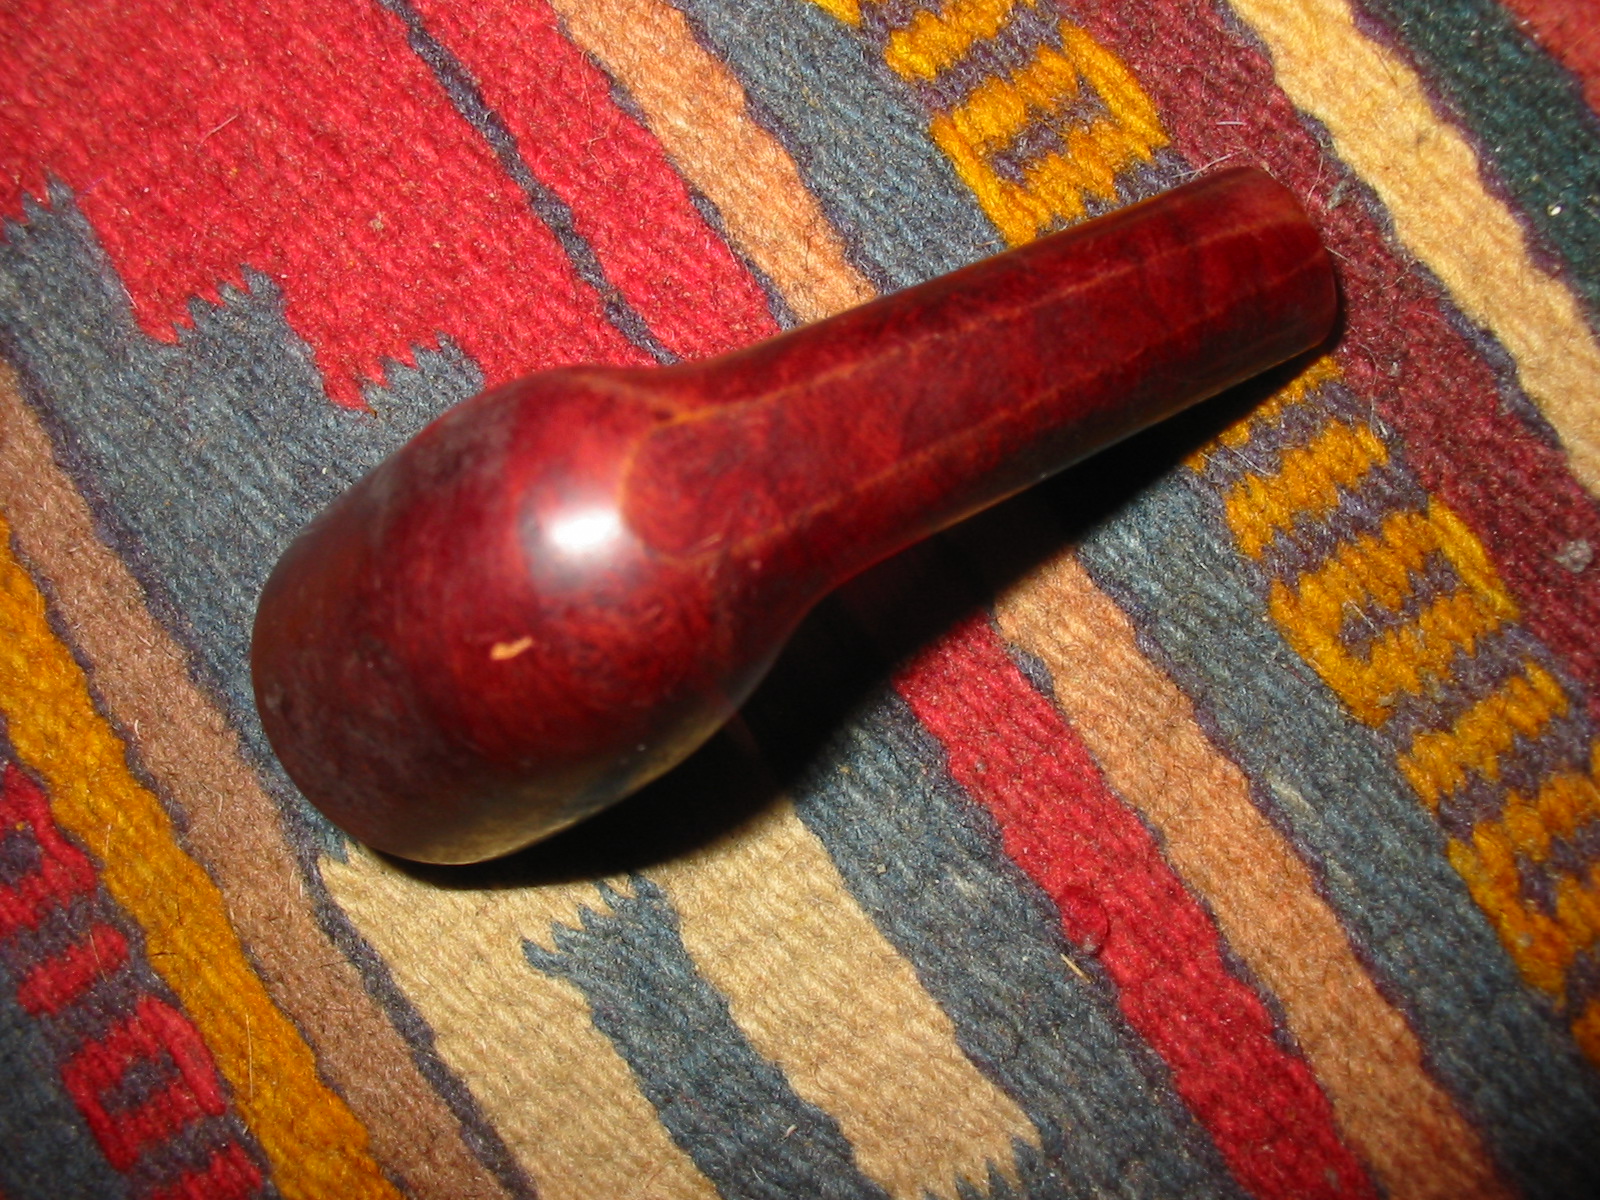
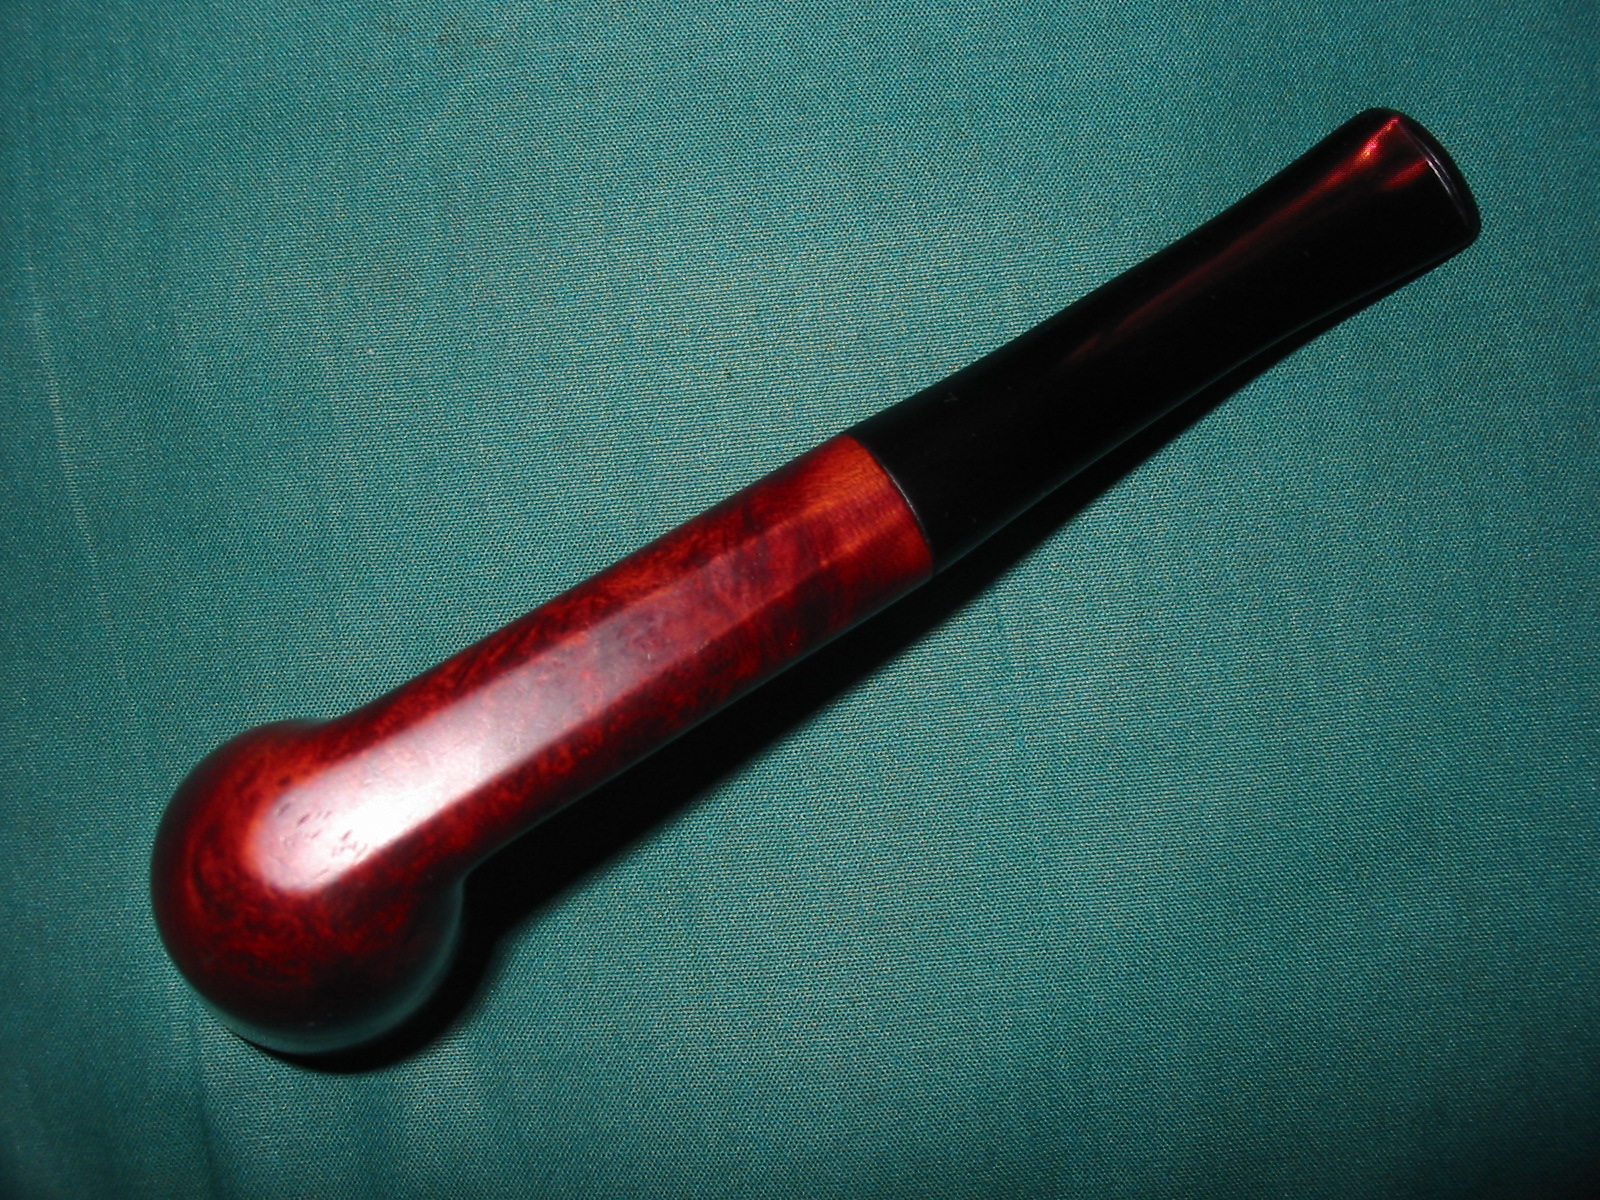
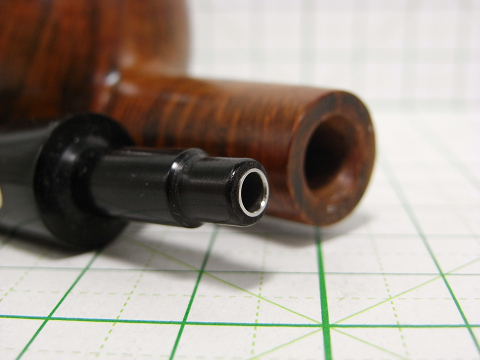
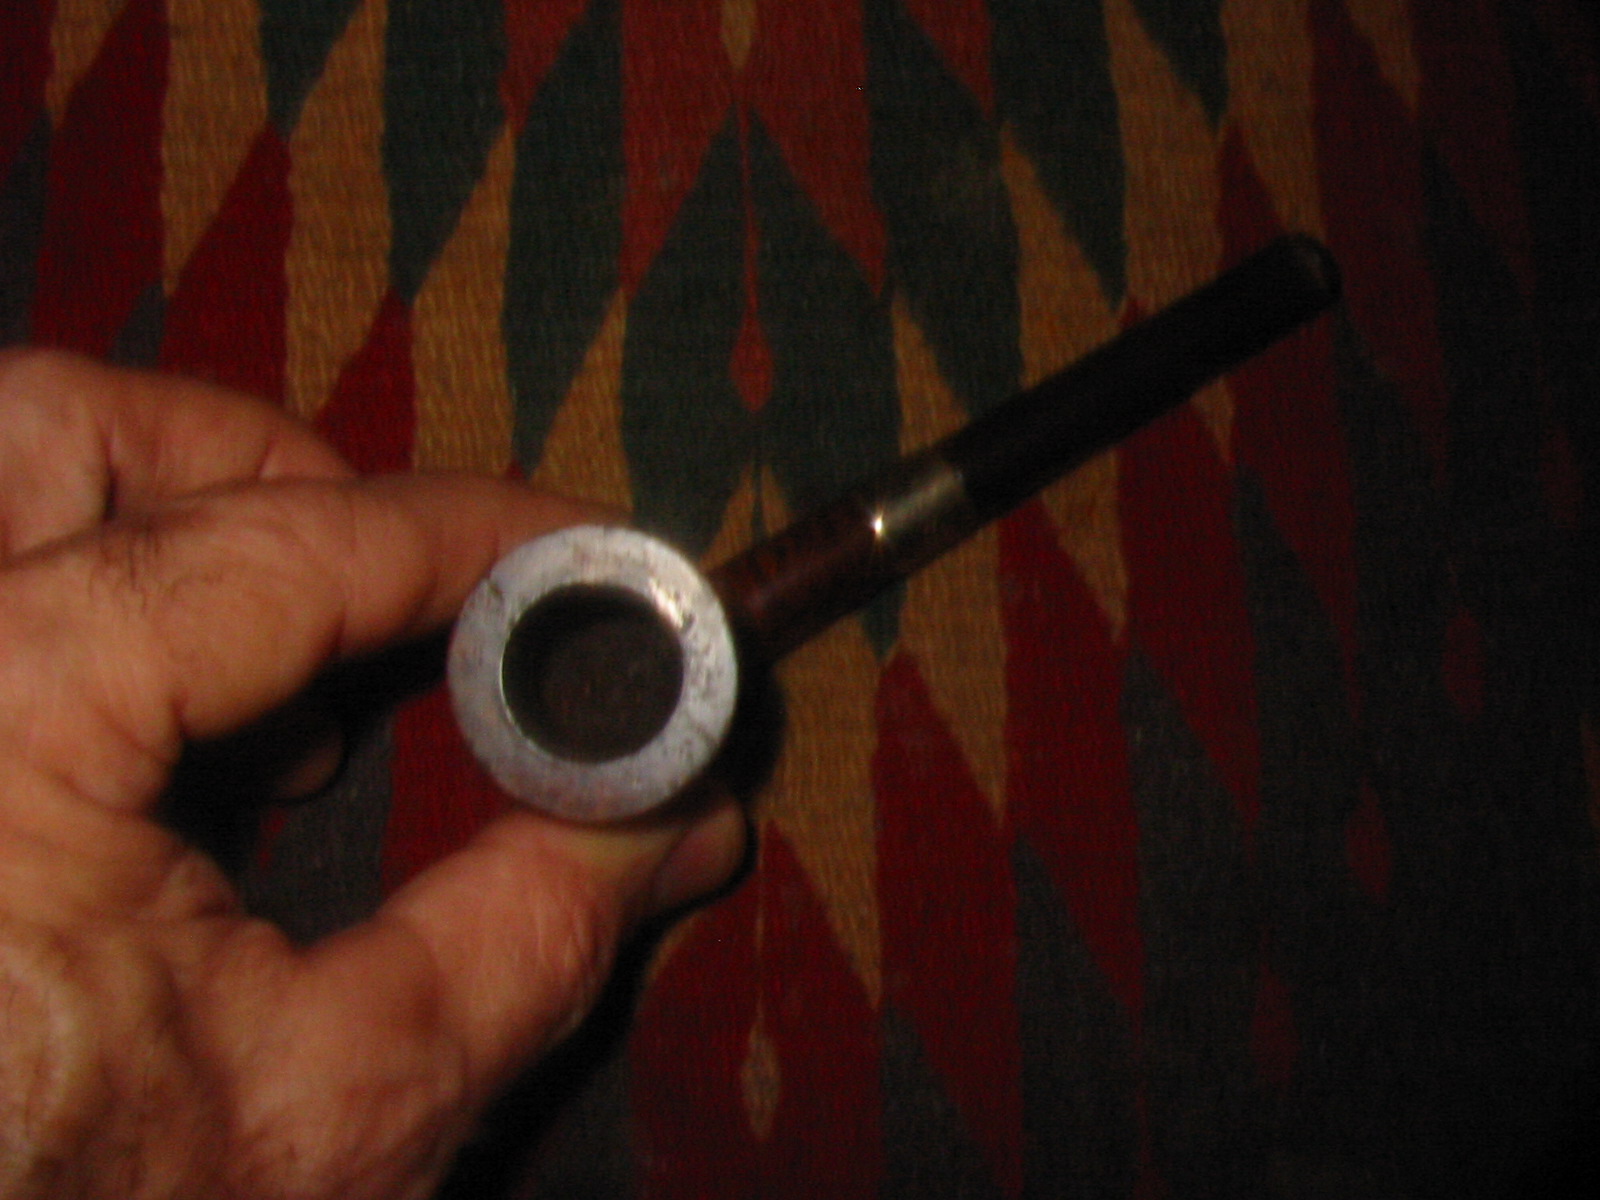
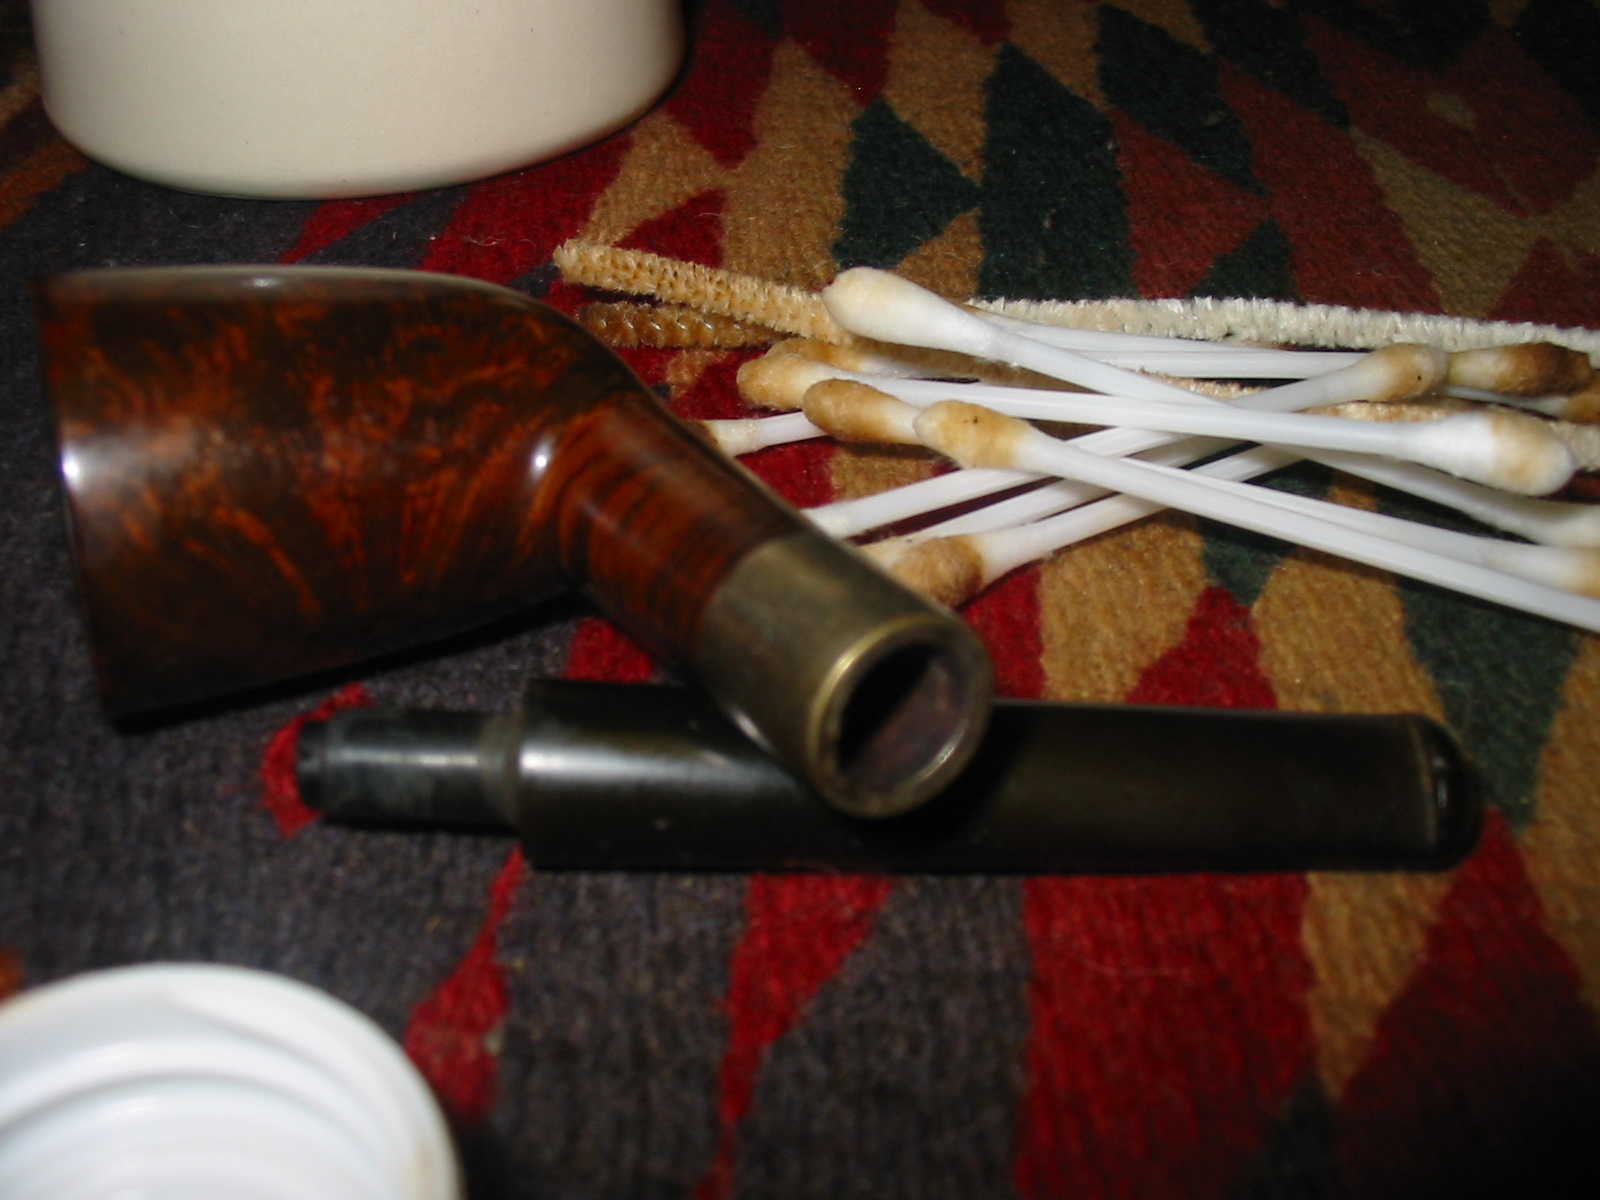
The Borlum pipe featured some innovations which were new for the time but commonplace to us: (1) A solid rubber bit (vulcanite, ebonite), (2) aluminum inner-tube construction in the stem thus marked “Unbreakable Bit” on the right side of the shank, (3) a standard nickel plated band (marked KB&B) to strengthen the shank connection for the stem. The stem features the older style more rounded bit tip/orific button, and you can see the aluminum inner-tube fitting just inside the tip.
I have included several pictures that I found on the internet to show the unique stem tube that the Borlum has. The first photo shows the type of stem the pipe has. My little Dublin has a stem that is shaped like the second stem from the left but includes the same metal tube that shows in the bent stem, third from the left. The second photo shows the tenon end of the stem and the other end of the metal tube in the Borlum stem. It is the inclusion of the tube that gives rise to the claim that is stamped on the shank – Unbreakable Bit. The third photo below is a Borlum display and sales card. What is particularly interesting to me is the diagram at the top of the card showing the interior of the stem in place in the shank. It also includes the claim, “Guaranteed against Breakage”. I love these old pipes and the prices they sold for back in the day. Note the $1 and up tag on the sales card. 
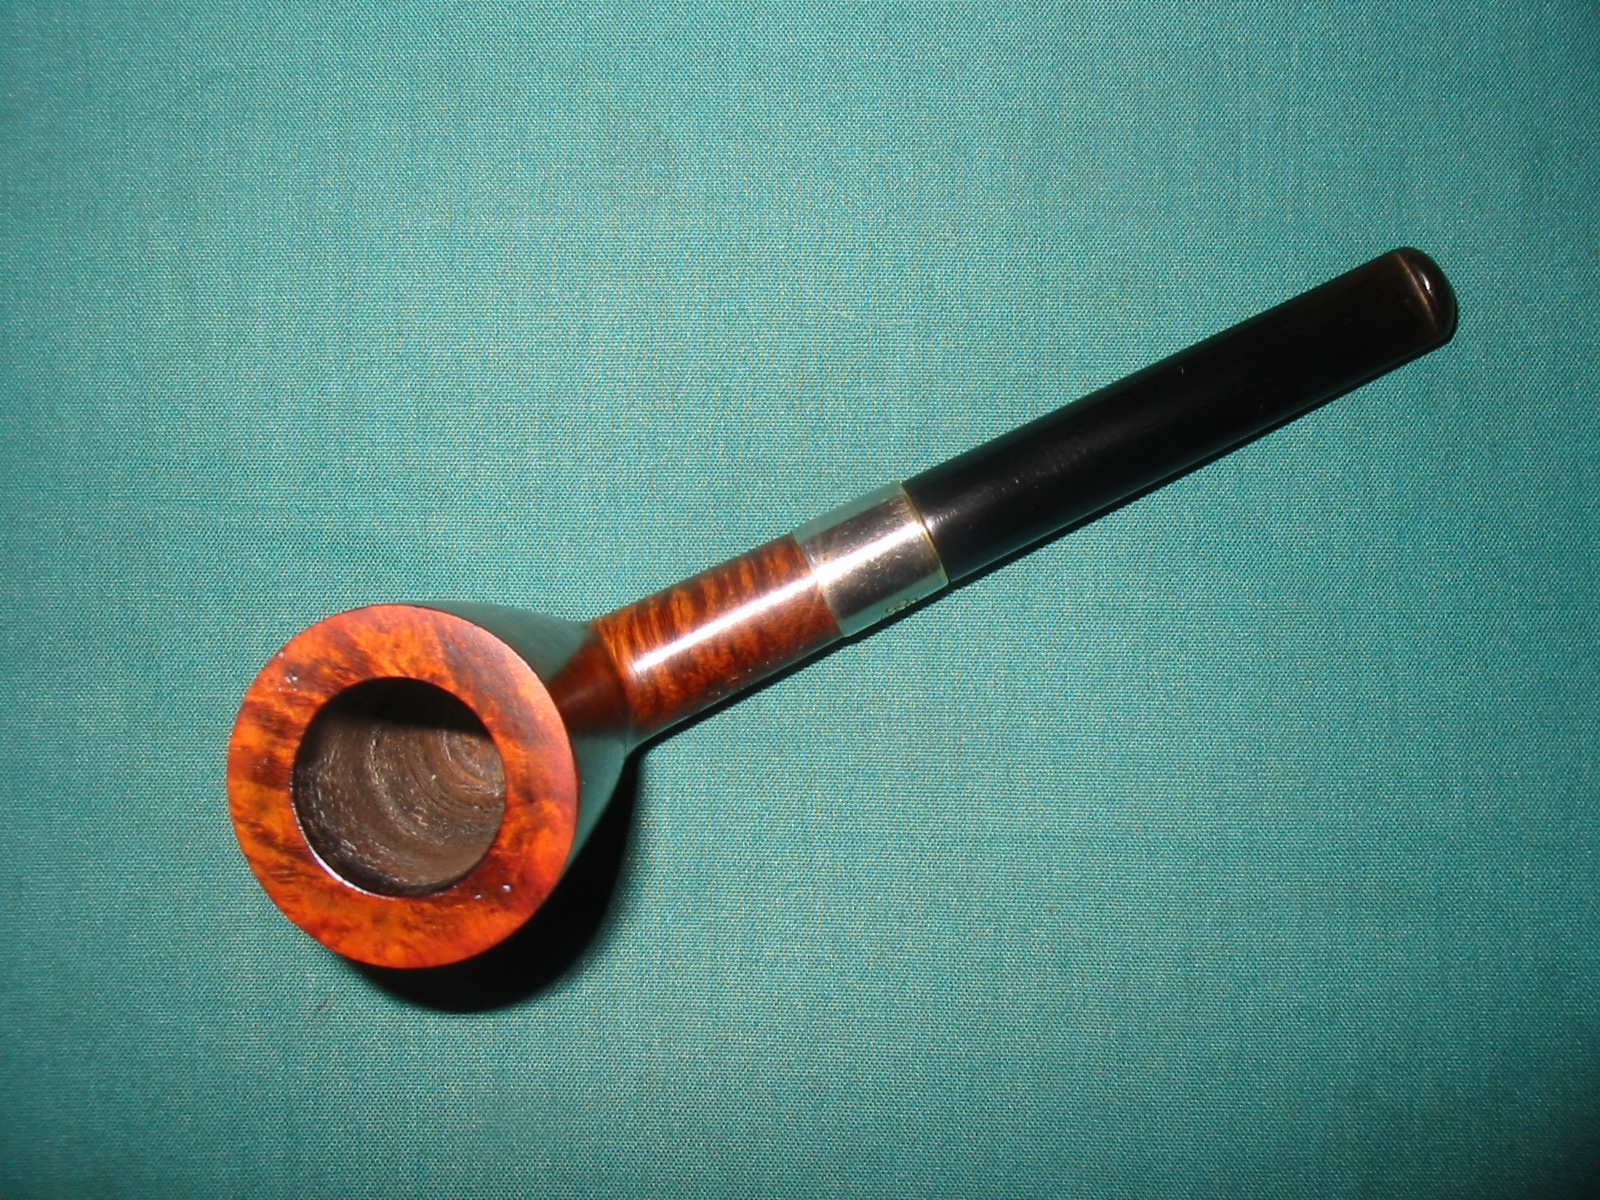
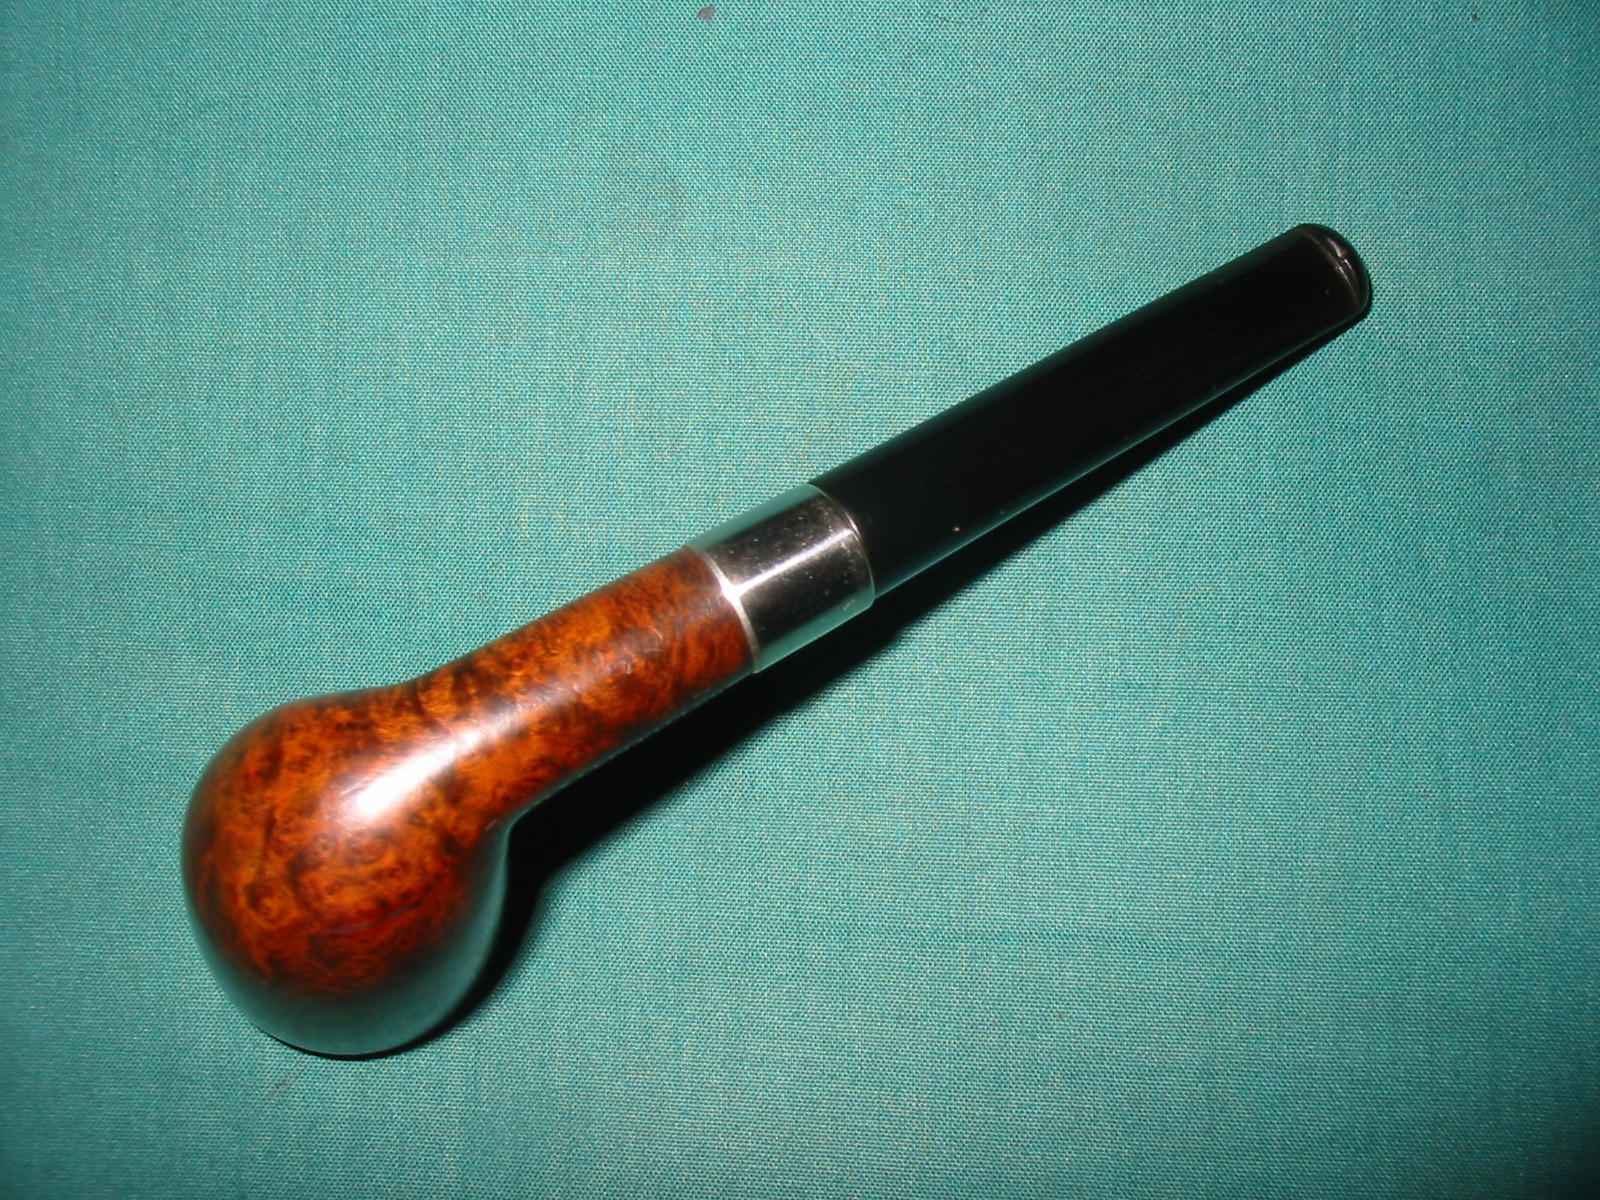
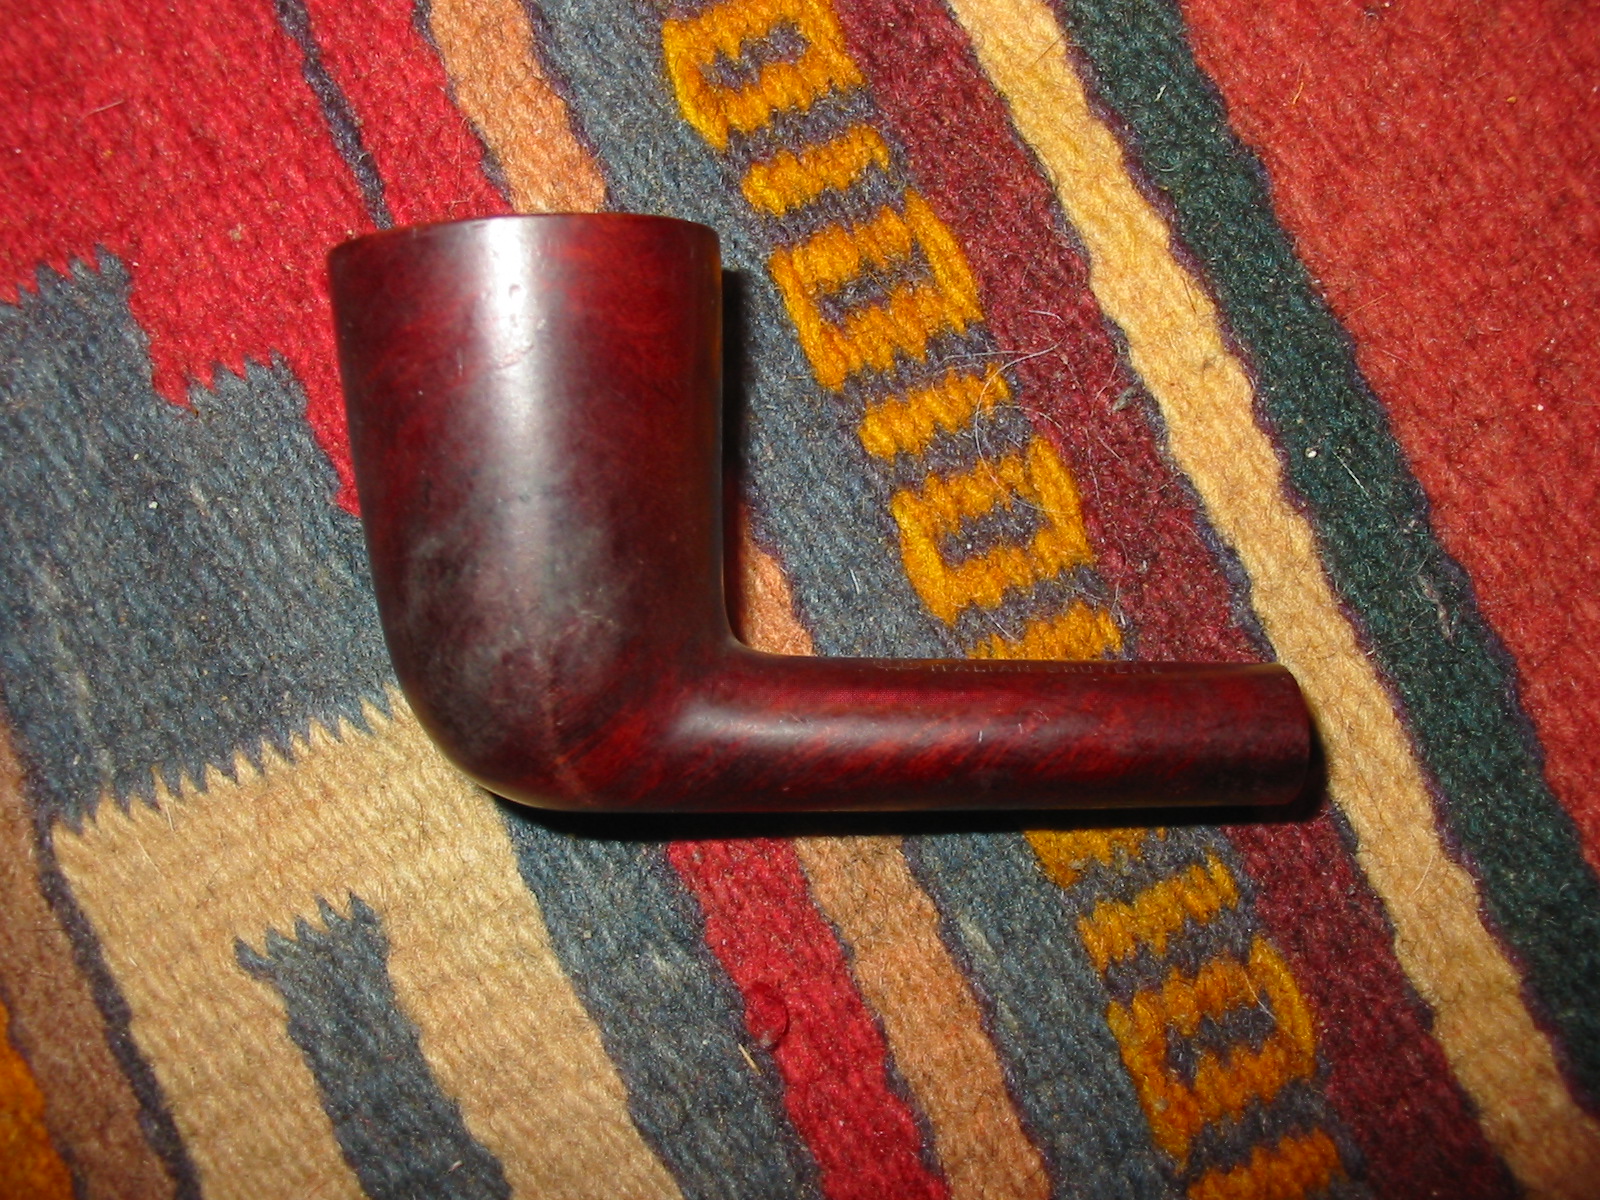
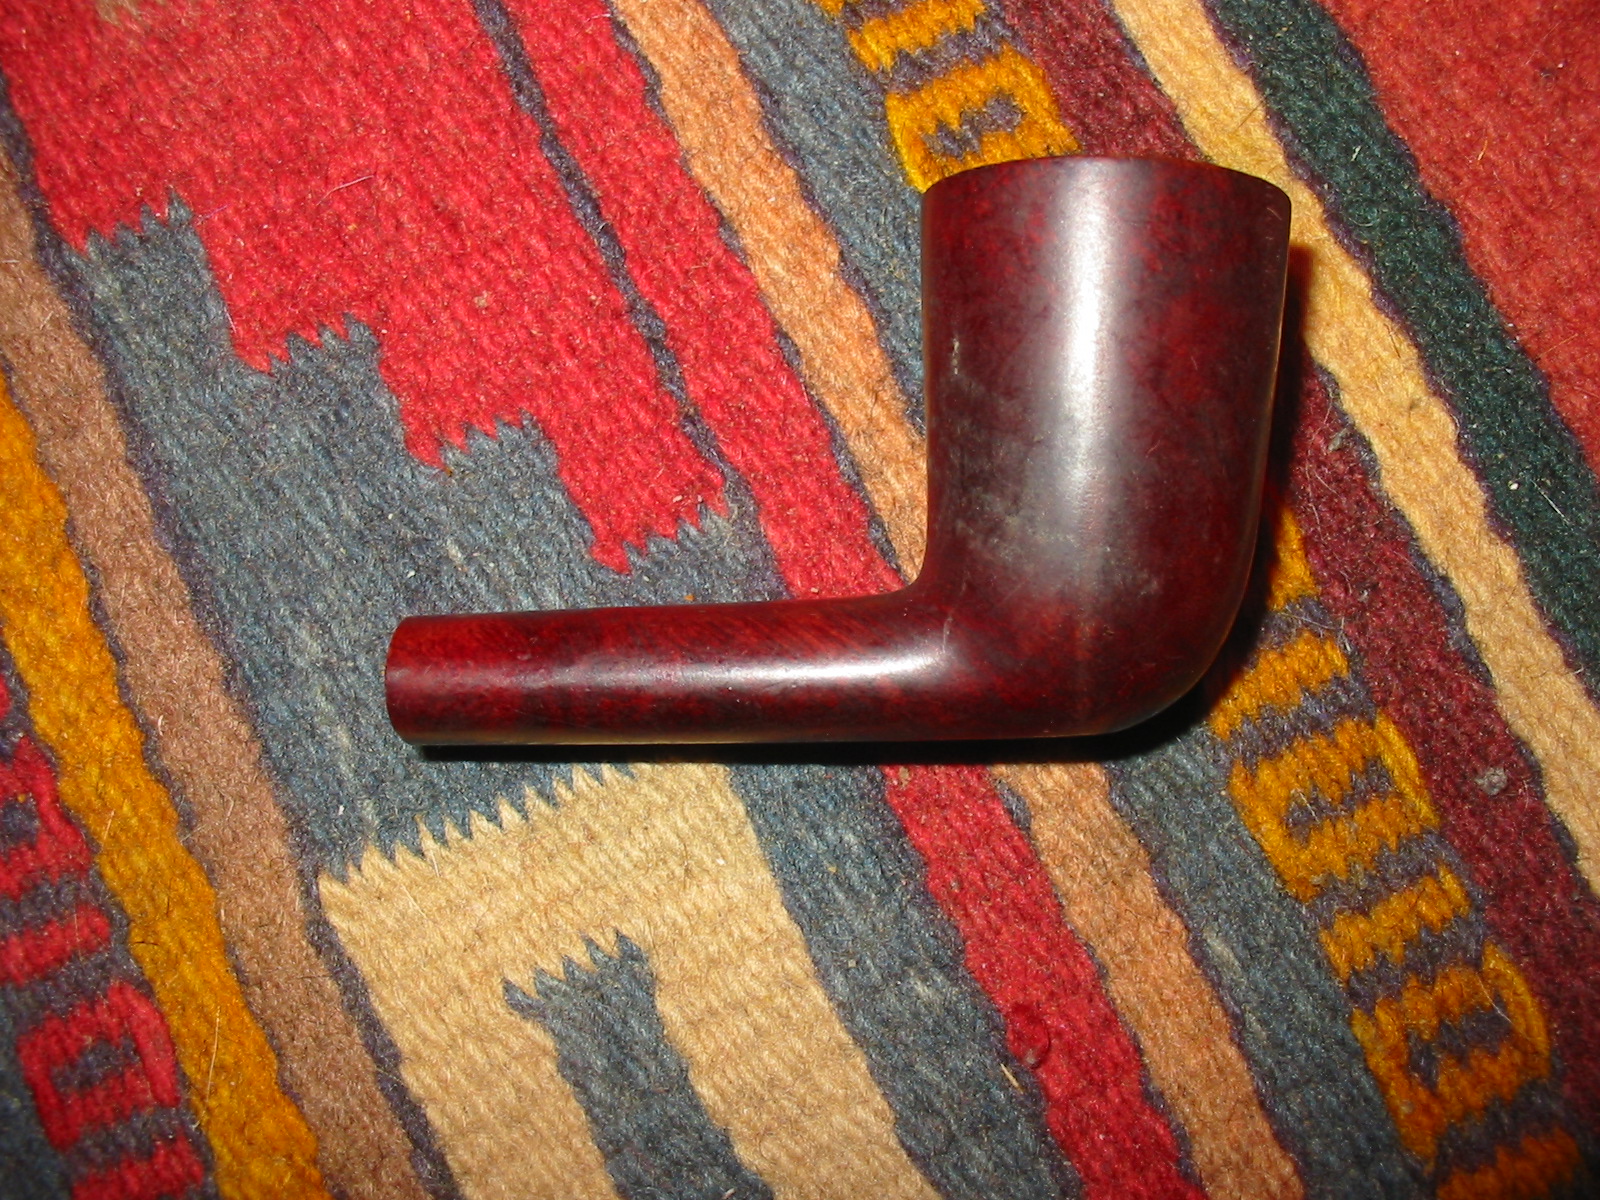
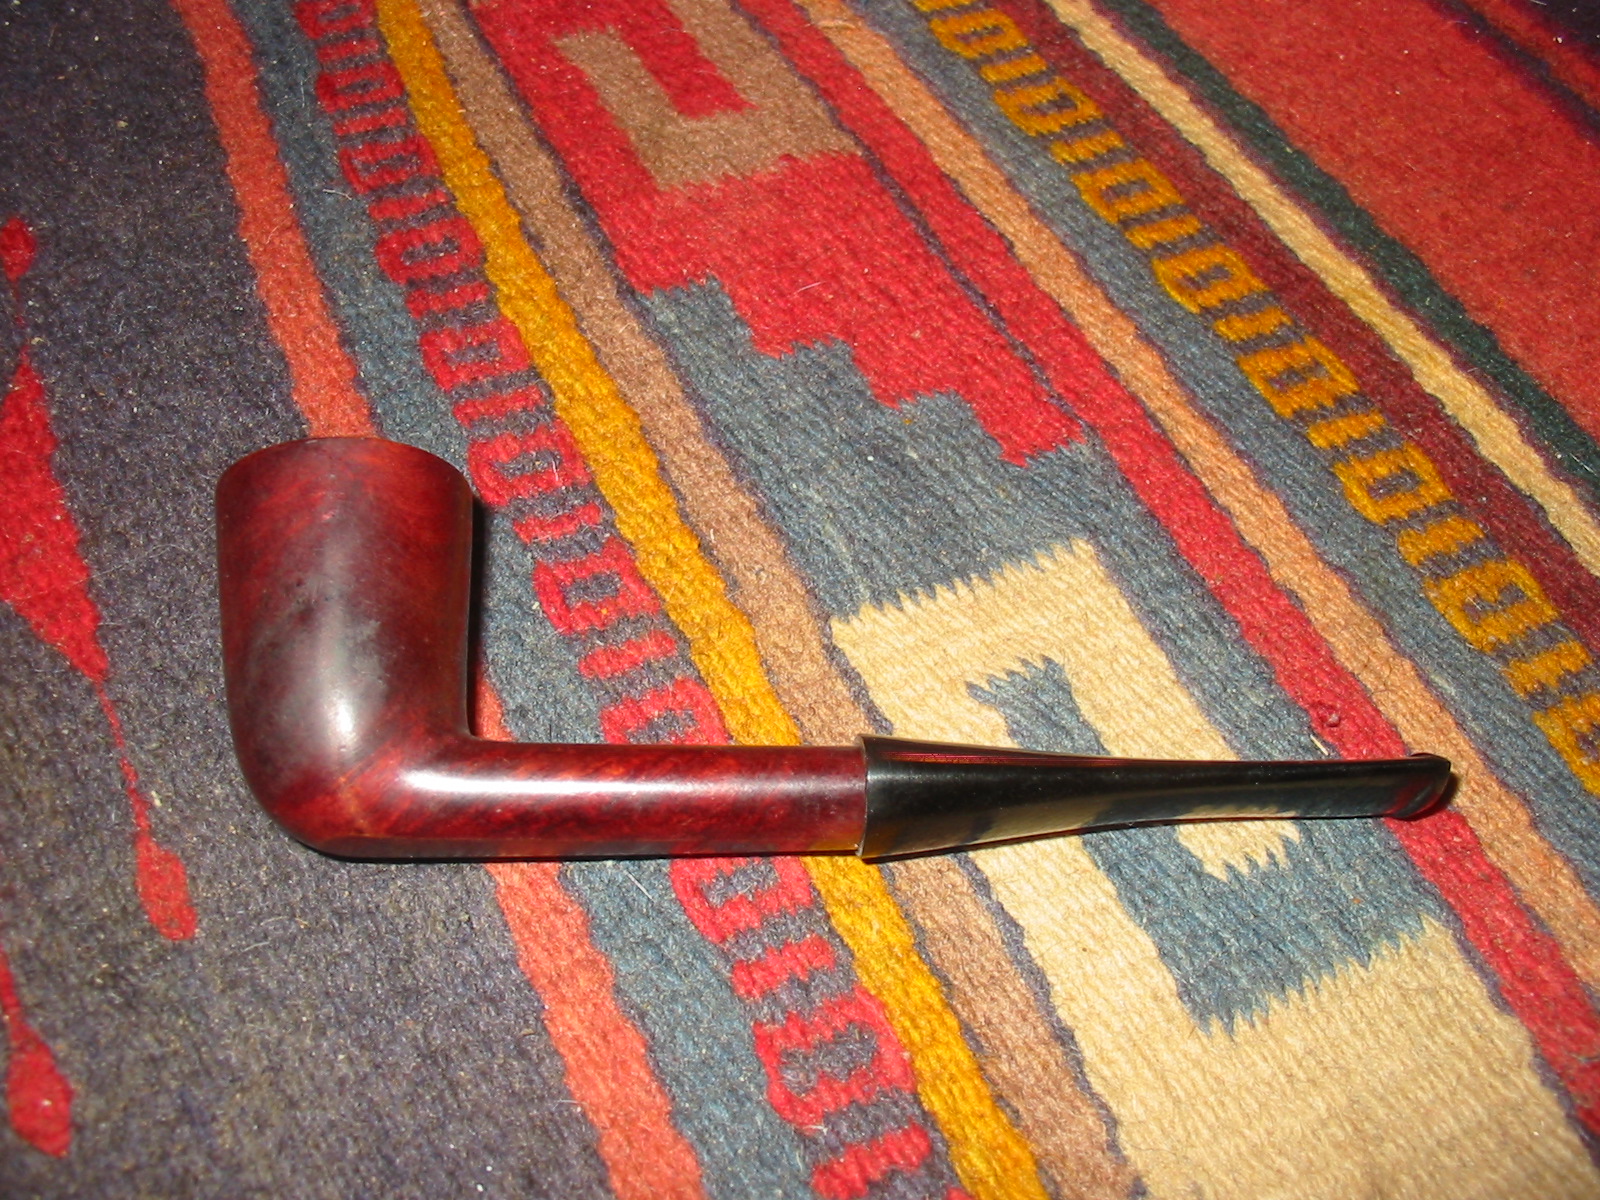
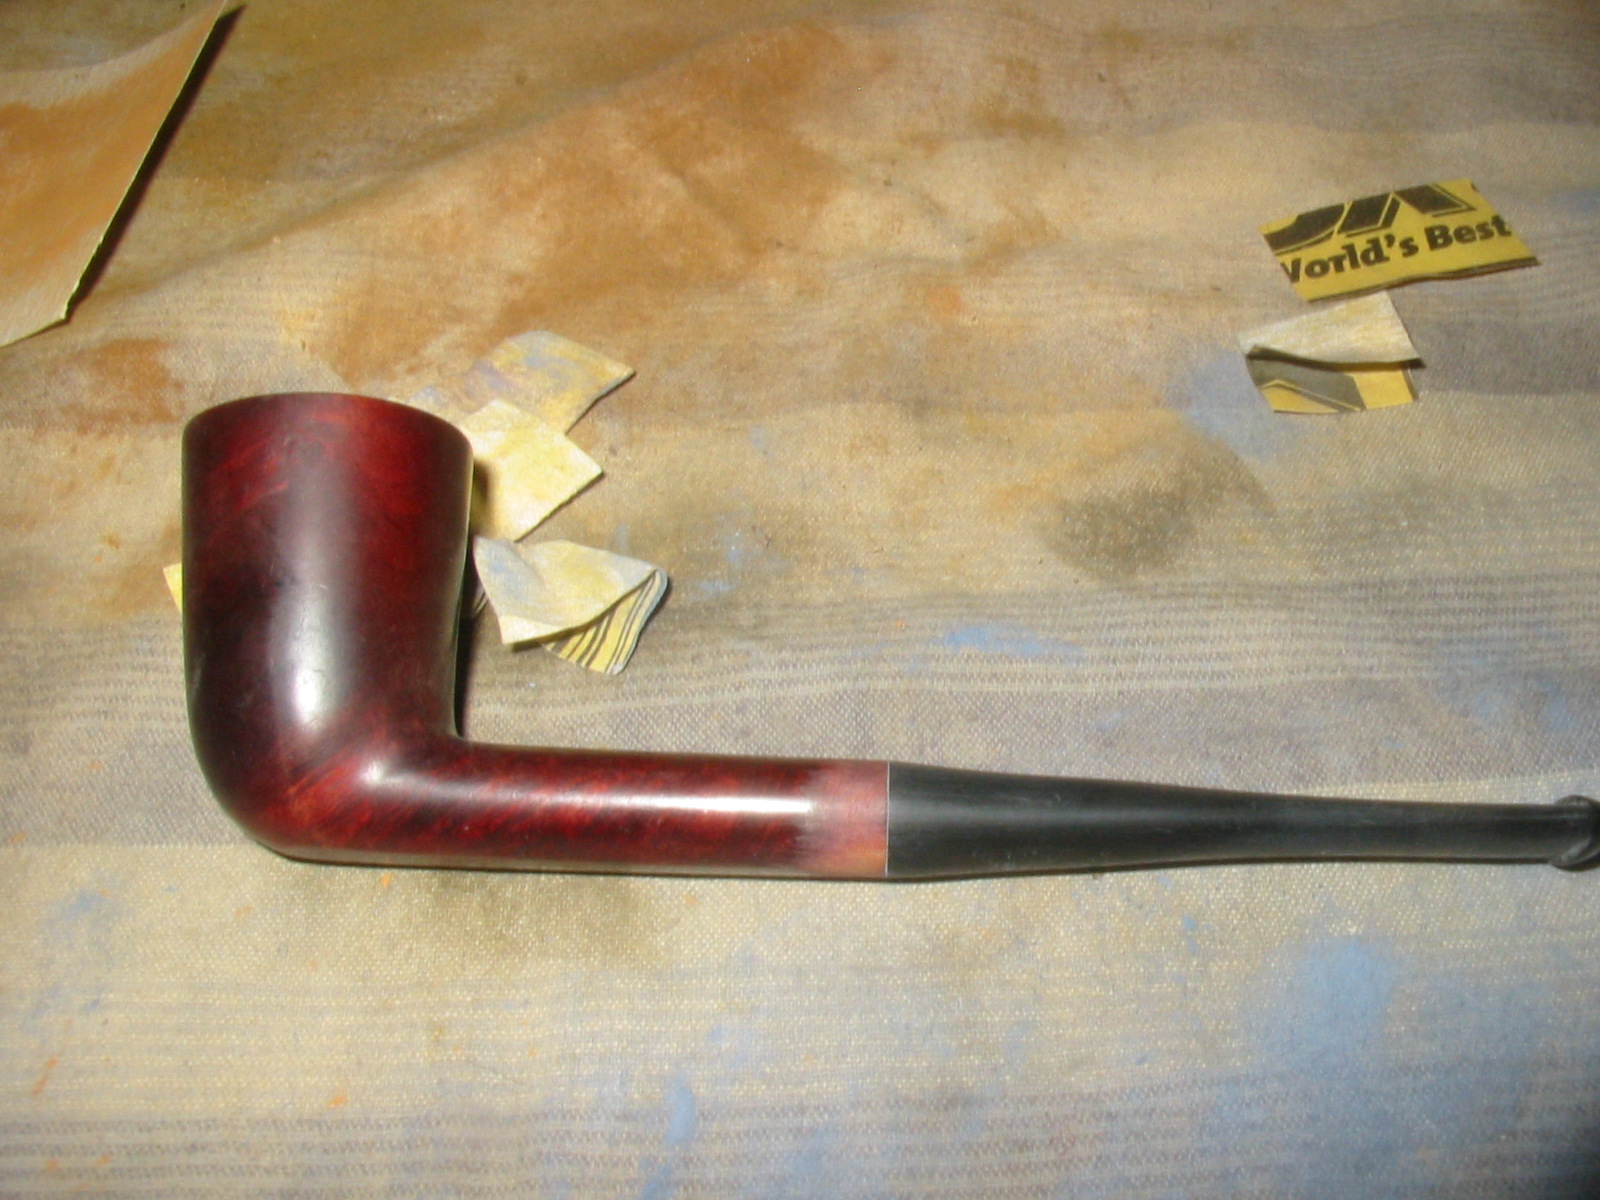
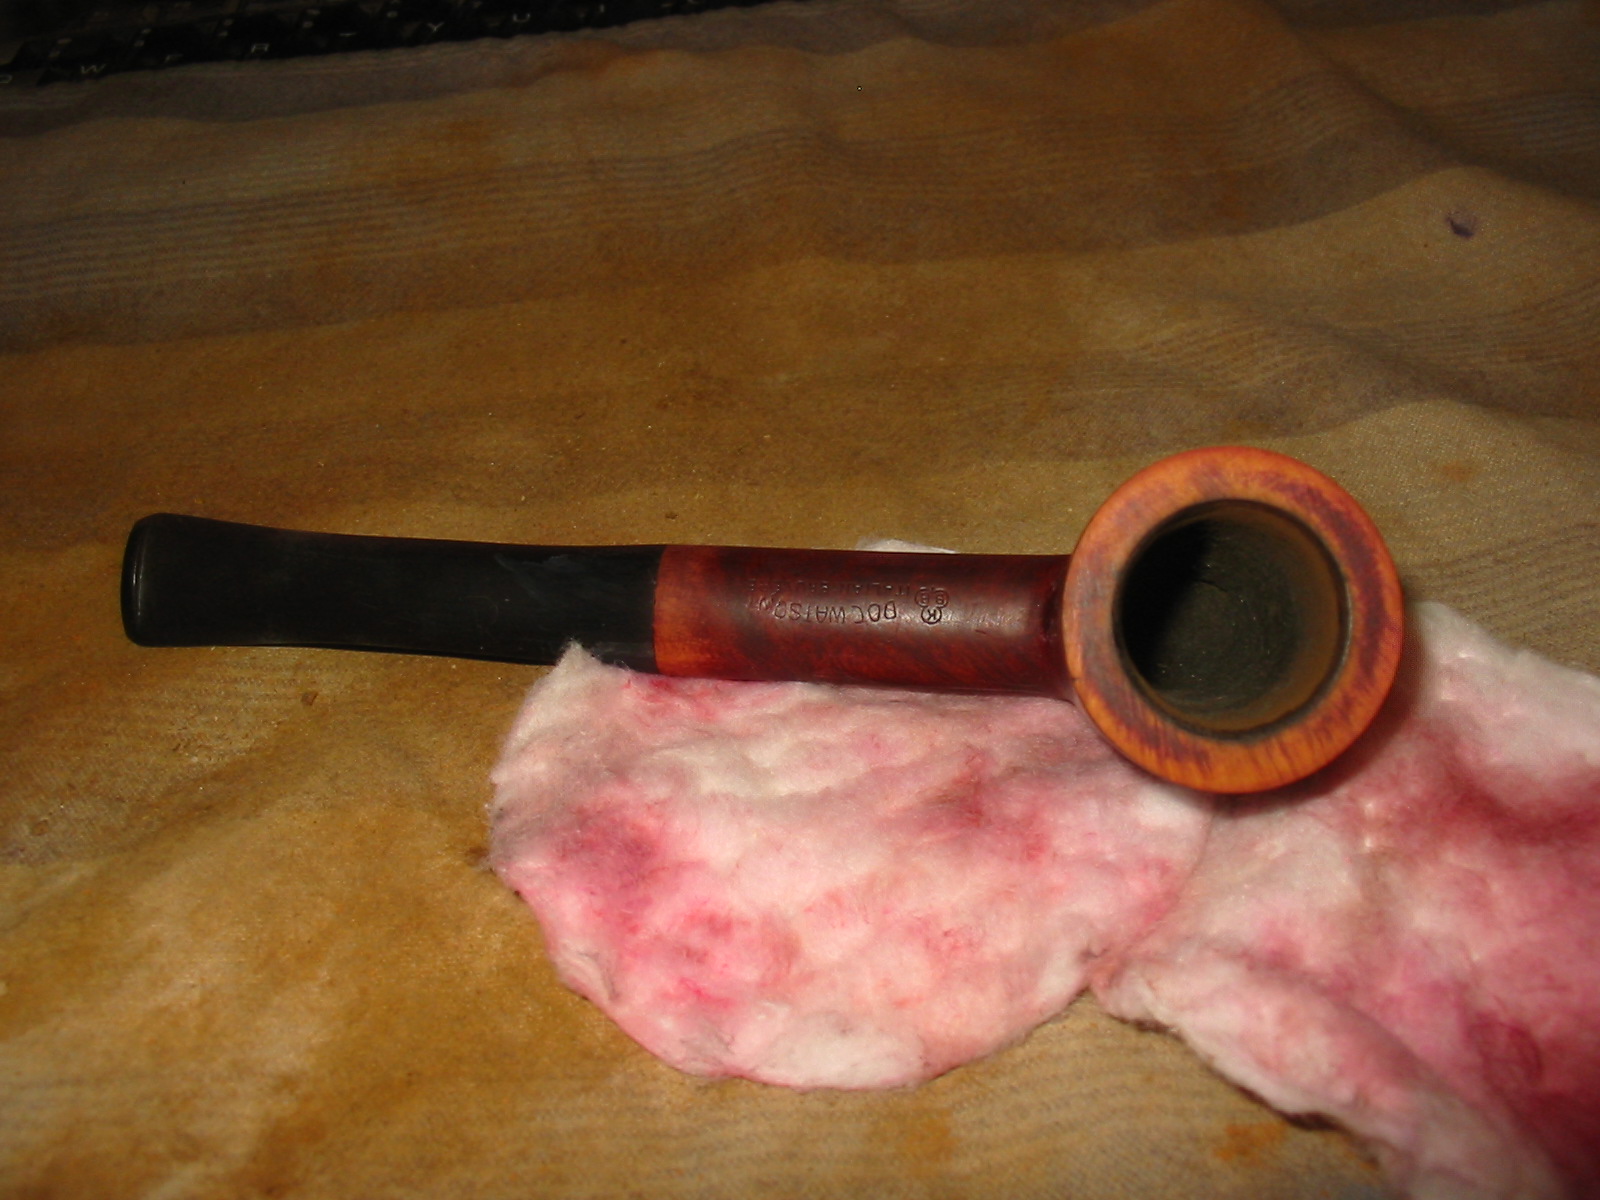
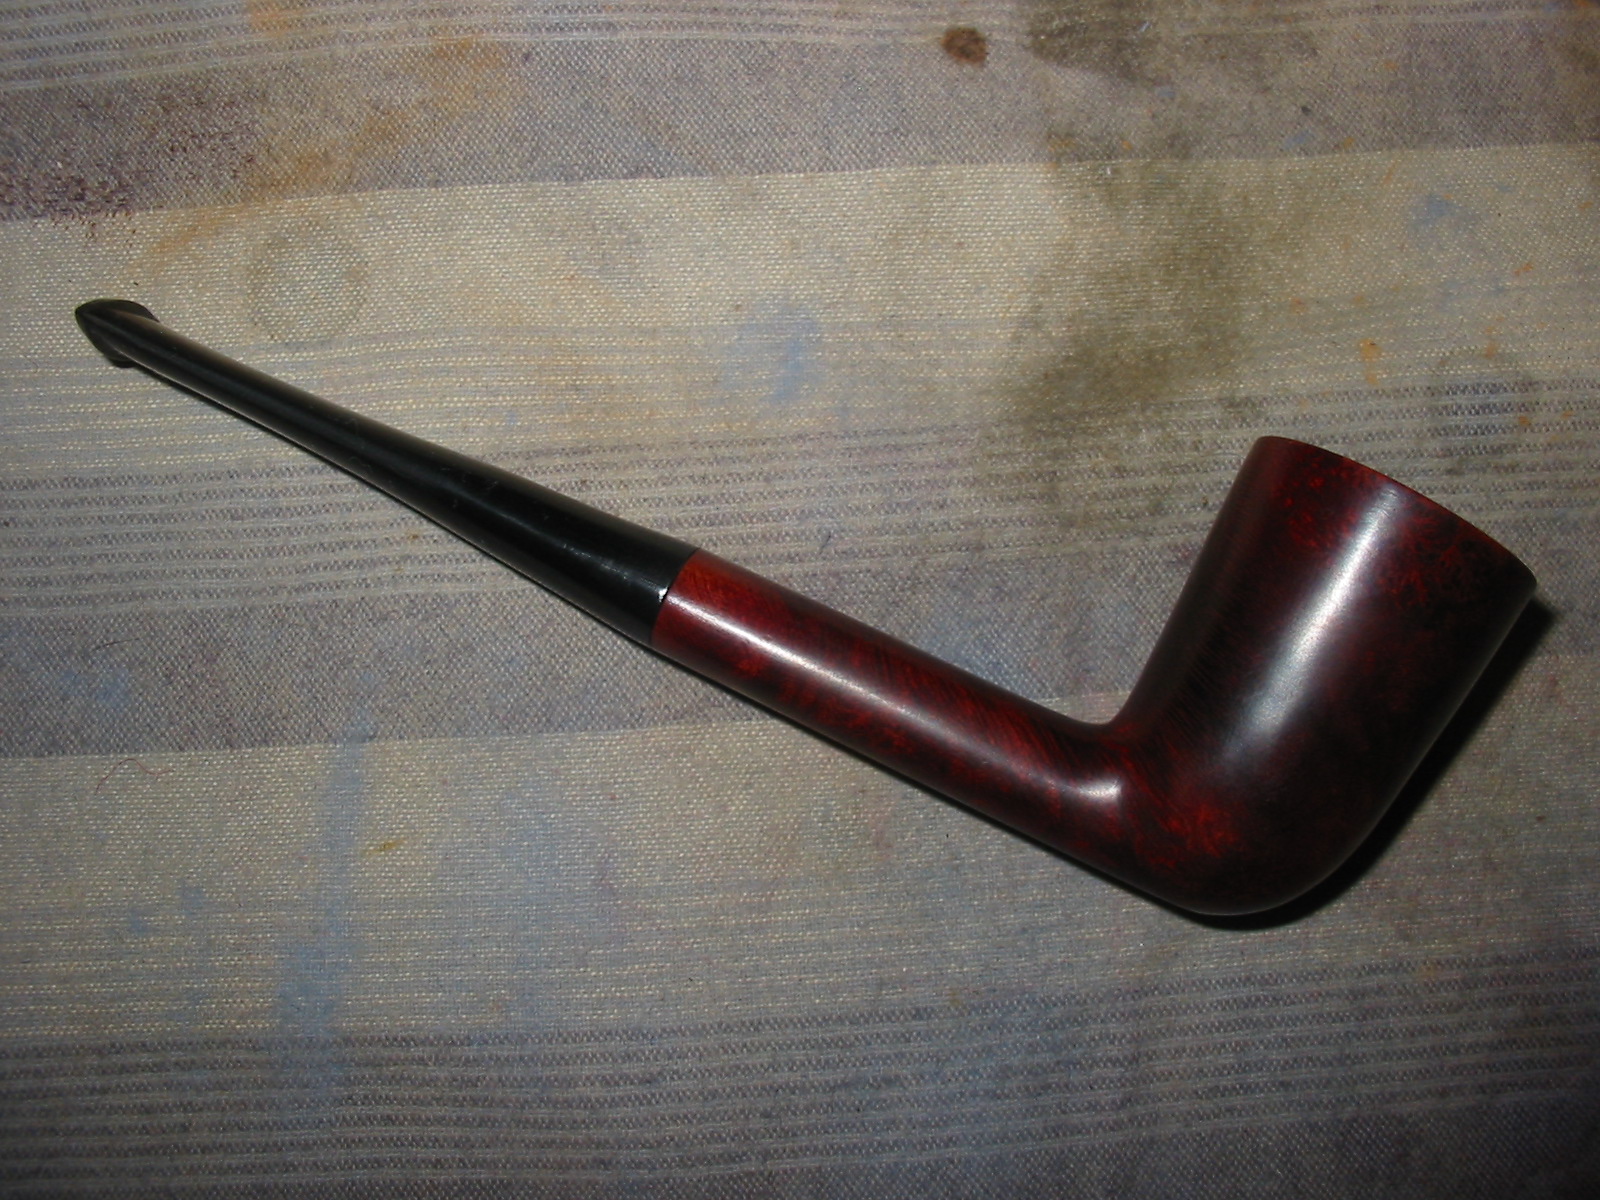
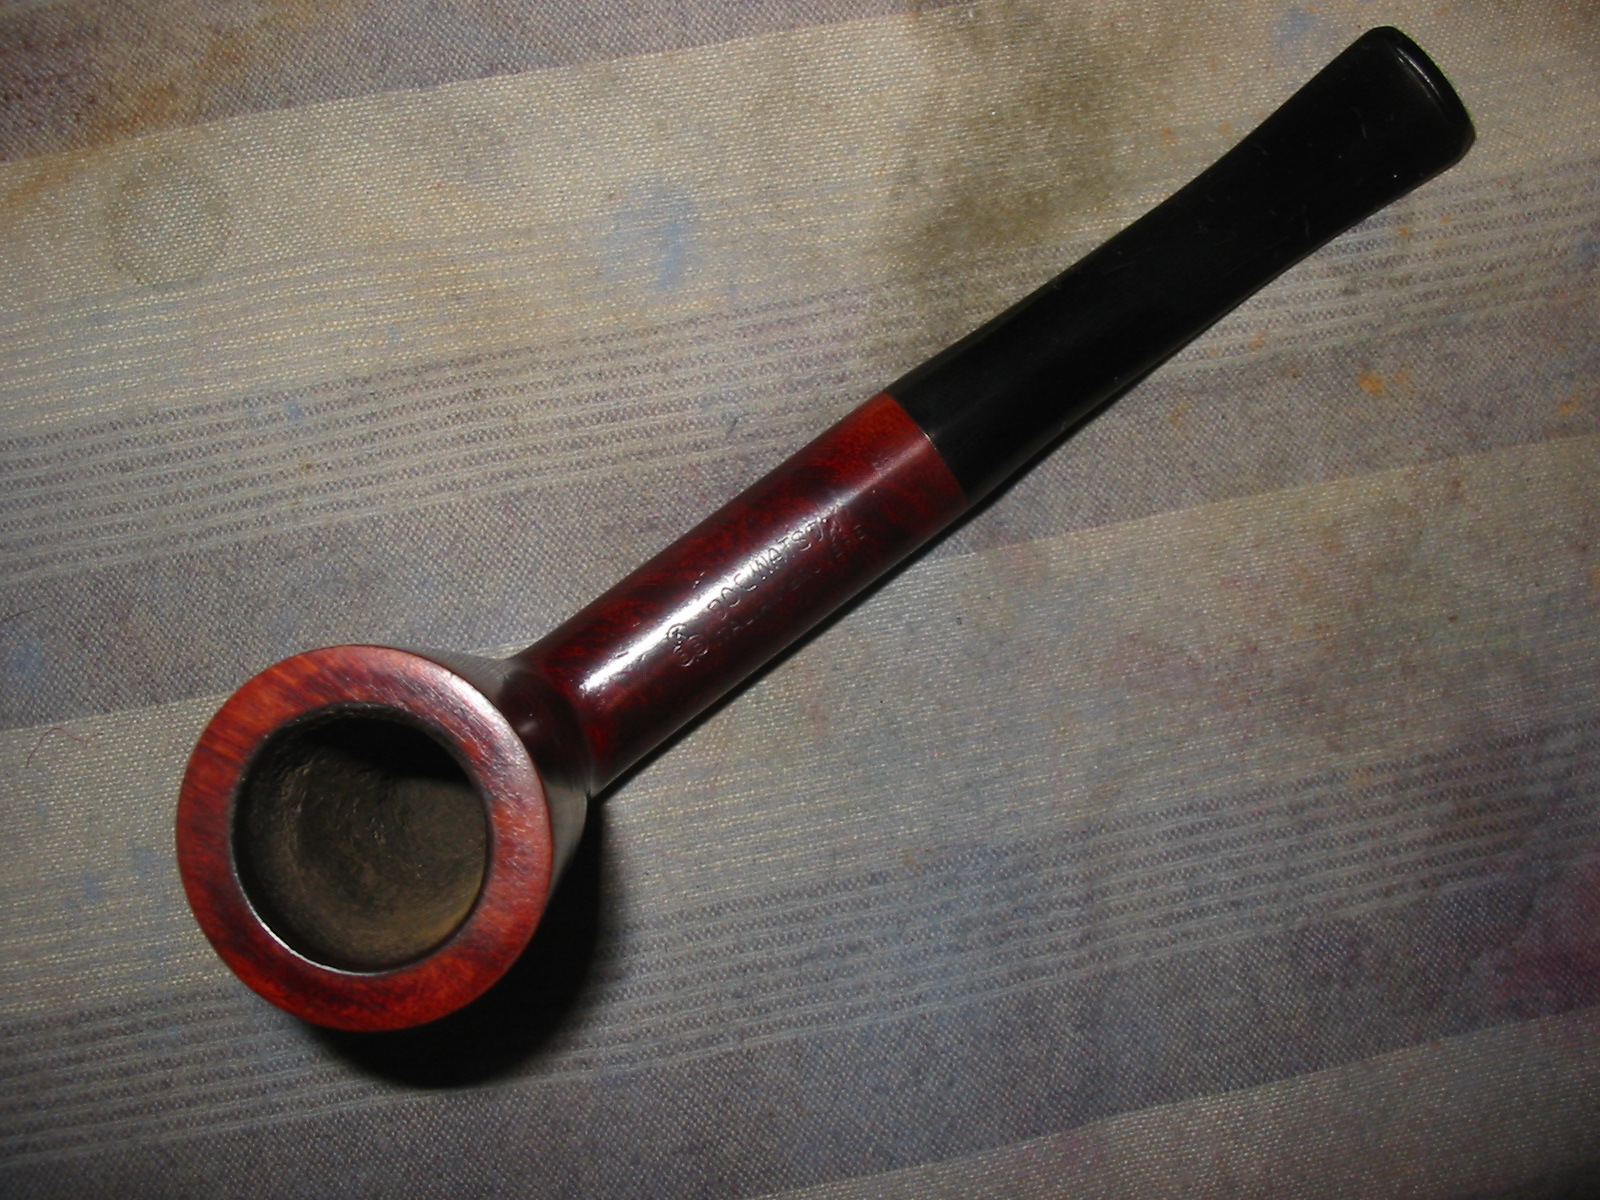
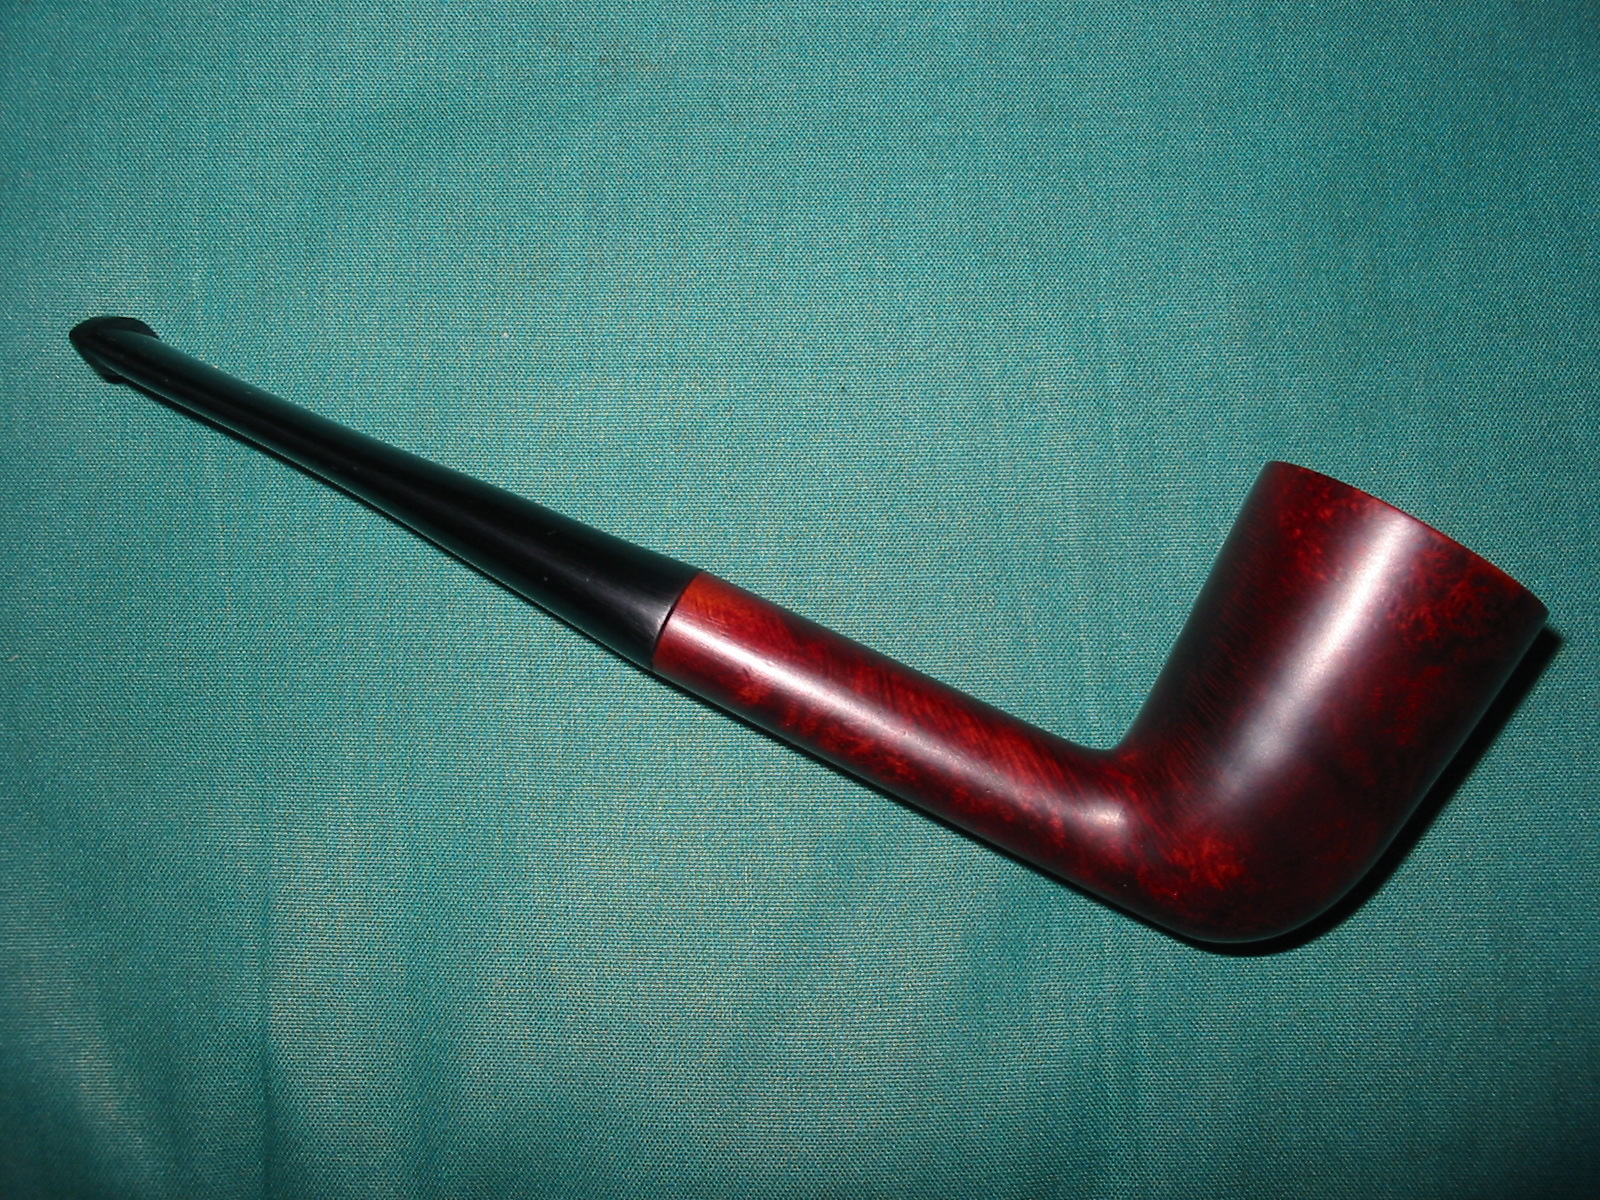
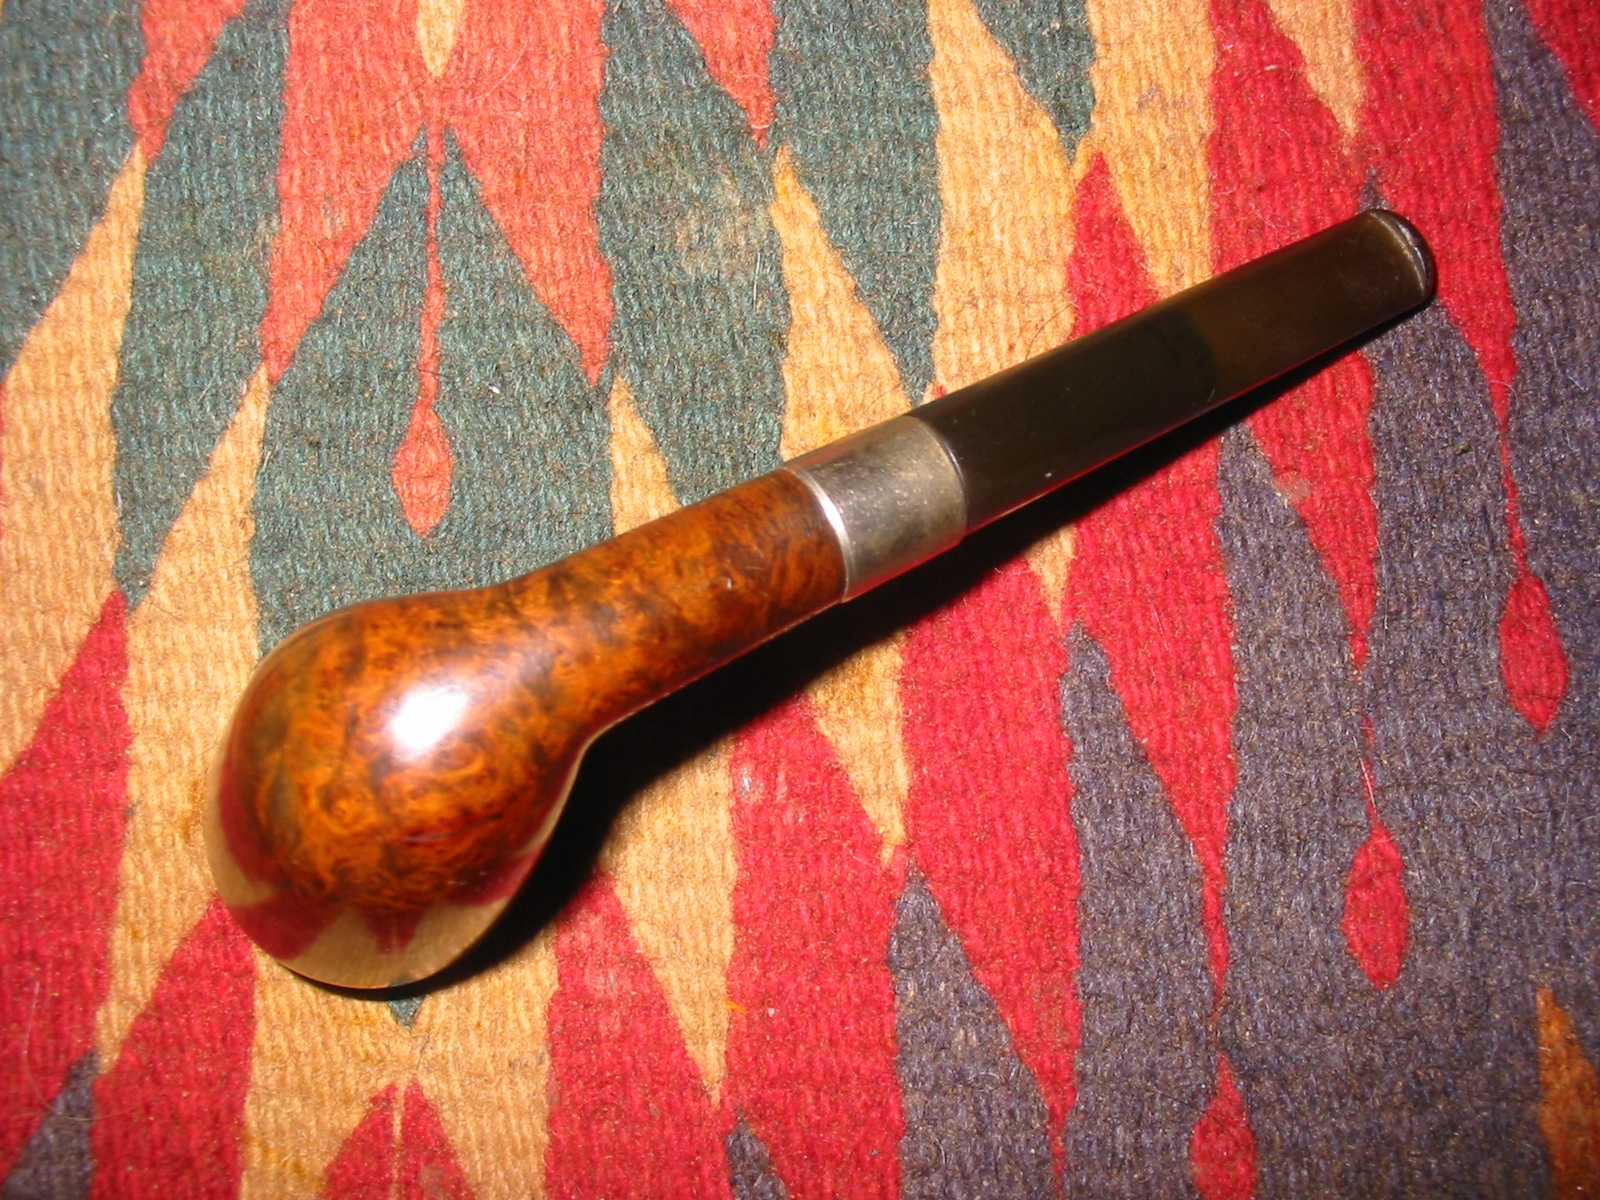
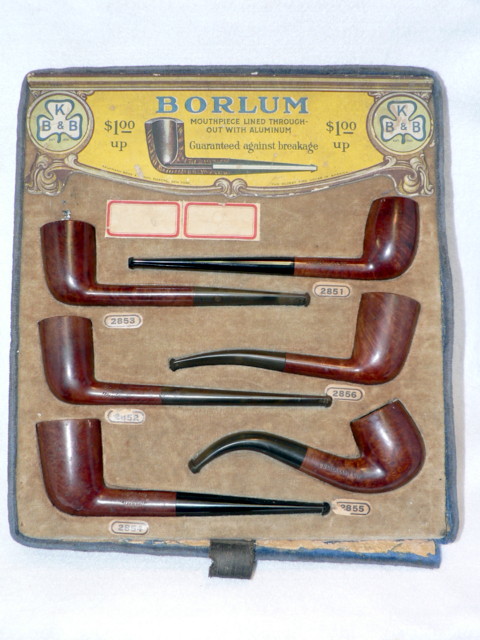 The pipe that was a gift to me is similar to the Dublin at the bottom left of the above card. It has the same shape and straight shank. It also has a similar profile. The difference is that min has a shank band which is also part of the unbreakable system of these pipes. I guess they found that an unbreakable stem can still leave a breakable shank. The band stabilizes the shank and makes the pipe more indestructible. The band is stamped with the Club/Cloverleaf with KB&B in the center and under that Nickel Plated. It adds a touch of class to this little Dublin. The pipe was gifted to me by Jim Wagner from Smokers Forums. I recently refurbished an older KBB Yello-Bole and Jim said he had this one. It came this week and I took it on today. The pipe was in good shape when I took it out of the shipping package. The finish was clean but the rim had a few minor issues. There was a slight darkening near the back of the bowl and there were some ripples in the varnish finish on the rim. The cake was thin and even. The bowl was in round. The nickel band and the stem showed oxidation. I really like these old timers with the orific buttons. They are more rounded than the modern flat stem but are very comfortable in the mouth. Jim had mentioned that the stem was a hard material. In cleaning it up I found that it was indeed vulcanite or vulcanized rubber. It was hard but not as hard as an acrylic stem. There were no bite marks in the stem and minimal tooth chatter near the button. It was a beautiful old pipe that truly did not show it 100+ year age.
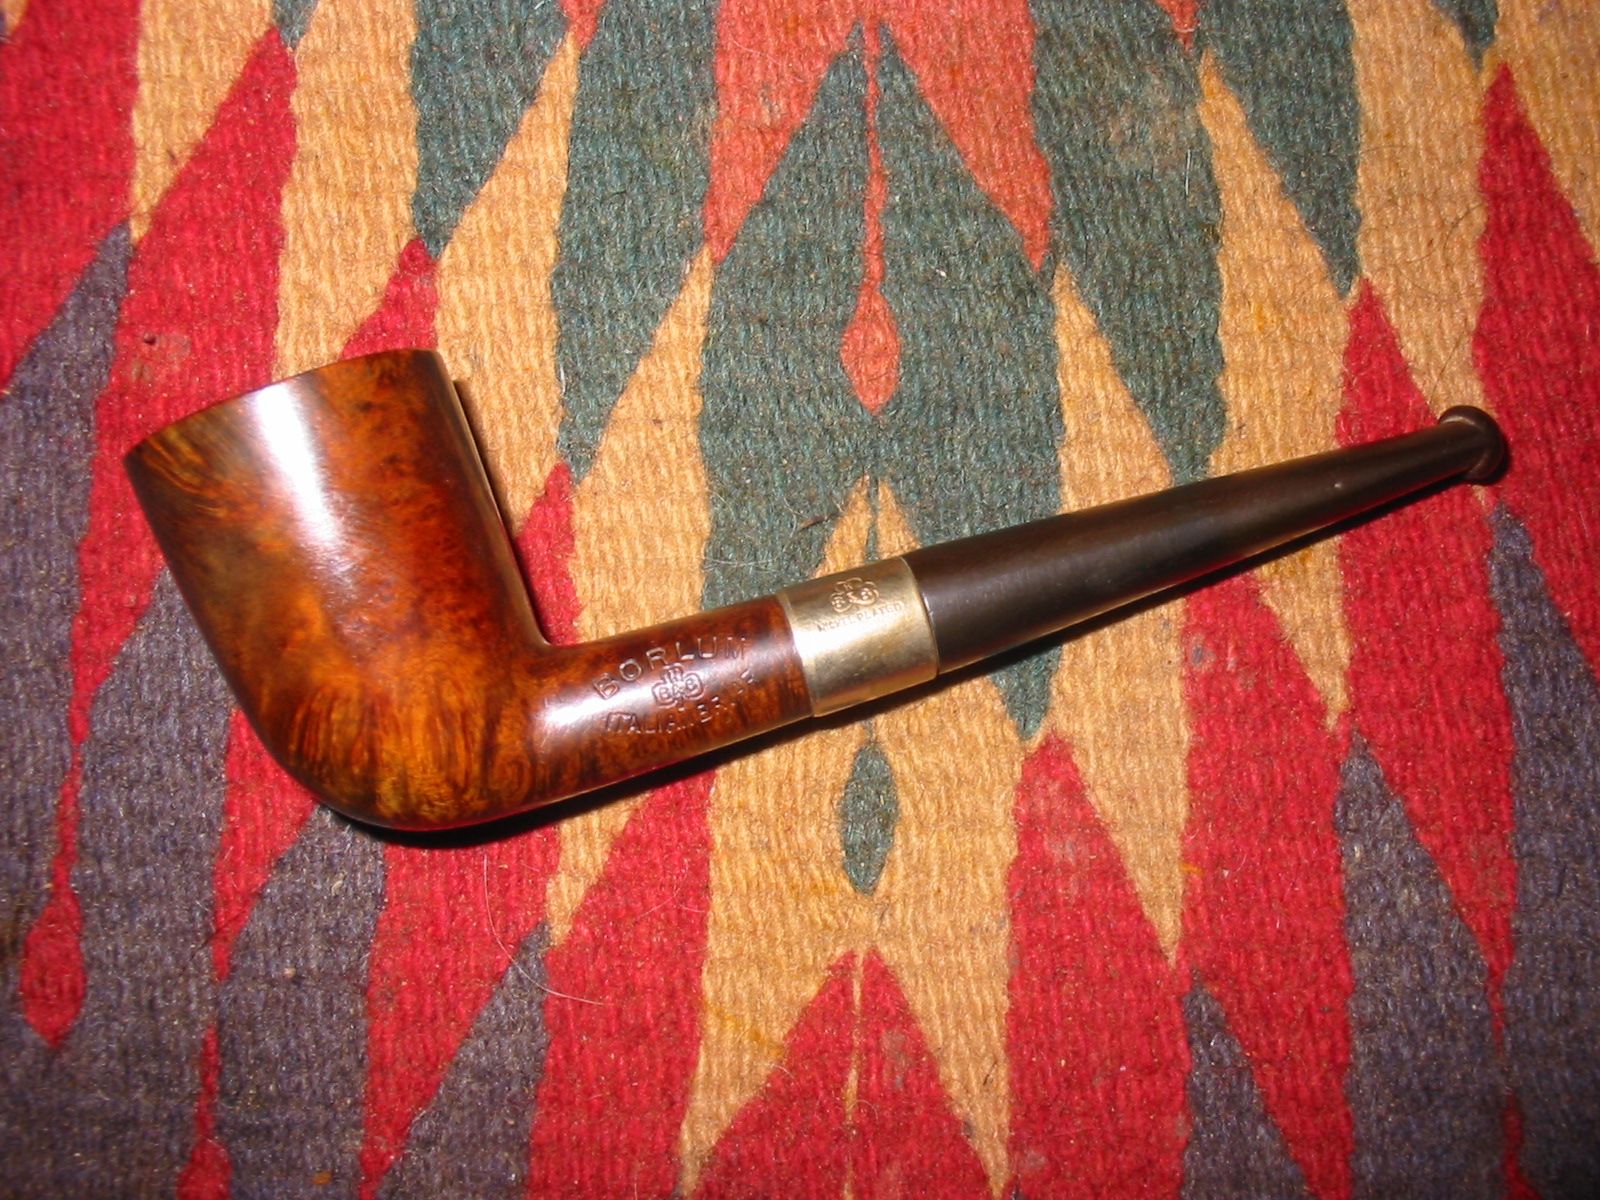
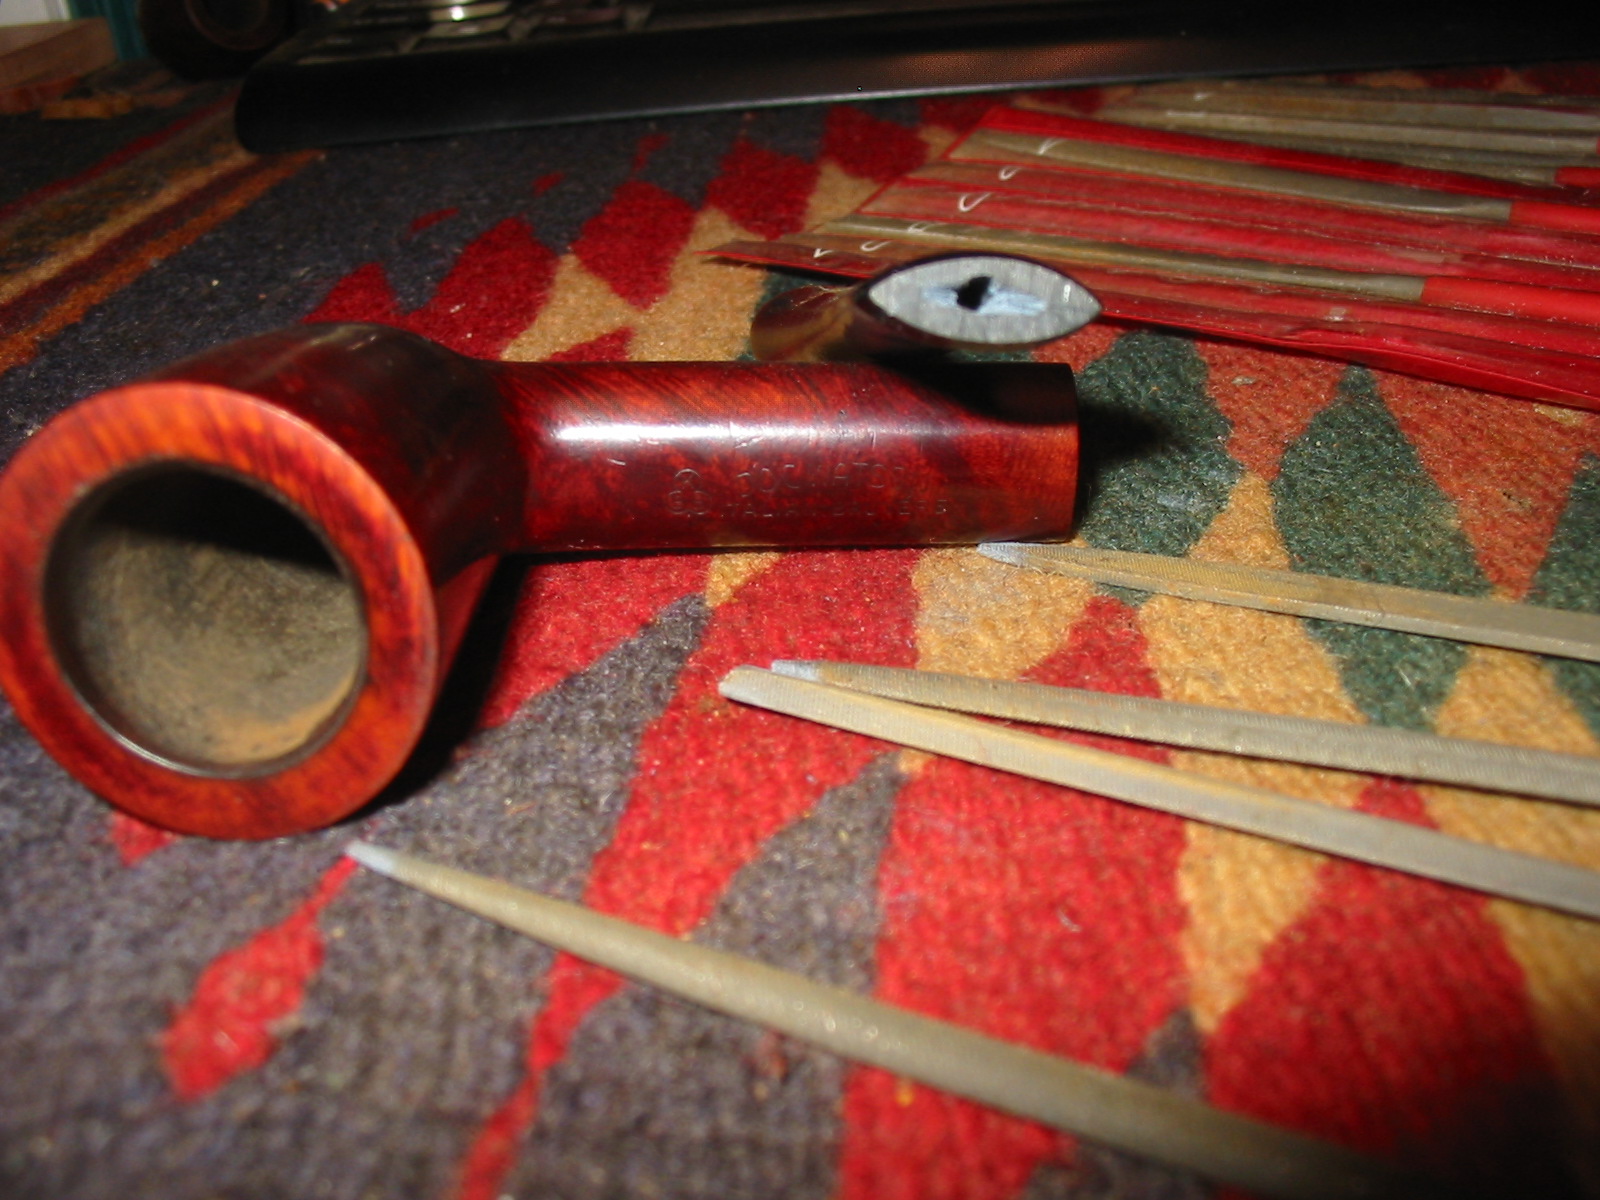
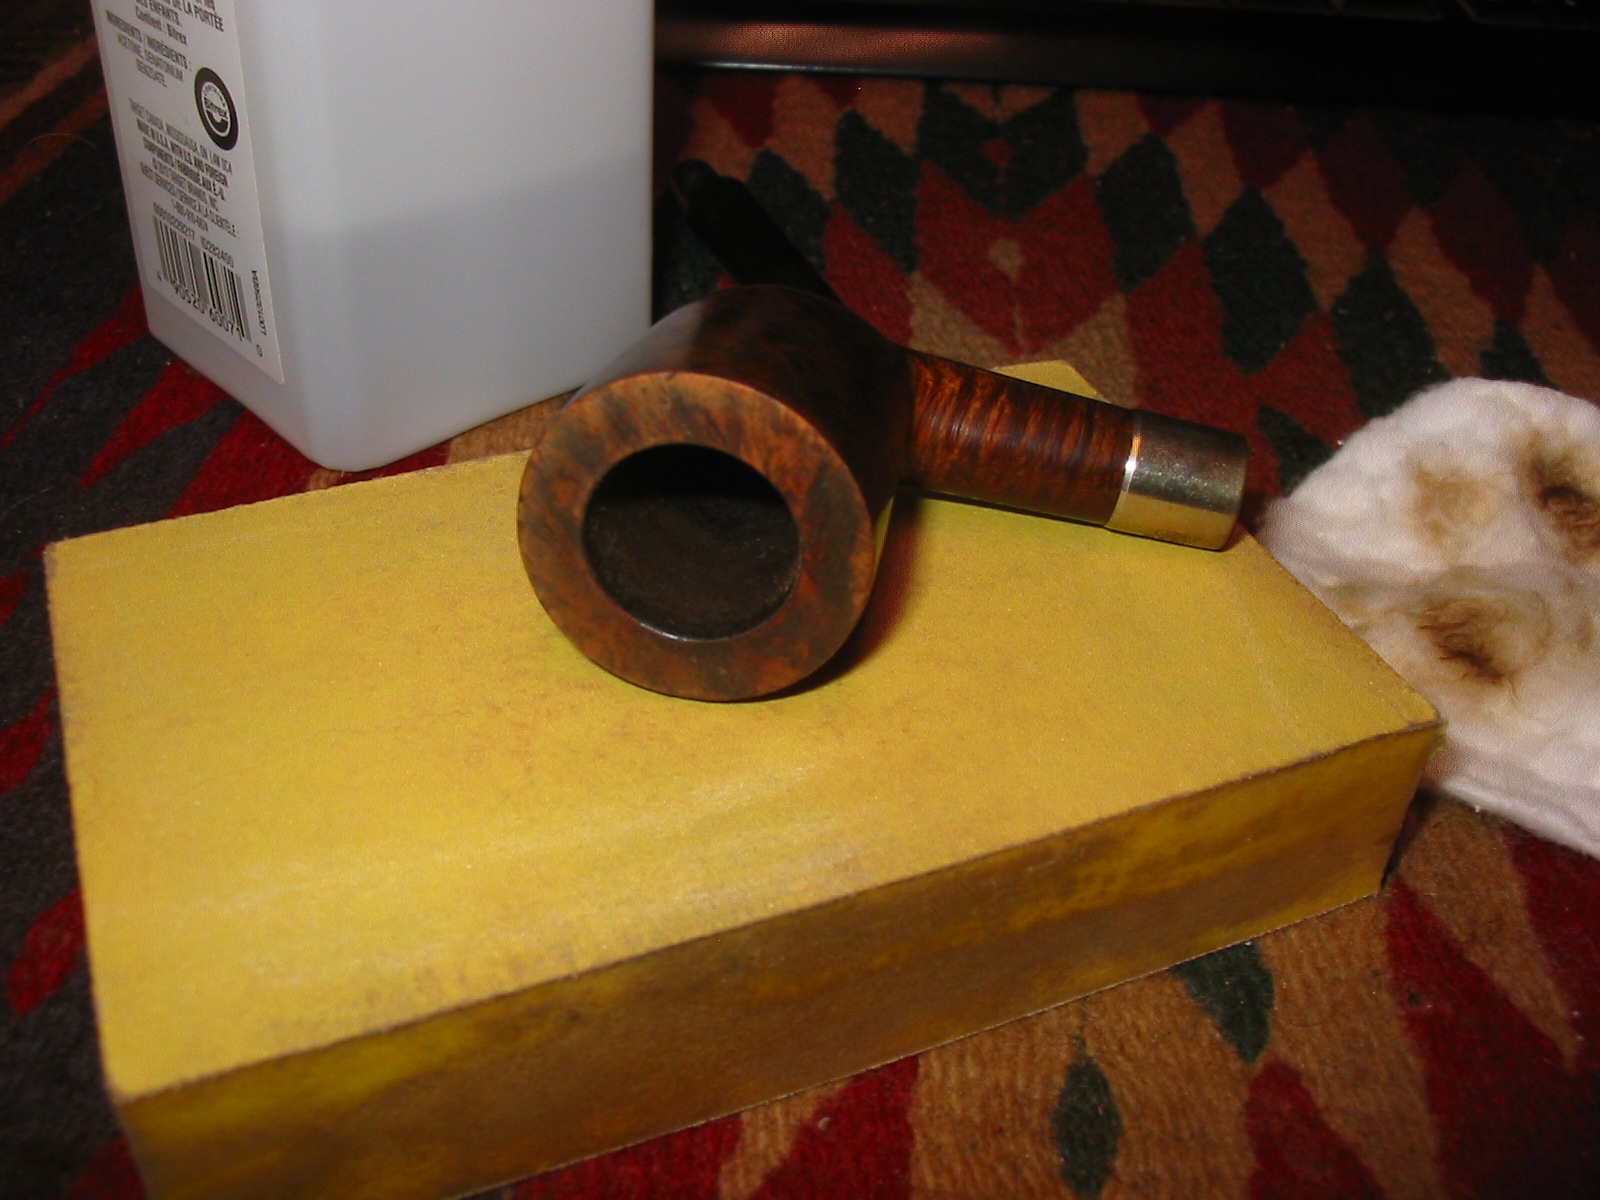
 I reamed the bowl lightly with a PipNet reamer to smooth out the thin cake. I cleaned out the shank with pipe cleaners, cotton swabs and isopropyl alcohol. I kept at it until the cleaners came out the same way they went into the shank – white.
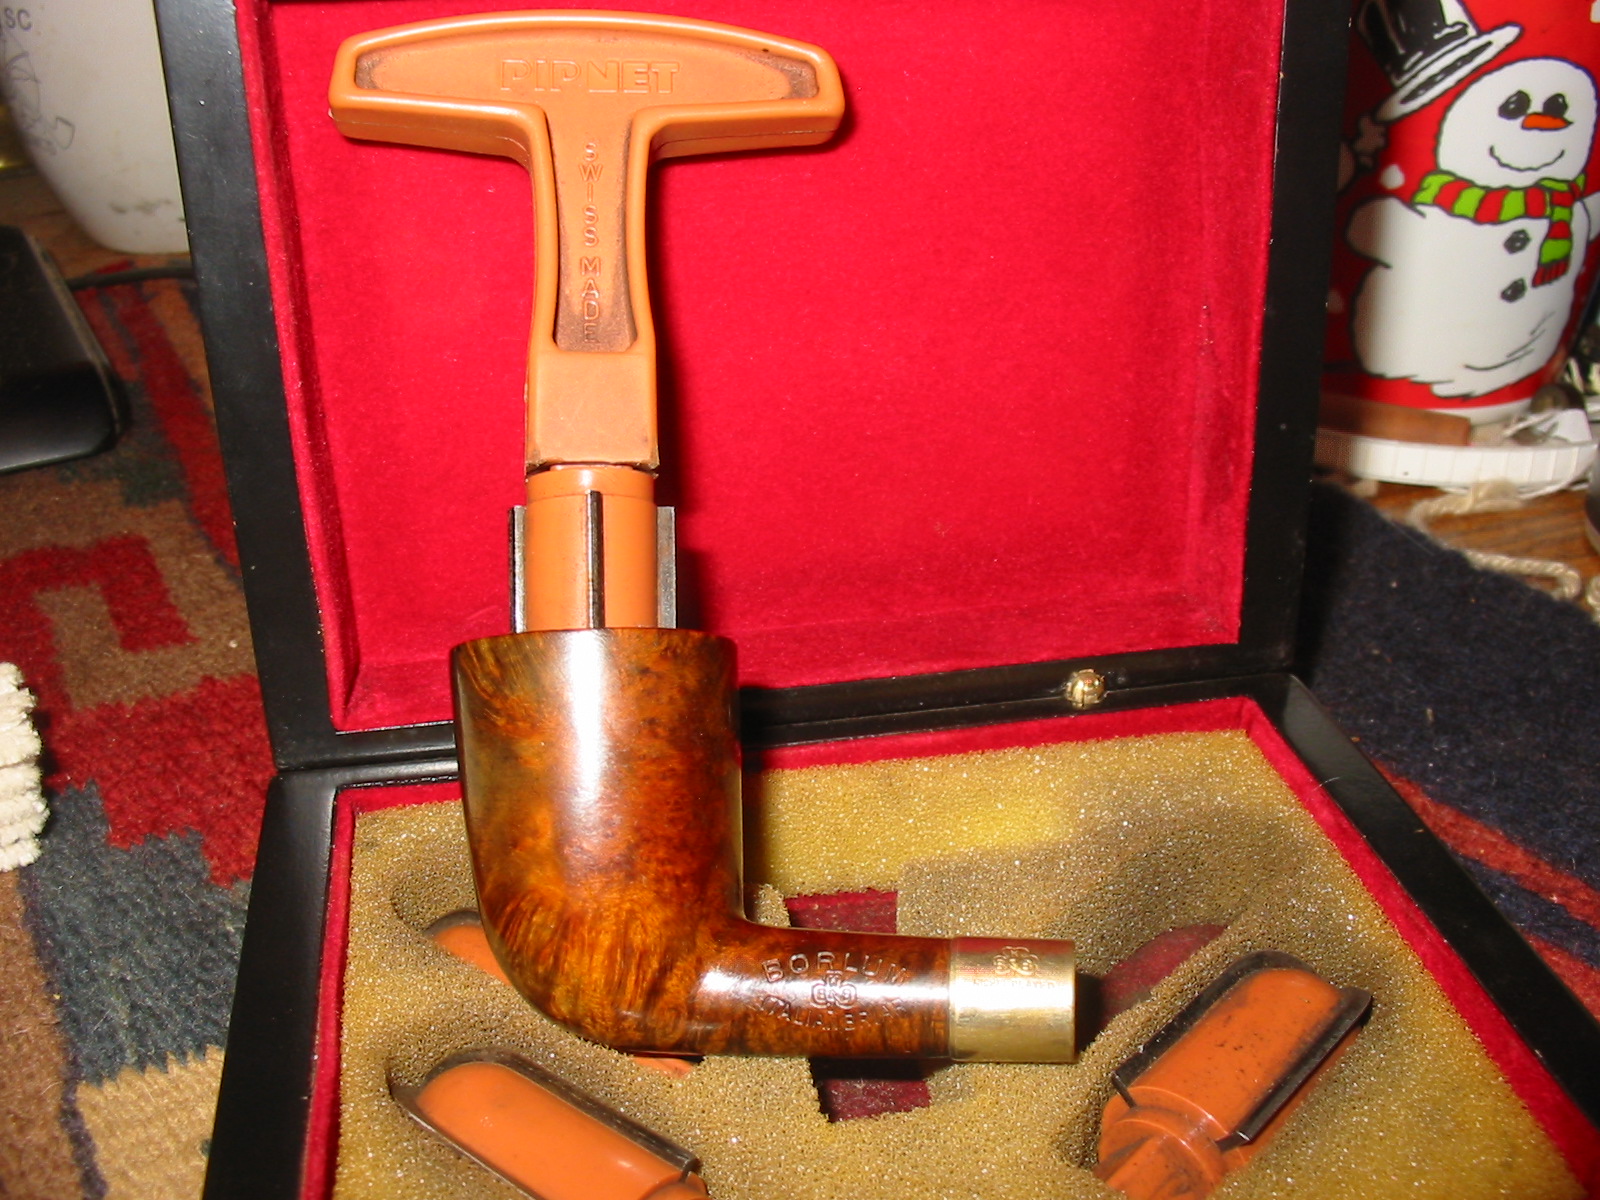
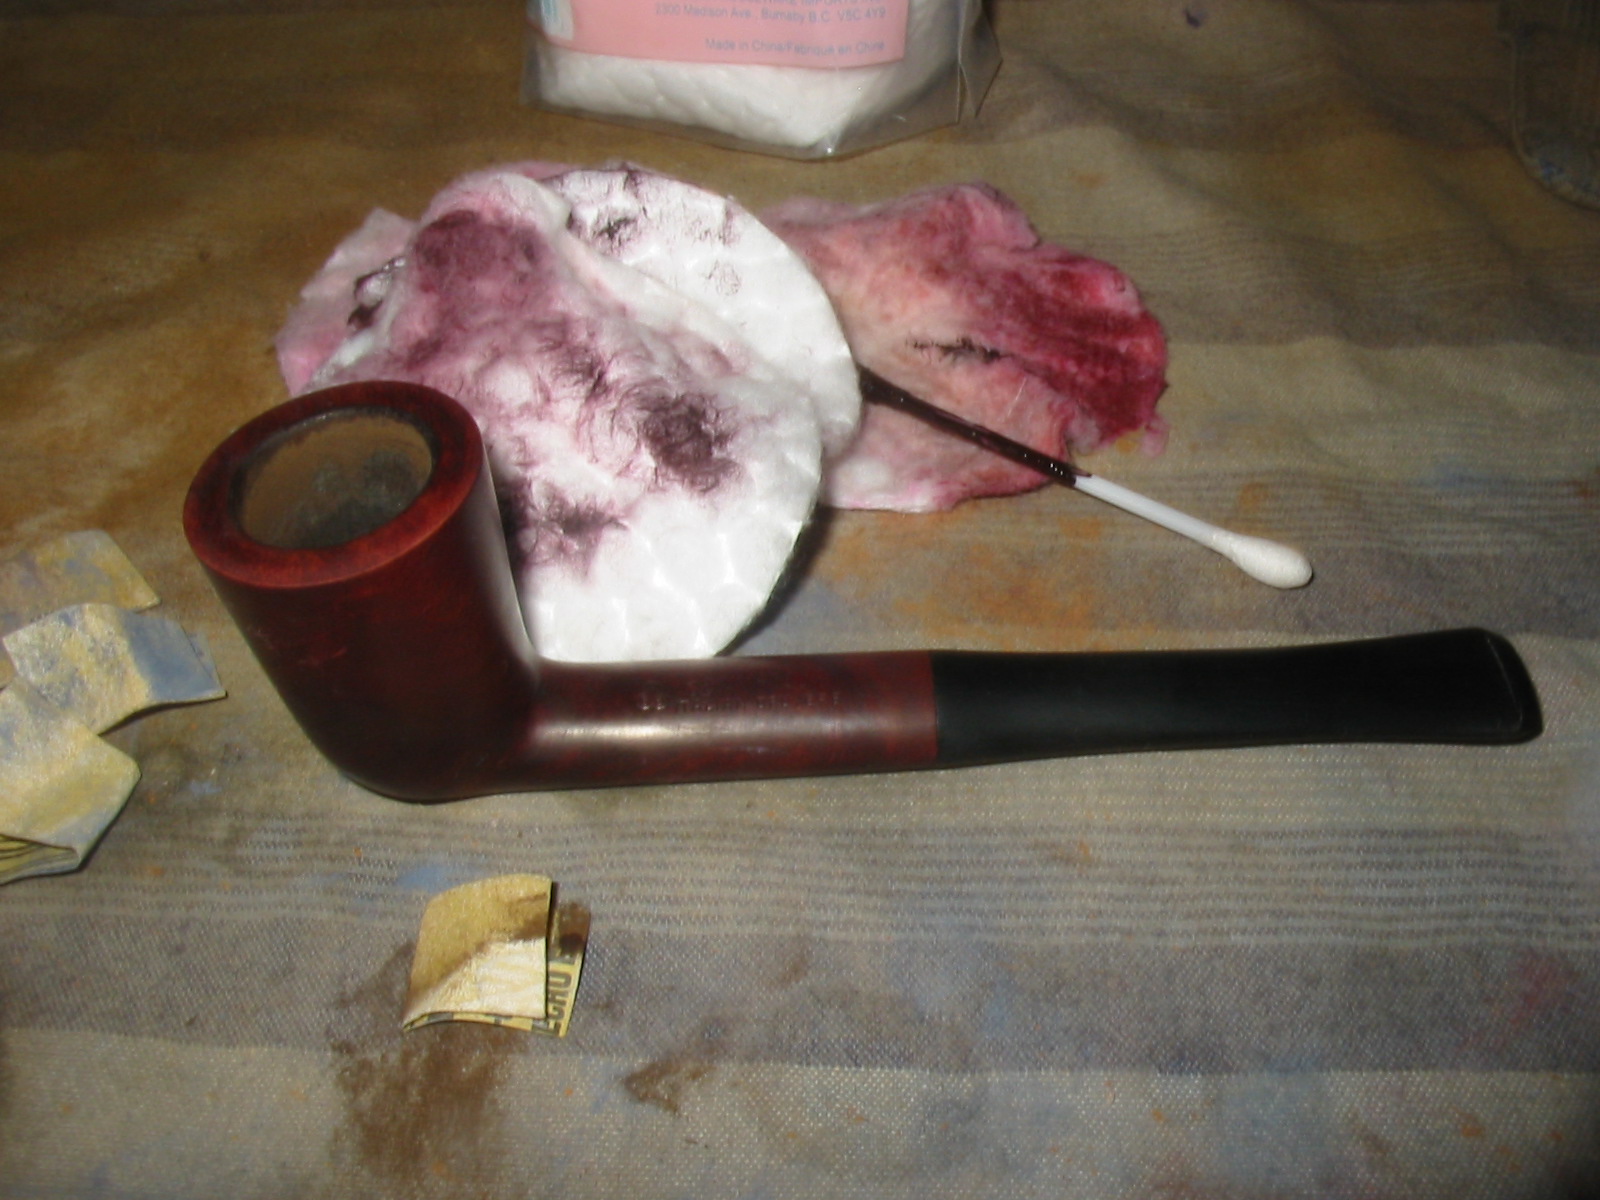
 In order to address the issues with the rim I wiped it down with acetone on a cotton pad and then gently sanded it with an extra fine grit sanding sponge. My intent was not to top the bowl but to smooth out the ripples of the varnish and remove some of the darkening. In checking it out the darkening was not deep in the briar but merely on the surface so this method would remove the damage.
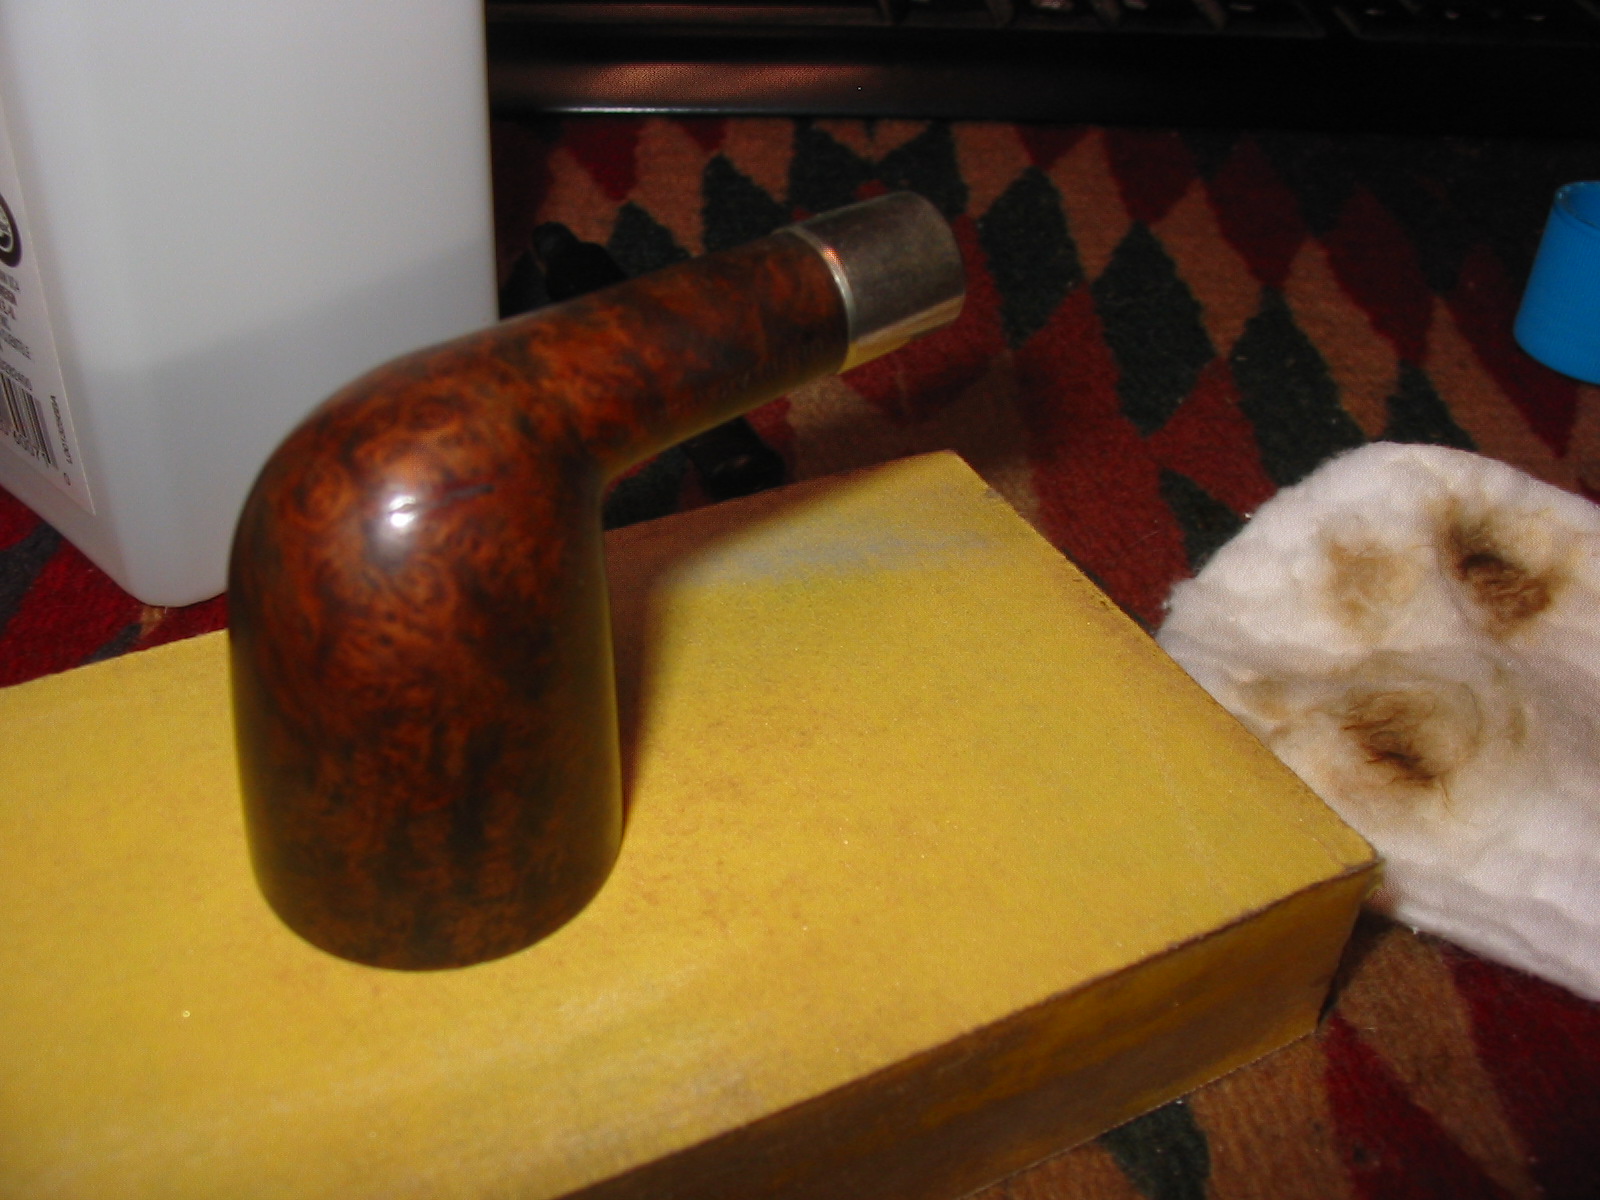
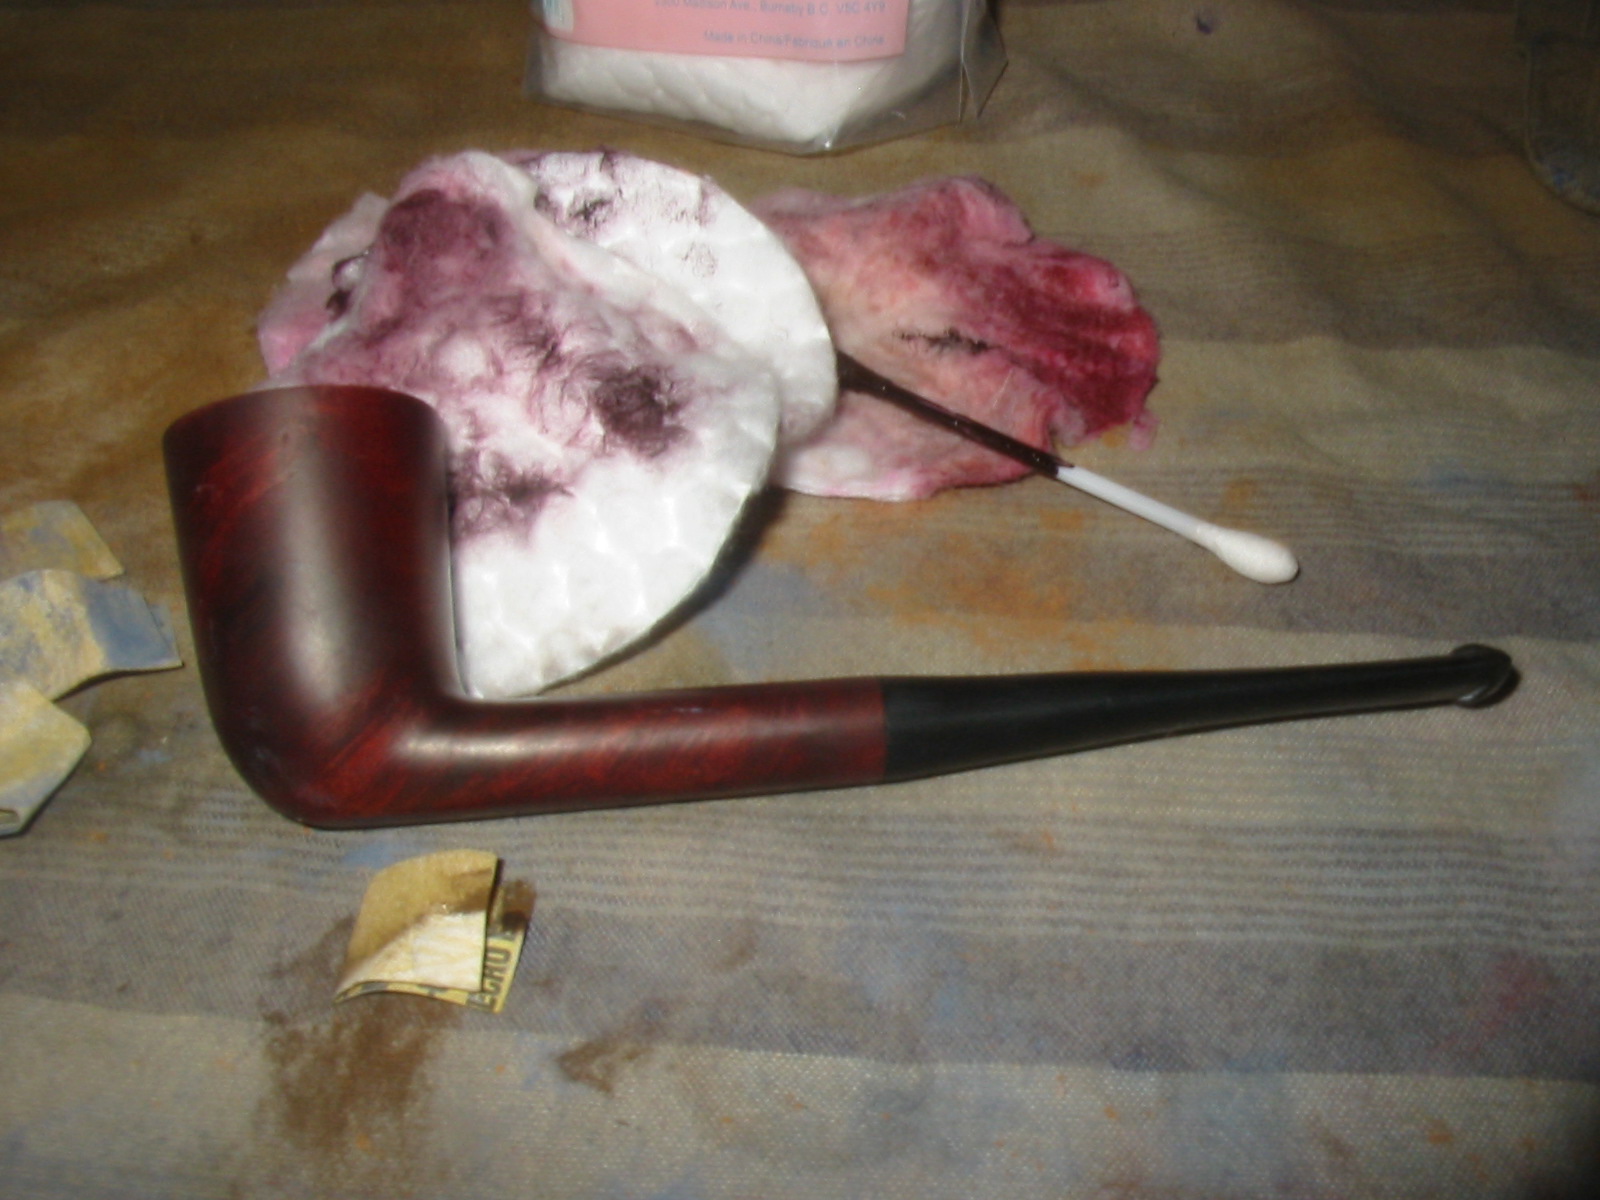
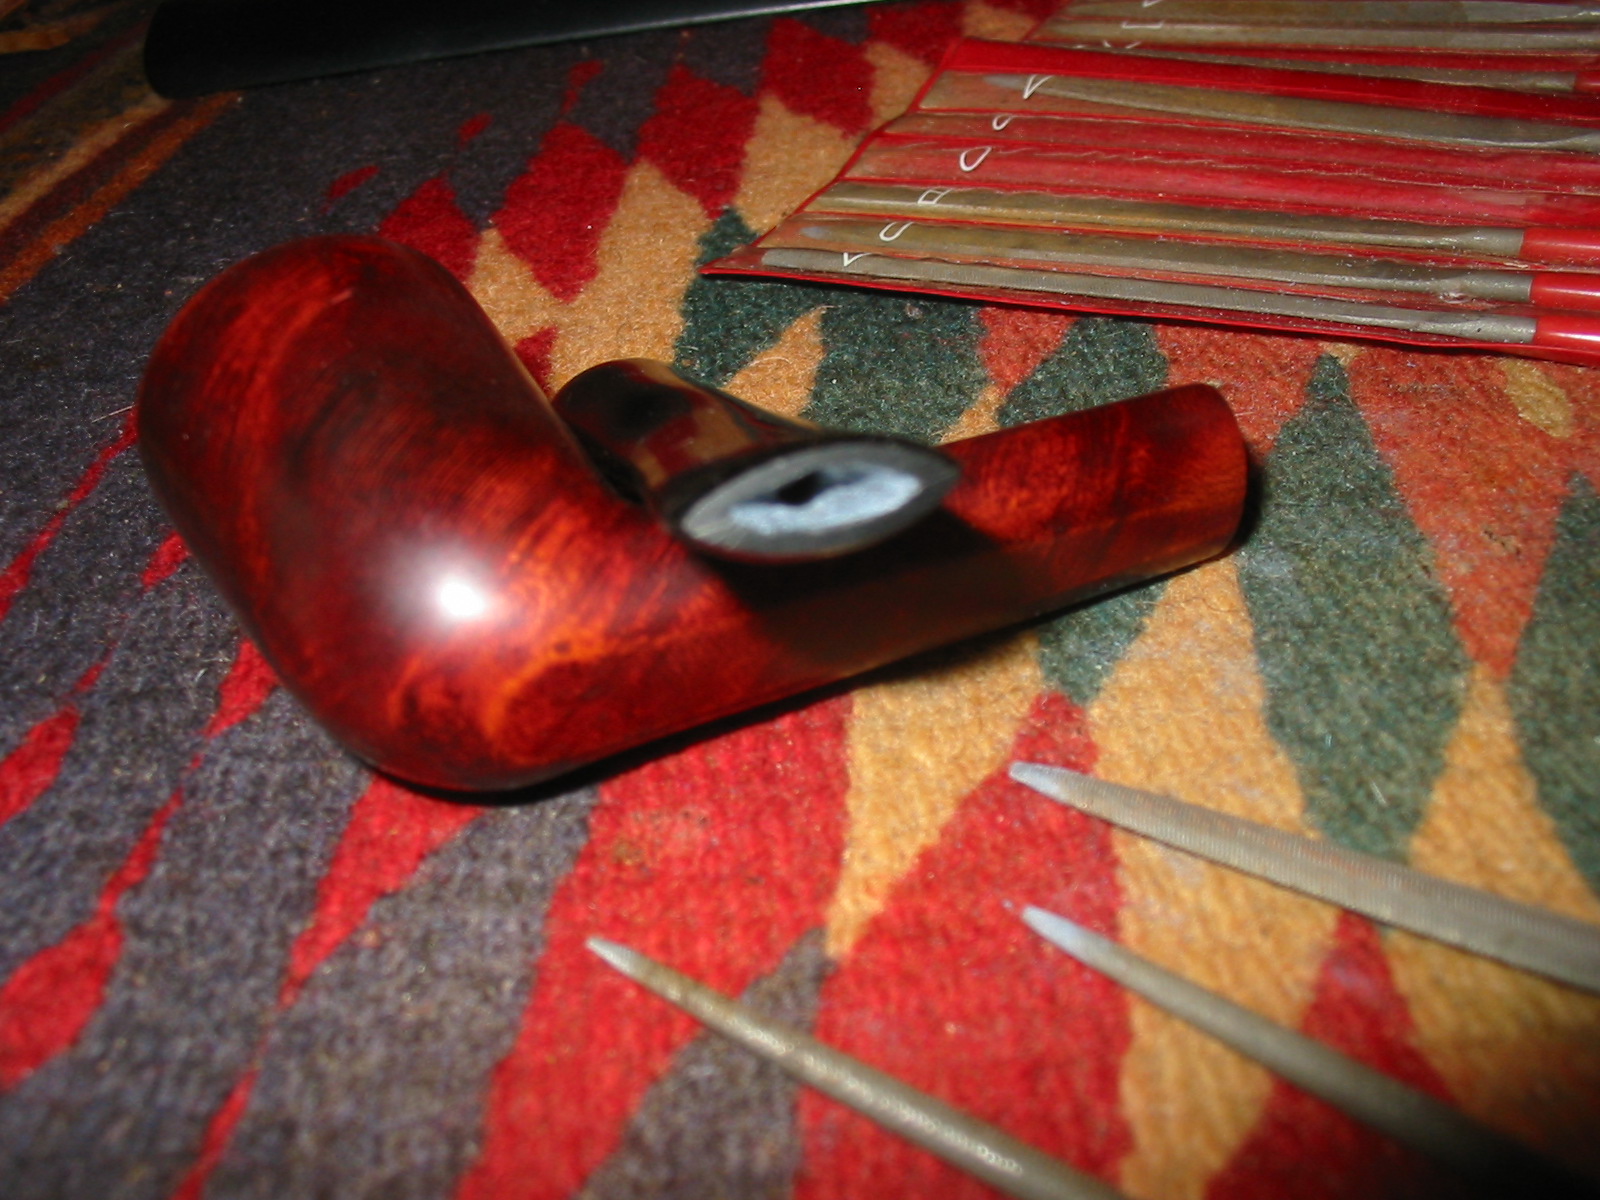
 I wiped the bowl and shank down with the acetone and cotton pads to clean off the slight darkening of the finish. I wanted to remove the varnish coat so that I could use just wax on the bowl. I did not want to remove any of the colour/stain. I wanted to leave the colour/patina intact with no change.
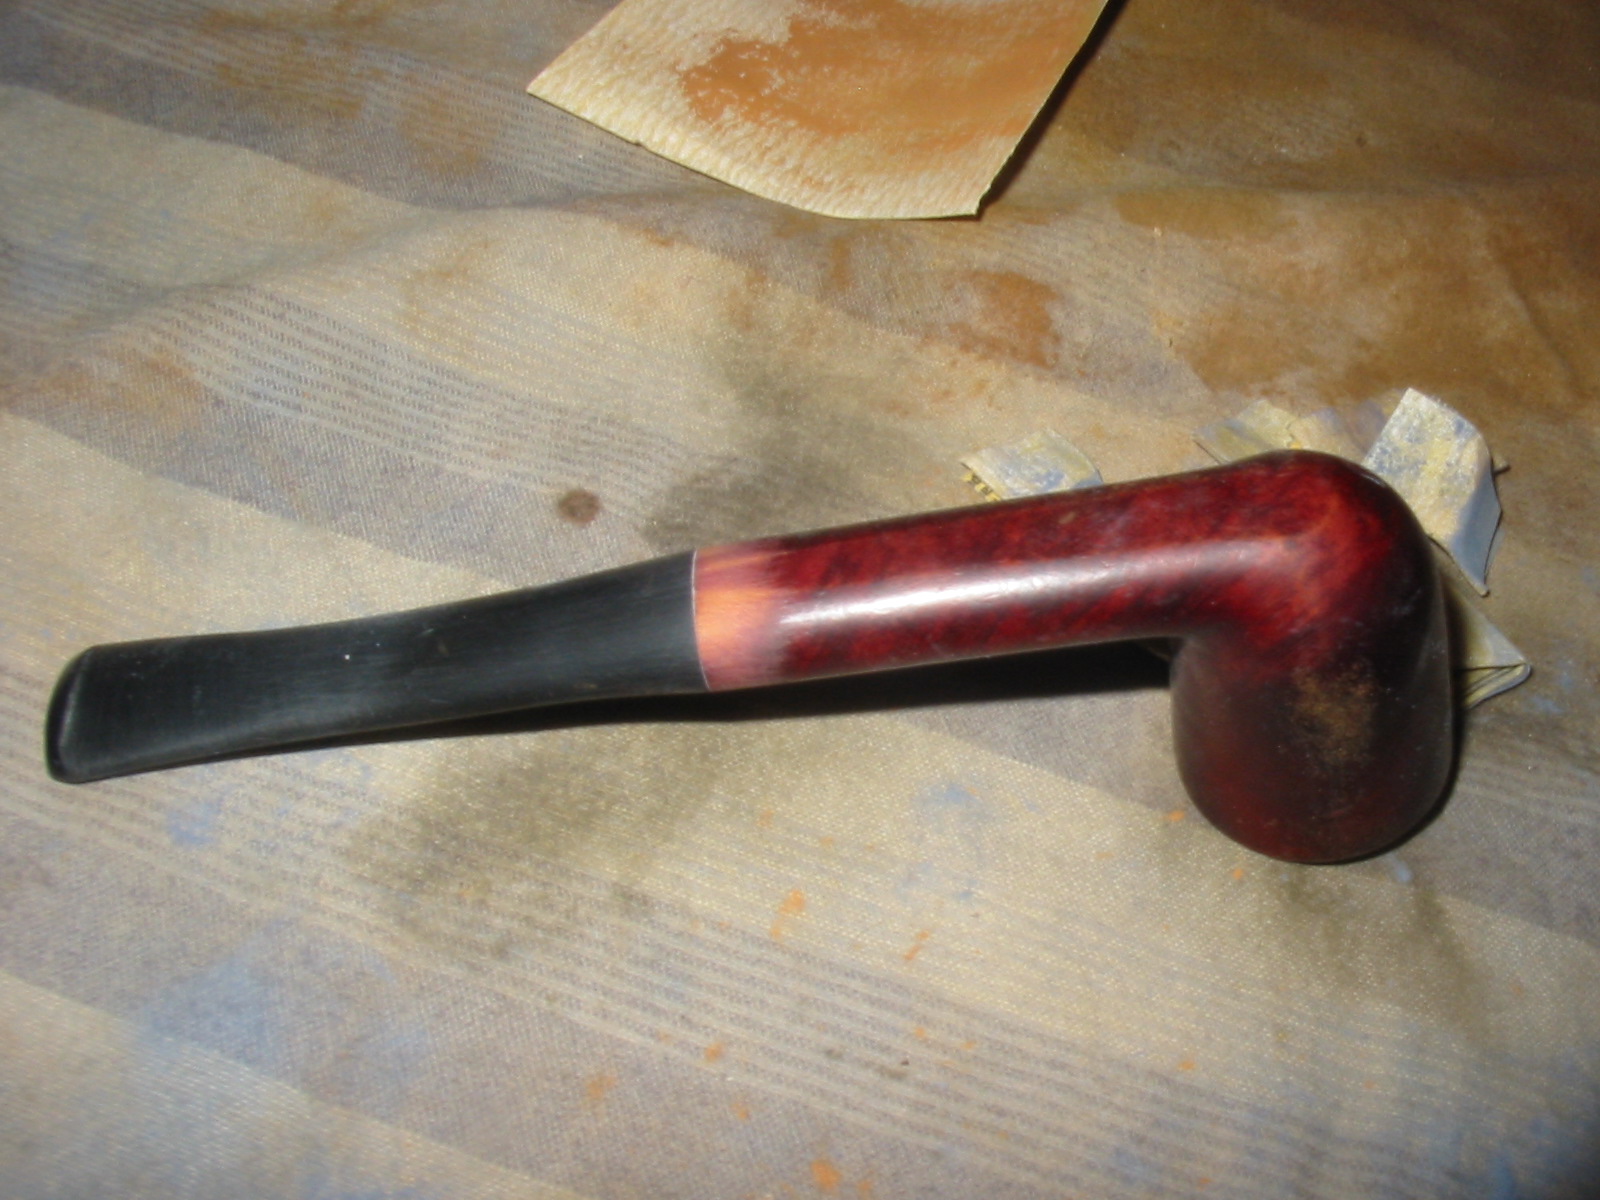
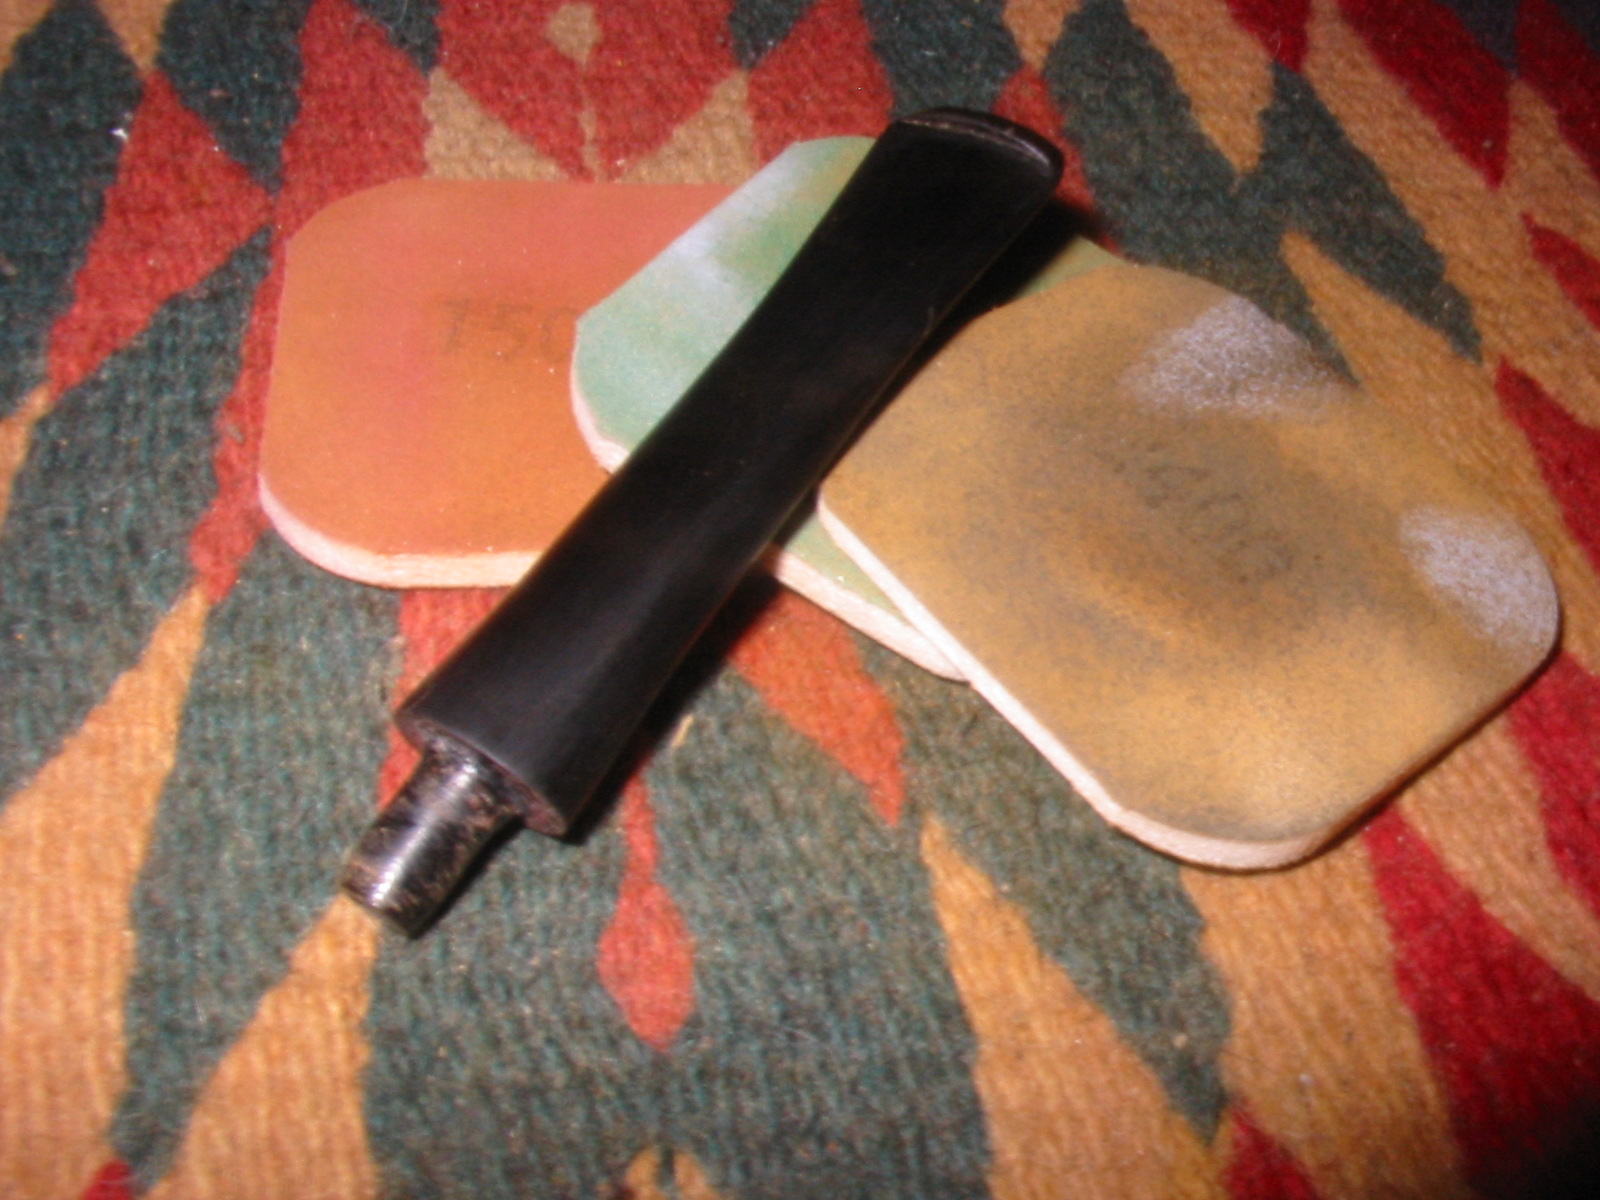
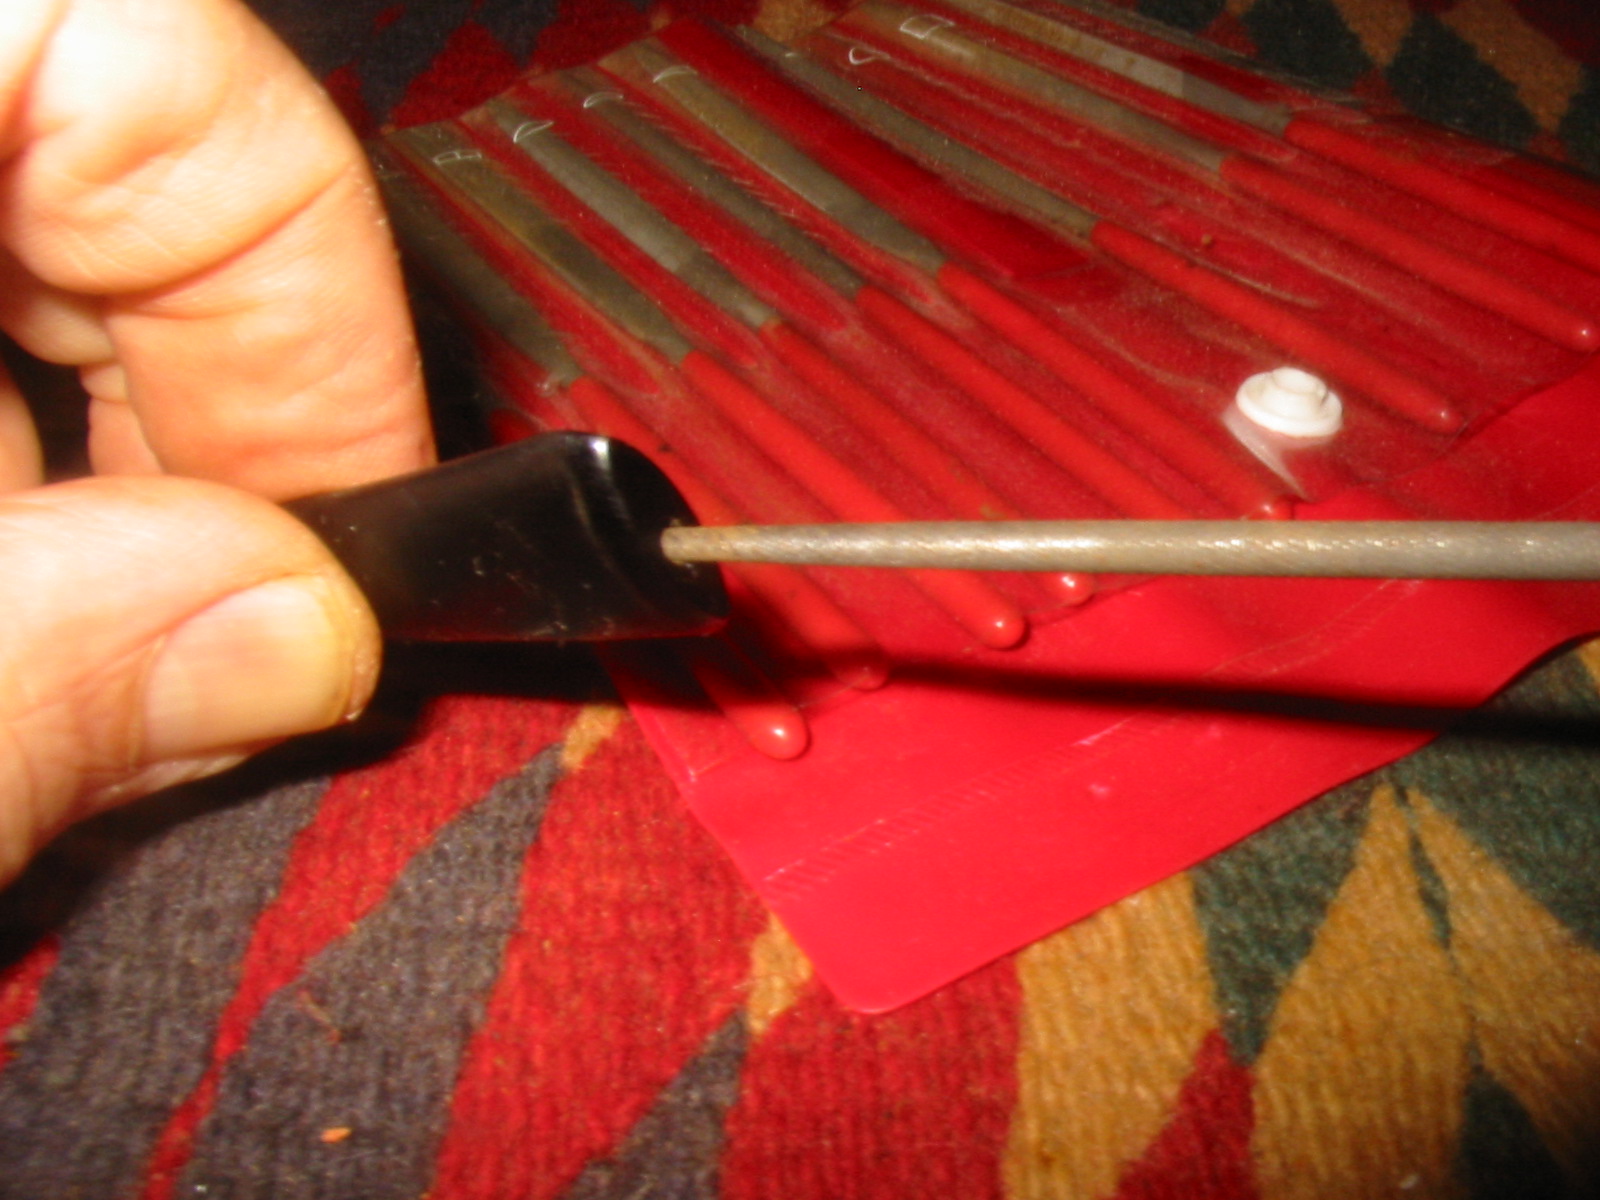
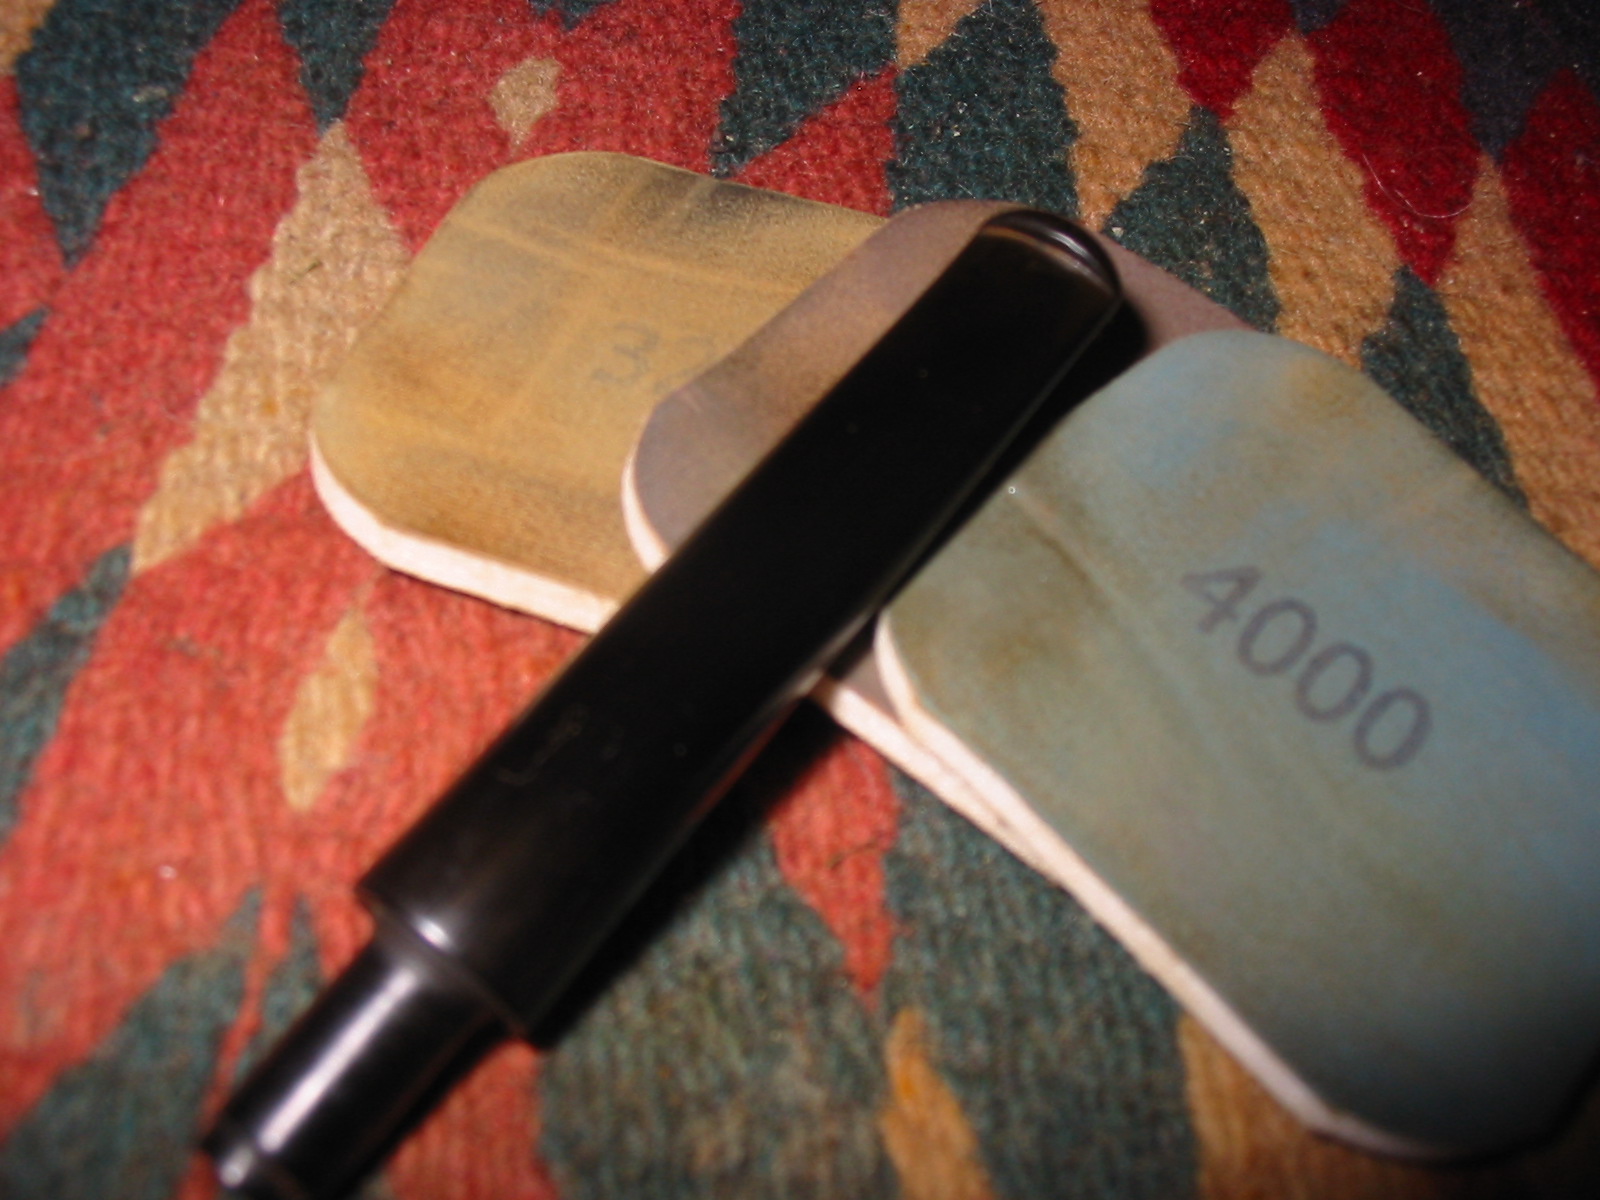
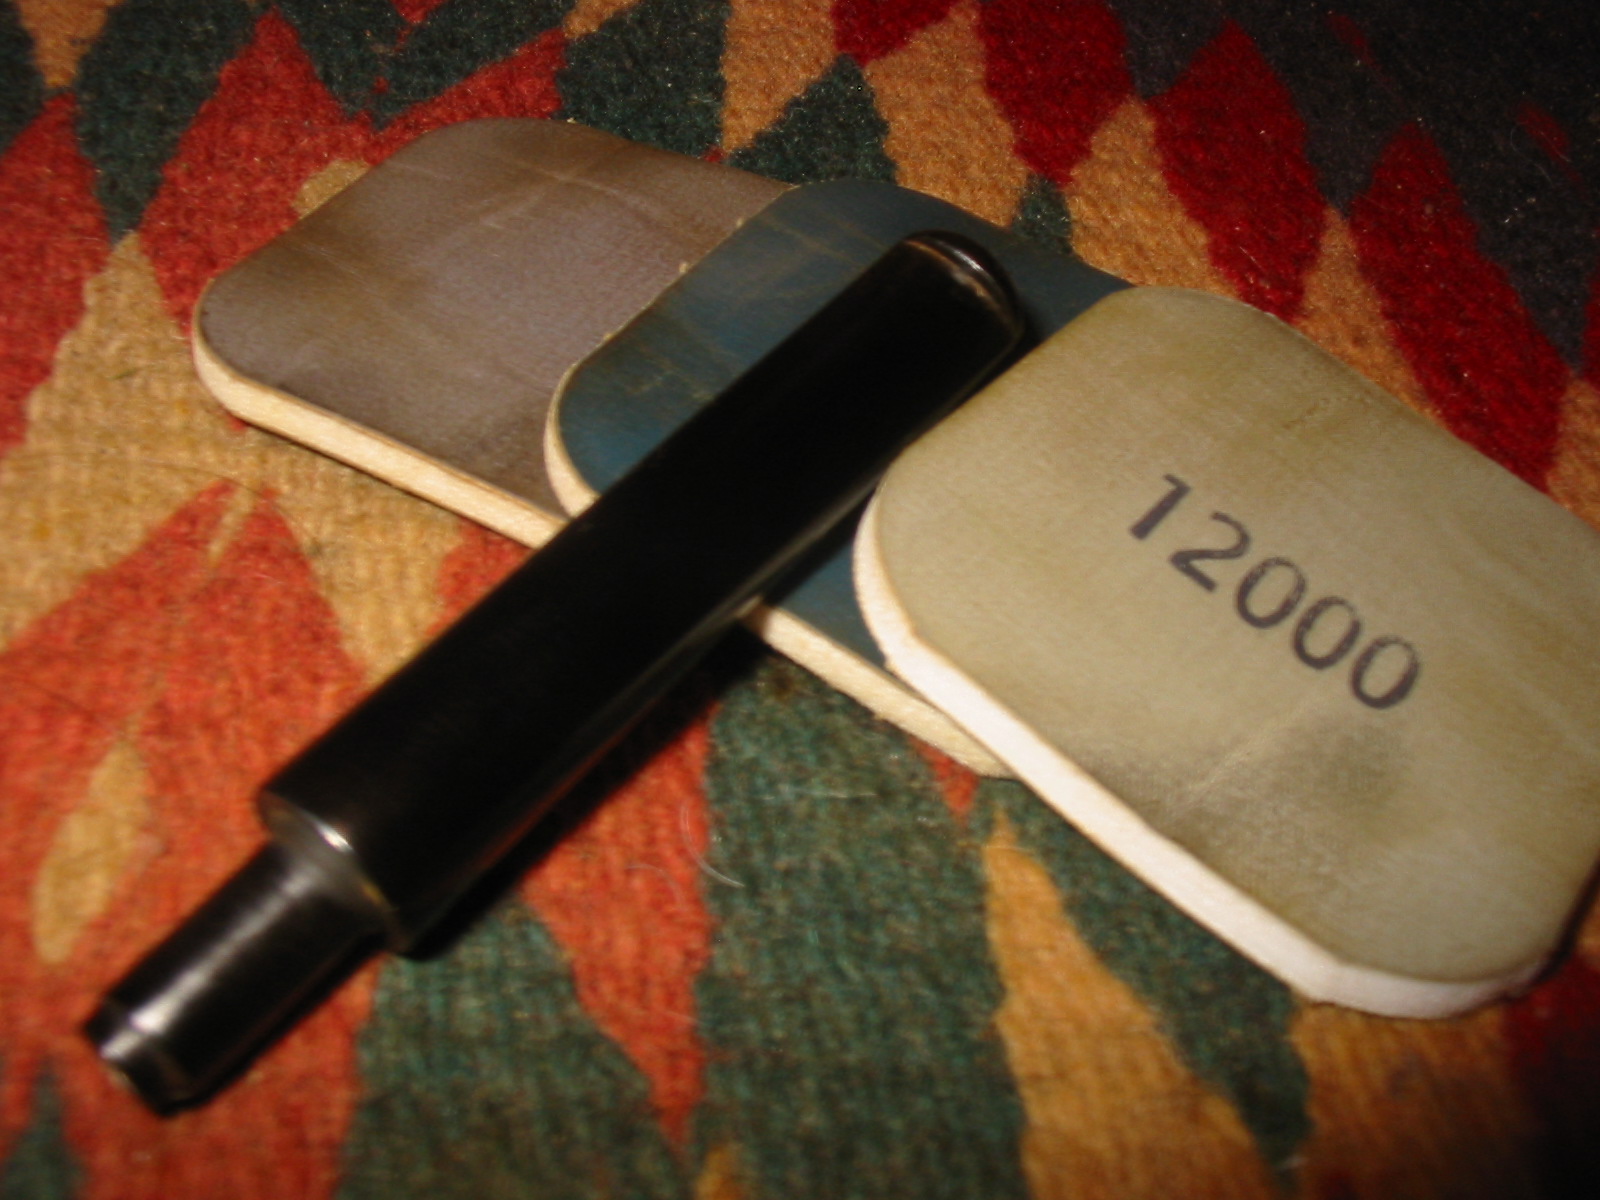
 I sanded the stem with 220 grit sandpaper and medium and fine grit sanding sponges. I shone a flashlight on the stem to highlight the oxidation and continued to sand with this combination until the brown/green hue was gone and the stem was a dull black. I rubbed it down with Obsidian Oil and then sanded it with my usual array of micromesh sanding pads. I wet sanded with 1500-2400 grit pads and dry sanded with 3200-12,000 grit pads. I rubbed the stem down with the Obsidian Oil after each set of three micromesh pads.
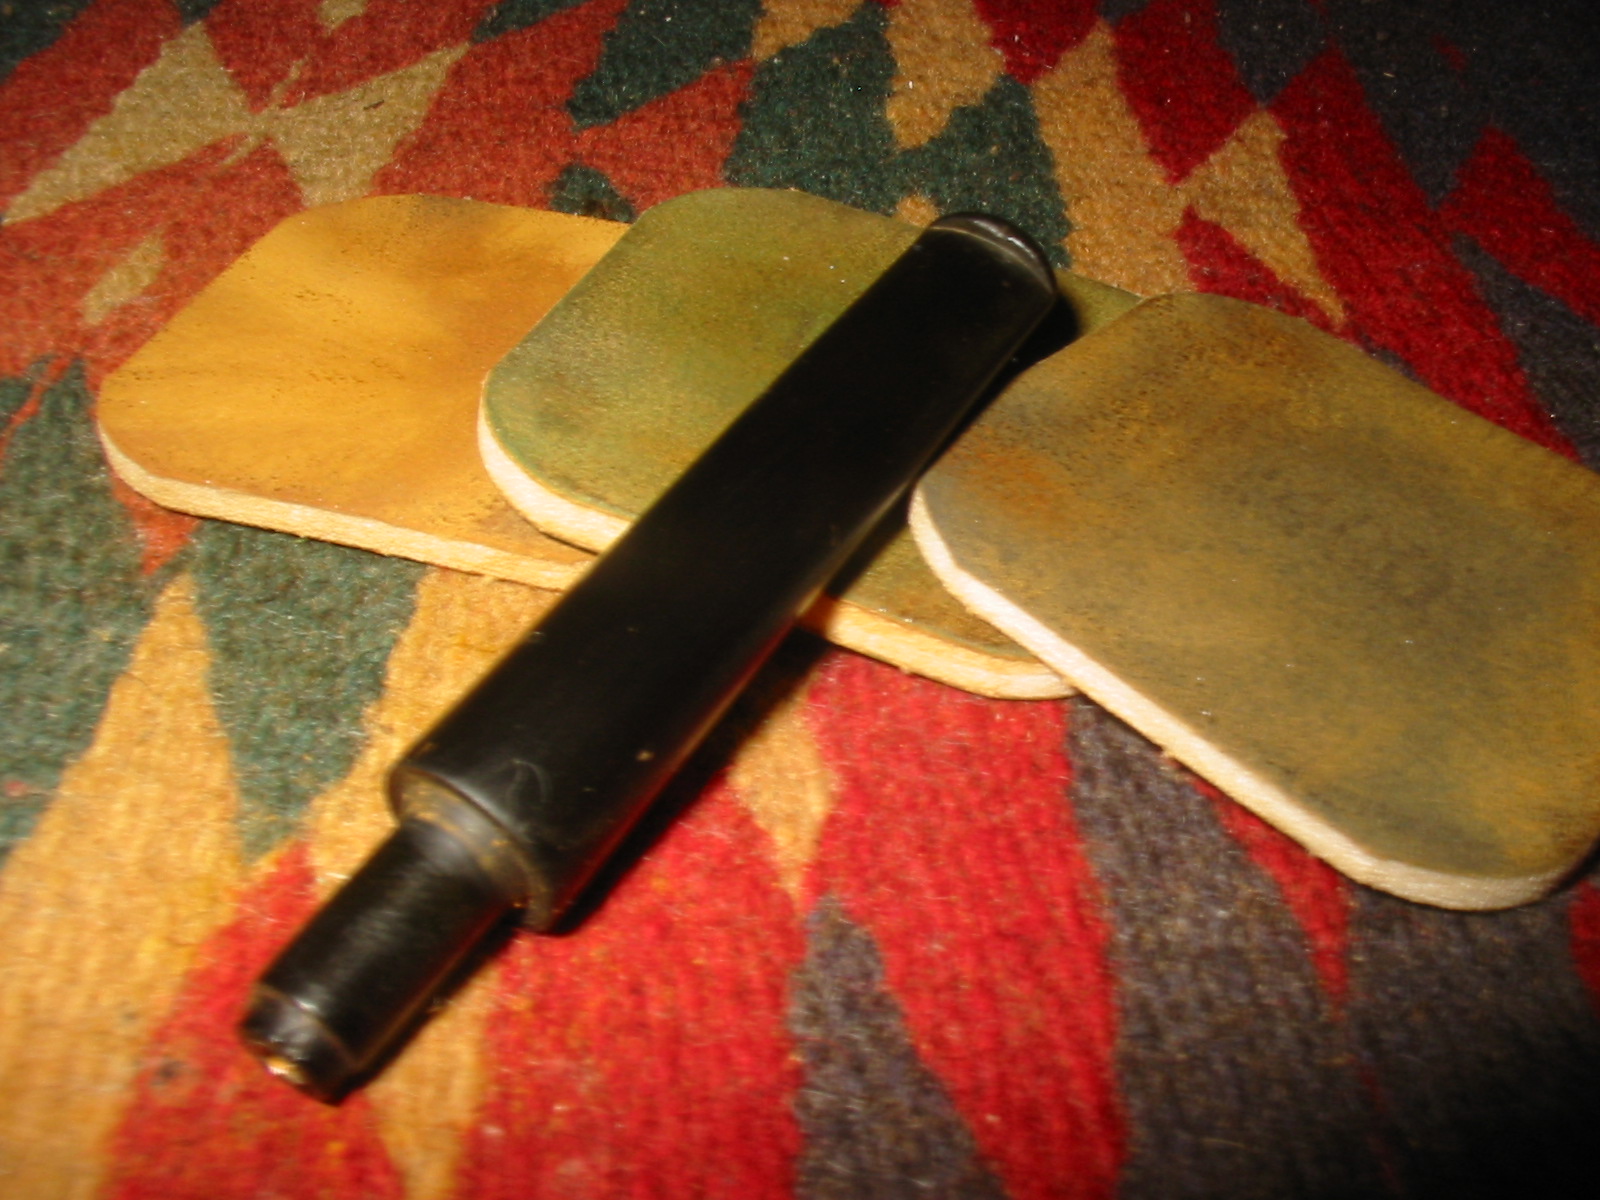
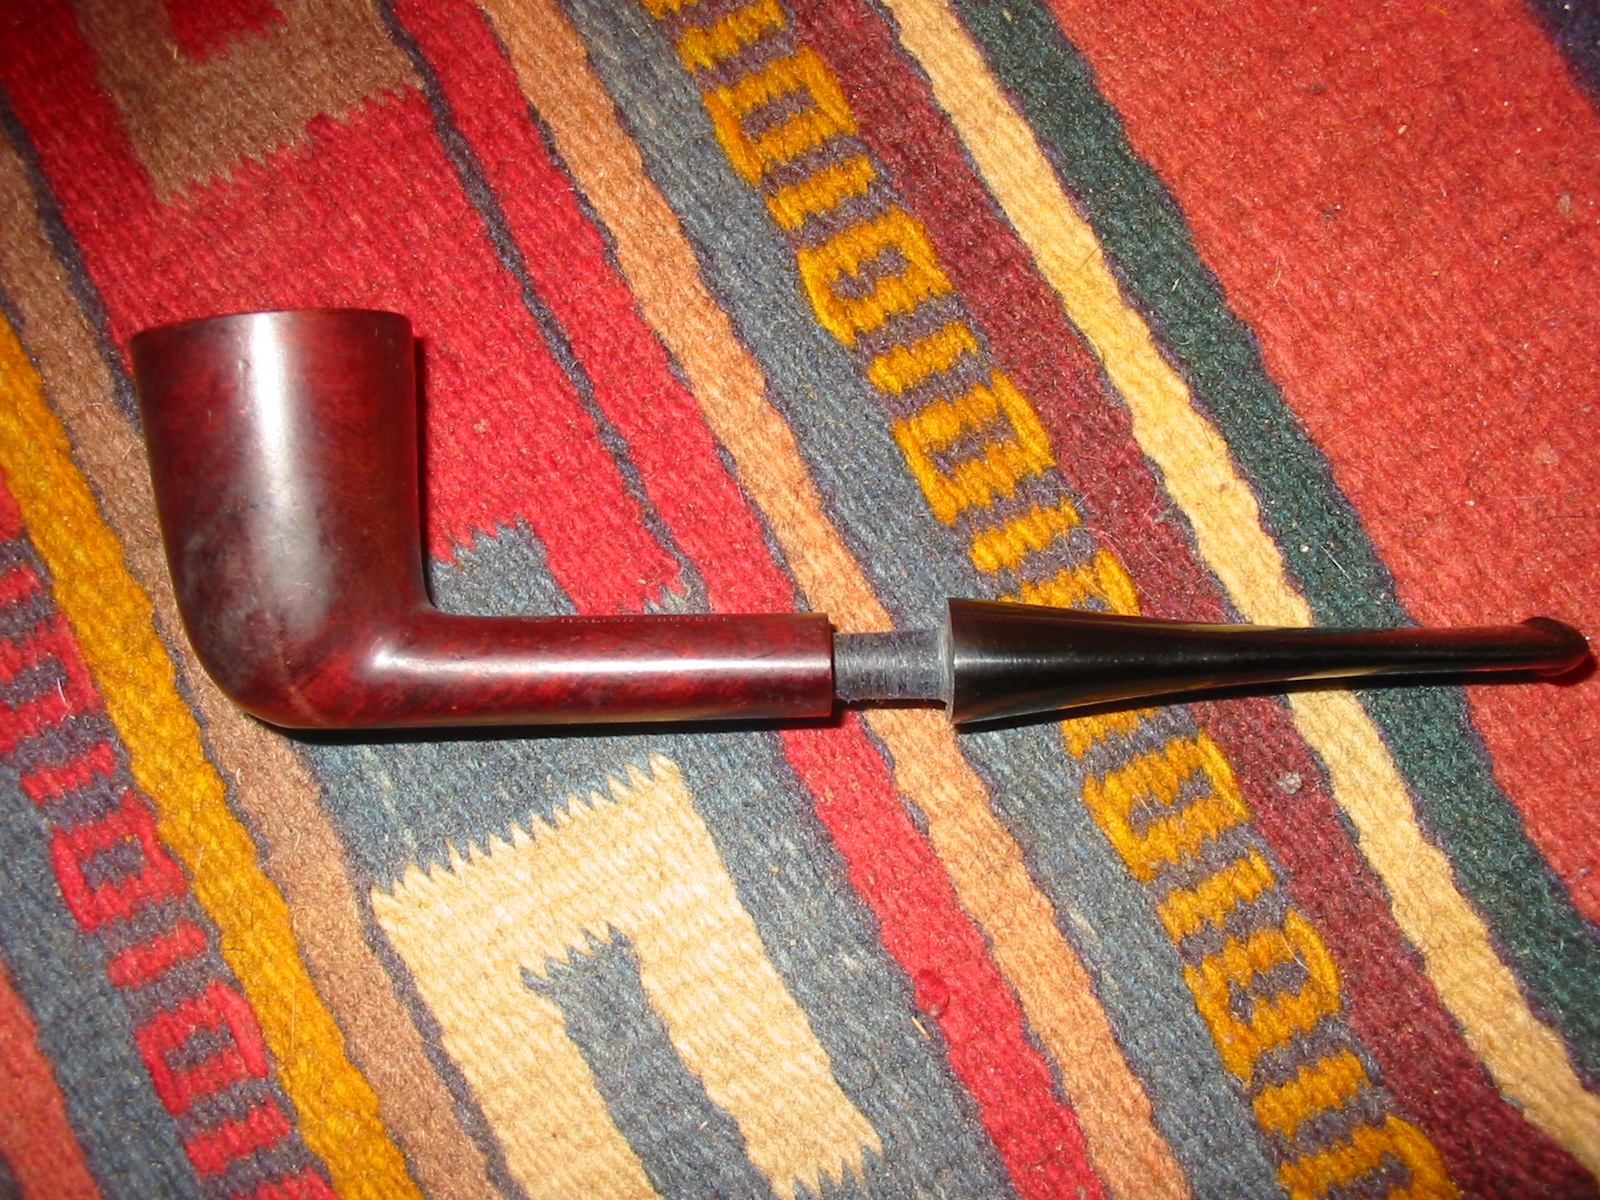
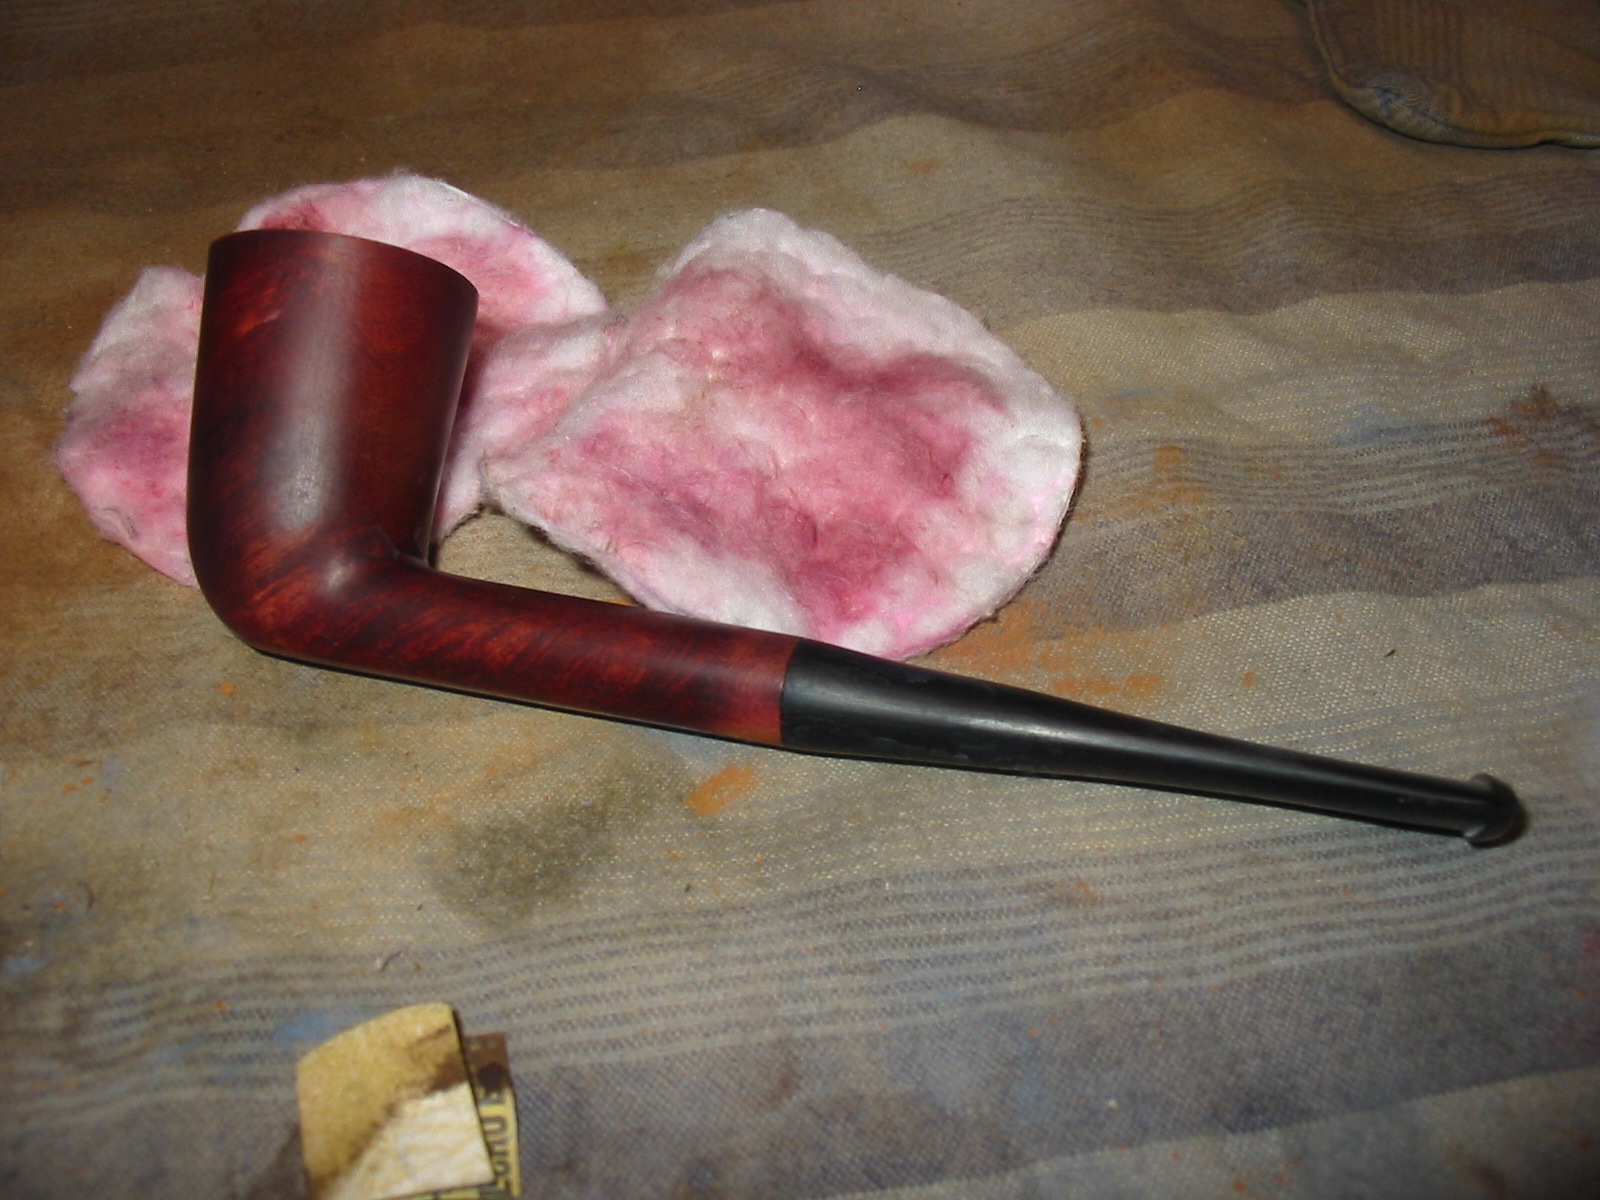
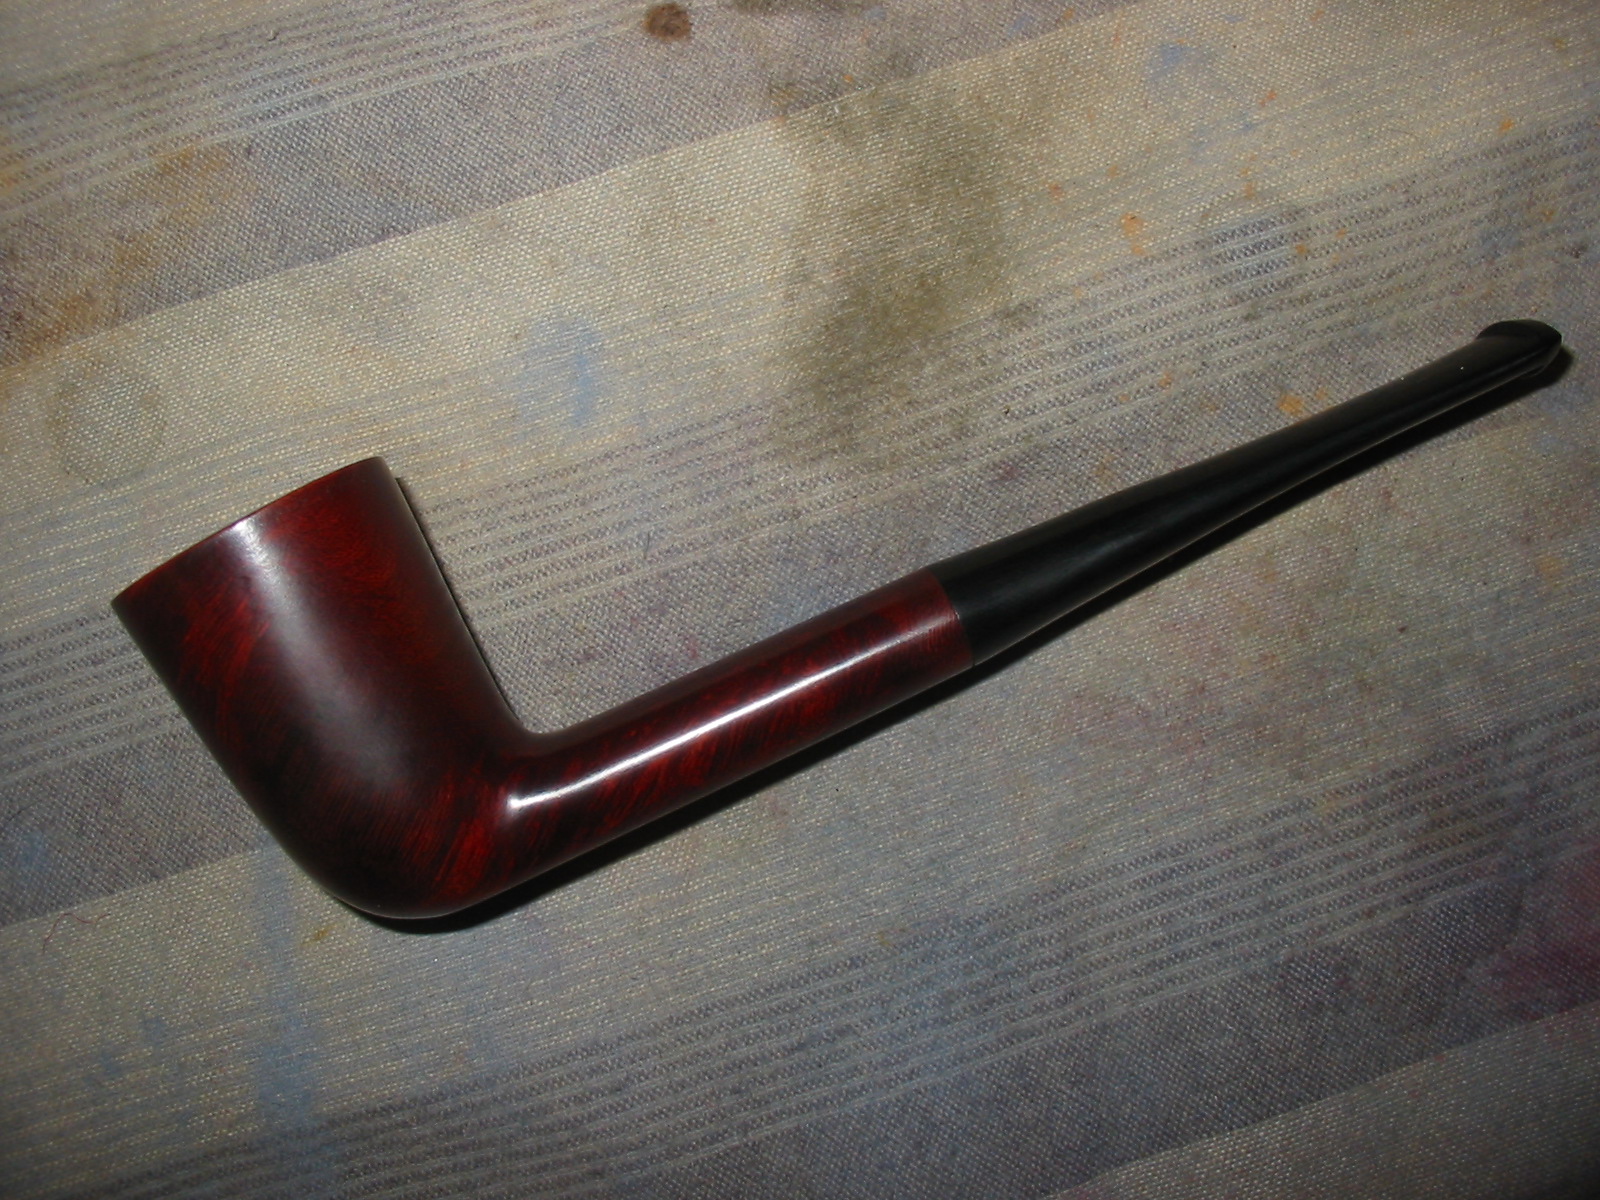
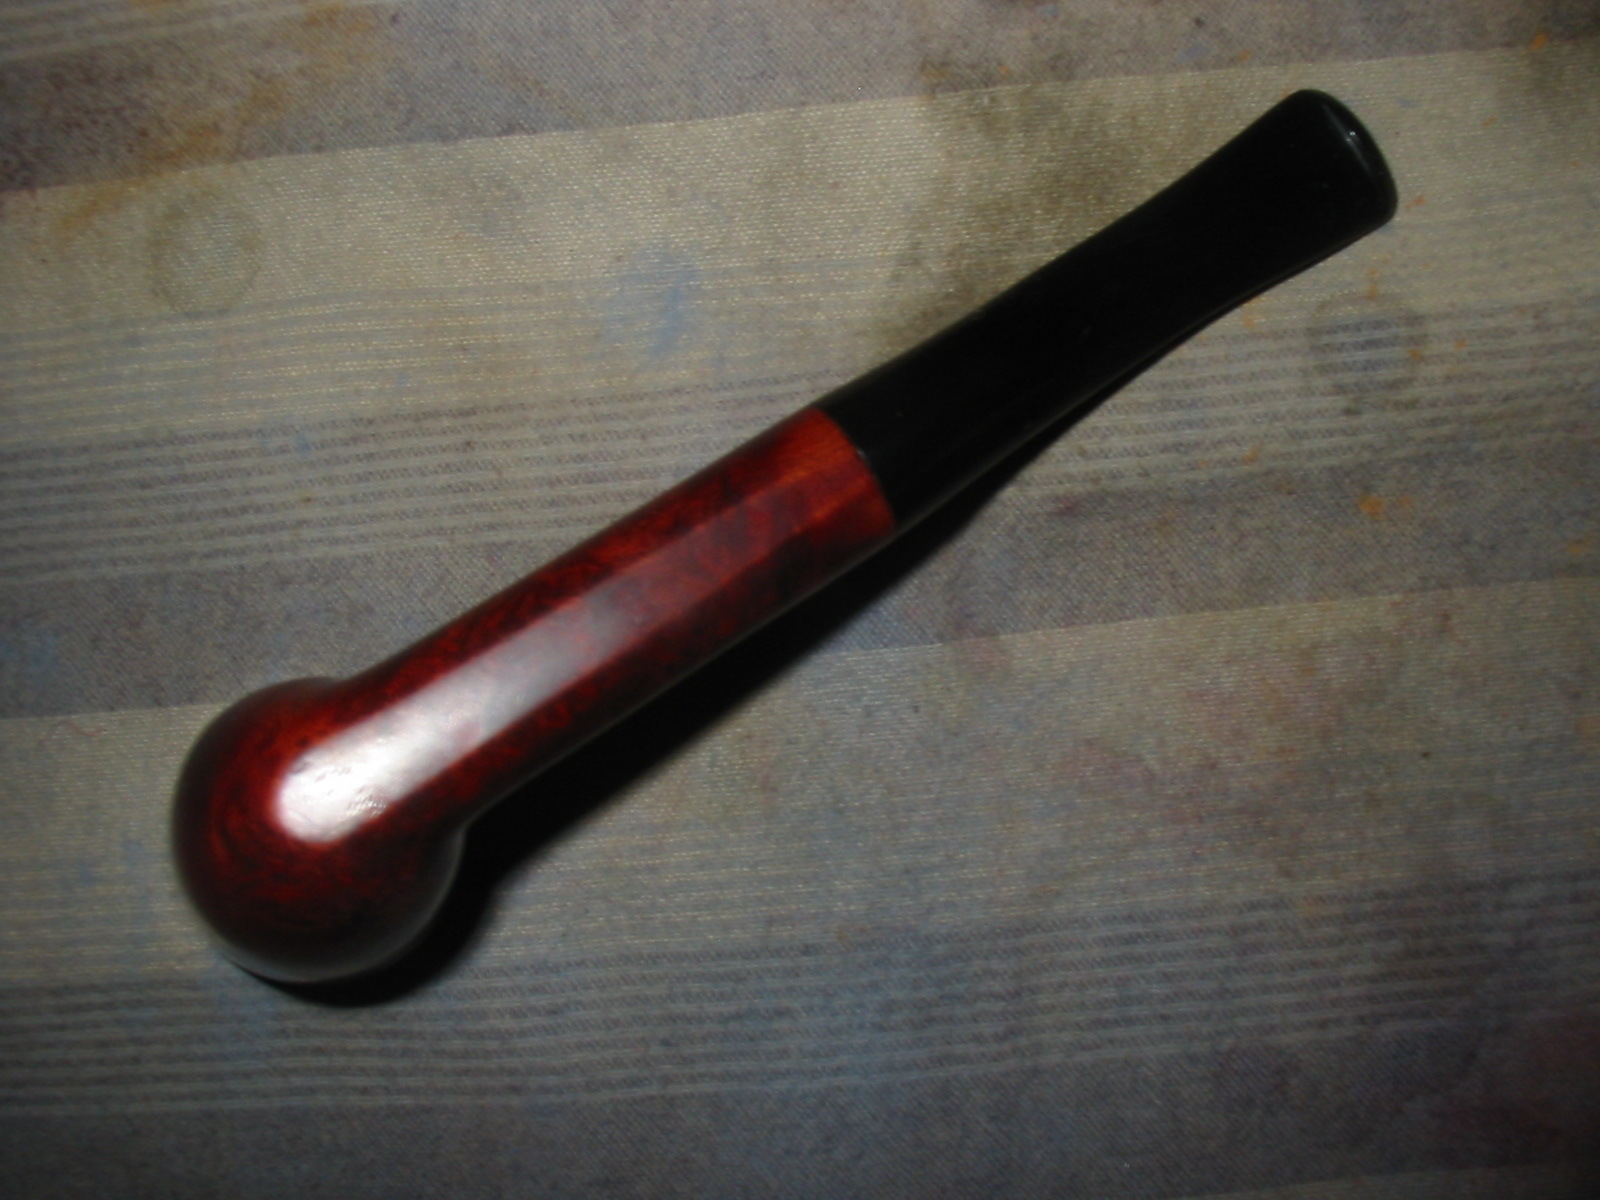
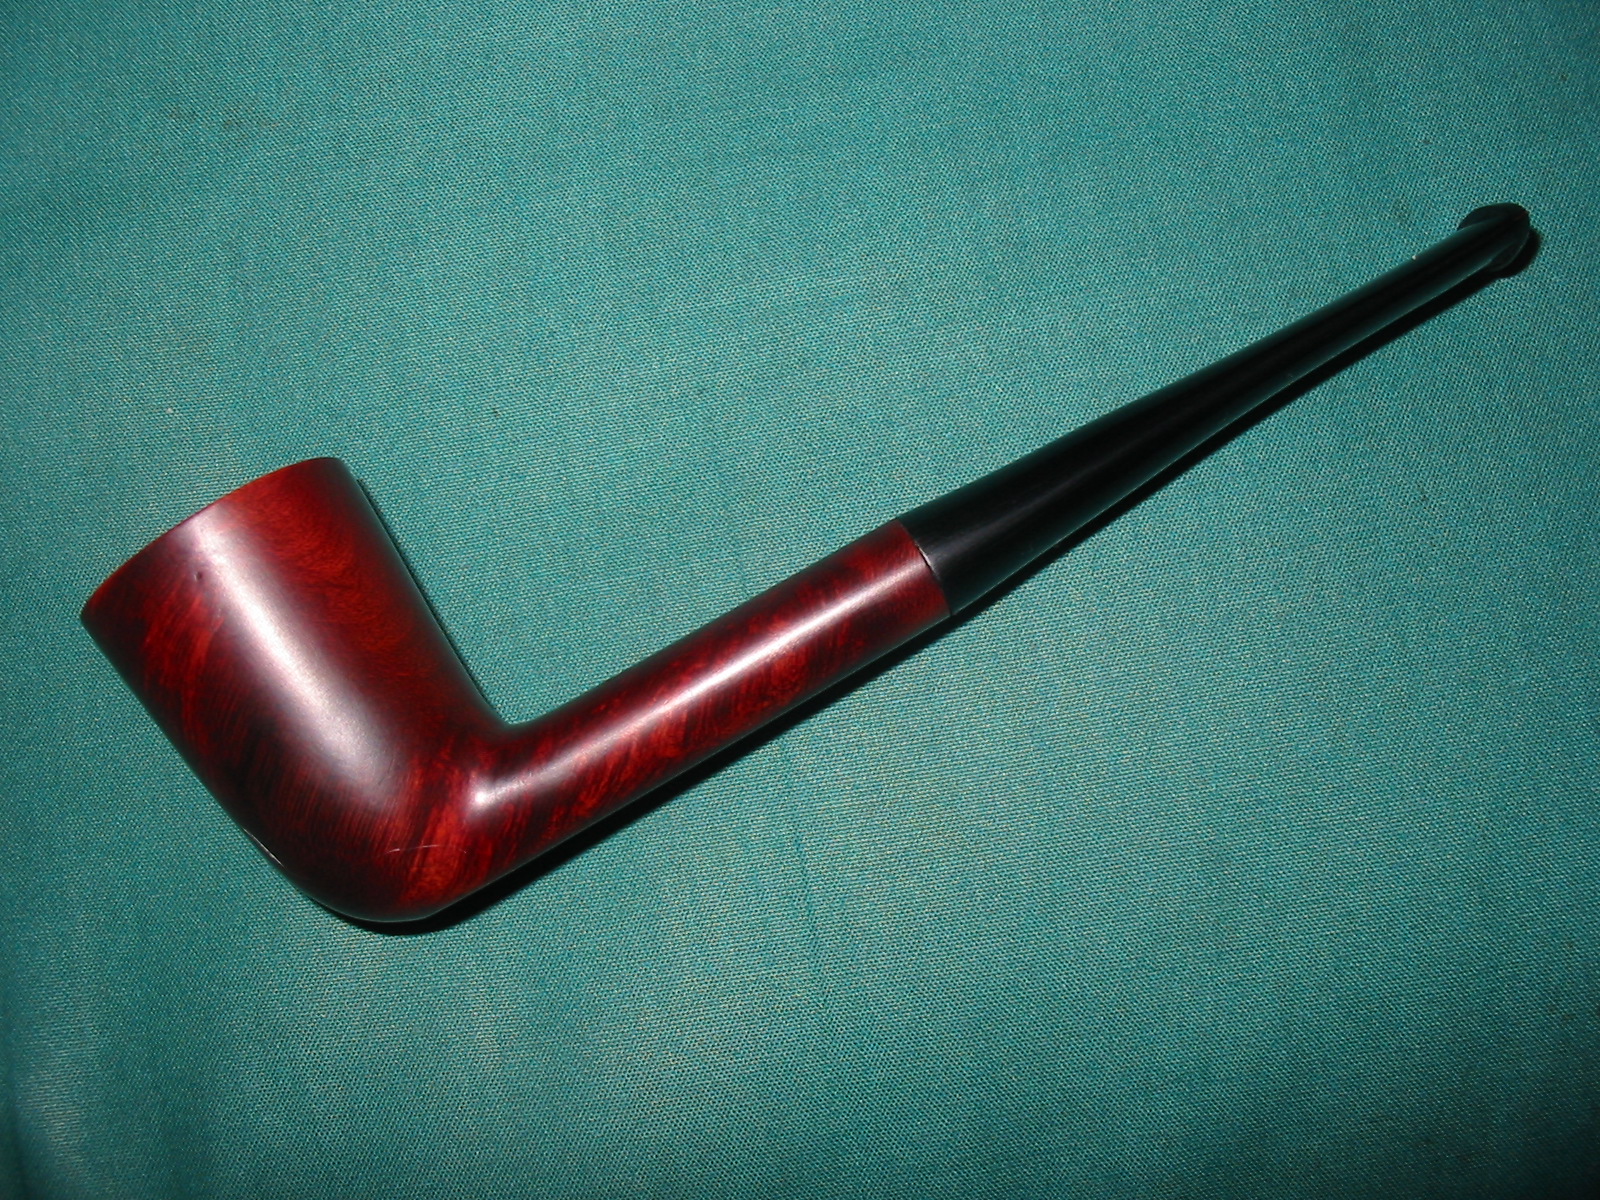
 I polished the nickel band with a silver polishing cloth and then used the higher grits (6000-12,000) of micromesh on it to polish it further. I buffed the pipe and stem with White Diamond and then gave it multiple coats of carnauba wax, buffing with a soft flannel buff between applications of the wax. The finished pipe is shown below. It has been restored with little intrusion into the original shape or finish and is ready for many more years ahead. Thanks Jim for the beautiful little Dublin that you have added to my collection.