Blog by Steve Laug
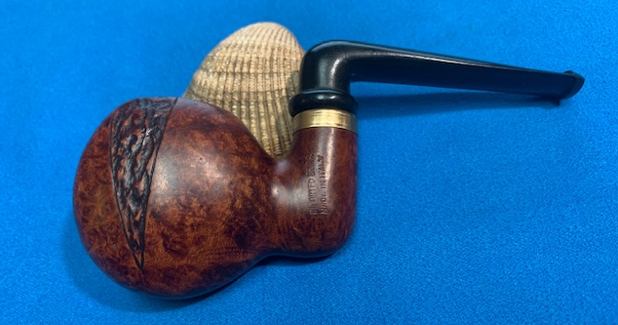
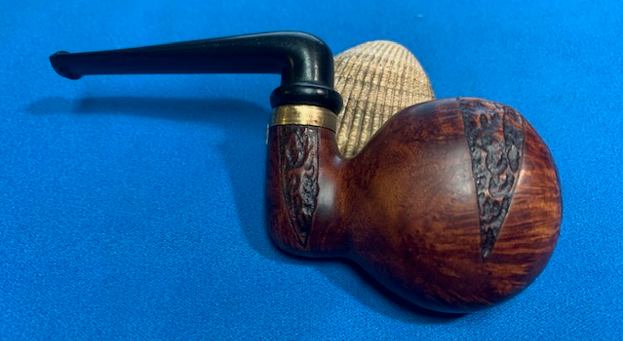
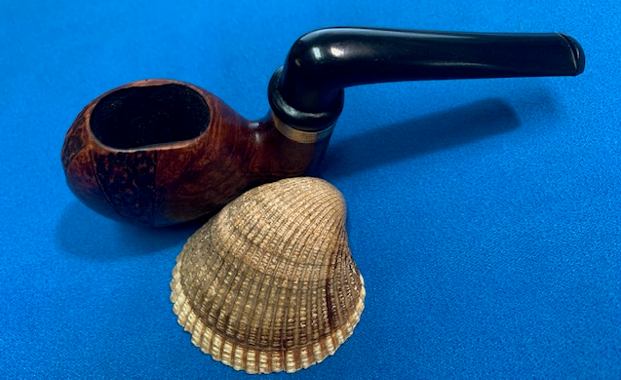
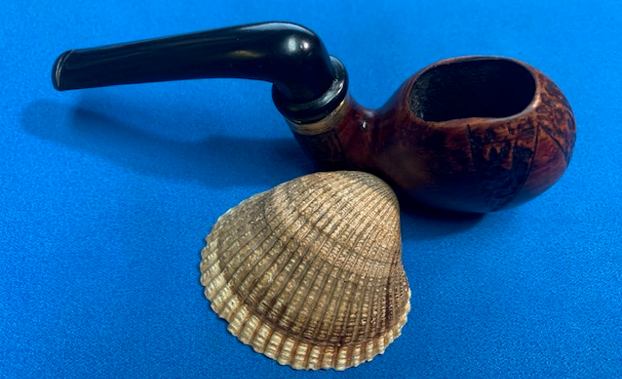
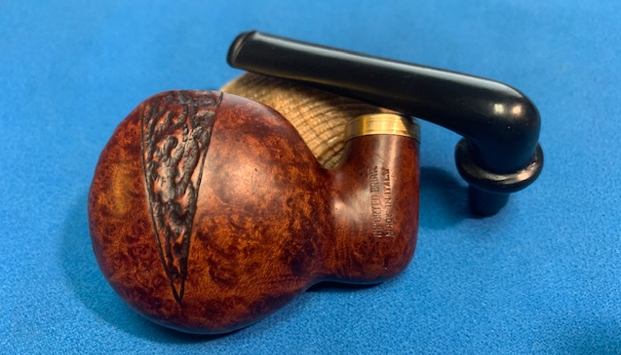
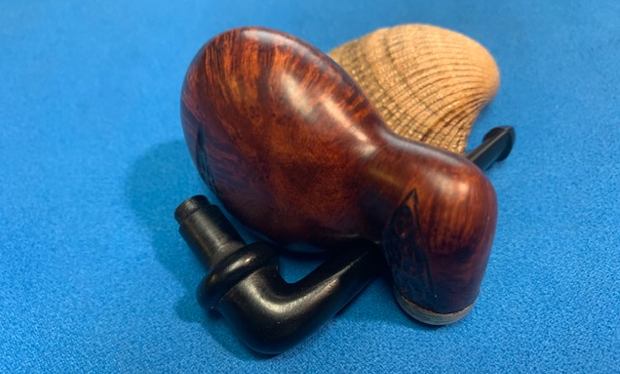
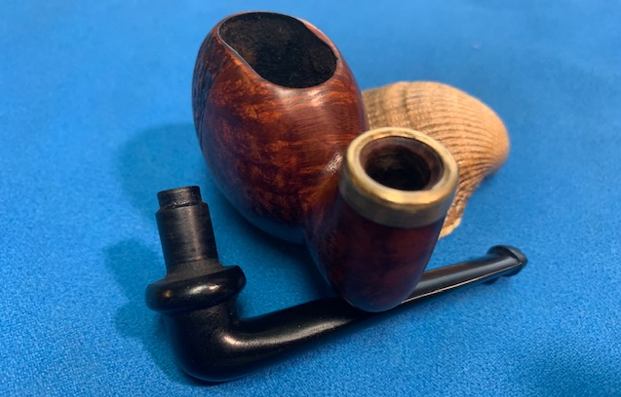
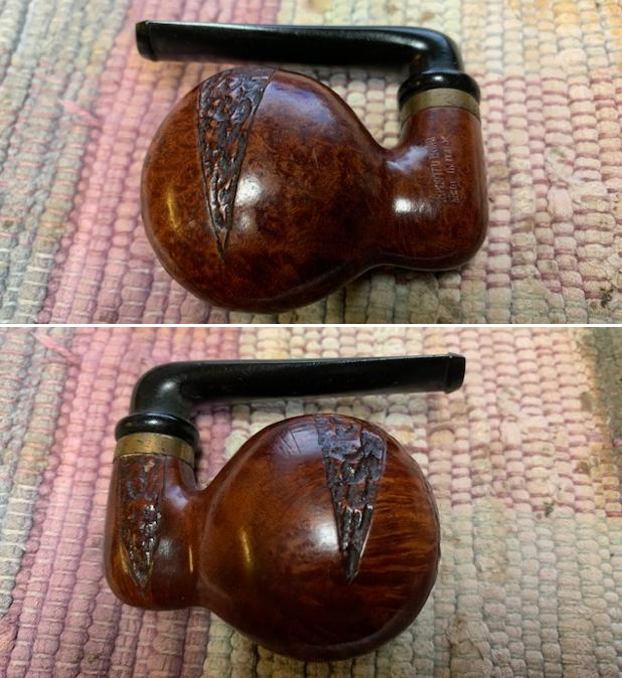
The next pipe on the worktable is another interesting piece of pipe history that comes from the bag of old unsmoked and lightly smoked pipes that I have been working on intermittently. It is a folding Pocket Pipe with an oval bowl. The bowl is lightly smoked. Surprisingly it is in better shape than many of these old timers. The pipe is dirty but there is some amazing grain around the sides and wedges of rustication look good as well .The stem is hard rubber which makes me think is a bit older than some similar pipes with vulcanite stems. It has a push tenon from the same material that is part of the stem. Other than some tooth chatter on the stem surface the stem is in really good shape. 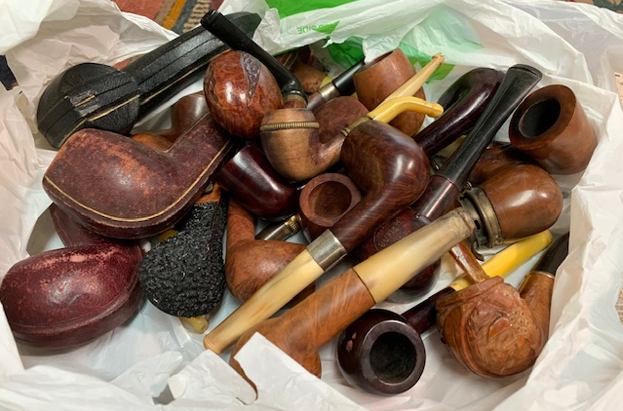 A short description would be that it is an Italian made lightly smoked Folding Pocket Pipe with a hard rubber stem. It is stamped on the left side of the shank and reads Imported Briar [over] Made in Italy. I would guess that the pipe was made by Savinelli as I have seen several very similar pipes shaped like this one made by them. The rim top was dirty and the inner edge had some lava. The exterior of the bowl was dirty and dusty and band was oxidized. Grain stood out in the smooth portions around the bowl sides and bottom and the interesting rustication wedges worked well. There was tooth chatter on both sides of the stem ahead of the button but nothing deep. I took some photos of this interesting Pocket Pipe extended and folded to show the condition when we received it. It was dusty, dirty and had some grime worked into the surface of the briar from being shuffled around a lot since it was made.
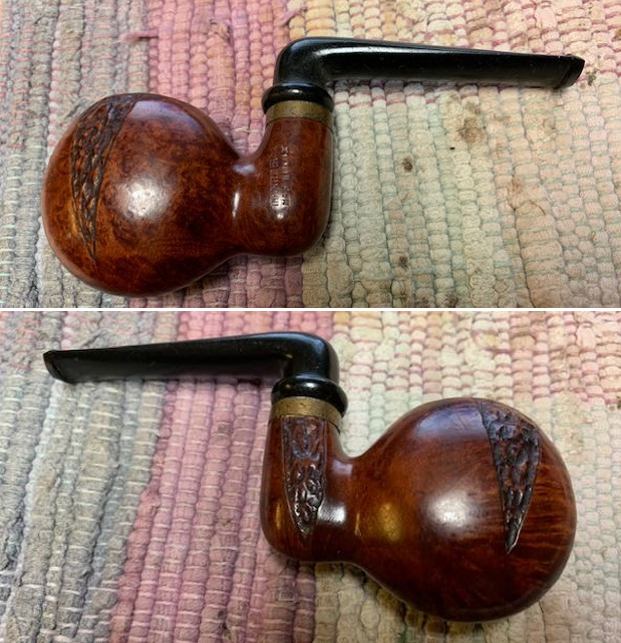
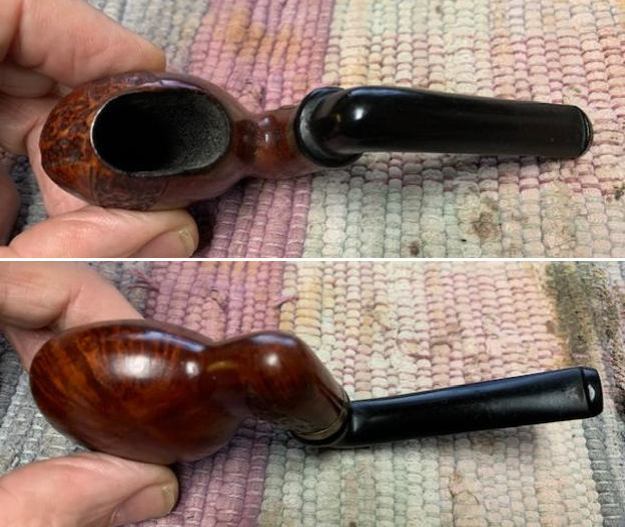
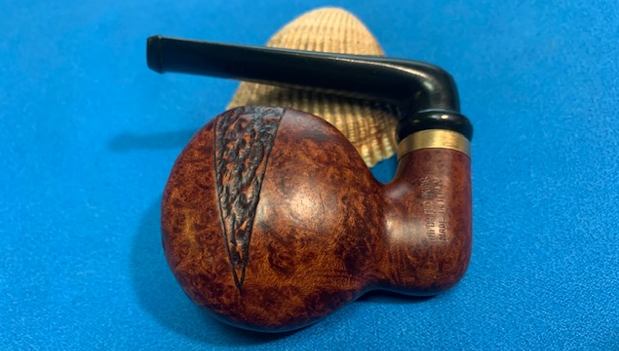
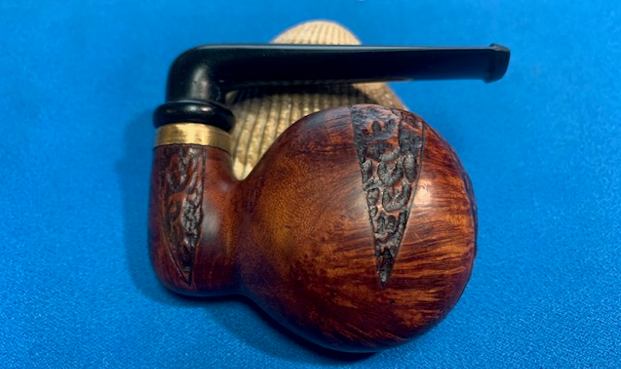
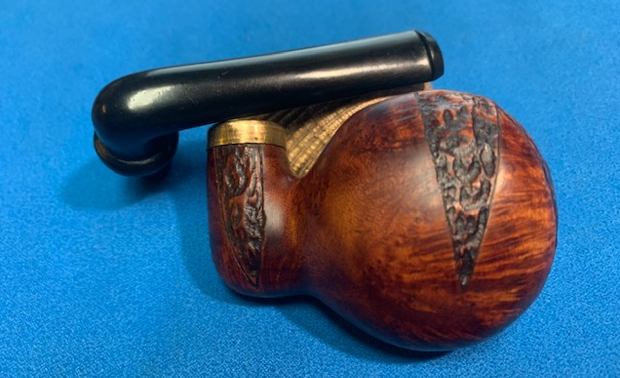
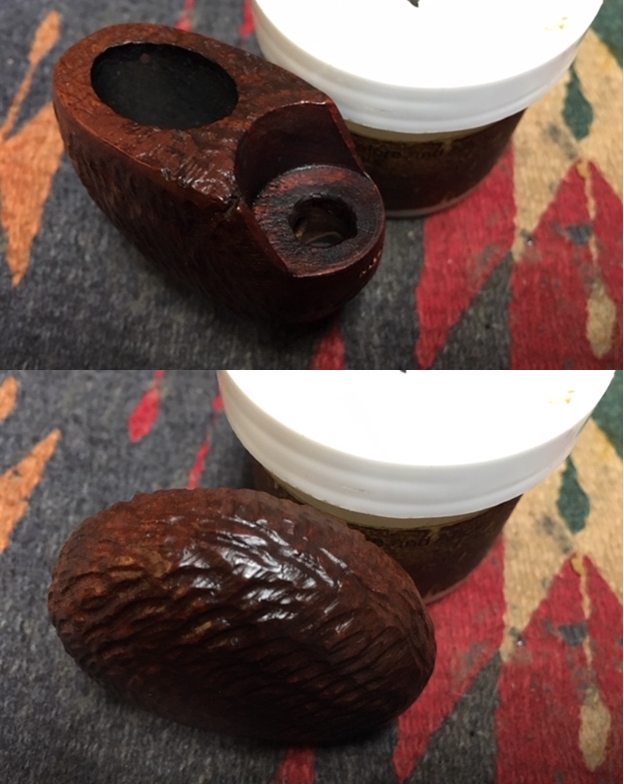
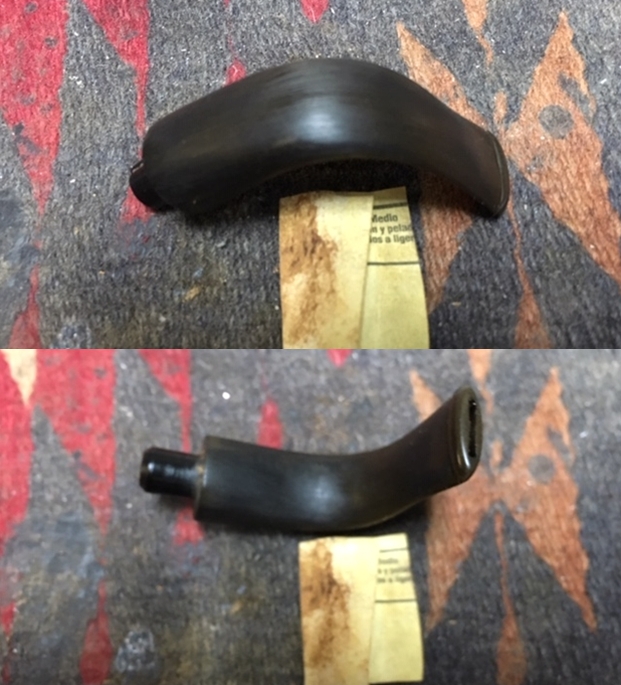
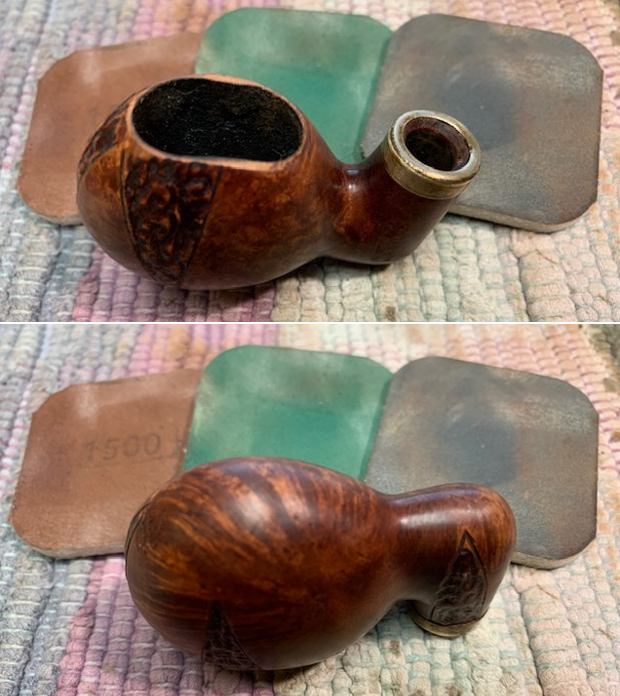
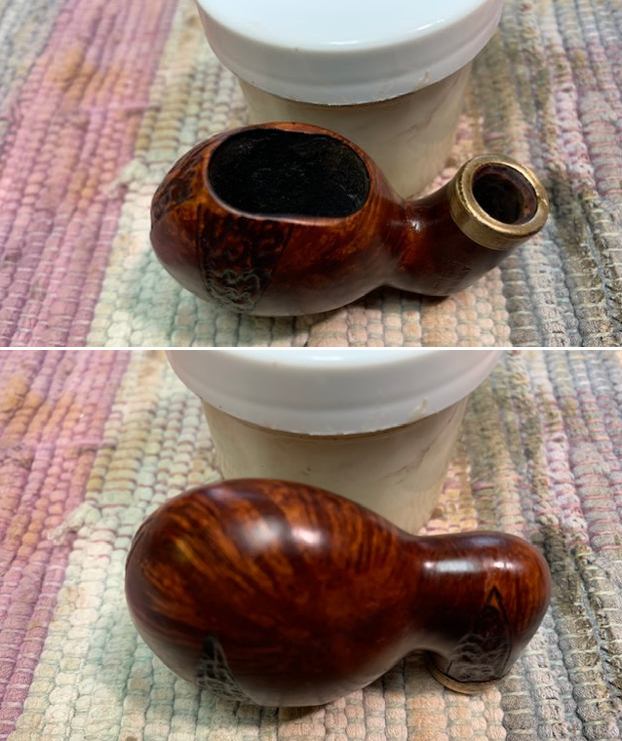
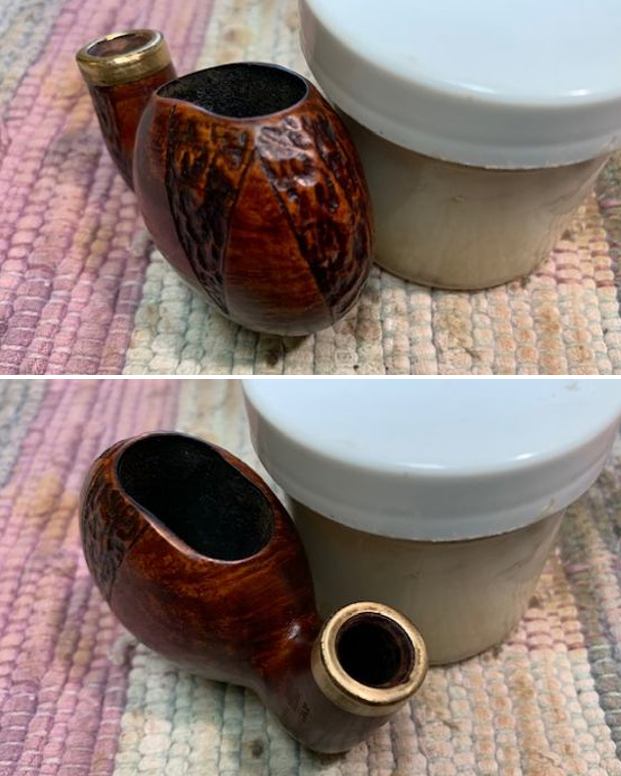
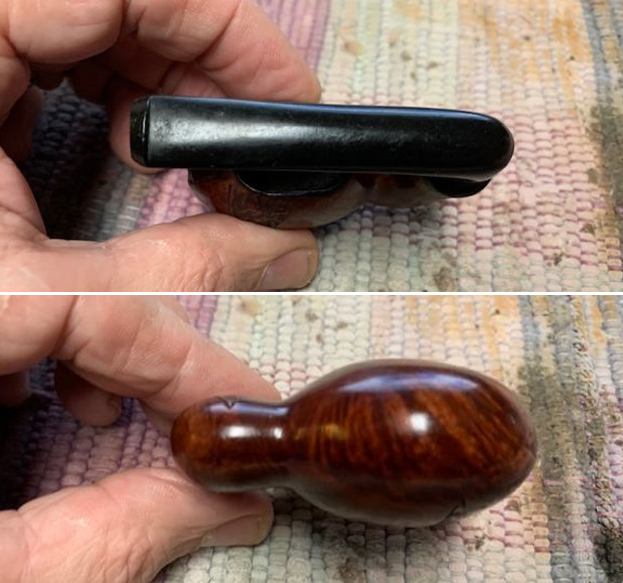 I took close up photos of the bowl and rim top and the stem to show their condition. You can see the thin cake on the bowl sides and the thin lava on the rim top. The stem looks good with light chatter and tooth marks on both sides.
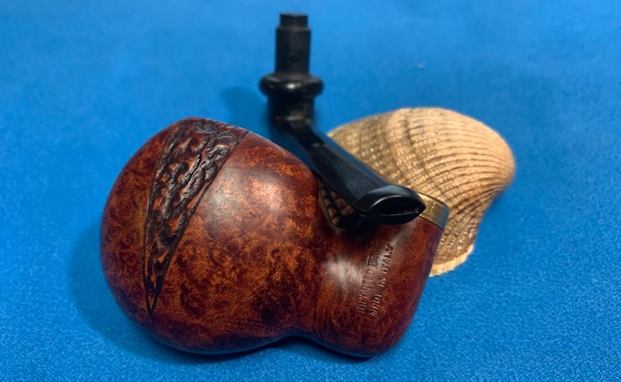
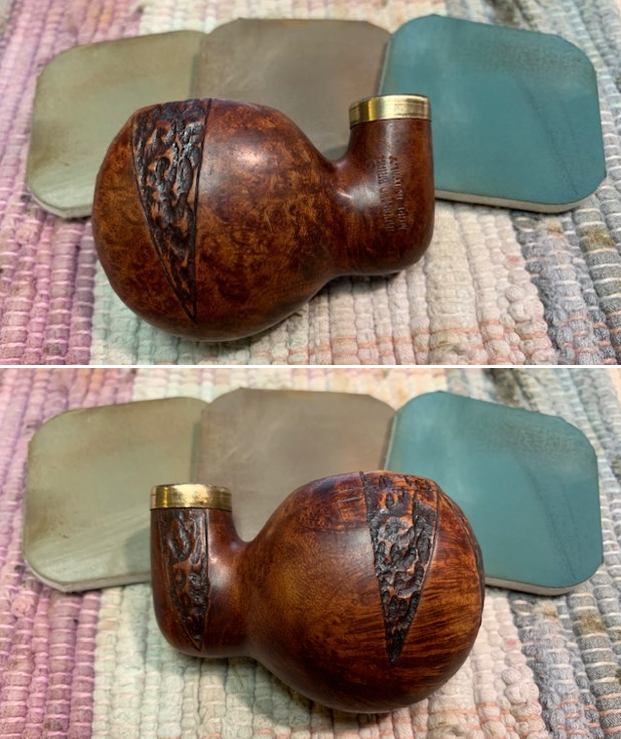
 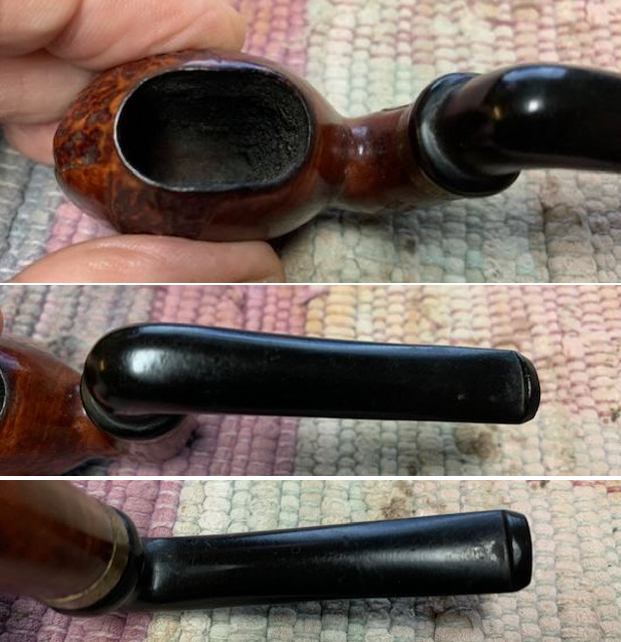 I took a photo of the stamping on the left side of the shank. You can see that it is somewhat faint but still readable.
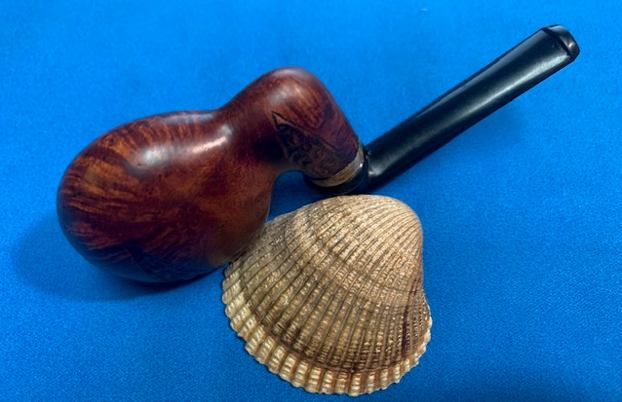
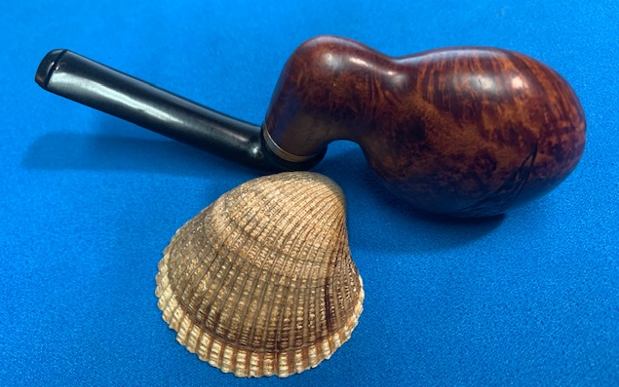
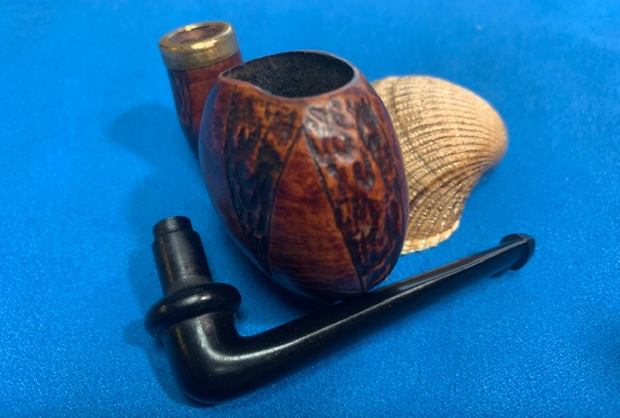
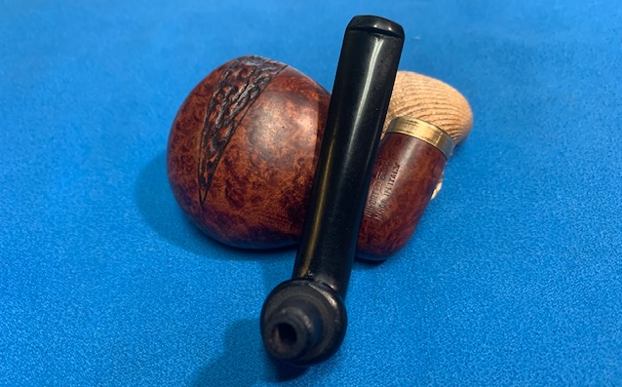
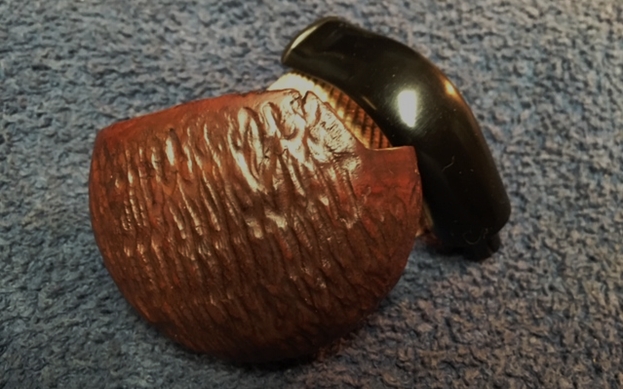
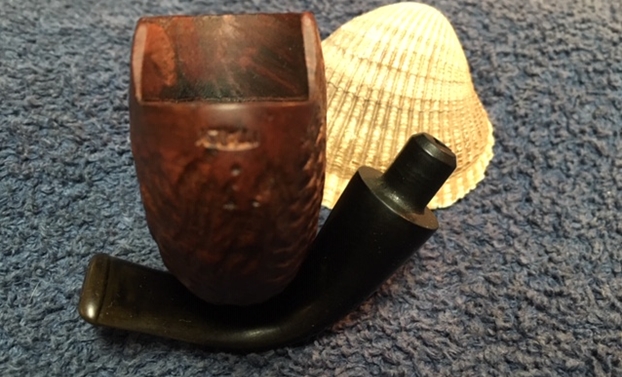
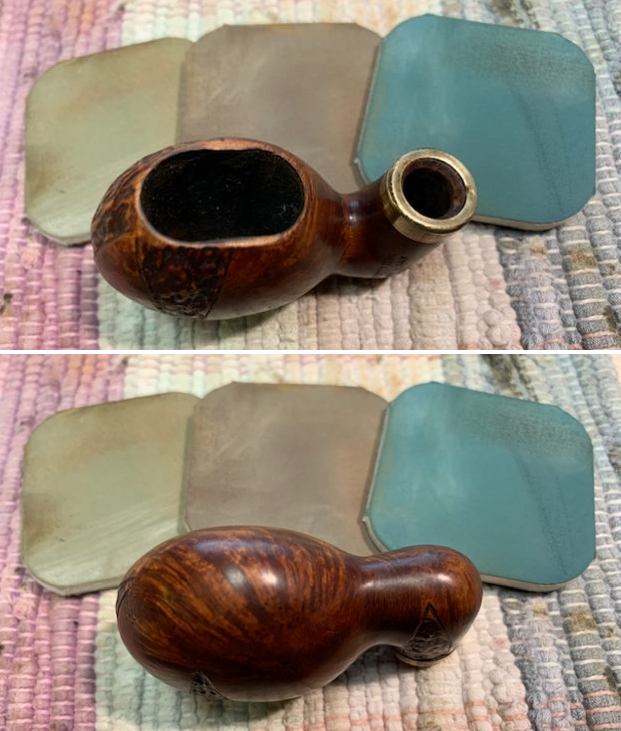
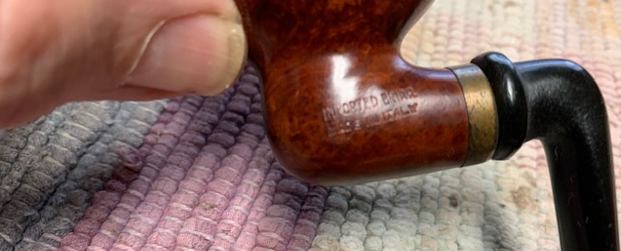 I removed the stem from the shank and took a photo of the parts to give a sense of the beautiful proportions of this nice little pipe. It is going to take a little work but I think it will be quite stunning once it is restored.
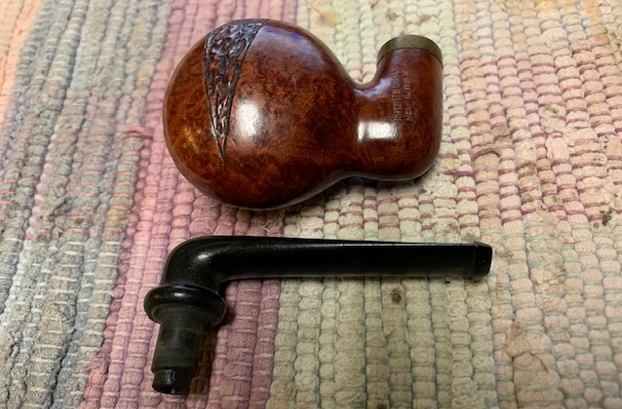 I reamed the bowl with a Savinelli Fitsall Pipe Knife to deal with the oval shape of the chamber. I scraped out the thin and uneven cake until the walls were clear. They looked very good. There was no heat damage or checking present.
 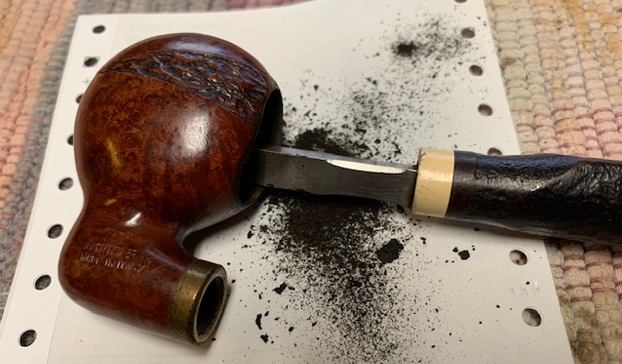 I cleaned out the mortise and the airway in the shank and stem with pipe cleaners, cotton swabs and isopropyl alcohol. The stem was an interesting challenge due to the right angle bend but it is now clean.
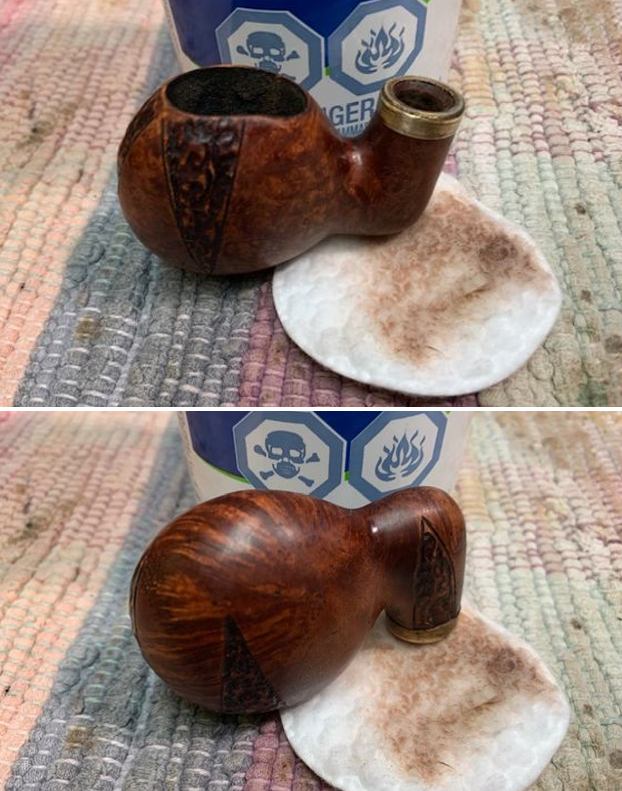
 I scrubbed off the shiny varnish coat on the bowl and shank with alcohol and a cotton pad. It came off quite easily and the grain really stood out. It is a nice piece of briar.
 I polished the briar with micromesh sanding pads – dry sanding with 1500-12000 grit pads. I wiped the bowl down after each pad to check and make sure there was progress. By the end the there was a rich shine to the bowl.
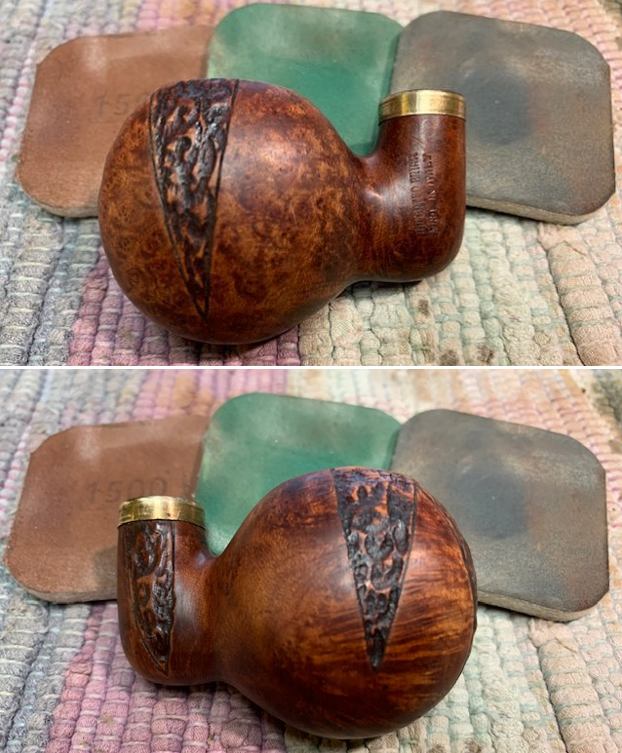
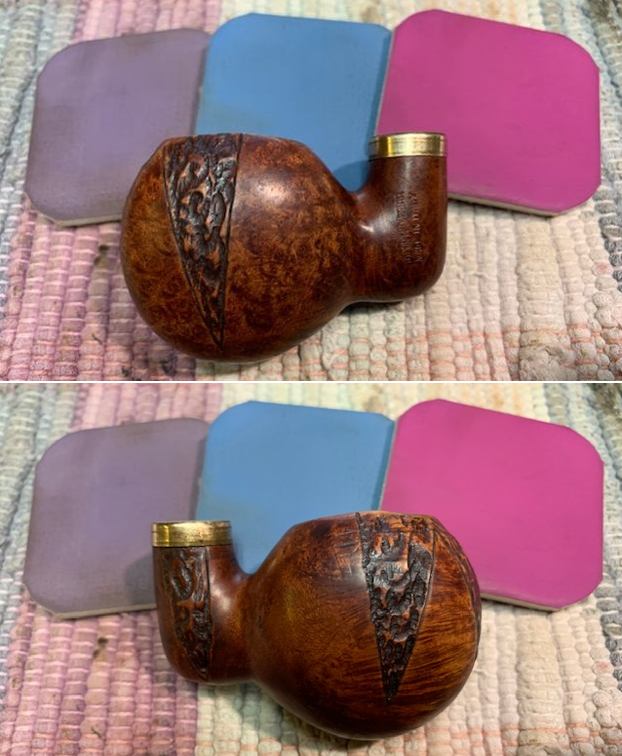
 I rubbed the bowl and shank down with Before & After Restoration Balm. I worked it into the surface of the bowl sides and shank with my fingertips to clean, enliven and protect the briar. I let the balm sit for 10 minutes, then buffed with a cotton cloth to raise the shine. The Balm did its magic and my colours worked well.
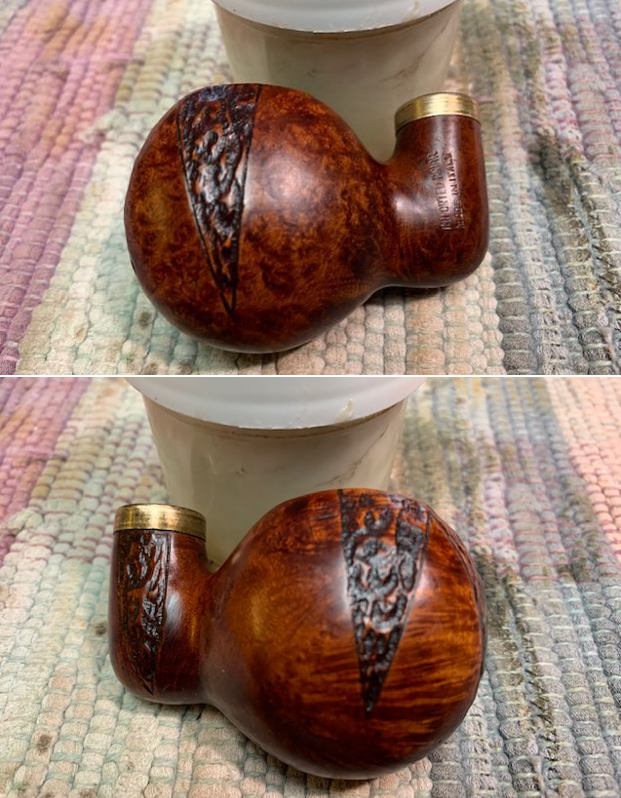
 I set the bowl aside and addressed the tooth chatter in the hard rubber stem. I sanded it out with 220 grit sandpaper and started the polishing with 400 grit wet dry sandpaper.
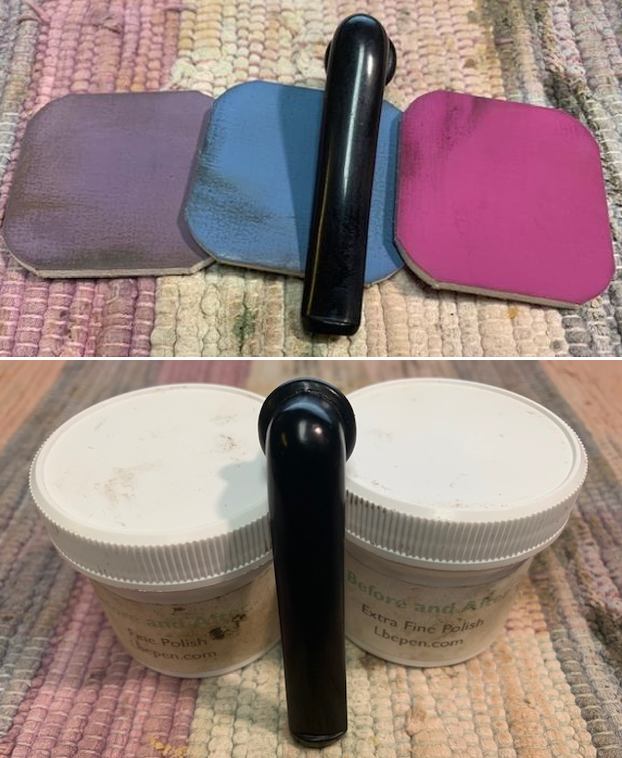
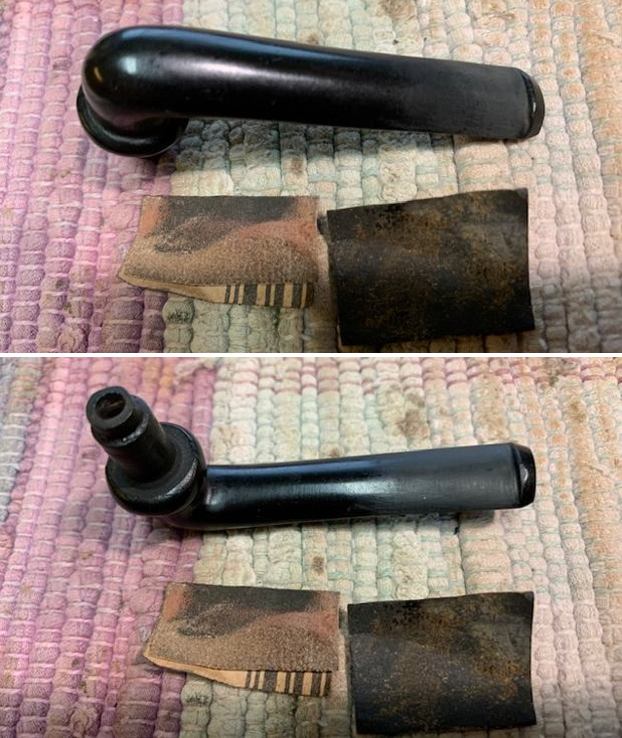 I polished out the scratches in the surface of the stem with micromesh sanding pads – 1500-12000 grit pads. I was able to remove the tooth chatter on both sides. I wiped it down with Obsidian Oil after each pad. I used Before & After Pipe Polish – both Fine and Extra Fine to further polish the stem. I gave it a final coat of Obsidian Oil and set it aside to cure.
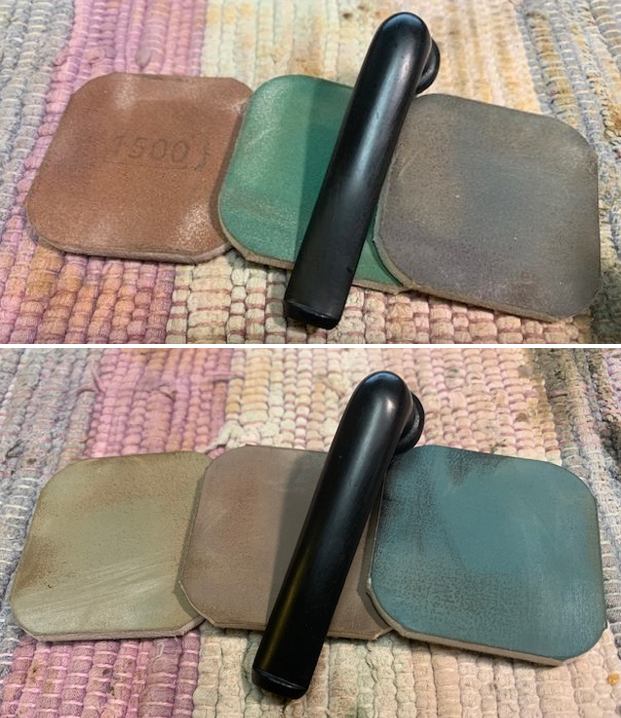
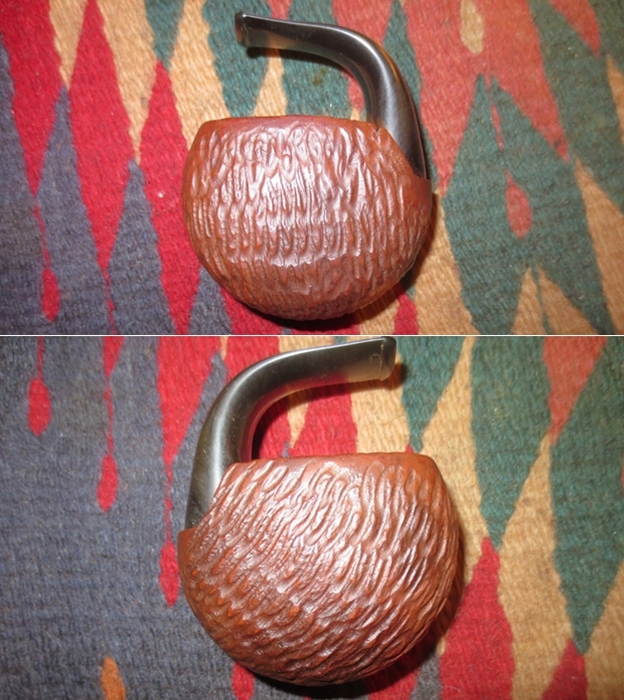
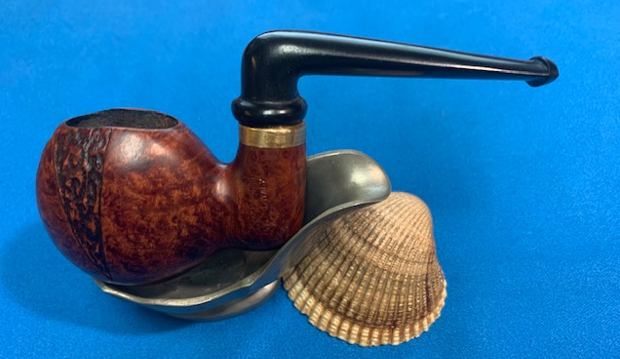
 This interesting Italian Made Folding Pocket Pipe was fun to work on. I love the final touches that make it sing. I put the bowl and stem back together to have a look at the whole with the newly fit band on the shank. I carefully buffed the bowl and stem with Blue Diamond on the wheel. I gave it several coats of carnauba wax and buffed the pipe with a clean buffing pad to raise the shine. I hand buffed it with a microfiber cloth to deepen the shine. It is fun to see what the polished bowl looks like with the polished shank band and the black, hard rubber stem. This richly finished Pocket Pipe is light weight and it is clean and ready load up with a favourite tobacco. Have a look at it in the photos below. When extended its measurements are Length: 4 ½ inches, Height: 1 ¾ inches, Outside diameter of the bowl: 1 inch x 1 ¼ inches, Diameter of the chamber: ½ inch x 1 inch. The folded measurements are Length: 3 inches, Height: 2 ¼ inches, Diameter of the outside and the chamber remain the same. The weight of the pipe is 33 grams/1.13 oz. I will be putting it on the rebornpipes store in the Italian Pipe Makers section if you wish to add it to your collection. Thanks to each of you who are reading this blog. Remember we are not pipe owners; we are pipemen and women who hold our pipes in trust until they pass on into the trust of the next generation.