By Steve Laug
The next pipe on the work table is a bit of a break for me after working on the last four heavily damaged pipes. That lot of pipes was a lot of work and I still have one hard one to work on. Sometimes I need to take a deep breath and work on something else for a bit. If you have followed rebornpipes for a while you will recognize that we love old House of Robertson pipes. They were made in Boise, Idaho by Thayne Robertson and something about them always intrigues me. Perhaps it is because I spent a lot of my early youth in Idaho and the thought of a pipe made in Idaho catches my attention. I am not sure why but I know that when we see them for sale we always look and often we pick them up.
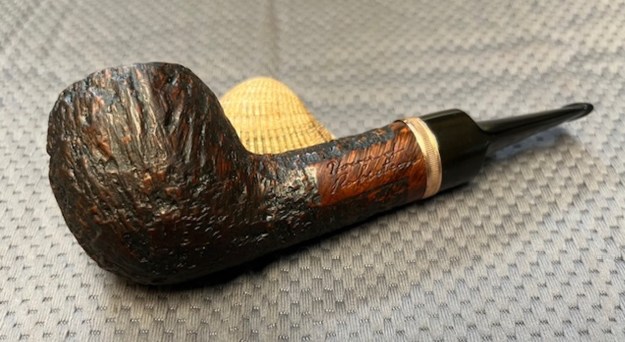
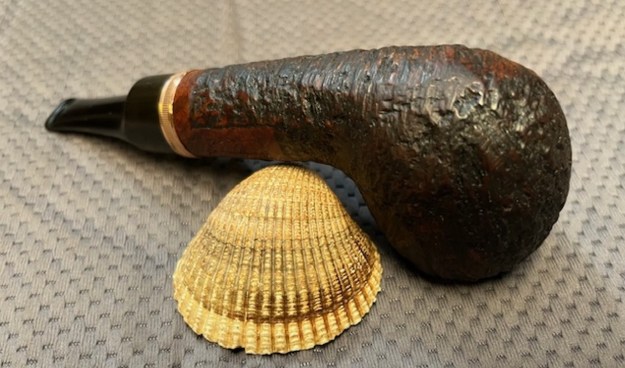
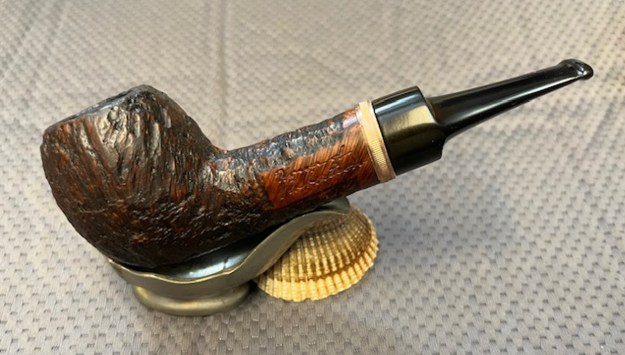
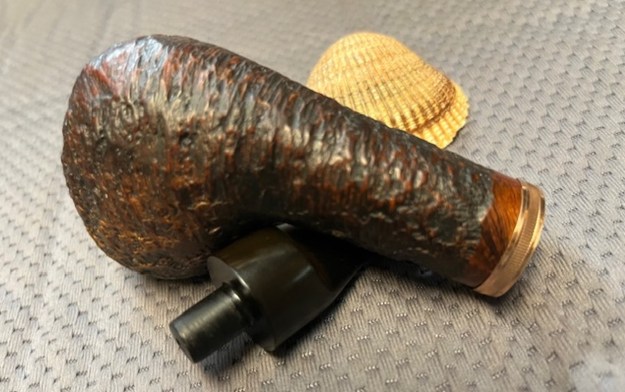
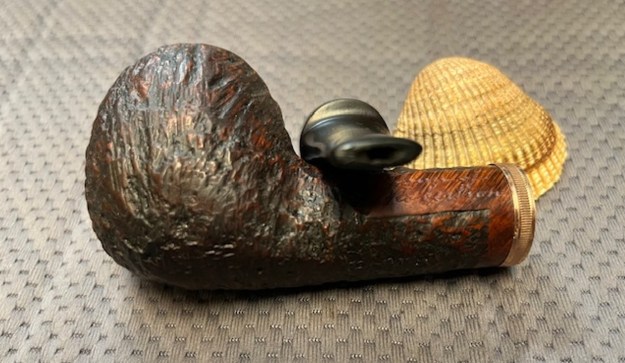
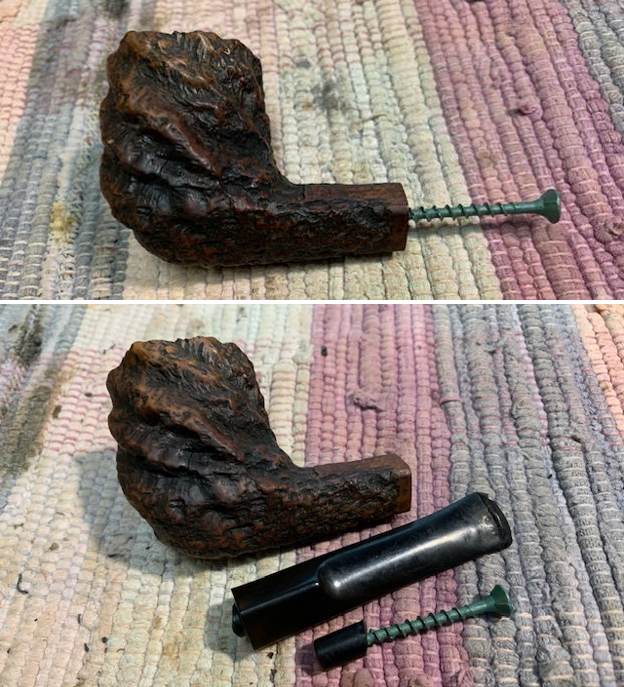
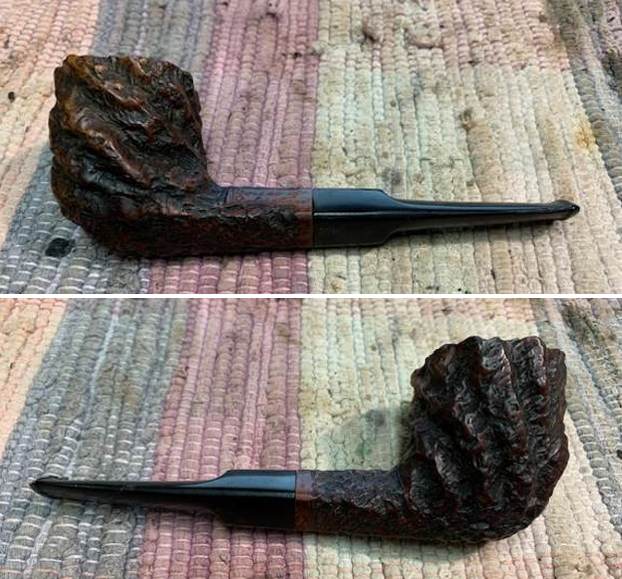
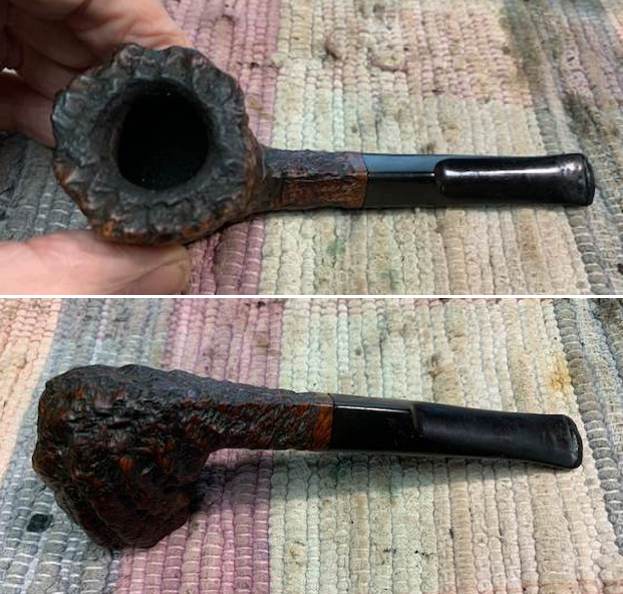
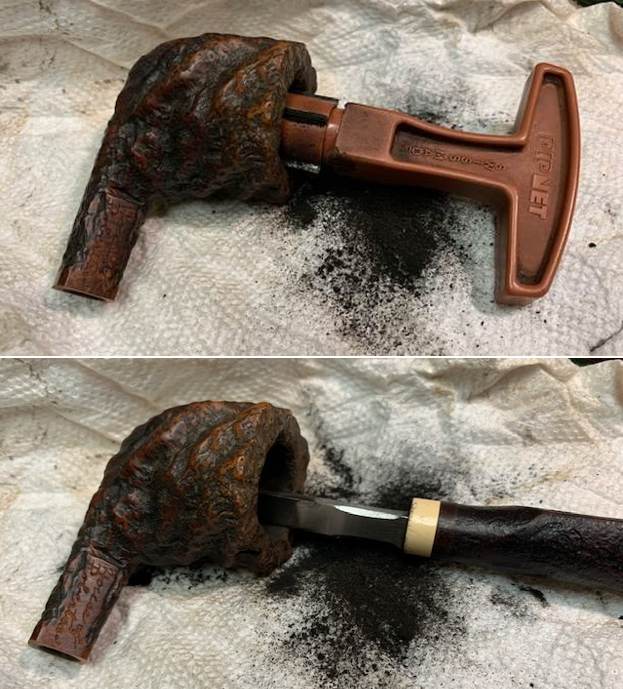
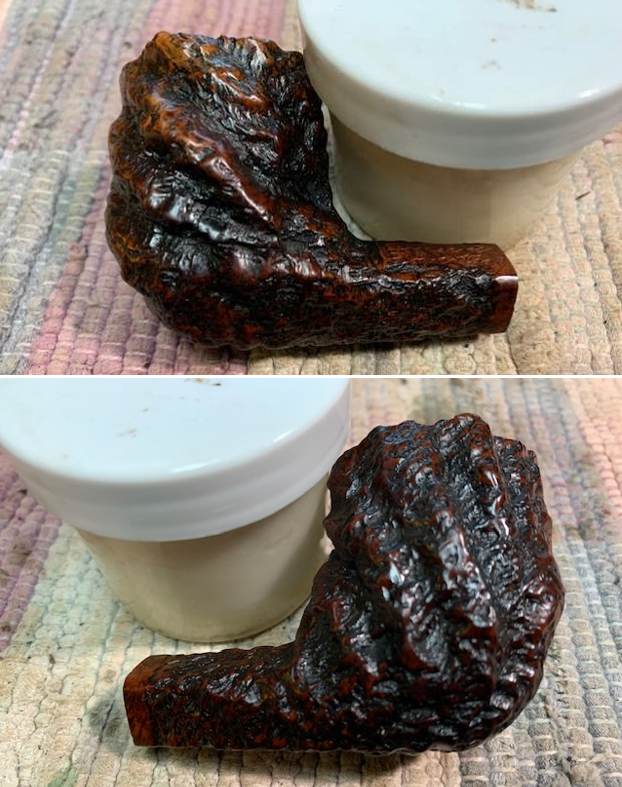
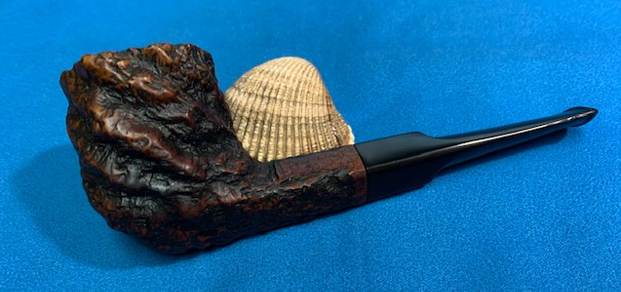
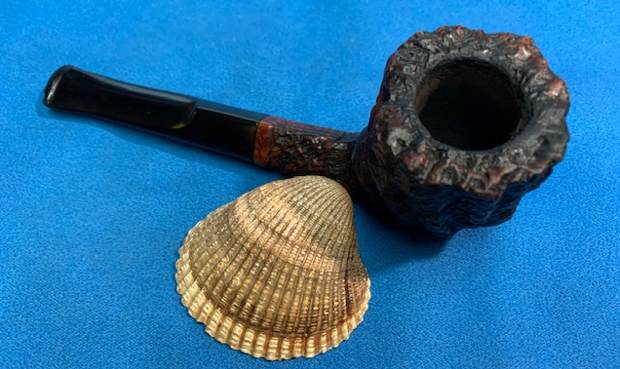
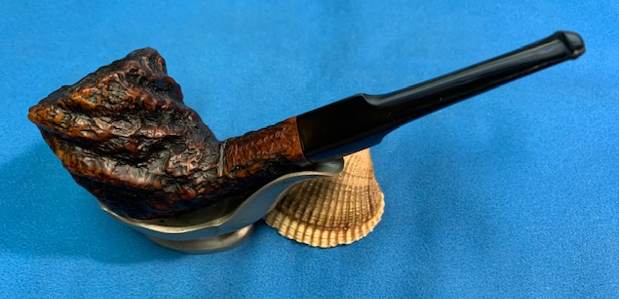
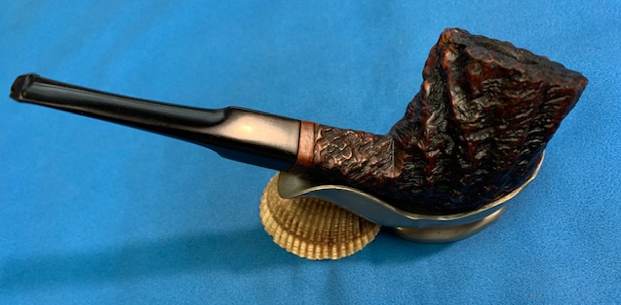
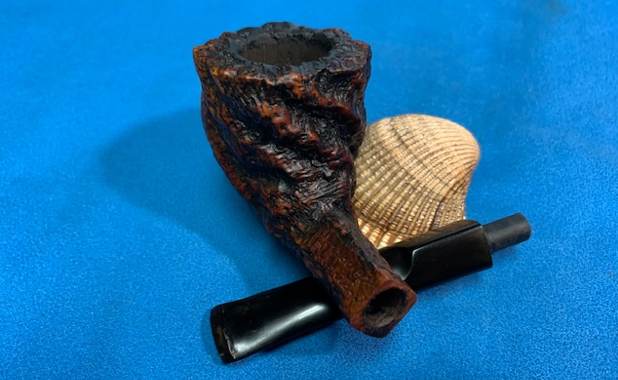
The Robertson that one I have chosen to work on is a beautiful chunky rusticated Apple with a saddle stem. We purchase it on 05/20/24 from a seller in Austin, Texas, USA. The name House of Robertson is roughly hand-etched on the left side of the shank with an engraving tool. This pipe is a huge, thick shank Apple with a saddle stem. The bowl has an interesting bark like rustication on the sides of the bowl and shank. There is a smooth panel for the brand mark on the left side and a band around the shank end. The seller had done a lot of clean up work on the pipe before he sold it. This often makes me leery of purchasing it as it generally inflates the price and rarely meets our standard. The bowl had been reamed but there was still too much cake in it for my liking as I want to know what is underneath. It is important for me to see the bowl walls and check for heat and burn damage. The rim top and edges of the rim were in good condition. The pipe was quite clean and it appears to be in excellent condition. It is definitely an interesting pipe that caught my interest. The fit of the stem to the shank left a gap. The saddle stem had been modified by the seller. The original button had been cut off and a new one imposed on the stem end. It was rough but workable and would take some time to clean and smooth out. I took photos of the pipe while I visited Jeff. Before I started my work on it I have included them below for you to see. 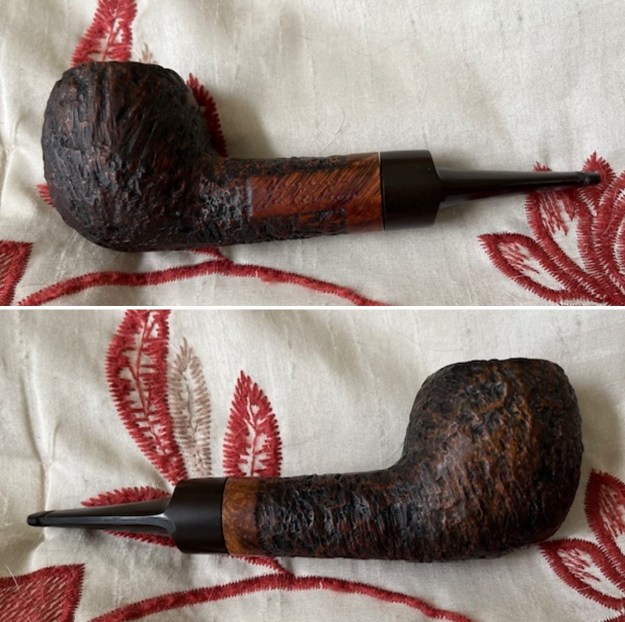
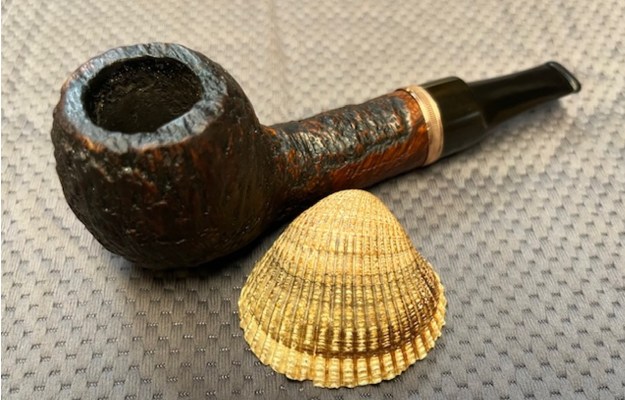
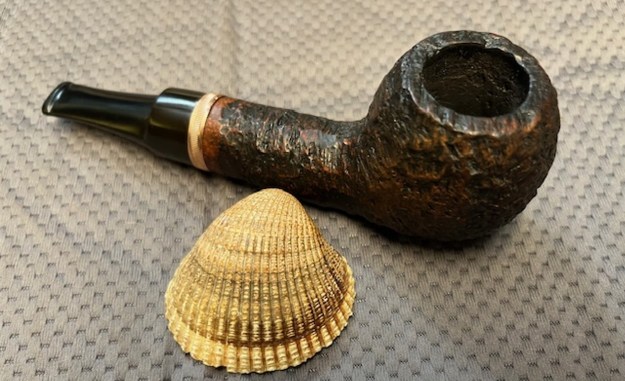
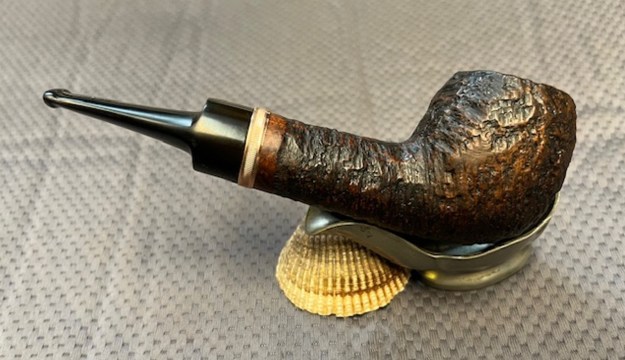
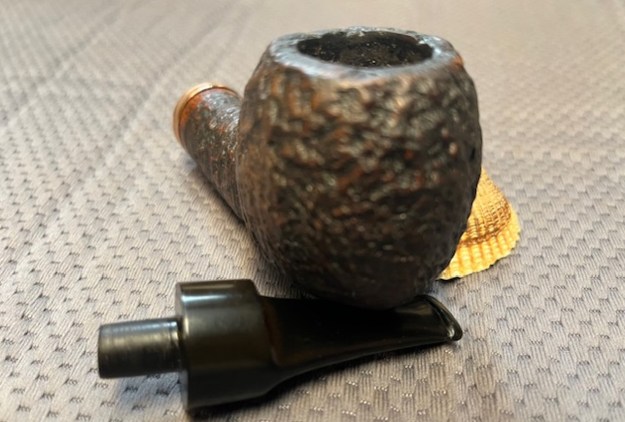
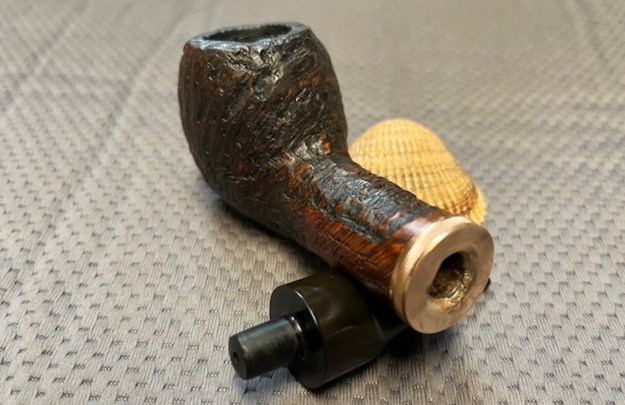
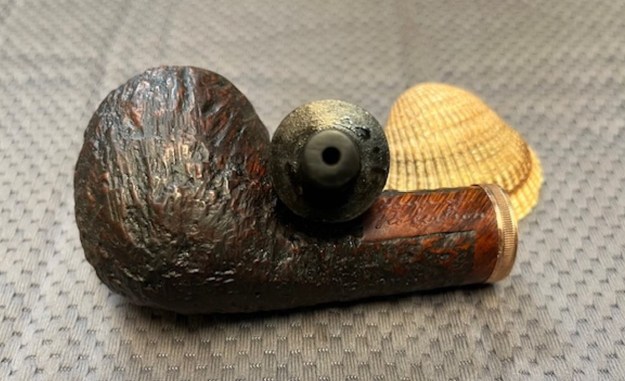
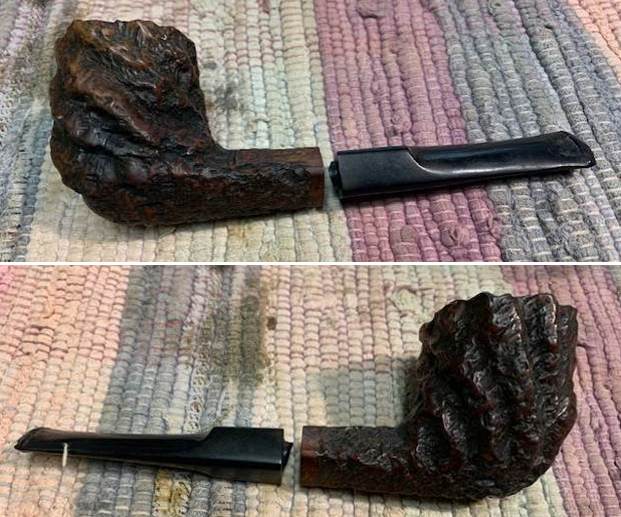
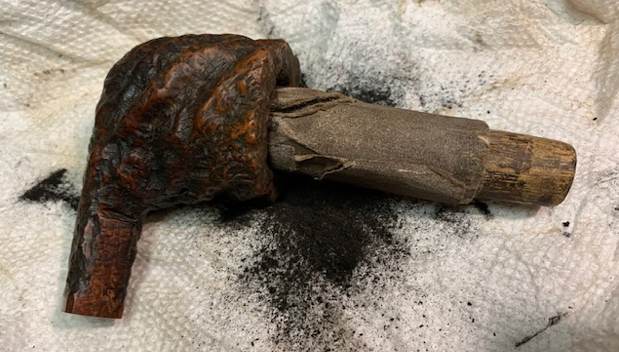
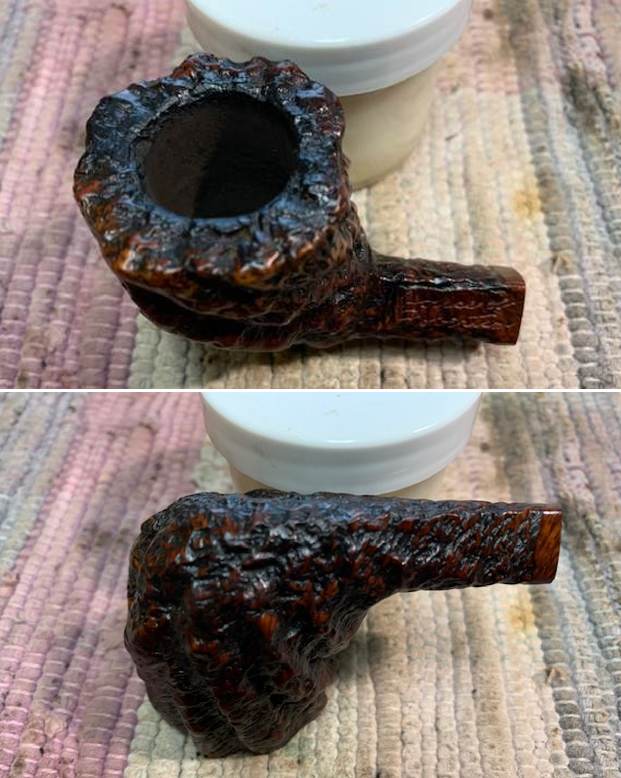
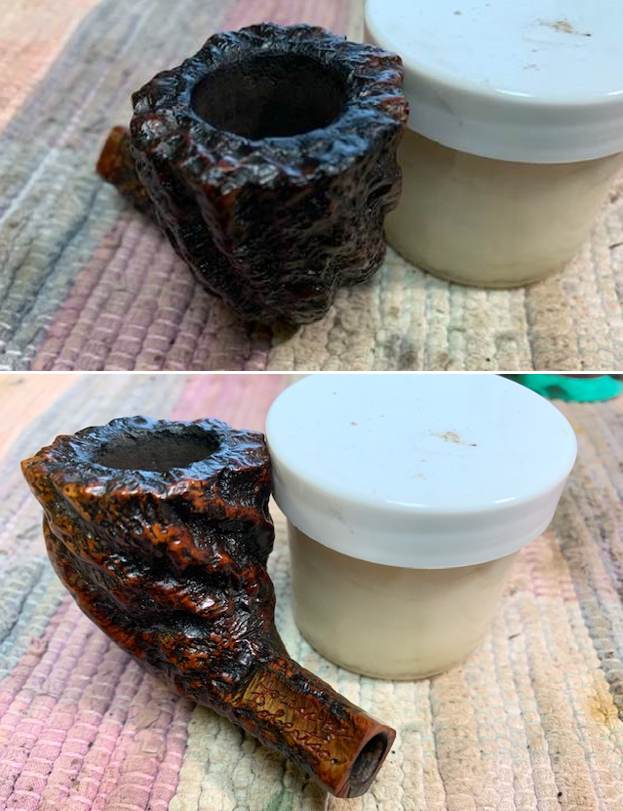
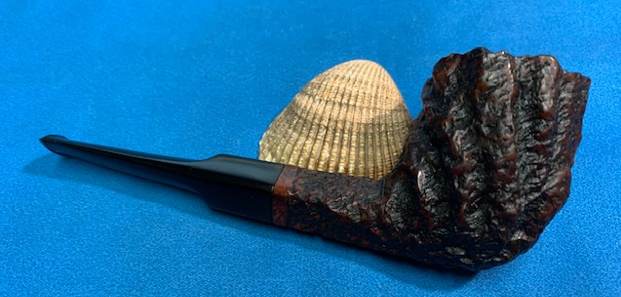
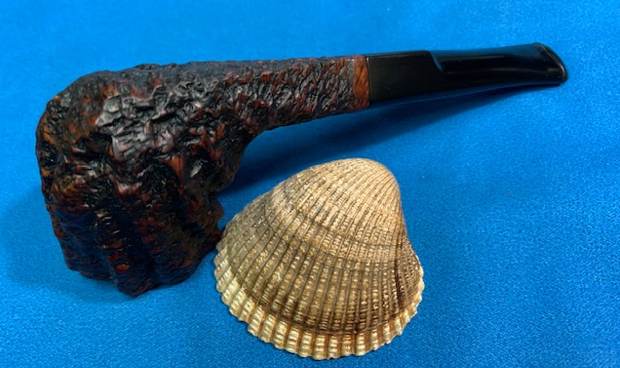
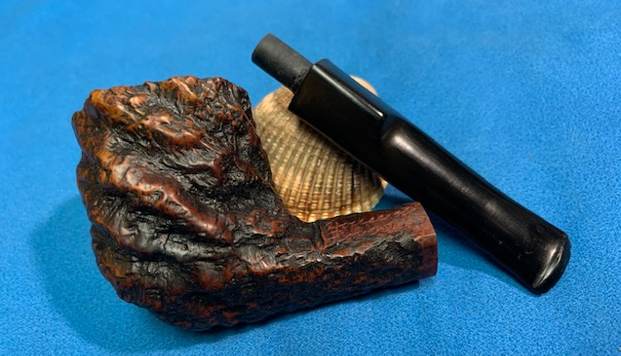
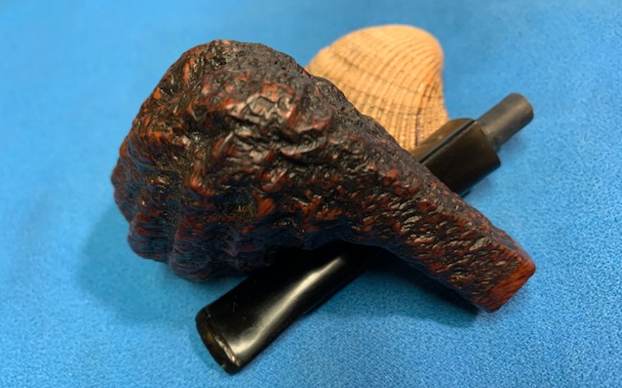
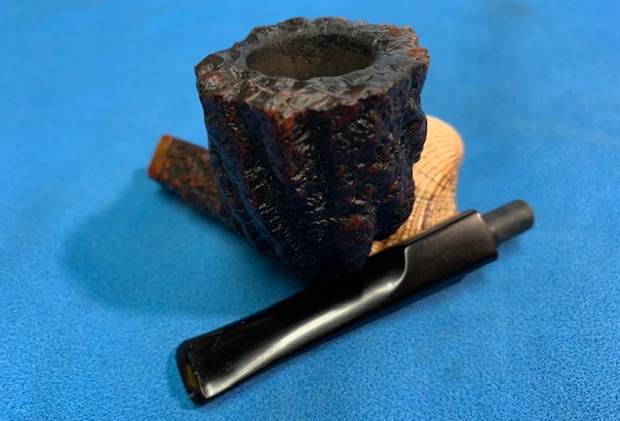
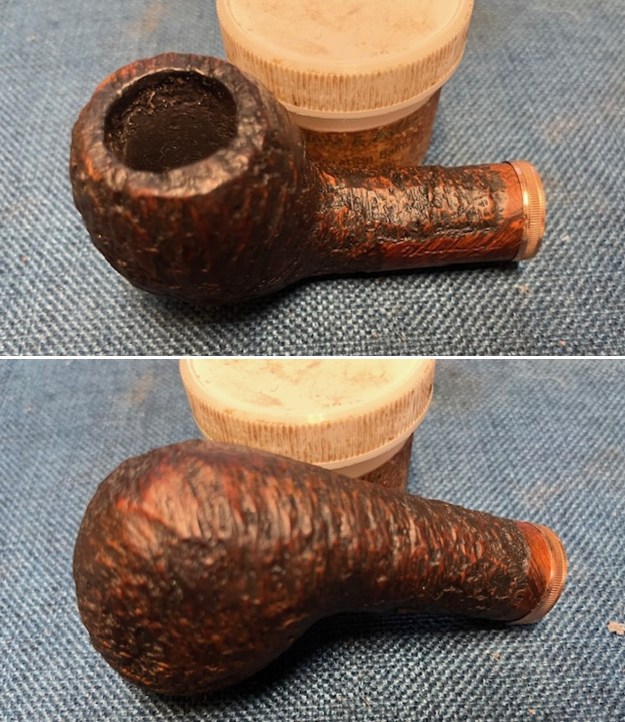
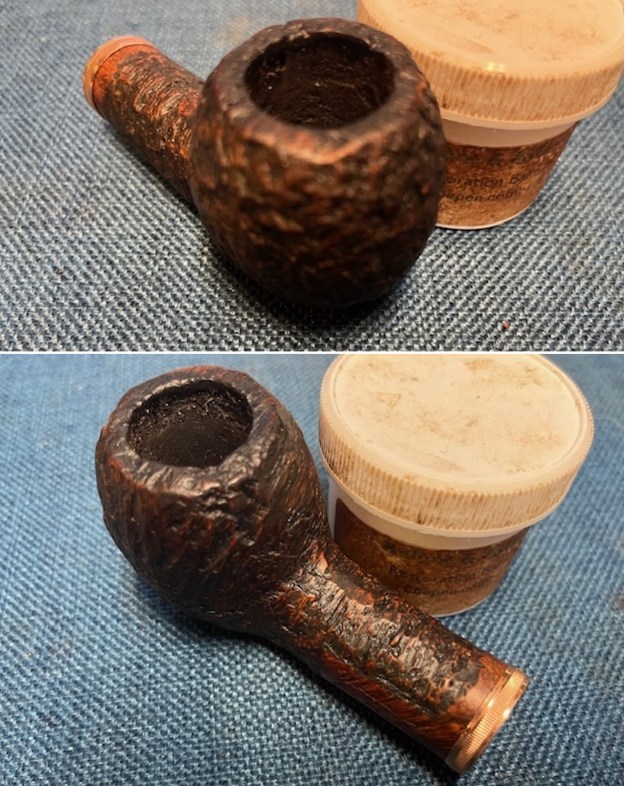
 I took photos show the condition of the bowl and the stem. The photos of the bowl and rim show the moderated cake remaining in the bowl but the rim top was in excellent condition. The rustication on the top of the bowl and the inner and outer edge of the rim looks really good. The finish was well cleaned. The saddle stem had been recut and a new button formed. It was rough at best and needed a bit of work to make it work for me. The button edge was sharp which was good but there was a trough ahead of it to give it definition. The taper of the stem dropped off at the trough. I would need to redefine the taper of the stem to get rid of the trough and make the flow more seamless between the new button and the slope of the stem. I would also need to shape the button to be more of an ellipse curving to a point on each end of the outer edges and clean up the slot and make it extend across the button surface and taper into the airway like a “Y”. You can also see that the stem does not sit tight against the shank end.
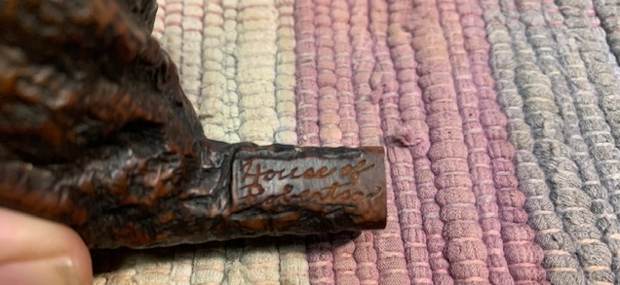
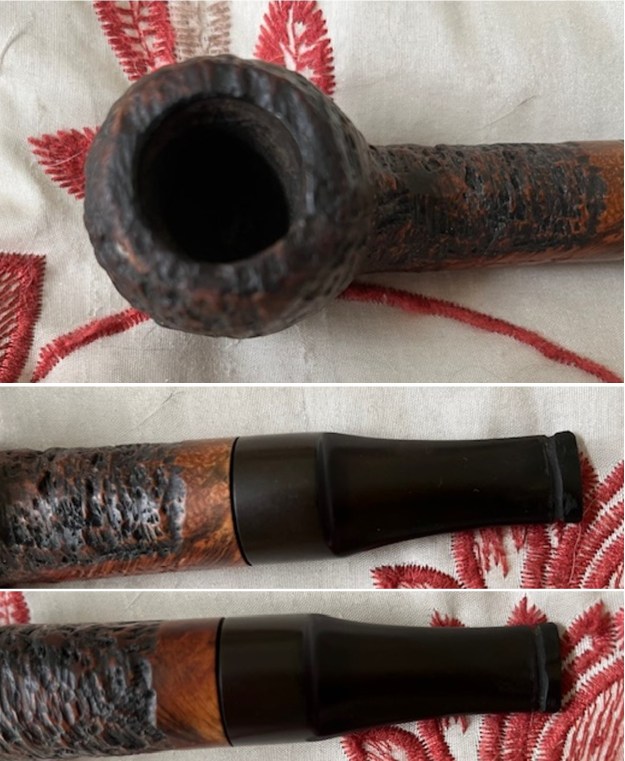 The next photo shows the etched name on the left side of shank on the shank. It reads House of Robertson.
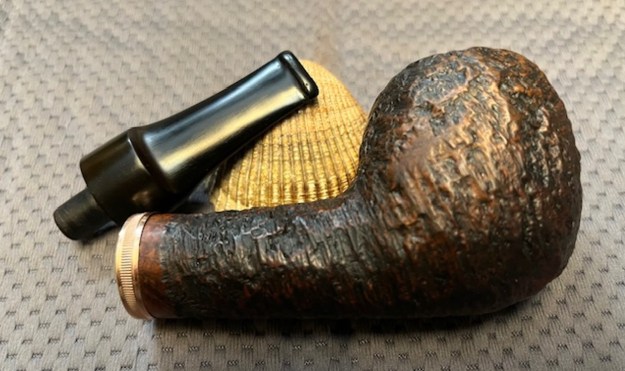
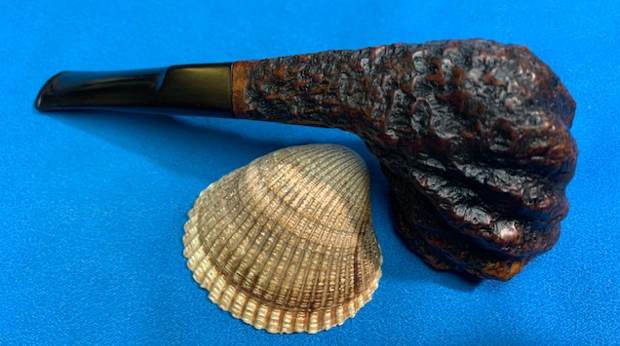
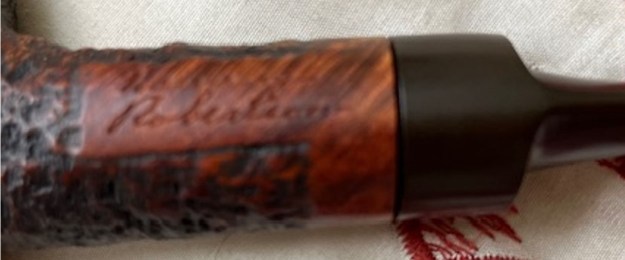 I am including the information that I found when I received my first of the House of Robertson Pipes. I found a link on Pipedia that gave me the only information I could find on the brand. I include that in total as it is interesting to read (https://pipedia.org/wiki/Robertson).
“House of Robertson” was in business for many years, but alas, closed their doors in 1999. They were located in Boise, Idaho. They are noted for making rather large and interesting pipes. Thayne Robertson was a Master Mason, AF & AM, and started the shop about 1947 and his son Jon started working there in 1970 when he finished college, along with Thayne’s daughter. Thayne and his son started making the big pipes at that time, and made them together until 1987 when Thayne passed away. Jon kept the store and his sister moved on to other things. The House of Robertson appears to have closed around 1999.
Since then I have worked on a lot of House of Robertson pipes and have been able to track down more information. I am including a link to a Catalogue that I picked up on eBay. Click on the link and have a look at this interesting book of information on the brand and the pipe maker himself (https://rebornpipes.com/2022/12/11/a-house-of-robertson-catalogue-filled-with-great-examples-of-thayne-robertsons-work/). I am including a page below that helps with understanding the shape and finish on this particular pipe. It is clear that it is what he calls a Knarled Bark pipe. The catalogue describes it as follows:
Handcut like knarled bark on rustic old trees. Very individual, appealing. Dark finish. Medium $30.00. Medium-large $40.00. Large $50.00. Secret-cured…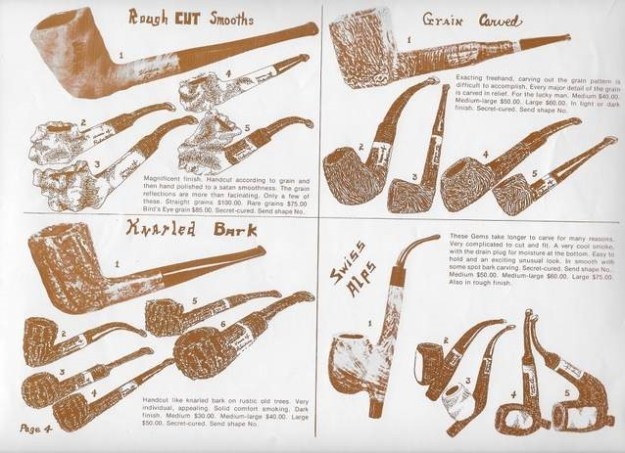 I am also including a biography of Thayne Robertson that I found on Facebook from a fellow in Boise, Idaho. It is an interesting glimpse into the mind and life of the pipe maker. Make sure to take time to read it (https://rebornpipes.com/2021/10/31/house-of-robertson-pipes-boise-pipe-carver-thayne-robertson/).
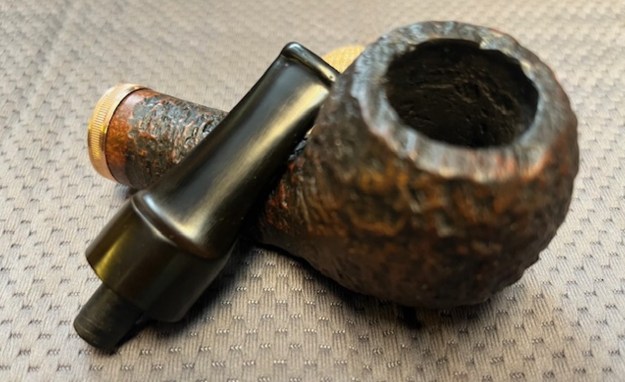
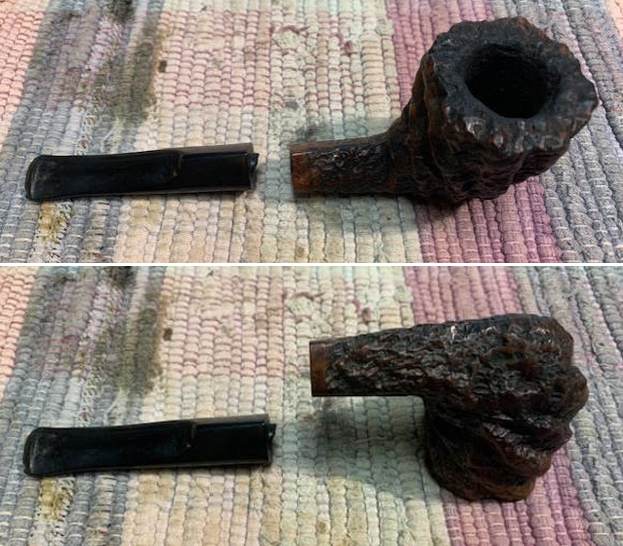
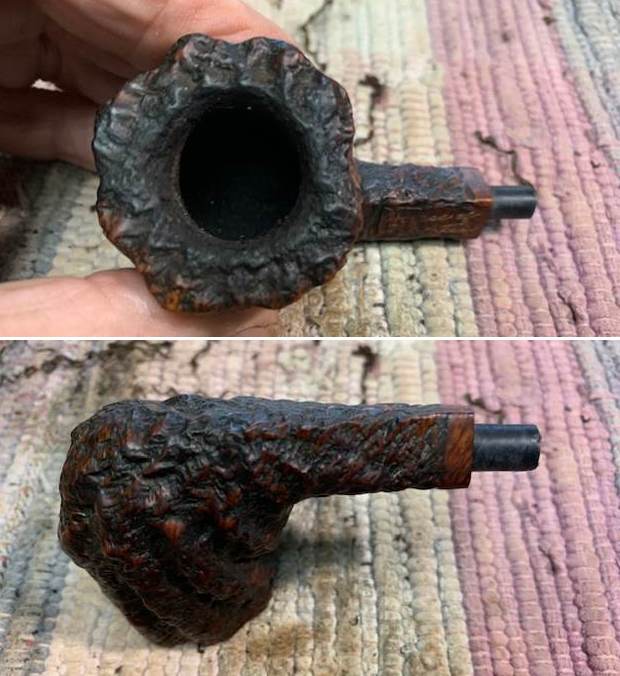
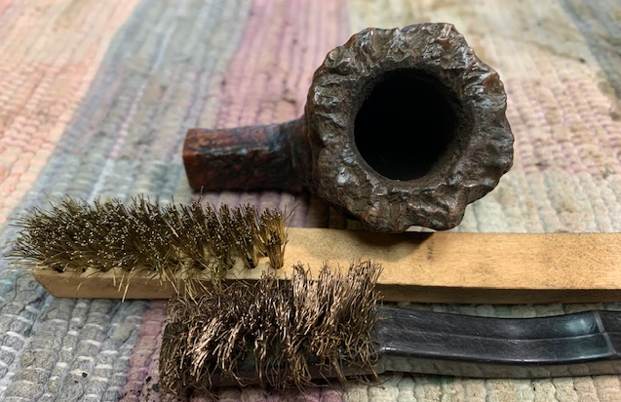
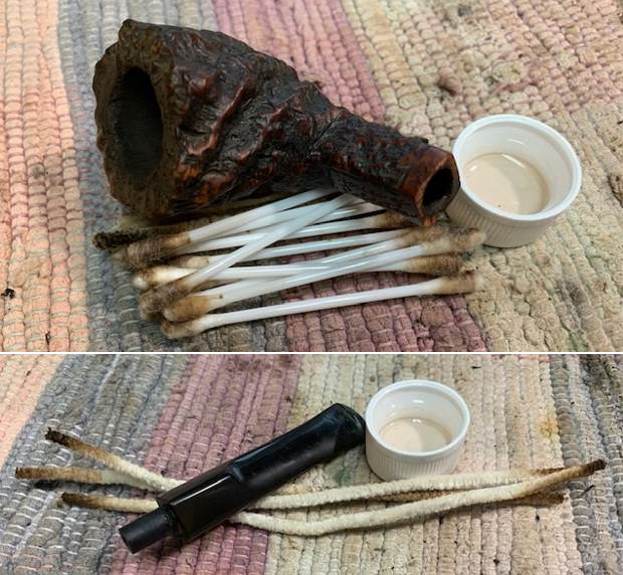
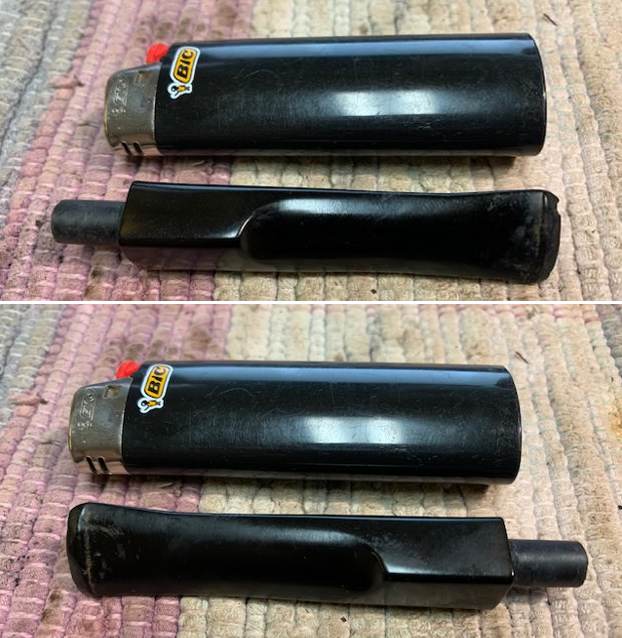
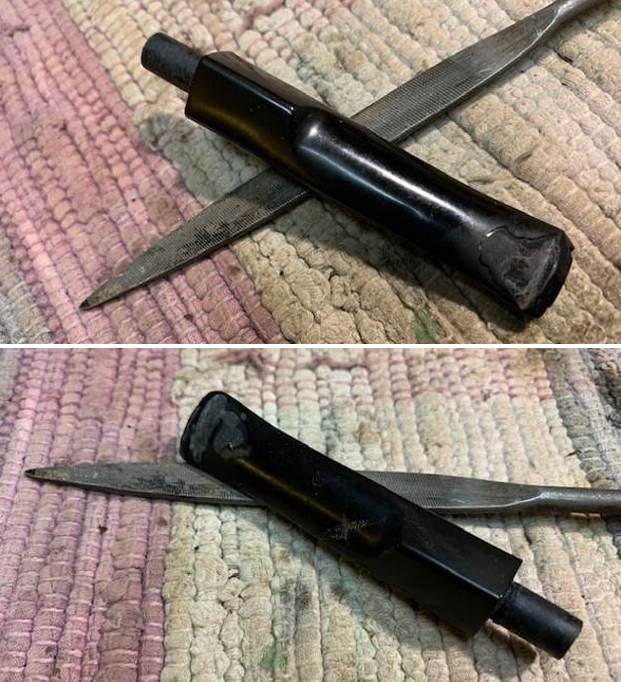
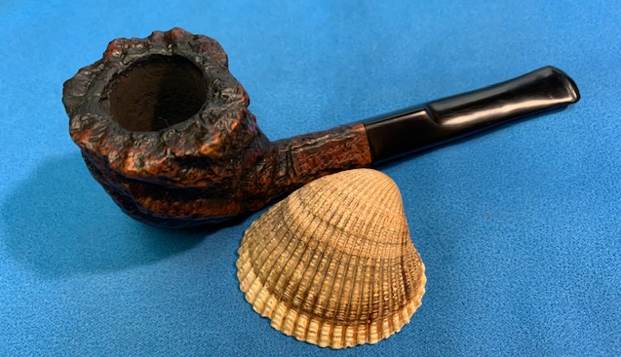
Now it was time to work on the pipe itself. Because the seller had done a fairly good job in his clean up it would not take much on the bowl and shank. I decided to take the cake back to bare briar so I could check out the condition of the walls. I cleaned up the remaining cake in the bowl with a Savinelli Fitsall Pipe Knife. I sanded the bowl walls with 220 grit sandpaper wrapped around a piece of dowel. I wiped down the inside with a damp cloth and checked for damage to the walls. There was no heat or burn damage on the walls which is always a relief for me. I did a quick clean up of the shank and the stem. Both were very clean and by and large I just removed dust and some debris in the shank from the reaming. The stem photo shows the stem after my rework of the button and slope so inevitably debris on the pipe cleaners came from that. It was nicely cleaned up by the seller.
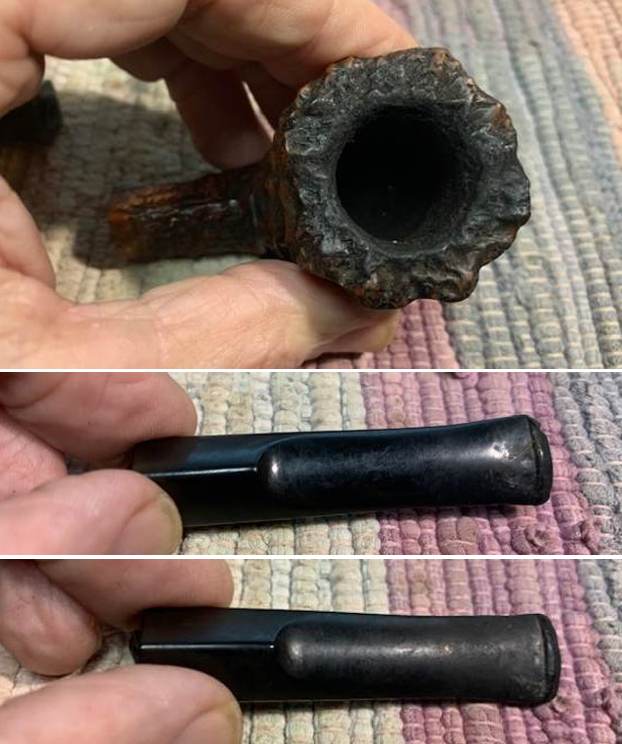
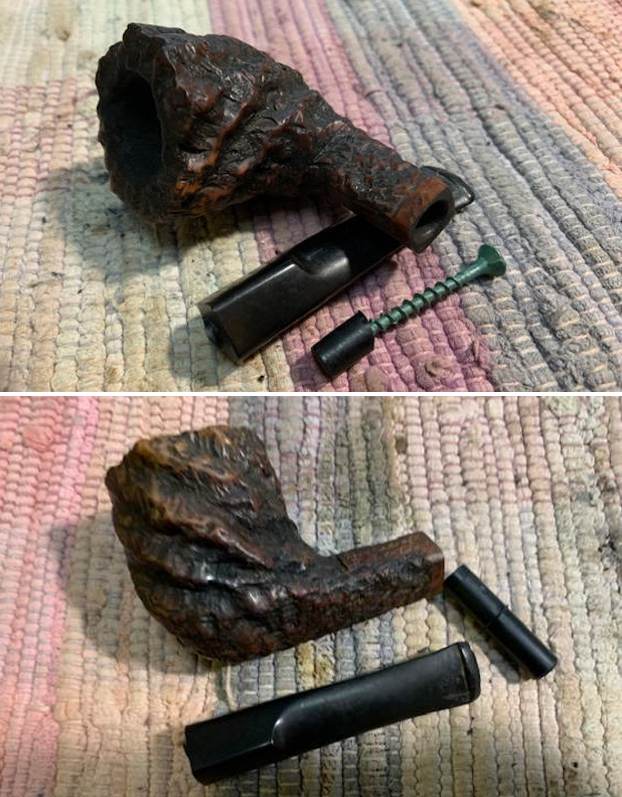
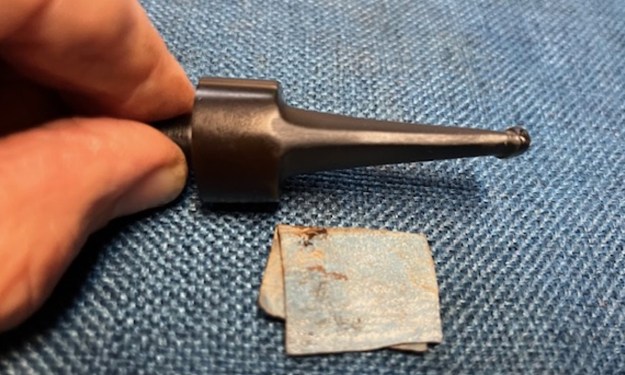
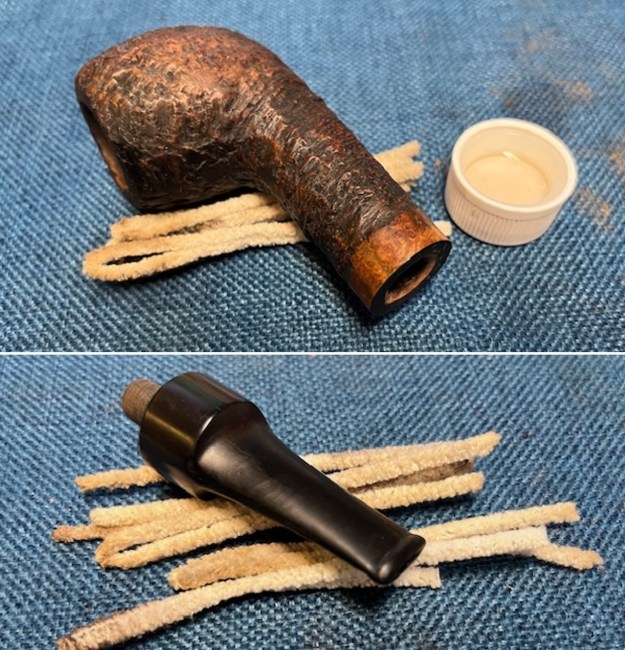 I decided to use the least intrusive method of getting the stem to seat well in the shank first. I used a knife to give the inner edge of the shank a bevel and sanded it smooth. I wanted to see if that would help. Unfortunately, it did not seem to make a difference. The fit still wans not snug. (By the way you can see the button shape in the first photo below. It shows the trough and the new button quite clearly.)
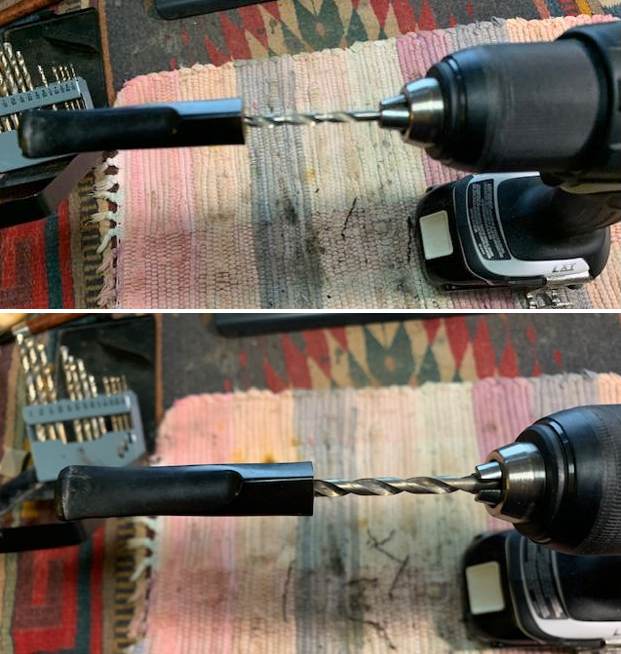
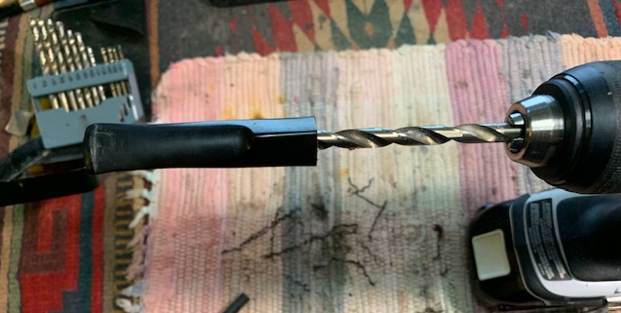
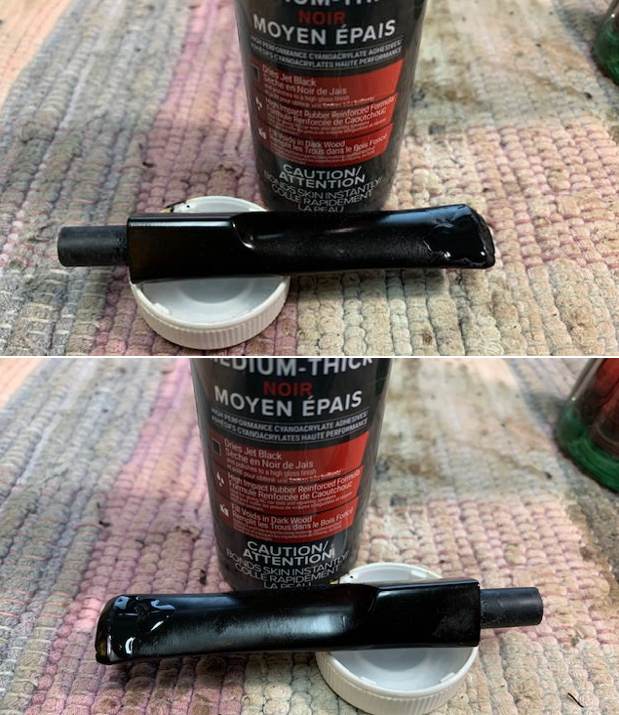
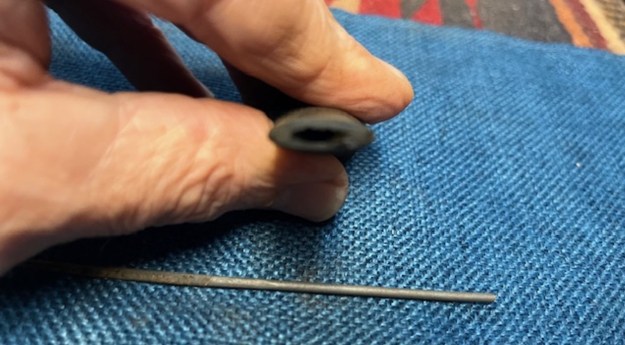
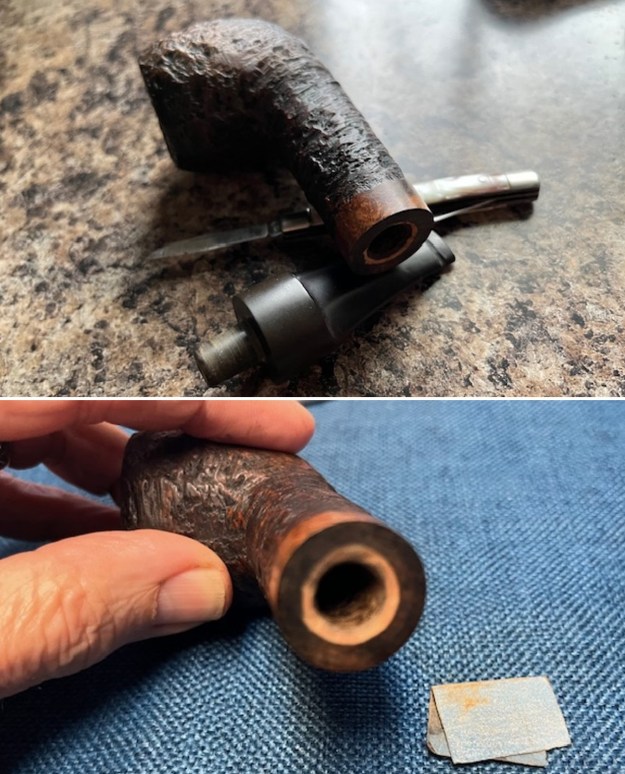 I looked through the various bands and ferrules I have in a bag here and found an interesting thin brass ferrule that file well and did not cover the signature on the shank. The hole in the center was not quite big enough for the tenon to slip in. I used a cordless drill and drill the hole to fit. I found that doing it on the shank held it firmly in place and kept me from drilling off centre. Oh if I had a drill press it certainly would have been much easier but I have to use what is available to me at the moment. I tried the fit of the stem to the shank and it was perfect. I glued the ferrule in place with all-purpose glue. Once the glue set I gave the edges of the drilled hole a slight inward bevel and started polishing it out. I would need to take it through the regimen of the micromesh pads but it was looking pretty good.
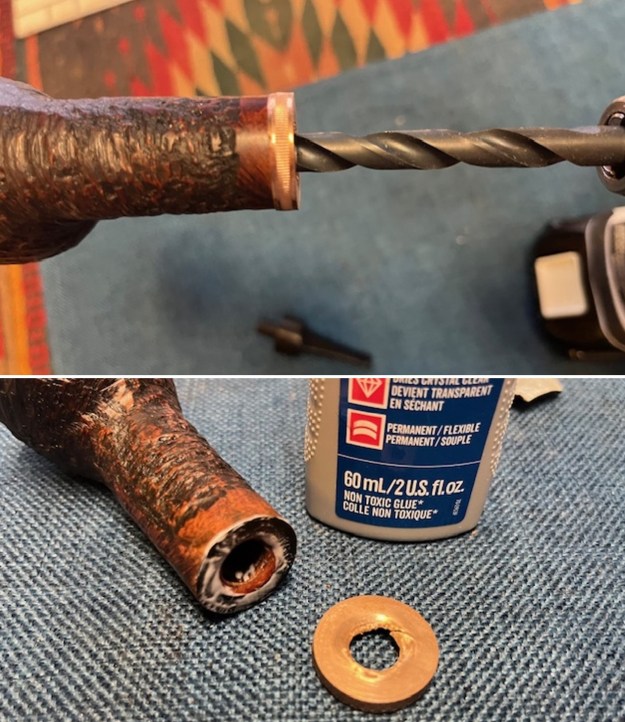
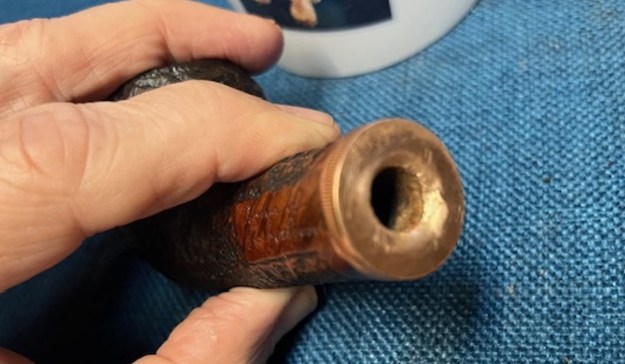 I took photos of the newly capped shank end to show the look of the pipe at this point. Once I finished the reshaping of the stem and the button I would put them together and take photos. I put the stem on the shank and looked it over and was happy with what I saw at this point.
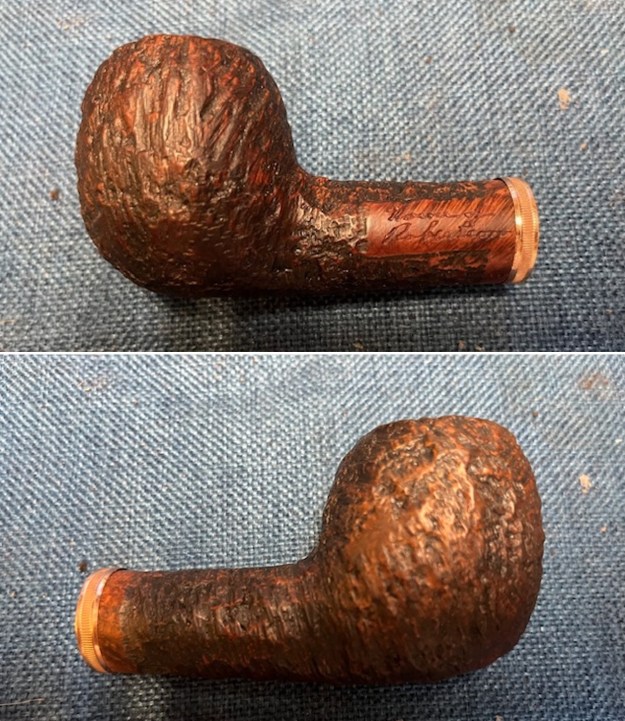
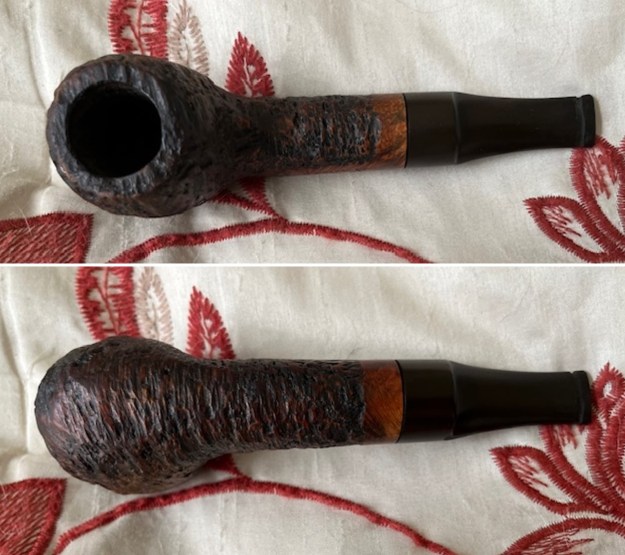
 I worked Before & After Restoration Balm deep into the smooth finish to clean, enliven and protect the briar. I rubbed it in with my fingers and a shoe brush. I worked it into the finish then set it aside to dry for 10-15 minutes. I wiped it off with a soft cloth and buffed the bowl with a cotton cloth to polish it. It really began to have a deep shine in the briar. I took some photos of the bowl at this point to mark the progress in the restoration. The rustication on the bowl stands out with interesting lines moving across the sides of the bowl and the shank.
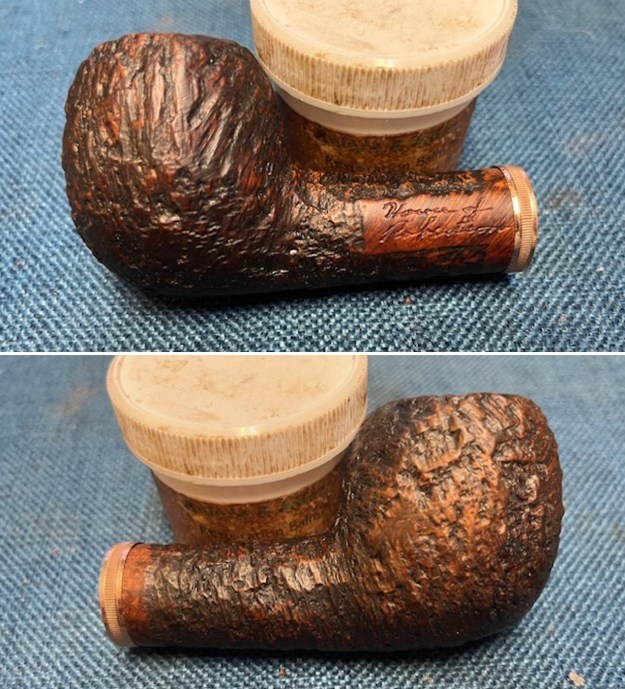
 I set the bowl aside and turned my attention to reshaping the stem and the button. I started the process by filling in the notches on each side of the button and stem surface with black CA glue. I also filled in some of the deeper pits in the button surface at the same time that had been left behind when the button had been shaped. This was merely the first step so it is hard to know what it looks like yet.
 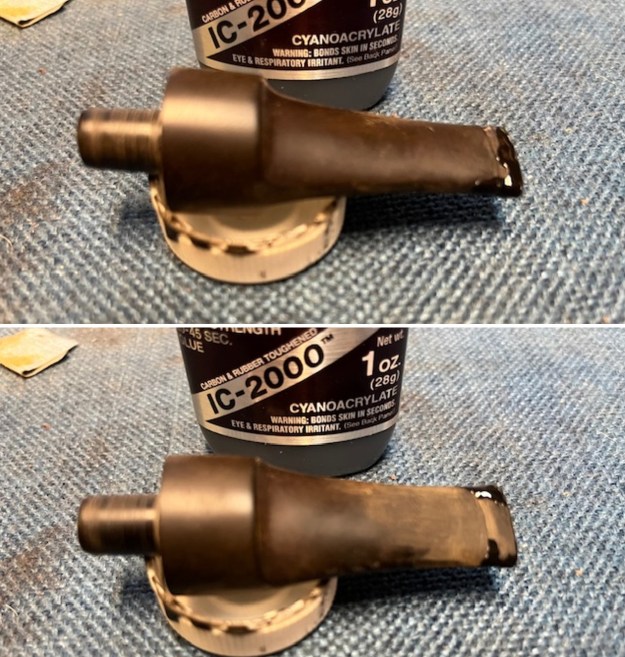 Once the repairs cured I used a rasp to flatten out the stem surface ahead of the trough that had been carved. I want to change the flow of the pipe to a smoother transition from the stem to the button. The trough was ragged and did not work for me.
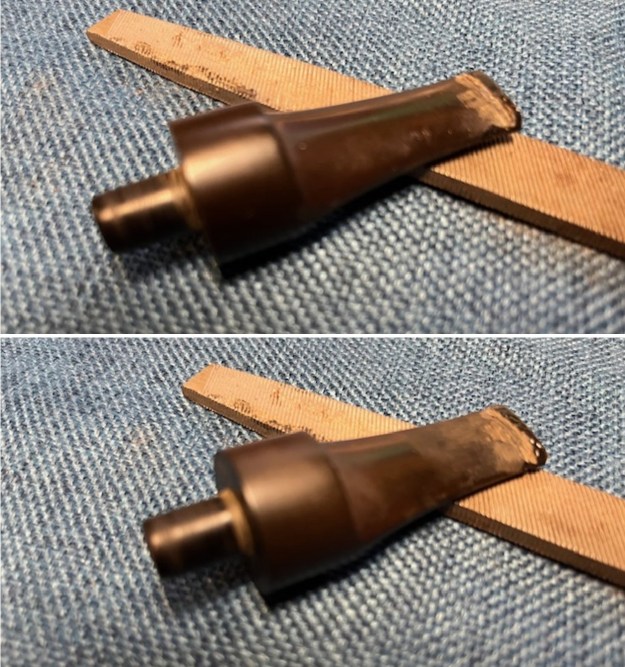 I used a folded piece of 220 grit sandpaper to continue to shape the stem and the button. I wanted to smooth out the transition of the trough and the angle of the stem from the saddle to the button. There was still a ways to go but it was definitely looking better.
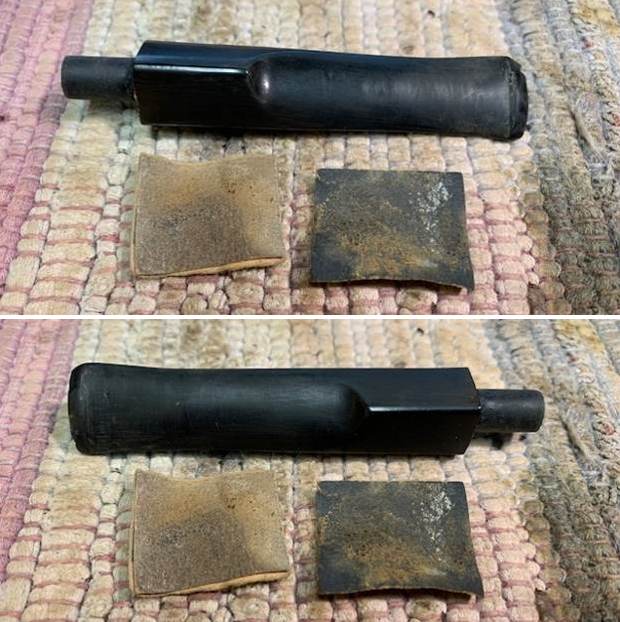
 I started polishing the stem flow and shape of the button with sanding pads – dry sanding with 320-3500 grit pads. I wiped down the stem after each pad with an Obsidian Oil cloth and the stem began to really show the shape of the button and the flow from the saddle to the button.
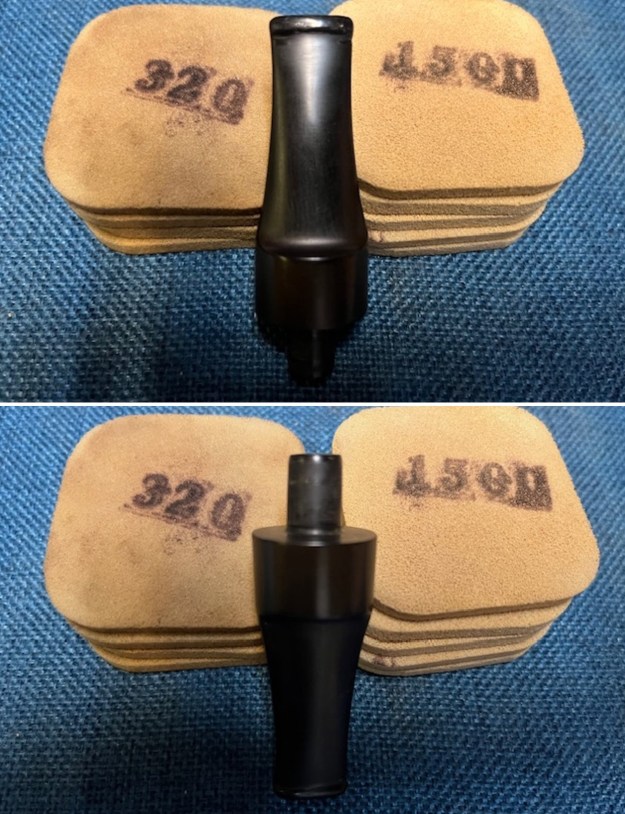 With the stem ready for the final polishing I decided to pause and reshape the slot in the button. The first photo shows where I started. It was basically a rectangular cut. I wanted to make it follow the width and curve of the elliptical button shape. I used some small needle files to accomplish what I was looking for. I used a triangular shaped blade to start the process of taking the cut to the edges of the button. I followed that with an oval and a round needle file to get an elliptical shape. I cleaned up the top and bottom edge of the slot with a round needle file. I think it looks much better and the slot is shaped like a Y thus spreading the smoke into the smoker’s mouth.
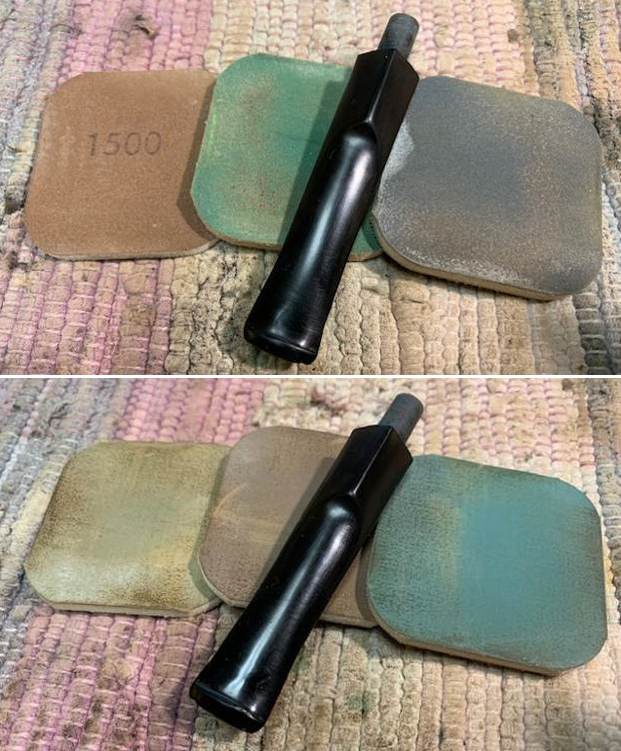
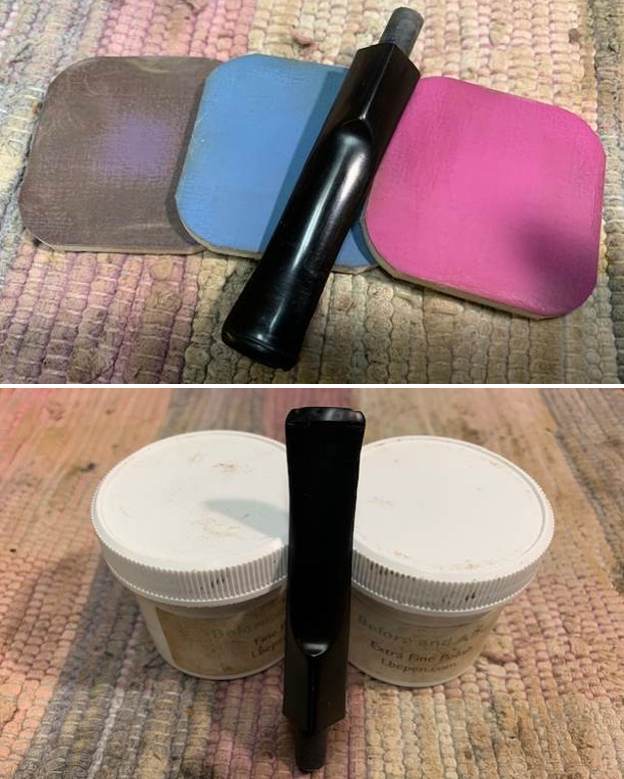
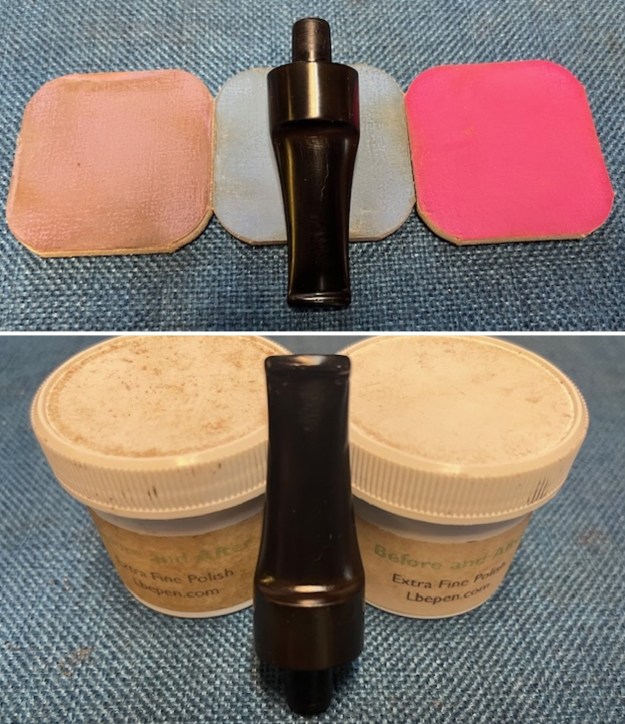
 I polished the vulcanite stem with micromesh sanding pads – dry sanding it with 1500-12000 grit pads. I wiped the stem down after each sanding pad with Obsidian Oil and set it aside to dry. I polished it further with Before & After Pipe Polish – using both the Fine and Extra Fine Polishes. I gave it a rubdown with Obsidian Oil one last time and set it aside.
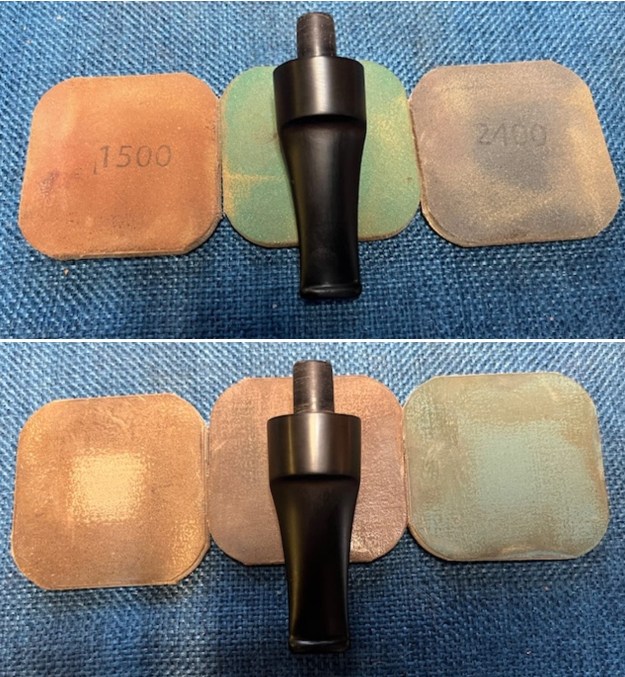
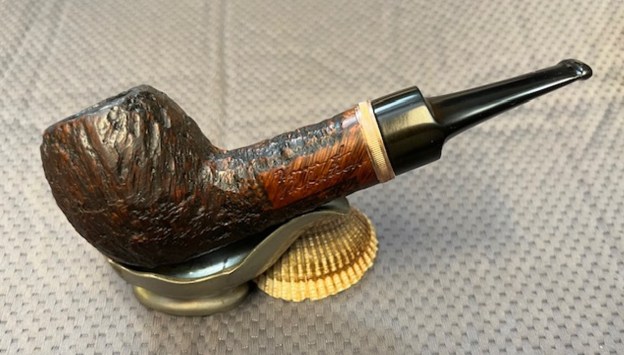
 I put the House of Robertson Chunk Bark Finish Apple and reshaped saddle stem back together and worked the pipe over on the buffing wheel using Blue Diamond to lightly polish the stem. I buffed the bowl and stem to raise the gloss on the briar and the vulcanite. I gave the bowl multiple coats of Conservator’s Wax and the stem multiple coats of carnauba wax. I buffed the entire pipe with a clean buffing pad on the wheel to raise the shine. I hand buffed it with a microfiber cloth to deepen the shine. The finished the House of Robertson Chunky Apple is shown in the photos below. The dark brown stains on the Bark finish of the chunky apple bowl works well with the rich black of the vulcanite stem. The dimensions of the pipe are: Length: 6 inches, Height: 2 inches, Outside Diameter: 1 ¼ inches, Diameter of the chamber: ¾ of an inch. The weight of the pipe is 73 grams/2.54 ounces. This is an interesting piece of briar with a rugged old tree bark rustication is unique and looks great. I hope to enjoy this pipe tomorrow afternoon on the front porch with a great bowl of good Virginia. Thanks for walking with me through the restoration process.