Blog by Kenneth Lieblich
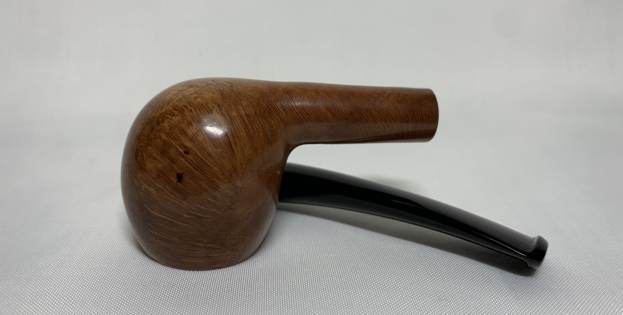
Next on the chopping block is a handsome and gently-bent Hardcastle Lightweight apple, acquired from a local gentleman who’d sadly given up the hobby. It was well used, but it had a certain charm and I felt I could tease out its beauty from under the grime. 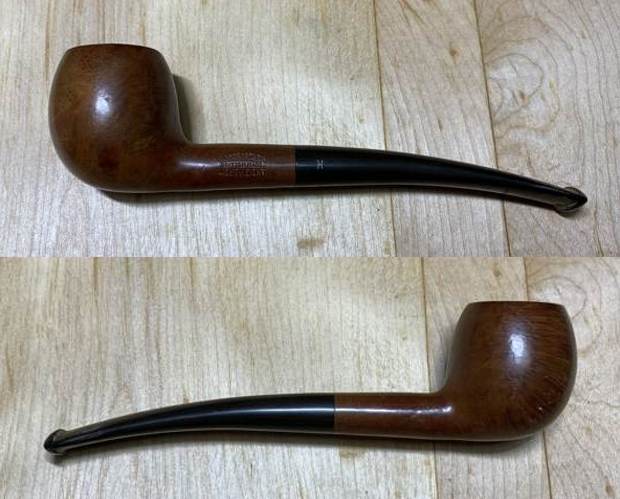
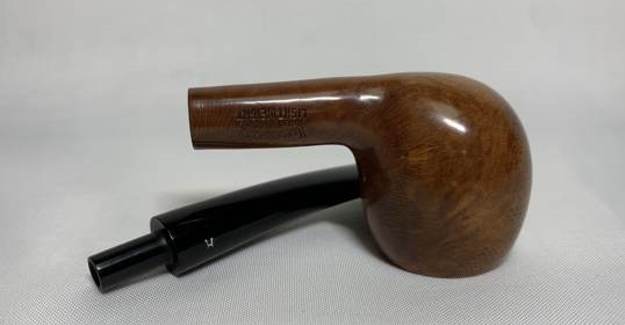
 The markings read as follows. On the left side of the shank: Hardcastle’s [over] British Made [over] Lightweight. On the left of the stem is the stylized “H”, of the Hardcastle company.
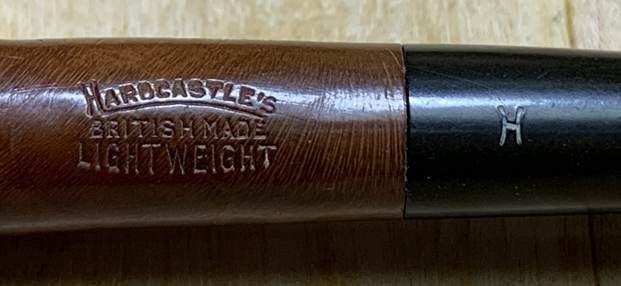 The Hardcastle name has been around for 120 years and has an interesting history. As usual, I went to Pipedia and Pipephil to see more. Pipepedia has a good article, which I recommend you read here. Meanwhile, Pipephil provided the following information:
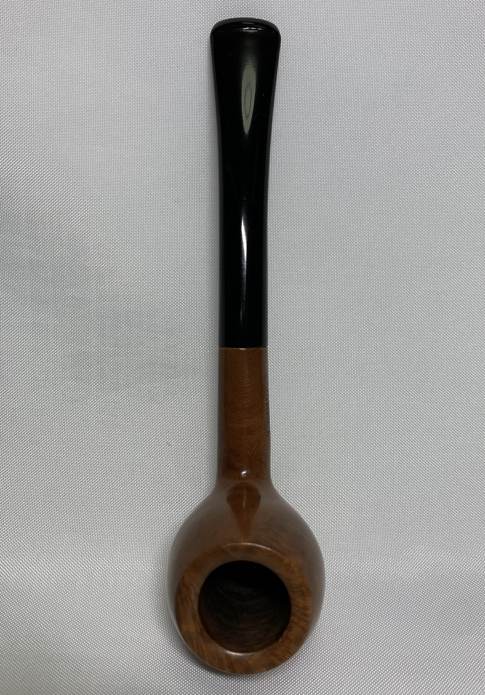
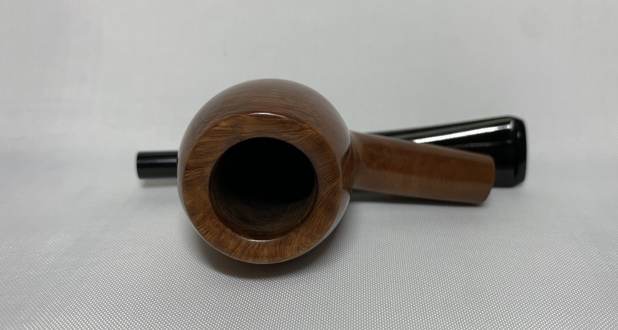
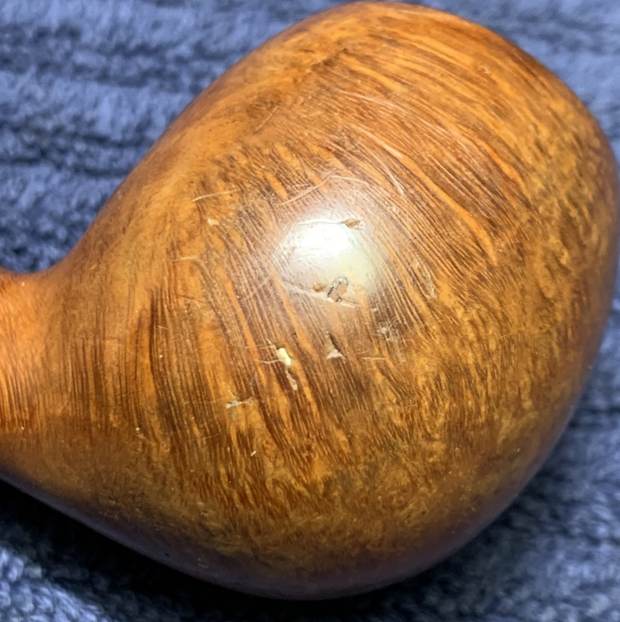
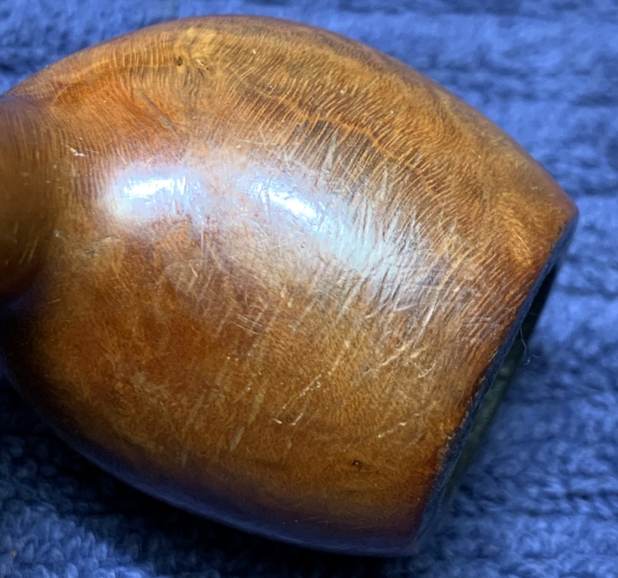
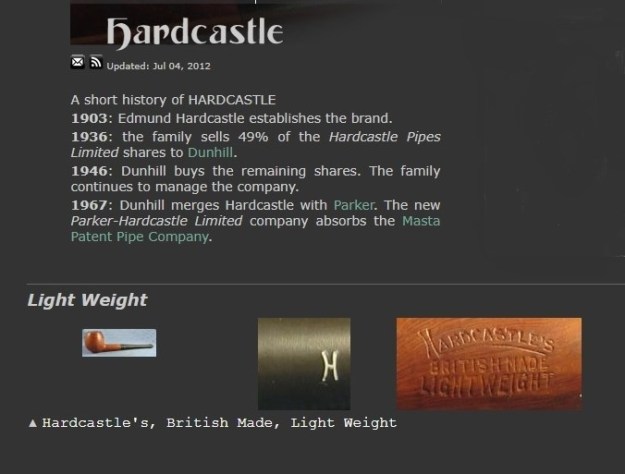 On to the pipe. There was plenty of cake and lava on the stummel, and the opening of the bowl was slightly out of round, possibly due to bad reaming. The outside of the bowl had a couple of fills, and numerous scratches and nicks. It’s clearly been roughly manhandled during its life.
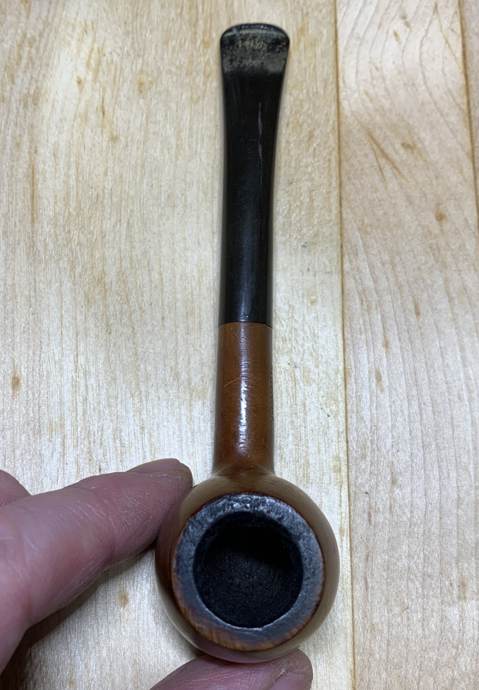
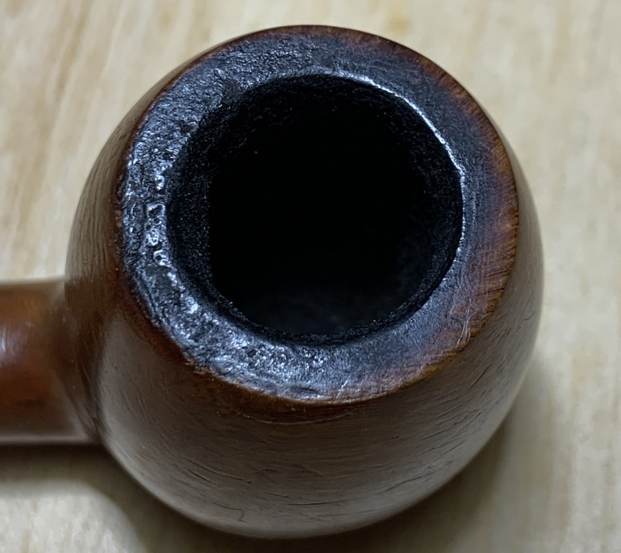
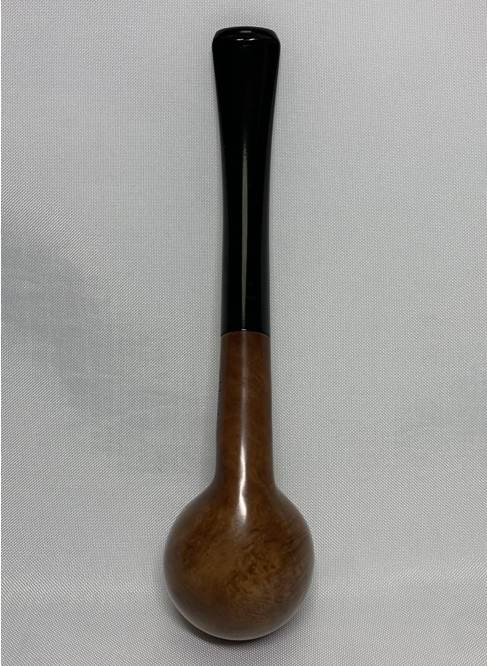
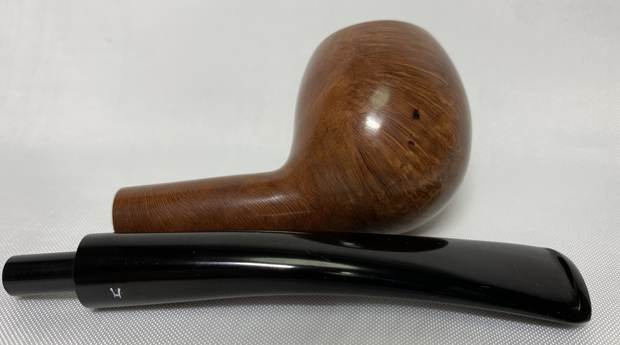
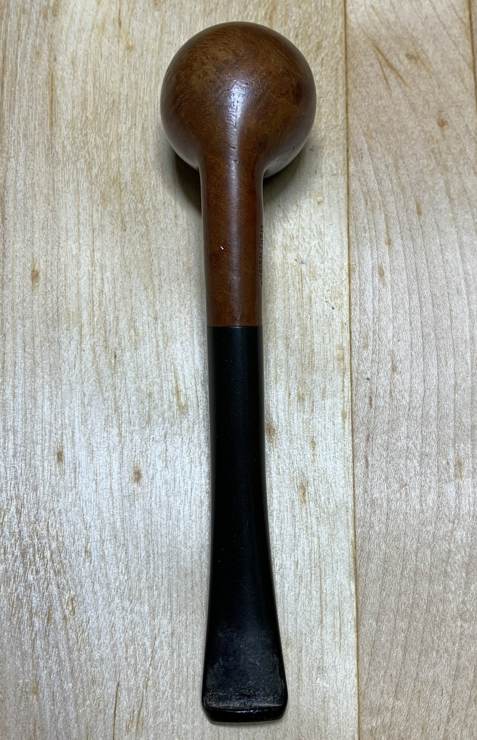
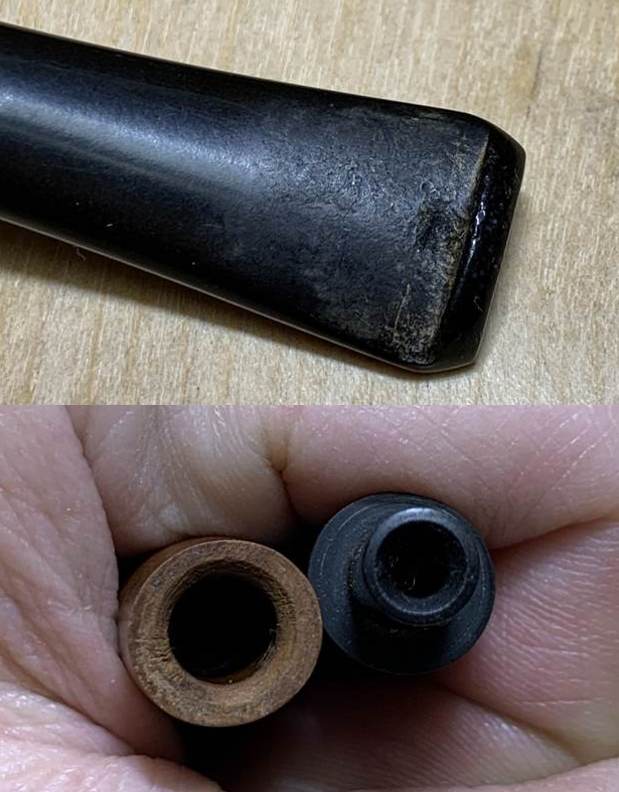
 The stem was in far worse shape than the photographs show – the mouthpiece had calcification and some oxidation, and there were many tooth marks and scratches, a deep tooth dent on the underside, and the bit was also badly dented.
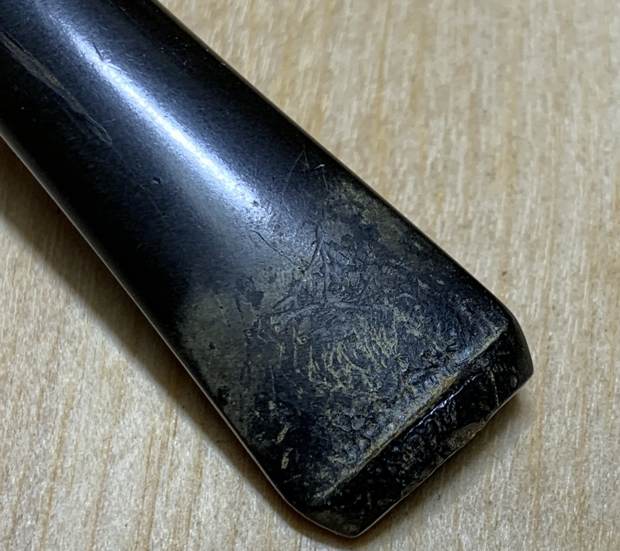
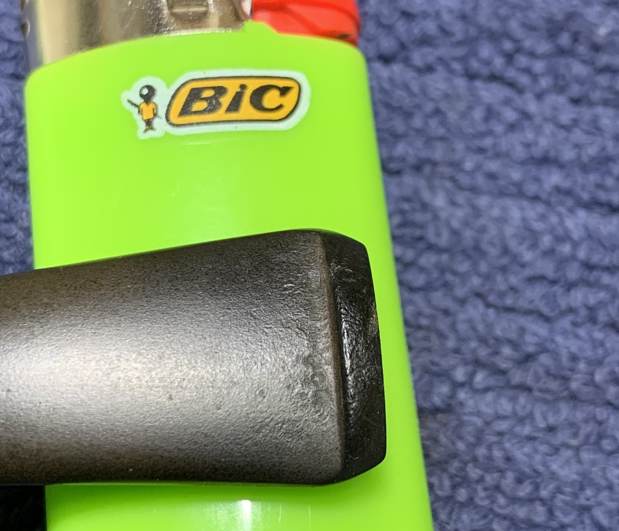
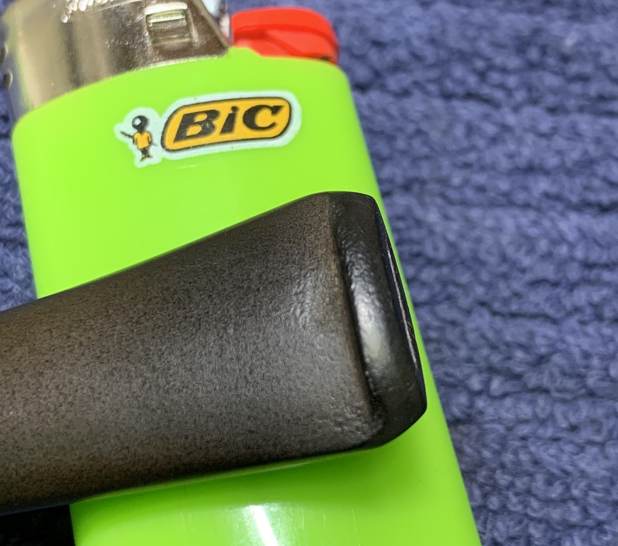
 Time to get this pipe cleaned up. The stem was first on my list. I cleaned out the inside with pipe cleaners and isopropyl alcohol. It was fairly dirty but didn’t take too long to clean out. Then I wiped the outside down with Murphy’s Oil Soap on some cotton pads. I also took a BIC lighter and “painted” the stem with its flame to lift the few bite marks and dents. This was moderately successful in raising some of the damage.
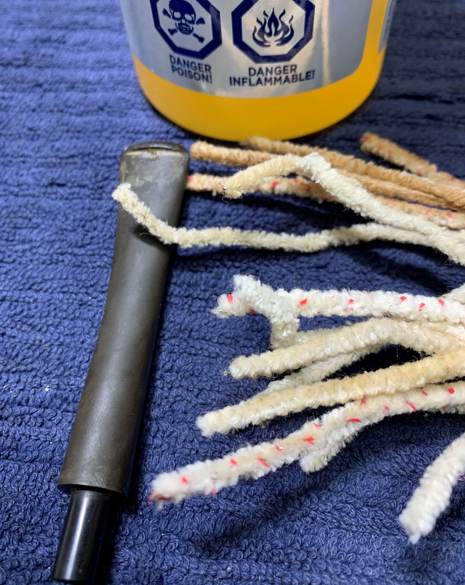
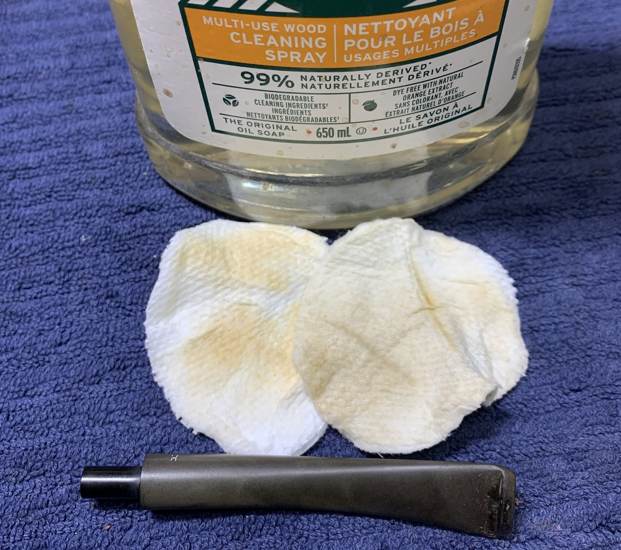
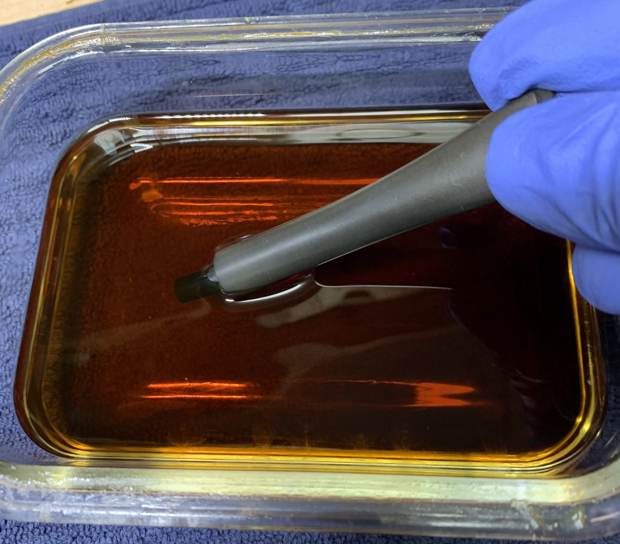
 I then wiped down the stem with SoftScrub cleaner to remove surface oxidation. Once this process was done, the stem went for an overnight soak in the Pipe Stem Oxidation Remover. The next day, I used SoftScrub again with some cotton rounds.
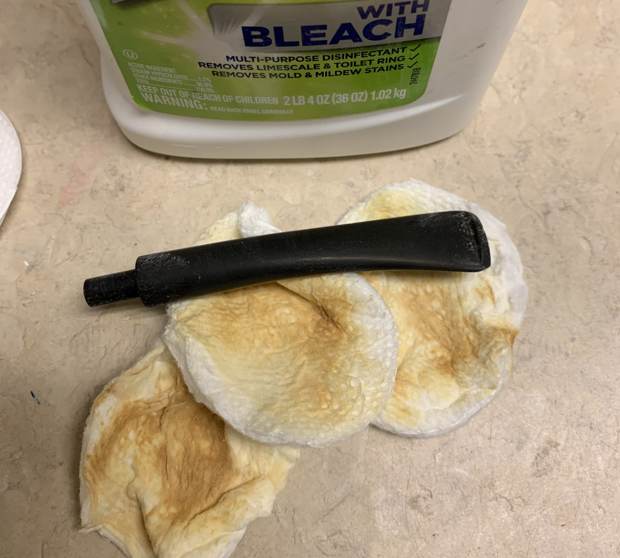
 After this, I used some nail polish to restore the logo on the stem. I painted the area carefully and let it fully set before proceeding. I also built up the dents on the stem with black cyanoacrylate adhesive and let them fully cure. Forgot to snap a picture of that.
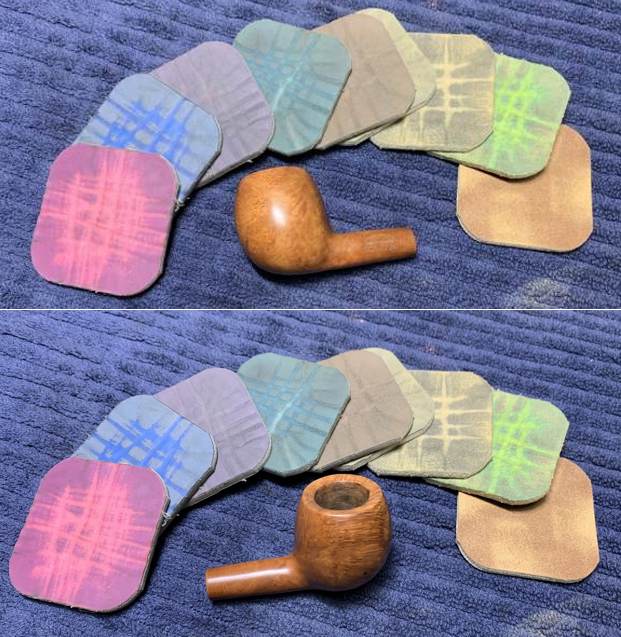
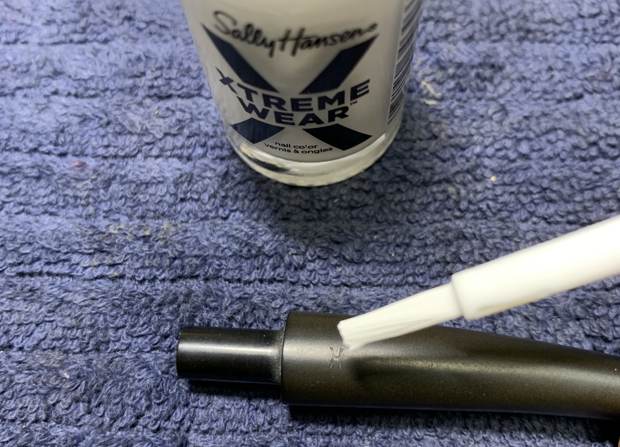 I then sanded the adhesive down with 220- and 400-grit sandpapers and used all nine Micromesh pads (1,500 through 12,000 grit) to bring out the lovely black lustre on the stem. I also used Obsidian Pipe Stem Oil in between each pad scrubbing. This stem has had a hard life, and the result was not perfect – but it is a vast improvement on its condition when I got it.
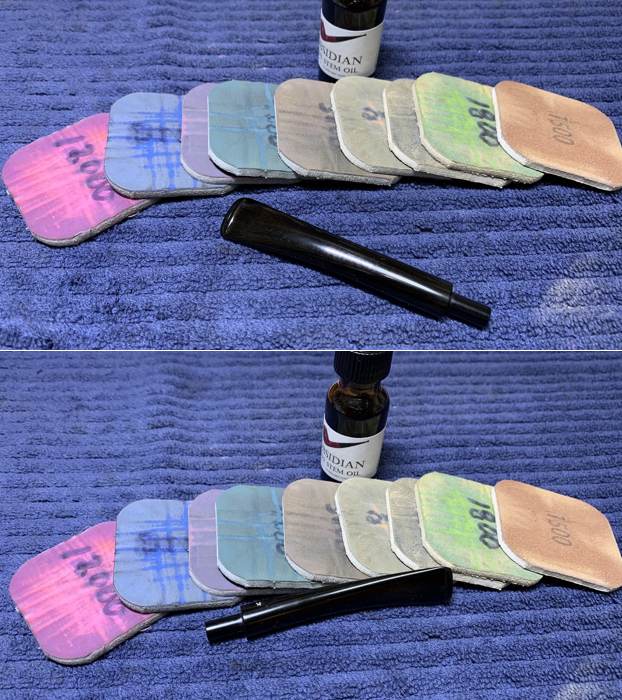 Now for the stummel. Firstly, I decided to ream out the bowl. I used the PipNet Reamer and the KleenReem to remove the built-up cake and followed that with 220-grit sandpaper taped to a dowel to eliminate as much as I could. I took the chamber down to bare briar, as I wanted to ensure there were no hidden flaws in the wall. Fortunately, there were none.
 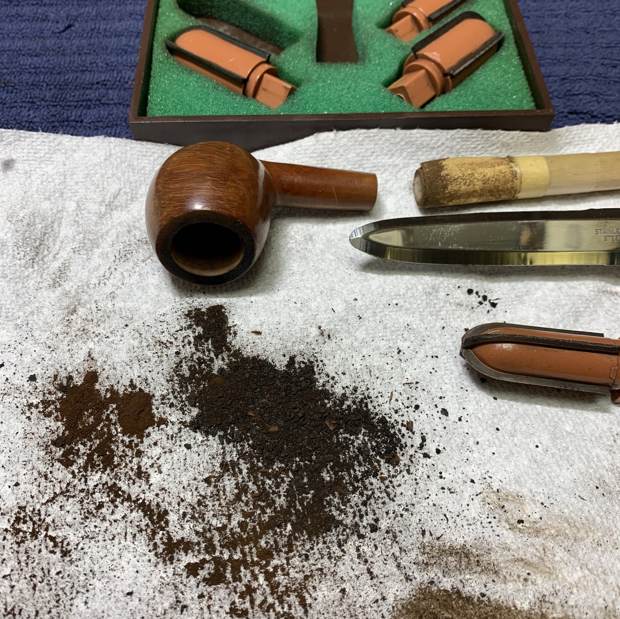 I then proceeded to clean out the insides of the shank with Q-tips, pipe cleaners, and lemon-infused isopropyl alcohol. There was a bit of filth inside this stummel and it took a fair amount of cotton to get it clean. I followed that up by cleaning the insides with some dish soap and tube brushes.
 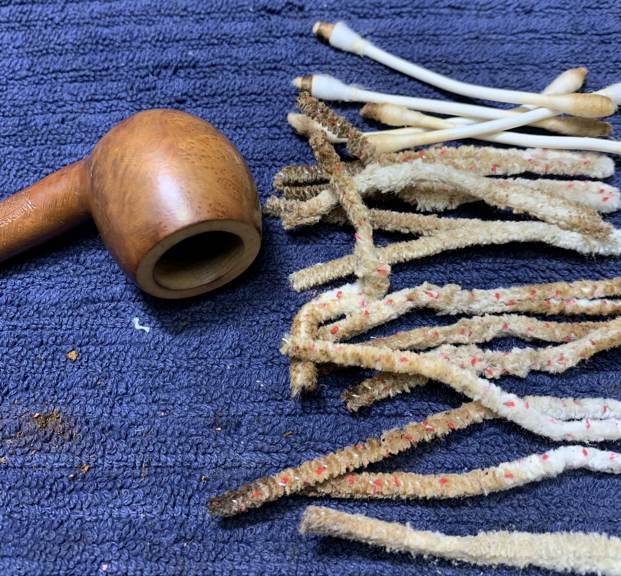 I used cotton rounds and some Murphy’s Oil Soap to scrub the outside of the stummel and a toothbrush with Murphy’s for the lava on the rim of the pipe. Having completed that, I was able to address the small nicks on the rim and the bowl. I dug out my iron and a damp cloth to try to raise the nicks. The hot and moist steam can often cause the wood to swell slightly and return to shape. This worked very well and many of the scratches were corrected with this method.
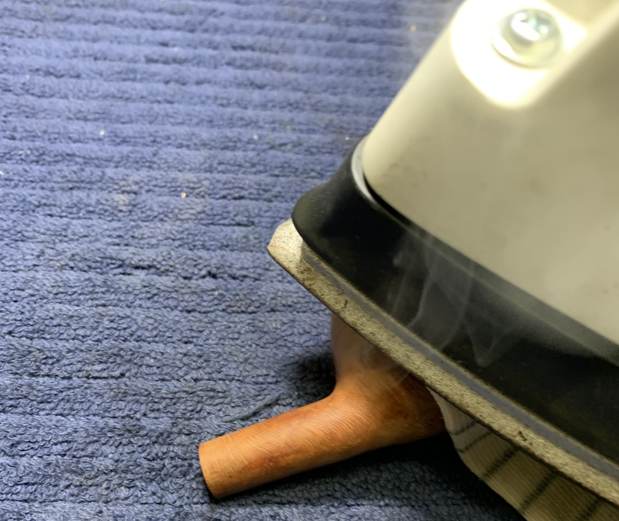 Now I could tackle the burn on the rim. I used a piece of tool steel to gently scrape away the burn residue, but the burns were more serious than I’d hoped. So, I “topped” the pipe – that is, I gently and evenly sanded the rim on a piece of 220-grit sandpaper. This effectively removed the damage without altering the look of the pipe.
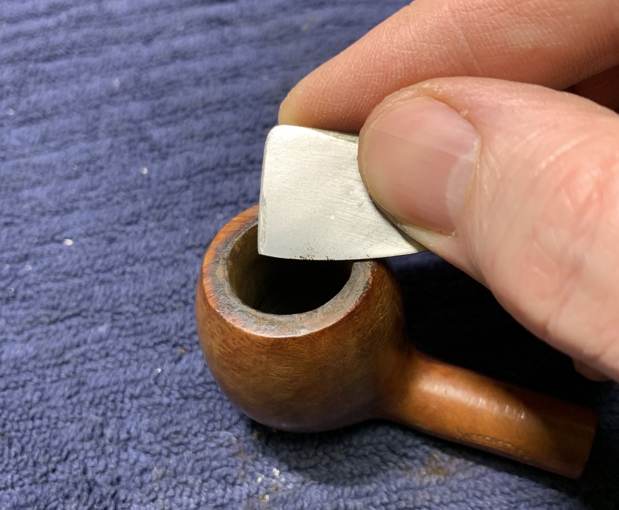 Due to the burning on the rim of the pipe, I used my wood sphere, wrapped in 220-grit sandpaper, to create a beautiful, chamfered edge on the rim. This also helped return the opening of the bowl to round. I think the results turned out very nicely.
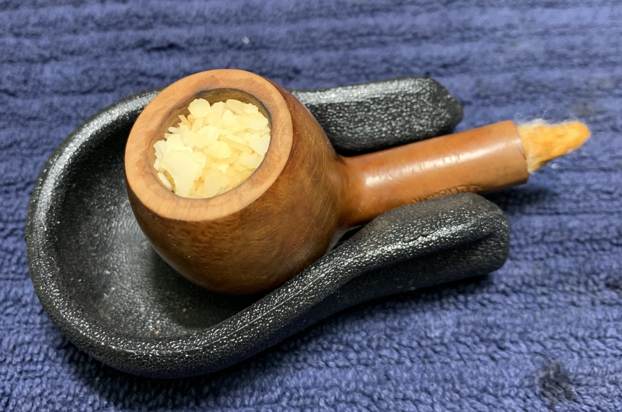
 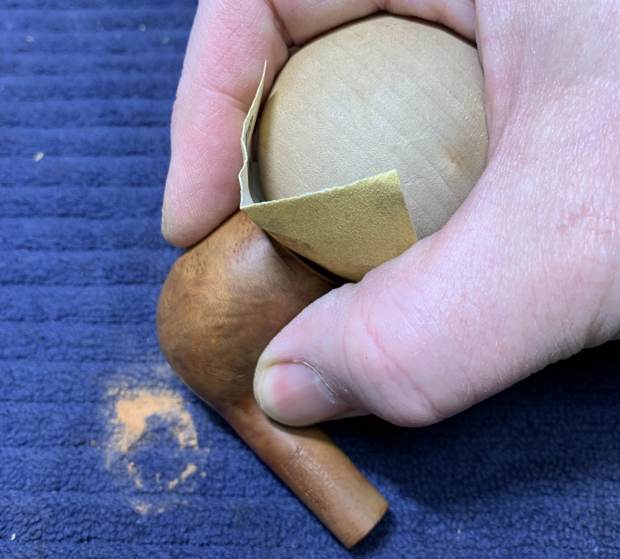 Unaccountably, I ran out of cotton balls with which to ghost the pipe. So, in a pinch, I used the old trick of replacing it with salt (in this case, pickling salt). Long ago, Steve had told me that he much preferred cotton balls to salt, and I simply took him at his word, not knowing any better. Having now used salt myself, I am wholeheartedly in agreement with Steve. What a pain in the gluteus maximus! Oh, it works just fine, but it’s a mess and the salt can (potentially) damage the wood.
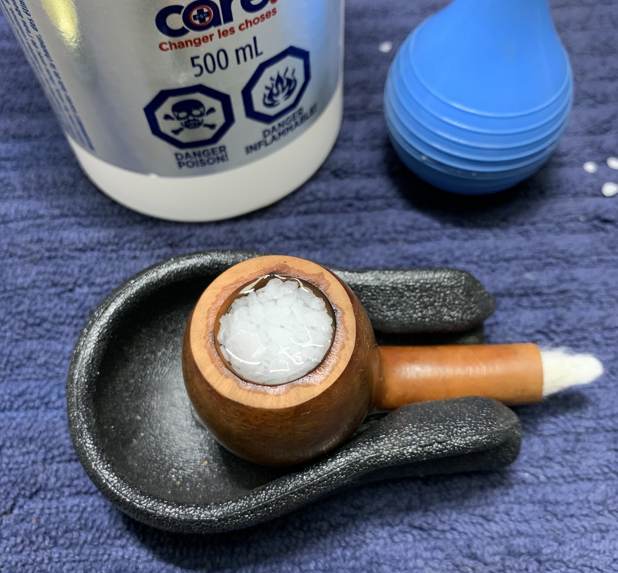
 Now it was time to repair the tiny fills on the bowl. I repaired them with a mixture of briar dust and cyanoacrylate adhesive. This ensures a strong repair and one that looks similar to the surrounding wood. As you can see, I made a mess, to begin with, but I sanded the repair down with 200- and 400-grit sandpaper until it was level with the surrounding briar. Then, I used all nine Micromesh pads (1,500 through 12,000 grit) on the stummel to finish it off. Much improved.
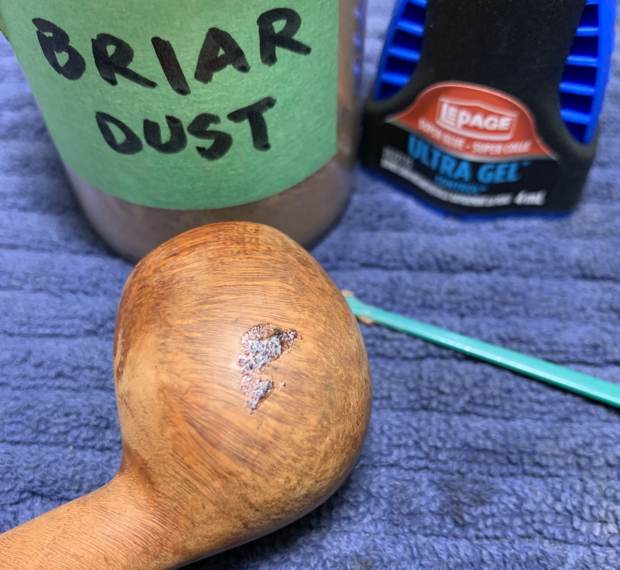
 I applied some Before & After Restoration Balm to moisturize the wood and draw out its beauty. Finally, I took it to my bench buffer. A dose of White Diamond and a few coats of carnauba wax were just what this pipe needed.
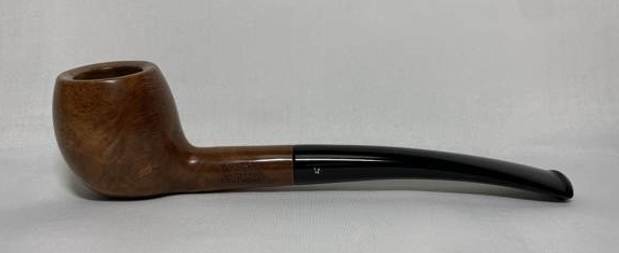
 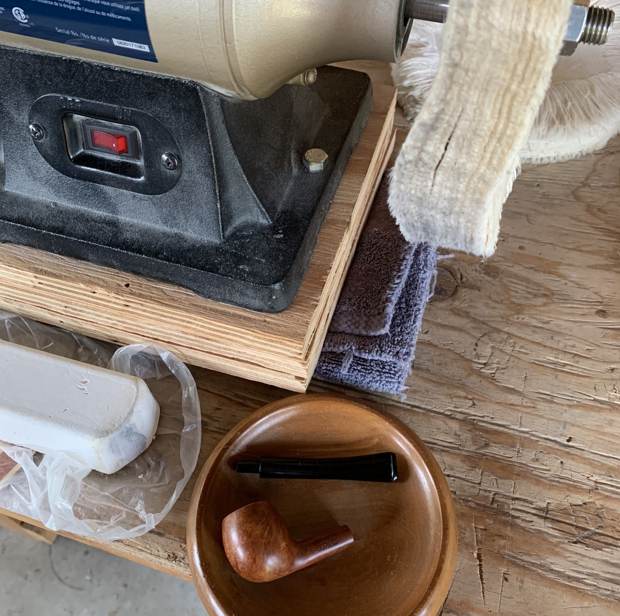 This Hardcastle much improved and is ready to be enjoyed again by the next owner. I am pleased to announce that this pipe is for sale! If you are interested in acquiring it for your collection, please have a look in the British pipe section of the store here on Steve’s website. You can also email me directly at kenneth@knightsofthepipe.com. The approximate dimensions of the pipe are as follows: length 5⅜ in. (137 mm); height 1⅜ in. (35 mm); bowl diameter 1¼ in. (32 mm); chamber diameter ⅝ in. (16 mm). The weight of the pipe is ⅝ oz. (20 g). I hope you enjoyed reading the story of this pipe’s restoration as much as I did restoring it. If you are interested in more of my work, please follow me here on Steve’s website or send me an email. Thank you very much for reading and, as always, I welcome and encourage your comments.