by Steve Laug
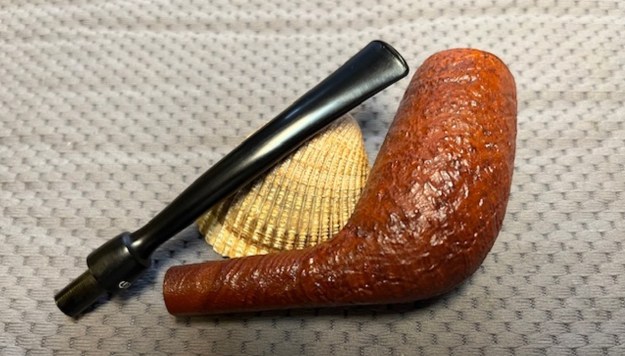
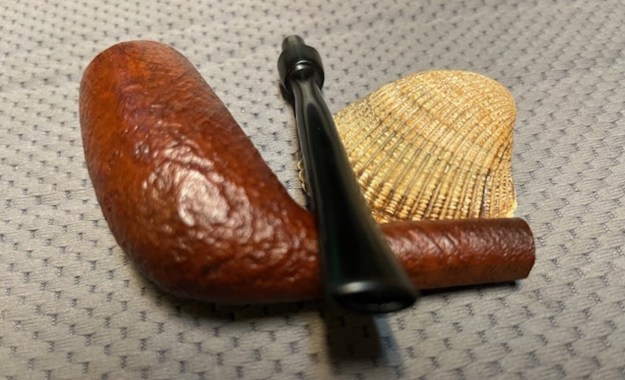
The next pipe on the table is one that we picked up in the lot from a good friend in Denmark on May 22/2024. The sandblast finish on this Danish made pipe and the shape is what caught our eye. It is stamped on the underside of the shank and reads REBILD [followed by] de [over] Luxe. Next to that it is stamped Made in [over] Denmark. Next to that it is stamped with the shape number 020. It has a Reddish, Brown stain on the sandblast finish that is a stark contrast to fancy vulcanite saddle stem. The Cutty shaped bowl was lightly caked, though it also seems to have been recently reamed. The inner edge and the top look good though there is some darkening and some spots of lava in the sandblast on the top. The stem was lightly oxidized and had tooth chatter on both sides ahead of the button. There was a GJ logo stamped on the left side of the saddle. It points to a Georg Jensen connection. Jeff took some photos of the pipe to show the general condition of the pipe before he started his clean up.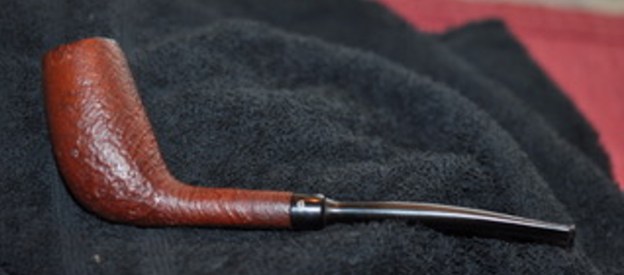
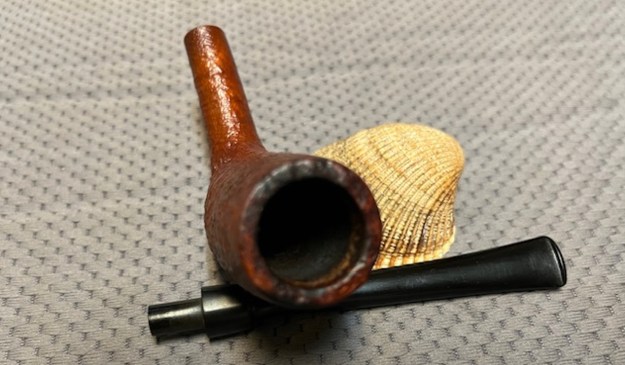
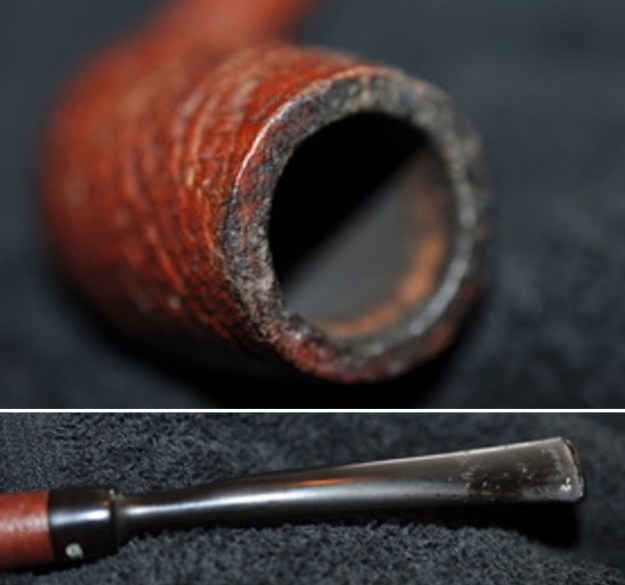
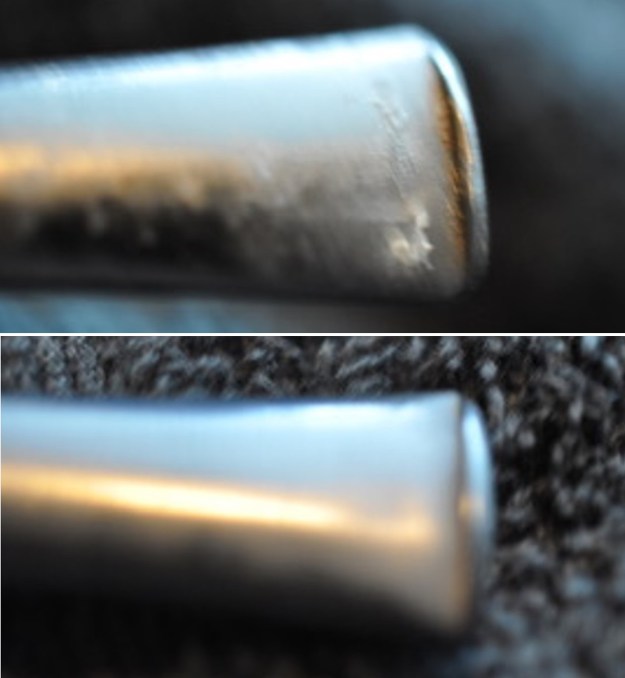
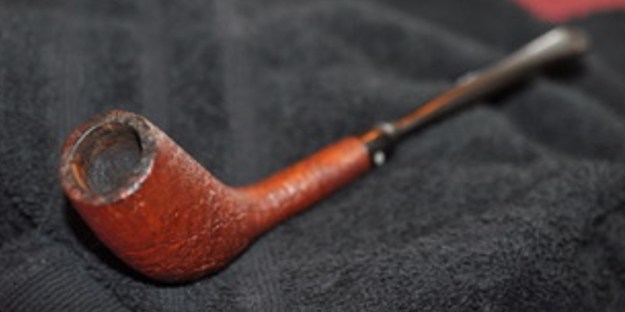 He took some photos of the rim top and bowl from various angles to give me a clear picture of the condition of the rim top and bowl. There is some darkening and lava on the rim top but the bowl itself is lightly caked. He included photos that show the top and underside of the stem. It is as described above.
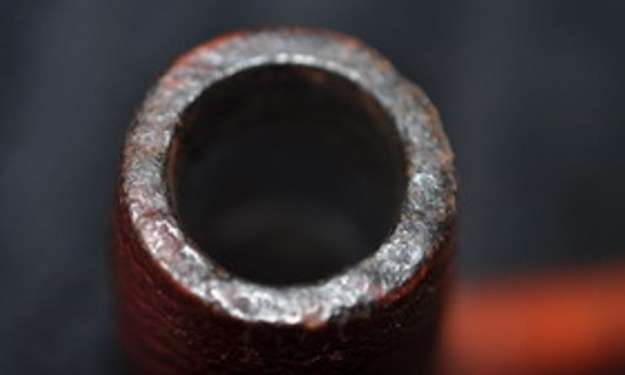
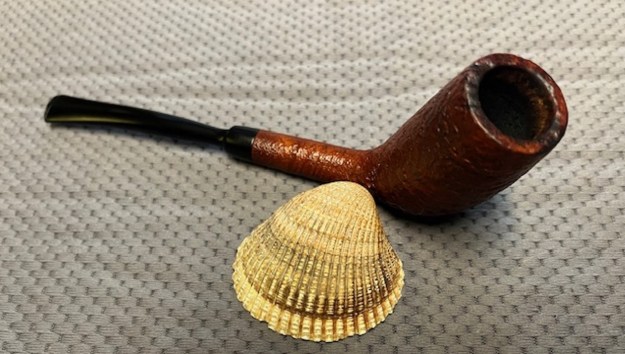
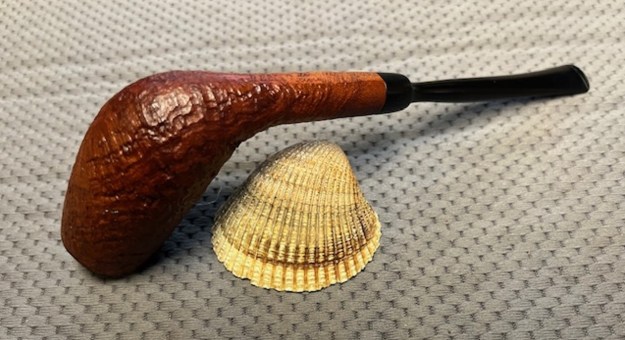
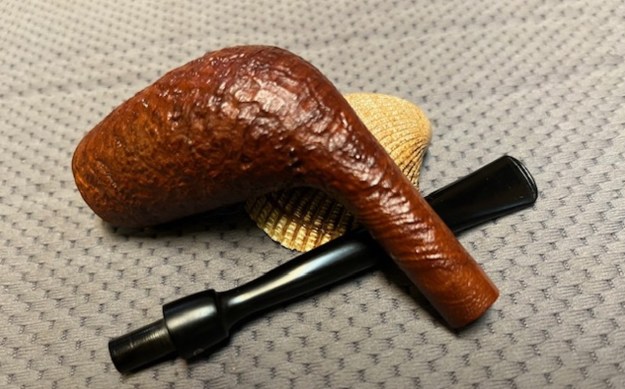
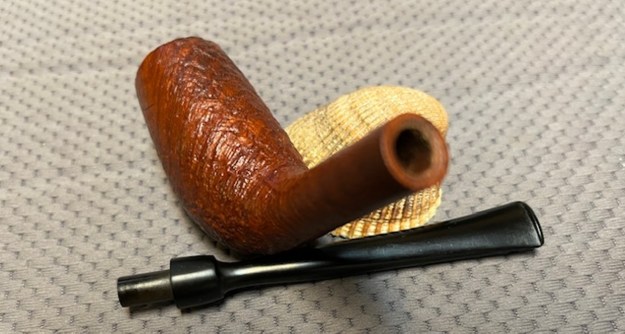
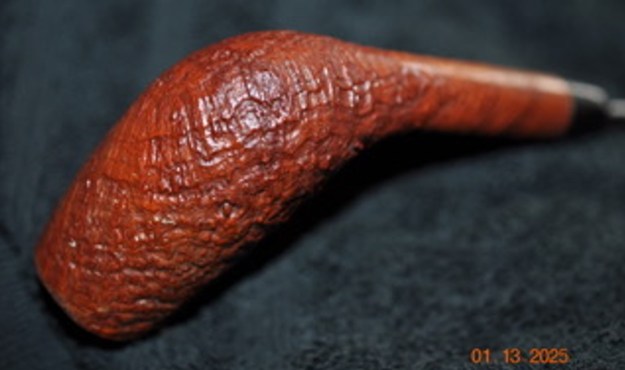
 Jeff took some photos of the sides and heel of the bowl to show the condition of the finish on the pipe. The photos showed a nice sandblast around the bowl and shank even with the grime in the finish. It is a great looking piece of briar.
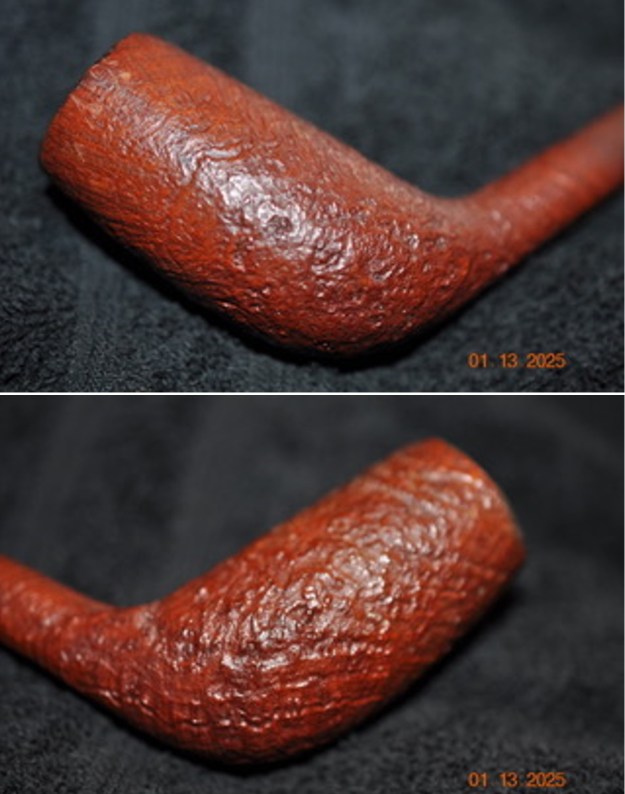
 He took photos of the stamping on the underside of the shank. It was clear and readable as noted above.
 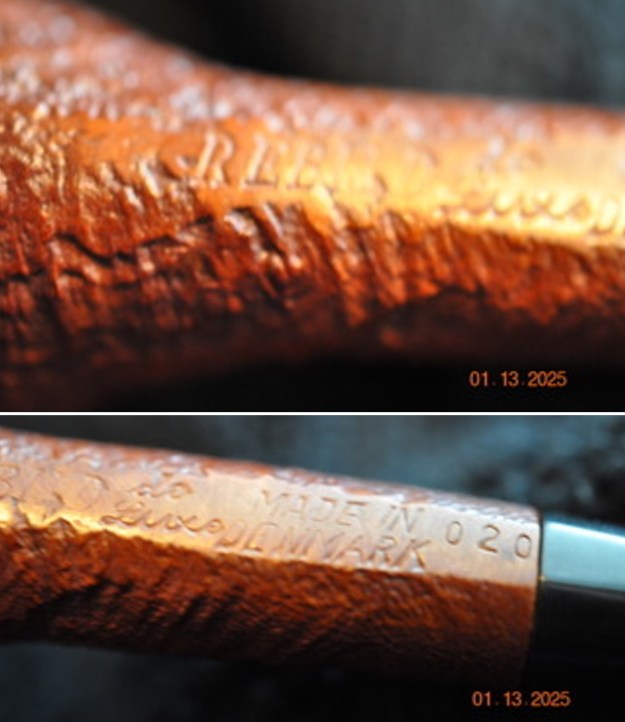 I was pretty sure I was dealing with a Georg Jensen pipe so I did a google search for REBILD Made in Denmark pipes. I found a great discussion by a fellow on Pipemagazine.com about his collecting of Georg Jensen pipes (https://pipesmagazine.com/forums/threads/georg-jensen-pipes-models-shapes-info-and-mysteries.87932/). In the post he gave a list of the model names of the Jensen pipes. There was some great information and scrolling through the list I found what I was looking for. I quote from the post below:
The model names were generally in all capital letters… but there were plenty of GJ pipes that had no model name stamp at all. Here are the model names that I have seen:
-SUNRISE
-GOODWILL
-REBILD [named after Danish woodland region]…
I did a bit more digging and found an esty listing for a Rebild pipe by Georg Jensen. I have included the link and the description of the pipe that was being sold below (https://www.etsy.com/ca/listing/1728913413/rebild-georg-jensen-hand-cut-niceclean?show_sold_out_detail=1&ref=nla_listing_details). It was also very helpful information. I also included a photo of the pipe.
From the good folks at Georg Jensen, this gorgeous straight Chimney or Stack, offers a nice tall bowl as part of their “Rebild” series. It’s rather obvious that Jensen’s Rebild (the name of a wooded region) series is an attempt to capitalized on the huge success of their competitor/fellow pipe makers, the Pipe Dan “Reformed”, with the same very Danish tall pipe legacy. This is a Georg Jensen higher end pipes as it was “hand cut”, while much of their line is machine made. The briar has a nice mélange of briar including birds-eye grain, in a dark honey colored finish. The short “pencil” shank leads to a long straight, tapered, fantail Vulcanite stem that is in excellent condition with no tooth marks. A really nice long/elegant, lightweight Dane to add to your collection of pipes. Cleaned, refreshed, sanitized, and ready to enjoy right out of the box.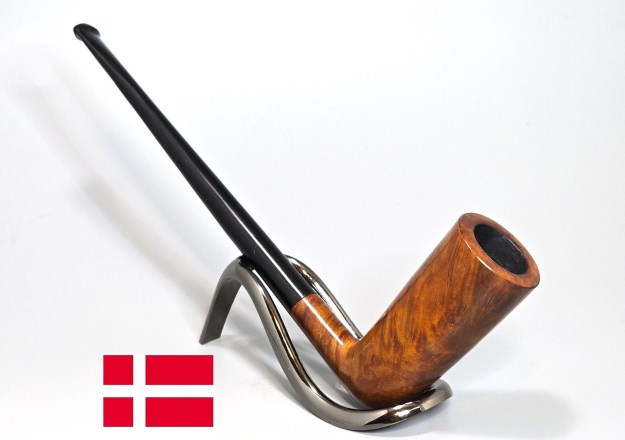 I knew that I was definitely dealing with a Georg Jensen made Rebild pipe which appeared to be tall and quite unique pipes. It was named after a wooded area in Denmark and came out about the same time as the Danpipe Reform pipes.
Armed with that information I was ready to work on the pipe. Since Jeff always follows the same pattern of work in his cleanup we do not include photos but rather just a simple summary. Jeff reamed the bowl with a PipNet pipe reamer and followed up with a Savinelli Fitsall pipe knife to remove the cake. He scrubbed out the mortise and the airway in the shank and the stem with alcohol, cotton swabs and pipe cleaners. He scrubbed the exterior of the bowl, rim, shank and stem with a tooth brush and Murphy’s Oil Soap to remove the oils and tars on the rim and the grime on the finish of the bowl. He rinsed it under running water. He dried it off with a soft cloth. He was able to remove the lava build up on the rim top and you could see the damages to the top and edges of the rim. I think this pipe may well been before we worked with Mark Hoover’s Before & After Deoxidizer so he cleaned the internals and externals. The stem was clean but lightly oxidized. I took photos of what the pipe looked like when I brought to my worktable.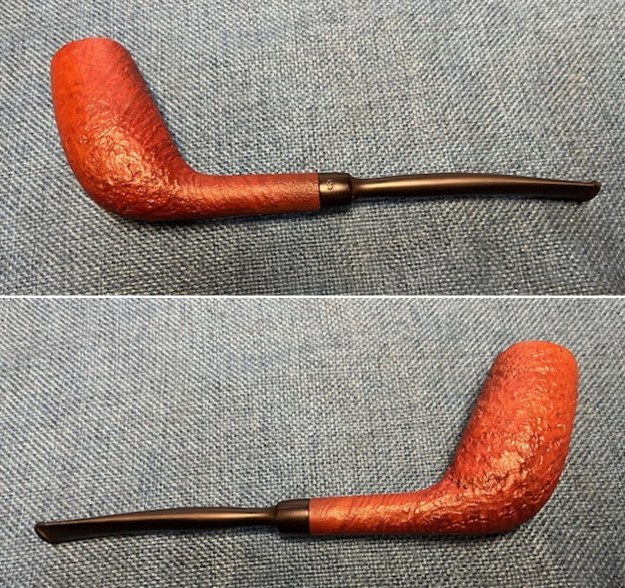
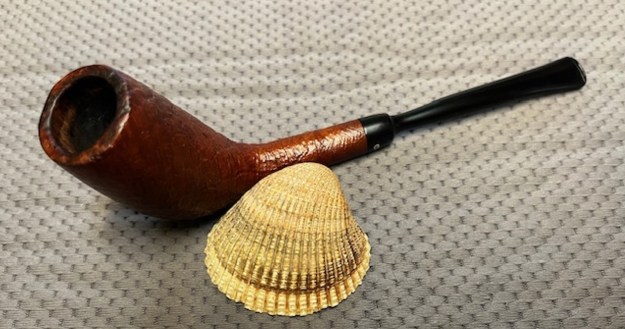
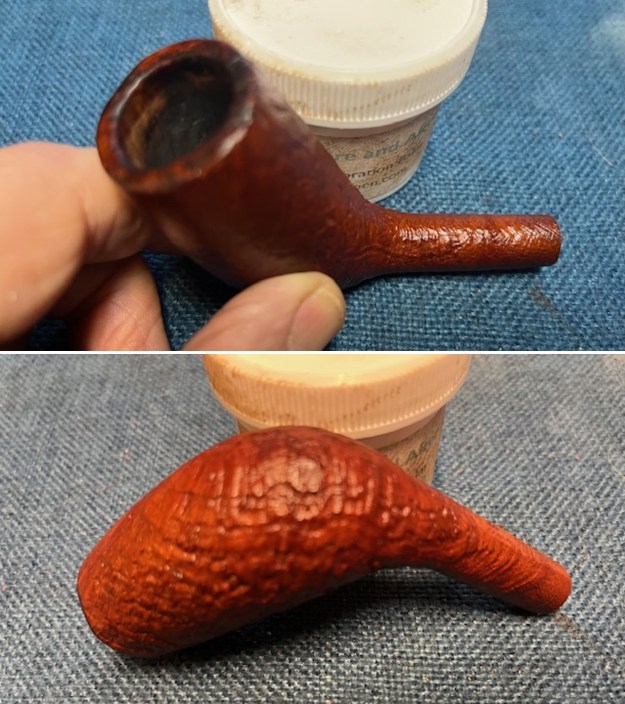
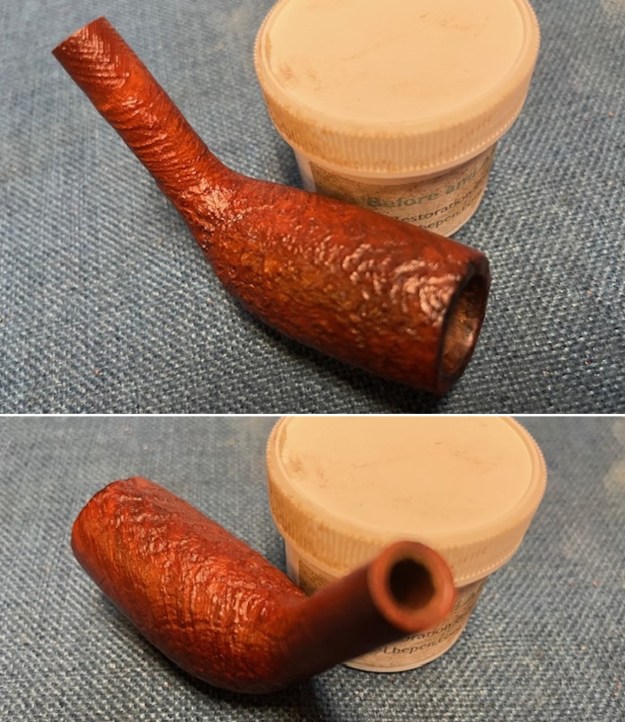
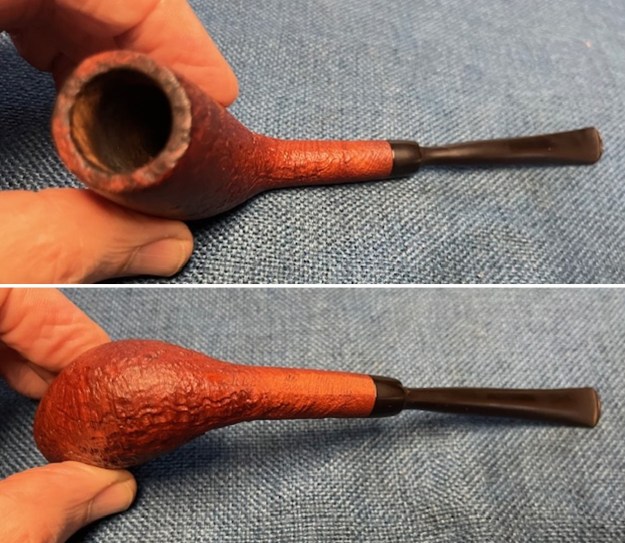 I took close up photos of the bowl, rim top and stem to show how clean the pipe was. The bowl was clean and the rim top and the inner edge showed darkening but no damage. The stem was clean and there were light tooth marks on the top and underside of the stem.
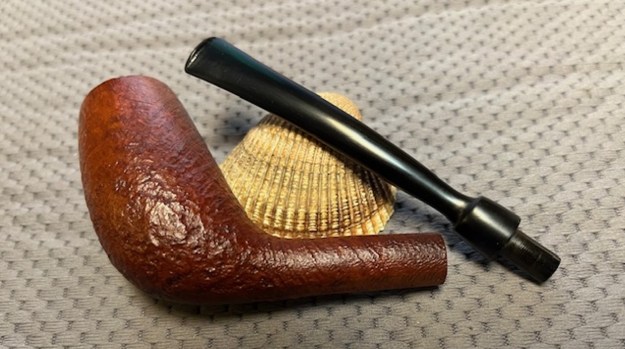
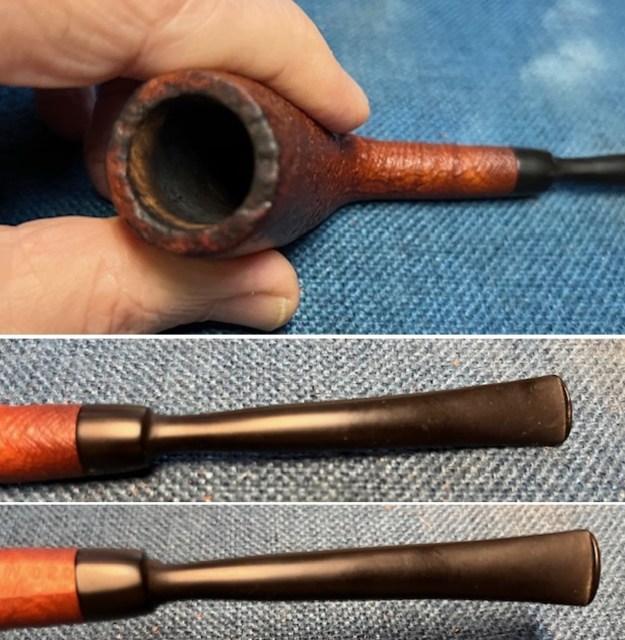 I took a photo of the stamping on the underside of the shank. It is very clear and readable and read as noted above. I also removed the stem from the shank and took photos of the pipe to show the look of the parts.
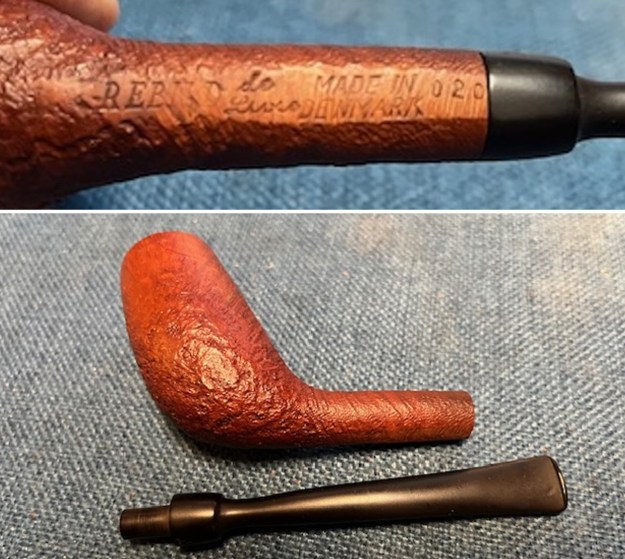 The exterior of the bowl was in excellent condition. I did not need to sand or do anything in preparation on the pipe. I set the stem aside and worked some Before & After Restoration Balm into the briar with my finger tips and a horsehair shoe brush. I let it sit on the bowl for 10 minutes and then buffed it off with a paper towel and soft cloth. The product is a great addition to the restoration work. It enlivens, enriches and protects the briar while giving it a deep glow. It is a product I use on every pipe I restore.
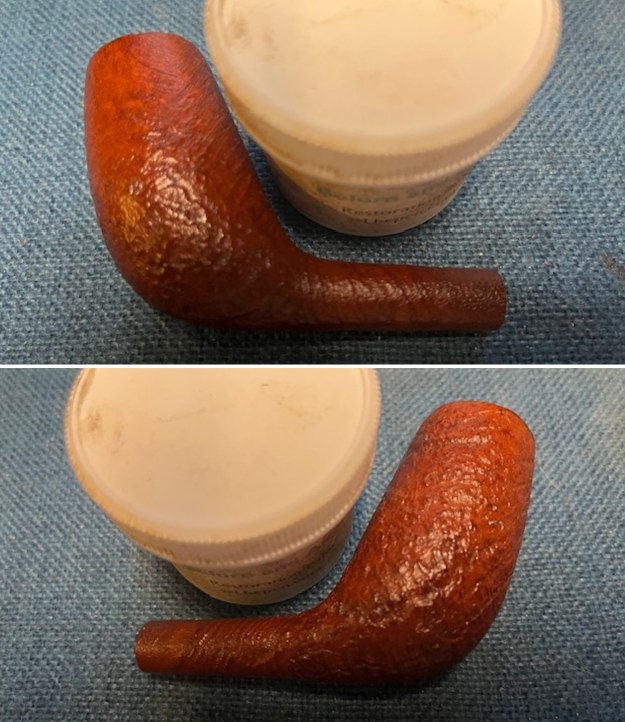
 I set the bowl aside and turned my attention to the stem. I tried to raise the tooth marks as much as possible by “painting” the surface with a lighter flame. It lifted the marks completely on the underside but did not lift the deeper one on the topside. I filled in the deep mark with rubberized black CA glue. Once it had cured I flattened the repair and recut the button edge with a small file. I further flattened and blended in the repairs with a folded piece of 220 grit sandpaper. It was a big improvement but still more work to go!
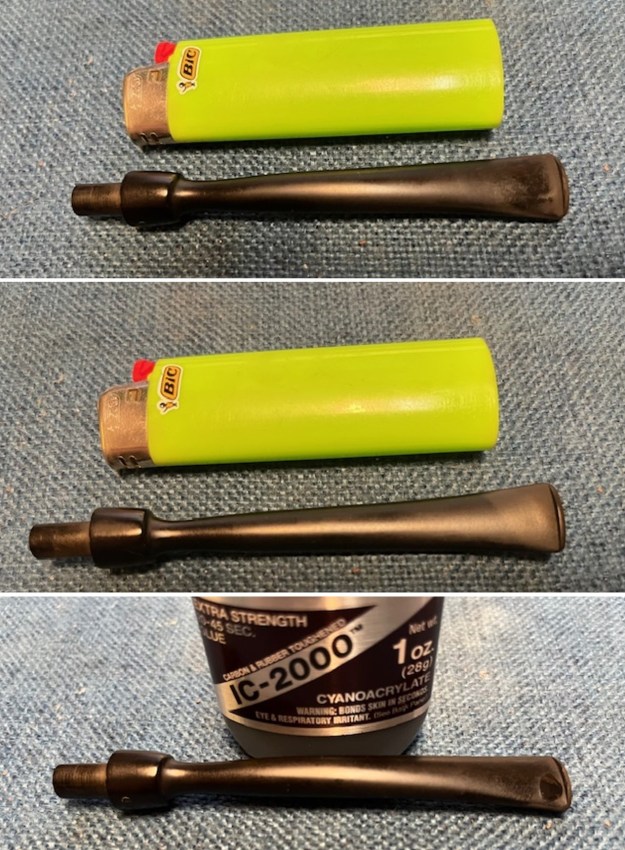
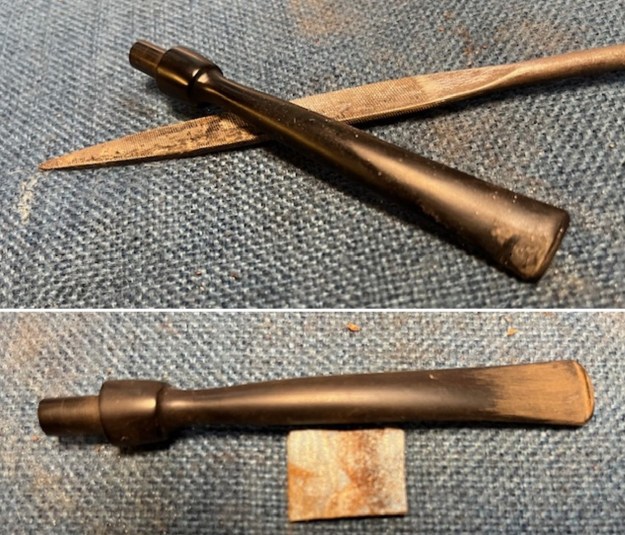 I continued the sanding process with 320-3500 grit sanding pads. The repairs began to disappear into the surface of the vulcanite and the stem began to take on a smooth new look. Progress for sure.
  I touched up the GJ stamp on the left side of the saddle stem with white acrylic nail polish. I worked it into the stamping with a tooth pick. Once it dried I scrapped off the excess acrylic with my fingernail and then sanded it lightly with a 1500 grit micromesh pad to remove the excess.
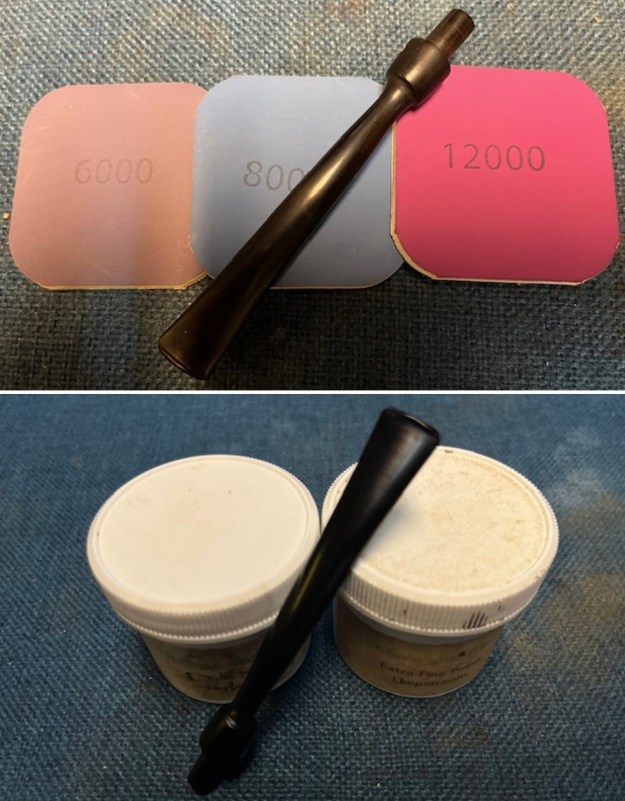
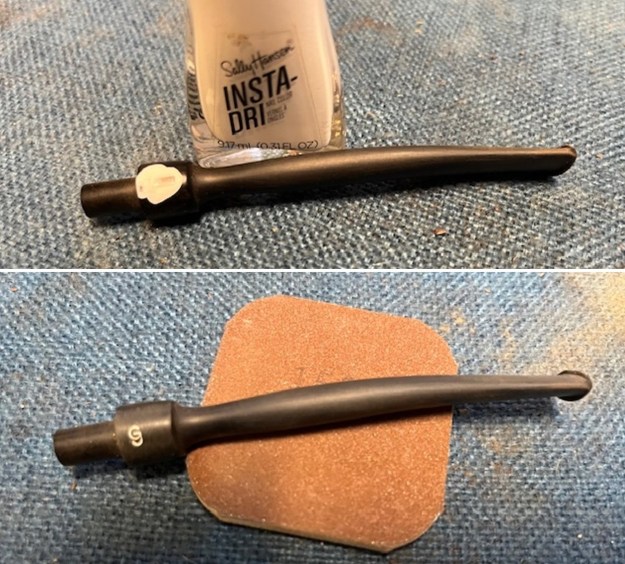 I polished the surface of the stem with micromesh sanding pads – dry sanding with 1500-12000 grit pads and wiping the surface down with Obsidian Oil after each sanding pad. It is really shining. I polished it further with Before & After Stem Polish – both Fine and Extra Fine. I gave it another coat of Obsidian Oil to finish this step.
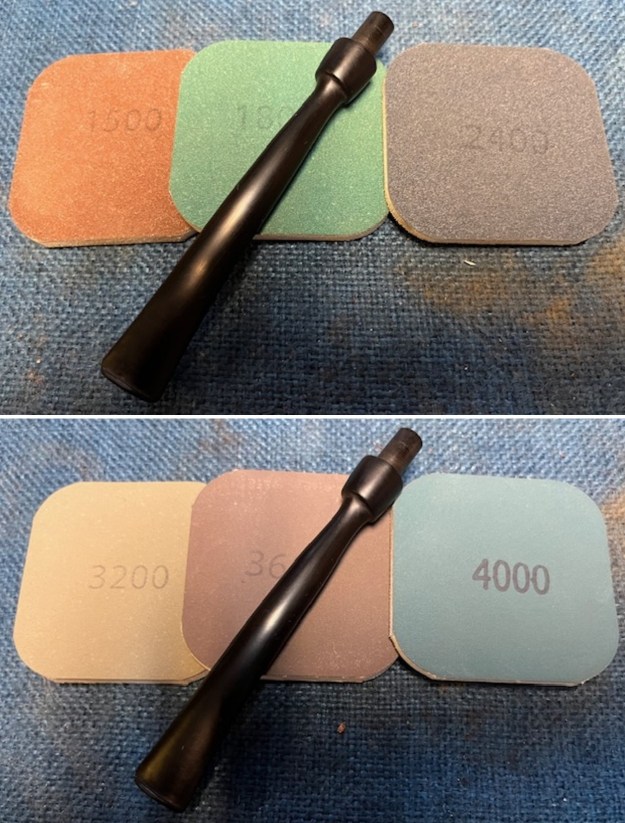
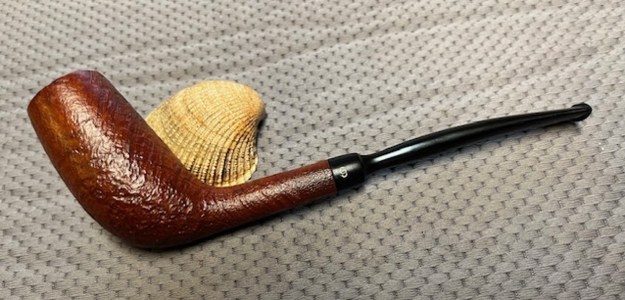
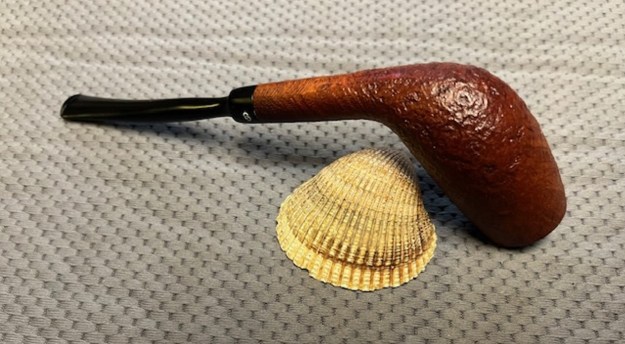
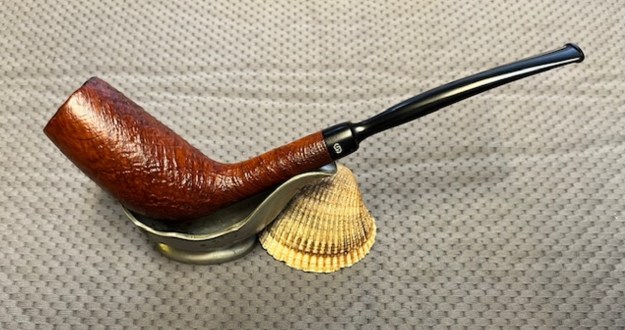
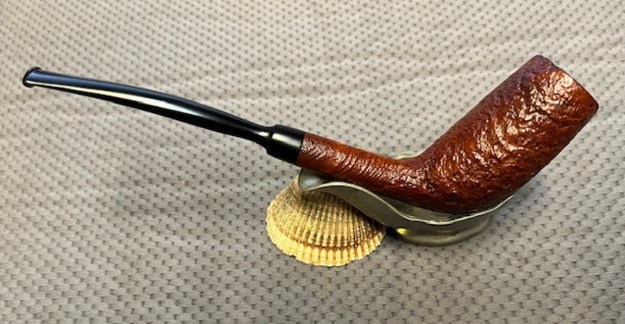
 As usual at this point in the restoration process I am excited to be on the homestretch. I look forward to the final look when it is put back together, polished and waxed. I put the Georg Jensen Rebild 020 Cutty back together. I polished the bowl and stem with Blue Diamond to polish out the scratches in the briar and the vulcanite. I gave the bowl and the stem multiple coats of carnauba wax. I buffed the pipe with a clean buffing pad to raise the shine. I hand buffed it with a microfiber cloth to deepen the shine. The sandblast shows depth and really pops with the wax and polish. The shiny black vulcanite saddle stem is a beautiful contrast to the reddish browns of the bowl. This Georg Jensen Rebild Cutty was a great pipe to spruce up. It is a very comfortable pipe to hold in the hand. The finished pipe is shown in the photos below. The dimensions of the pipe are Length: 7 inches, Height: 2 ¼ inches, Outside diameter of the bowl: 1 inch, Chamber diameter: ¾ of an inch. The weight of the pipe is 29 grams/1.02 ounces. This pipe will be going on the Danish Pipe Maker section of the rebornpipes store if you are interested in adding it to your collection. Thanks for reading this blog and my reflections on the pipe while I worked on it. This is an interesting estate to bring back to life.