by Steve Laug
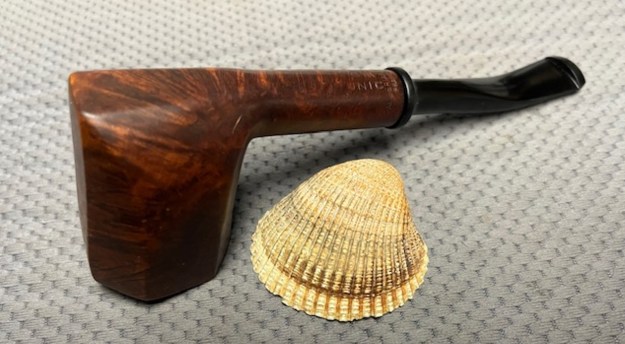
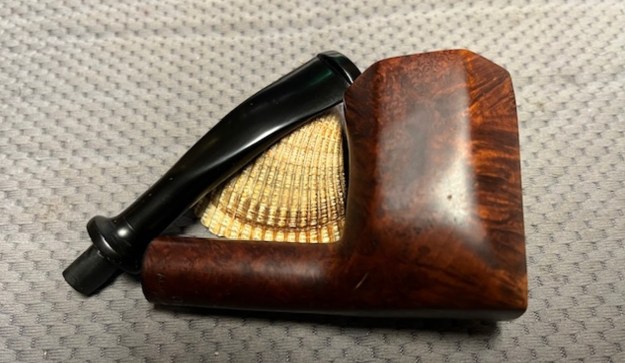
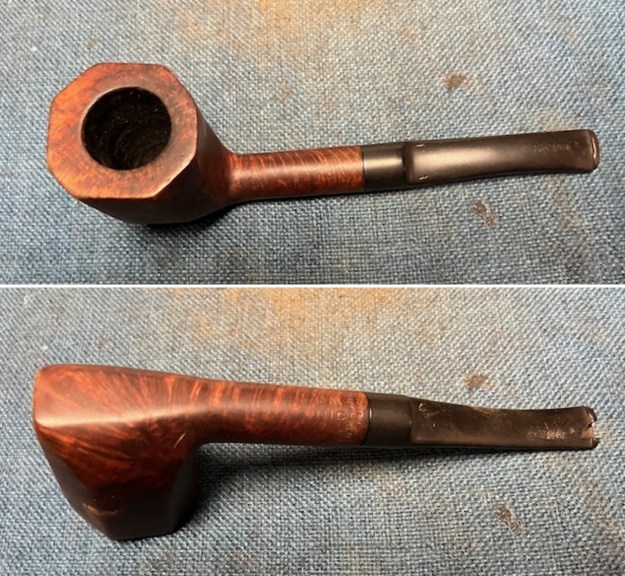
The next pipe I chose to work on was an interesting octagonal Panel. We picked the pipe up from a seller in Saint Cloud, Florida, USA on o4/12/2024. The finish was very dirty but some great mixed grain stood out around the bowl and the shank. The pipe is stamped on the underside of the shank and reads either DN or PM horizontally and vertically it is stamped UNIC. I have never heard of the brand at this point. Below these stamps it is stamped Algerian Briar [over] France. There was also a faint DN or PM in an oval stamped on the side of the saddle stem. The bowl had a moderate cake with some light lava overflow and scratching on the rim top. The shape is almost a Skater but the Octagonal panels take away the shape point of the nose on the heel of the bowl. It had a vulcanite push saddle stem. The stem was oxidized and it was rough to touch. There were also some gouges in the top near the saddle that looked like marks from pliers and tooth marks and chatter. The worst part was that there was large chip from the button forward on the underside of the stem that gave me pause and made me think it would need to be restemmed. Jeff took some photos of the pipe before he started his clean up work. 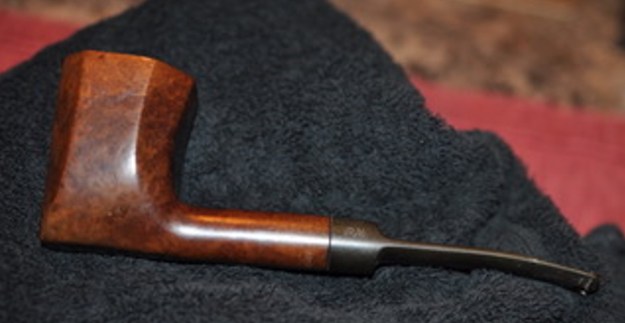
 He took some photos of the rim top and bowl from various angles to give me a clear picture of the condition of the rim top and bowl. You can see the cake in the bowl and the darkening, scratches and light lava coat on the inner edge and rim top. He also took photos of the stem. It is dirty and has a large chunk out of the underside of the stem from the button forward.
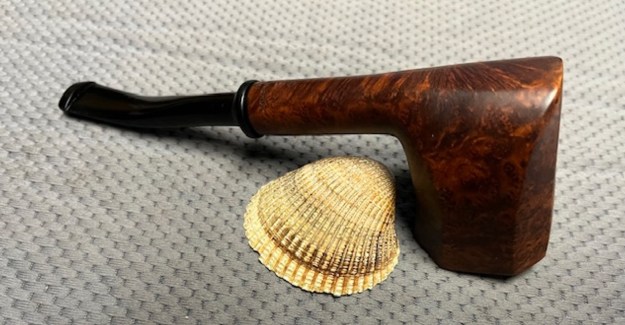
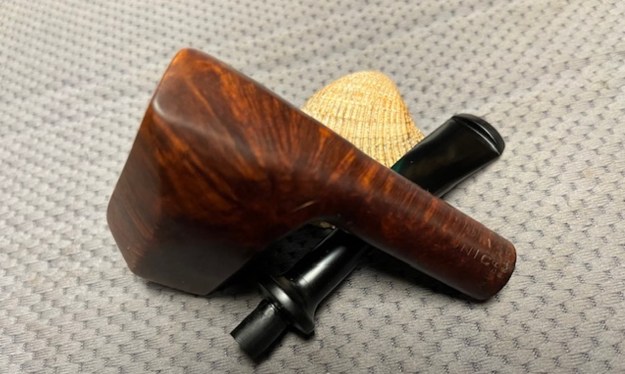
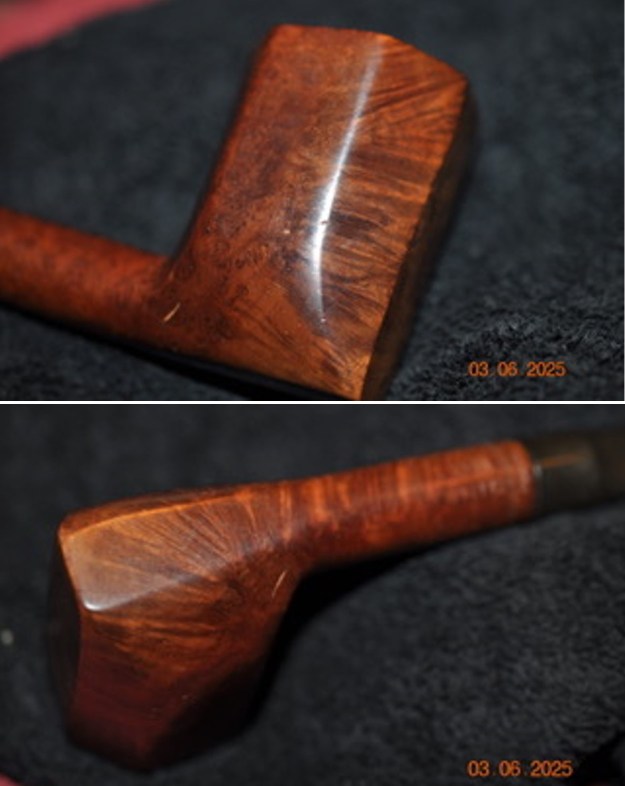
 Jeff took some photos of the sides of the bowl to show the condition of the finish on the pipe. The photos show the smooth finish on sides and heel of the bowl and shank, highlighting grain. Under the dust it was some great looking briar on the panel sides of the octagonal bowl.
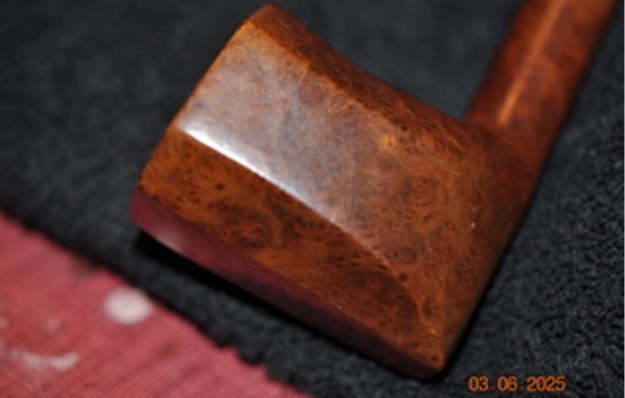
 Jeff took photos of the stamping on the underside of the shank. It is clear and readable as noted above. The DM or PM stamp over UNIC does not ring any bells with me in terms of the maker. Any help would be greatly appreciated…
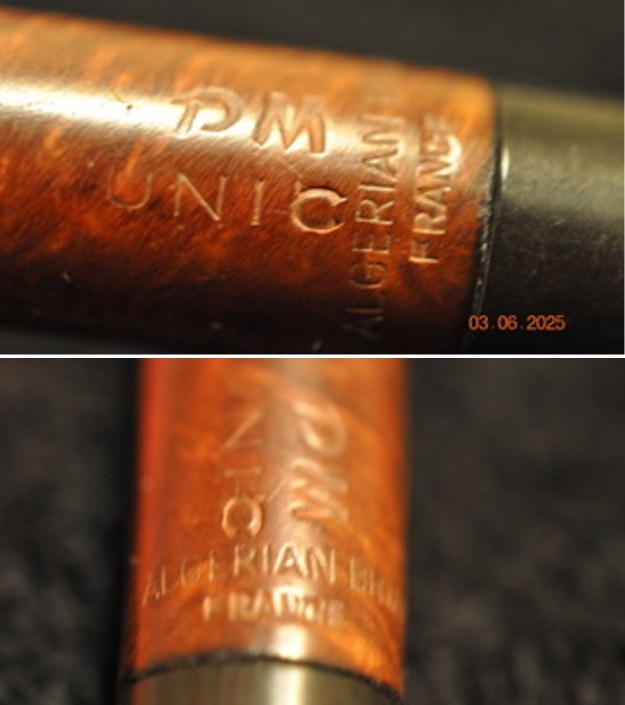 Jeff did a thorough clean up on the pipe before he sent the box to me. He reamed the bowl with a PipNet pipe reamer and got rid of the cake. He cleaned up the reaming with a Savinelli Fitsall Pipe Knife so that we could see the walls of the bowl and assess for damage. It was smooth and in great condition. He cleaned the internals of the shank and stem with alcohol, pipe cleaners, shank brushes and alcohol. He scrubbed the exterior with undiluted Murphy’s Oil Soap and a tooth brush. He rinsed the pipe under warm water. He dried it off with a cloth and then let it air dry. The stem was scrubbed with undiluted Murphy’s Oil Soap and a tooth brush at the same time as the bowl. He soaked it in Briarville’s Pipe Stem Deoxidizer. Once it was rinsed off, it came out looking very good. The finish on the bowl and the rim top cleaned up nicely. The damage on the stem underside was clearly visible. I took pictures of the pipe to show how it looked when I unpacked it.
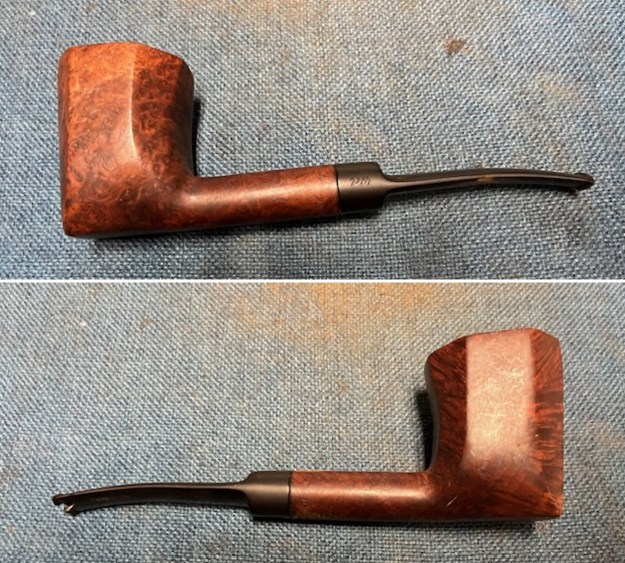
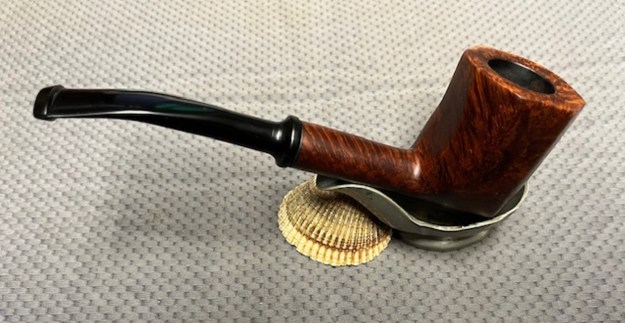
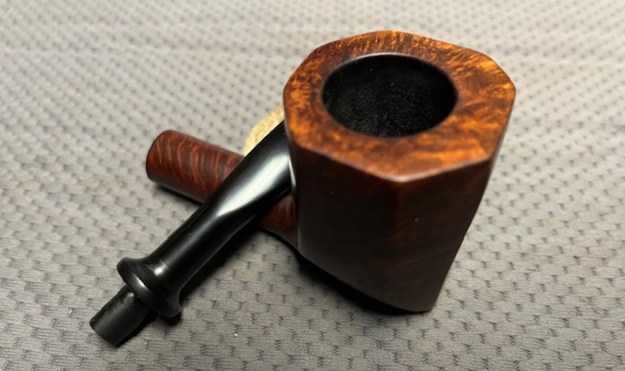
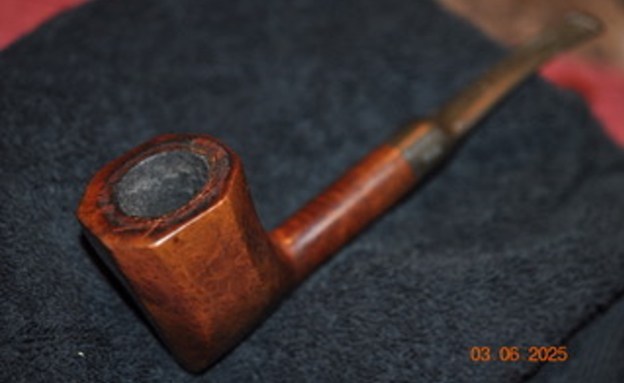
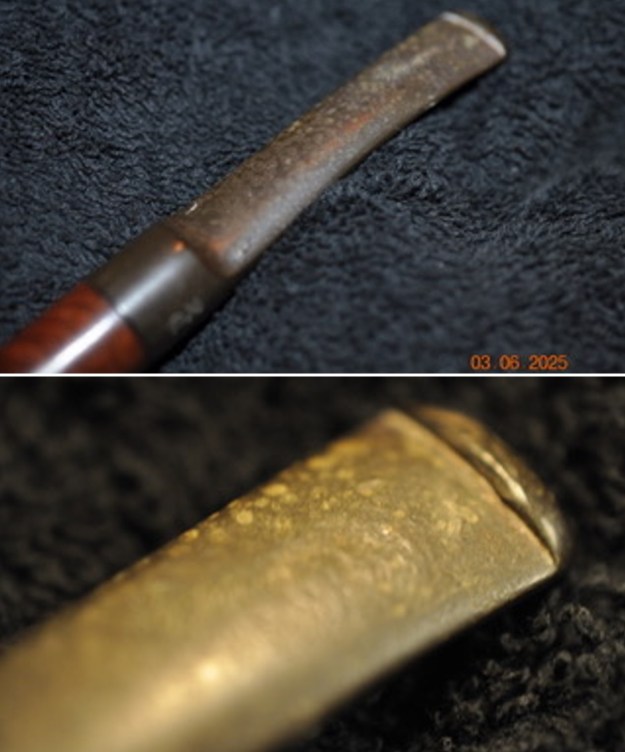
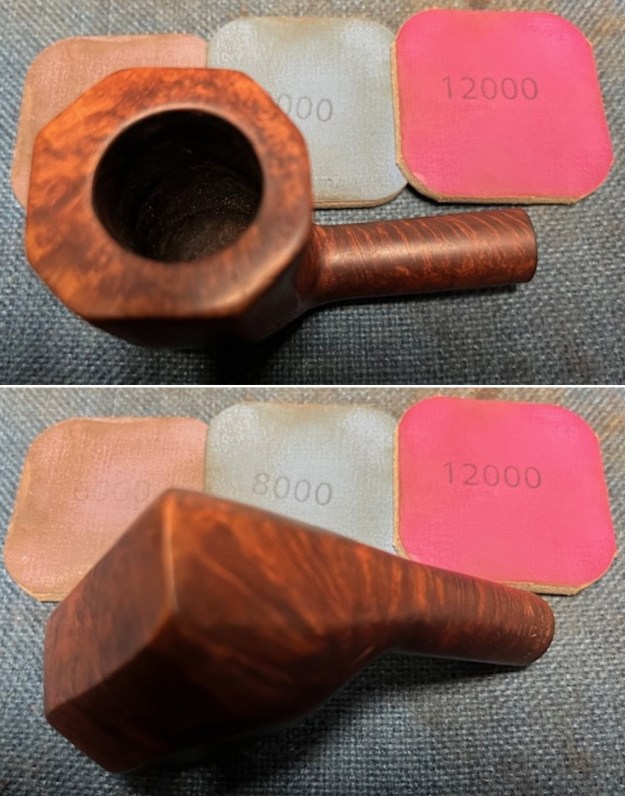
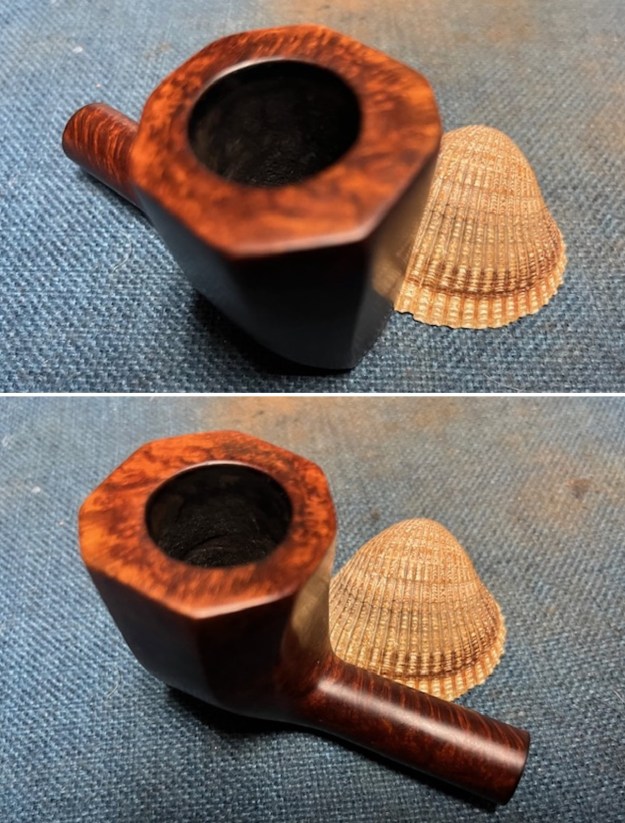
 I took close-up photos of the bowl and rim top to show the condition after cleaning. It looked great. I also took photos of the stem surface to show the condition of the stem and the large chip on the underside.
 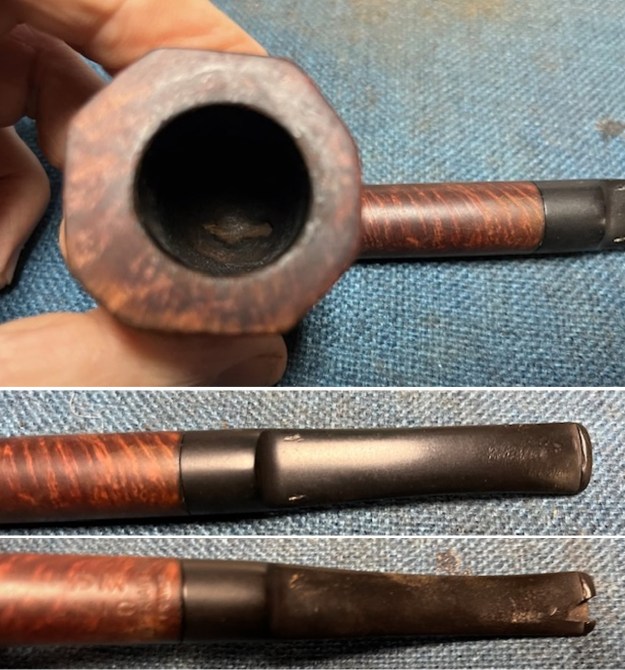 I took photos of the stamping on the underside of the shank. It was clear and readable as noted above. I also took a photo of the pipe with the stem removed to give a sense of size and perspective.
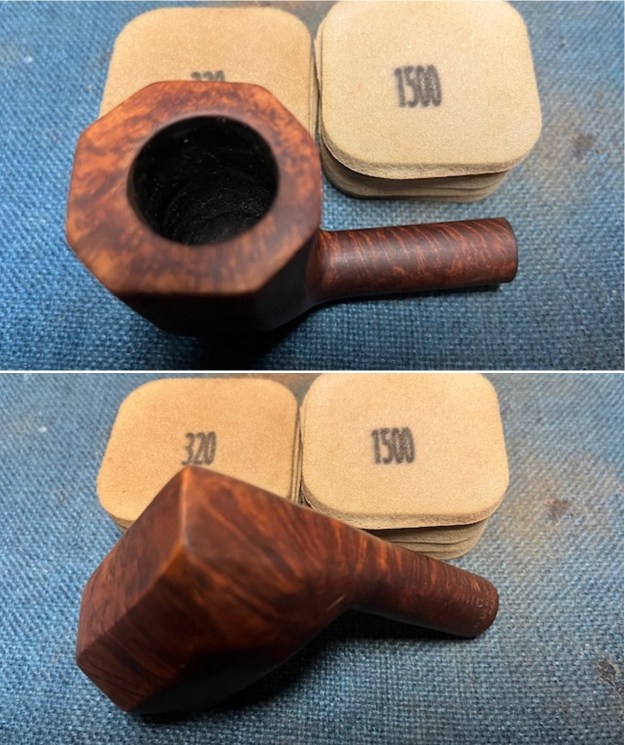
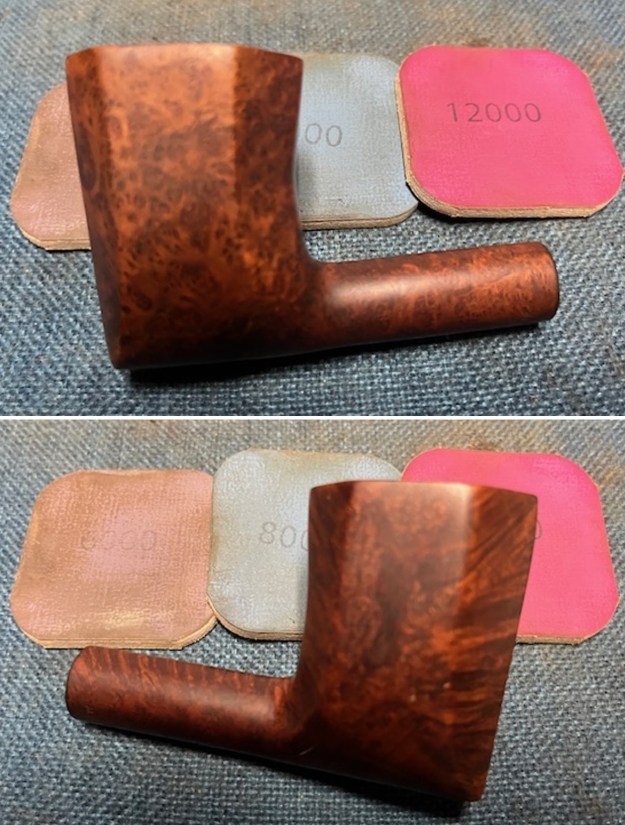
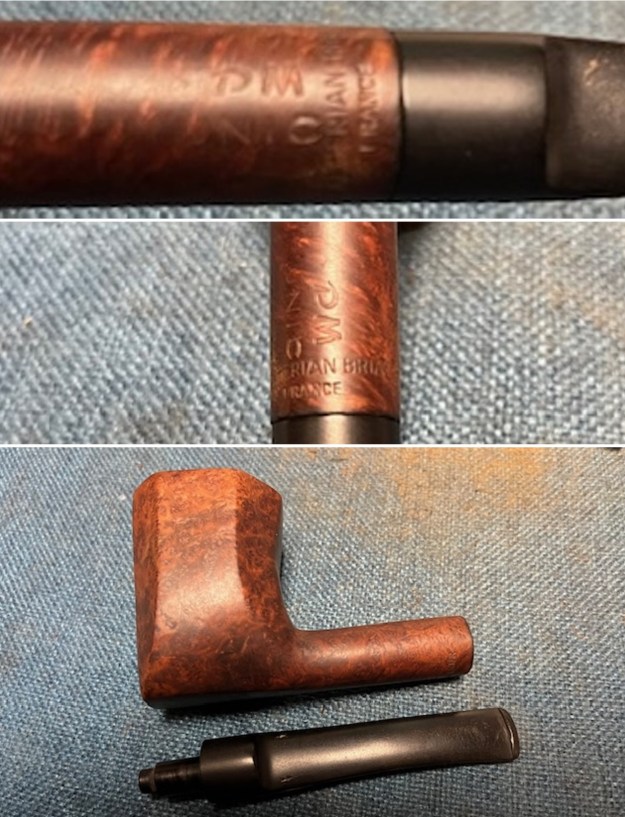 I sanded the rim top and sides of the bowl and shank with 320-3500 grit 2×2 inch sanding pads. I wiped the stem down after each sanding pad with a damp cloth to remove the debris.
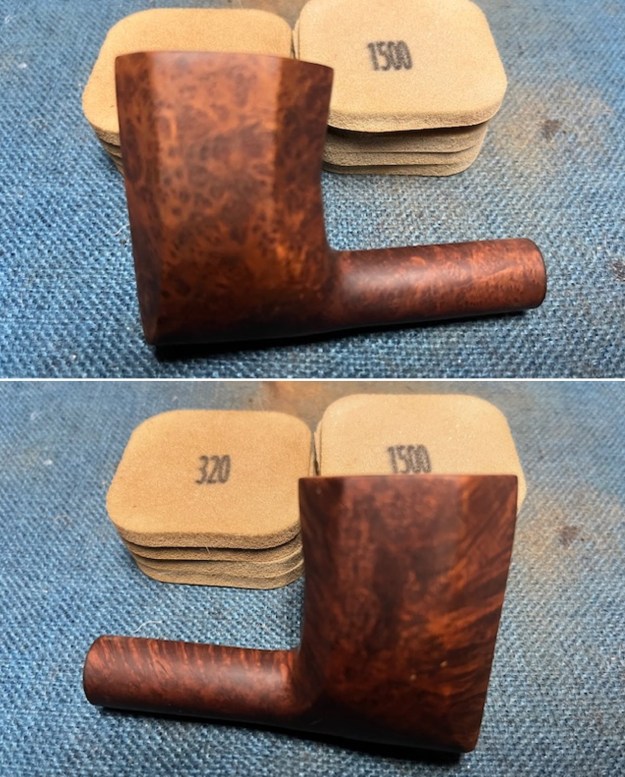
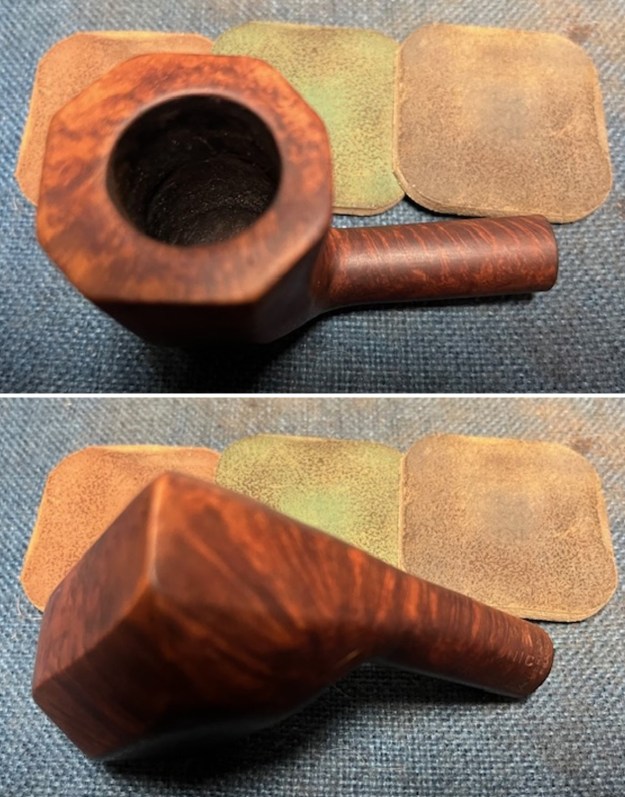
 I polished the smooth side of the bowl and shank with micromesh sanding pads – dry sanding with 1500-12000 grit pads and wiping it down after each sanding pad with a damp cloth. It really began to take on a real shine.
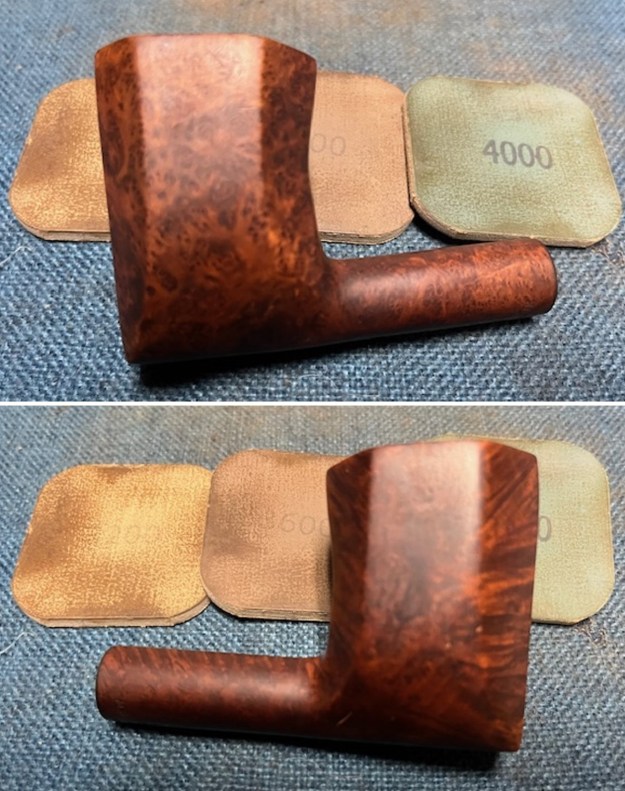
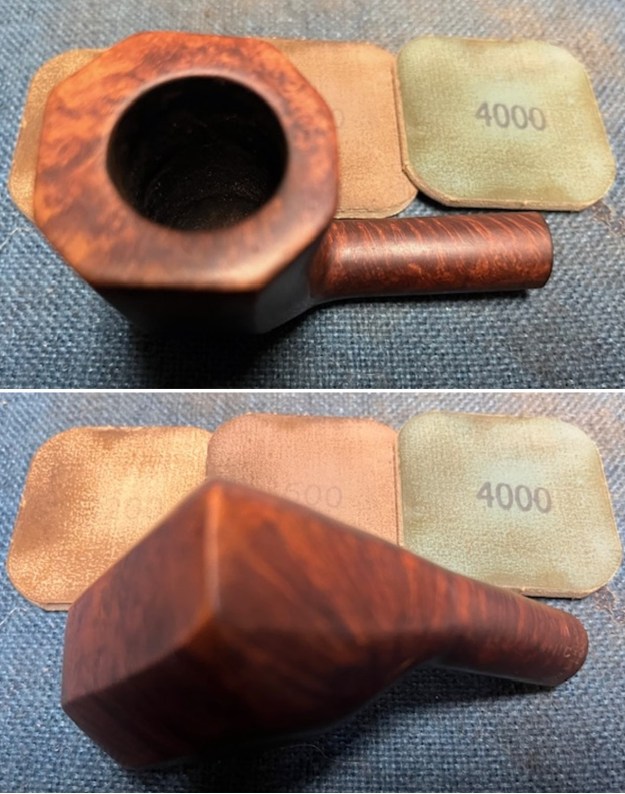
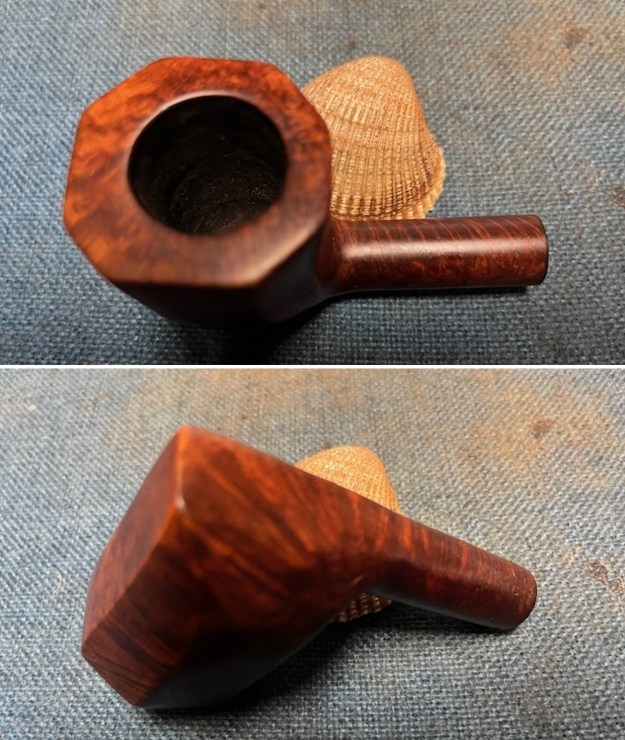
 I worked some Before & After Restoration Balm into the surface of the smooth briar with my finger. I let it sit on the bowl for 10 minutes and then buffed it off with a paper towel and soft cloth. The product is a great addition to the restoration work. It enlivens, enriches and protects the wood while giving it a deep glow. It is a product I use on every pipe I restore.
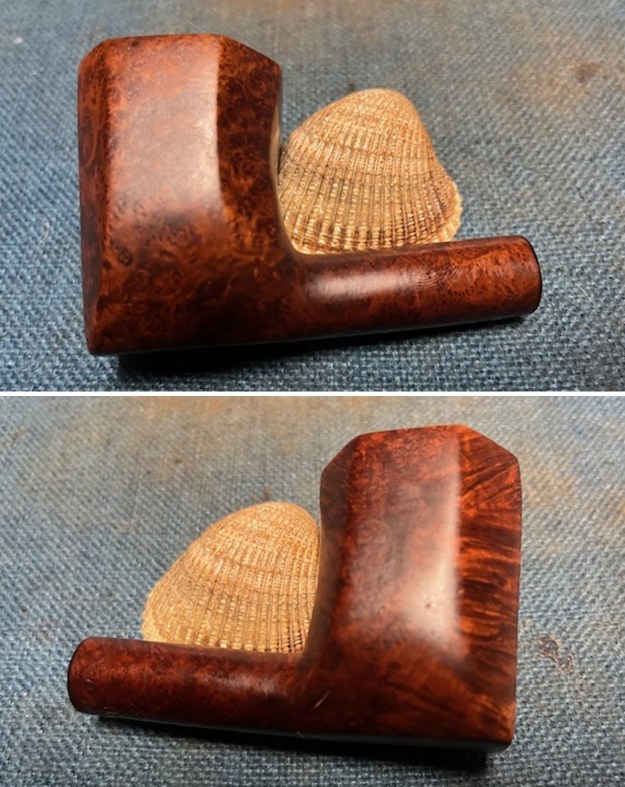
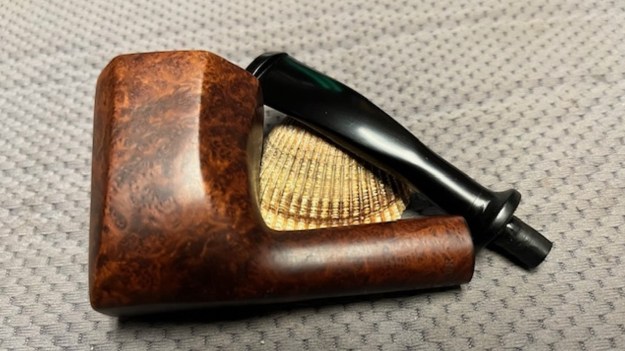
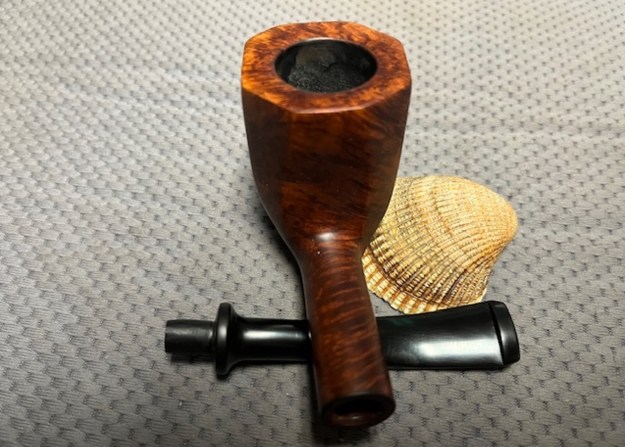
 Now I had a decision to make regarding the stem. I could try a repair on the huge chip but I was uncertain how well it would hold up. I could try though. I could also fit a new stem on the pipe. I could not find any stem that was similar but I found one that would give the pipe a jaunty look. Here is a photo of the two stems.
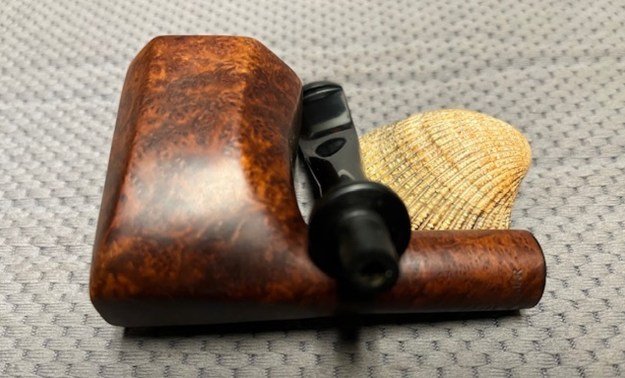
 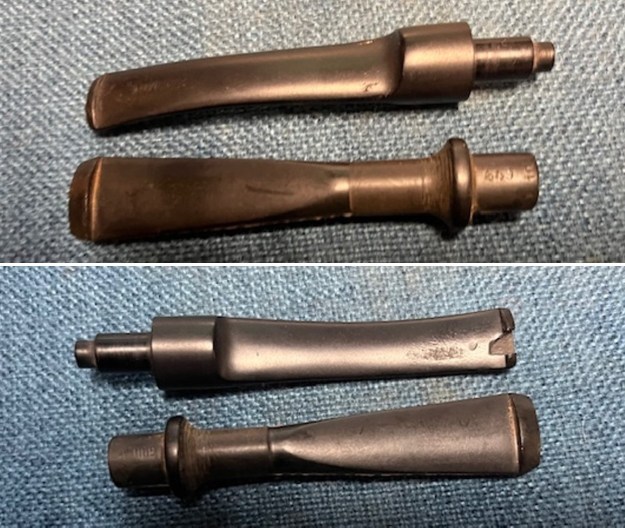 I decided to fit the new stem to the shank just to have a look at its appearance. I really wanted to know if the stem would work and what the pipe would look like with the stem. The pipe almost has the appearance of an interesting cross between a French and a Danish pipe.
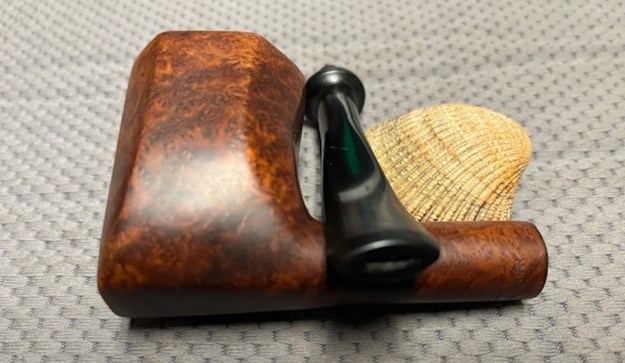
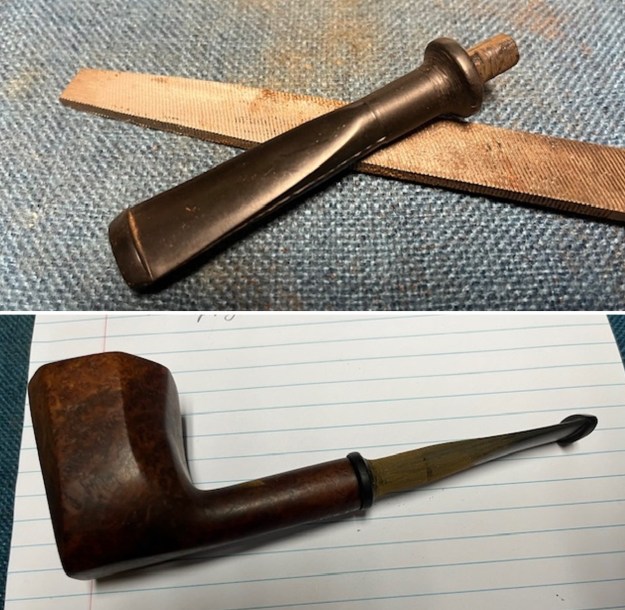 I sanded the casting marks and marks on the new stem with 220 grit sandpaper and files to clean it up and make it look fitting. The change of appearance was quite different. I am excited to see how the finished stem looks on the bowl.
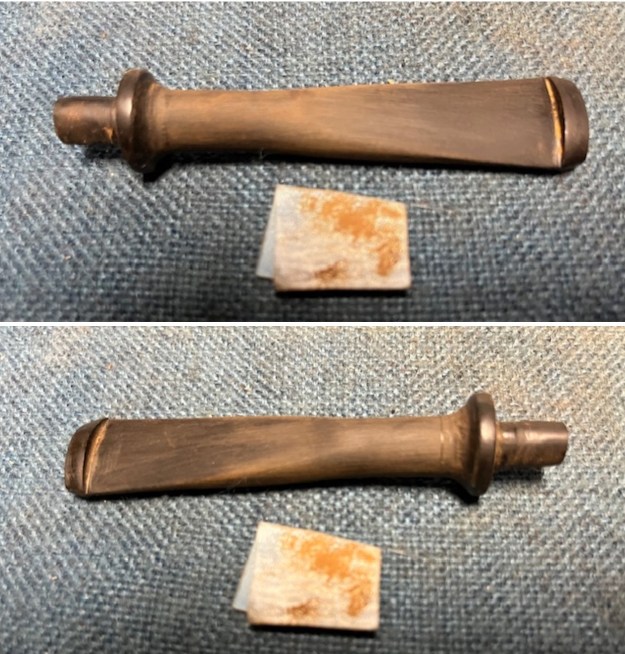 I sanded the stem with 320-3500 grit 2×2 inch sanding pads. I wiped the briar down after each pad with a damp cloth to remove the sanding dust and debris. I wiped it down with an Obsidian Oil cloth. It began to look very good.
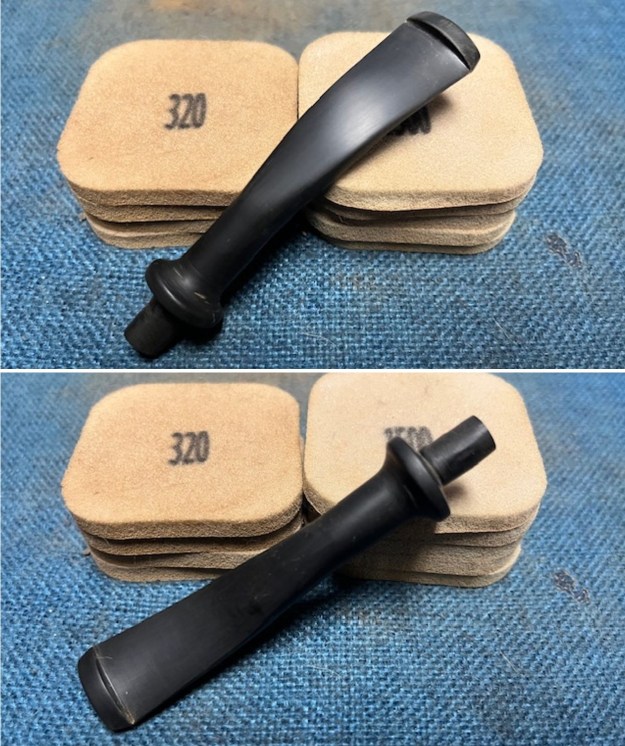 I heated the stem with the flame of a lighter and then bent it over the curve of the lighter. The bend was perfect and once polished I looked forward to see what it would look like on the finished pipe.
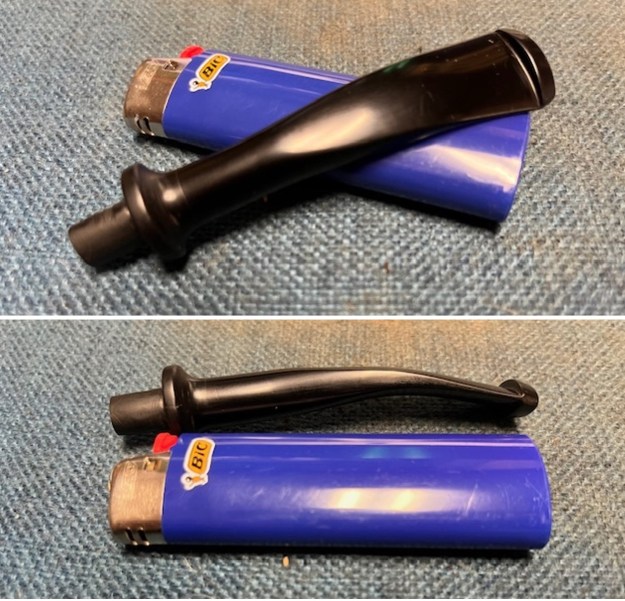 I polished it with micromesh sanding pads – dry sanding with 1500-12000 grit sanding pads. I wiped it down after each sanding pad with Obsidian Oil. I polished it with Before & After Pipe Stem Polish – both Fine and Extra Fine. I buffed the stem with a soft cloth to raise the shine. I gave it a final wipe down with Obsidian Oil to protect it.
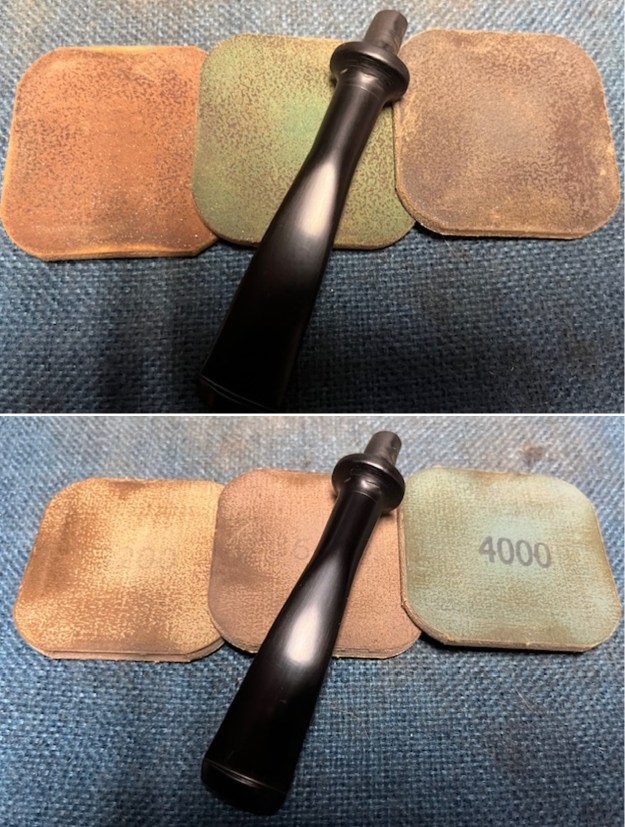
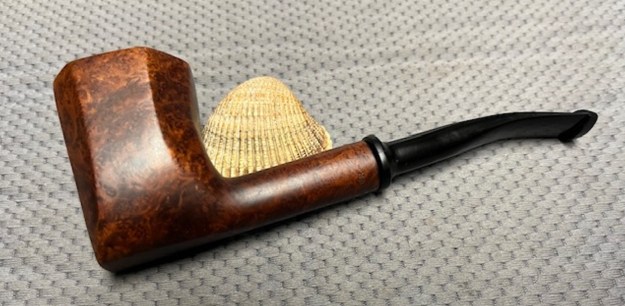
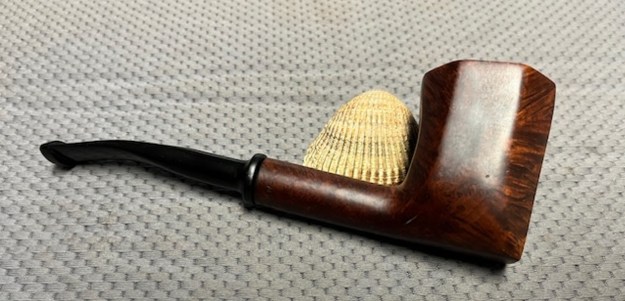
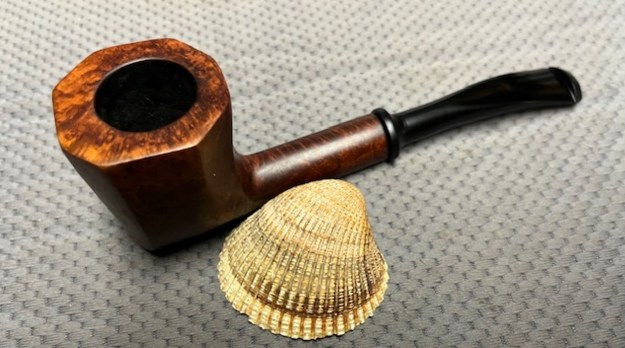
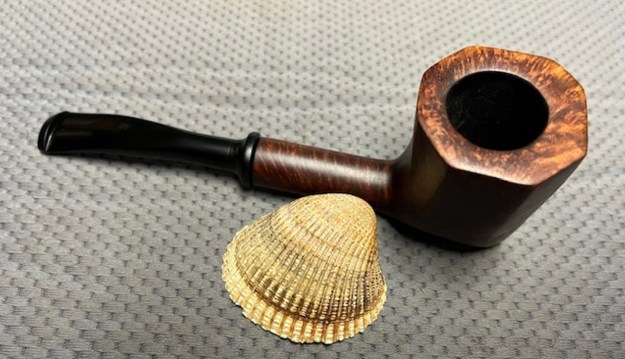
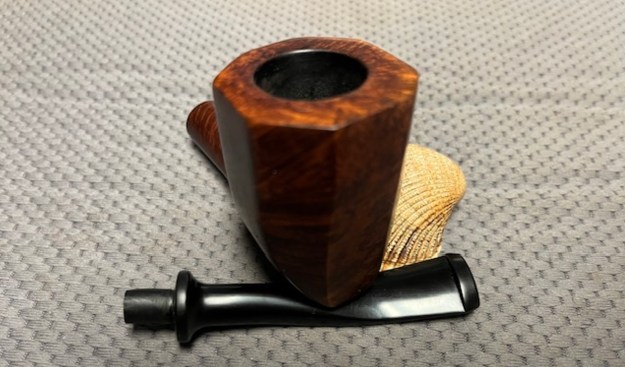
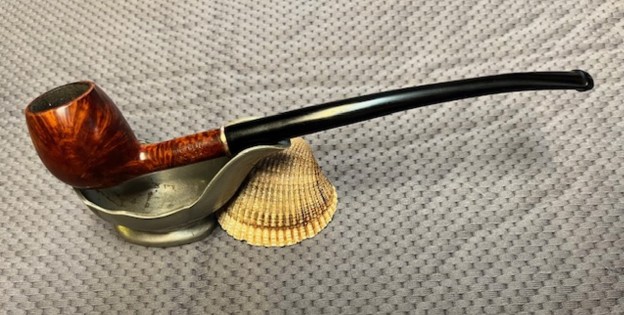
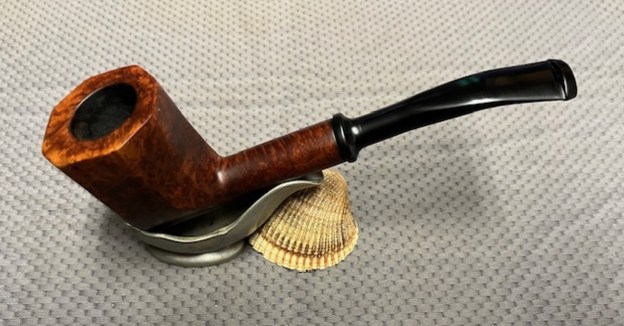
 I don’t know what it is about finishing a restoration but I have to tell you that it is my favourite part of the process. It is the moment when everything that I have worked on comes together. I can compare it to where I started and there is always satisfaction that it looks better than when we picked it up. As always, I put the new stem on the DM UNIC Algerian Briar France and buffed it with Blue Diamond on the buffing wheel. I gave the bowl and the stem multiple coats of carnauba wax. I buffed the pipe with a clean buffing pad and hand buffed it to raise the shine. It is fun to see what the polished bowl looks like along with the polished All Briar stem. This DM Algerian Briar French Octagonal Panel is a great looking pipe and I am sure that it will be comfortable in hand when smoking as it is light and well balanced for a pipe of this size. Have a look at it with the photos below. The dimensions are Length: 6 ½ inches, Height: 2 ¼ inches, Outside diameter of the bowl: 1 ½ inches, Chamber diameter: 7/8 of an inch. The weight of the pipe is 2.29 ounces/65 grams. It is another beautiful pipe and one that will be on the rebornpipes store soon. You can find it in the section of Pipes by French Pipe Makers. If you are interested in adding it to your collection let me know. Thanks for walking through the restoration with me as I worked over this pipe. Thanks to each of you who are reading this blog.
As always, I encourage your questions and comments as you read the blog. Thanks to each of you who are reading this blog. Remember we are not pipe owners; we are pipe men and women who hold our pipes in trust until they pass on into the trust of those who follow us.