by Kenneth Lieblich
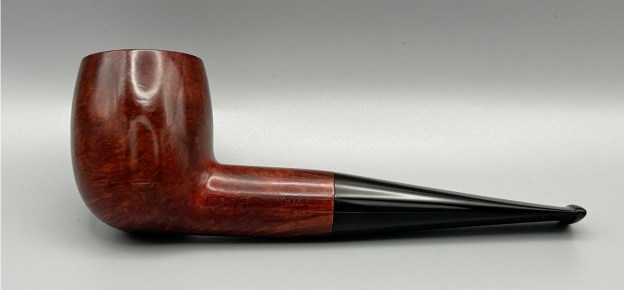
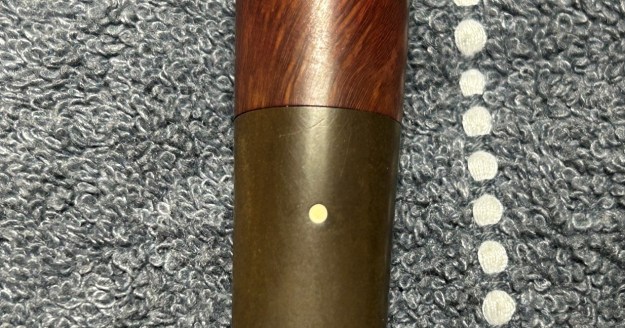
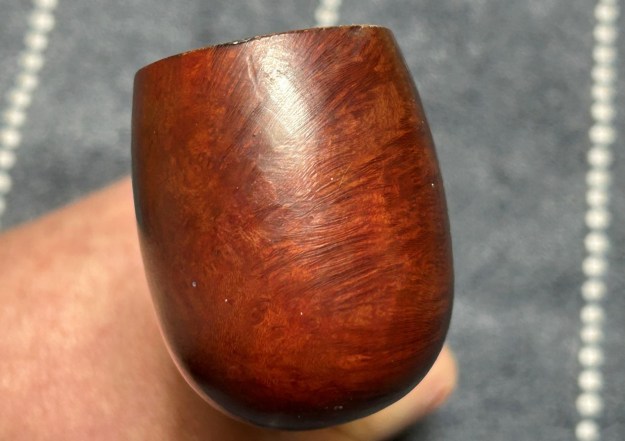
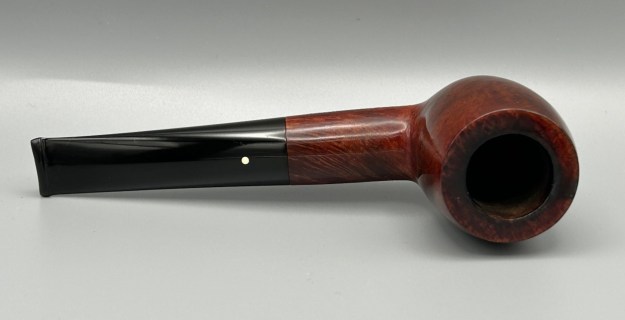
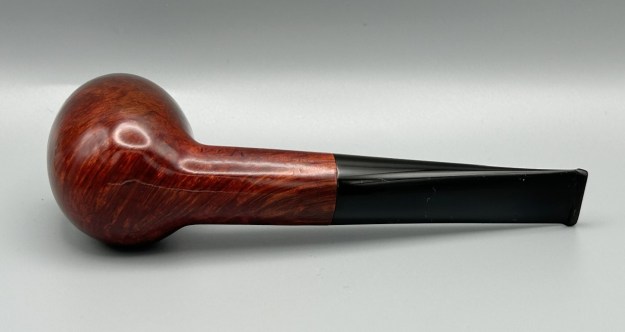
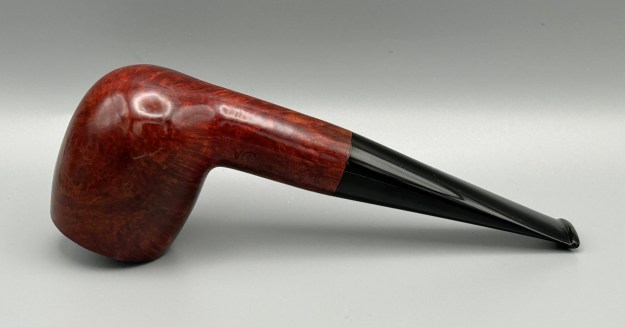
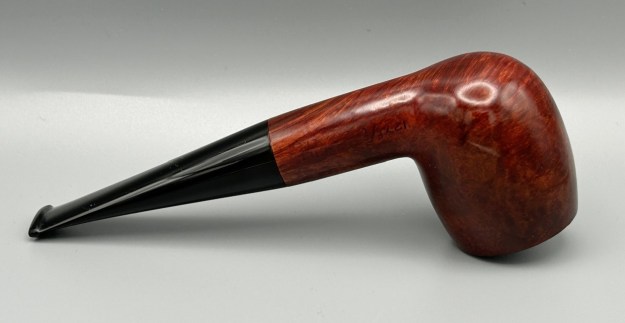
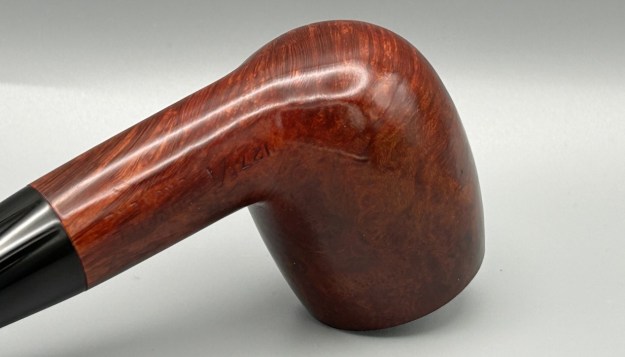
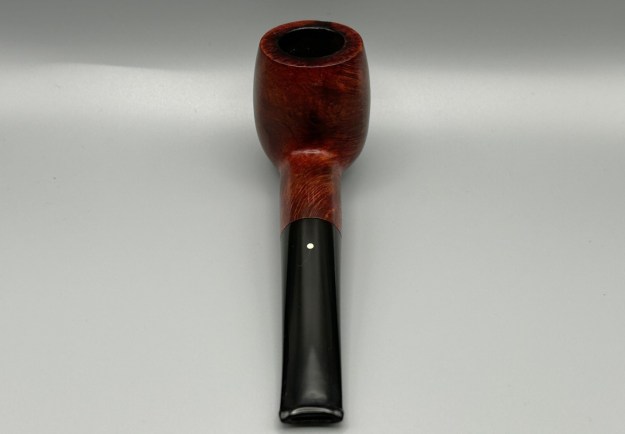
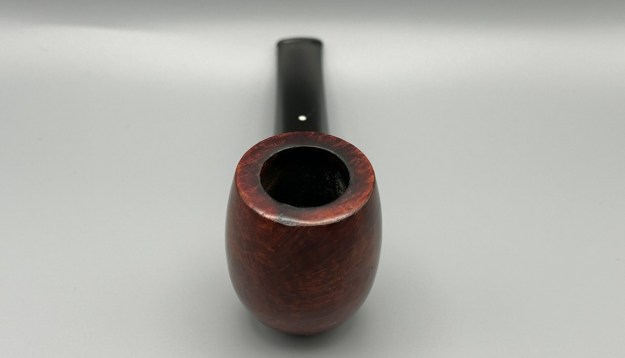
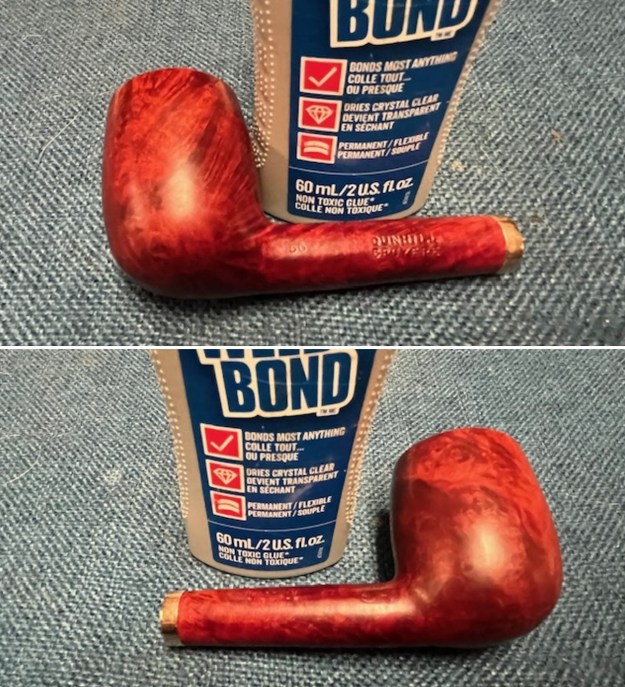
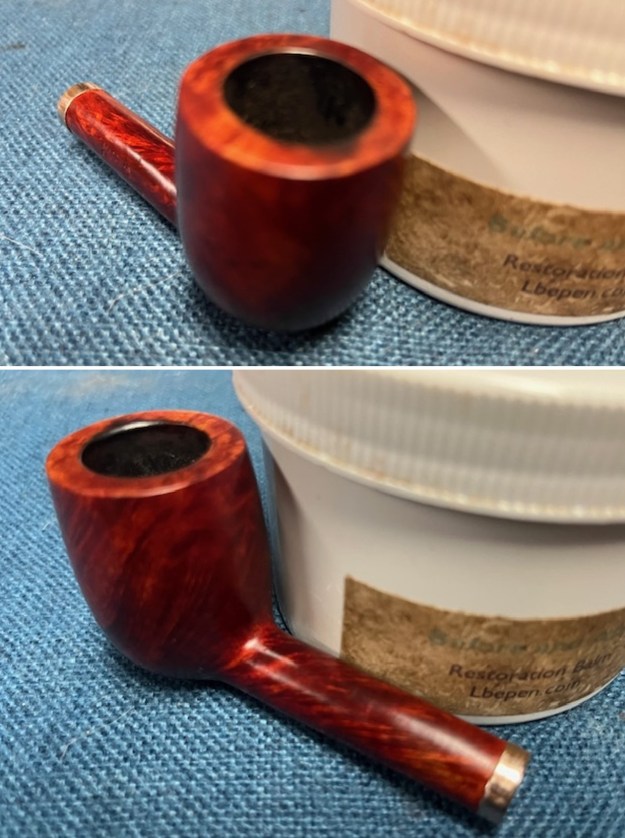
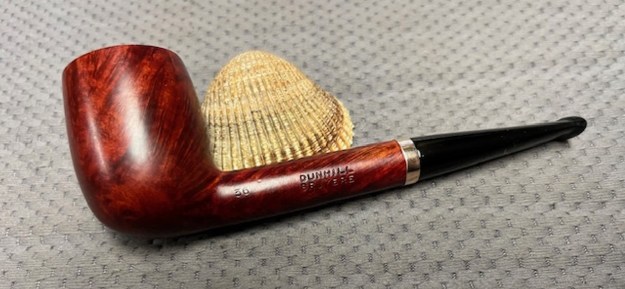
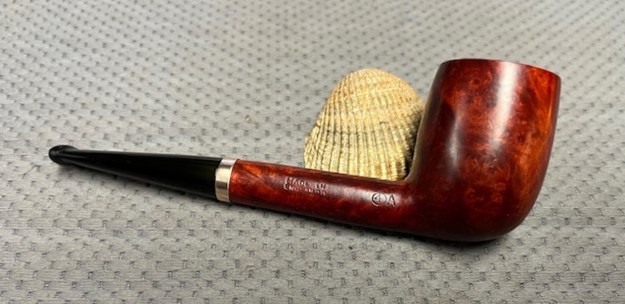
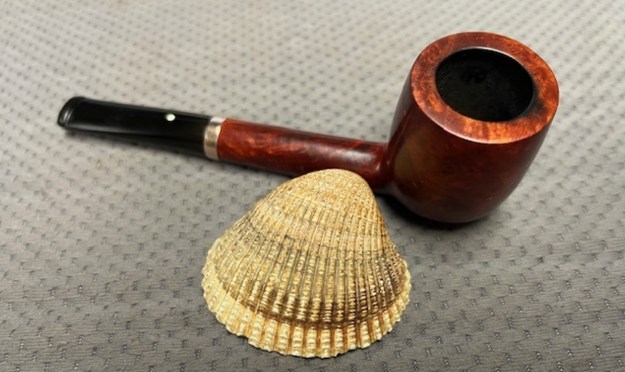
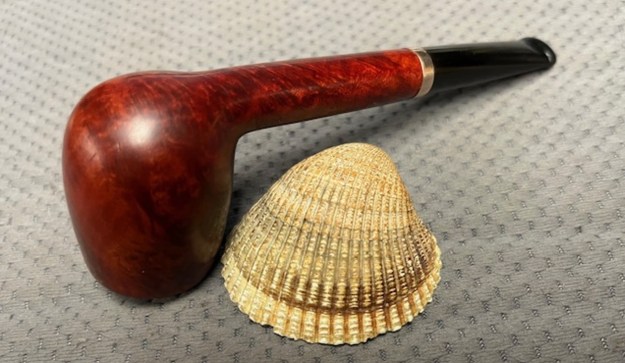
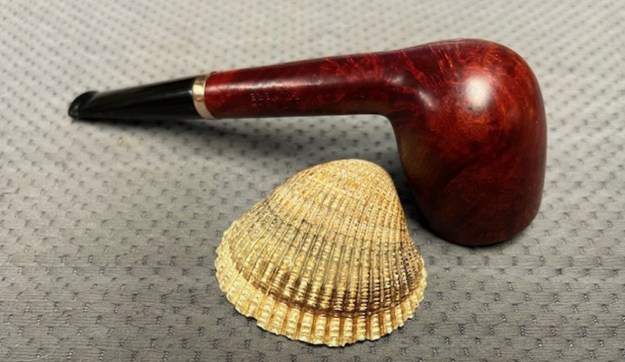
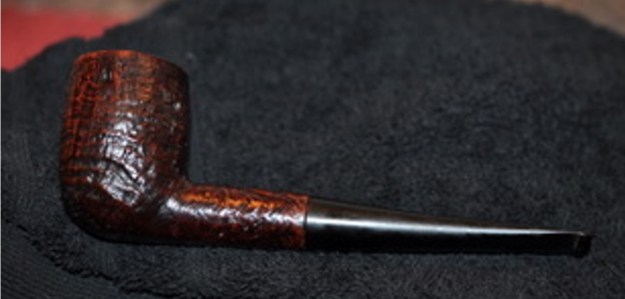
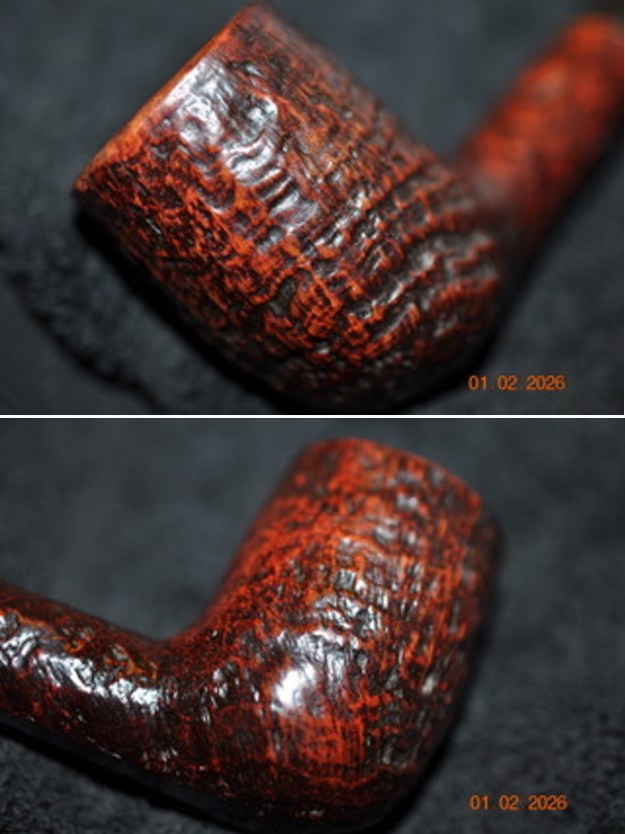
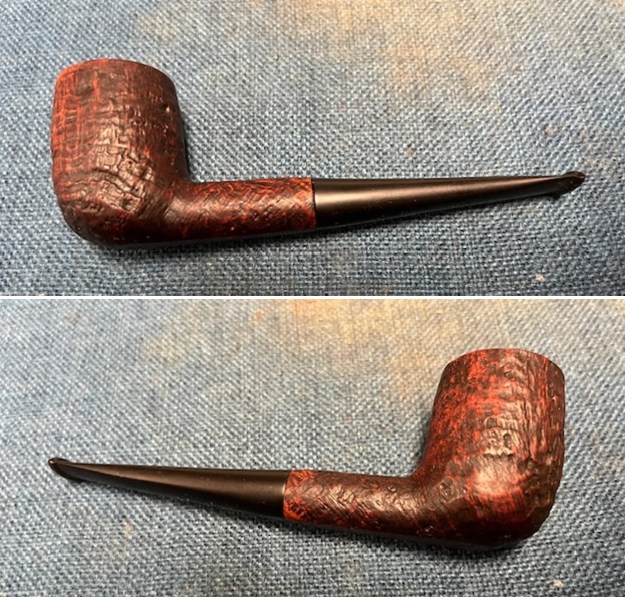
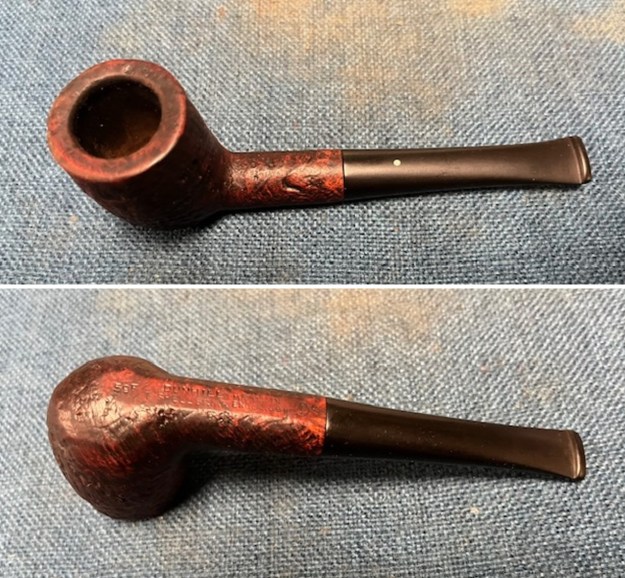
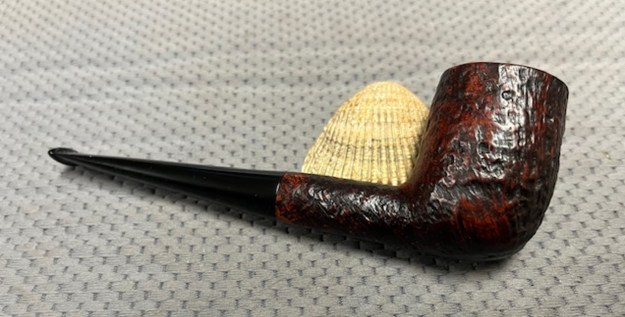
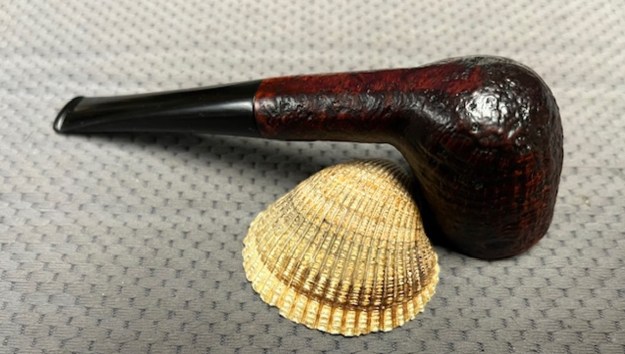
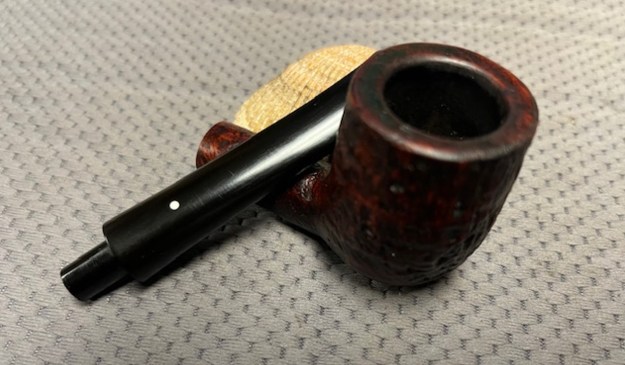
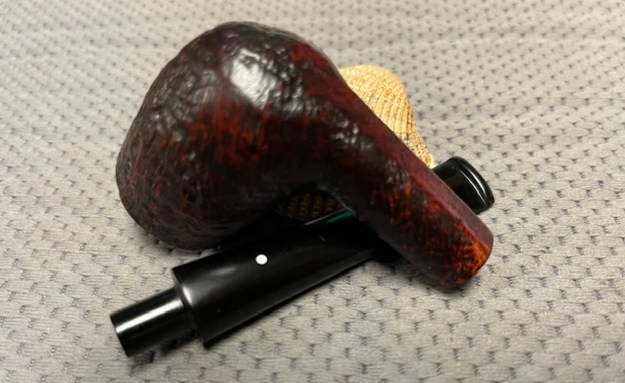
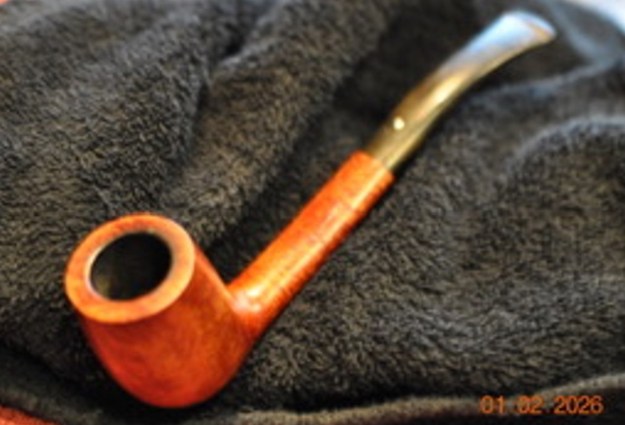
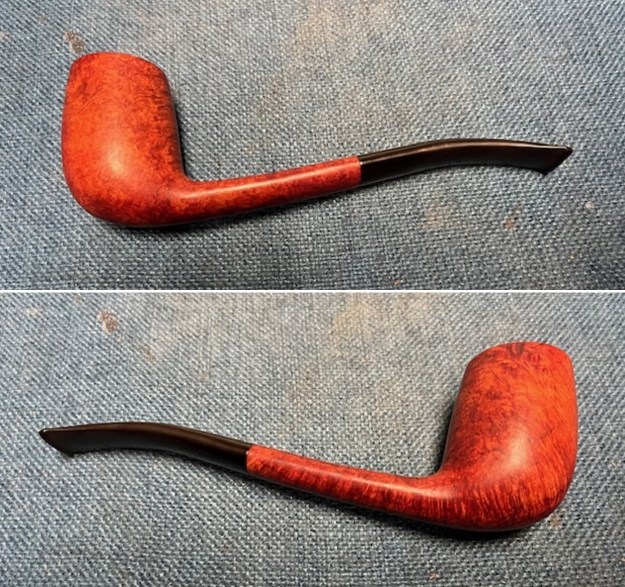
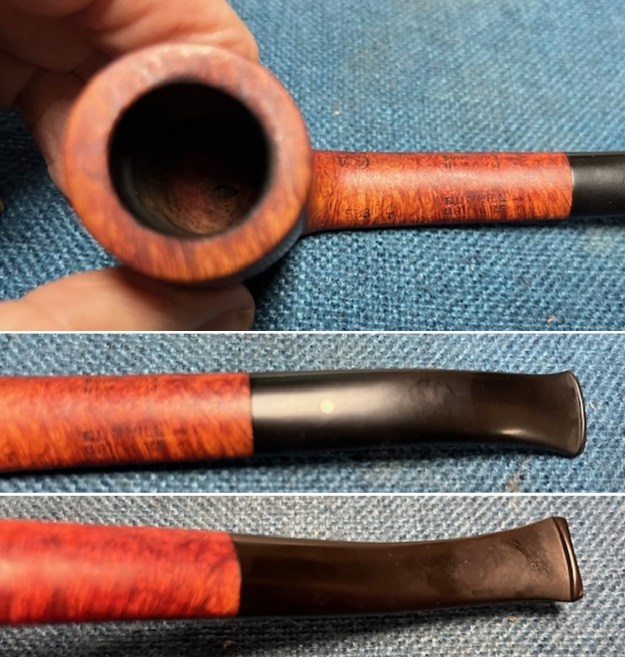
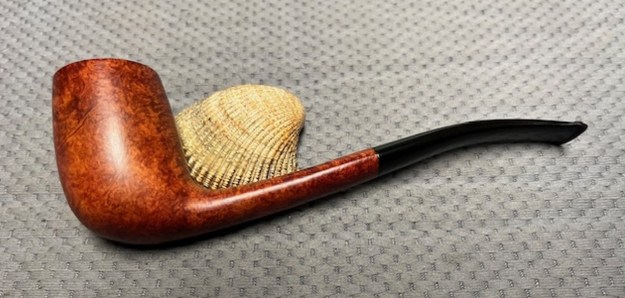
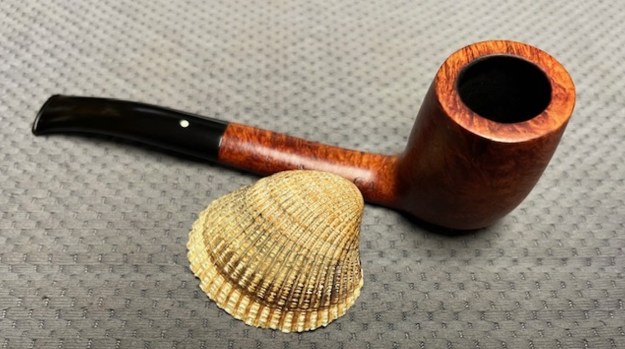
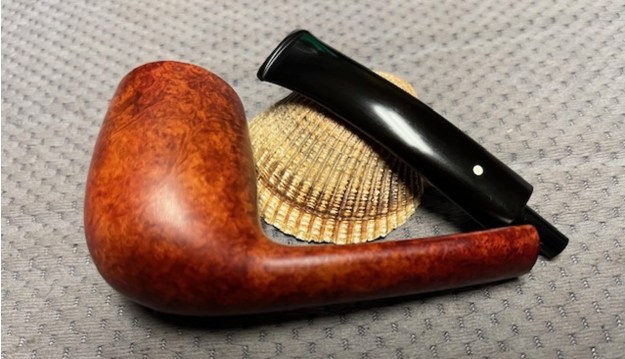
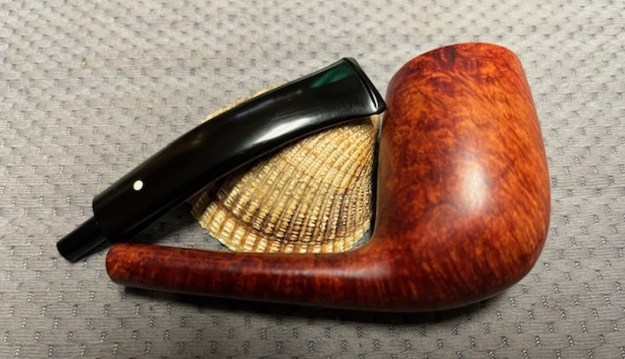
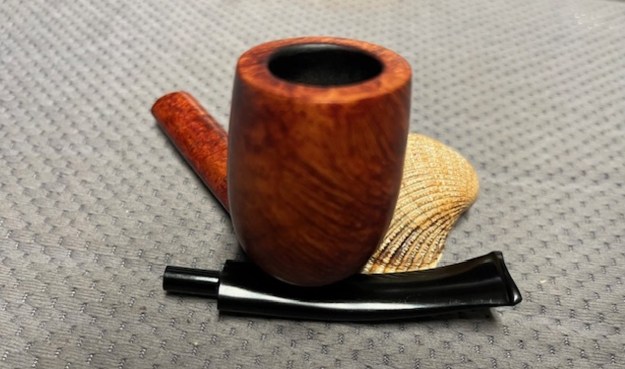
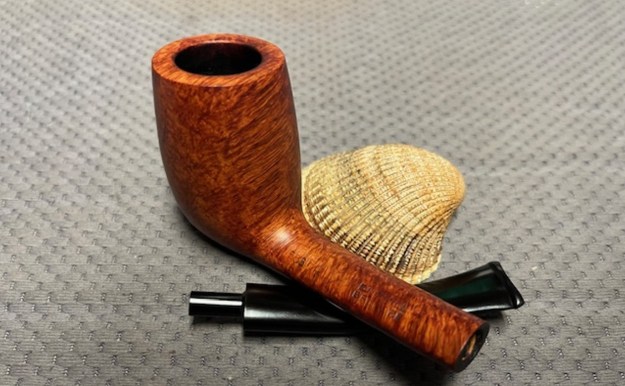
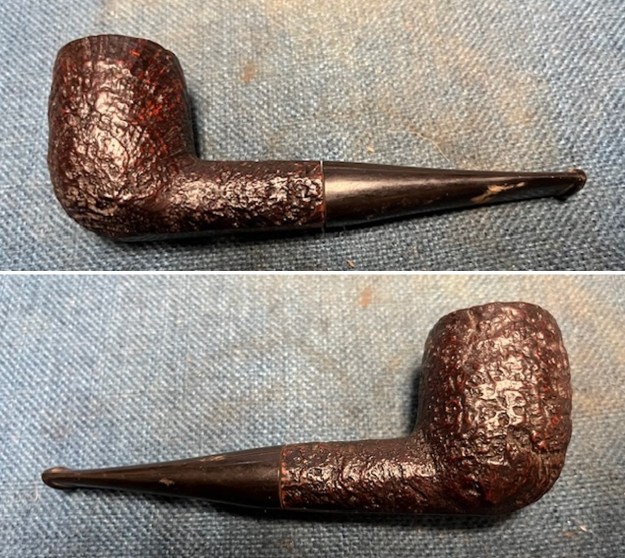
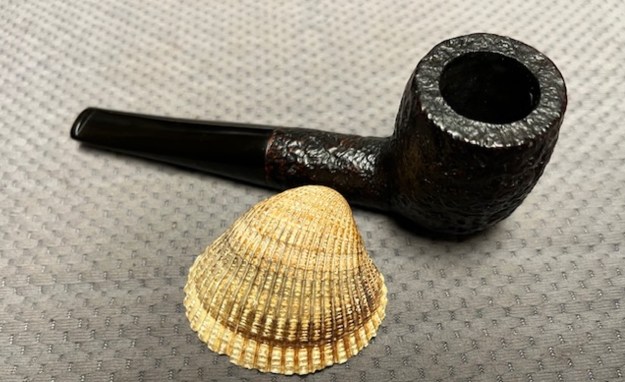
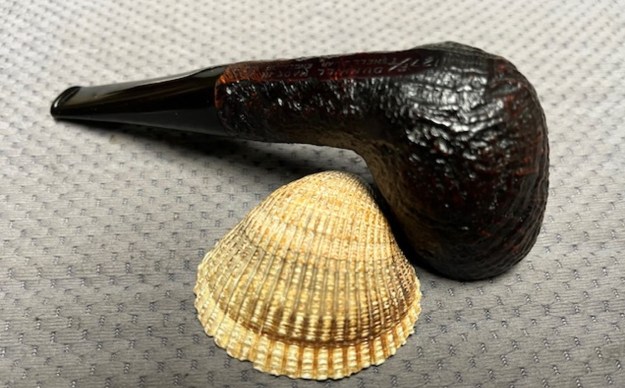
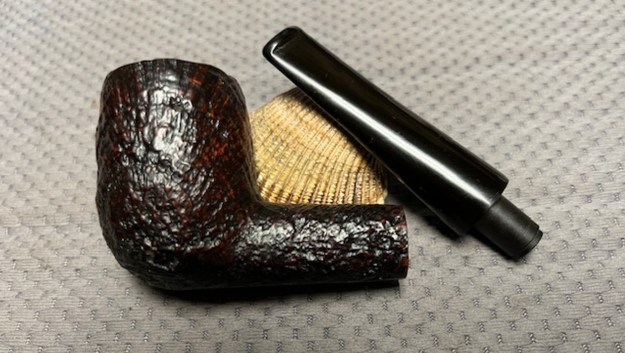
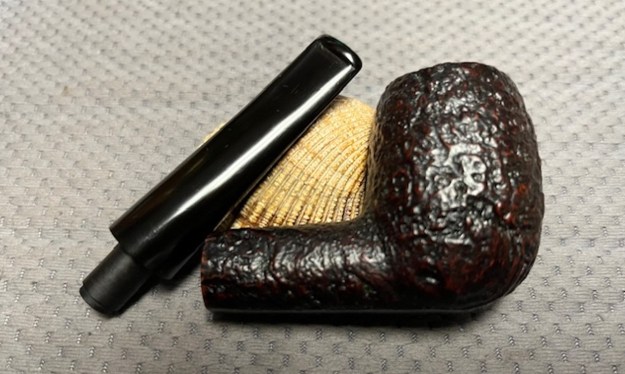
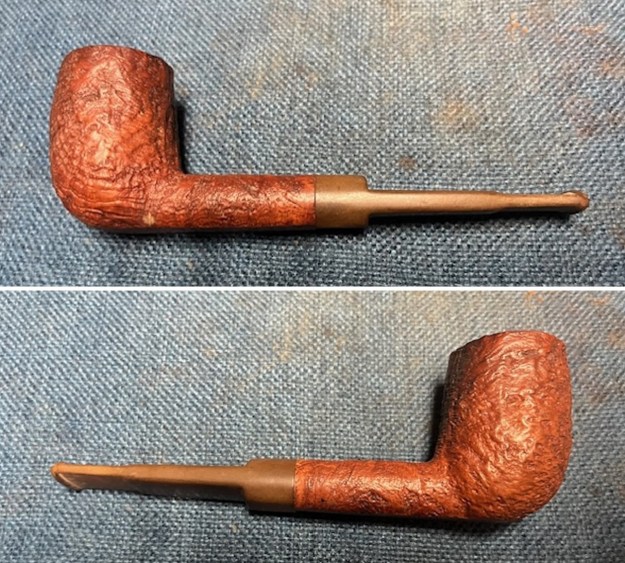
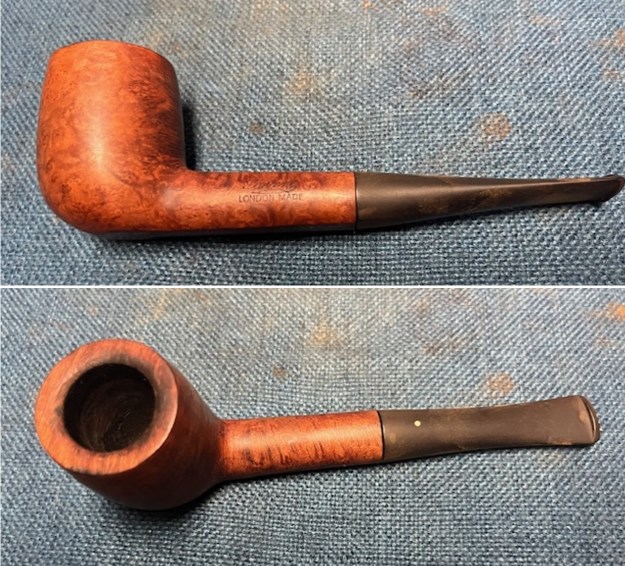
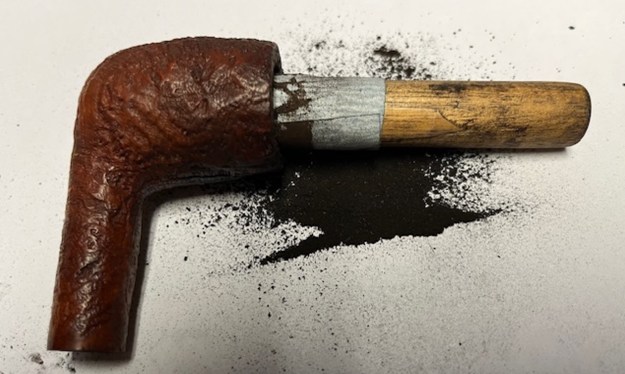
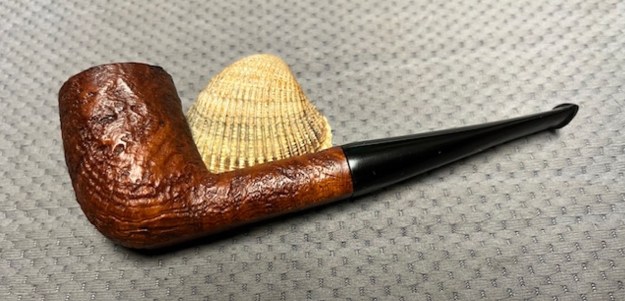
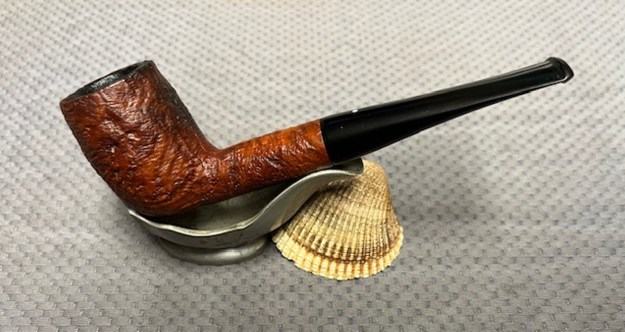
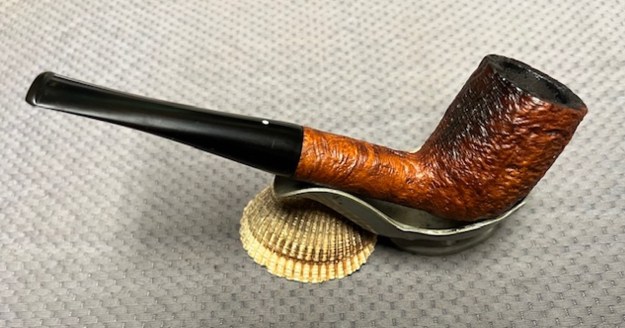
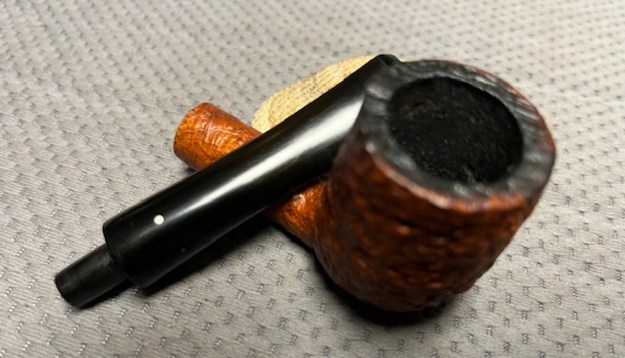
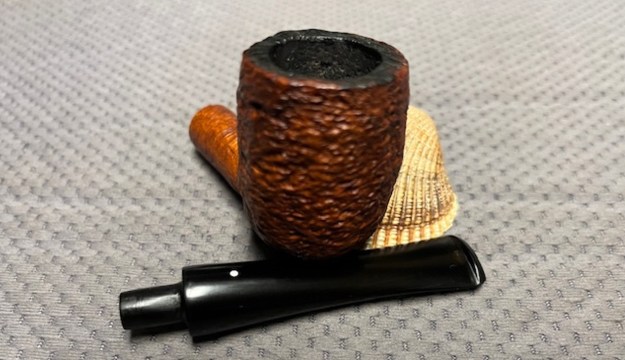
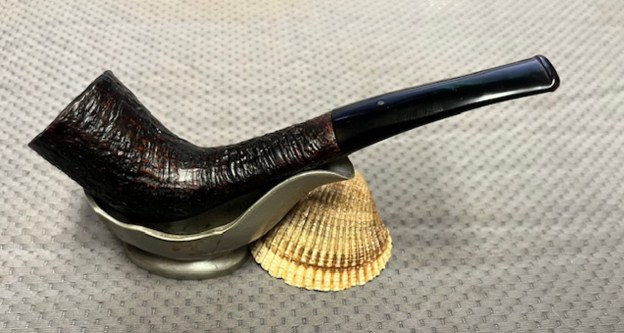
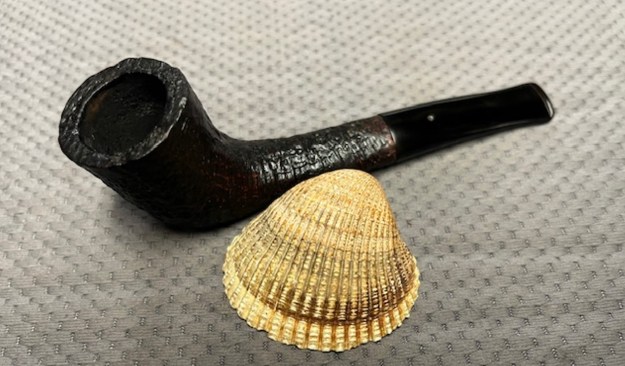
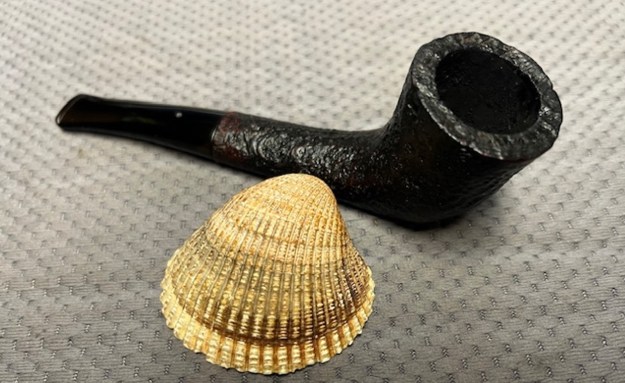
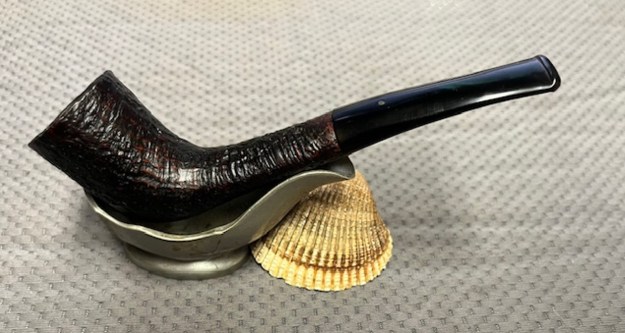
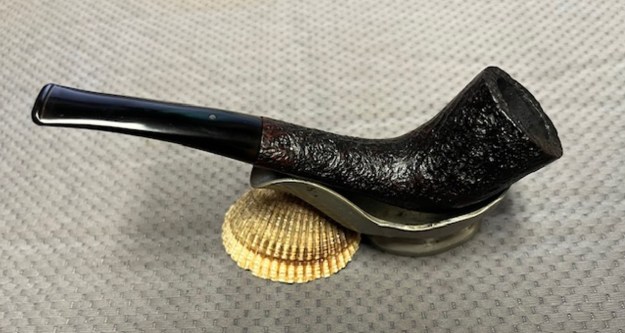
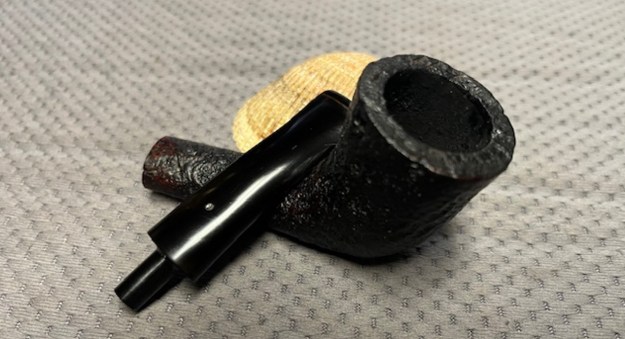
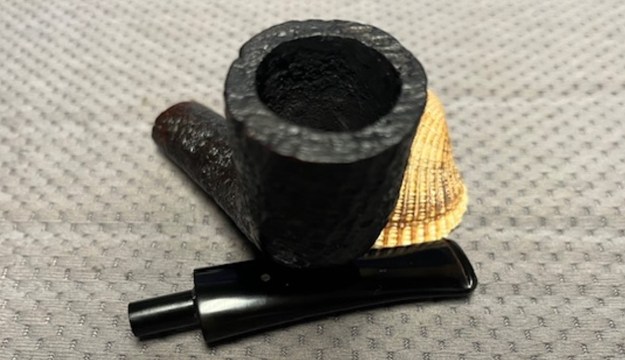
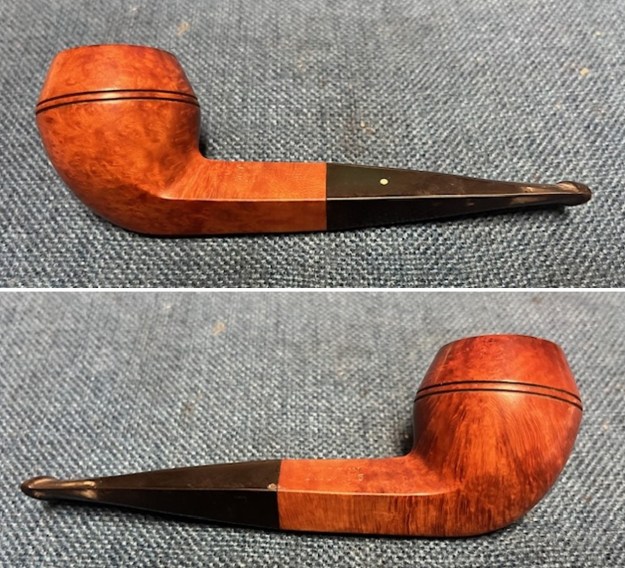
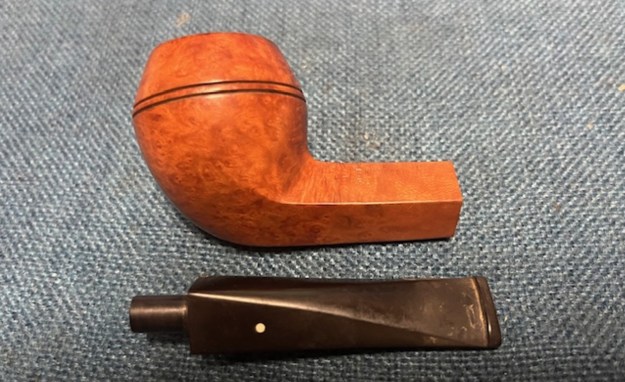
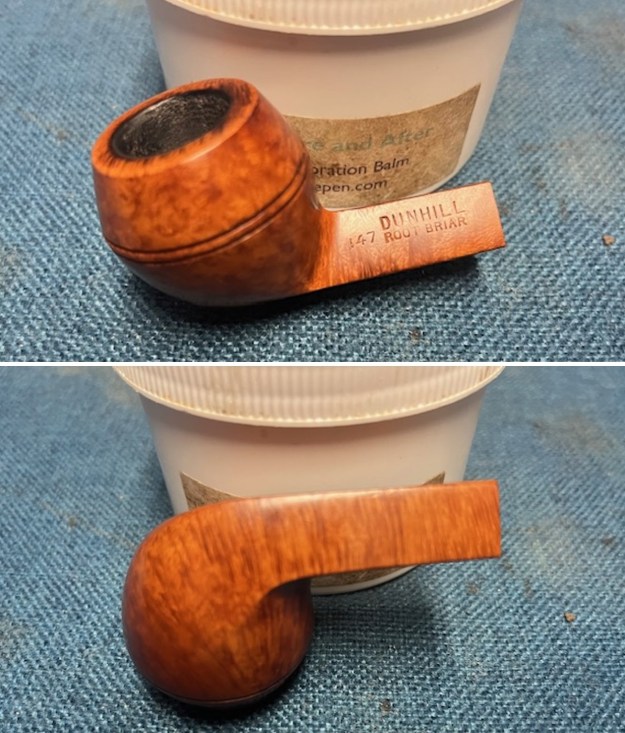
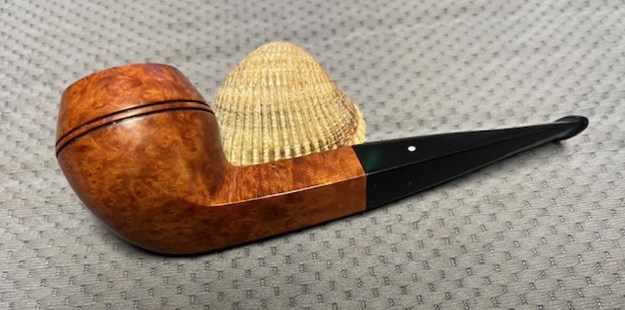
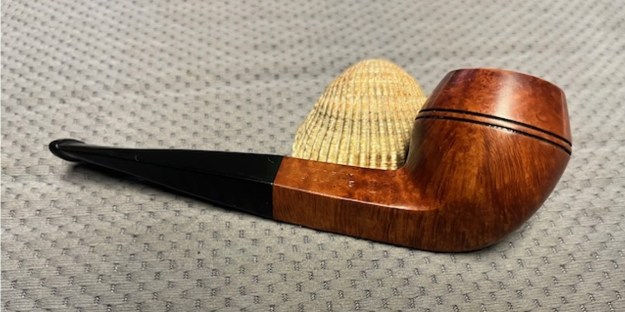
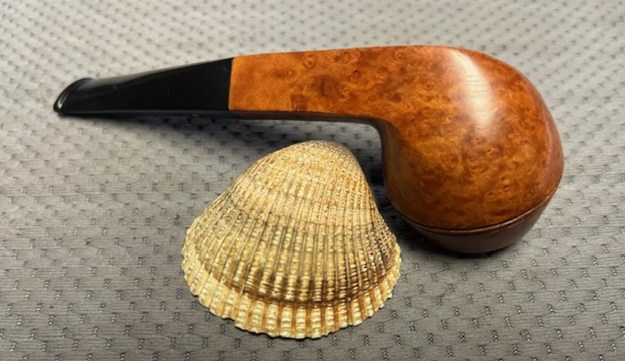
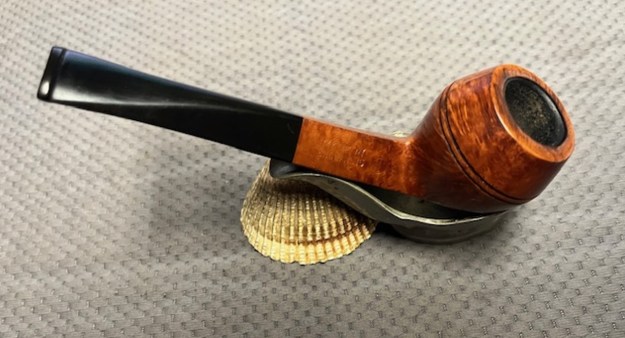
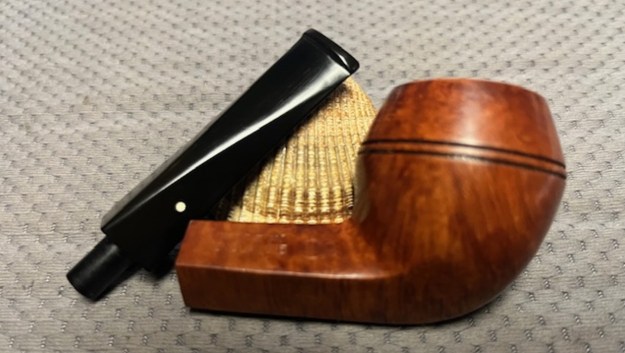
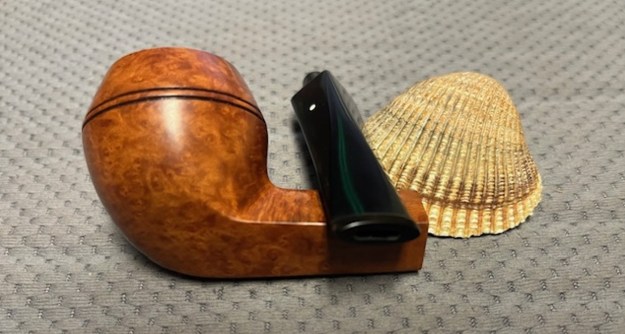
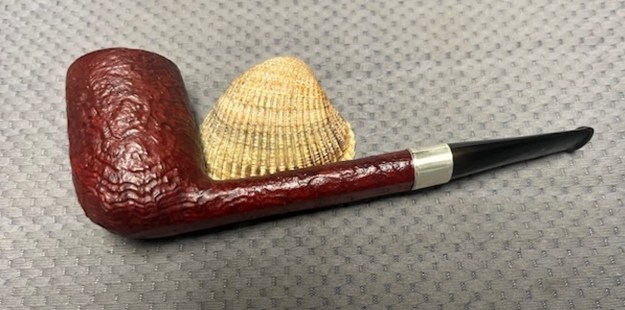
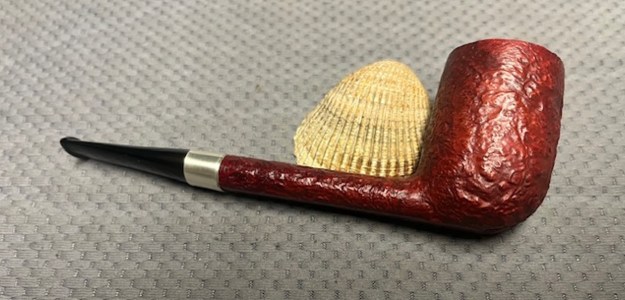
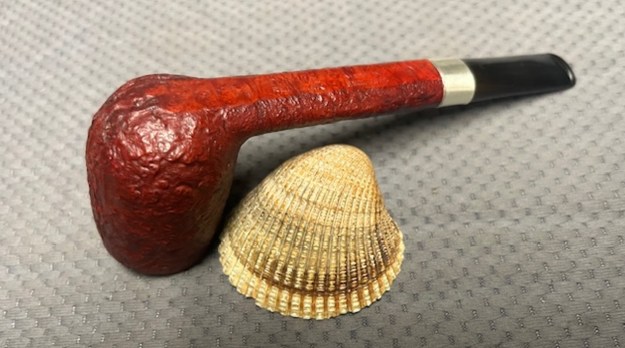
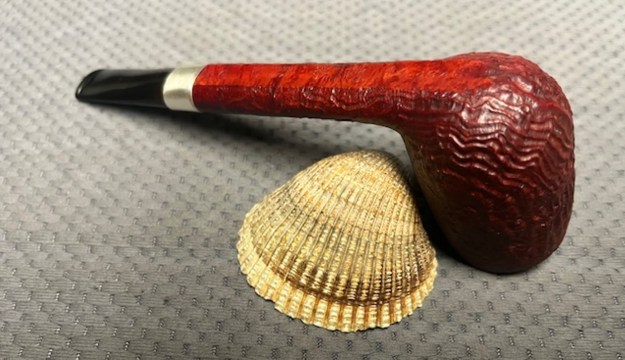
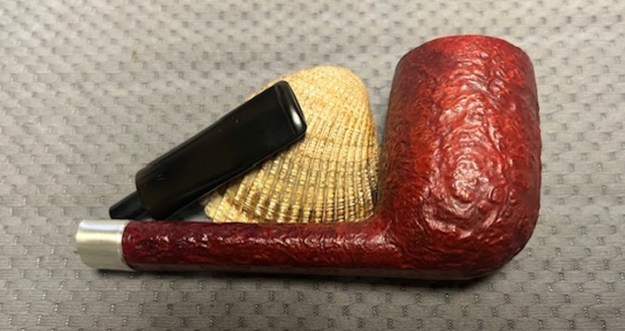
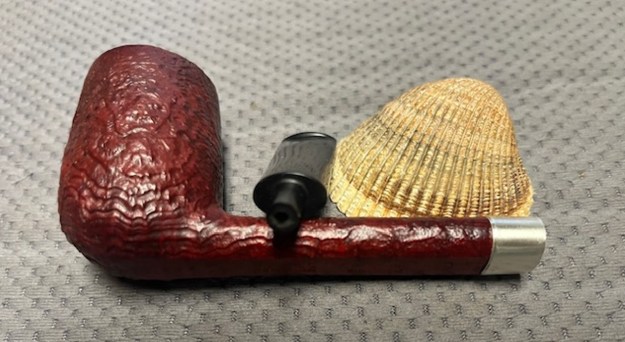
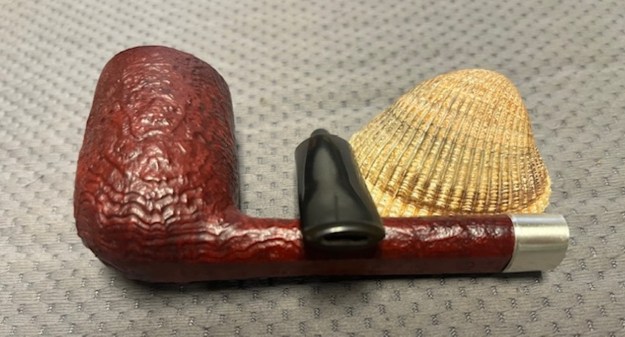
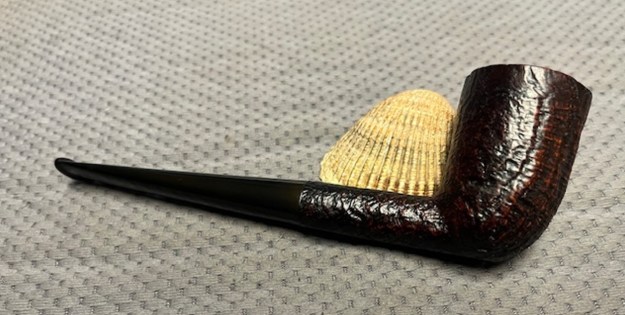
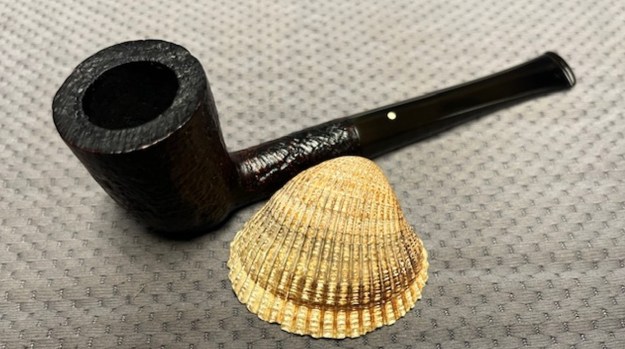
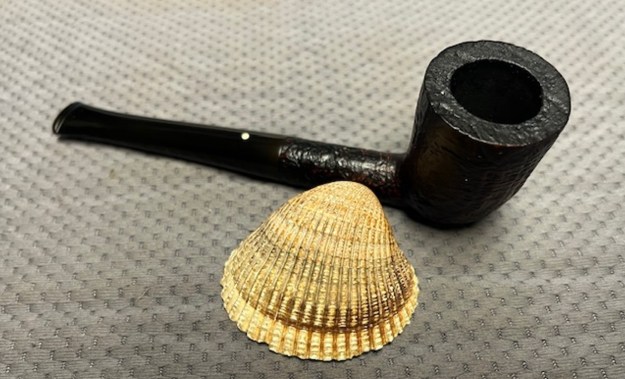
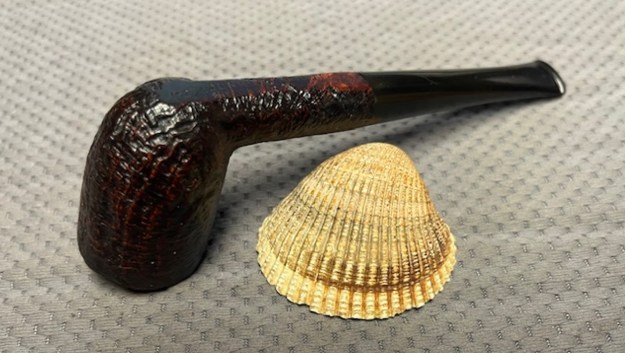
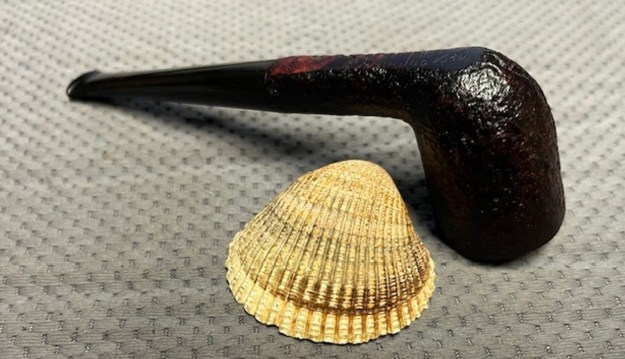
I thought I might take a moment to show you a Dunhill that recently came into my possession and, for the time being, is staying in my possession. This handsome Dunhill Bruyere 127 billiard was smoked quite heavily, demonstrating its status as a favourite of whoever owned it in the past. When I saw it, I really liked the thick shank and well-proportioned billiard bowl. There is some beautiful briar here and, despite the pipe’s portly appearance, it is light and comfortable to hold.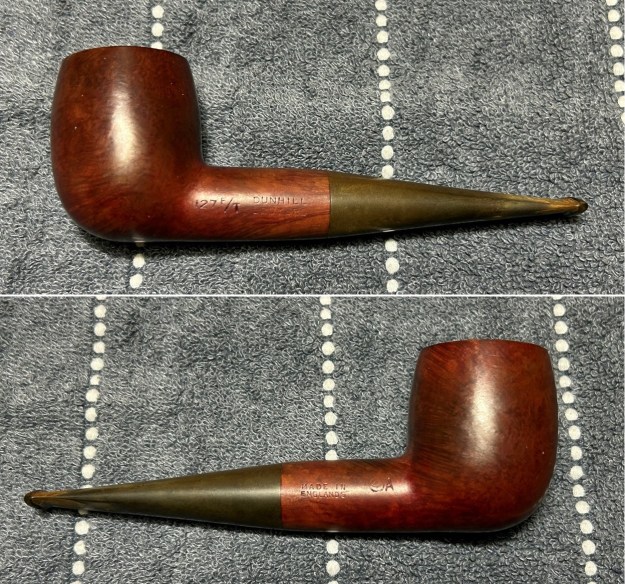
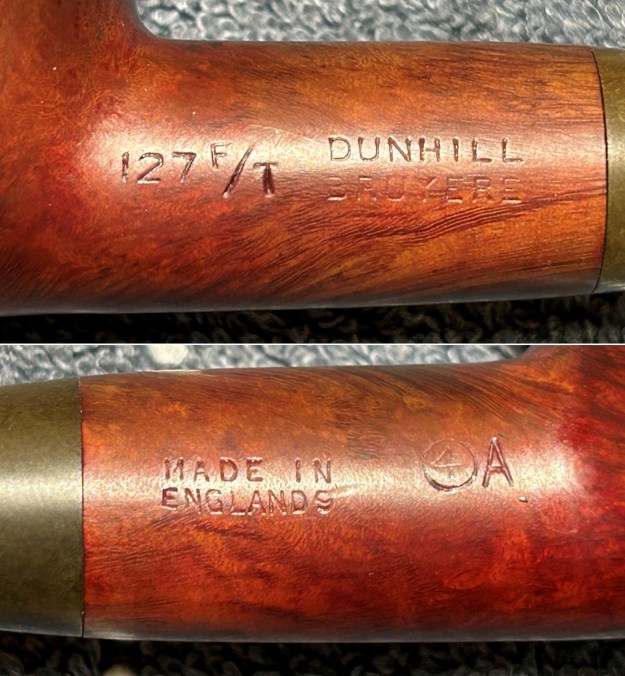
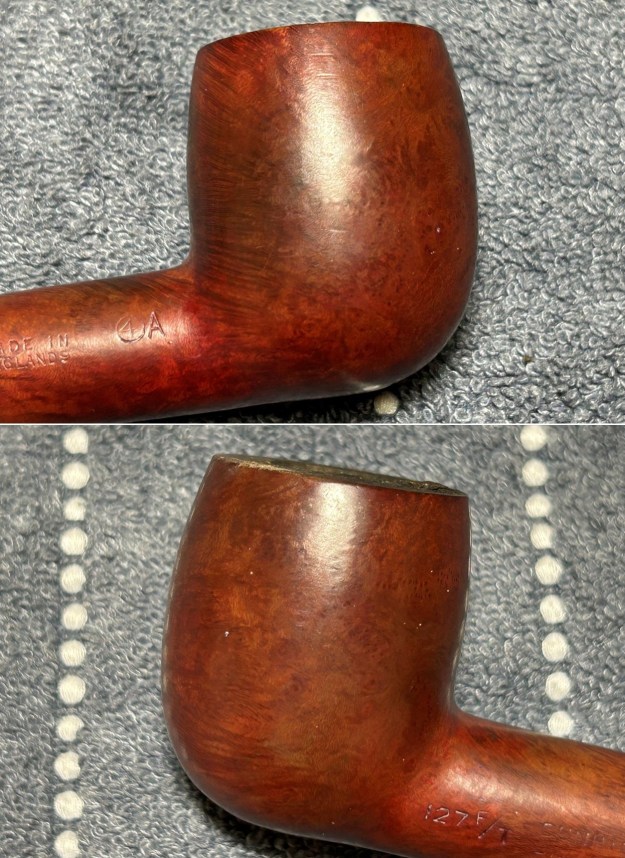
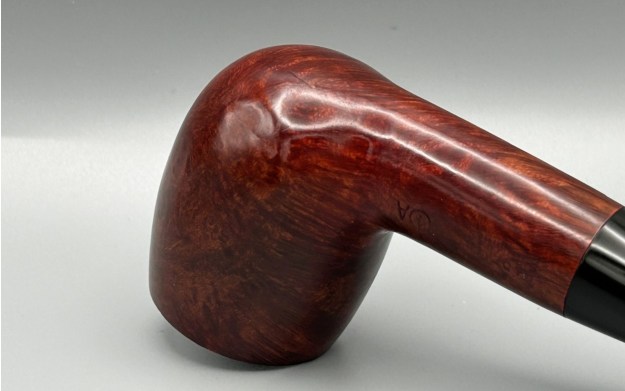
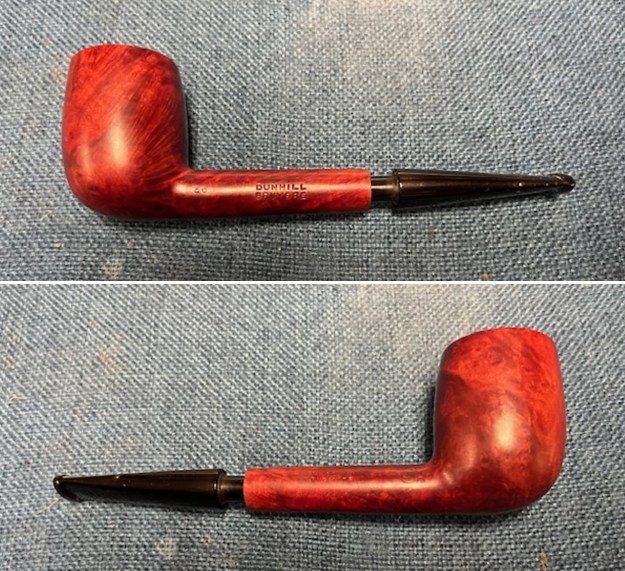
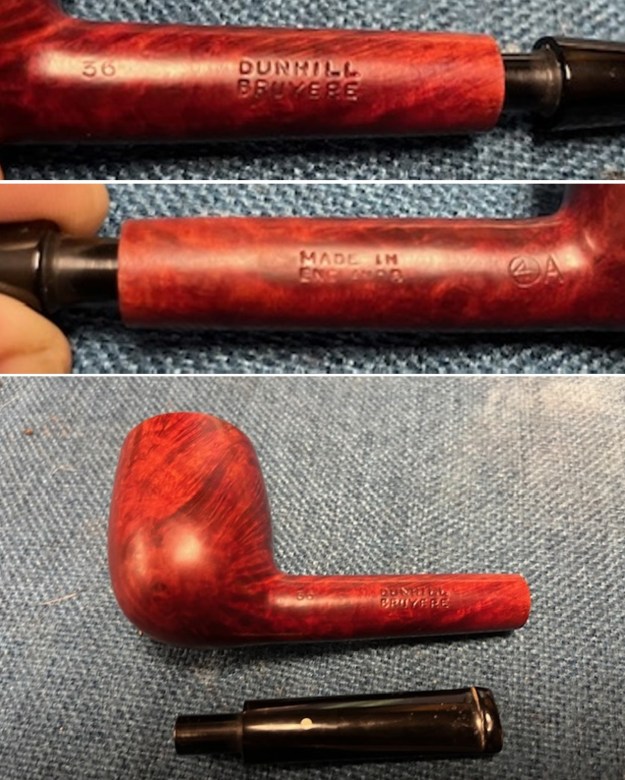
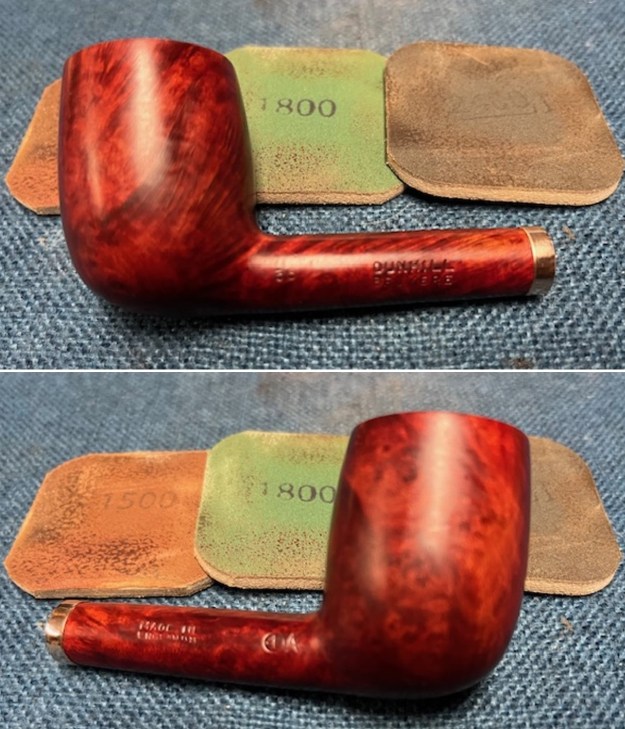
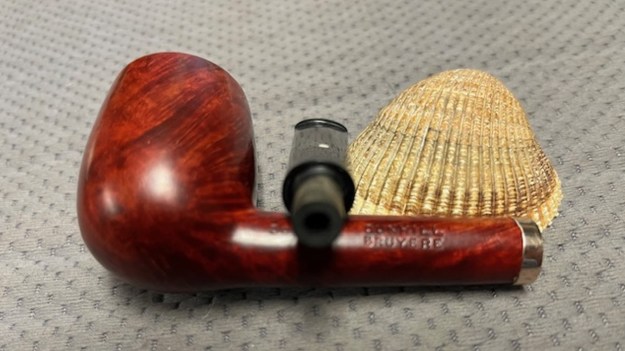
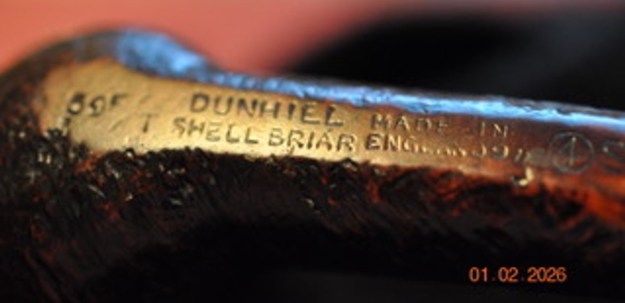
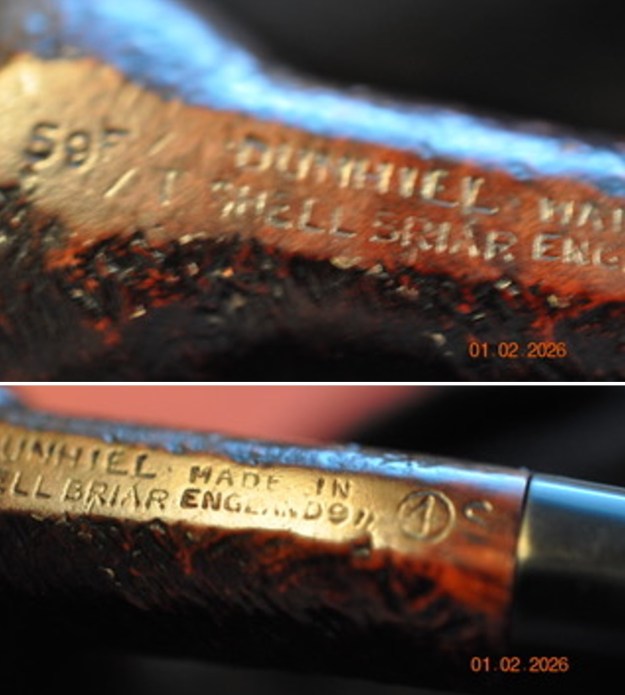
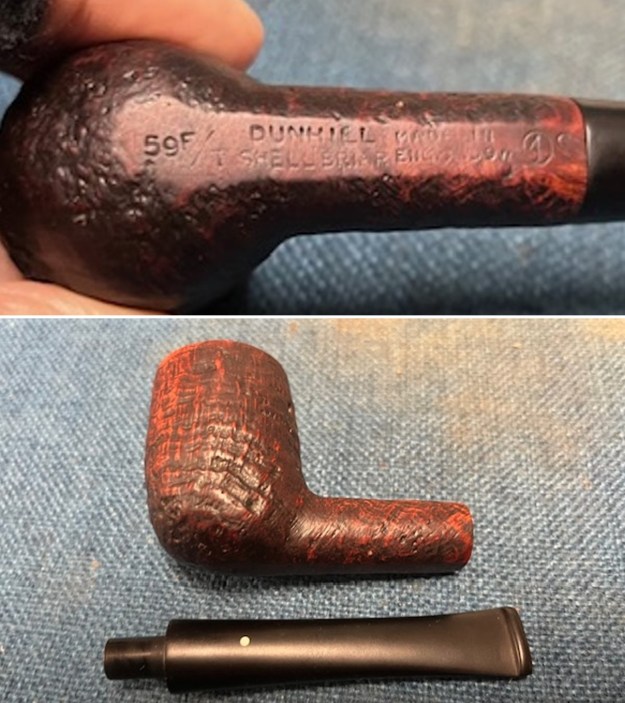
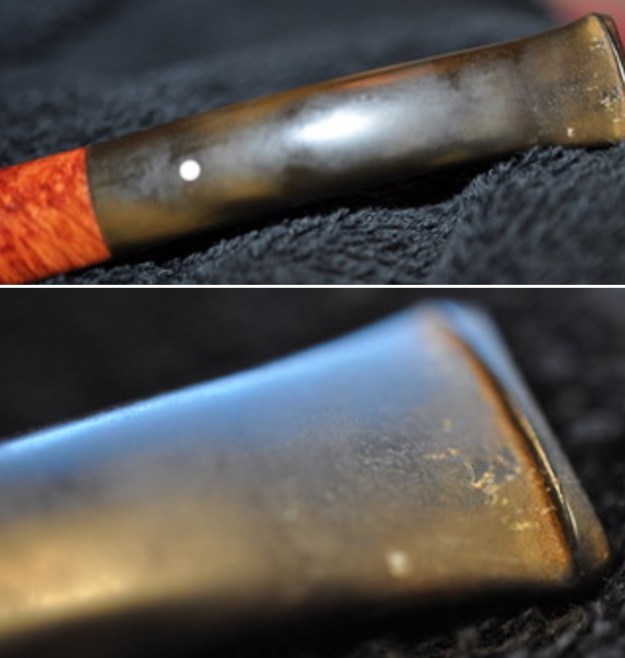
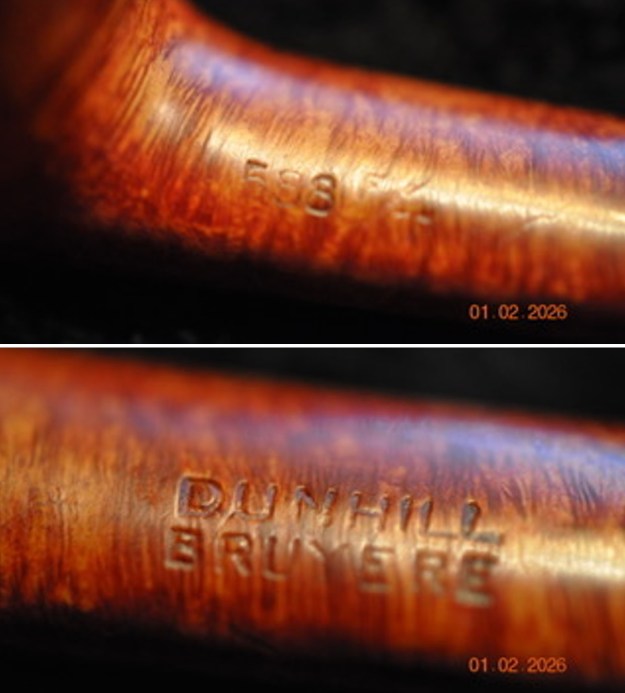
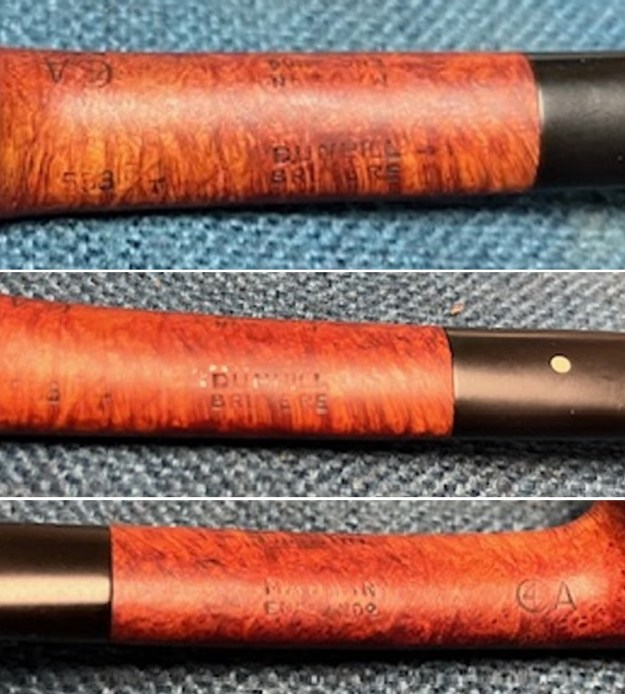
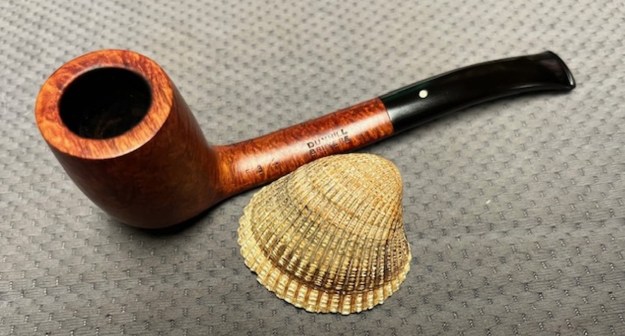
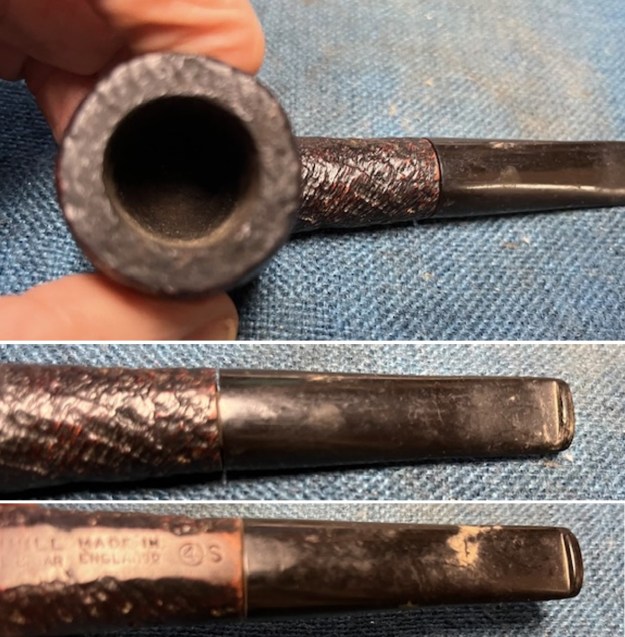
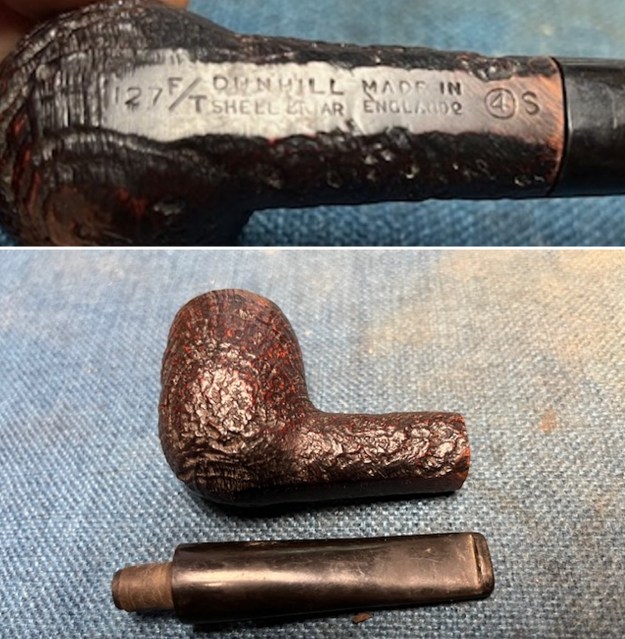
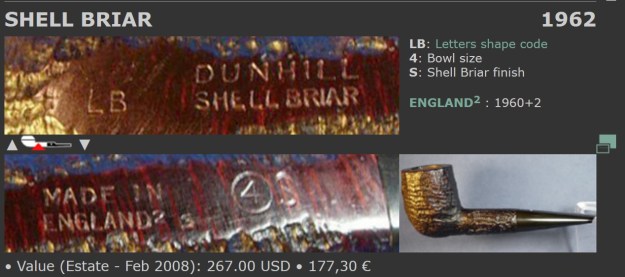
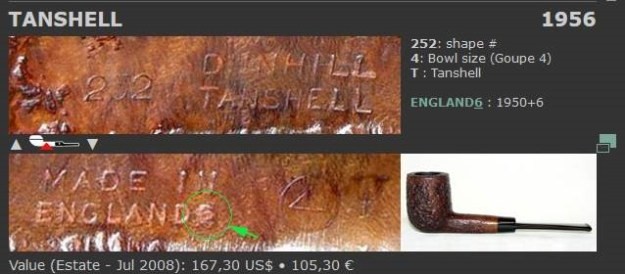
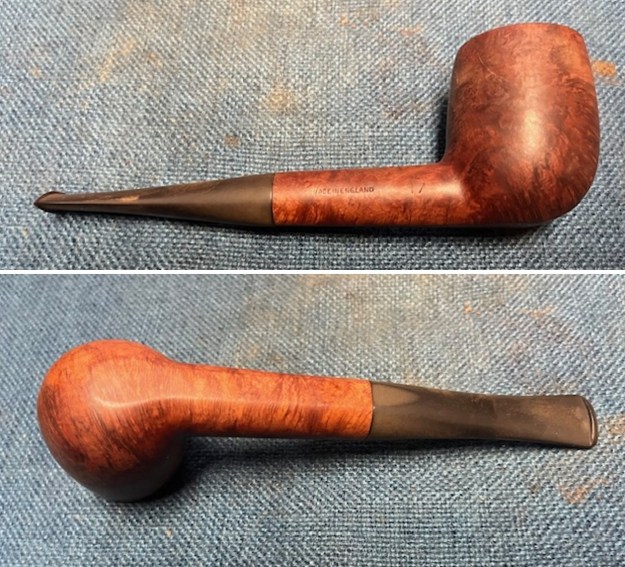
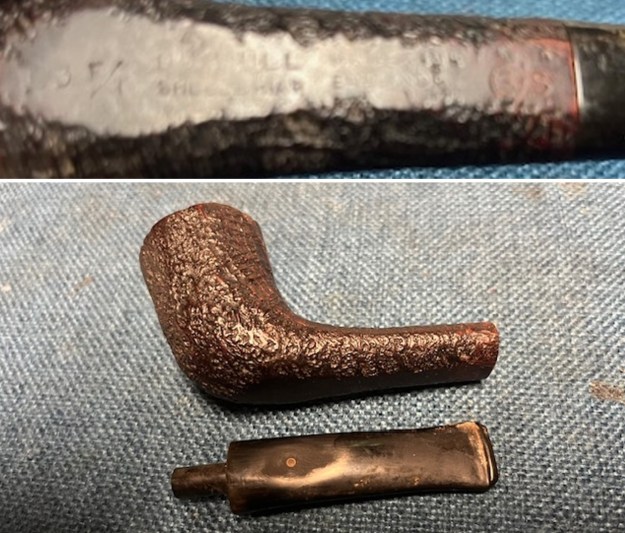
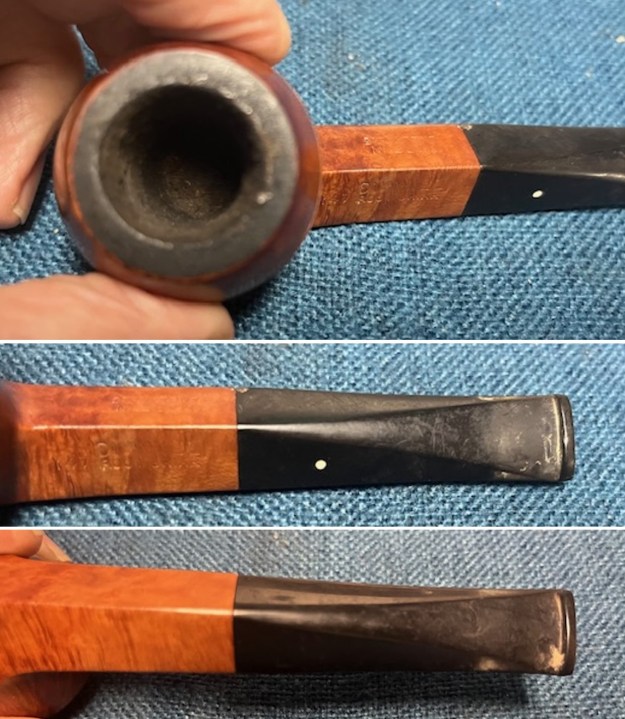
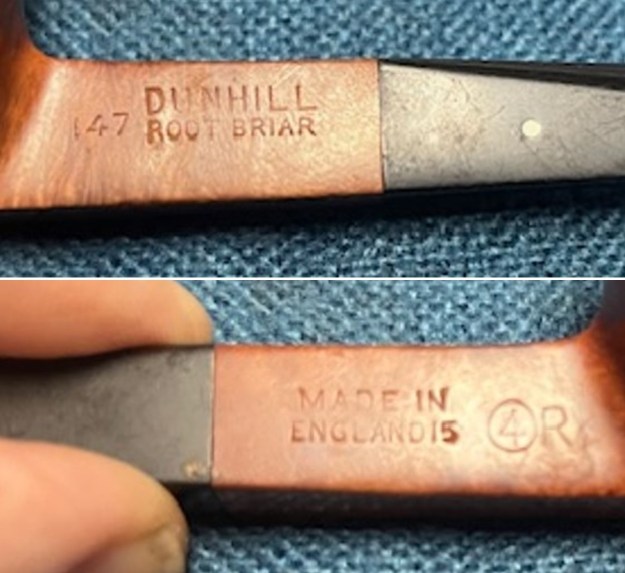
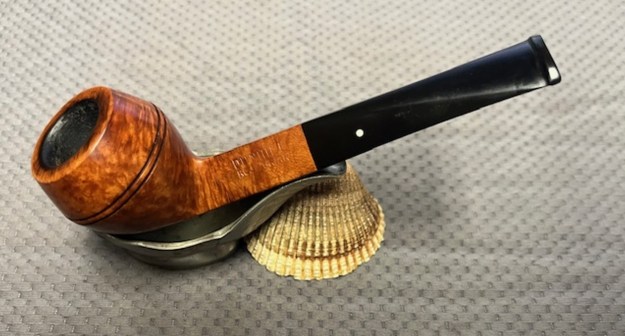
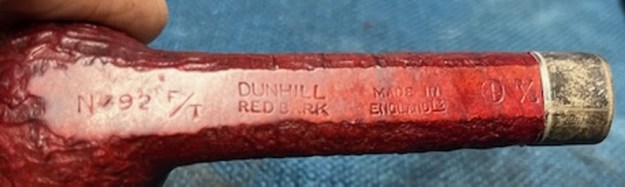
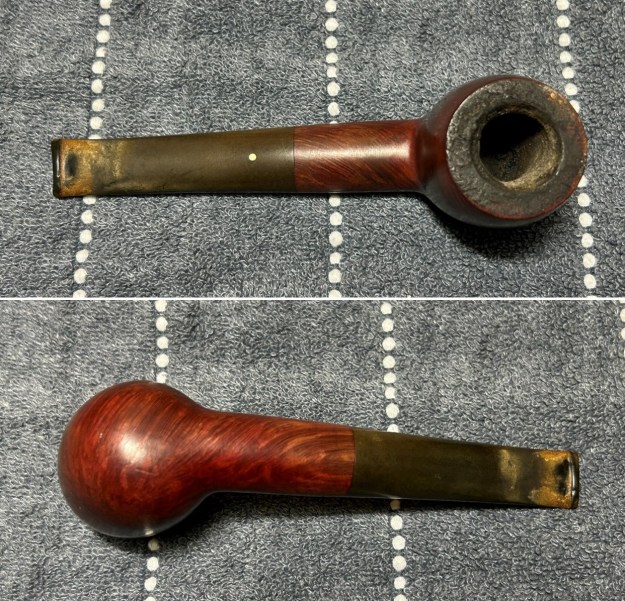 I am pleased to report that the markings are very clear and well-cut on the shank. On the left-hand side is the model number, 127. Immediately to the right of this are the letters F/T. Then, to the right of that, is Dunhill [over] Bruyere. On the right side of the shank is Made in [over] England9. To the right of that is an encircled 4, followed by an A. Finally, the stem, of course, has the iconic white spot of Alfred Dunhill’s company. Here is a photo of Alfred, followed by the markings.
 Let’s have a closer look at what all of these markings mean. The model number 127 is one of the classic Dunhill billiard shapes. The ‘F/T’, as John Loring states in his book The Dunhill Briar Pipe, ‘is a stamping after the shape number indicating that the pipe has a fish tail bit’. The markings Dunhill [over] Bruyere refer (obviously and respectively) to the company that produced the pipe and the finish. The history of Alfred Dunhill, his company, and his family is fascinating. If you are interested in learning more, have a read of this article from Pipedia. The Bruyere finish is described by Pipedia as follows:
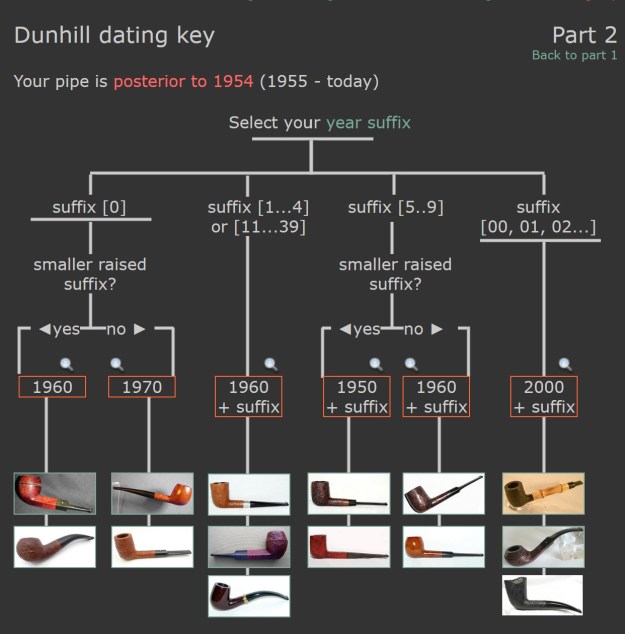
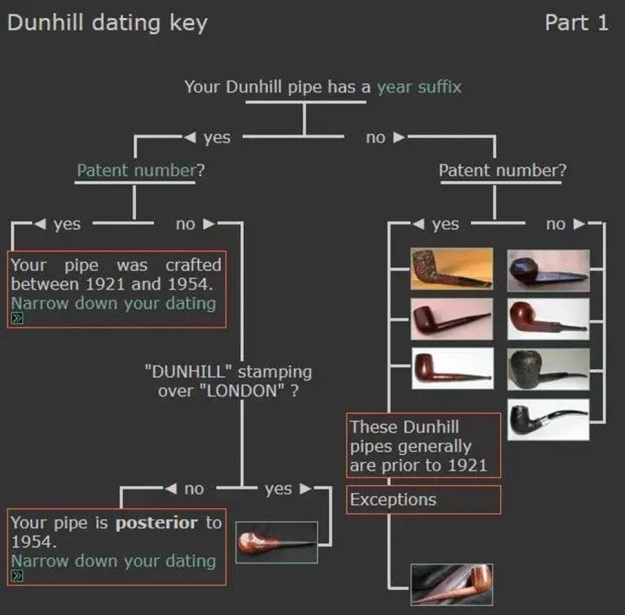
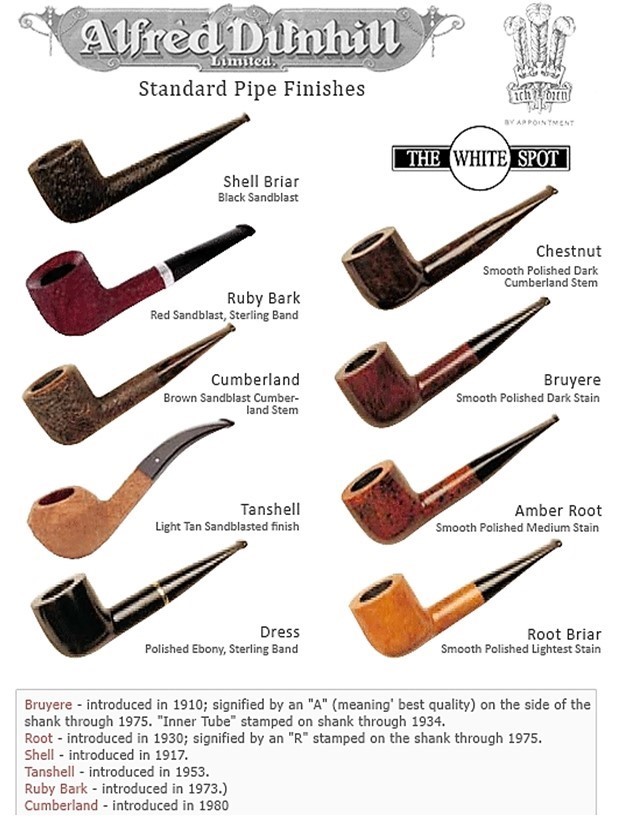
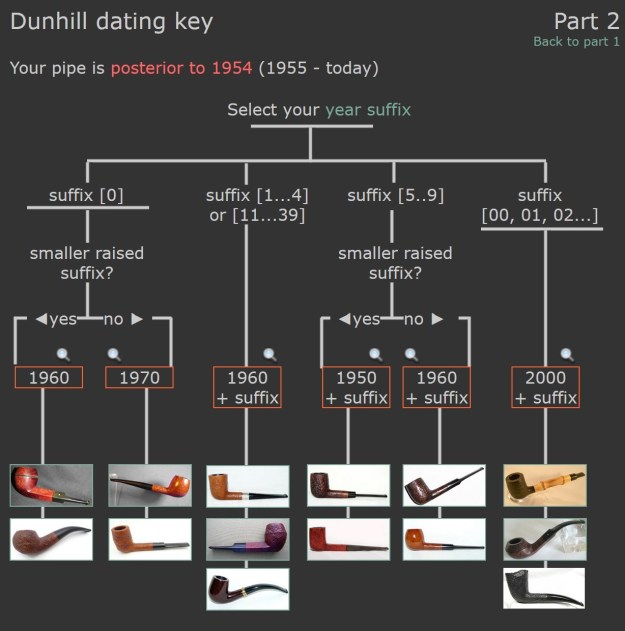
The Bruyère stands as Dunhill’s foundational pipe finish, introduced with the commencement of the company’s pipe manufacturing in 1910. It remained the sole finish available until the introduction of the Shell in 1917. The Bruyère is characterized by its smooth texture and a deep reddish stain, often described as ‘plum-coloured’. This distinctive appearance was achieved through a two-coat staining process, which involved a brown understain followed by the final deep red. The briar selected for this finish after 1920 was the ‘dead root’ of the Tree Heath, (Erica Arborea), sourced primarily from Calabria, Italy. This material was prized for its density and superior smoking characteristics, having been seasoned by nature itself. Positioned as a premium product from the outset, a Bruyère pipe in 1910 was priced at seven shillings and sixpence, more than double the cost of an average pipe of the era.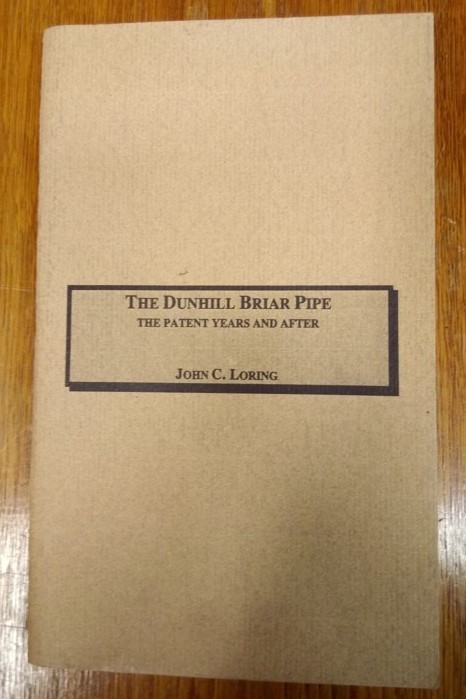 The markings Made in [over] England9 give us an indication of when this pipe was manufactured. The number is the date suffix and provides us the information we need to figure out the date. I already knew the answer, but allow me to walk you through the process. I went to Pipephil’s Dunhill Dating Key (which you can find here) and I have reproduced (below) the two charts they use to date Dunhills. In the first image below, we are asked if our pipe has a date suffix. It does, so we follow the arrow and the chart asks if our pipe has a patent number. It does not, so we proceed. Then we are asked if our pipe reads Dunhill [over] London – again, it does not. As a result, we know that our pipe dates from after 1954.
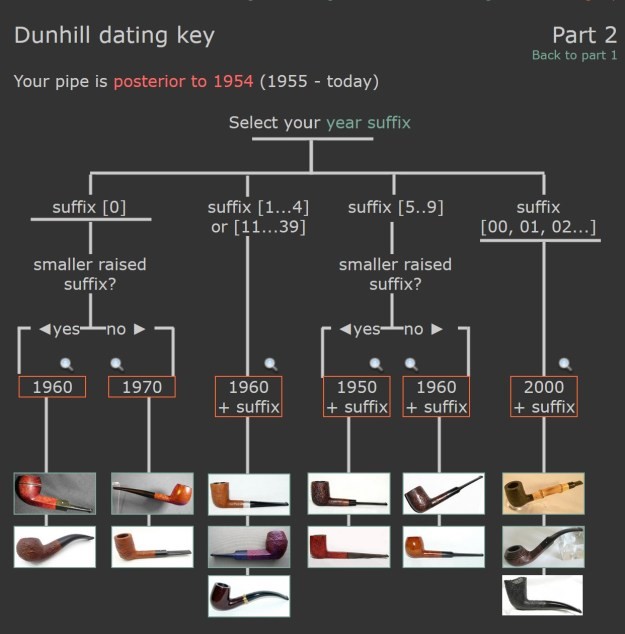
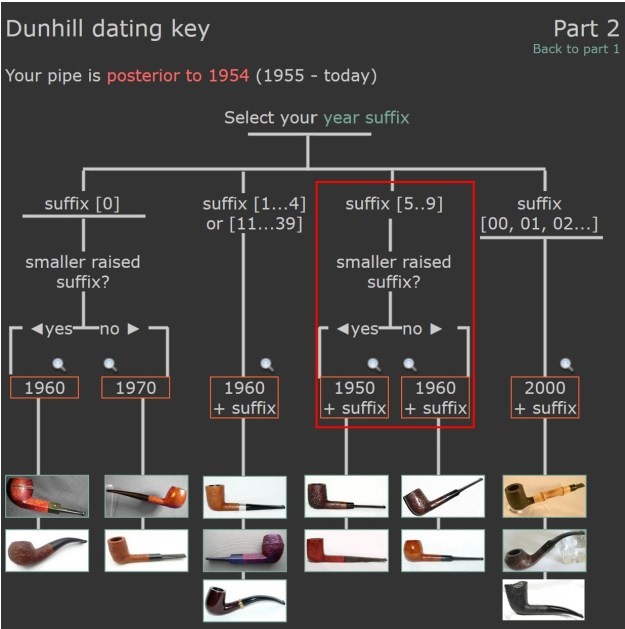
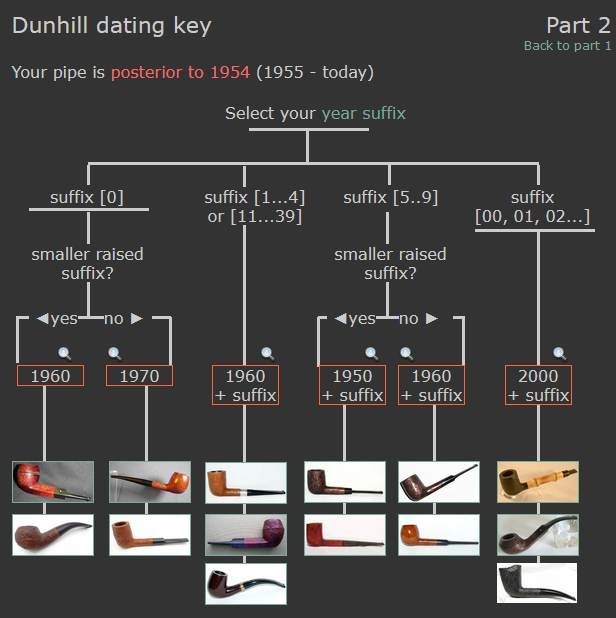
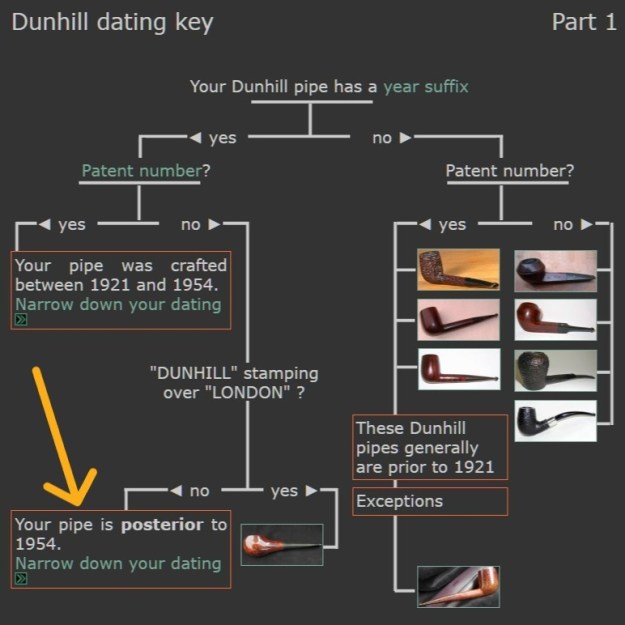 On to the second chart – and it is a bit more straightforward. The chart asks for the digit in our date suffix. In our case, it is 9. Then it asks if the digit in question is raised (in other words, is it a superscript). The answer is definitely ‘no’, so we know that the date of our pipe is the result of simple addition: 1960 + 9 = 1969. Now we know that the year of manufacture is 1969! The pipe is older than I am!
 Next, the encircled 4 and the capital A. This tells us about the size and finish of the pipe. Pipedia says:
The encircled group number indicates the size of the bowl (1, for example, is the smaller bowl). It is usually followed by a letter corresponding to the pipe finish. This number/letter code has been introduced about 1950 and was discontinued about 1976 replaced by a 4 or 5 digits code. They were reintroduced in March 2012, but only for commemorative versions.
In this case, the 4 indicates a medium/large size bowl and the A refers to Bruyere. As to why the letter A represents Bruyere, we again refer to Loring’s book: ‘When the Root finish was introduced in 1931 the “A” came to mean Bruyere but initially the “A” probably denoted that the pipe was of first quality’. Finally, the white spot. Have you ever wondered about it? Well, very briefly, here is the origin of the famous white spot (from Pipedia):
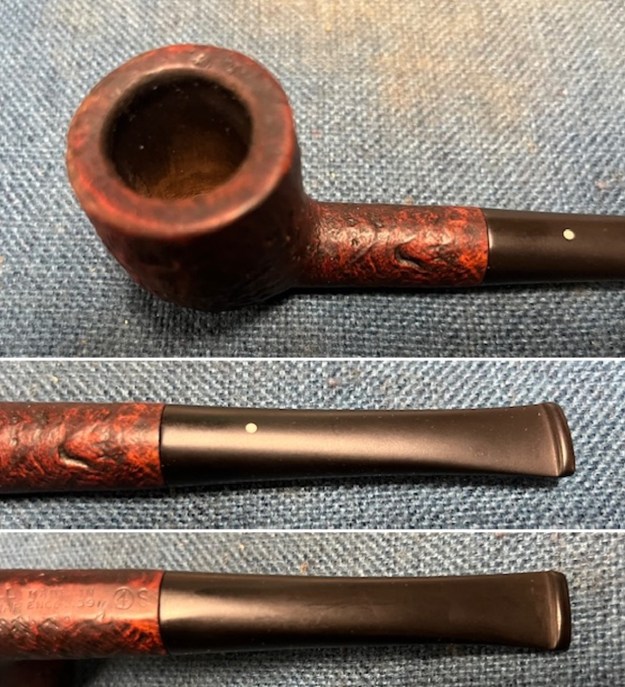
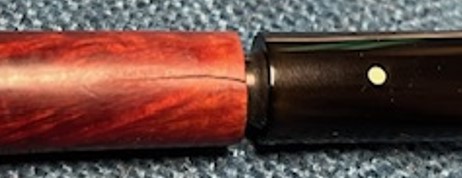
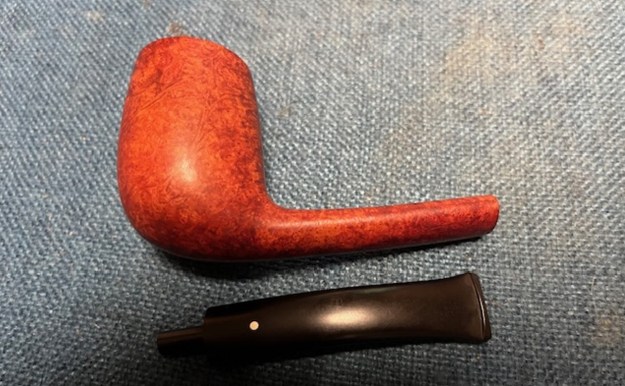
In 1912, the famous white spot was introduced for very practical concerns. With straight pipes, customers had trouble knowing which way to insert the handmade vulcanite mouthpieces. So Alfred Dunhill ordered white spots to be placed on the upper side of the stem. This very practical solution would become a definitive trademark of Dunhill pipes. The “white spot” soon became known as a symbol of quality.
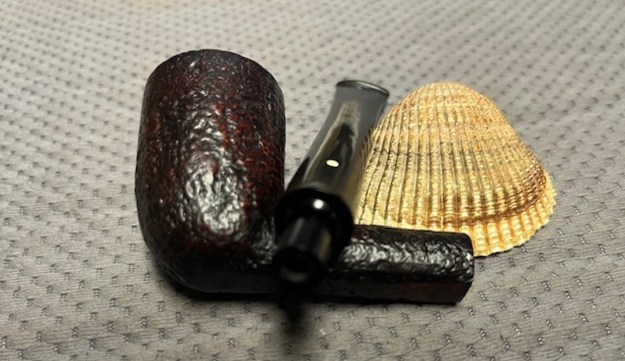
Now let’s get on with restoring this beautiful pipe!
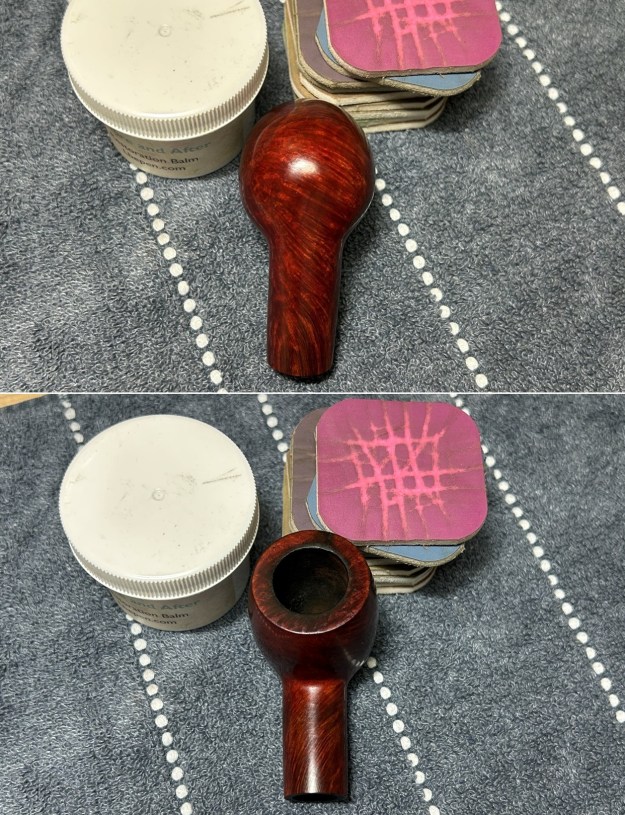
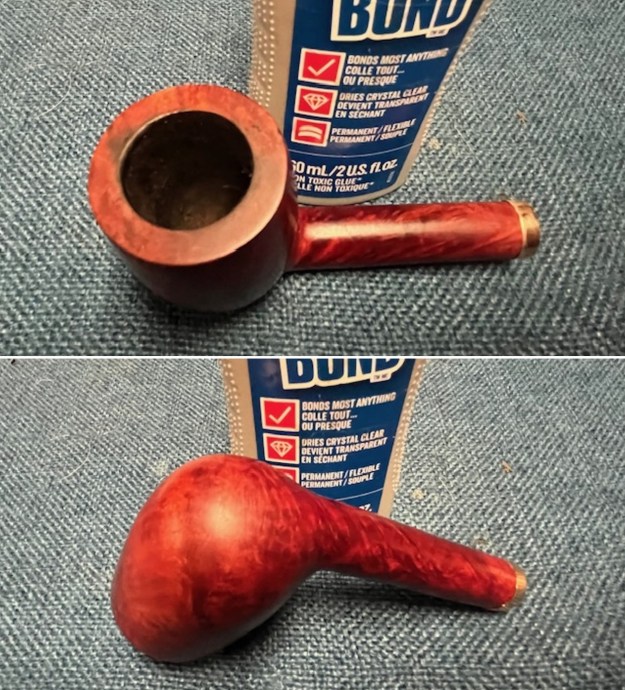
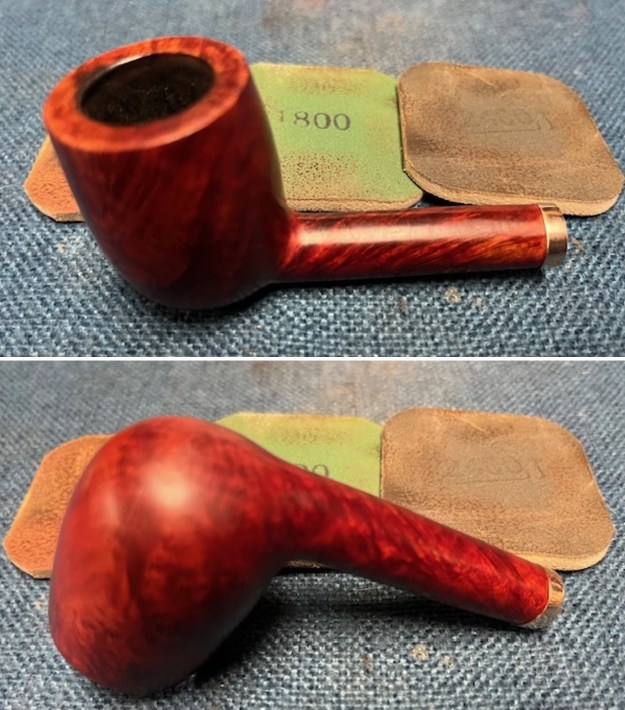
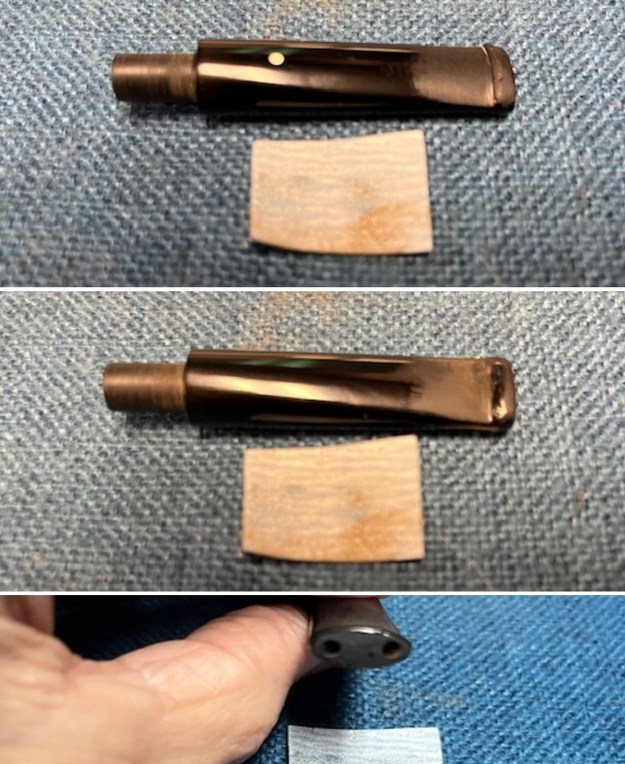
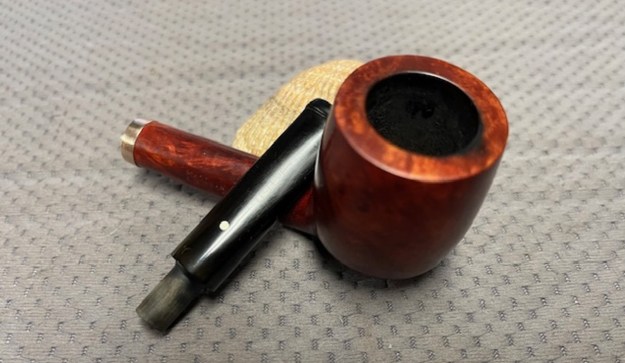
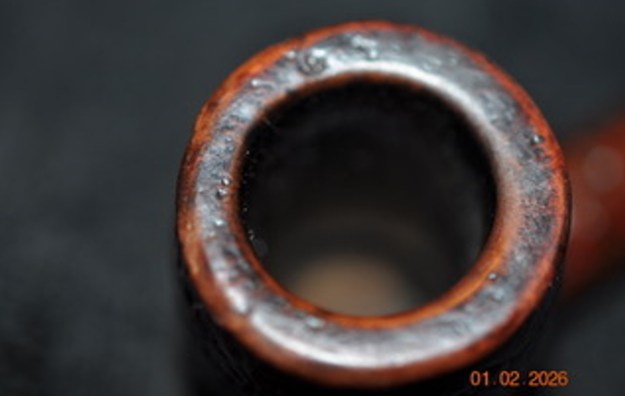
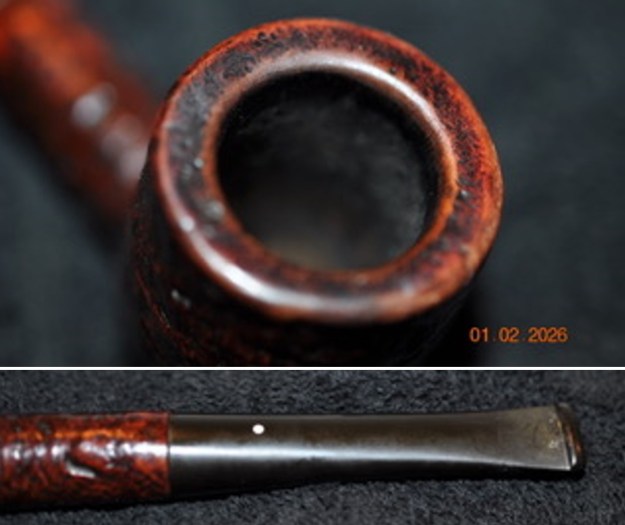
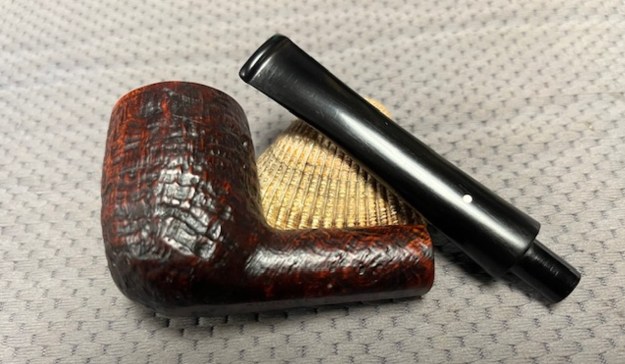
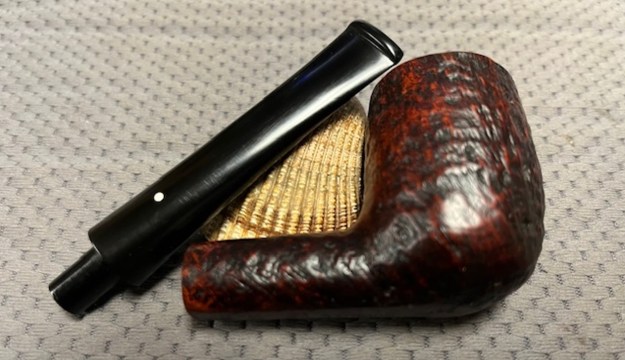
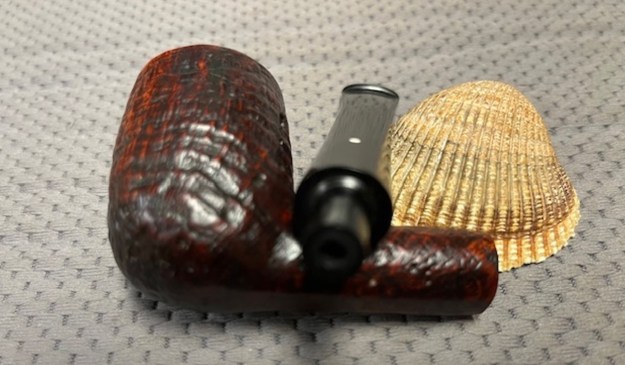
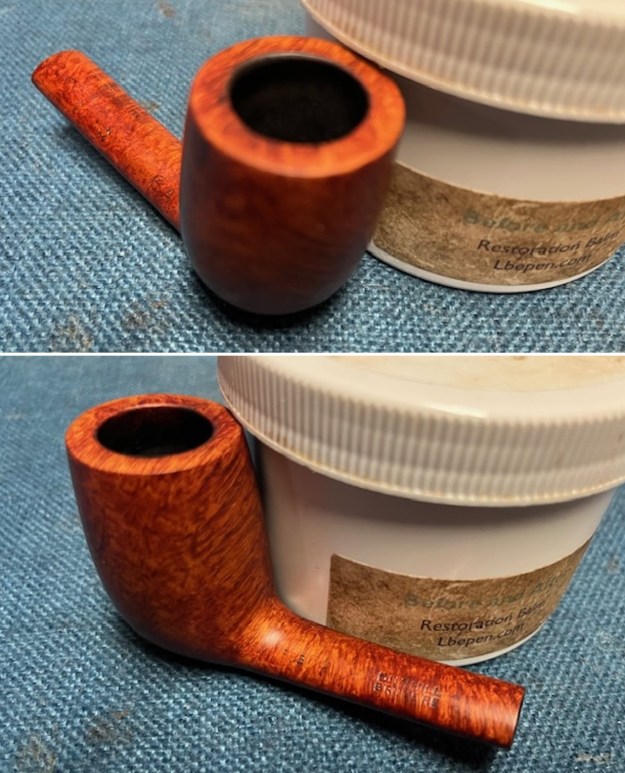
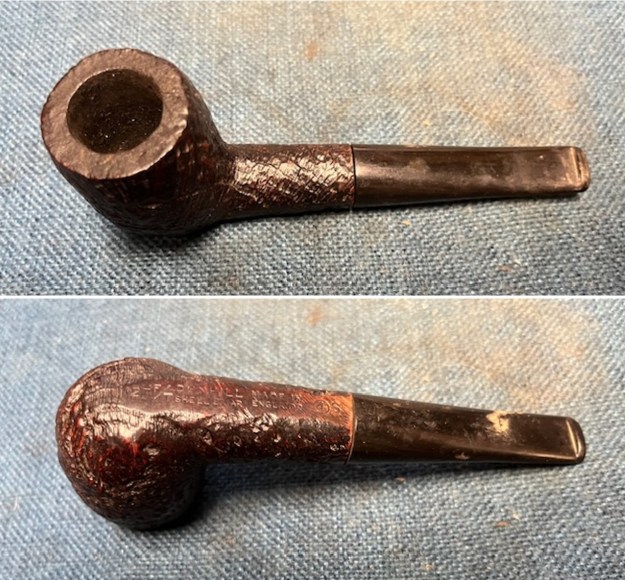
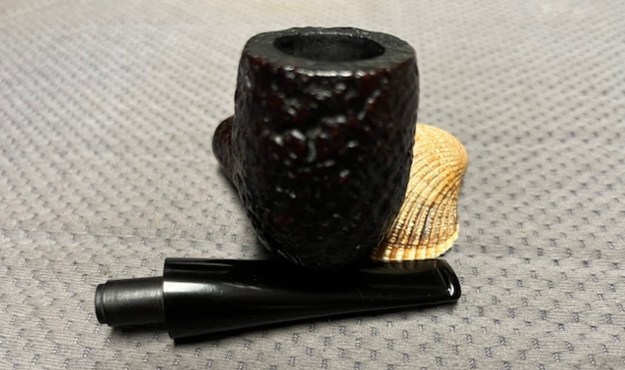
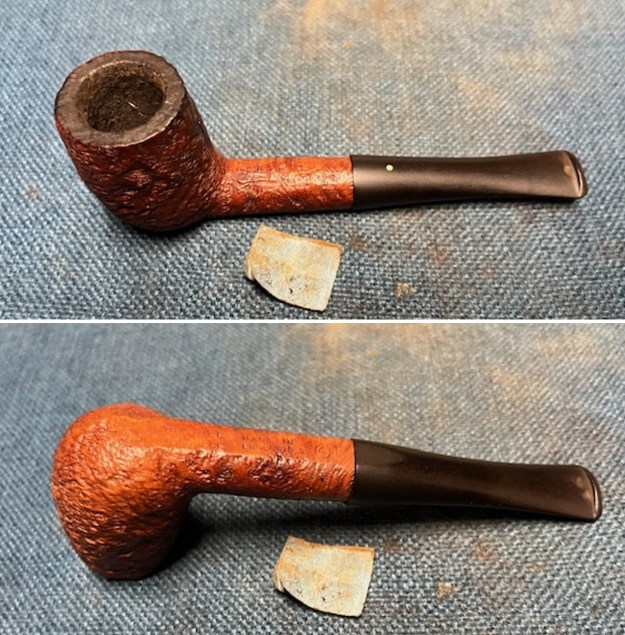
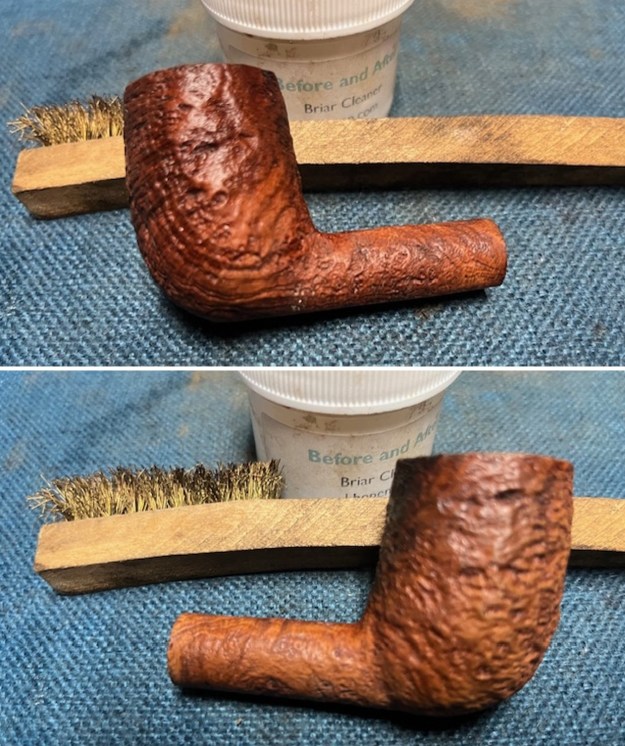
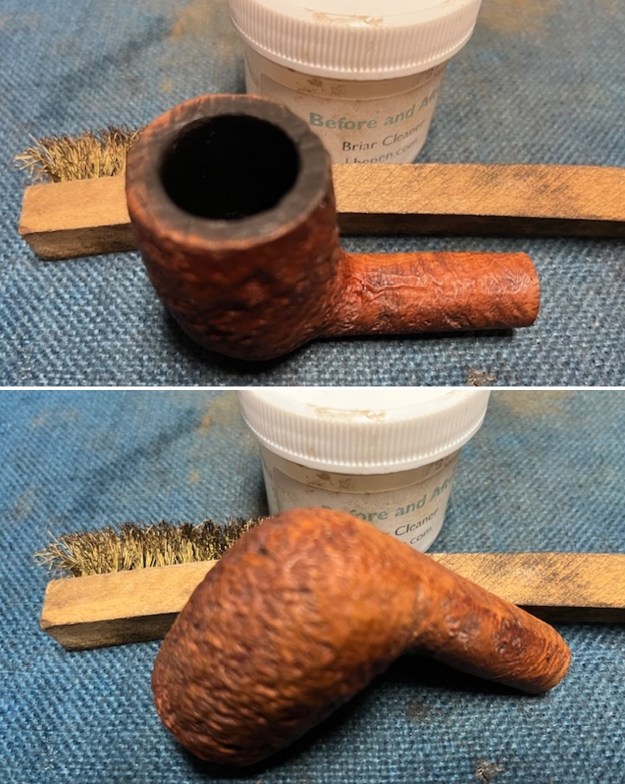
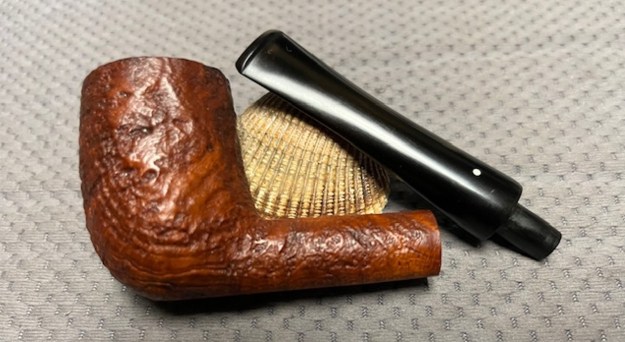
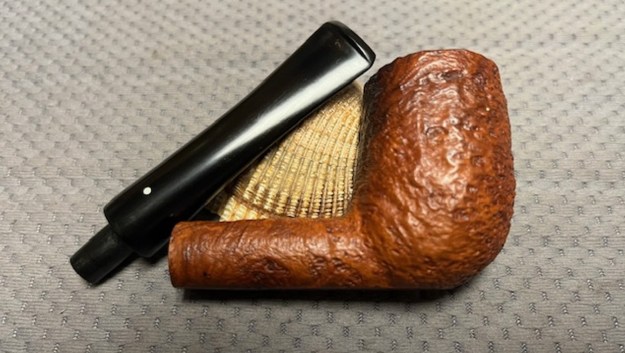
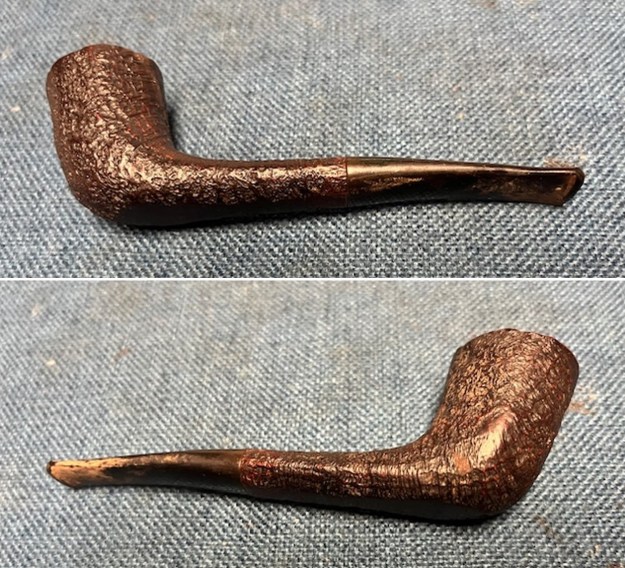
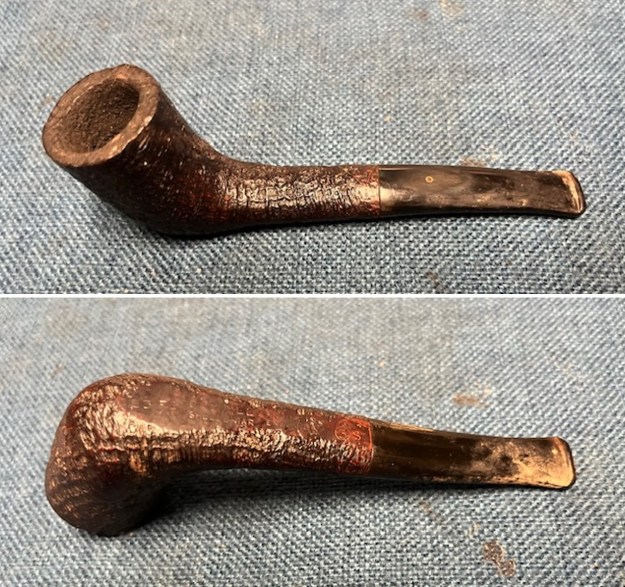
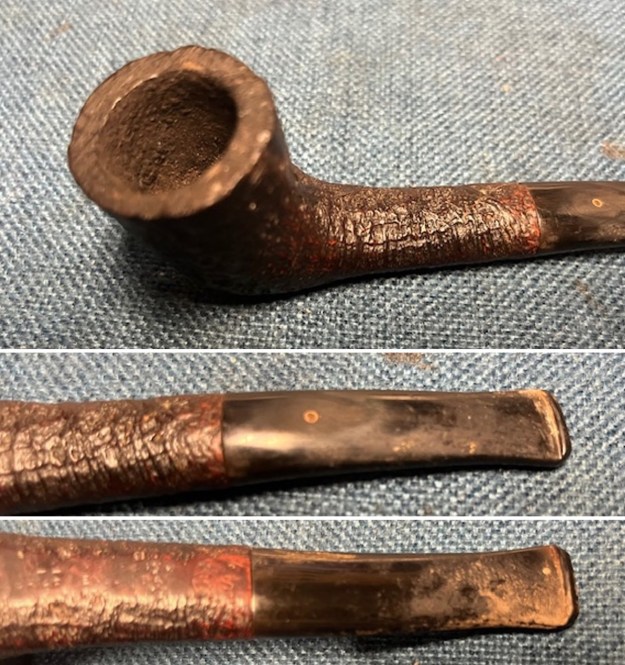
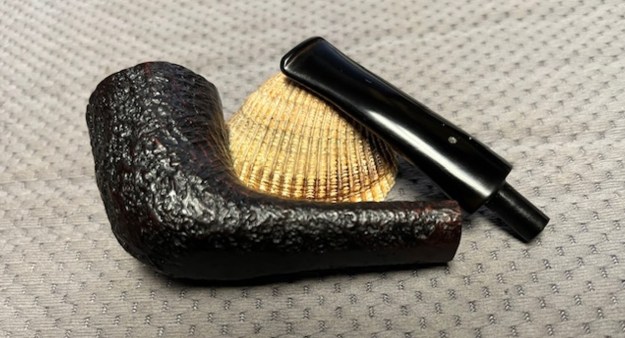
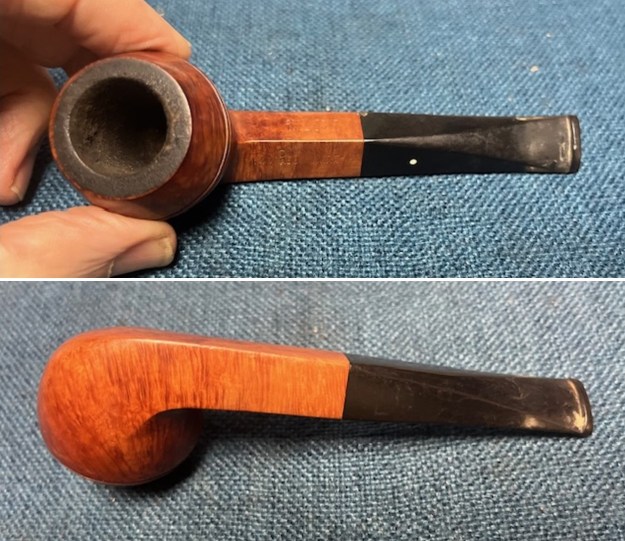
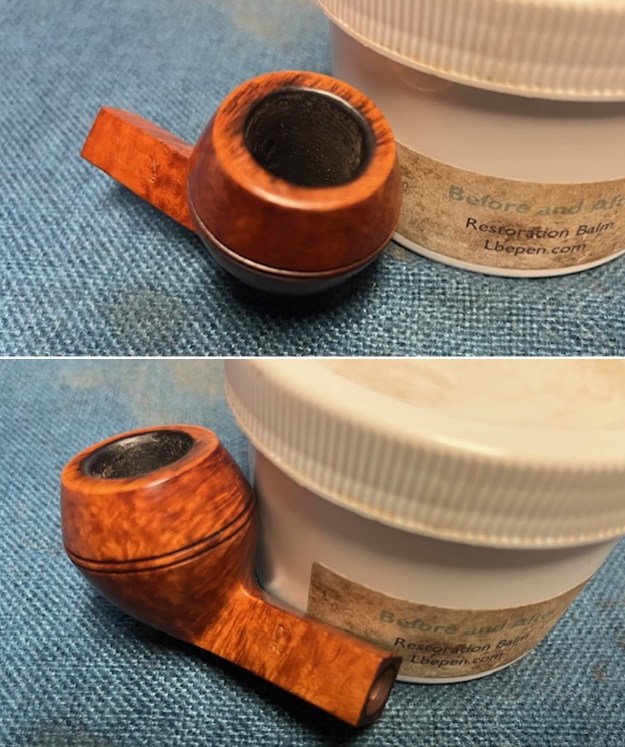
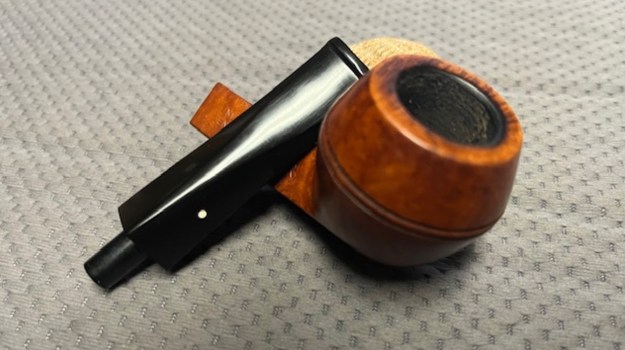
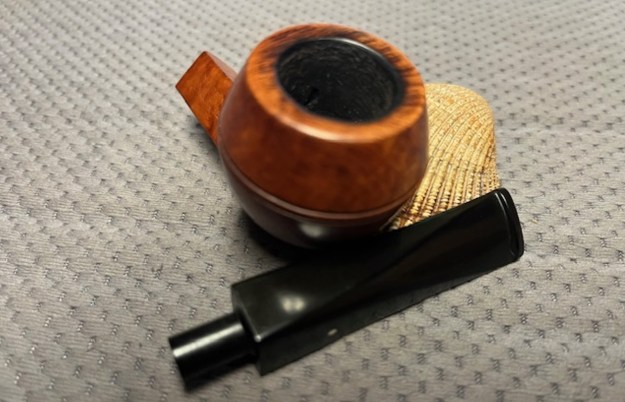
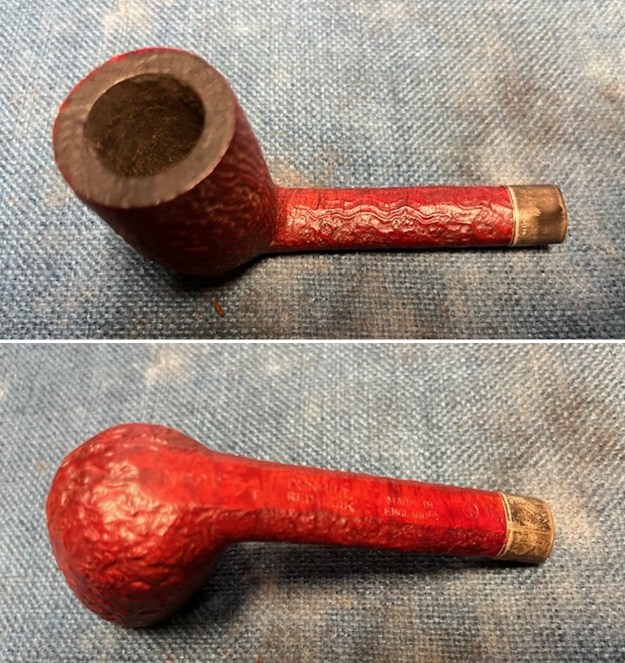
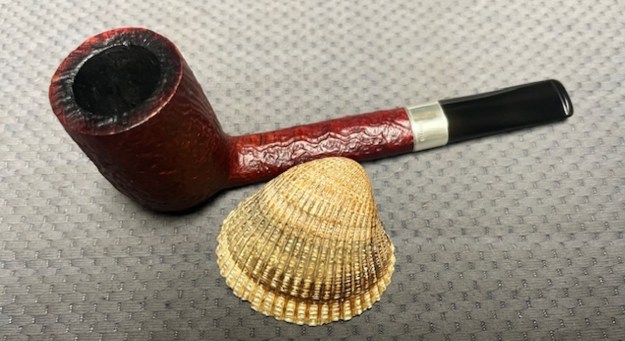
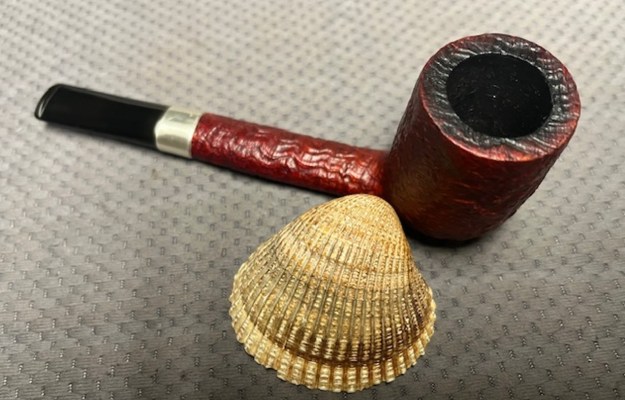
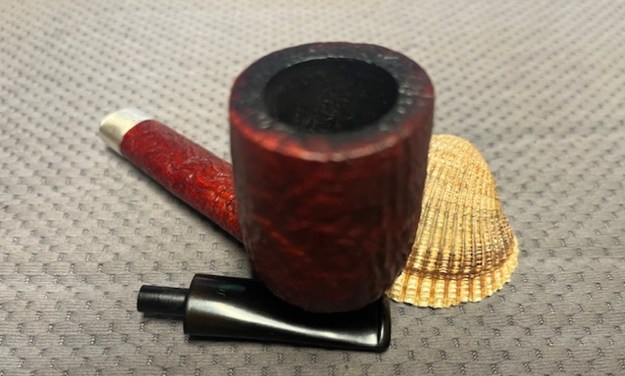
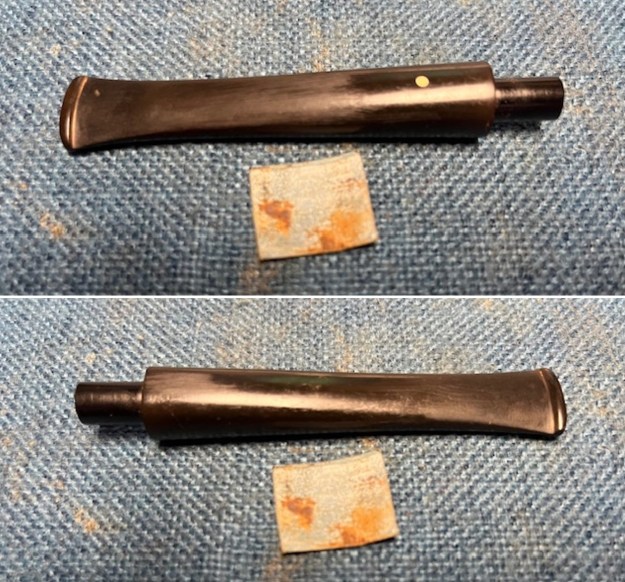
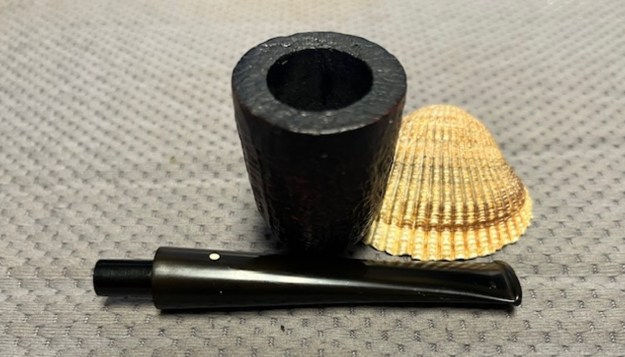
The pipe was, indeed, lovely, but – boy – was it dirty! The rim of the bowl had mounds of lava on it and the interior walls were coated in cake. I’m pleased to say that the exterior briar was in great shape. No problems at all. Meanwhile, the stem was quite oxidized and heavily calcified. It also had some tooth dents, but nothing too serious.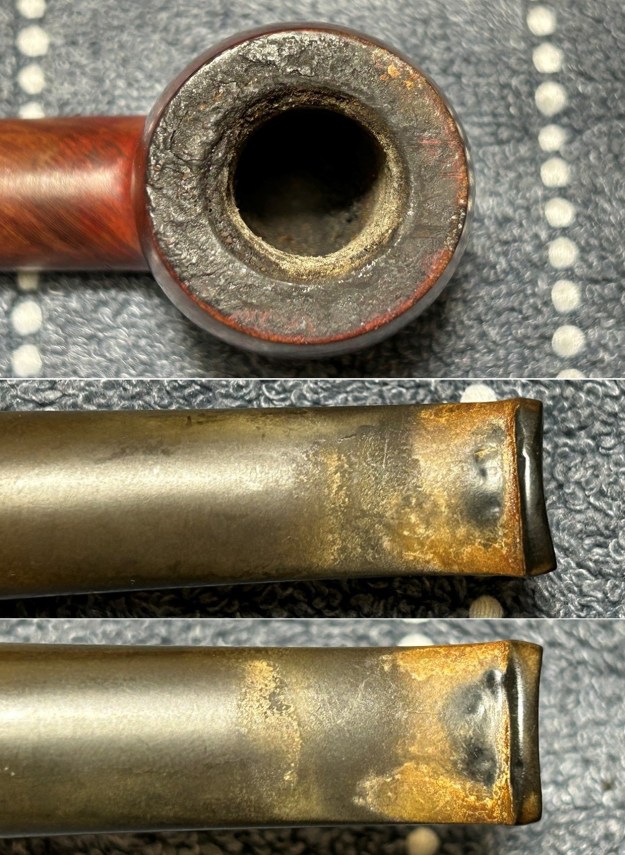
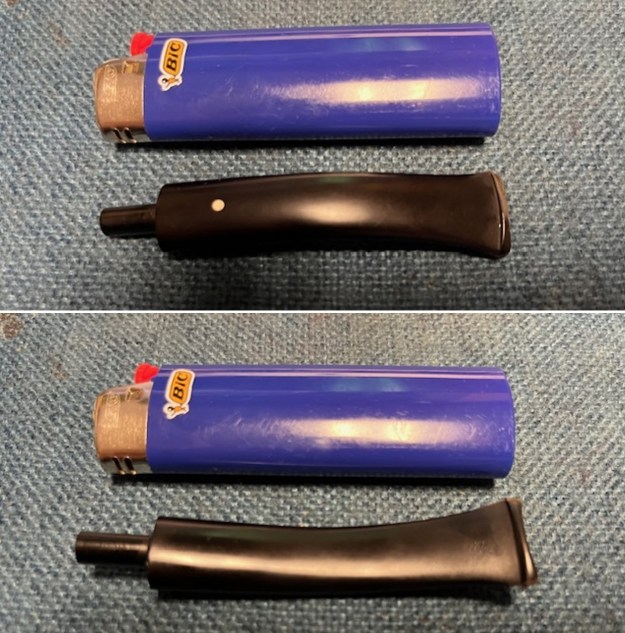
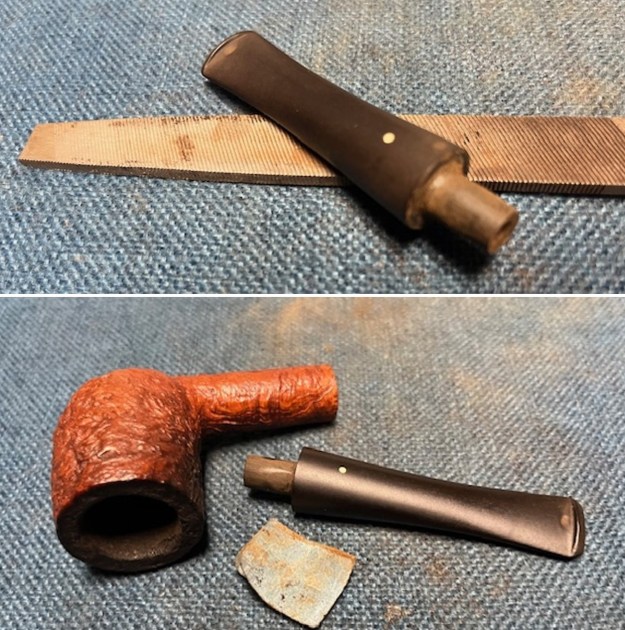
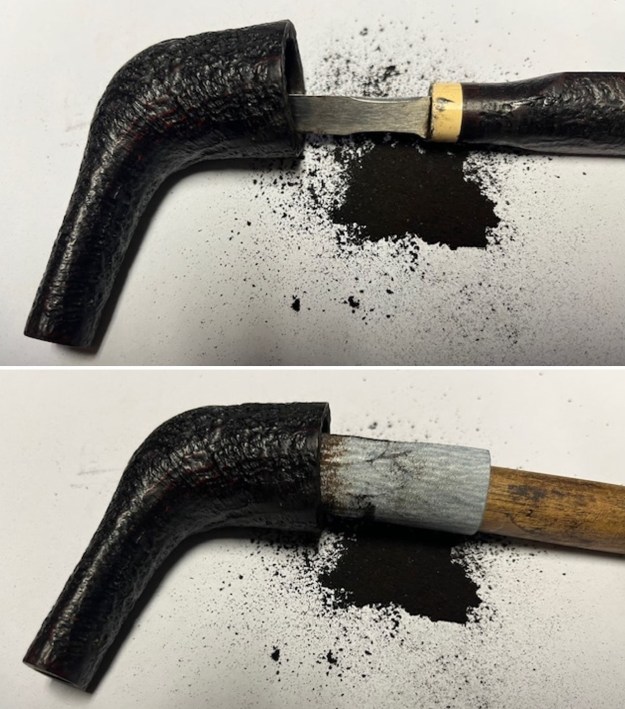
 I used a disposable lighter and ‘painted’ the stem with its flame. The gentle heat of the flame can cause the dents in the vulcanite of the stem to expand back into shape. This certainly helped, but did not completely correct the situation. The stem’s calcification was quite substantial. I used an old butter knife and gently scraped some of the thicker accretion off. Doing this now helps later in removing the oxidation.
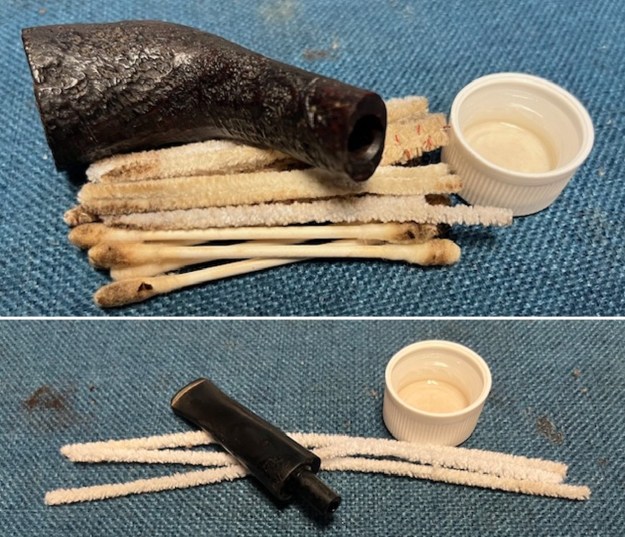
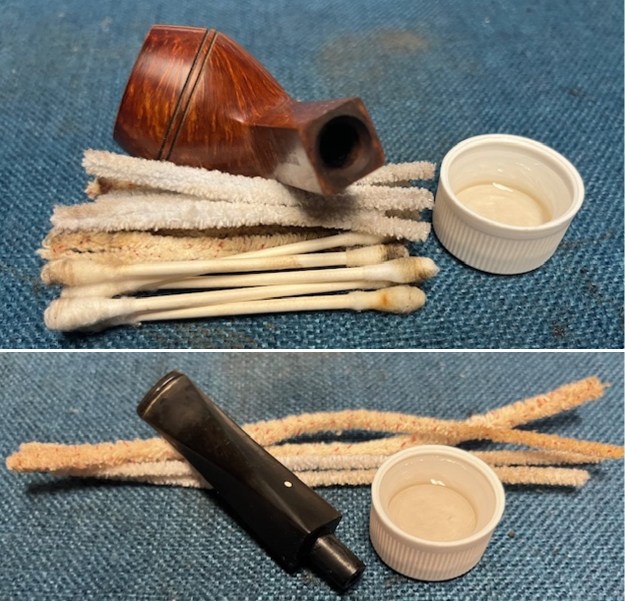
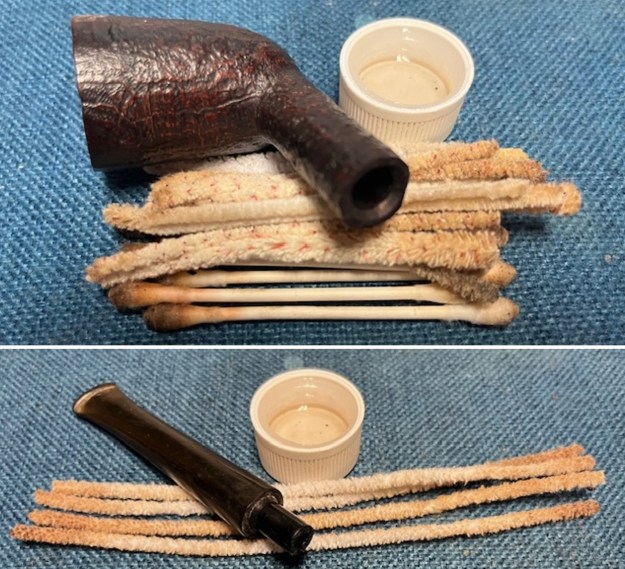
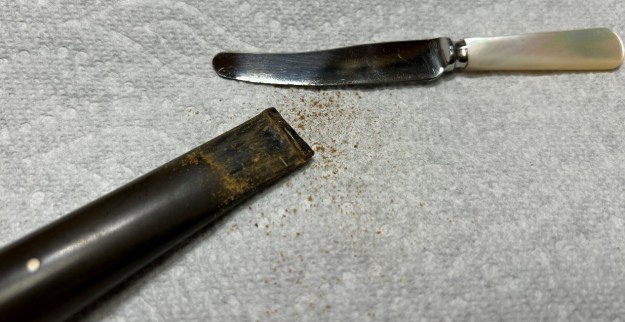 I used isopropyl alcohol on a few cotton rounds and wiped down the stem to provide an initial cleaning of filth before moving on to the next steps. The primary cleaning came next. I disinfected the inside of the stem with both pipe cleaners and cotton swabs dipped in lemon-infused 99% isopropyl alcohol. I scrubbed thoroughly to make sure the interior was very clean.
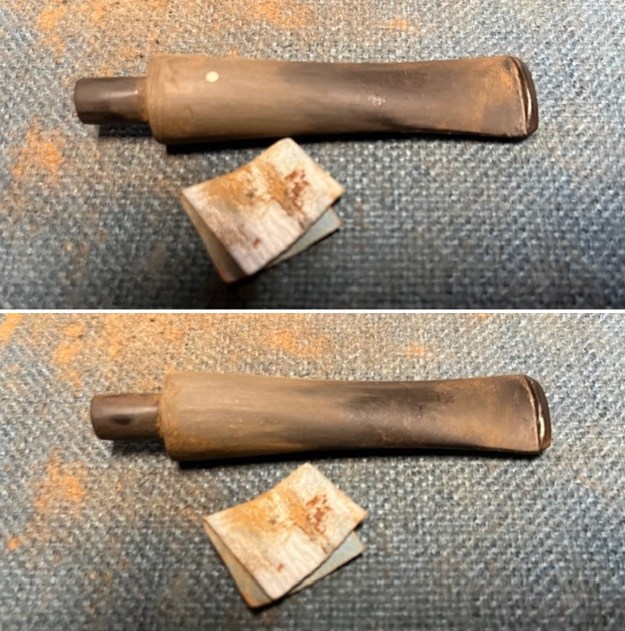
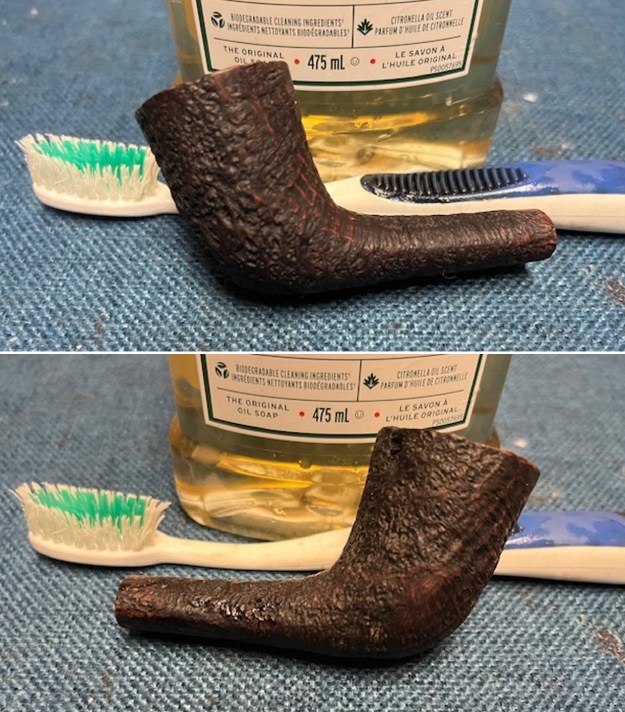
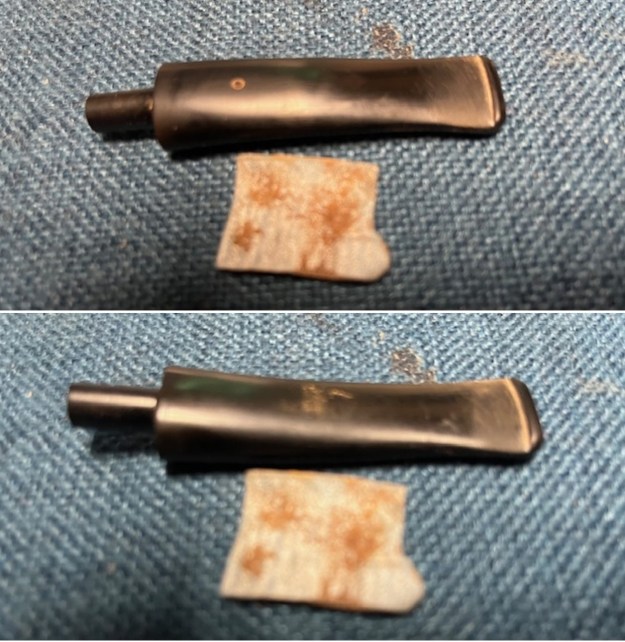
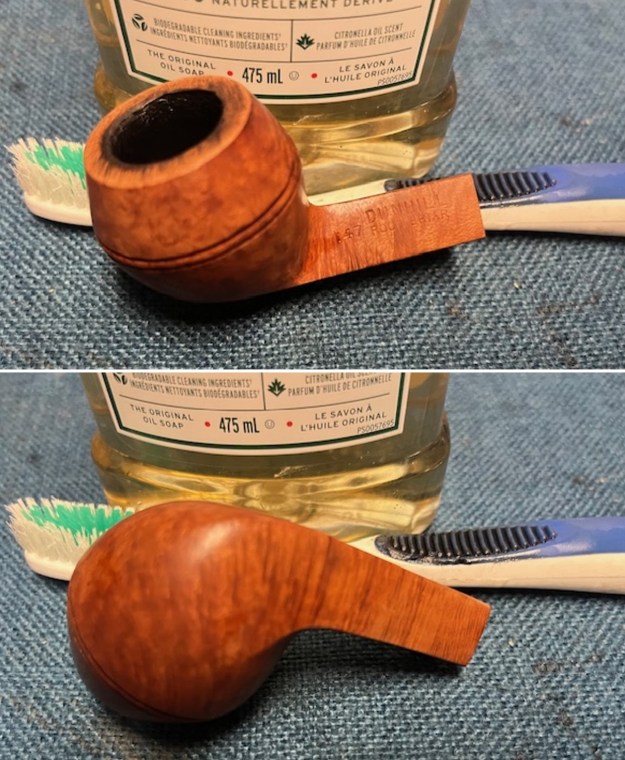
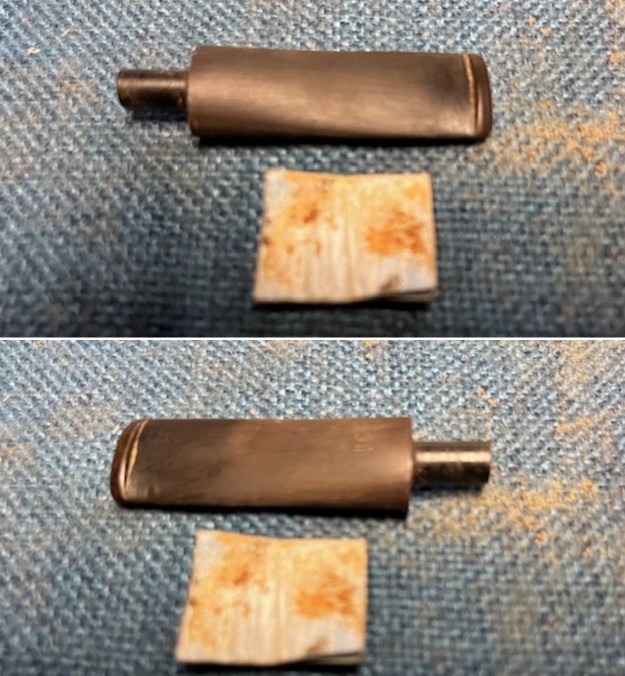
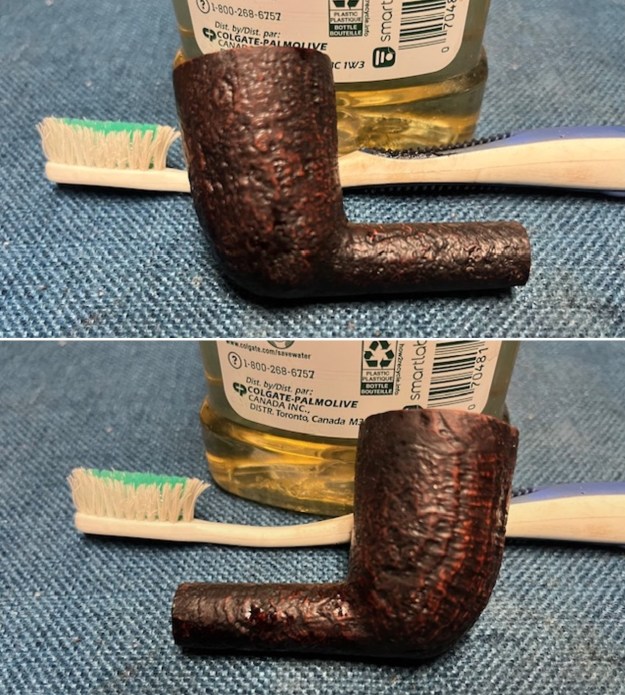
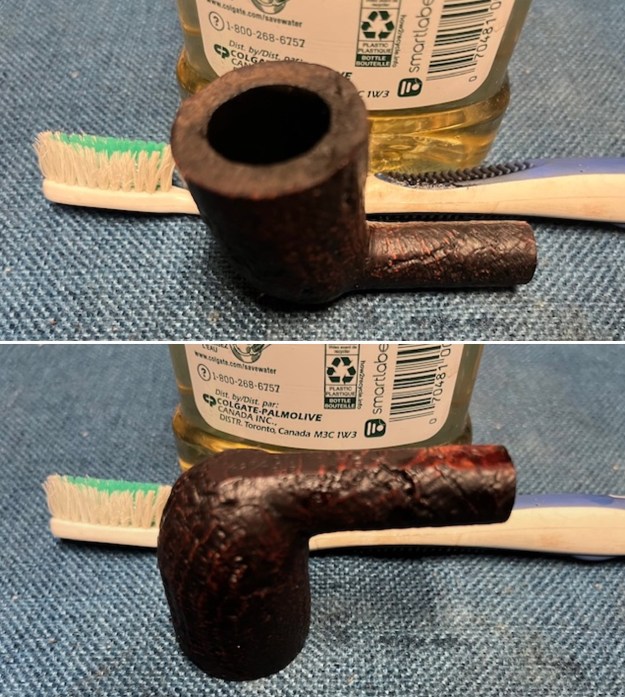
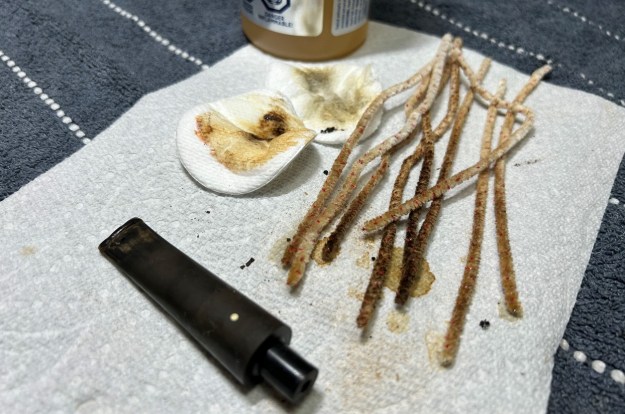 The goal of the next step is the removal (or minimization) of oxidation. Going to my sink, I used cream cleanser, cotton rounds, and a toothbrush, and scoured the stem to remove as much surface oxidation as possible. As the photos show, the result was a hideous, ochre-coloured mess – but better off the stem than on it.
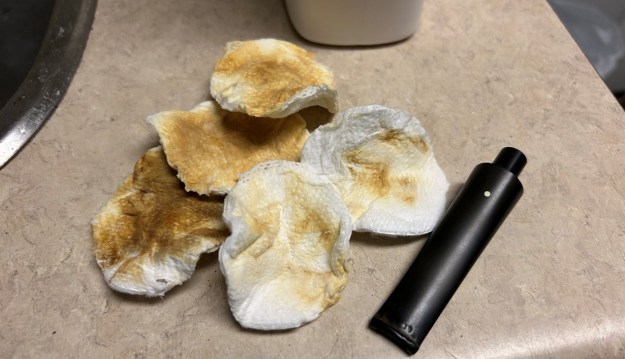 Once the stem was reasonably clean, I soaked it overnight in some Briarville Stem Oxidation Remover. This solution works to draw oxidation in the stem to the surface of the vulcanite. This is a major aid and an important step in ensuring a clean stem. The following day, I drew out the stem from its bath and scrubbed the lingering fluid with a toothbrush.
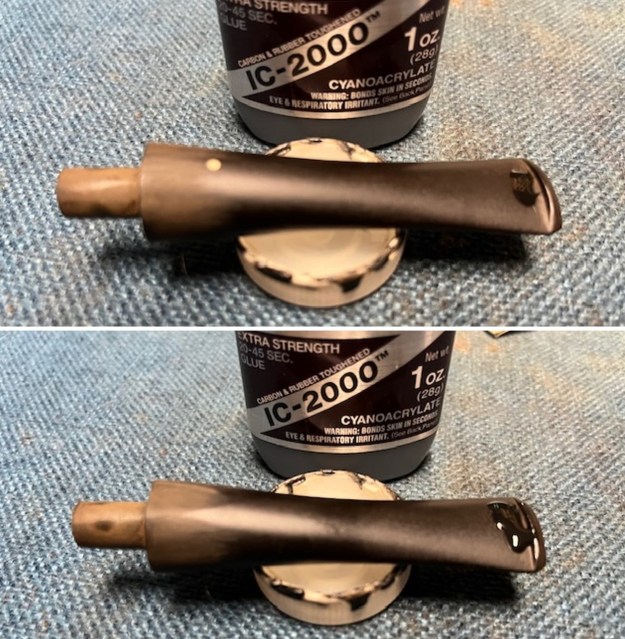
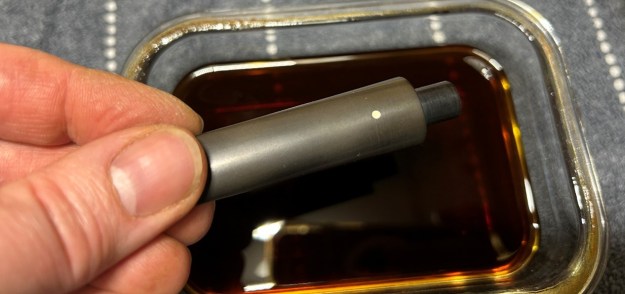 As the stem was now clean and dry, I set about fixing the marks and dents in the vulcanite. This was done by filling those divots with black cyanoacrylate adhesive, impregnated with carbon and rubber. I left this to cure and moved on.
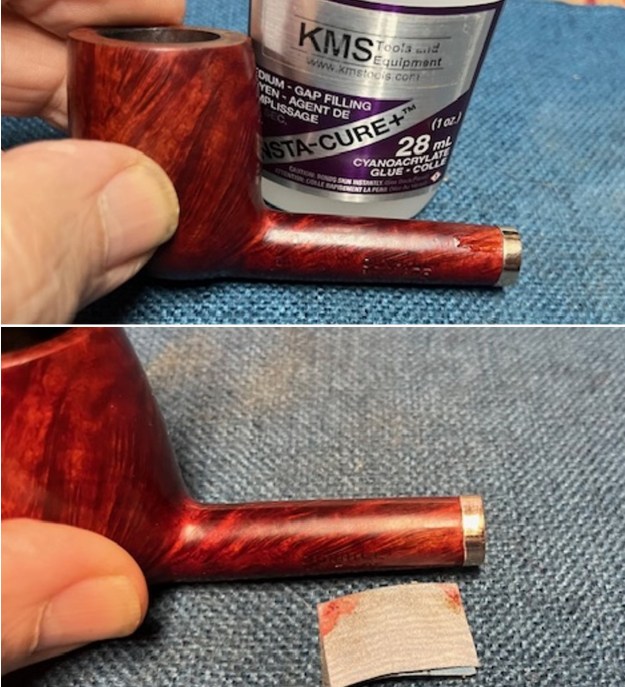
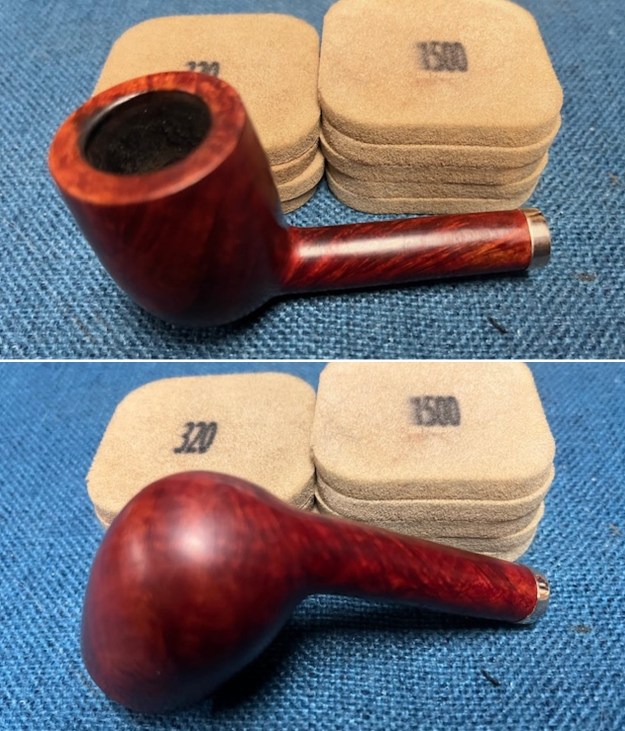
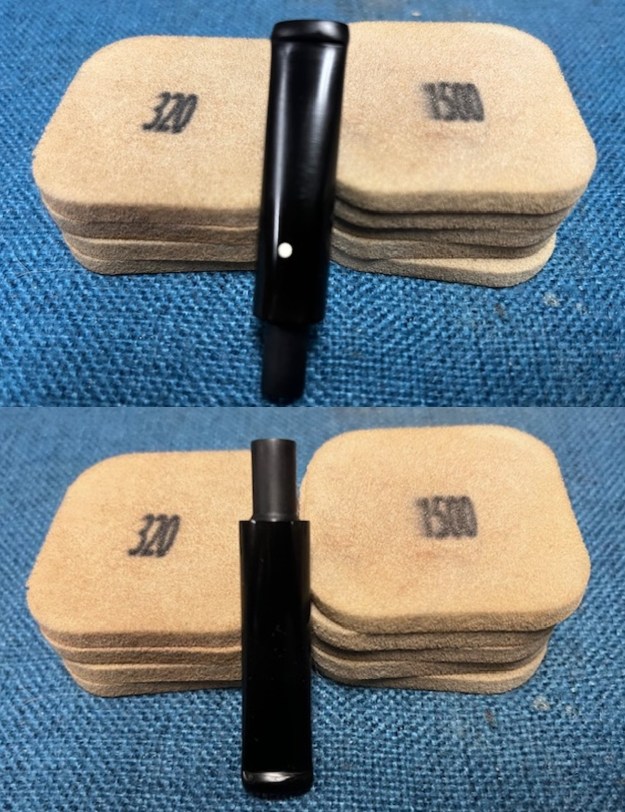
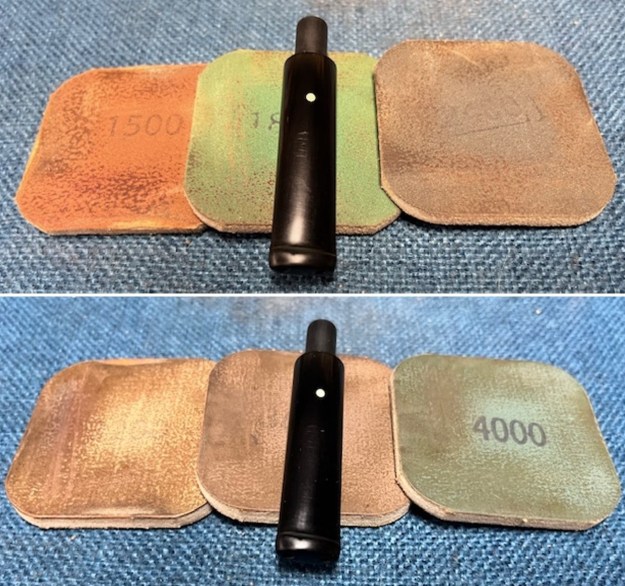
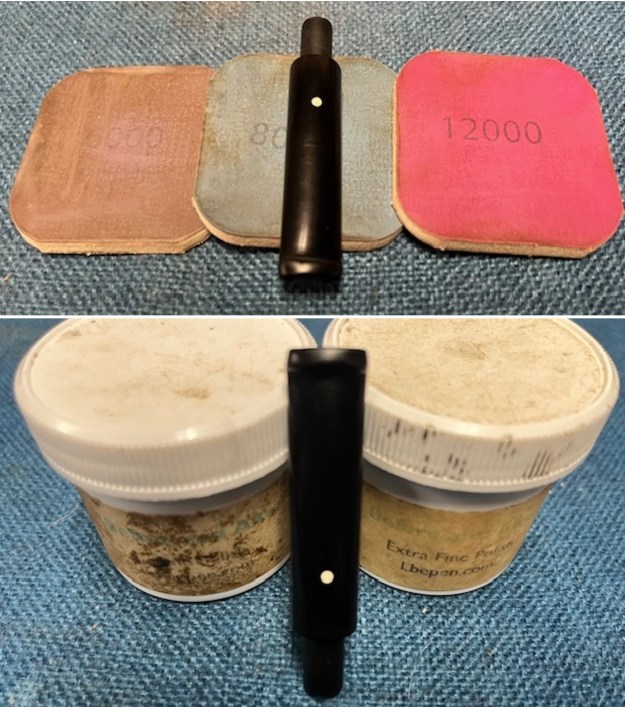
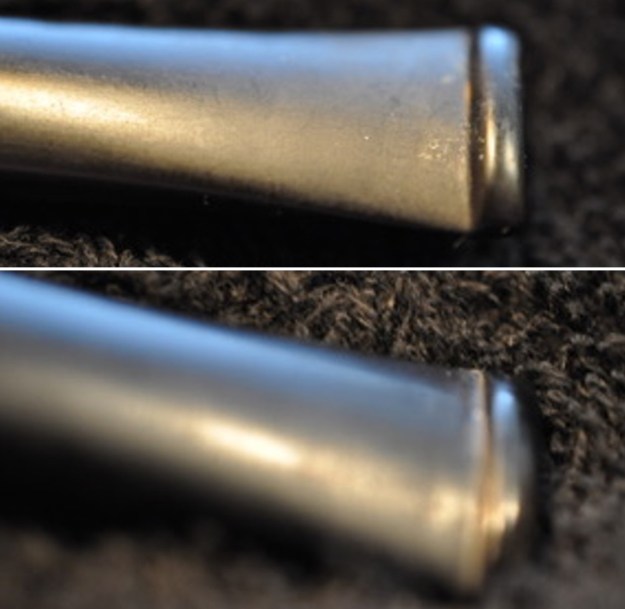
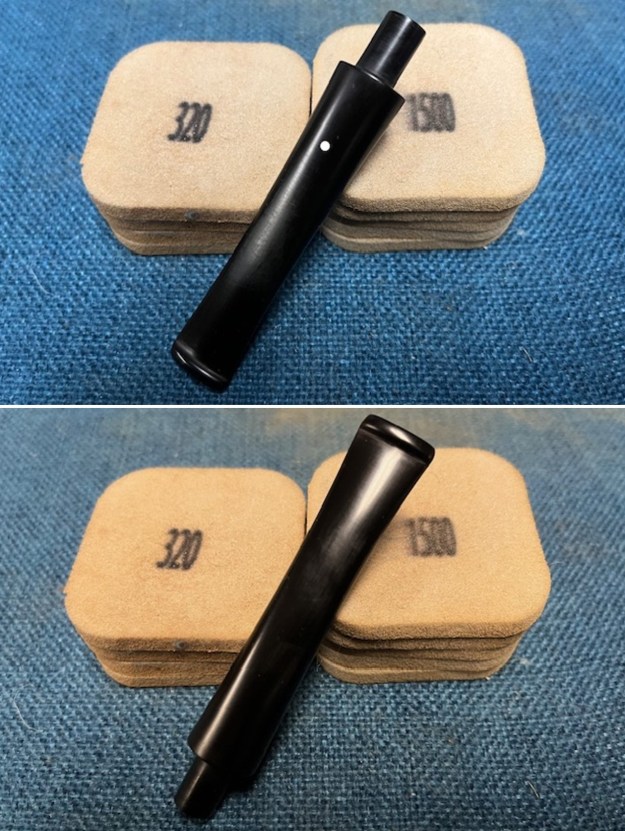
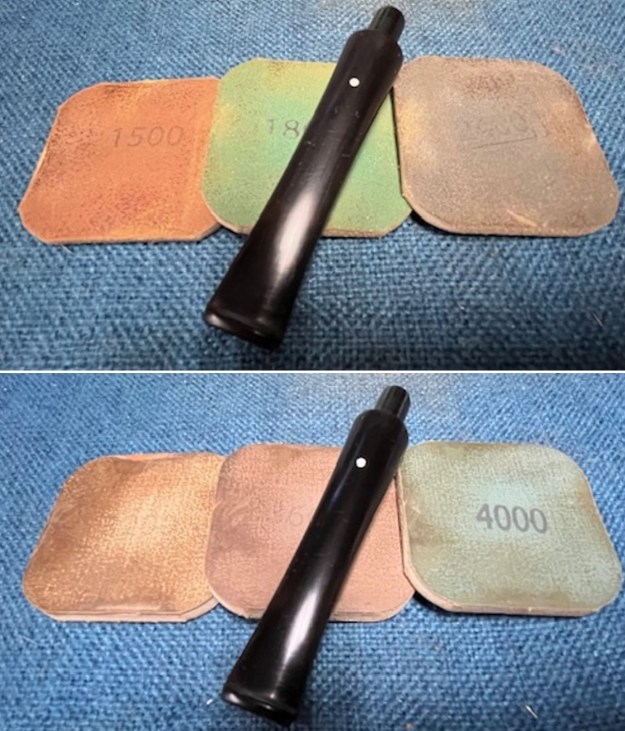
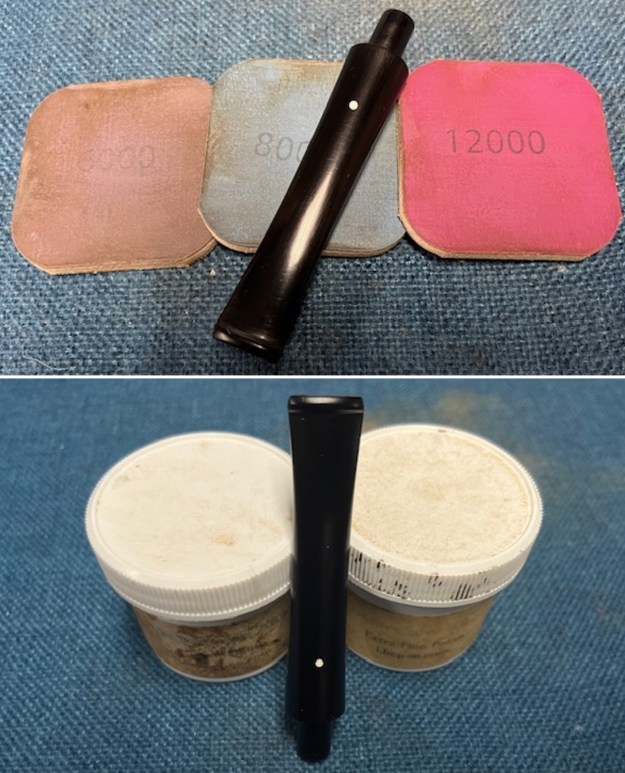
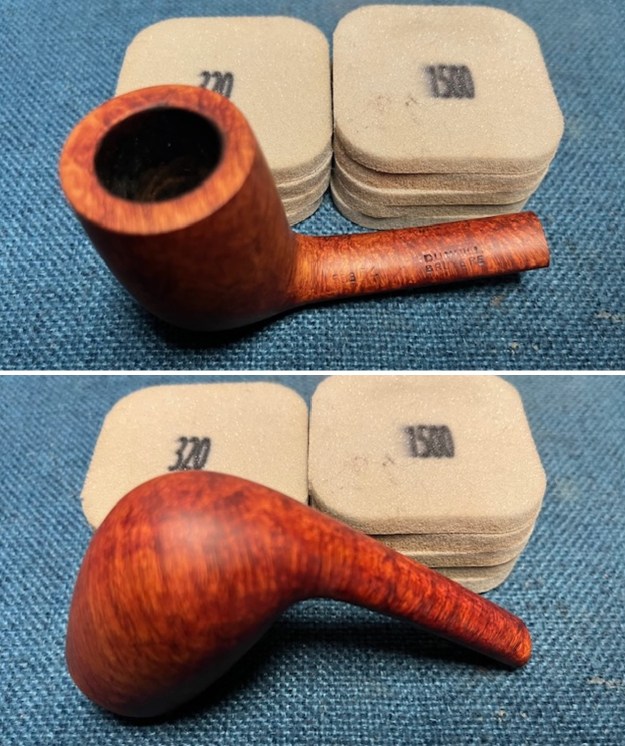
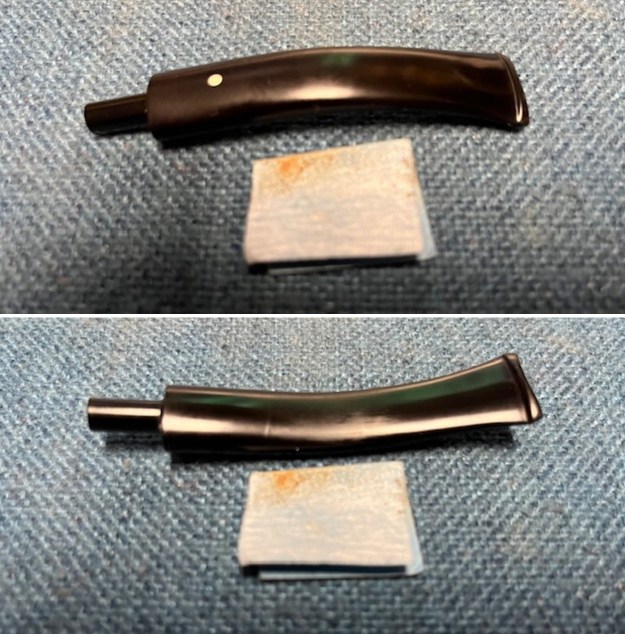
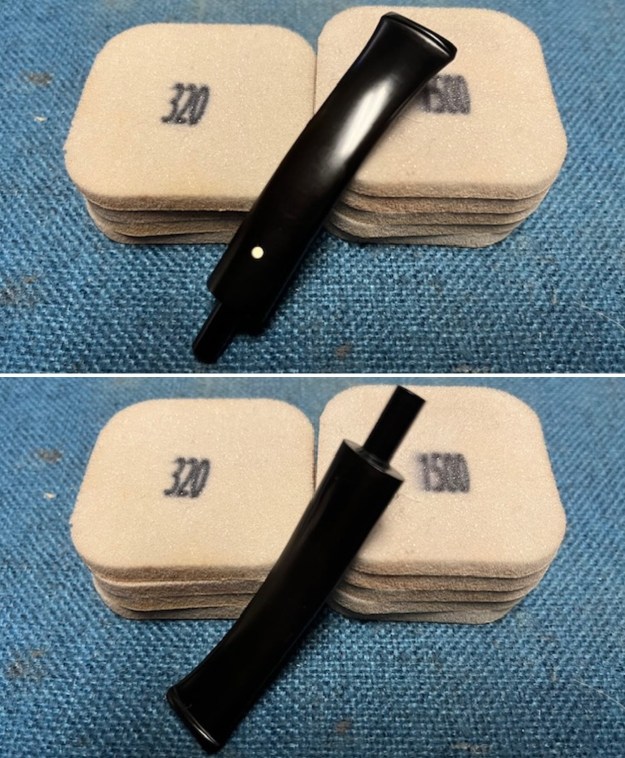
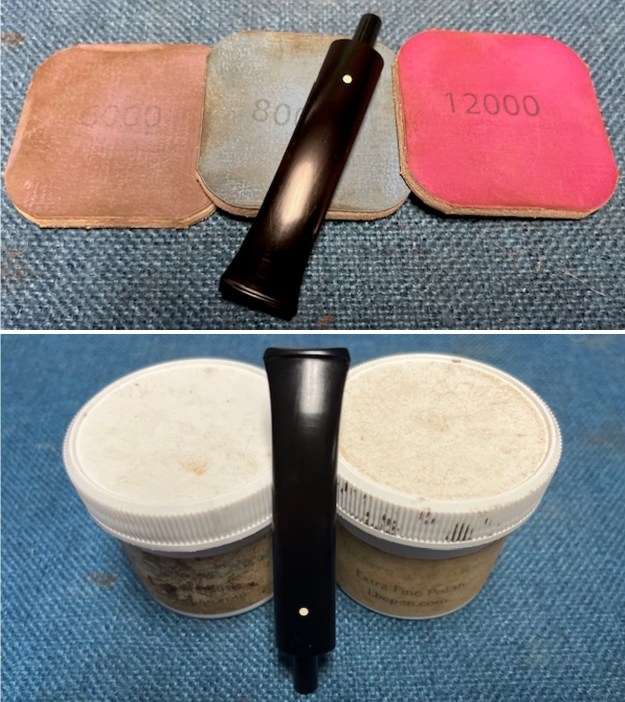
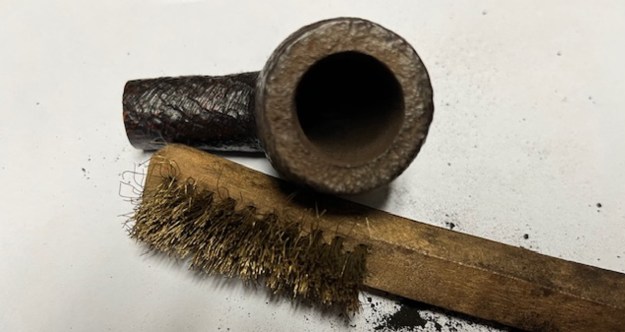
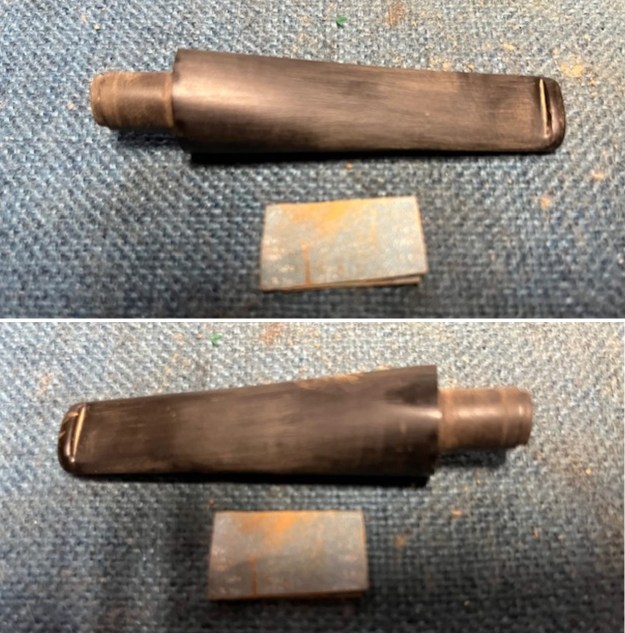
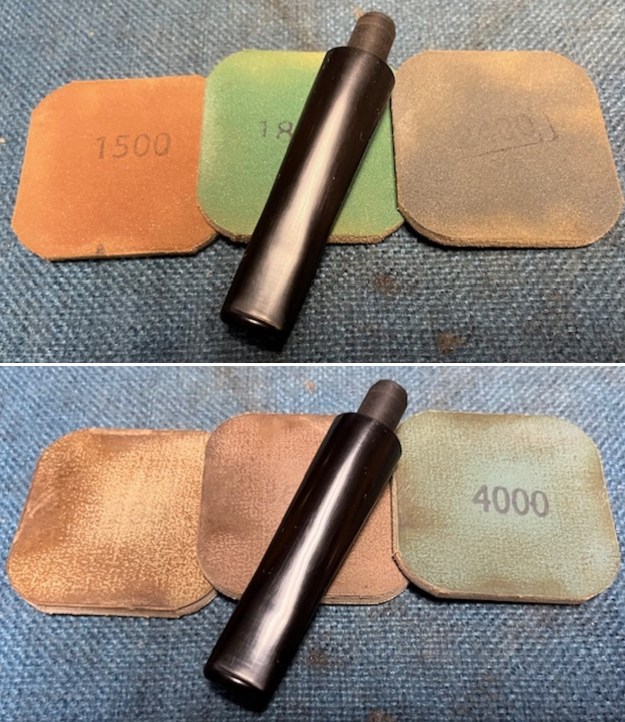
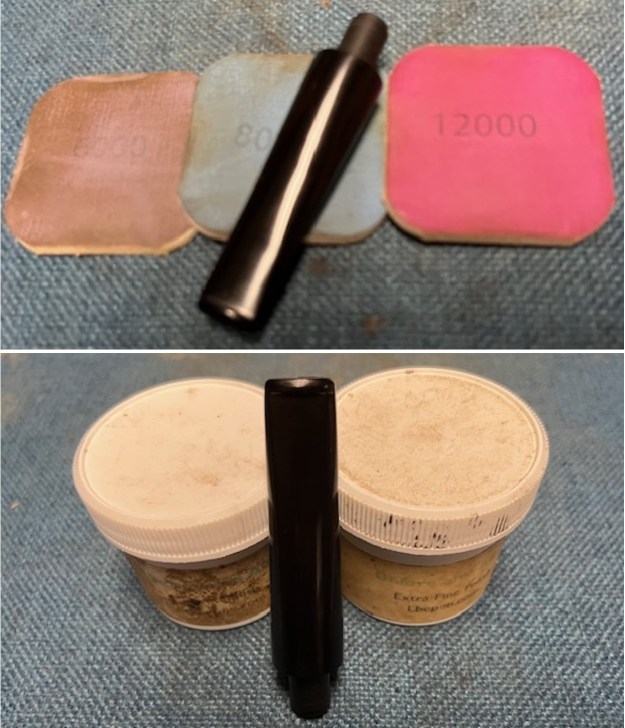
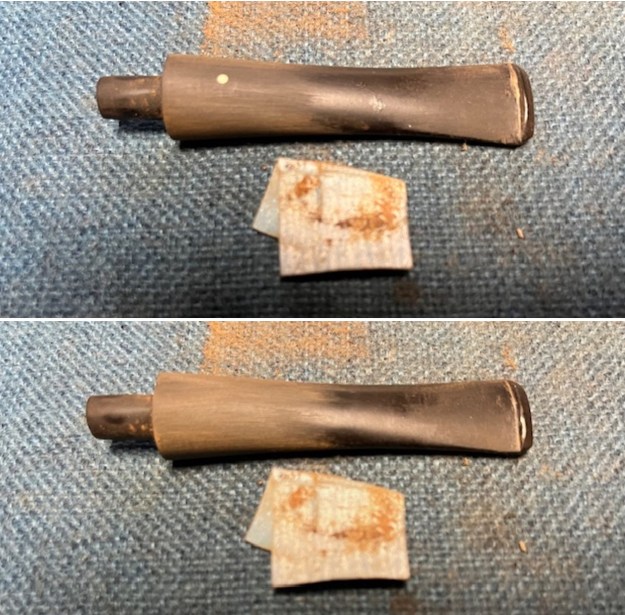
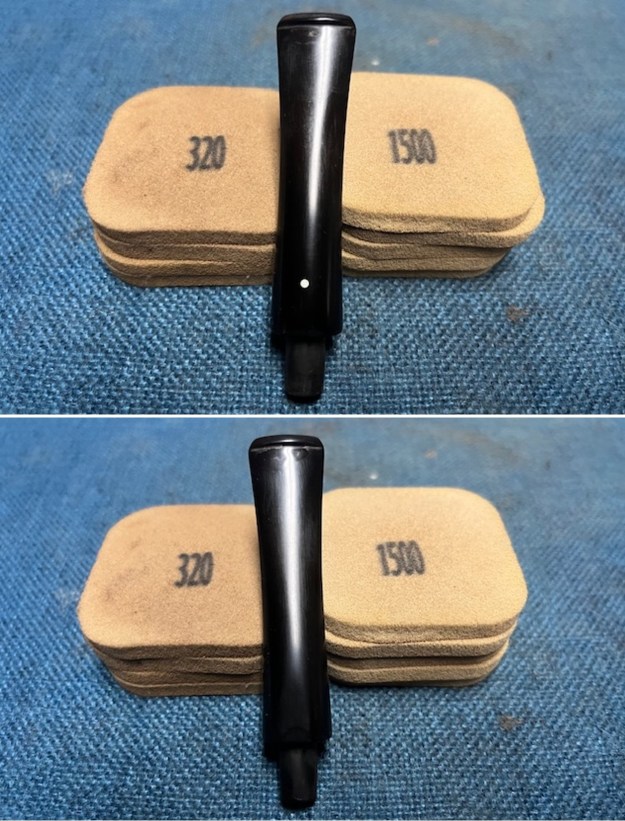
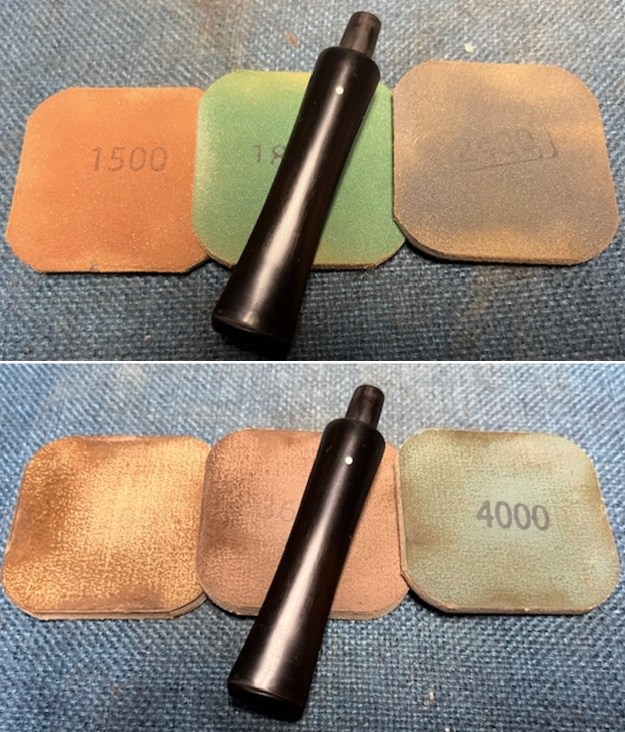
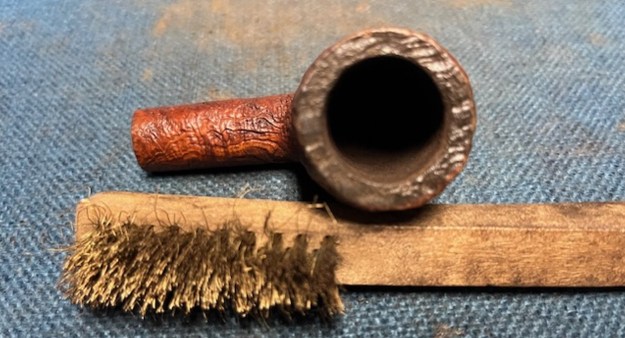
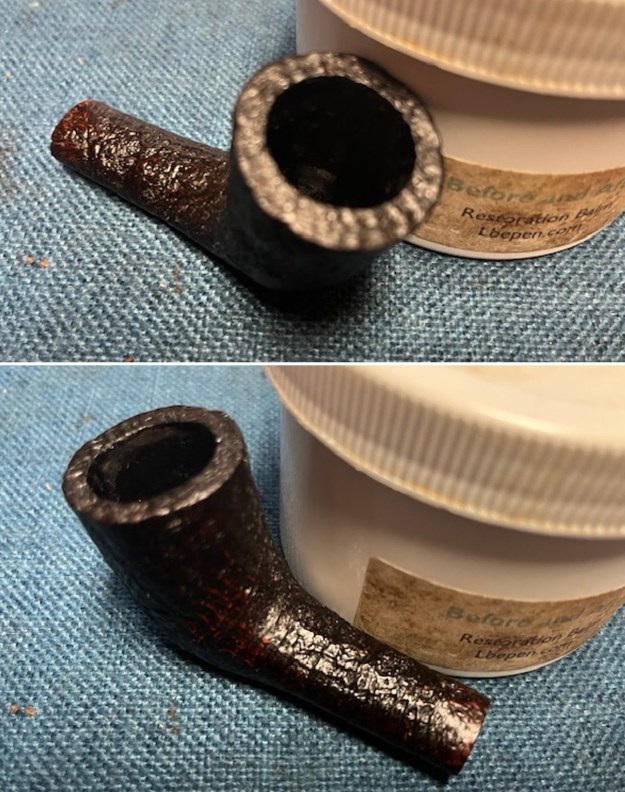
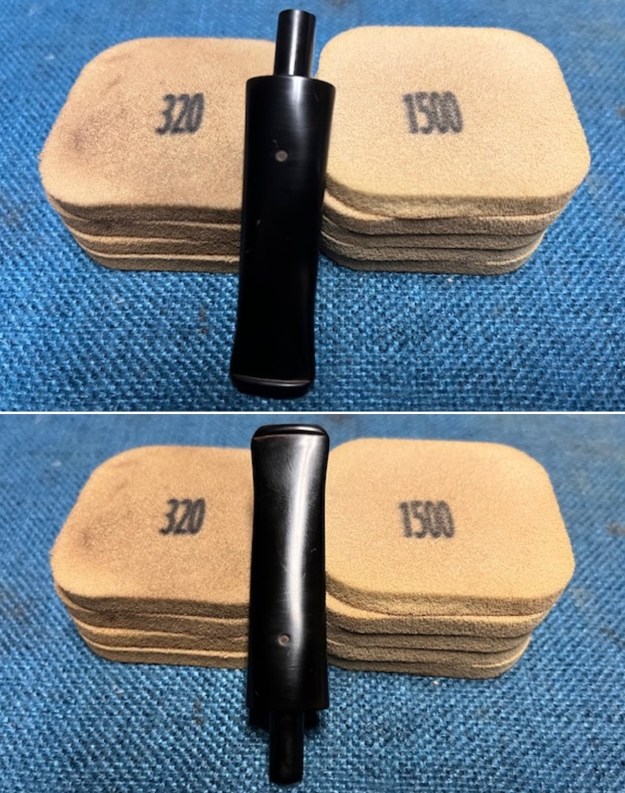
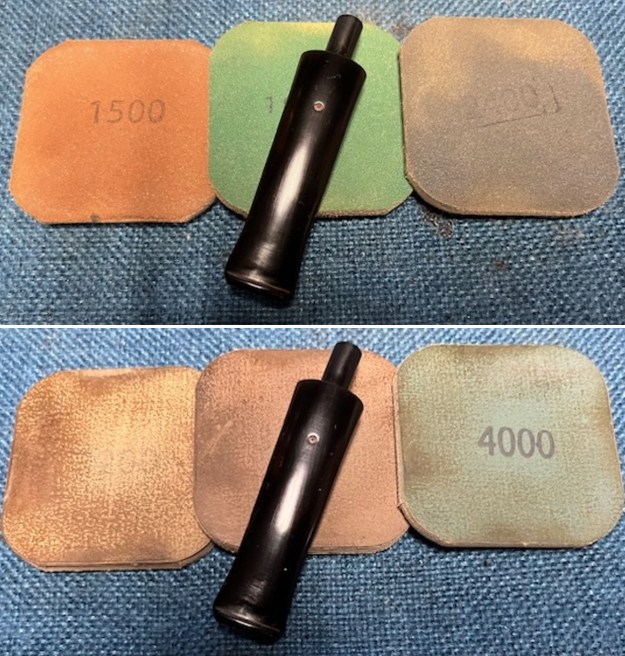
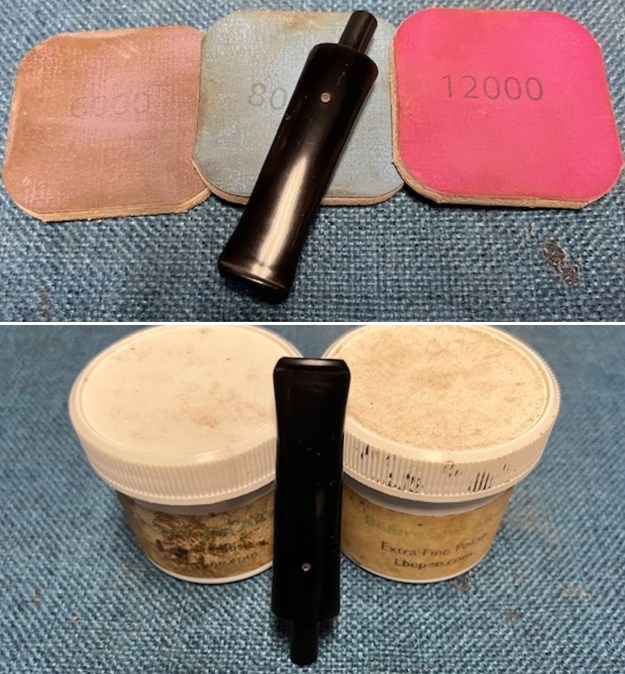
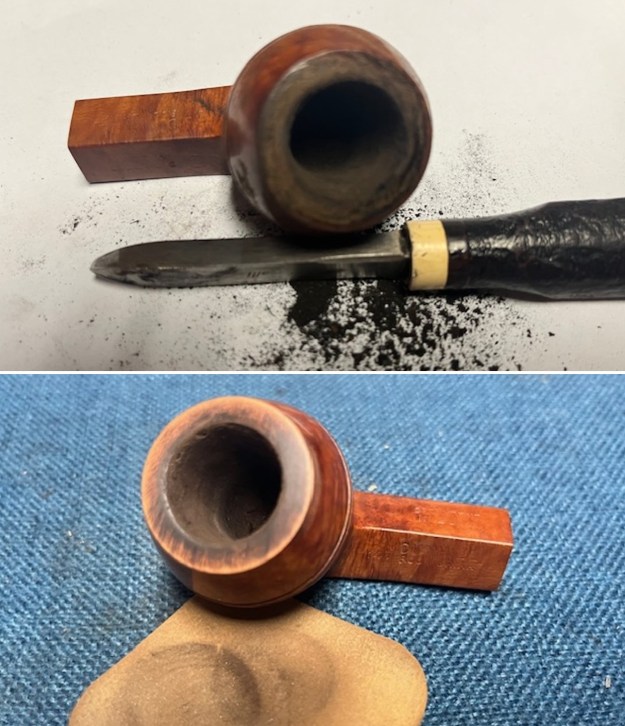
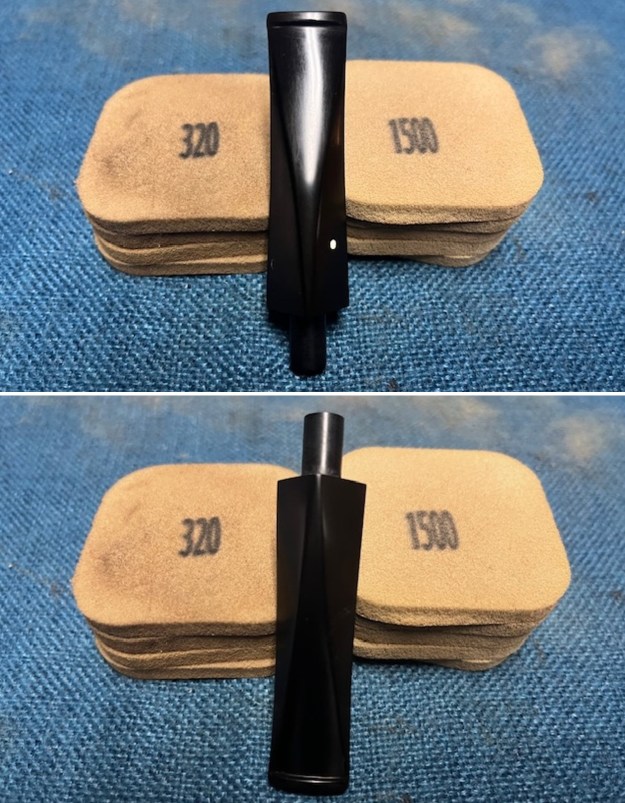
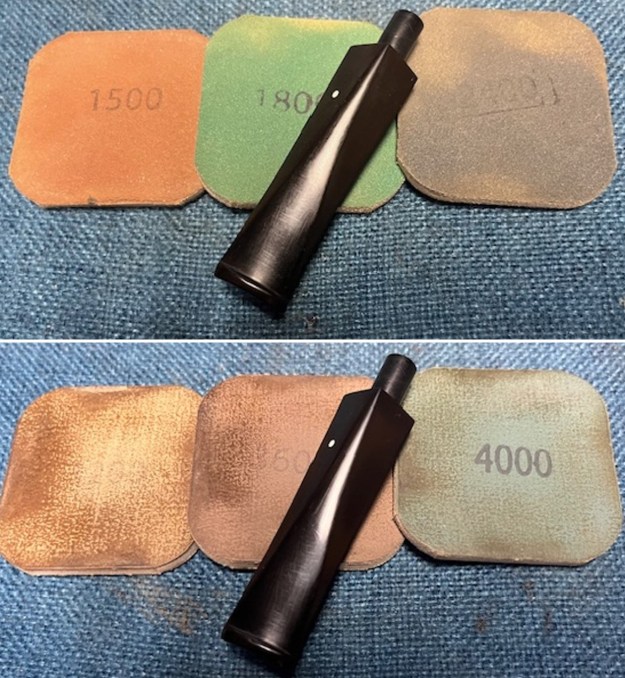
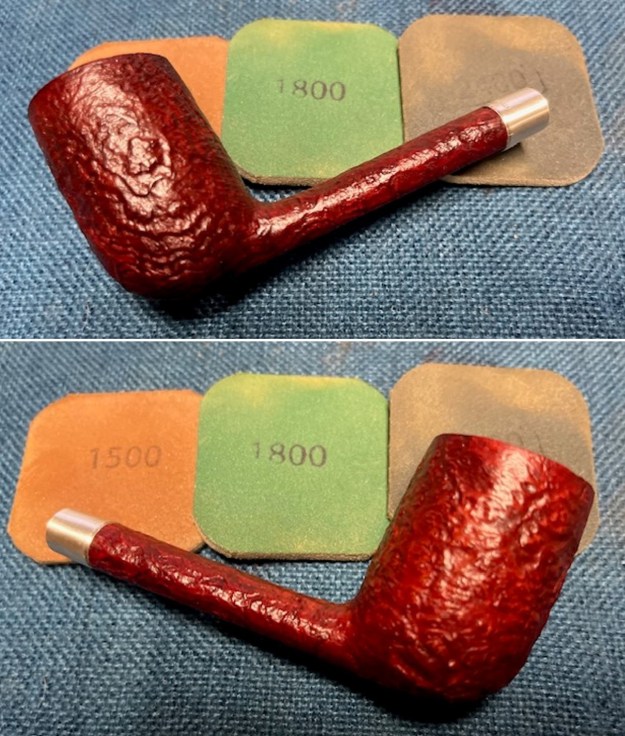
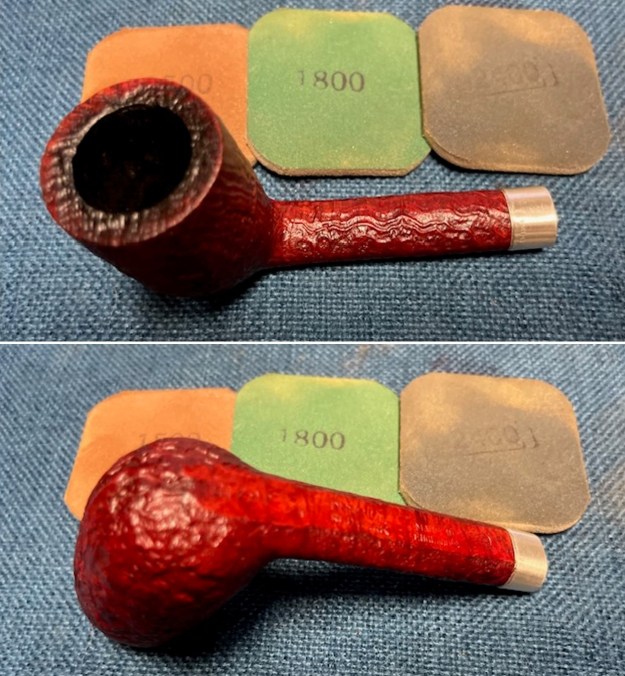
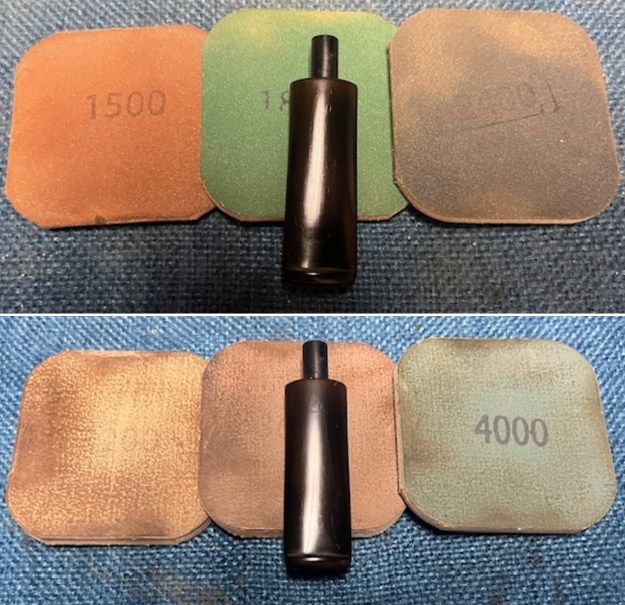
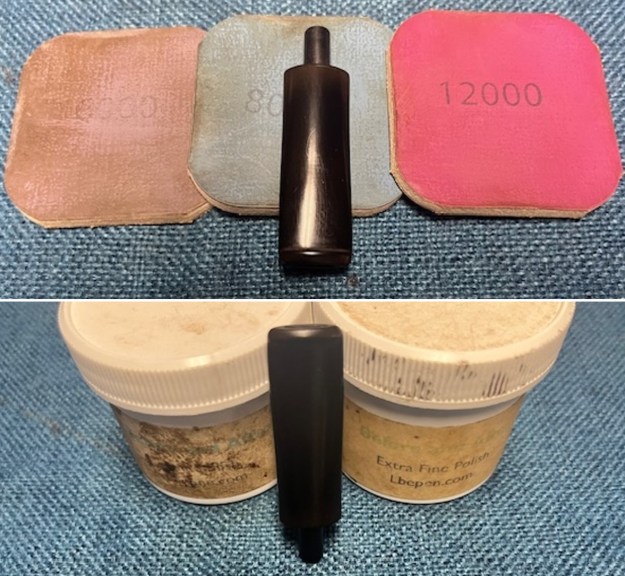
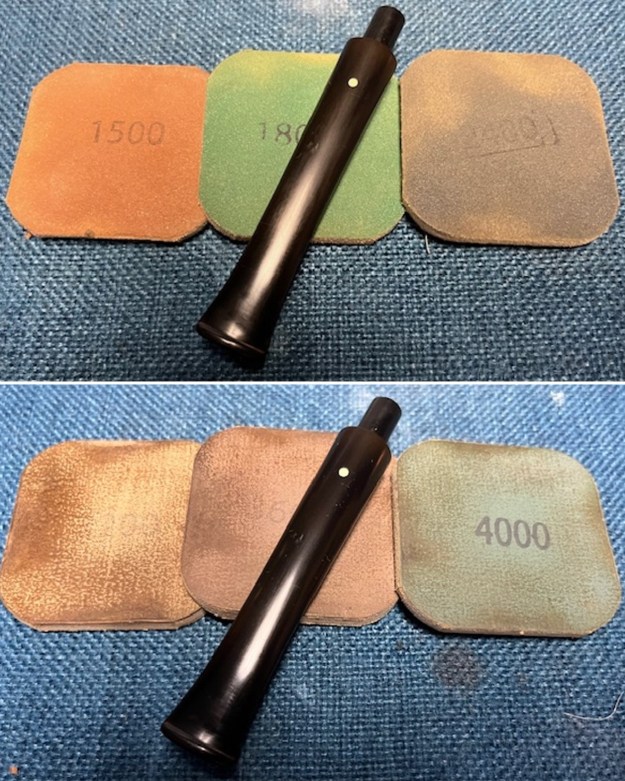
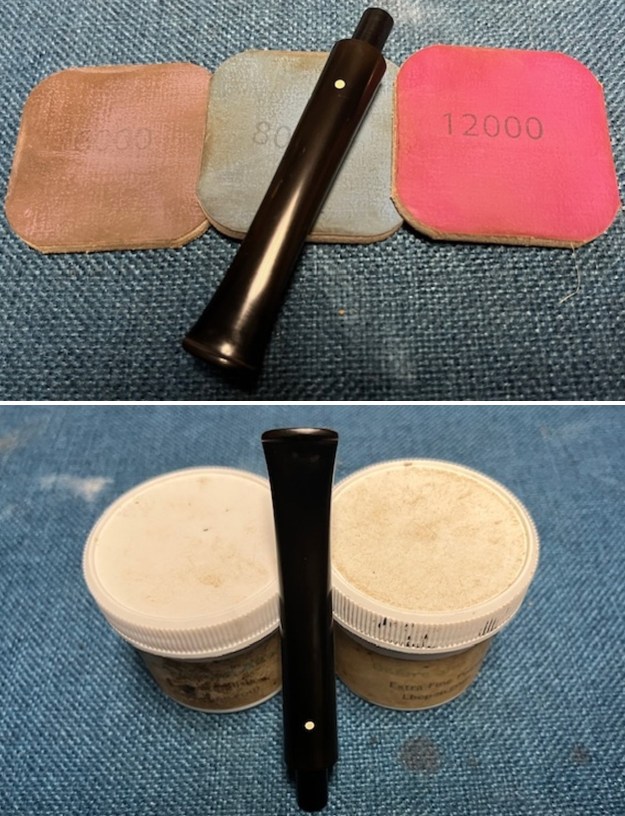
The penultimate step for the stem is sanding. First, with my set of needle files, I reduced the bulk of the cyanoacrylate repairs. I removed the excess adhesive as near to the surface as possible, without cutting into the vulcanite. Following that, I used all nine of the micromesh sanding pads (1,500 through 12,000 grit) to sand out flaws, even out the vulcanite, and provide gentle polishing of the finished surface. I also applied pipe-stem oil while using the last five micromesh pads. There was a wonderful, deep black shine to the stem when I was done.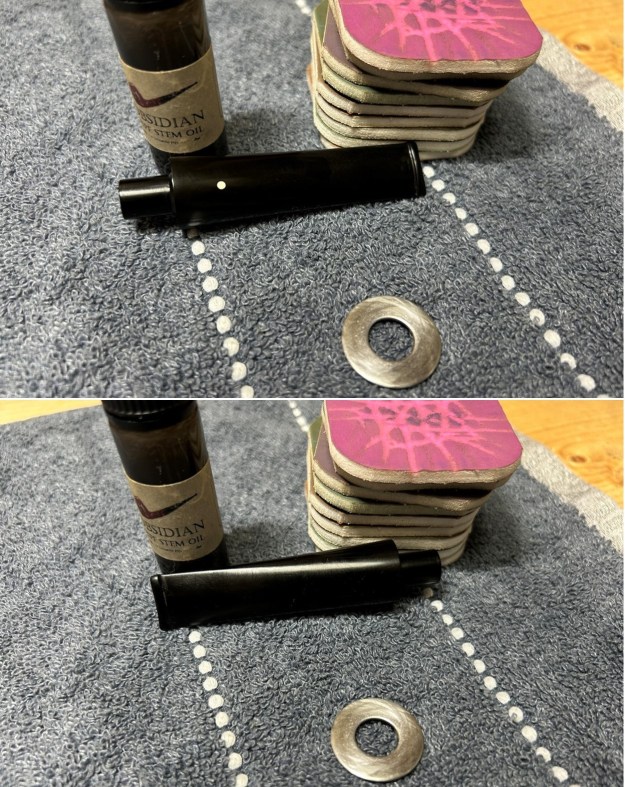 As the stem was (nearly) complete, I moved on to the stummel. The first step was to remove the lava on the rim. For this, I took a piece of machine steel and gently scraped the lava away. The metal’s edge is sharp enough to remove what I need, but not so sharp that it damages the rim. This work revealed some minor wear and a little burn on the rim. Nothing serious – and all part of this pipe’s history.
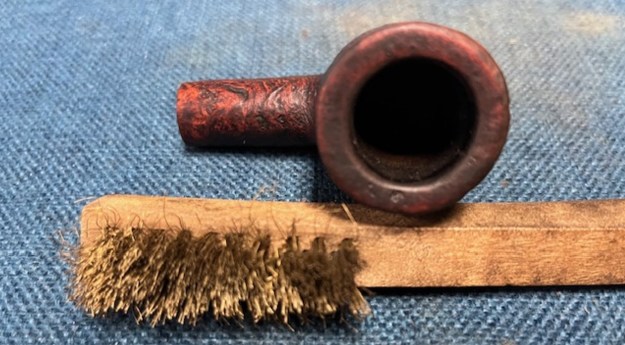
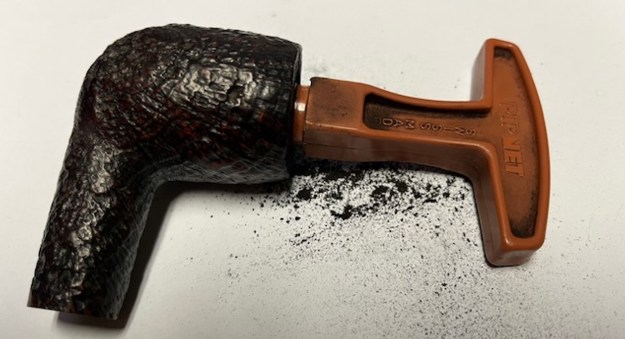
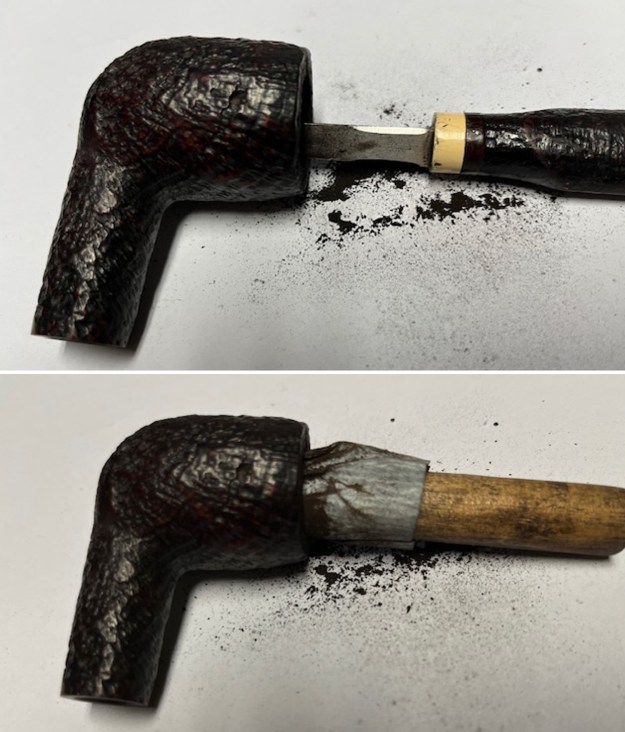
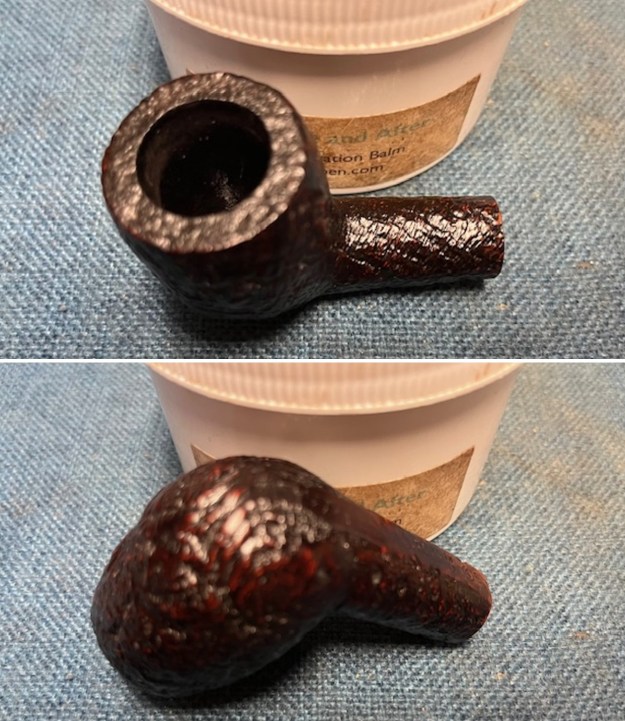
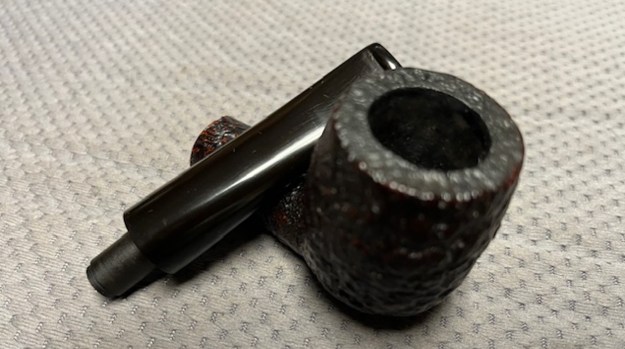
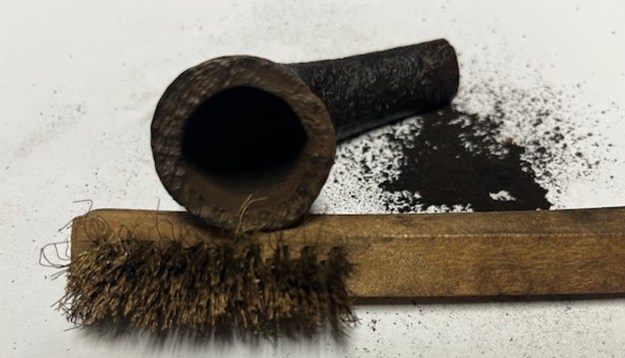
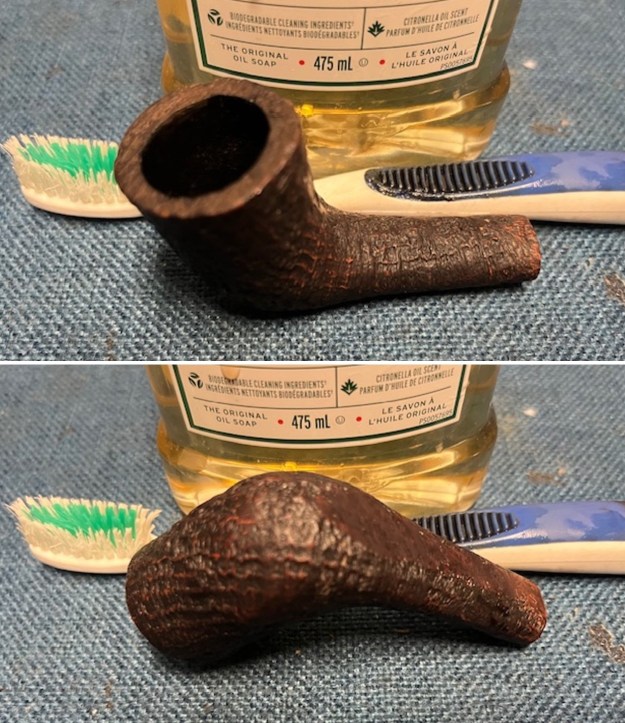
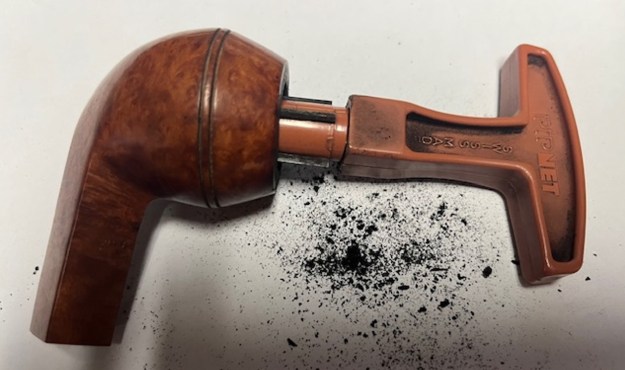
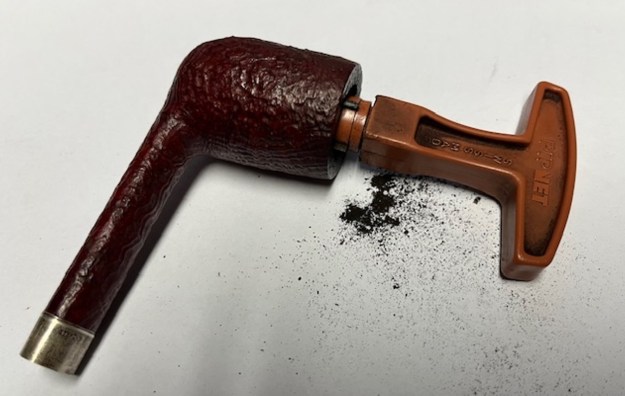
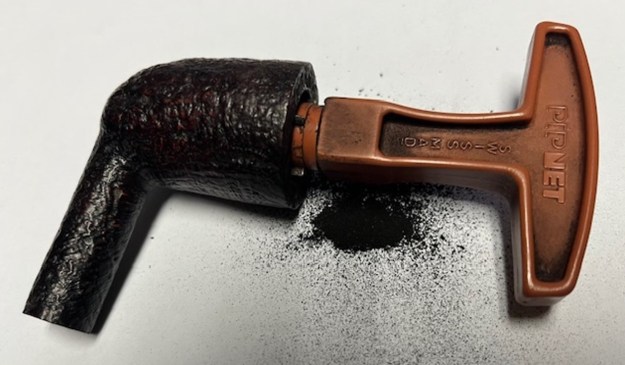
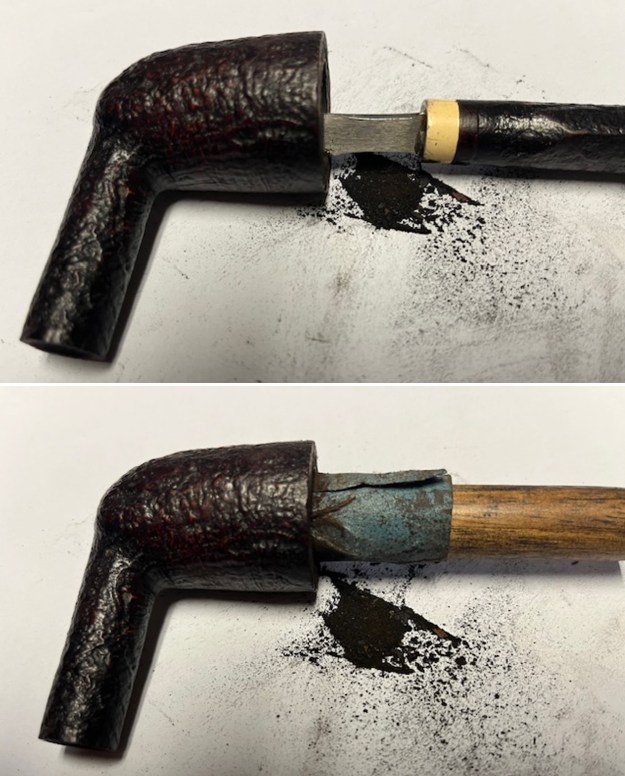
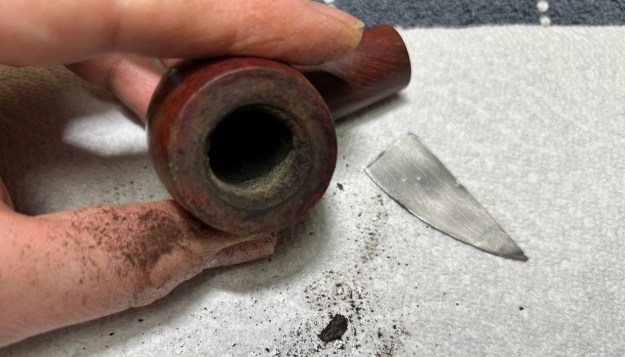 My next step was to ream out the bowl – that is to say, remove all the cake inside the bowl. This accomplished a couple of things. First (and most obviously), it cleaned the bowl and provided a refurbished chamber for future smoking. Second, when the old cake was removed, I could inspect the interior walls of the bowl and determine if there was damage or not. I used a reamer, a pipe knife, and a piece of sandpaper taped to a wooden dowel. Collectively, these ensured that all the debris was removed. I was pleased to see that the walls were in good condition, despite the heavy smoking.
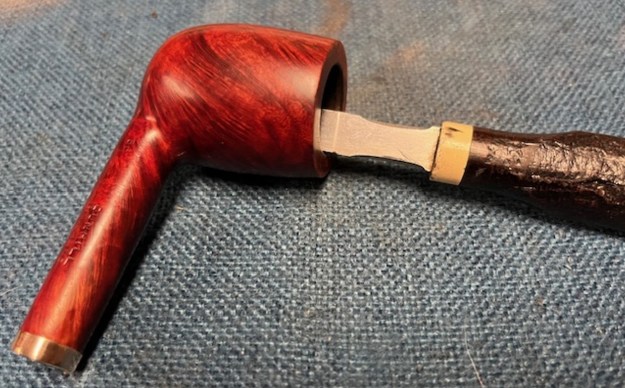
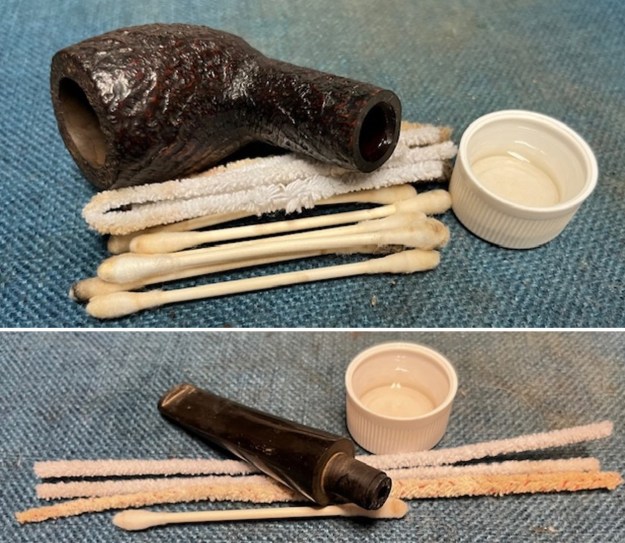
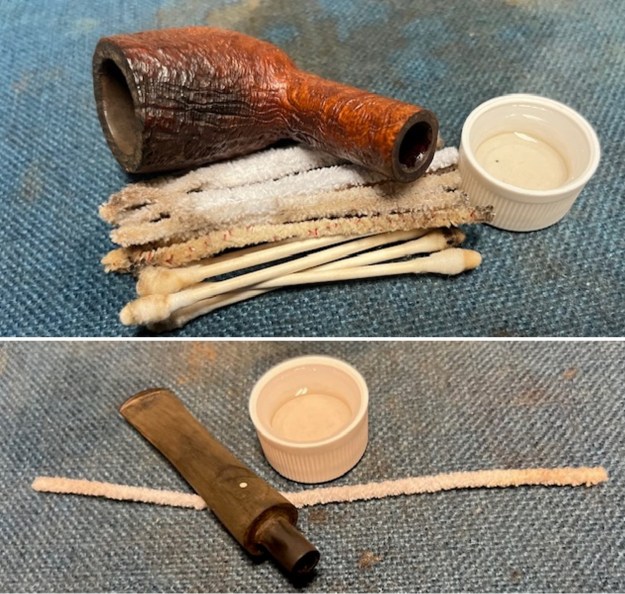
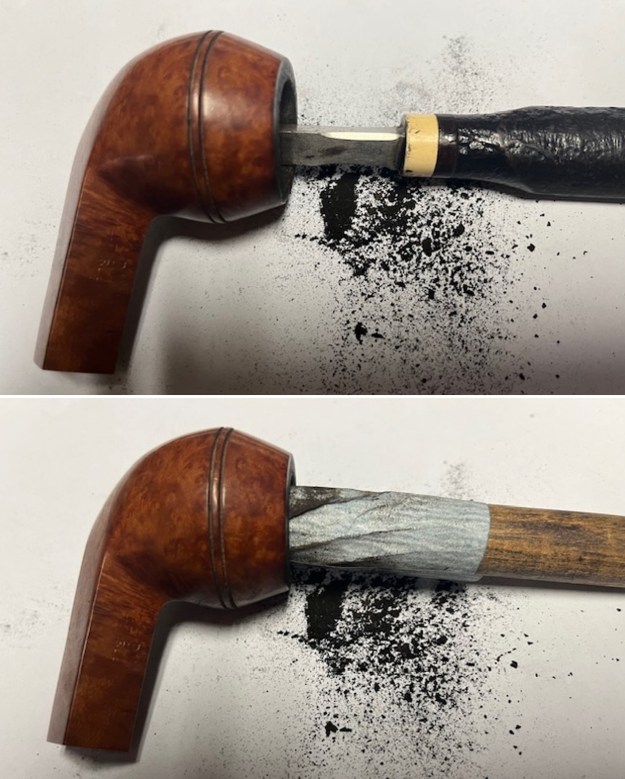
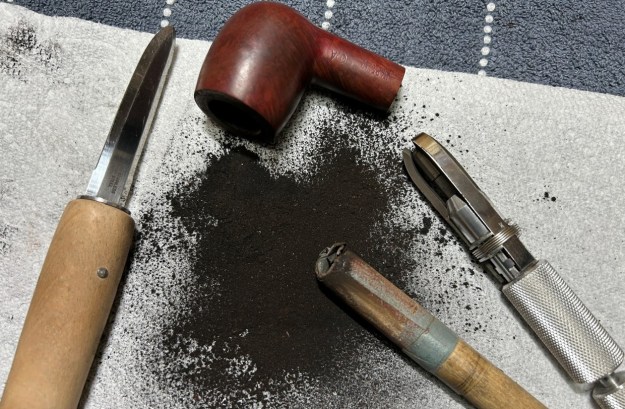 The inside of the stummel needed to be cleaned thoroughly. However, this pipe was so clogged, that I first needed to open the horribly occluded airway. So, I took a long drill bit, held in a drill chuck, and hand-cranked it to dislodge the dreadful detritus inside. Hand cranking is essential because it provides a precision and caution that a power drill cannot provide. Similar to the stem, I then cleaned the stummel with both pipe cleaners and cotton swabs dipped in lemon-infused 99% isopropyl alcohol. With a pipe this dirty, it took quite a while and much cotton to clean.
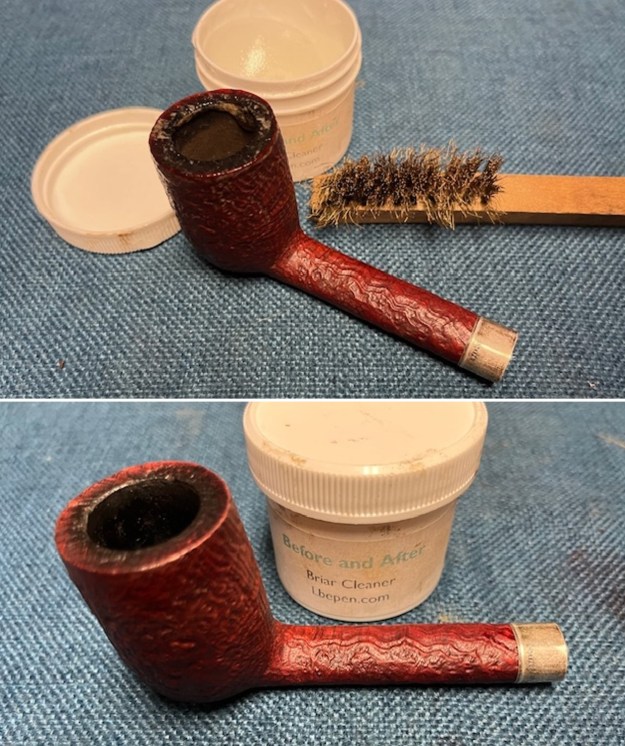
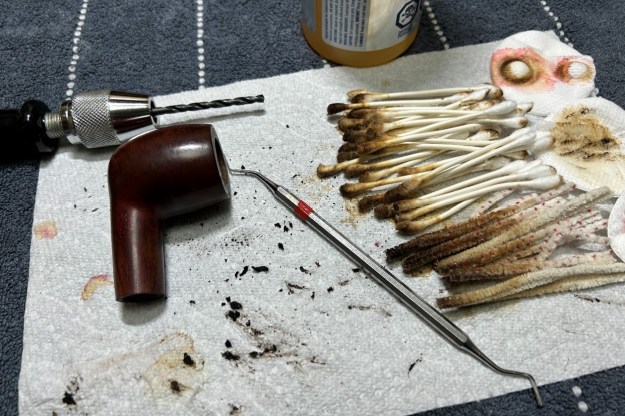 I then decided to ‘de-ghost’ the pipe – that is to say, exorcize the remaining filth from the briar. I filled the bowl and the shank with cotton balls, then saturated them with 99% isopropyl alcohol. I let the stummel sit overnight. This caused the remaining oils, tars and smells to leach out into the cotton.
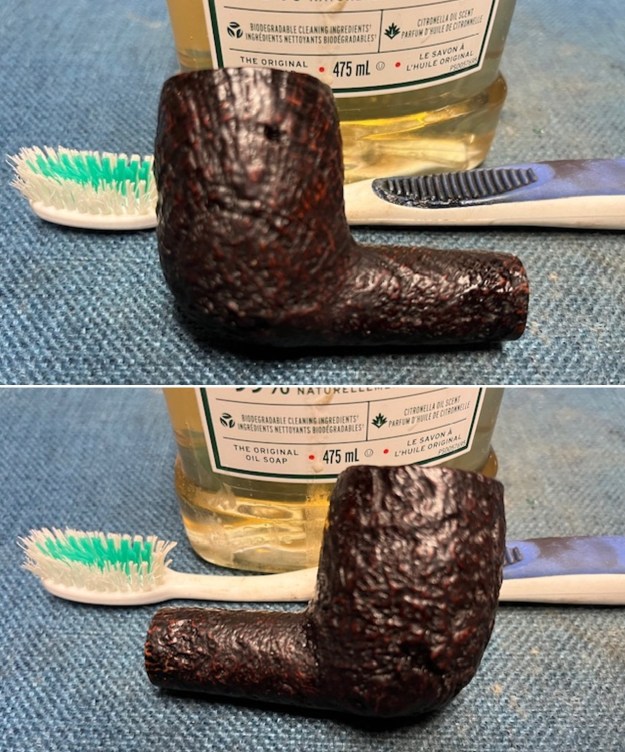
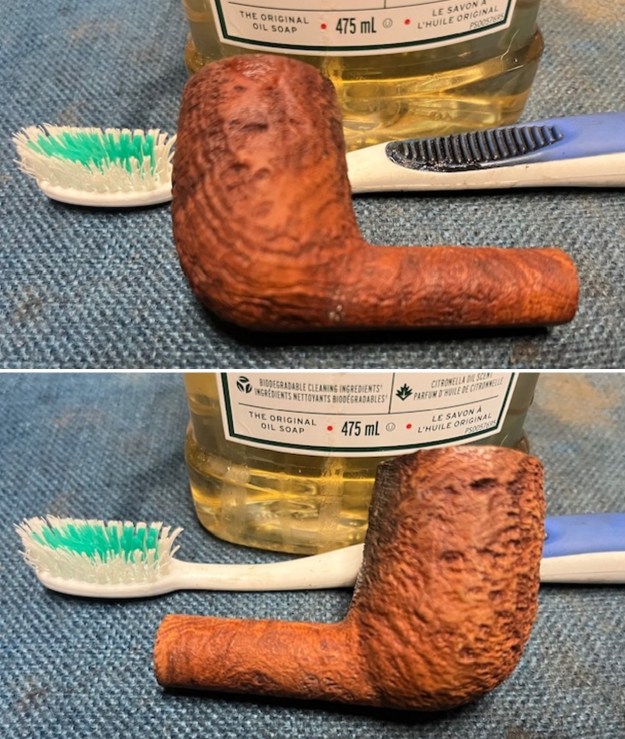
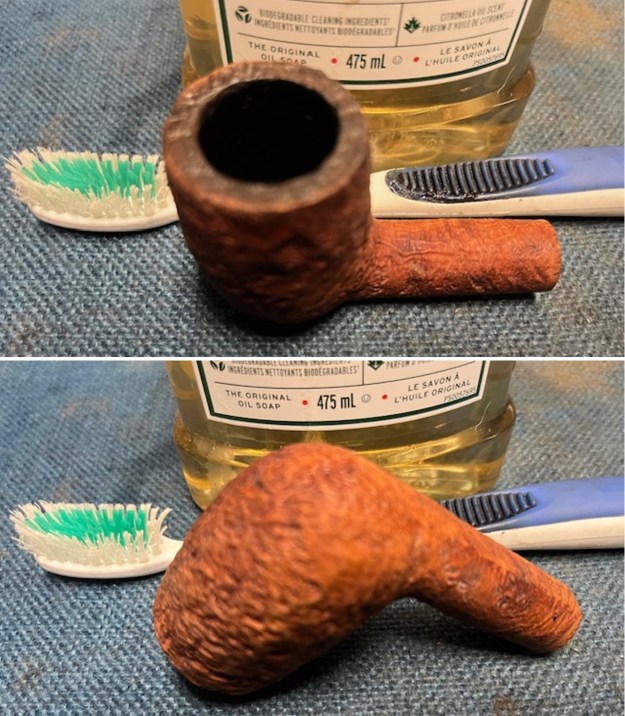
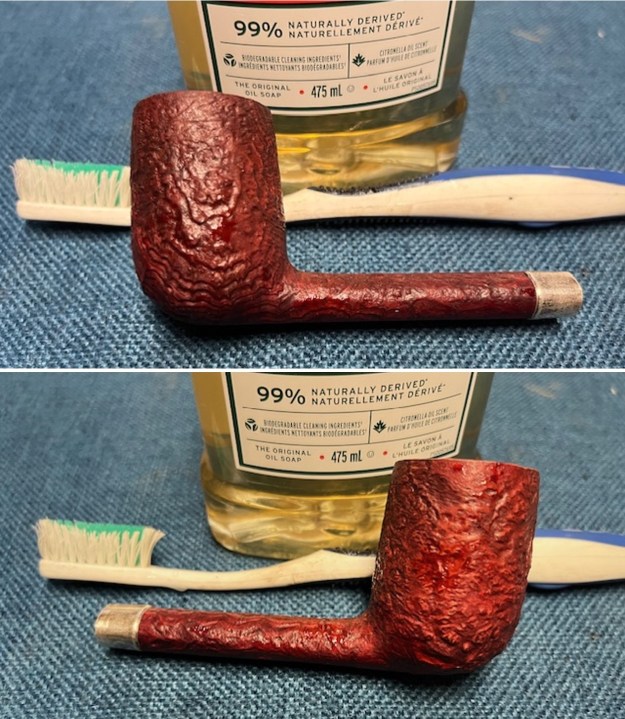
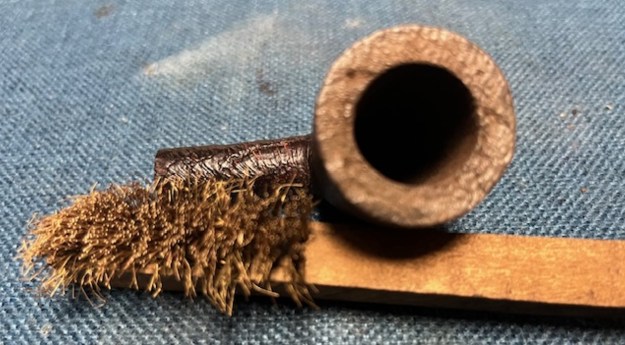
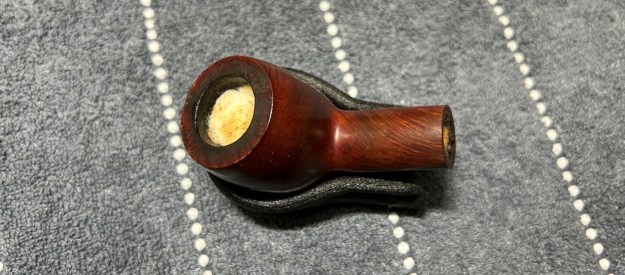 To tidy up the briar, I wiped down the outside, using a solution of a pH-neutral detergent and some distilled water, with cotton rounds. This did a good job of cleaning any latent dirt on the surface of the briar. The last step of the cleaning process was to scour the inside of the stummel with the same mild detergent and tube brushes. This was the culmination of a lot of hard work in getting the pipe clean.
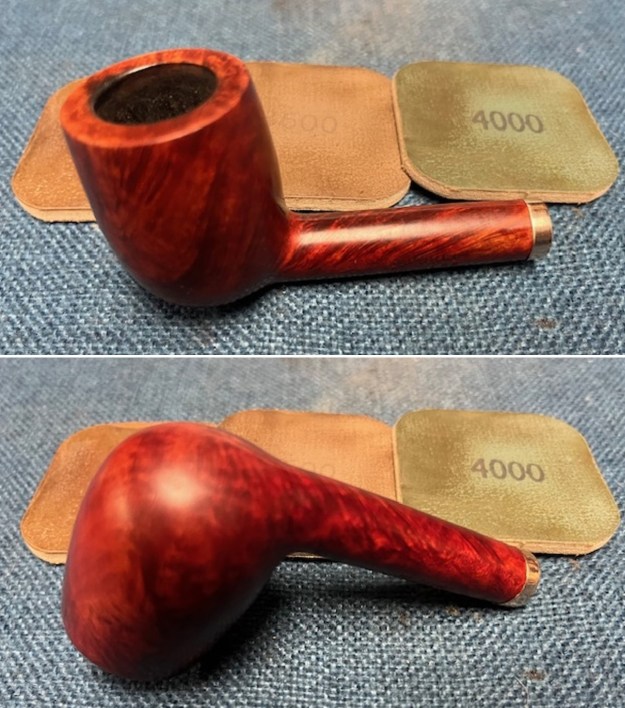
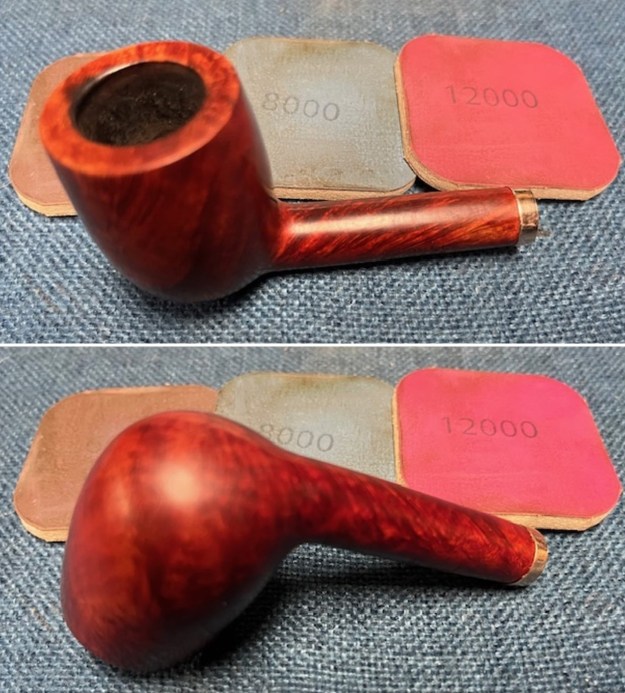
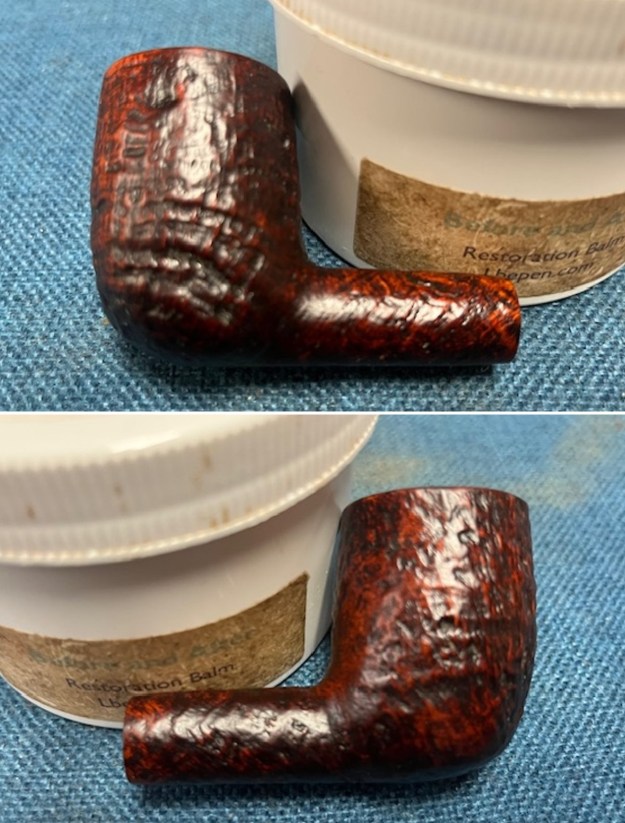
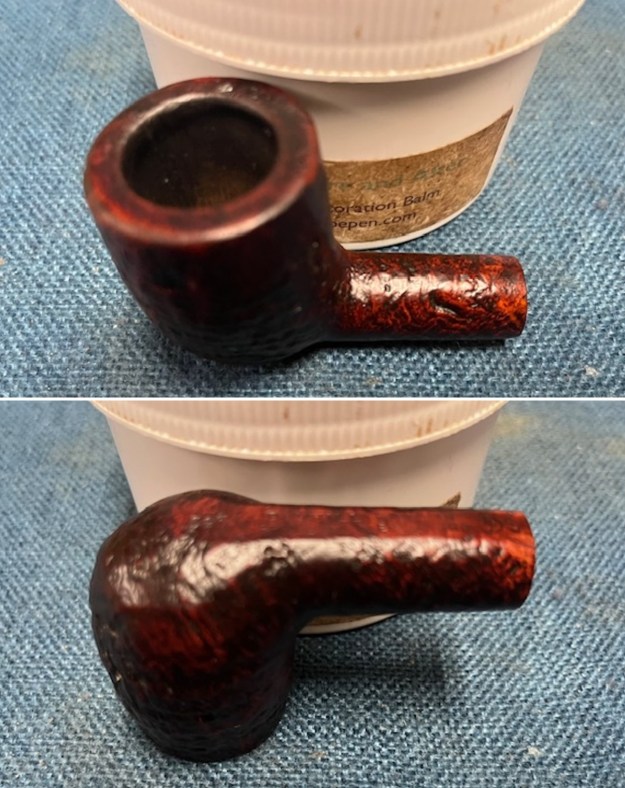
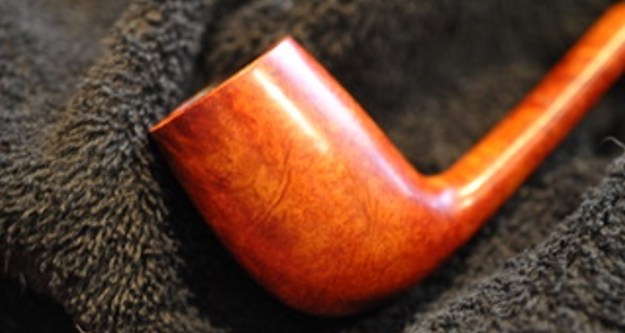
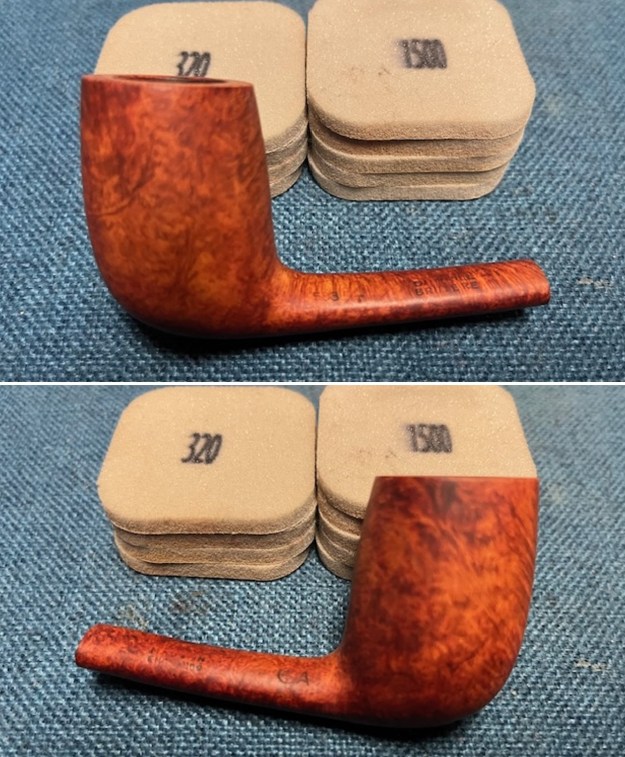
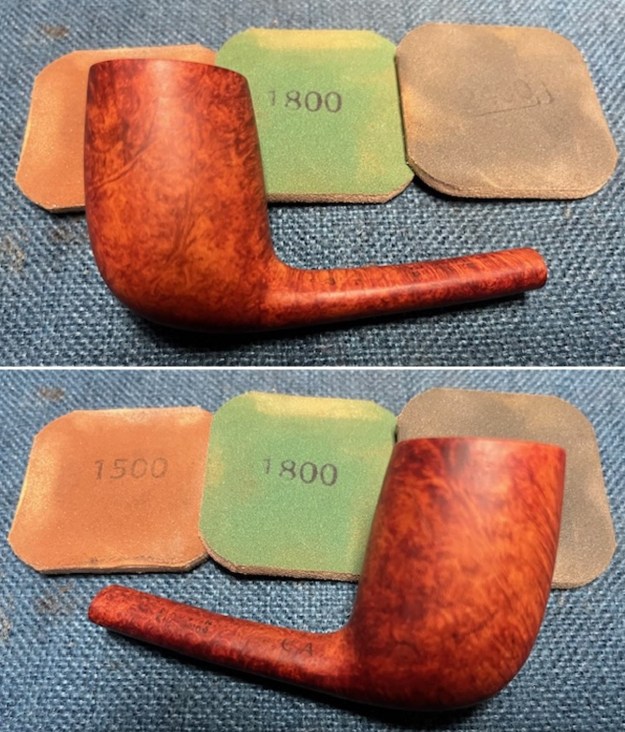
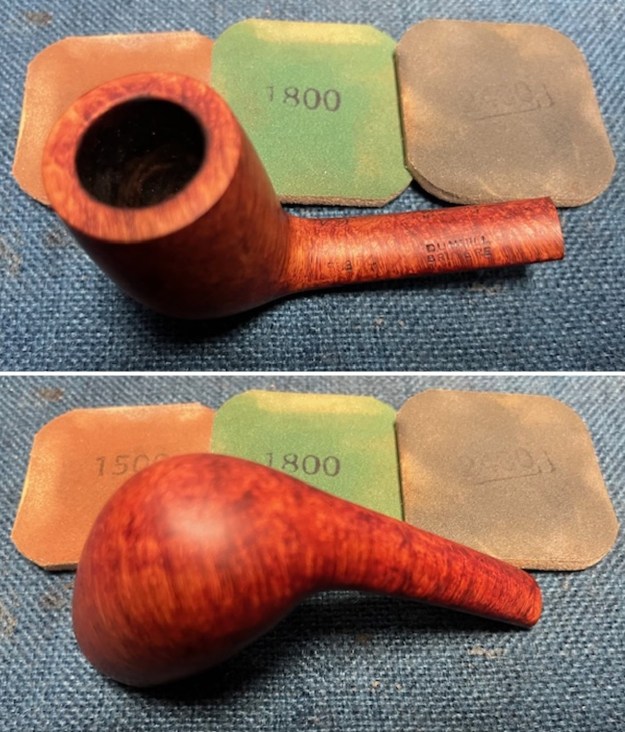
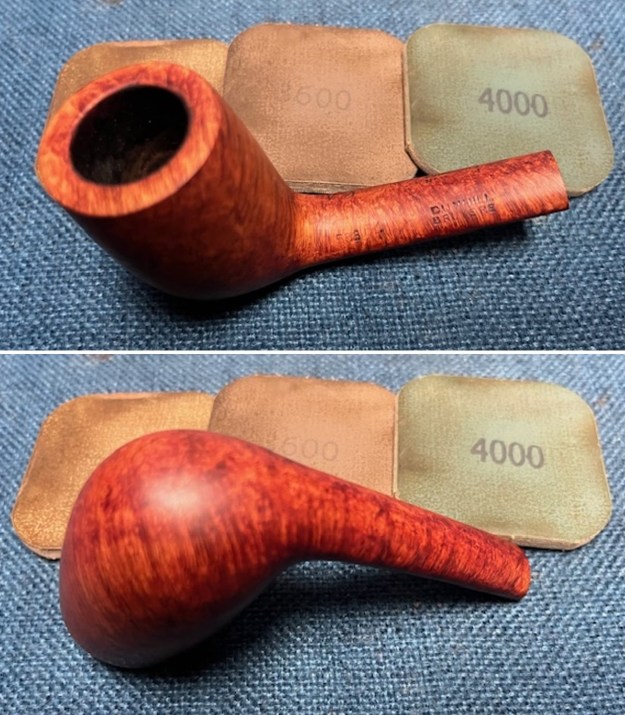
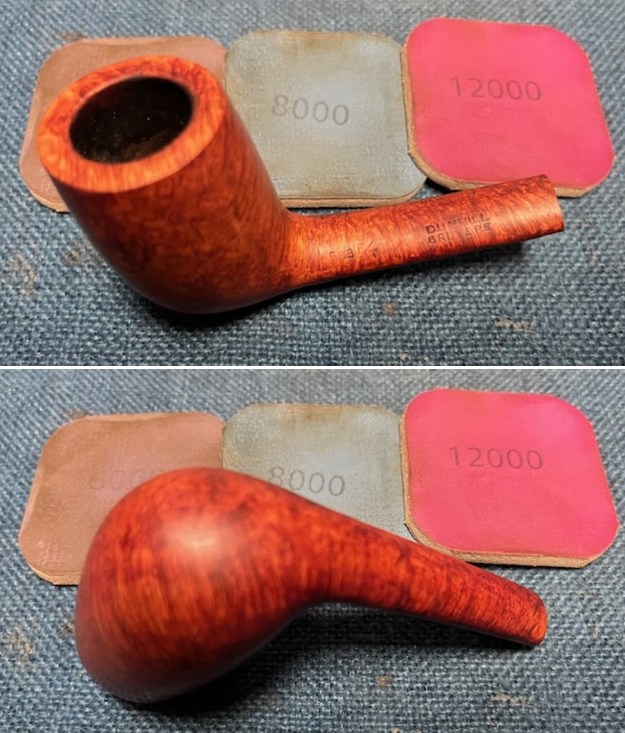
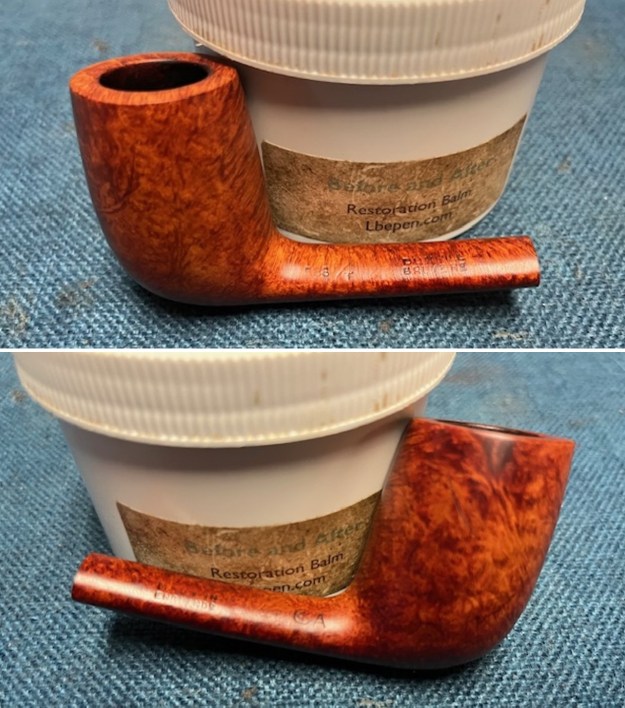
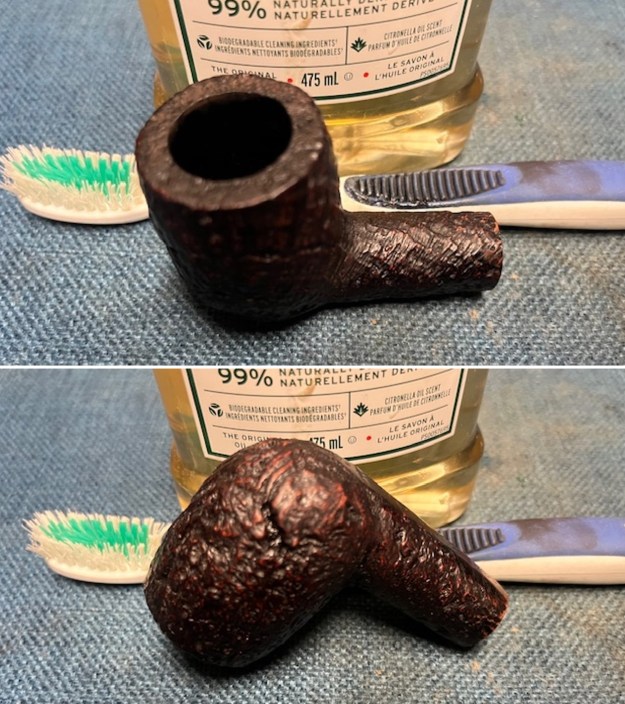
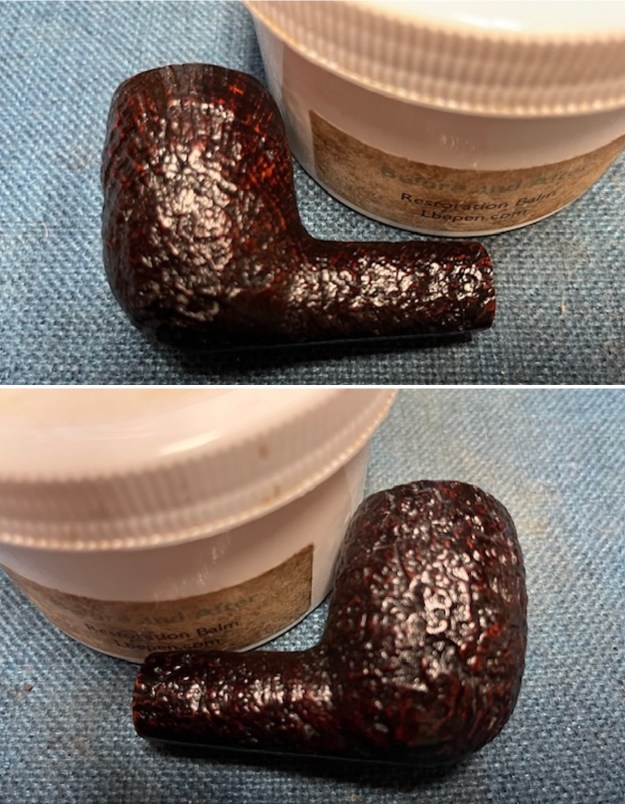
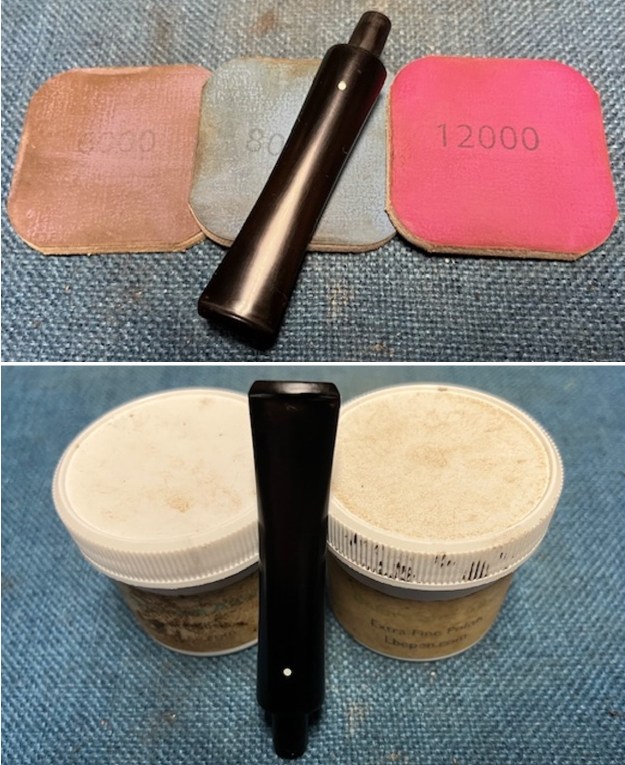
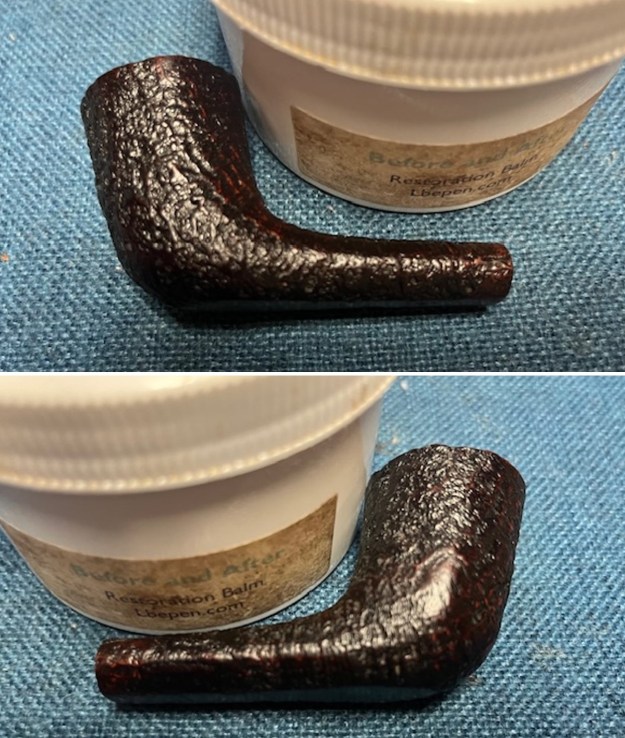
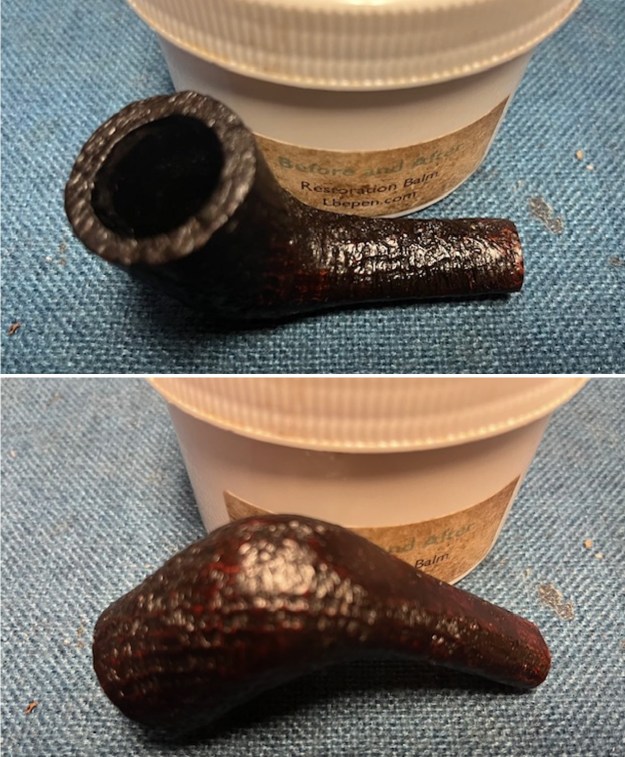
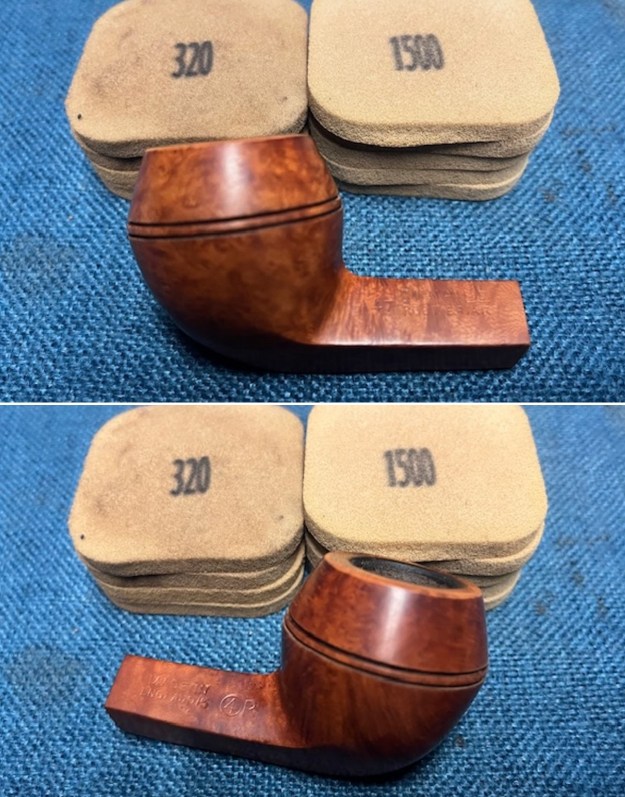
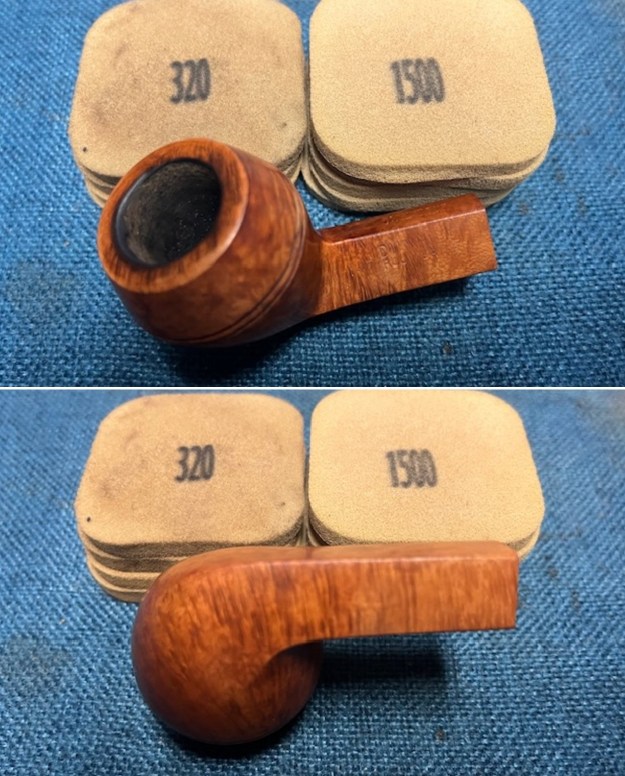
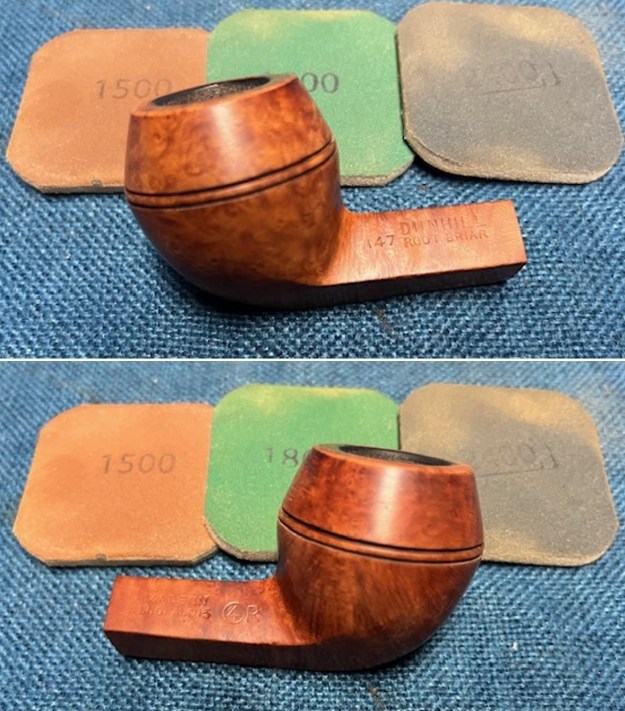
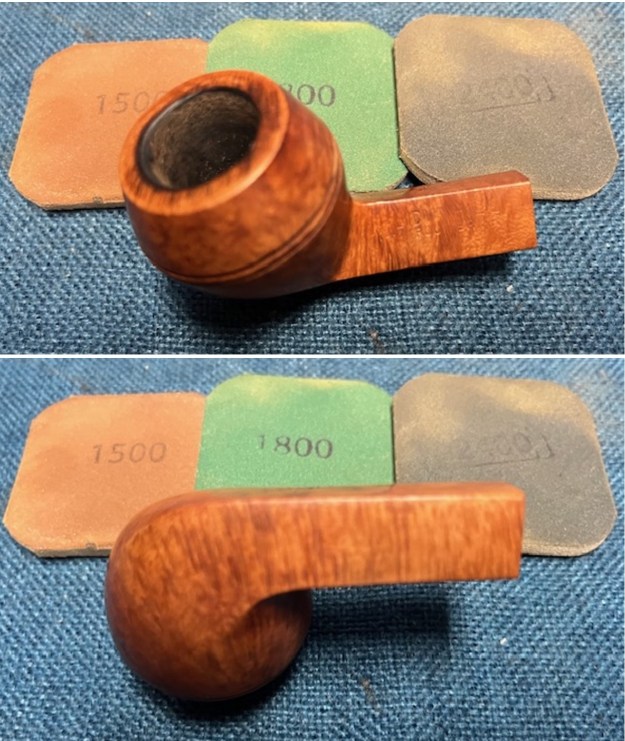
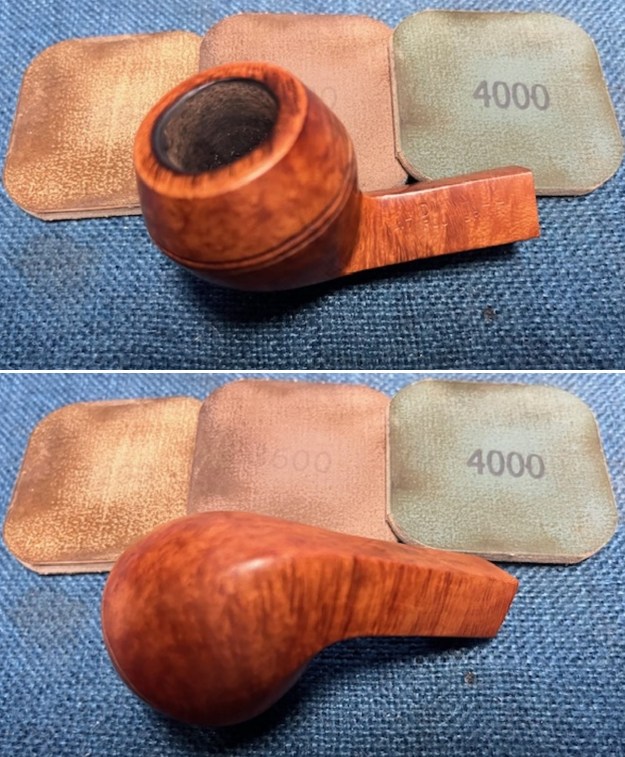
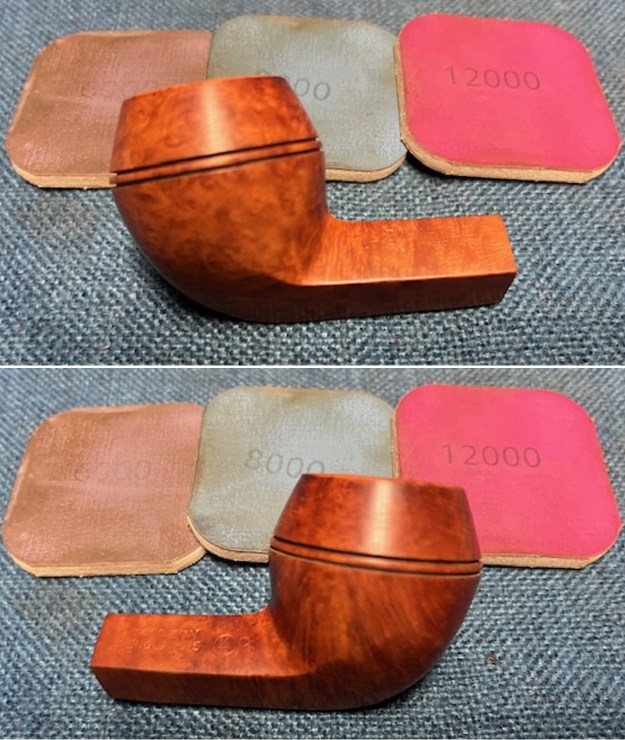
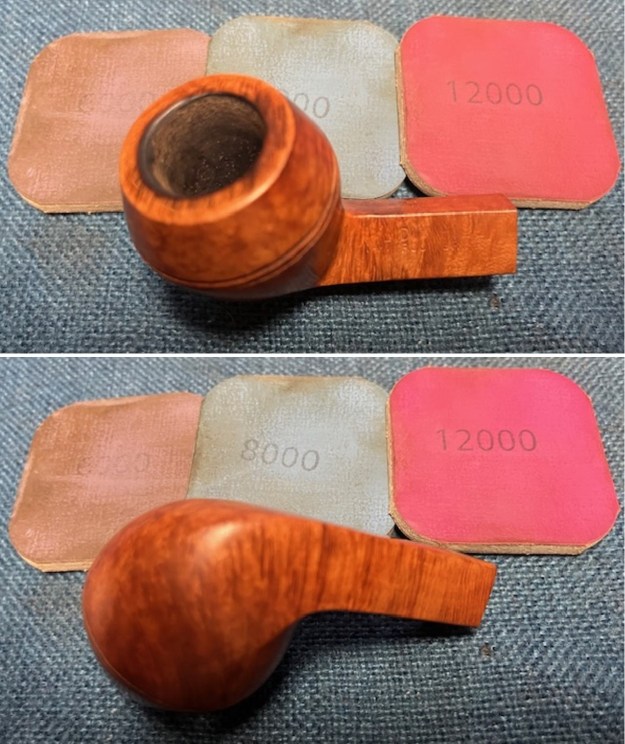
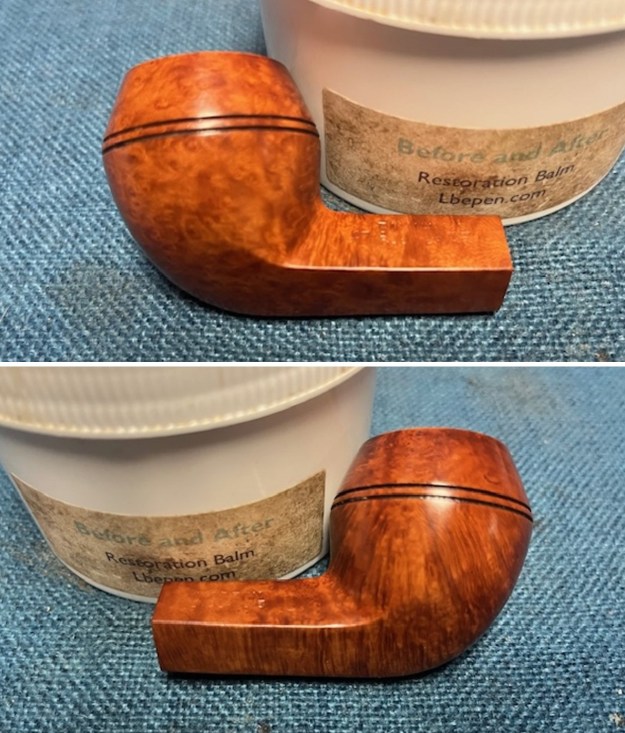
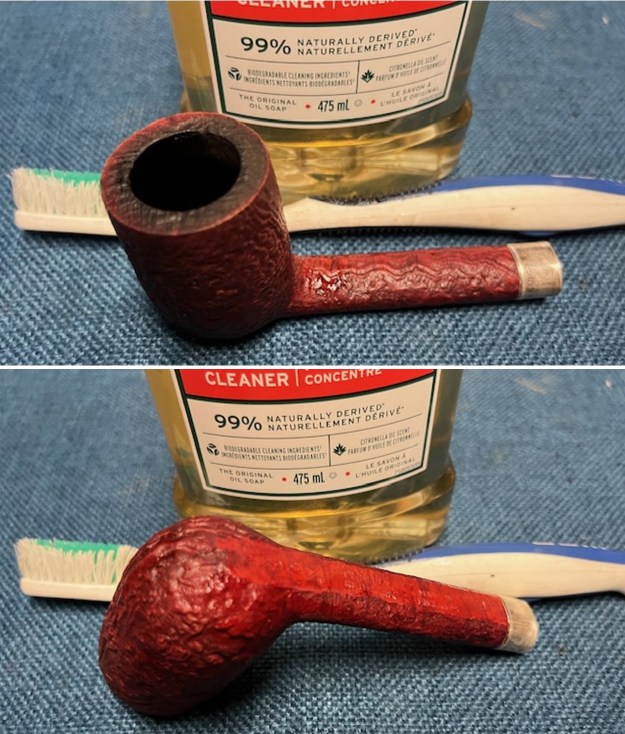
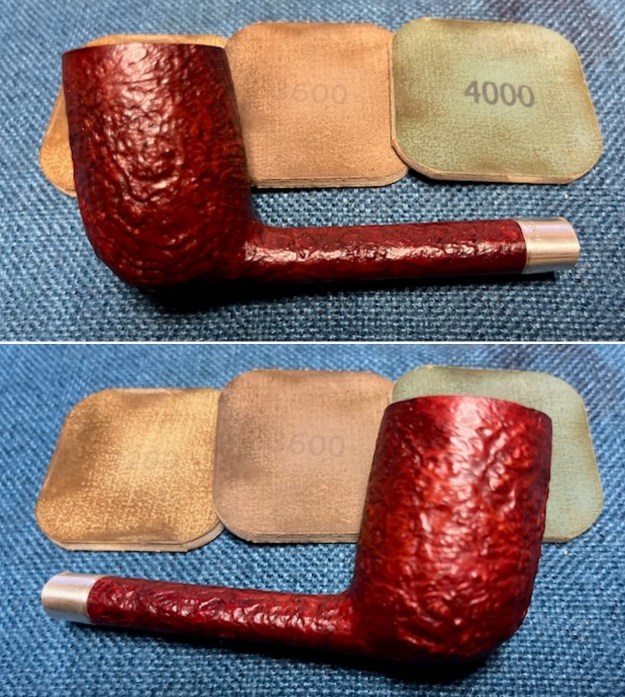
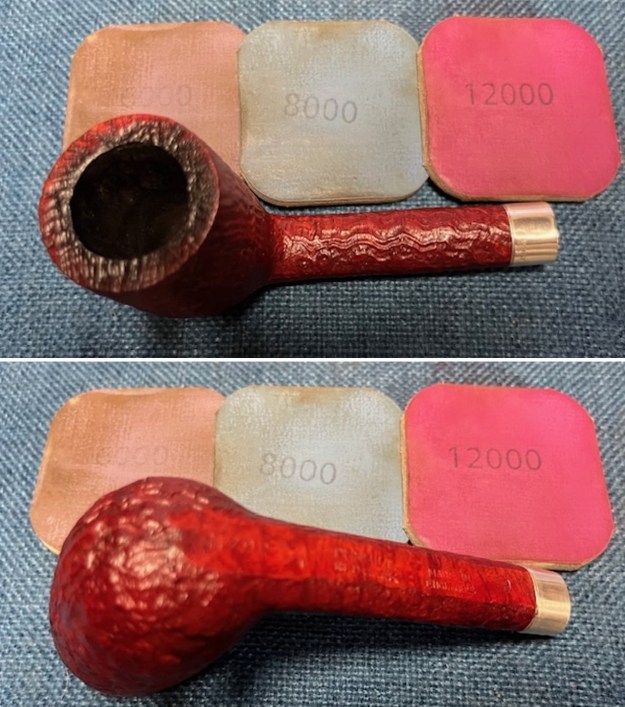
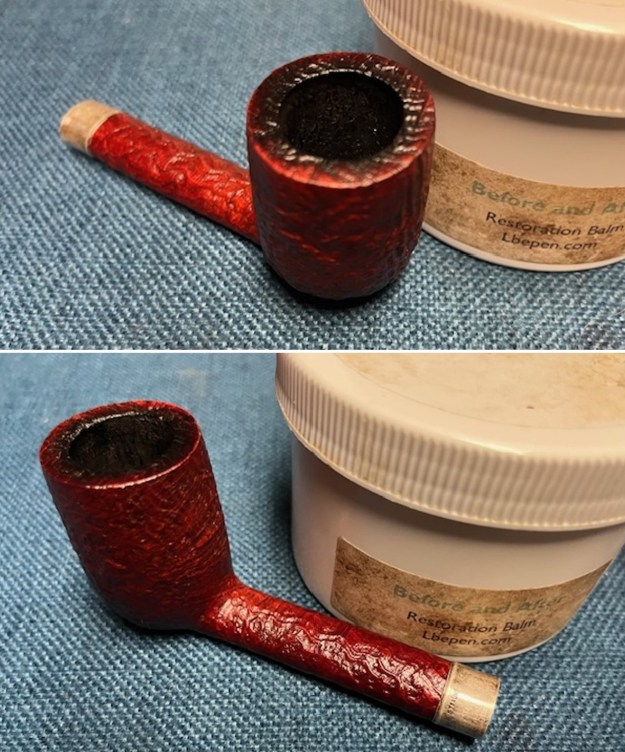
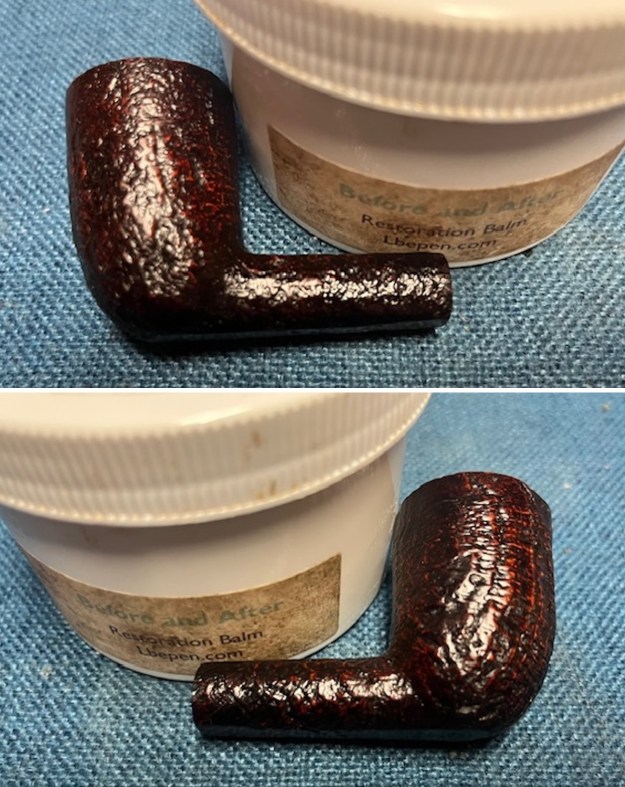
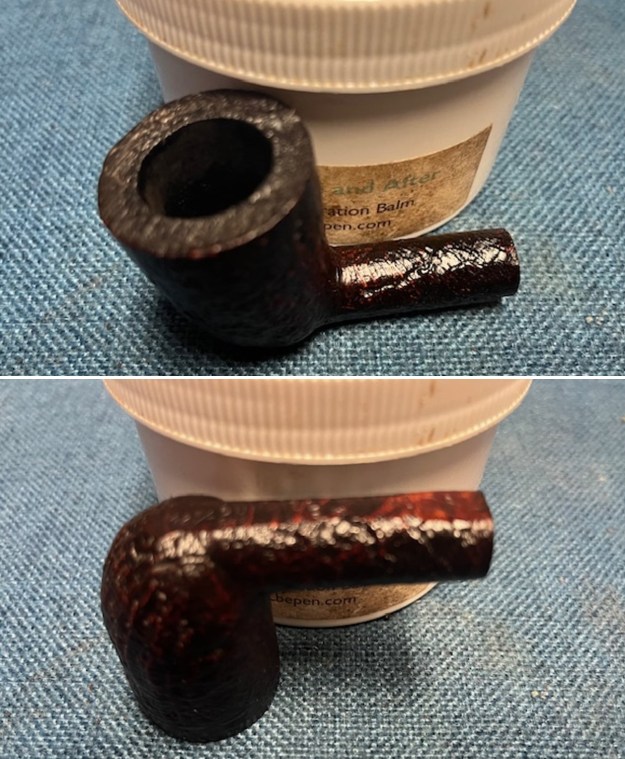
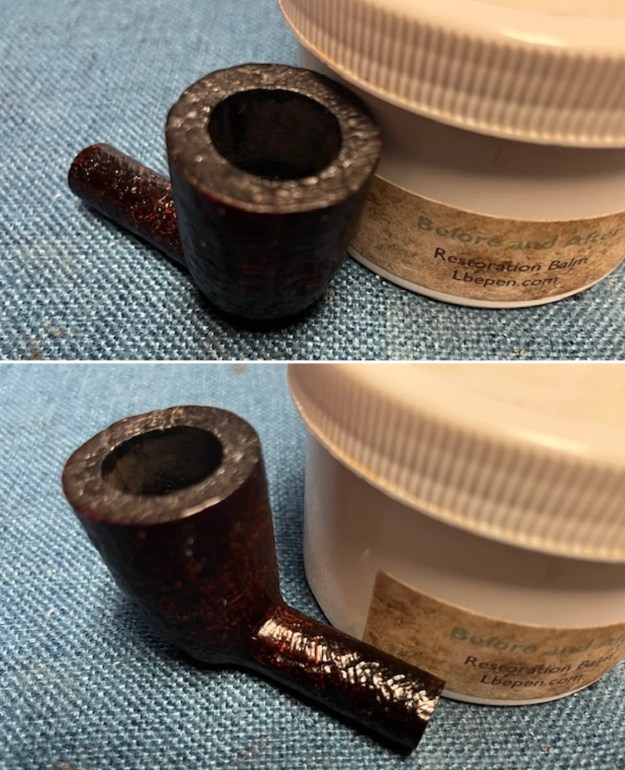
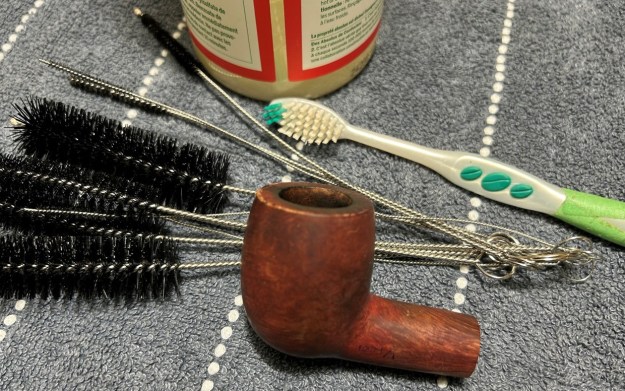 I used all nine micromesh pads (1,500 through 12,000 grit) to sand the outside of the stummel and finish it off. This sanding minimizes flaws in the briar and provides a beautiful smoothness to the wood. I rubbed some LBE Before & After Restoration Balm into the briar and let it sit for 30 minutes or so. The balm moisturizes the wood and gives a beautiful depth to the briar. I then buffed the stummel with a microfibre cloth.
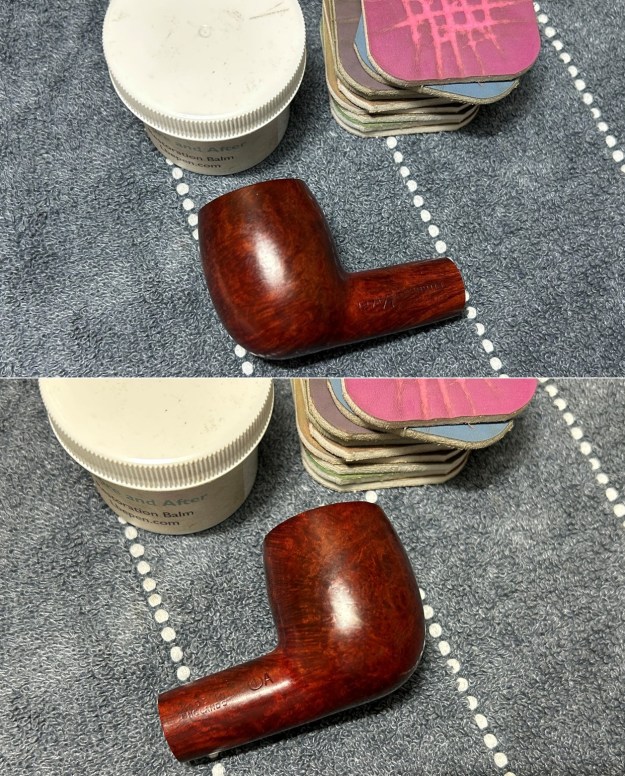
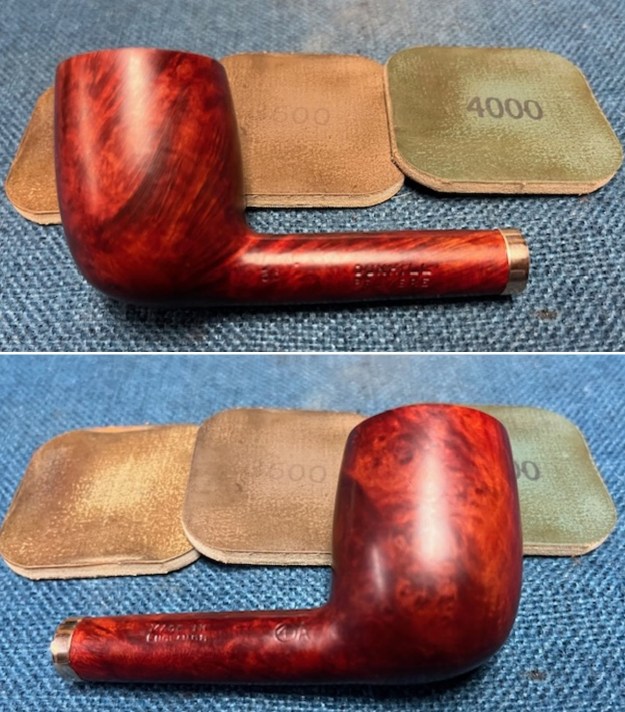
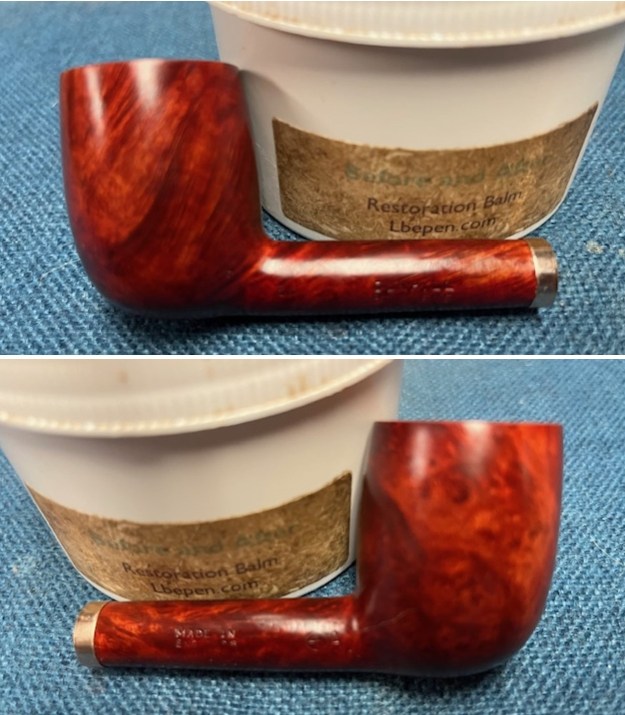
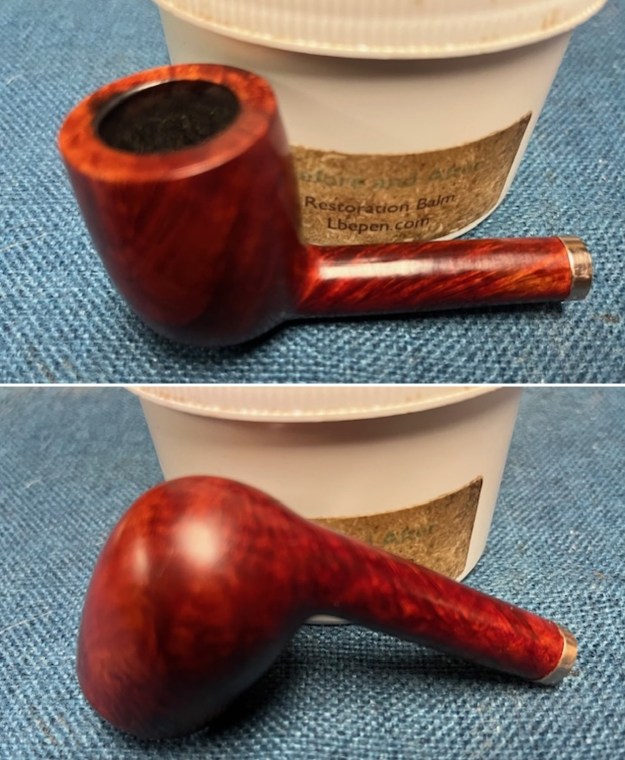
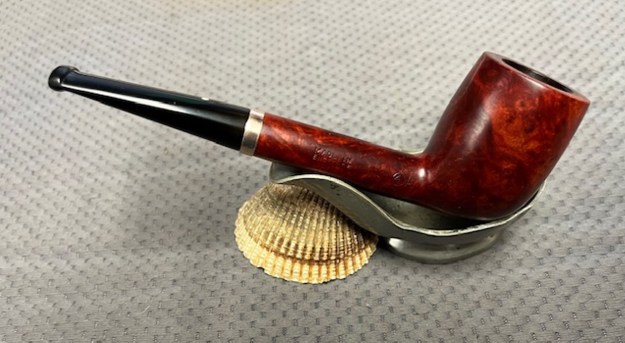
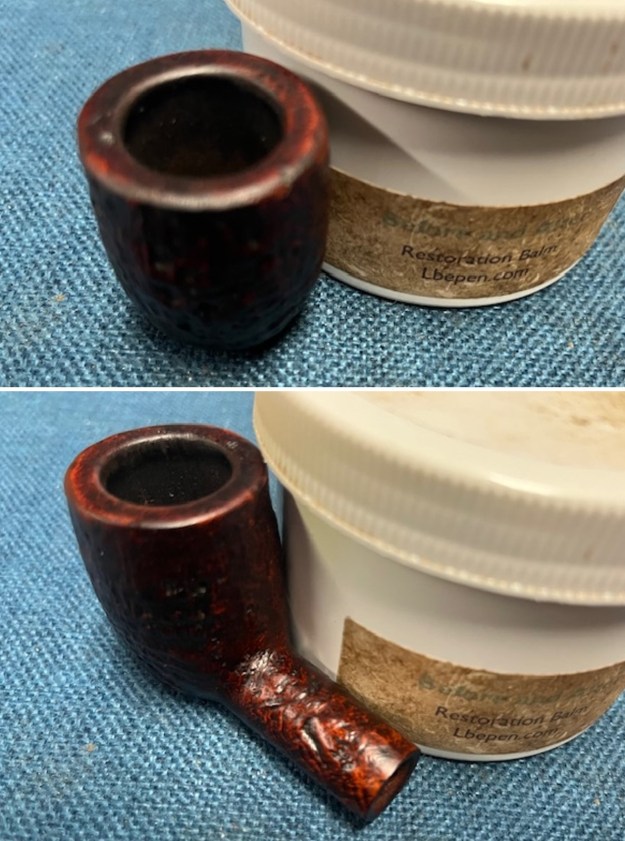
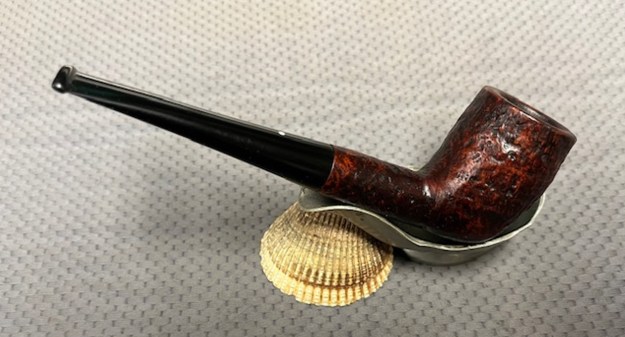
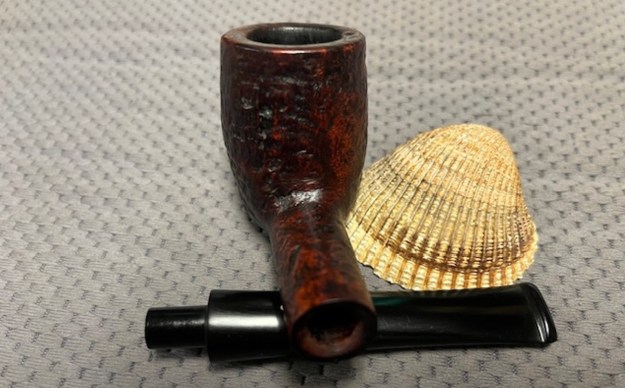
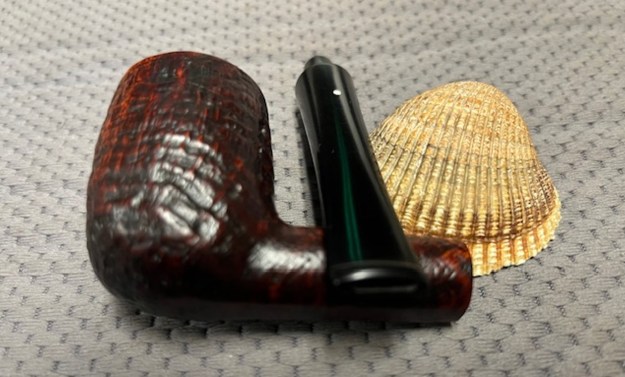
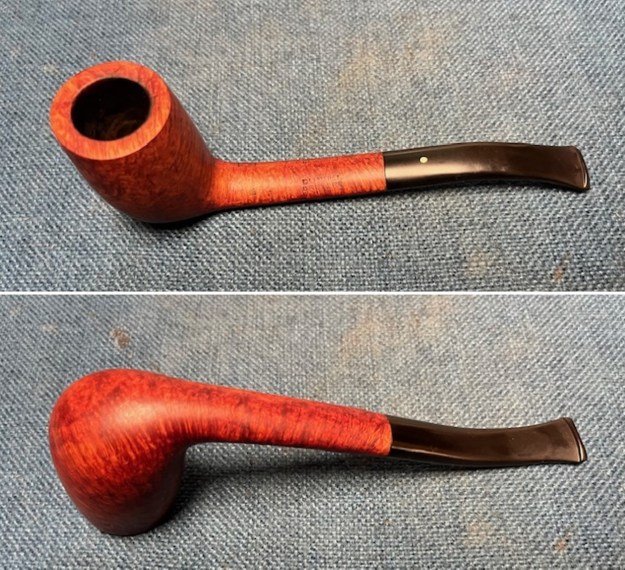
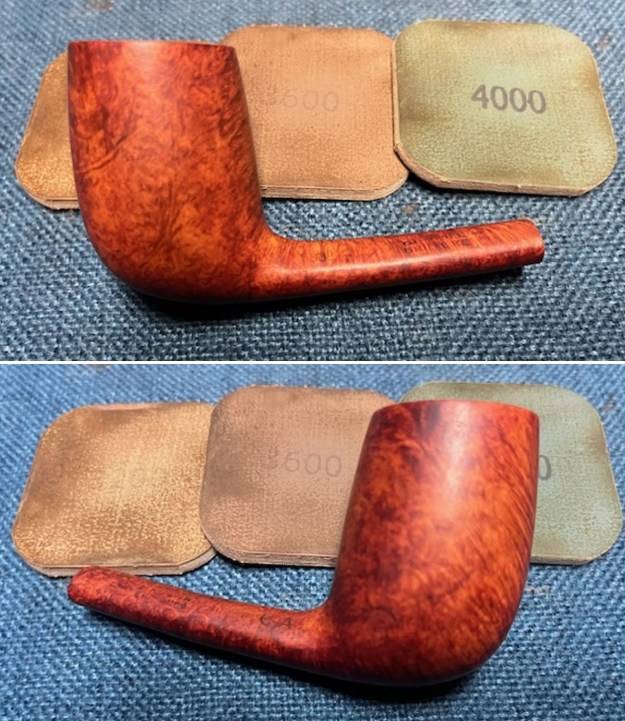
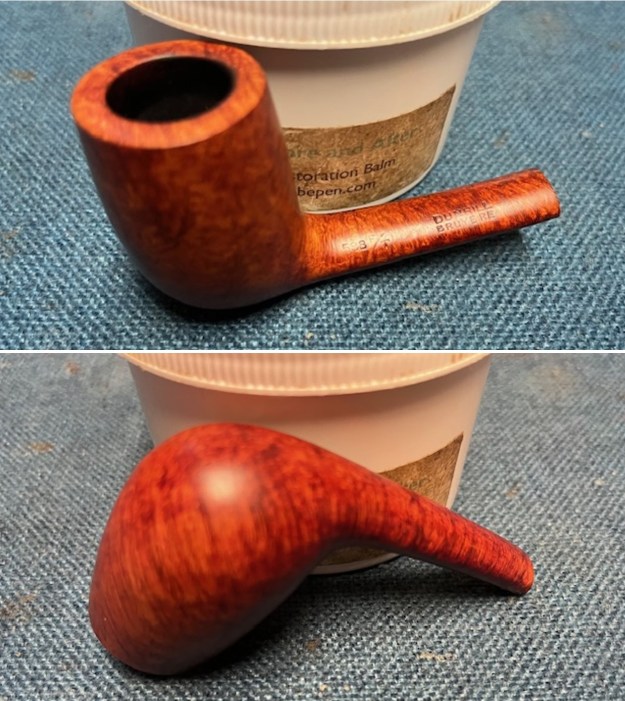
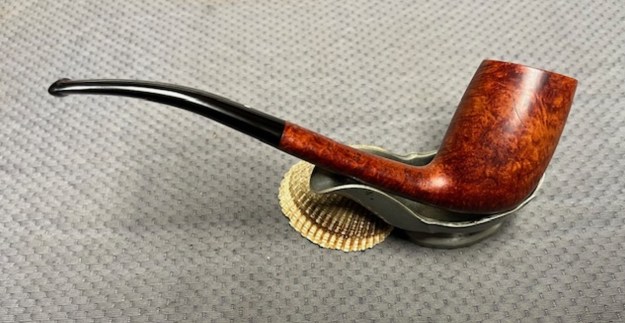
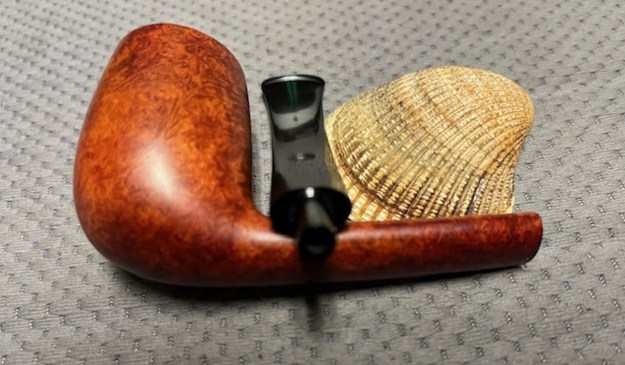
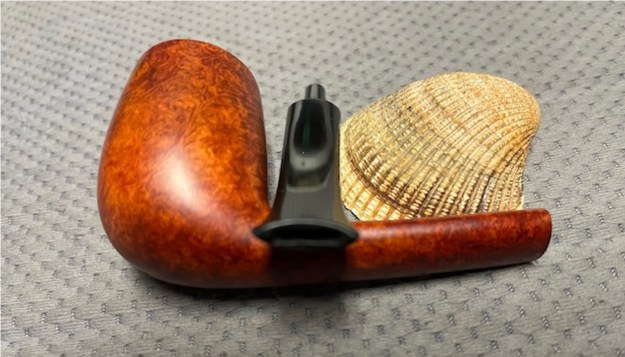
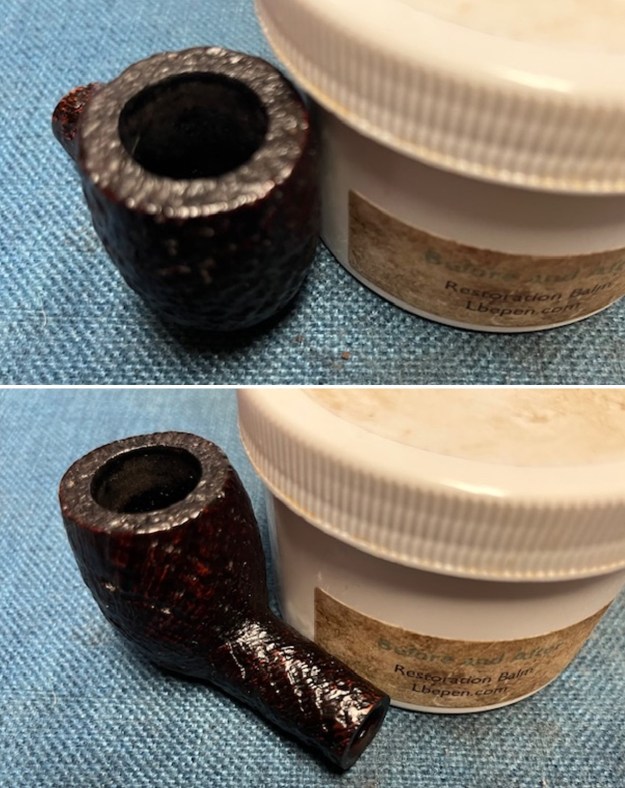
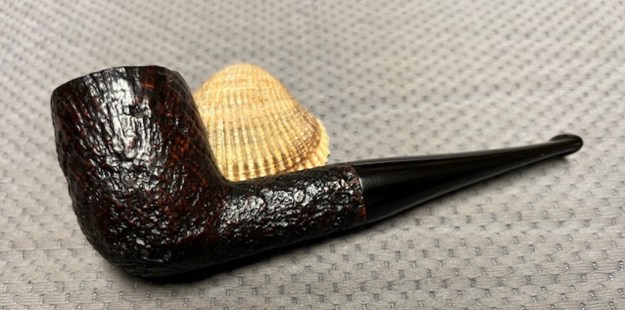
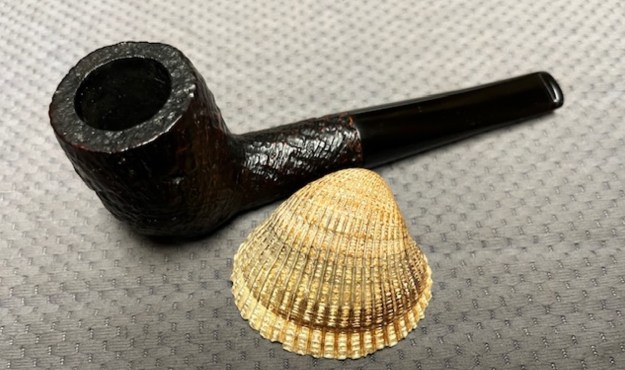
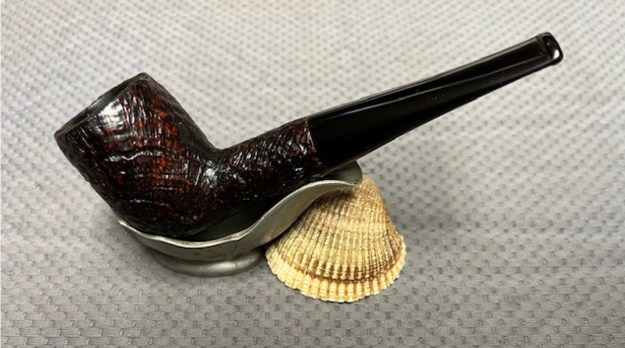
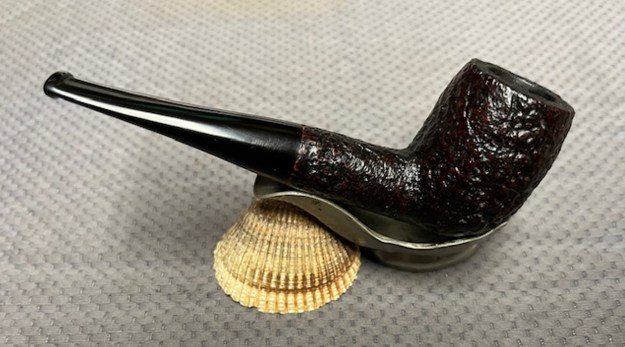
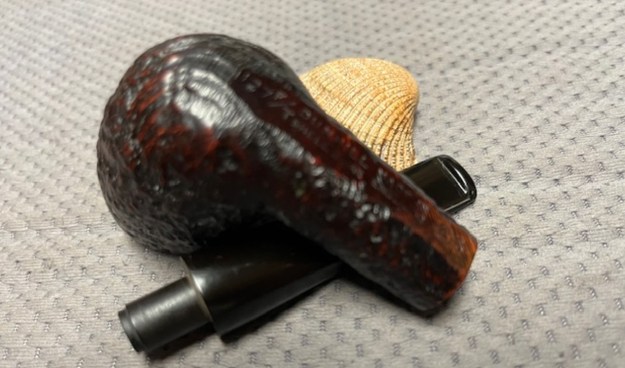
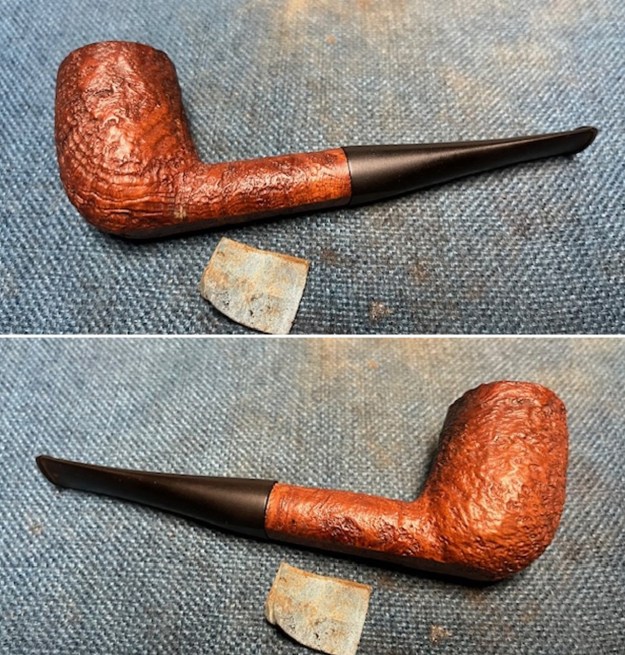
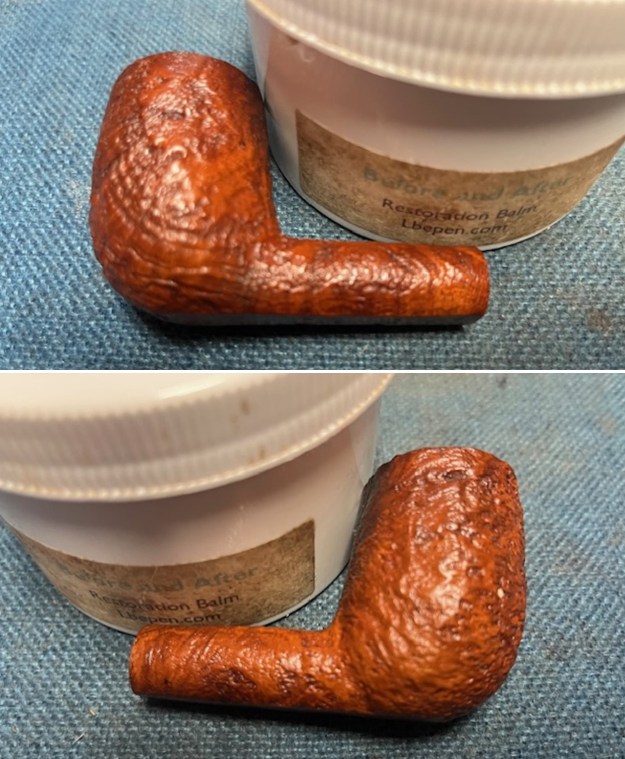
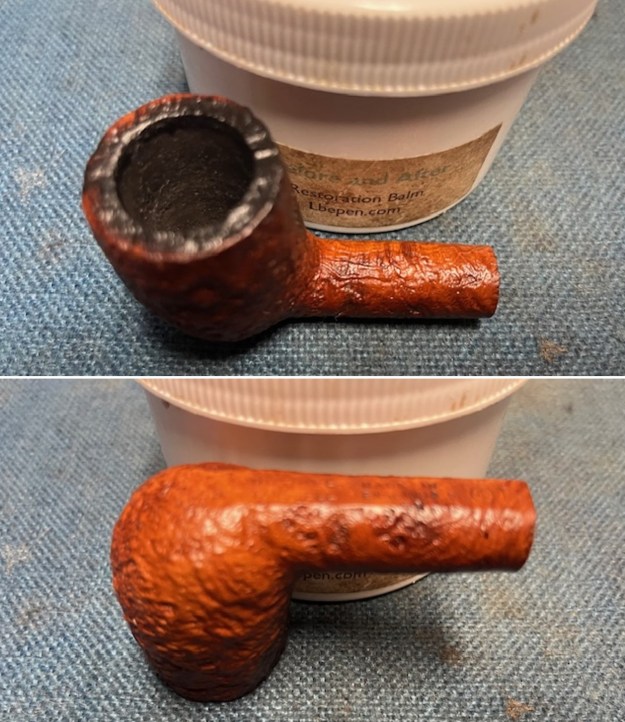
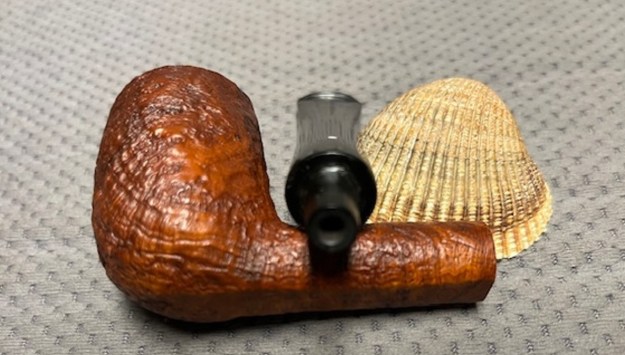
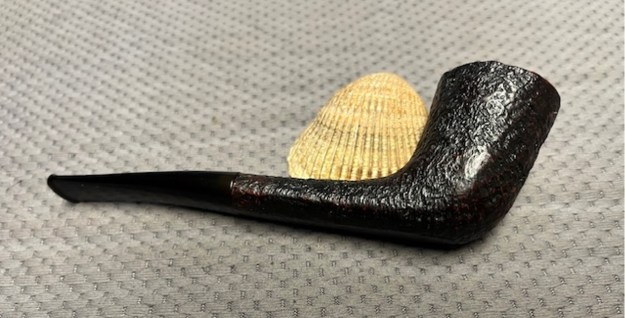
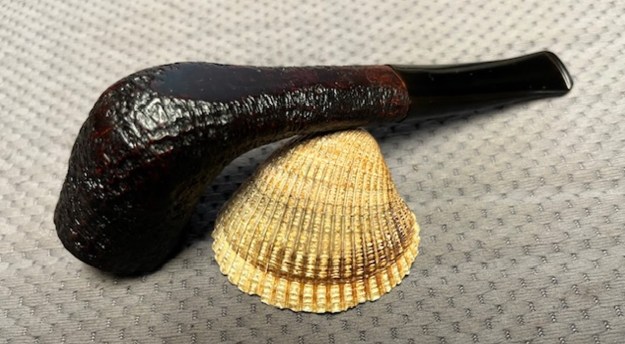
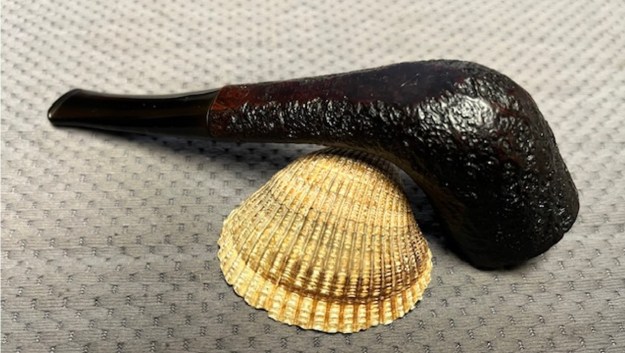
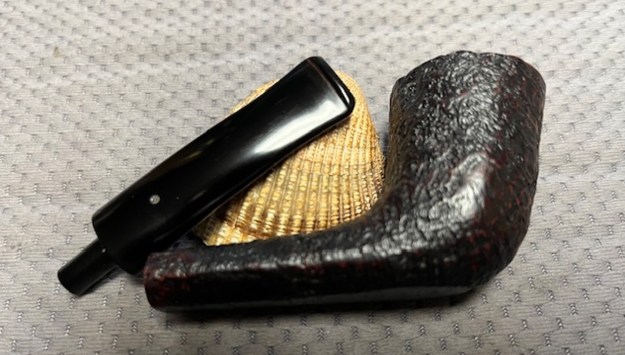
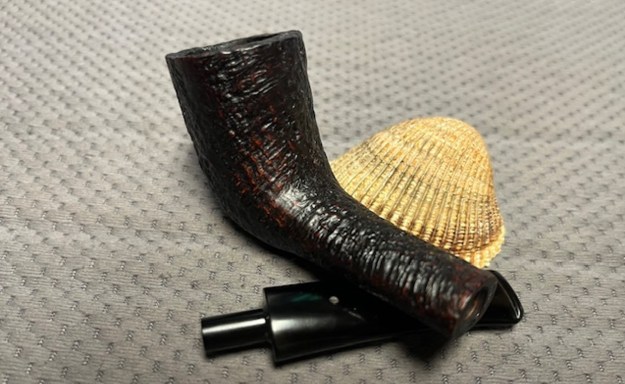
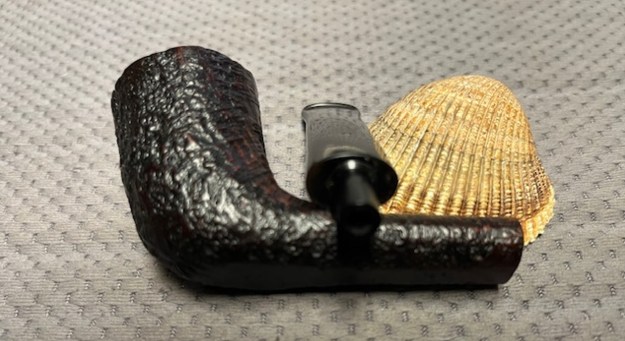
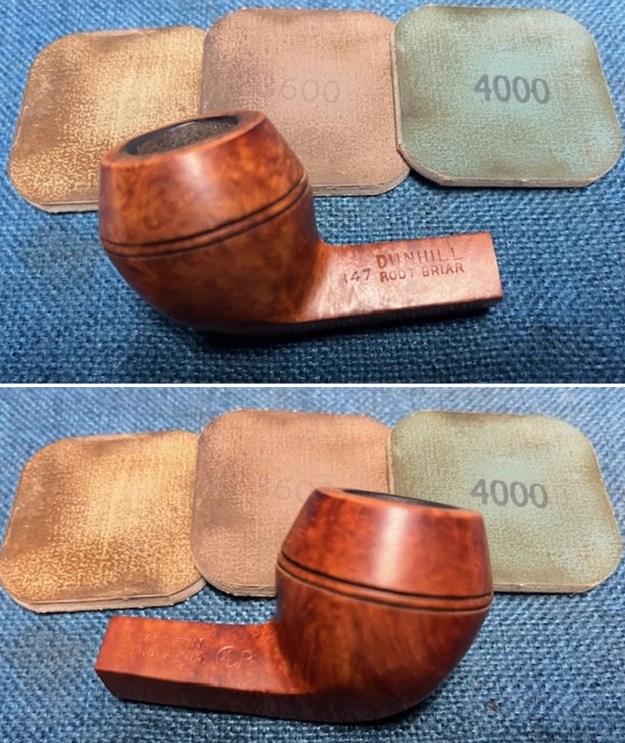
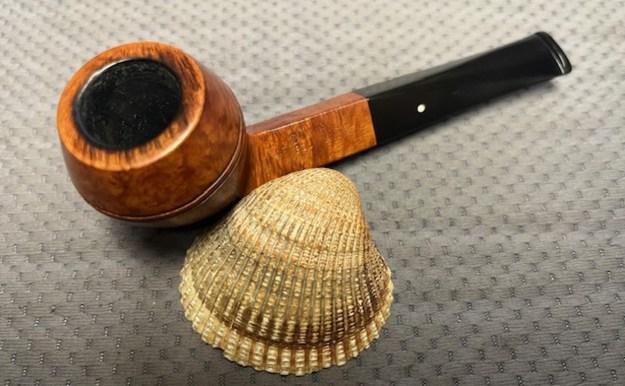
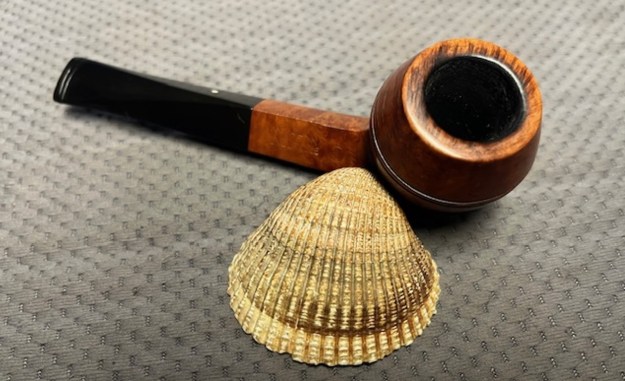
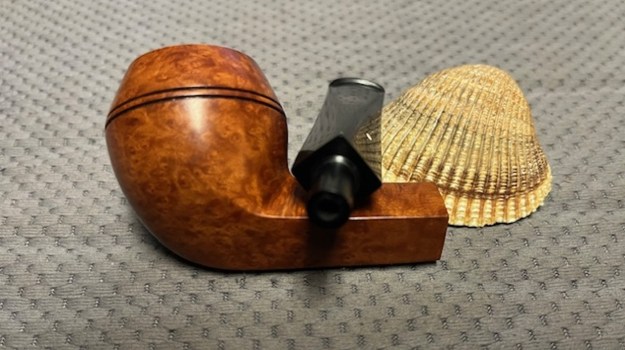
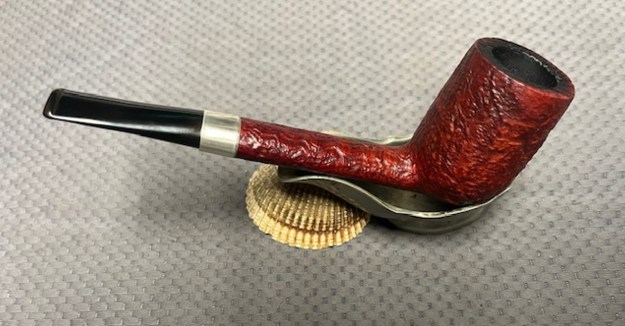
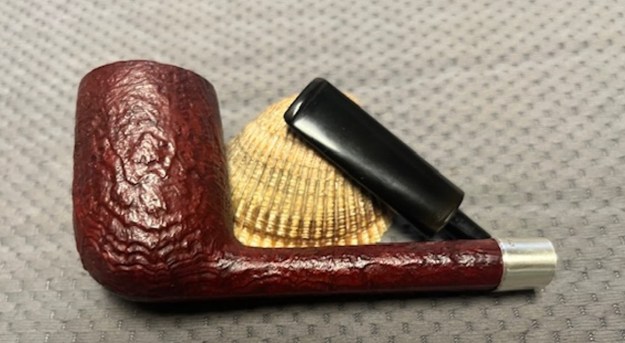
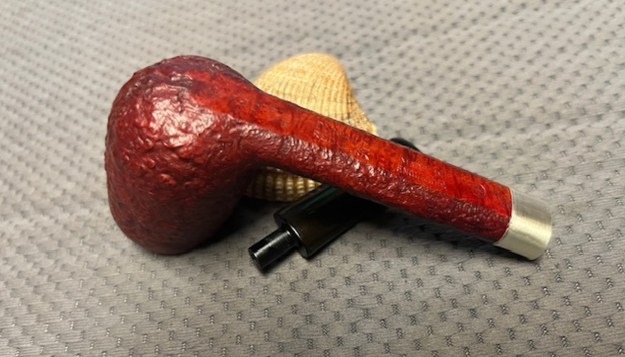
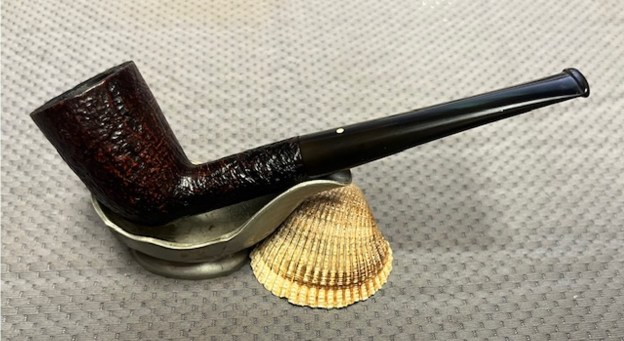
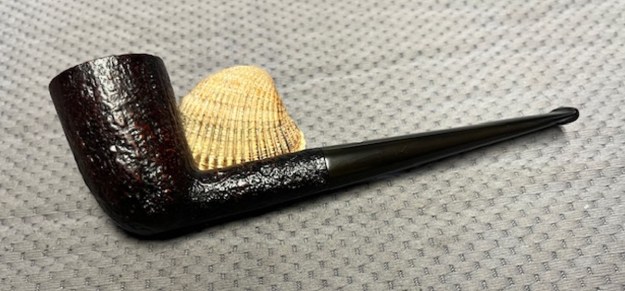
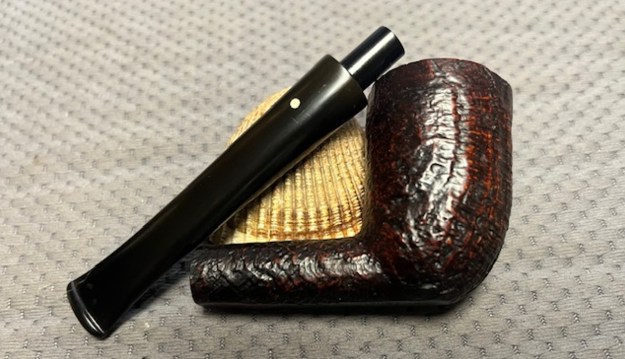
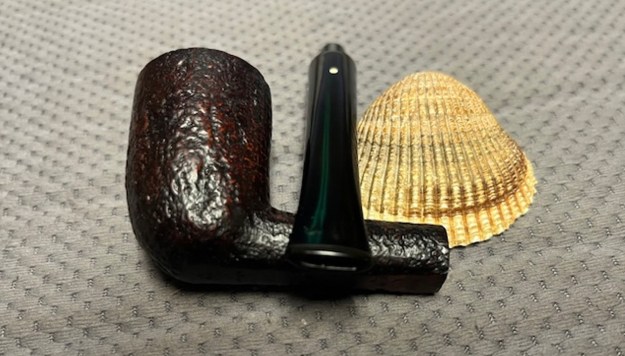
 For the final step, I took the pipe to my bench polisher and carefully buffed it – first with a blue diamond compound, then with three coats of carnauba wax. This procedure makes the pipe look its best – the stummel sings and the stem glows.
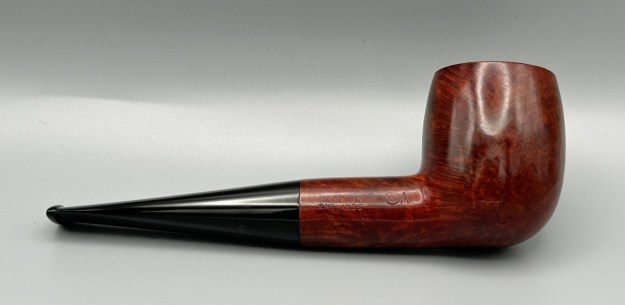
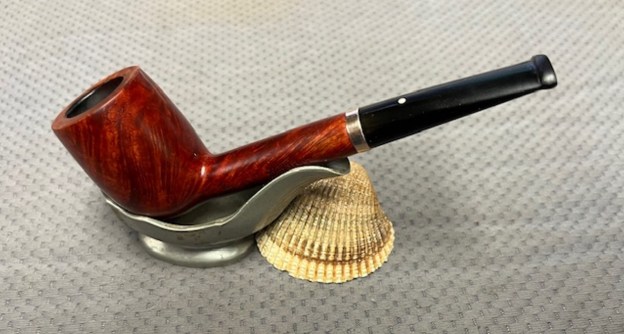
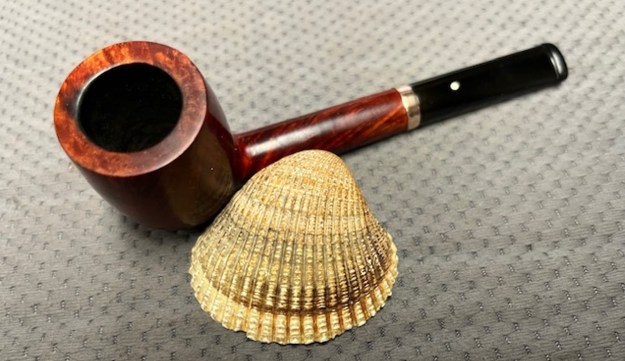
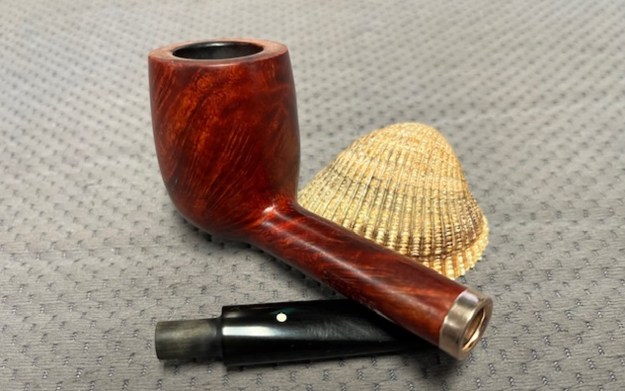
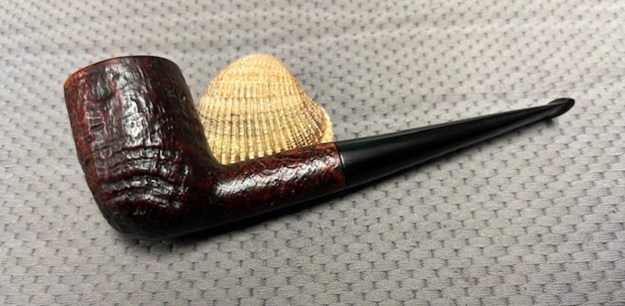
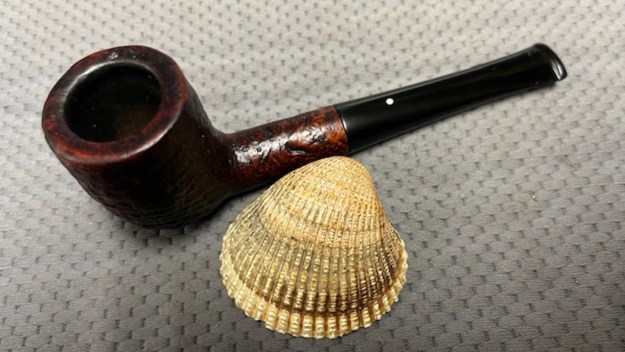
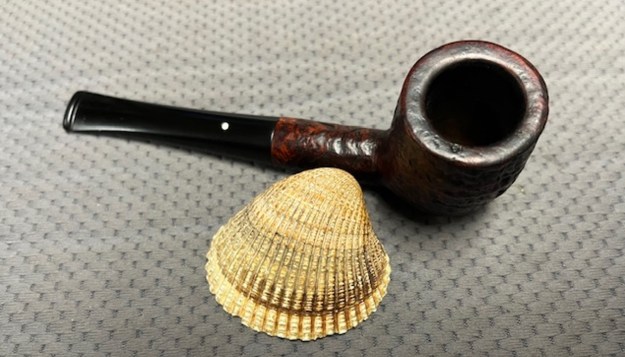
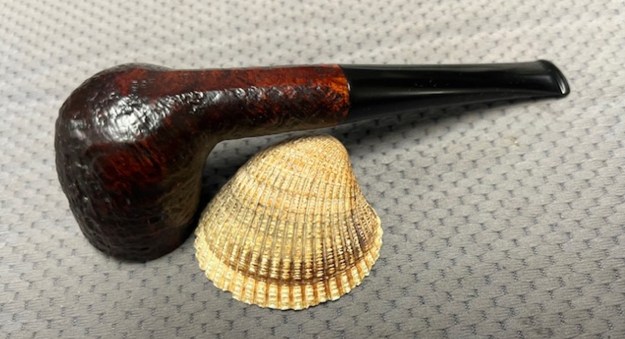
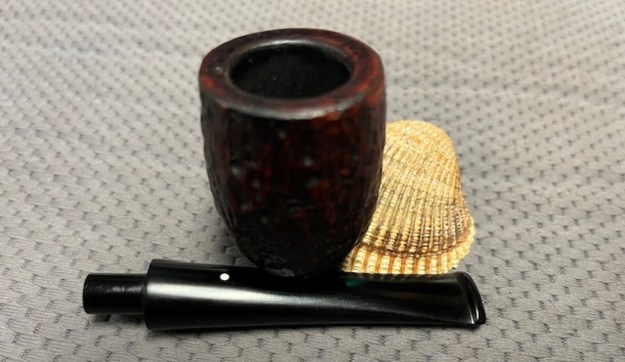
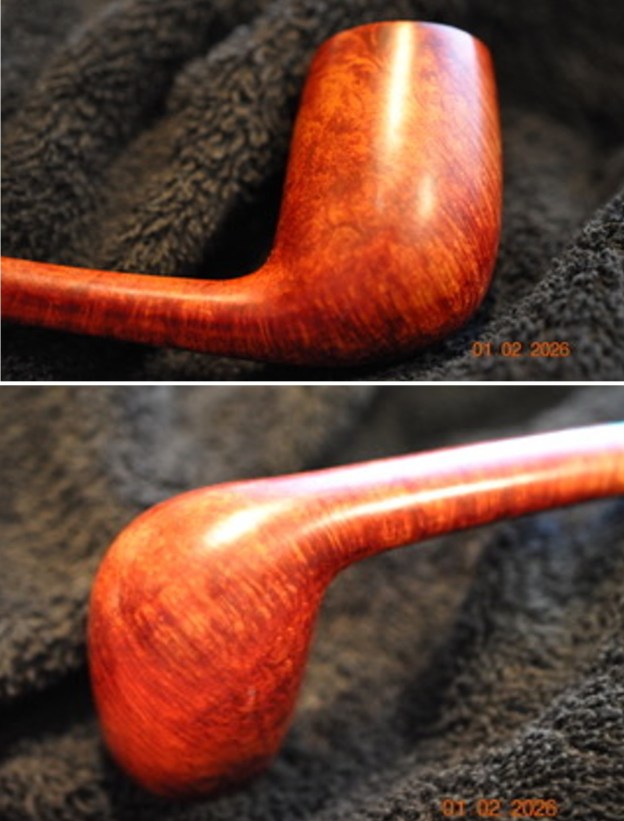
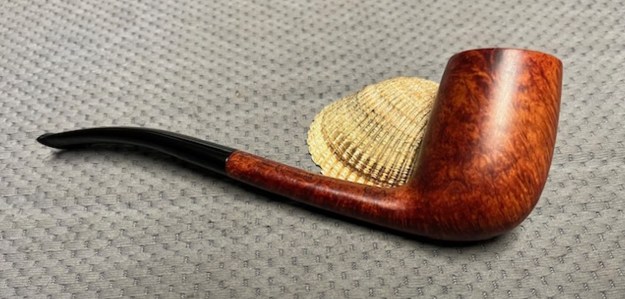
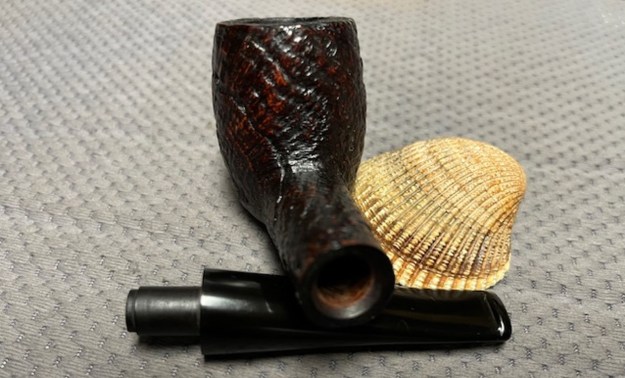
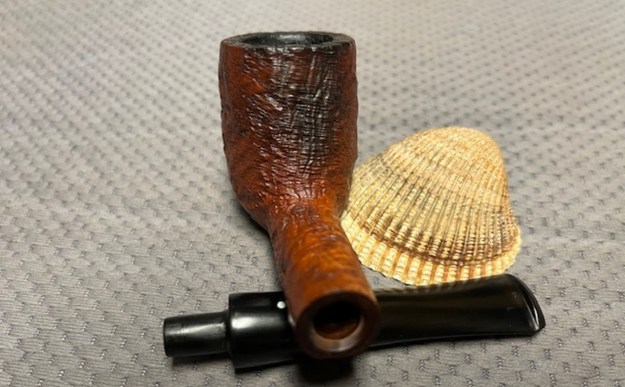
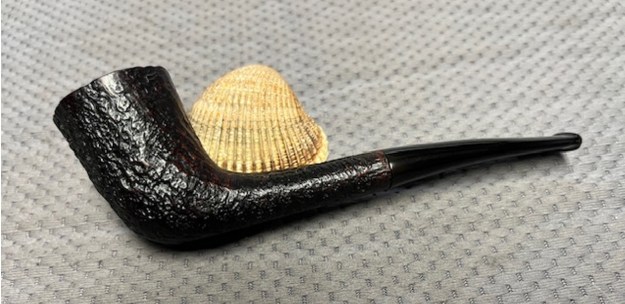
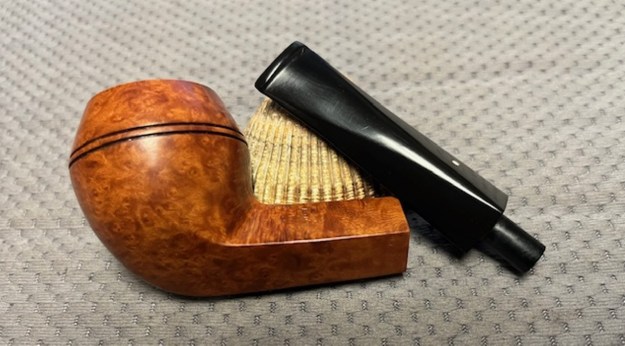
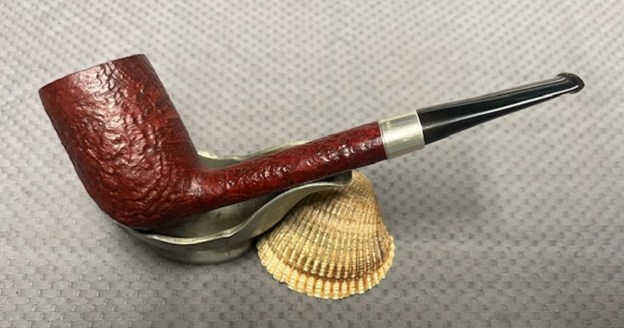
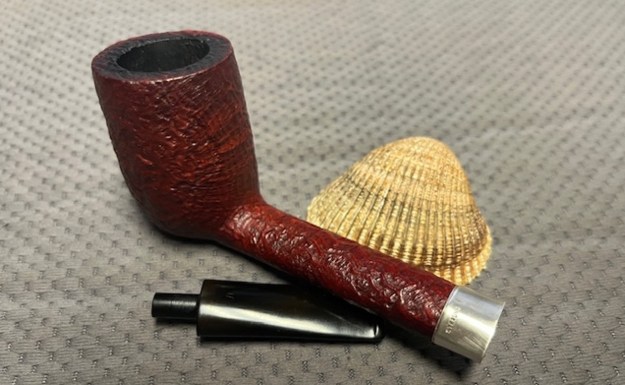
All done! This Dunhill Bruyere 127 billiard looks fantastic again and I am delighted with the results. This is one pipe that I am going to be adding to my collection – at least for now. The approximate dimensions of the pipe are as follows: length 5½ in. (138 mm); height 1⅞ in. (48 mm); bowl diameter 1½ in. (39 mm); chamber diameter ¾ in. (20 mm). The weight of the pipe is 1½ oz. (43 g). I hope you enjoyed reading the story of this pipe’s restoration as much as I enjoyed restoring it. If you are interested in more of my work, please follow me here on Steve’s website or send me an email at kenneth@knightsofthepipe.com. Thank you very much for reading and, as always, I welcome and encourage your comments.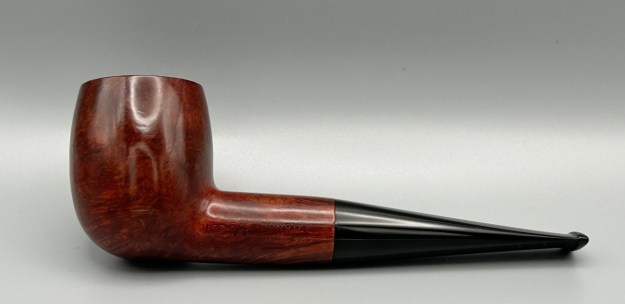


