Blog by Steve Laug
Around Christmas time I got together with Alex to enjoy some great hot cocoa, smoke our pipes and talk about all things pipes. I always have a great time when we get together and this time was no exception. He greeted me at the door with slippers and an old smoking jacket. I took my seat in the living room among his latest pipe finds and was handed a great cup of cocoa. I set it down and we both loaded out pipes with some new Perretti’s tobacco that he had picked up. We touched the flame of the lighter to the tobacco and sat back and blissfully enjoyed the flavour. As we did Alex walked me through his latest finds. There were some amazing pipes to look at and savour. He had one that caught my eye when I had arrived. It was a Dunhill Bamboo Shank Lovat that was a Tanshell finish with a lot of nice colour happening around the bowl.
I carefully took it in my hands and examined it. While I have several Stanwell Bamboo pipes and older KBB Yello Bole Bamboos this is the first Dunhill that I had seen up close and personal. Alex told me that these bamboo-adorned pieces were referred to as “Whangee” pipes. I learned later that the term comes from the Mandarin word for bamboo, huáng lí and was used to describe canes and umbrellas with bamboo handles throughout the early to mid-1900s before being attributed to pipes — Dunhill’s in particular. I learned from reading on line that bamboo came to into use in pipemaking during the briar shortage that accompanied and followed WWII. As a means of saving on briar, pipemakers would extend the shank with bamboo.
The pipe was stamped on the heel of the bowl with the following nomenclature: W60 over a circle with a T next to it. T is the designation for Tanshell pipes. I assume that the circle with what looked like a 4 faintly in the center which was the size designation. Next to that is a superscript underlined 2 which I believe designates the year of manufacture – 1962. So now I knew the date on this interesting Bamboo.
Alex had reamed the pipe and cleaned it up very well. He had already enjoyed smoking it and was hooked on it. I even offered to buy it from him and he gently declined! He asked if I could take it home with me and see what I could do about the finish on the bowl. I told him I would take it home and have a go at it.
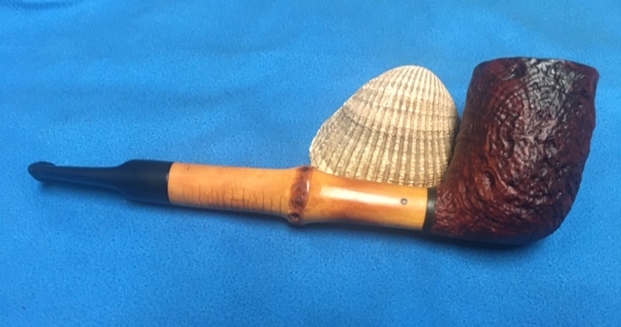
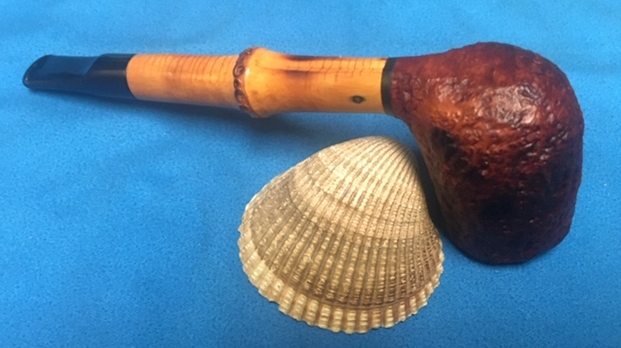
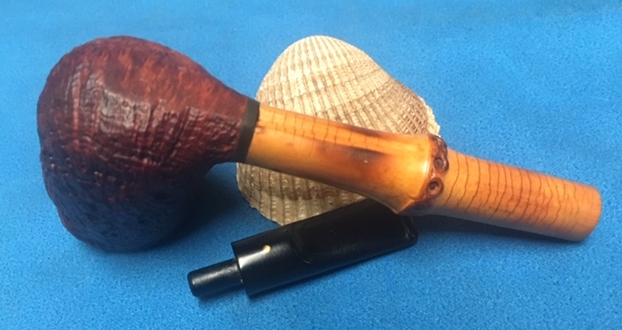
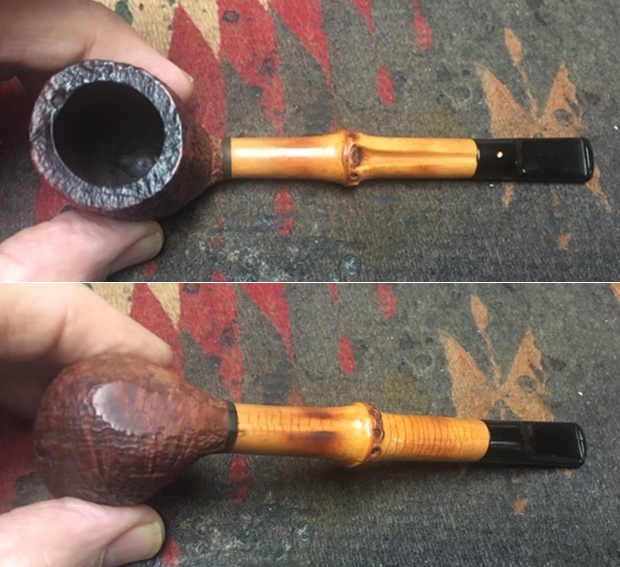
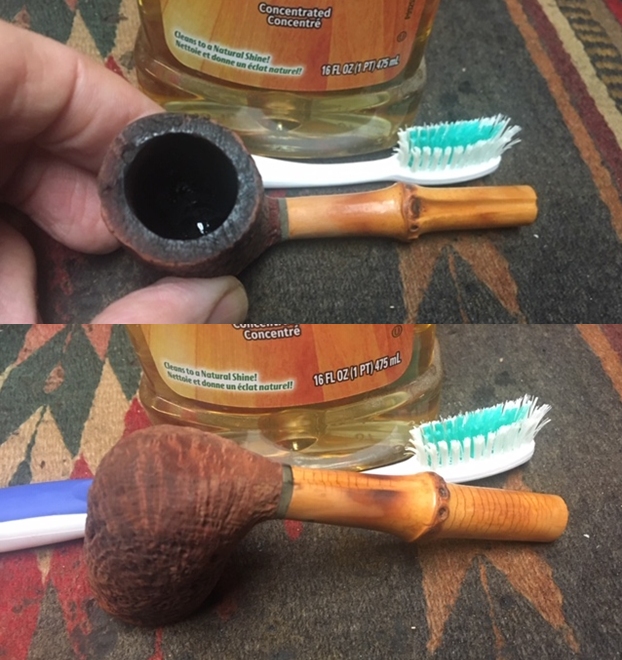
When I got home I laid it aside and tonight took it up to work on it. I examined the pipe to see what I was working with and took some photos. You can see from the first photo below that there were some dark spots on the left side of the bowl. They were cosmetic burn marks in the finish but not too deep. It was like the pipe had been laid down in an ashtray. The right side of the bowl had some darkening toward the top of the bowl and the rim top had significant darkening and there appeared to be some debris in the sandblast finish. The vulcanite spacer between the bowl and the bamboo shank was also oxidized. The Bamboo shank had some great patina and the characteristic crackling in the finish. It was quite stunning. The stem was in good condition other than a few small tooth marks on both sides just ahead of the button. Overall the pipe was in good condition.
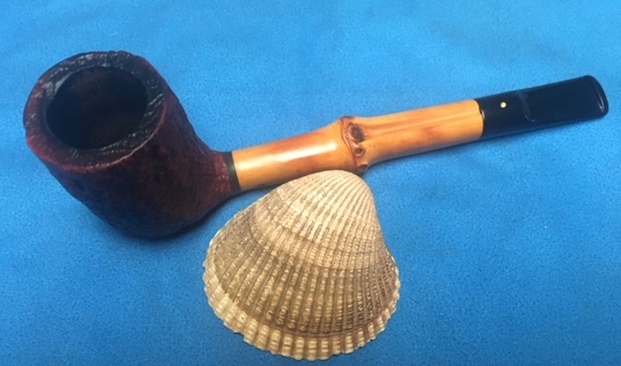
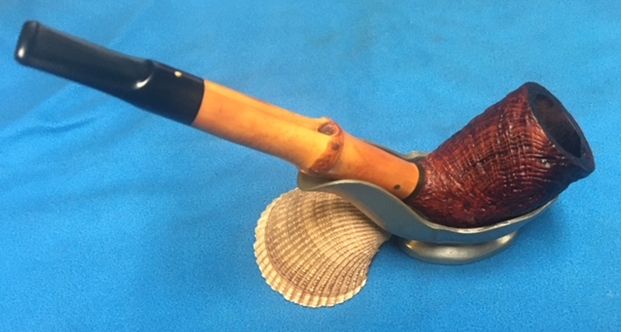
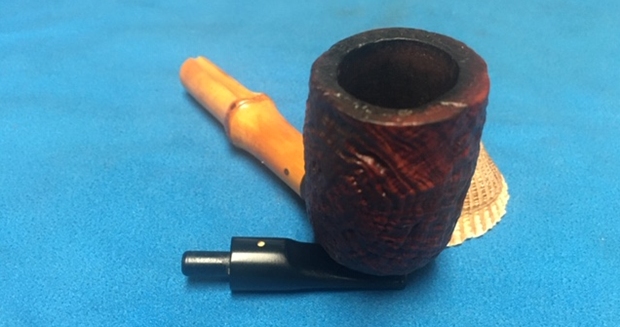
 I took a close up photo of the rim top. It is an interesting sandblast in that there is quite a large pit on the right front rim top. It is part of the blast and thus part of the story. The rim top is a little dirty close up as there is some dust in the crevices. There is some darkening to the original finish of the rim but no burn damage. The inner and outer edges of the rim look very good. I took photos of the shank and stem as well. The vulcanite space between the bowl and the shank was lightly oxidized. The stem looked pretty good. There were small tooth marks on the top and underside of the stem near the button. Otherwise the stem was in very good condition.
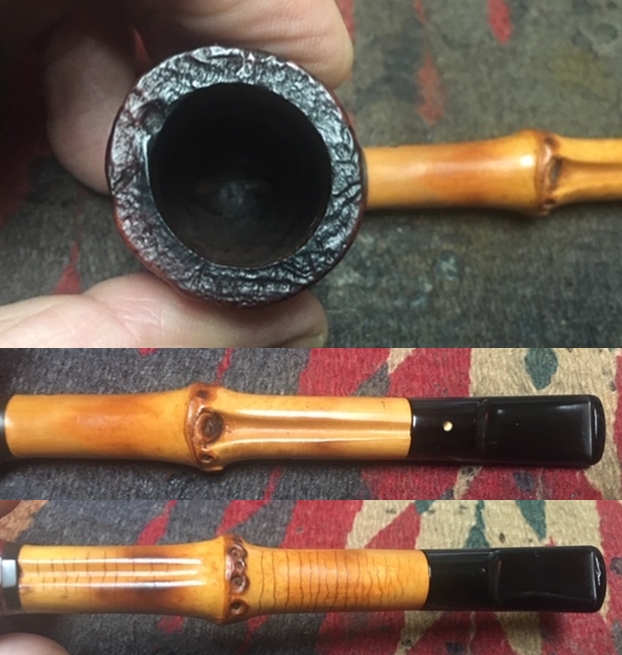 I took a photo of the stamping on the underside of the bowl. You can see that it reads as noted above.
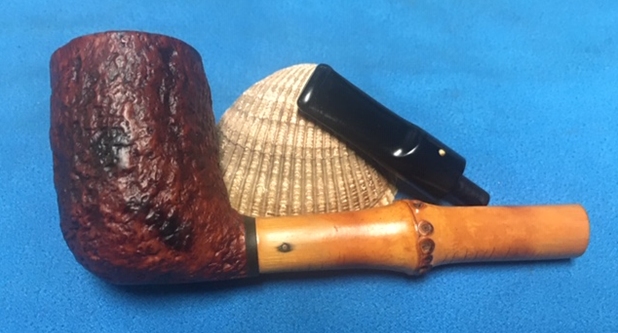
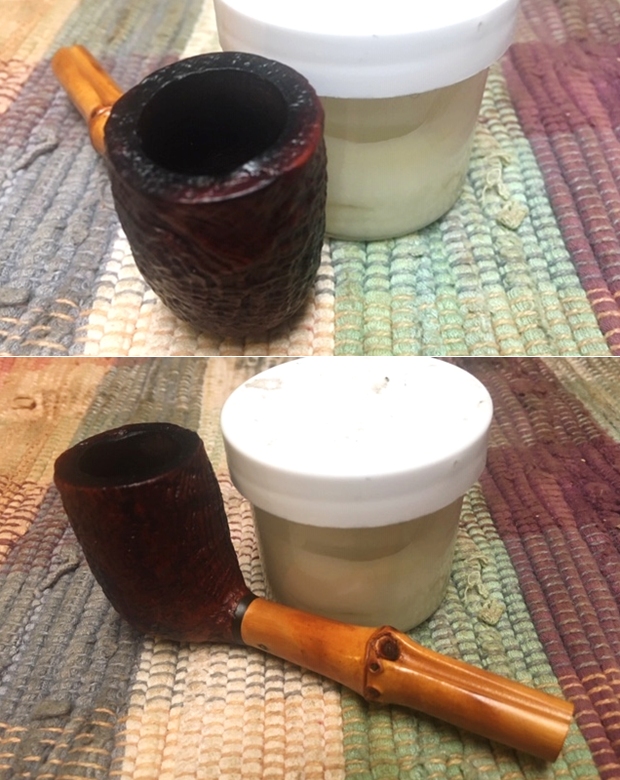
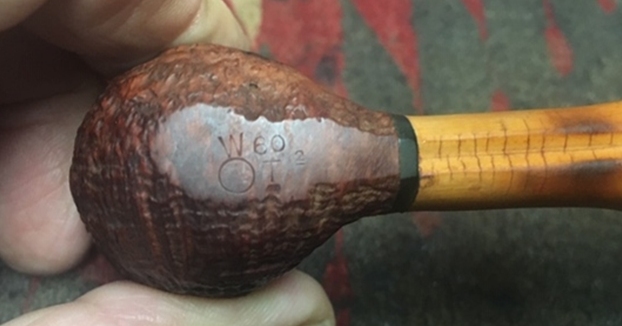 I have had good success in removing stains and oils on briar using Murphy’s Oil Soap. I scrubbed the briar with the soap using both a tooth brush and a brass bristle brush. I rinsed it off under running water and dried it off with a cotton cloth. I was able to remove most of the staining on the right side of the bowl near the top and to lighten the burn marks slightly on the left side of the bowl. The rim top cleaned up nicely with some significant lightening of the top and edges. I worked carefully around the bamboo as I did not want to damage the patina on it. Overall the cleanup left behind a beautiful looking sandblast that was very clean and defined.
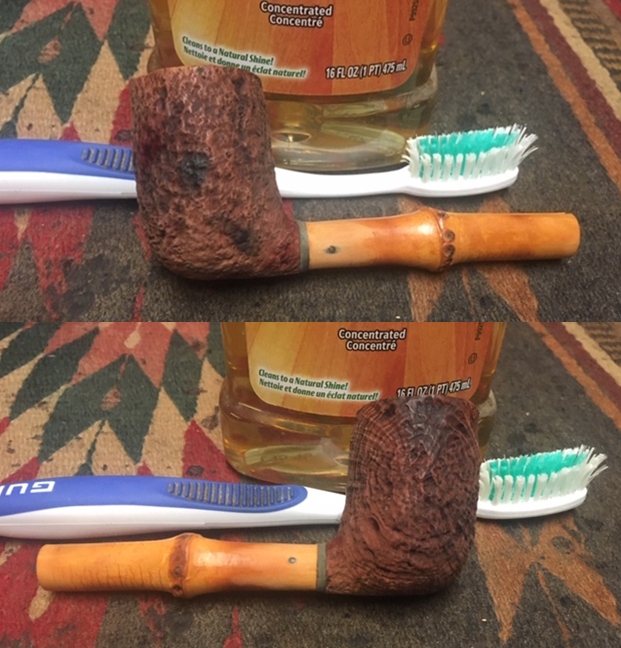
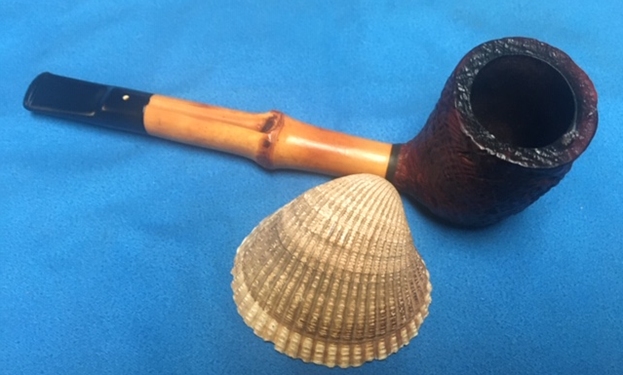
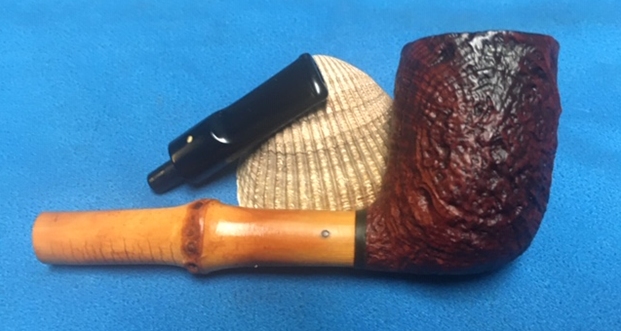
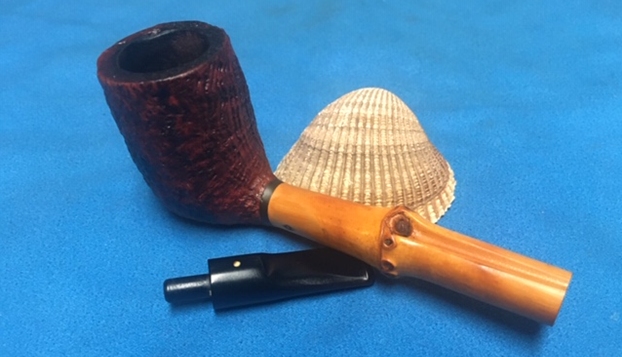
 With the finish cleaned I rubbed it down with Before and After Restoration Balm. It is a product developed by Mark Hoover to clean, enliven and protect briar. I worked it into the briar with my finger tips and a horse hair shoe brush. I also worked it into the bamboo and the vulcanite spacer to clean up the oxidation around that thin ring. I let it sit for about 10 minutes and buffed it off with a cotton cloth. You can see the results below.
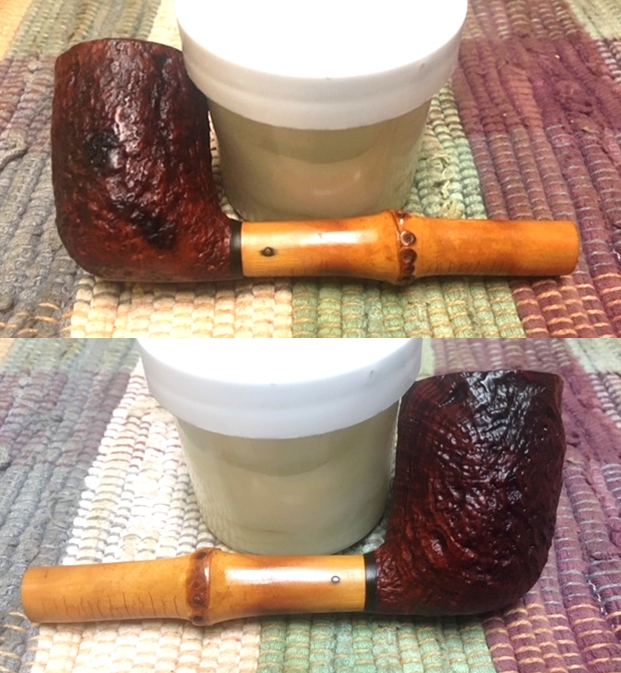

 I set the bowl aside and turned to address the tooth marks and chatter on the stem surface. The stem was in excellent condition other than that so it did not take a lot of work. I used a folded piece of 220 grit sandpaper to sand out the tooth marks and then started the polishing with 400 grit sandpaper. I left the rest of the stem alone with this process.
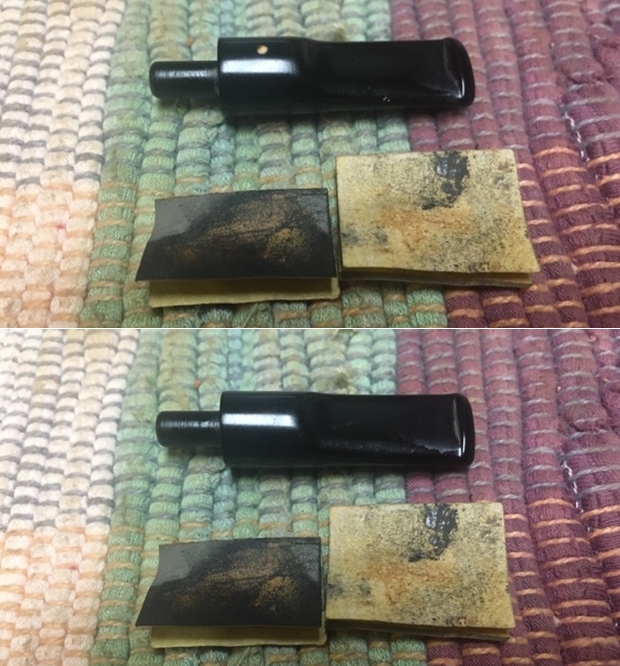 I polished it further with Denicare Mouthpiece Polish – a red paste that does a great job in removing the oxidation remnants in the crease of the button and also polish out some of the lighter tooth chatter.
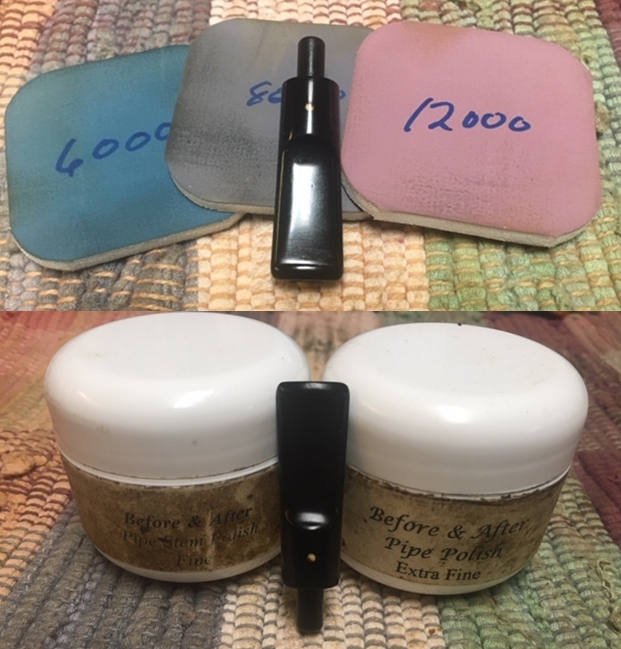
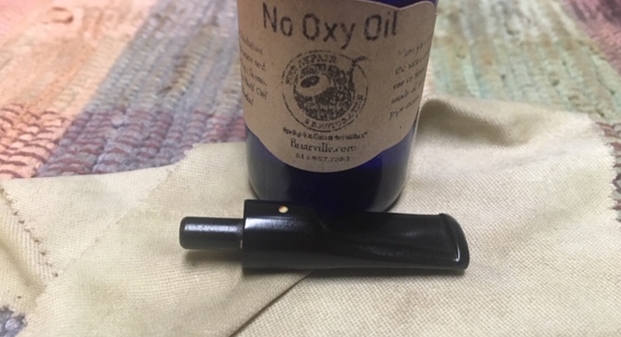
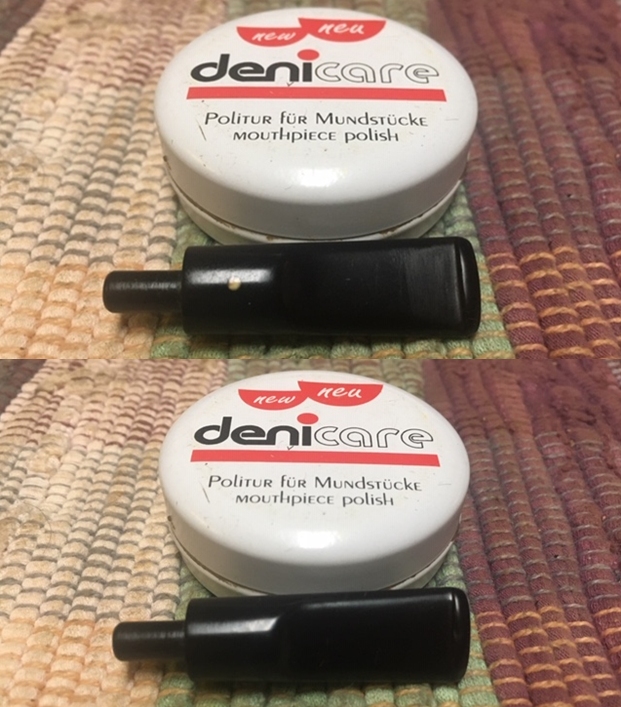 I finished the stem with micromesh sanding pads – wet sanding it with 1500-12000 grit pads and wiping it down after each pad with a damp cotton pad to remove the dust. I polished it with Before and After Pipe Polish – both fine and extra fine. I finished by wiping the stem down with some No Oxy Oil that received from Briarville Pipe Repair to experiment with.
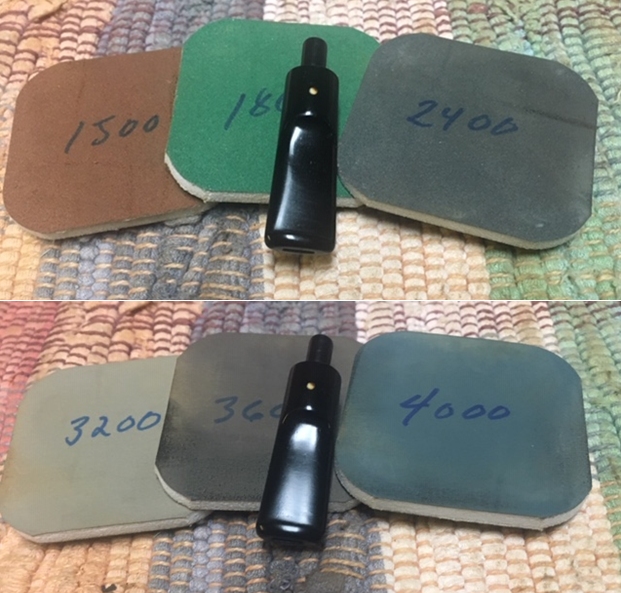
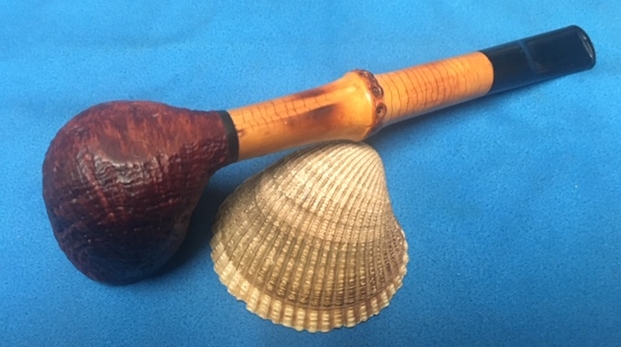
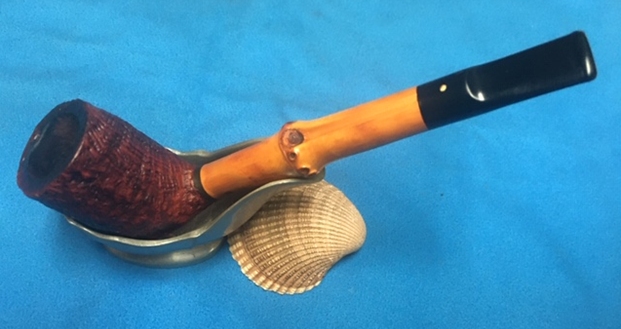
 Once I finished I put the stem back on the shank and carefully buffed the pipe with Blue Diamond polish using a lightly loaded pad and a soft touch. I wanted the shine but not the grit filling in the crevices of the sandblast bowl. I used even a gentler touch on the bamboo. I gave the stem a vigorous polish being careful around the white spot. I gave the bowl and bamboo several coats of Conservator’s Wax and the stem several coats of carnauba. I buffed the pipe with a clean buffing pad and hand buffed it with a microfiber cloth. The finished pipe is shown in the photos below. It is a great piece of pipe history and looks better than when I began the process. The dimensions of the pipe are Length: 5 ¾ inches, Height: 1 7/8 inches, Outer Bowl Diameter: 1 ¼ inches, Chamber Diameter: ¾ of an inch. The pipe will soon be heading back to Alex so he can continue to enjoy it. I have told him that if he ever wants to part with it I get the right of first refusal. Thanks for walking with me through the restoration.