Blog by Steve Laug
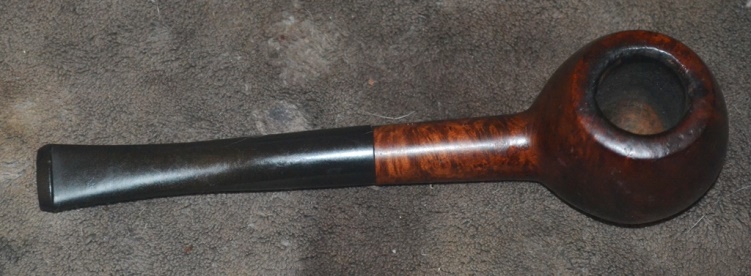
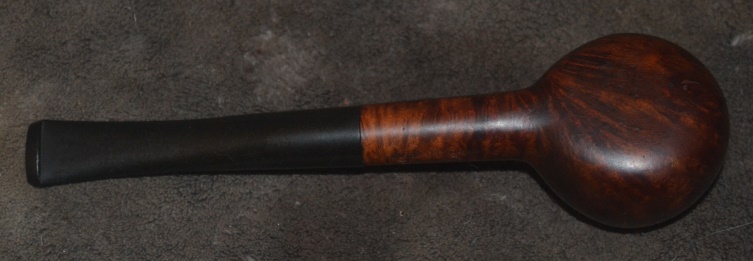
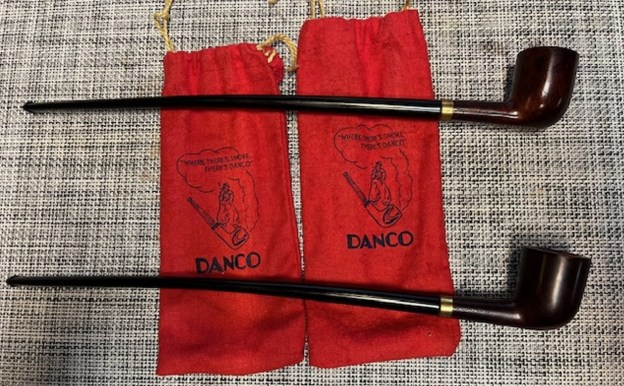
The next two pipes on the table are a pair of churchwardens that we picked on 01/16/2021 from an online auction in Gastonia, North Carolina, USA. They are almost identical in terms of the stummels and the stems. They both are stamped “DANCO” on the left side of each pipe. On the right side each are stamped Imported Briar. Both are NEW OLD STOCK (NOS) and UNSMOKED. The finishes are clean but dusty but are otherwise in good condition. On both pipes there was a hairline crack on the right side running through the Imported Briar stamp. It was not wide open but rather a small almost invisible hairline crack. The stems are both vulcanite and older style straight line from the shank to the button. Neither has tooth marks or chatter on them but both have light scratching. I took photos of the pair to show their condition when I took them out of the red Danco pipe socks. The socks were stamped with a smoking pipe and plume of smoke reading, “Where there’s smoke there’s Danco”. 
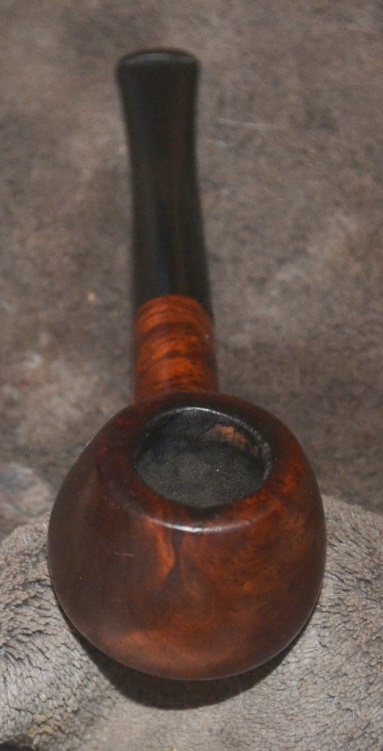
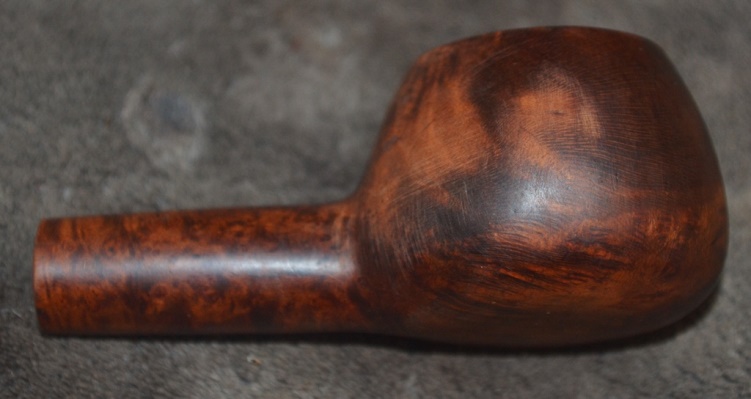
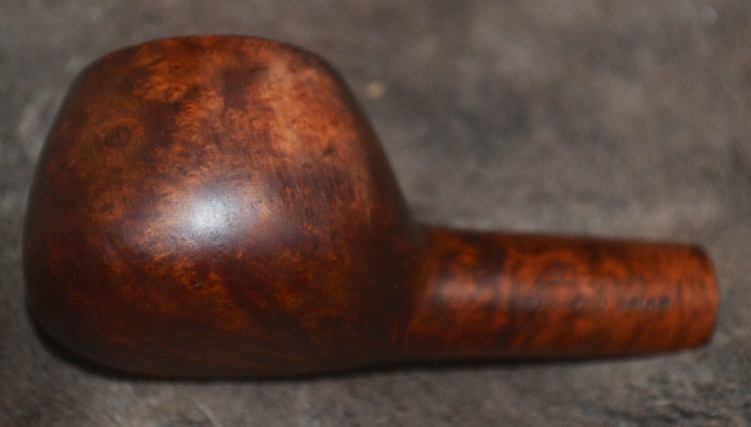
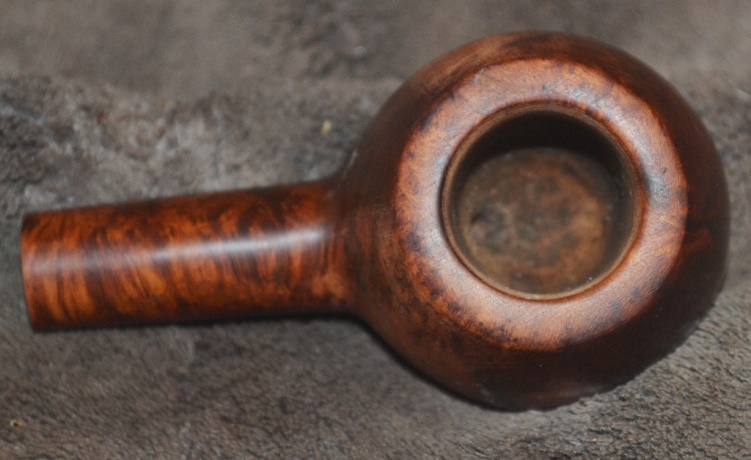
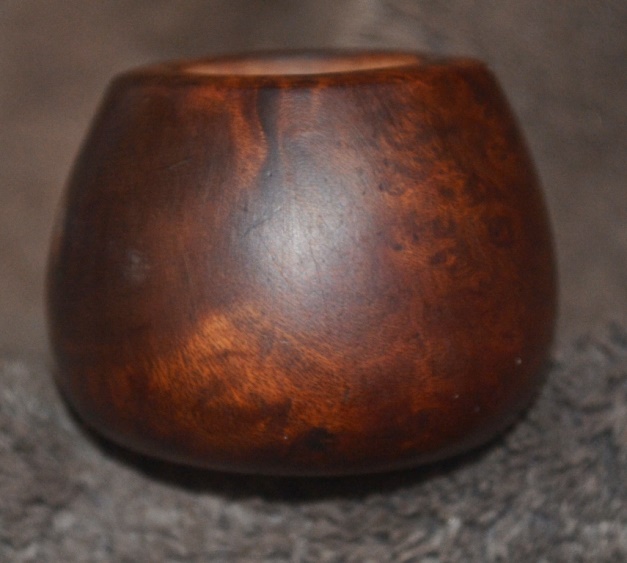
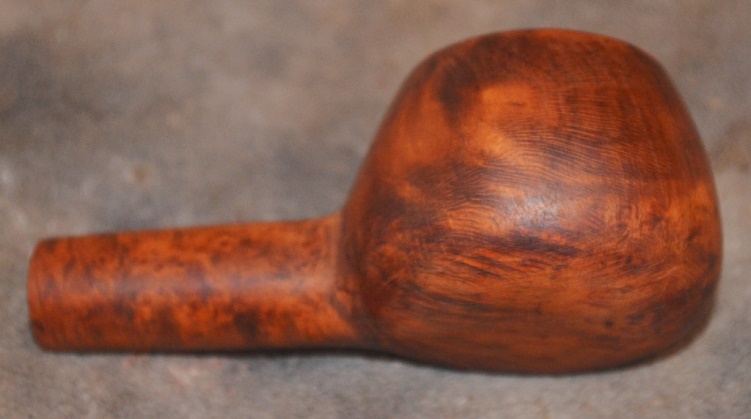
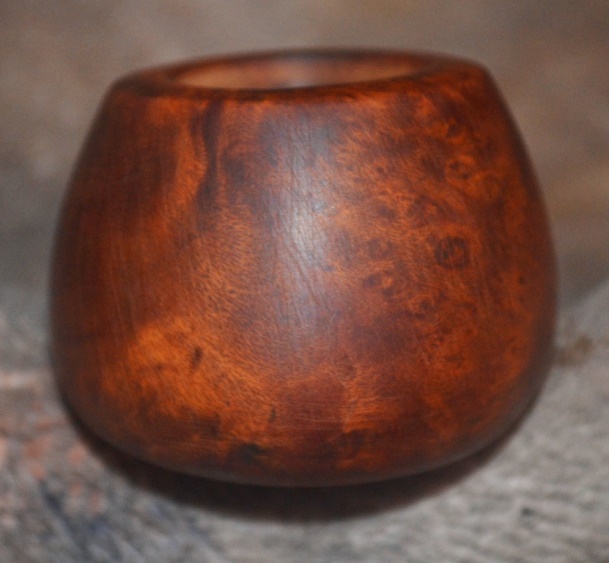
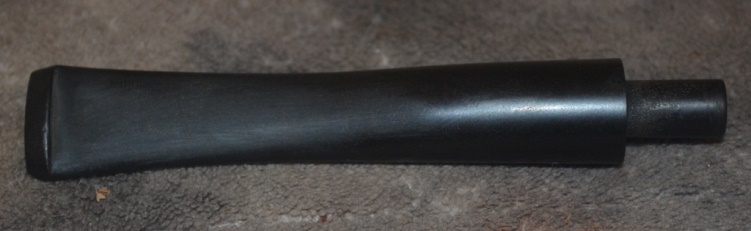
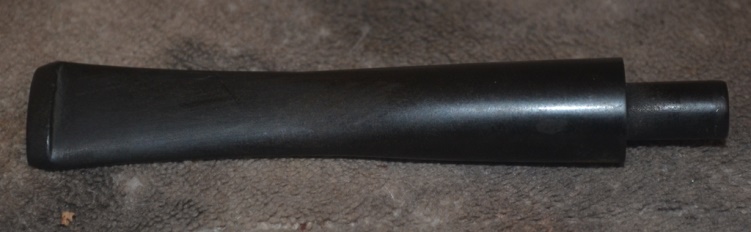
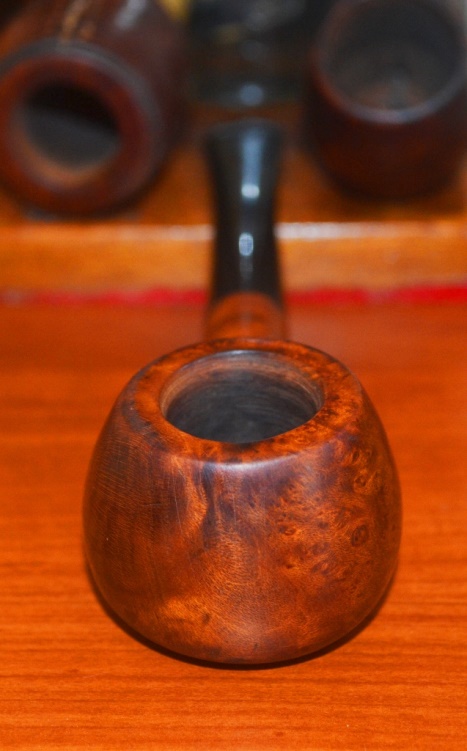
 I took photos of the bowl and the rim top of each pipe. You can see that the bowl is unsmoked on both pipes. I also took photos of the stems on both to show their unsmoked and unmarked condition.
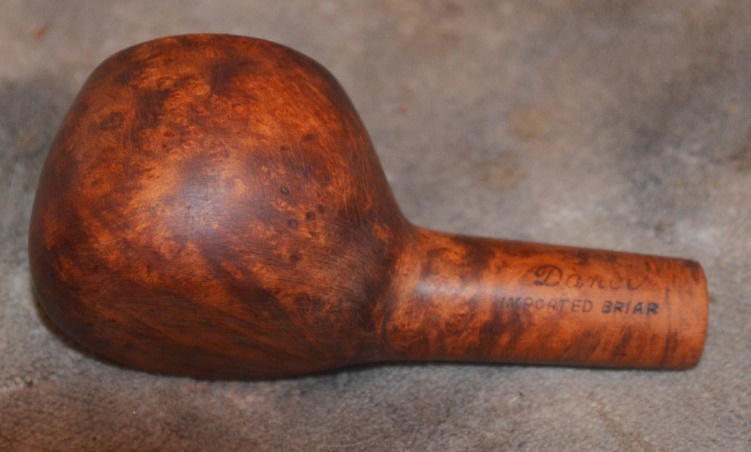
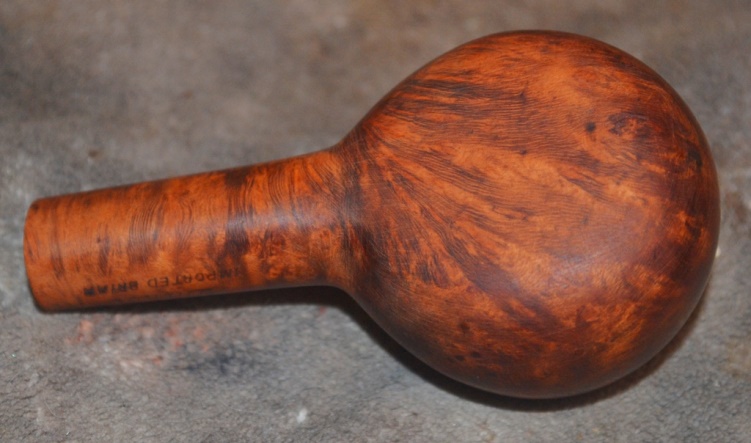
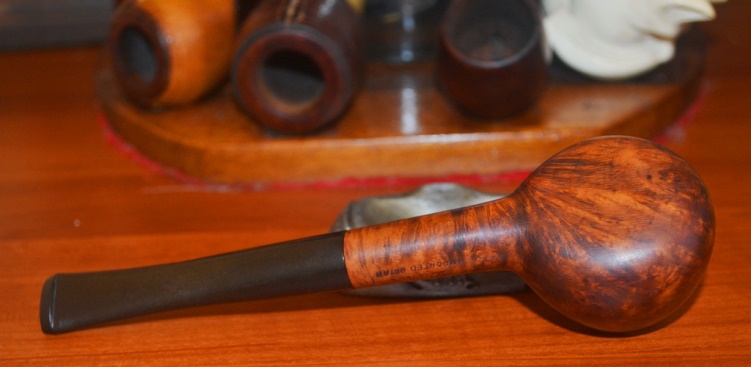
 I took photos of the stamping on both sides of the shanks. The “Danco” stamp on the left side and the Imported Briar stamp on the right side.
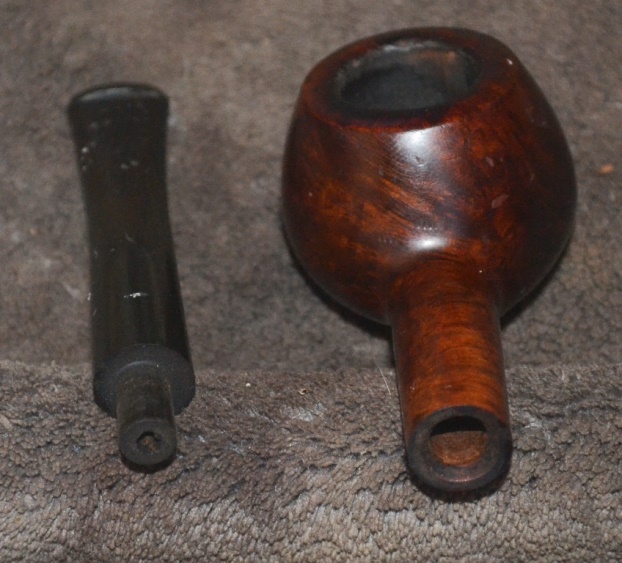
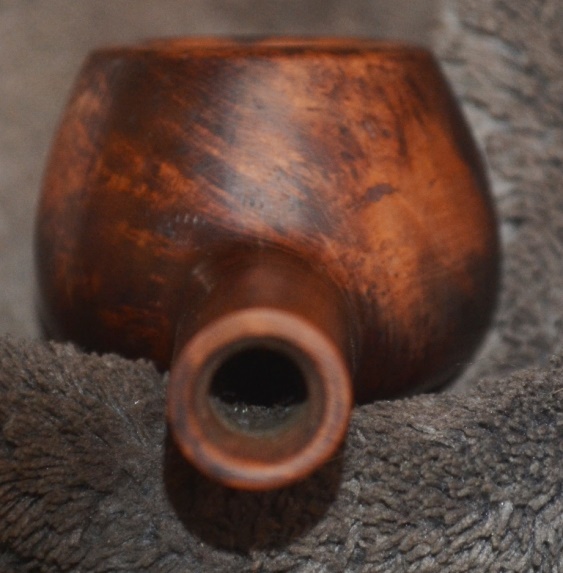
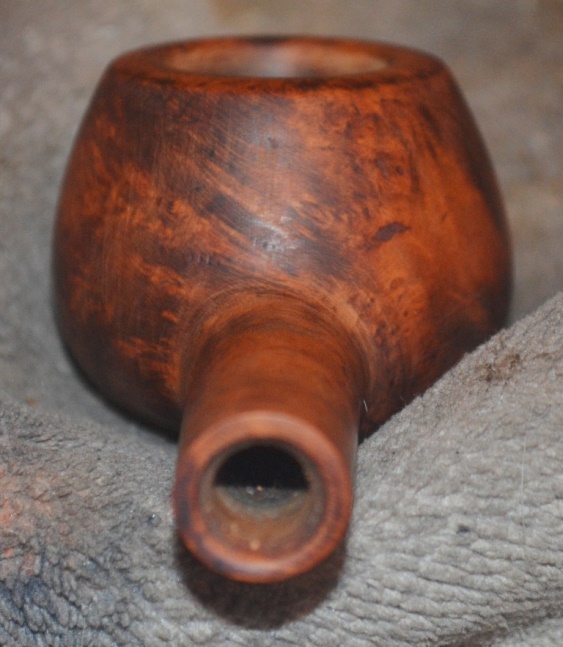
 I removed the stems from the shank and both had the same stinger apparatus – an aluminum spear head to capture and wick the tars from the smoke as it entered the long airway in the stem.
 I tried to capture the crack on each pipe in the photos below. I have circled them with red in each photo.
 I paused at this point before I cleaned up and repaired the pipe and did some reading on the Danco brand. I found a link to an article on Pipedia (https
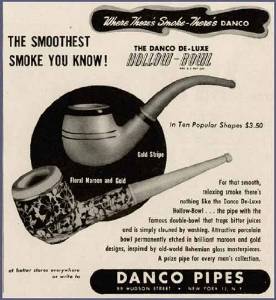
 ://pipedia.org/wiki/Danco). It is short but very clear and I quote from it below. I also included to advertisements from the article below as they give some background to this pair of Churchwardens.
There were some references to Danco pipes from the book “Who Made That Pipe?” and they put the manufacture of them in both Denmark and the US but do not attribute it to any specific maker. There are included that indicate the location of the firm was on Hudson St., in New York.
Some Danco pipes are marked “Imported Briar” and that would suggest they are American made.
Some Danco pipes that are marked “Italy” so the US Danco distributor/seller must have had some of the briar pipes they sold made in Italy.
Danish Dancos should be stamped “Denmark.”
The pipes I had in hand were both stamp DANCO on the left side and Imported Briar on the right side. From the above information it is clear that these two pipes were American or US made pipes. They would have come from the firm on Hudson Street in New York, New York.
Read the information on the two advertisement to get a sense of what the pipes were like and their values when they sold originally – varying between $1.50 and $7.00. The advertisements also have the same saying on them as the pipe socks that I have here with each pipe. It reads:
“Where there’s smoke there’s a Danco.”
 Now it was time to work on the hairline cracks in both shanks. I went through my bands and found a band that fit on each of the shank.
 I heated the bands with a lighter and pressed them onto the shank end of each pipe. I sanded the tenon slightly with a folded piece of 220 grit sandpaper to reduce the diameter of the mortise now that the band squeezed the cracks shut. It was a snug fit and I liked the overall look of the repaired pipes. The pictures below show the two pipes after banding.
 I took a photo of the pipes on top of the pipe socks. They are a nice looking pair of pipes.
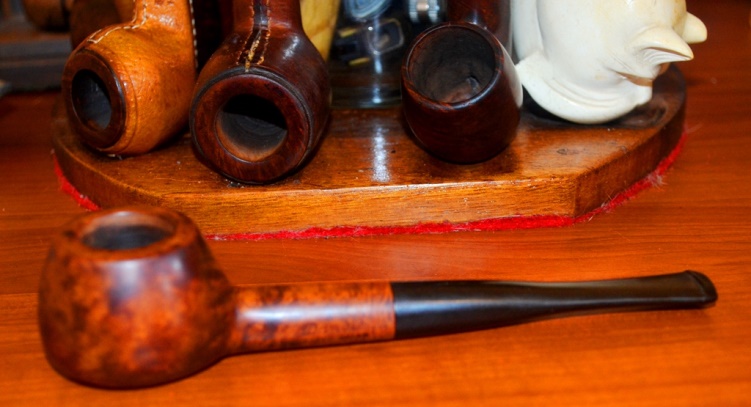
  Now it was time to work on the pipes individually. I started with the first one above. I removed the stem and worked over the briar with micromesh sanding pads. I polished it with 1500-12000 grit micromesh sanding pads. I sanded with each pad and wiped the bowl down with a damp cloth between each pad. The grain began to show through the way I was hoping. It is a great looking pipe.


 I rubbed the bowl down with Before & After Restoration Balm. I worked it into the briar with my finger tips. I let it sit for 10 minutes and the Balm did its magic. It enlivens, cleans and preserves the briar. It certainly brought this bowl back to life. I buffed it off with a clean cloth and took the following photos.

 I polished the stem with micromesh sanding pads – dry sanding with 1500-12000 grit pads and then wiping the stem down with Obsidian Oil on a cloth to clean and protect the vulcanite surface.
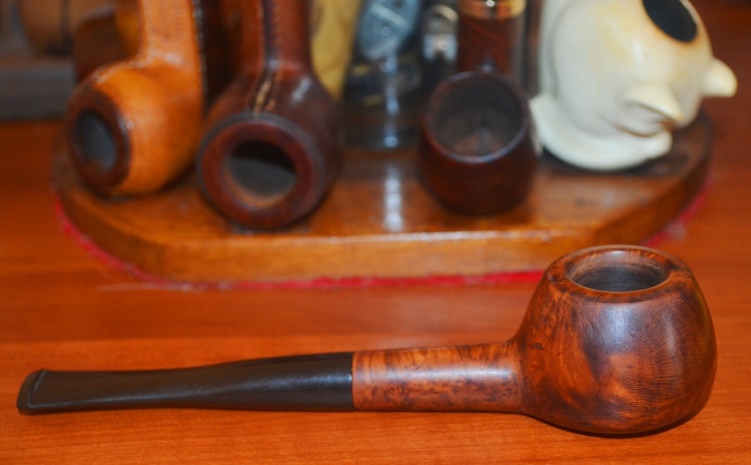
 This Danco Imported Briar Church Warden with a vulcanite taper stem is a great looking pipe. The mix of stains once cleaned up really highlights the grain and the polished finish is stunning. The brass band on the shank is not just a repair but is also a nice addition of bling. I put the stem back on the bowl and carefully buffed the pipe with Blue Diamond on the buffing wheel. I gave the bowl and the stem multiple coats of carnauba wax on the buffing wheel and followed that by buffing the entire pipe with a clean buffing pad. I hand buffed the pipe with a microfiber cloth to deepen the shine. The finished first Danco Church Warden fits nicely in the hand and feels great. Give the finished pipe a look in the photos below. The dimensions of the pipe are Length: 12 inches, Height: 1 ½ inches, Outside diameter of the bowl: 1 ¼ inches, Chamber diameter: ¾ of an inch. The weight of the pipe is 35 grams /1.23 ounces. I will be adding the pipe to the American Pipe Makers Section of the rebornpipes store. If you are interested in purchasing this pipe send me a message or an email. Thanks for reading this blog and my reflections on the pipe while I worked on it.


 I turned to the second Church Warden. I removed the stem and worked over the briar with micromesh sanding pads. I polished it with 1500-12000 grit micromesh sanding pads. I sanded with each pad and wiped the bowl down with a damp cloth between each pad. The grain began to show through the way I was hoping. It is a great looking pipe.


 I rubbed the bowl down with Before & After Restoration Balm. I worked it into the briar with my finger tips. I let it sit for 10 minutes and the Balm did its magic. It enlivens, cleans and preserves the briar. It certainly brought this bowl back to life. I buffed it off with a clean cloth and took the following photos.

 I polished the stem with micromesh sanding pads – dry sanding with 1500-12000 grit pads and then wiping the stem down with Obsidian Oil on a cloth to clean and protect the vulcanite surface.
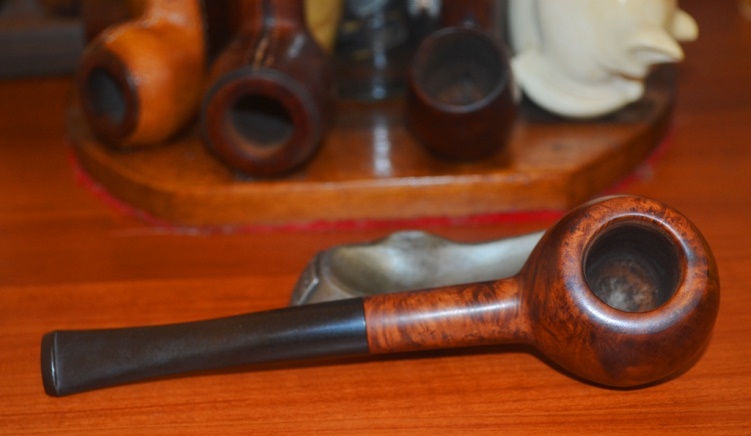
  This second Danco Imported Briar Church Warden with a vulcanite taper stem is a great looking pipe. The mix of stains once cleaned up really highlights the grain and the polished finish is stunning. The brass band on the shank is not just a repair but is also a nice addition of bling. I put the stem back on the bowl and carefully buffed the pipe with Blue Diamond on the buffing wheel. I gave the bowl and the stem multiple coats of carnauba wax on the buffing wheel and followed that by buffing the entire pipe with a clean buffing pad. I hand buffed the pipe with a microfiber cloth to deepen the shine. The finished first Danco Church Warden fits nicely in the hand and feels great. Give the finished pipe a look in the photos below. The dimensions of the pipe are Length: 12 inches, Height: 1 ½ inches, Outside diameter of the bowl: 1 ¼ inches, Chamber diameter: ¾ of an inch. The weight of the pipe is 35 grams /1.23 ounces. I will be adding the pipe to the American Pipe Makers Section of the rebornpipes store. If you are interested in purchasing this pipe send me a message or an email. Thanks for reading this blog and my reflections on the pipe while I worked on it.
As always, I encourage your questions and comments as you read the blog. Thanks to each of you who are reading this blog. Remember we are not pipe owners; we are pipe men and women who hold our pipes in trust until they pass on into the trust of those who follow us.