Blog by Steve Laug
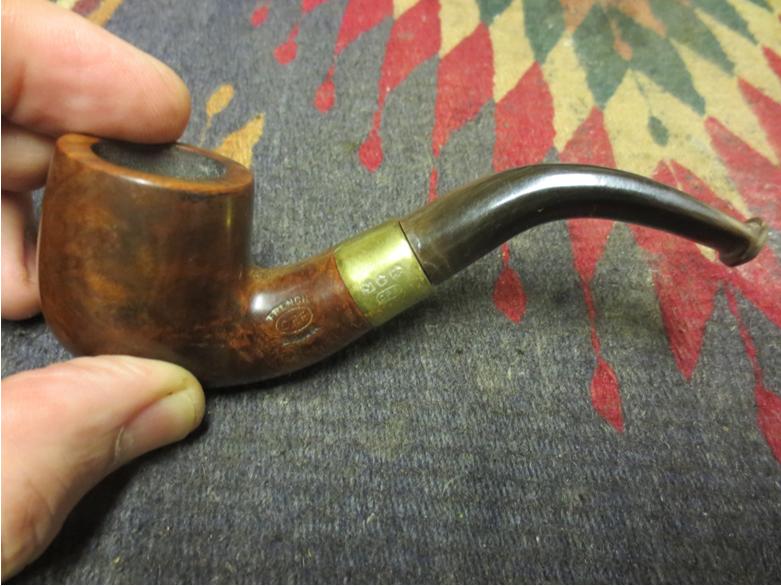
I have always heard and read that during WWII years it was virtually impossible to get briar in the US and rubber for stems was at a premium. During those years, Mountain Laurel and Manzanita – close kin to Mediterranean Briar – were used. The bowls have a different appearance than briar – the grain on the bowl sides and rim are very different. The stems were often made of repurposed rubber and I have seen bits of metal in the cast rubber of the stems. While that is interesting information the next pipe on the table is far older than WWII. But it could be made of Laurel and it certainly had bits of metal in the solid rubber stem. It came from my brother as well. It is a CPF French Briar bent billiard. It is a large pipe – the length is 11 inches, the height is 2 ¼ inches, the outside diameter of the bowl is 1 ½ inches and the inner diameter is 7/8 inches and the depth of the bowl is 1 9/16 inches. I took the next photo to give an idea of the size of the pipe when I received it. Don’t you ever wish these old pipes could talk? They could certainly tell some amazing stories of their journeys. My brother wrote to tell me that this old CPF Giant was found in an antique store in Idaho Falls, Idaho. The owner had told him that the pipe was owned by an artist who strictly used it as a art prop… never smoked it. That’s why it was in great shape for the age. My brother took some photos of the pipe before he did his clean up and sent it to me. The finish was in decent shape. There was some spottiness to the finish but no deep nicks of scratches. The rim had overflow from the cake in the bowl that was thick on the entire surface. The metal band had some scratches and appeared to have rotated on the shank in the photos showing that it was probably loose. The stem was clean with minimal tooth chatter near the button with a little wear on the top and underside of the orifice button. There was some oxidation on the rubber.
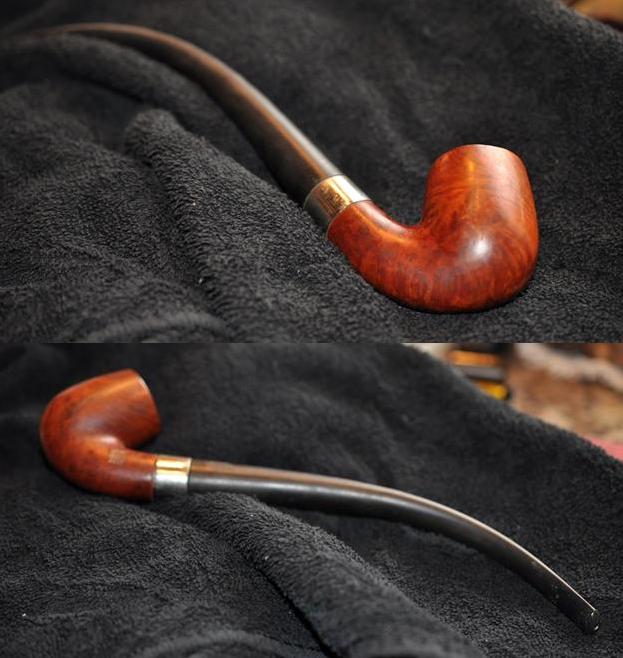 I have restored quite a few CPF pipes in the past and did a blog on the historical background of the brand. You can read the entirety at this link: https://rebornpipes.com/2013/04/14/some-reflection-on-the-historical-background-on-cpf-pipes/. I have summarized part of it in what follows to connect this pipe to the history of the brand.
“One of the secondary hobbies to pipe refurbishing that I enjoy doing is to research the history of a particular brand or make. In a recent EBay lot I bought there were 3 pipes that were stamped with the CPF logo – CPF in an oval with the word FRENCH stamped in an arch above the oval and the word BRIAR stamped in an arch below the oval. I had heard that the CPF stood for a variety of names from Consolidated Pipe Factory to Colossus Pipe Factory and even Chesterfield Pipe Company. There was a wide range of conflicting information available on the websites and forums that I read while looking into the brand…”
“…CPF in the logo stands for Colossus Pipe Factory. The brand was purchased by KB&B sometime between 1884 and 1898 and it continued until 1915. That time frame gives help in dating some of the older CPF pipes you or I might find. It can be said that prior to the dual stamping it is fairly certain that the pipe is pre-1884 to 1898. After the dual stamping it can be placed post 1898 until the closure of the brand line in 1915. CPF made beautiful pipes. I believe Sam Goldberger was correct in his assertion that the carvers who made the pipes were of European training and used the classic shapes and well-aged briar.”
Armed with that information I should be able to narrow down the period in which the pipe was made. Since the pipe and the ferrule both bear only the CPF logo I can safely say the pipe was made before the time period mentioned above as sometime between 1884 and 1898 when the CPF company was sold. I also know that from 1898-1915 all of the pipes that came out of the factory bore a dual CPF/KB&B stamp. The fact that this one does not puts the date of manufacture before or around the early 1880s. It is an old pipe.
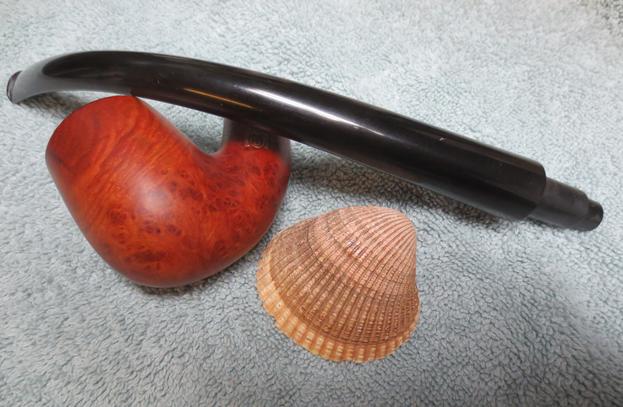
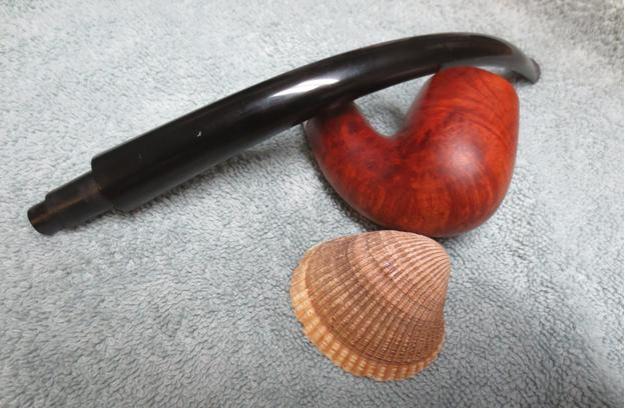
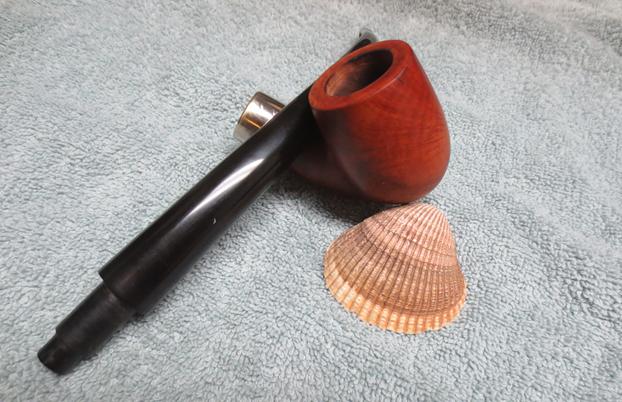
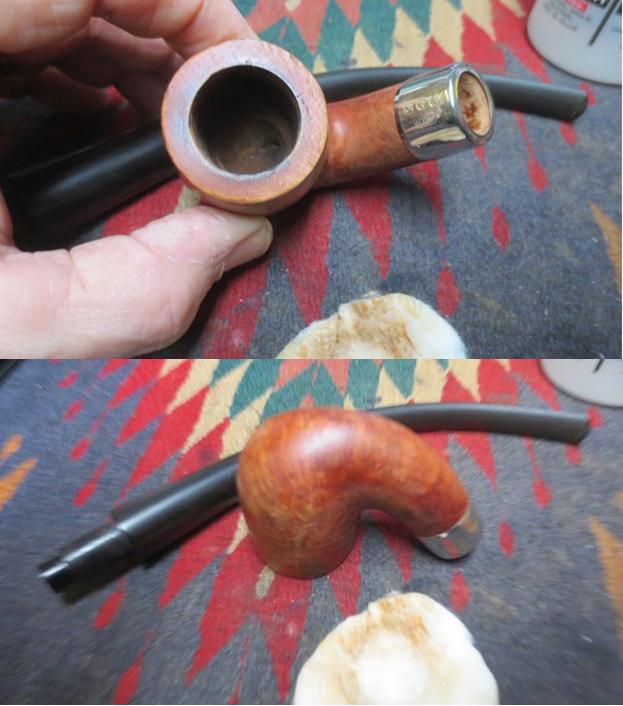
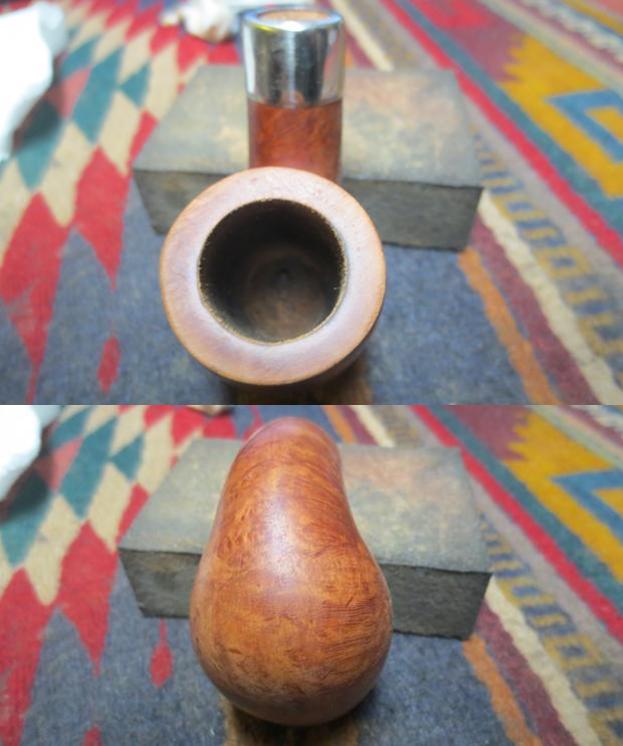
My brother took some close up photos of the pipe. The first two show the grain on the bottom of the bowl. It is a mixture of birds-eye and cross grain that is really scrambled up. I have not seen the kind of grain patterns that show up on just one side of this old timer. It is the graining pattern that makes me wonder if I am really dealing with briar here. The third photo shows the bowl and the rim. You can see the thin even cake and the buildup of tars and oils on the top of the rim. The internal and external edges of the rim appeared to be in excellent condition.
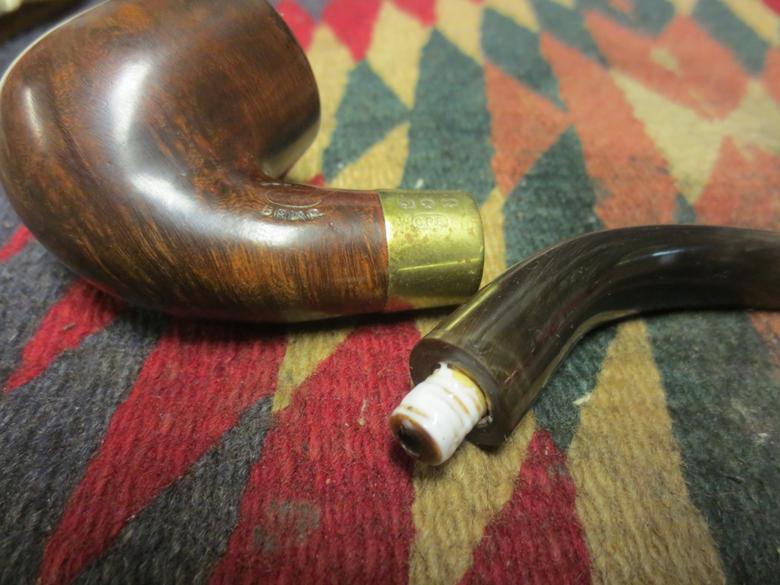
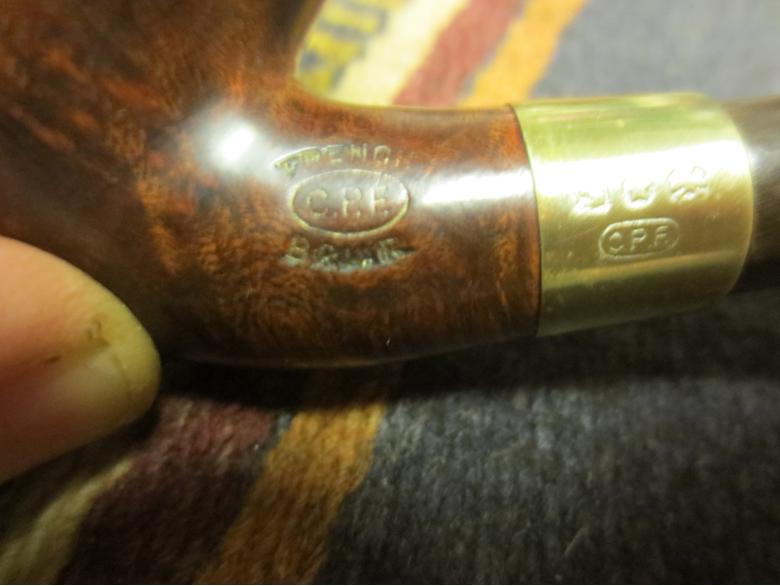
 The next two photos show the stamping on the left side of the shank and on the ferrule. The shank reads C.P.F. in an oval with French above the oval and Briar below the oval. The stamping is filled with gold gilding. The stamping on the ferrule has three hallmarks – an anchor, a star and an eagle which from previous research on this brand are determined to be faux hallmarks and are there for looks rather than giving pertinent information on the band. Beneath the hallmarks is the C.P.F. oval.
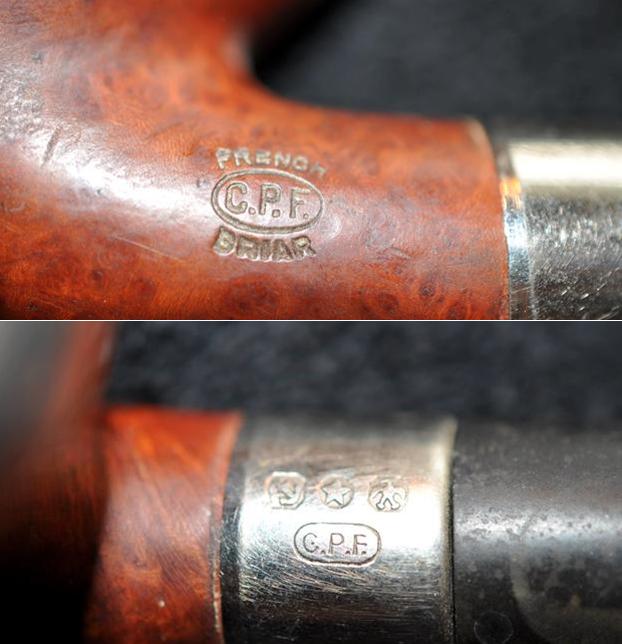 The stem was lightly oxidized and the orific button on the end had some chips missing on the top and bottom sides. The underside of the stem was stamped Solid Rubber. From what I could find online the Solid Rubber stamp was originally used when rubber or vulcanite started becoming popular for pipe stems in the mid to late 1800s. I have found from working on them that solid rubber stems are different from vulcanized rubber stems. They seem to have less oxidation and seem denser in composition. They are heavier that vulcanite stems that are the same size as well. I have also found that they need to be cleaned differently. Solvents that are fine for vulcanite can cause hard rubber to “ripple”. They require a little extra care when performing maintenance.
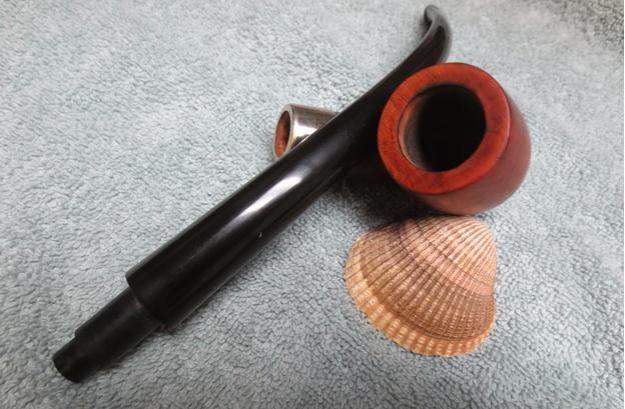
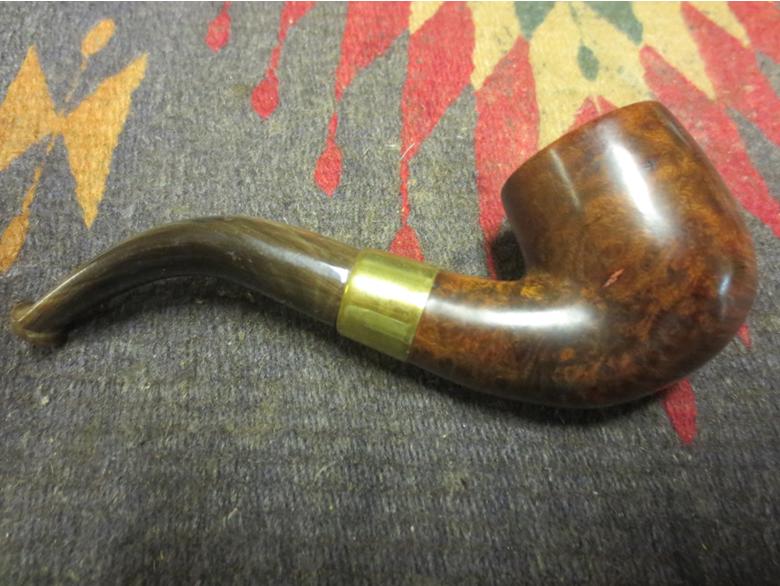
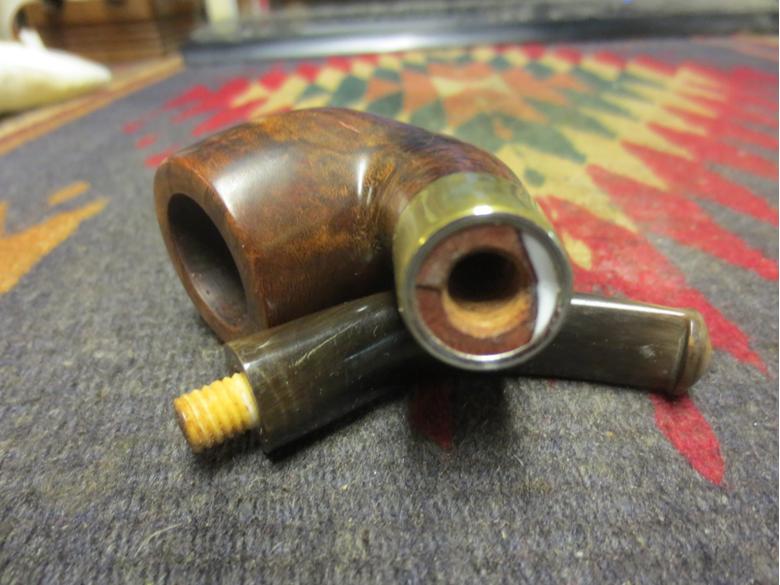
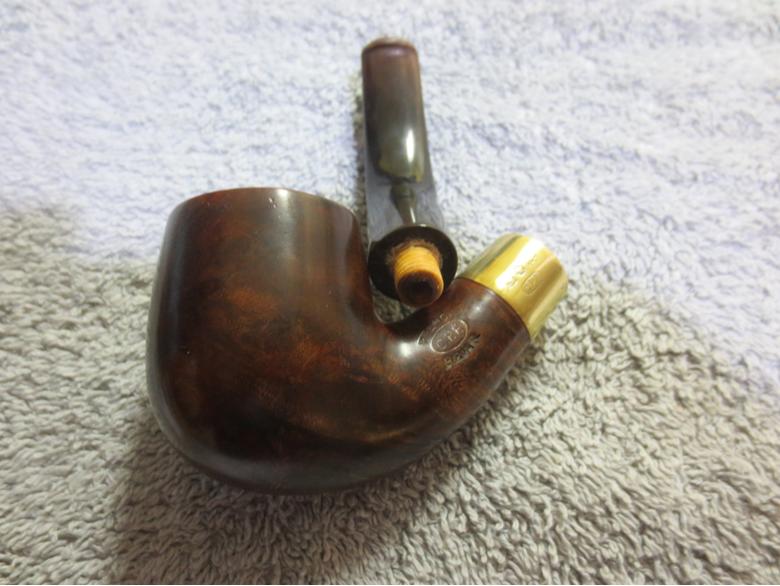
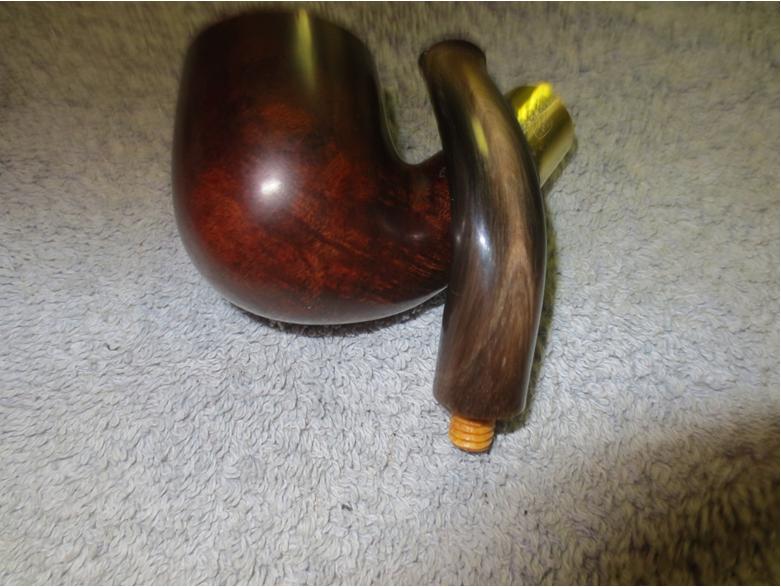
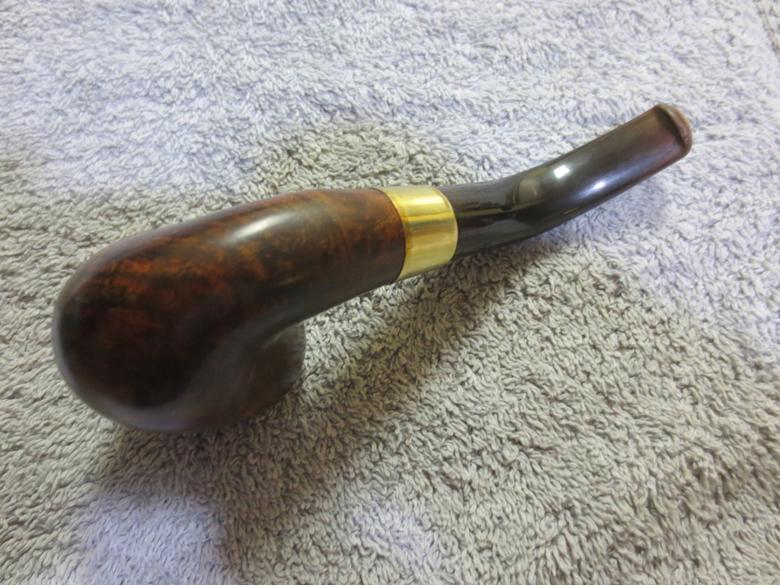
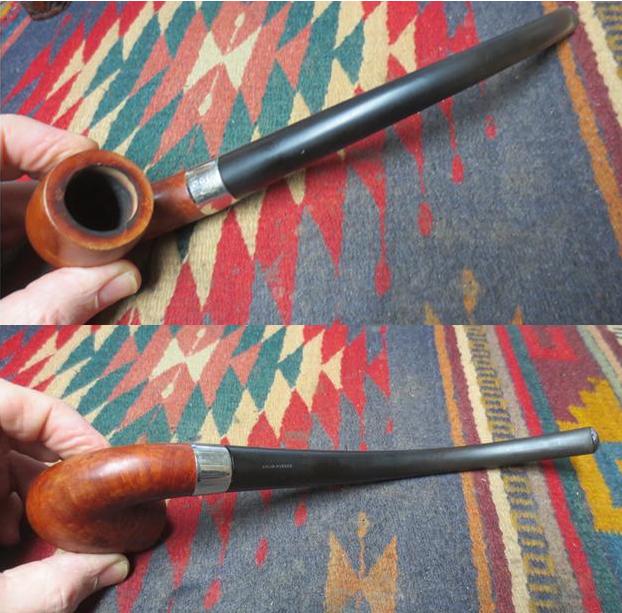
 My brother did a great job cleaning the pipe up. He reamed the bowl and cleaned off the buildup on the rim. All that was left was some darkening. He cleaned out the internals so that when I got it the mortise, airway in the bowl and the stem were spotless. The bowl interestingly enough was not smoked all the way to the bottom. The last half of the bowl was still raw briar undarkened by smoke and heat. I took the next four photos to show what the pipe looked like.
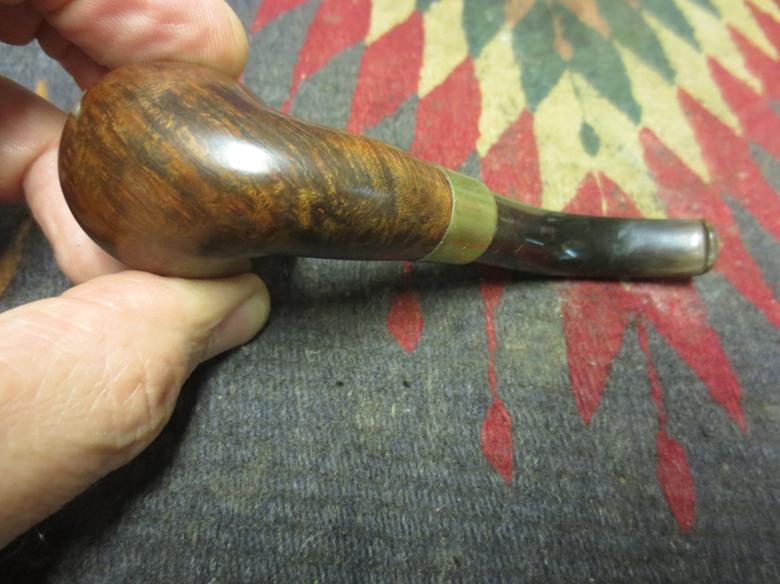
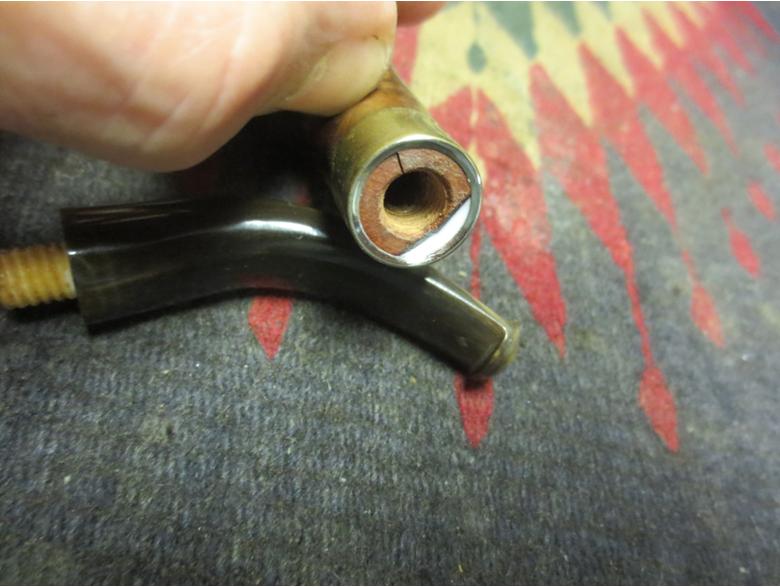
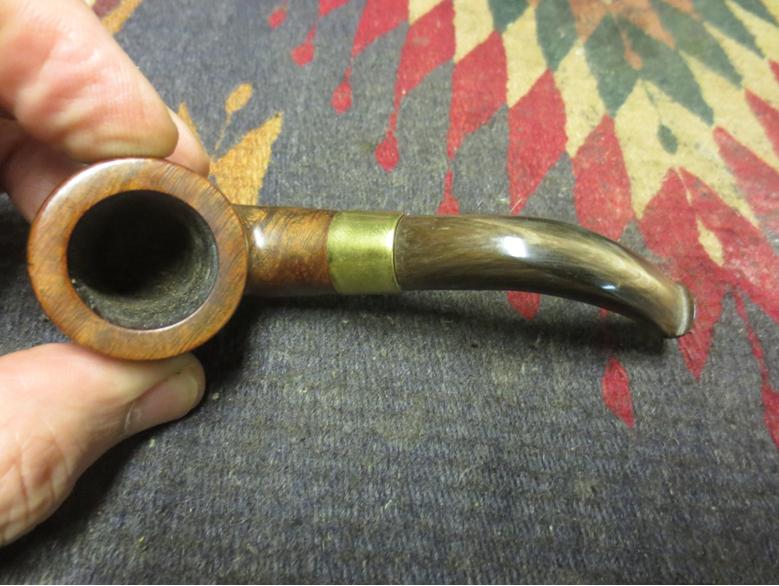
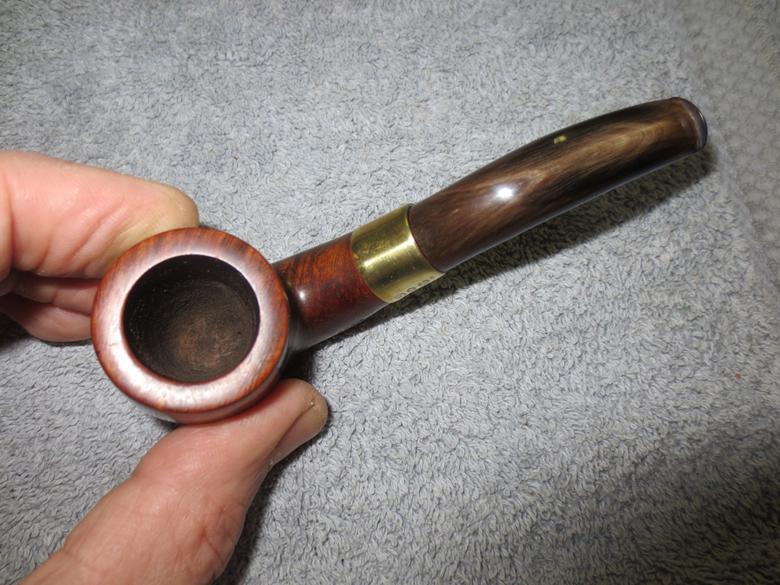
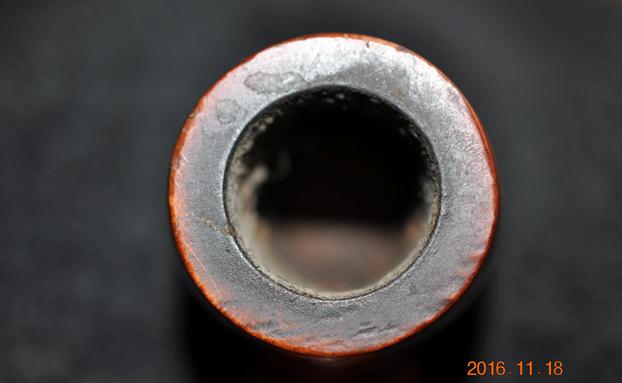
 I took a closeup photo of the rim top to show what I needed to deal with on that front. The surface was clean but there were some scratches and there were some nicks in the edges of the bowl. There was also some darkening around the inner edge of the bowl.
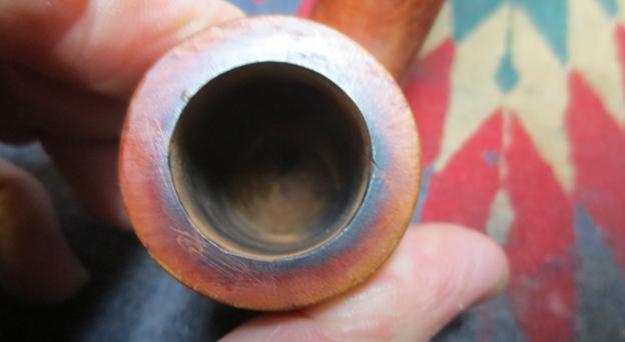 I also took some close up photos of the identifying marks that I noted above in my description of the pipe. The CPF stamping on the shank was clear but the ferrule had rolled to one side and would need to be glued. The Solid Rubber stamping is also clear on the underside of the stem.
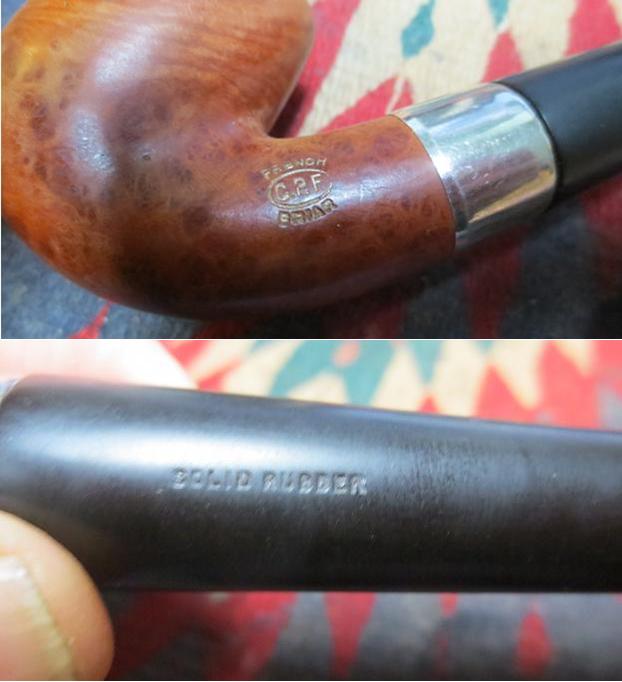 I scrubbed the surface of the briar with acetone and cotton pads to clean off the remaining finish on the bowl and shank. I was careful to avoid the gold stamping on the left shank side.
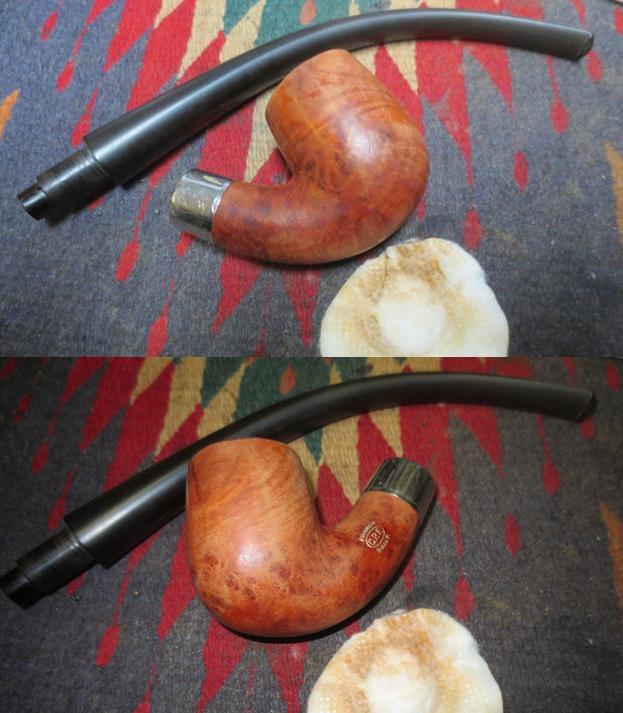
 The ferrule had rolled over to the top of the shank. The stamping was on top and should have been aligned with the stamping on the left side of the shank. I removed the ferrule and cleaned up the briar. I reapplied some all purpose glue to the briar and pressed the ferrule back on the shank. I aligned the stamping on the ferrule with that on the shank.
 The fit of the stem in the shank was very tight. I used alcohol and cotton swabs to clean out the stain spots on the inside of the mortise. It did not take too much to remove the shiny spots and once they were gone the stem fit better.
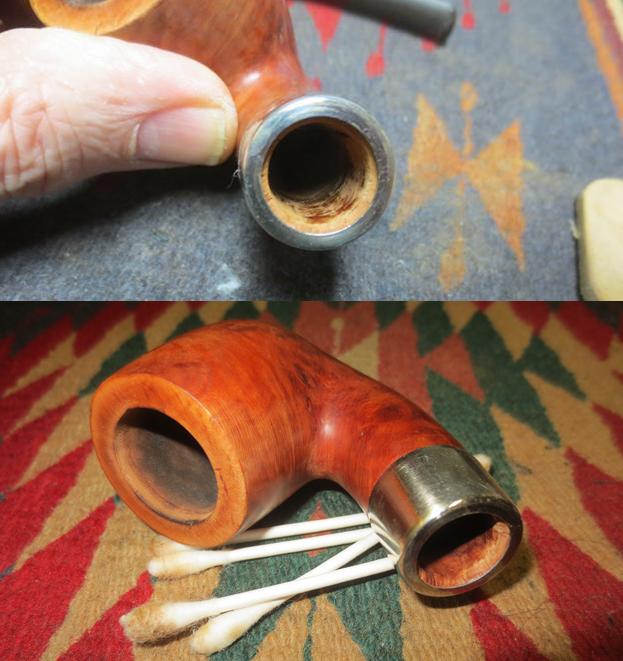 I sanded the bowl and shank with a medium and fine grit sanding sponge to remove the scratches and clean up the rim top. I was able to remove all of the nicks and spots on the rim. The scratching on the bowl sides was minimized.
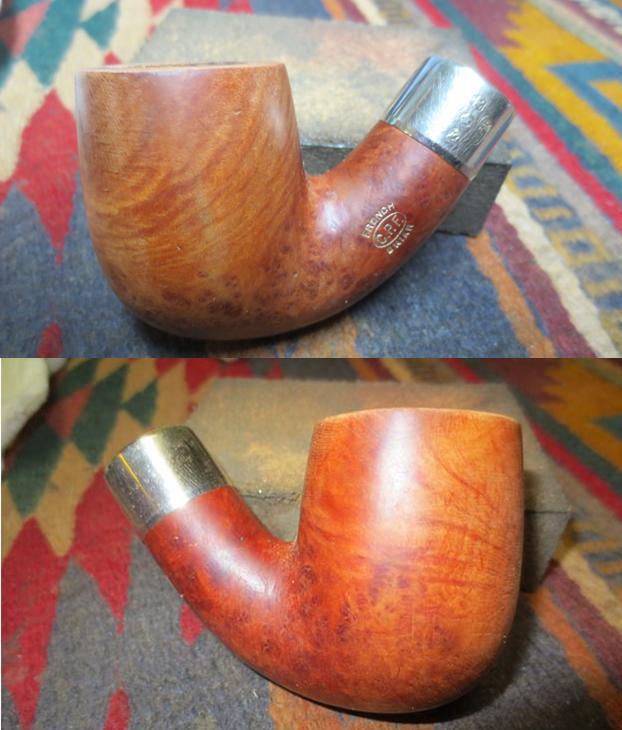
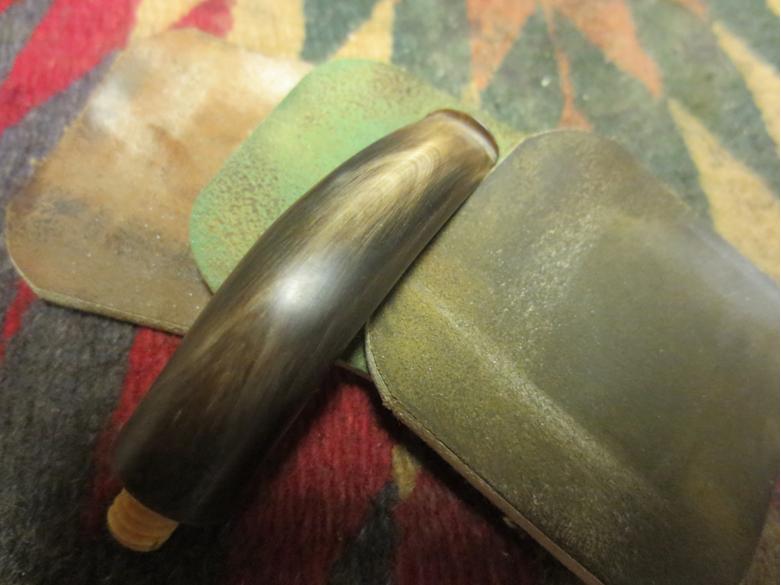
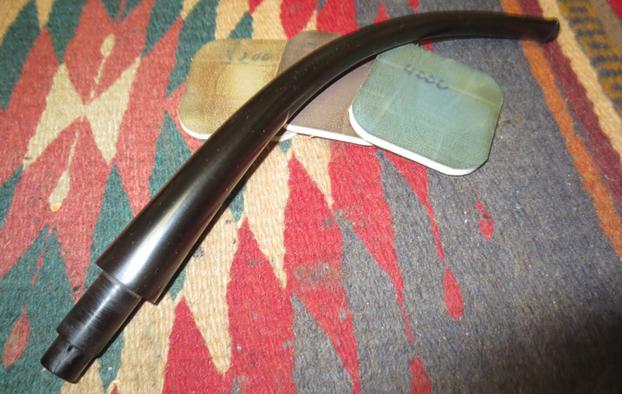
 I used black super glue to rebuild the damaged portions of the top and underside of the button edge. It took multiple coats rebuild it back to the size I needed so that I could reshape it with sandpaper and files.
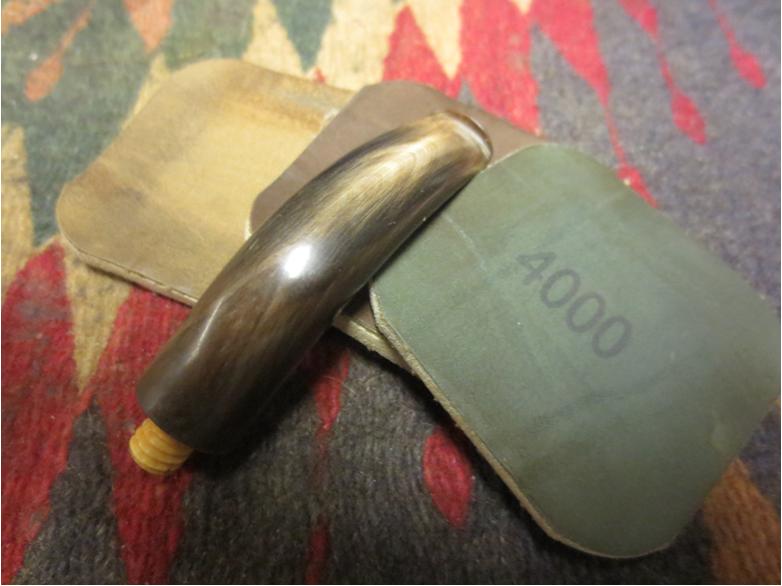
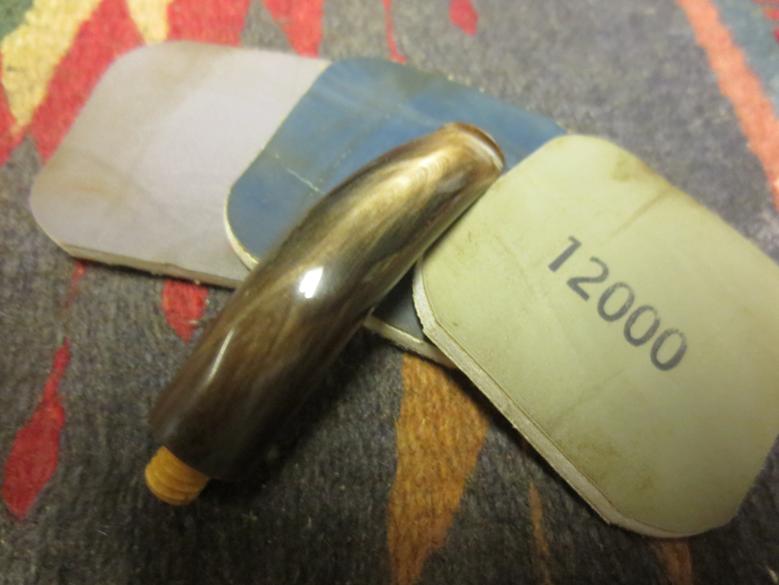
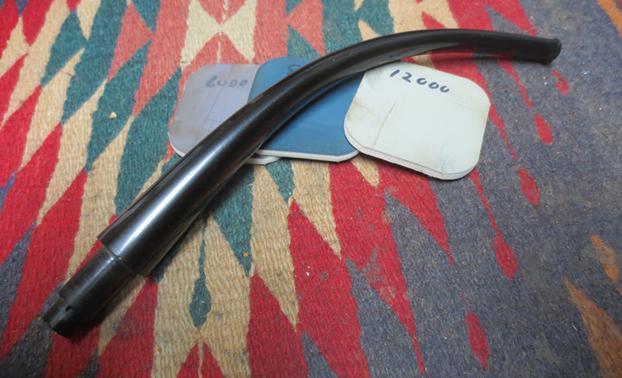
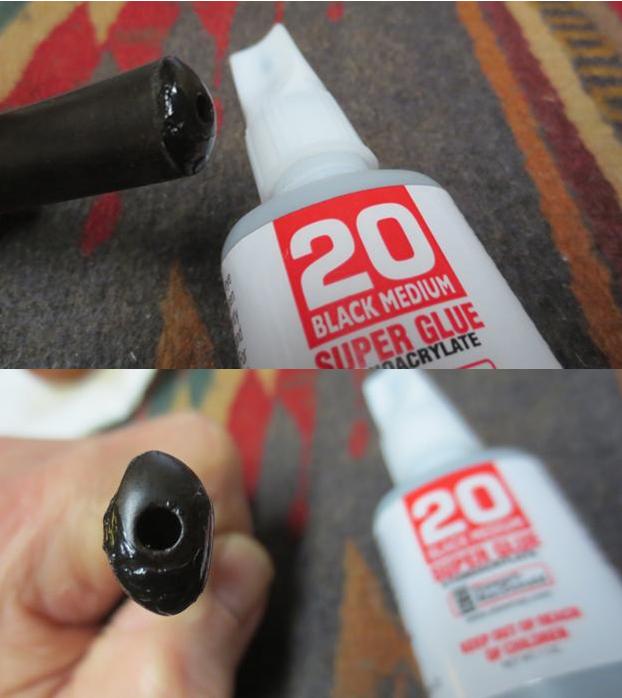 When the glue had dried I sanded it with 220 grit sandpaper to reshape it. I wanted it rounded like the undamageed portions of the button. It did not take too much work to reshape it. I polished the stem and button with micromesh sanding pads – wet sanding with 1500-2400 grit sandpaper and dry sanding with 3200-12000 grit pads. I rubbed the stem down with Obsidian Oil after each set of three pads. After the final rub down with oil I set the stem aside to dry.
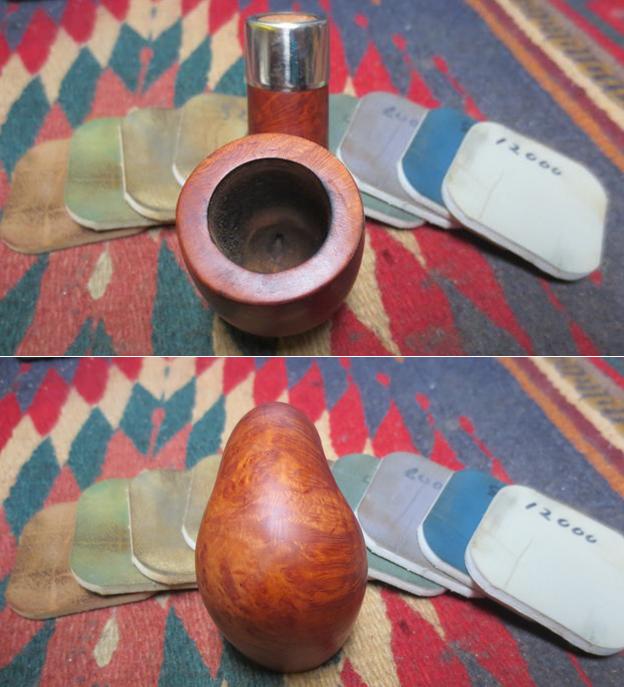
 I polished the bowl with micromesh sanding pads as well. I wet sanded it with 1500-2400 grit pads and dry sanded it with 3200-12000 grit pads. I wiped the bowl down with a small bit of olive oil on a paper towel and hand buffed it with a soft cloth.
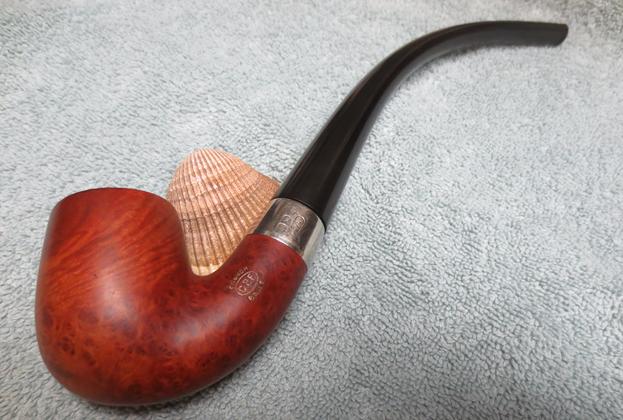
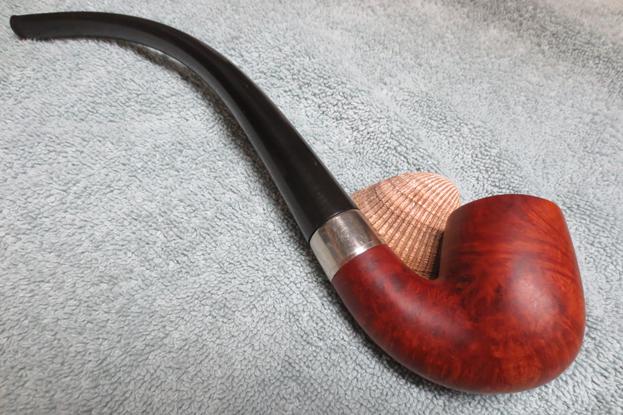
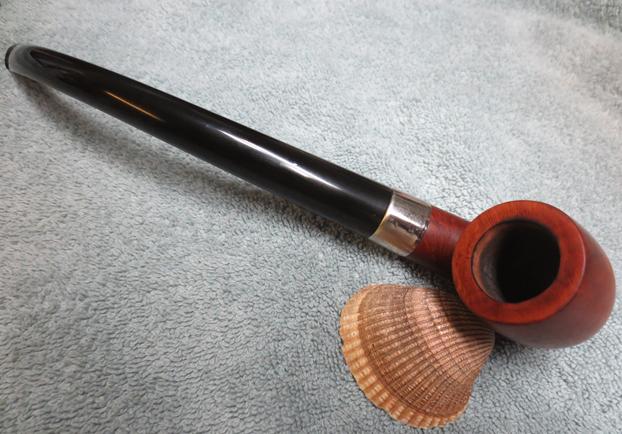
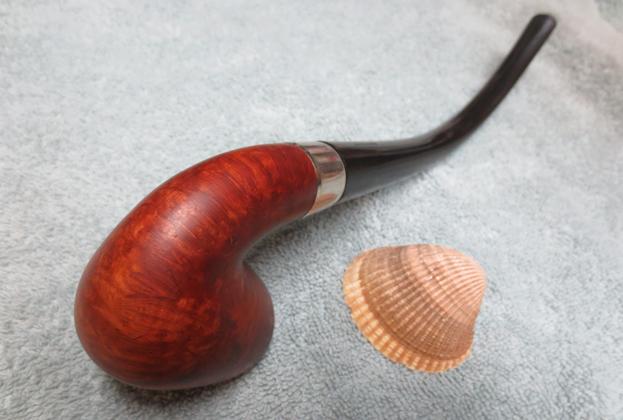
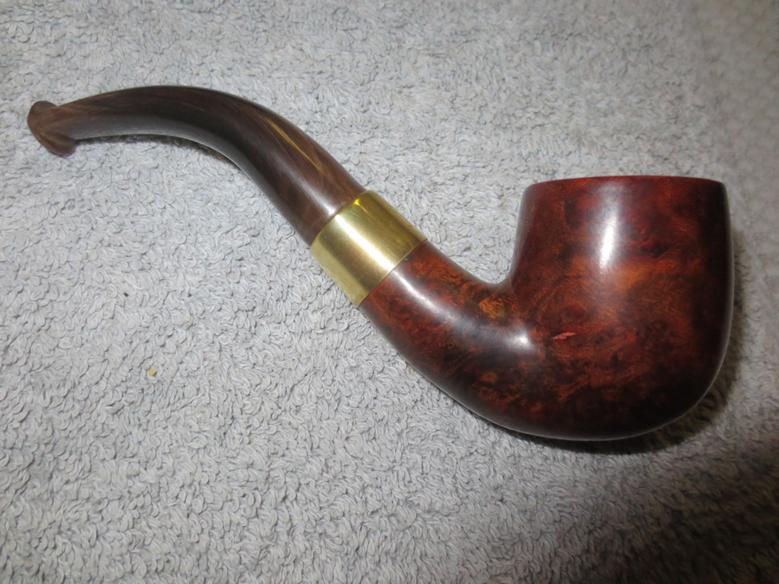
 I buffed the bowl and stem with Blue Diamond on the buffing wheel. I gave it multiple coats of carnauba wax and buffed it with a clean buffing wheel to raise the shine on the pipe. I hand buffed it with a microfibre cloth to deepen the shine. It is shown in the photos below. It is cleaned and ready to fire up with a fresh bowl of tobacco. It is a beautiful pipe for being over 130 years old. It will be a great pipe for sitting and reading as the large bowl will last a long time. It is also surprisingly light weight for a pipe of its size. Thanks for walking with me through the restoration.