Blog by Steve Laug
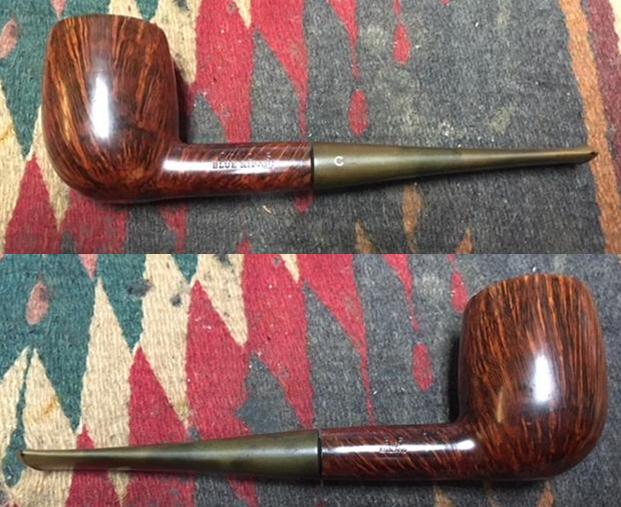
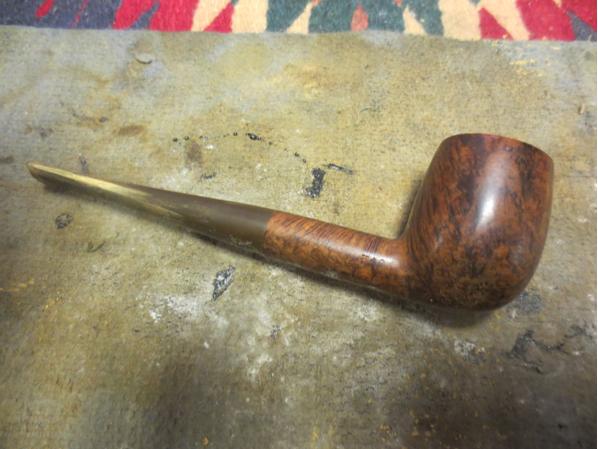
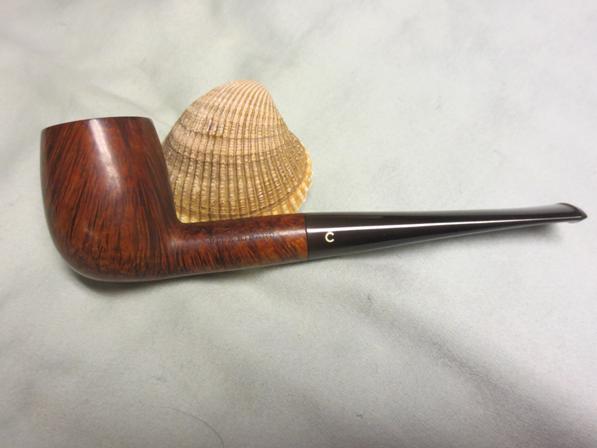
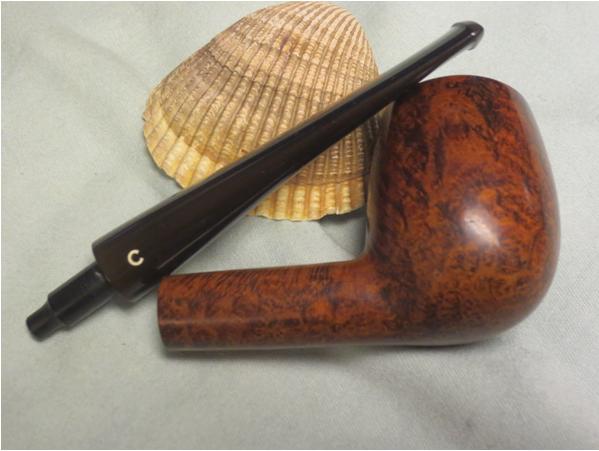
In the last box of pipes Jeff sent me there were three pipes that I left to the end to give my attention too. These were all Comoy’s pipes. The first is the one on the table now – a Comoy’s Blue Riband Prince 228C with stunning grain. The second and third were both Comoy’s Specimen Straight Grain Dublins – the second was a 35 and the third was a little larger, a 36. All of these pipes were drop dead gorgeous. I have them all on the desk top now looking them over and I am quite honestly stunned by their beauty. Finally I made a decision and chose to work on the 228C Blue Riband Prince first. Comoy’s Blue Riband pipes are really beautiful piece of pipe maker craftsmanship and in my mind have never been surpassed. Neill Archer Roan did a great book of photos on the Comoy’s Blue Riband pipes in his large collection and since that time I am always on the lookout for nice specimens of the brand. I believe that this Prince is just such a pipe. It is stamped on the left side of the shank Comoy’s over Blue Riband and on the right side it bears the 228C shape number near the bowl shank junction and the circular COM stamp that reads Made In London in a circle over England. The “In” is in the centre of the circle. Jeff took some photos of the pipe before he started his cleanup work.
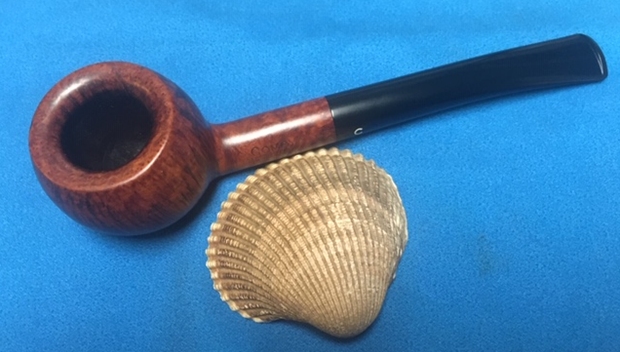
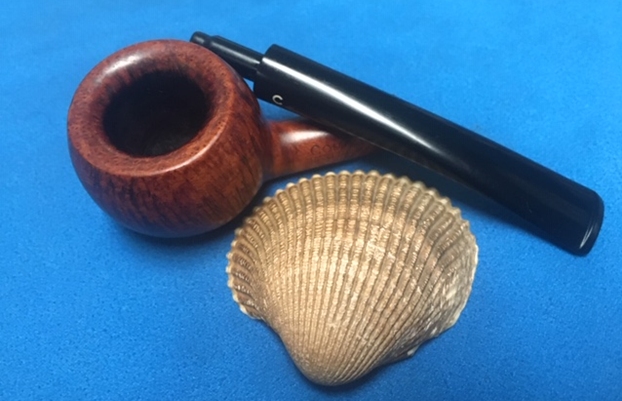
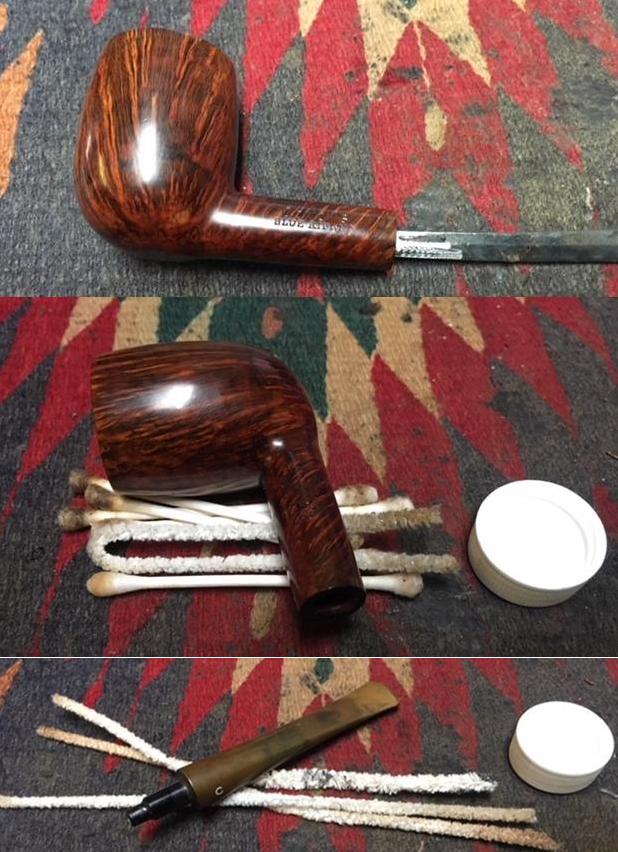
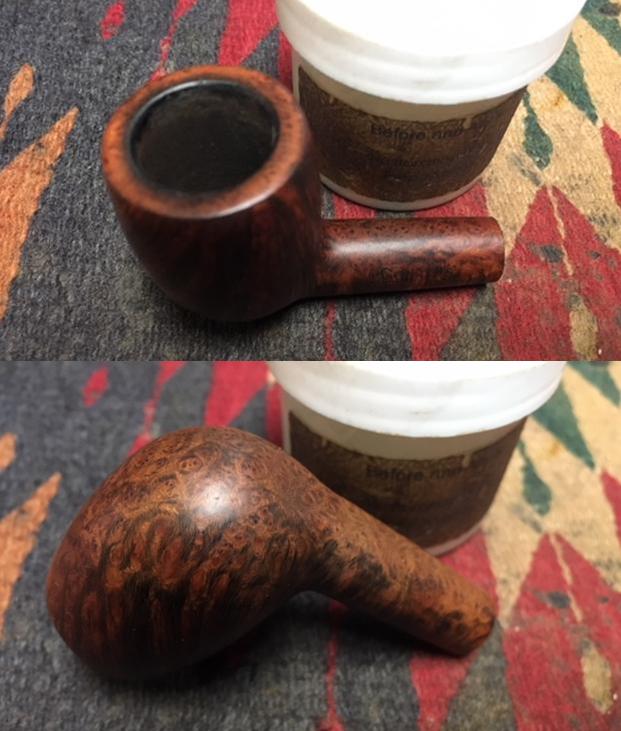
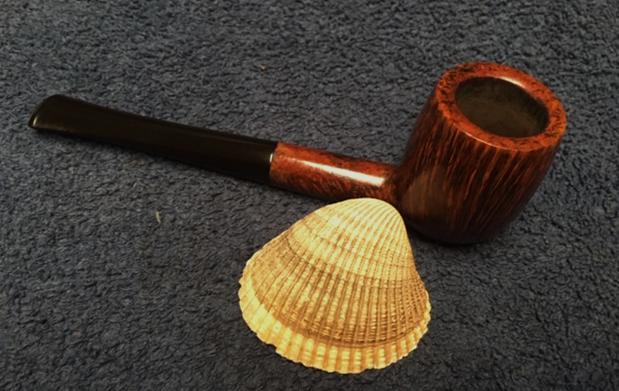
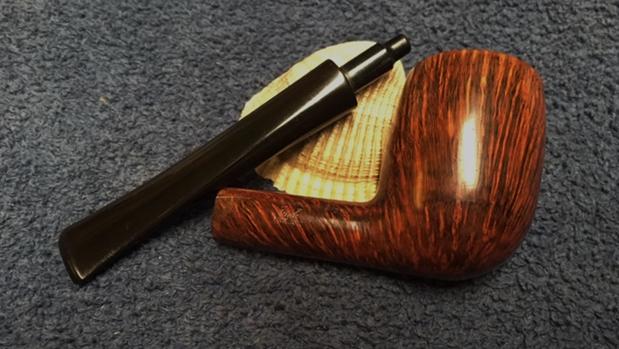
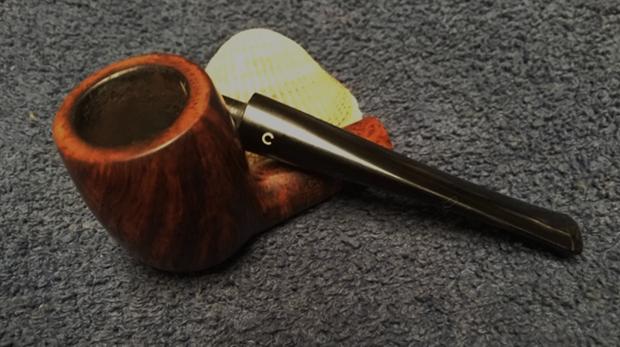
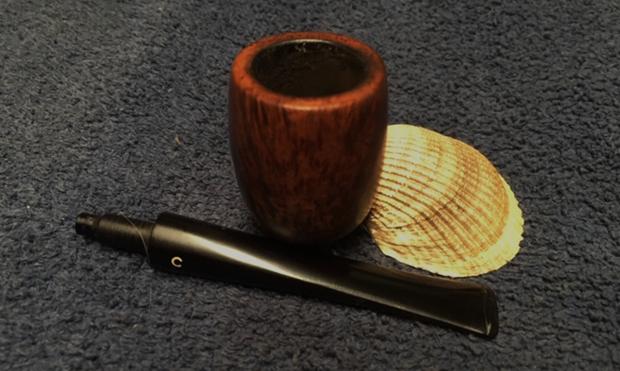
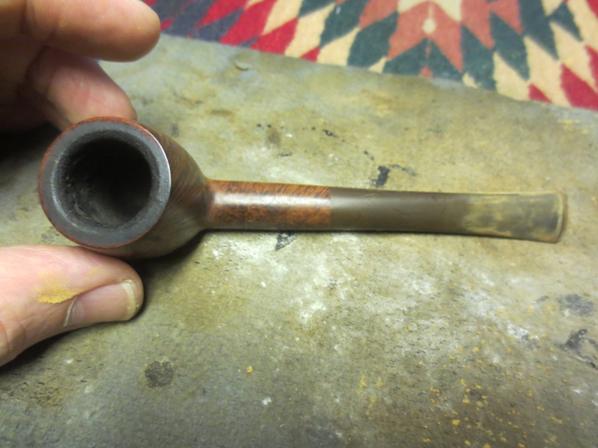
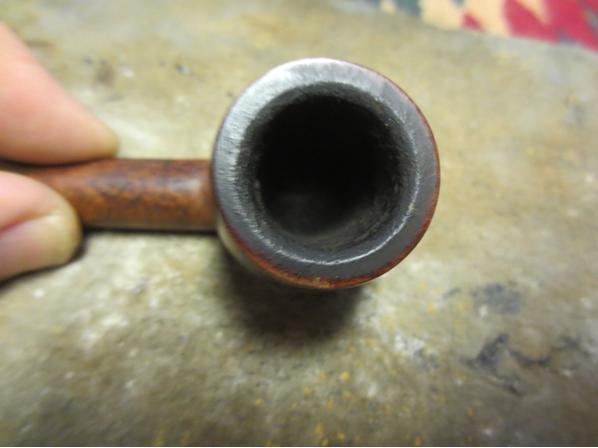
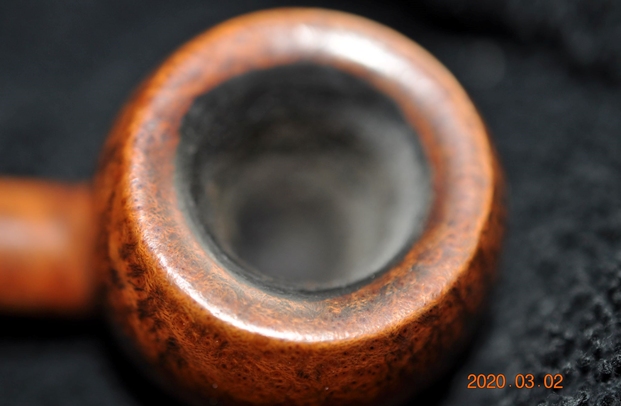
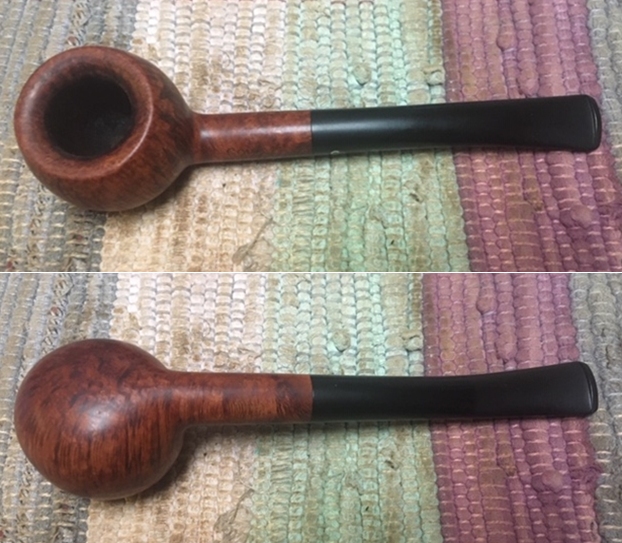
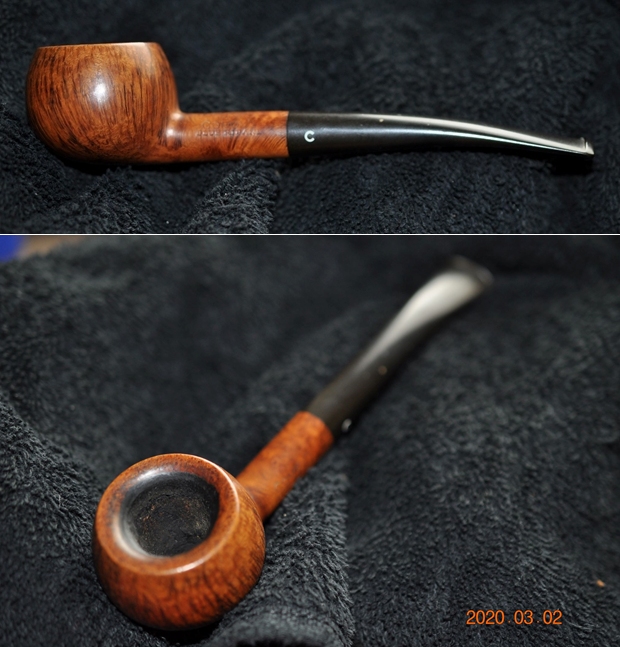 He took photos of the bowl and rim top to show their general condition. You can see the tars on the inner edge of the beveled top and a light bit of lava higher up on the right front bevel. The cake in the bowl is quite thick and there is tobacco debris on the walls of the bowl. The finish on the bowl is dull but still very stunning.
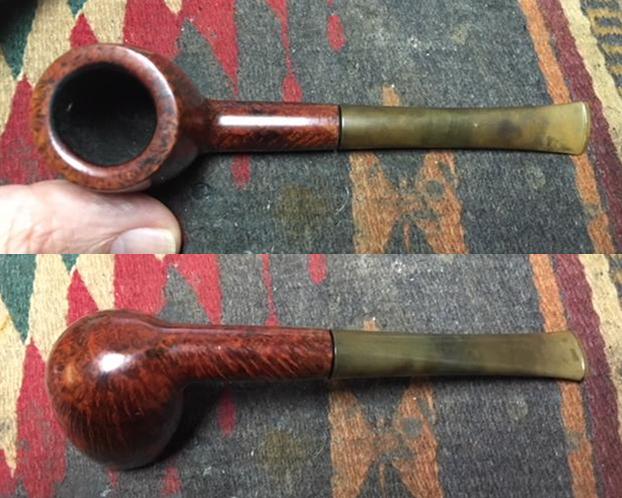
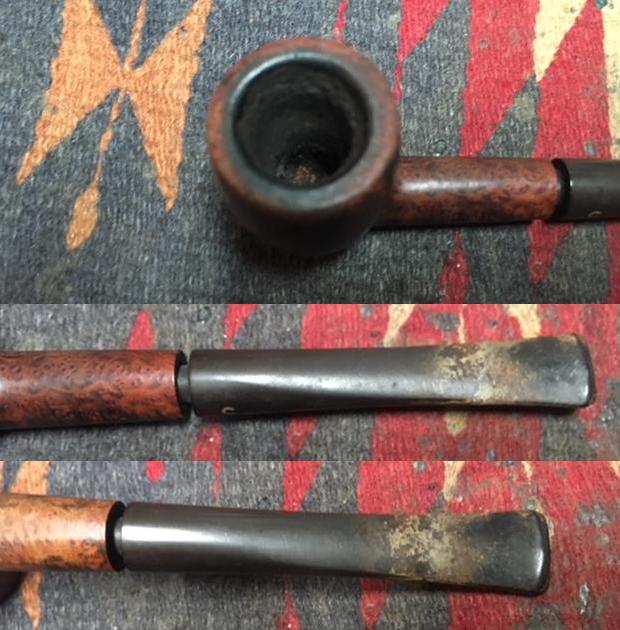
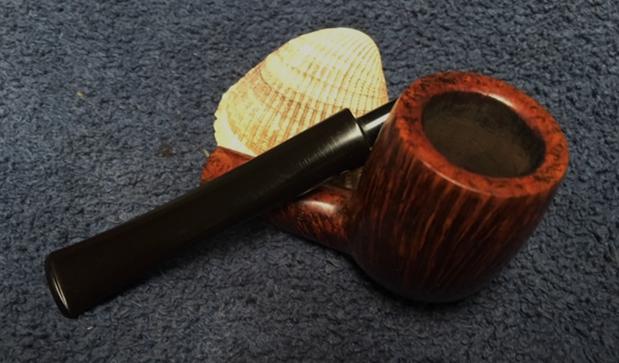
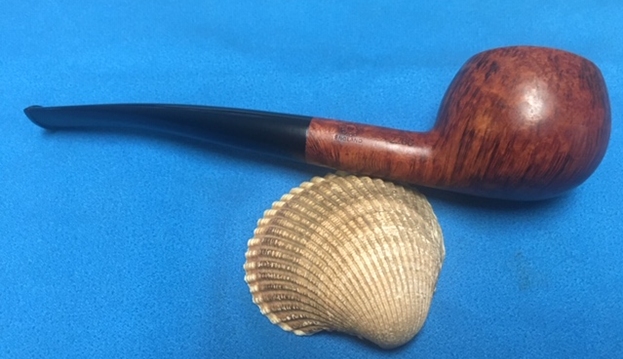
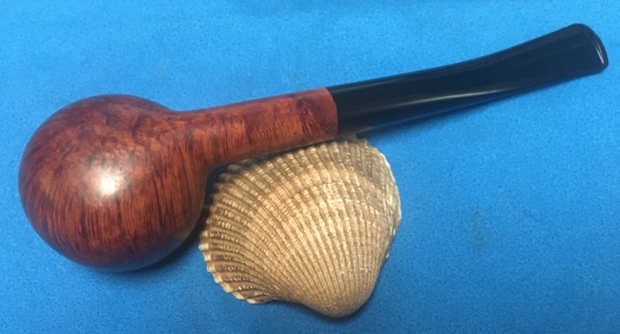
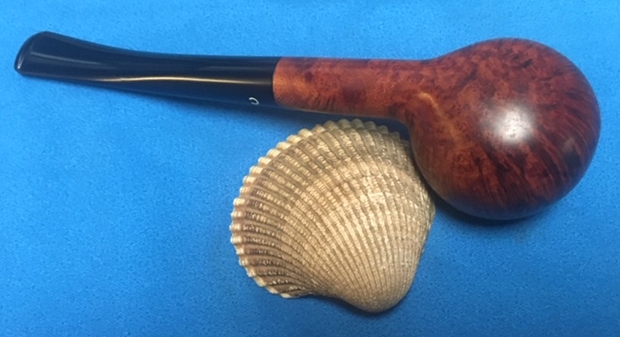
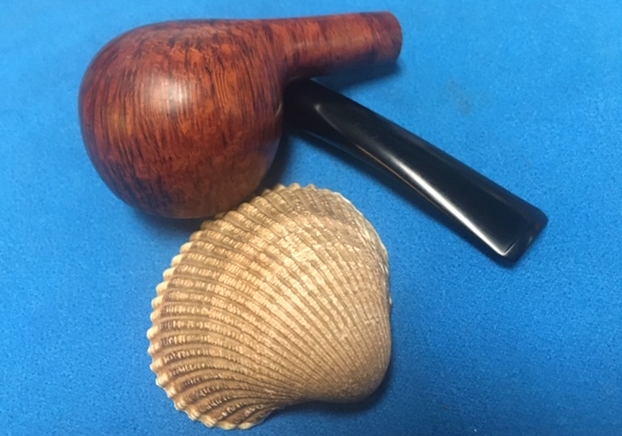
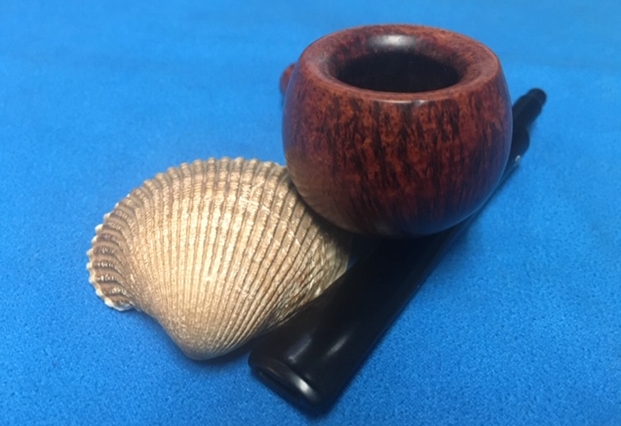
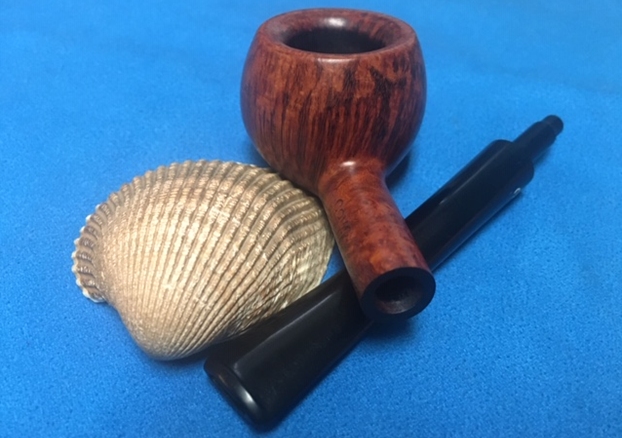
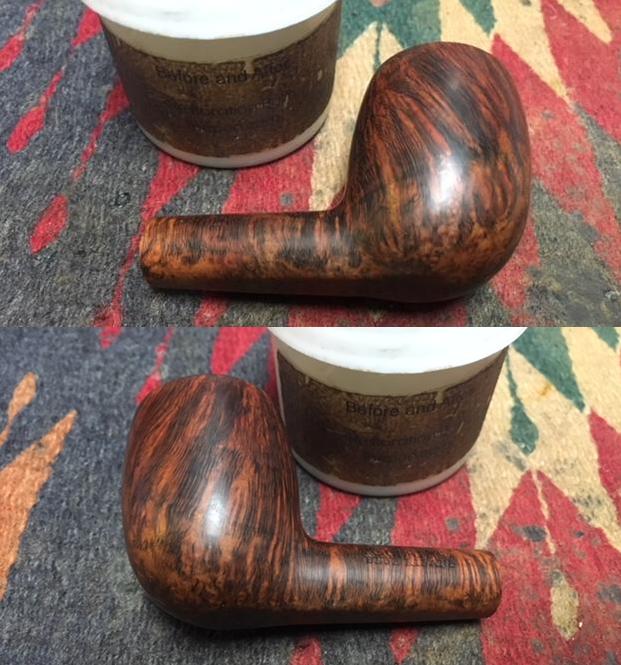
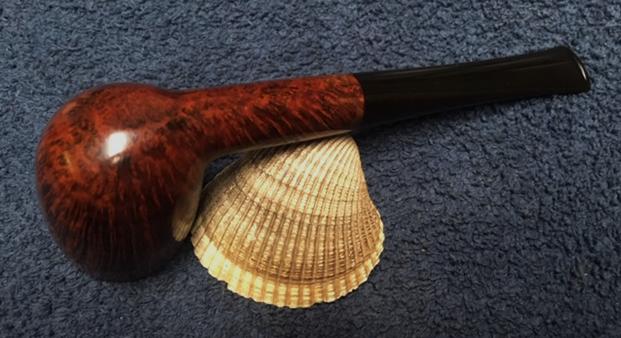
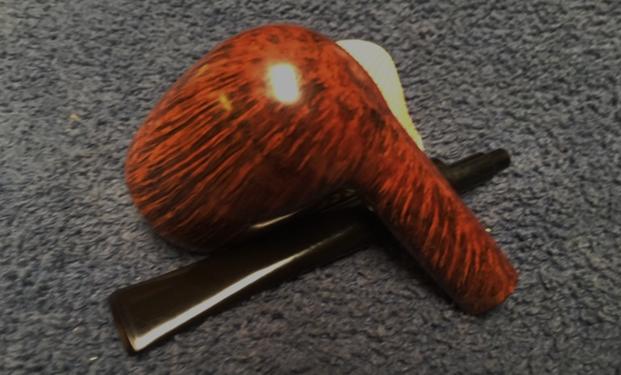
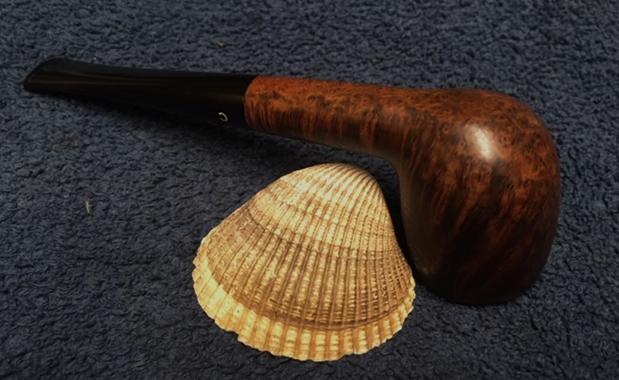
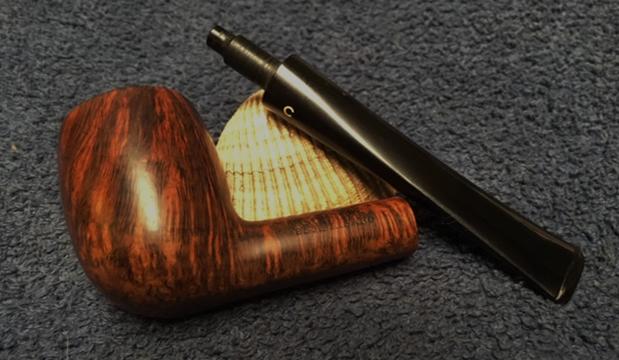
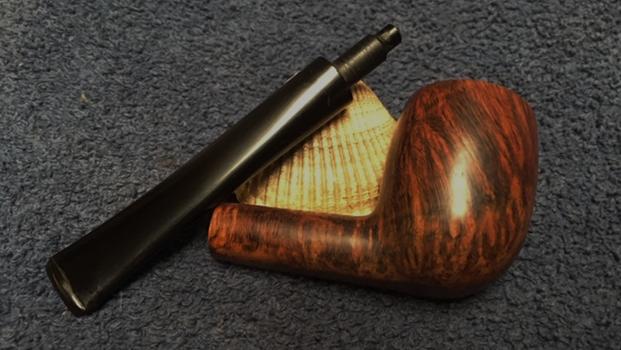
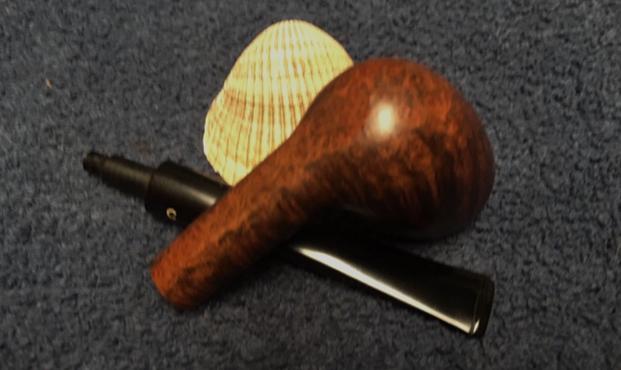
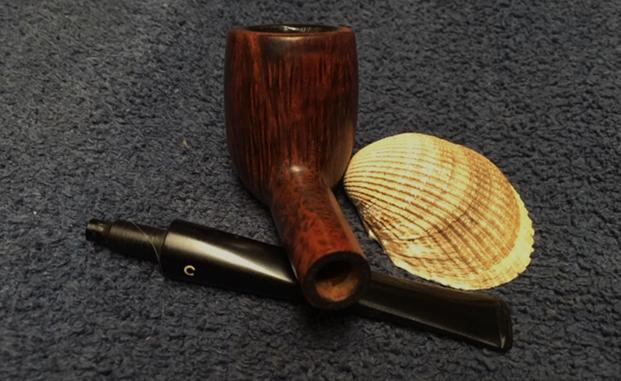
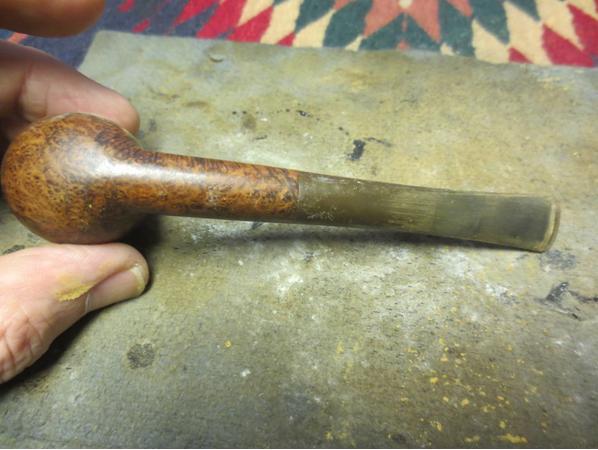
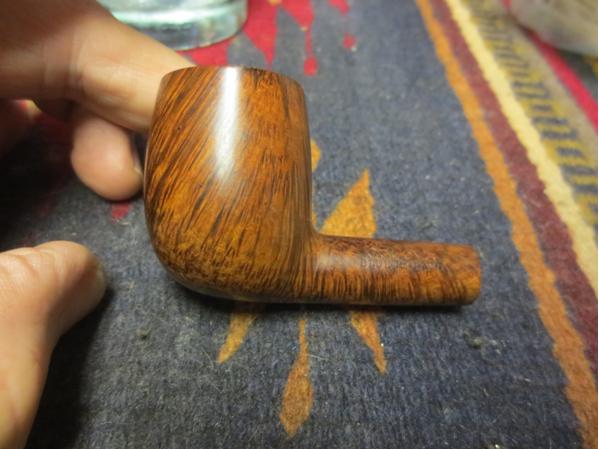
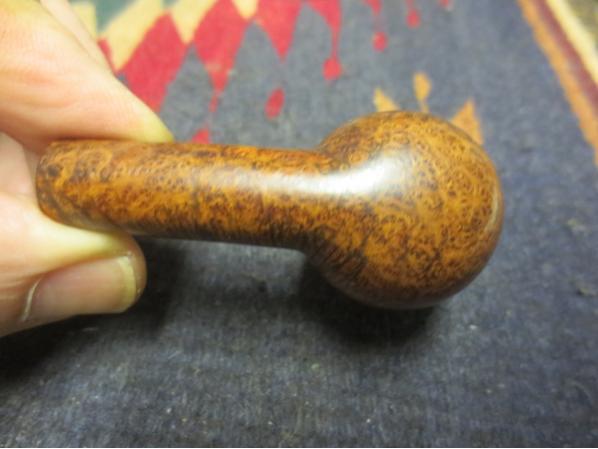
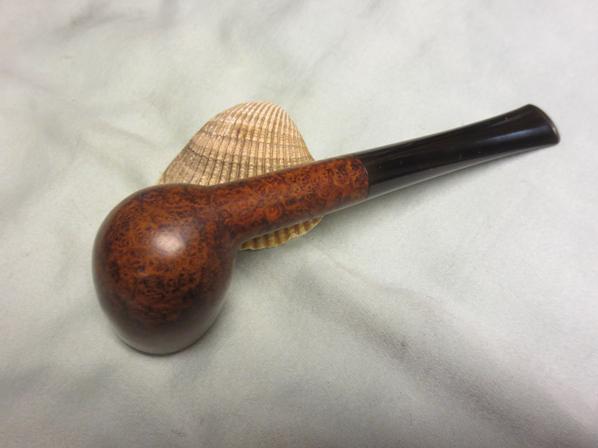
 Jeff took some photos of the sides and heel of the bowl to give an idea of the grain on this particular piece of briar. It is amazing and I cannot wait to see what it looks like once it is polished and waxed.
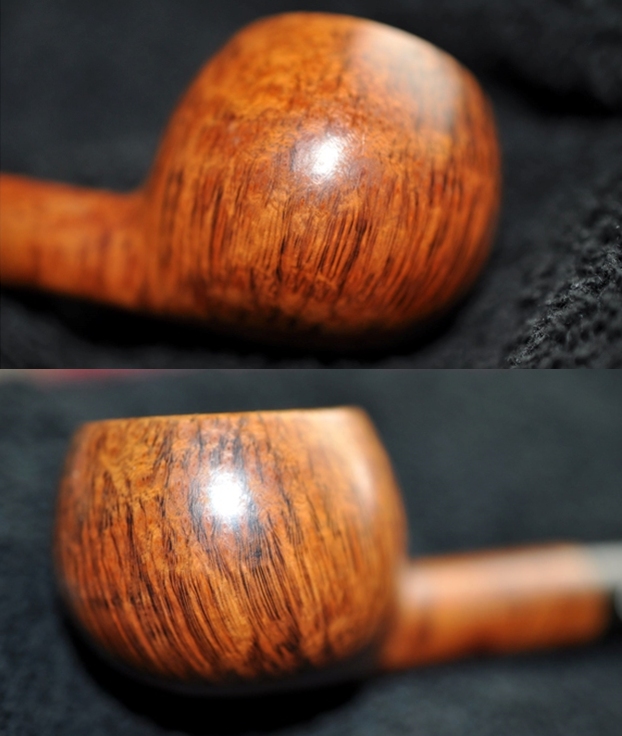
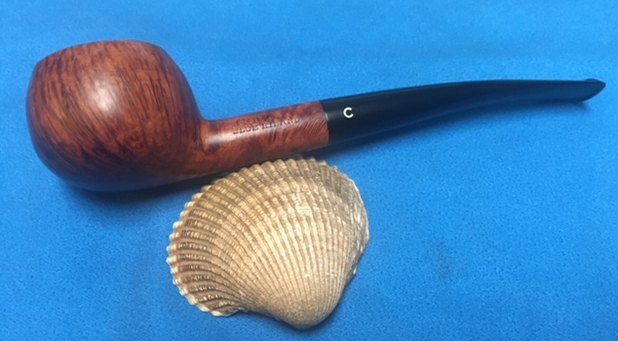
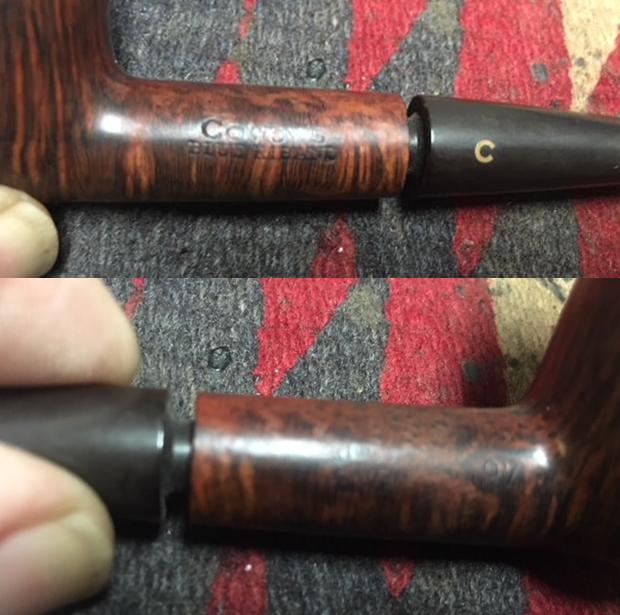
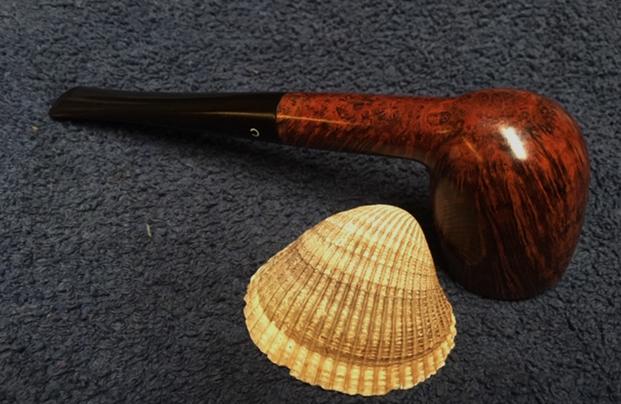
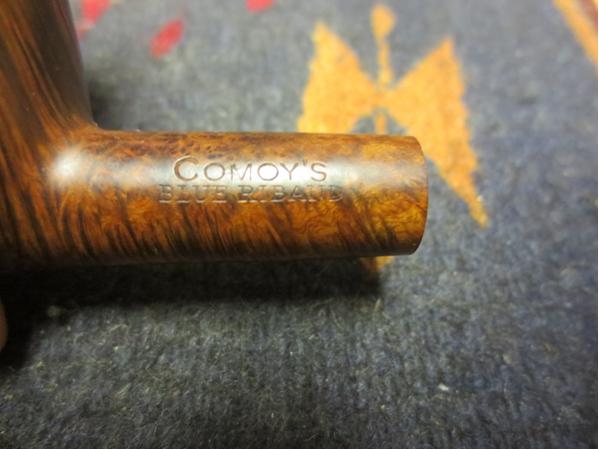
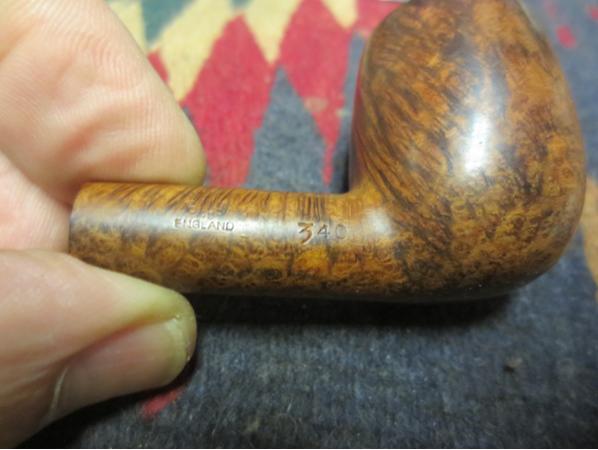
 He took photos of the stamping on both sides of the shank to capture it for me. The first photo shows the left side of the shank and the stamping as noted above. The second shows the right side of the shank with the COM stamp and shape number. The final photo in this set shows the three part inlaid C on the left side of the taper stem.
 The slender stem sets a jaunty profile for the pipe with its slight bend. The surface of the top and underside of the stem is oxidized and dirty but it is quite free of tooth marks and only has a minimum of chatter.
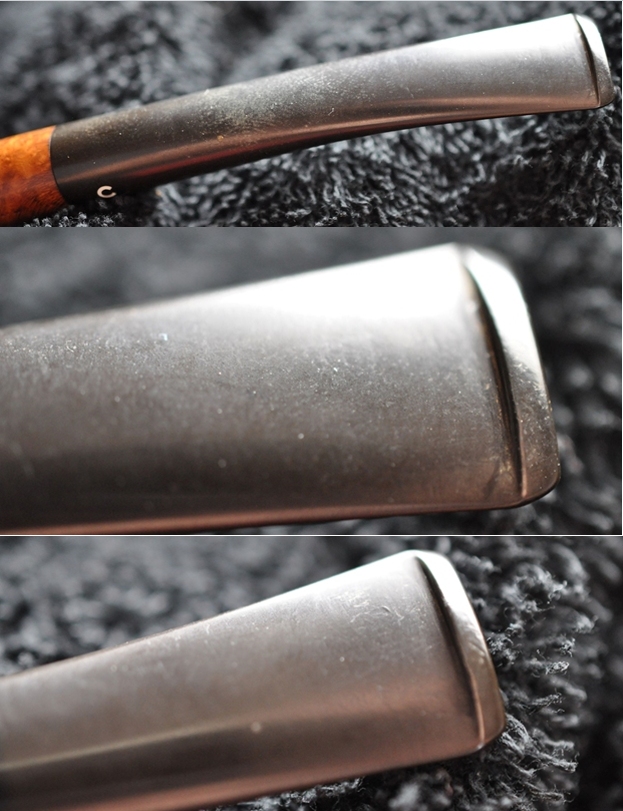 I turned to Pipephil’s site to get a quick overview of the Comoy’s Blue Riband line (http://www.pipephil.eu/logos/en/logo-comoy.html). I have included a screen capture of the pertinent section from the site. The summary to the right of the photos is always succinct and quite pointed. In this case also talking about the 3 part inlaid logo on the stem.
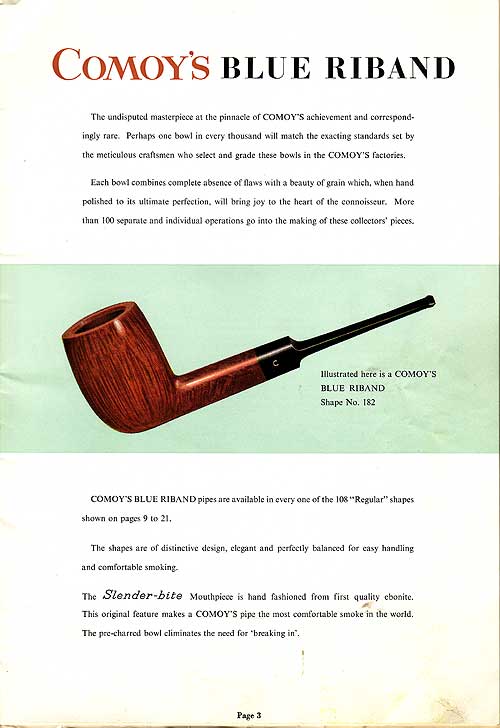
 I turned to Pipedia and reread the history of the Comoy’s brand and a bit about the various lines of the brand (https://pipedia.org/wiki/Comoy%27s). I have included two catalogue pages from the site for easy reference on the Blue Riband line. The information given in both of them is quite interesting to note.
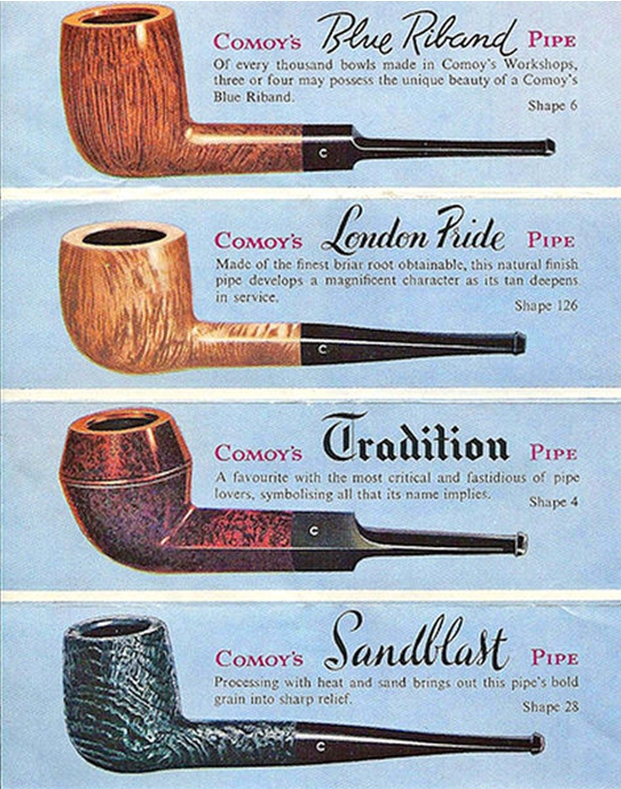
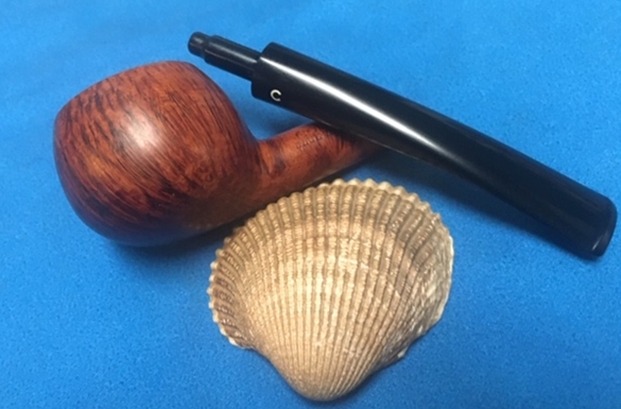
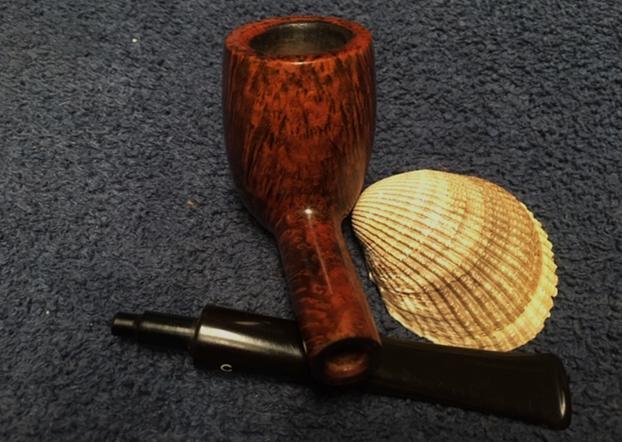
 I moved forward to work on the pipe itself and see what I had to do with it. It had come back looking amazingly clean. Even the stem looked like new, with most of the tooth chatter gone. I was impressed. Jeff had done his normal thorough clean up – reaming, scrubbing, soaking and the result was evident in the pipe when I unpacked it. I took photos of the pipe before I started my work on it.
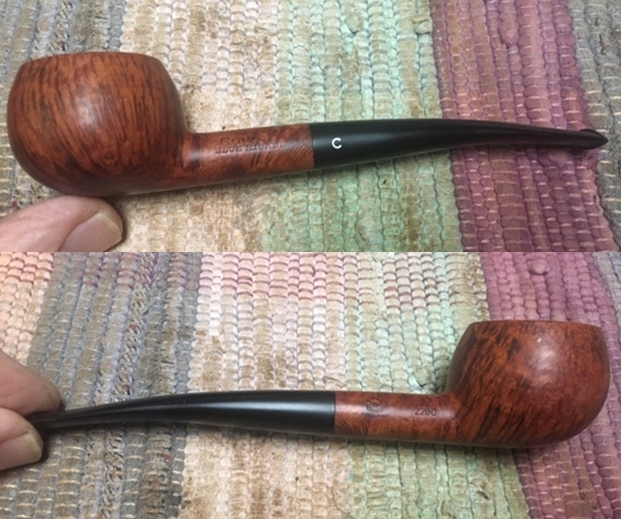
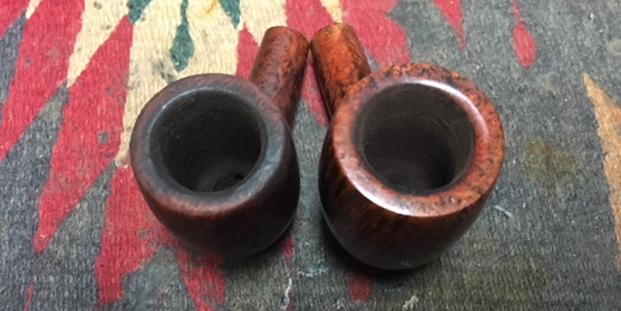
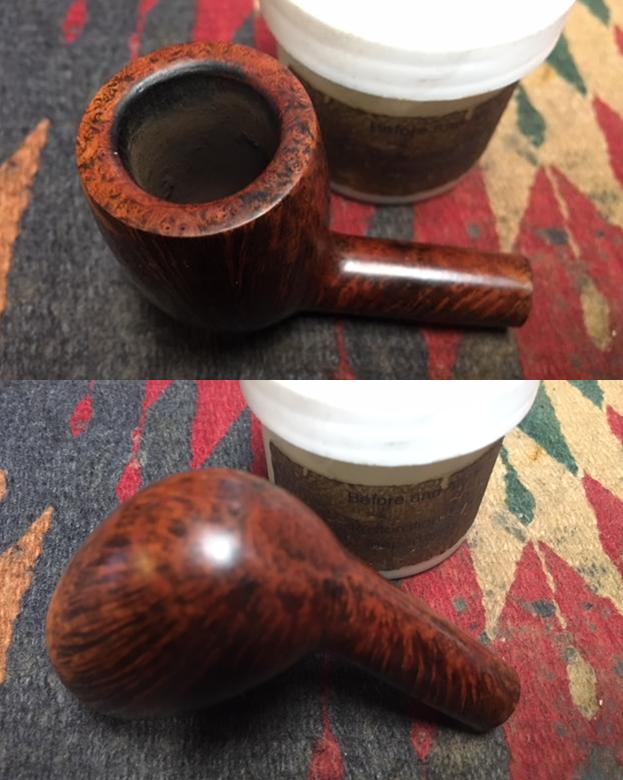
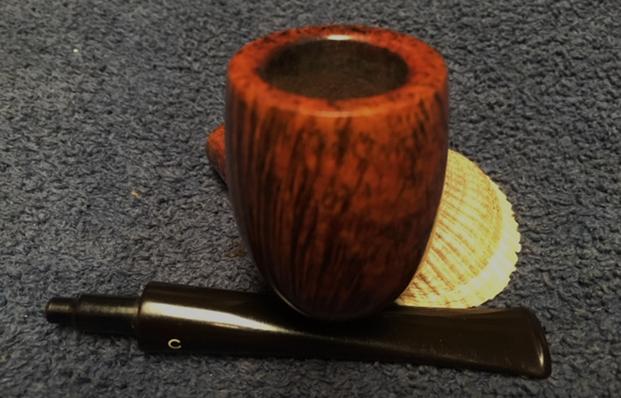
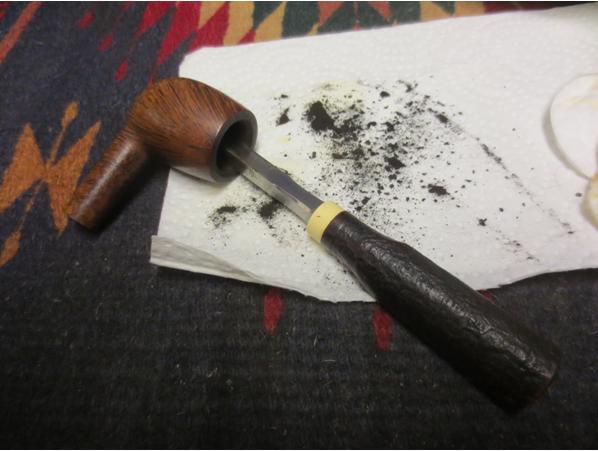
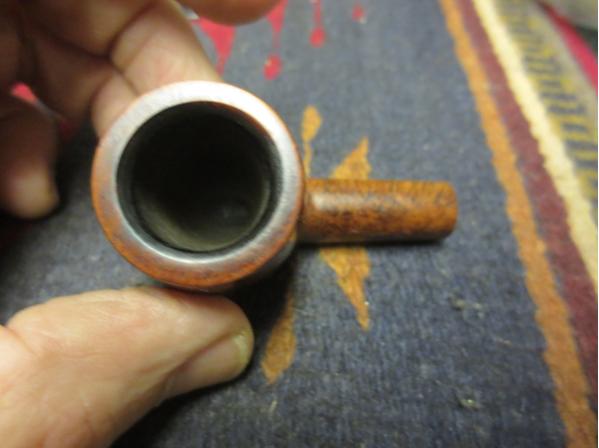
 I took some photos of the rim top and stem. The rim top and bowl looked very good. The cake and lava overflow were gone and the inward beveled rim was very clean. Jeff had been able to get rid of the lava and tars and left behind a smooth rim top. The close up photos of the stem show that it is a much cleaner and better looking stem. The light tooth chatter was gone and the stem looked really good.
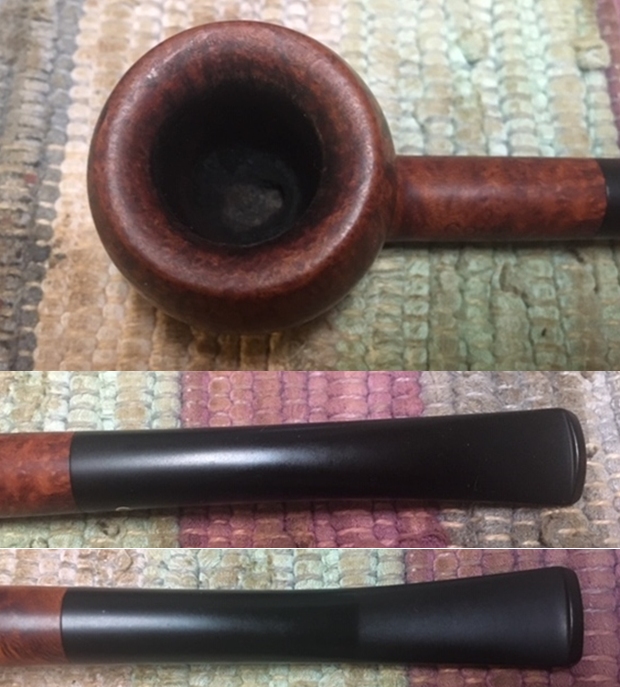 I took some photos of the stamping on the shank sides to show the condition after the cleanup. Often the stamping takes a hit with the cleaning and is lessened in it clarity. Jeff does a great job in leaving the stamping looking very good.
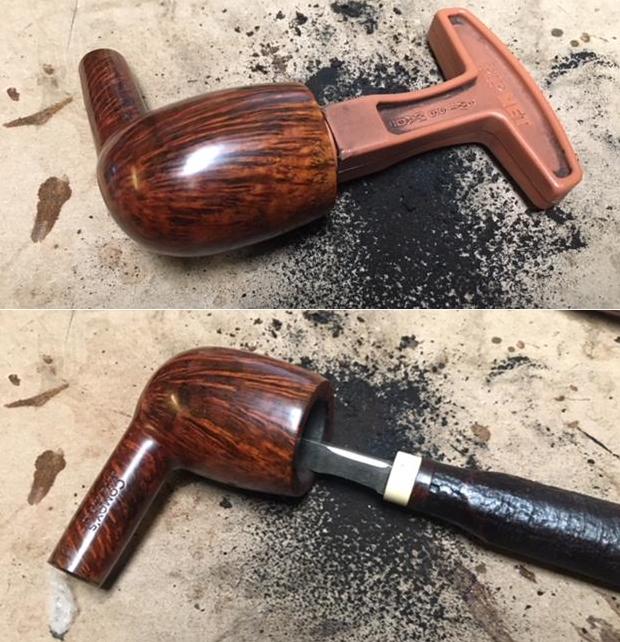
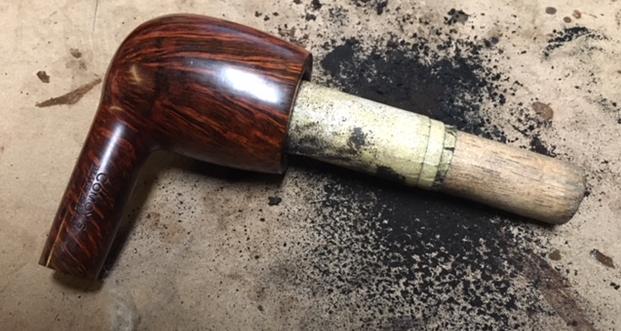
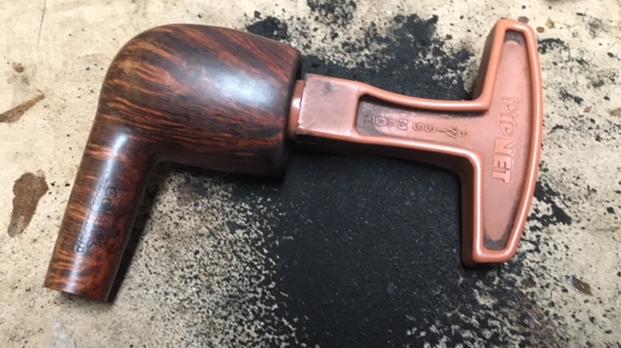
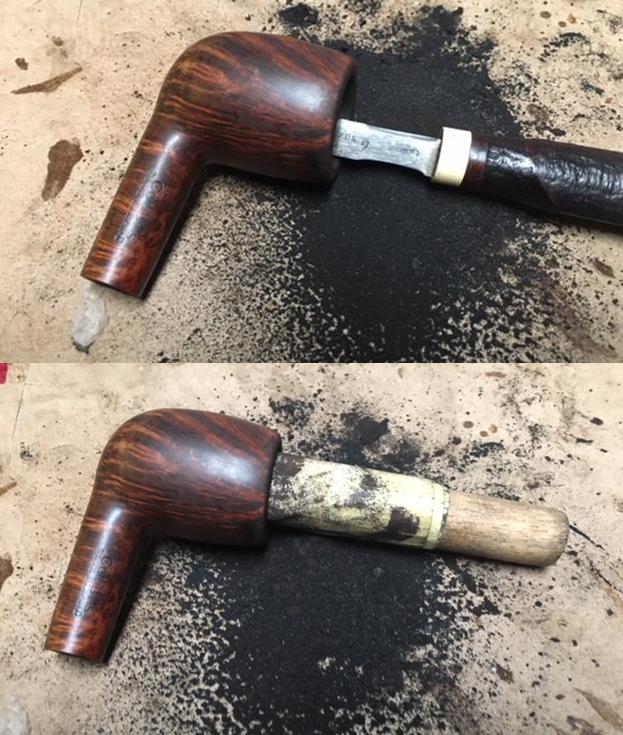
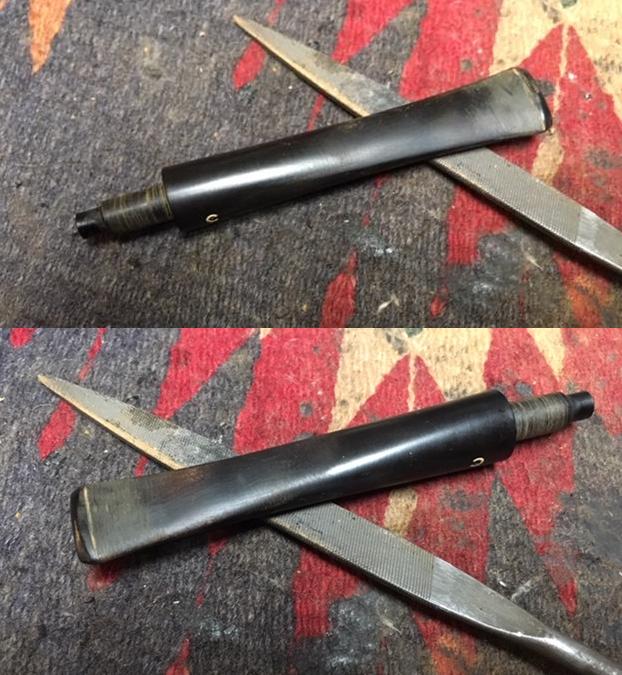
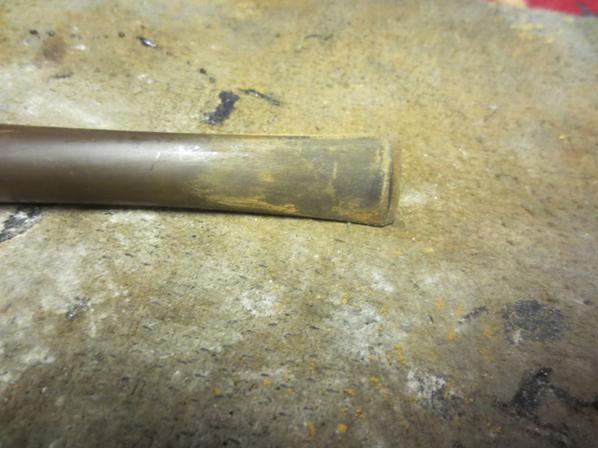
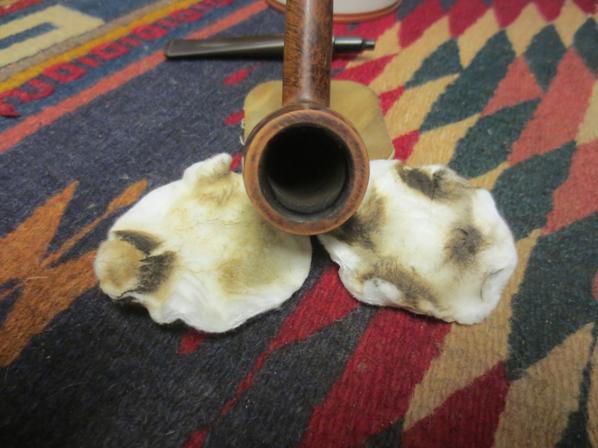
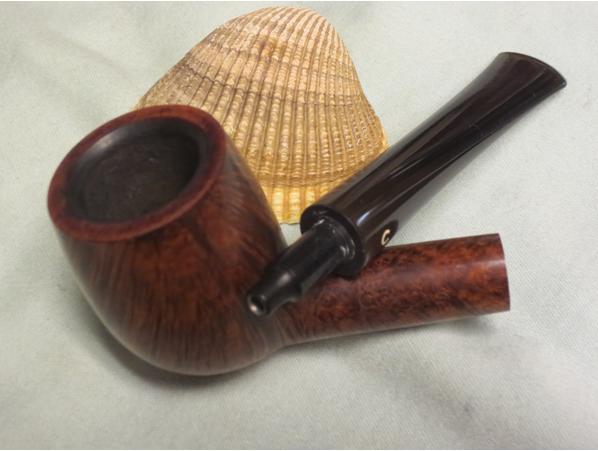
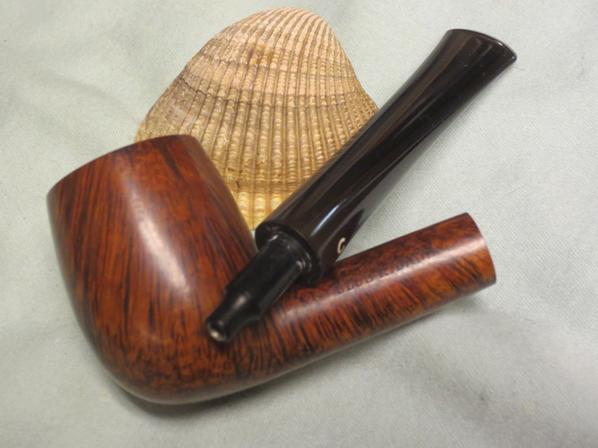
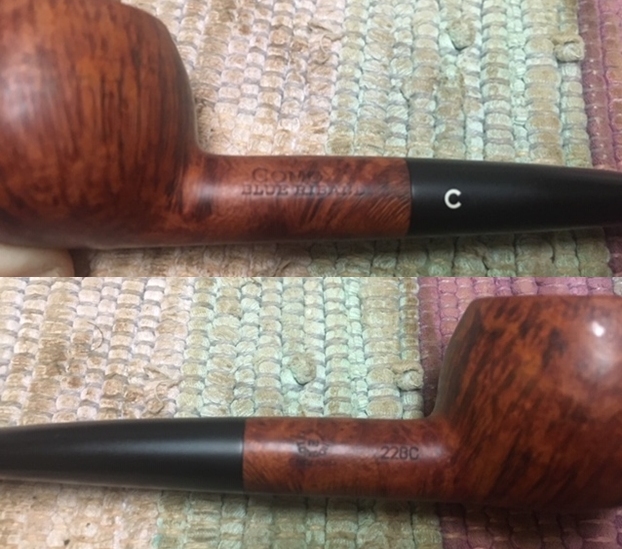 I removed the stem from the shank and took a photo of the pipe at this point. Like other Comoy’s I have worked on this stem had a metal tube in the tenon to strengthen it in what is often a weak point on a pipe.
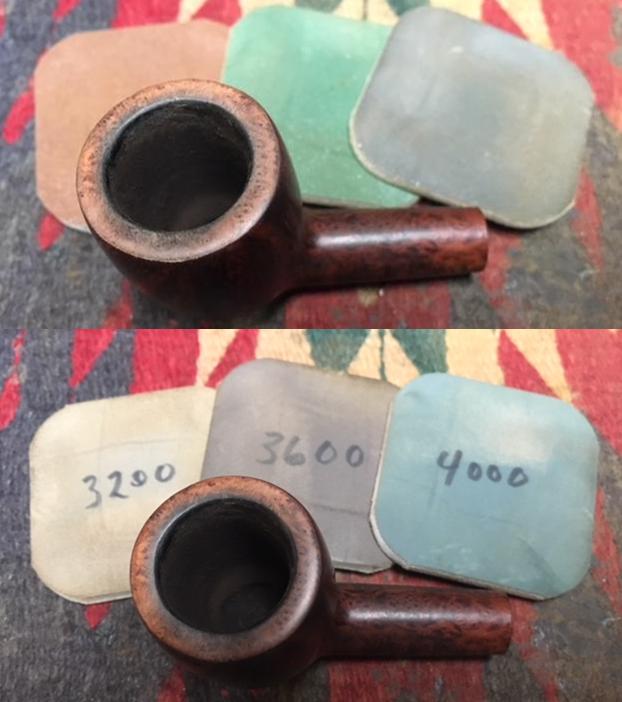
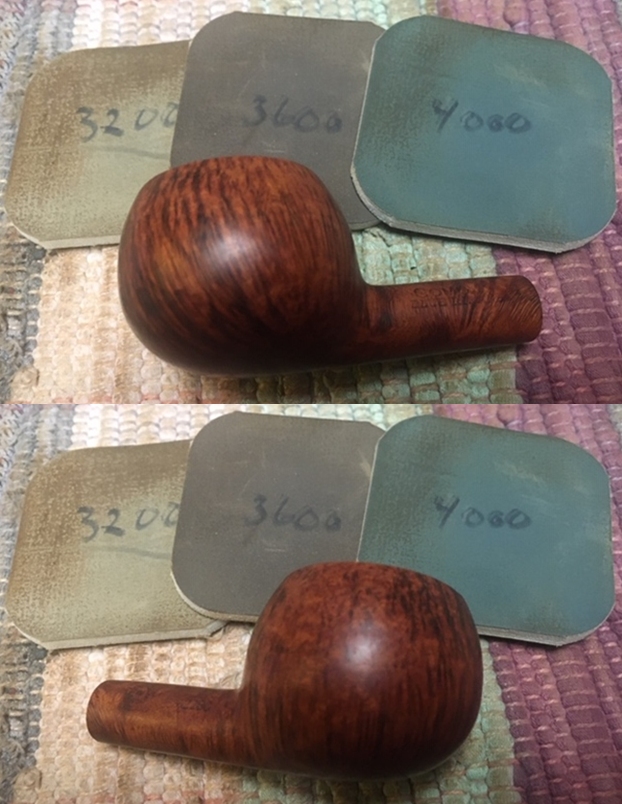
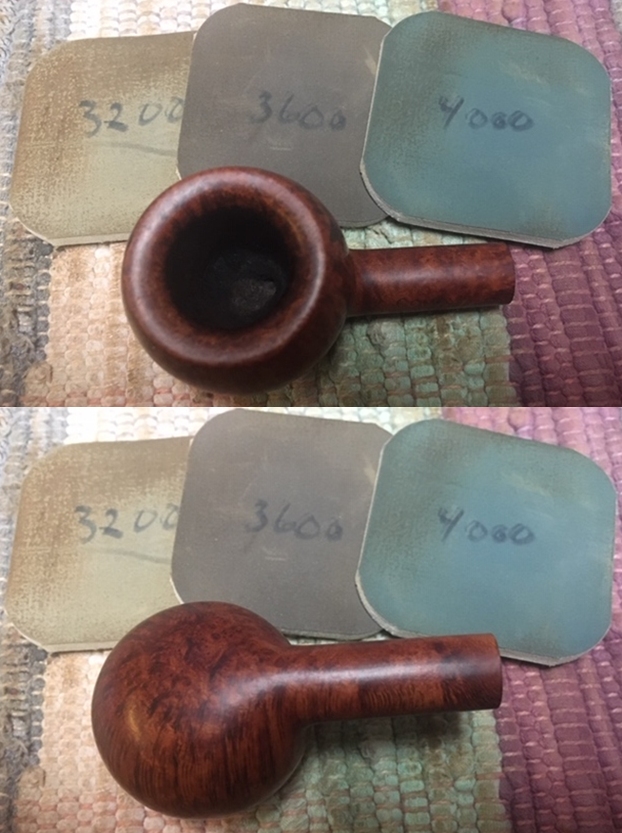
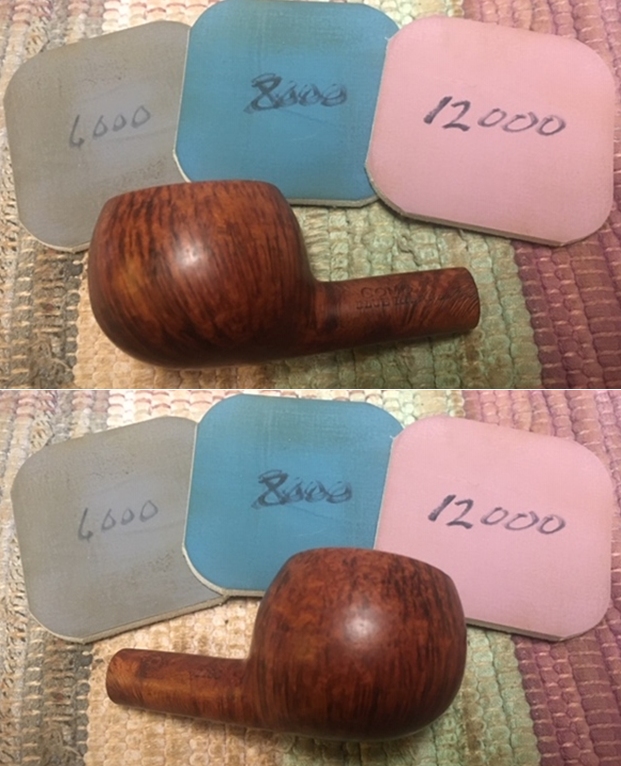
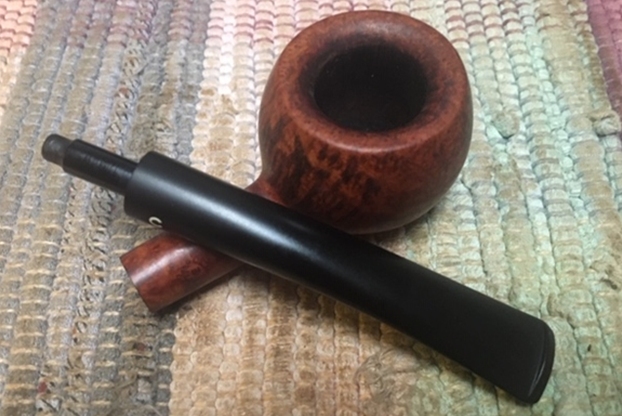 Since the pipe was in such great condition at this point I started my polishing regimen. I used nine worn micromesh sanding pads and dry sanded the bowl with 1500-12000 grit pads. I wiped the bowl down with a damp cloth after each pad. The bowl really shines by the final three pads.
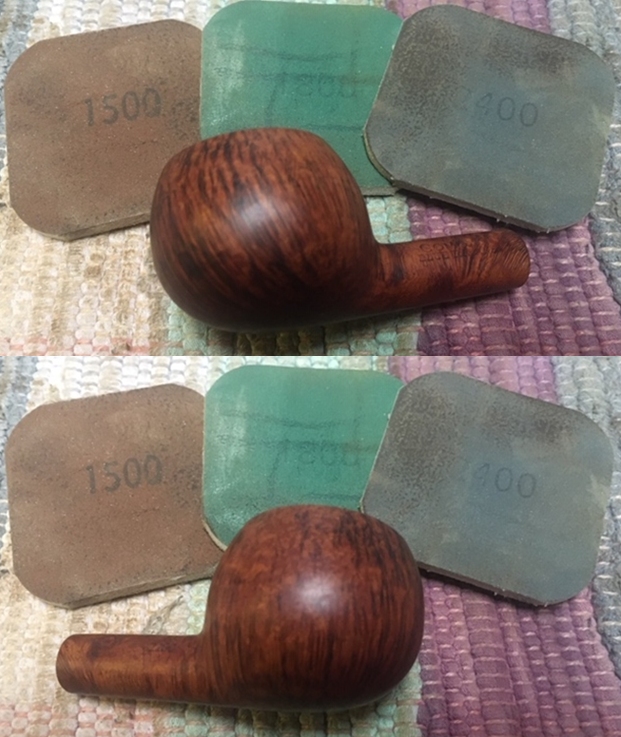
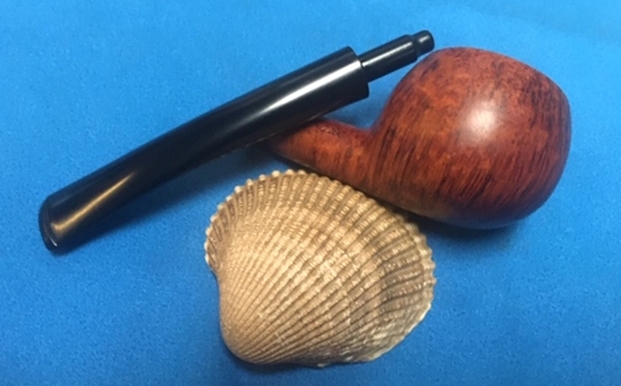
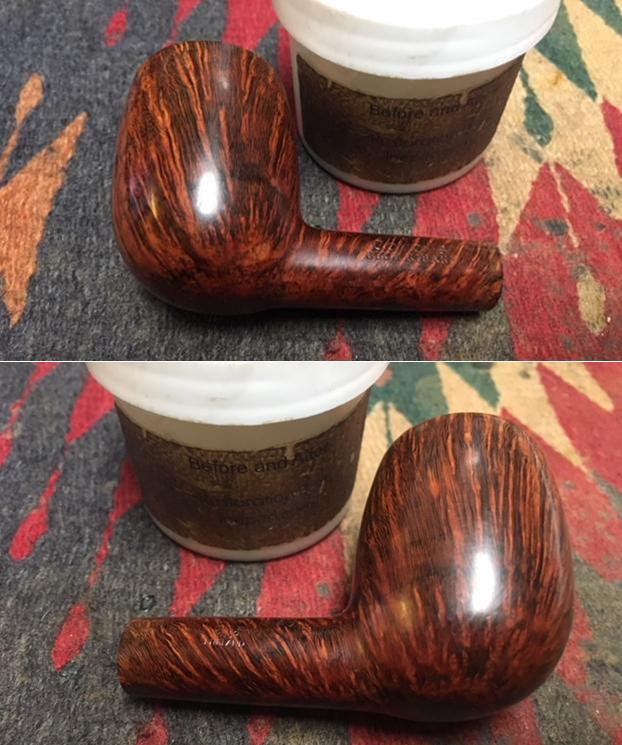
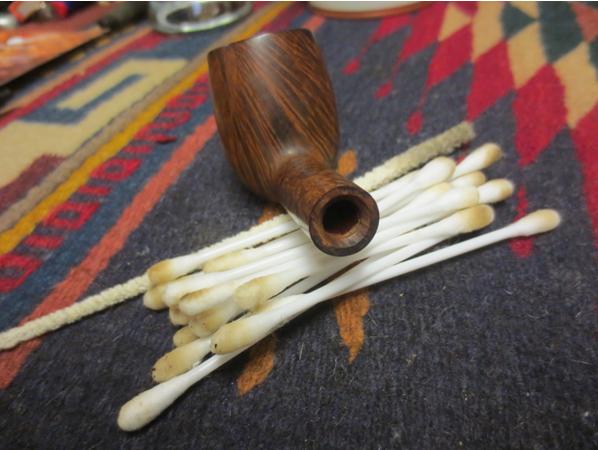
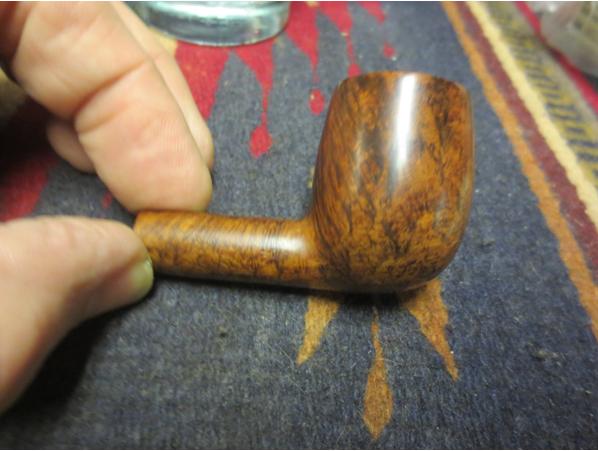
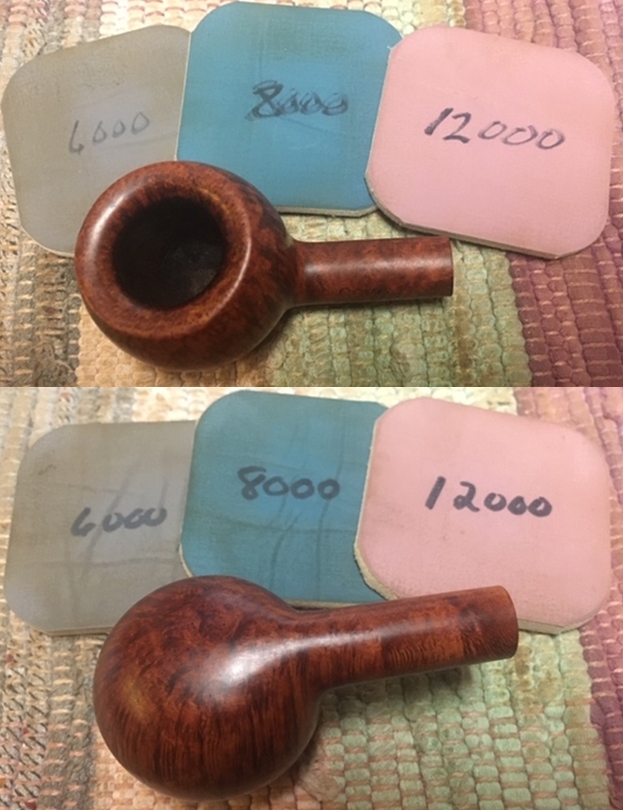 I worked some Before & After Restoration Balm into the surface of the briar with my fingertips to clean, enliven and protect it. I let the balm sit for a little while and then buffed with a cotton cloth to raise the shine. The photos show the bowl at this point in the restoration process.
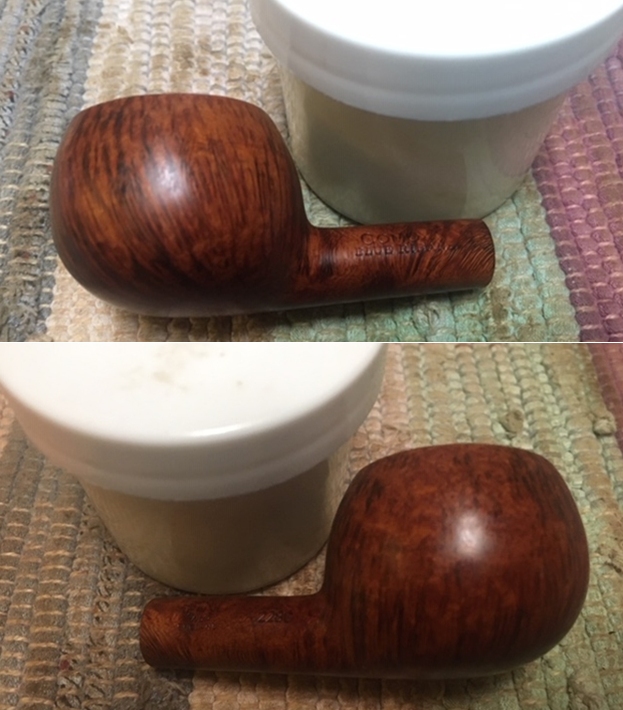
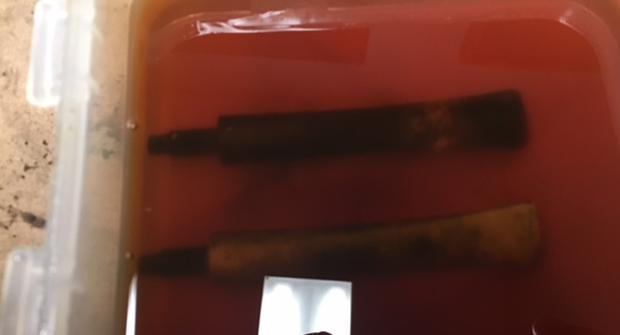
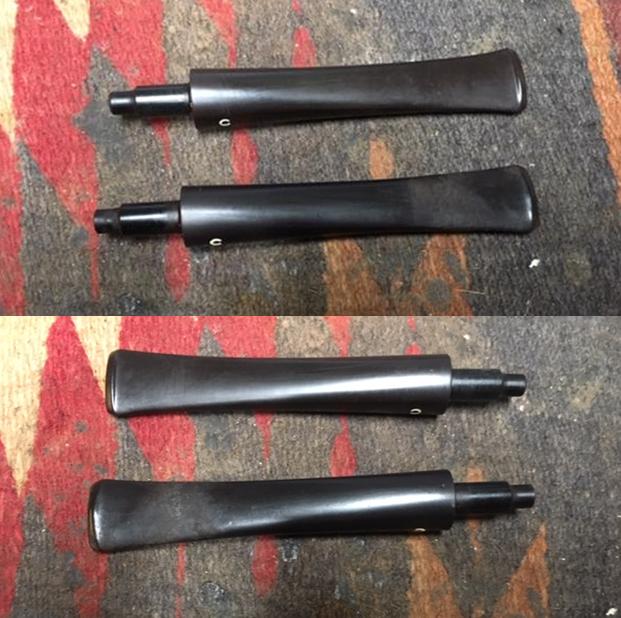
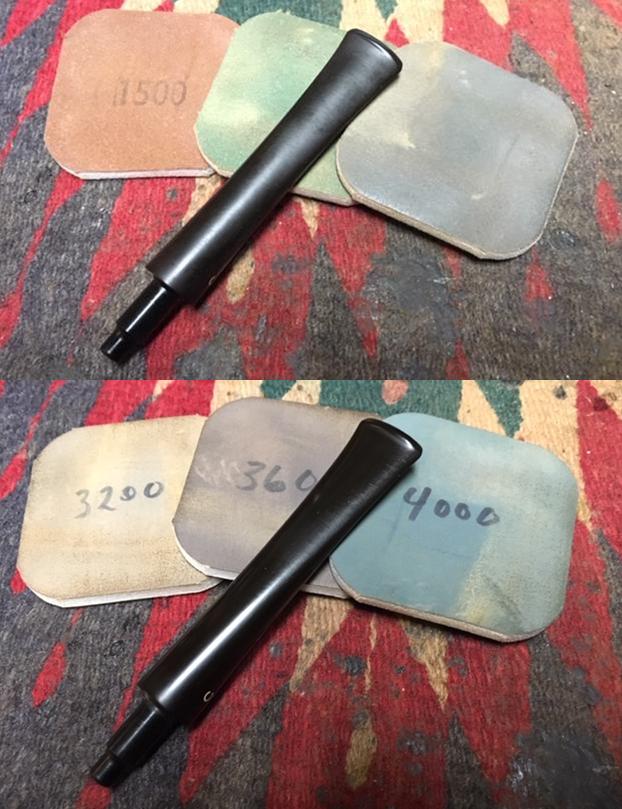
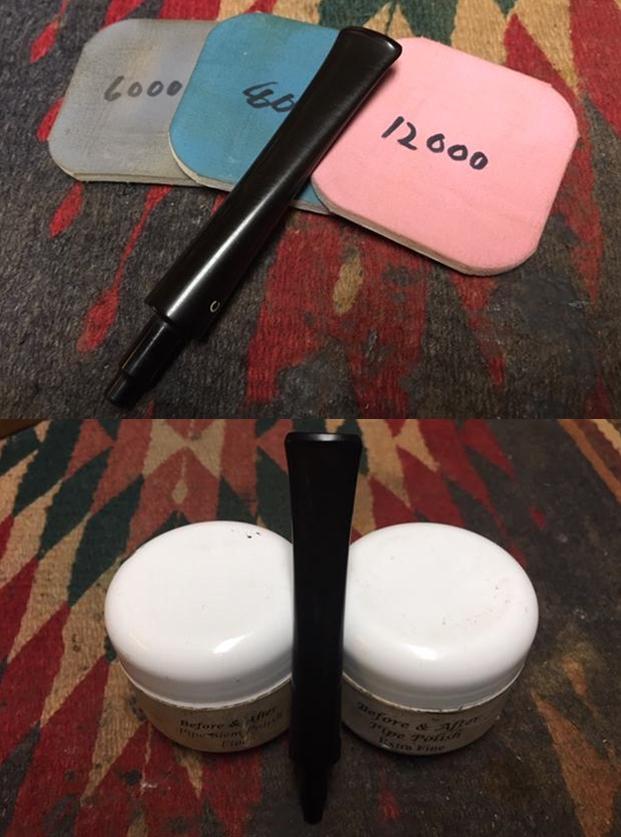
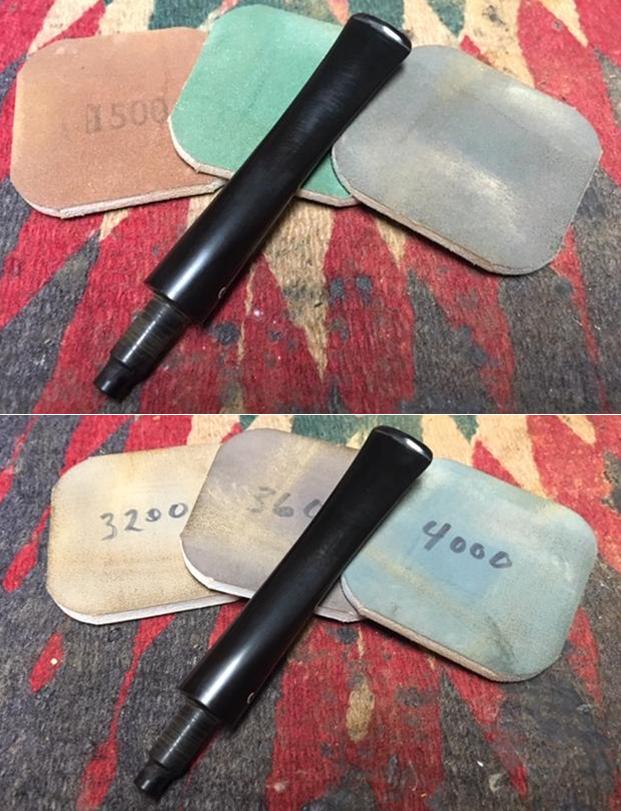
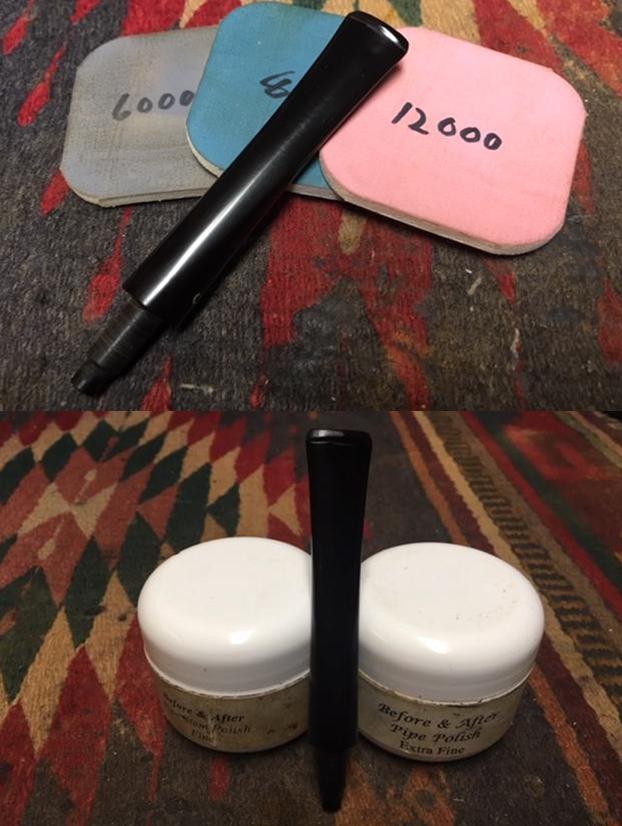
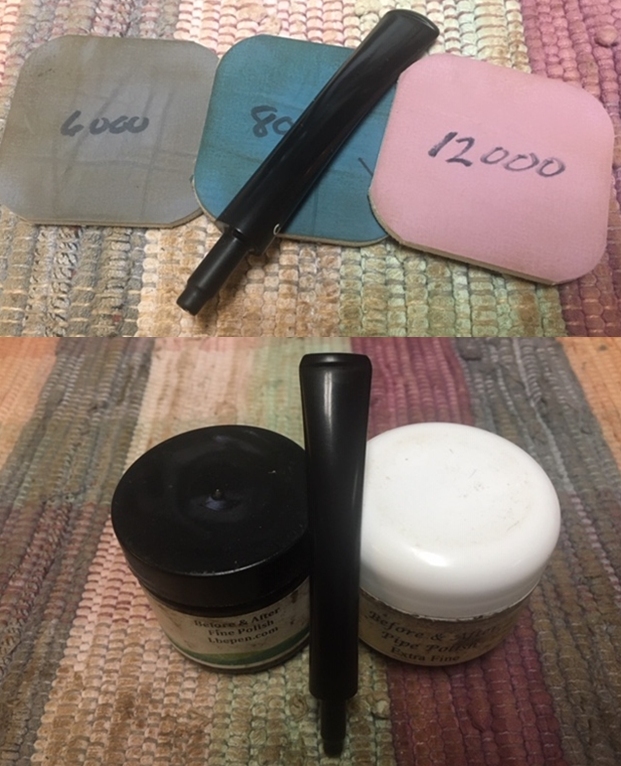
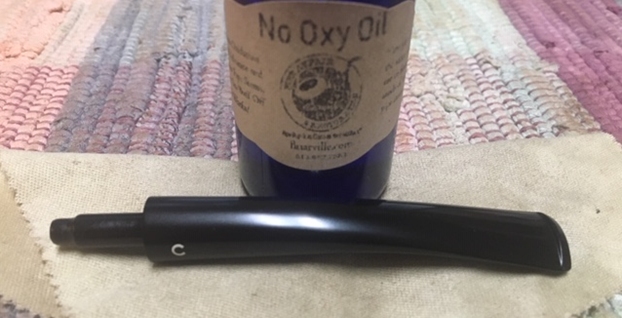
 Because the stem was in such great condition I moved direct to polishing it with micromesh sanding pads – dry sanding with 1500-12000 grit sanding pads. I wiped it down after each sanding pad with a cloth containing some Obsidian Oil. I finished polishing it with Before & After Pipe Stem Polish – both Fine and Extra Fine and buffed it off with a cotton cloth. I gave it a coat of Briarville’s No Oxy Oil to preserve and protect the stem.
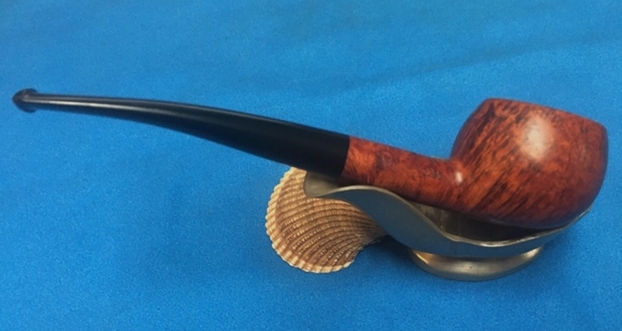
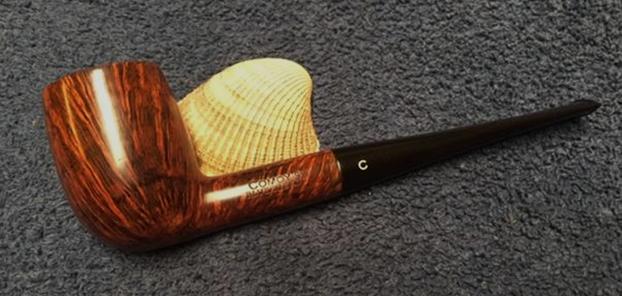
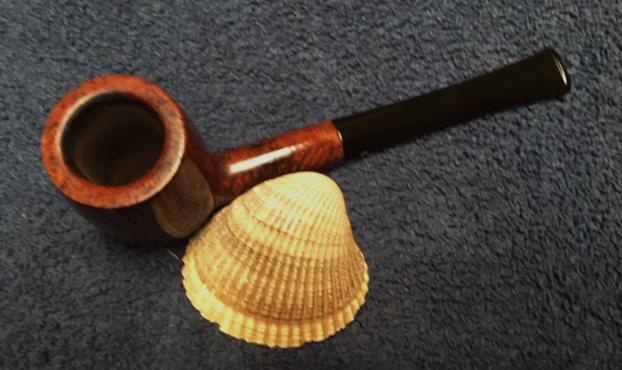
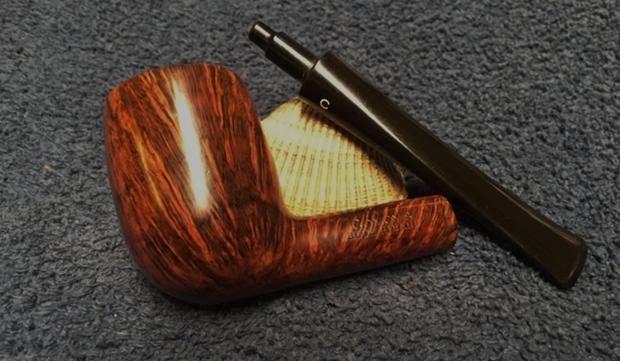
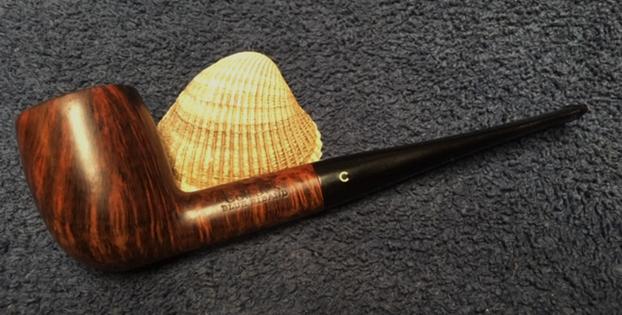
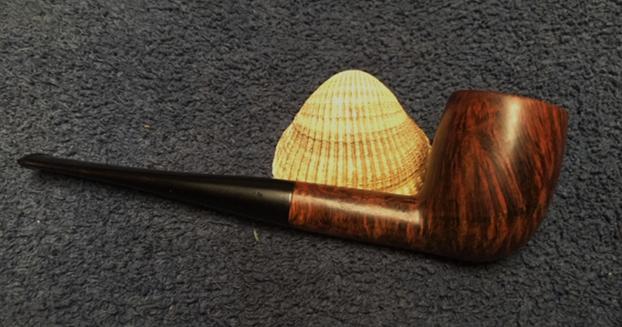
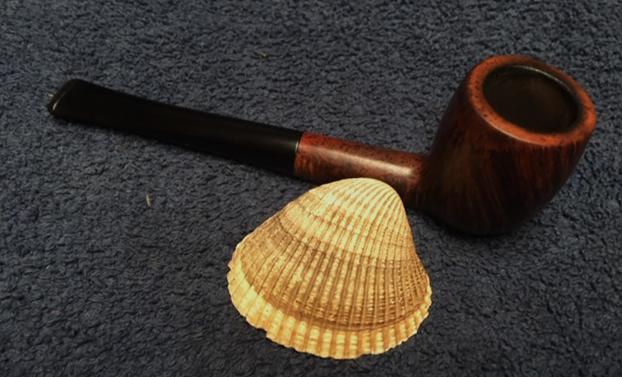
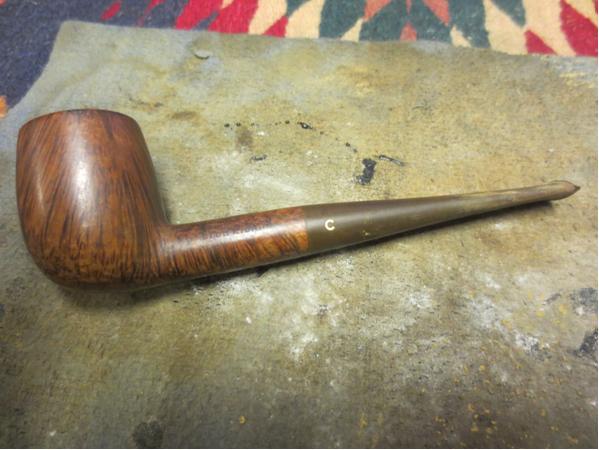
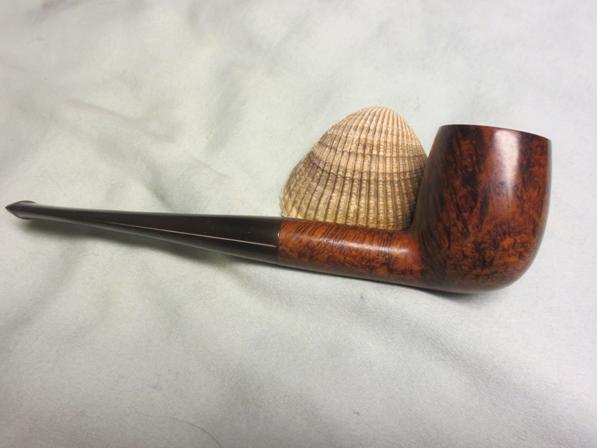
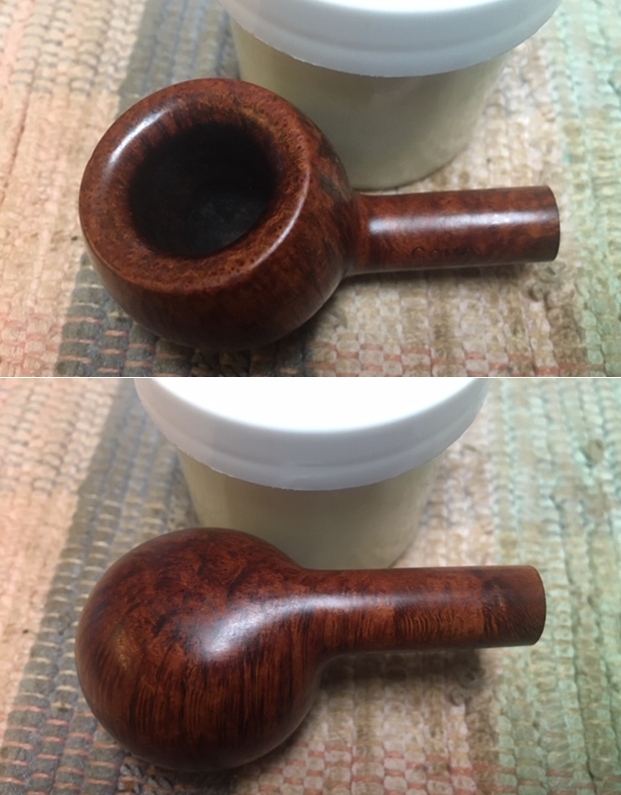
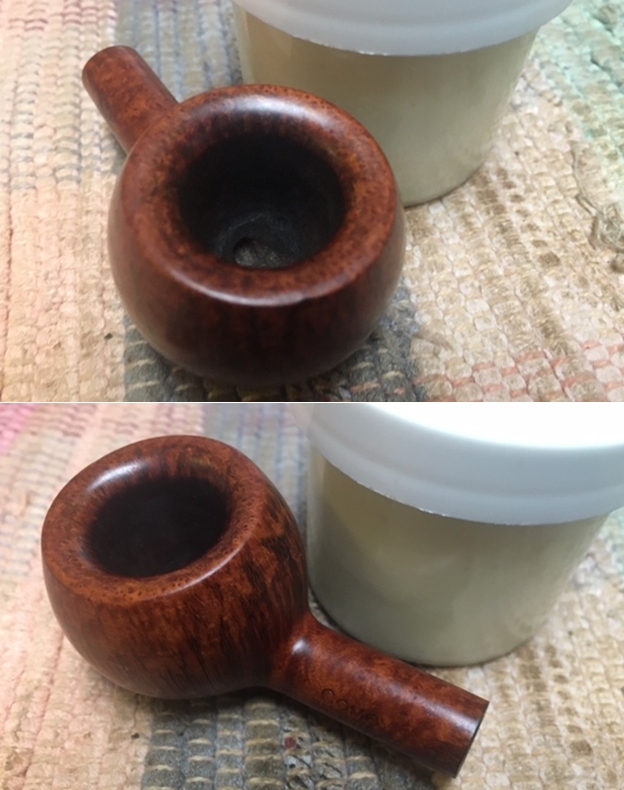
 I love it when I come to the end of a restoration and all of the parts come together and the pipe looks better than when we started the cleanup process. I put the stem back on the bowl and buffed the pipe with Blue Diamond on the buffing wheel. I carefully avoided the stamping on the shank sides during the process. I gave the bowl and stem multiple coats of carnauba wax on the buffing wheel and followed that by buffing it with a clean buffing pad on the buffer. I hand buffed the pipe with a microfiber cloth to deepen the shine. The finished pipe is a real stunning example of Comoy’s mastery of the Prince shape. The grain and the way the shape follows the grain is amazing. Give the finish pipe a look in the photos below. I can only tell you that it is much prettier in person than the photos capture. The dimensions of the pipe are Length: 5 ¾ inches, Height: 1 ¼ inches, Outside diameter of the bowl: 1 ¼ inches, Chamber diameter: ¾ of an inch. This English made Comoy’s Blue Riband pipe is a unique piece of pipe history. Thanks for walking through the restoration with me as I worked over another beautiful pipe. This one will be staying in my collection for now as I have nothing like it. Thanks for your time.