by Steve Laug
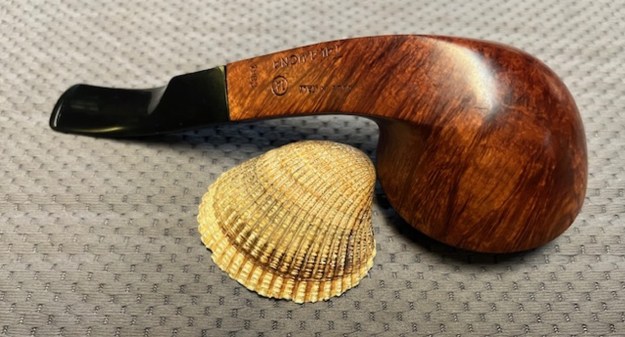
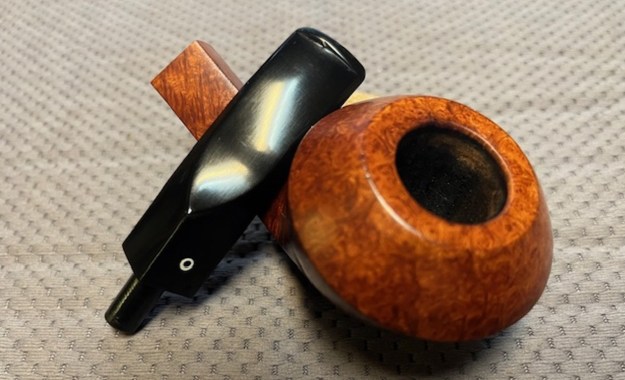
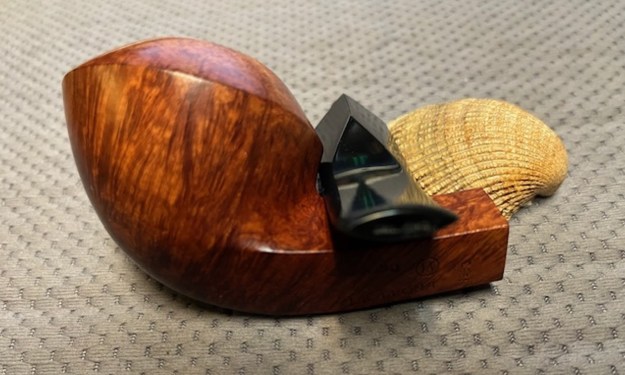
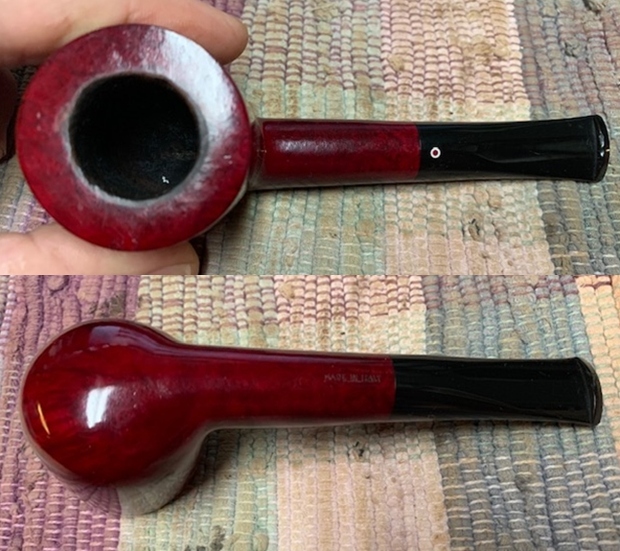
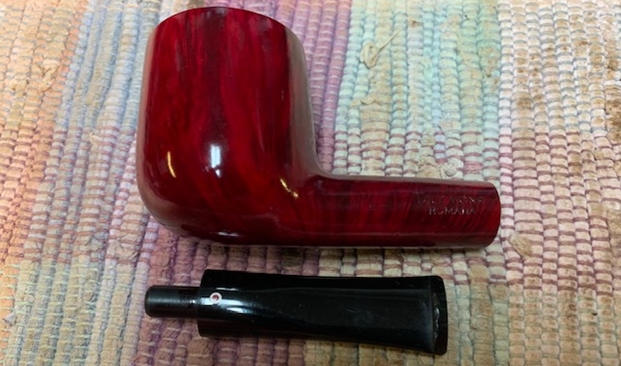
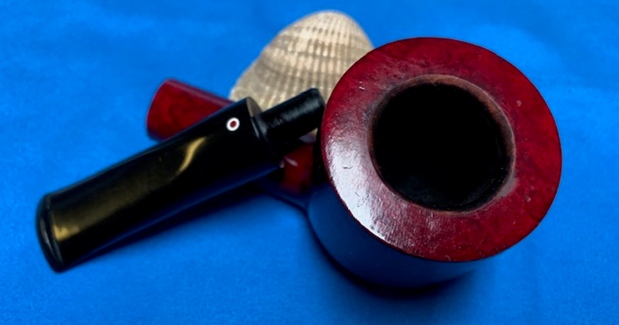
Last fall I received an email from a woman in Sacramento, California regarding the sale of her late husband’s pipes. There were 10 pipes from various and assorted makers and all were well smoked and well cared for by her husband. They needed some work to address the cake, tooth marks and chatter and off course oxidation on the vulcanite. They were interesting to us so Jeff and I made an offer and purchased the lot on 09/03/2024 and soon they were in Idaho awaiting the initial clean up work. I have included a photo below of the lot. 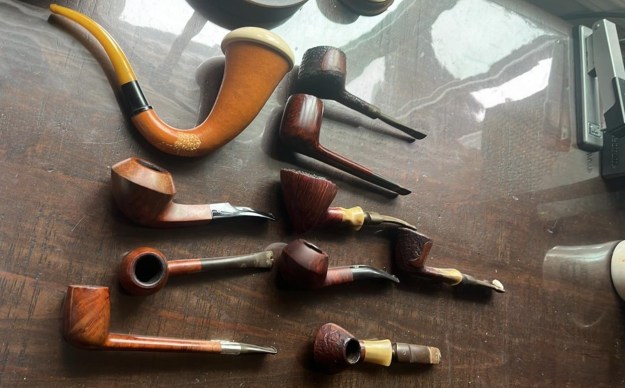 The first one I chose to work on today was the large bent Bulldog, second down in the left column in the above photo. I really enjoy working on pipes that come with a bit of a story attached like this one. It adds another dimension to the work. The pipe was stamped on the left underside of the diamond shank and read Made in Italy [over] Talamona. To the right it was stamped with a circle 1A and next to the shank stem junction it bore the year 1983. The stamping was clear and readable as noted. The finish on the pipe was dirty and dull from hand oils and grime. The bowl had a moderate cake and an overflow of lava on the inner edge and rim top. There was some potential burn damage on the back inner edge but cleaning the pipe would tell the full story. The acrylic stem was dirty and had some tooth marks and chatter on both sides ahead of the button but should clean up well. It is a great looking pipe that should be a real beauty when cleaned up. Jeff took the photos below to show what the pipe looked like before he started his work on the pipe.
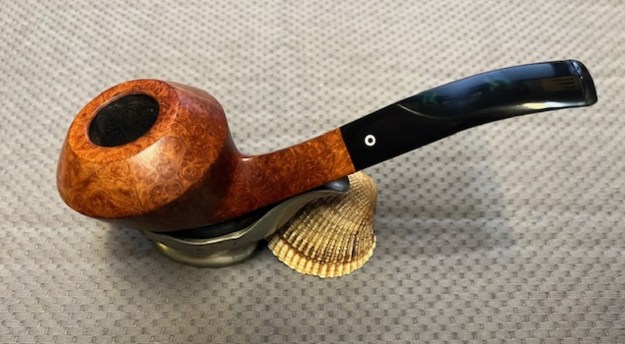
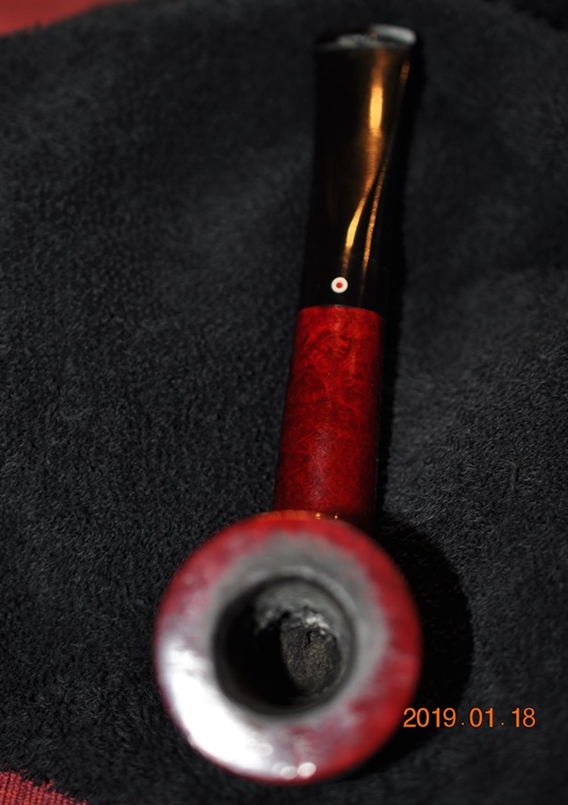
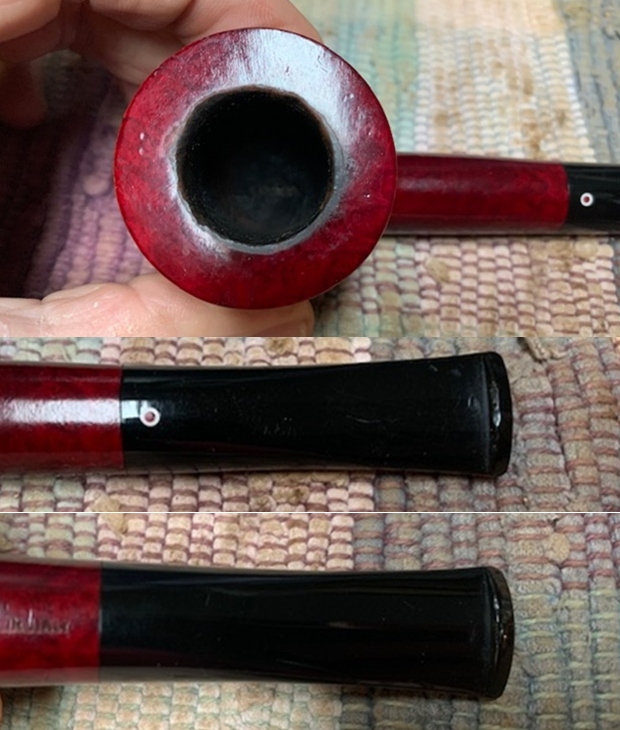
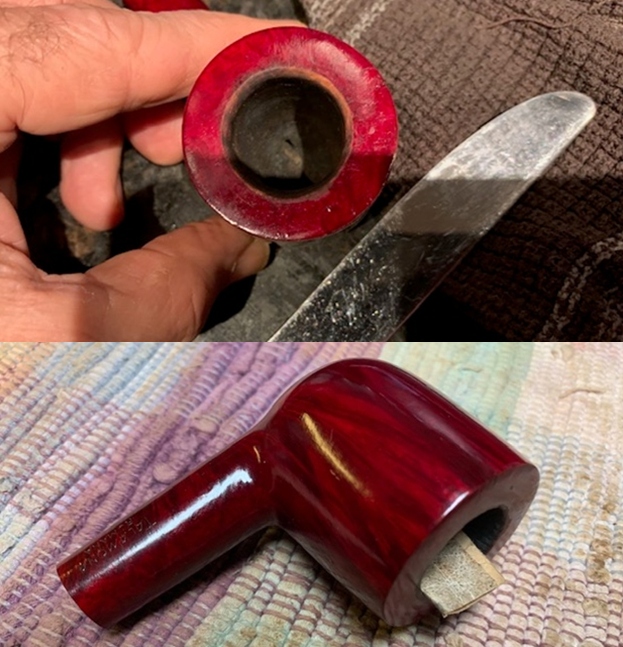
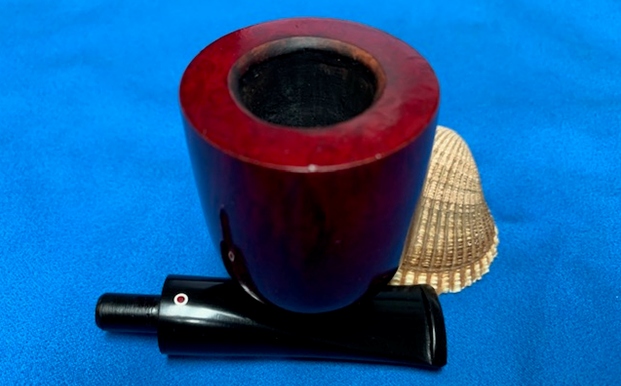
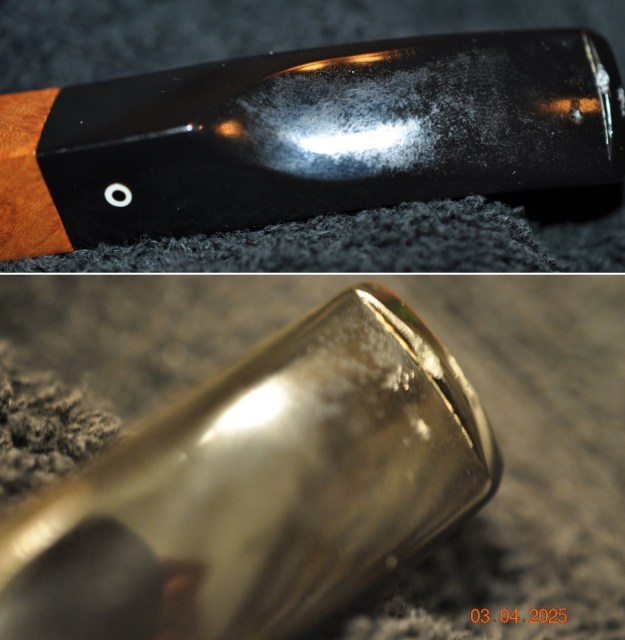
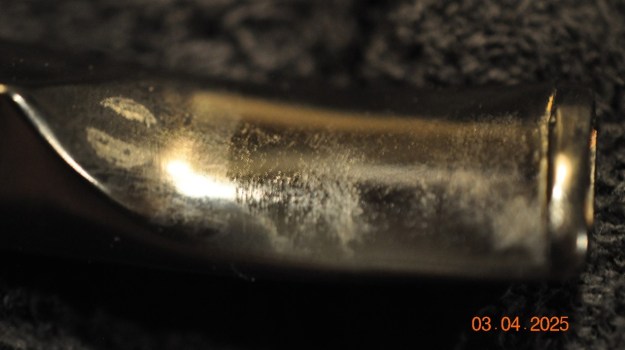
 Jeff took close up photos of the rim top from various angles to show the general condition of the bowl and rim. The photos show the thickness of the cake in the bowl and the lava build up on the inner edge – heavier toward the back of the bowl. The edge looks like it might have some damage on the back of the bowl but will probably be fine once the bowl is reamed and cleaned. The acrylic stem was dirty and had tooth marks and chatter on both sides ahead of the button.
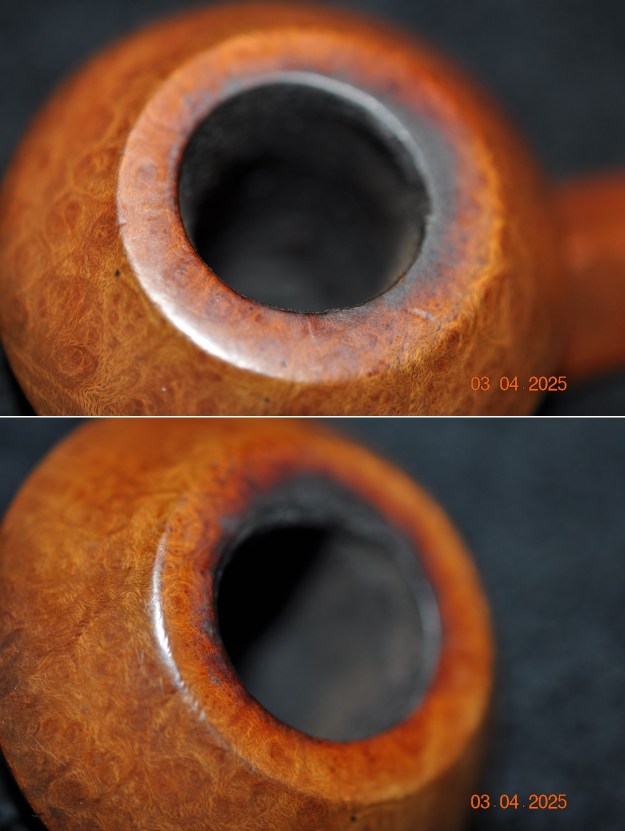
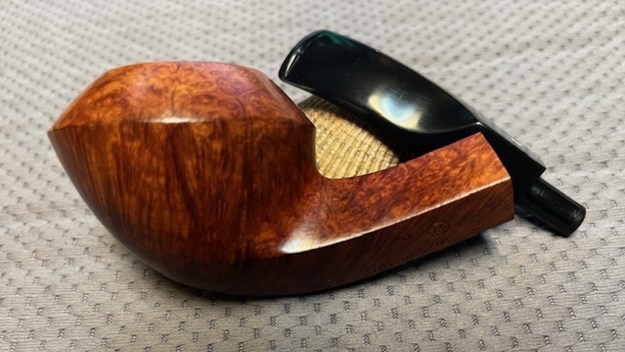
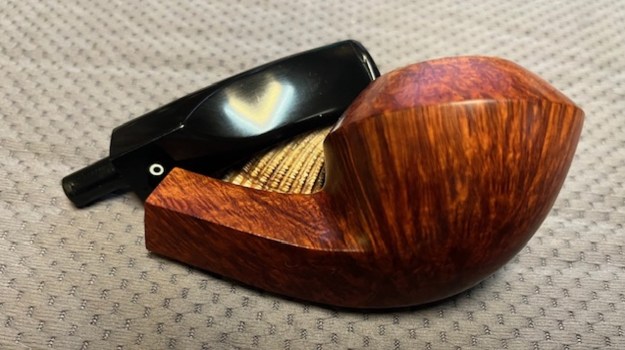
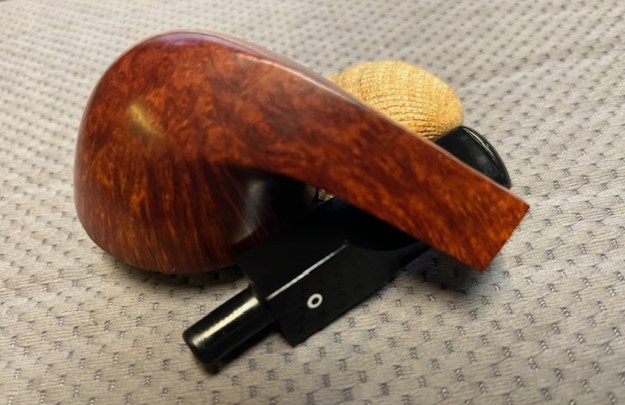
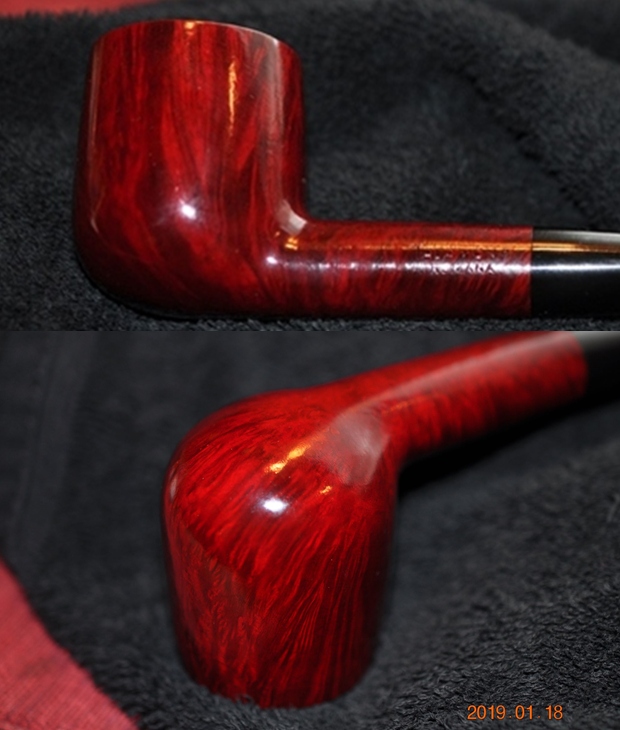
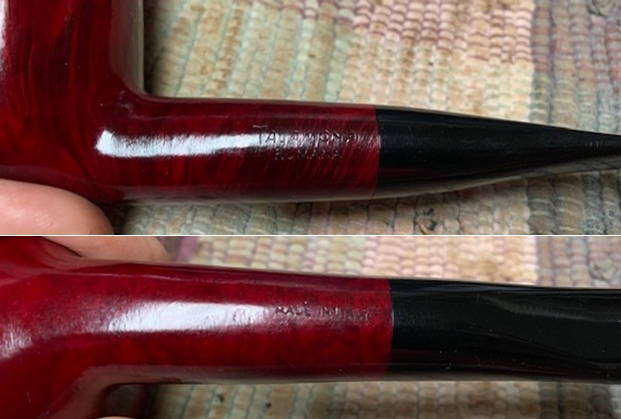
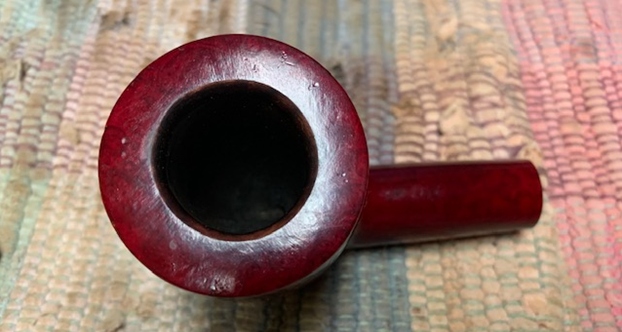
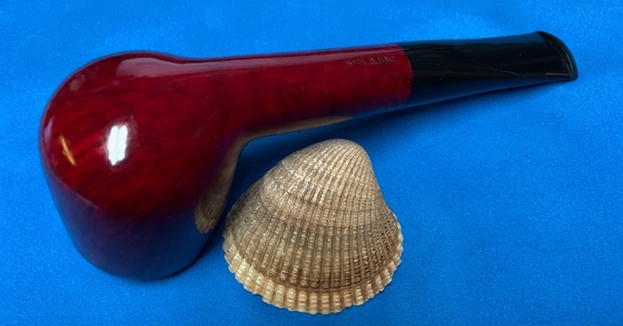
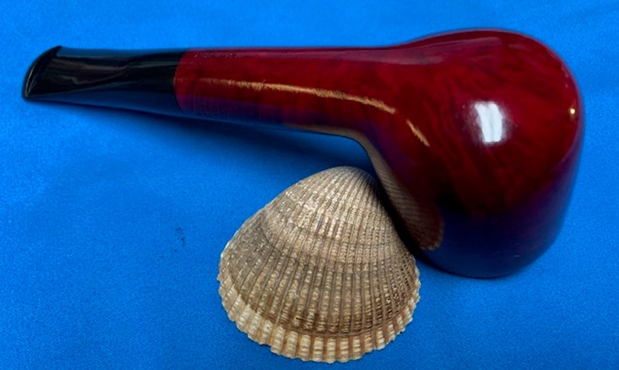
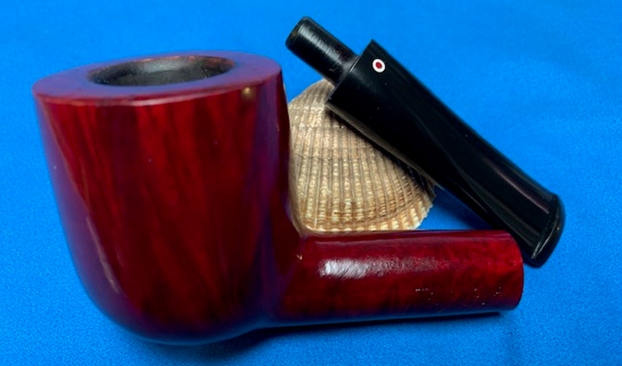
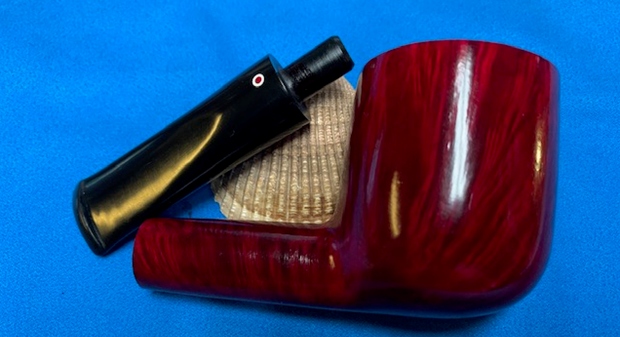
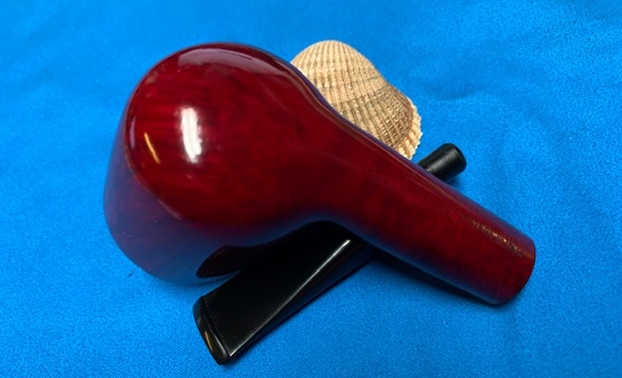
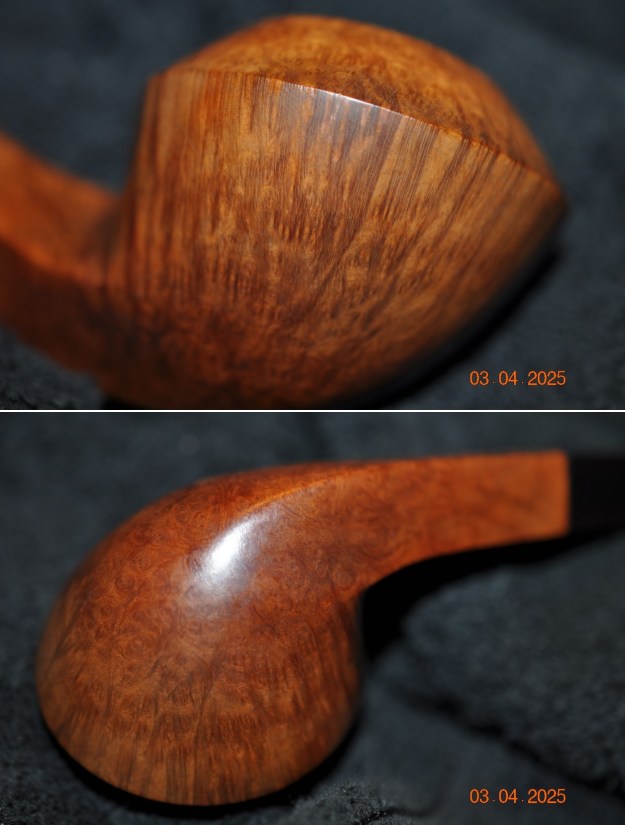
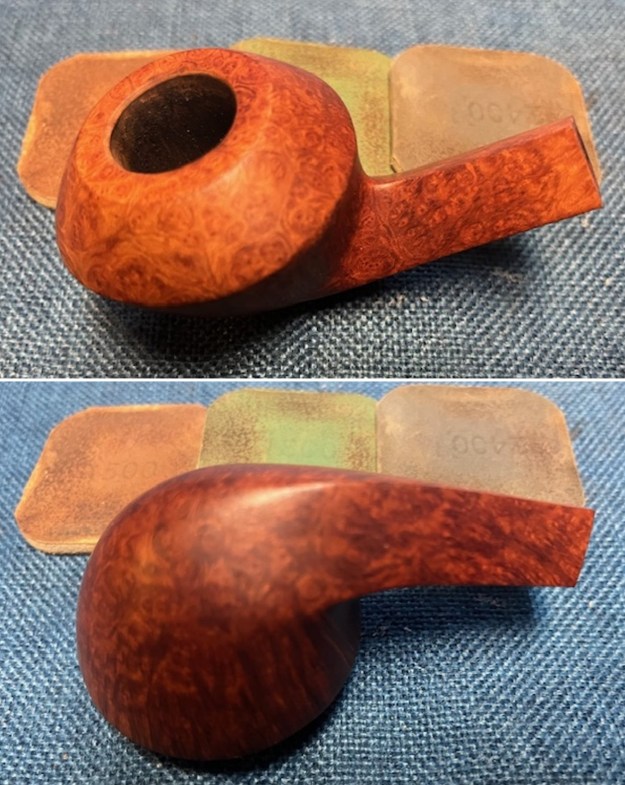
 Jeff took a photo of the sides and heel of the bowl to give an idea of the beauty of the grain on the heel and sides of the bowl.
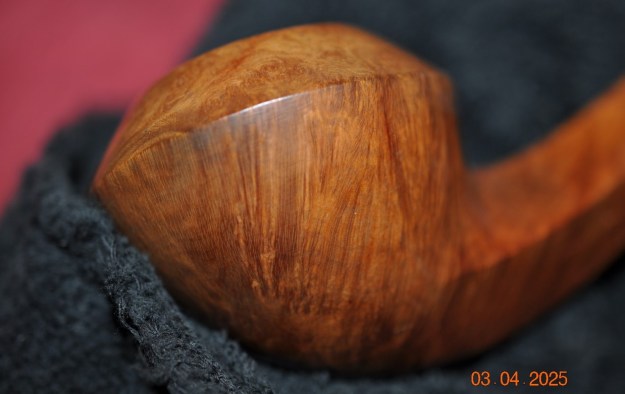
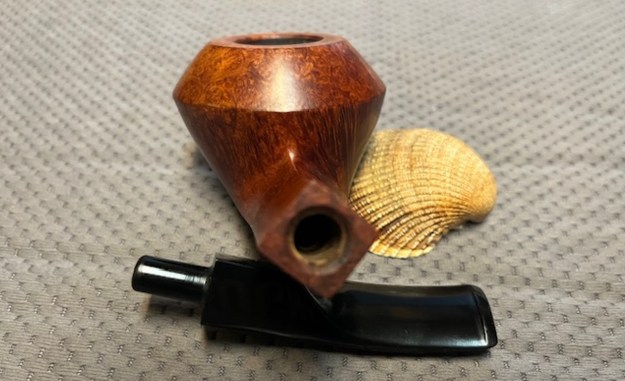
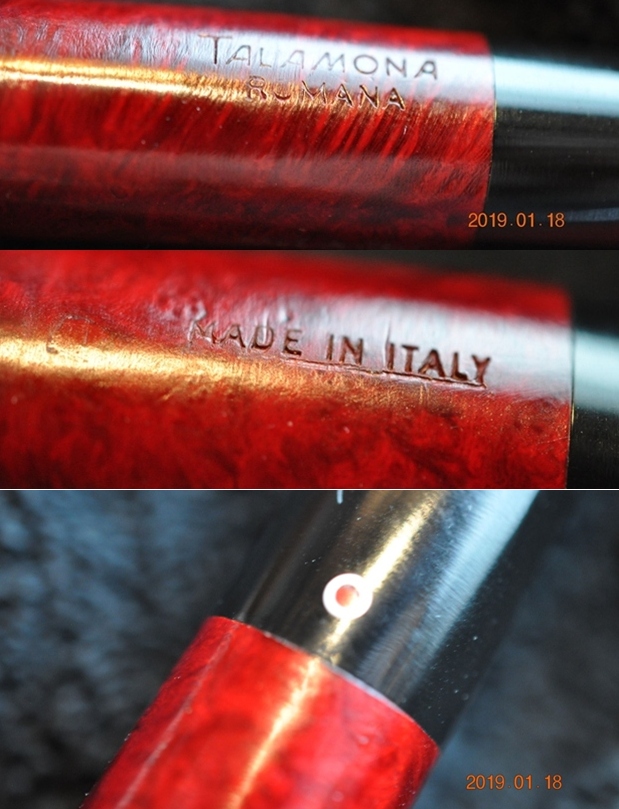
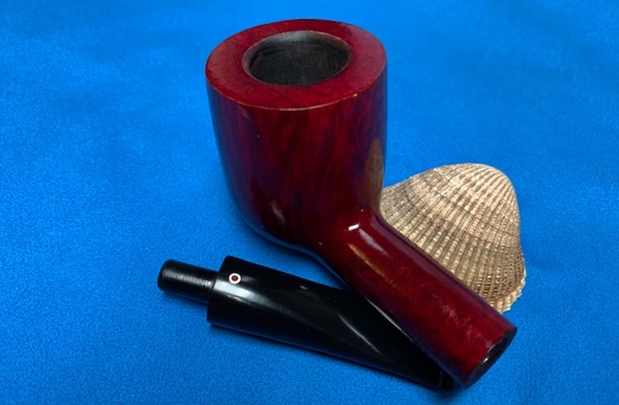
 The stamping on the left underside of the diamond shank is clear and readable as noted above. He also took a photo of the logo on the left topside of the stem.
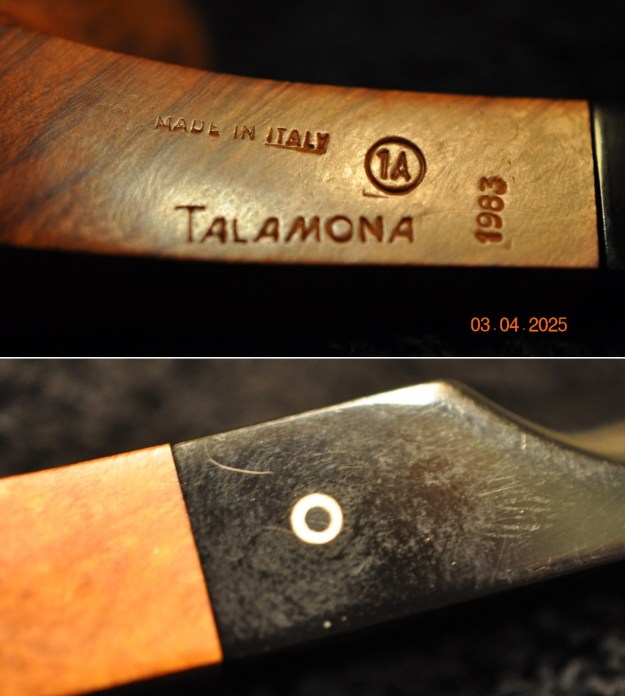 Before I started my work on the pipe I did a bit of reading on the brand. I have worked on one other Talamona back in 2020 and don’t have a clear memory of the details of the brand. I turned first to Pipephils site (http://www.pipephil.eu/logos/en/logo-t2.html) to see what I could learn. I have included a screen capture below as well as the sidebar information. I now knew that the pipe I was working on was made prior to his closing the shop in 2000 after his wife’s death which works well with the 1983 stamp.
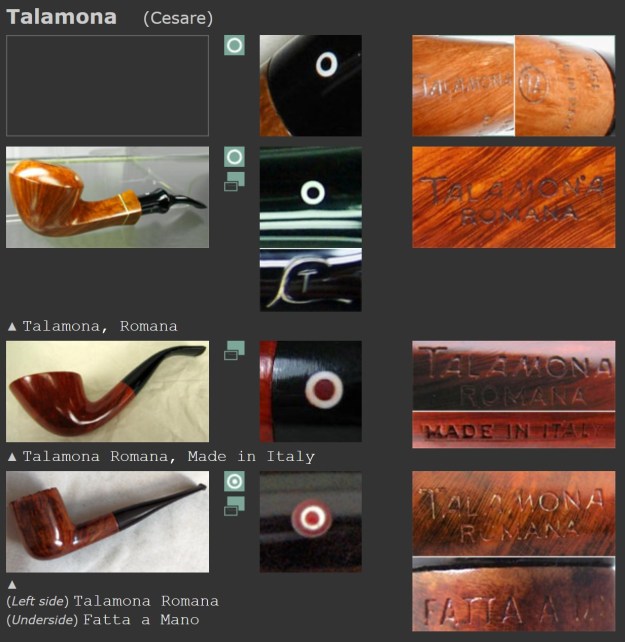 Artisan: Cesare Talamona is the son of Cornelio Talamona who founded the brand in 1929 in Oltrona di Gavirate (Varese). Most of Talamona pipes have a 9mm filter. The business closed down in December 2000 after Cesare’s wife had passed away. See also (second): Caesar
I turned to Pipedia to gather more details about the brand (https://pipedia.org/wiki/Talamona). I quote a section of the article below.
…Gradually Italy recovered from the consequences of the war – above all thanks to enormous aid by the United States. Cesare Talamona remained in the workshop and became a pipe maker. And Talamona Pipes made their way first to some important pipe shops in northern Italy where they gained a considerable good reputation for the small brand. This helped a lot to sell pipes in Germany since the later 1960’s as well, where the circle of customers admittedly remained manageable but affectionate due to a very good quality at moderate prices. Almost all of these pipes were made for 9mm filter.
In fact, Cesare Talamona never became one of the real great names of Italian pipe making. Though during the best years, in the 1980’s, there were even some auxiliary crafts, and also Cesare’s son and his two daughters earned their livelihood for a while in the family business. On the 31st of December 2000, the firm was closed officially. The main reason was that Cesare’s wife had passed away. But even though Cesare Talamona came back to the old workshop often, where he gladly made pipes for good friends and casual visitors. “As long as heart and hands still tag along” as he used to say.
Now I knew that not only was the pipe made before 2000 and according to the stamp was made in 1983. In all likelihood but it was also unique in that the stem was not a filter stem. Now it was time to work on the pipe.
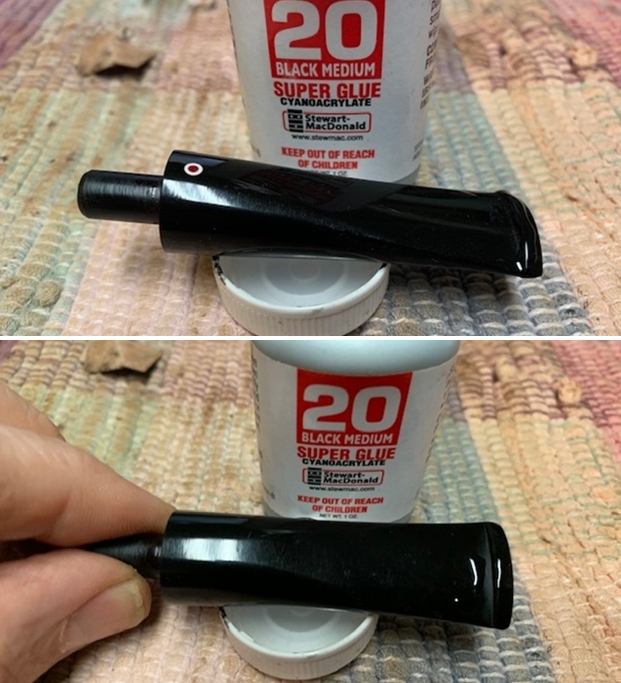
Jeff had done his usual thorough clean up of the pipe. He had reamed it with a PipNet reamer and finished with a Savinelli Fitsall Pipe Knife. He scrubbed the exterior with Murphy’s Oil Soap and the interior with isopropyl alcohol, shank brushes, cotton swabs and pipe cleaners. He worked on the acrylic stem with Soft Scrub then let it soak in Before & After Pipe Stem Deoxidizer. It has a few tooth marks and chatter on both sides. I took photos of the pipe before I started my work. 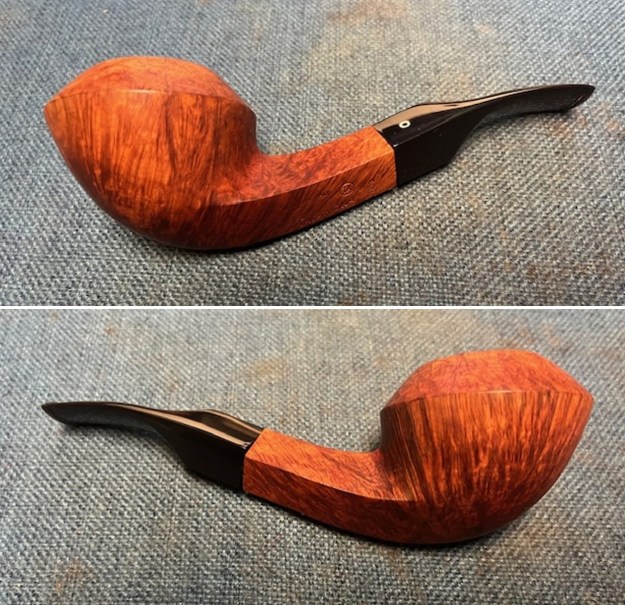
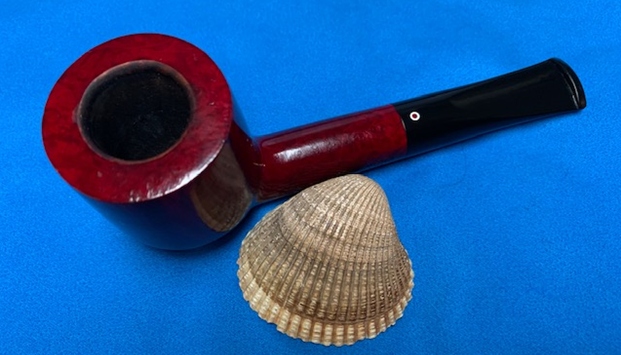
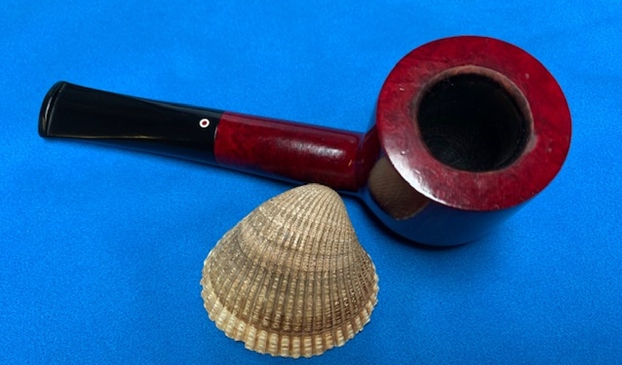
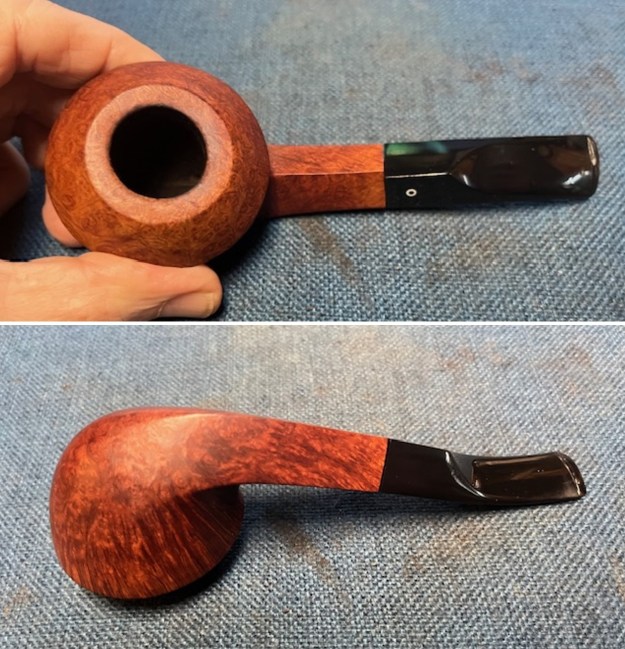 I took some close up photos of the bowl/rim top and the stem to show the condition they were in at this point. The rim top and edges looked good and the bowl was clean. There was some darkening on the top toward the back of the rim and some minor damage to the inner edges. The stem had tooth marks and chatter on both sides near the button.
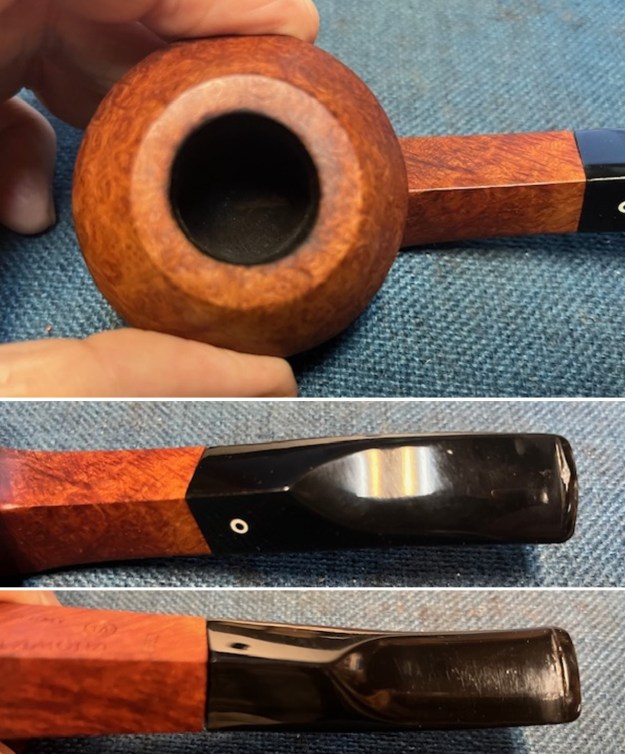 I took a photo of the stamping on the left underside of the diamond shank. It is clear and readable as noted above. I removed the stem from the shank to give a sense of the pipe.
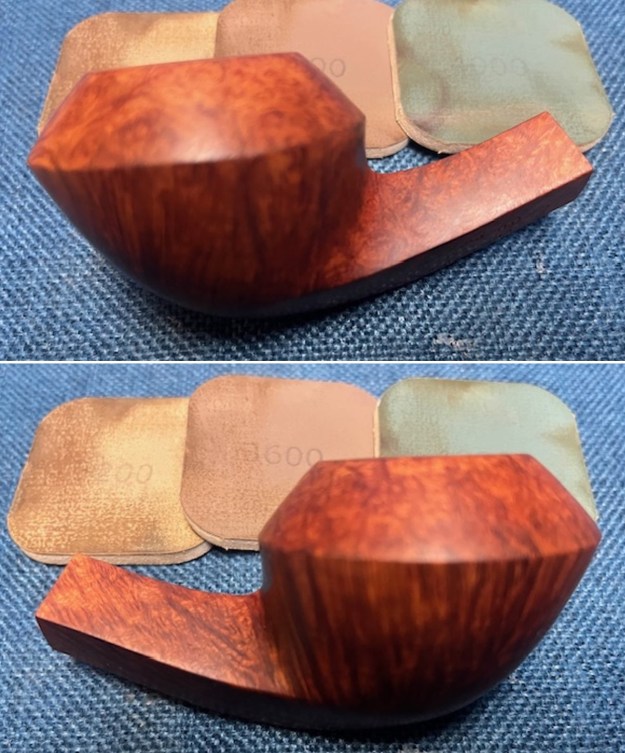
 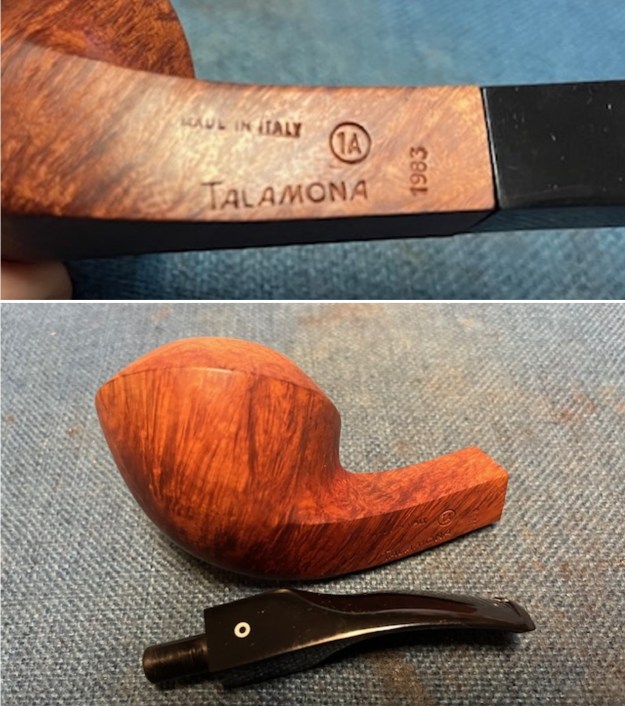 I worked on the darkened spots toward the back of rim top and the inner edge of the rim first. I used a folded piece of 220 grit sandpaper. After working on it the rim top and bowl edge looked much better.
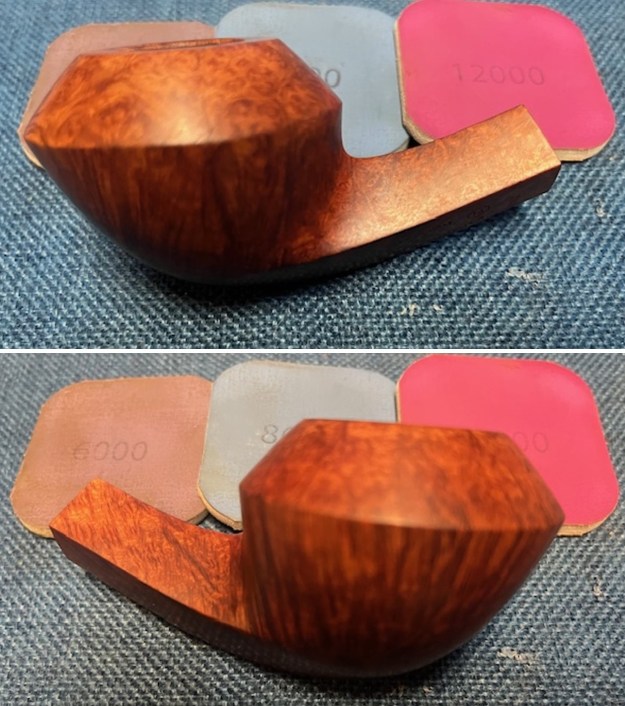
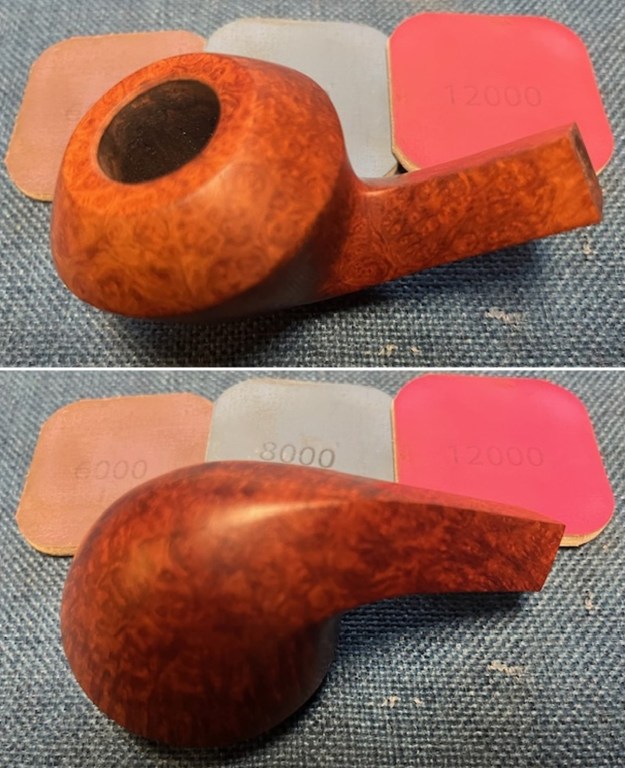
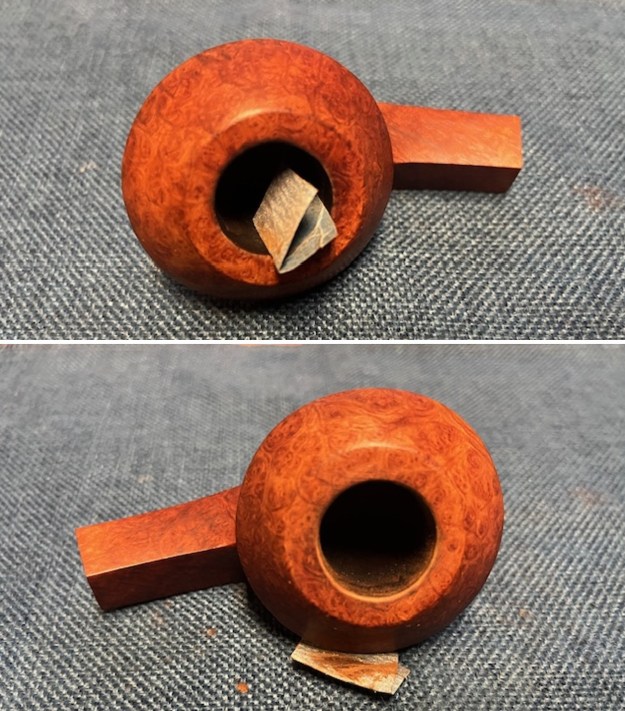 I polished the briar with micromesh sanding pads – dry sanding it with 1500-12000 grit pads. I wiped the bowl down after each pad with a damp cloth. The finished bowl and shank look very good.

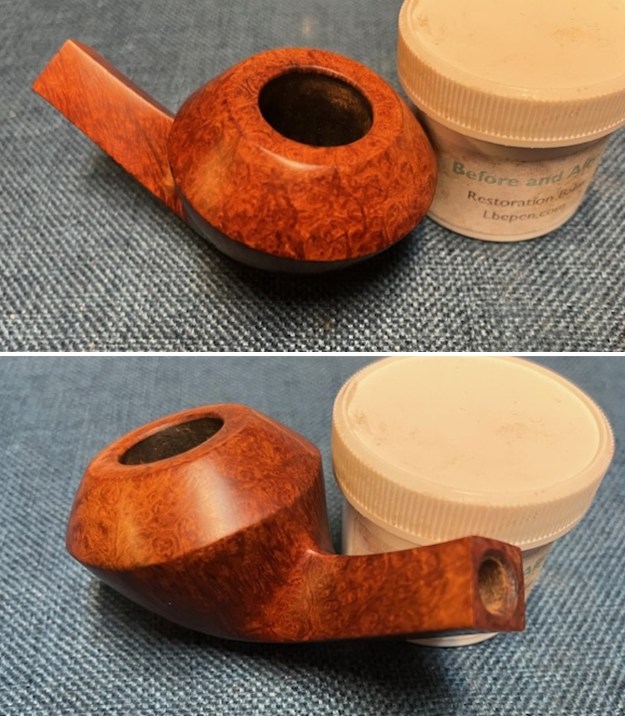
 I worked some Before & After Restoration Balm into the surface of the briar with my finger tips. The product is amazing and works to clean, enliven and protect the briar. I let it sit on the briar for 10 or more minutes and then buff it off with a soft cloth. It really makes the briar come alive and look quite rich.
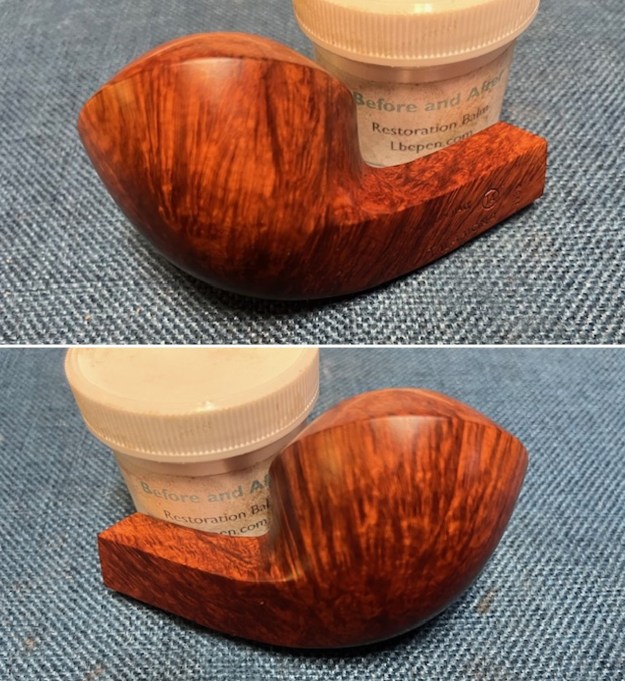

 I set the bowl aside and turned my attention to the stem. There were some tooth dents on the topside and underside of the stem surface. They were on the surface so I sanded out the marks on the surface and on the button surface with a folded piece of 220 grit sandpaper.
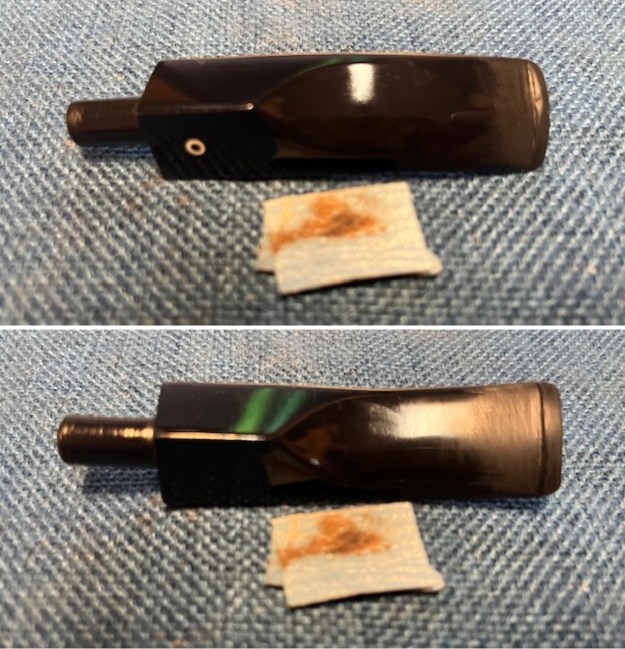 I sanded the stem with 320-3500 grit sanding pads. I wiped the surface down after each pad with some Obsidian Oil and it was beginning to look very good.
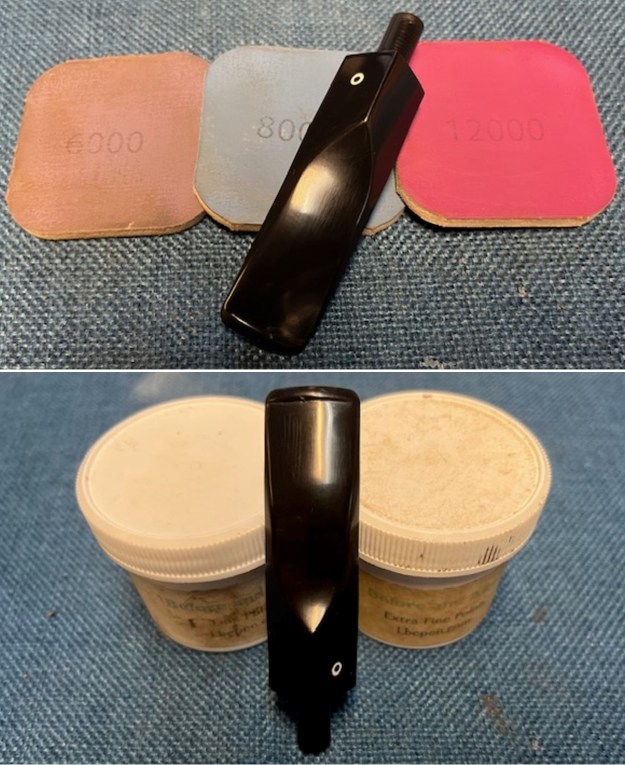
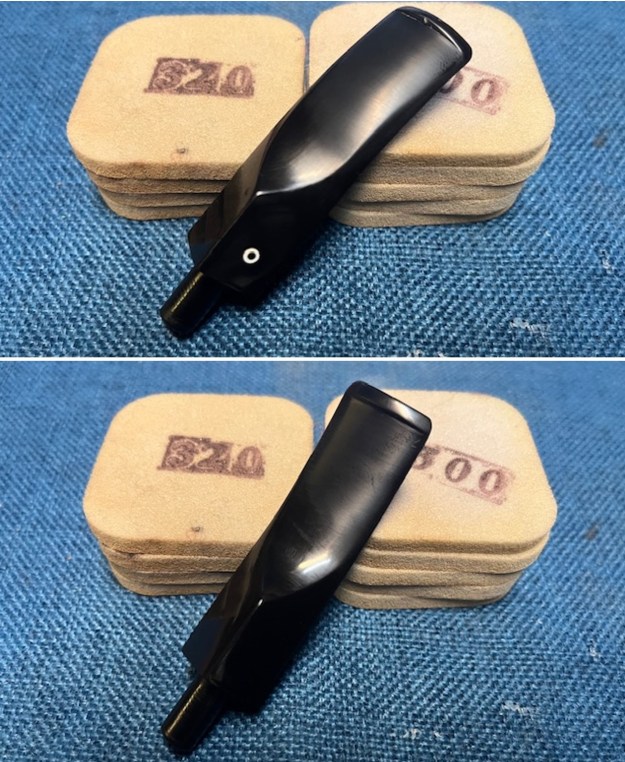 I polished it with micromesh sanding pads – dry sanding with 1500-12000 grit pads. I wiped the stem down after each pad with a cloth and Obsidian Oil. I finished the polishing with Before & After Pipe Stem Polish – both Fine and Extra Fine. I gave it a final coat of Obsidian Oil.
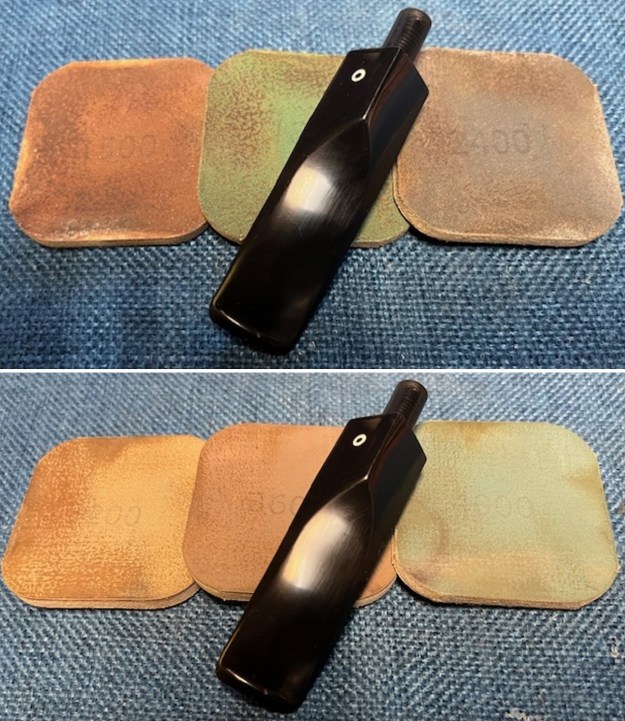
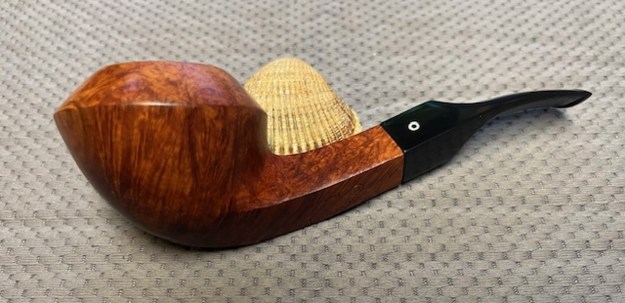
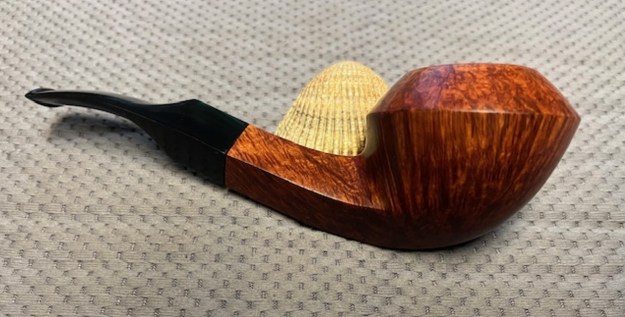
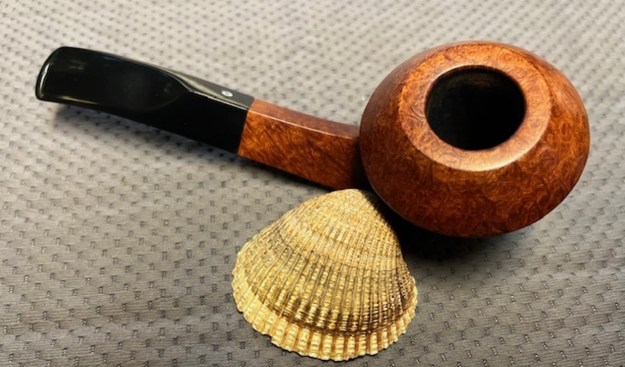
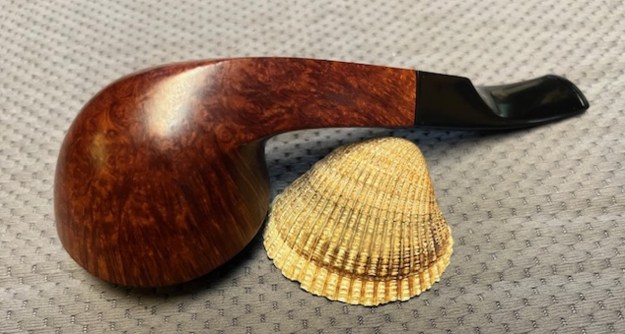
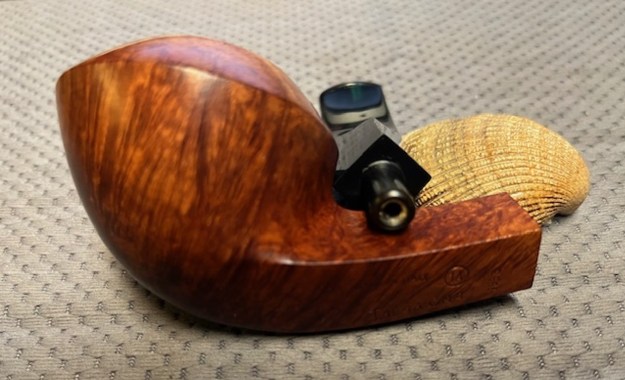
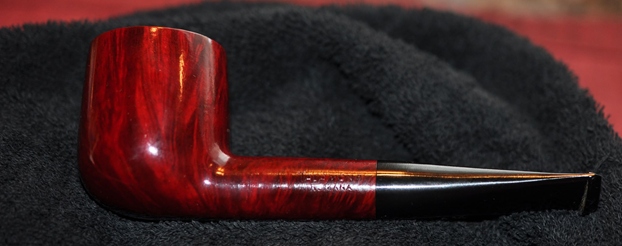
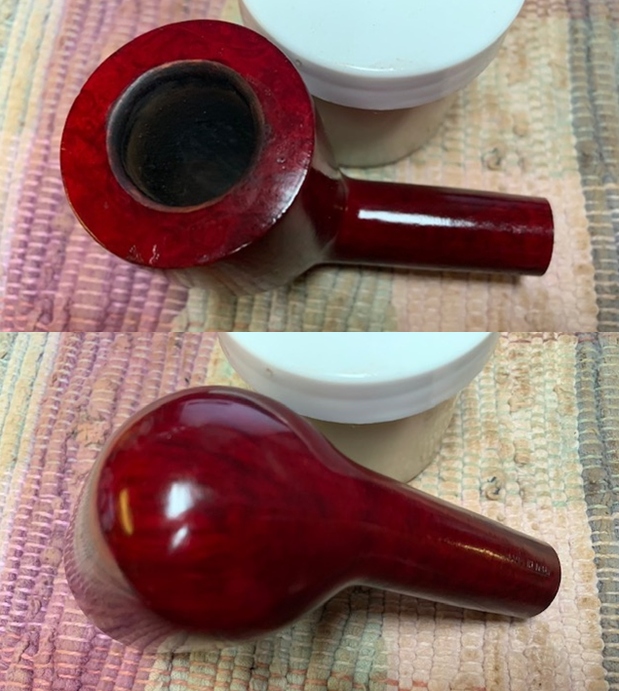
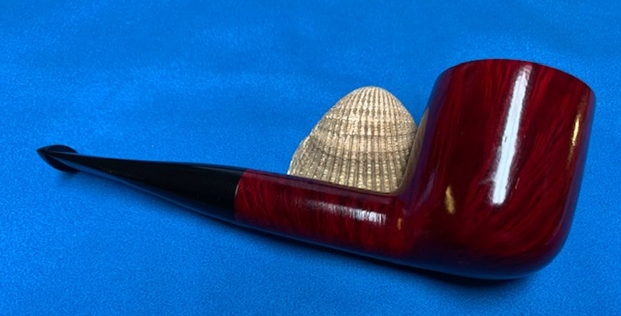
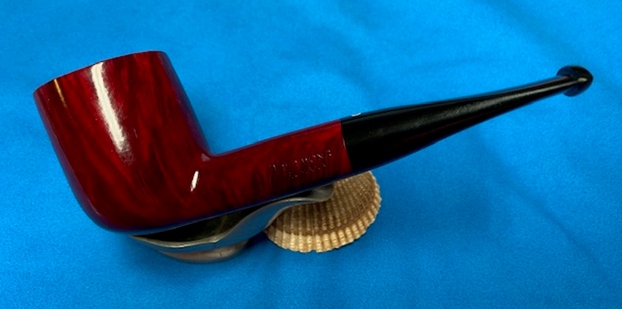
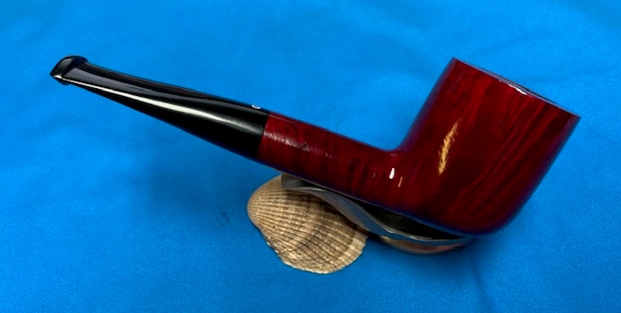
 This classic 1983 Italian Made Talamona 1A Bent Bulldog with a black acrylic stem is a great looking pipe now that it has been restored. I was able to remove and minimize the scratches around the bowl and rim. The rich natural browns of the finish came alive with the polishing and waxing. The grain really popped. I put the stem back on the bowl and carefully buffed the pipe with Blue Diamond on the buffing wheel. I gave the bowl and the stem multiple coats of carnauba wax on the buffing wheel and followed that by buffing the entire pipe with a clean buffing pad. I hand buffed the pipe with a microfiber cloth to deepen the shine. The finished Talamona 1A Bent Bulldog is a beauty and fits nicely in the hand and looks very good. Give the finished pipe a look in the photos below. The dimensions of the pipe are Length: 6 inches, Height: 2 inches, Outside diameter of the bowl: 2 ¼ inches, Chamber diameter: ¾ of an inch. The weight of the pipe is 2.40 ounces/68 grams. I will be adding it to the rebornpipes store in the Italian Pipe Makers Section. If you are interested in adding this pipe to your collection send me a message or an email. Thanks for reading this blog and my reflections on the pipe while I worked on it. There are many more to come!