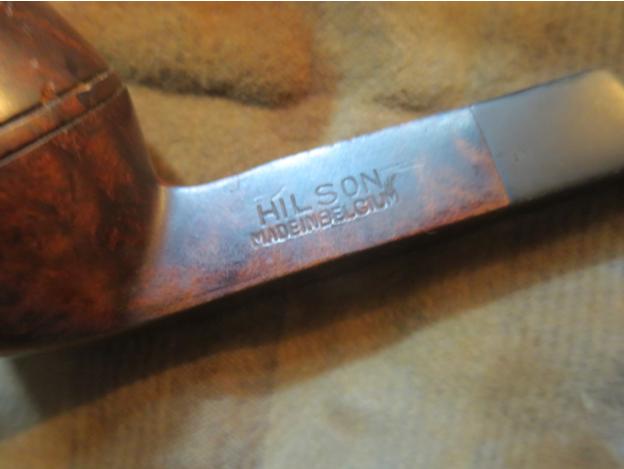
Blog by Steve Laug
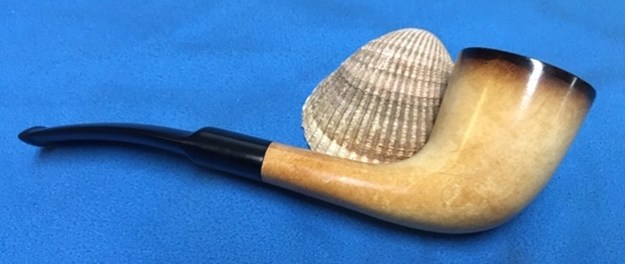
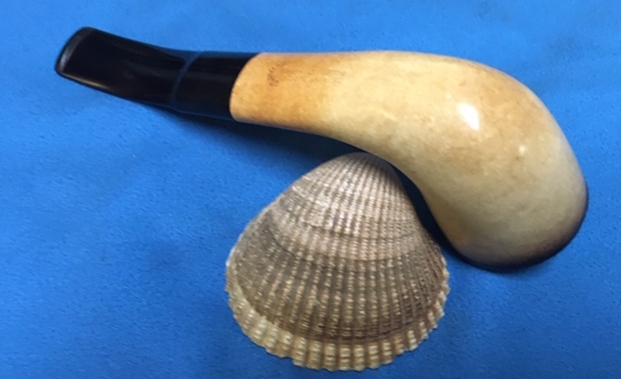
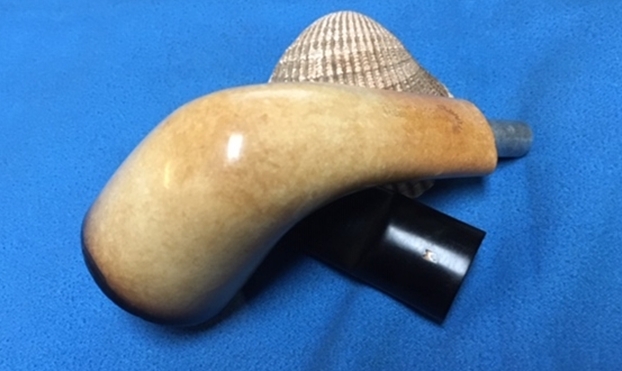
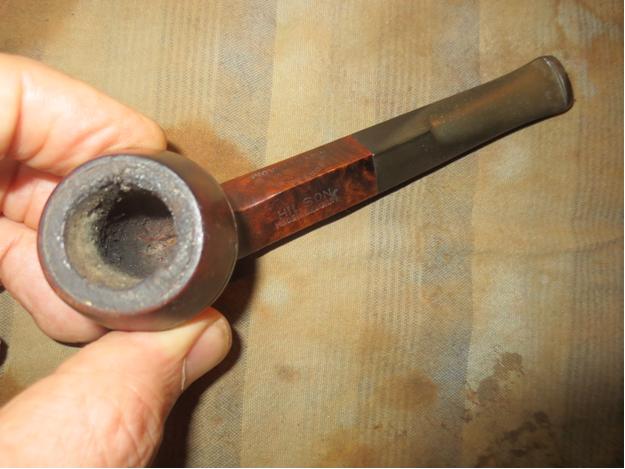
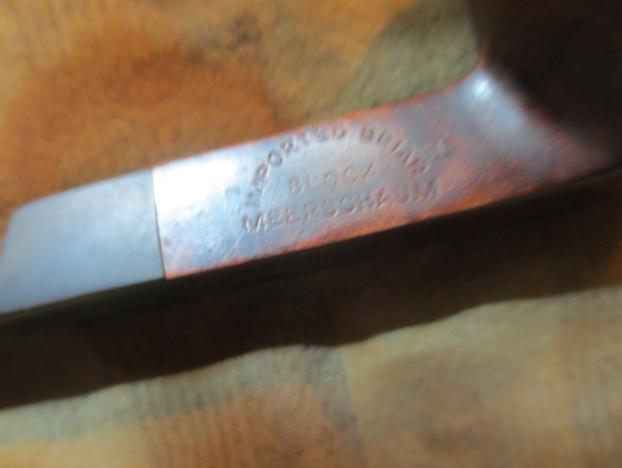
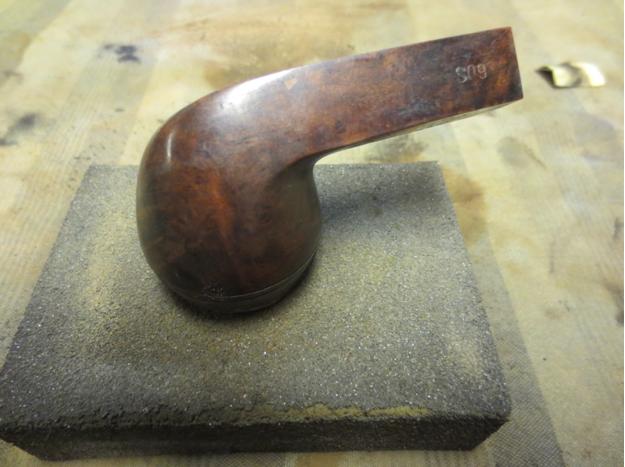
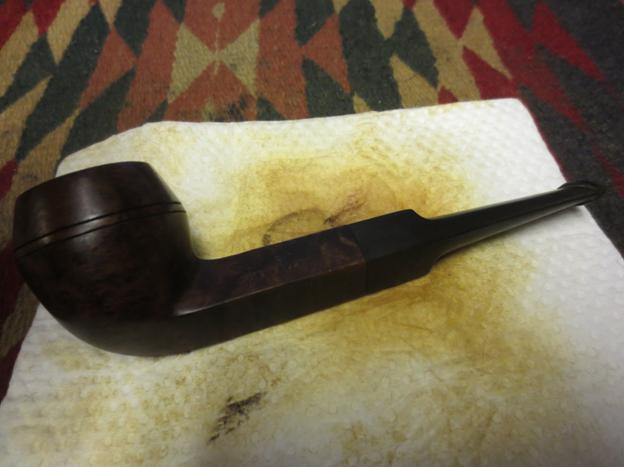
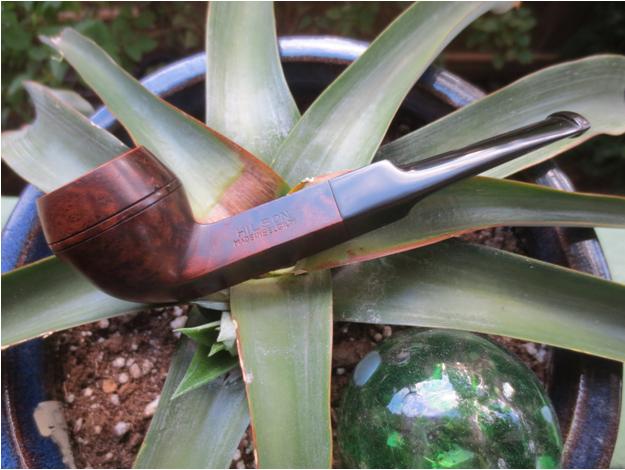
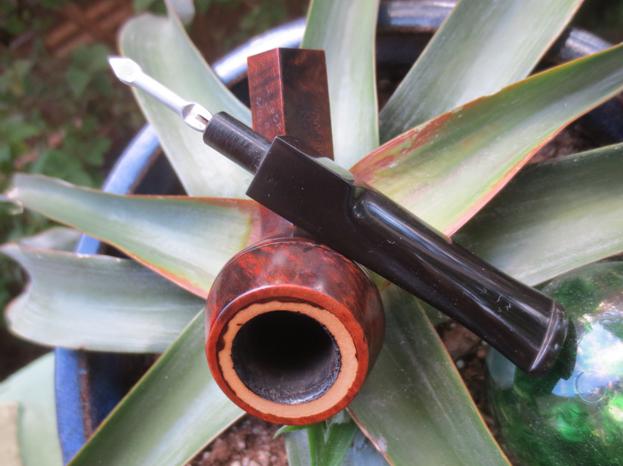
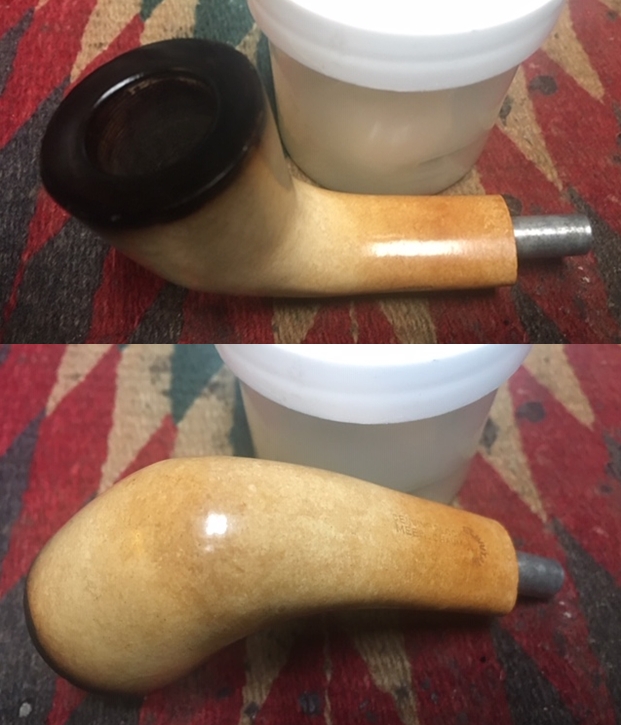
Over the past two weeks I was traveling in Alberta with my brother Jeff and his wife, Sherry. In between work appointments and presentations we took some time to visit local antique shops and malls. We found quite a few pipes. In a small Antique Shop in Lethbridge we found a few interesting pipes. The second of the ones that I am working from that find is an oval shank meerschaum Zulu. It has a flumed top and some colouring happening around the bowl and the shank. The saddle stem has a ribbon shaped/bookmark stamped logo on the top of the saddle. The pipe was dirty and caked when we picked it up. The rim top had a little lava and some small scratches in the edges of the bowl. The bowl had a thin cake in it that was hard and dense. The exterior of the bowl and shank are very dirty with grime and oils from prolonged use. The stamping on the underside of the shank below the shank/stem junction was faint but readable and read Genuine Block Meerschaum with an arched Gt. Britain at the stem shank joint. On the right side of the shank it is stamped JAMBO. The vulcanite stem was had tooth chatter on the top and the underside of the stem. There were tooth marks on both sides and on the button. I took photos of the pipe before I started the cleanup. 
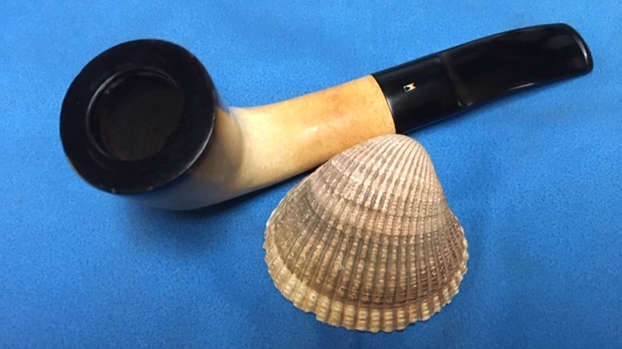
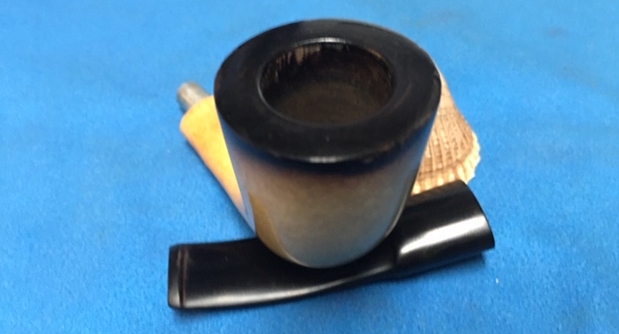
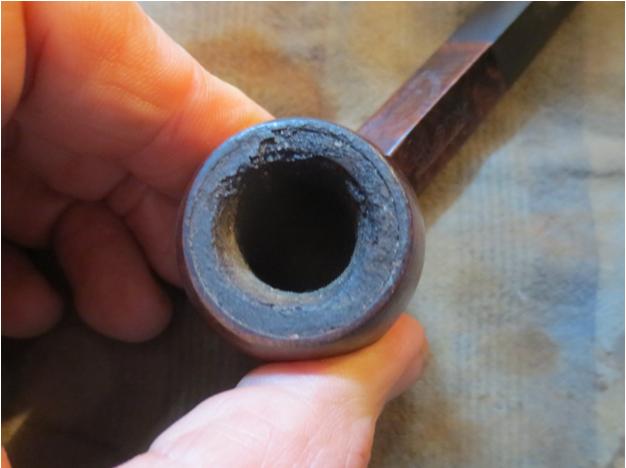
 I took close up photos of the bowl and rim to capture the condition of the pipe before I started my cleanup work. The rim top had some lava build up on the edge and there were some small nicks on the inner edge. Other than being so dirty it appeared to be in great condition. The stem was dirty and there was tooth chatter on the top and underside near the button and on the button surface itself. The stem was lightly oxidized.
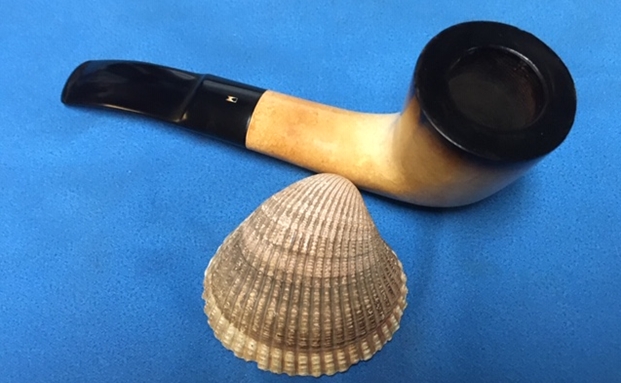
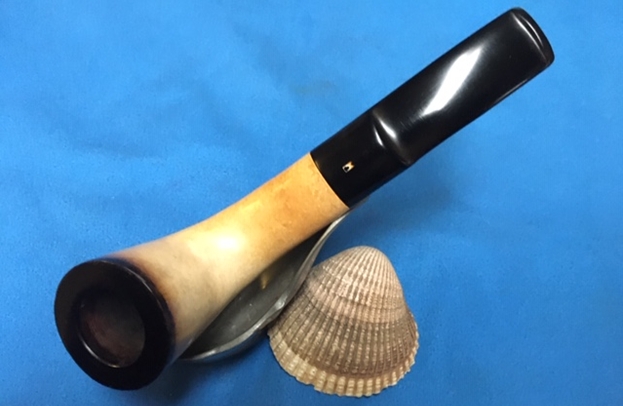
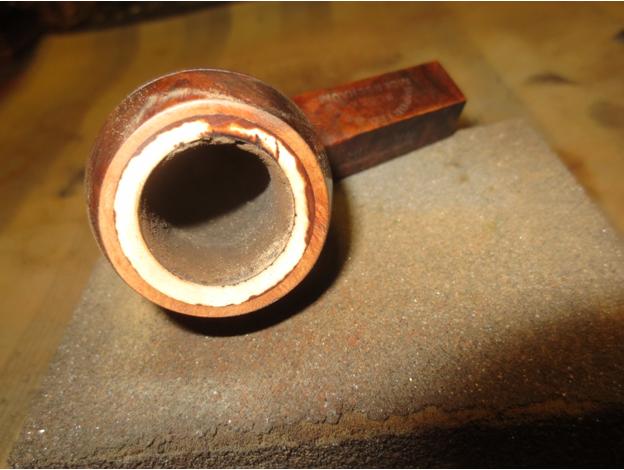
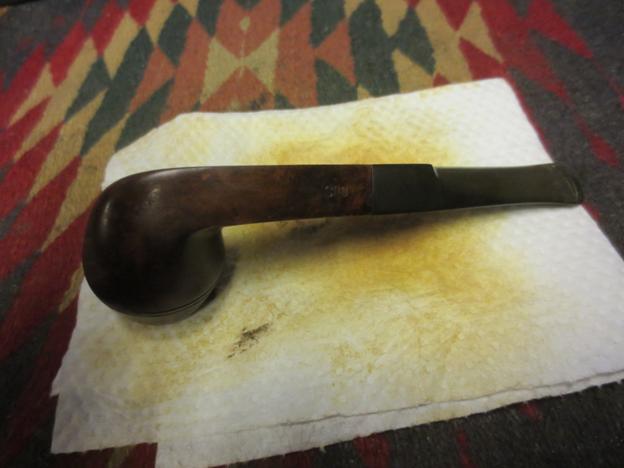
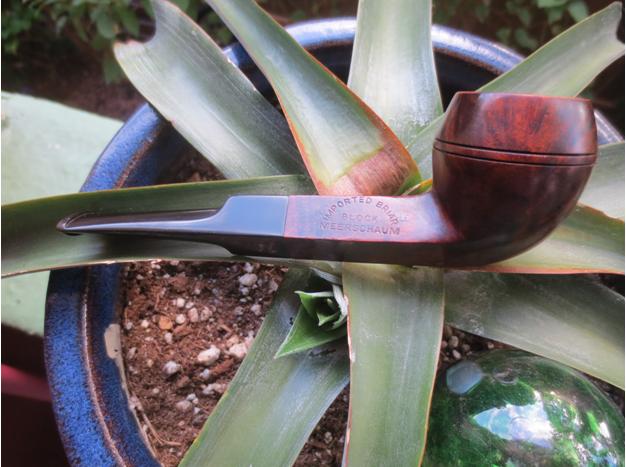
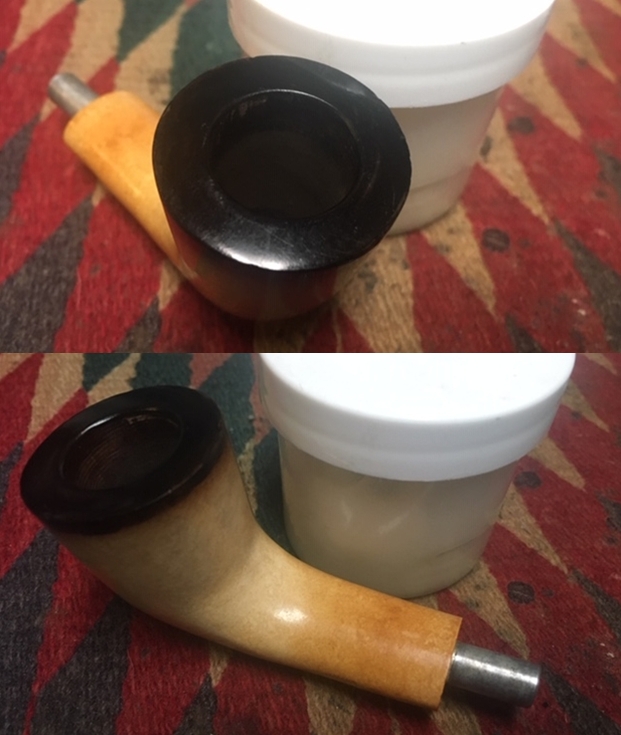
 I took a photo to capture the stamping on the underside of the shank near the stem/shank joint. The photo shows the stamping Genuine Block over Meerschaum. Next to that there was an arched stamp that read GT BRITAIN. There was a small nick in the underside of the meerschaum next to the vulcanite stem. I also noted that there was a stamping on the left side of the shank – it read Jambo.
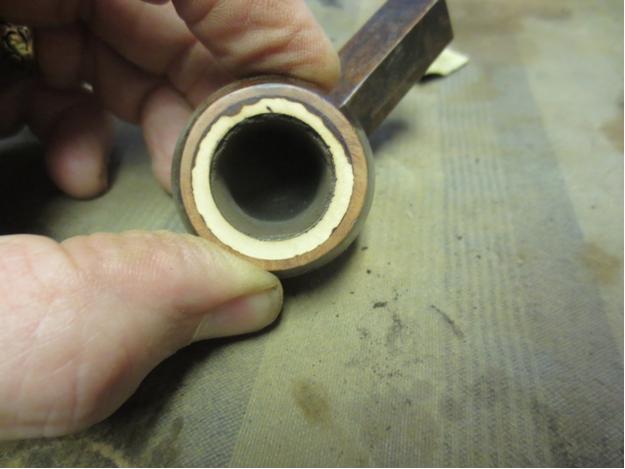
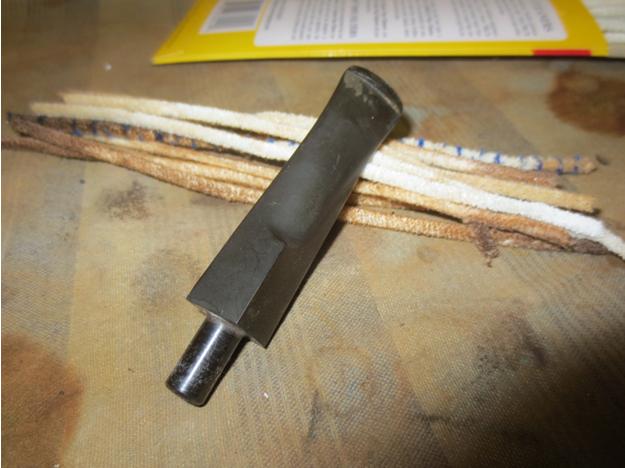
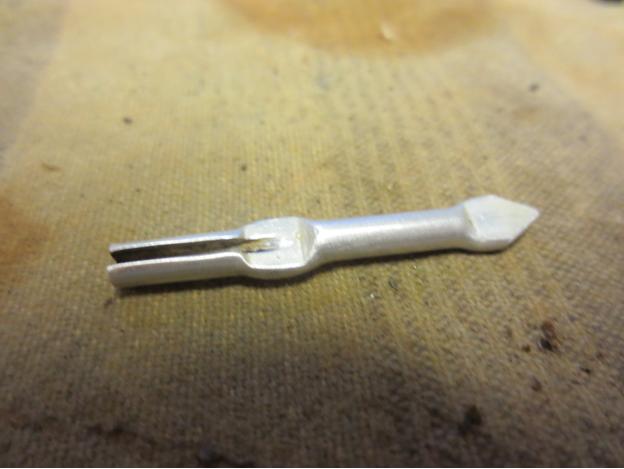
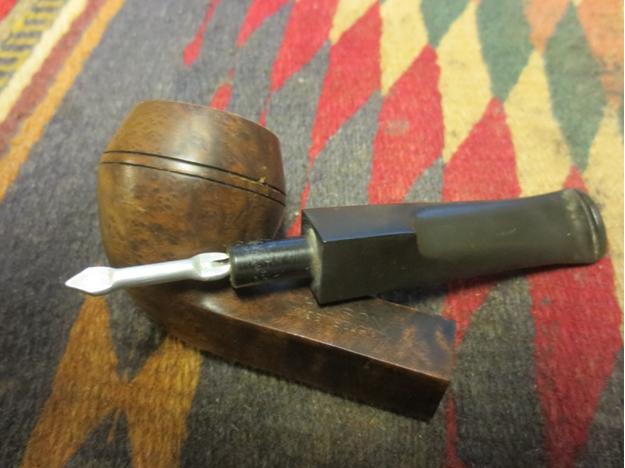
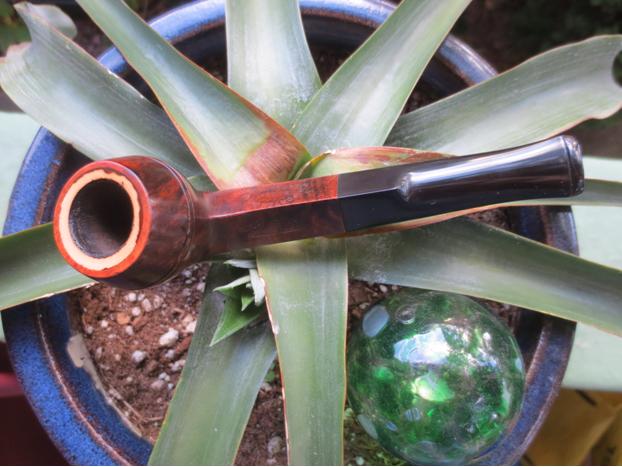
 While we were traveling I decided to do a bit of work on some of the pipes that we had found. This was the second one that I worked on. I scraped the inside of the bowl with a sharp knife. I scraped the tars and lava off the top of the rim with the same knife. I took the stem off and you can see the metal tenon set in the shank of the pipe. It is anchored firmly and the stem pressure fit over the top of the tenon.
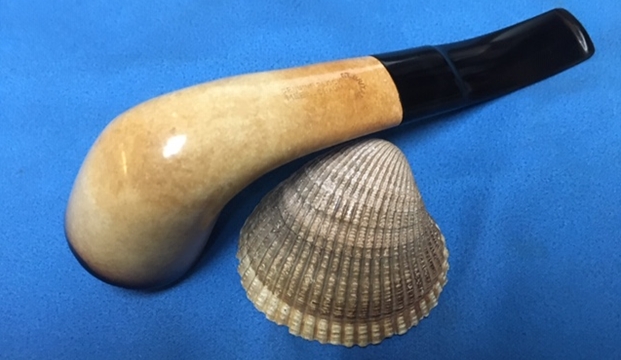
 I scrubbed the exterior of the bowl with warm water and some Dawn Dish Soap to remove the buildup of grime around the bowl and on the rim top. I rinsed it well and wiped the bowl down with a clean paper towel to polish the finish on the bowl.
 I decided to follow up on my initial cleaning of the bowl and shank. I reamed the bowl with a Savinelli Fitsall pipe knife to remove the remnants of the cake in the bowl. I sanded the bowl with 220 grit sandpaper wrapped around a piece of dowel to smooth out the inside walls of the bowl.
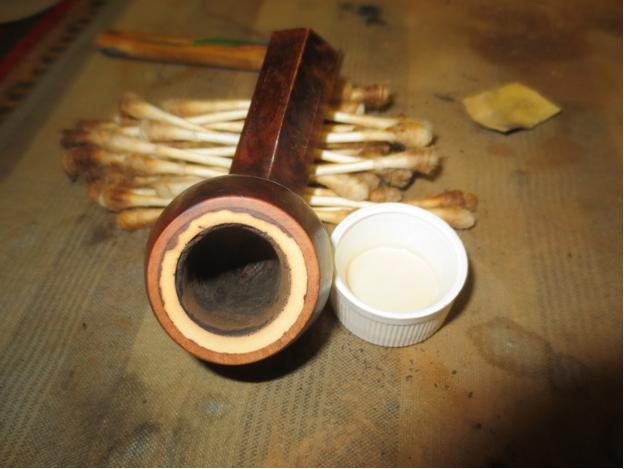
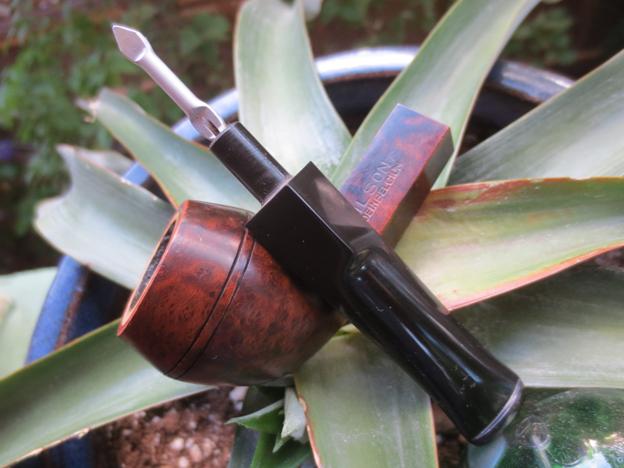
 I scrubbed out the mortise and the airway in the shank, the metal mortise and the stem with alcohol, cotton swabs and pipe cleaners.
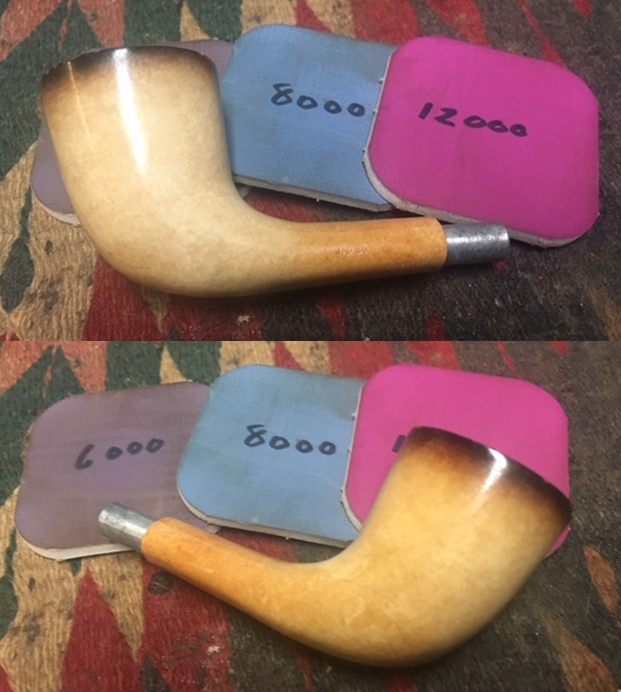
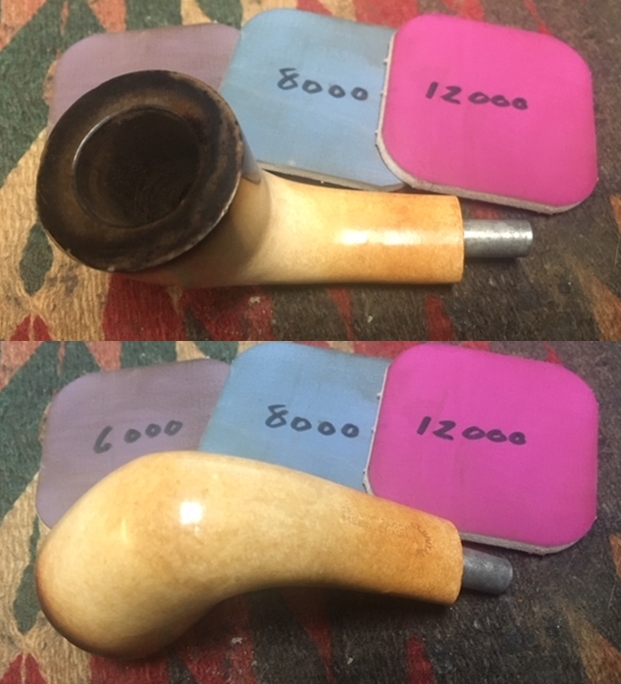
 I polished the meerschaum with micromesh sanding pads – wet sanding the bowl walls and rim top with 1500-12000 grit pads. I wiped the bowl down after each sanding pad with a damp cloth to wipe of the dust.
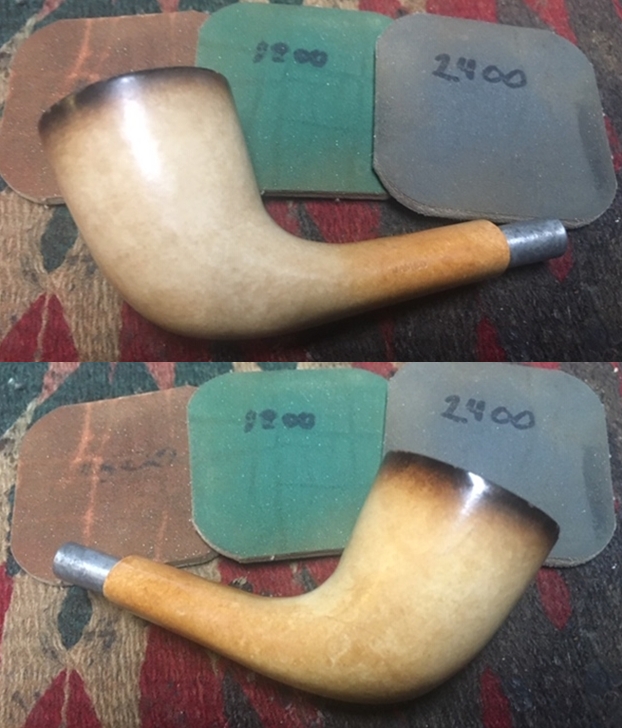
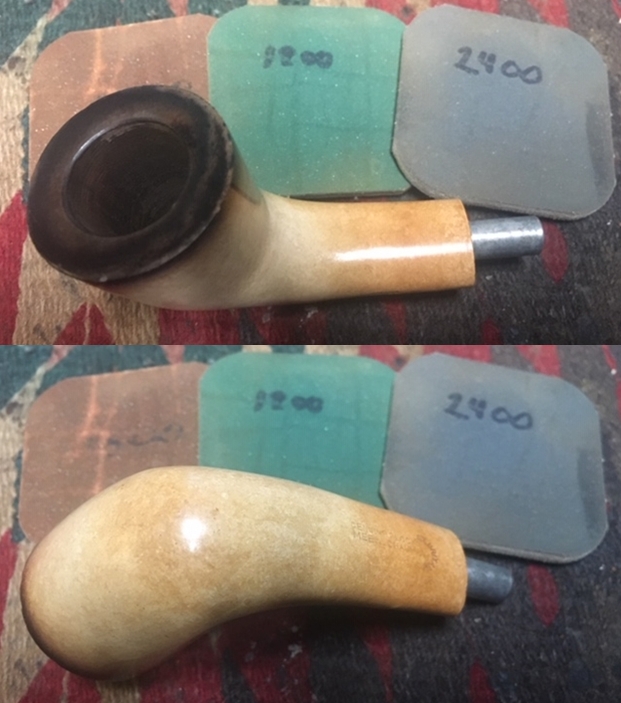

 I touched up the top of the rim and the edges of the bowl with a black stain pen to restored the colour to the edges and the top.
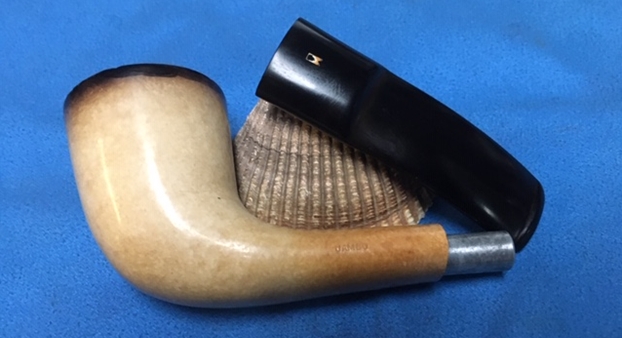
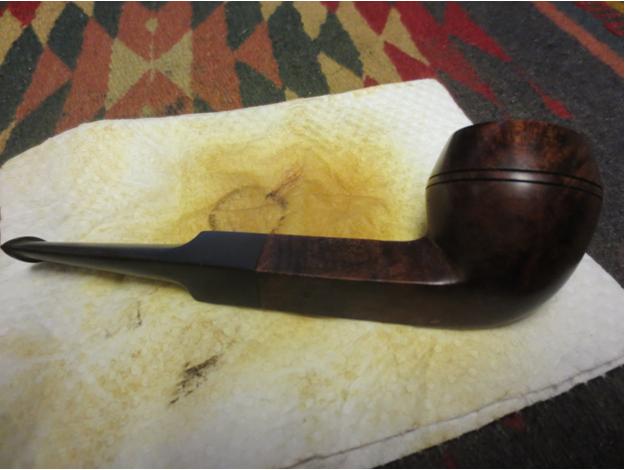
 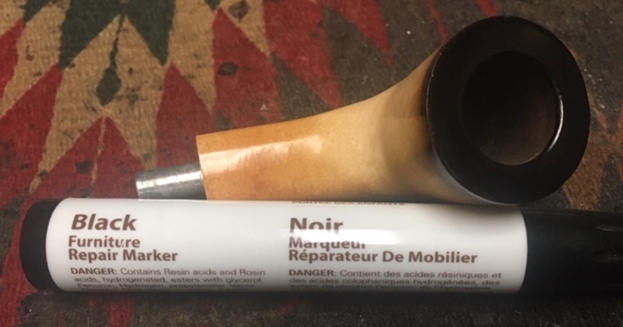 I worked some Before & After Restoration Balm into the surface of the meerschaum with my fingertips to clean, enliven and protect it. I know that it was designed for briar but I used it for meerschaum and it works well. I let the balm sit for a little while and then buffed with a cotton cloth to raise the shine. The photos show the bowl at this point in the restoration process.
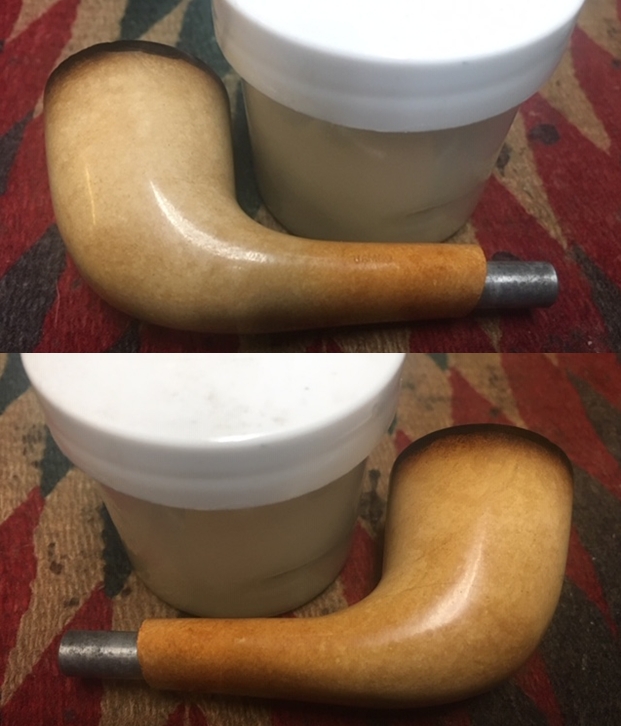
 I set the bowl aside and turned my attention to the stem. I sanded out the tooth chatter with 220 grit sand paper and started to polish it with a folded piece of 400 wet dry sandpaper. Once it was finished it began to shine.
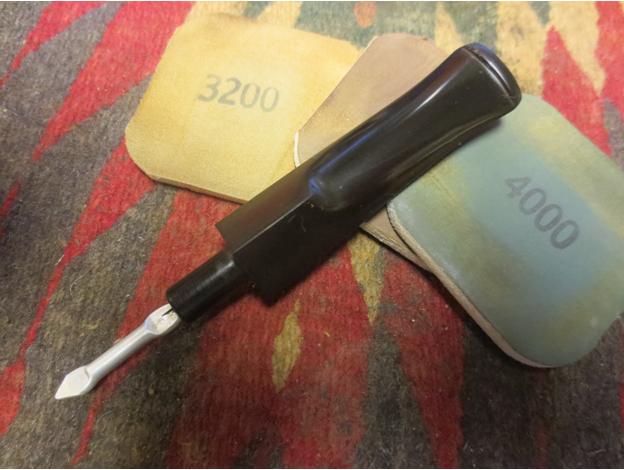
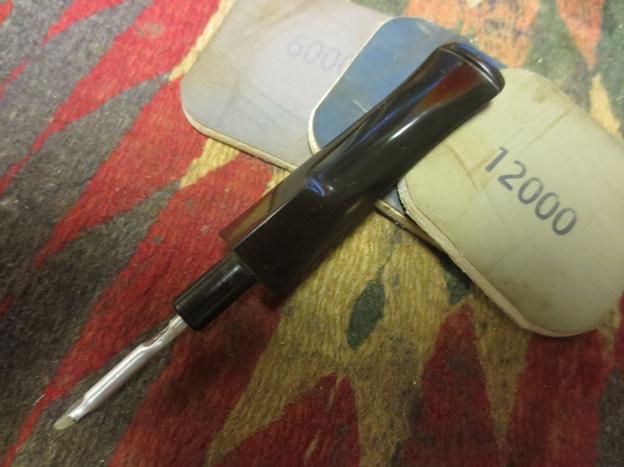
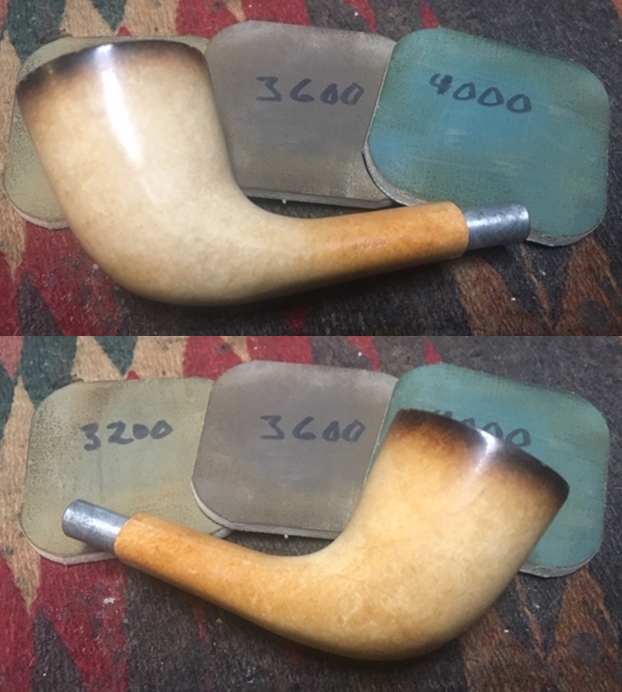
  I polished the stem with micromesh sanding pads – wet sanding with 1500-12000 grit sanding pads. I wiped it down after each sanding pad with a damp cloth. I polished it with Before & After Pipe Stem Polish – both Fine and Extra Fine and buffed it off with a cotton cloth.
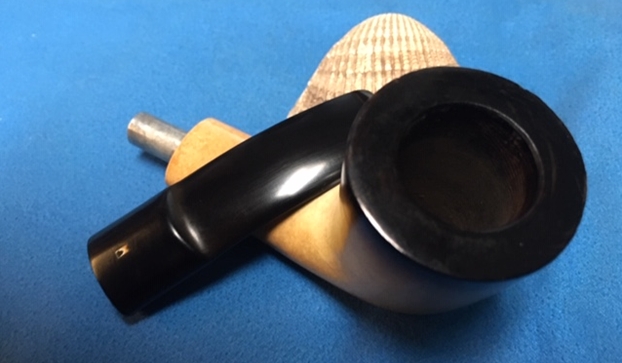
 This is a beautiful Flumed top Block Meerschaum Oval Shank Zulu with a black saddle vulcanite stem. It has a great look and feel. The shape is very tactile and is a beauty. I polished stem and the bowl with Blue Diamond polish on the buffing wheel. I gave the bowl and the stem multiple coats of carnauba wax. I buffed the pipe with a clean buffing pad to raise the shine. I hand buffed it with a microfiber cloth to deepen the shine. The pipe polished up pretty nicely. The meerschaum had already begun to take on a patina and it came alive with the buffing. The rich mottled browns of the meerschaum colour works well with the polished vulcanite stem. The finished pipe has a rich look that is quite catching. Have a look at it with the photos below. The shape, finish and flow of the pipe and stem are very well done. The dimensions are Length: 5 ¼ inches, Height: 1 ¾ inches, Outside diameter of the bowl: 1 ¼ inches, Chamber diameter: ¾ of an inch. I will be adding the pipe to the rebornpipes store shortly. If you are interested in adding this Block Meerschaum, English made Zulu to your collection let me know. Thanks for walking through the restoration with me as I worked over the first of the finds of Jeff and my Alberta pipe hunt.